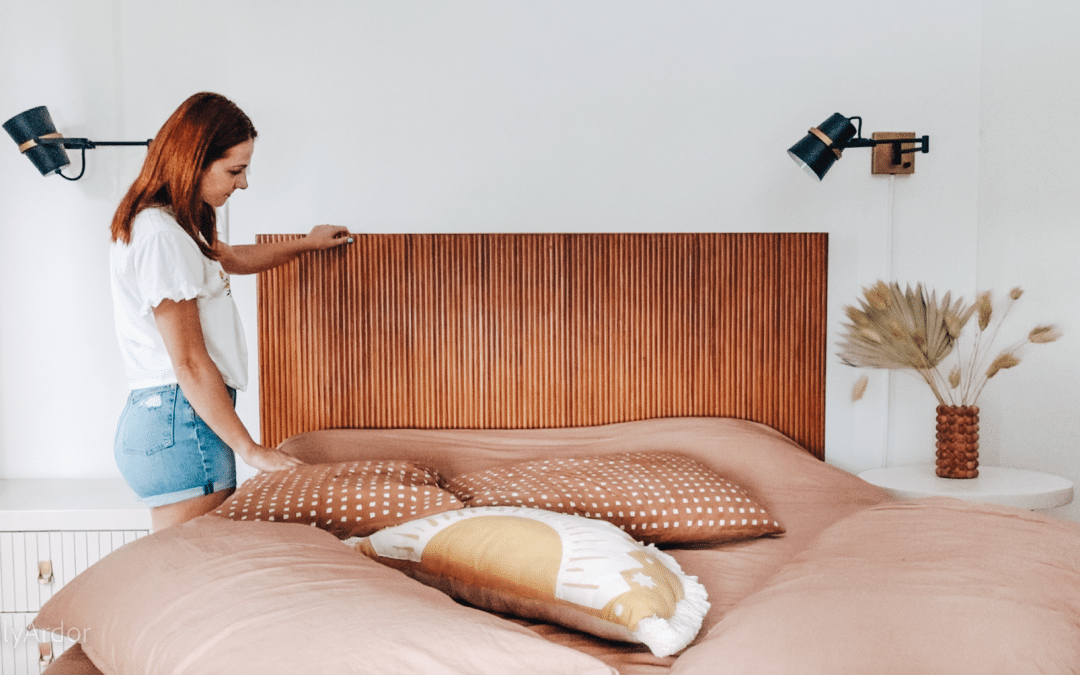
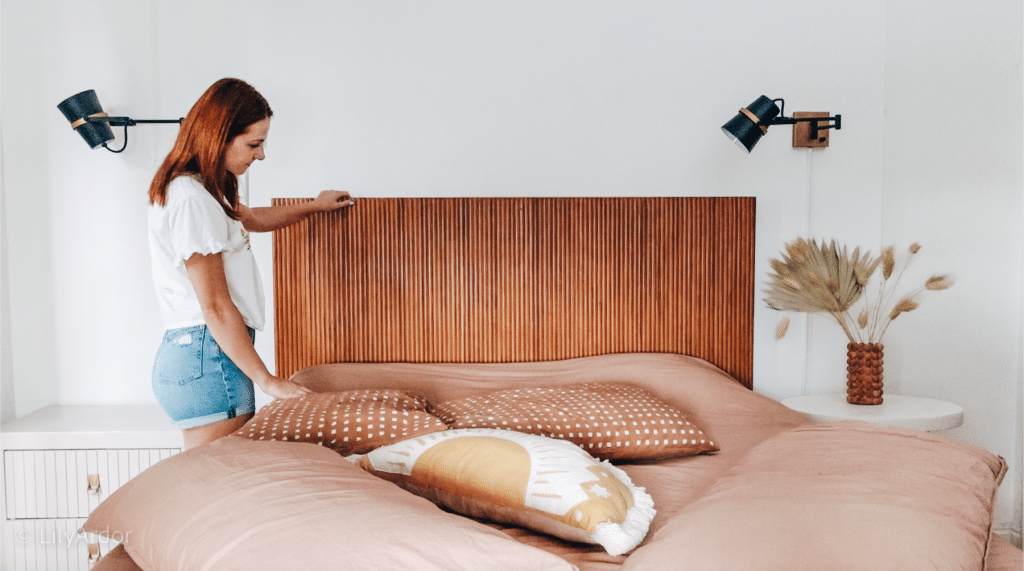
DIY Headboard! FLUTED WOOD TUTORIAL!
Here’s how to create a faux fluted wood look! ON A BUDGET!
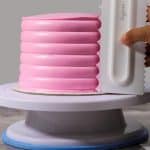
I’m so excited to share our DIY fluted wood headboard on a budget USING a cake spreader and some joint compound! I had this crazy idea after seeing a cake decorating video on Instagram and decided to try and replicate the scalloped look on something solid and permanent!
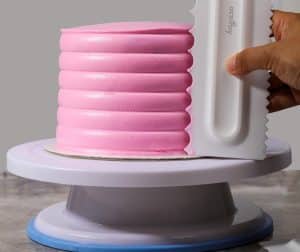
This is the cake spreader I used!
Total Cost : UNDER $50
This cost us under $50 back when we did it two years ago. I’m sure it’s a bit more now with inflation but still should be pretty affordable!
This post may contain affiliate links. Read my disclosure policy.
What you’ll need!
Supplies!
- Plywood
- Ultra lightweight Joint compound
- cake edge tools or scalloped cake frosting spreader ( to create the fluting effect )
- clamps
- metal ruler
- water ( in a spray bottle )
- 80 grit sandpaper
- 1″x3″s and 1x2s
- wood glue
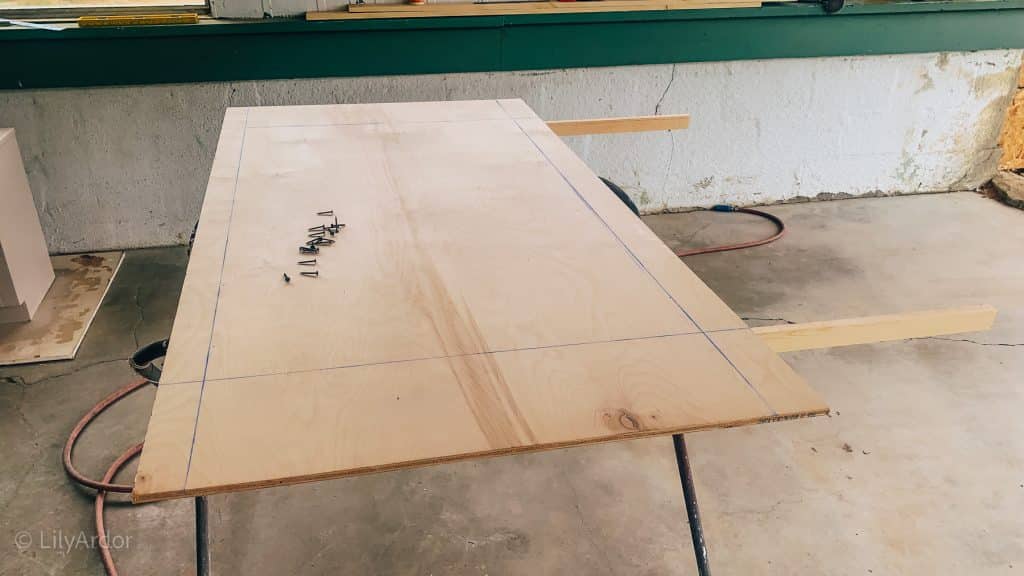
Step 1 : Prep the plywood!
This step is really important as this will be your base for the headboard. We secured the 1″x2″s to the back of the plywood with some wood glue and brad nails. Then flipped it over and secured it additionally with screws making sure we counter sink them so we could comfortably apply the joint compound. We share way more about this in the youtube video. We also rough sanded the surface of the plywood to make sure our joint compound adheres properly.
Here’s a few photos showing the headboard already assembled. Please watch the video to see how we did it. 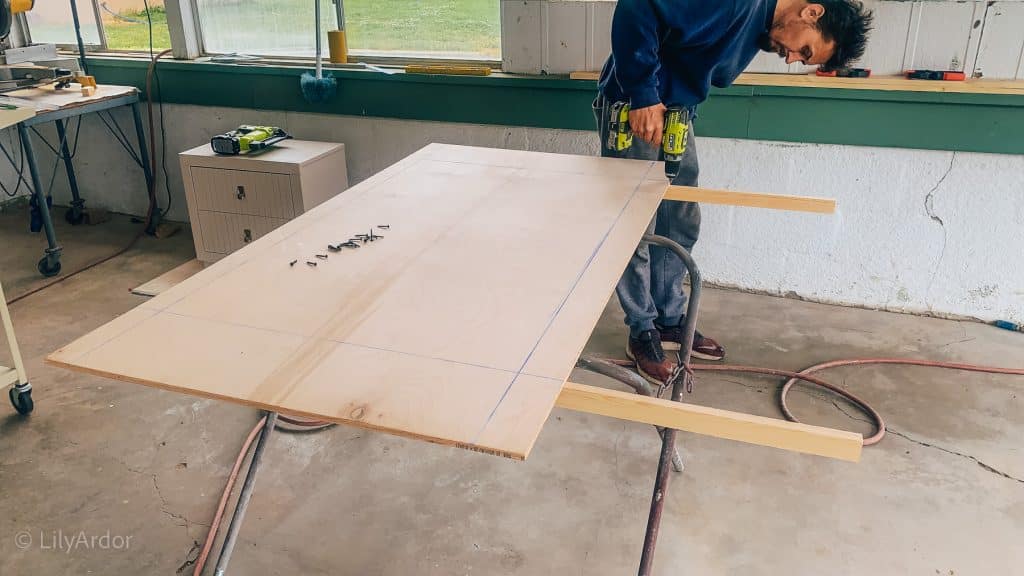
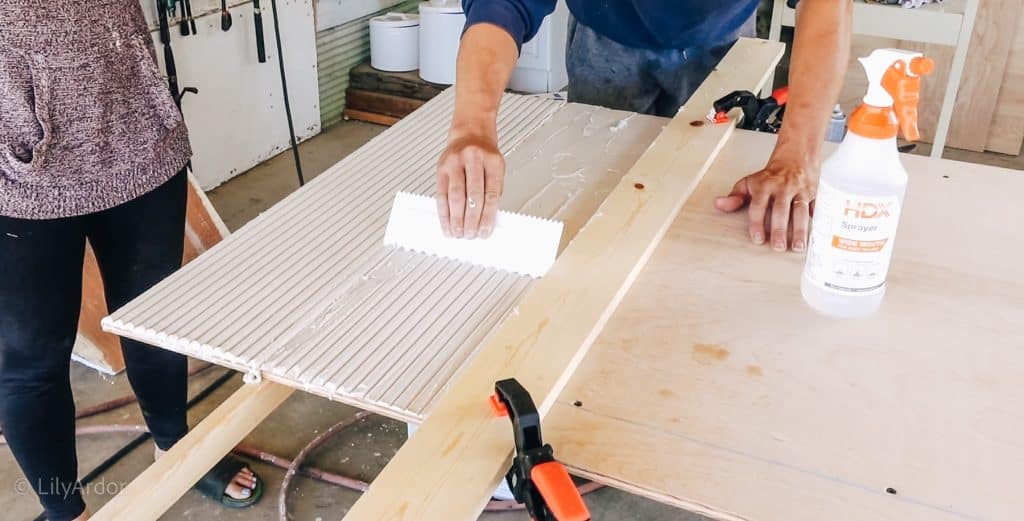
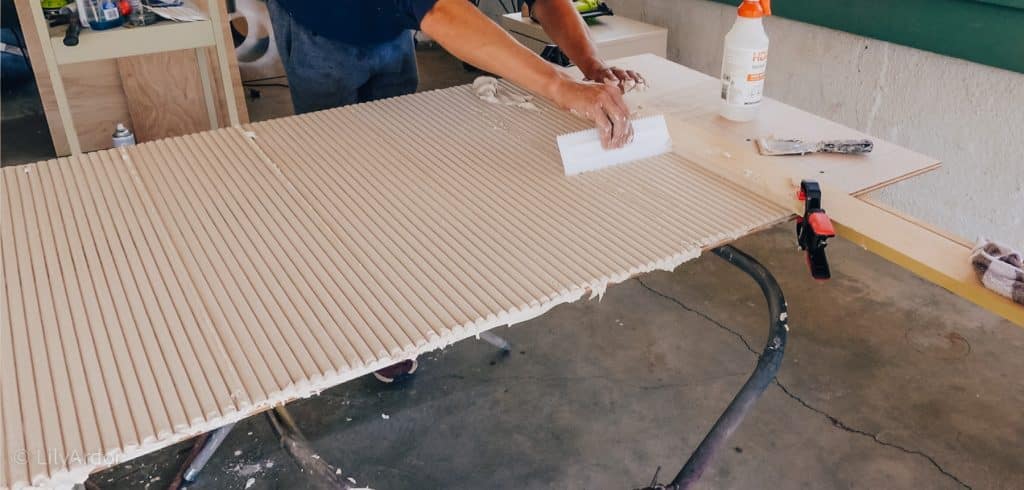
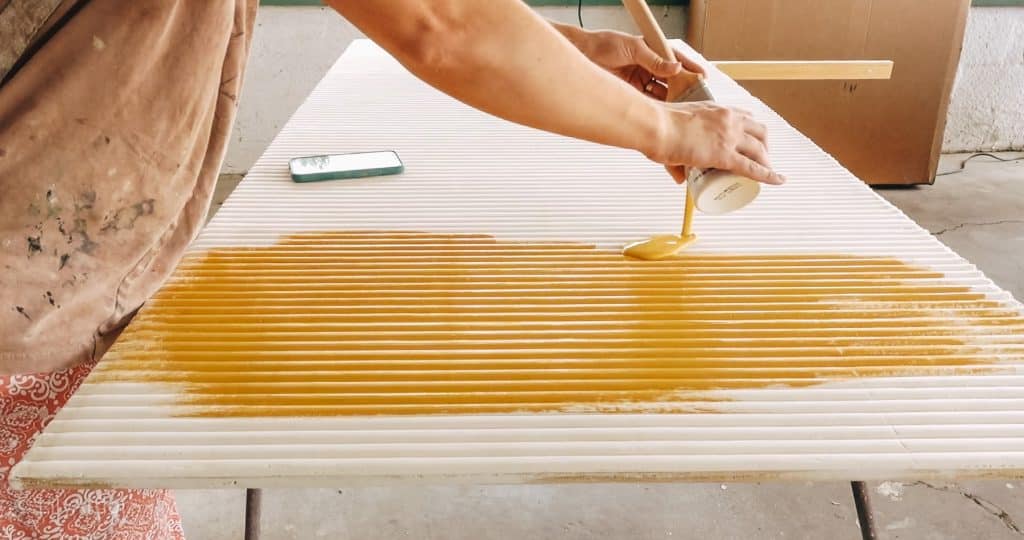
Step 2: Apply the Joint Compound!
Working with the light weight joint compound is what made this project a success in my opinion. I’ve heard so much good about this joint compound used for DIY projects and crafts! It’s held up so good! Two years down and no cracking, chipping etc. We have two spots the got a small scab because the boys were horsing around and hit it with something hard.
ULTRA LIGHT WEIGHT JOINT COMPOUND!
It took us a bit of trail and error to figure out the technique that worked but once we got it down everything just flowed.
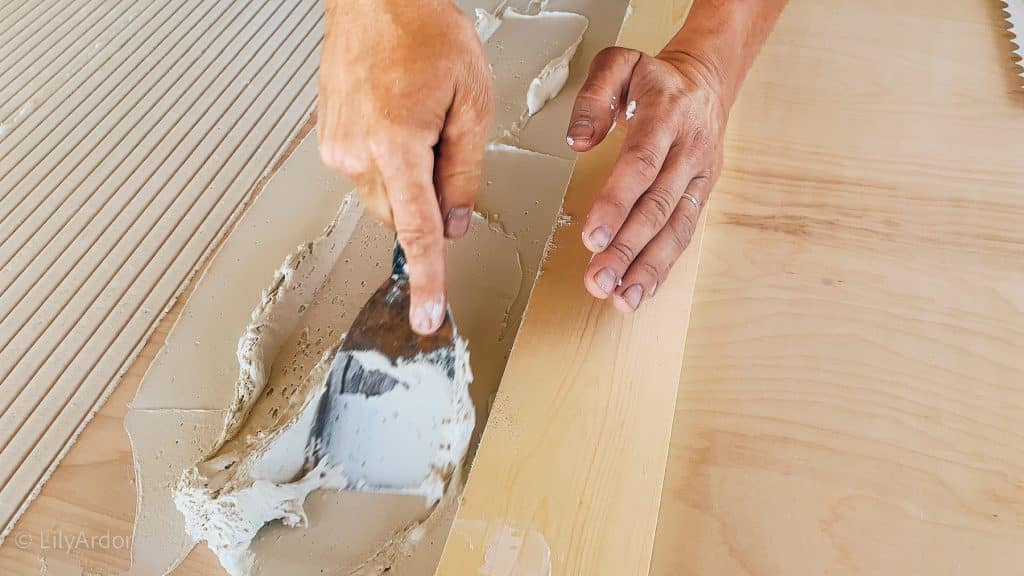
The photo below shows the first few swipes when applying the joint compound. You can see a ton of little bubbles.
We learned you need to really work it into the wood for it to look smooth without bubbles.
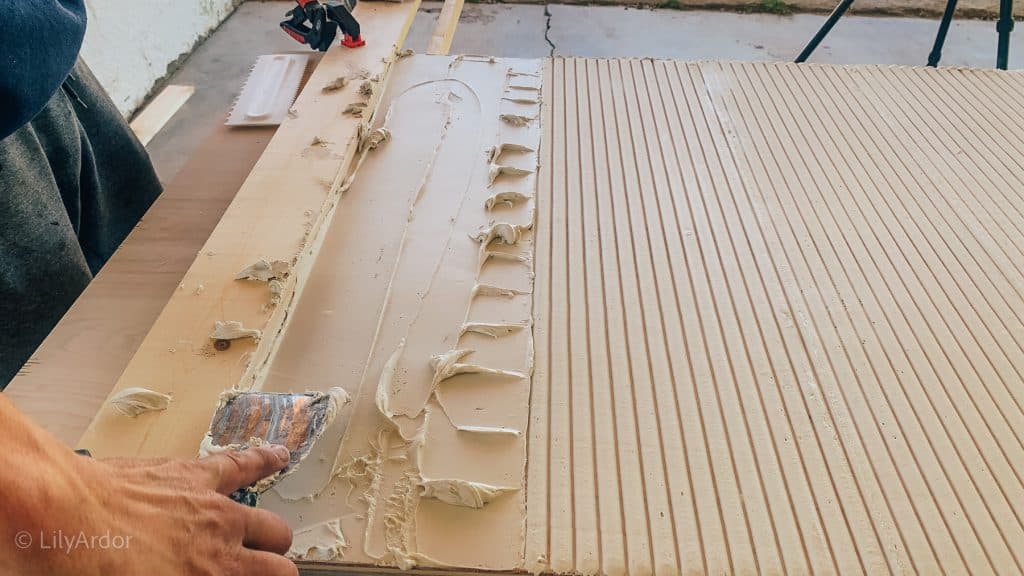
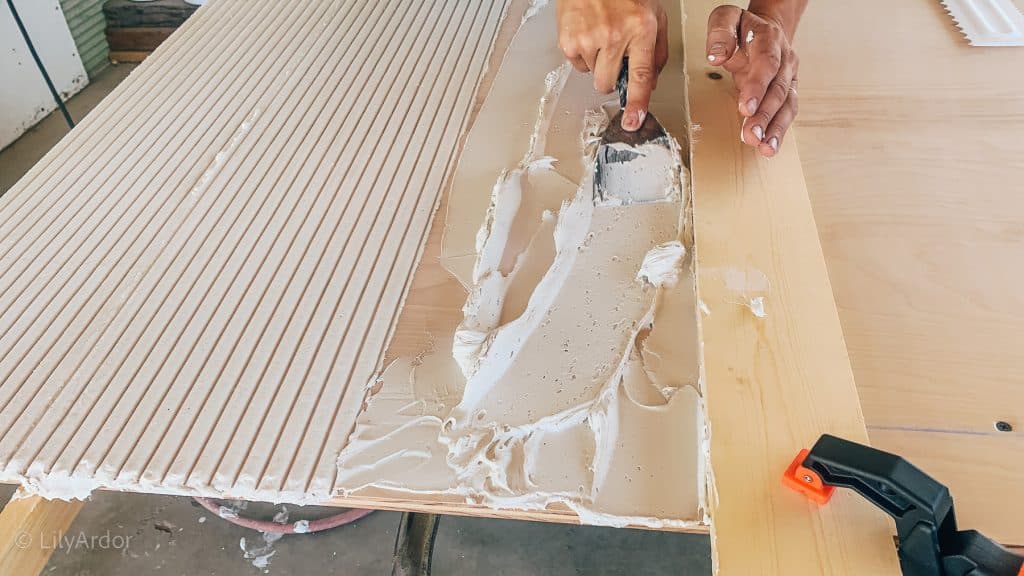
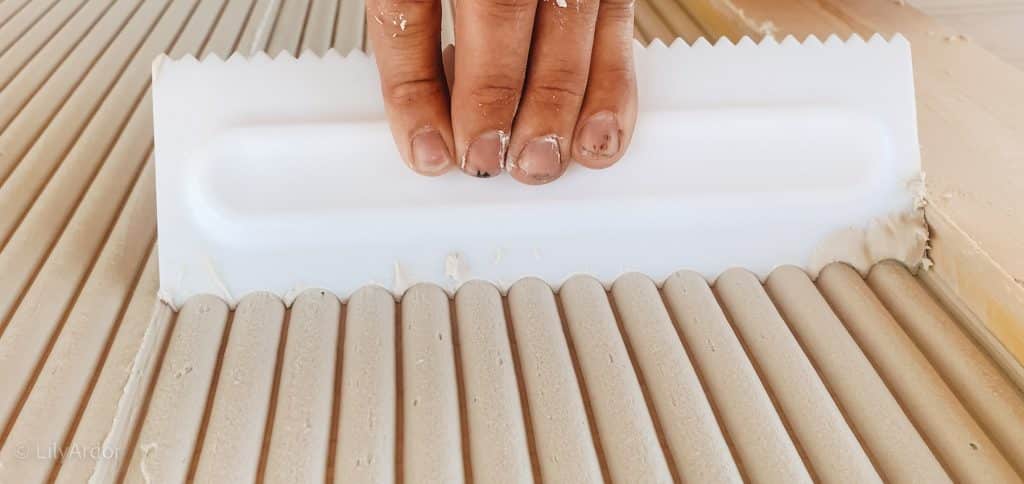
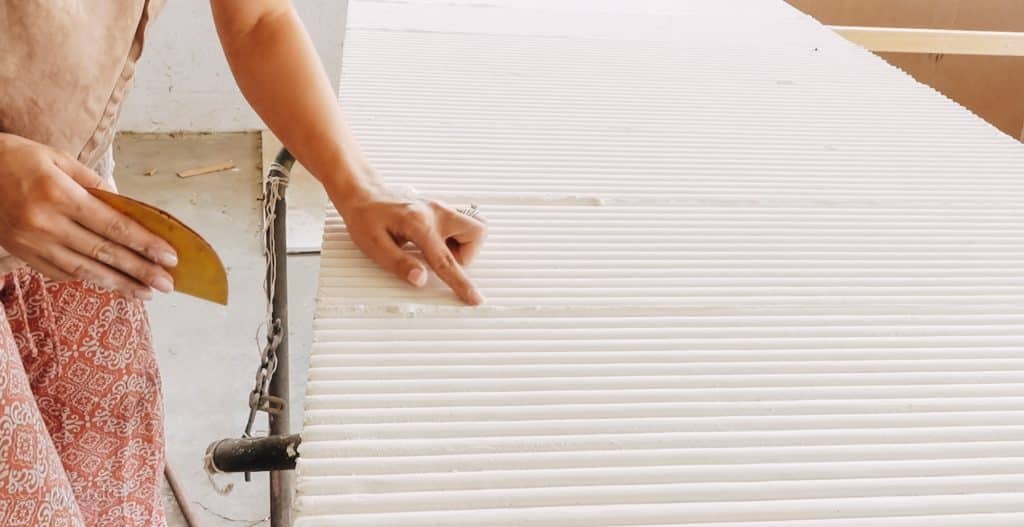
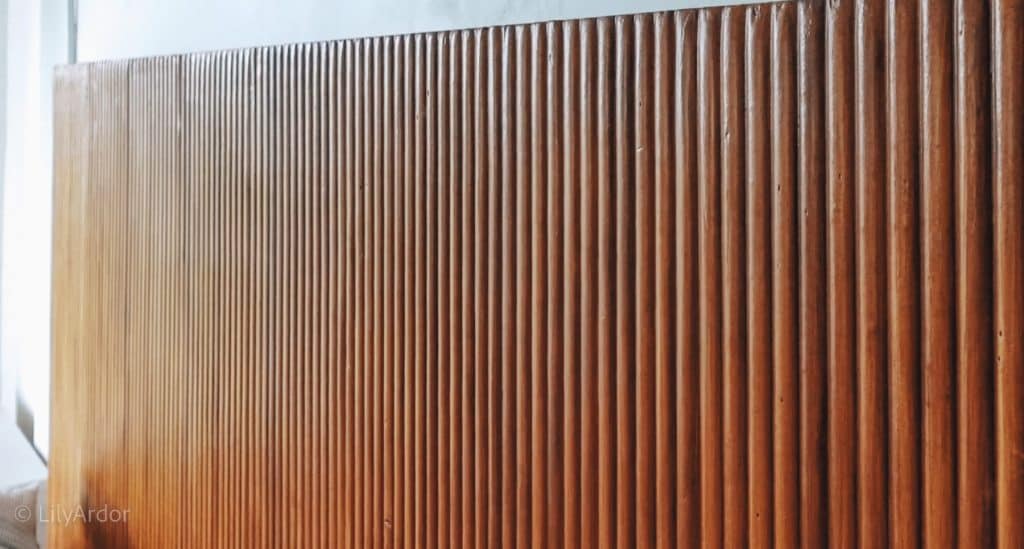
Step 3: Creating the scalloped look!
We used a 1″x3″ and secured it with clamps to help guide the cake spreader.
Grab the cake spreader here.
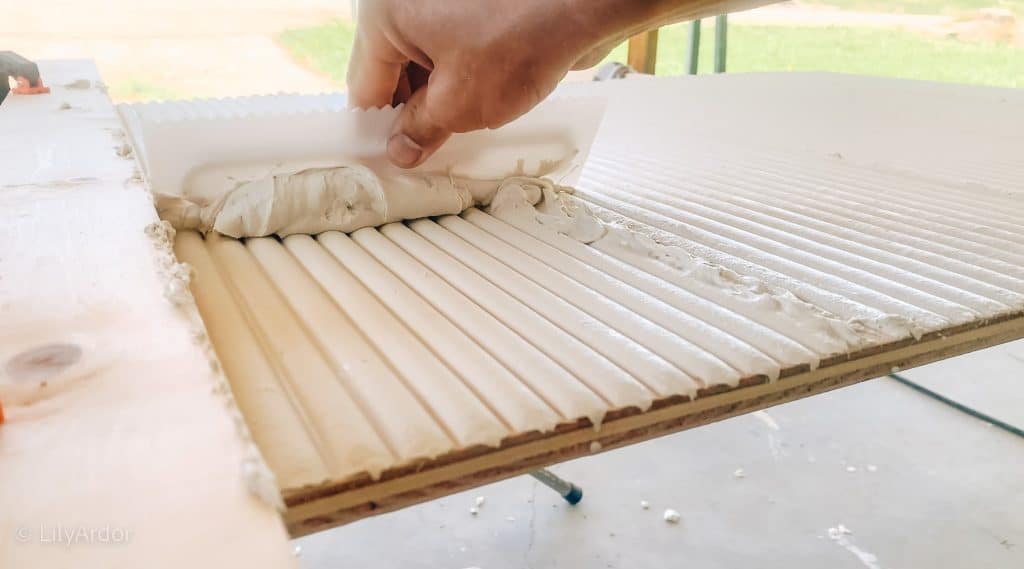
At first we really struggled with the excess joint compound. I thought leaving extra would help create the pattern easier with one swipe. We were wrong. It was actually better to start off making it a little more thicker then 1/4″ and adding when you went over it the second and third time.

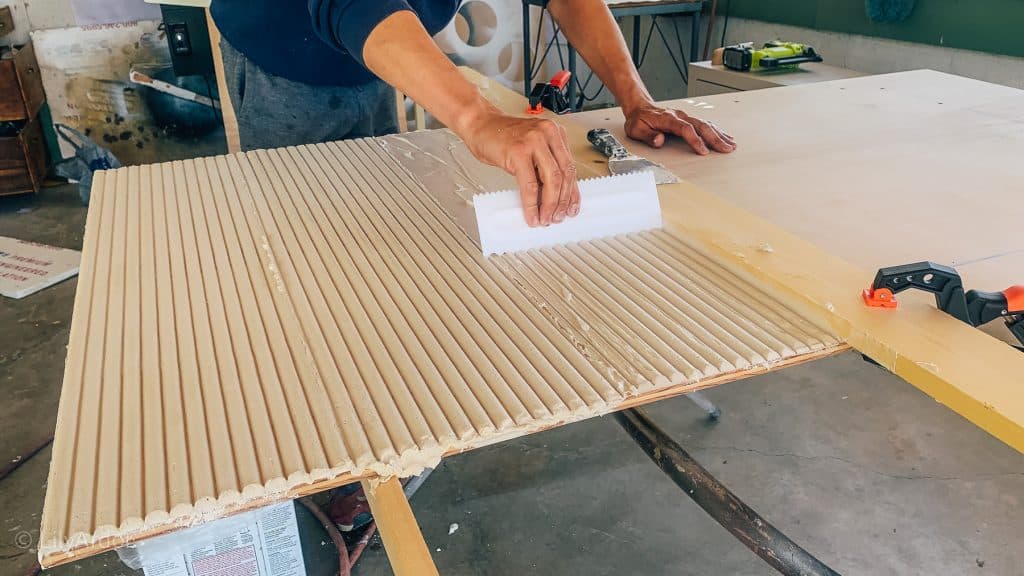
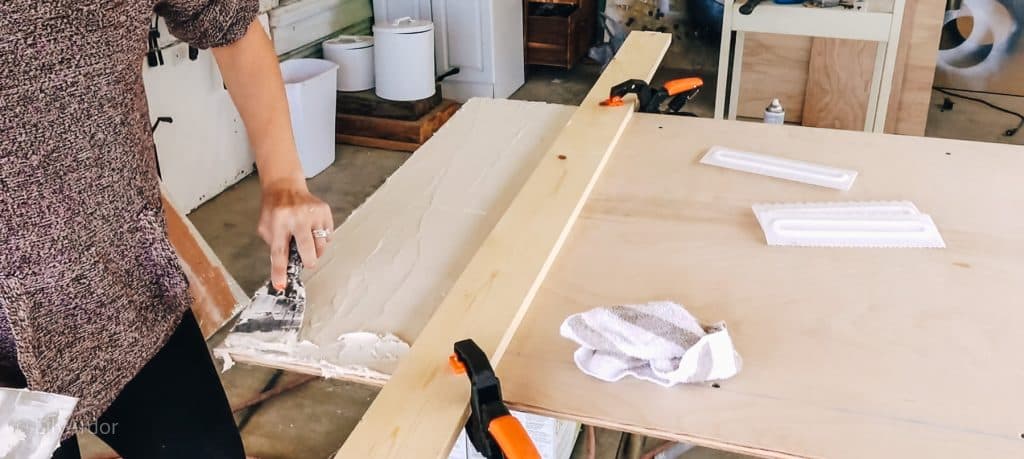
We finally got it to go on really smooth with the help of some water that we kept spraying too. I do think working it into the wood before hand is also really important.
We actually overlapped one notch or two notches down every time we moved the 1×3 with clamps.
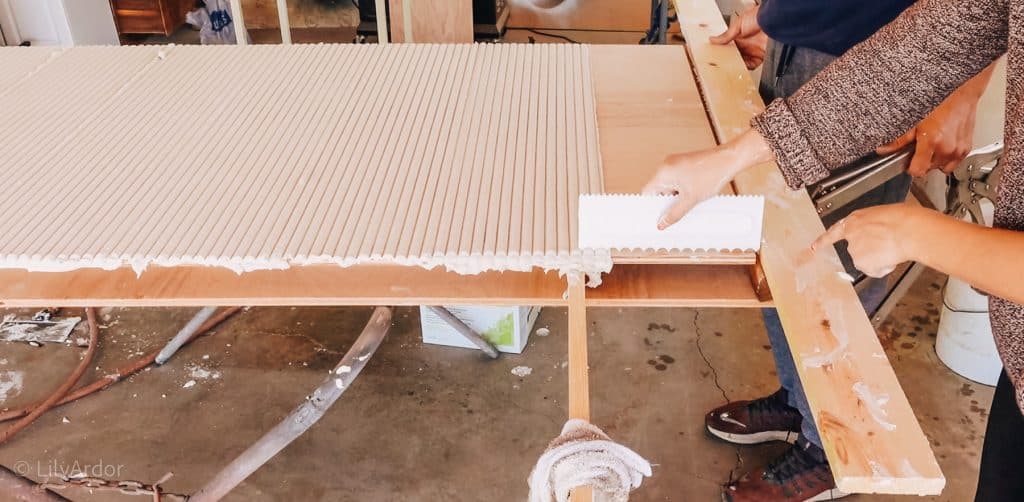
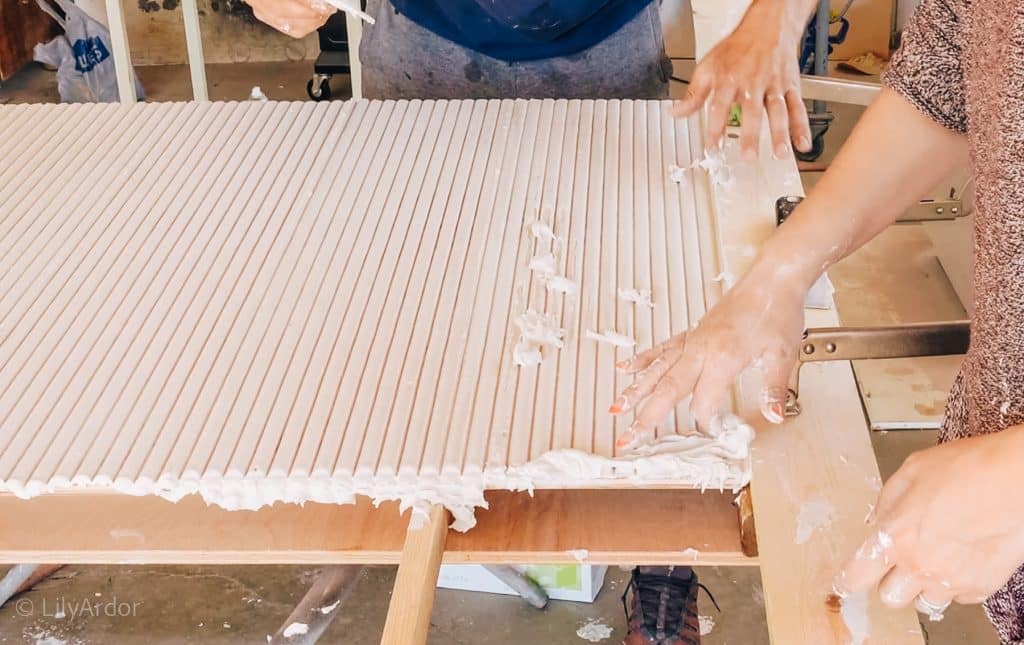
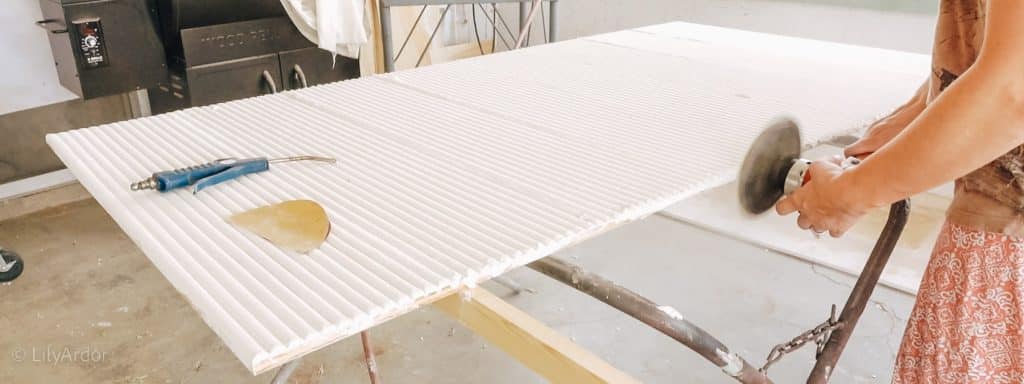
Finishing touches!
So this is kind of unavoidable ( photo below ) . We tried not to get overflow but decided that it’s ok if it’s a tiny bit. It can easily be sanded down. And this joint compound sands so easily it didn’t take long at all.
I then sanded down all the edges and drips we got on the sides.
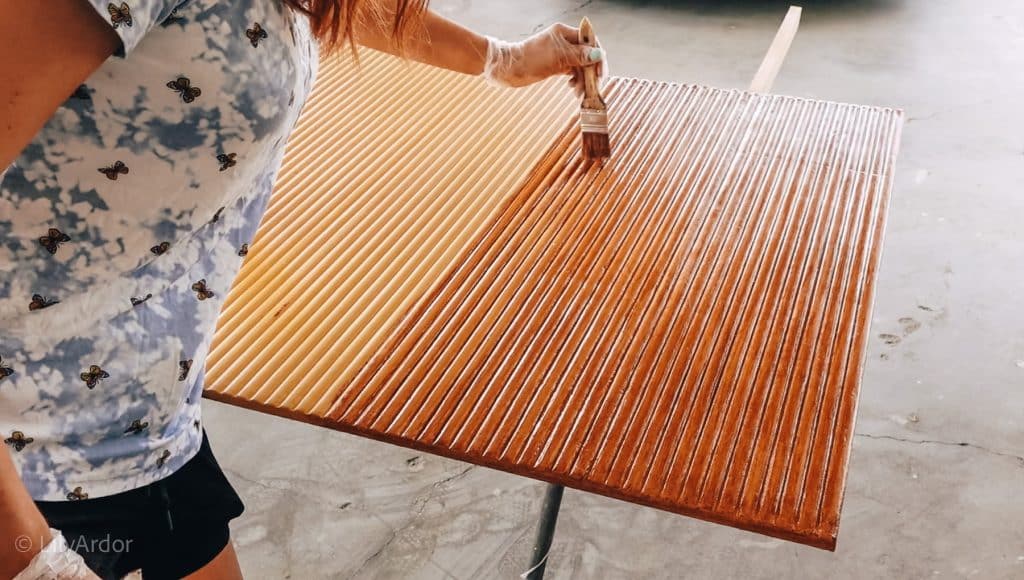
Let’s make it look like wood!
I look back at the choice of wood color now and wish I would of chosen something more toned down for this Headboard DIY. Maybe something with a peach undertone instead of the mustard color I went with. I painted my kitchen to look like real wood recently and love the colors we chose there.
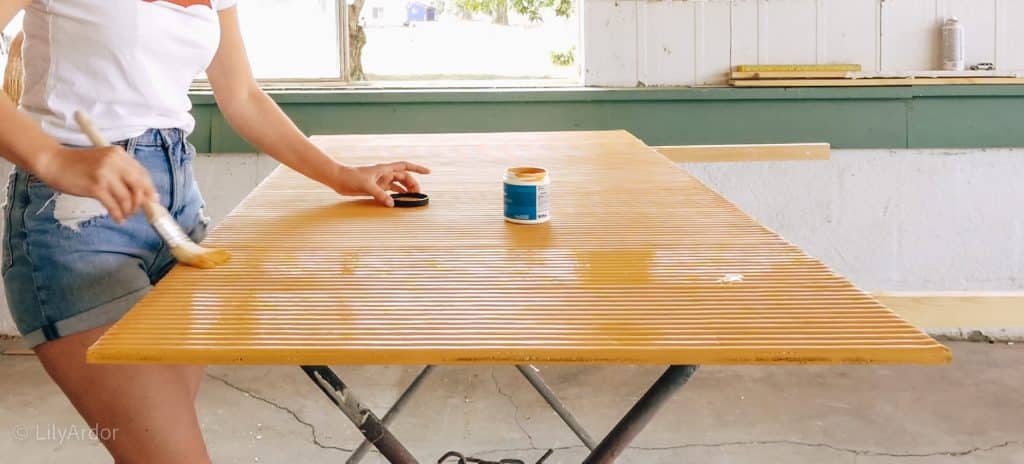
Painting the fluting to look like wood is really easy. Simply paint the headed board a solid mustard color. I did two coats. The paint also helps smooth out the texture on the fluting. Allow the paint to dry completely before applying the stain.
Next I mixed some stains together and applied it onto the mustard color. ( I share more about the colors used in the video )

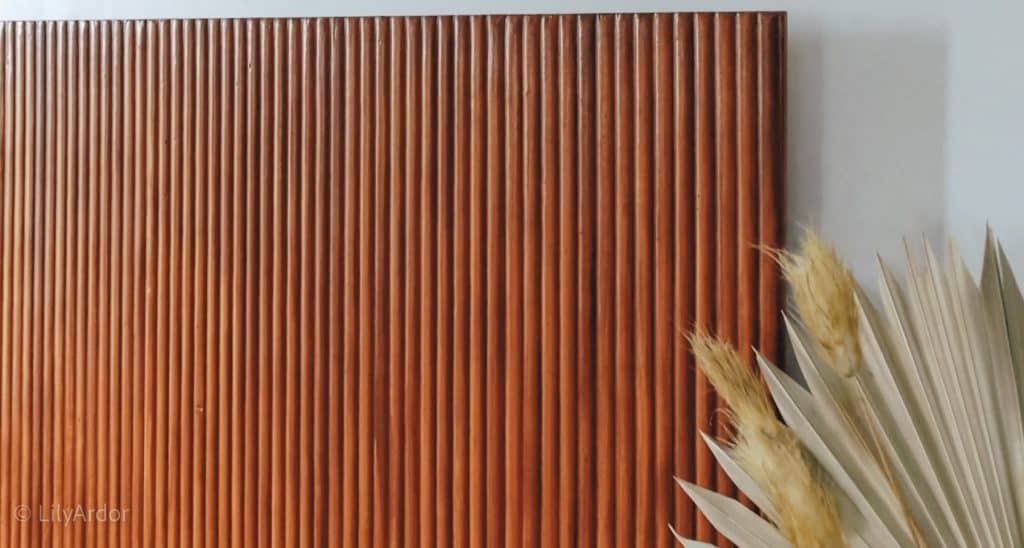
DIY fluted wood headboard
And there you have it this is how we made our fluted headboard. This would be such a fun project to add to furniture makeovers or cabinets! This headboard was kind of a big area to work with making it a harder project but I think it would be super easy and fun to add to and old desk for a mid century modern look .
 \
\
That’s all for today! I hope this inspired you to get some joint compound and make your own wood fluting!
Who ever thought a cake can inspire you to make a headboard! LOL!
Thanks for stopping by! Let me know if you have anything questions in the comment below.
Best Wishes,
Lily
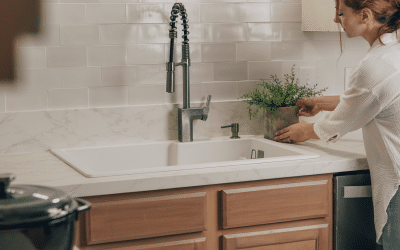
DIY Concrete Tile Backsplash: Zellige Tile Inspired!
DIY Zellige-Inspired Tiles! Hi, Everyone welcome to part 2 of our kitchen budget makeover. If you missed it our last project was repainting our kitchen cabinets to look like wood. Today were sharing how we made tiles from concrete and installed them! Handmade...

Gift Ideas for Her! Perfect for Wife or Mom!
Hi there, everyone welcome to the ultimate guide on "Gift Ideas for wife" that even your mom would love. But, before we dive in, let me share a little secret about how these ideas came to life. These have been voted for by the ladies & moms of...

Crafting Nostalgia: DIY Old-Fashioned Glass Christmas Ornaments
Hey DIYers! Remember those vibrant, old-school Christmas trees sparkling with every color. Growing up we didn't have a tree every year but when it did it sure was colorful! Well, who says we can't have our own nostalgic tree today? Let's make some unique glass...

Canning Salsa Recipe: A Taste of Tradition with Fresh Green Tomatoes
A Versatile Recipe Passed Down by Generations, Perfect for Preserving Your Last Harvest Hi everyone I know canning can be a daunting task! I'm here to show you how easy it can be! I'm not a fancy cook and like to keep things simple. Also I hate following recipes so...

DIY Mercury Glass Ornaments: Easy, Recycled, and Unique Glass Ornaments Ideas
Get ready to elevate your holiday decor with a step-by-step guide to creating "DIY Mercury Glass Ornaments." These stunning, easy-to-make ornaments are not only a beautiful addition to your Christmas tree but also a creative way to recycle old glass ornaments. In this...

Revamp Your Kitchen Cabinets with a Wooden Twist: A DIY Transformation Guide
Hey there, fellow DIY enthusiasts! Welcome to the cozy corner of kitchen makeovers. I'm super excited to kick off my DIY series that'll give your kitchen a fresh new look. We're going to tackle it all, from painting your kitchen cabinets to giving those dated granite...
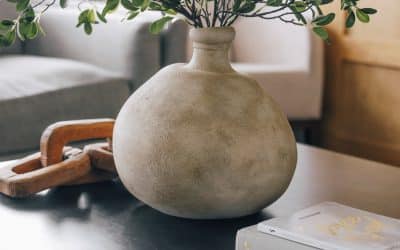
DIY Neutral AGED VESSEL / VASE
Hi everyone, I hope you are all doing great! I'm so excited to finally be sharing a DIY with you. This vase has been stored away in my shed for a few years now waiting for this day to come. Honestly I watched so many version of this DIY I wasn't sure what look...

DIY Hair Growth Serum ( POSTPARTUM HAIR LOSS )
Hi everyone, it's been so long since I've posted anything fresh on the blog. First off I hope you are all doing great. I really missed you guys and miss doing DIY's! Can't wait to start sharing again. I have so many DIY plans and home remedies I want to...
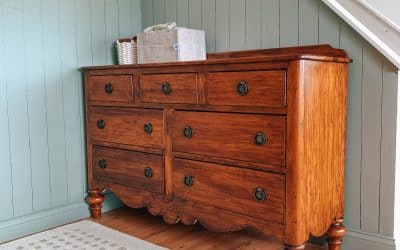
How To Refinish Furniture Without Stripping it!
Hi everyone I'm so excited to share this quick and easy furniture makeover with you today. We got this dresser off of craiglist for $120. I love the structure and bones but knew right away I couldn't make the color work with our home decor. As many of you know...

HOW TO DYE A CHEAP DUVET TO LOOK LIKE NATURAL LINEN
Hi everyone. Today I'm sharing how I dyed my cheap cotton duvet to look like expensive natural linen. The look I was going for 🙂 found on amazon. After surfing amazon and finding out a natural linen duvet simply doesn't fit my budget for this bedroom makeover...

Convert A Wall Sconce Into Plugin In Minutes
Today I'm sharing a quick instructional on how to convert a hardwired sconce into a plugin. This took us about 10 minutes per sconce and cost around $6. Keep in mind neither me or my hubby are electricians. This is a super beginner friendly DIY. I got this cute...
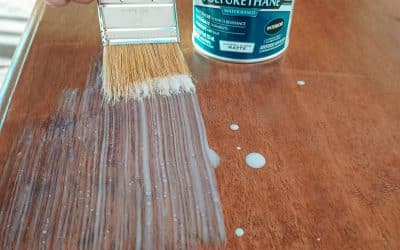
How To Seal Furniture so it’s 100% Waterproof | Durable Wood Sealer
If you're looking for a waterproof finish with a subtle matte look on your wood or painted furniture. This is the DIY for you! Today I'm sharing my favorite method of sealing furniture so it's 100% waterproof. Meaning you won't get any water rings if you accidentally...
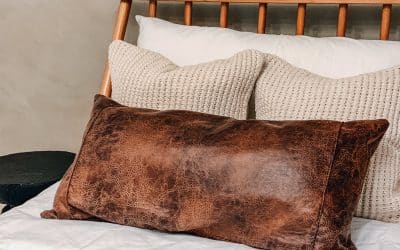
DIY EASY Leather Throw Pillow In 10 Minutes
This week I've been hard at work remodeling Olegs room. I was putting the bed together today and realized I need a leather pillow. After a quick trip to hobby lobby I came across some beautiful faux leather fabric and decided it would be a quick and easy DIY....

Baked Potato With Creamy Sauce
Hi everyone, today I'm sharing a family favorite recipe. Every time I host I get asked for this recipe so without further ado here it is 😀 ! This baked potato is perfect to serve with your favorite meat dishes like pulled pork or beef brisket. That's what I...

How To Make A Simple Bench ( WITH PLANS )
Hi Everyone, I hope you are enjoying some warmer weather. I had this bench on my to-do list for the past 2 weeks and didn't get around to it until today because Tony finally had some free time to help. I love wood projects but only when he's around because it's so...
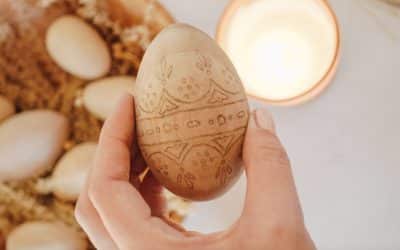
DIY Faux Wood Burn
Hi everyone, Today I'm sharing a super easy DIY. This wood burning technique does not require any wood burning tools. You'll just need a pencil eraser and a brown colored pencil. Time needed: It took me about 40 minutes to complete this egg Supplies: light brown...
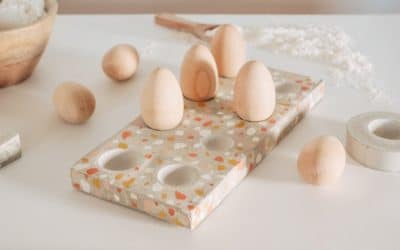
Concrete Egg Holder + DIY Terrazzo
Hi everyone, happy spring! For today's DIY you'll want to grab some recycled boxes to make the cutest concrete egg holders! Time needed: This project takes about 30 minutes of hands on work plus some time to allow the concrete to set. I would say in total with...
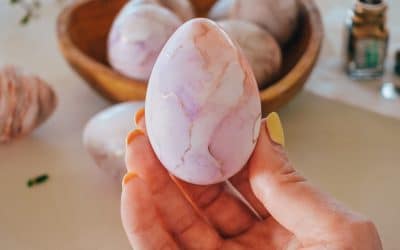
DIY Marble Easter Eggs
Oh my gosh have you ever heard of marbled eggs? I've seen them around but mostly in super vibrant and bold colors. After experimenting a little with alcohol inks today I got these beautiful eggs that look somewhat like marble and a lot like agate. So let's make some...
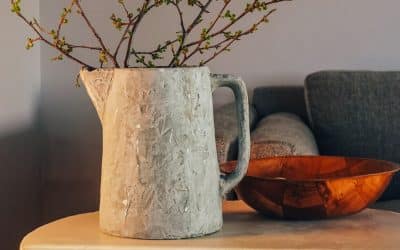
How to make any Vase look old! Antique Effect
Hi everyone! Happy Spring! I'm back today with another super easy DIY. This thrifted vase upcycle has been on my to-do list since last year. I'm finally getting around to doing it. I was originally inspired by Jenny sue from instagram @jennysuedesign She posted...

DIY Speckled Ceramic Egg Holder – With Model Magic
Hi everyone, today I'm sharing how I reused some old egg cartons to make beautiful faux ceramic egg holder. In other words these are made to look like they're ceramic however they are made of model magic. If you're not familiar with model magic. It's a lightweight...