Hi everyone! Happy Spring!
I’m back today with another super easy DIY. This thrifted vase upcycle has been on my to-do list since last year. I’m finally getting around to doing it. I was originally inspired by Jenny sue from instagram @jennysuedesign She posted a DIY in her highlights sharing how she transformed some old table lamps! I was blown away by the results and decided to give it a try.
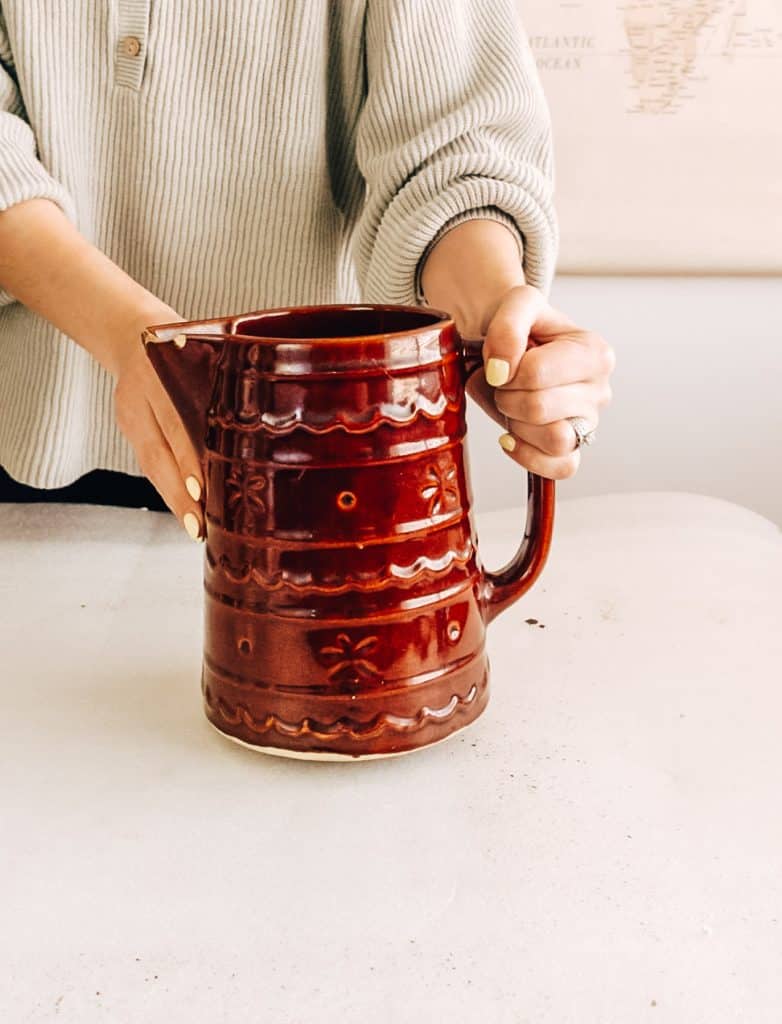
BEFORE ( I got this old pitcher from the thrift store for only $1 ) He had a chipped edge which made me feel less guilty if I messed up.
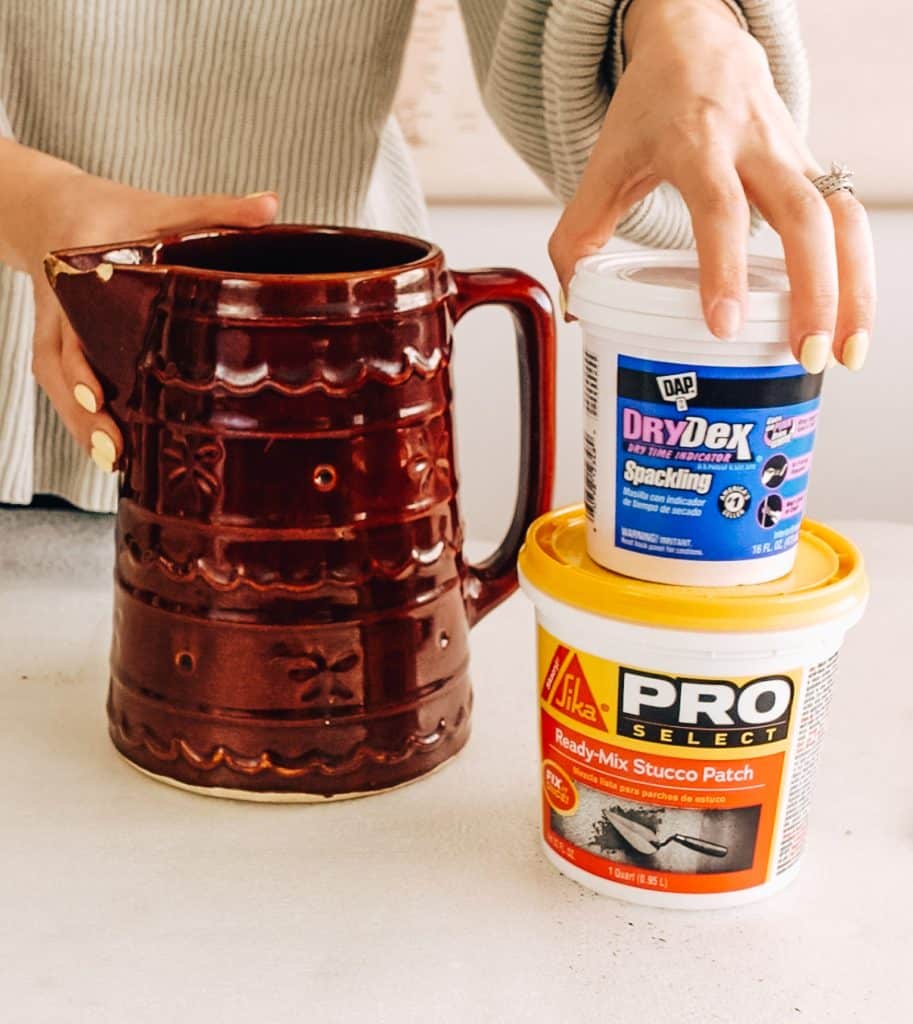
Here are the two star ingredients you’ll need!
Time Needed:
In total I want to say this took about an hour. This however does not included drying times. It’s one of those projects that comes together at the end 😀
Supplies:
(i’m adding affiliate link to all the products down below highlighted blue )
thrifted vase
-
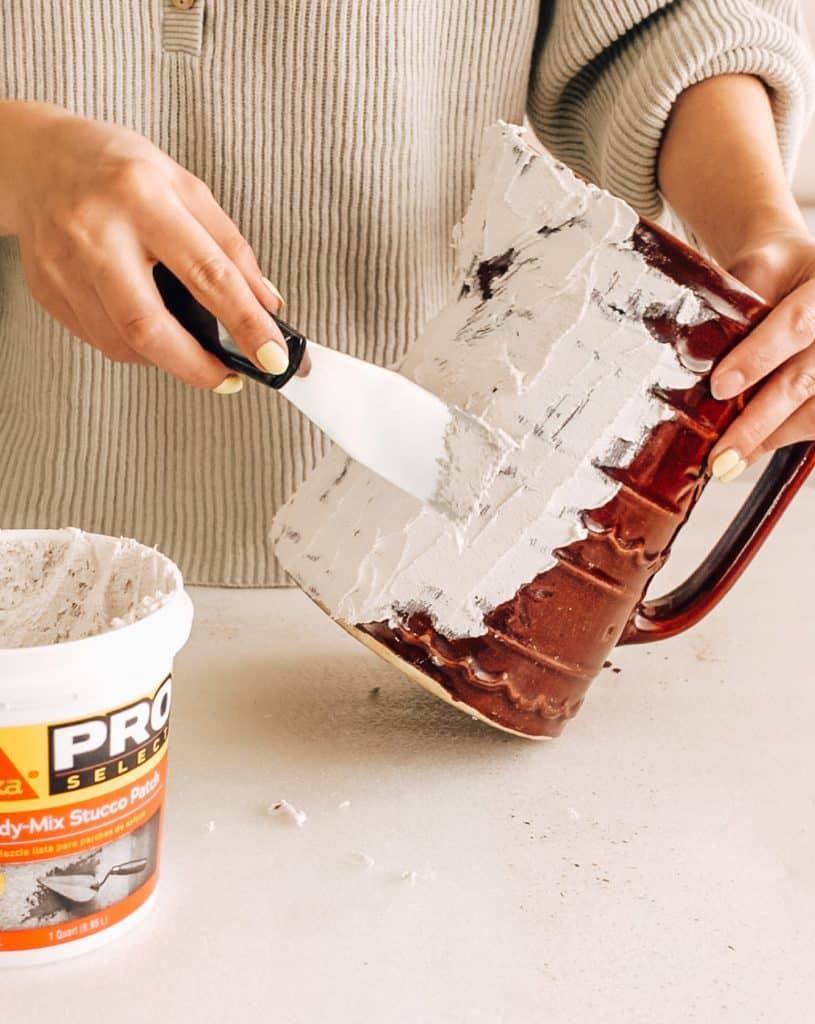
- ready mix stucco patch
-
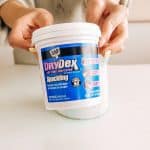
- spackling
-
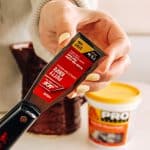
- 1 1/2 inch knife
-
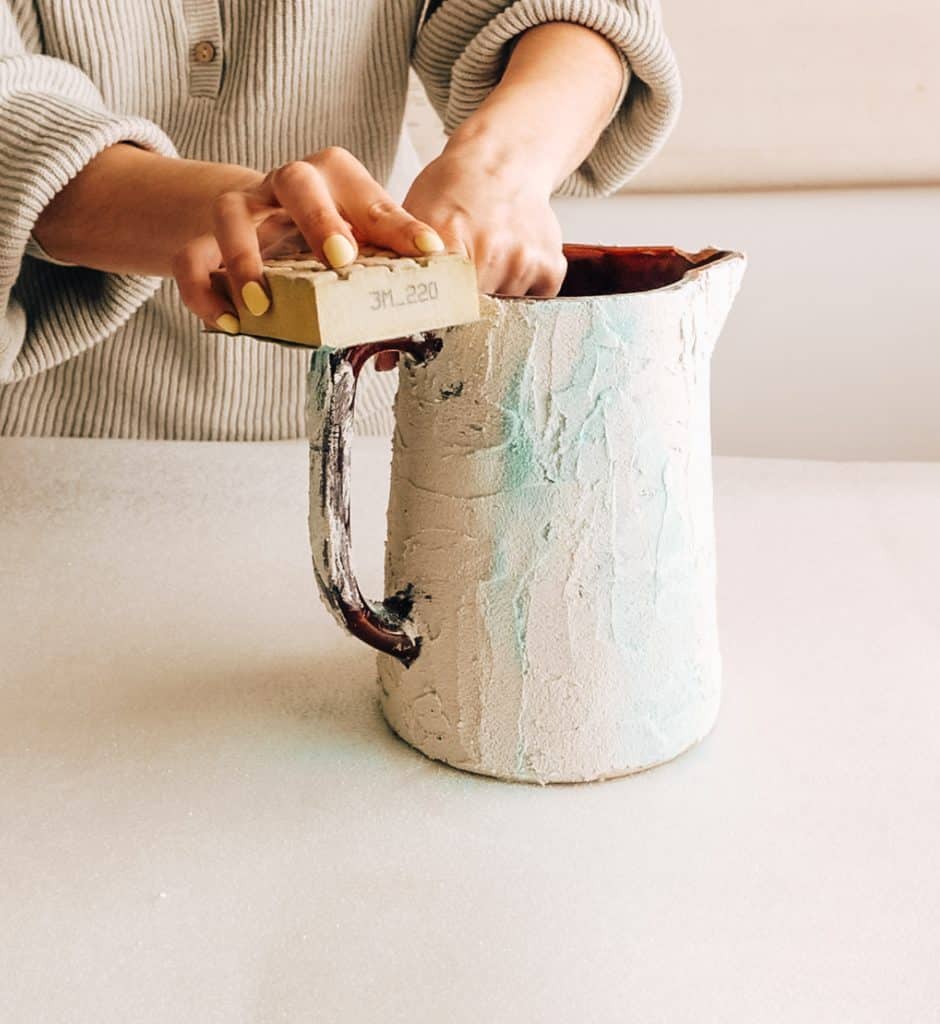
- sanding block
Step 1 : Giving the vase a NEW LOOK! Apply the stucco!
Before I jumped into adding stucco I first sanded the surface down a bit. If you don’t plan on adding stucco to the whole surface I highly recommend priming the surface. I learned that as long as you have even a thing layer of stucco on there it sticks on so well.
I than used my puddy knife and applied an even layer of stucco just making sure I cover the textured design that was on the pitcher. I would say the thickness of my layer was about 1/4 of an inch or a bit thicker.
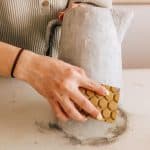
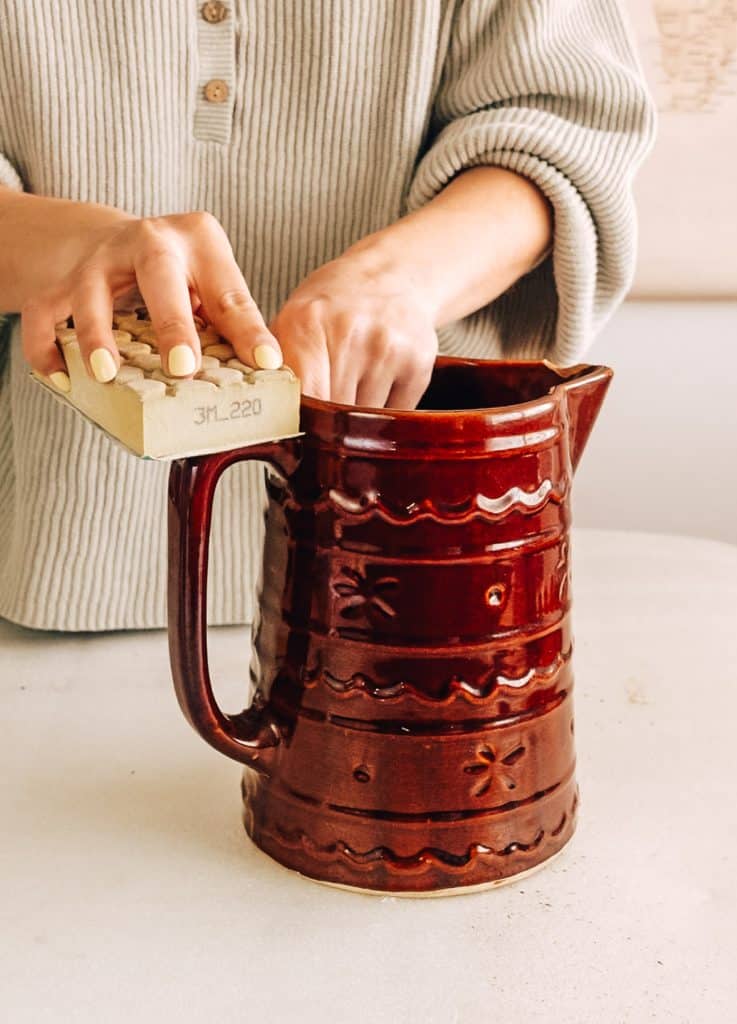
Then I had to let it cure overnight and sanded it with some rough sand paper. I used a sanding black you can use regular sandpaper as well. My sandpaper was 80 grip. The green marks you see on the vase are from the sandpaper in case you’re wondering.
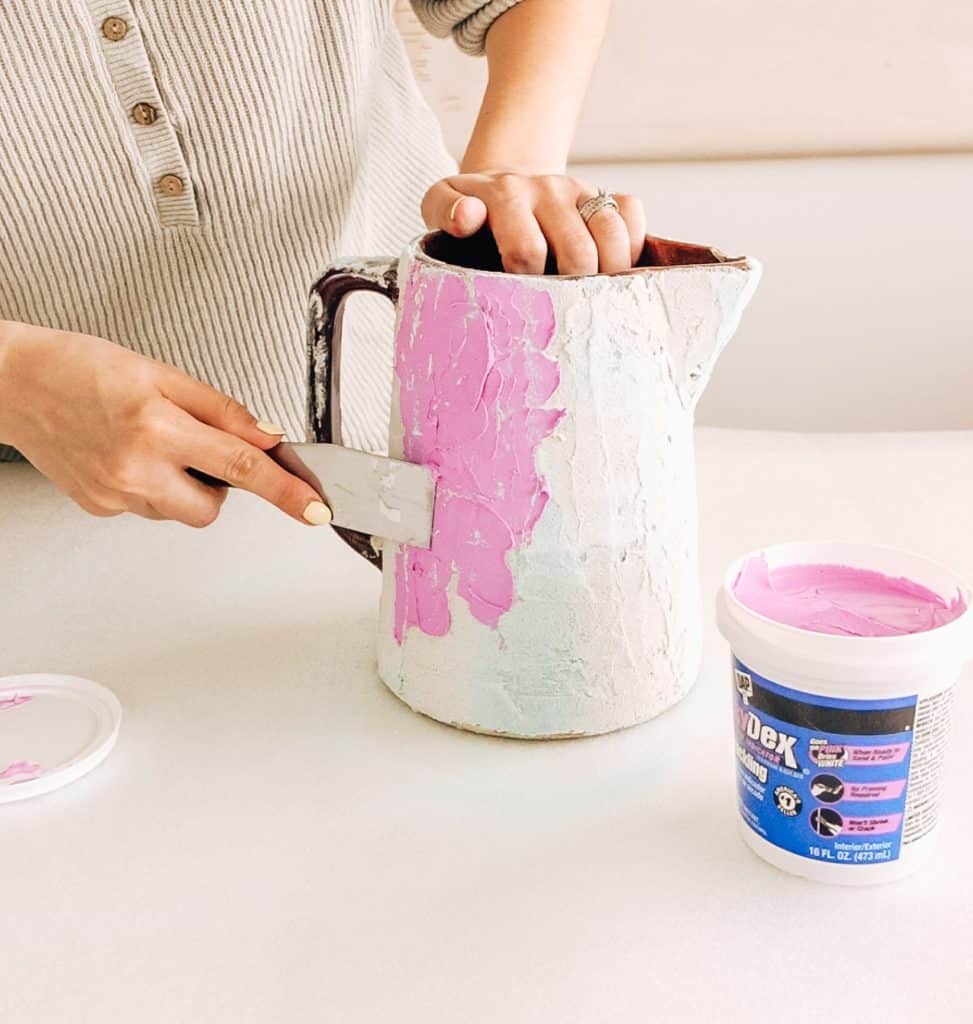
Step 2: Apply the spackling!
Next I applied the spackling almost as if I was trying to even out the surface after the stucco. This stuff goes on pink and dries white. You’ll no it’s completely dry when there’s no pink at all. I left it to dry for another 24 hours.
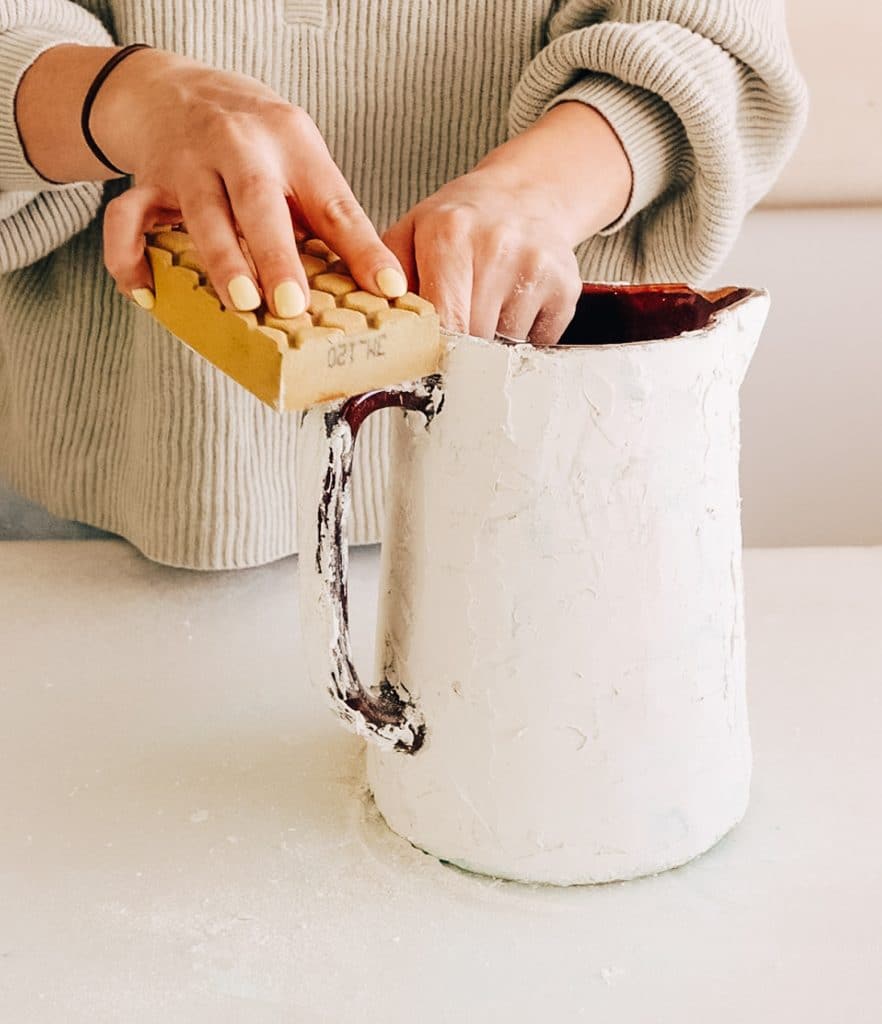
And sanded that the next morning as well! Not to smooth it out completely just remove any ridges and bumps.
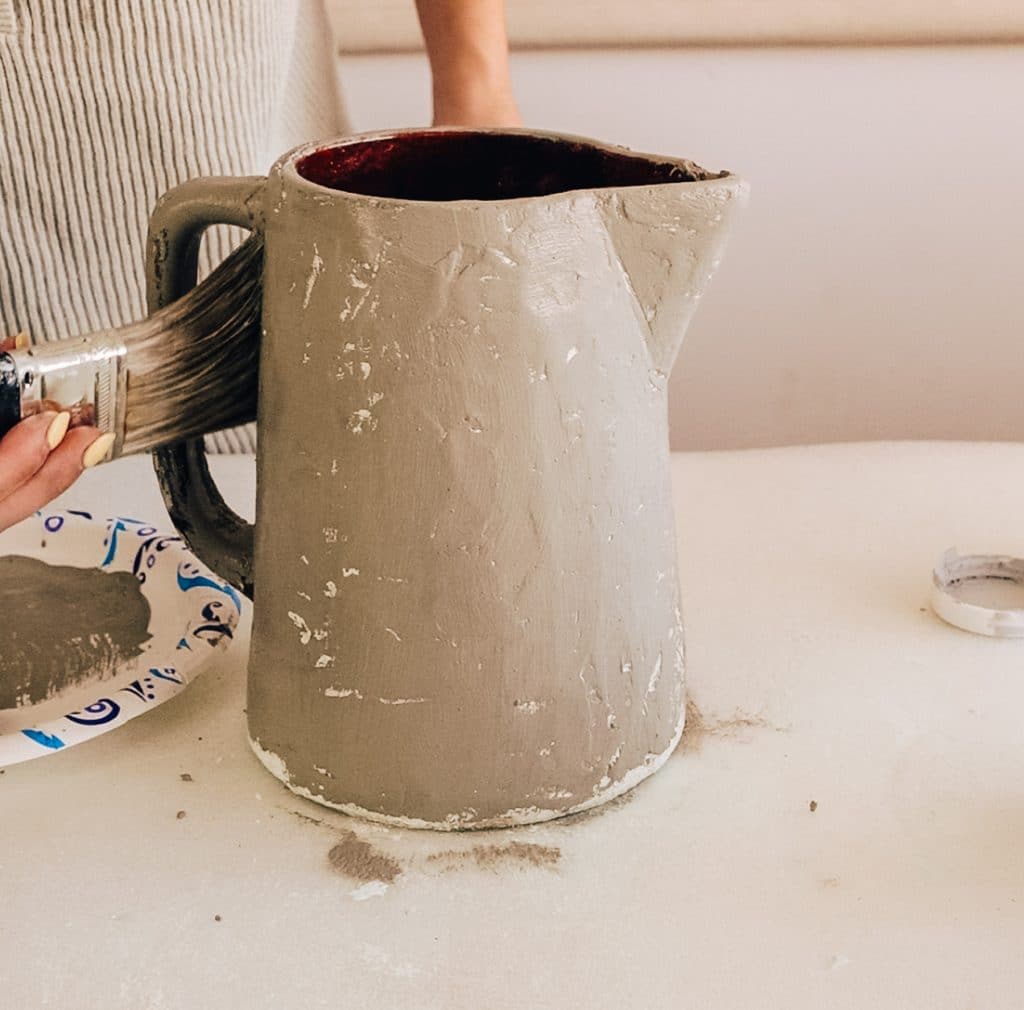
Step 3: Apply the first coat of paint!
Almost done! Now the fun part! This is where it really comes together. Start by applying a coat of gray/beige paint. I just used some left of interior paint. You can also just use a dark grey craft paint. I didn’t do a really thick coat. It’s okay to see some white popping through.
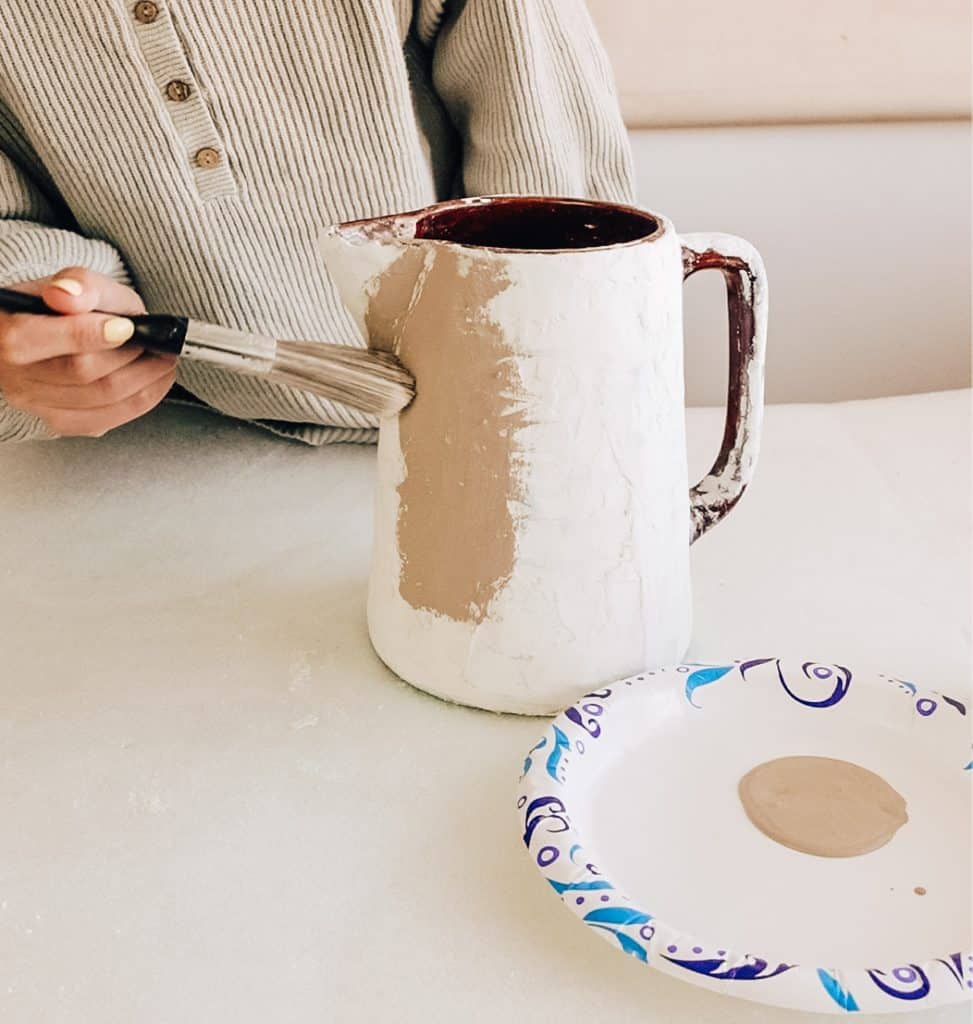
Like this.
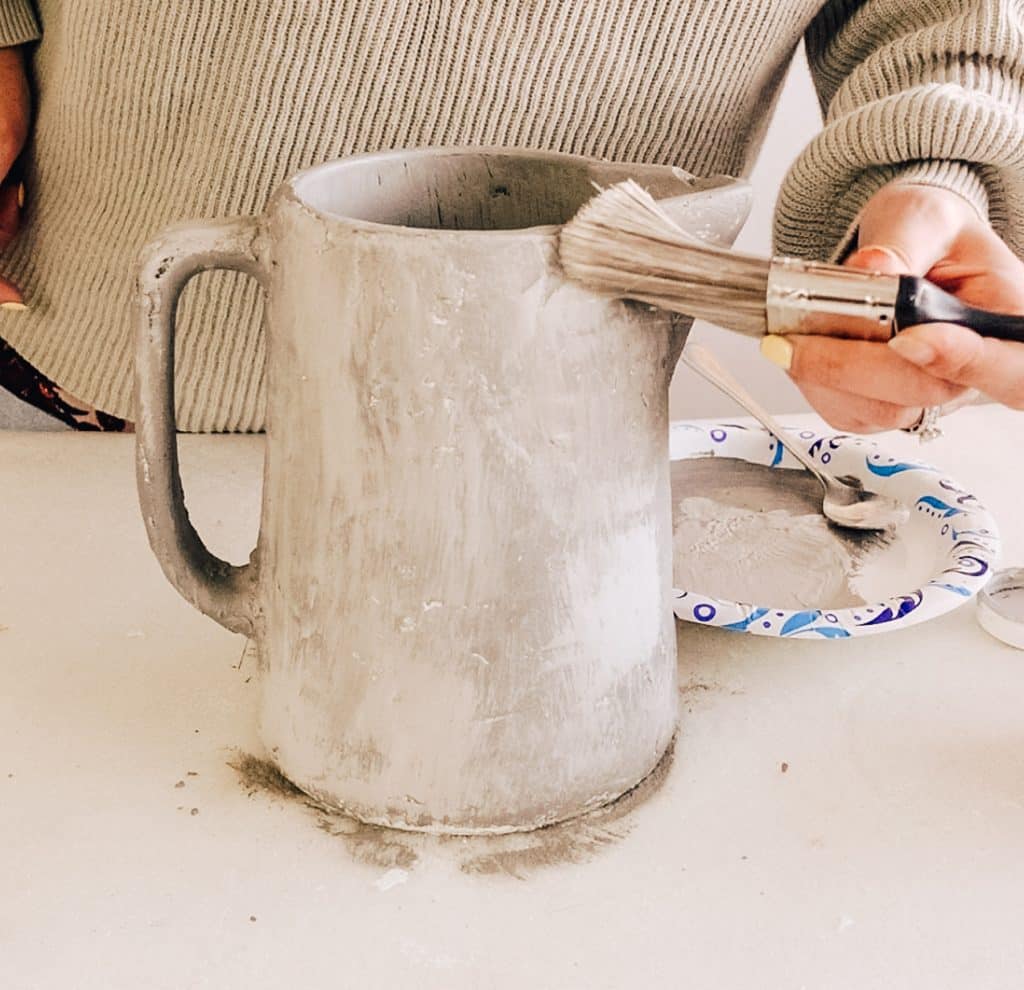
Step 4: Apply the finishing touches!
Next I made a light gray color with some leftover paint and dry brushed that on. Dip the paint brush in a tiny bit of paint and rub it around on the vase to create that brushed look. This was the dark gray still pops through.
And for the finishing touch use some 80 grip sandpaper again and rough it up. This will remove both paint layers revealing the lighter color under. I love how much character this last step gives it!
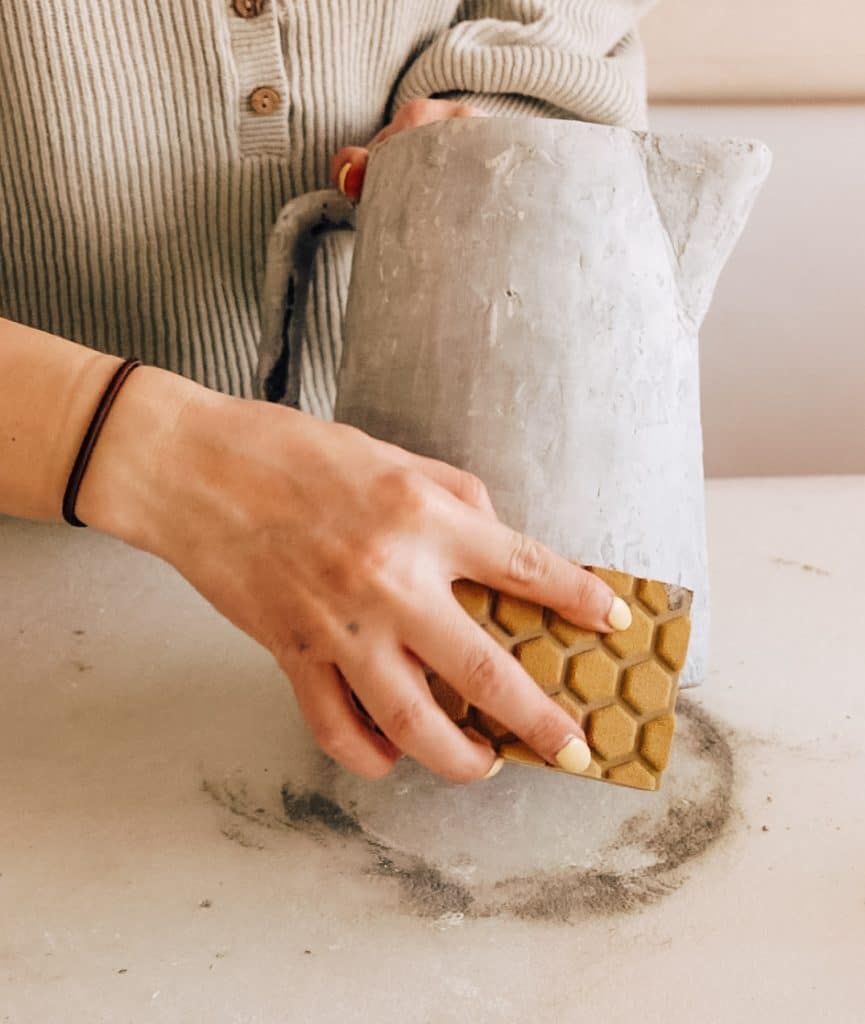
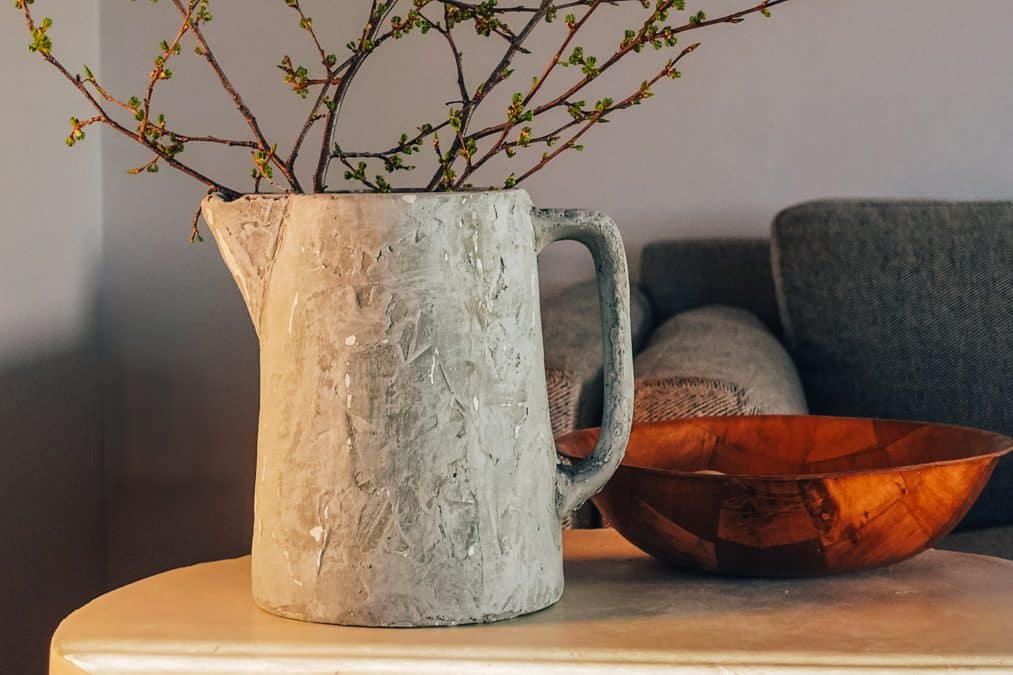
That’s it! I love the results! I love all that texture coming through.
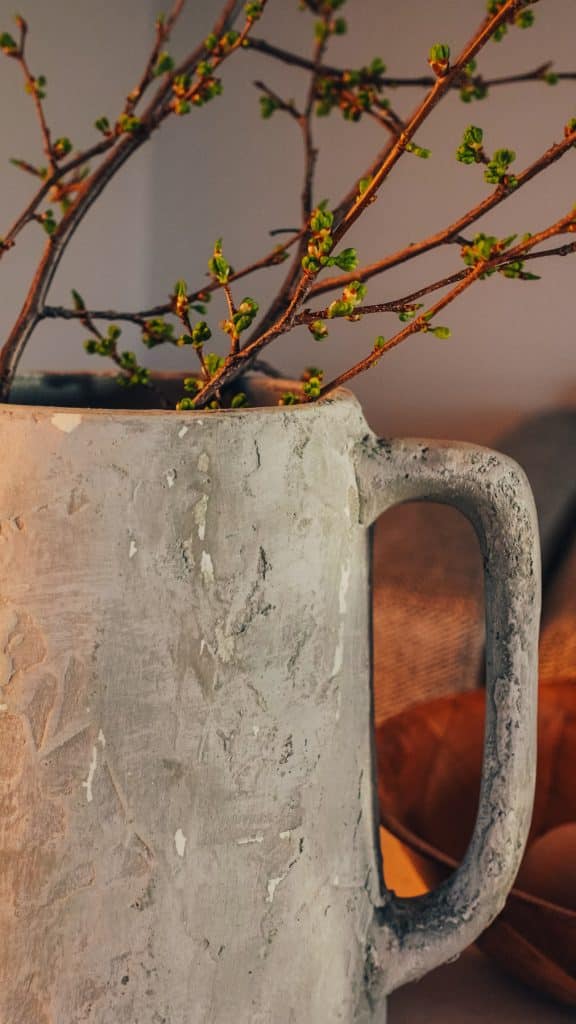
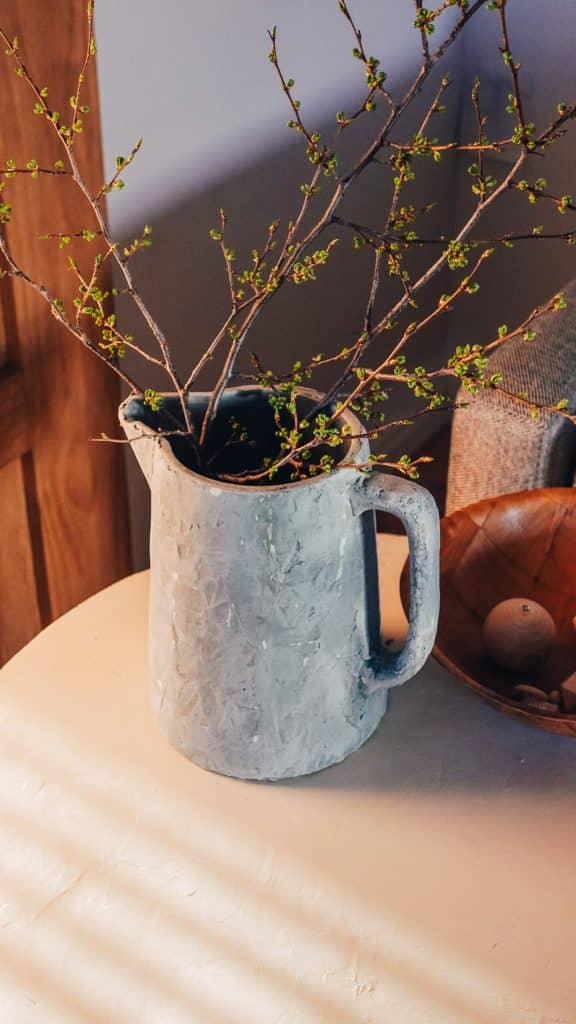
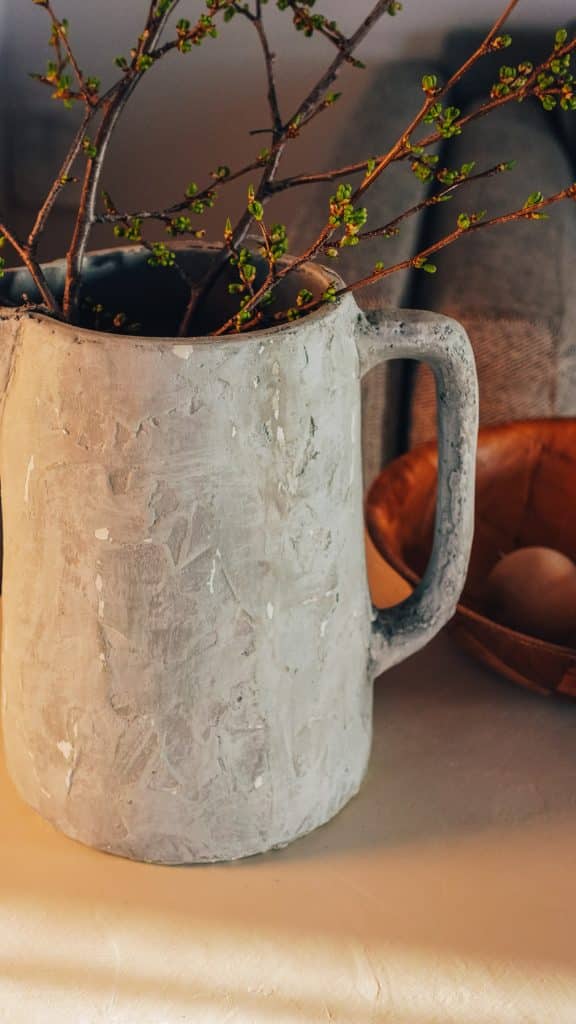
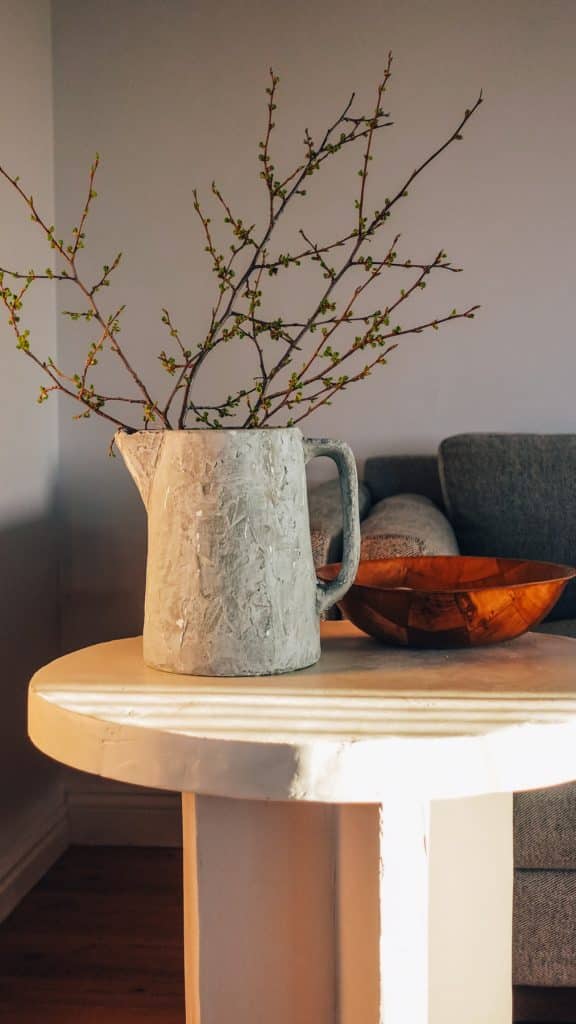
It looks incredible on our coffee table! I got those fresh sprigs from the yard. Nothing has bloomed yet but they give the space such an elegant effortless look.
I hope you’re inspired! Happy Crafting! Go get some thrifted vases and make your own rustic creations! I hope you enjoyed this easy vase upcycle. Tag me @ lilyardor on instagram. I can’t wait to see what you make!
It is not sealed with anything?
I didn’t seal mine but you can seal it with matte polcrylic if you’d like.
My brother suggested I might like this blog. He was totally right. This post actually made my day. You can not imagine simply how much time I had spent for this info! Thanks!