Today I’m sharing a quick instructional on how to convert a hardwired sconce into a plugin. This took us about 10 minutes per sconce and cost around $6.
Keep in mind neither me or my hubby are electricians. This is a super beginner friendly DIY.
I got this cute lighting for my sons room and unfortunately we couldn’t hard wire them . I knew the only way we could make them work is if we converted them into plugins. After a few videos and some supplies I decided to give it a try.
Supplies:
- wall sconce ( here’s the ones I got on amazon for a great deal)
- candelabra wire – I got mine at lowes ( Here’s one I found that’s similar but in white on amazon )
- wire connectors
- electrical tape
- wire stripers
- wire cutters
Optional :
- Grinder
Disclaimer. Please try this at your own risk. We are not expert electricians. If you have any questions please seek expert help.
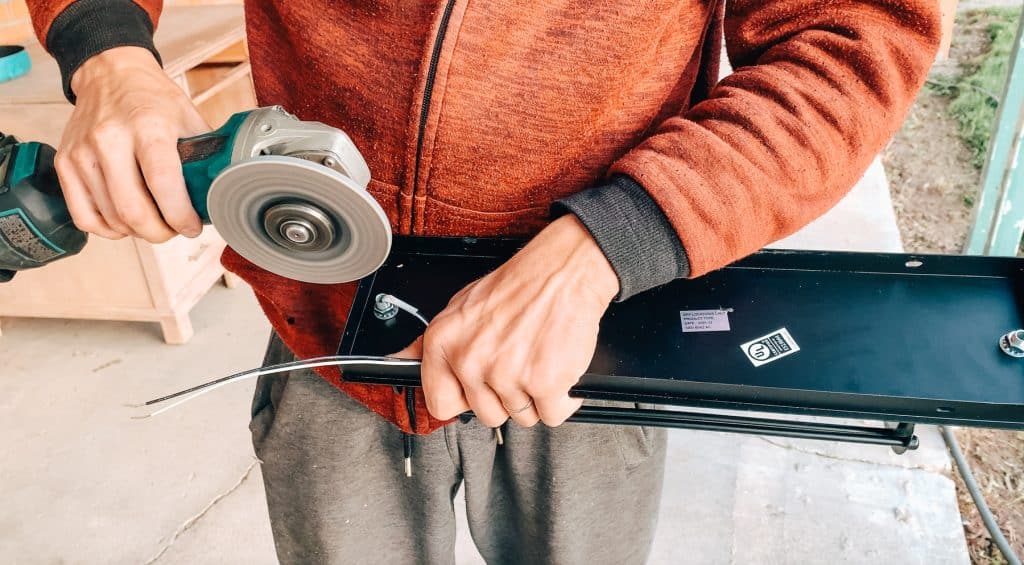
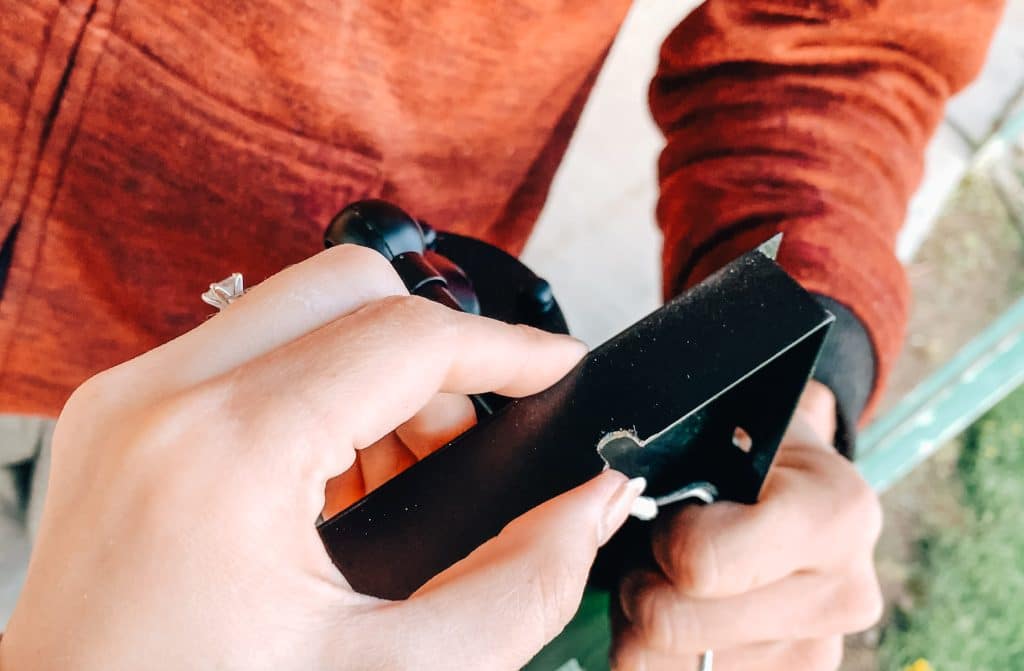
Prepping
Before we started with the wiring Tony used his grinder to make a small indent for the wire to come through the bottom. This is really convenient and makes the sconce sit flush against the wall but if you don’t have a grinder I’m sure you can make it work without the indent too.
Step 1 : Stripping the wires!
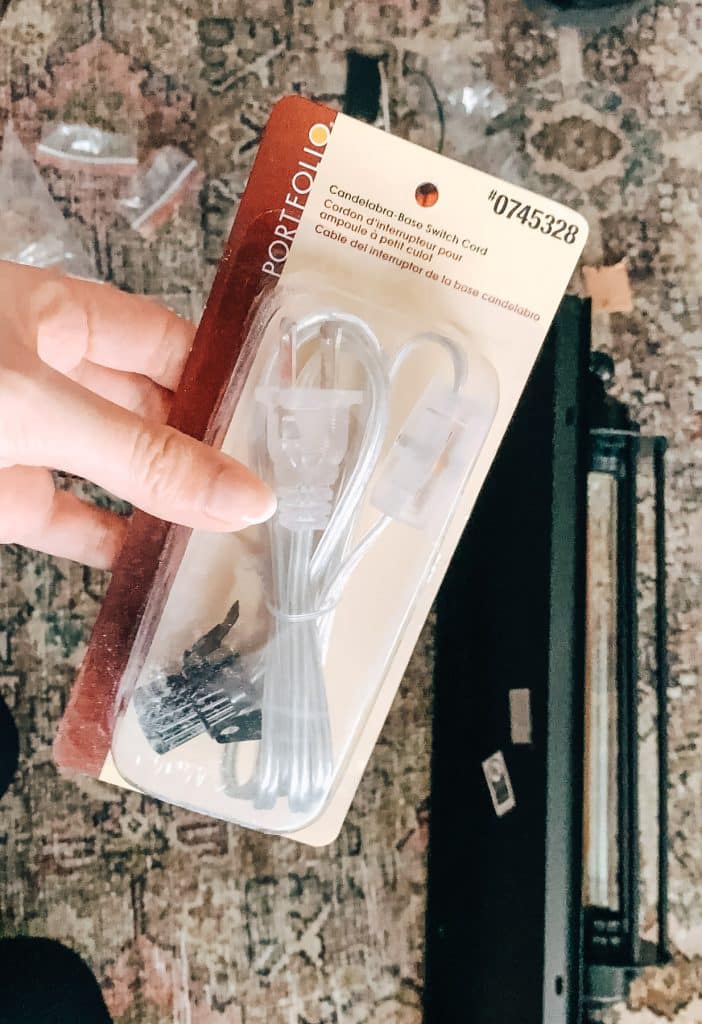
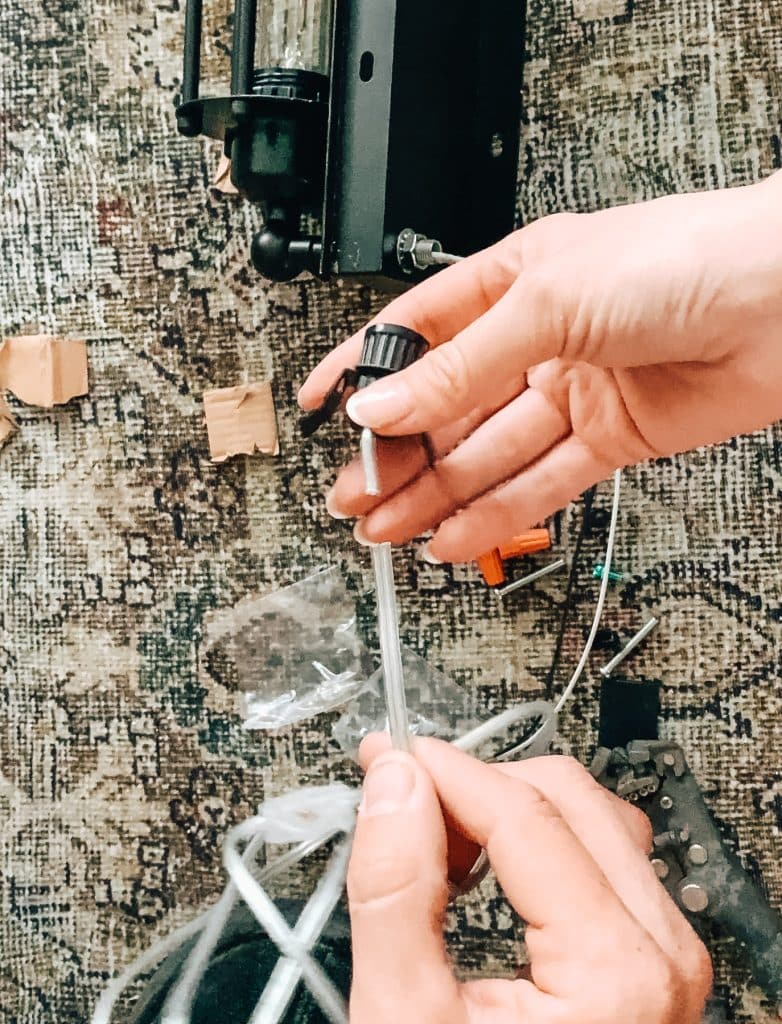
For my choice of wiring I used this candelabra-base switch cord ( photo below). This was the only thing I could find at lowes improvement with a switch cord. Honestly if you don’t care for the switch you can use an extension cord to do the same thing. It should work the same. My only concern with this cord was whether it was strong enough to run a 60W bulb because that’s what my sconce was. To make sure it was ok I talked it over with a lowes associate. He assured me it would work just fine.
( if you are concerned about this please contact an expert or talk to a store associate that specializes in that areas )
With some wire cutters. We started off by cutting off the candelabra base.
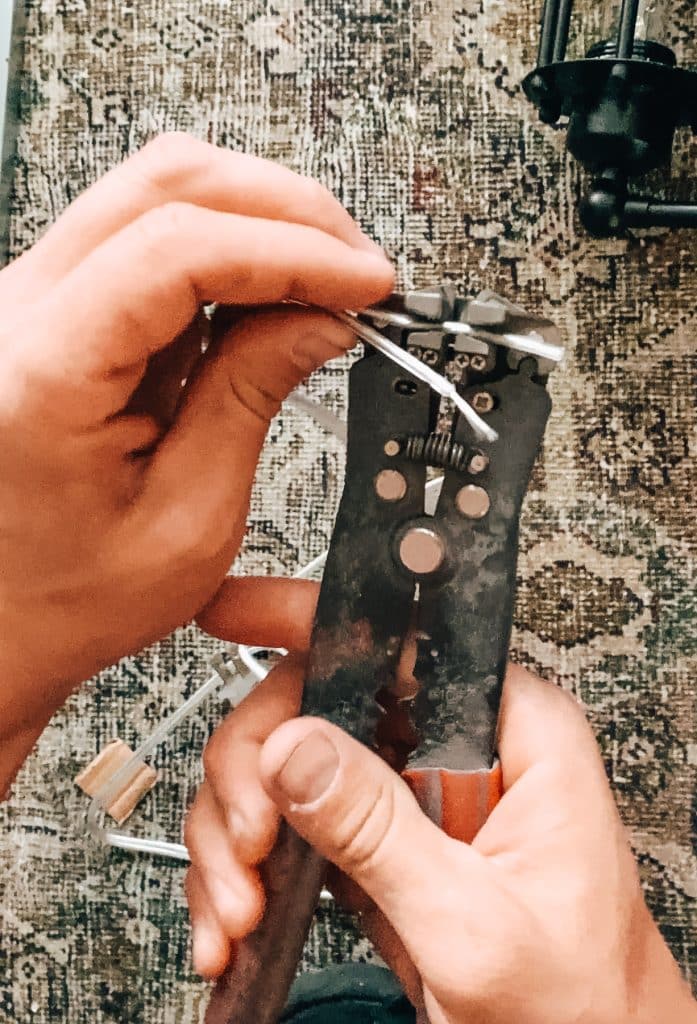
Tony then used some wire strippers and stripped away about an inch of the rubber coating off the ends after splitting the wire apart.
 !
!
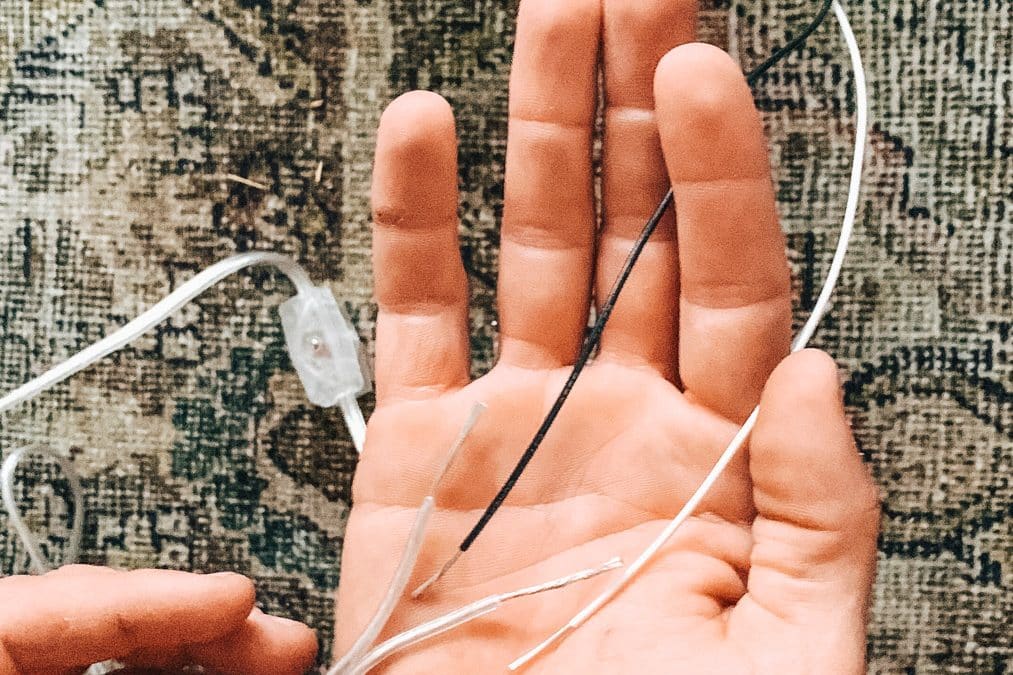
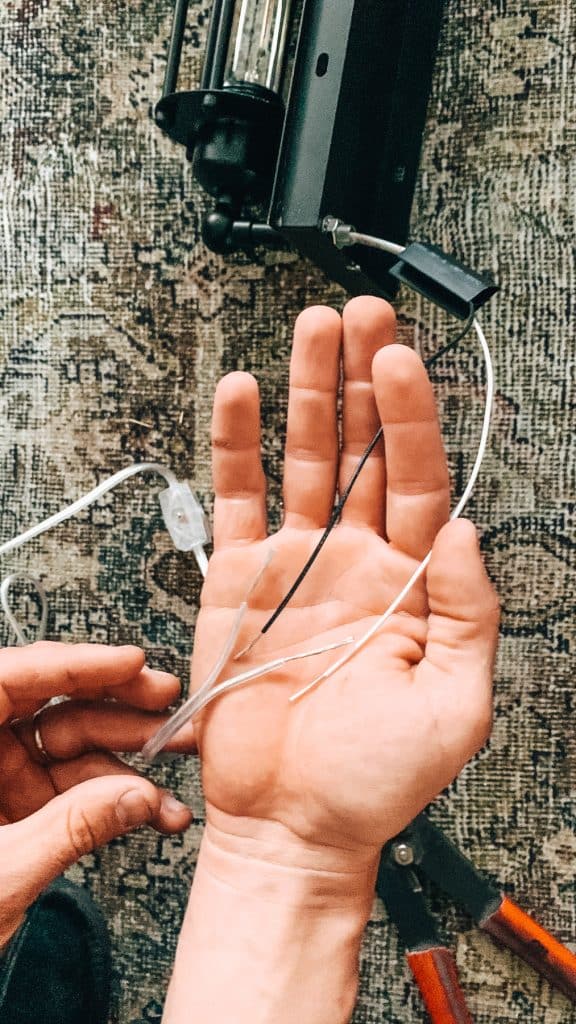
Step 2: Securing the Wires together!
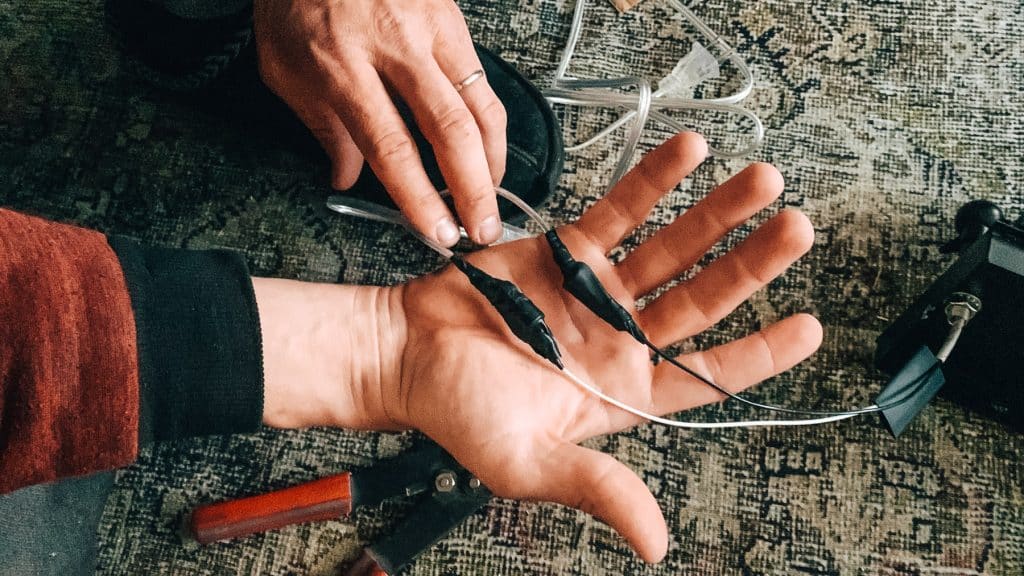
At this point we had a black and white wire coming out of the sconce and the one wire we split that was our switch cord ( photo below ) .
Tony connected one black wire to one of the clear split ones. Then the white one to the other split piece. To connect them he folded them down together then twisted.
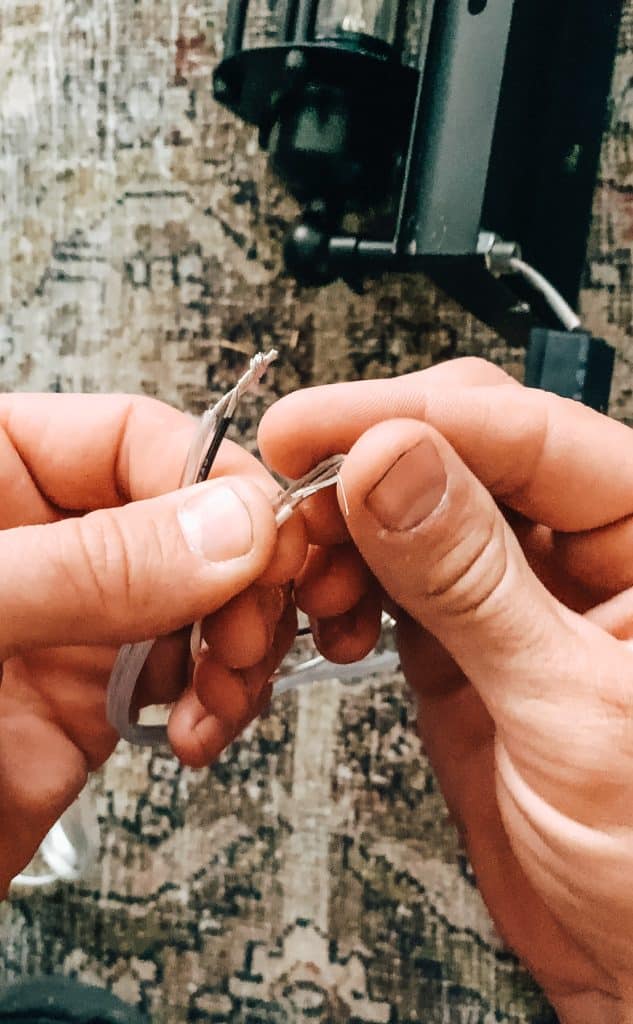
This next step is super important. You’ll need to add these little plastic caps that are called wire connecters to the tops of the wire that you connected. This is so your wires don’t touch other metals or loose wires which can cause an electrical short or worse a fire.
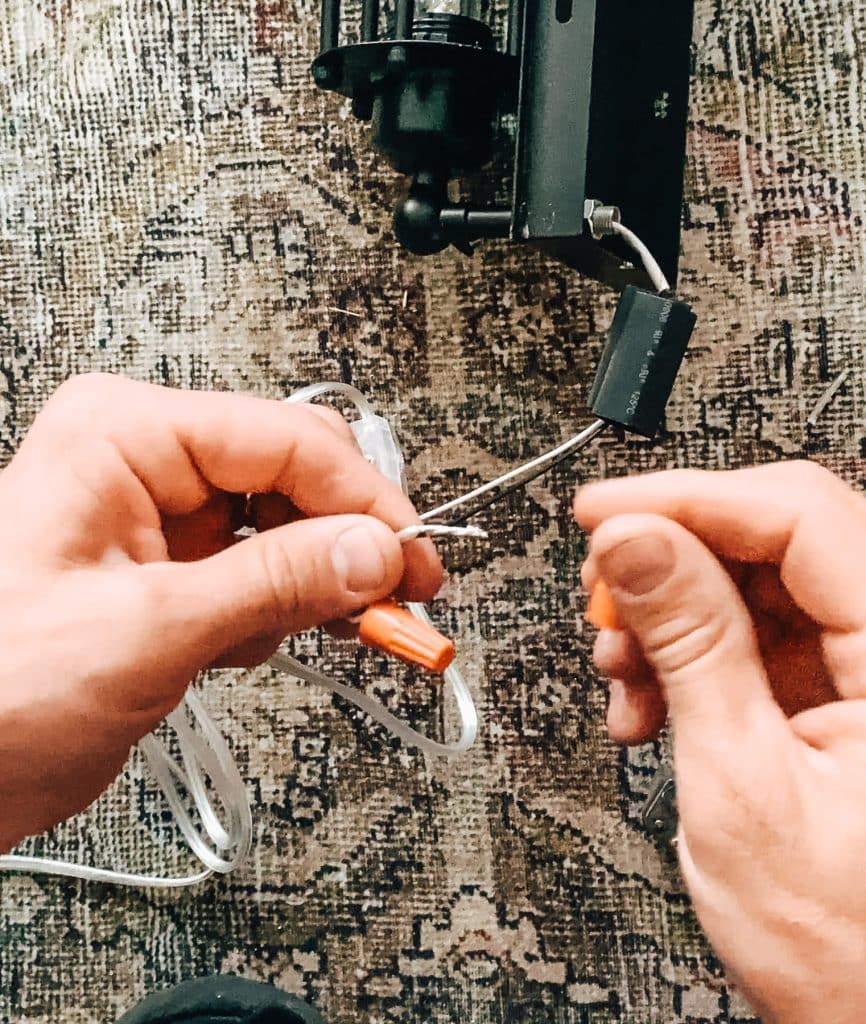
To be on the safe side Tony additionally added some tape over the caps so they don’t fall off.
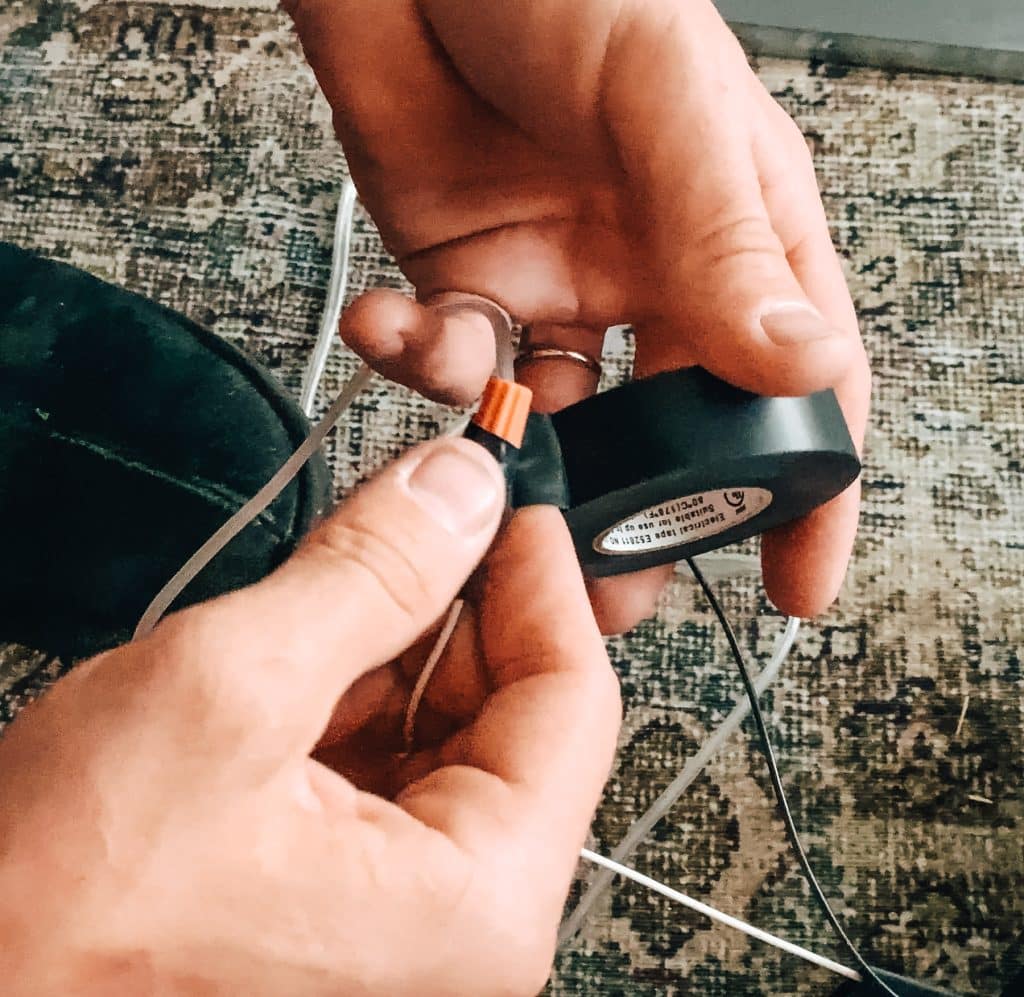
Here’s what both wires looked like after being connected. Notice he added tape onto the wires as well and not just the caps.
That’s it! I can’t believe this was that easy to do! I hope to share pictures of them installed in the bedroom soon.
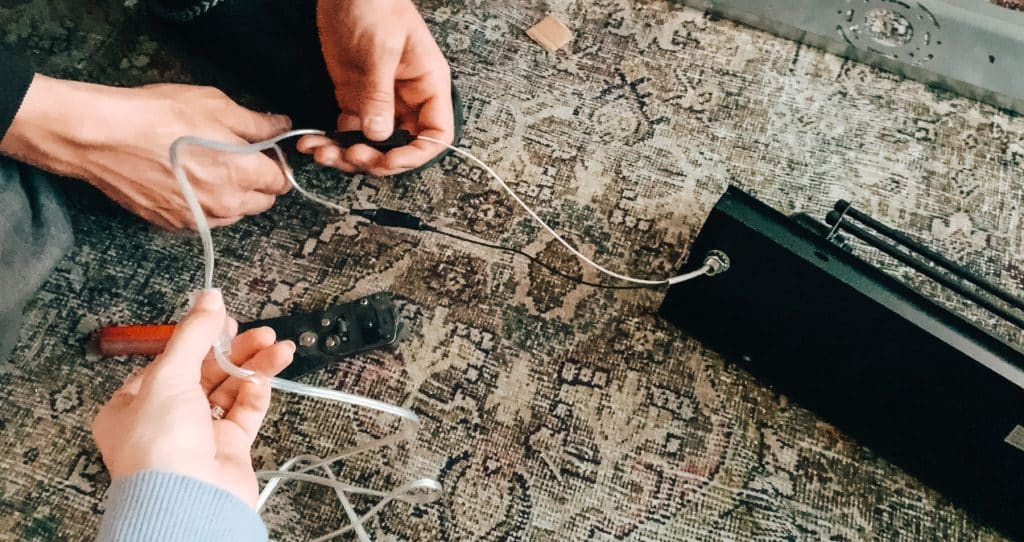
I’ll see you all next time. Hope this helps you convert your own sconce into a plugin!
xx,
Lily
Greetings! Very helpful advice in this particular article! Its the little changes that produce the largest changes. Thanks a lot for sharing!
Somebody essentially lend a hand to make significantly articles I’d state. That is the very first time I frequented your website page and up to now? I surprised with the research you made to make this actual submit amazing. Wonderful task!