Hi everyone, I hope you are all doing great! I’m so excited to finally be sharing a DIY with you.
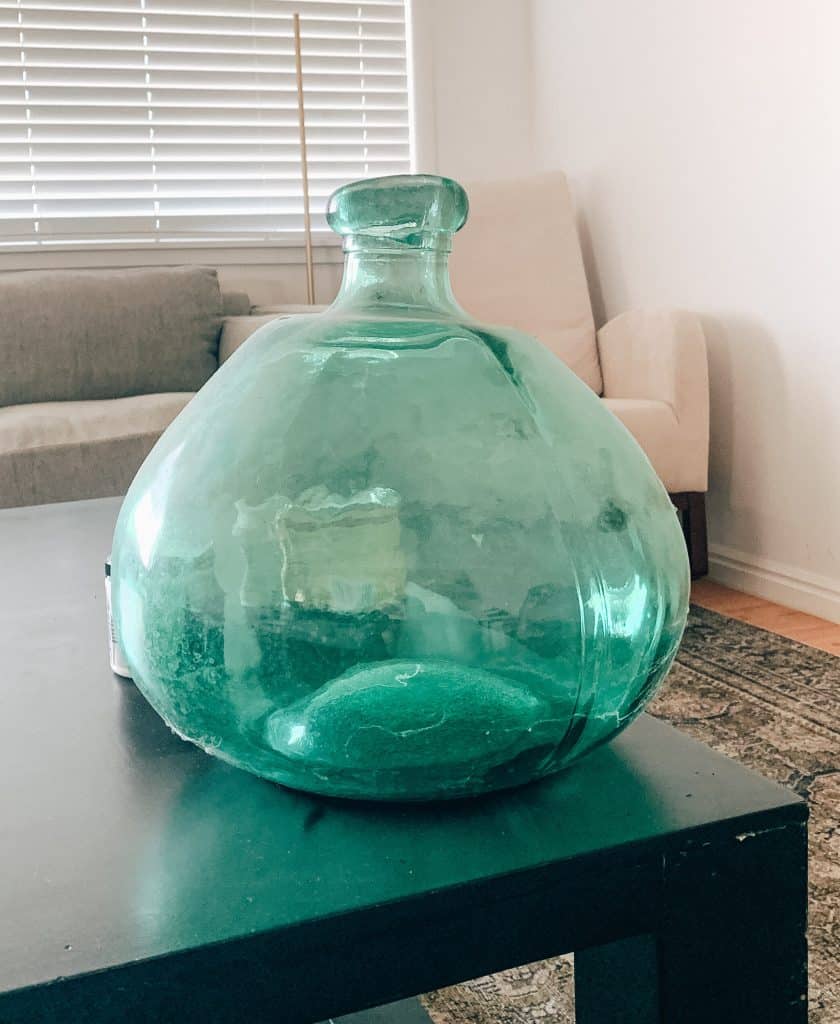
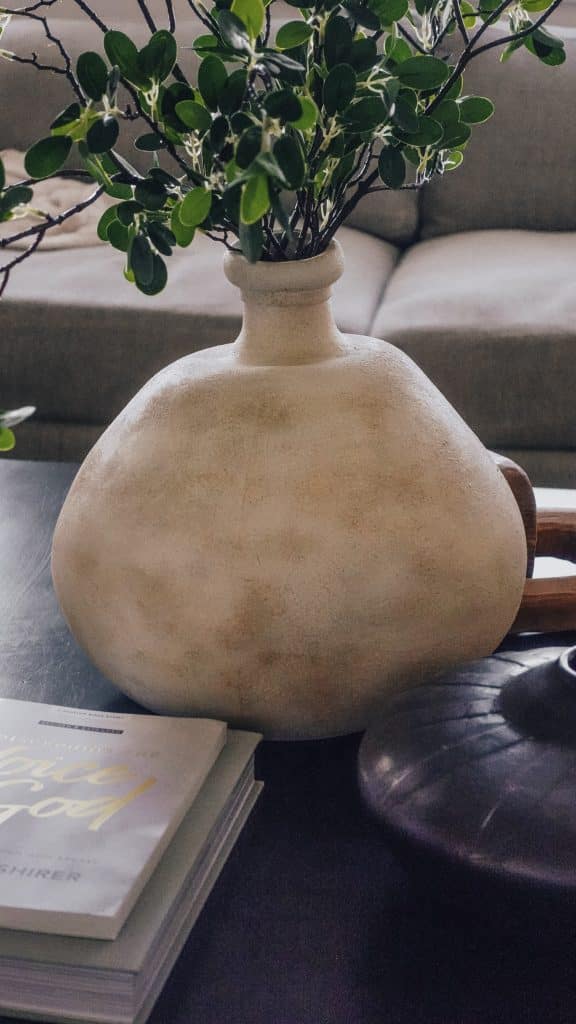
This vase has been stored away in my shed for a few years now waiting for this day to come. Honestly I watched so many version of this DIY I wasn’t sure what look I wanted. There’s so many styles to choose from. I know I wanted something more neutral and quick so we ended up with this look.
Time needed: about 1-2 hours
Supplies :
- old vase ( glass, metal, or ceramic )
- paint color ” spanish sand ” ( is the lighter biege )
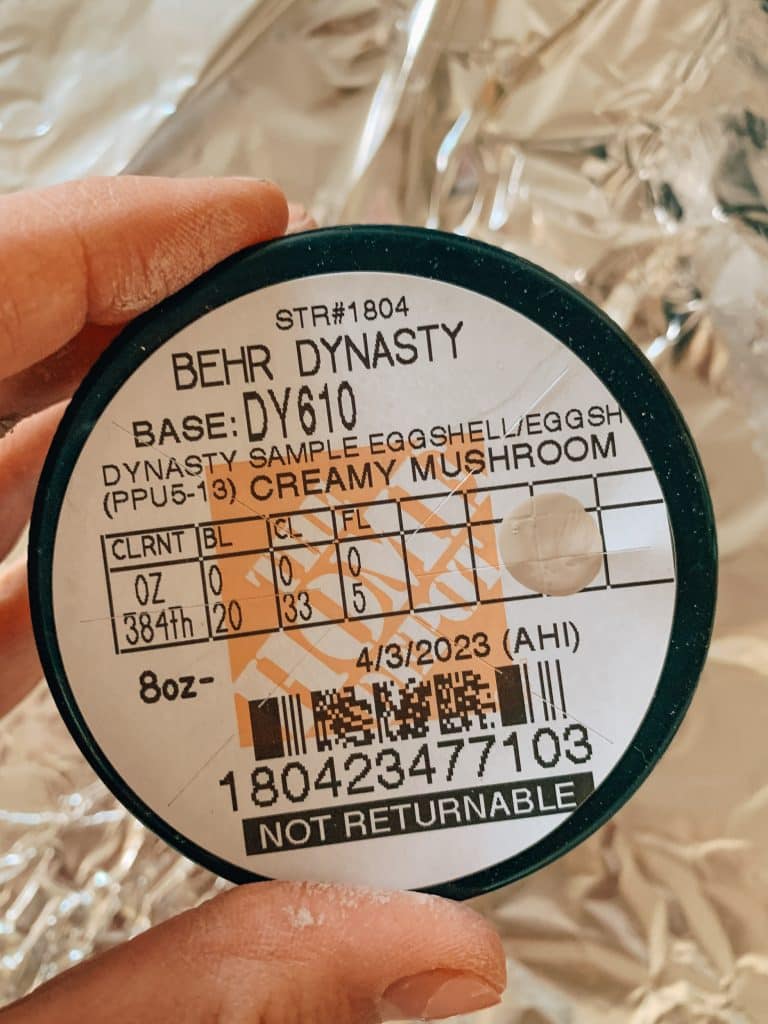
- paint color ” creamy mushroom ( is the darker beige )
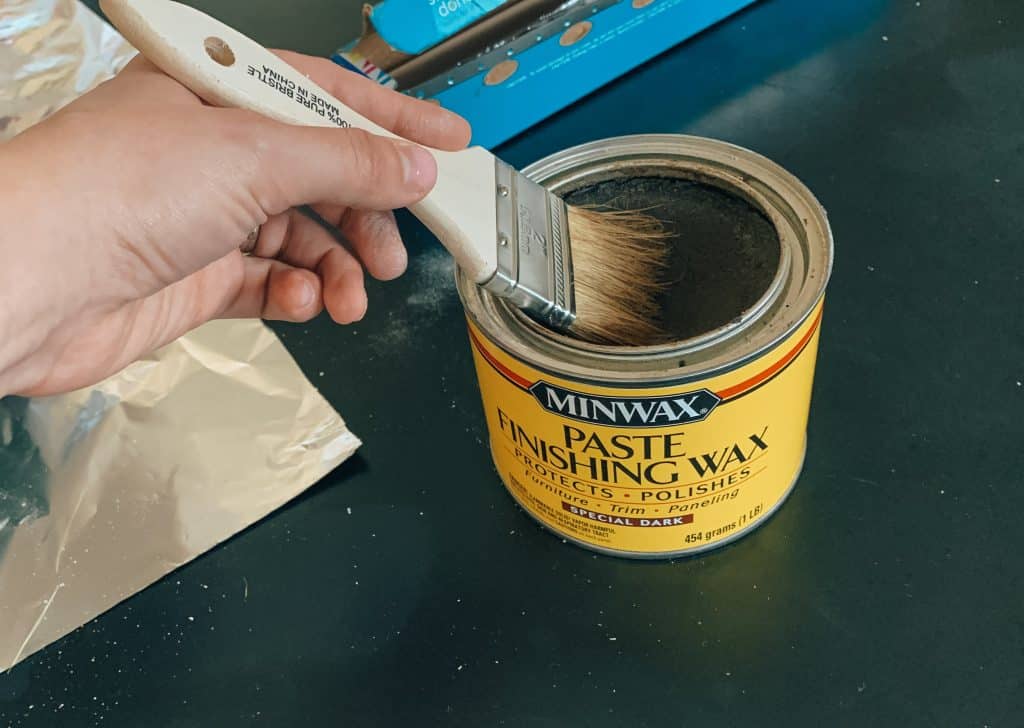
- special dark furniture wax
- cheap paintbrush
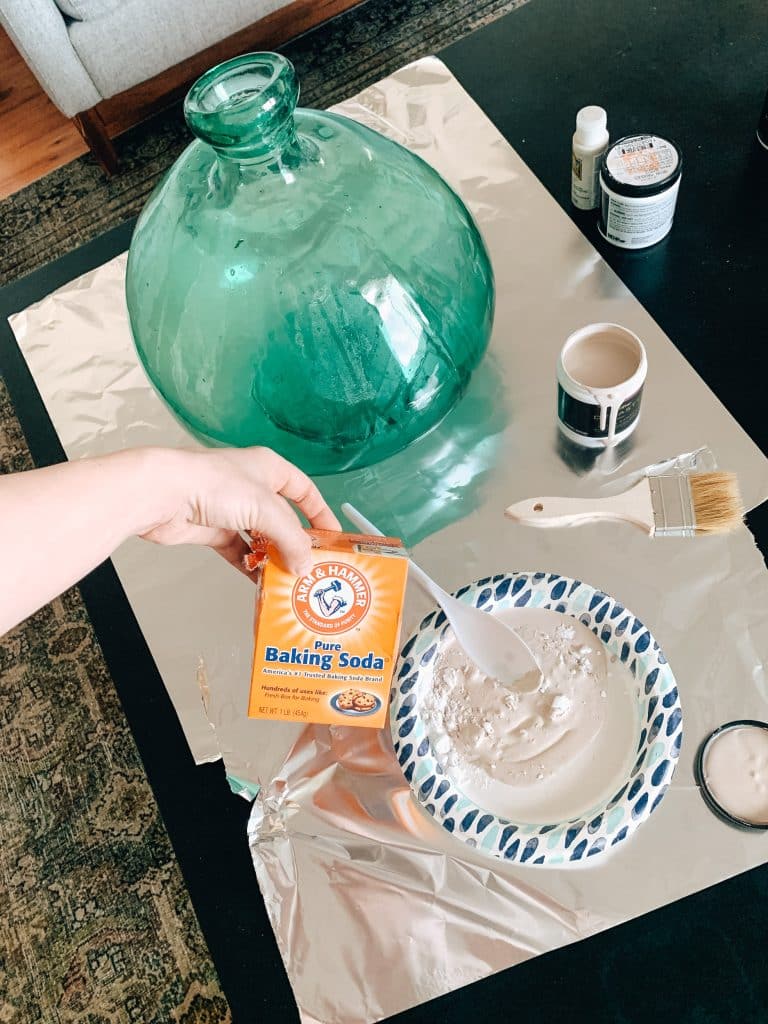
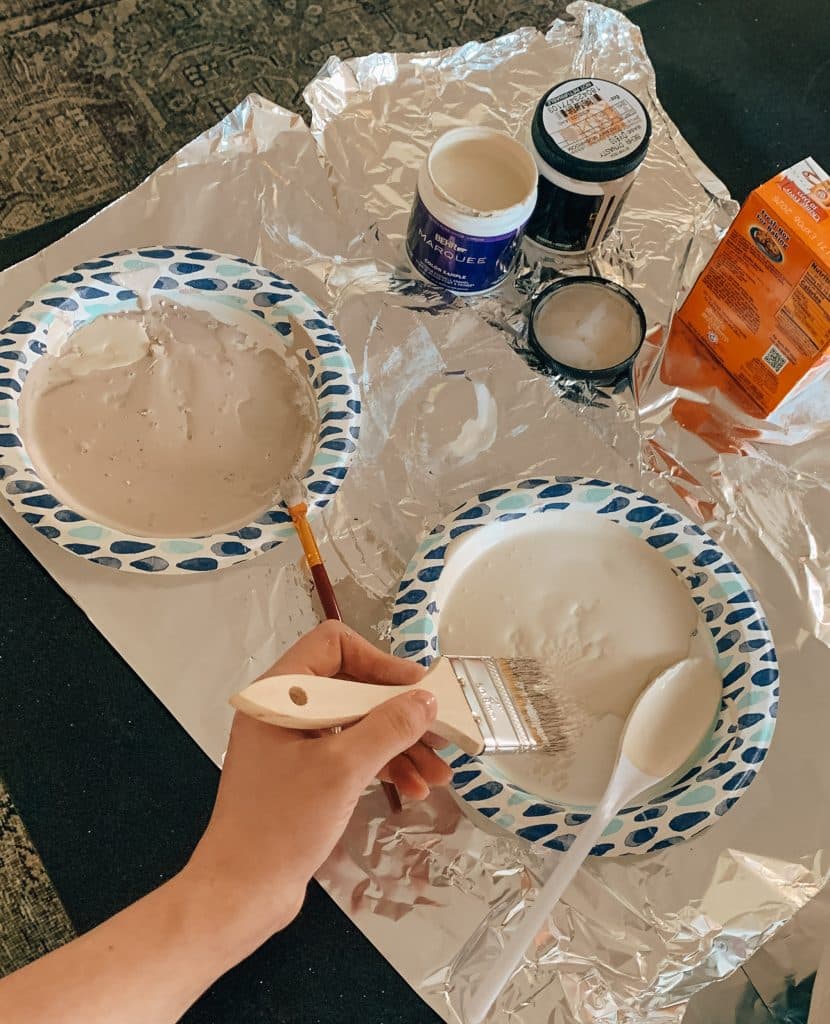
- Baking soda
- Primer ( i used gripper primer – its amazing – I use it for all my projects)
Total cost: around $20
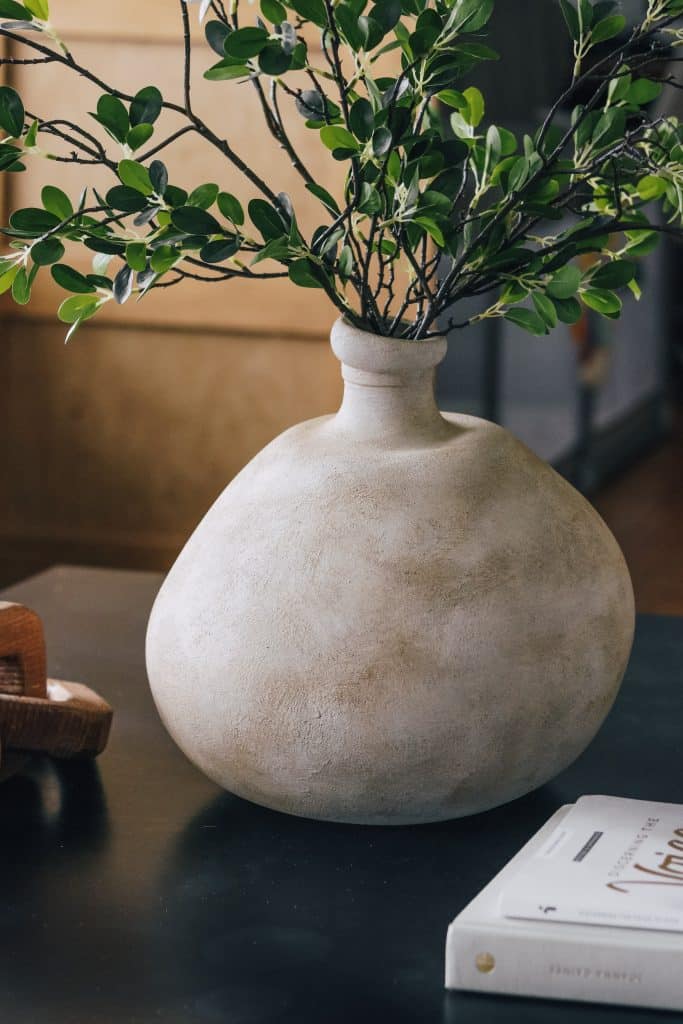
I got my vase from homegoods years ago for only $15. Back then blue glass was very much in style and I enjoyed styling my home with it for a while until I got sick of the aqua glass. All together with the vase this cost me around $20. I had some of the paint and the dark wax from previous projects.
LETS PREP
Prior to starting any painting project prep is very important. If you have tsp give you vase a wash with that. It removes any oil built up. Then give it a coat of primer if you’d like. Honestly because you’ll be adding baking soda to the paint it becomes pretty chalky and aheres pretty well to surfaces so I feel like the primer is optional. But if you’re like me and really want something to last then use some kind of primer . Make sure your primer is completely dry before applying any paint.
AGED VASE EFFECT
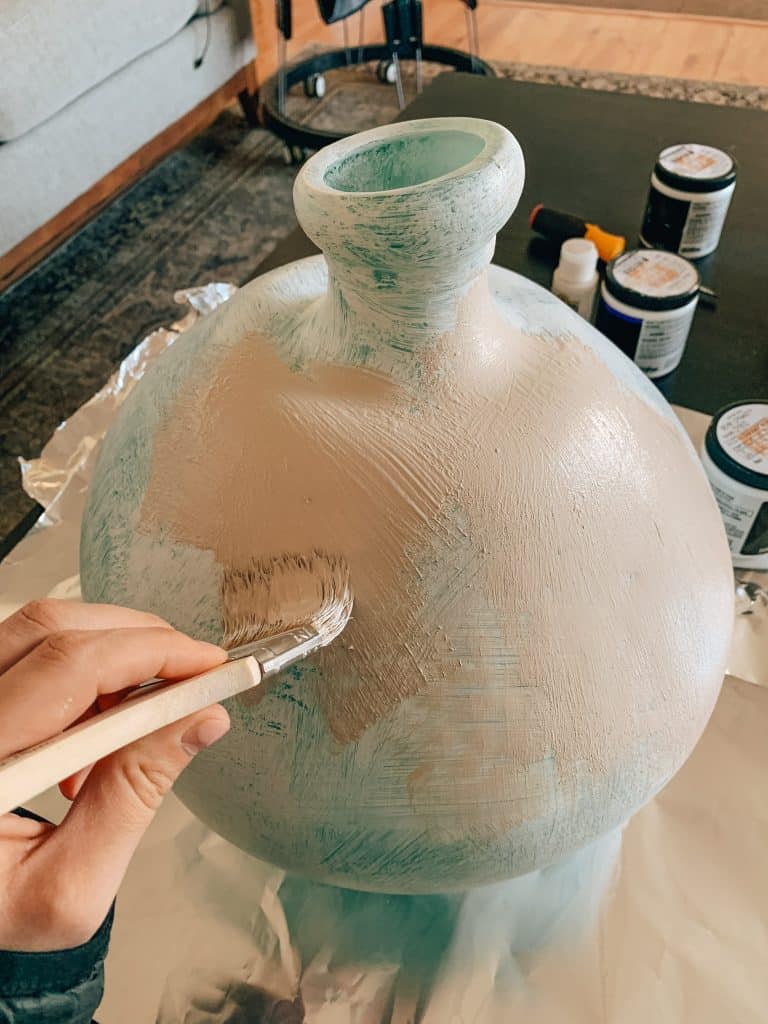
Step 1: First Paint Color!
This aged effect is super easy to achieve it only takes 3 simple steps. You’ll first need to apply the dark biege color. For a more textured look and better grip you’ll need to mix some baking soda into the paint. There’s no right or wrong amount. The more you add the more texture your paint will give off. It’s important not to do a neat job. The messier the better. I actually wish my brush strokes were messier and I wish I did some in circular motions. I had to many back and forth strokes.
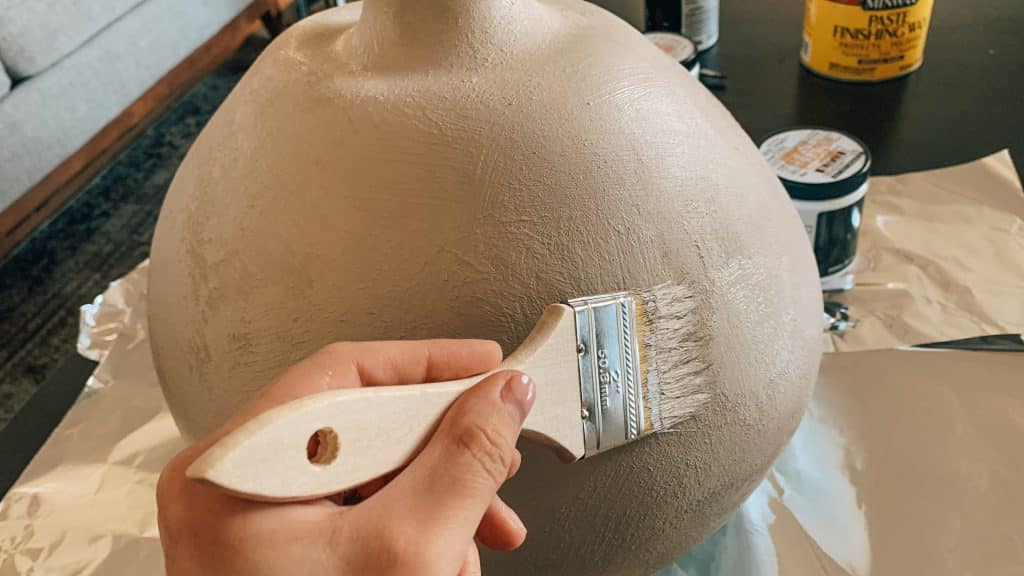
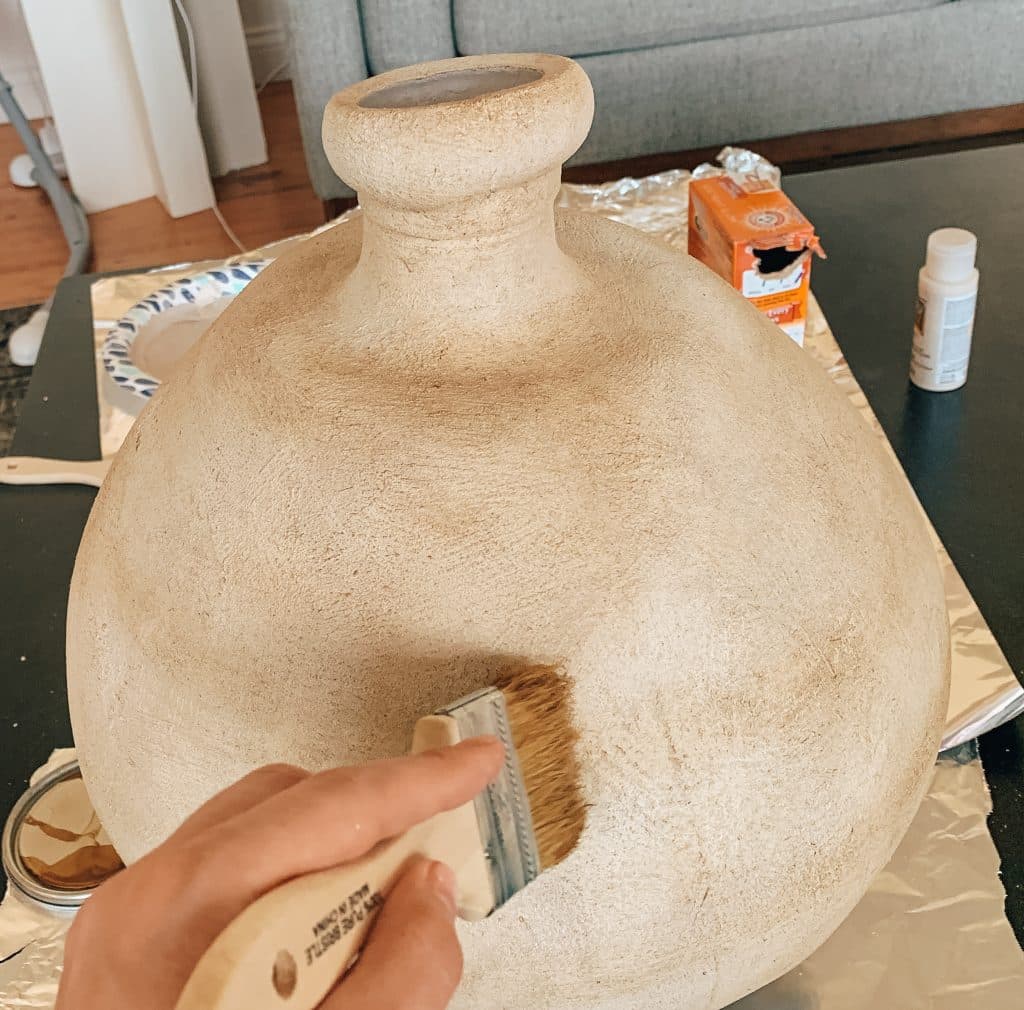
Step 2: Second Paint Color!
Now that the first paint coat of paint is dry add some baking soda to your lighter beige color and also paint it onto the vase. This time make sure not to apply a lot of paint. You’ll need the first coat somewhat visible. I like to think of this step as dry brushing. You’re only dabbing the paintbrush tips into the paint and brushing it onto the vase almost as if you’re giving it a light overcast of this color. Let this coat dry and you’re ready for the last step.

Step 3: apply the Aging effect!
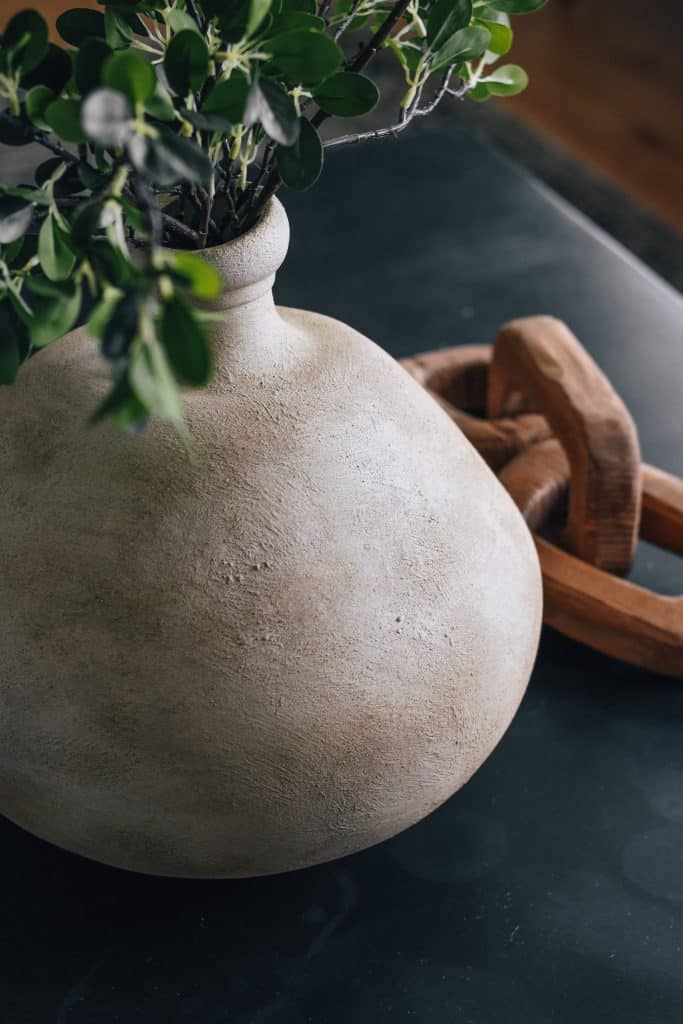
This is where the magic happens! I’ve seen this done so many different ways. Honestly you can use almost anything to get an aged effect as long as the color is darker then both the first two. I’ve seen dirt mixed with some water that was rubbed over the vase to get an aged look. I wanted something more permanent. I first considered using craft paint and diluting it with water. I changed my mind because I found some dark wax in supplies. I’m so glad I used this stuff. It gave the vase such a gentle aged look. Keep in mind this last color even though it seems like it doesn’t change the vase much it can alter the hue of your vase. In my case instead of a cool beige it gave my vase a warmer beige color.
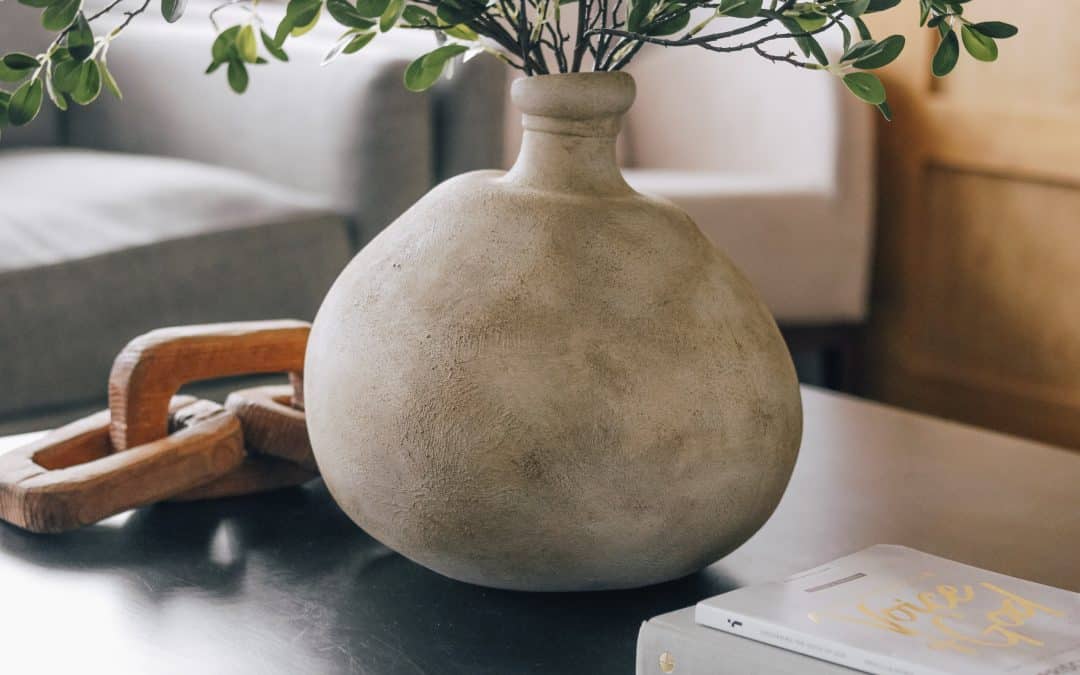
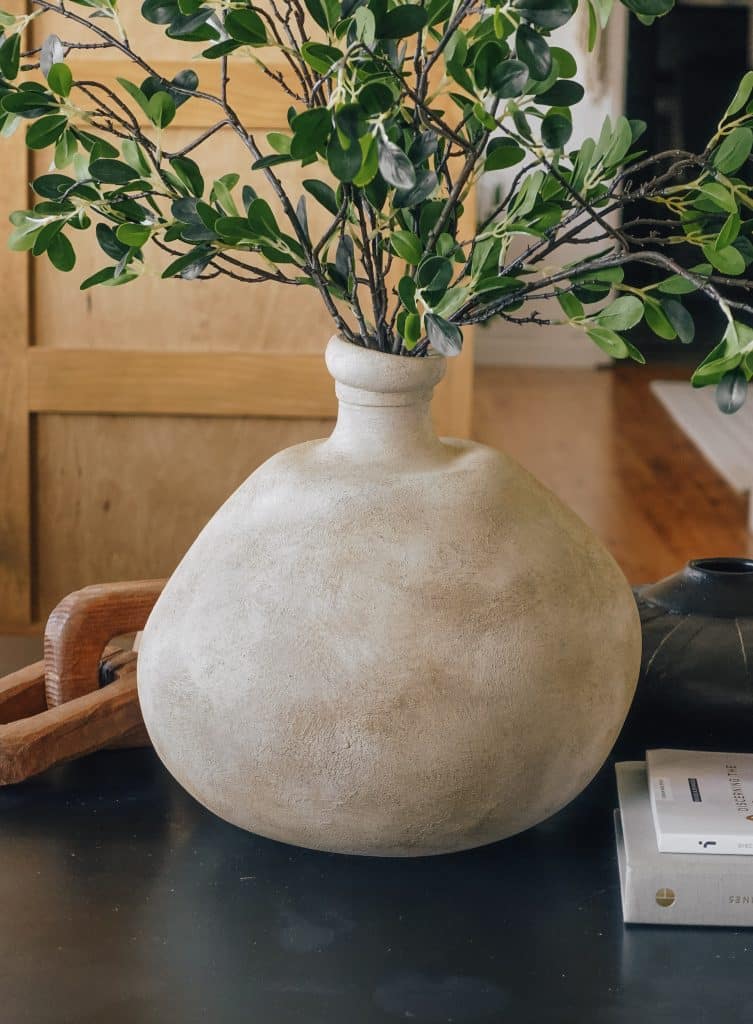
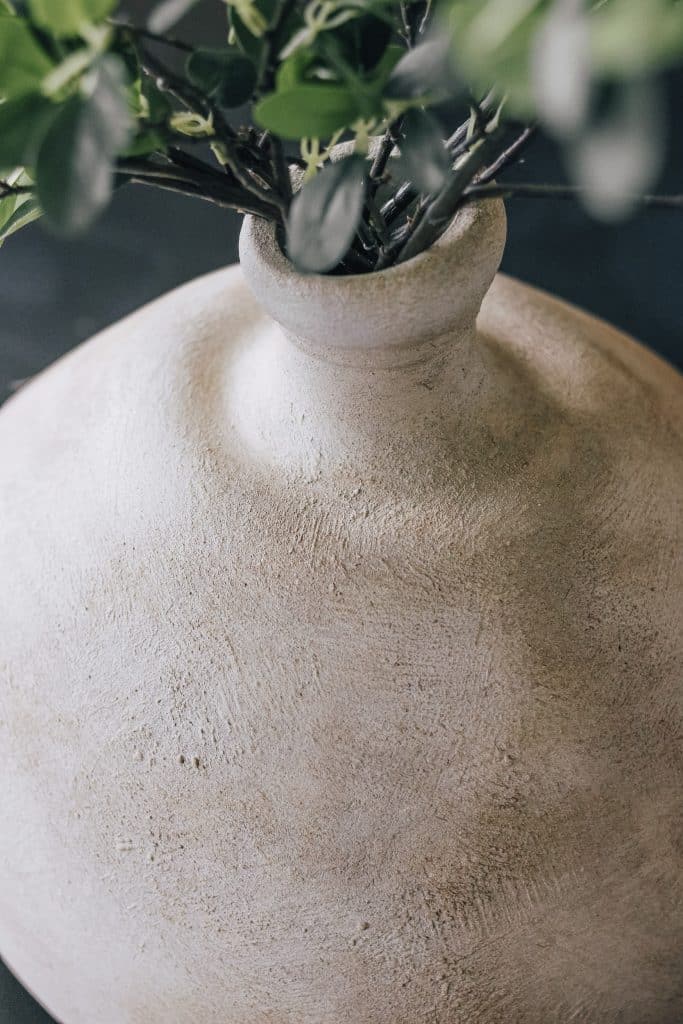
That’s it! Isn’t that super easy! I can’t wait to buy different shapes and experiment! This was so much fun! And surprisingly with the baking soda acting as a boding agent it super durable! I’m impressed! I wish the pictures did it more justice. You can’t really see the texture like it is in real life.
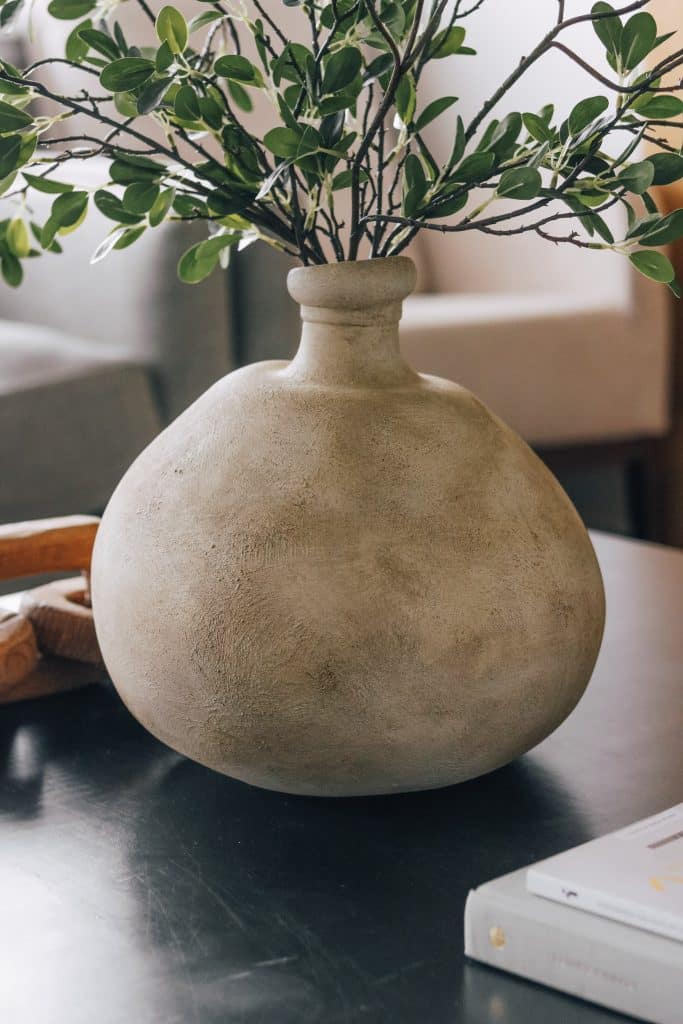
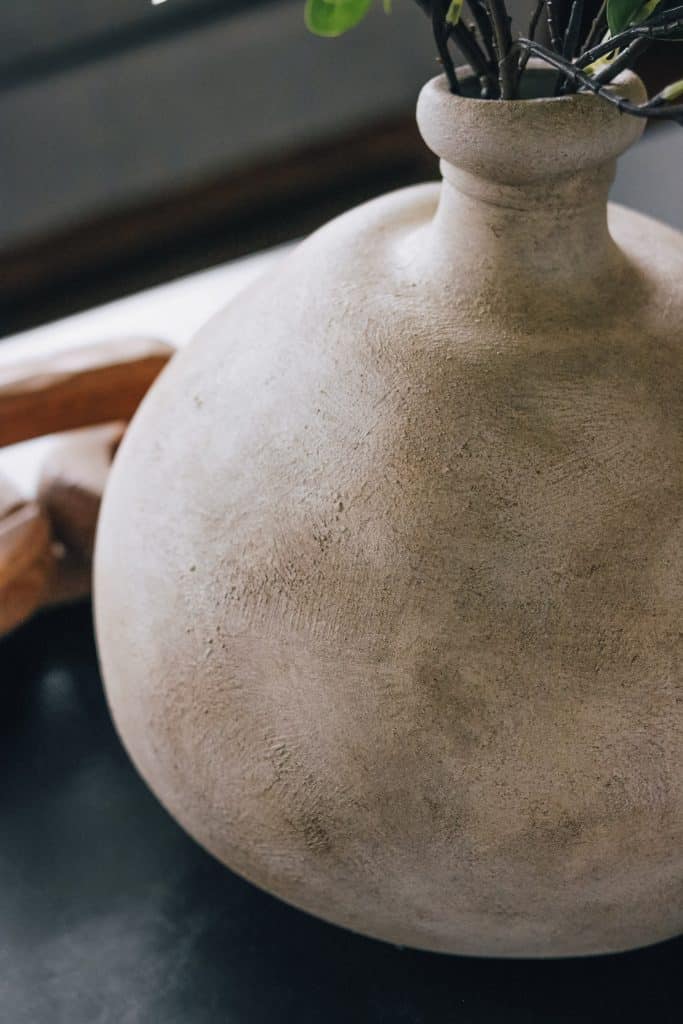
I just love the texture
that’s all today. I’ll see you all next time.
PRODUCTS YOU MIGHT LIKE –
love to do art, enjoyed the making of the finished vase. thank u!
Thank you Evelyn 🙂 Glad you enjoyed it
hello there and thank you for your information – I have certainly picked up anything new from right here. I did however expertise several technical issues using this web site, since I experienced to reload the site a lot of times previous to I could get it to load correctly. I had been wondering if your web hosting is OK? Not that I’m complaining, but sluggish loading instances times will sometimes affect your placement in google and could damage your high quality score if advertising and marketing with Adwords. Well I’m adding this RSS to my e-mail and can look out for a lot more of your respective fascinating content. Make sure you update this again very soon..
Hello, Neat post. There’s an issue together with your site in internet explorer, would check this텶E still is the marketplace chief and a large element of other folks will leave out your magnificent writing due to this problem.