
Hi everyone. Today I’m sharing how I dyed my cheap cotton duvet to look like expensive natural linen.
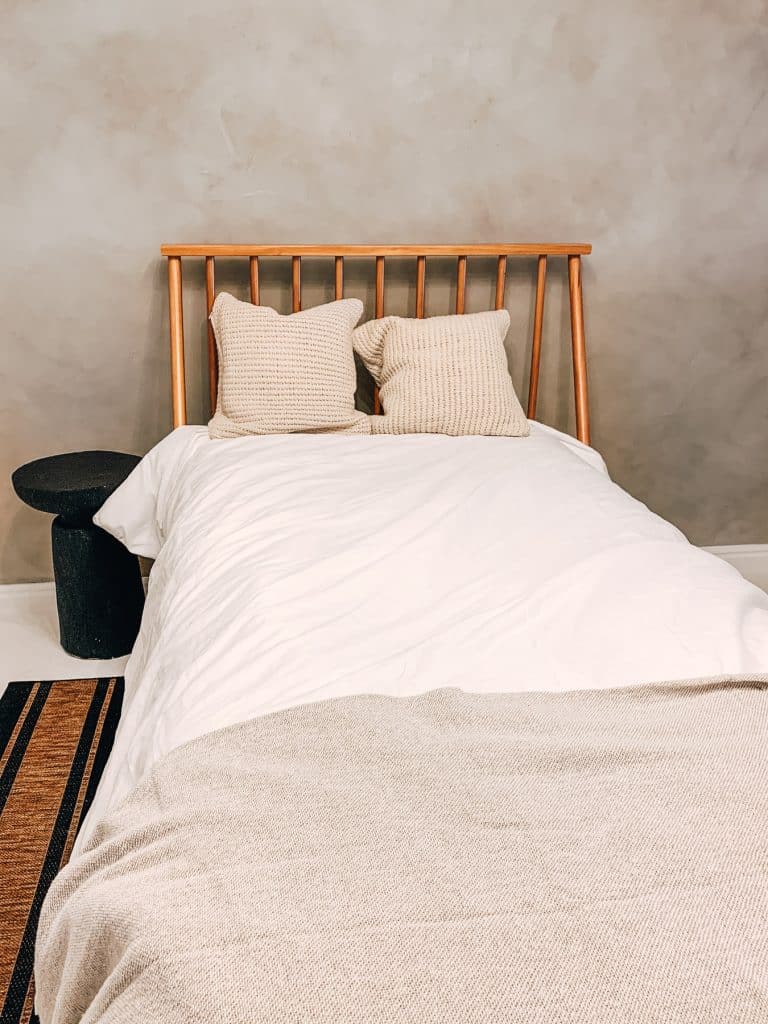
The look I was going for 🙂 found on amazon.
After surfing amazon and finding out a natural linen duvet simply doesn’t fit my budget for this bedroom makeover I decided to give some rit dye a try.
supplies needed:
Keep in mind the rit dye cost can add up quick. I had these left from a previous project which helped keep costs down.
- cheap cotton duvet ( I got one on amazon for $30 )
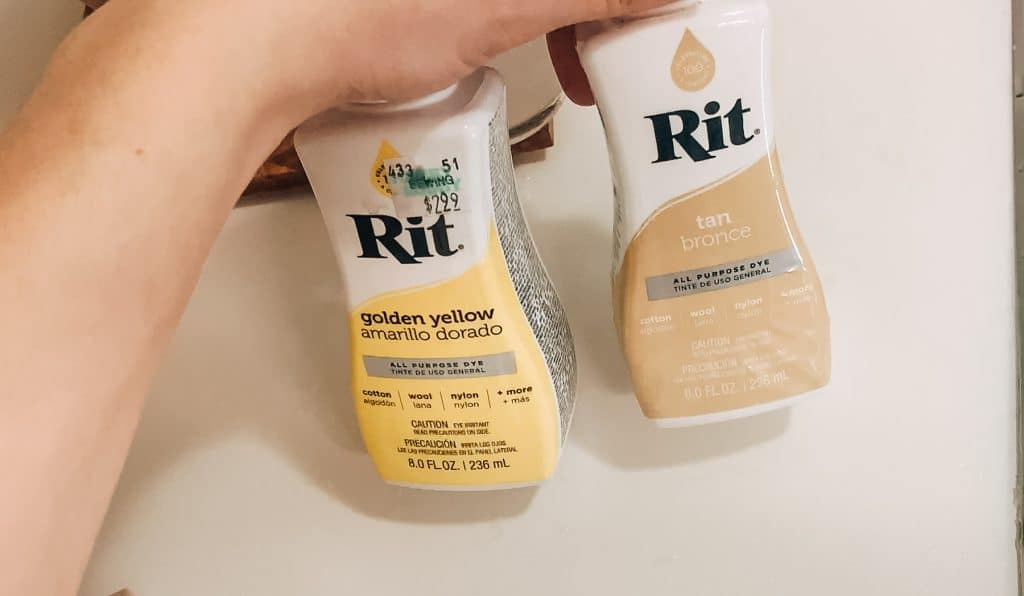
- taupe liquid rit dye
- tan liquid rit dye
- yellow liquid rit dye
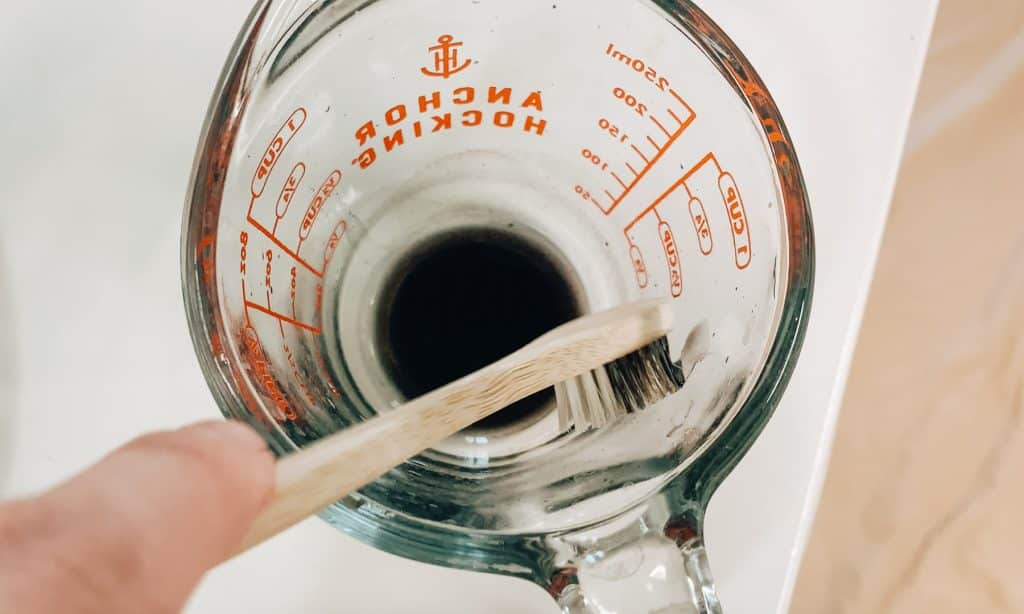
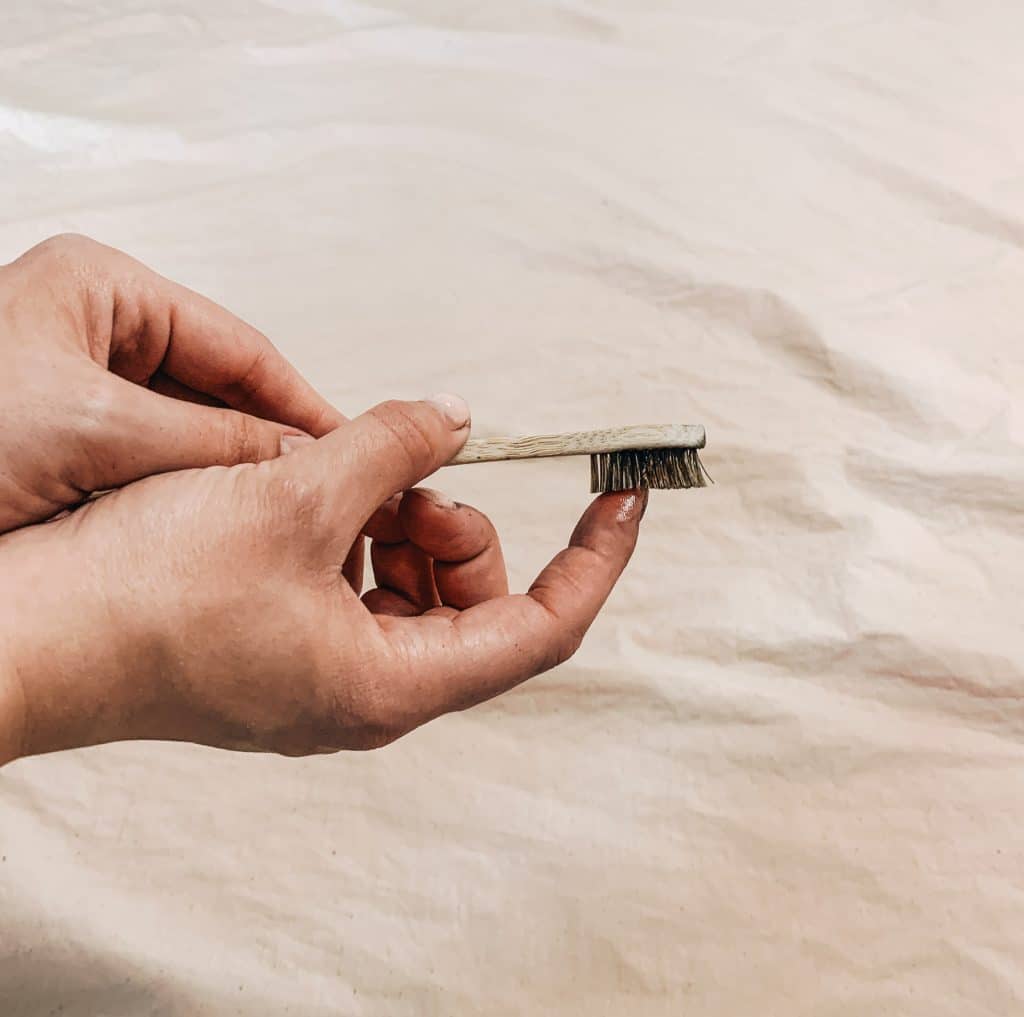
- old toothbrush
- water
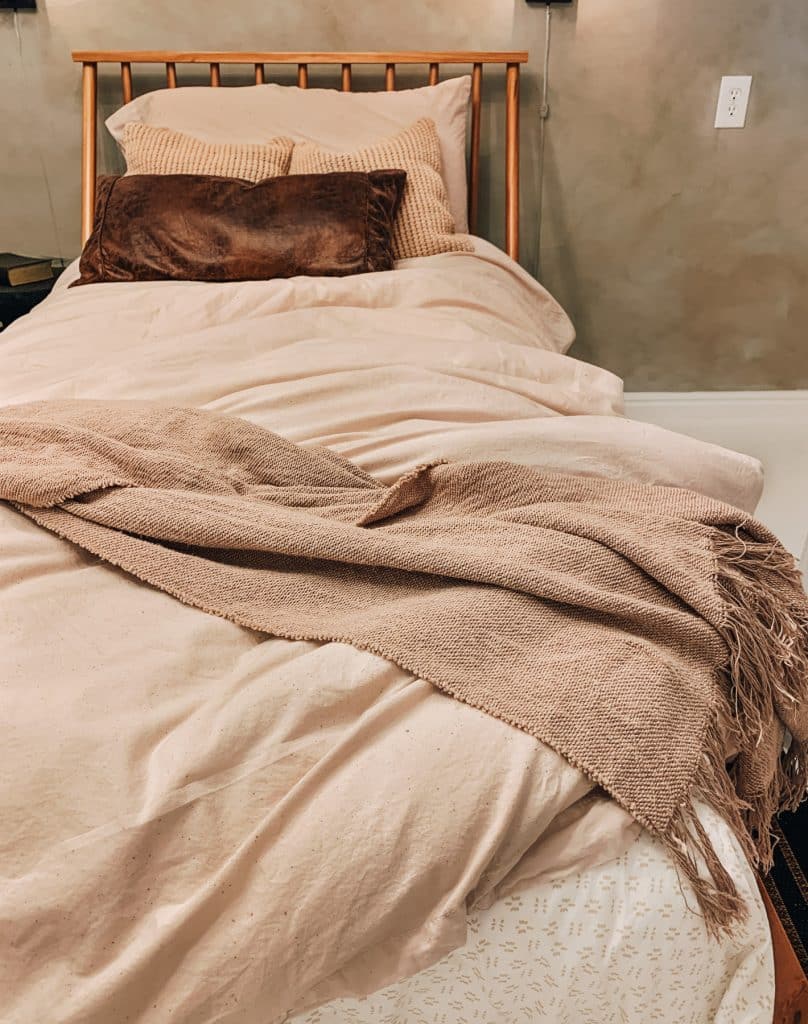
Here’s what the white duvet looked like in the bedroom. It was just too crisp white and needed some warmth to bring it all together.
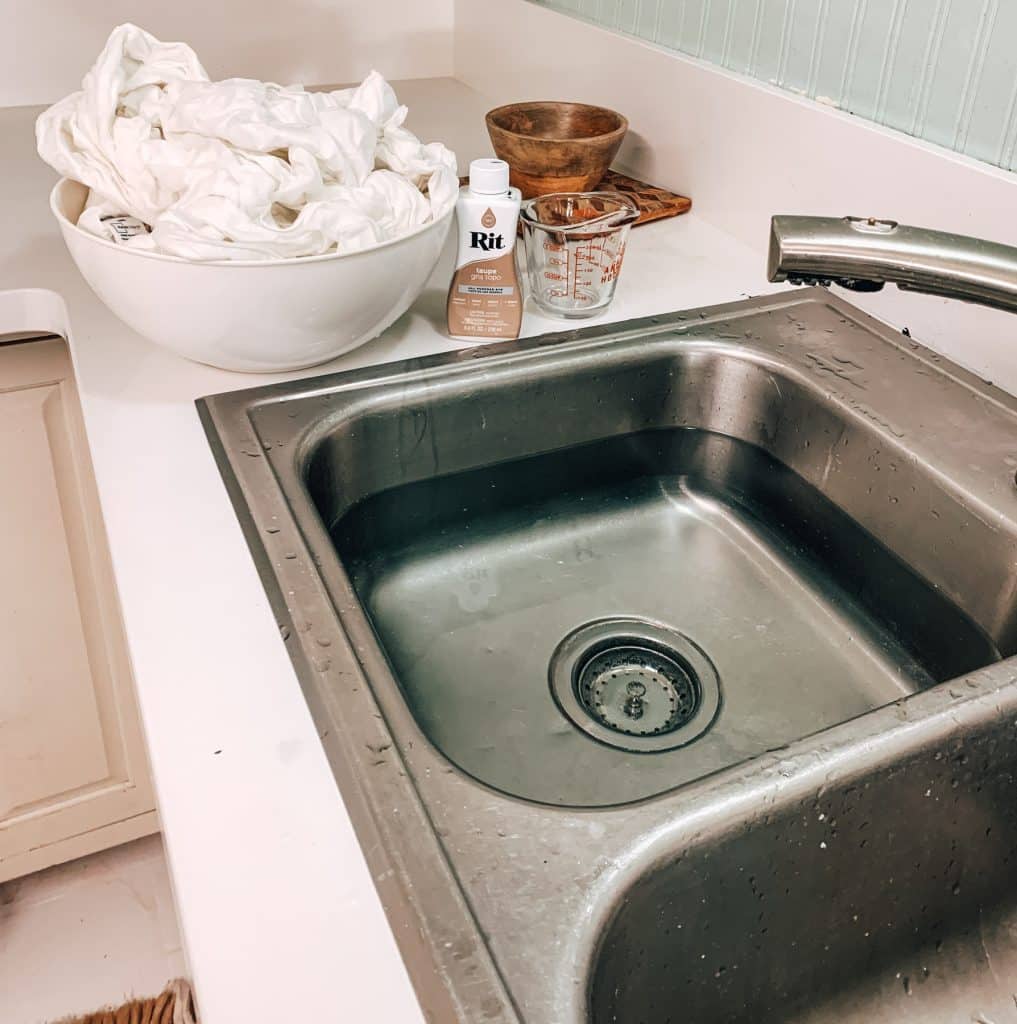
IMPORTANT PREP! GET IT WET!
If you’re working with a bigger duvet you might need to do this in a bathtub or a bigger basin. Because my duvet was a twin size I did this in our kitchen sink.
It is very important that you get the duvet wet with water before putting it into any dye. This will help the color adhere to the fabric evenly. If you don’t pre-wet it it will come out looking blotchy.
Dyeing your cotton duvet
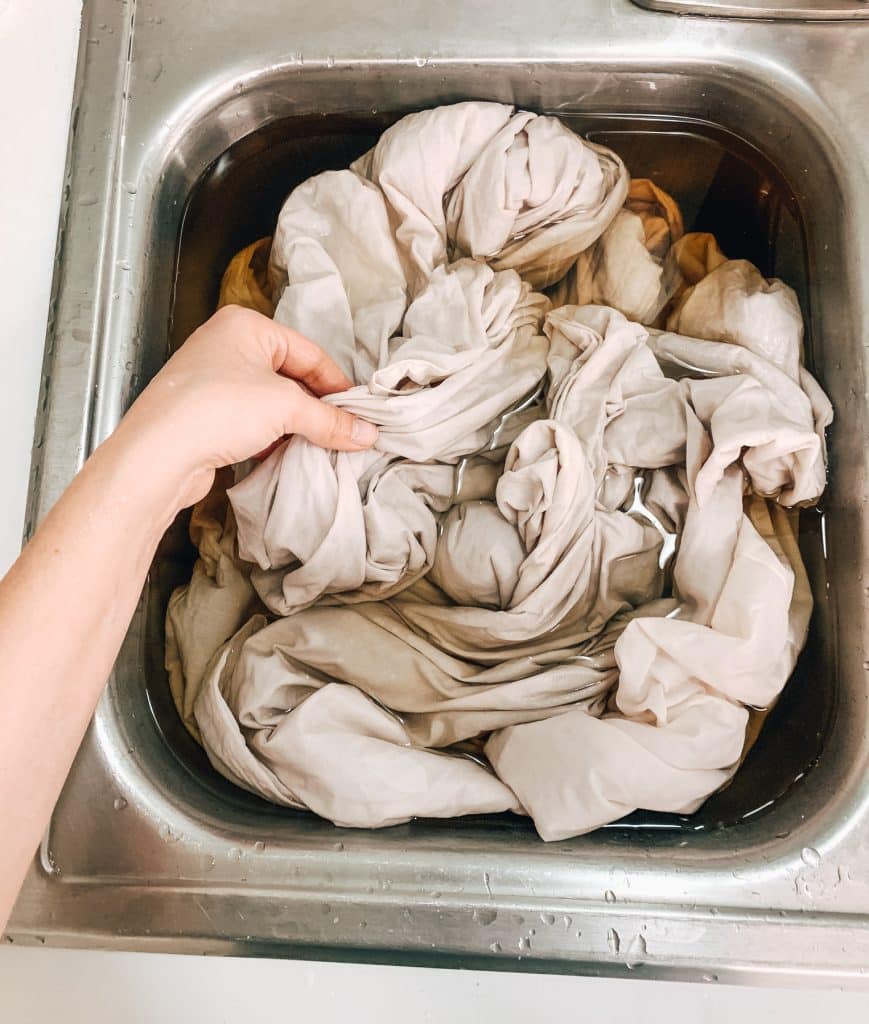
I filled the kitchen sink with hot water. As hot as you can get it without burning your hands. Then I poured about 1/4 of a cup of taupe dye into the hot water. I added the pre-wet white duvet to it. I left it there for 20-30 minutes continuously stirring every about 5 minutes to make sure the color develops evenly.
This was my first attempt and it ended up making the duvet to light colored and almost gave off a pinkish hue.
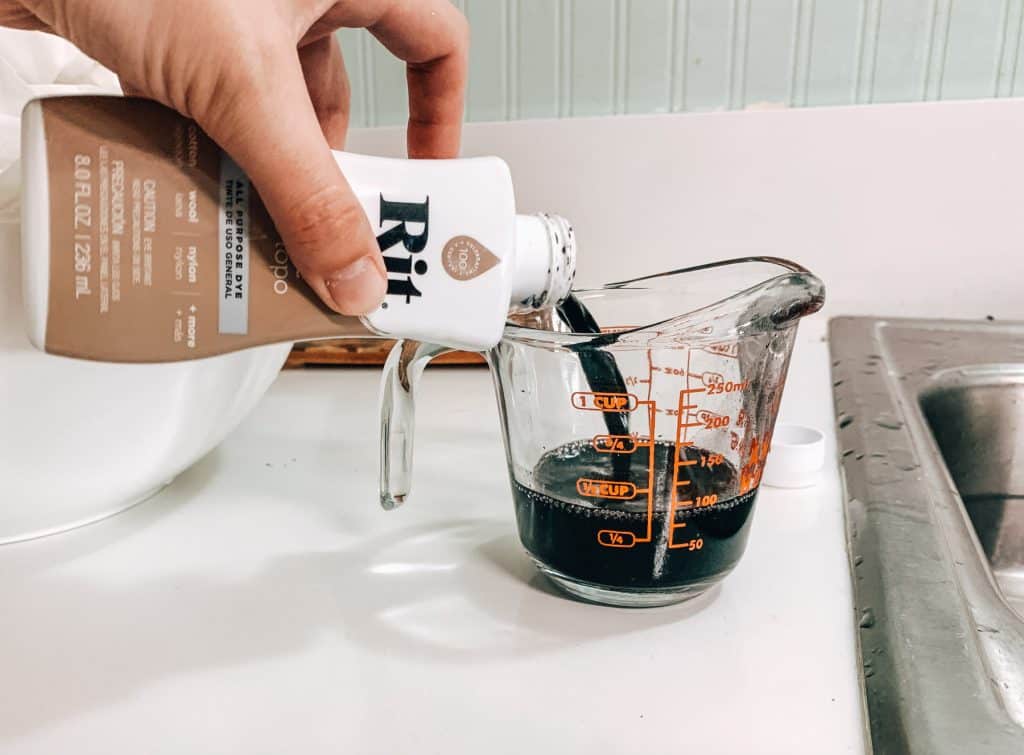
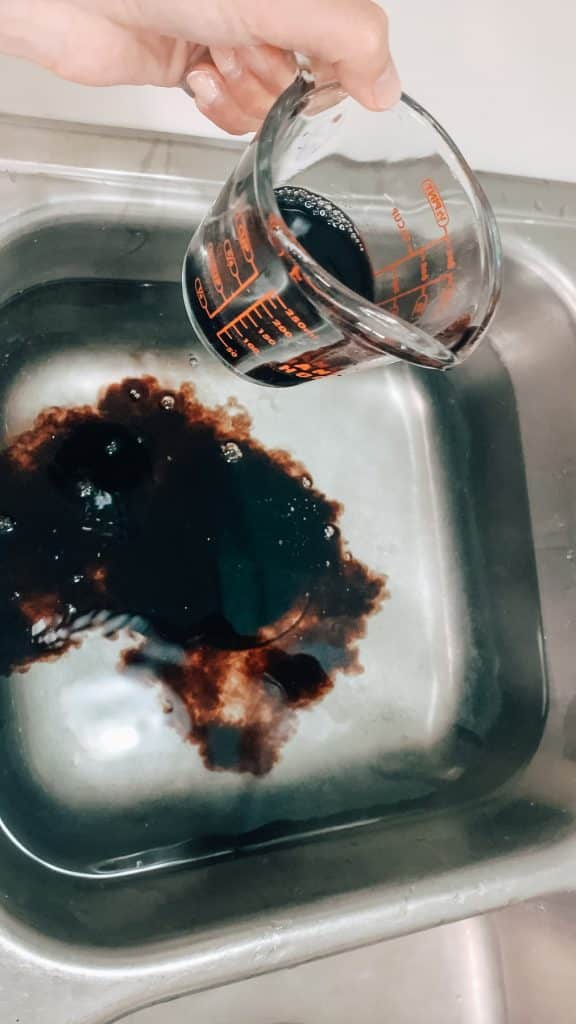


For my second round. I added more taupe tan and yellow to give it a warmer color. I can’t say for sure how much yellow and tan I added. I would say about 1/4 cup of taupe again and about 1/8 cup of yellow and tan. I left it in for another 20 minutes mixing continuously.
You can try adding the yellow and tan in right away without dying it two separate times like i did. Although I should mention I do like dying it a little at a time rather then adding too much color all at once. Better safe then sorry. Sometimes if you add too much tie die and try and add a darker color too fast it comes out spotty.
Washing and locking in the color!
Once you achieve the color you like a simple wash cycle in the wash machine with some white vinegar should help lock the color in. I didn’t add any detergent to the wash cycle. Just warm water with about 1/2 cup of vinegar.
Then dried it in the dryer. The heat from the dryer helps lock in the color even more.
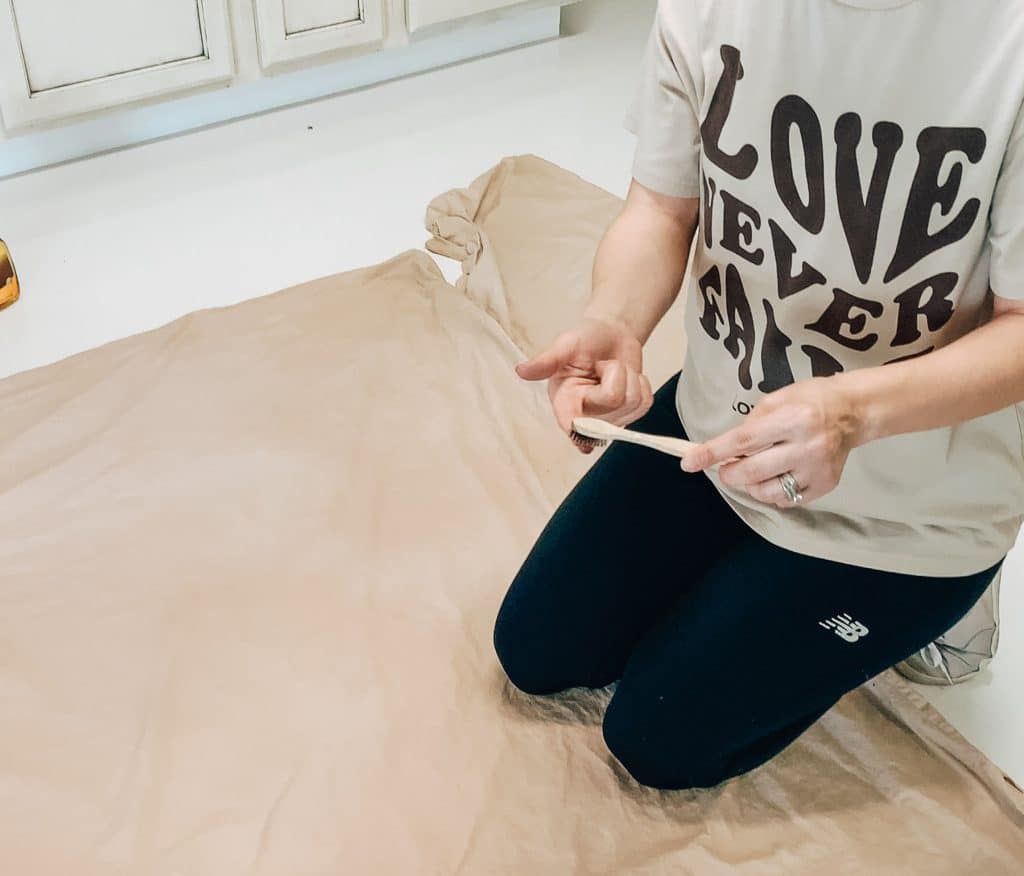
Adding Texture and Character!
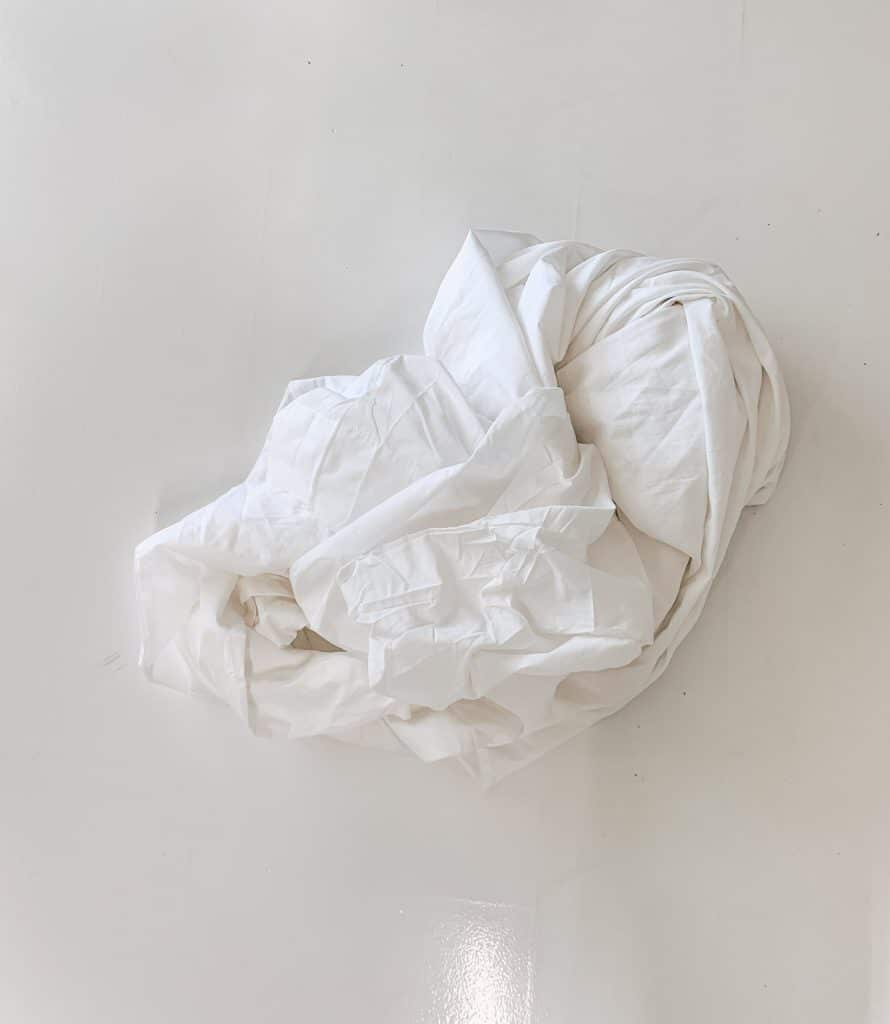
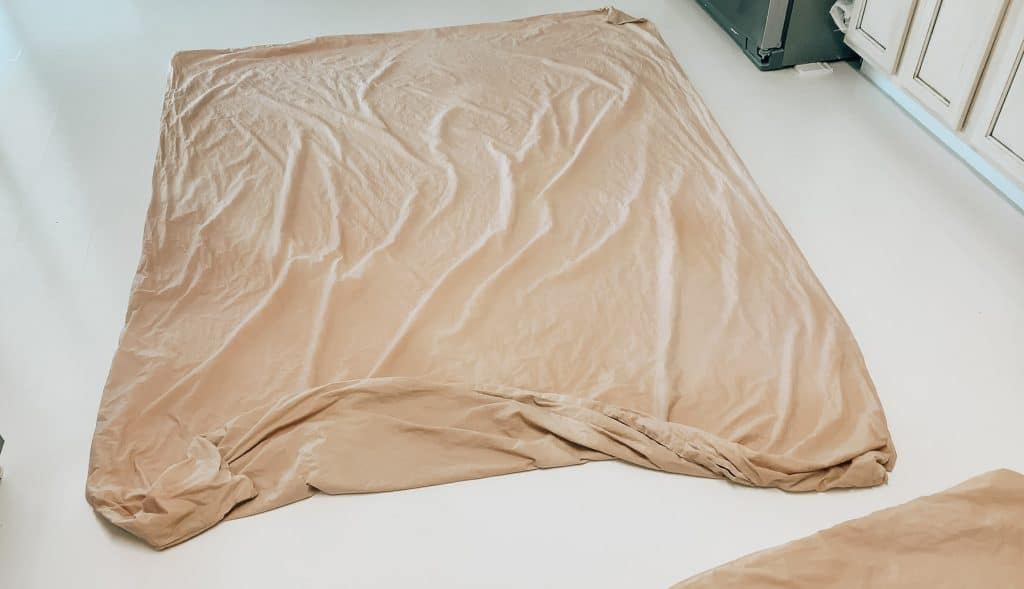
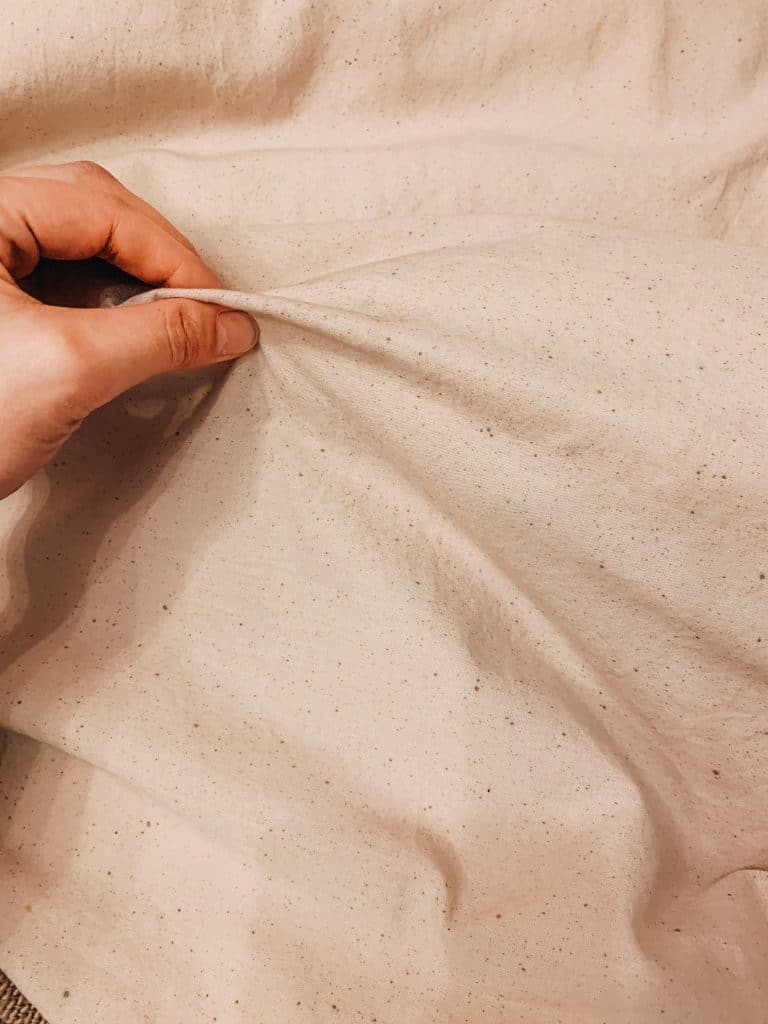
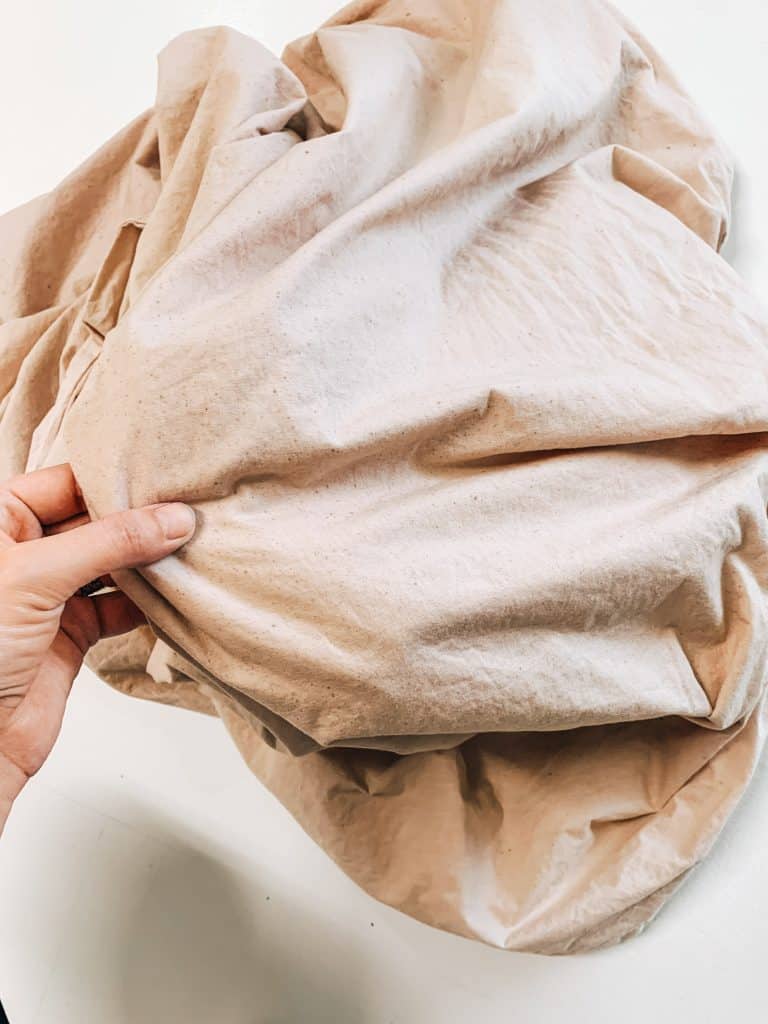
Here’s what the color looked liked against a white floor once I was done with it. What’s interesting is it looks a lot lighter on the bed. Almost just like an off white rather then a light tan or natural linen like I wanted. That’s why I had to keep dying it multiple times to get the color I wanted.
Even though I got the perfect color I wanted for a finishing touch I wanted to add a speckled look. I poured some taupe dye in a cup and use a brush to dip into the color. I than patted the brush onto a paper towel removing any dripping color off the brush and pulled on the bristles while standing above the duvet to give it a speckled look.
It worked best if you’re about 3 feet away from the duvet while doing this.
To lock in the speckles I ran it through the dryer on high heat again.
Here’s how the speckled effect looks close up.
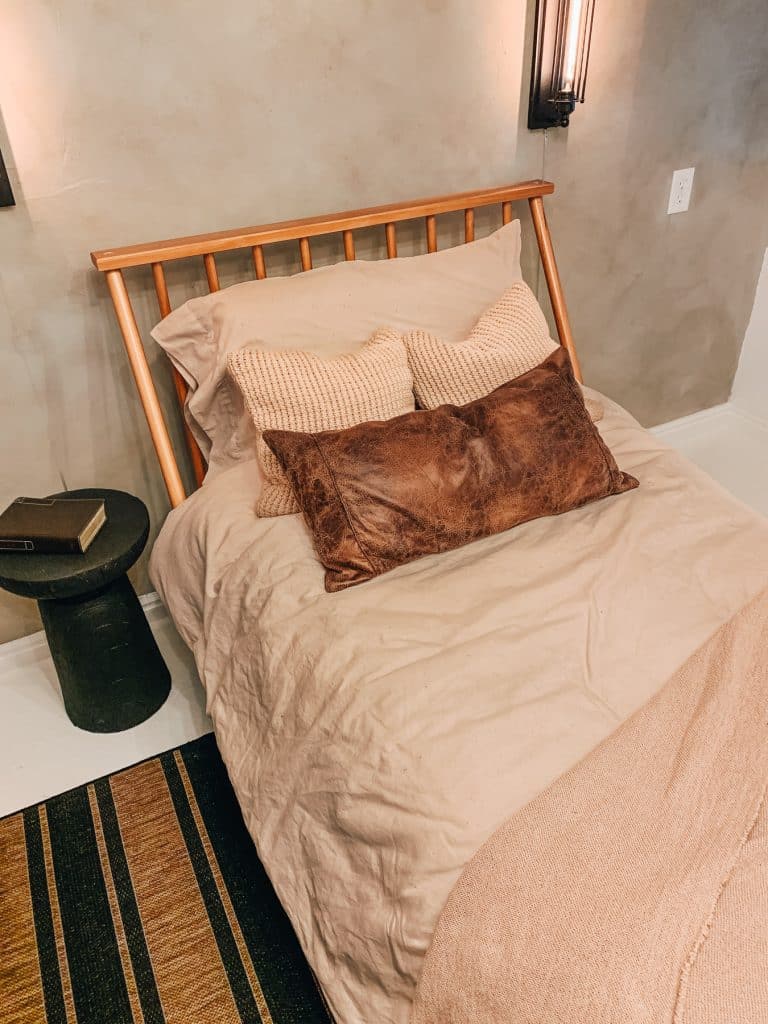
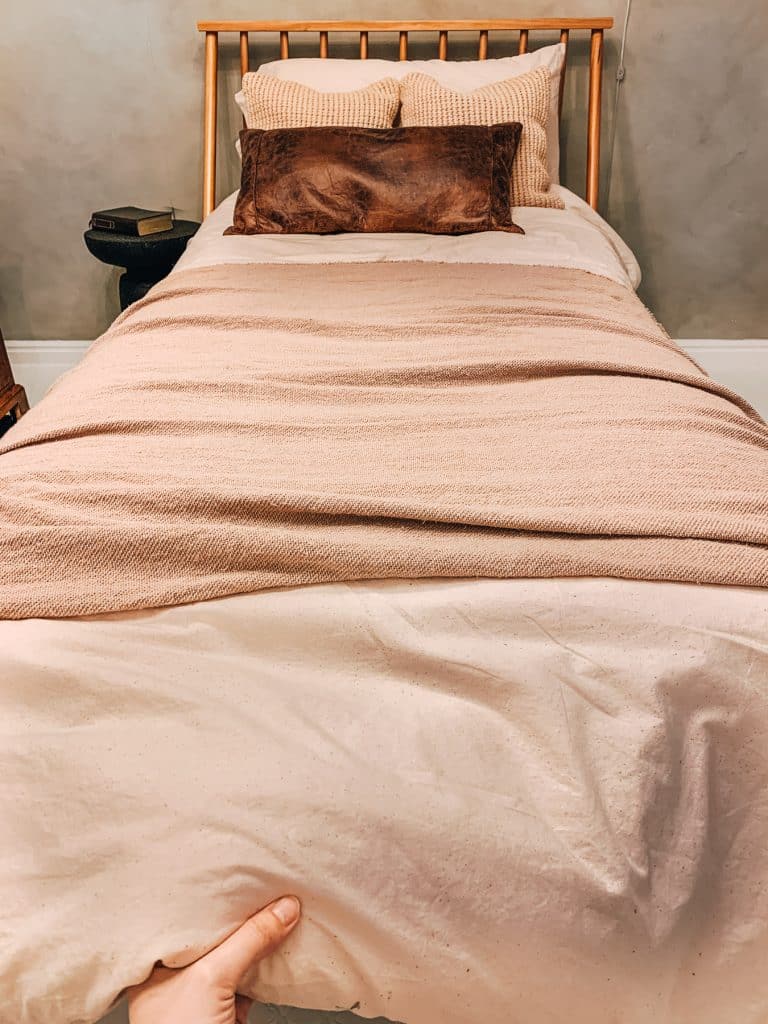
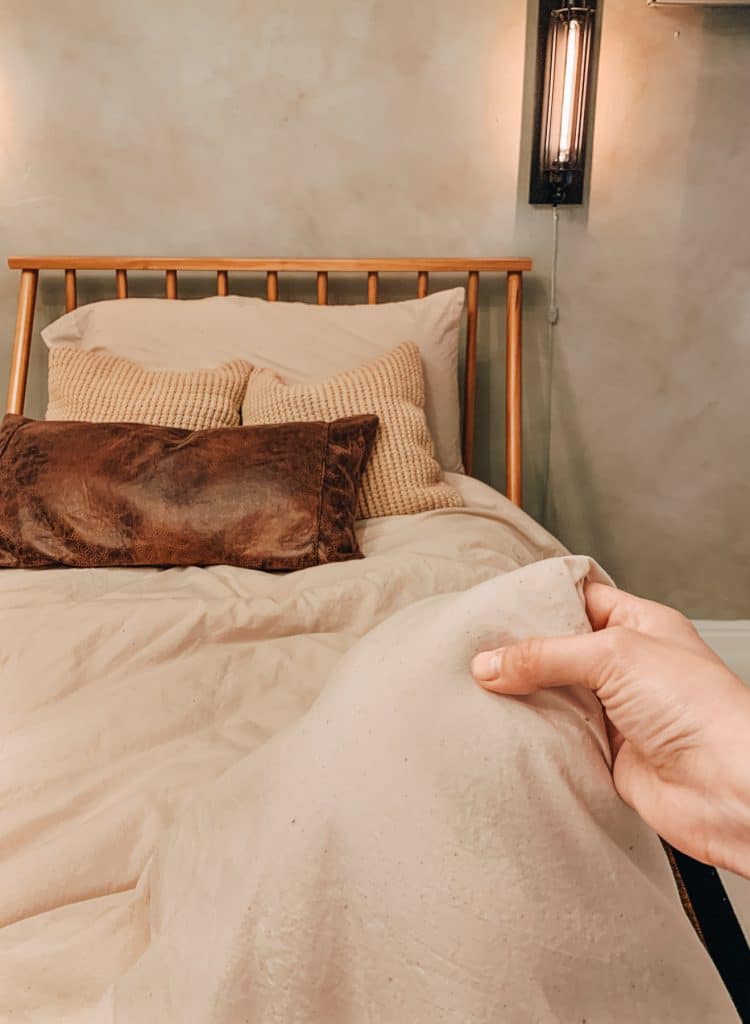
Here’s a quick before and after! I love the natural linen look.
-
- Before
-
- After
-
- before
-
- after
I left the duvet un ironed for a more natural look.
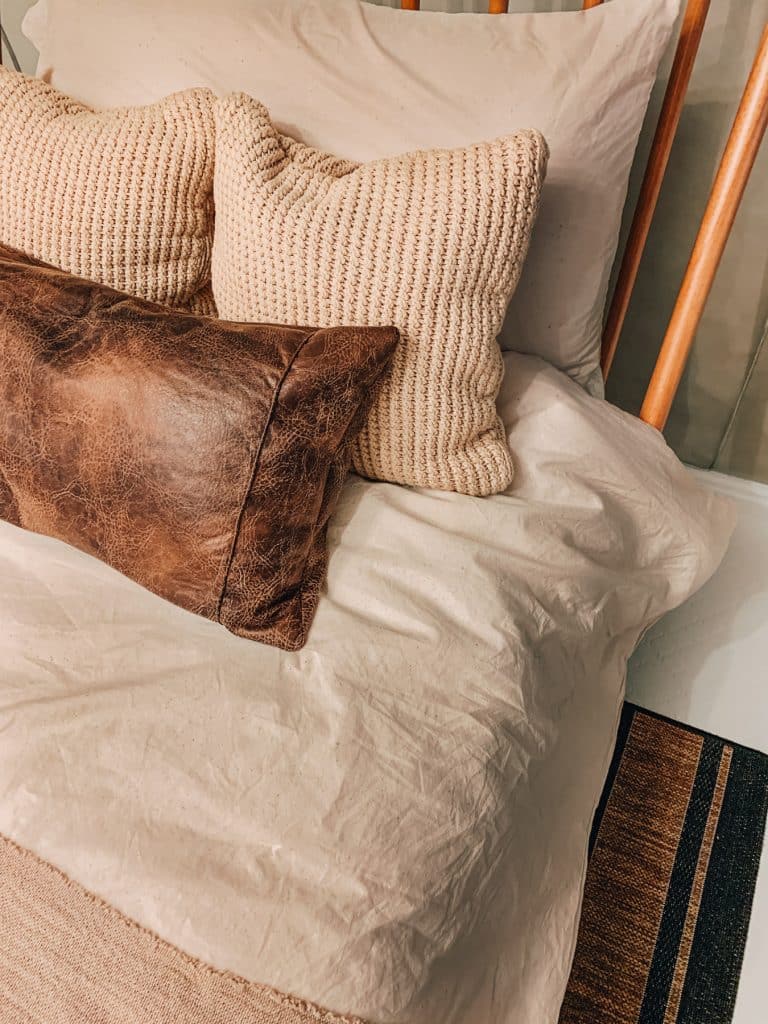
I love all the warm tones in the room. If you want to know where I got the leather pillow. It was also a DIY. I have it on the blog here.
That’s all for today 🙂 I hope you’re inspired to make your own faux linen duvet 😀 Happy DIYing!
Best Wishes,
Lily
Very interesting subject , regards for posting.