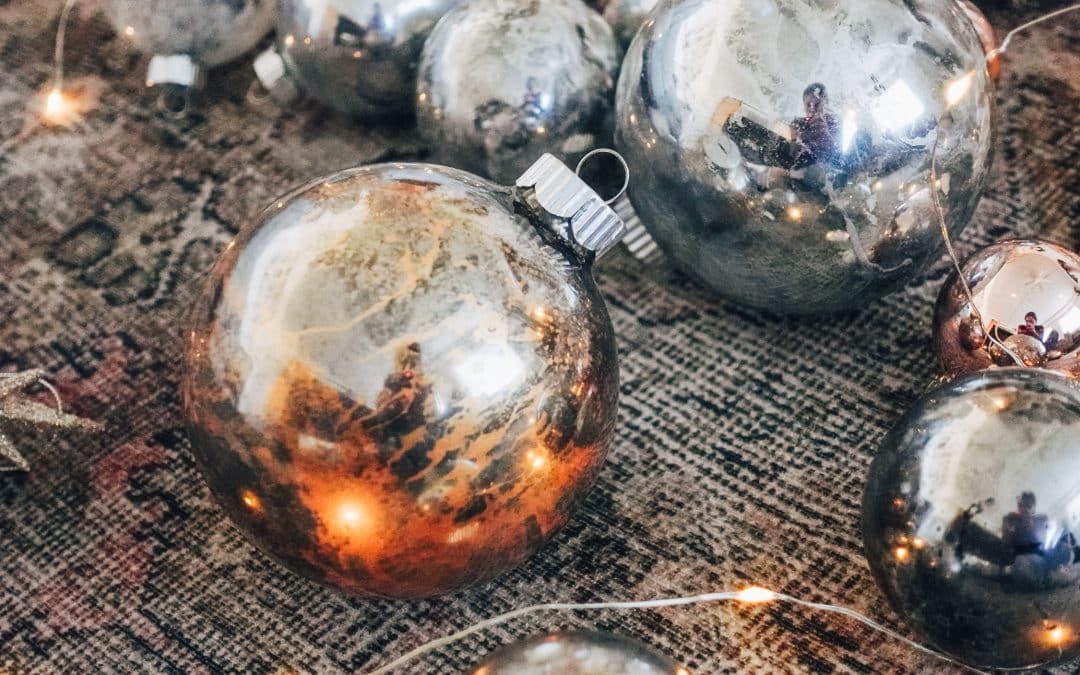
Get ready to elevate your holiday decor with a step-by-step guide to creating “DIY Mercury Glass Ornaments.” These stunning, easy-to-make ornaments are not only a beautiful addition to your Christmas tree but also a creative way to recycle old glass ornaments. In this blog post, I’ll show you how to transform plain glass ornaments into something extraordinary. These ornaments can be made in just a few minutes. Let’s jump into the world of DIY ornaments and check out some great glass ornament ideas. I’m sharing different ways you can customize them with metallic powder or spray paints.
Materials You’ll Need:
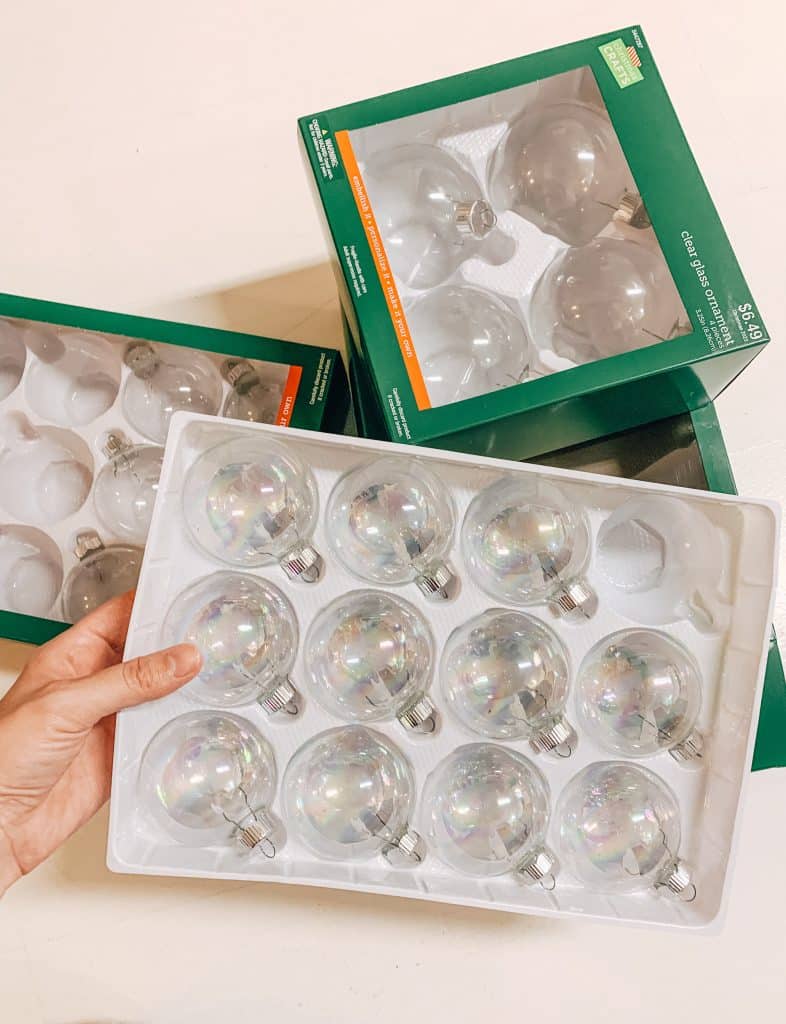
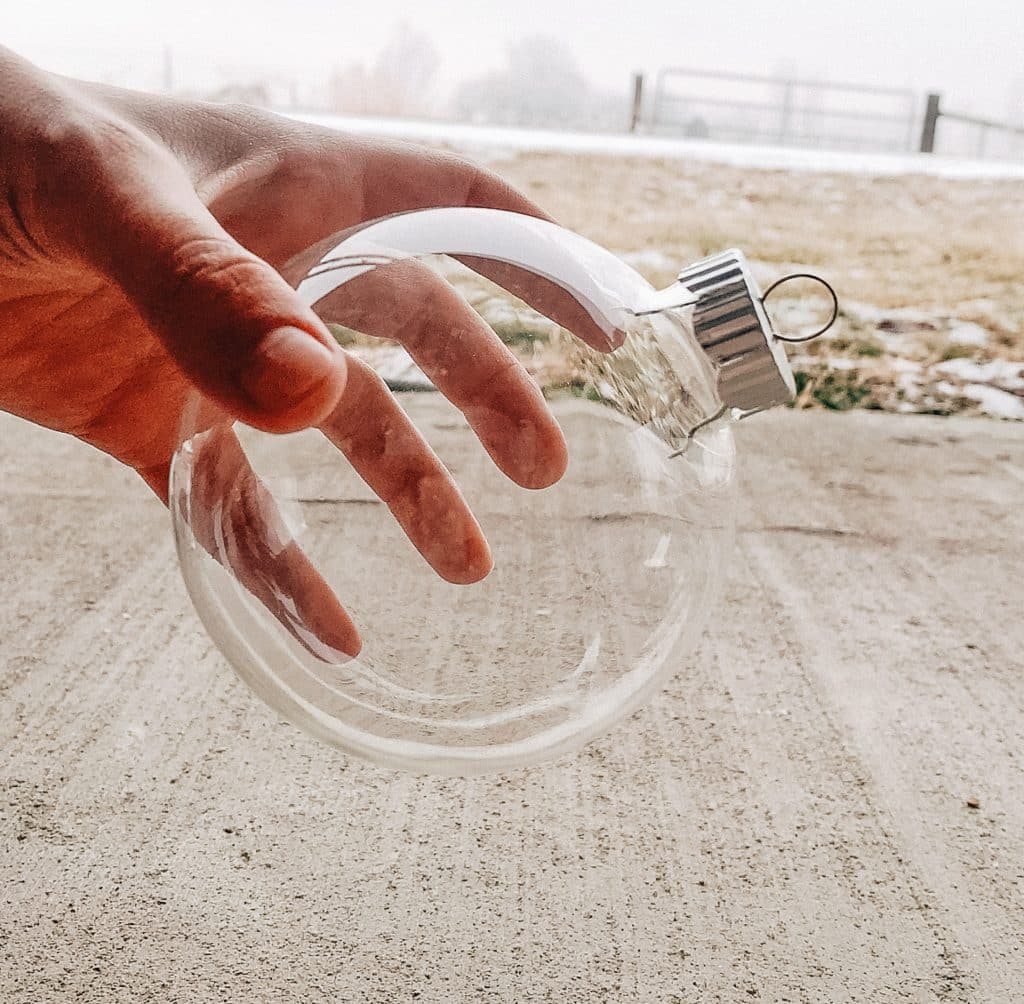
- Clear glass ornaments ( you can try plastic )
- looking Glass paint (for a mercury glass look)
- Metallic powder or color spray paint (optional)
- A blow dryer
- white vinegar in a spray bottle
One of the great things about this project is that it’s perfect for recycling old glass ornaments. I had a handful of old glass ornaments that I used for this.
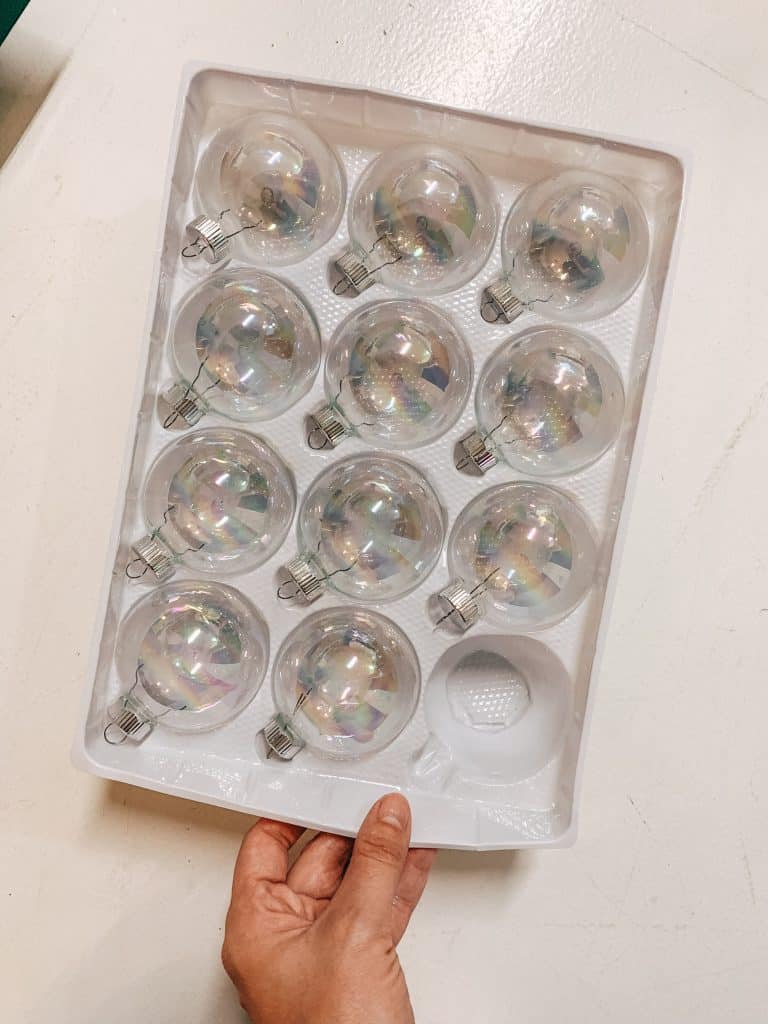
you can also try this with iridescent glass ornaments
What to customize your DIY Ornaments with!
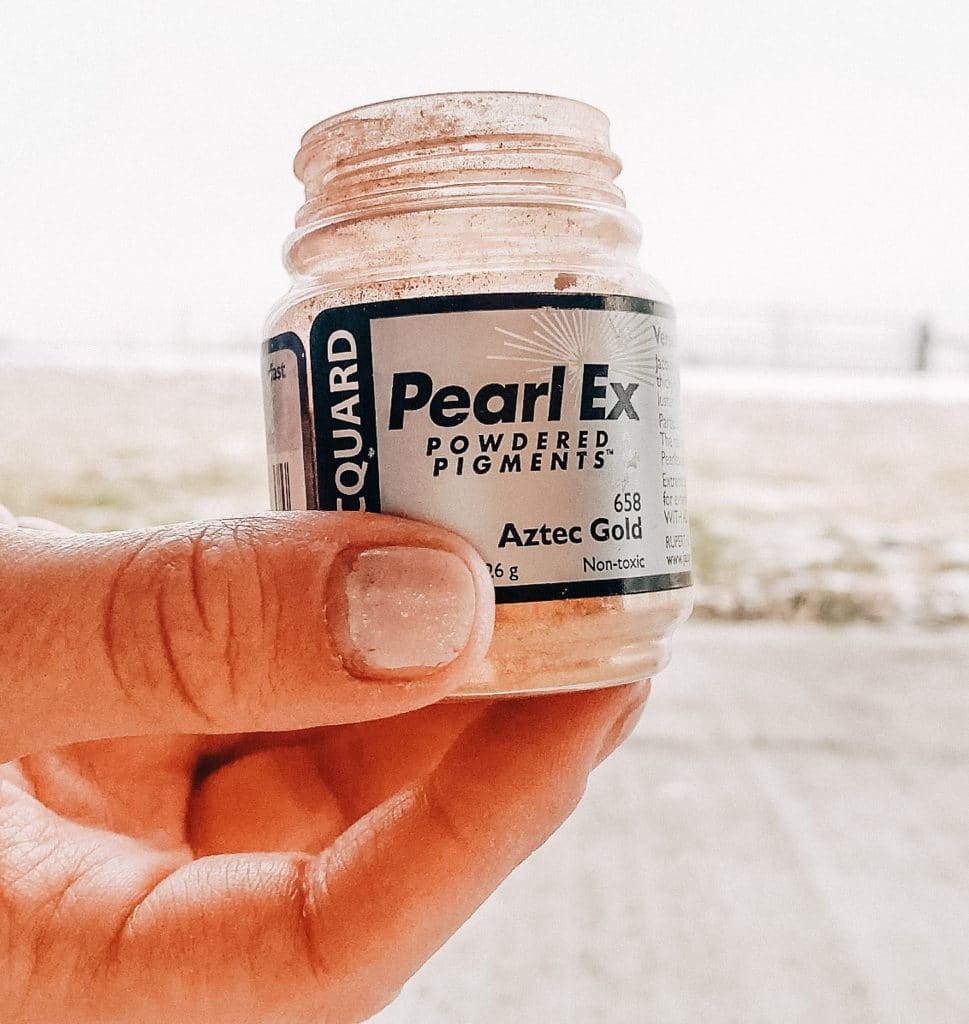
DIY ornaments are all about expressing your creativity. I haven’t found glass paint in different colors. It only comes in silver so to customize it with various colors, I added gold metallic powder. This is where your glass ornaments ideas can truly shine. The Pearl Ex brand sells different color you can work with for this. I would love to try the lavender or iridescent powders for this.
If your metallic choices are limited you can also used white or black spray paint. Although I have to be honest I wasn’t a fan of the white spray paint. If almost made the glass effect look milky and dirty where as the black spray paint added depth in shine.

white spray paint added

black spray paint added
I really like the effect black spray paint gives it.
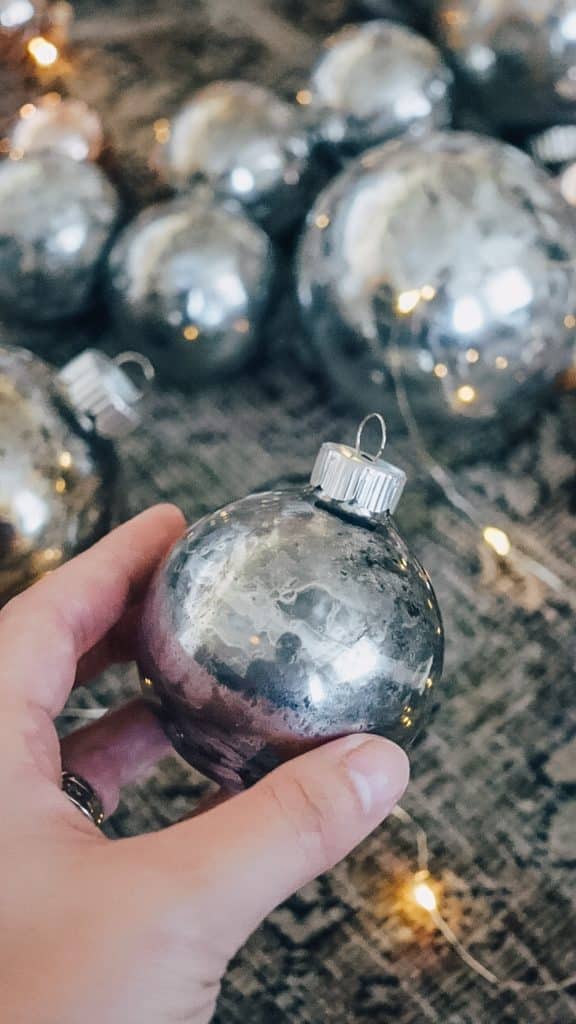
Step 1: Create the Mercury Glass Effect
After adding the glass paint to your clear ornament swirl the paint to cover the entire interior surface. This step is key to achieving that magical mercury glass look.
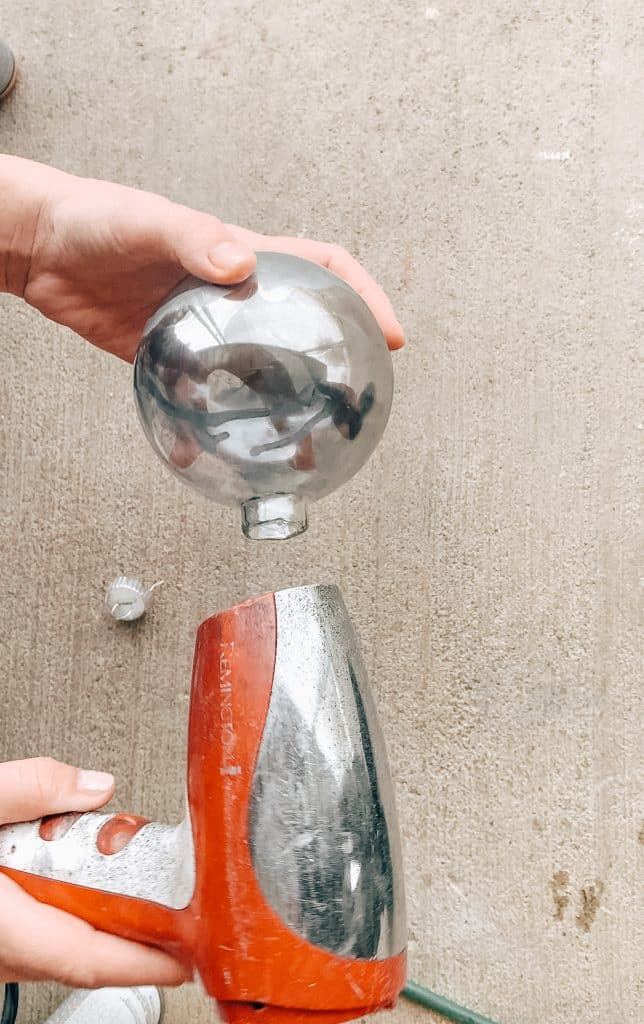
Step 2: Cure the Glass Paint!
Using a blow dryer to dry the glass paint inside. You’ll notice the shine start to come through as it dries. You’ll know it’s completely dry when there’s no more gray color it’ll all look shiny.
Step 3 : Spray Vinegar!
Now that the ornament is all dry inside spritz some vinegar inside. About two to three small sprays is enough. You don’t need it to be dripping water inside just create water droplets all around. 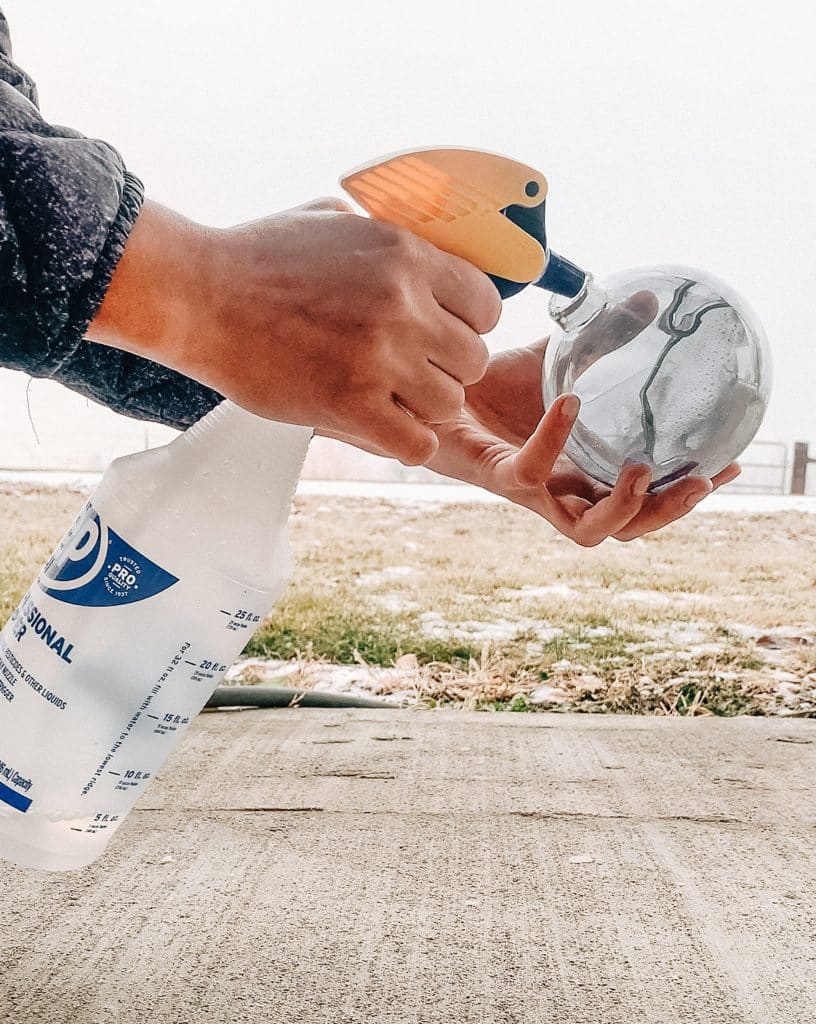
Step 5: Customize Your DIY Ornaments
This next step where your glass ornaments ideas can truly shine. Add metallic powder or color spray paint to your ornaments for that extra pop of personality and style.
Step 6: The Finishing Touch
Now seal in the added elements and provide a glossy finish by applying another coat of glass paint. Use your blow dryer to dry the paint once again. It also secures your metallic powder in place. I used aztec gold by the pearl brand.
Check out this quick video –
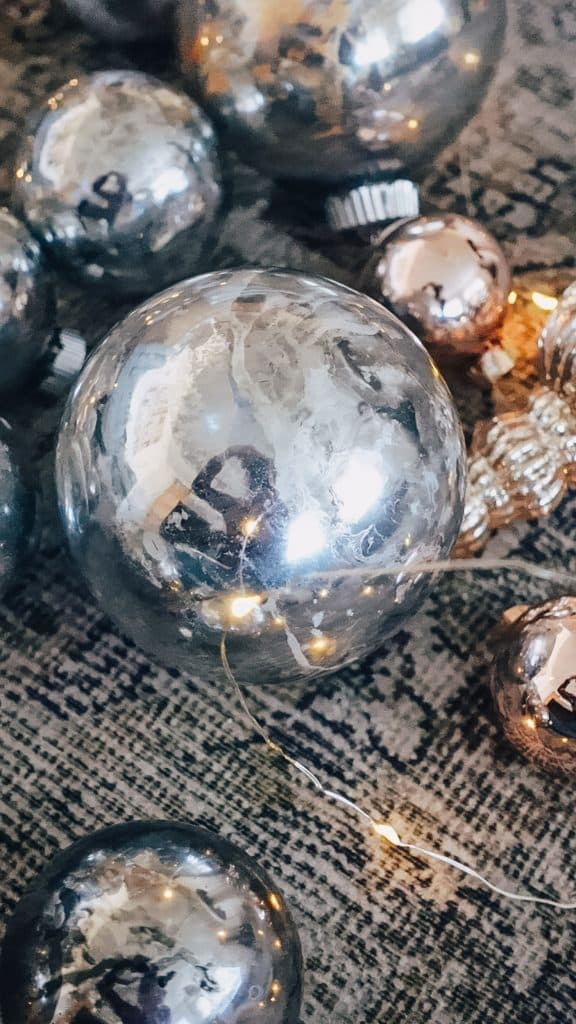
I can’t believe how cute this turned out! They’ll make the tree glow more then ever! One-of-a-kind decor is my favorite!
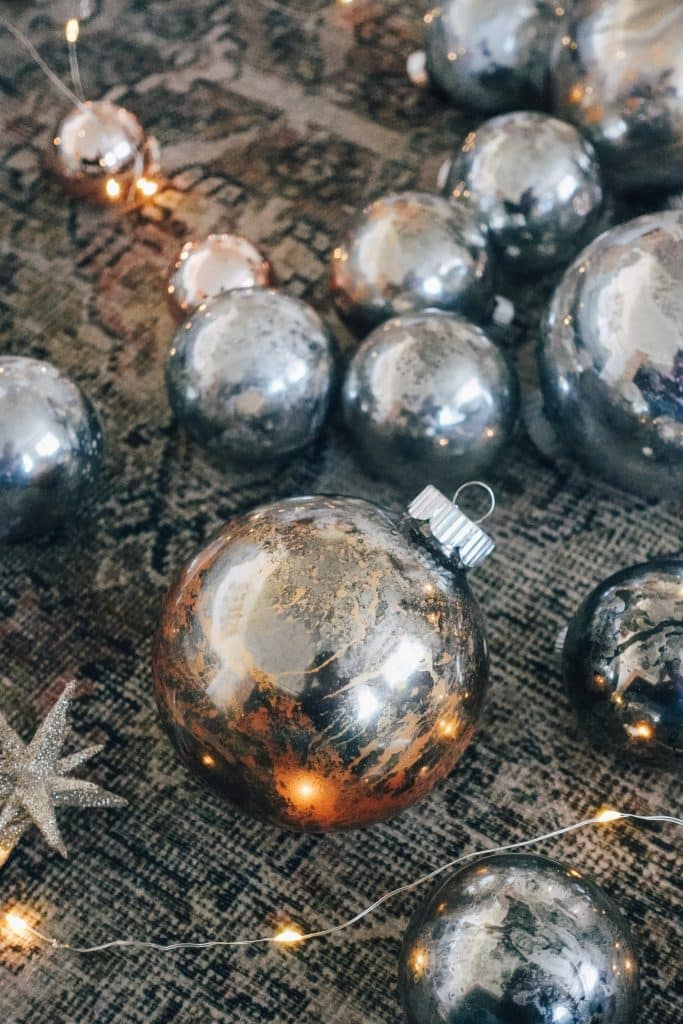
Love the shine on all the ornaments!
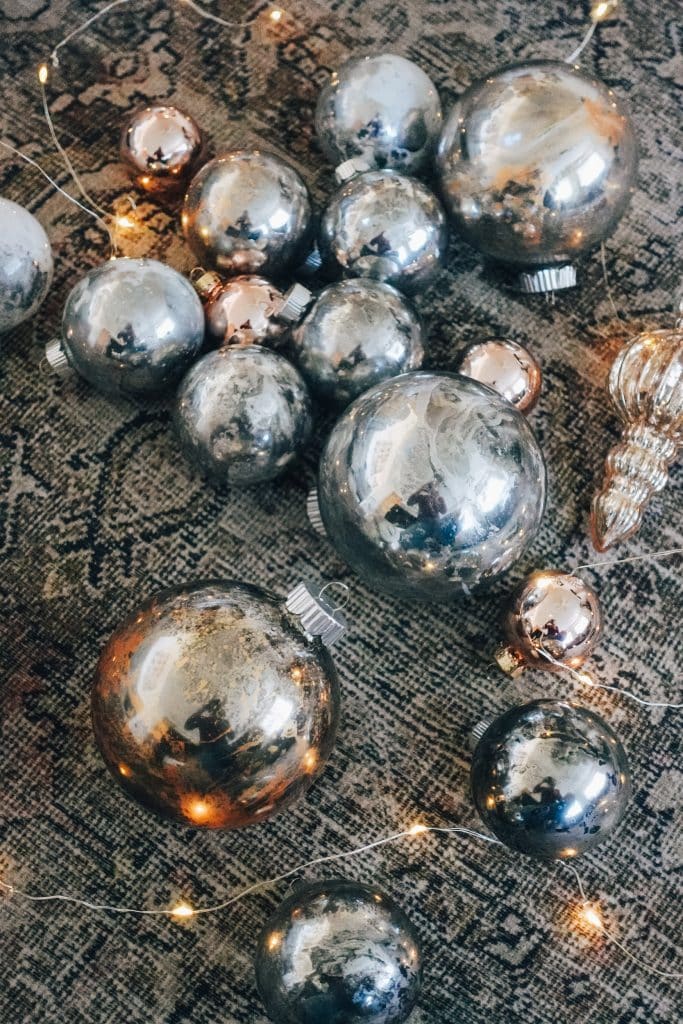
Each ornament looks so difference!
So, grab your materials, unleash your creativity, and watch your Christmas tree shine with these magical DIY ornaments. Happy crafting and happy holidays!
SHOP THE SUPPLIES :
SIMILAR DIYS YOU MIGHT LIKE
RECYCLED DISTRESSED ORNAMENTS!
15 MUST MAKE CHRISTMAS ORNAMENTS!
3 INGREDIENT AIRCLAY ORNAMENTS!
PVC PIPE CHRISTMAS CANDLE HOLDERS!
TIN CAN UPCYCLE – CHINKY KNIT PLANTER
hello!,I like your writing very so much! proportion we keep up a correspondence extra approximately your post on AOL? I need an expert in this space to unravel my problem. May be that is you! Taking a look forward to see you.