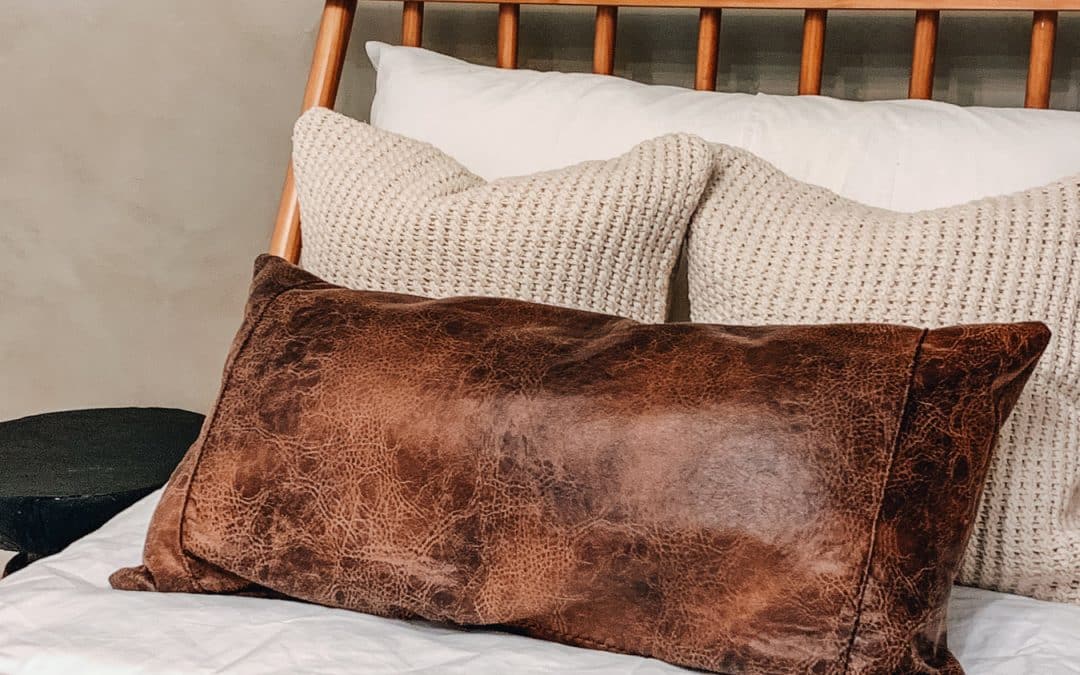
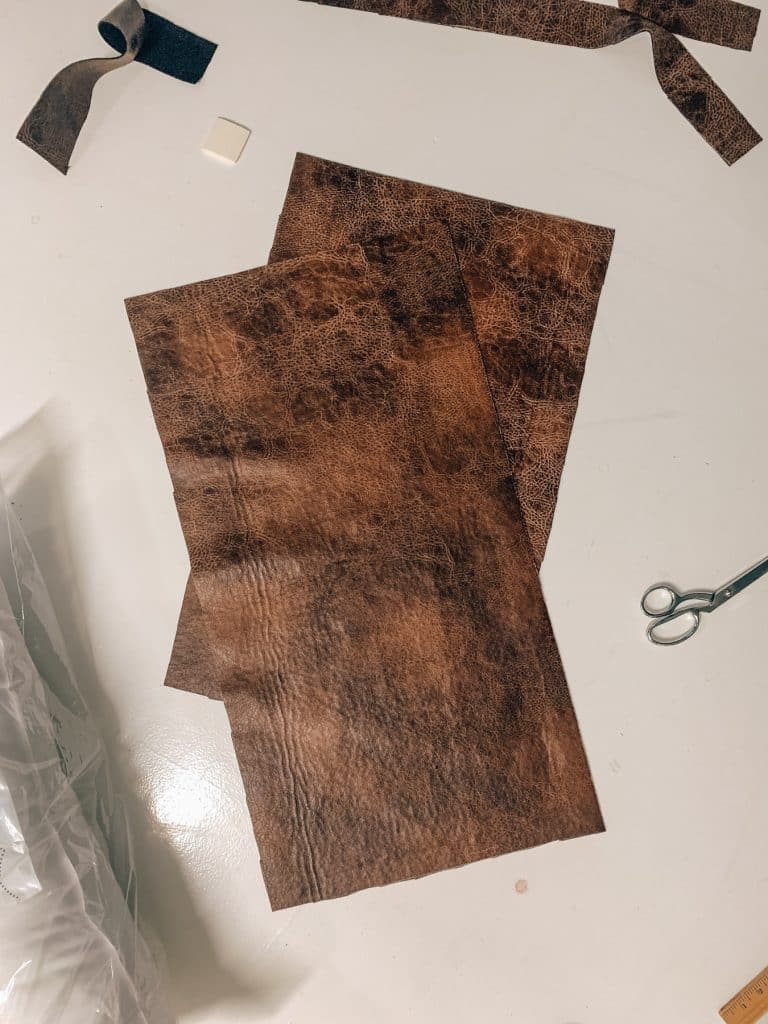
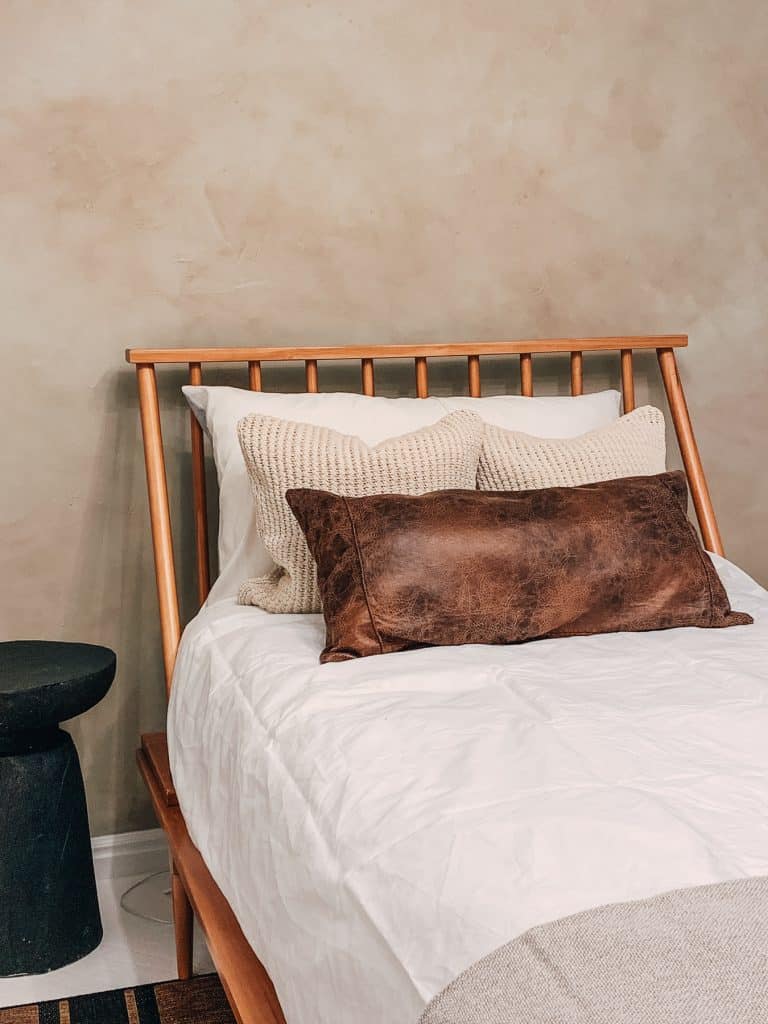
This week I’ve been hard at work remodeling Olegs room. I was putting the bed together today and realized I need a leather pillow. After a quick trip to hobby lobby I came across some beautiful faux leather fabric and decided it would be a quick and easy DIY.
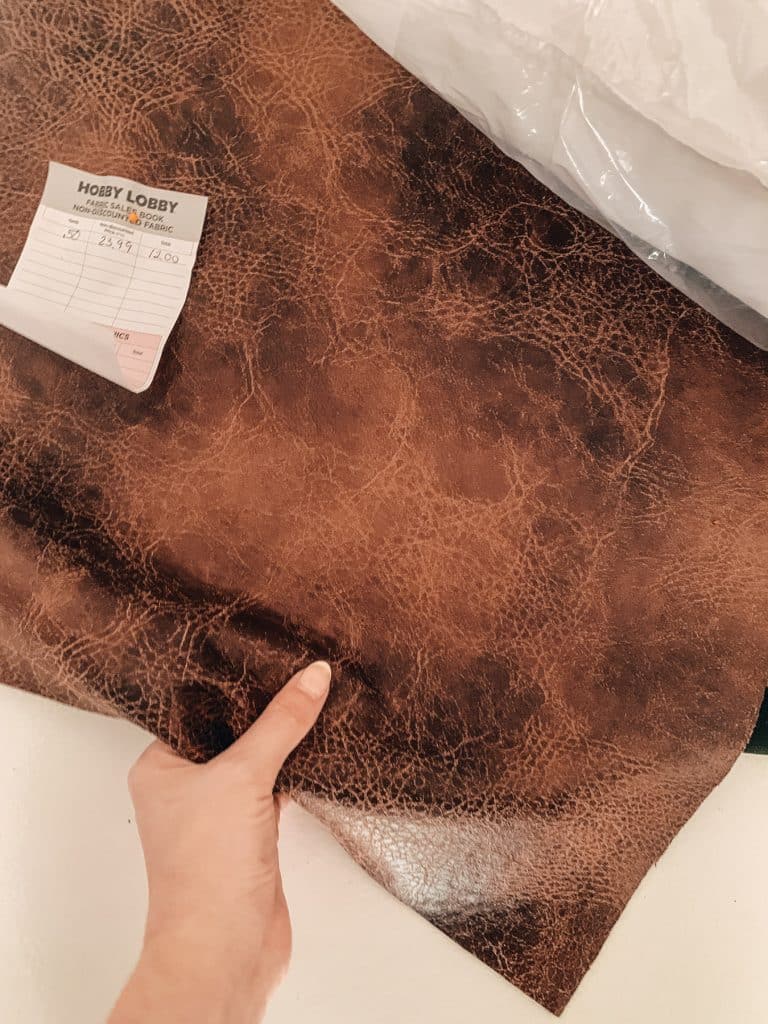
This fabric is super soft and has a foam backing.

Time needed: About 10-20 minutes
Supplies:
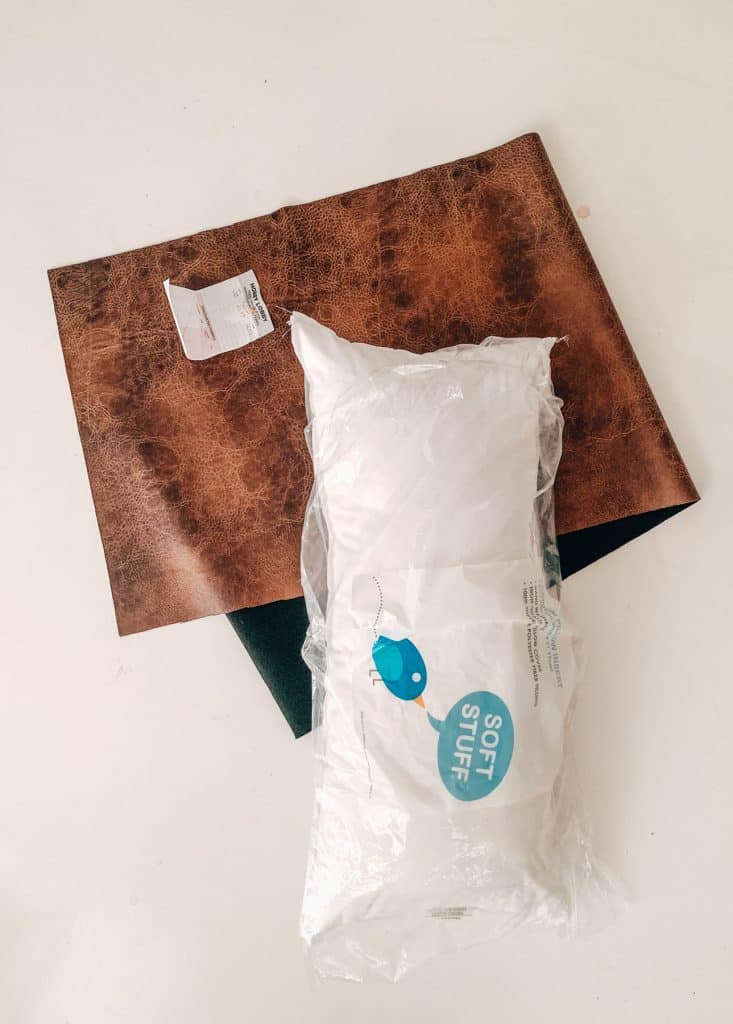
- faux leather fabric ( similar fabric found on amazon )
- pillow insert 14″ x 28″ (same size on amazon )
- sewing machine ( that can do a straight stitch )
- needle and thread
Cost :
This cost me around $26. If you use a recycled pillow insert this could cost you a lot less.
HOW BIG DO YOU MAKE THE PILLOW CASE?
I like my pillow cases to be loose fitting on the pillow so I like to make them about 2 inches bigger then the pillow insert. If you have a pillow case that’s 18″x18″ I would use a 16″x16″ size pillow insert. This gives the pillow a fluffier look.

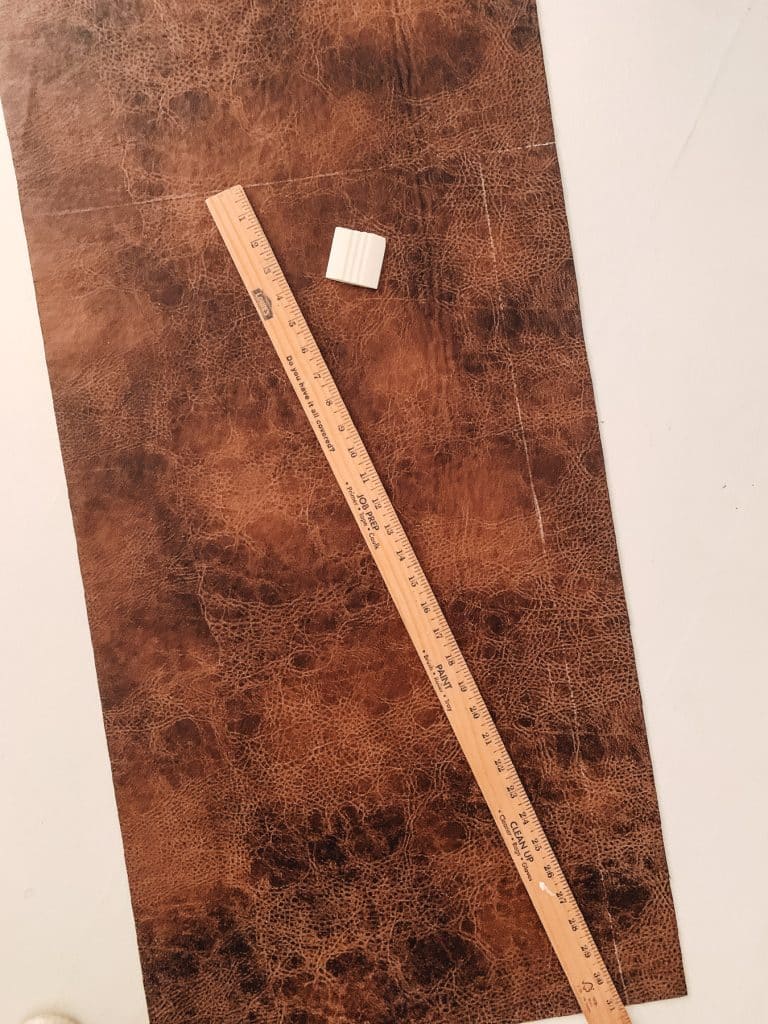
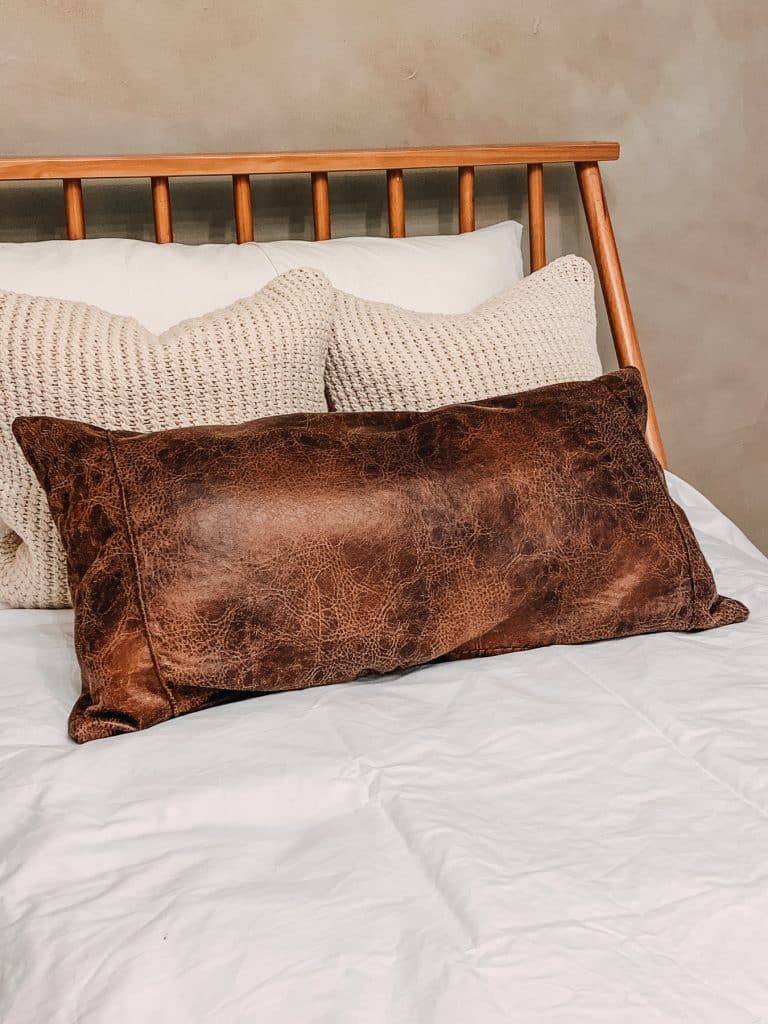
Because my pillow insert was 14″ by 28″ inches I drafted my pillow case size to be 16″x 30″. I do admit for a longer pillow the very loose fitting look is a bit much. If I were to redo this I would probably only go 15″x 29″. That way it would still be loose but not slouchy like mined turned out. I don’t mind it too much I love how it looks lived in.
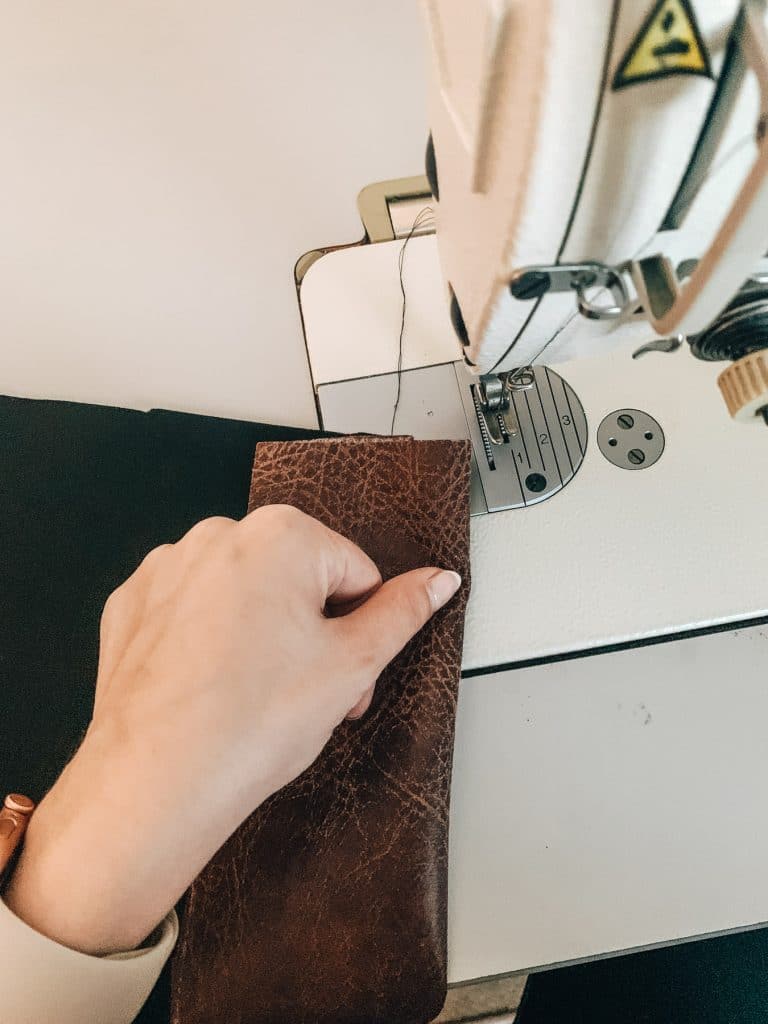
Add stitching for character!
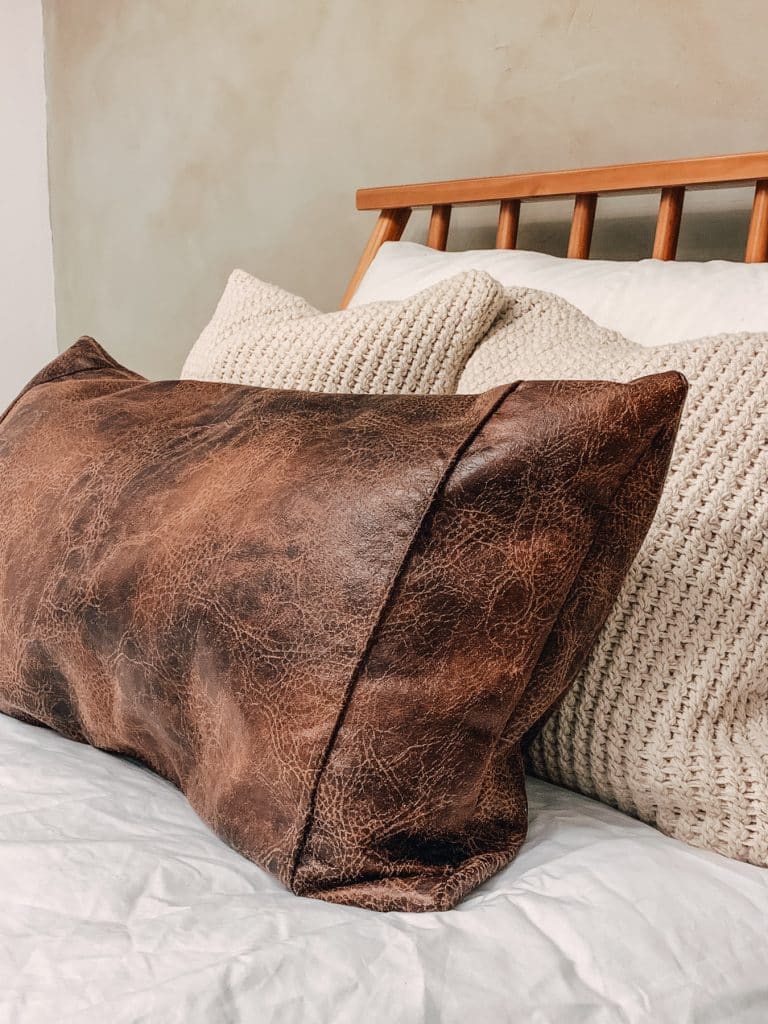
Before I secured the two pieces of my pillow case together I decided to give it more character by folding the fabric down about 3-4″inches from the edges and giving it a straight stitch. This is what gave it the two stitches on the sides when you look at the pillow from the front.
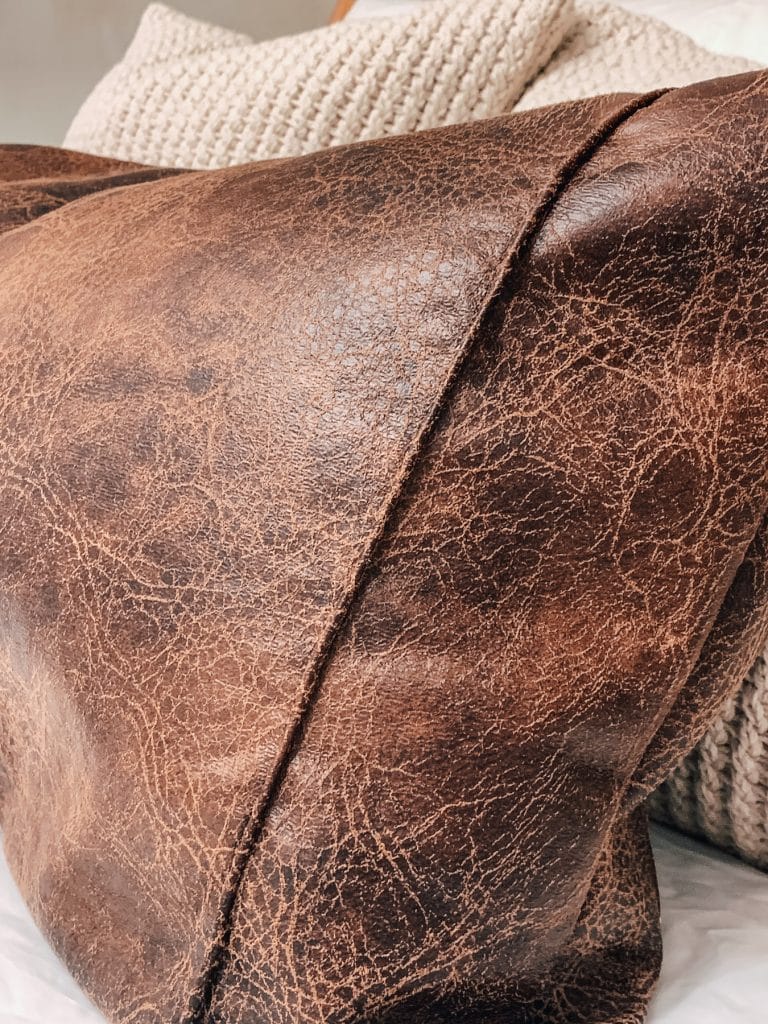
Here’s what the stitching looks like.
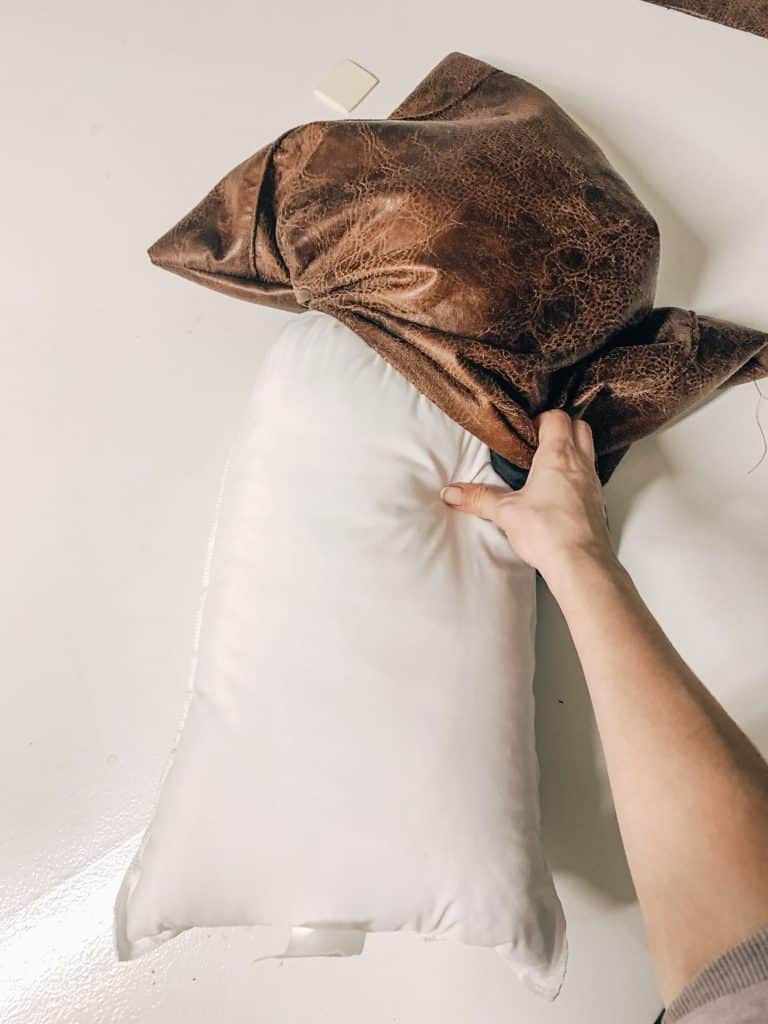
I then gave the pillow case a straight stitch around all the edges leaving an unsewn gap to insert my pillow.
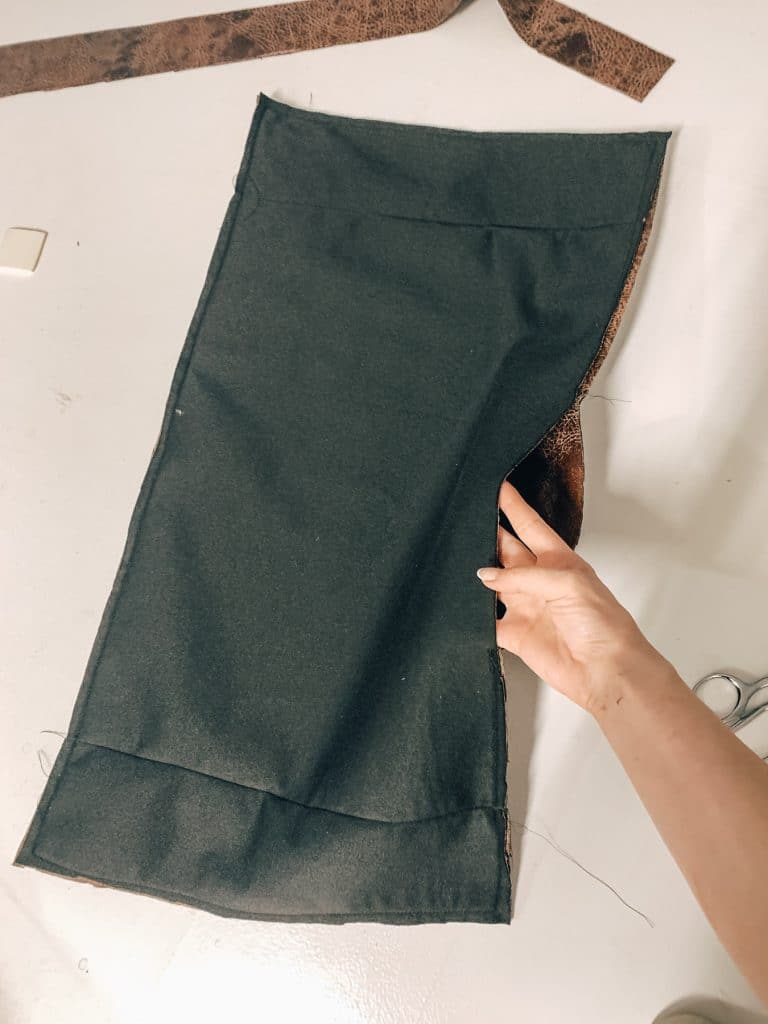
I turned the pillow case inside out and stuffed my insert in. It’s best if you leave the unsewn gap somewhere in the middle of the pillow and not on the corners. It’s harder to hand stitch the corners neat.
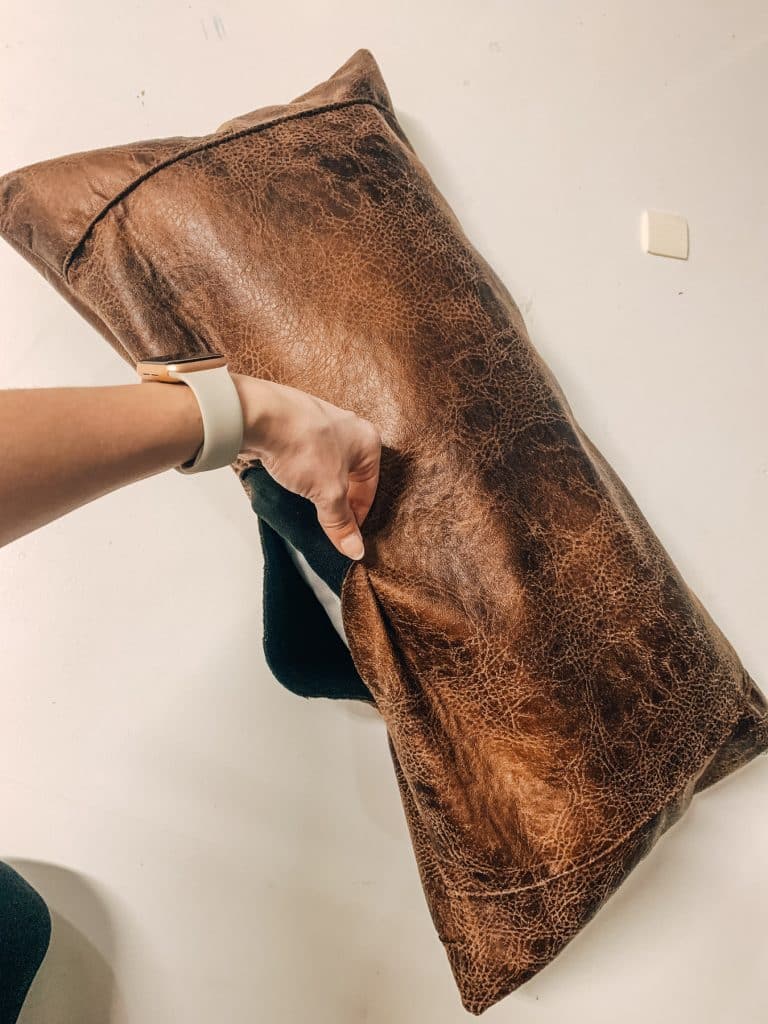
Securing the last bit of the pillow case!
And all that’s left is sealing off the unsewn edges in the middle. I simple used a needle and thread squished the two fabric together and stitched over it. It doesn’t have to be perfect because this is the side that’ll lay facing down.
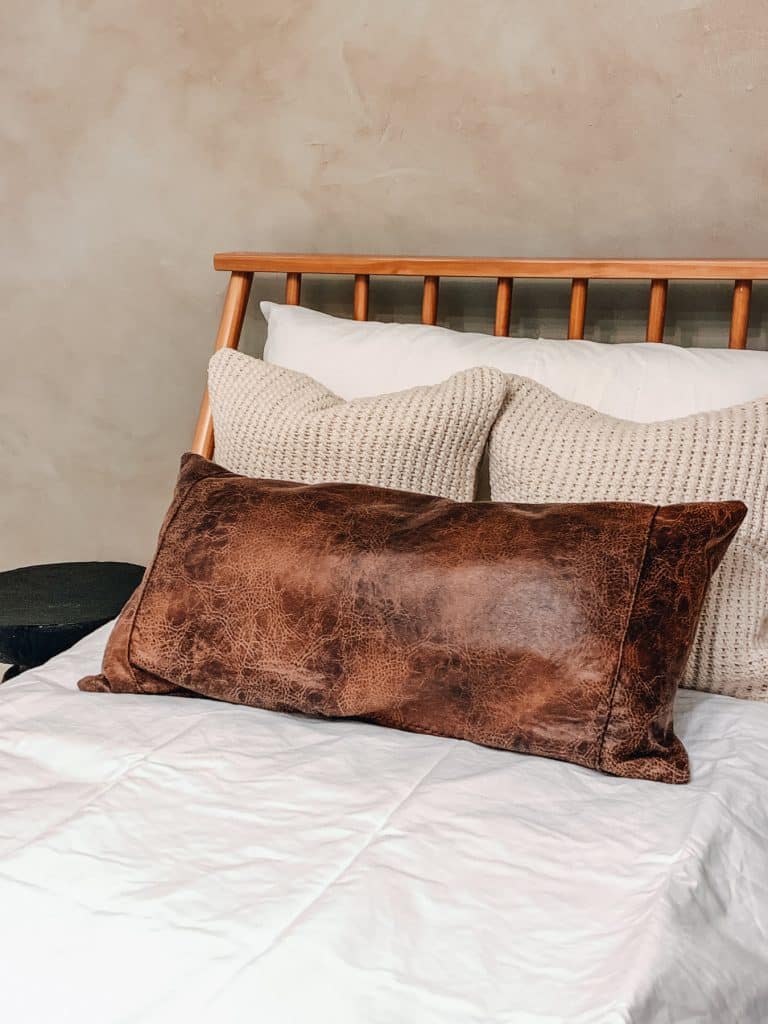
10 Minute Throw Pillow!
That’s it! I wasn’t to worried about being able to remove this pillow case for wash. I plan to spot clean it because of the type of fabric. If you do this with a lighter colored fabric and plan on using the pillow a ton I would probably consider adding a zipper. I have another DIY where I show how to do that here.
Tomorrow I want to try and dye the duvet a natural linen color. This should bring more warmth and tie it all together. The bedding still looks a bit too crisp white in my opinion. I’m also hoping to crumple the bedding for a lived in look. Hope it works.
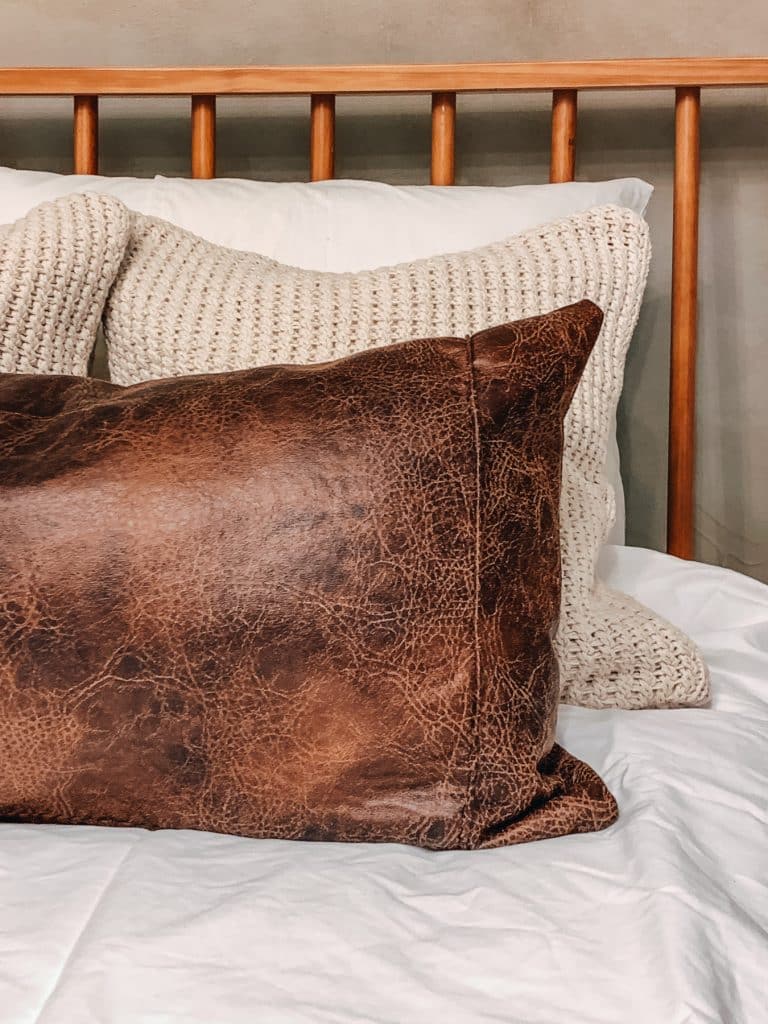
I love the stitching on the sides. It gives the pillows more character and really matches the leather fabric. It was a spur of the moment idea and I glad I went for it.
If you missed it on instagram I was sharing the bedroom makeover and a little about the wall I painted behind the bed. This was a faux concrete/stone wall I did using latex paint. I hope to share the DIY as soon as I get the rest of the bedroom set up.
That’s all for today! I hope you found this quick throw pillow tutorial helpful!
I’ll see you all next time!
xx,
Lily