Hey DIYers! Remember those vibrant, old-school Christmas trees sparkling with every color. Growing up we didn’t have a tree every year but when it did it sure was colorful!
Well, who says we can’t have our own nostalgic tree today? Let’s make some unique glass ornaments that’ll bring back memories!
Supplies for Your Crafty Christmas ornaments:
- Clear glass ornaments
- A selection of vivid alcohol inks
- Shimmery pearl acrylic paint for a cozy glow
- Rubbing alcohol for ink dilution (optional)
- A handy blow dryer for quick drying
optional- you can add pearl powders in with the inks.
Step-by-Step DIY ornaments:
- Carefully remove the caps from your glass ornaments. We’re going for a no-spill zone here! This stuff stains fast have your area prepped!
- Choose your favorite alcohol inks add about 6-8 drops inside the ornament.
- Gently swirl the ornament until evenly covered.
- Blow dry the ink while turning the ornaments. To avoid any ink puddles and get even color moving them while turns is key.
- For a stained glass effect, you can stop right here, or for an extra twinkle, add a touch of pearl acrylic paint inside. Swirl again until evenly coated.
- Optional: If you’re trying to get a lighter color mix in a little rubbing alcohol with your inks for a lighter shade, or sprinkle some gold powder. I didn’t notice that rubbing alcohol leaves a cloudy residue but if you plan on adding some pearl paint inside it’ll doesn’t make a different. However if you plan leaving them clear I would try a lighter color ink to start off with invest into some blending solution.
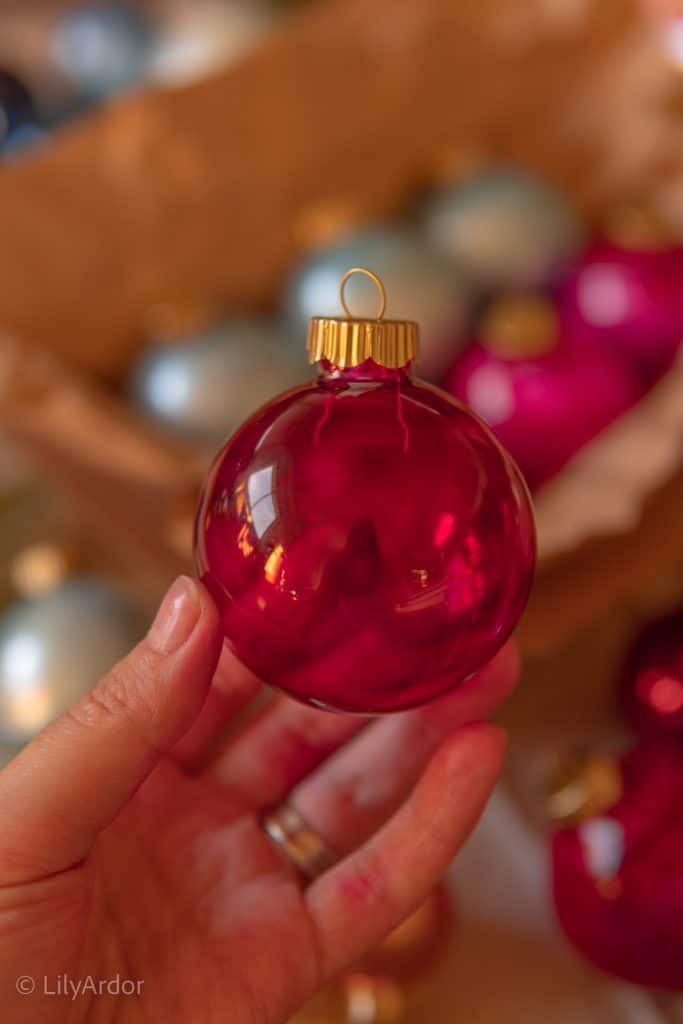
Final Touches: Once you’re happy with your colors, replace the caps, and there you have it – DIY Christmas ornaments that bring back memories! They’re not just decorations; they’re mini masterpieces. I love how each ornaments looks so different with so much character!
I actually removed and spray painted my ornament caps gold. I feel like it really made them look authentically vintage.
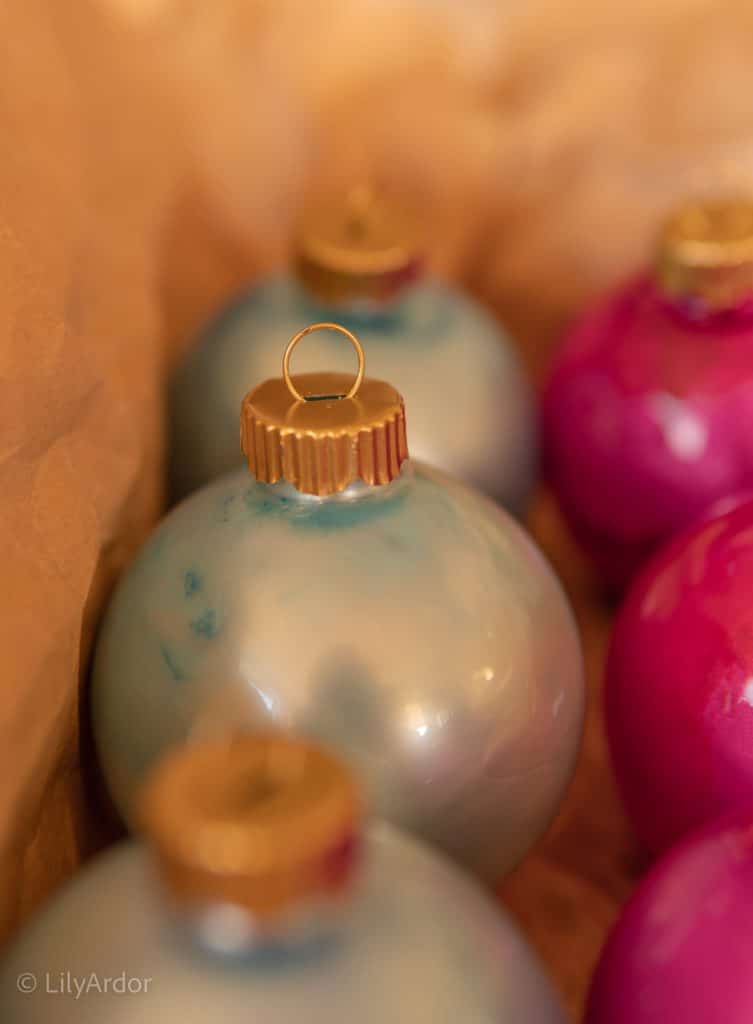
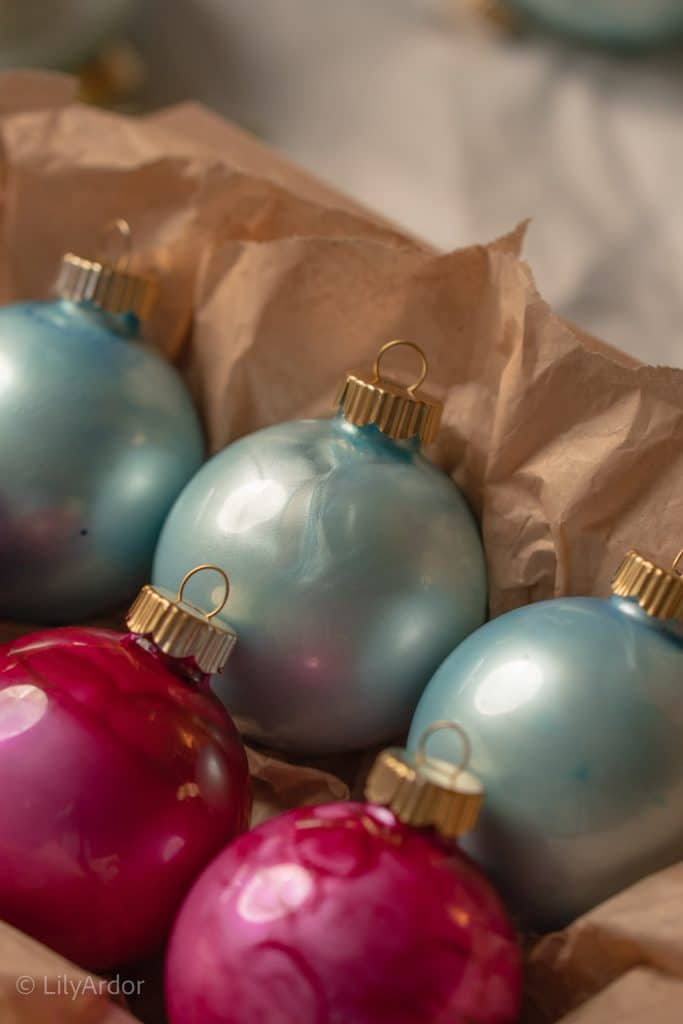
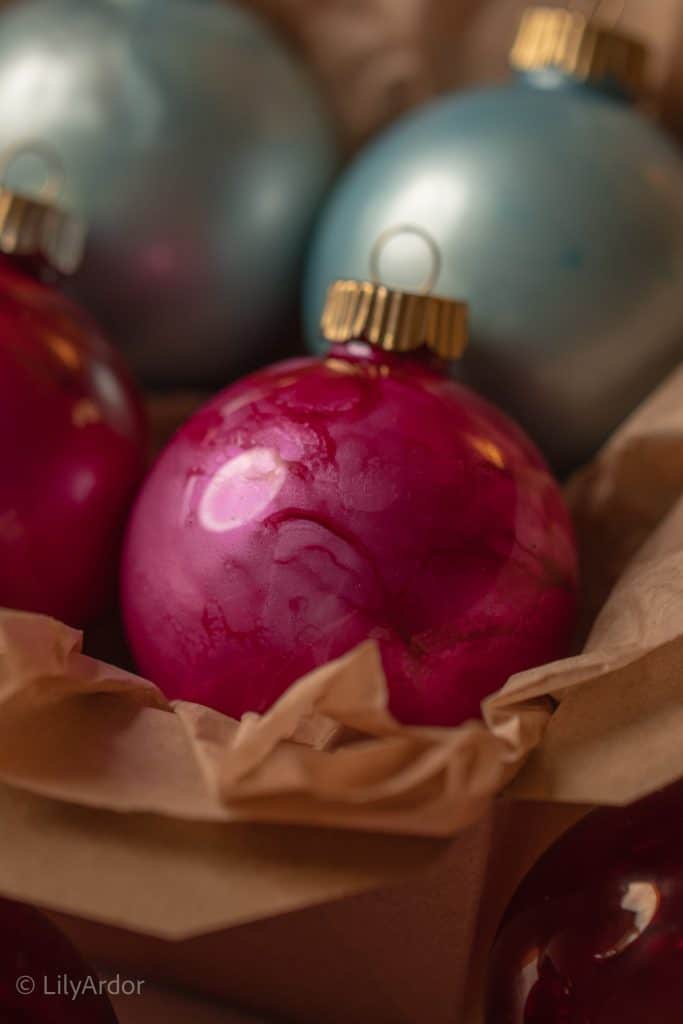
Just look at all those pearl swirls! So gentle and beautiful!
You can blow dry the pearl paint too or leave them to air dry. Remove caps to allow them to dry. Mine took about 4-5 days to air dry.
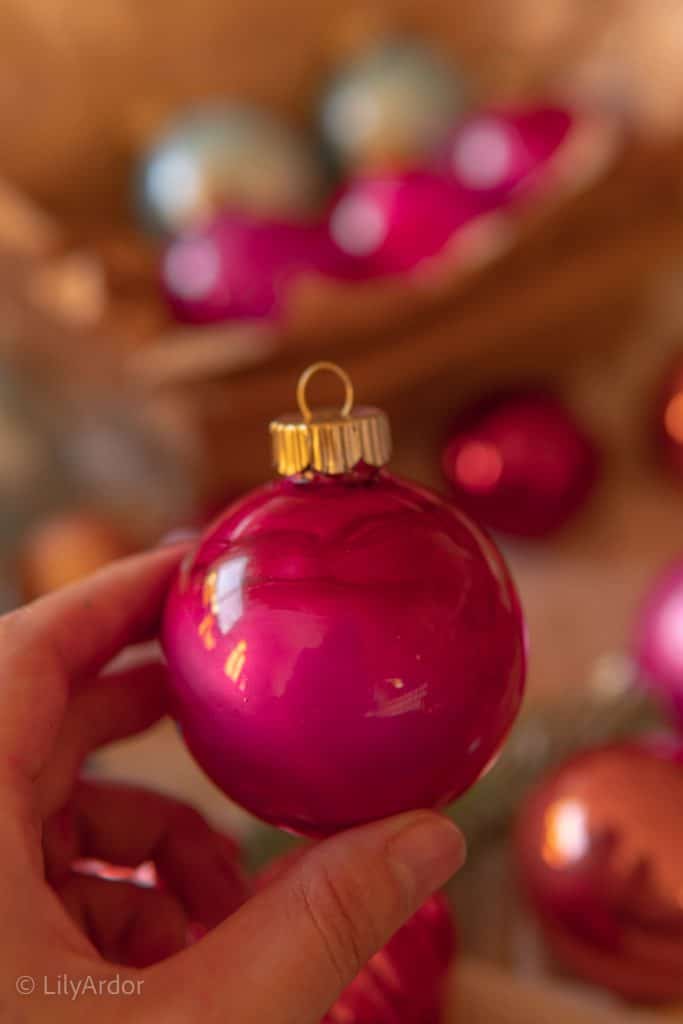
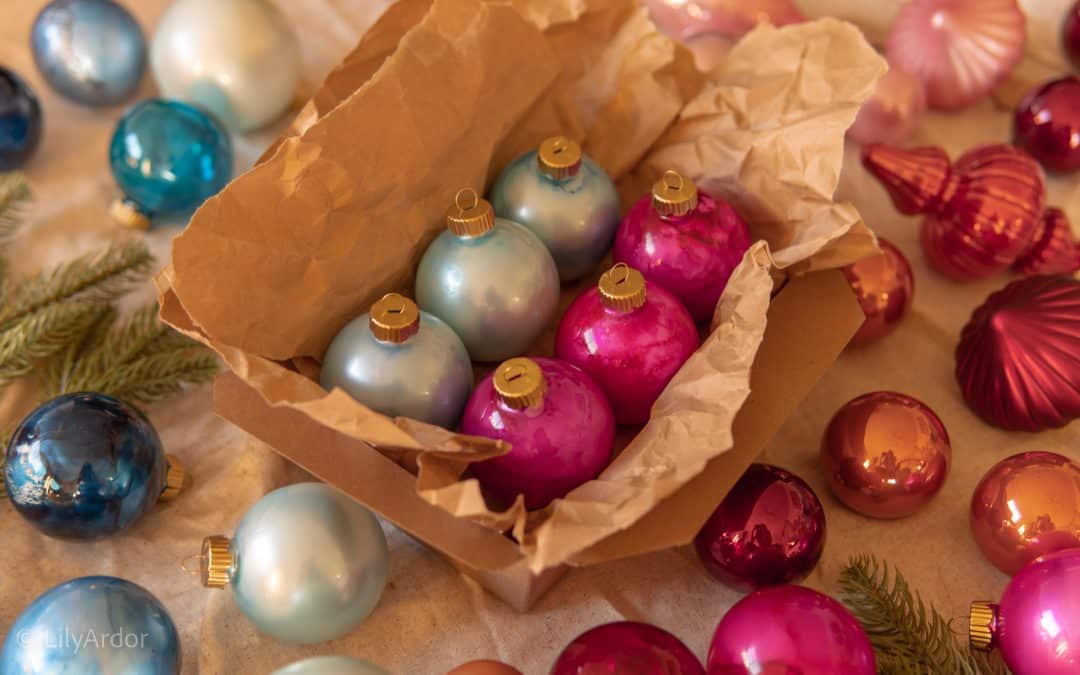
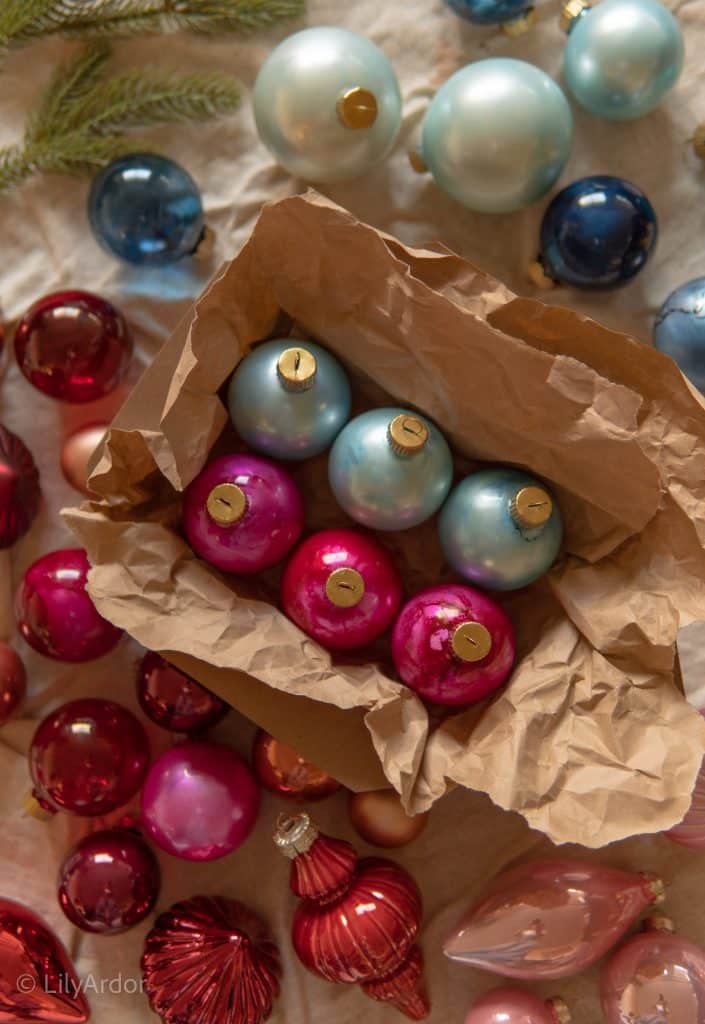
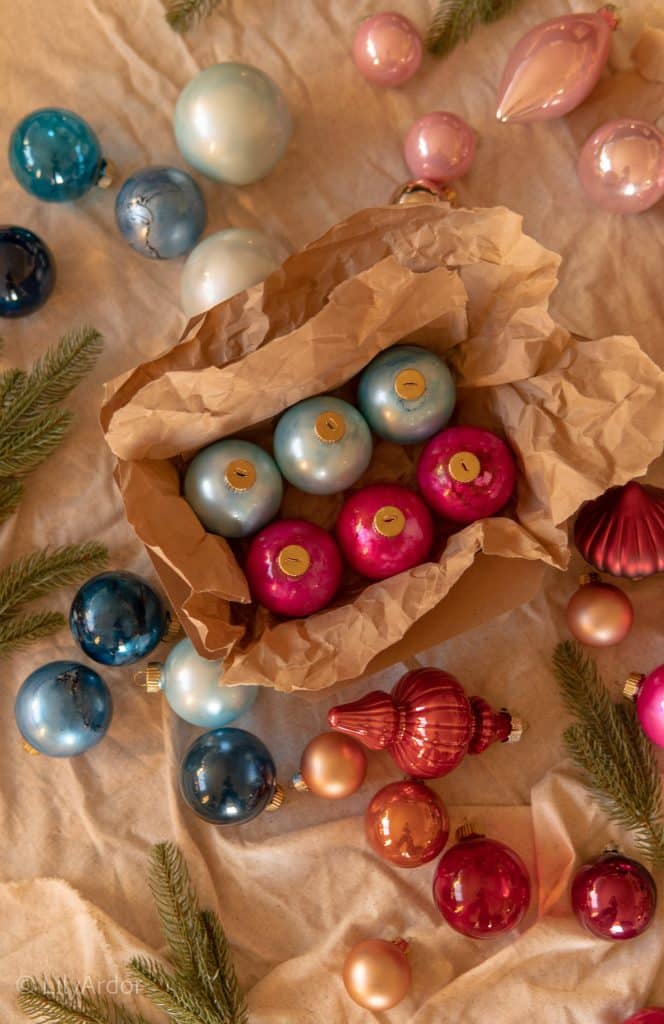
These hot pink ornaments are what made me come up with this DIY. I couldn’t find them anywhere for a decent price and already had some glass ornaments and ink at home to try.
I got the rest of the ornaments at target! (different shaped ones.. ) Fell in love instantly when I saw them.
That’s all for today! I’ll try and add more instruction photos soon! Don’t forget to check out the video for a step-by-step visual on how I made each unique ornament. Some were almost a fail but I didn’t give up. LOL!
Shop the supplies –
Here’s some pins for later


How lovely!!!!!!!!!!!!)