DIY Concrete Tile Backsplash: Zellige Tile Inspired!
DIY Zellige-Inspired Tiles!
Hi, Everyone welcome to part 2 of our kitchen budget makeover. If you missed it our last project was repainting our kitchen cabinets to look like wood. Today were sharing how we made tiles from concrete and installed them!
Handmade tiles are all the rage right now. We love the look of zellige tiles and really wanted to try and make our own handmade tile using concrete. BOY was this an adventure! So much trial and error and I would totally do it again. We made so many mistakes in the process but, once we figured out the technique we were on a roll. I’ll be sharing all that on here!
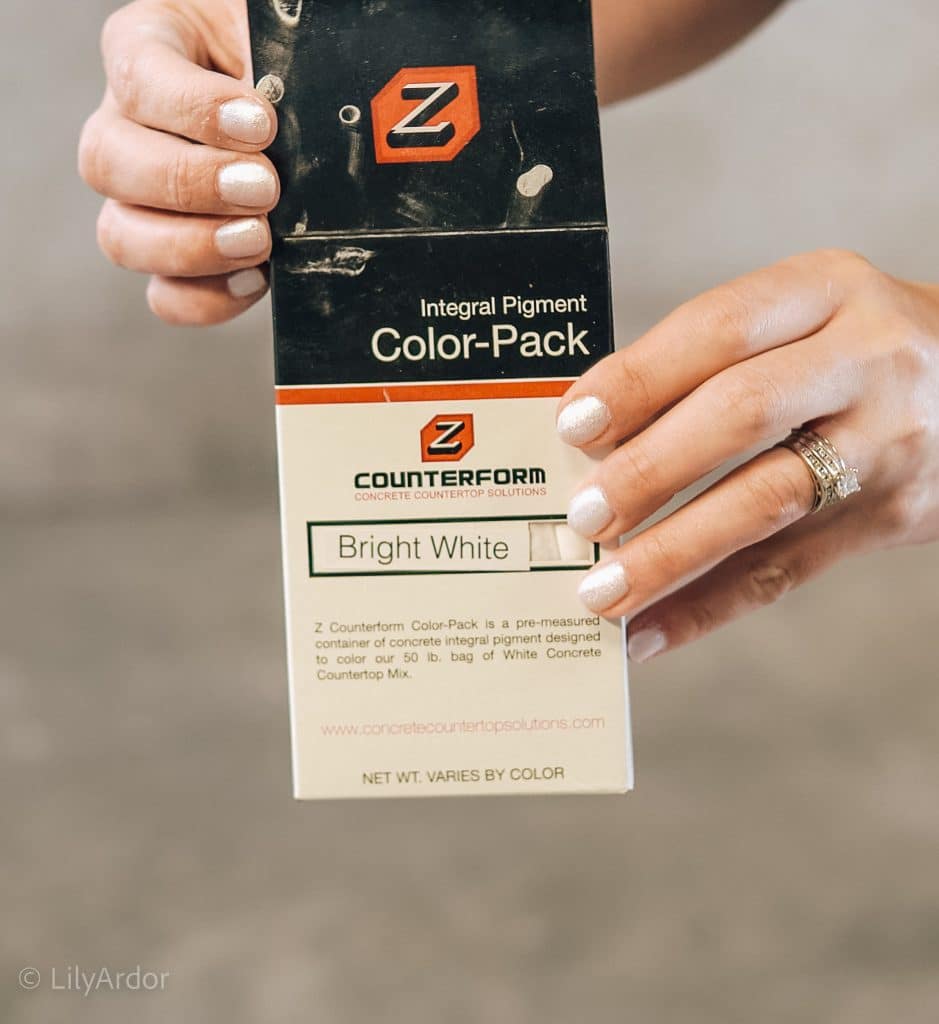
If you’re looking to make your tiles a specific color you came to the right place! You can make them any color using colored powder pigments.We got ours from @zcounterform.
HOW IT STARTED!
Here’s a snippet of our kitchen before and after. We had this ugly aqua wallpaper that wasn’t doing anything for the kitchen. Back when shabby chic was trendy we enjoyed it. I look at it now though and wonder what I was thinking painting our kitchen blue! 🙁

before
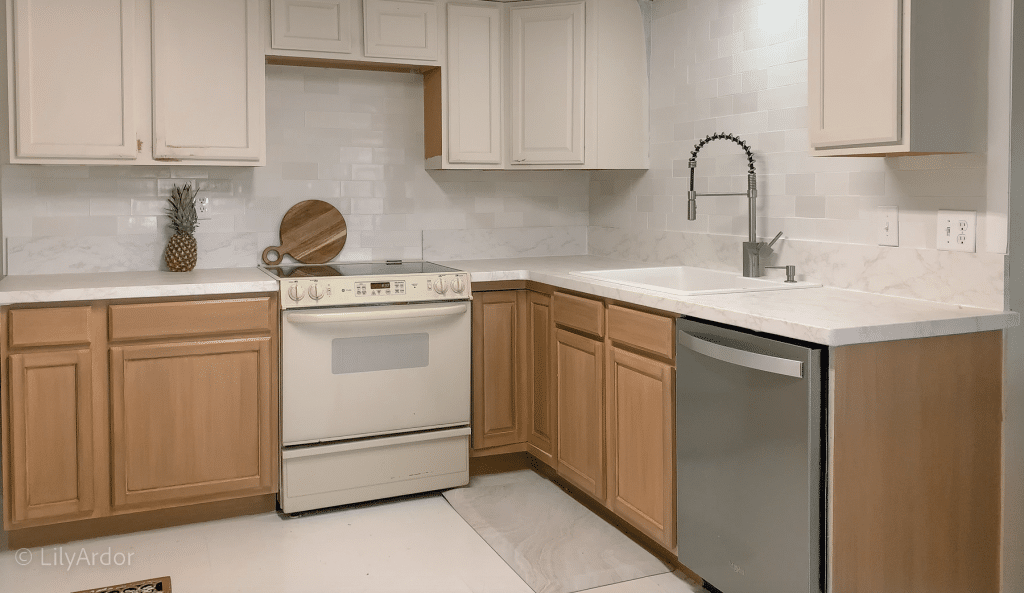
after
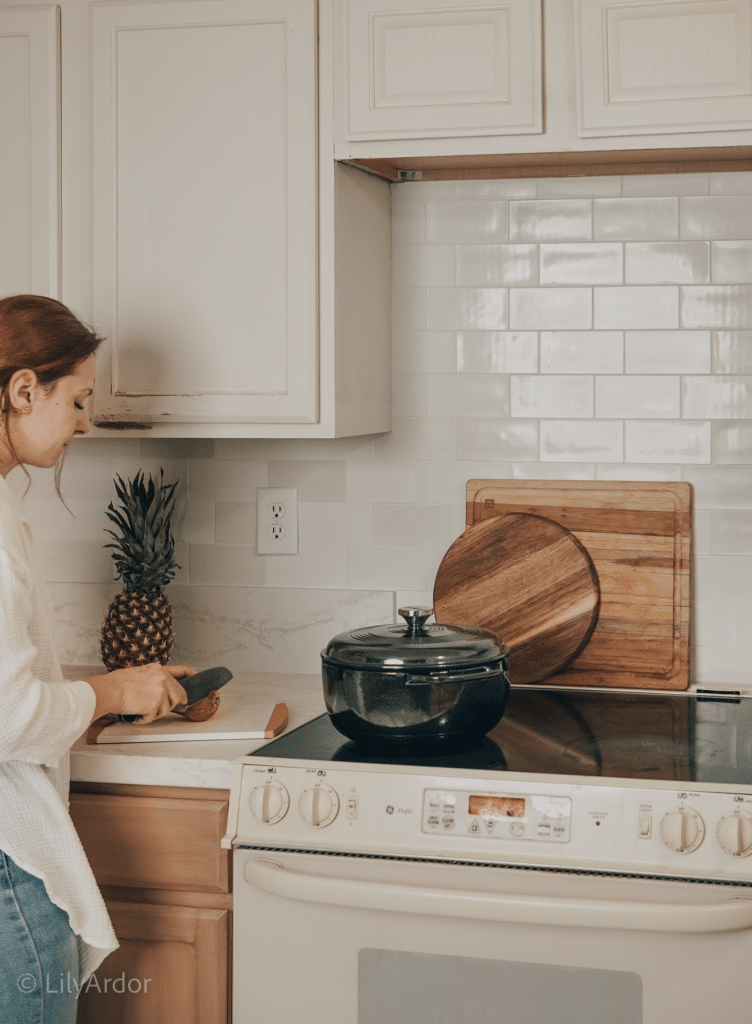
Here’s our kitchen after! What a transformation! I can’t believe how much the new tiles brightened up the kitchen. There’s still so much work that needs to be done. We removed the microwave from the top because I’m hoping to get a hood there. Also can’t wait to paint the top cabinets and get a new range.
Let’s GET STARTED!
With this guide, you’ll learn how to make your own tiles using concrete & simple plastic molds.
Supplies :
- concrete mix
- colored powder pigments ( white and almond )
- plastic tile molds
- water
- concrete waterproof sealant
- Mixing supplies
- 2 buckets
We knew we needed white concrete for this project so we reached out to zcounterform and they provided us with all the supplies for our DIY tiles! Thank you so much for sponsoring this project zcounterform!
Shop the white concrete + tile forms here – concretecountertopsolutions.com/LILYARDOR
USE CODE FOR 10% off : LILYARDOR
Let’s Get Started!
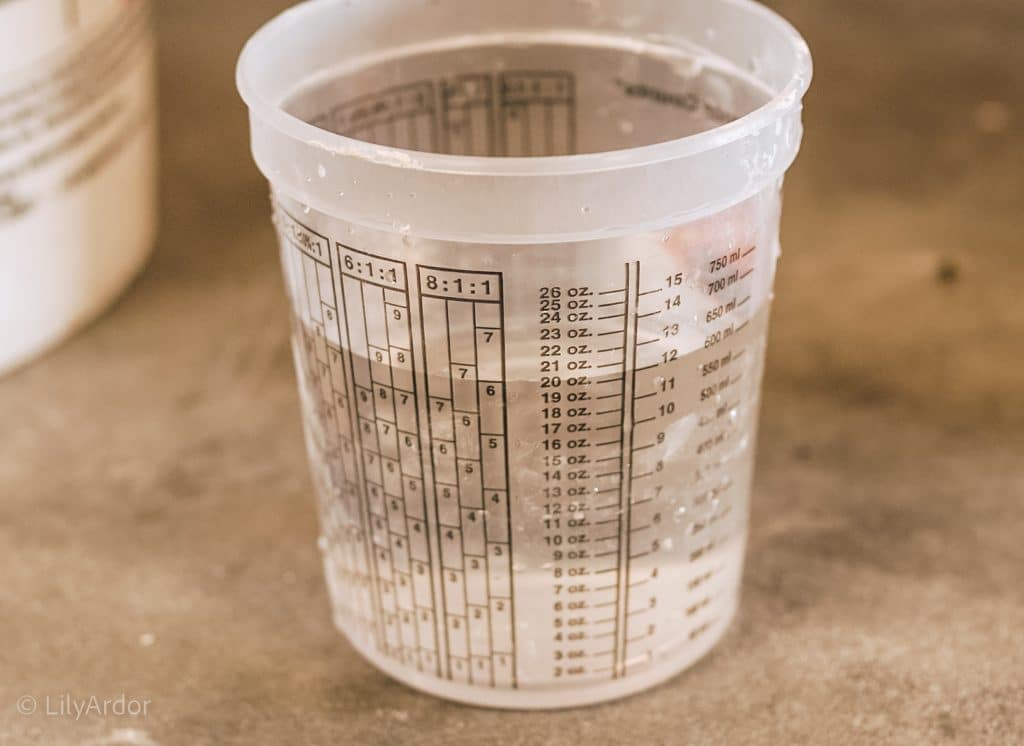
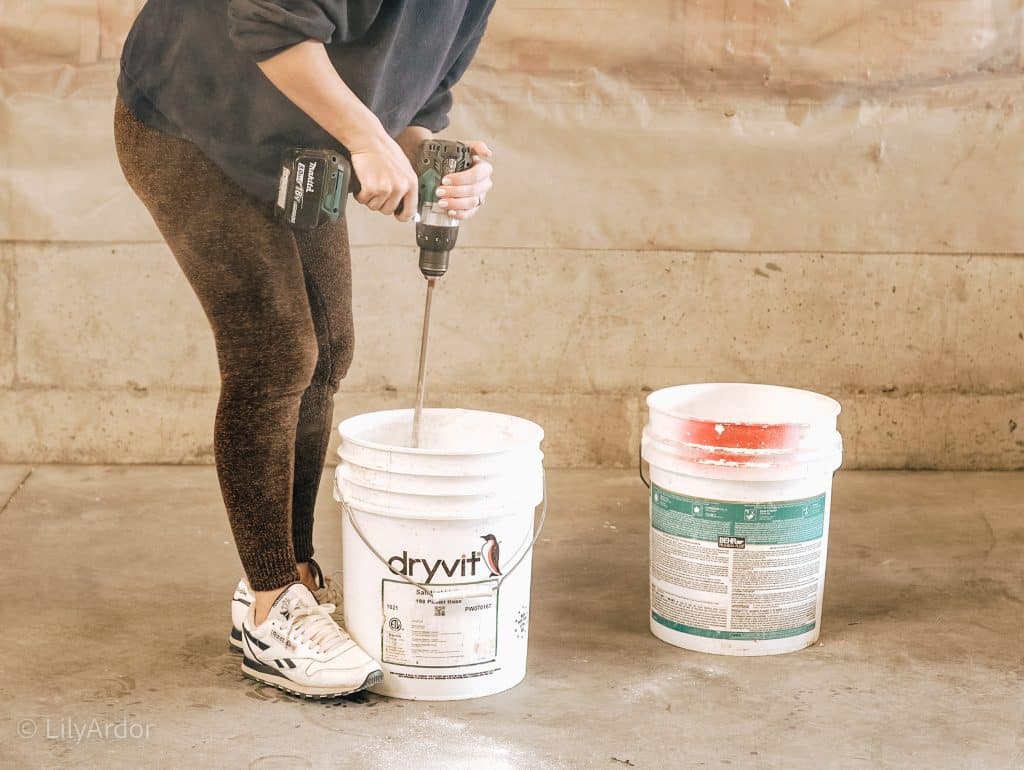
Step 1. Mix Your Concrete
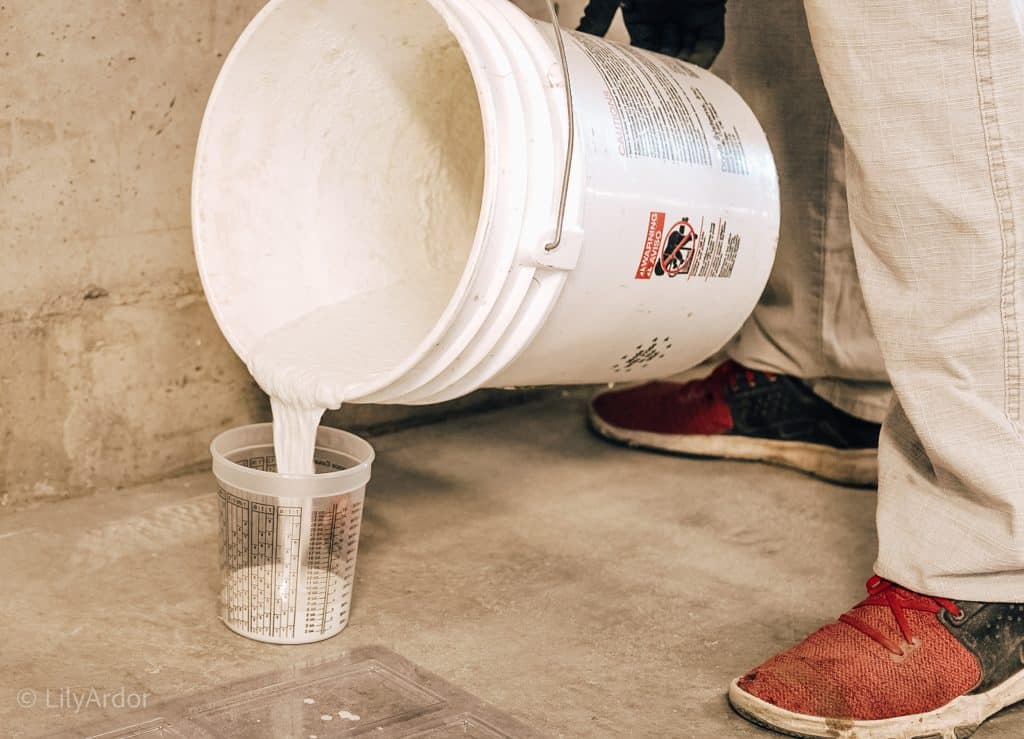
Combine 10 pounds of concrete with 20 ounces of water. We used white concrete, which turned out to be a light, off-white gray. This served as one of our darker shades. Adjust the water quantity to achieve a pour able consistency. If you’re unsure, check out our video guide for a clearer understanding.
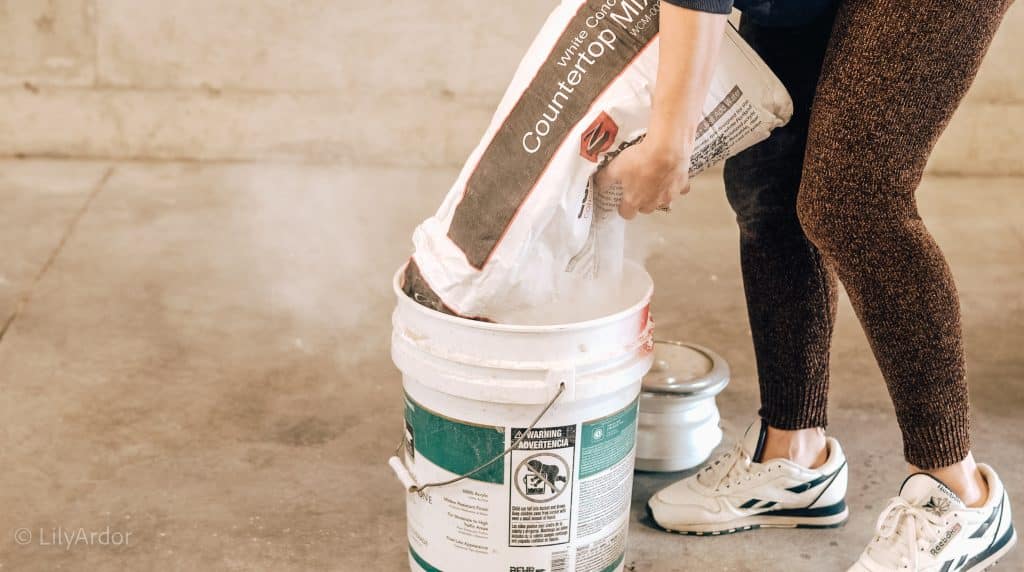
You’ll need two buckets to work with. Pour water into one bucket then concrete over the water. We tried pouring the water over concrete and it was almost impossible to mix. It makes the mixing process way harder!
Step 2 : Coloring your Concrete!
For a Zellige look, we created a palette of off-white, and beige/gray, and light gray. A total of three shades of tile. Most of our trial and error came from trying too many shades. Then we realized too many shades starts looking too messy. Three shades or even 4 was the perfect amount.
To make the off white, our lightest shade, we added 1/4 cup of bright white powder to 10 pounds of mixed concrete.
For our light gray we used the concrete alone. You can choose to add a tiny bit of charcoal but we found it cooled down the gray too much and became to dark.
For our warm beige/gray we added 1/4 cup of white and 1/4 teaspoon of almond colored powder to 10 pounds of concrete.
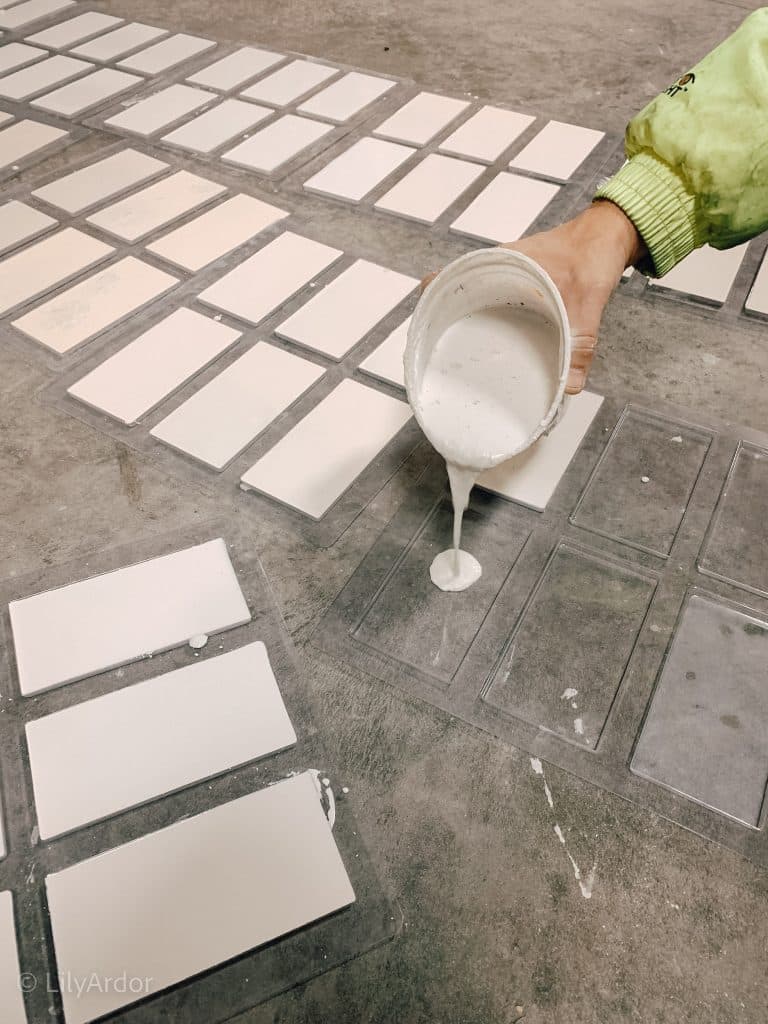
Step 3: Pour into Molds!
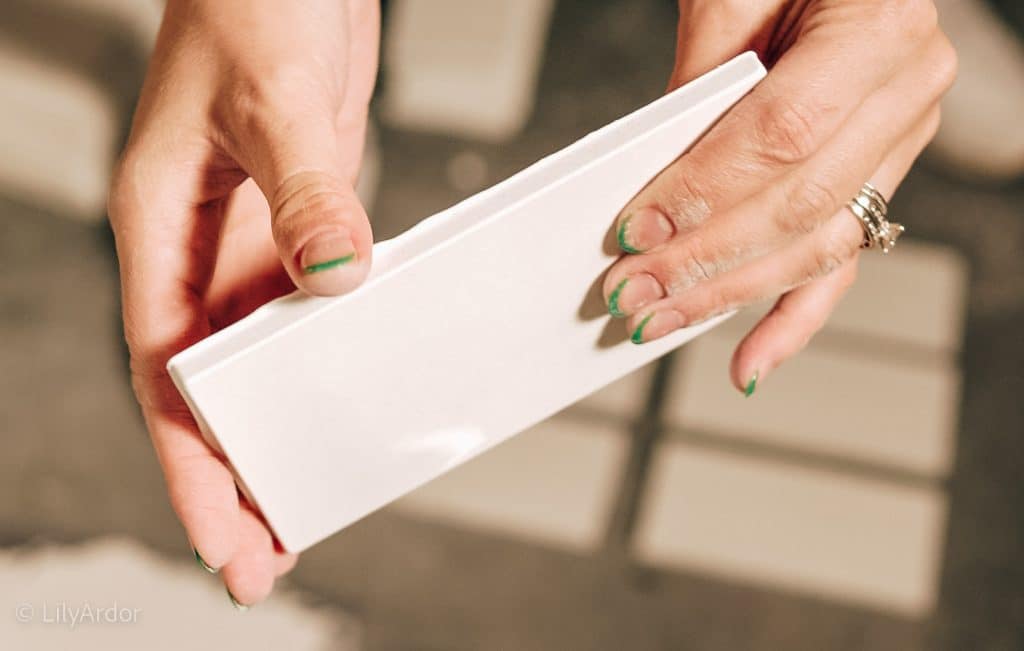
Take your time with this step. Pour the concrete into the molds, being careful not to overfill. It’s better to under-pour slightly than to over pour, as excess concrete can create sharp edges that require sanding.
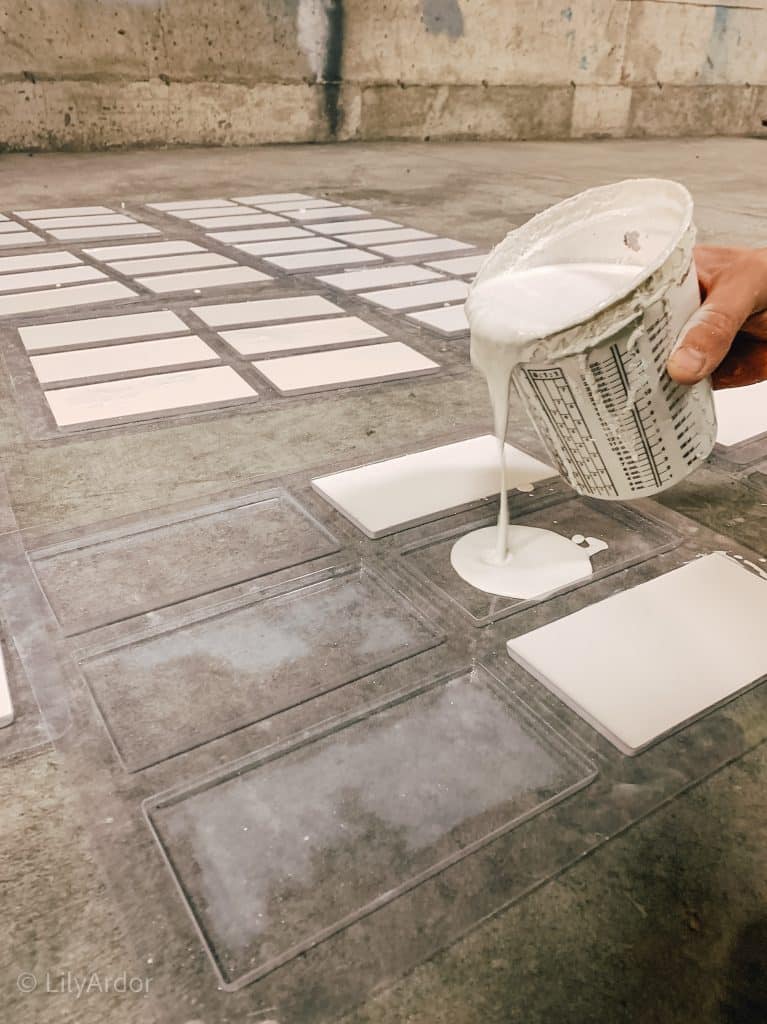
I wish we learned sooner that over pouring even a tiny bit would create so much more work for us.
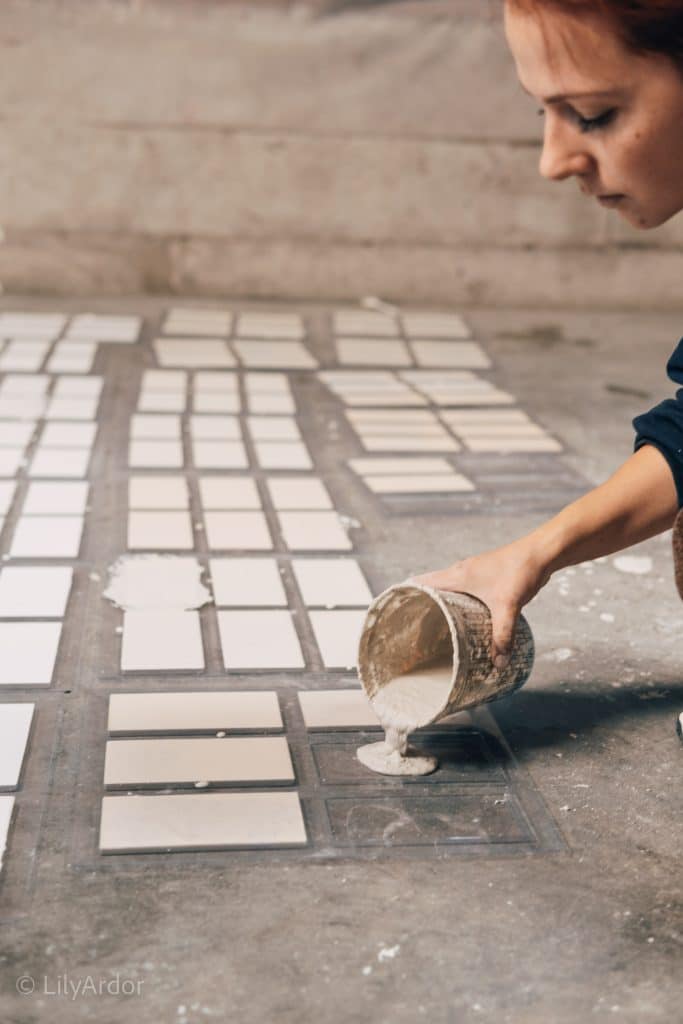
We got our tile molds from zcounterform. They come in a pack of 12 with 6 tiles on each mold. They gave our tiles the perfect texture for our zillege tile.

Just look at that beautiful handmade texture the tiles have!
TRIAL AND ERROR!
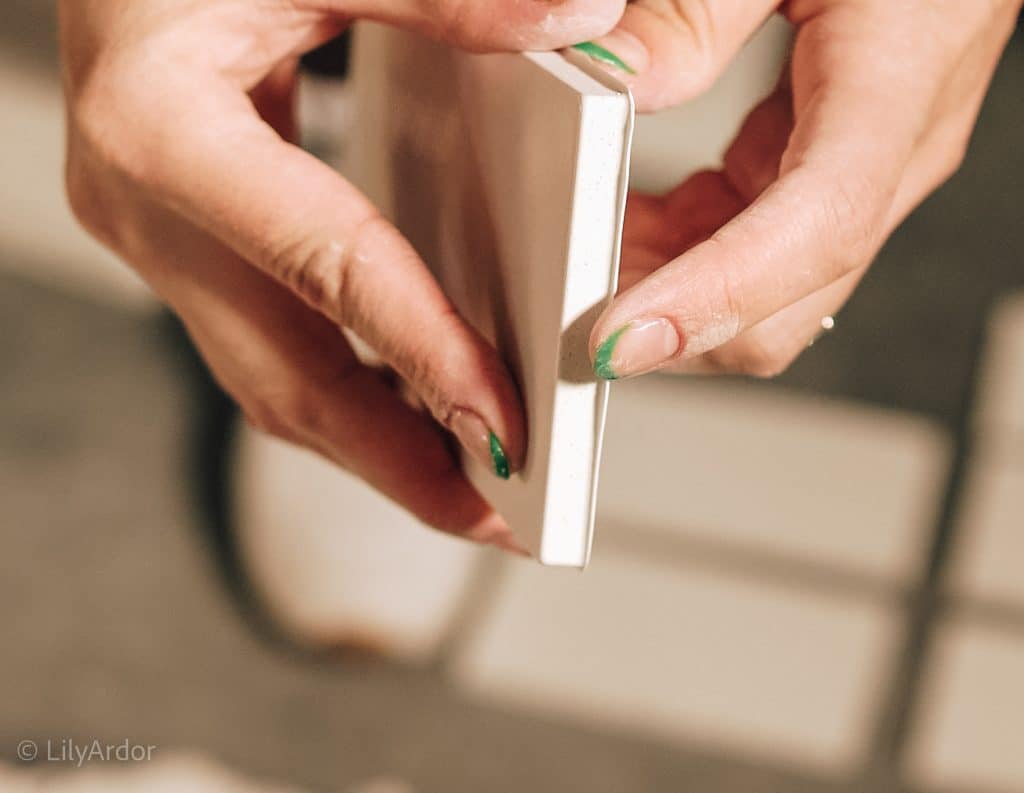
Here’s what over pouring does. It creates sharp edges along the tile making it too thick and unusable.
I had to pull out my dual sander and sand a lot down to save half my tiles. Otherwise I would of tossed them out. This took me an additional couple of hours to do.
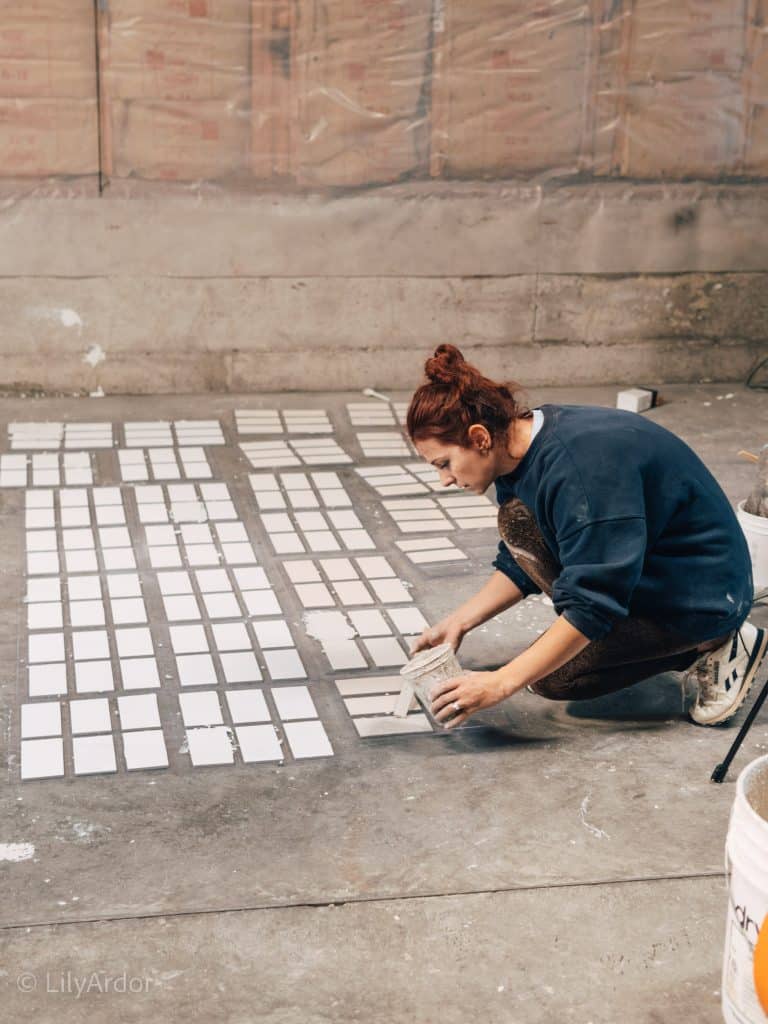
Step 5 : Let it SET!
Your curing time will really depend on the temperature of the room. Our first batch that we poured was in our shop and even though we tried to heat the space the floor was freezing because it’s winter outside. It took about three days to cure.
The second batch we poured indoors in our living room and it only took about 1.5 days to cure.
To remove from the molds simply flip the molds over and pop the tiles out. If your tiles keep breaking then the concrete hasn’t set yet. Give it another day.

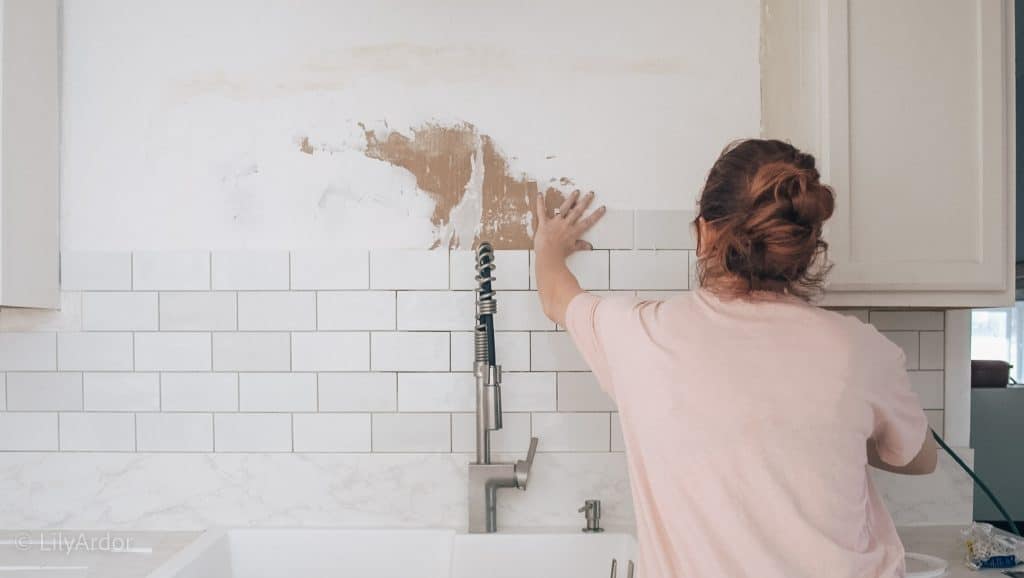
Installation tips!
We share the full installation process in our video.
You’ll need to seal your tiles to waterproof the concrete. We used the zcounterform sealant. I applied one coat onto the tiles before the grout and 2 coats once we grouted.
You’ll need at least 3 coats of it. It’s really easy to apply. I just rubbed it on with a microfiber towel.
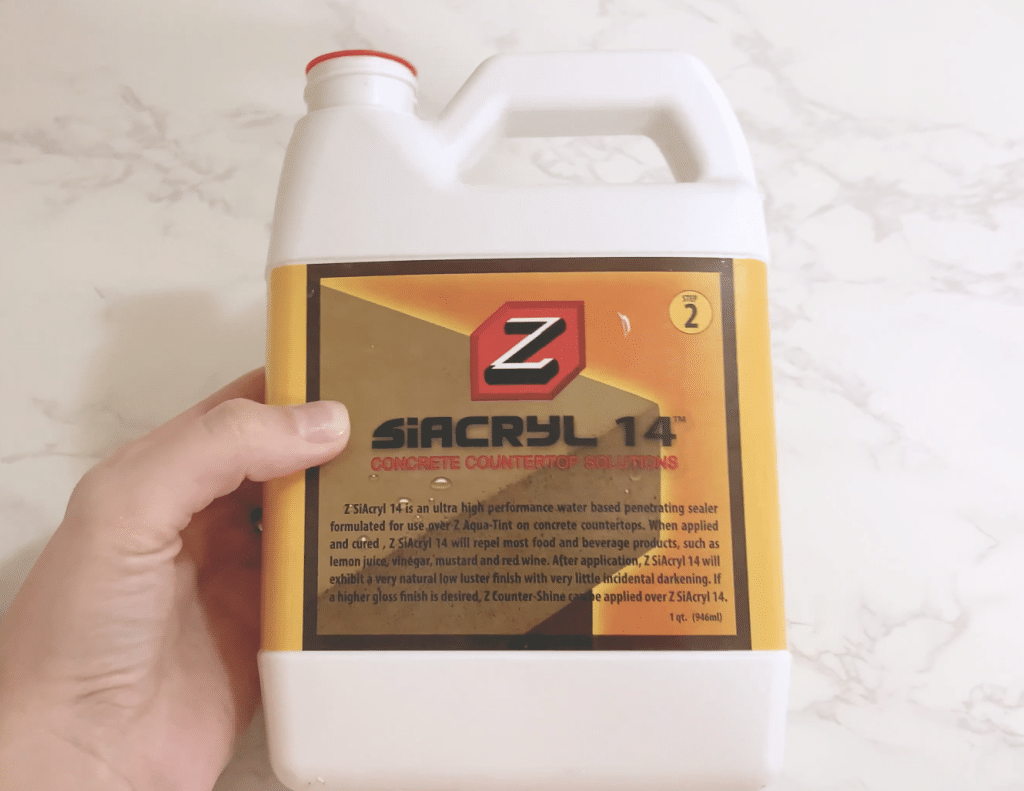
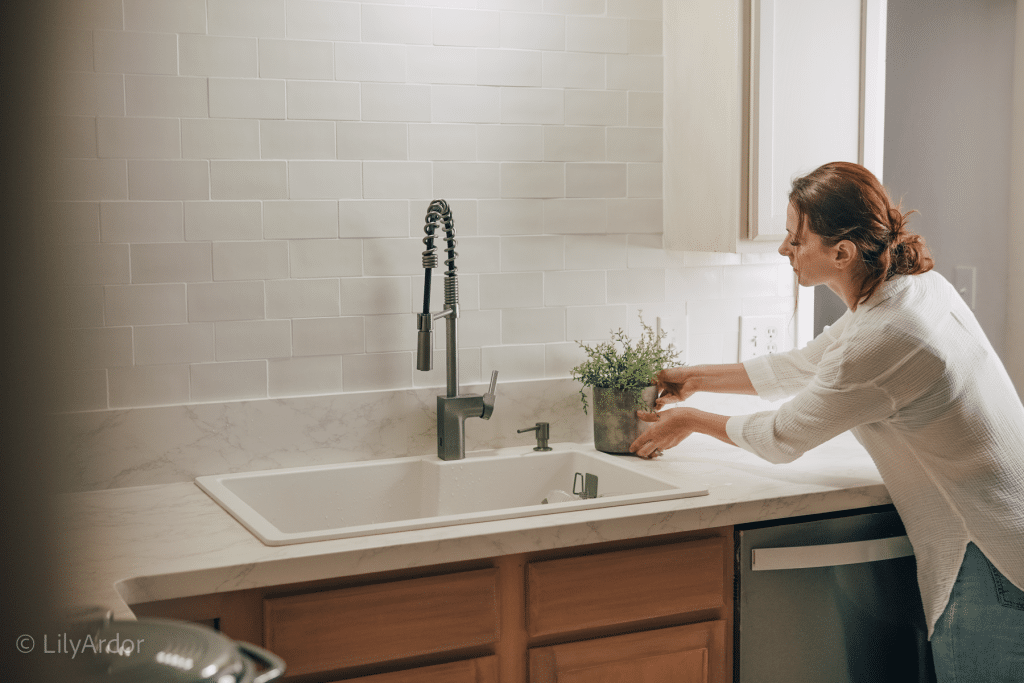
I was worried the tiles wouldn’t have the correct shine on them but, that sealant was the perfect finishing touch! Look at that shine! It almost looks pearlescent.
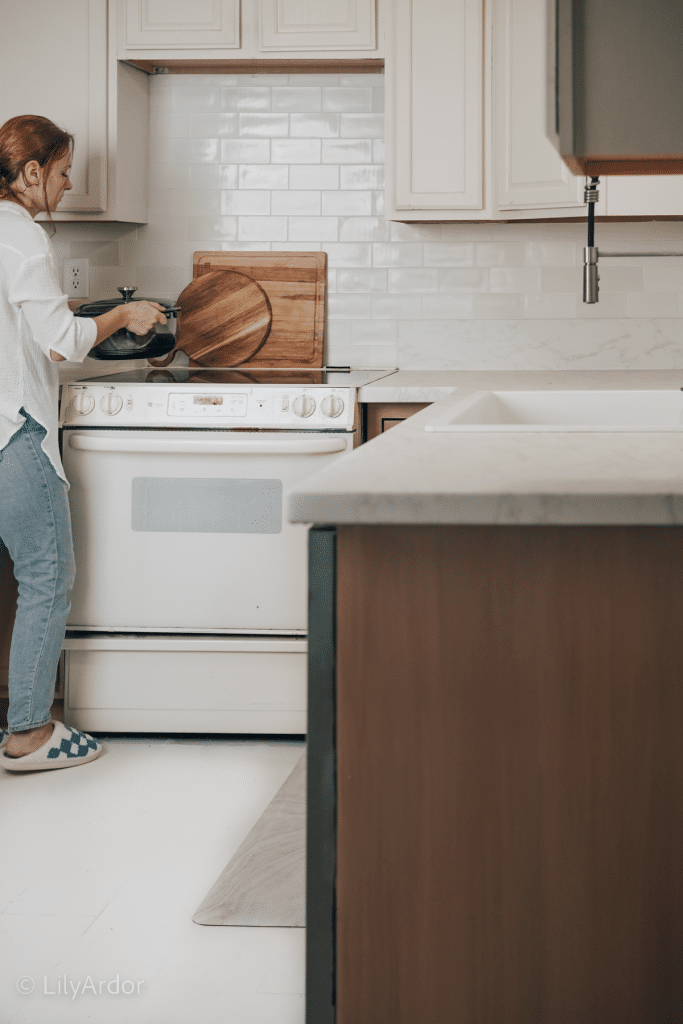
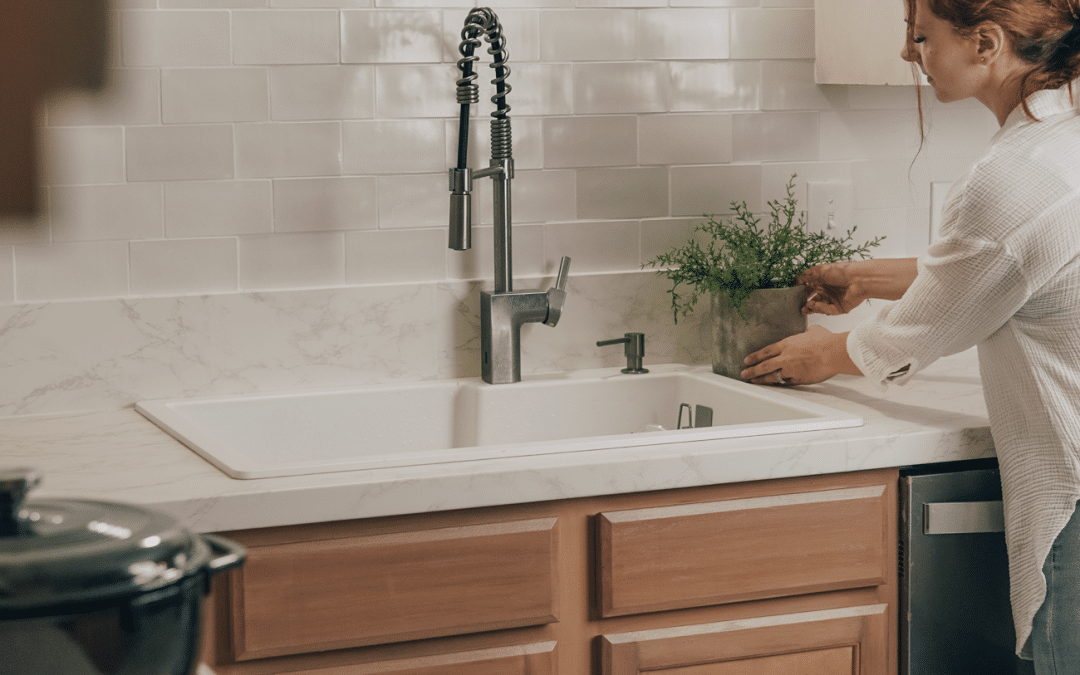
We have been enjoying our light and airy kitchen! The tiles made such a huge difference!
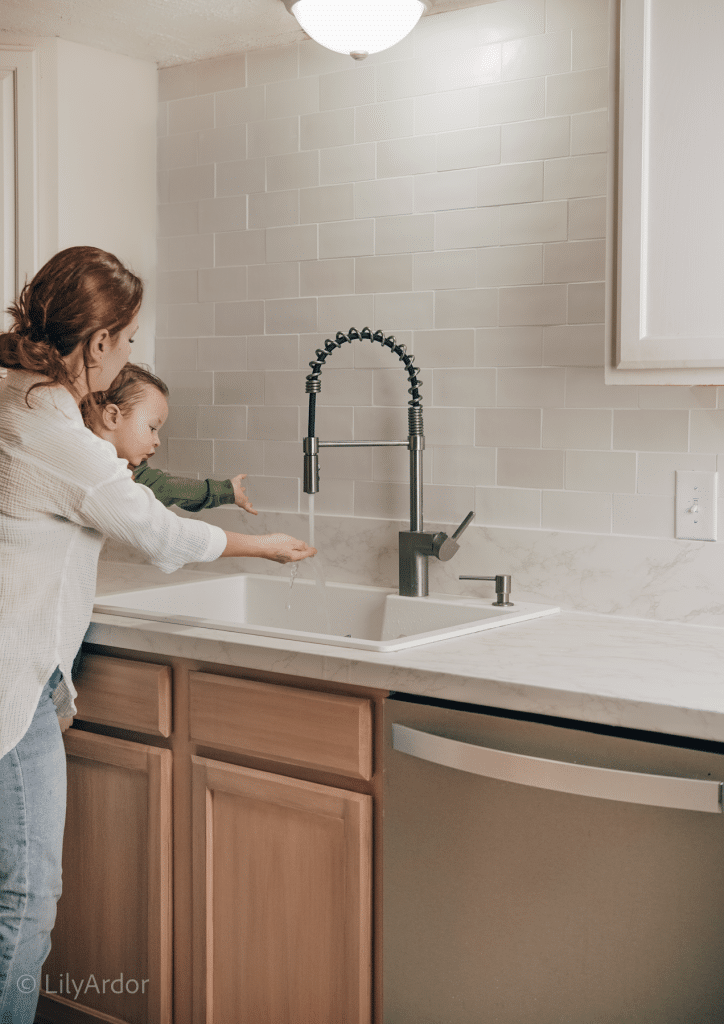
I love how the different thicknesses in tile give the wall so much character! This will match our stone wall perfectly!


Was this a hard project!? YES! Was it worth it! YES! Would I do this again?? Absolutely!!
I think now that we know the steps and what works it would be so much easier the second time around. That’s why we share all of our mistakes with you!
I shared way more in the video if you missed it. More tips + tricks + mistakes. Also how we installed the tiles.
Remember, the beauty of handmade tiles lies in their imperfections, making your backsplash truly one-of-a-kind. We were so worried about little imperfections when making our tiles but, that gave it so much character! I would be so tempted to try this in different shades of hunter green!!
That’s all! Happy Tiling!
If you have any questions. Let me know in the comments.
I’ll see you all next time.

Eucalyptus Gather Wreath Tutorial
Truth be told! 😍 I love anything with eucalyptus and that's why this wreath is one of my favorites! It matches so many different seasons and can even be left out in the summertime. You can also change the wording into something more festive for Christmastime. TIME...
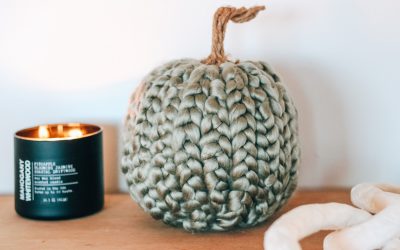
DIY Chunky Knit Pumpkin
Howdy folks! Today I'm sharing how I made my chunky knit pumpkins! It's finally fall and I couldn't be more excited to start decorating! This could be made using all dollar store items. I spend about $10 on this pumpkin without dollar store items. I'll tell you what!...

Faux Bunny Tails
Hi everyone! I hope you have a great start to your week. Today I want to share how I made some faux bunny tails! This DIY cost me $0 because I had everything on hand. WOOHOO! total cost: It should cost around $5-10 for supplies. What a great way to get high end decor...

Faux Olive Tree
Hi everyone, I hope you all had a great week. It's been a busy week for us. I was working on a video featuring 5 diys and had so much fun making them. Today I want to share one of 5 DIYS with you on the blog. I teamed with the folks from cricut.com to bring you these...

Giving my task chair a makeover! DIY sherpa chair!
Hi ya'll! I hope your weekend went by smoothly. This week I decided to give my task chair a makeover. It had been sitting in my living room for the past week and I was pretty close to returning it. Eventually it dawned on me right before sending it back to try and...

HOW TO REFINISH A DESK
Ok round 2. If you've missed my first desk it turned out to be a flop. Even though the end result was gorgeous the smell is horrendous. It's been outside for over a month now and still smells like bleach. While doing this desk things went so much smoother and it only...
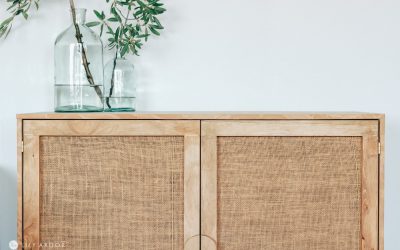
DIY Rattan Cabinet Hack With Burlap
Hi Everyone, today I'm sharing my DIY rattan cabinet. This is a look I've been wanting to get in my house for so long. A few weeks ago when I set out to buy a rattan cabinet all the ones I liked were out of stock because they were cheaper and even though I loved the...
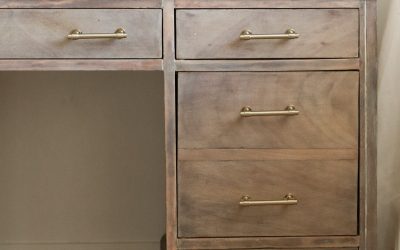
Desk Restoration | Paint Stripping and Wood Bleaching!
Hi everyone! I hope you are doing well. Today I'll be sharing how I restored my desk. A project I planned would only take me about a week to do ended up taking me 2 weeks plus to complete. You probably already know just from me saying that that this wasn't any easy...

Bohemian Erase Board | Dollar Tree
Hi! I hope you are doing well. Welcome back to another fresh DIY. This one is a part of my dollar store DIYs series I recently shared on my youtube channel. I made a total of three DIYs. A macrame pillow, this erase board and faux wood frames for my upcoming gallery...

Dollar Store Throw Pillow
Hello everyone! This week I'm sharing a few dollar store DIYs. This dollar store mop transformation is something I've had on my mind for quite some time now. I was always fascinated by the amount of rope they could sell for a dollar and thought it would be a perfect...
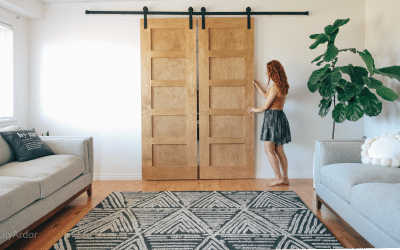
DIY Barn Doors
Hi everyone I'm finally back with our DIY barn doors. Does anyone remember me sharing about us working on our living room renovation? It's been a couple of months since we started and I'm super happy to see it finally start to come together. Okay, even though we had...

Round Throw Pillows From Old Sweaters + DIY Pom Poms
Hi Everyone! Jumping on here to share my latest DIY round throw pillows. Lately I've been taking things real slow. This means less DIYs but, I promise I'll be catching up soon. I feel like everytime we do a huge renovation project I find myself wanting a long break....

Old Planter Makeover With Burlap and Plaster
Today I'll be sharing another old planter makeover! This was actually a DIY I did a few weeks back but, didn't get around to sharing it until now. A few weeks ago when I was at peir 1 imports I came across this burlap place mat! Immediately I thought it would be so...
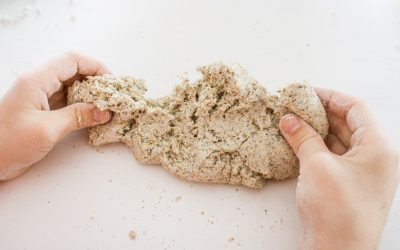
DIY Kinetic Sand Playdough
YAY! DIY Kinetic Sand Playdough! This DIY was a total blessing in disguise. We were trying to make sand like airclay for some framed handprint art but it turned out to be kinetic sand instead of airclay. Oleg was so stoked over it and kept asking to play with it! So...

Keychain Shrinky Dinks
Today I'm sharing DIY craft shrinky dinks for kids crafts! Hi folks! Happy spring! Before starting this project I actually didn’t know they make shrinky dinks. Originally I’ve seen these made from recycled plastic containers. When I finally decided to make these cute...

Handprint Father’s Day Gift
Hi Everyone. How are you holding up? Yesterday we had so much fun making this Handprint Father's Day Gift! We've been taking it easy at home and making kids crafts together. I know father's day is still a few months away but, this was a great way to spend time...

Easter Nest Cookies
Easter DIYs are the best because they're usually super kid friendly! The easy DIY Easter Nest Cookies will actually the first recipe I'm sharing on my blog that's a desert! These cookies are no bake and only take minutes to make. With only 4 ingredients they're so...

No Sew Pillow Bed DIY
Spring break has officially started! A ton of kid friendly DIYS coming your way! Today we worked on an easy DIY pillow bed. Since I wanted to make this one as kid friendly as possible we made a no sew pillow bed. This was on my DIY to-do list since last year however I...

DIY Hand Sanitizer Gel
Keeping this short and to the point. Went to the grocery store yesterday only to find out their hand sanitizer would be out of stock for another three weeks😫. I actually really needed a bottle to keep in my car so, I asked one of the store clerks that was stocking...
Ugly Pot Hack
Hi everyone! It's almost spring! The flowers are blooming the birds are chirping. I've really been enjoying my mornings outdoors watching the beauty of nature. The worlds current state is in panic mode and all I can say is stay calm and trust in God! There's nothing...