Howdy folks! Today I’m sharing how I made my chunky knit pumpkins! It’s finally fall and I couldn’t be more excited to start decorating!
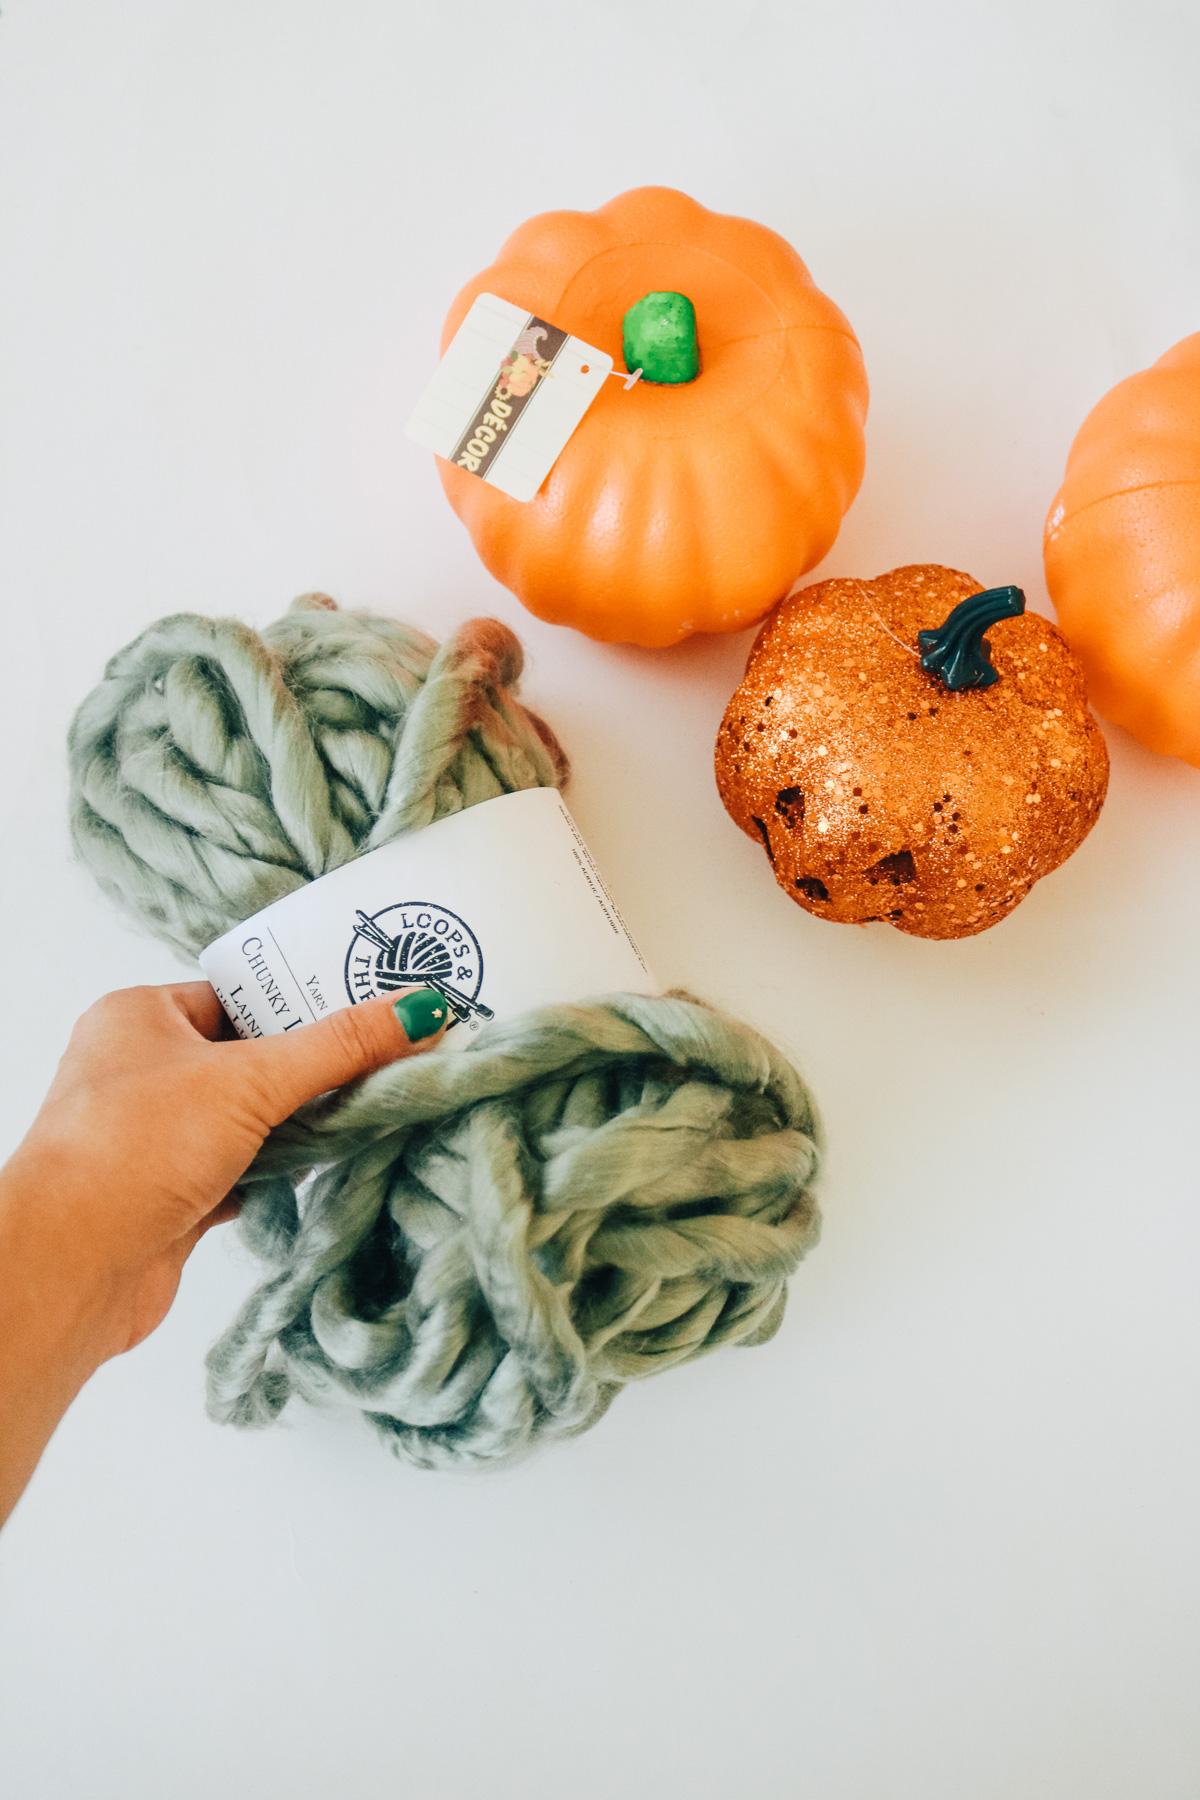
This could be made using all dollar store items. I spend about $10 on this pumpkin without dollar store items. I’ll tell you what! I was super tempted to use all dollar store items but, they don’t sell chunky knit and I really want to try my hand at a chunky knit pumpkin. The yarn isn’t to bad if you use the michaels crafts coupon. That’s what I always do. It was $7 with my coupon.
CLICK ON ANY PHOTO TO ADD TO YOUR PINTEREST BOARD!
time needed:
This took me about 1 hour to make. That also includes the time it took me to figure out the method.
supplies:
- chunky yarn ( 29 m thickness )
- 15 mm crochet hook ( I used a crochet hook instead of my fingers to get a tighter knit)
- pumpkin
- hot glue
- twine and skewer
I also have this version of the DIY
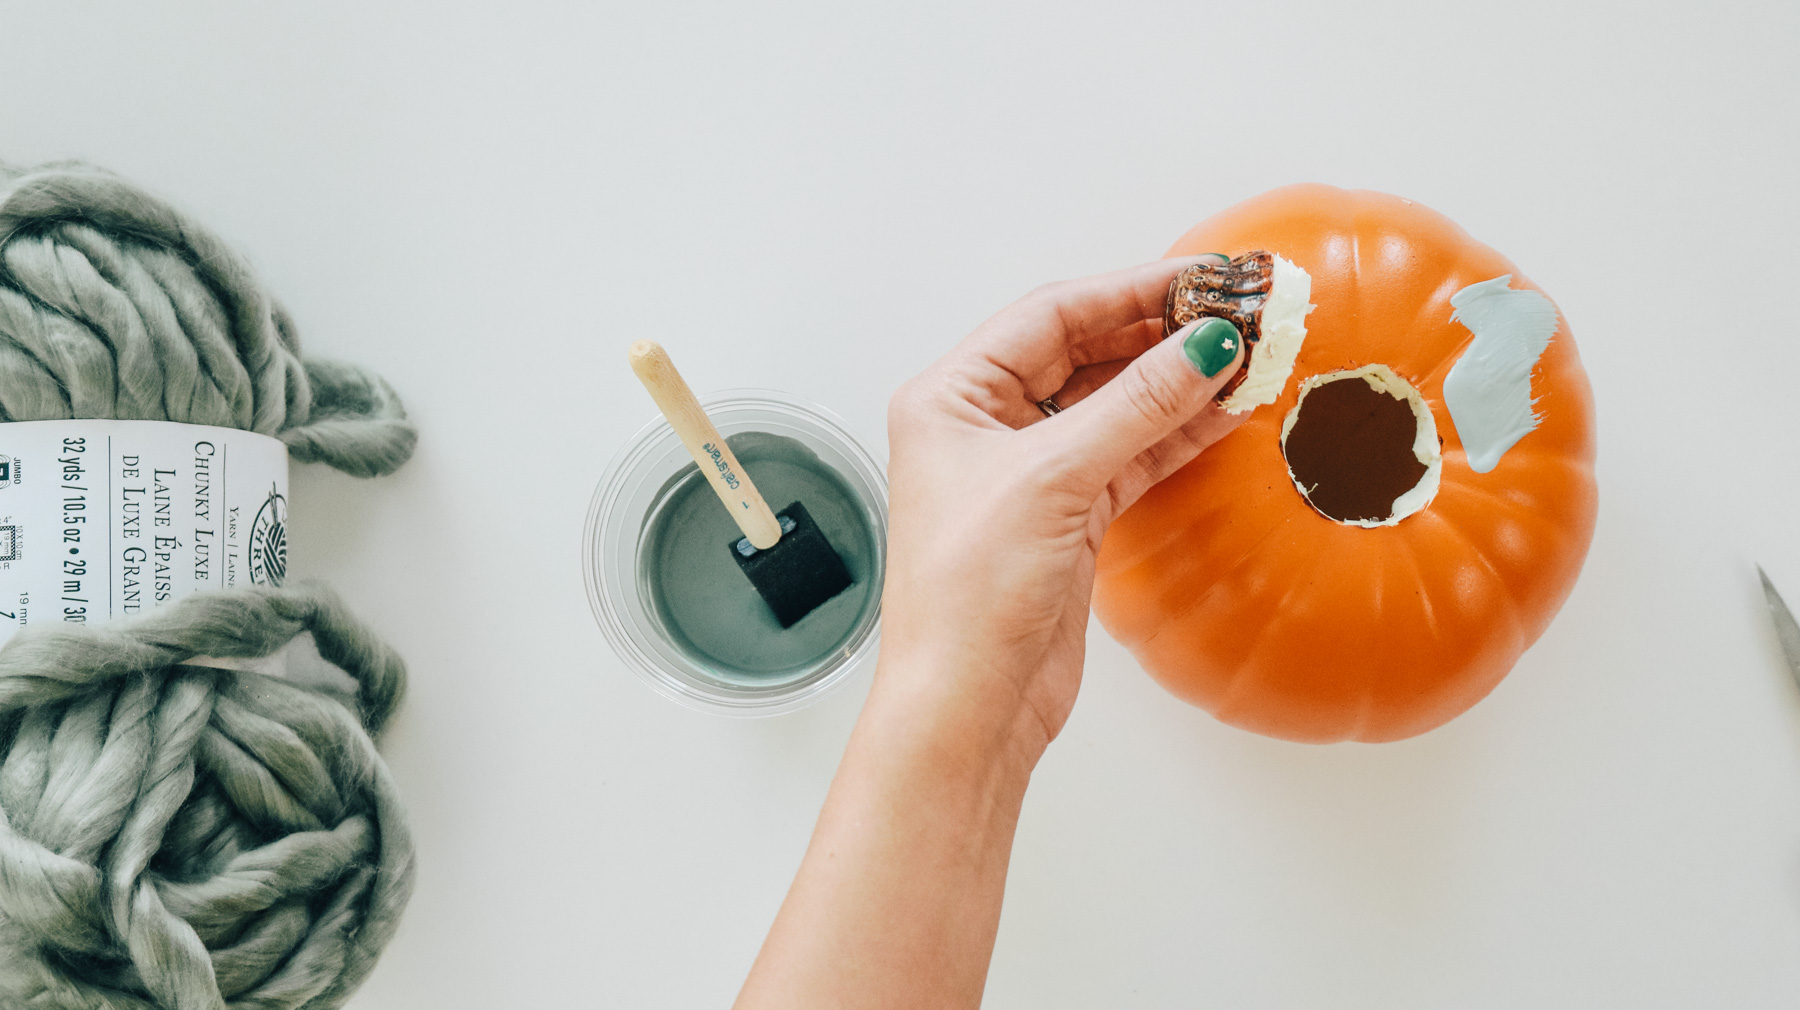
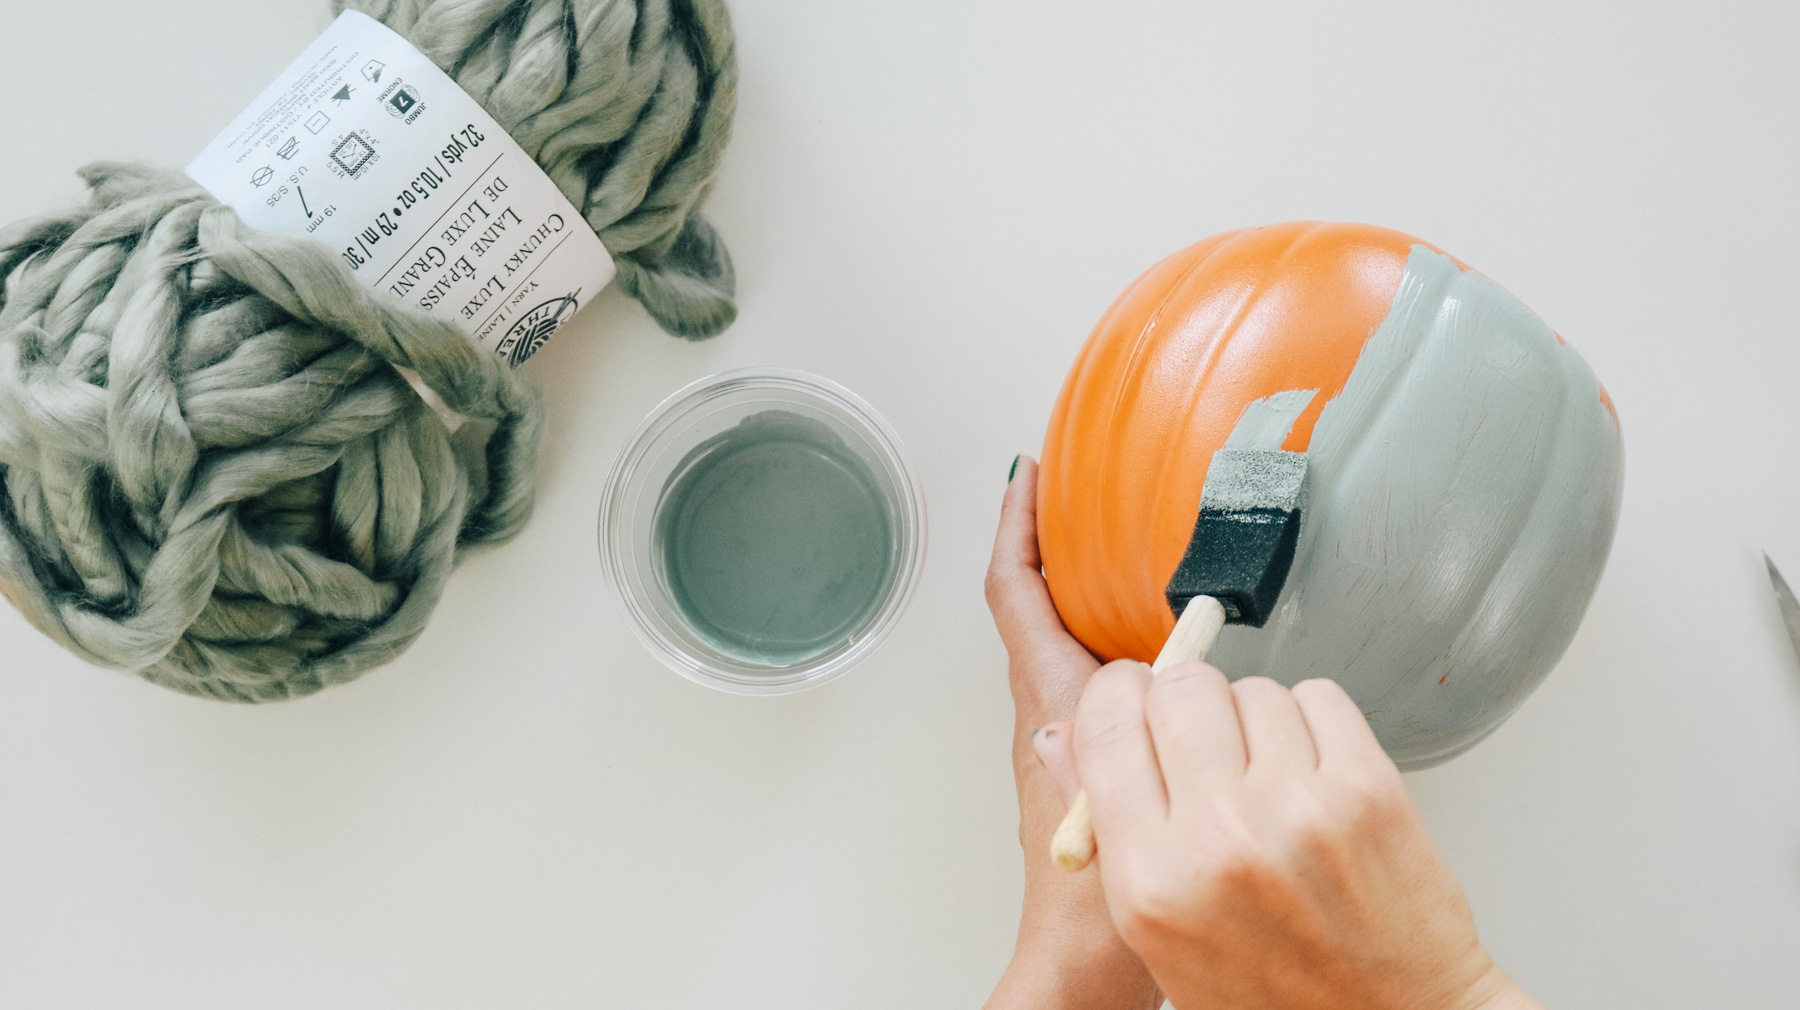
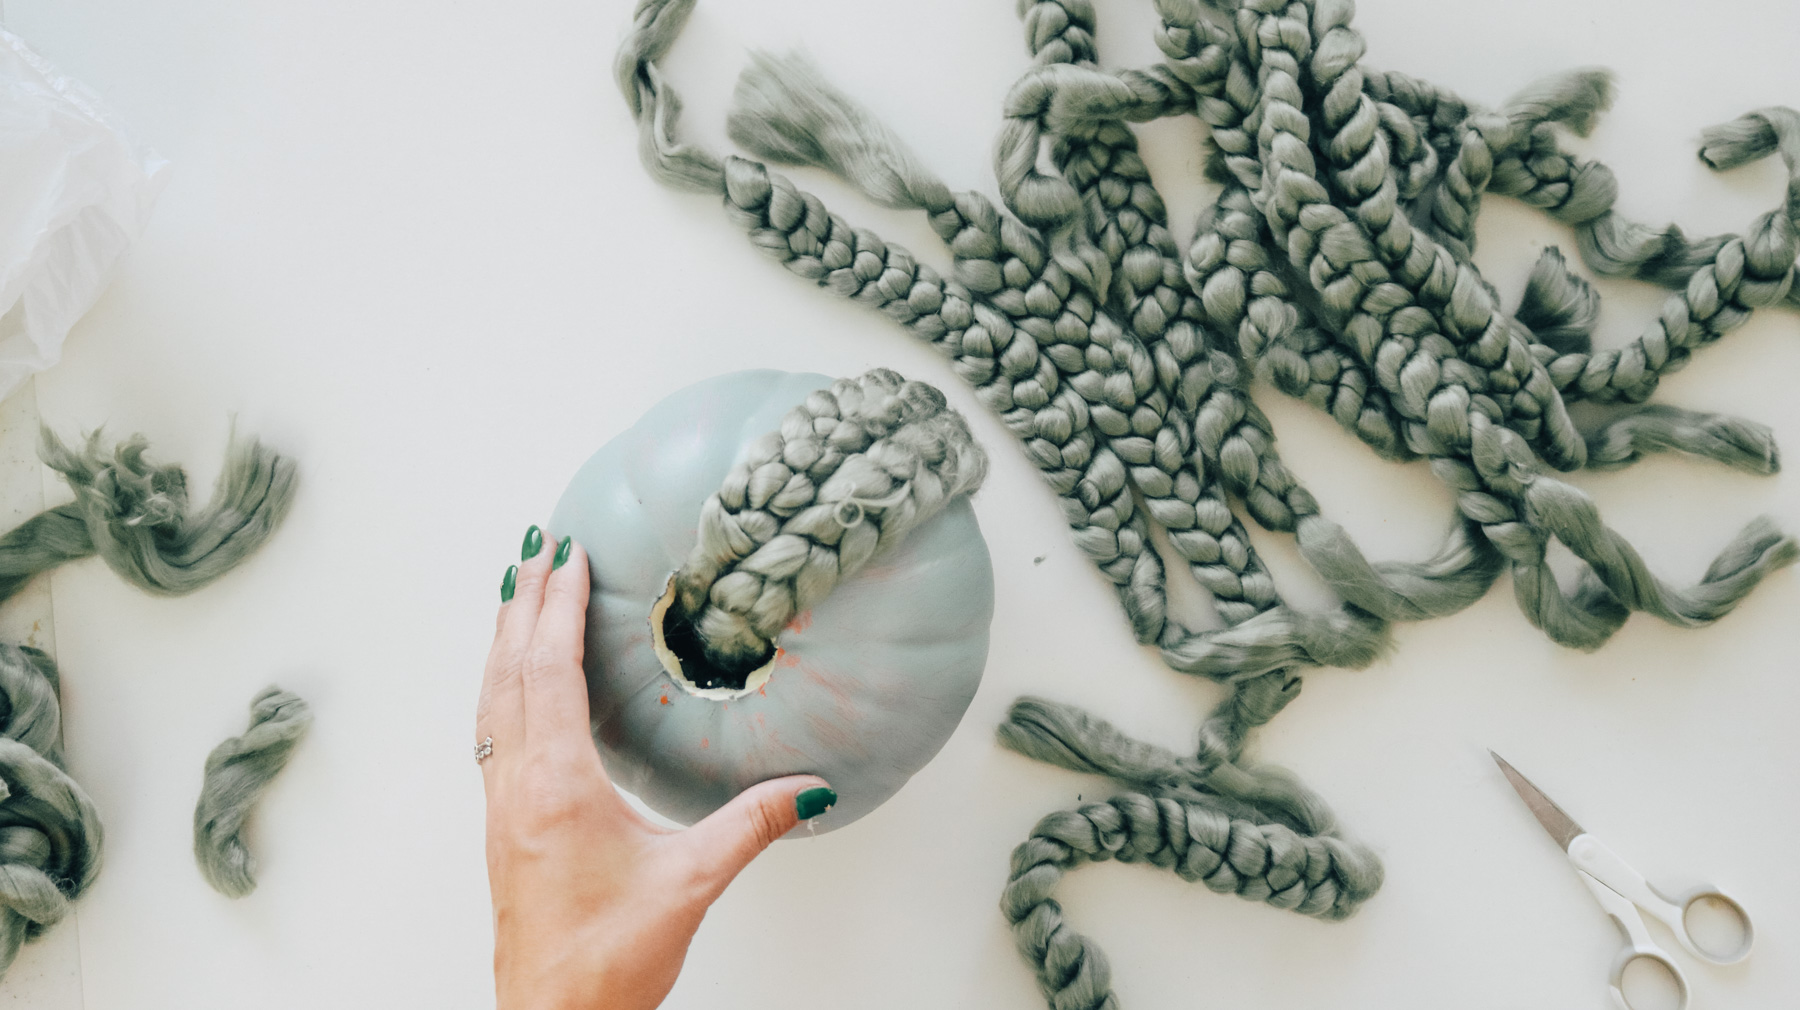
To create my chunky knit pumpkin I started by cutting out the stem. The pumpkin is hollow inside and this will give you room to insert your chunky knit braids. I actually painted my pumpkin to match the yarn as much as possible. Just in case the knit has gaps I didn’t want the orange to be visible.
CREATING KNIT braids! SUPER EASY! NO EXPERIENCE NEEDED!
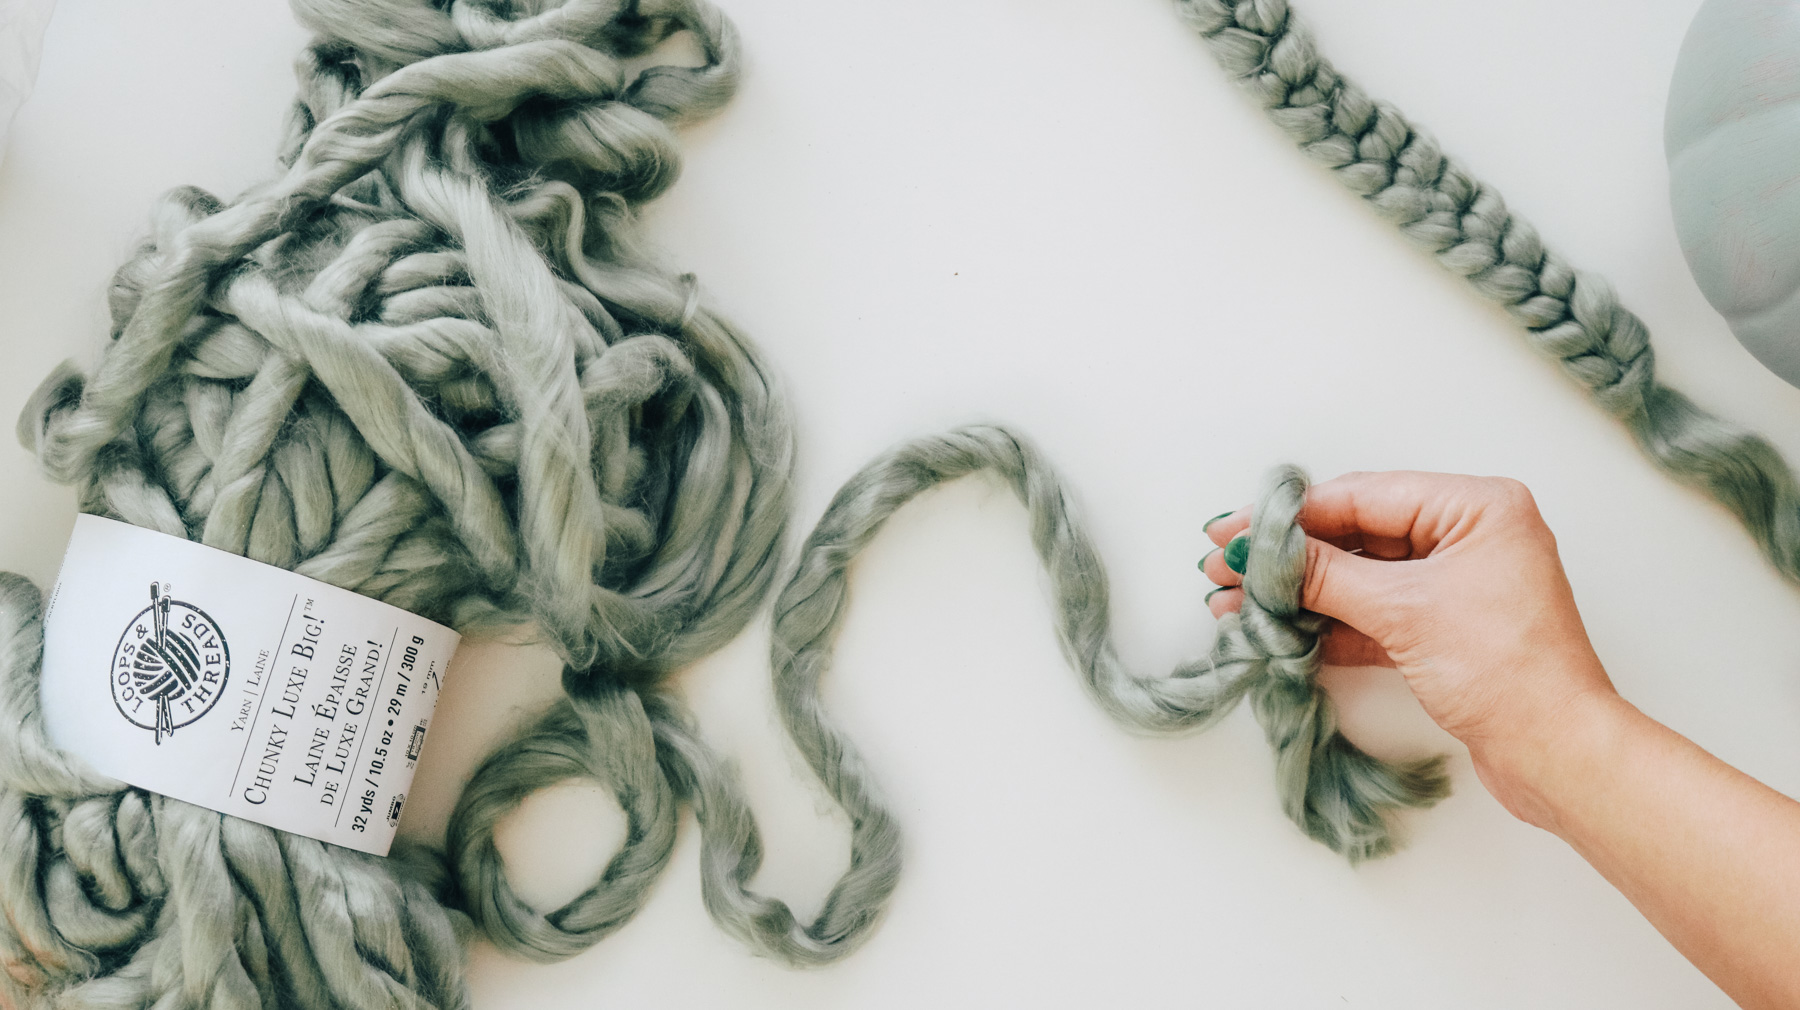
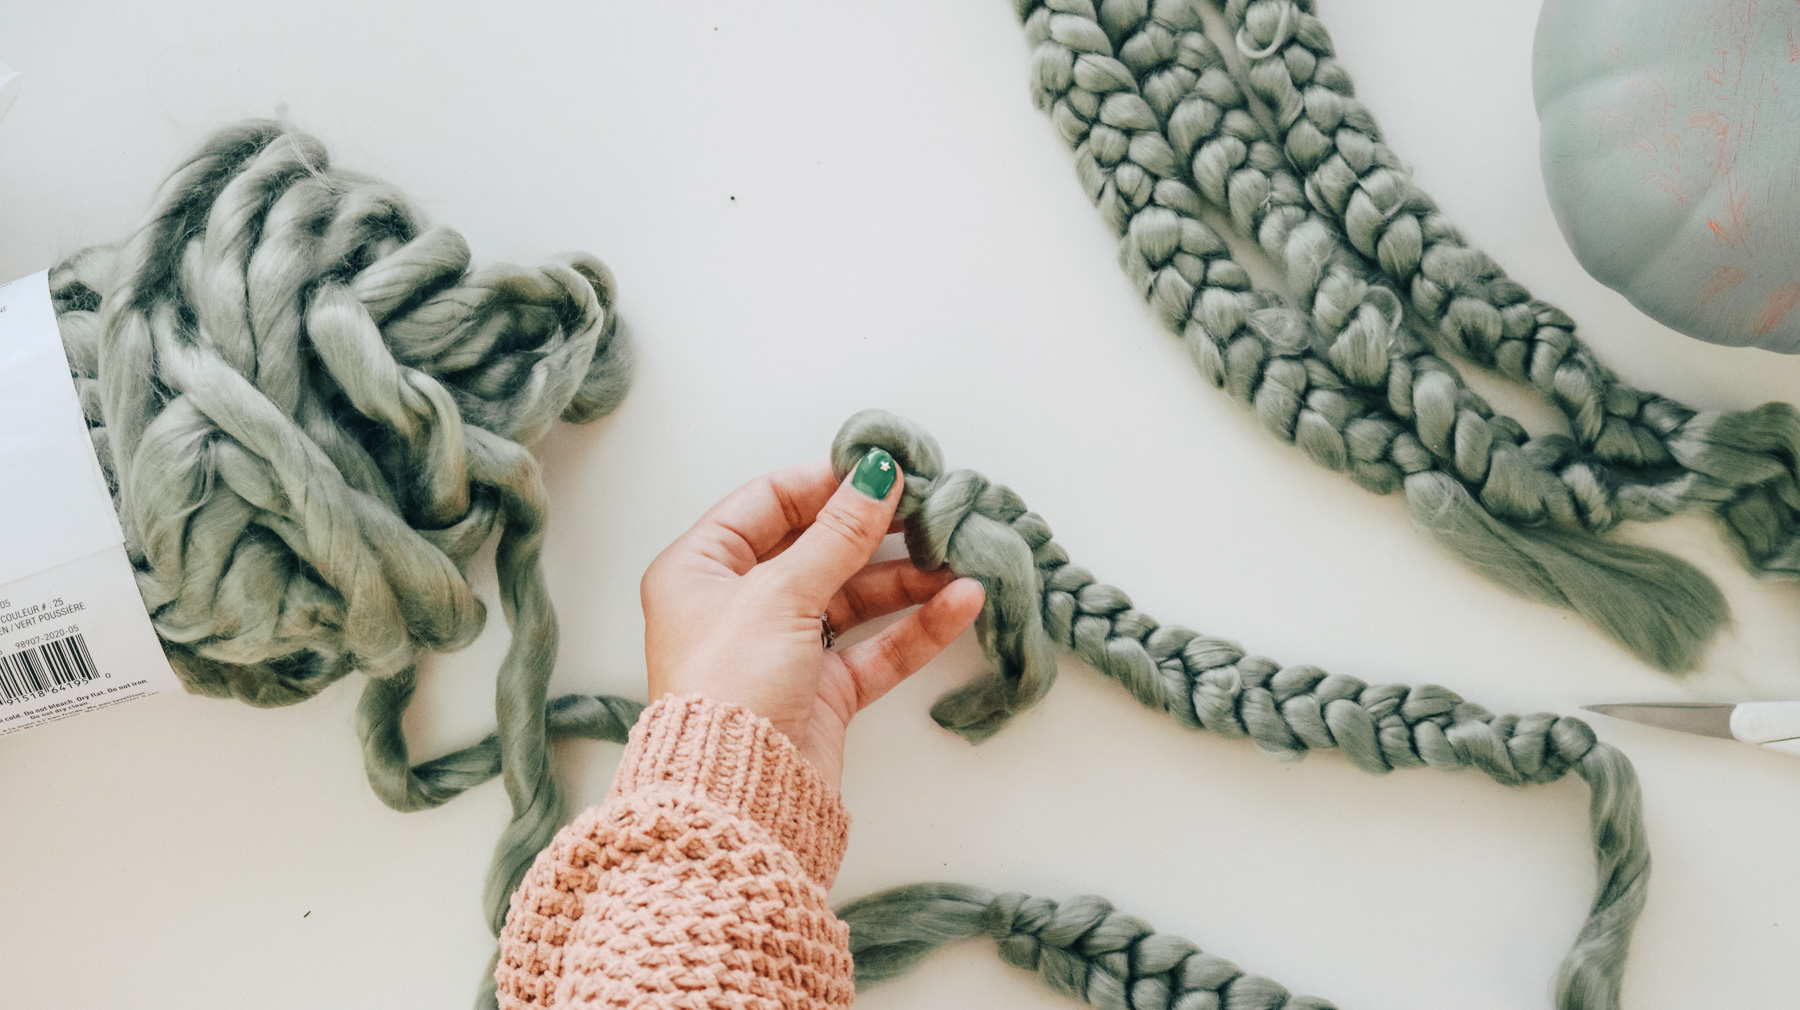
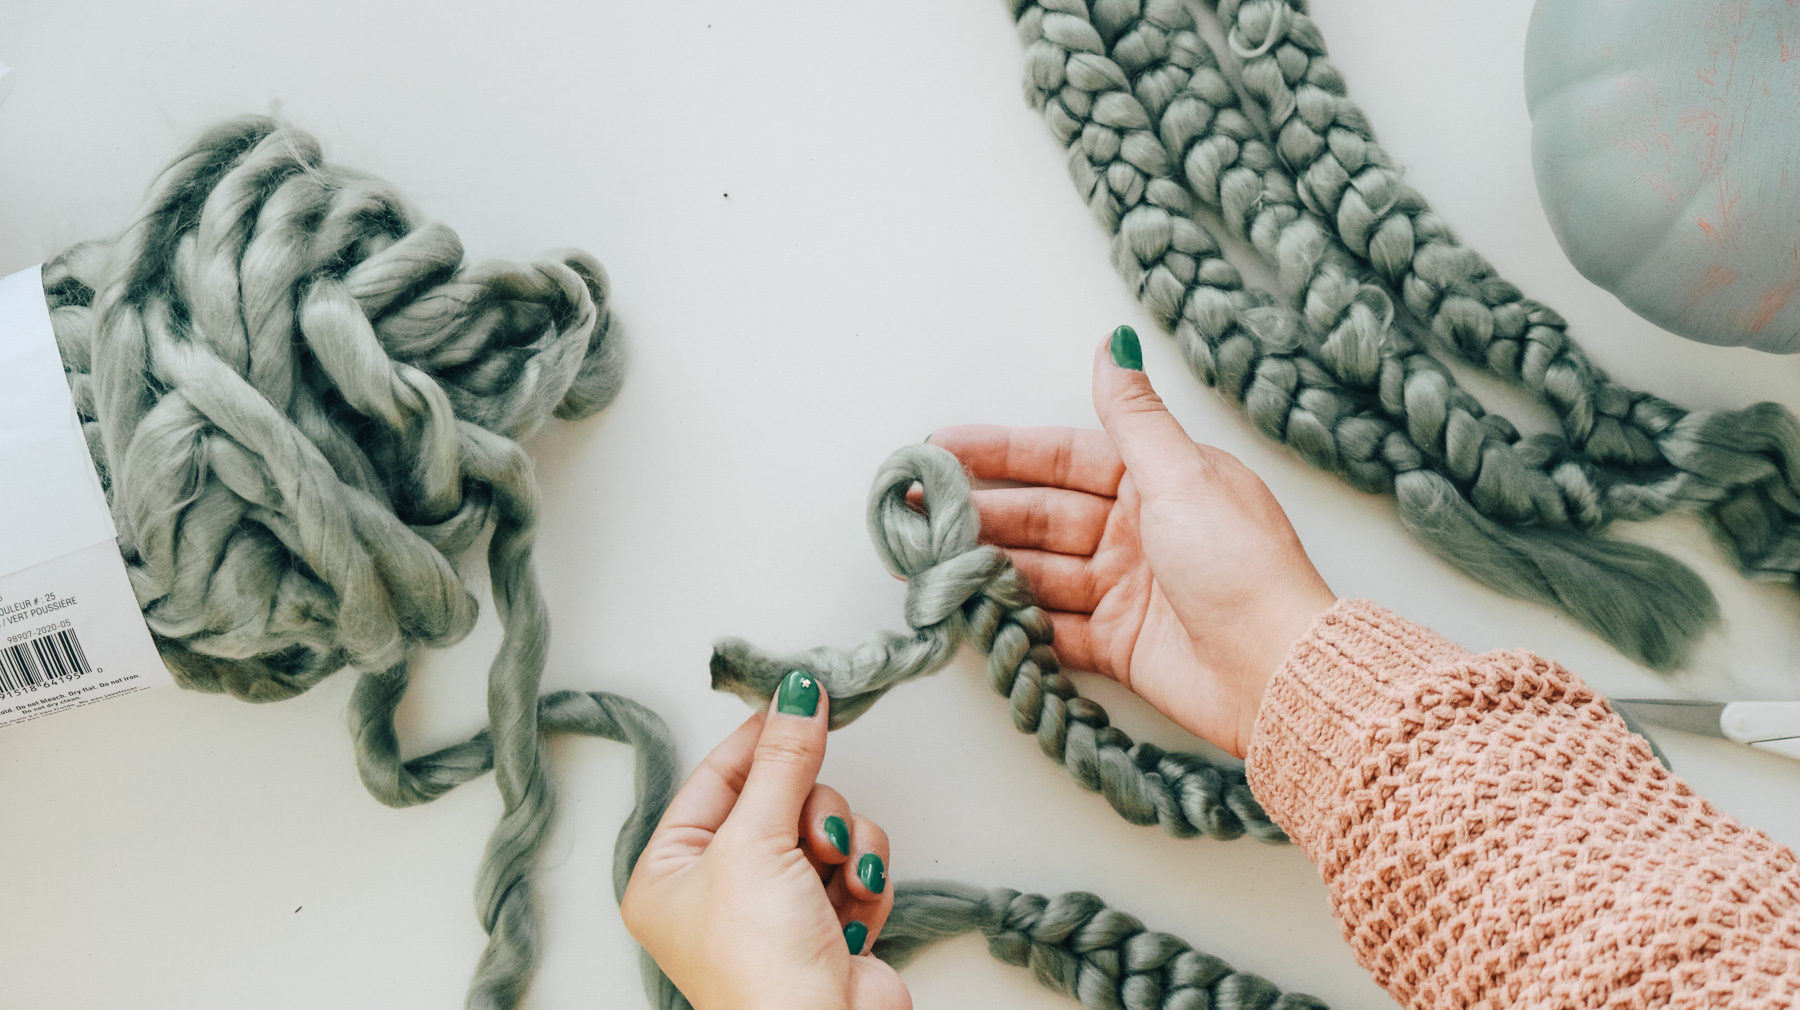
The idea behind this knit technique is very simple. In fact I wouldn’t even call it knitting. You’ll simply be pulling loops through loops to create braids.
Start by creating a knot and it should have your first loop. (like the photo below)
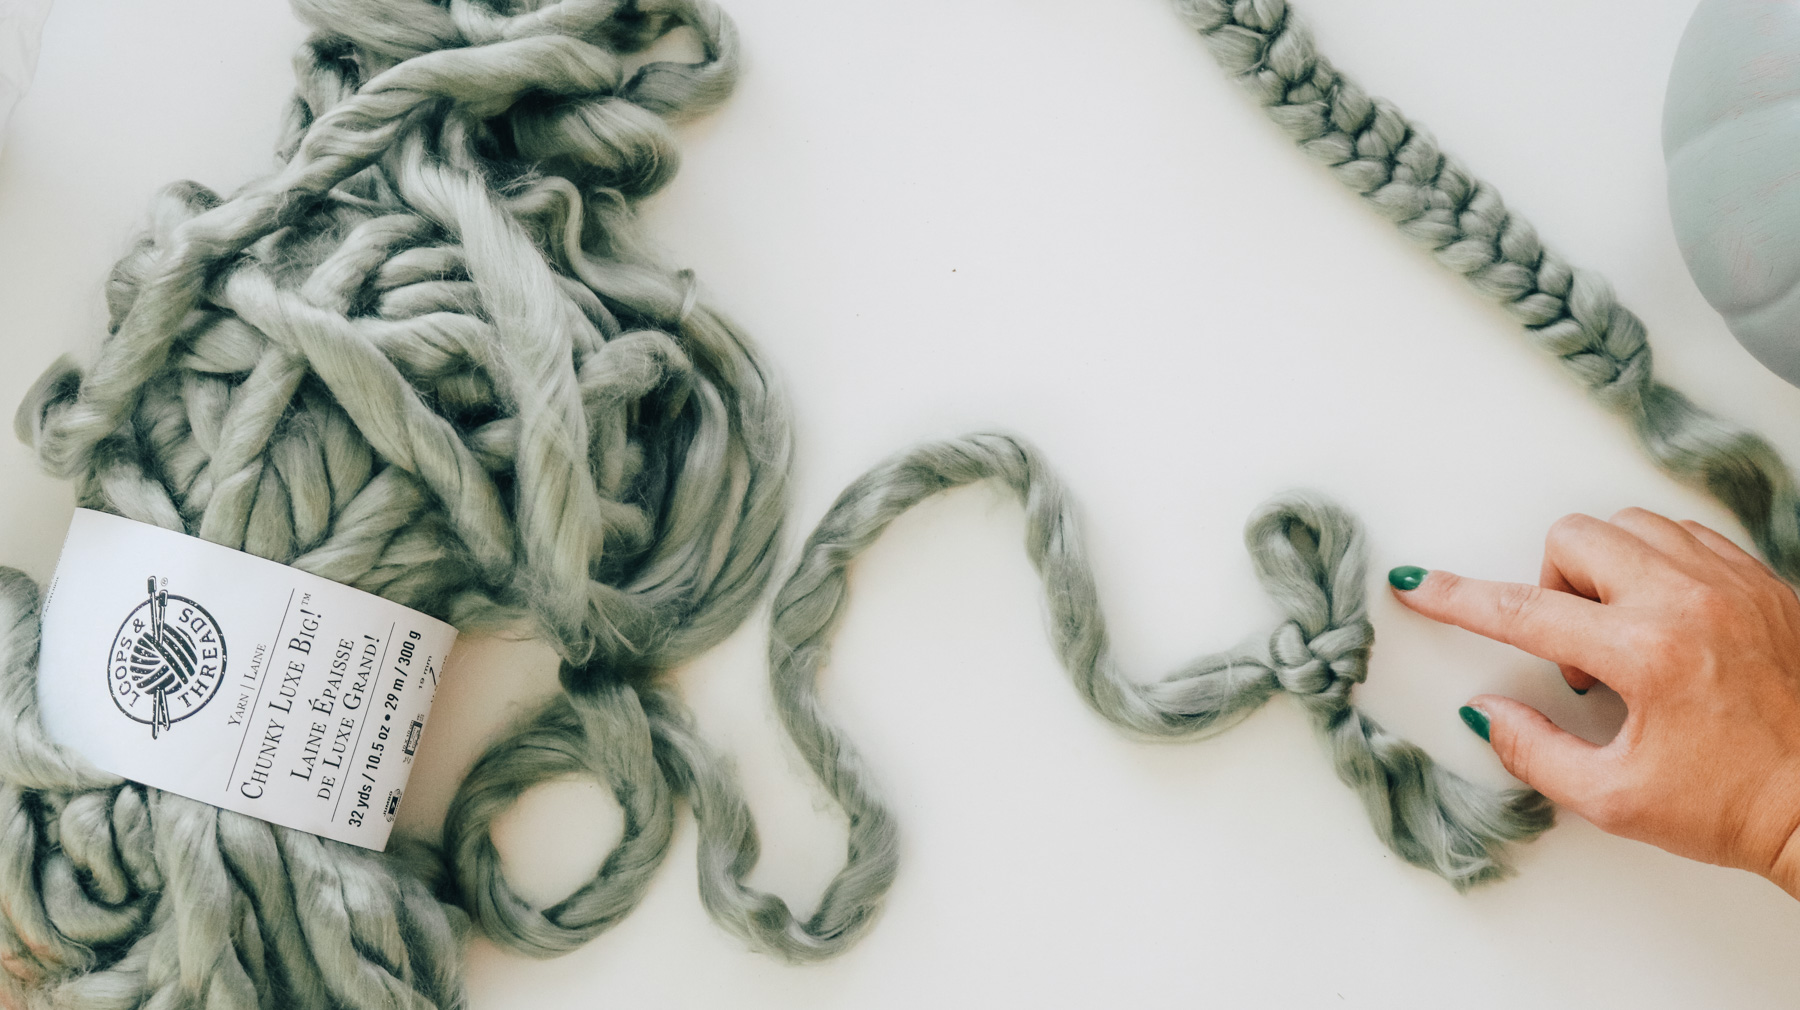
Then stick your fingers through it and pull out another loop. That’s really it! That’s all there is to it. Keep pulling out loops until you have a braid long enough to wrap around your pumpkin. You can also use a crochet hook instead of your fingers. I used it to make my knit braids because it gives a tighter knit.
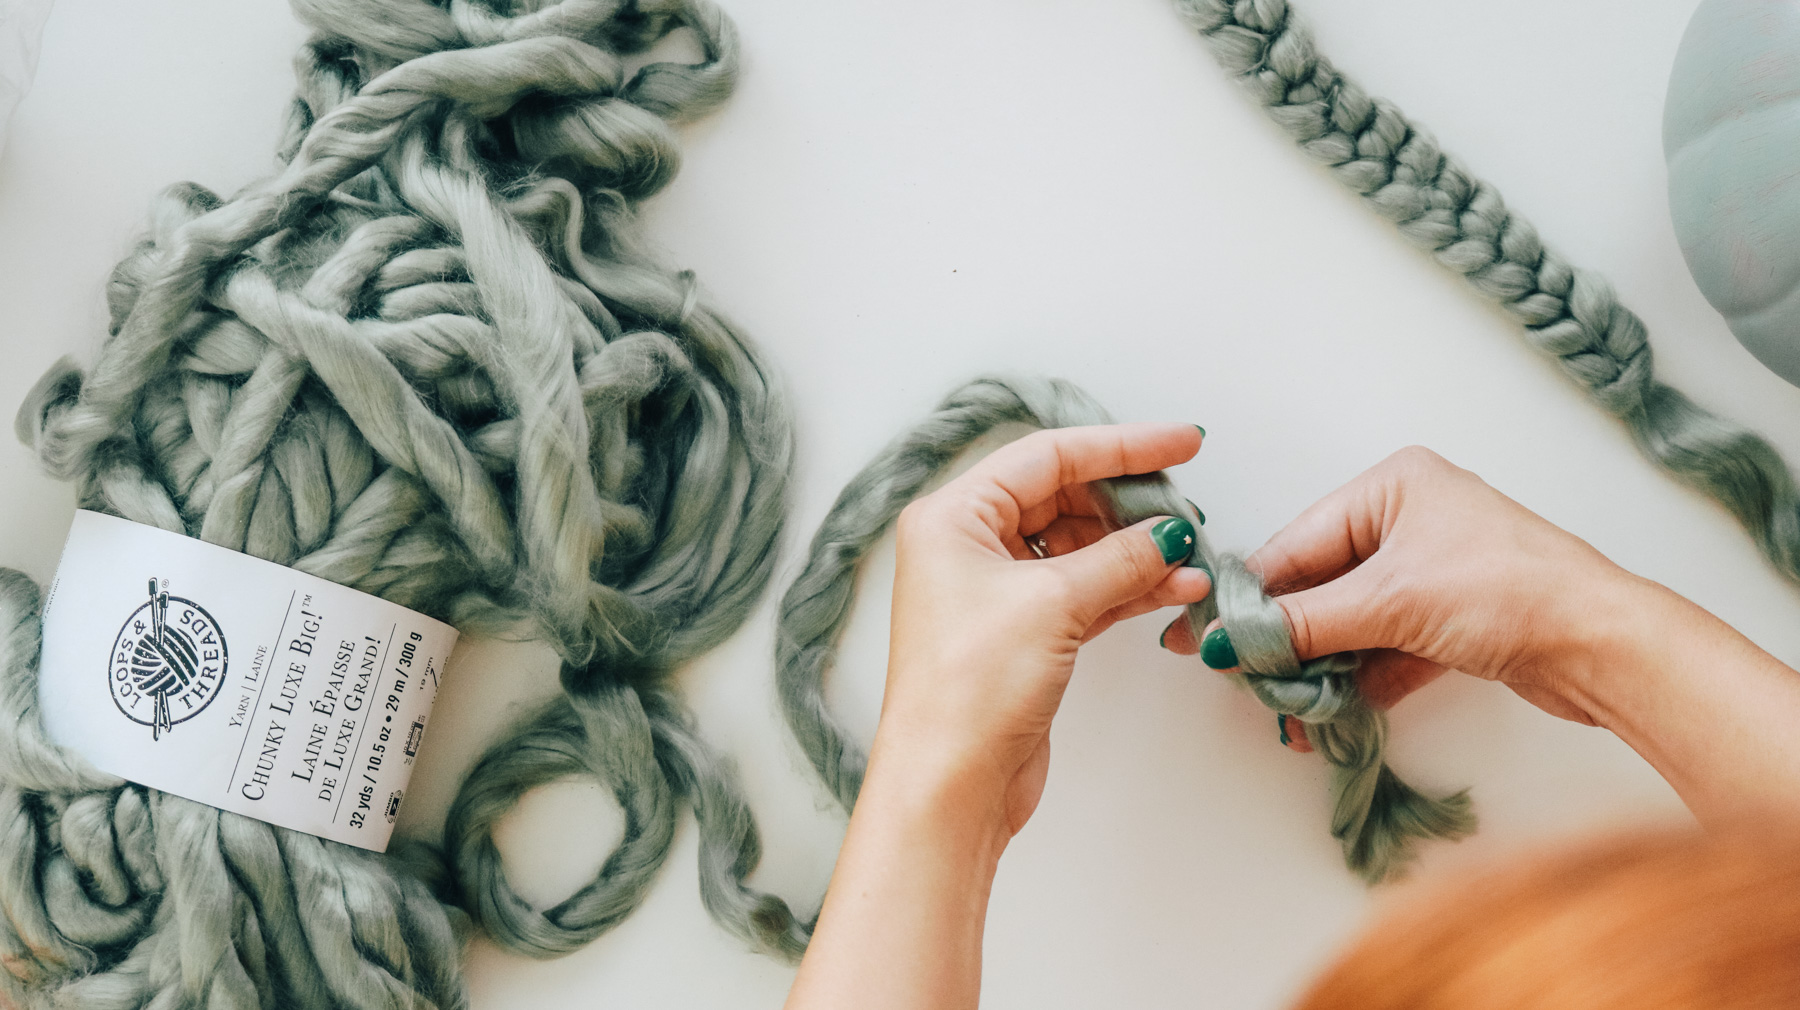
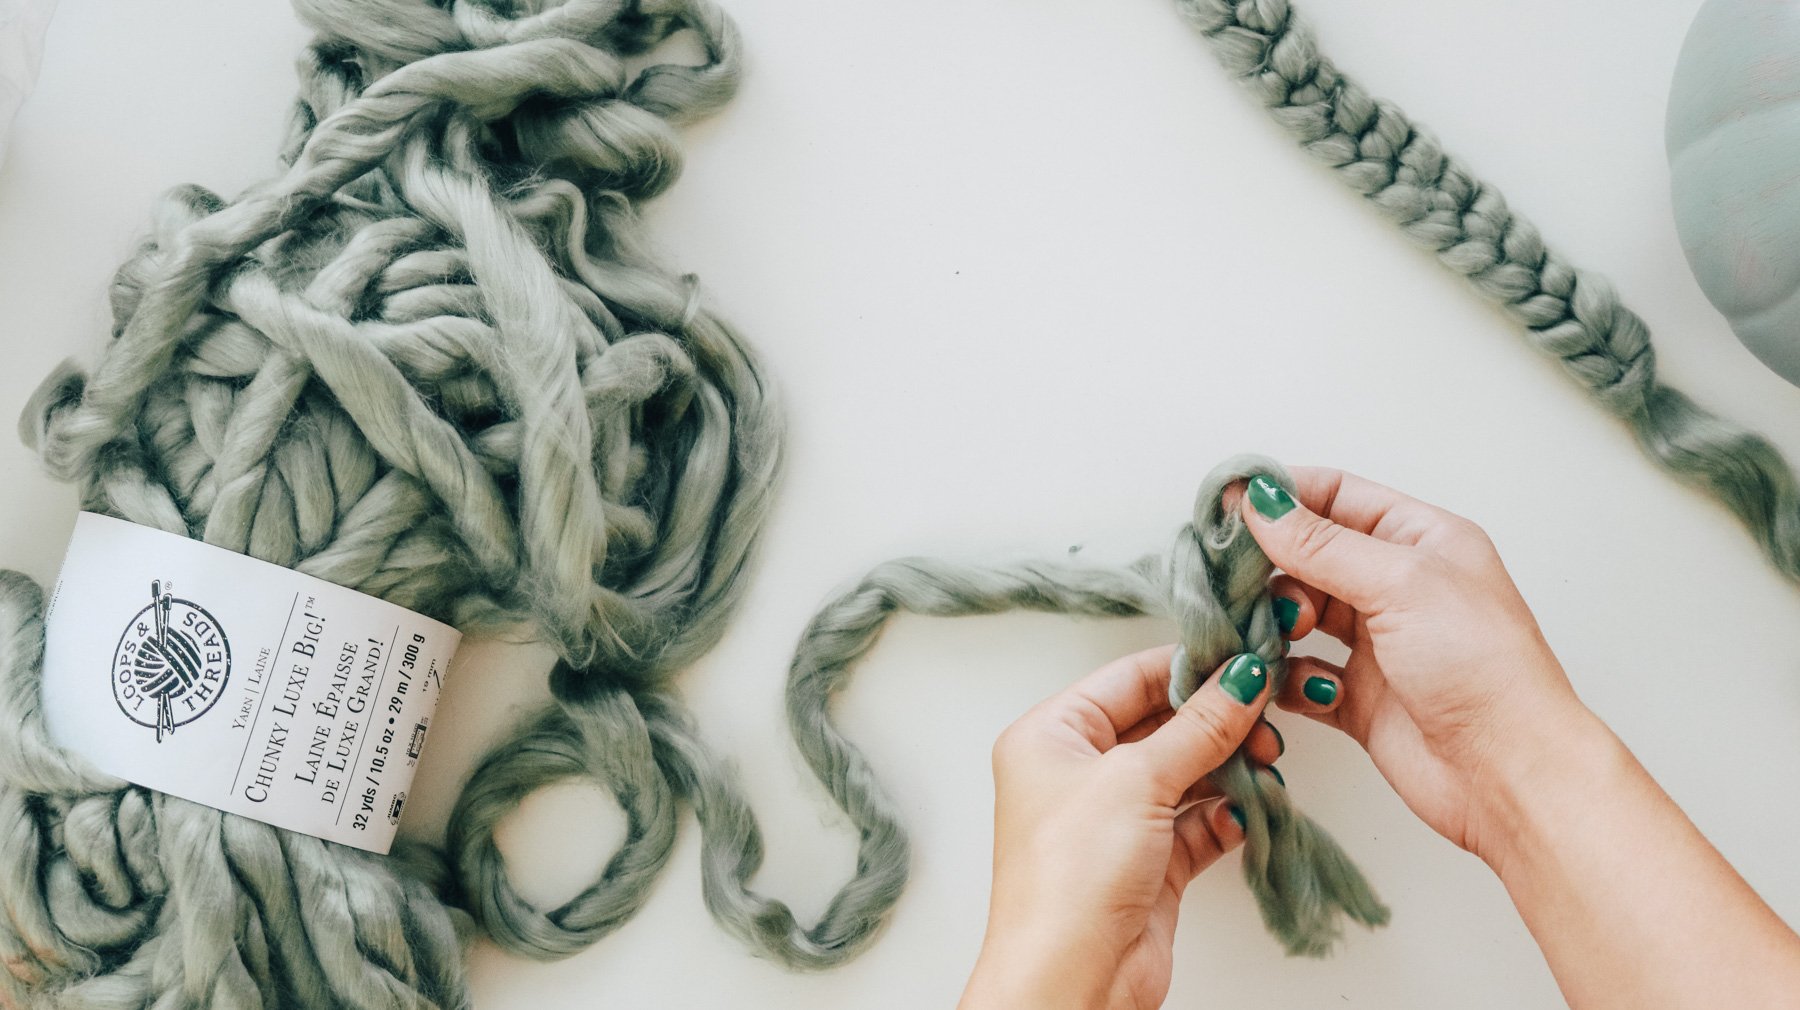
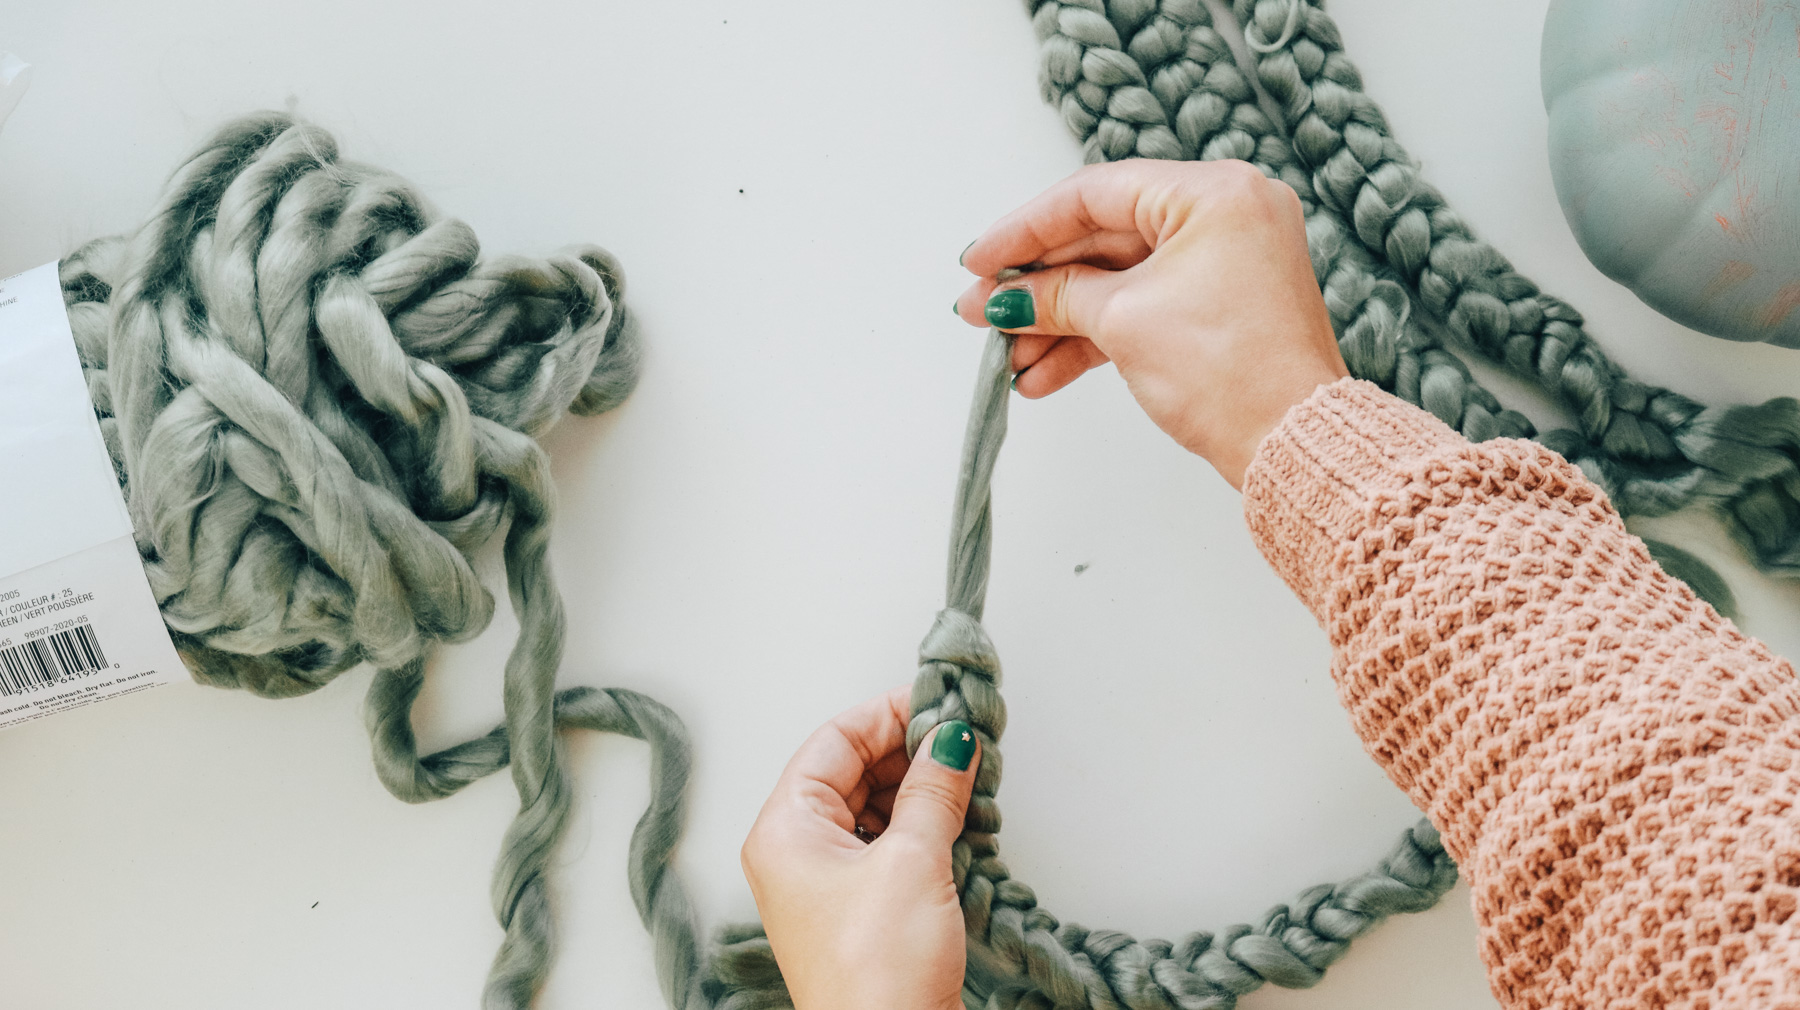
Once you feel it’s long enough cut the braid loose from the yarn skein and tie a knot at the end. That’s it! Now you’ll just need to make a handful of these to go around your pumpkin.
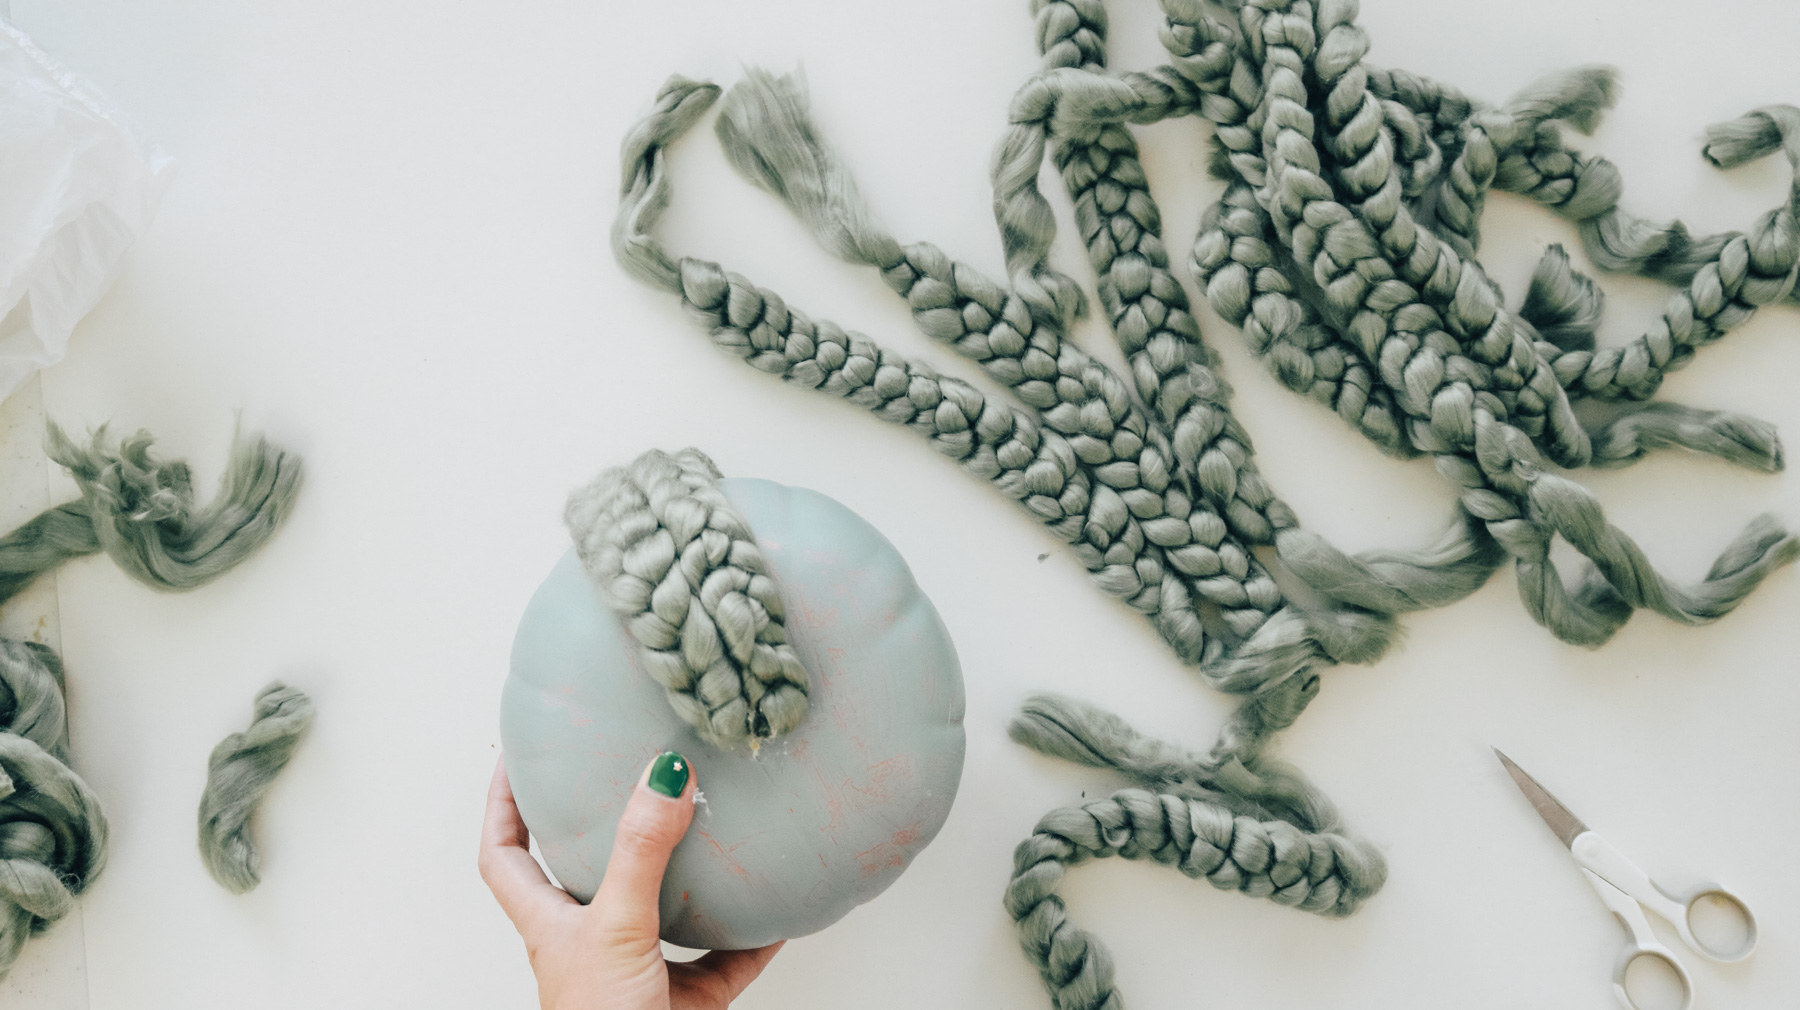
Start attaching your braids by hot gluing them at the bottom first and feeding the tails through in the hole at top of the pumpkin. You can trim loose tails just don’t forget to add a dab of hot glue so it doesn’t come loose.
Completing the knit pumpkin!
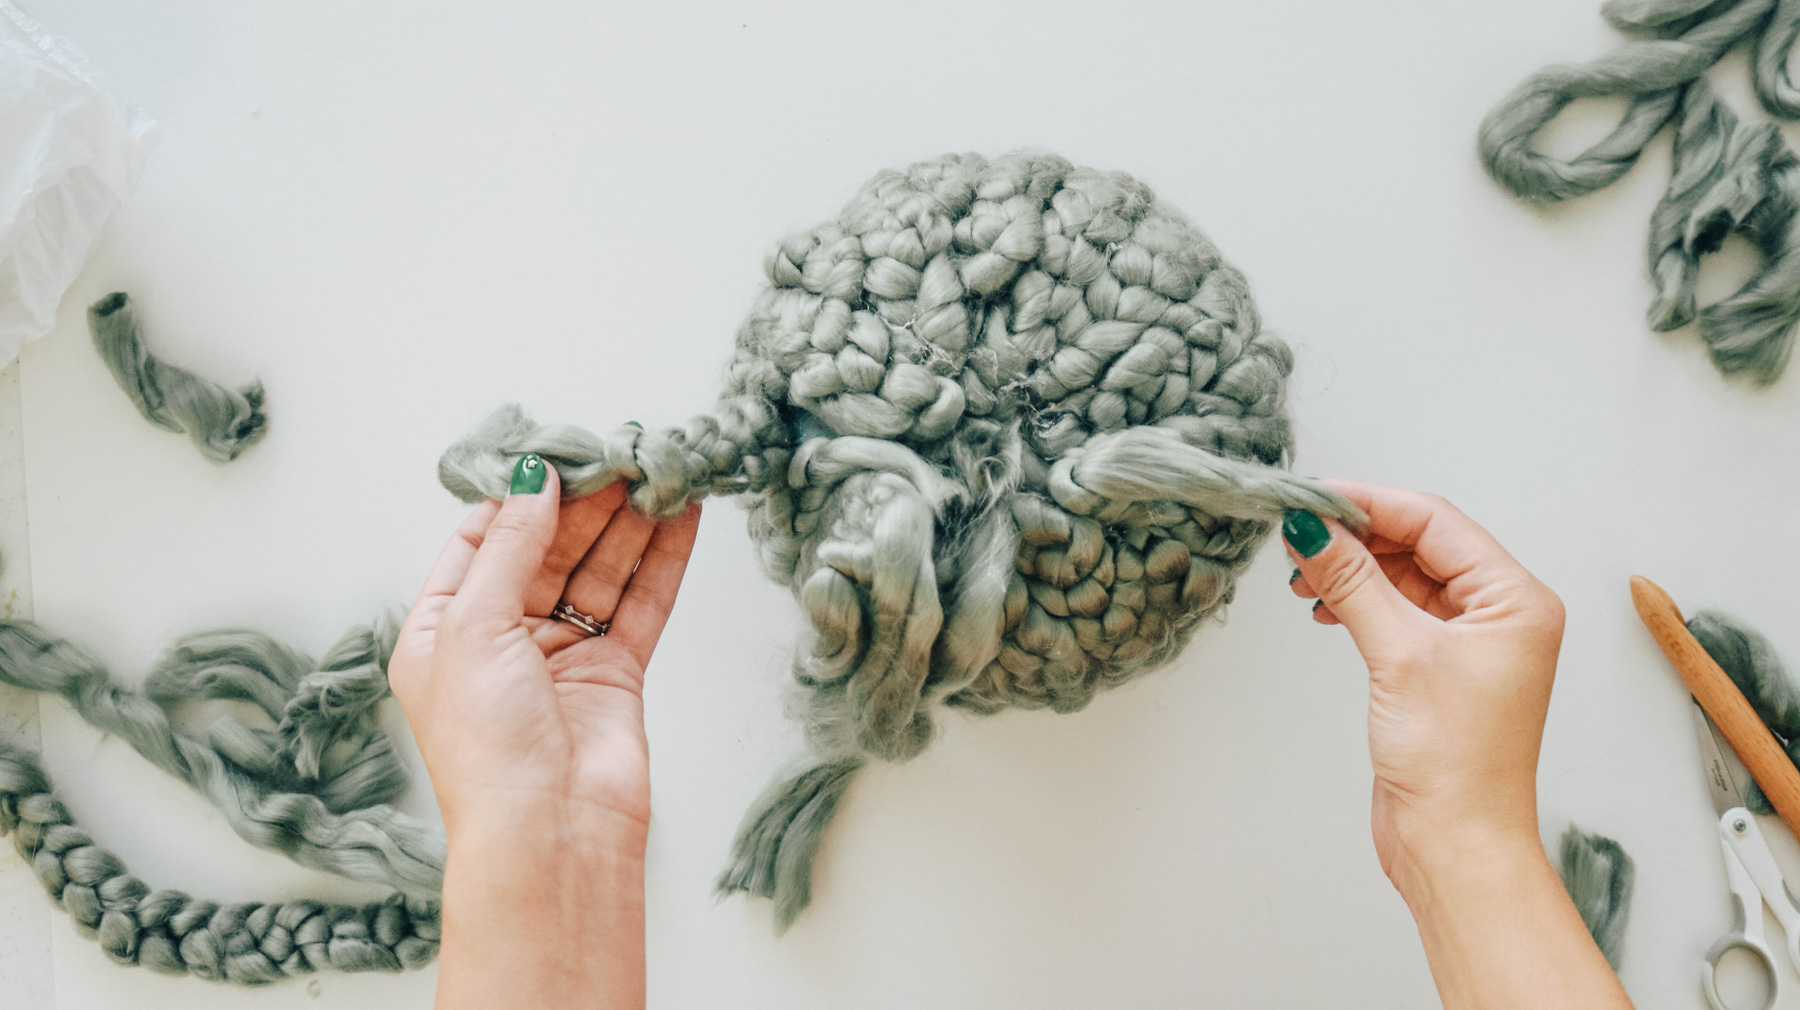
A quick tip I want to mention. You will need to overlap the braids at the top and bottom of the pumpkin. You’ll also notice after adding about 4 braids they will start curving around your pumpkin and not going on straight. This will leave gaps between braids if you were to try and attach them on without a curve. You can fill those areas with shorter braids and follow by overlapping at the top and bottom with a longer braid. I talk way more about this in the video if this sounds confusing. You can check it out here – https://youtu.be/Vilo_MVcveU
Here’s how the bottom of the pumpkin looked like before I trimmed the tails and glued it all secure.
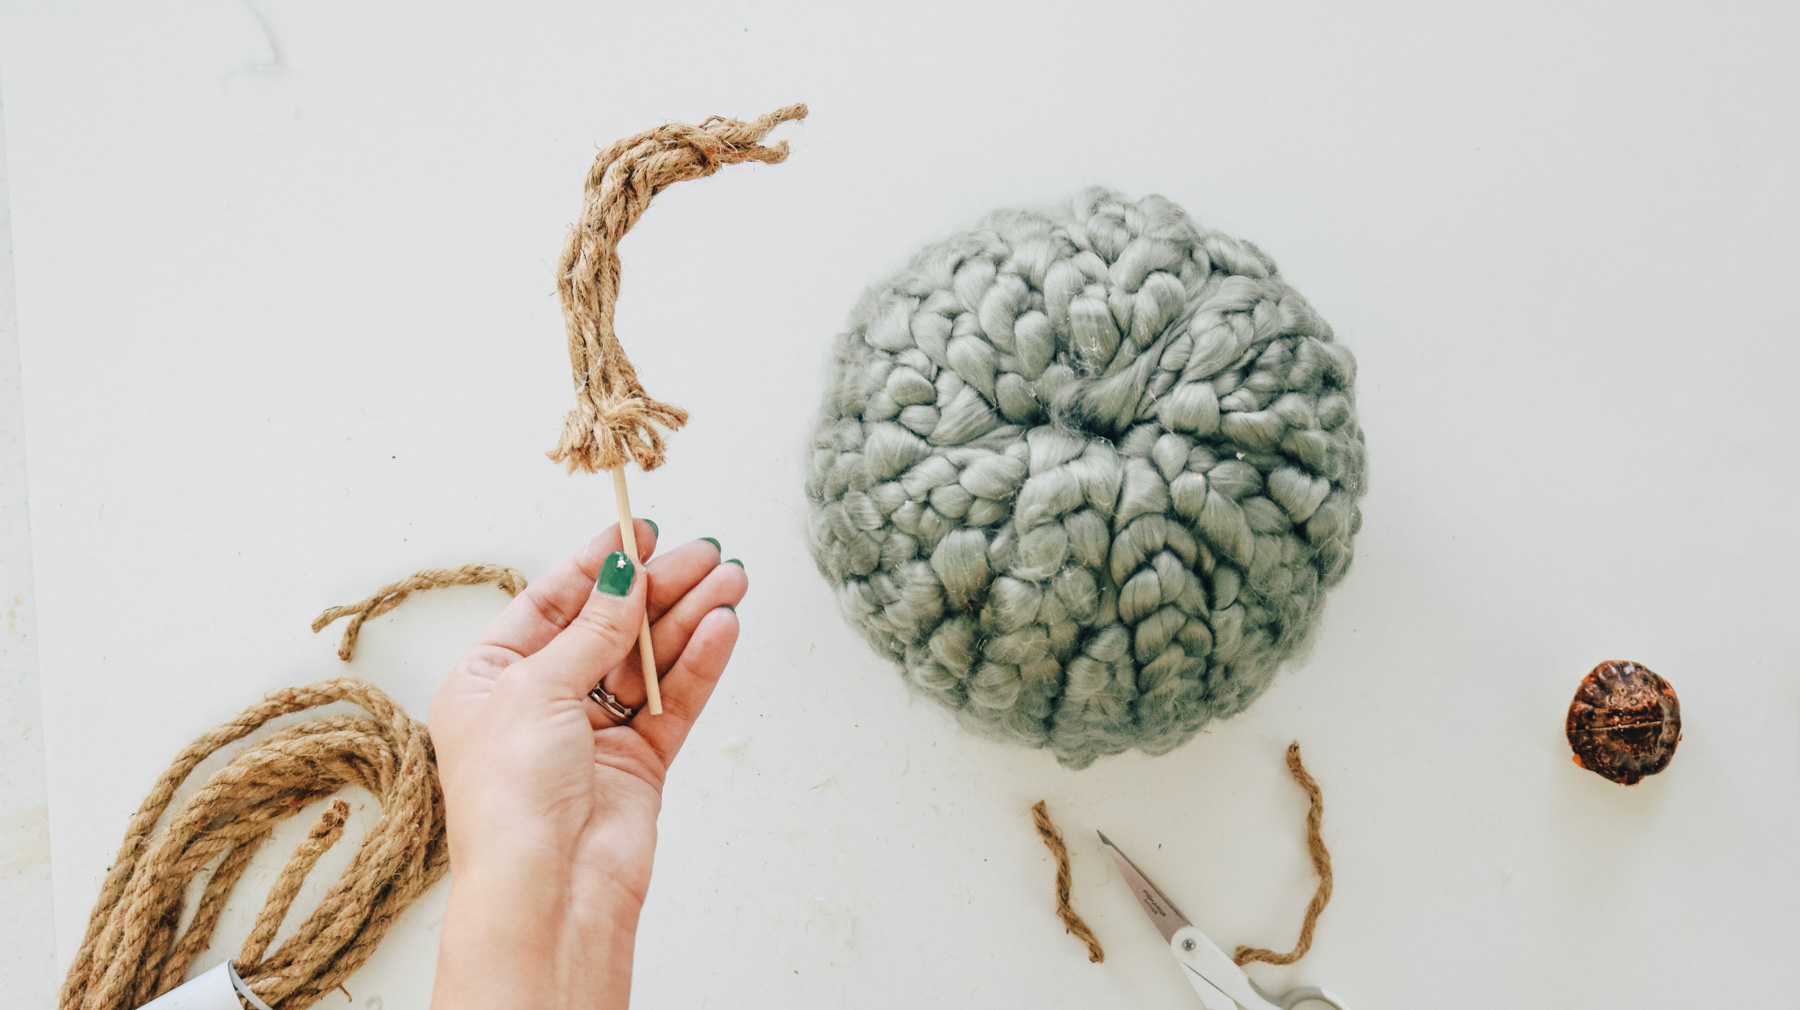
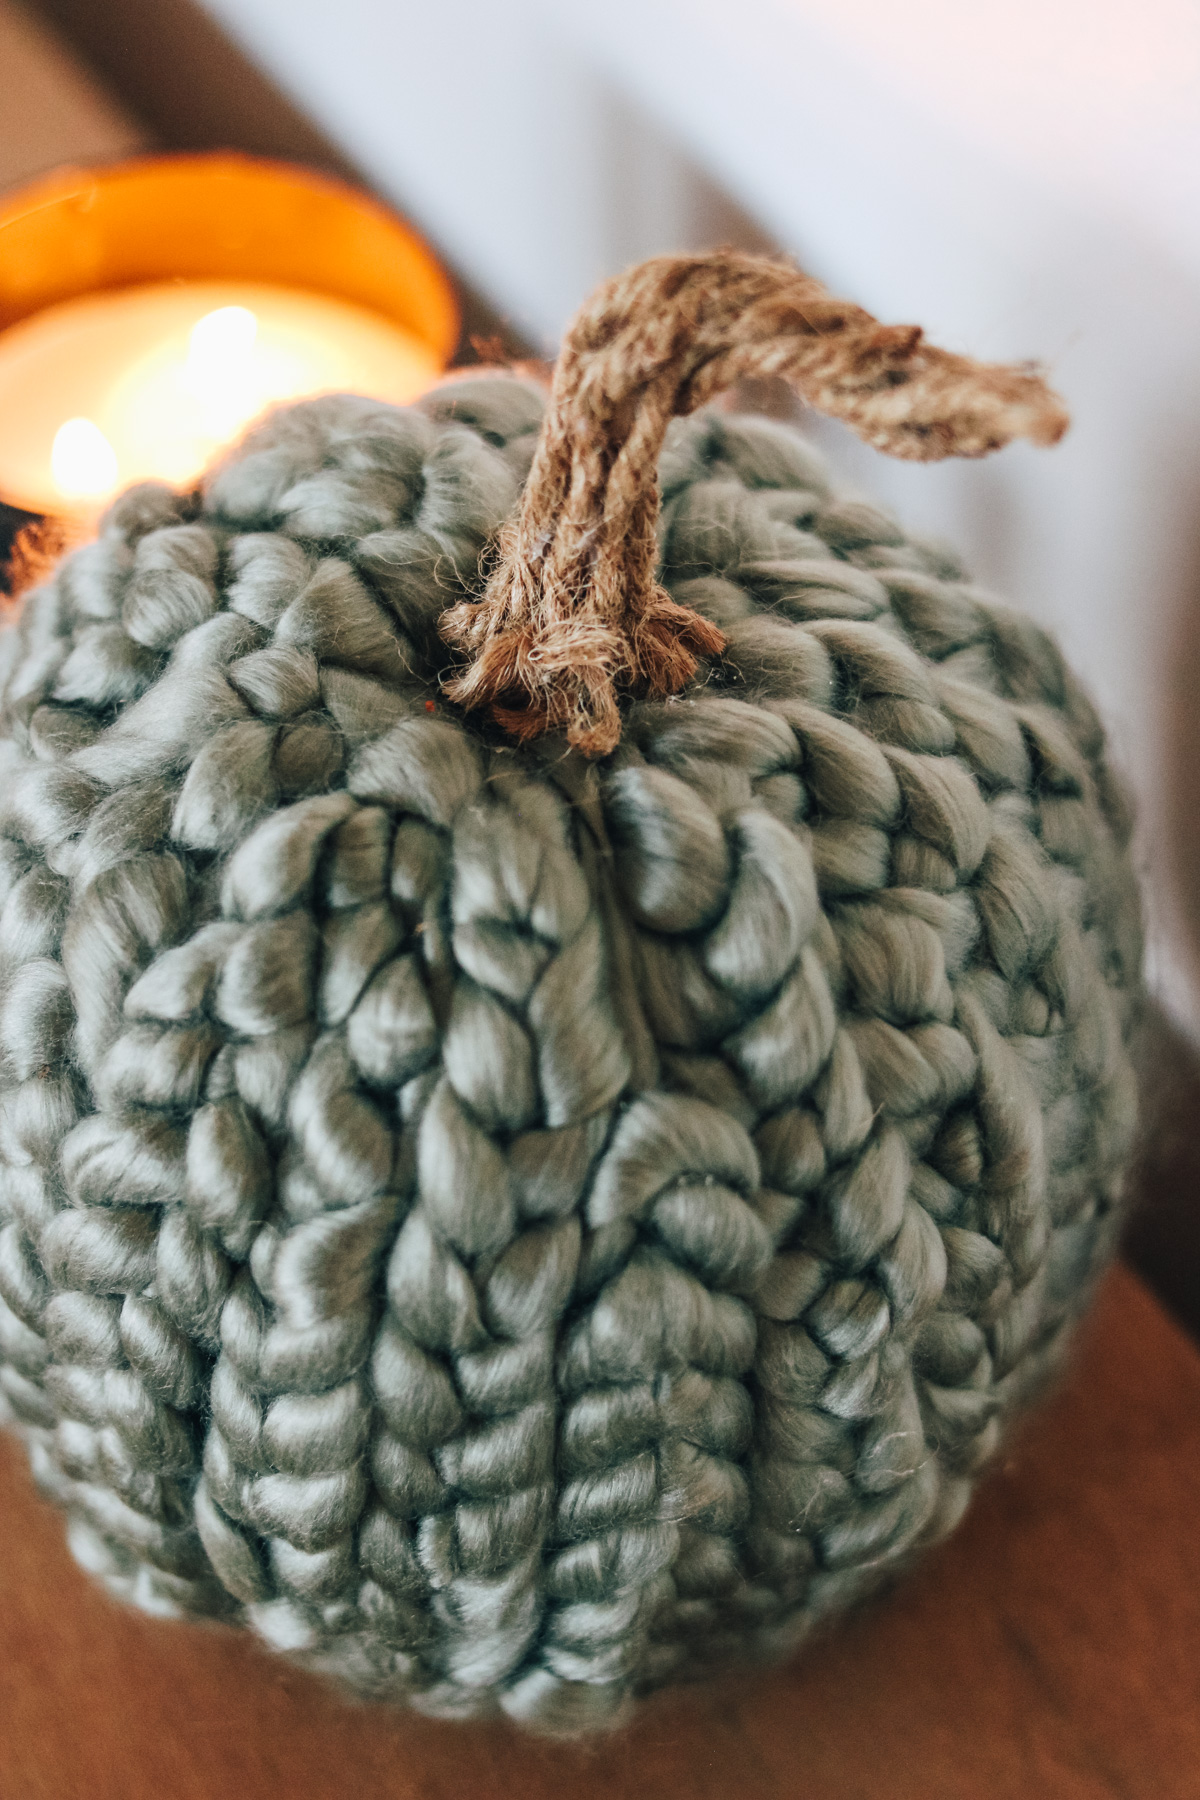
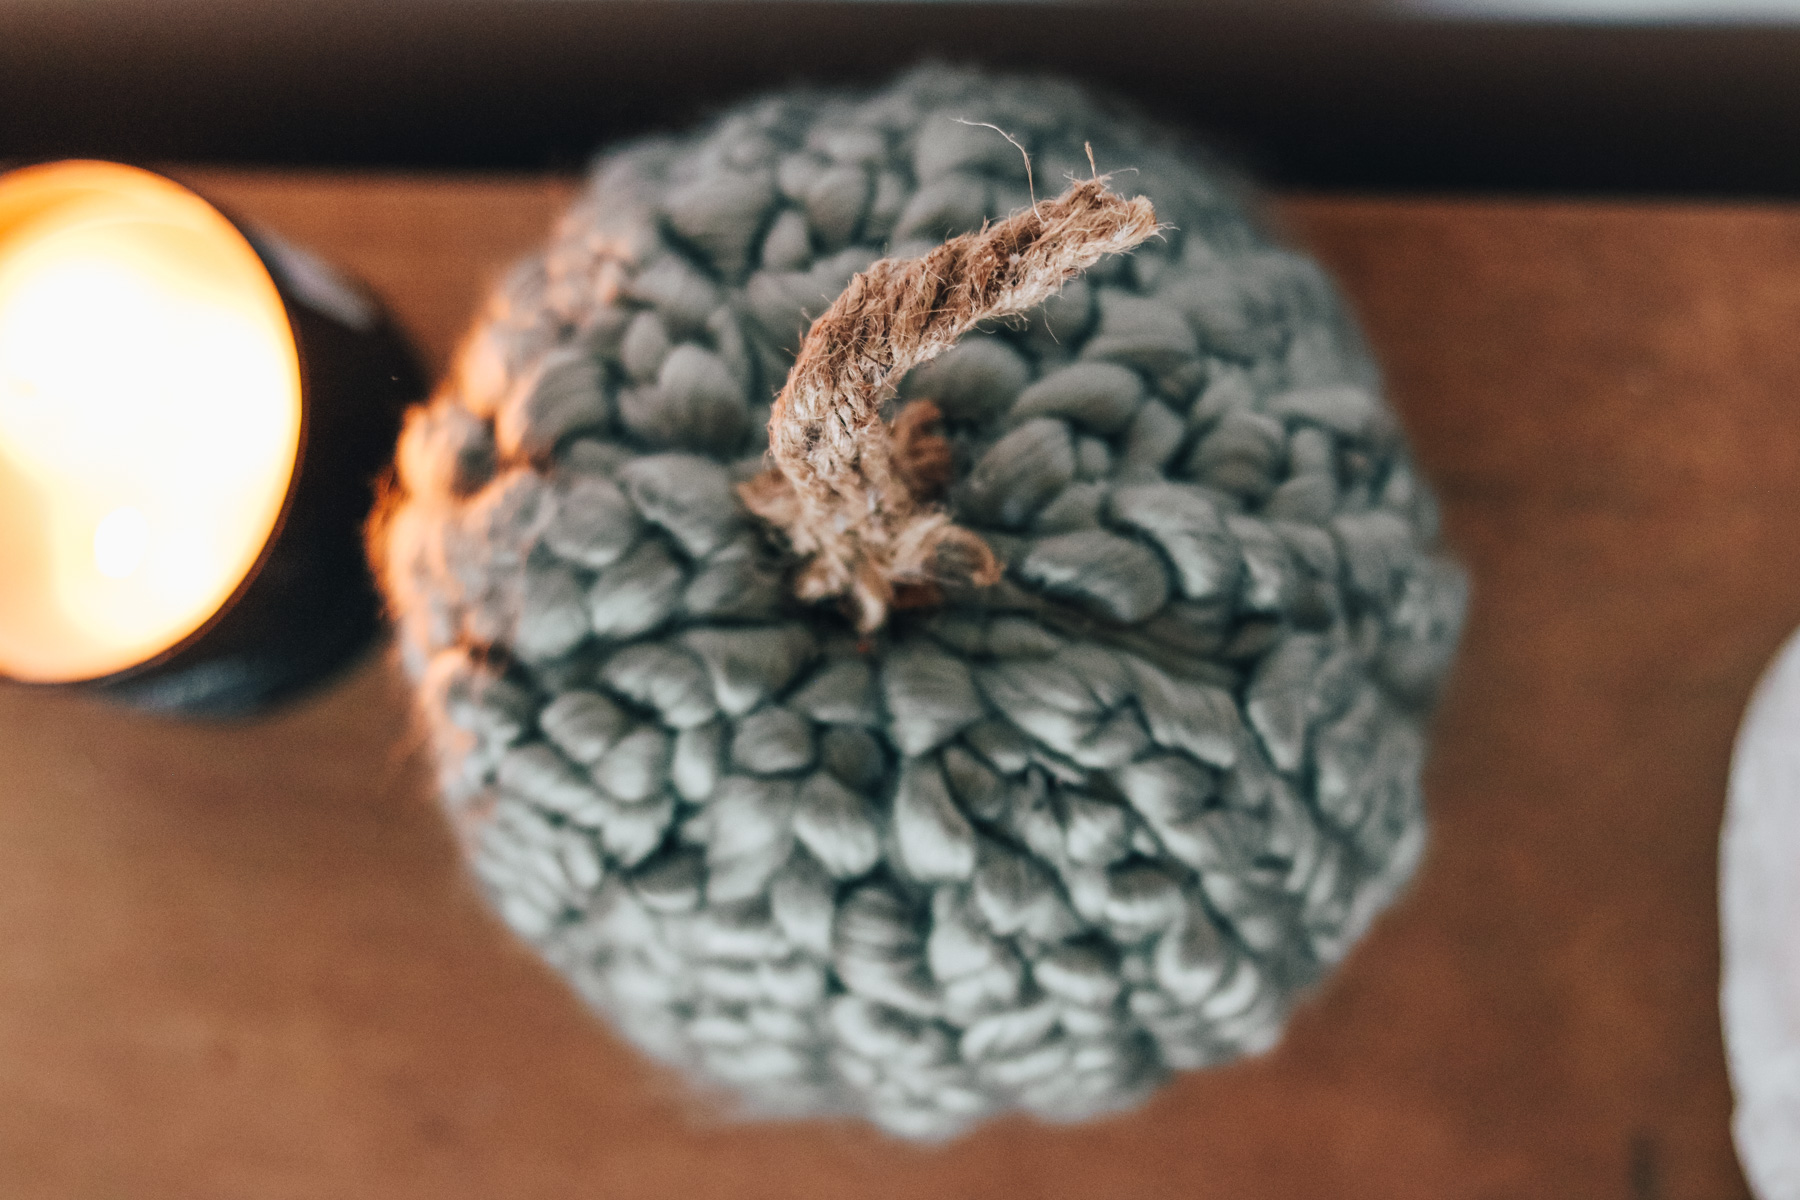
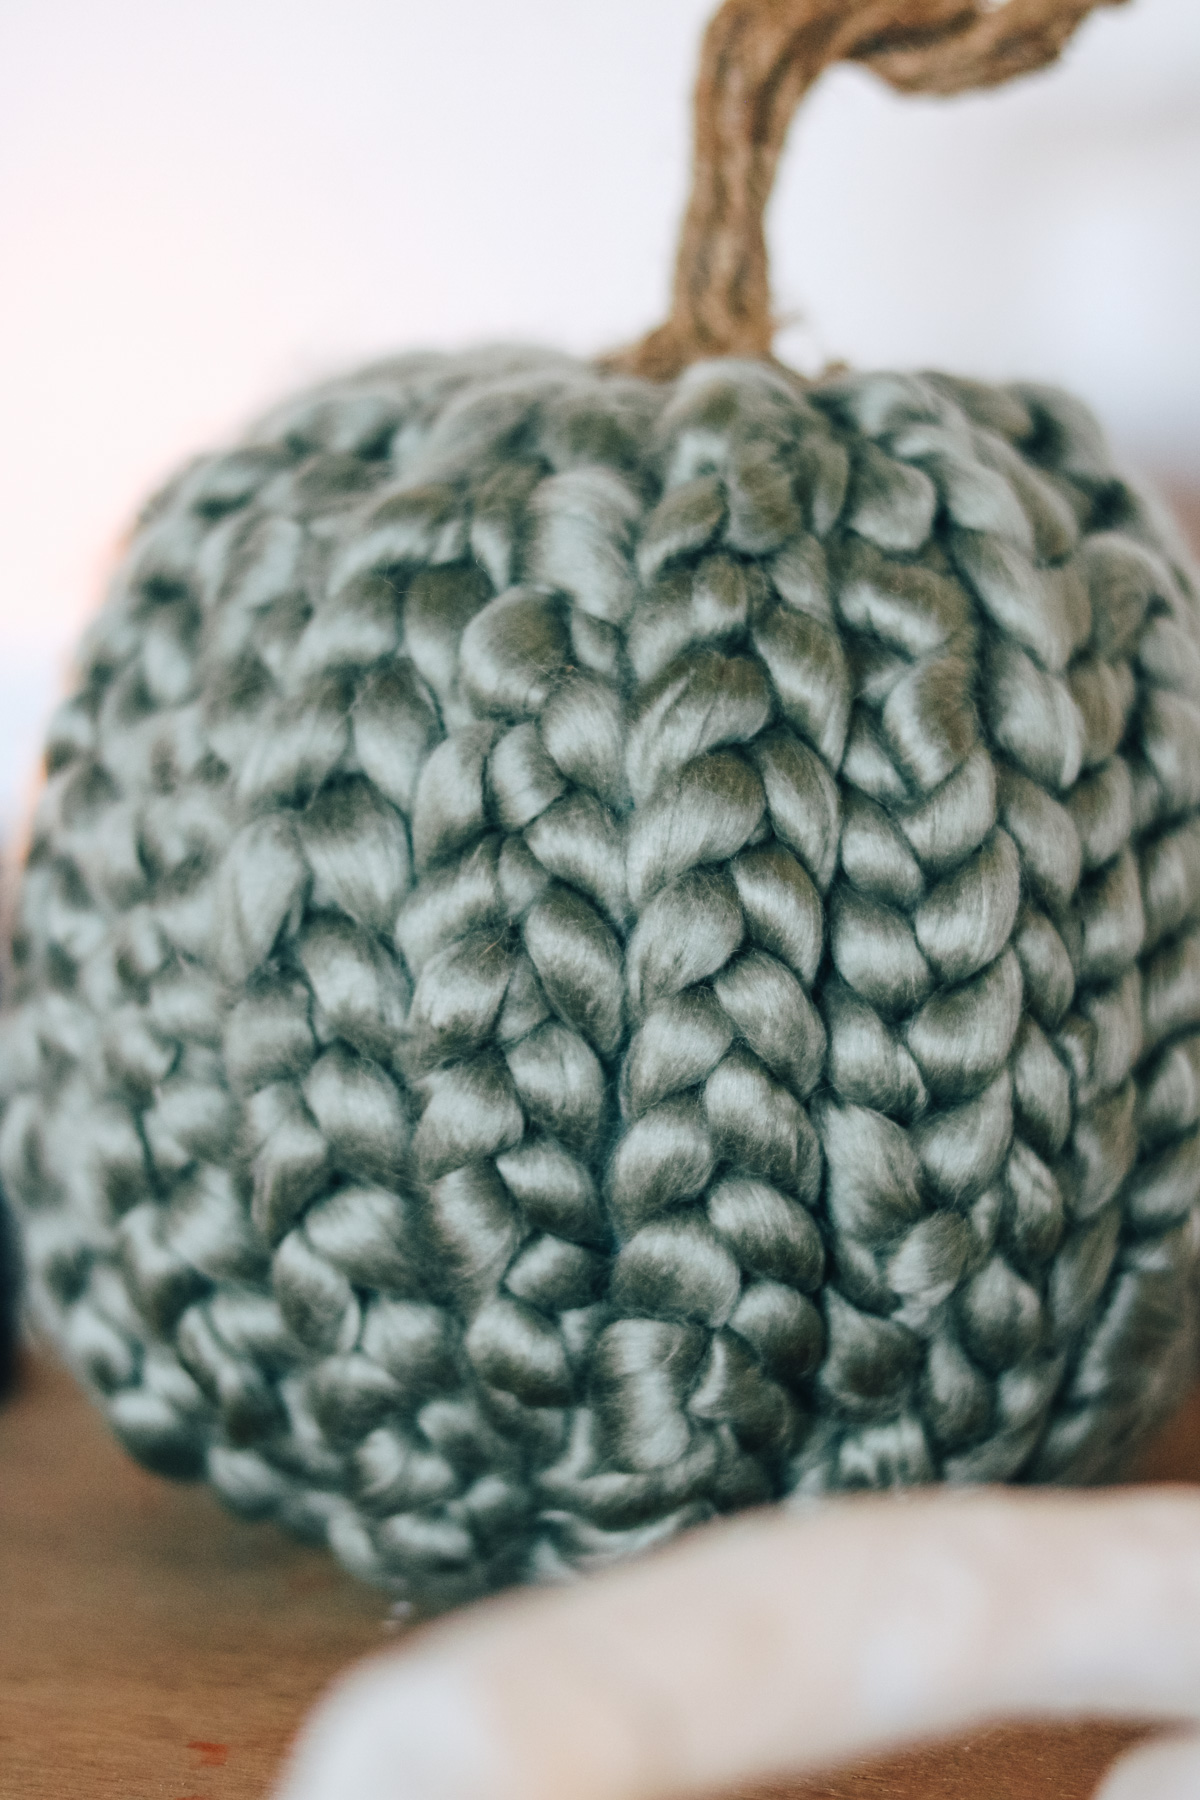
And here’s how the top looked. I used a skewer and some twine rope that I pulled apart and glued to create a stem. Then you simply stick it into the pumpkin and secure with hot glue.
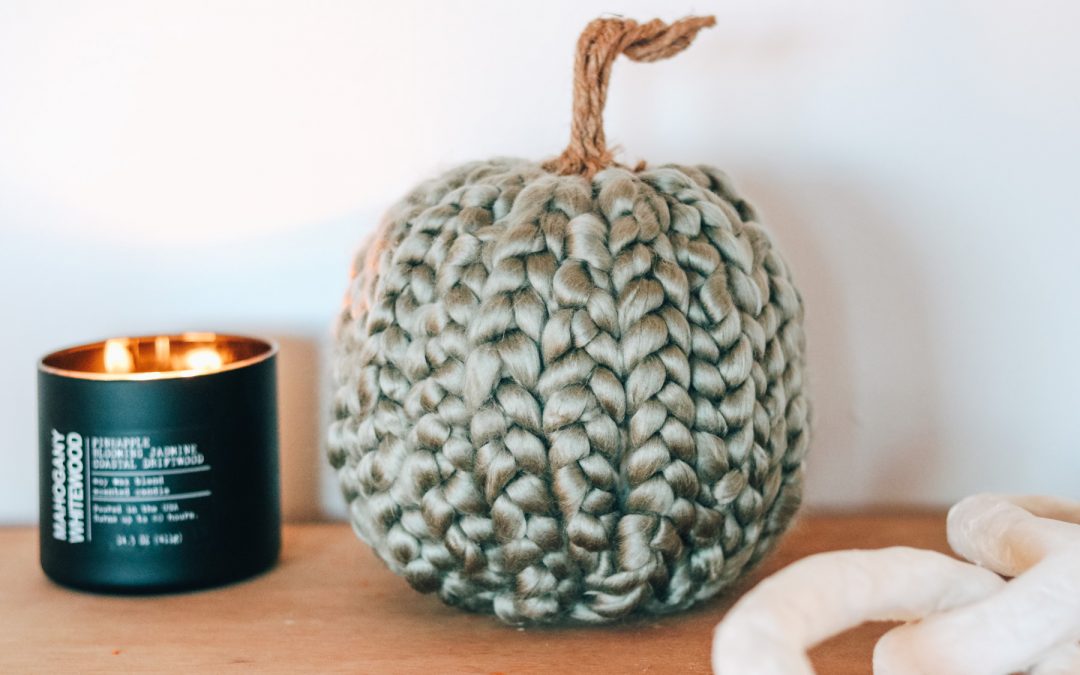
I love pretty much anything chunky knit! Not gonna lie I was a bit worried this would be a mess but, it turned out ssso cute.
CLICK ON ANY PHOTO TO ADD TO YOUR PINTEREST BOARD!

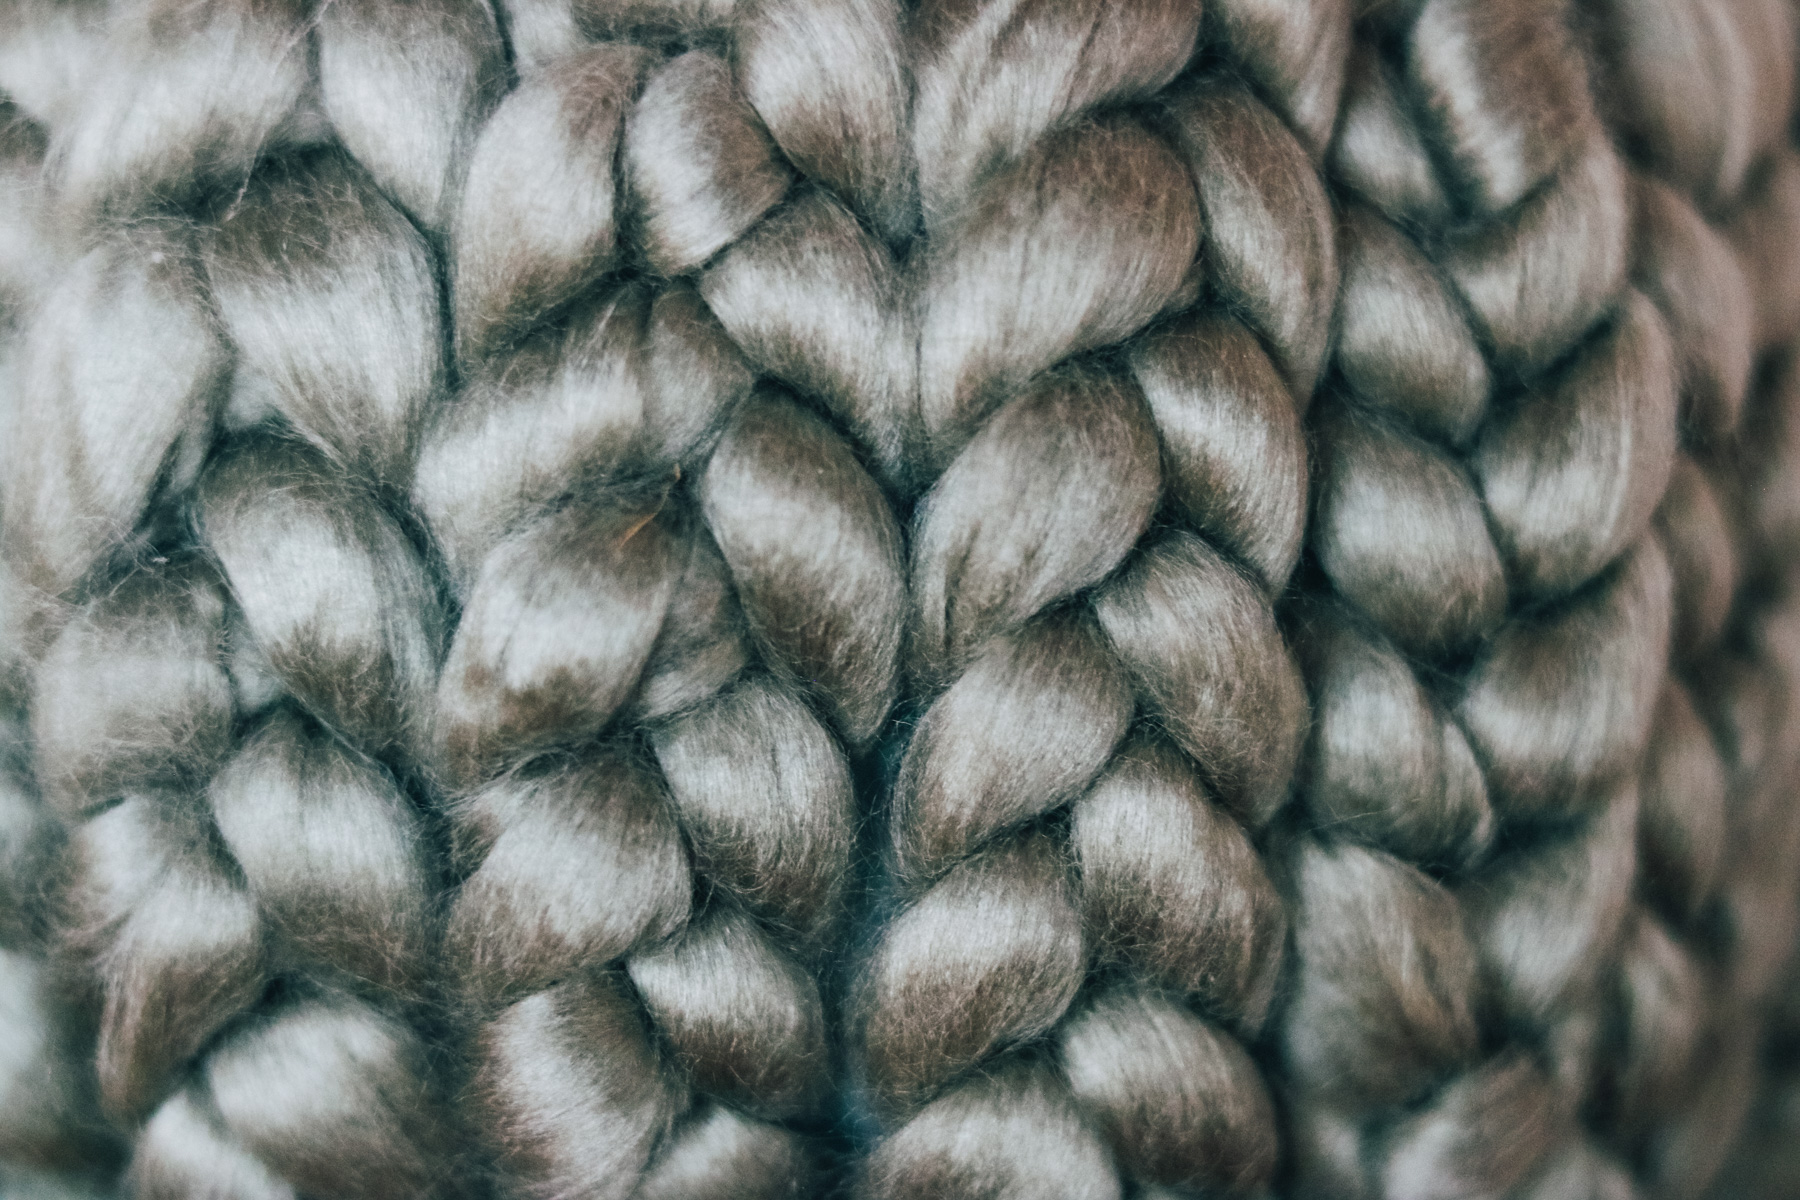
I love how the yarn has a pretty shine to it and that color is ssso prettty!
That’s it! Thanks for stopping by. I can’t to make more in different colors. I hope this inspires you to give hand knitting a try.
Here’s a pin for you to add to your Pinterest board. You can add this to your fall decor board or DIY decor board.
CLICK ON PHOTO TO PIN!!
