
Truth be told! 😍 I love anything with eucalyptus and that’s why this wreath is one of my favorites! It matches so many different seasons and can even be left out in the summertime. You can also change the wording into something more festive for Christmastime.
TIME NEEDED:
This wreath took me about an hour to make.
TOTAL COST: Around $30
Where did you get the eucalyptus ?
The most expensive part of this wreath for me was the eucalyptus which was $20 for two garlands and that was on sale at hobby lobby. Original price for it would of been $40 which I thought was a pretty hefty price. That said I did choose eucalyptus that looked more realistic then some of the other options they had and I personally think it as worth the price. If you’re looking for similar eucalyptus amazon sells a two pack here for a great price.
This article contains affiliate links. For more info read the disclosure policy.
SUPPLIES:
- 14″ wire wreath ( I got mine at the dollar tree)
- 2x burlap ribbon
- floral wire
- 2 eucalyptus garlands
- 2x corrugated cardboard
- craft paint ( silver and dark metallic)
- chipboard
- mod podge + brushes
- sponge

DIY Eucalyptus Wreath TUTORIAL WITH MY CRICUT!
Every time I make a new project with my cricut explore air 2 I love trying to see what new materials it can cut. This time I really wanted to experiment with corrugated cardboard and chipboard. If you’re not familiar with chipboard it’s like a condensed cardboard material that’s perfect for crafts. When I decided I wanted to cut chipboard with my cricut I did some research to see how thick it can be in order for my cricut machine to cut it properly. Here’s what I found on cricut.com. I found that my material needed to be 2.0mm and thinner. If you’re not sure how thick that is I learned that the thickest my explore air 2 can cut is about the thickness of a dime ( check out photo below) .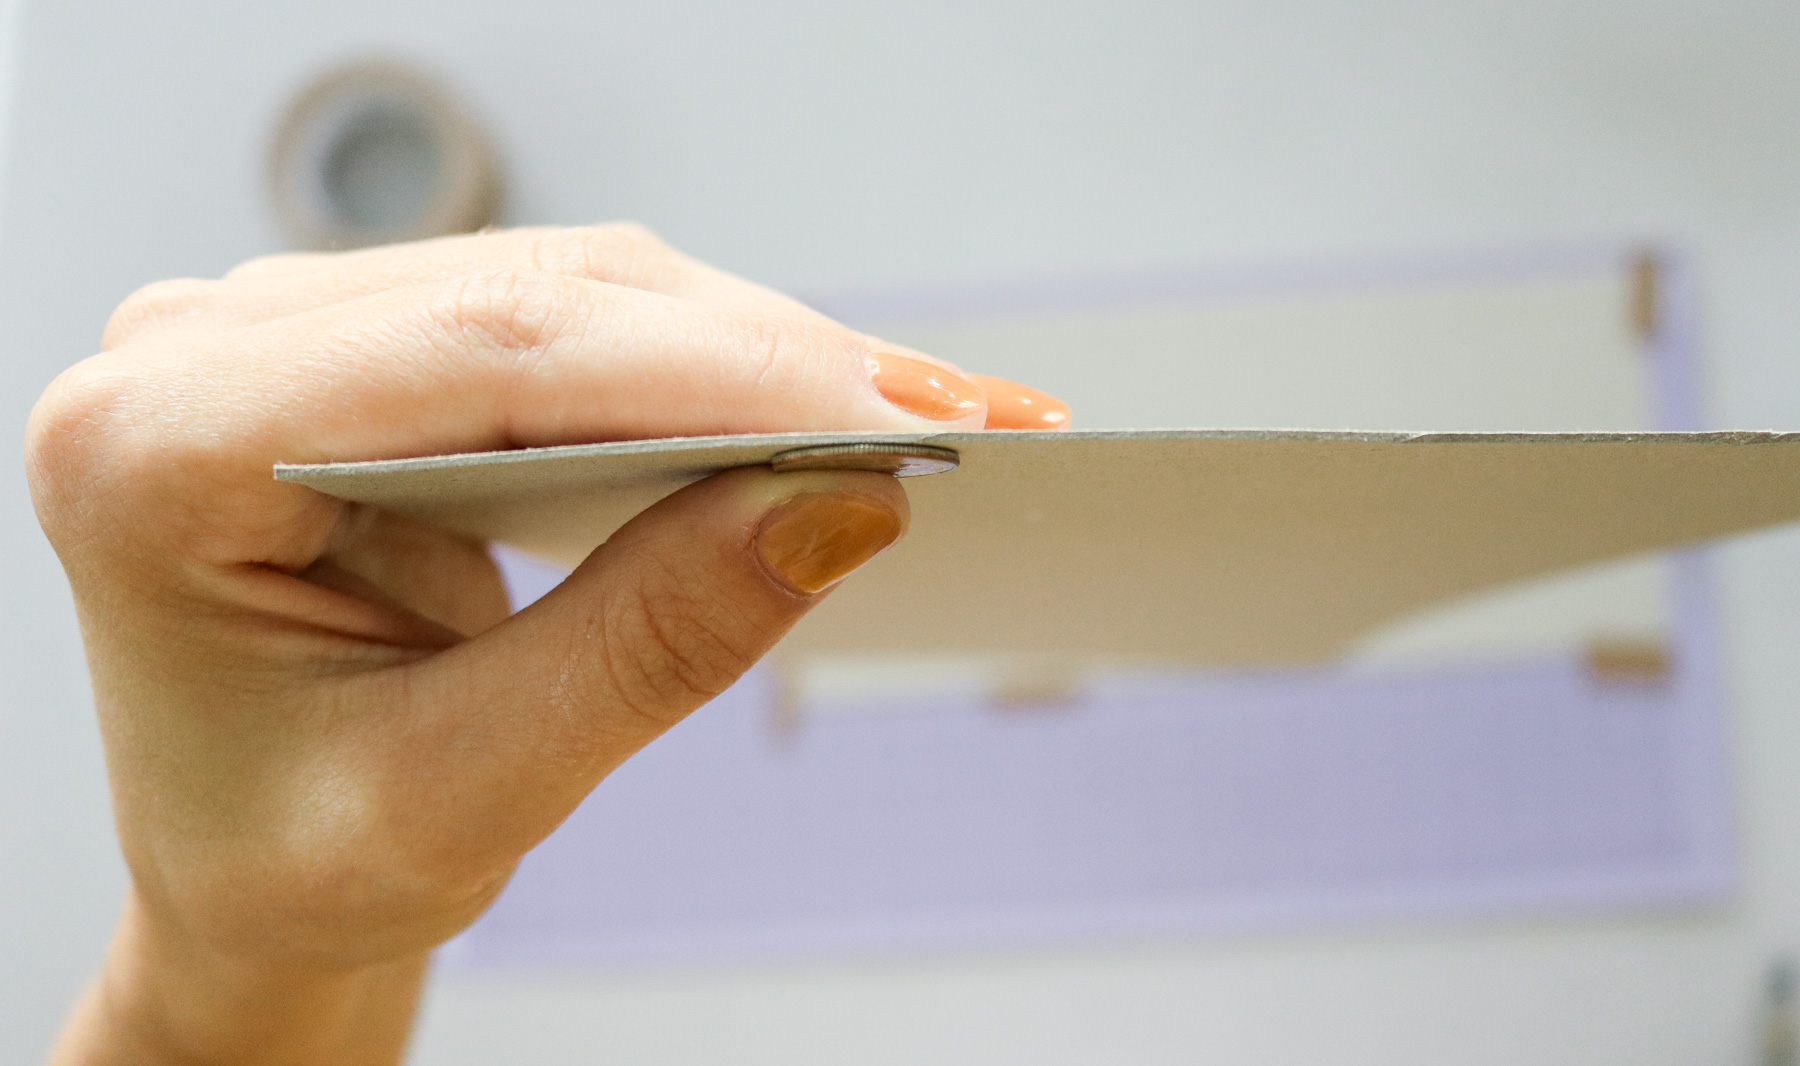 Keep in mind thicker materials might need some help with an exacto knife in areas. After doing a few projects with thicker materials I find this to be pretty normal and it only takes a few minutes to fix.
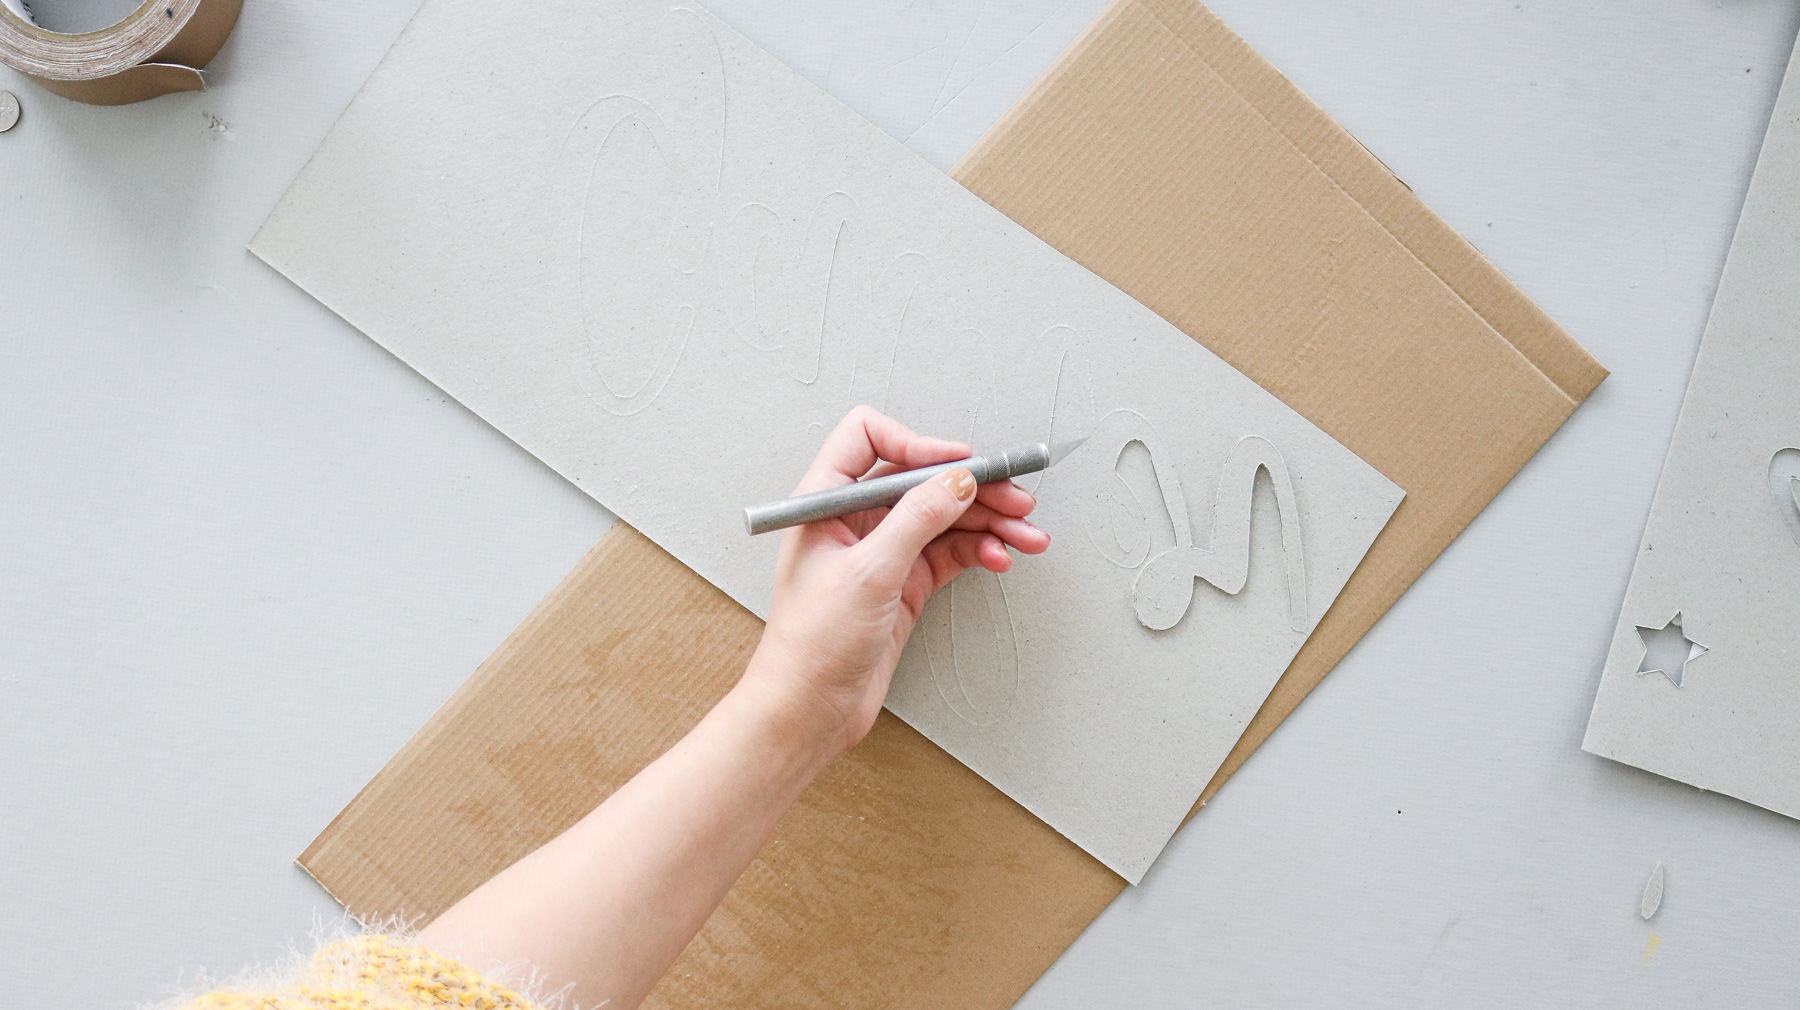
WHERE DO I GET CHIPBOARD??
Cricut sells chipboard on their website in 12×12 sheets.
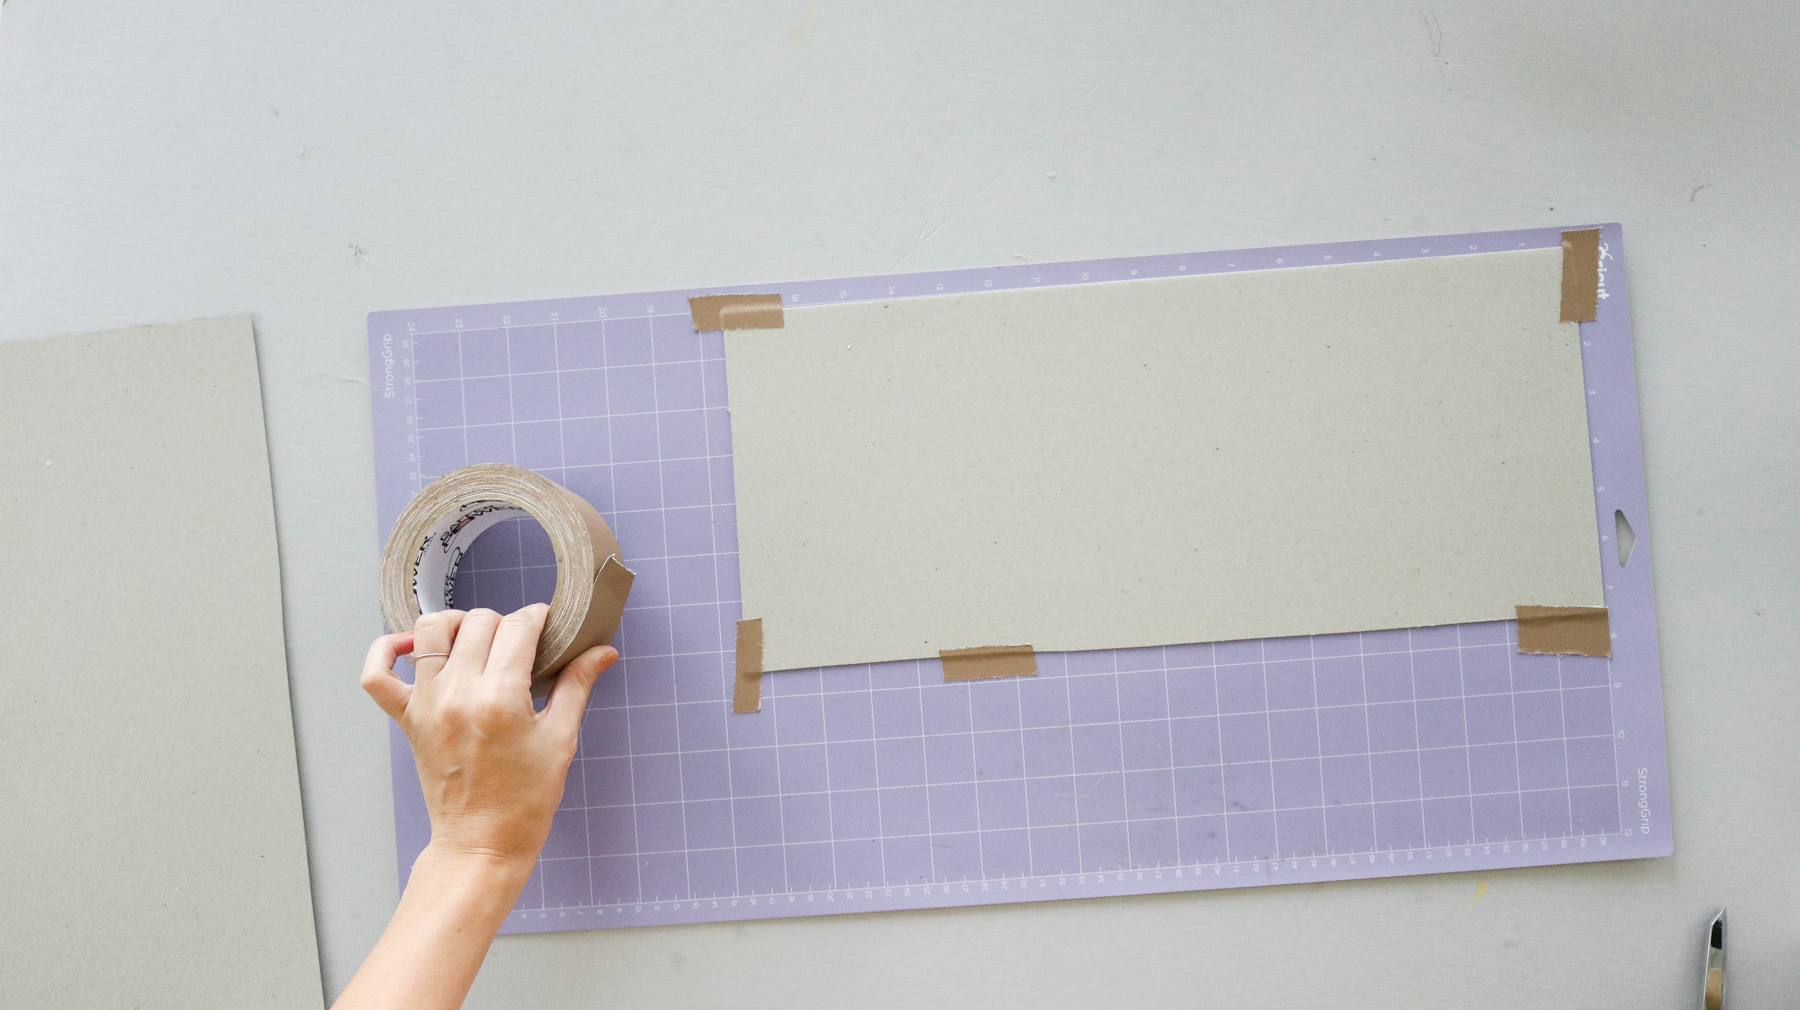
What if you need something bigger then a 12×12? Most craft stores sell chipboard by the sketch paper section. The only problem is it usually never mentions the thickness, so you kind of have to guess. It’s important to test your materials before making your project. It’s also good to keep in mind the explore air 2 machine cuts 100 materials accurately. Cricut doesn’t guarantee it will cut all materials.
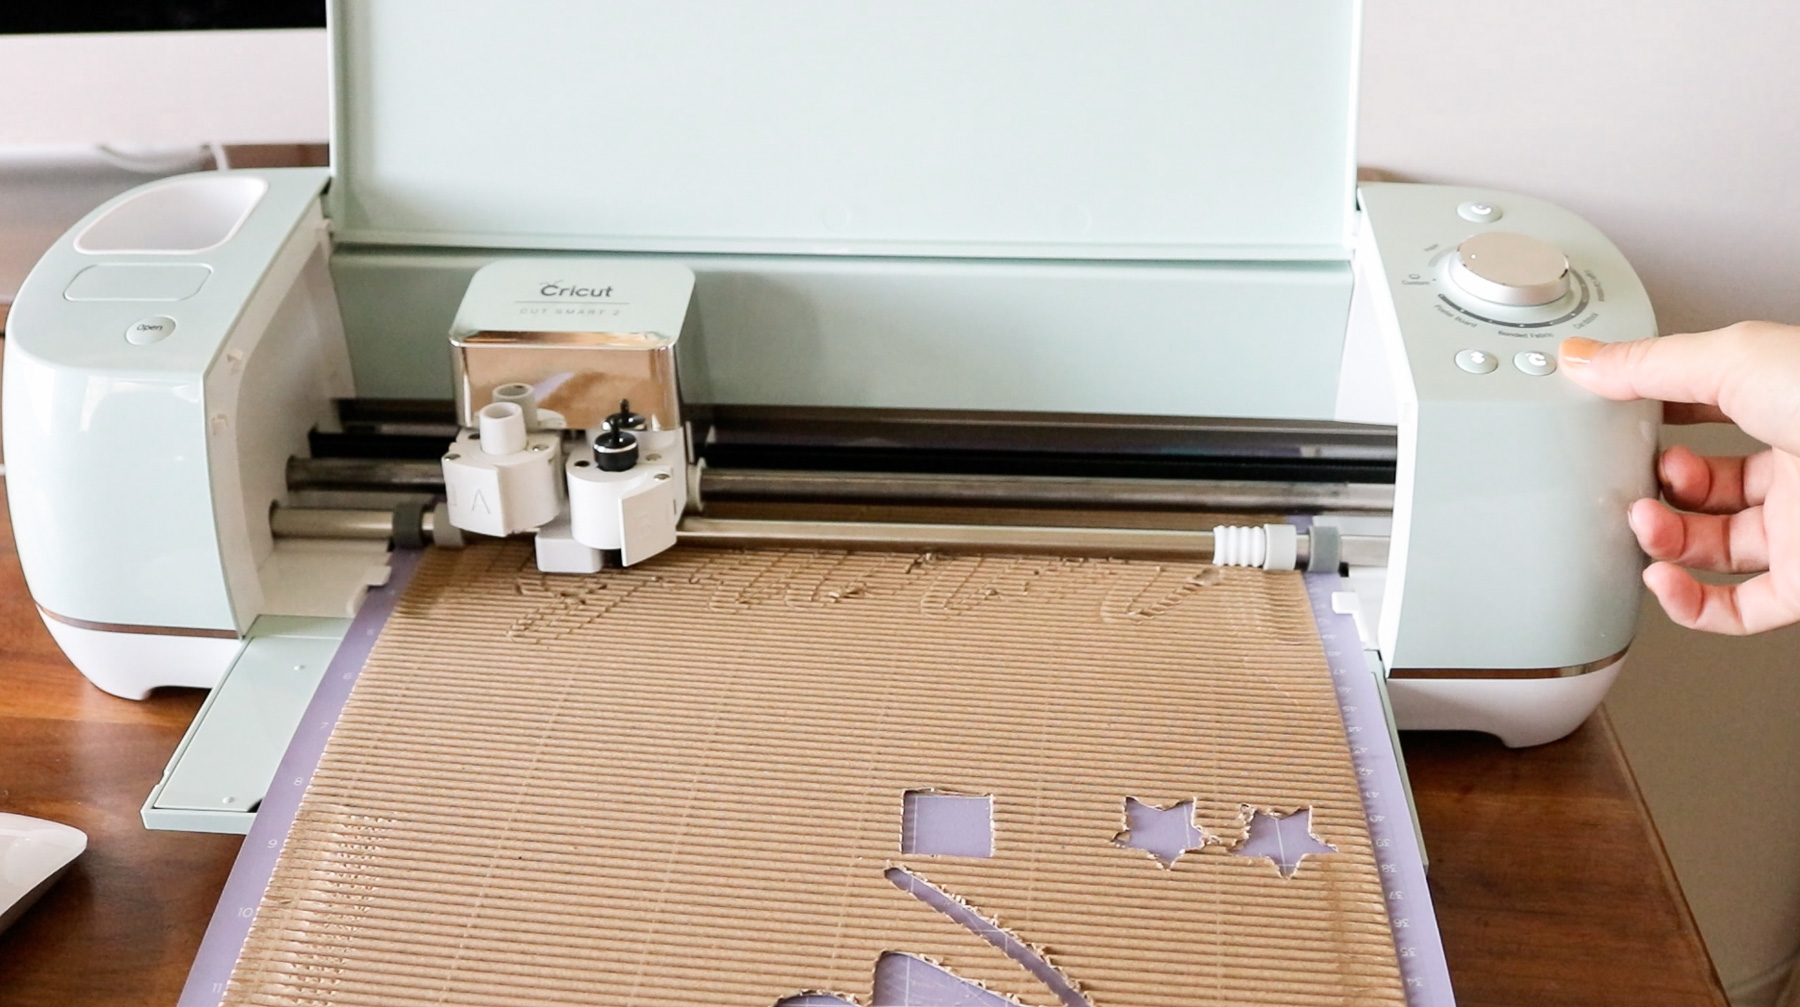
I cut 2 layers of the gather word from chipboard. This ensured it was sturdy enough. To see where I got my design and how I cut it I share more in the video.

If you’re not familiar with cutting materials on your cricut machine I share all the details about it in the video.
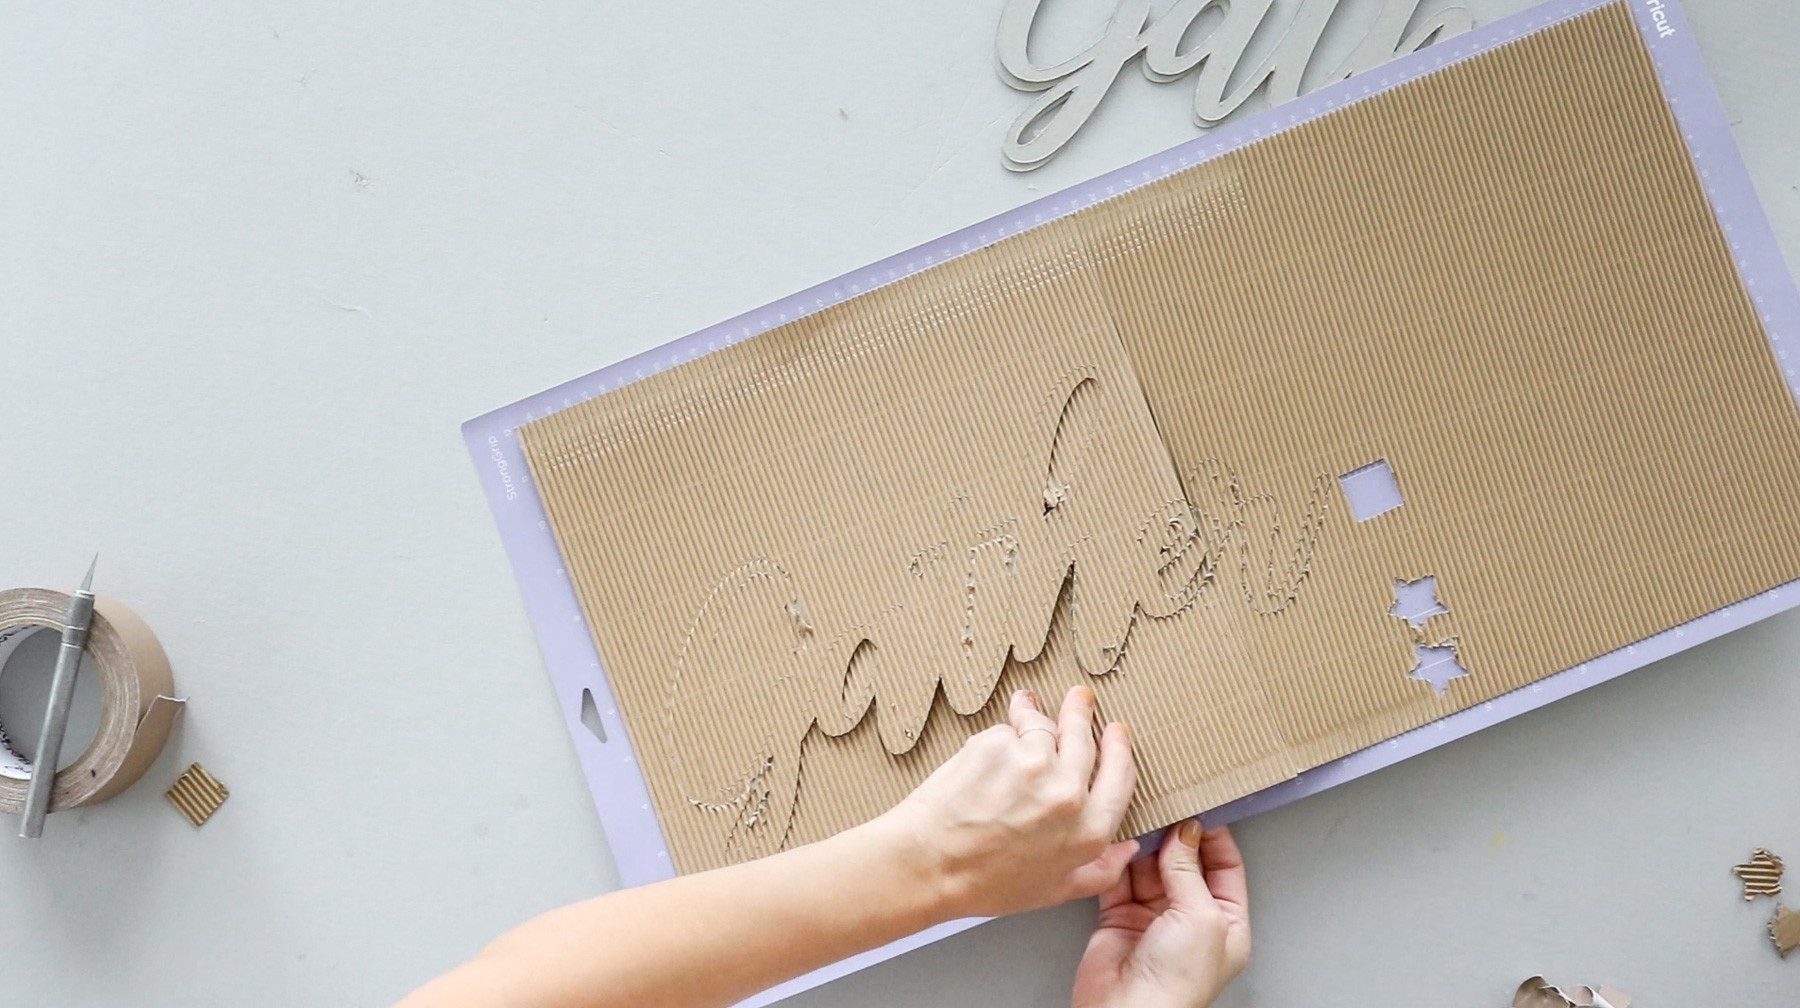
HOW TO CUT CARDBOARD WITH YOUR CRICUT! TIPS!
Working with corrugated cardboard can be tricky. You need to make sure the shapes you plan to cut are simple enough. If they’re aren’t simple it will turn into a mess while being cut. Simple squares or circles work great. When picking the wording for my gather sign I actually had the hardest time finding letters that were thick enough. I needed to make sure that it was cursive but on the thicker side. I contacted my friend Jessie from Wild and Sparrow designs on esty and she designed a custom gather sign for me. You can get it here. I share more in depth about the settings I used to cut my gather sign in the video. You can check it out here.
Creating my Sign!
I than glued on my cardboard onto my chipboard with some mod podge.
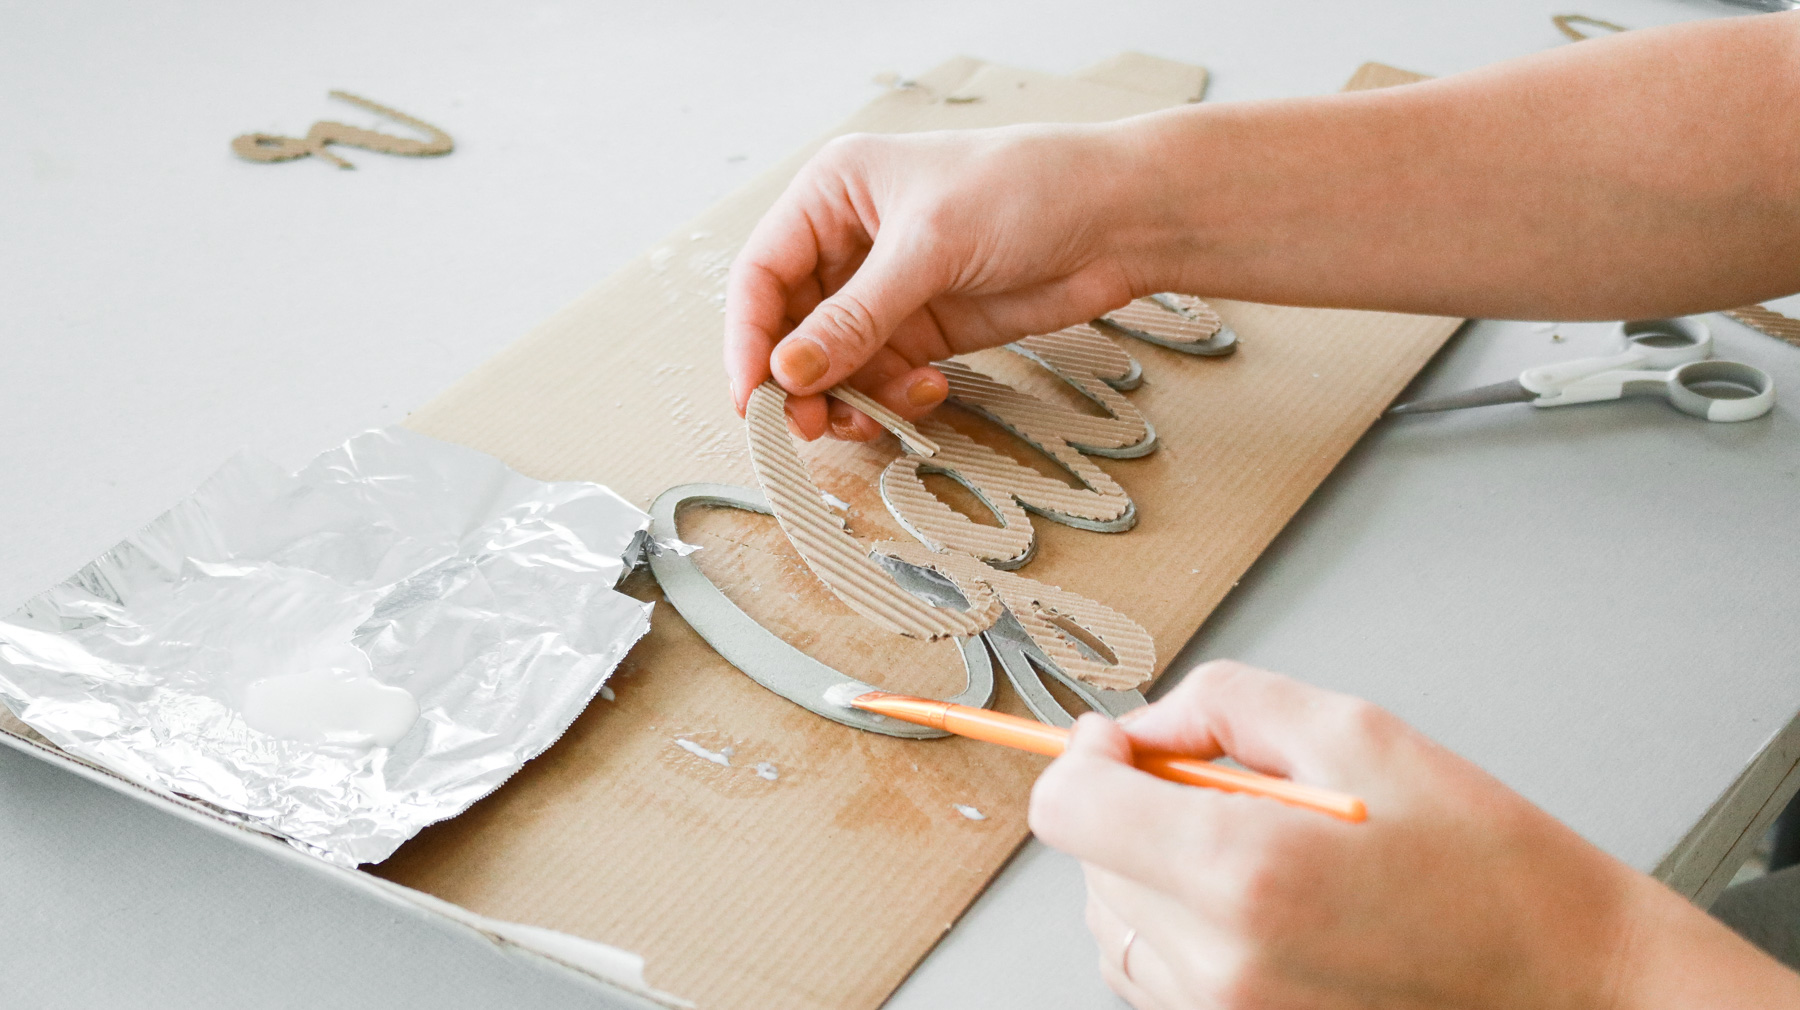
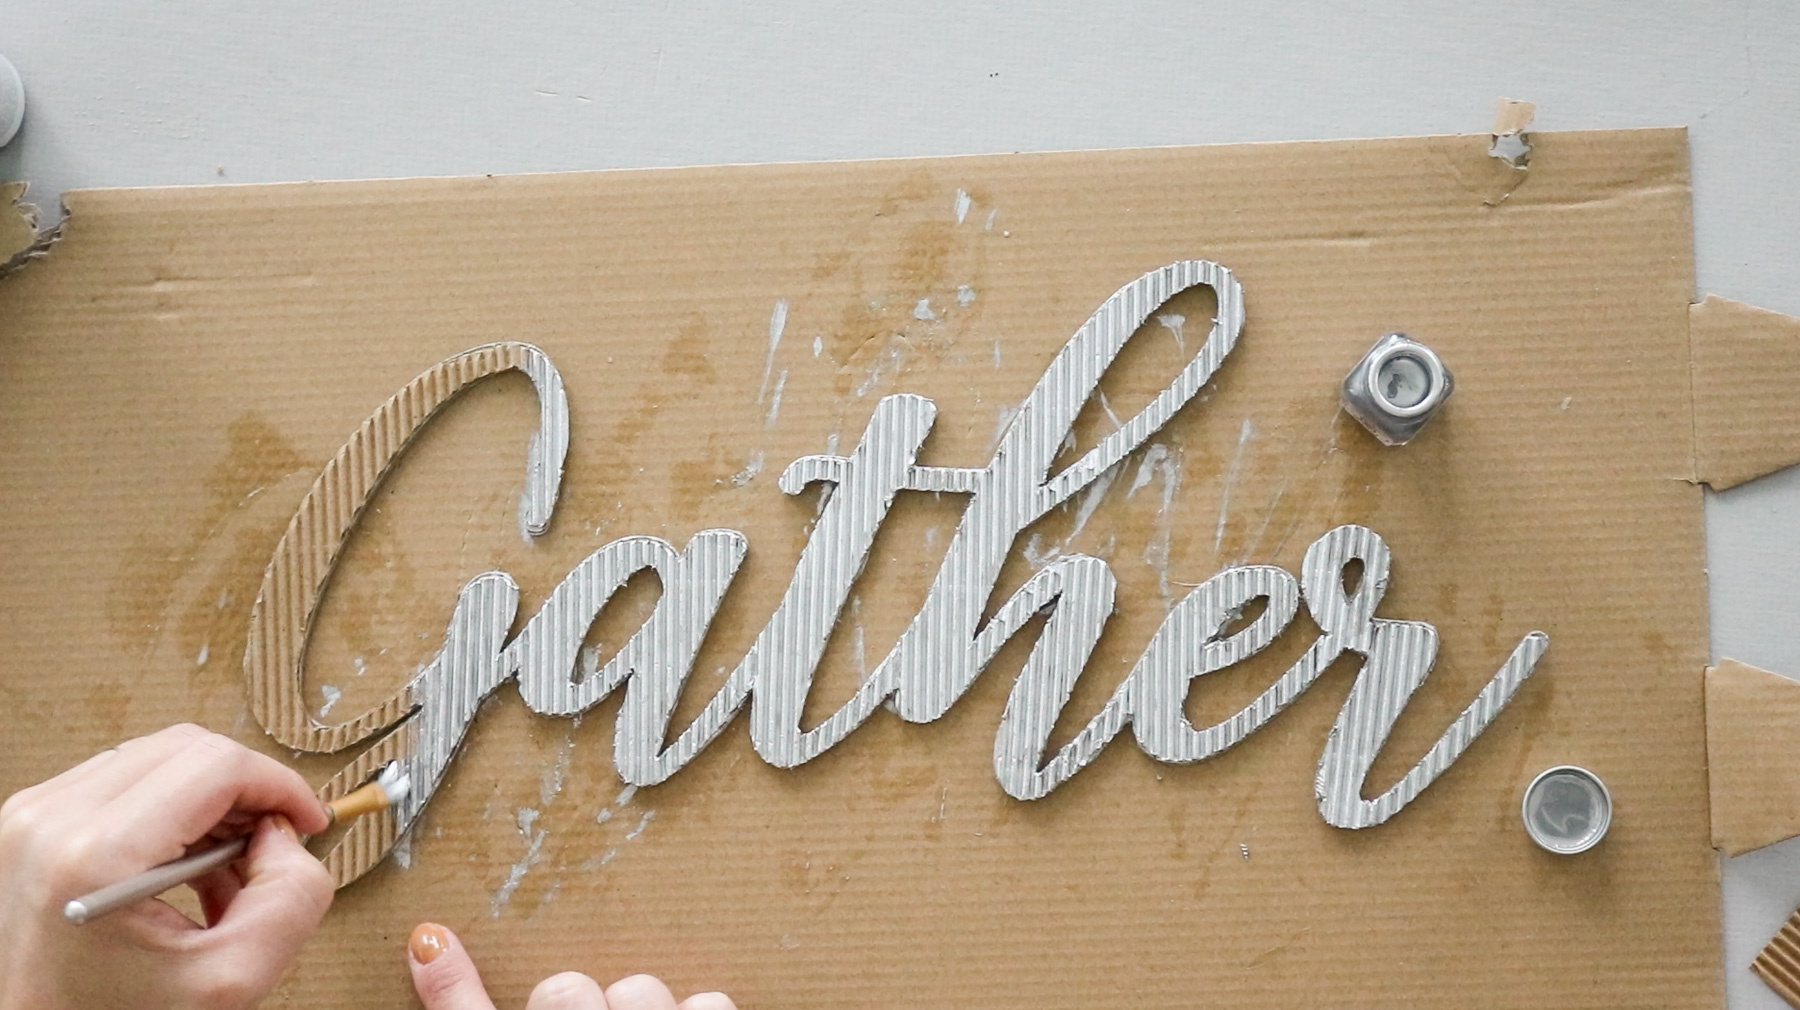
To finish my gather sign I used some silver paint and applied one coat of paint to the sign and to give it a galvanized metal look I used a sponge that I dipped it into charcoal metallic paint. I dabbed my sponge into the dark metallic paint and dabbed most of it off before applying it onto the silver sign. It gave the silver a messy look and just the effect I was going for.
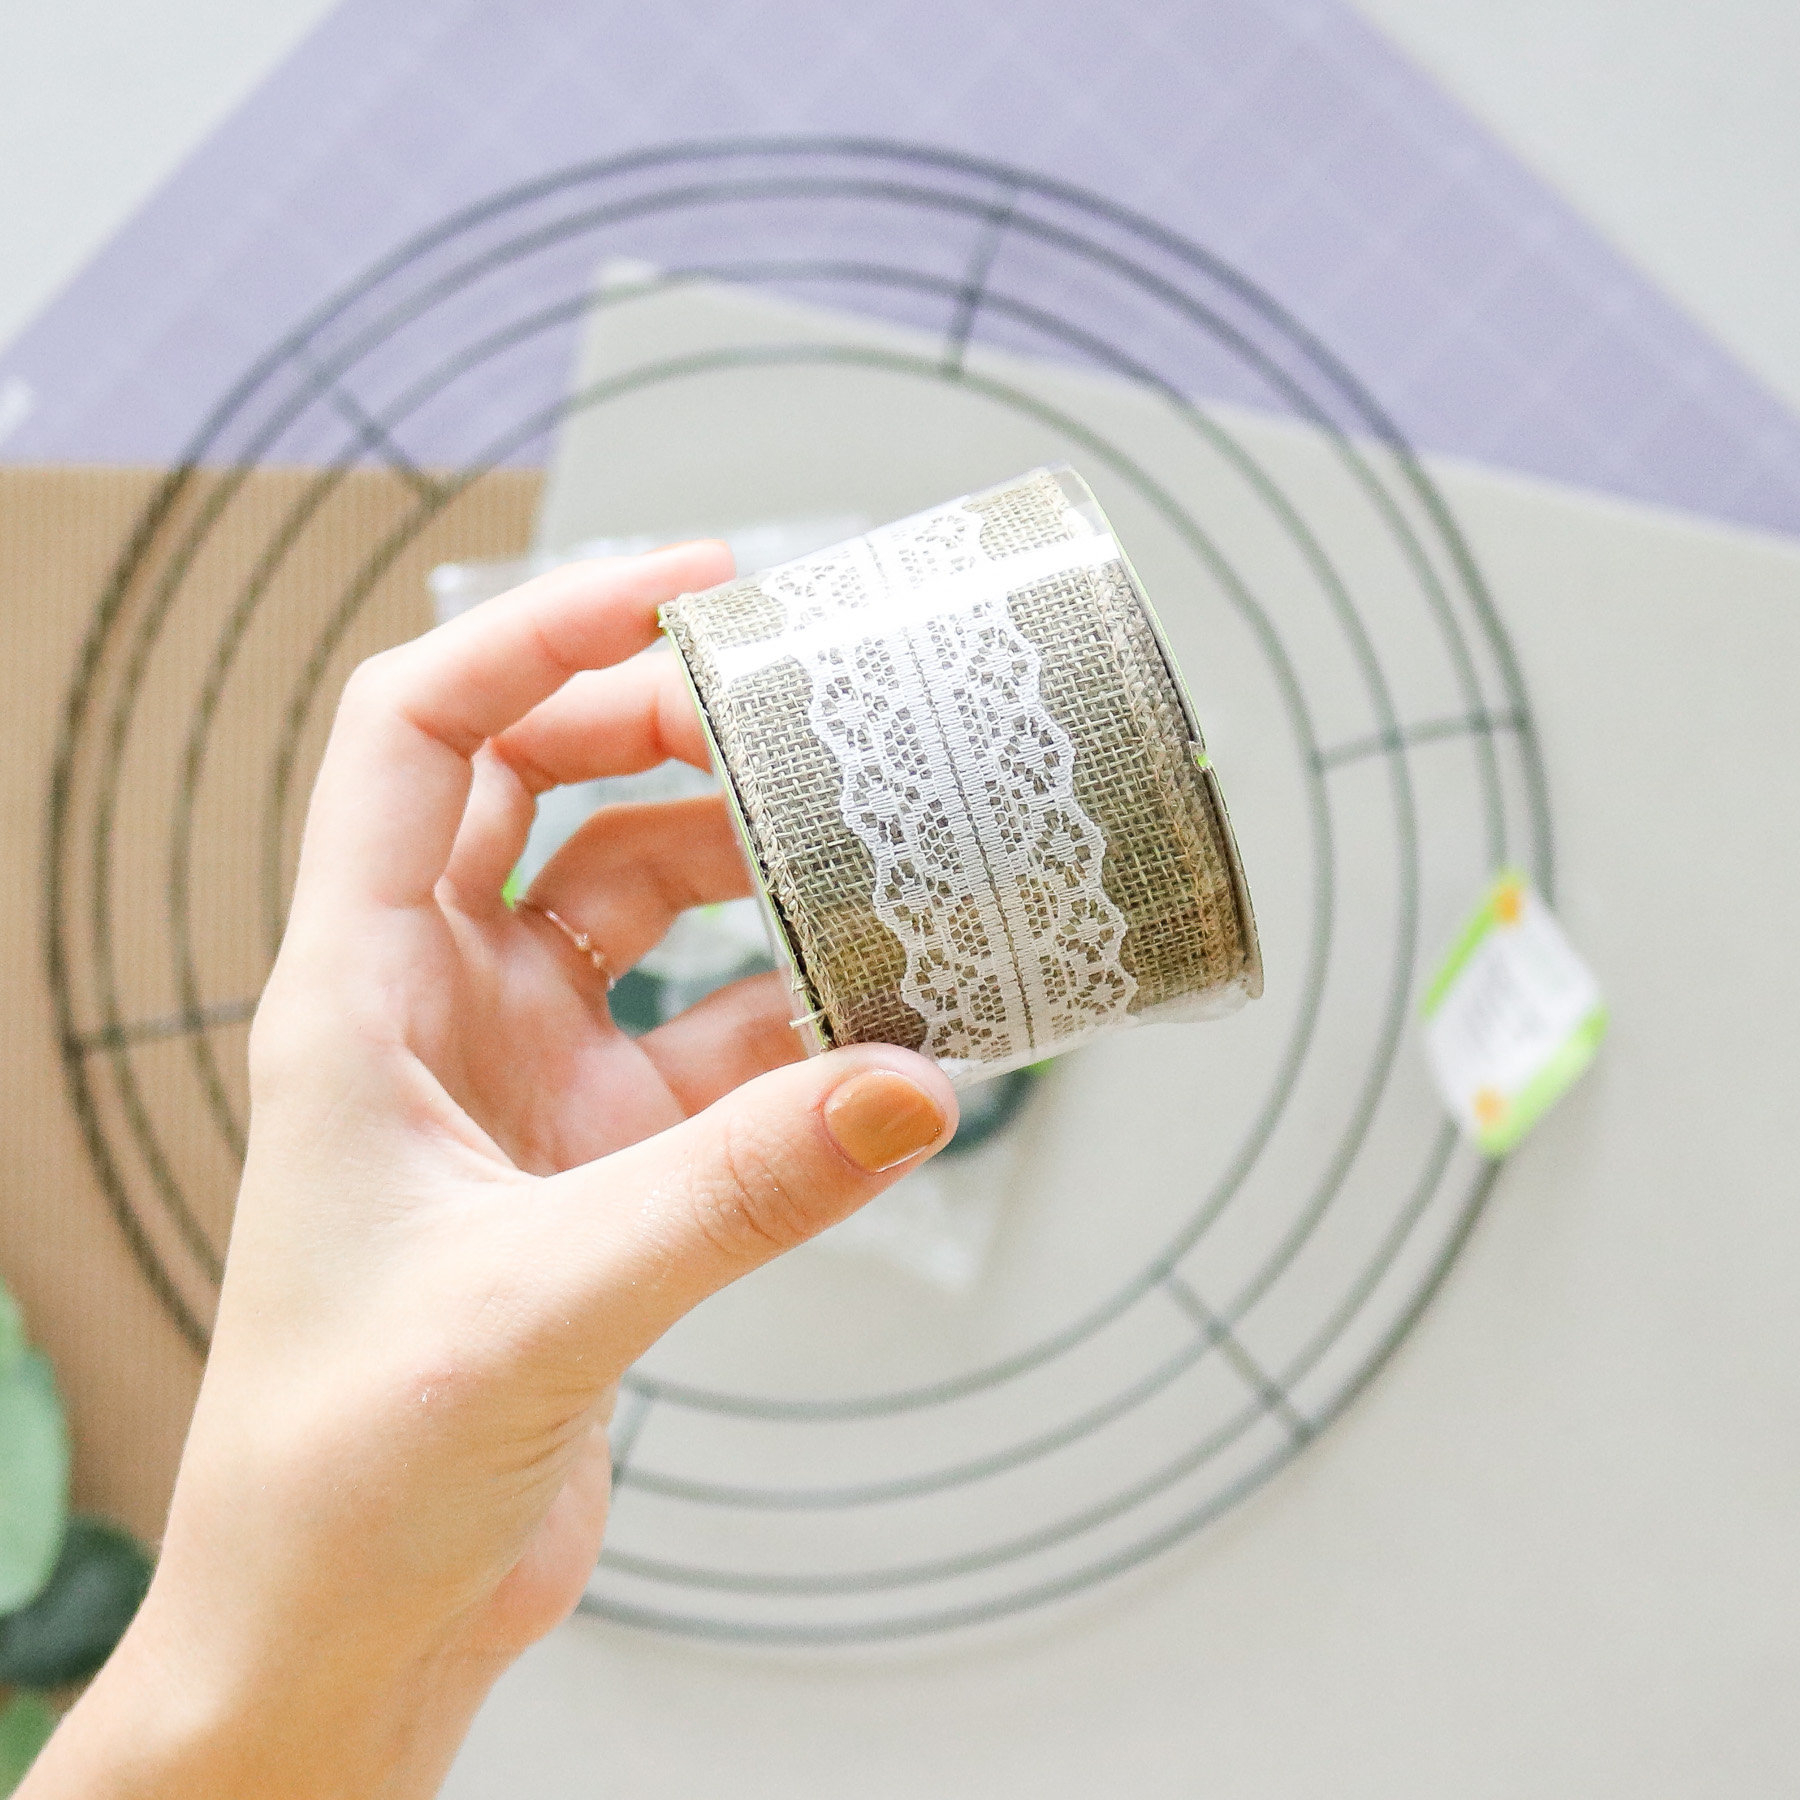
Creating the WREATH!
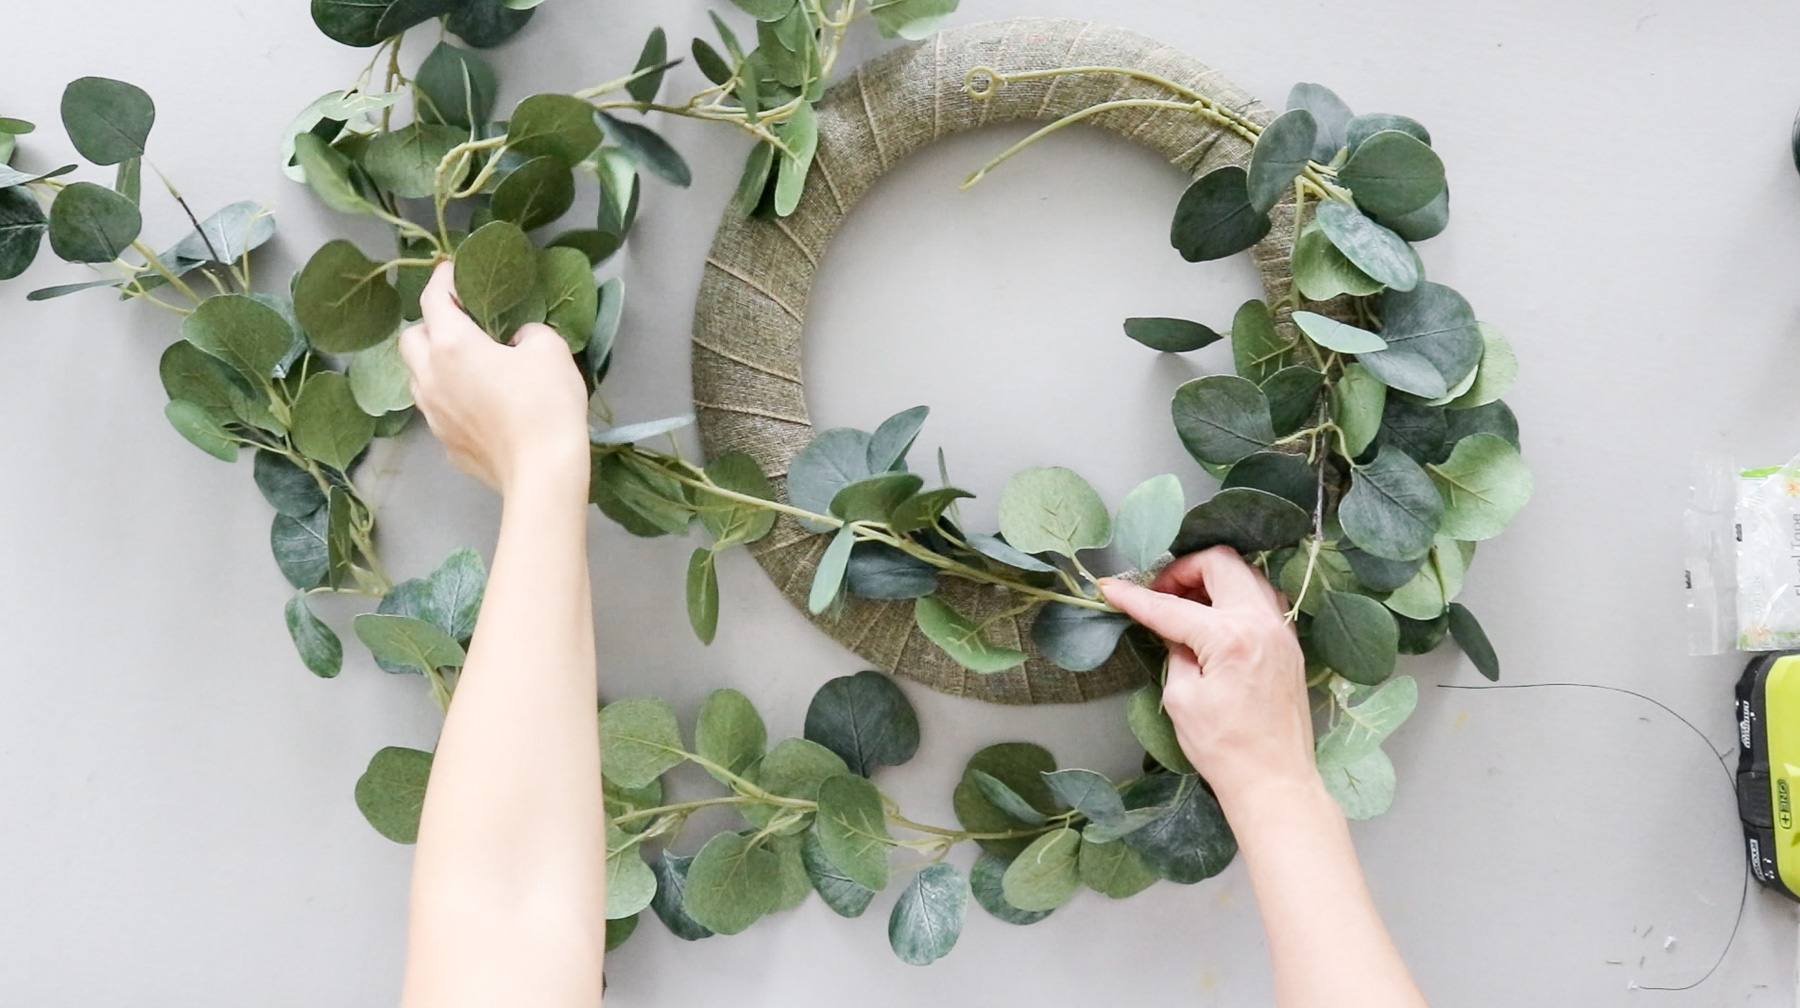
I grabbed some of this burlap ribbon from dollar tree. I also got the wire base there as well. To make it more solid I decided to wrap the burlap around the metal wreath and hot glued it to keep it secure. I did end up ripping off all the lace detailing off the burlap ribbon before working with it.

Once I had a solid base for my wreath I used floral wire to attach the garland to the wreath. I actually ended up securing the first garland around the inner edges of the wreath. I secured it with floral wire every 3 to 4 inches. The floral wire is so thin it slips right through the burlap ribbon making it so easy to attach the garland. Once I was done with the first garland I attached the second one around the outer edges and this completed the wreath base. To attached my gather sign I glued on strips of ribbon onto the back of the words. That helped secure it to the wreath. AND that’s it!
Here it is!
This was actually a gift for a very close friend! SHE LOVED IT!
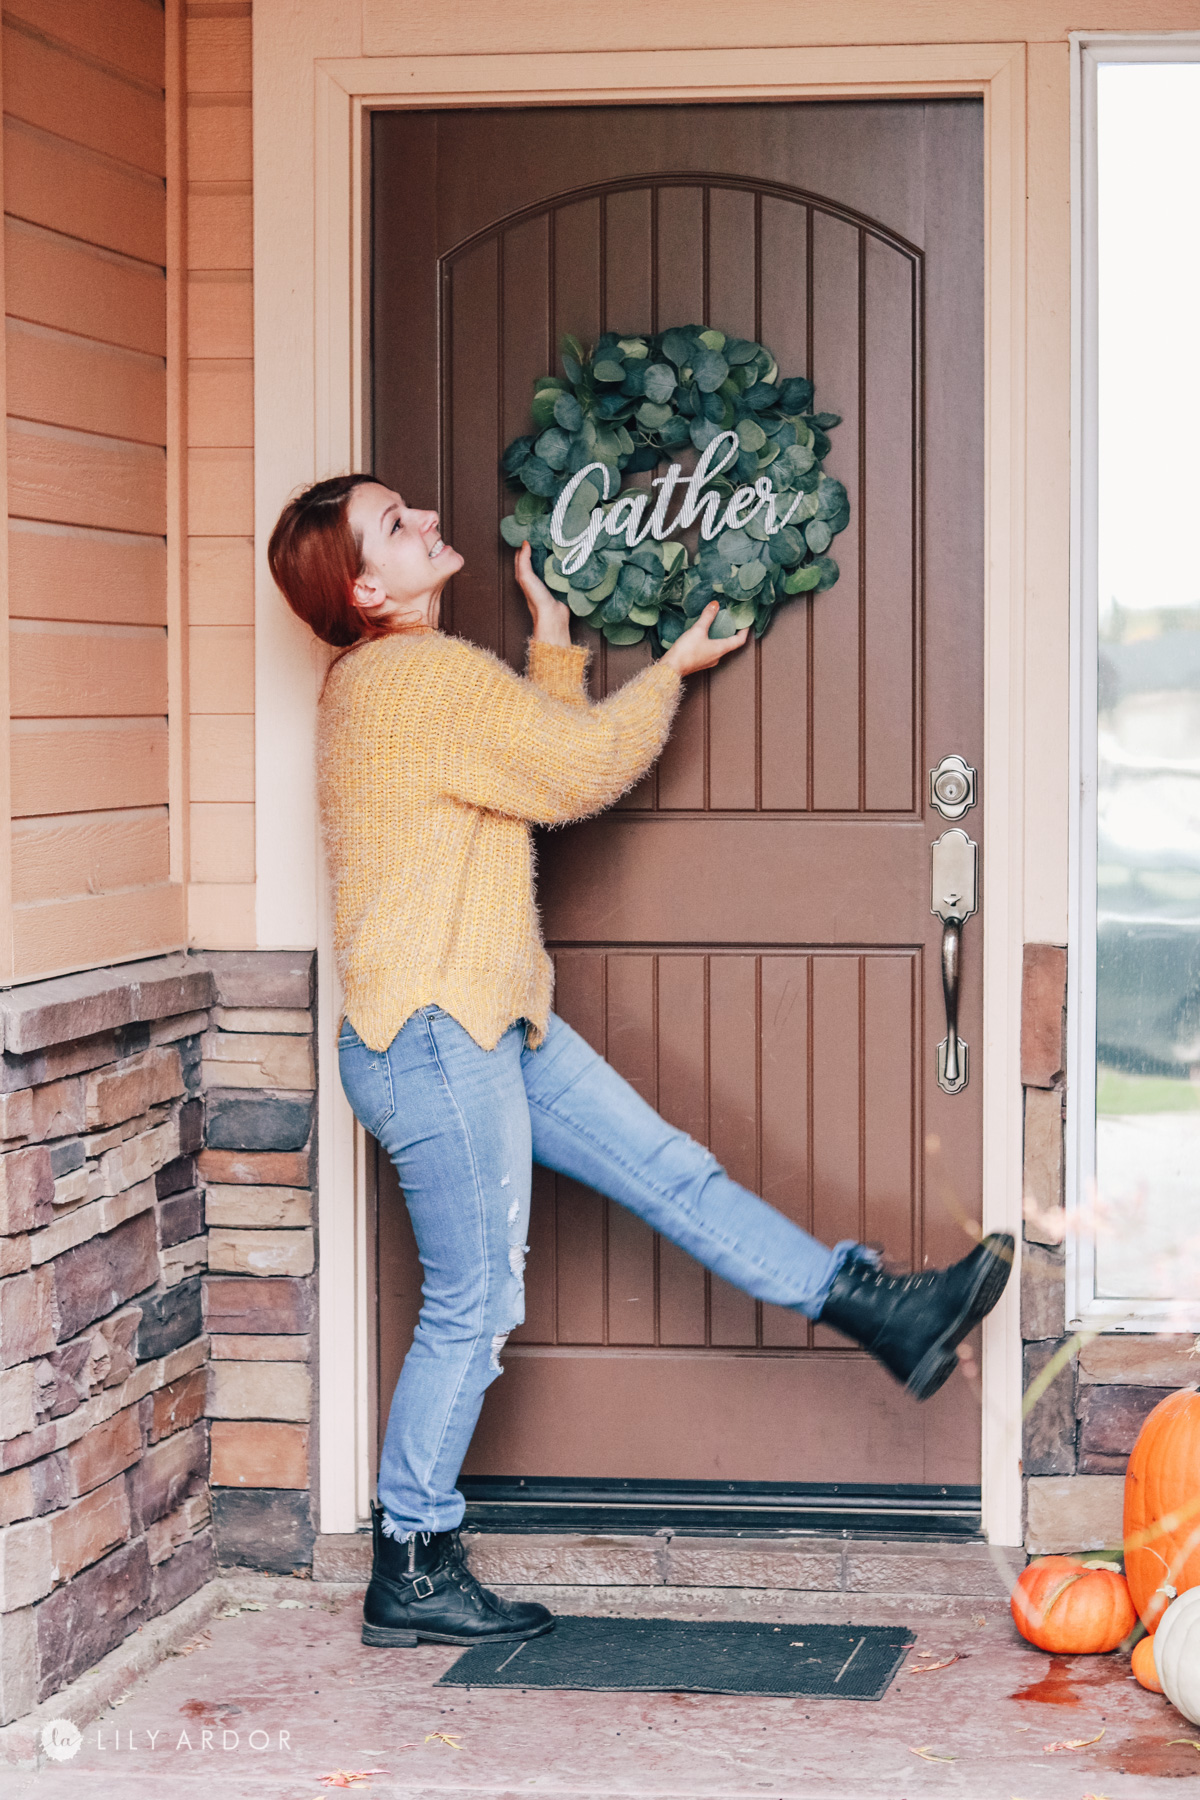
I had so much fun making this wreath and also realized It’s hard to find a wreath that’s simple yet transitional. I looked high and low at hobby lobby for a fall wreath that didn’t have orange leaves and they didn’t sell not one. That said this wreath is totally transitional. You can switch out that wording for almost anything. Add a red truck on there for Christmas time or maybe even some Easter bunnies for spring.

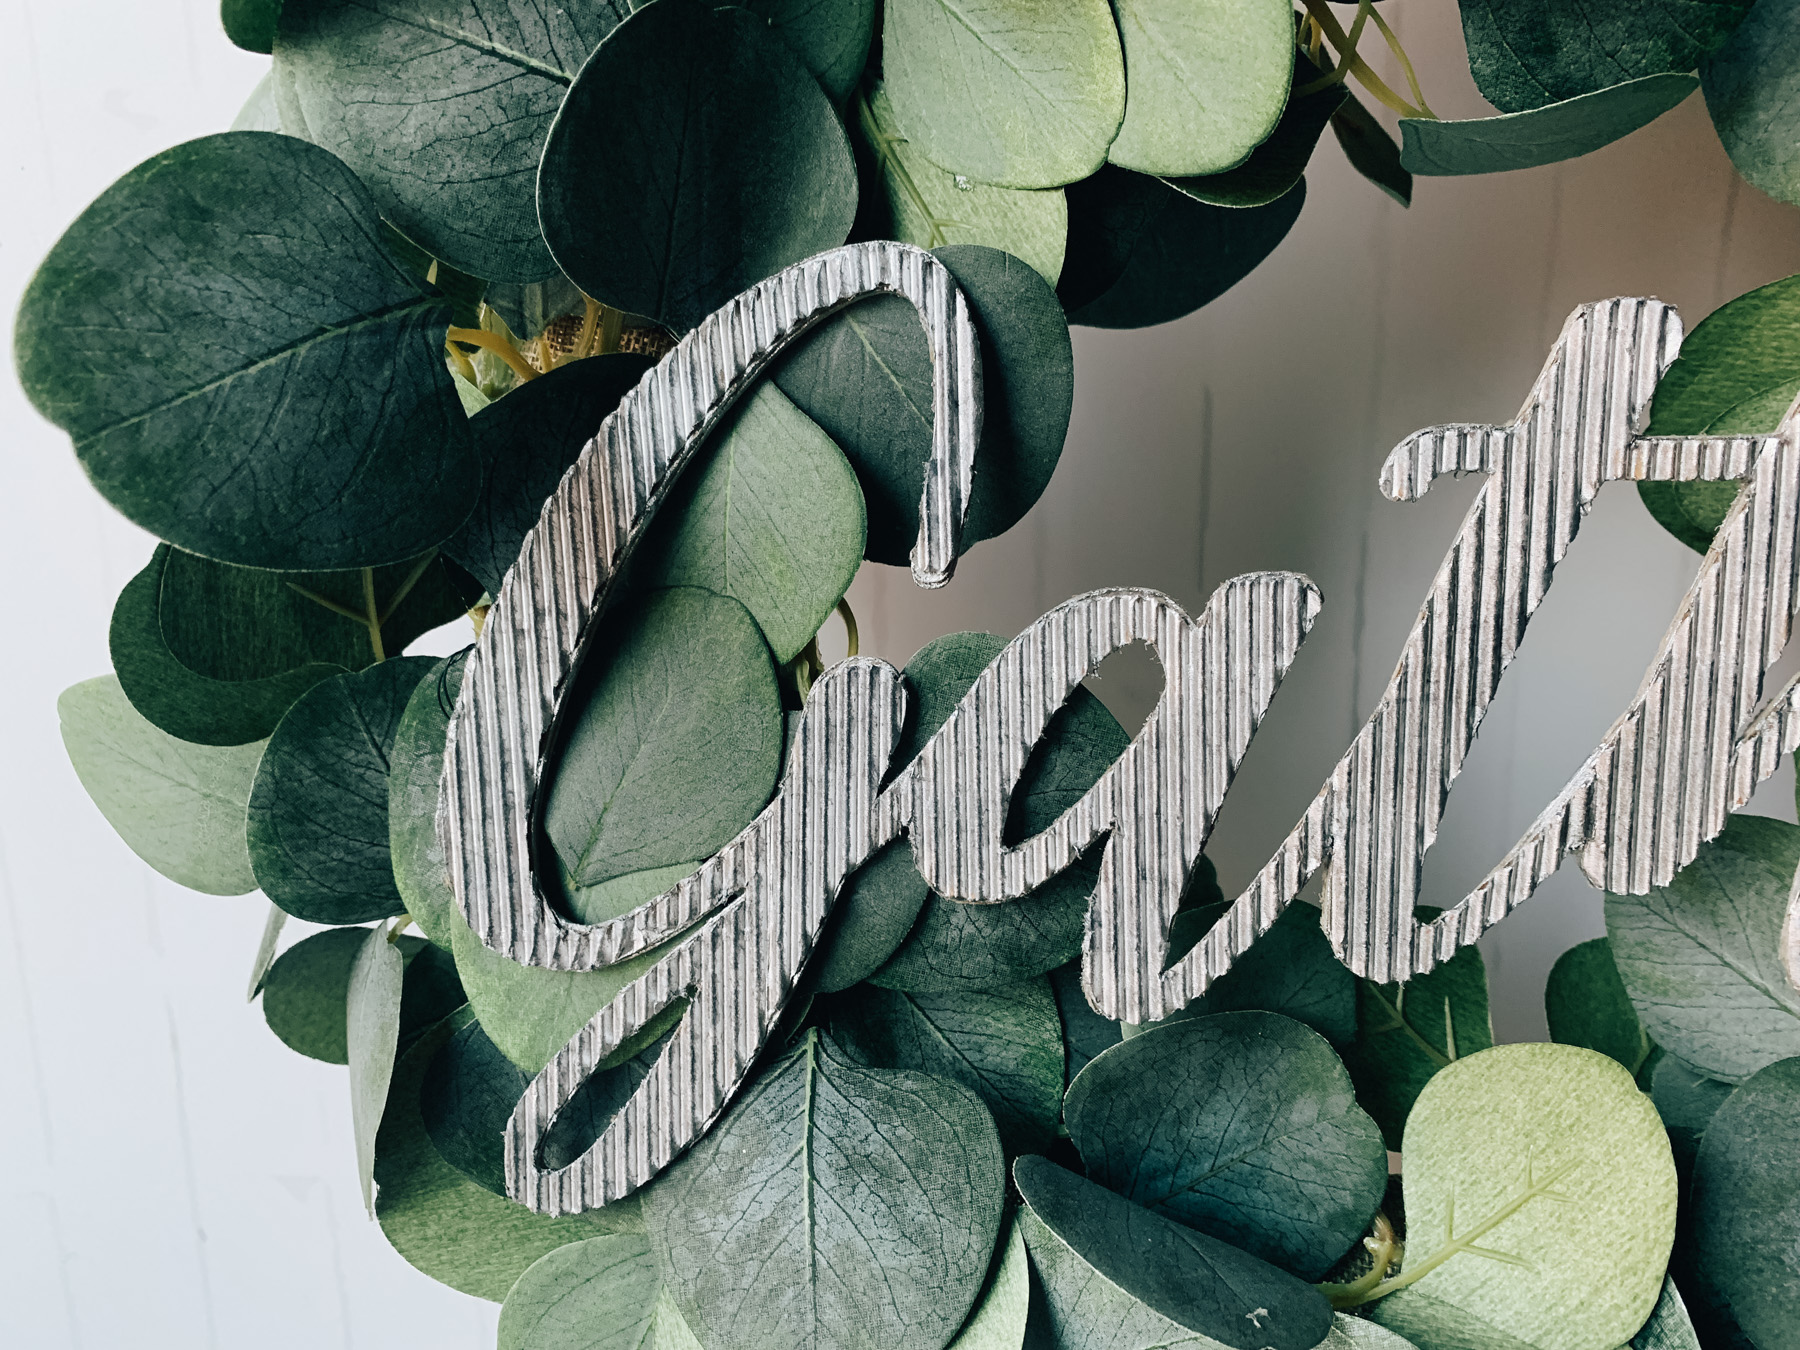
The galvanized metal effect is definitely something I’m going to add to my list of HACKS! I love how it turned out and honestly if I didn’t make the wreath I wouldn’t know that’s a fake metal sign. It looks so realistic!


That’s all for now folks! I hope this was inspiring to you! There’s endless possibilities with this DIY wreath. I’ll see you all next time.
Best Wishes,
Lily