Hi! I hope you are doing well. Welcome back to another fresh DIY. This one is a part of my dollar store DIYs series I recently shared on my youtube channel. I made a total of three DIYs. A macrame pillow, this erase board and faux wood frames for my upcoming gallery wall.
I was super inspired by the bohemian trend on youtube. There’s so many videos sharing such creative bohemian DIYs and some even us all supplies from the dollar store. That’s what inspired this series of DIYs.
Time needed:
This project’s isn’t hard to make however it does take a bit of time to put together. Most of my time went into the actual weaving process. Assembling it only took a few minutes. In total I would say this took me about 1.5 hours to make. This would be a perfect project to make while watching your fav show 😁
Total cost: $3
Because all of the supplies I got were from the dollar store this only cost me $3.
Supplies:
- 8×10 frame
- luau skirt
- electrical tape
- hot glue
- foam poster board
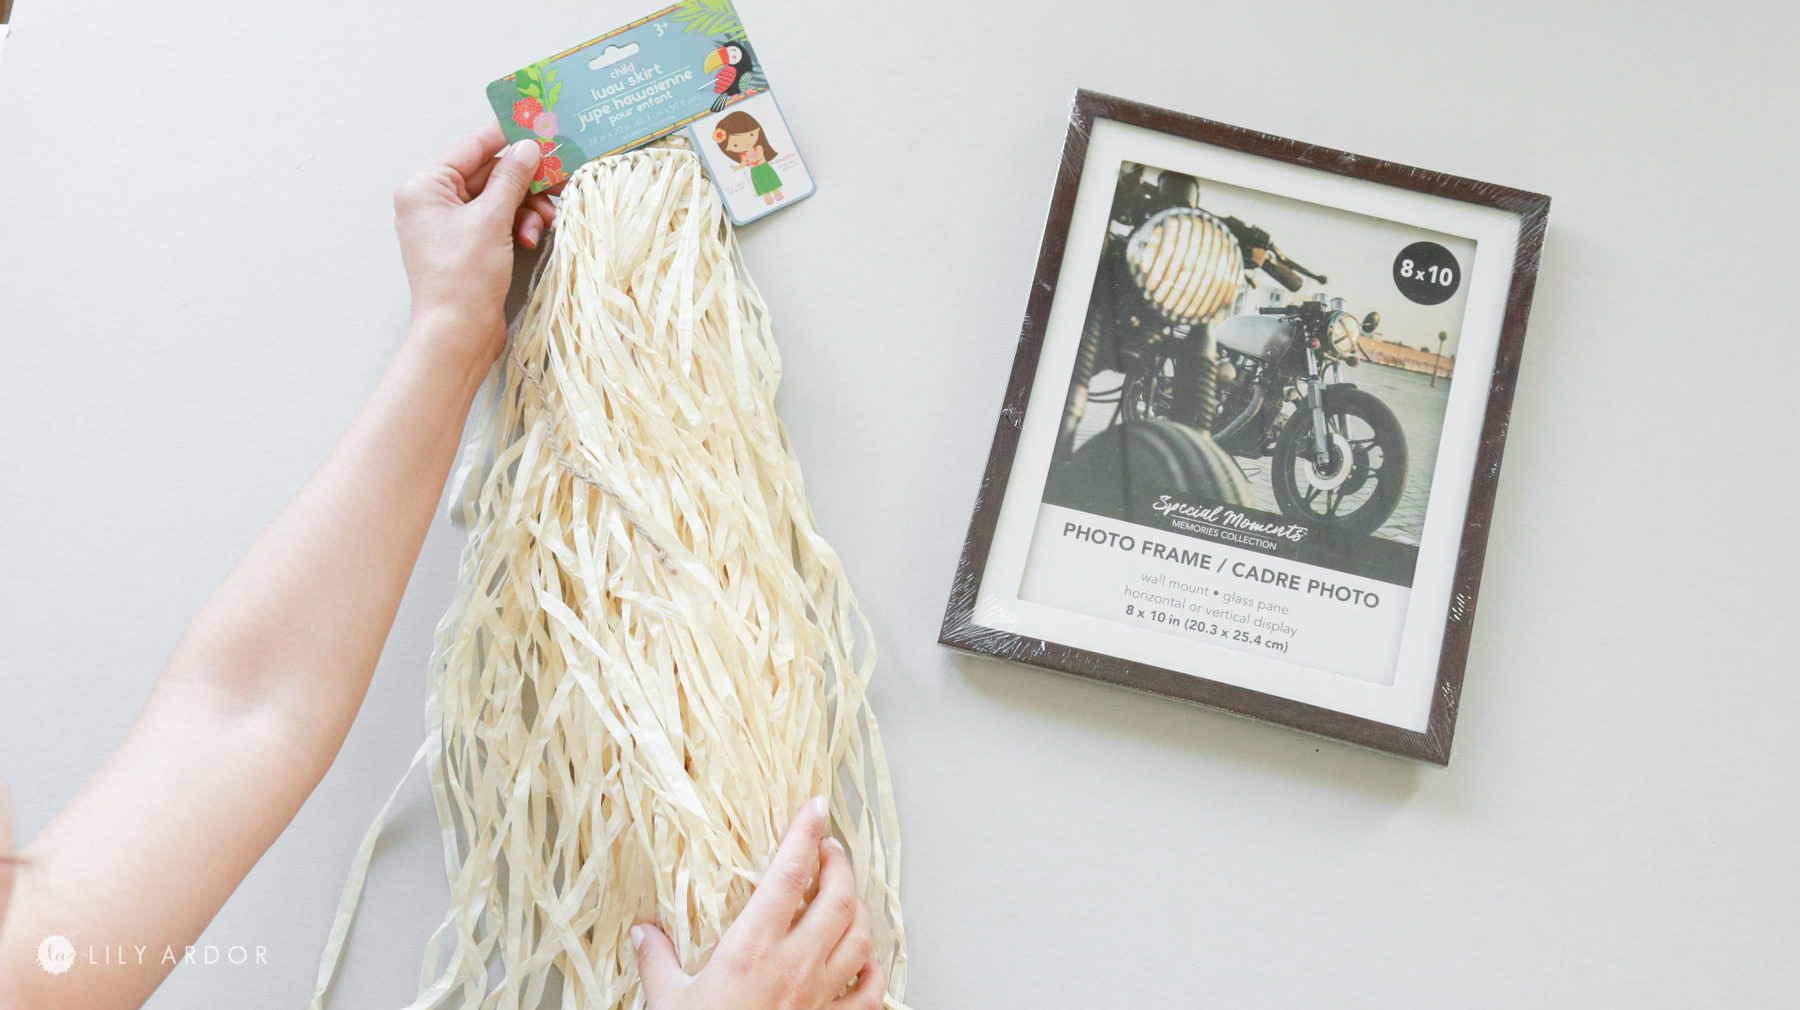
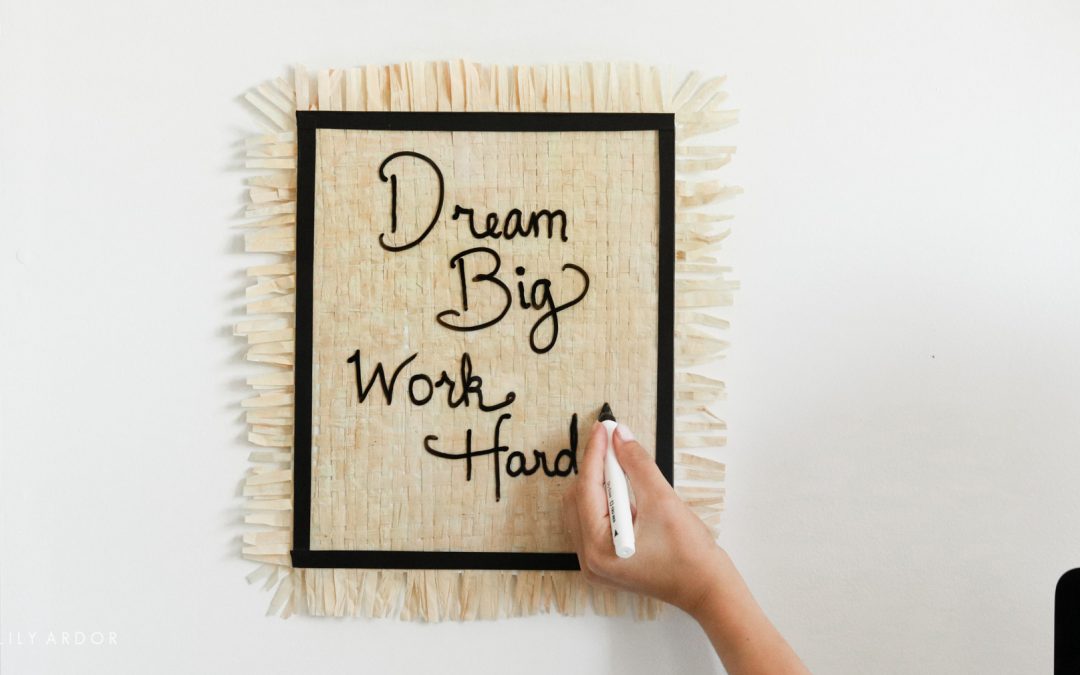
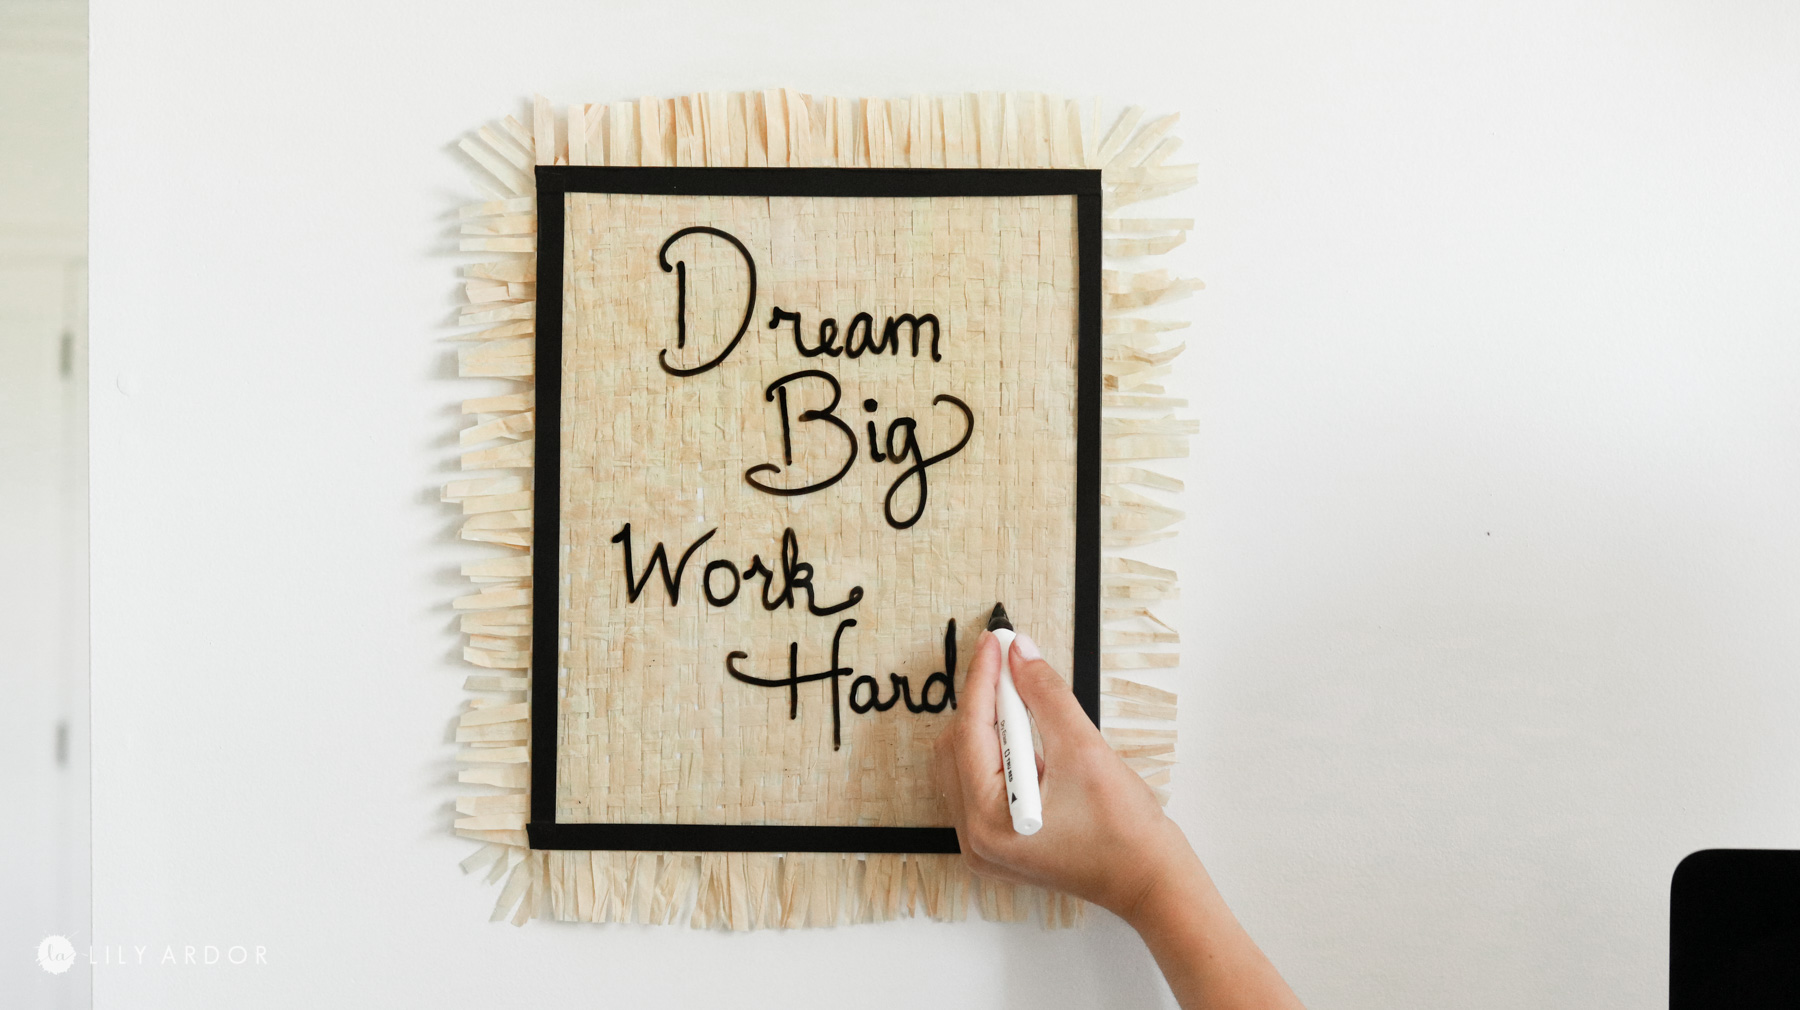
Let’s make this Boho Erase Board!
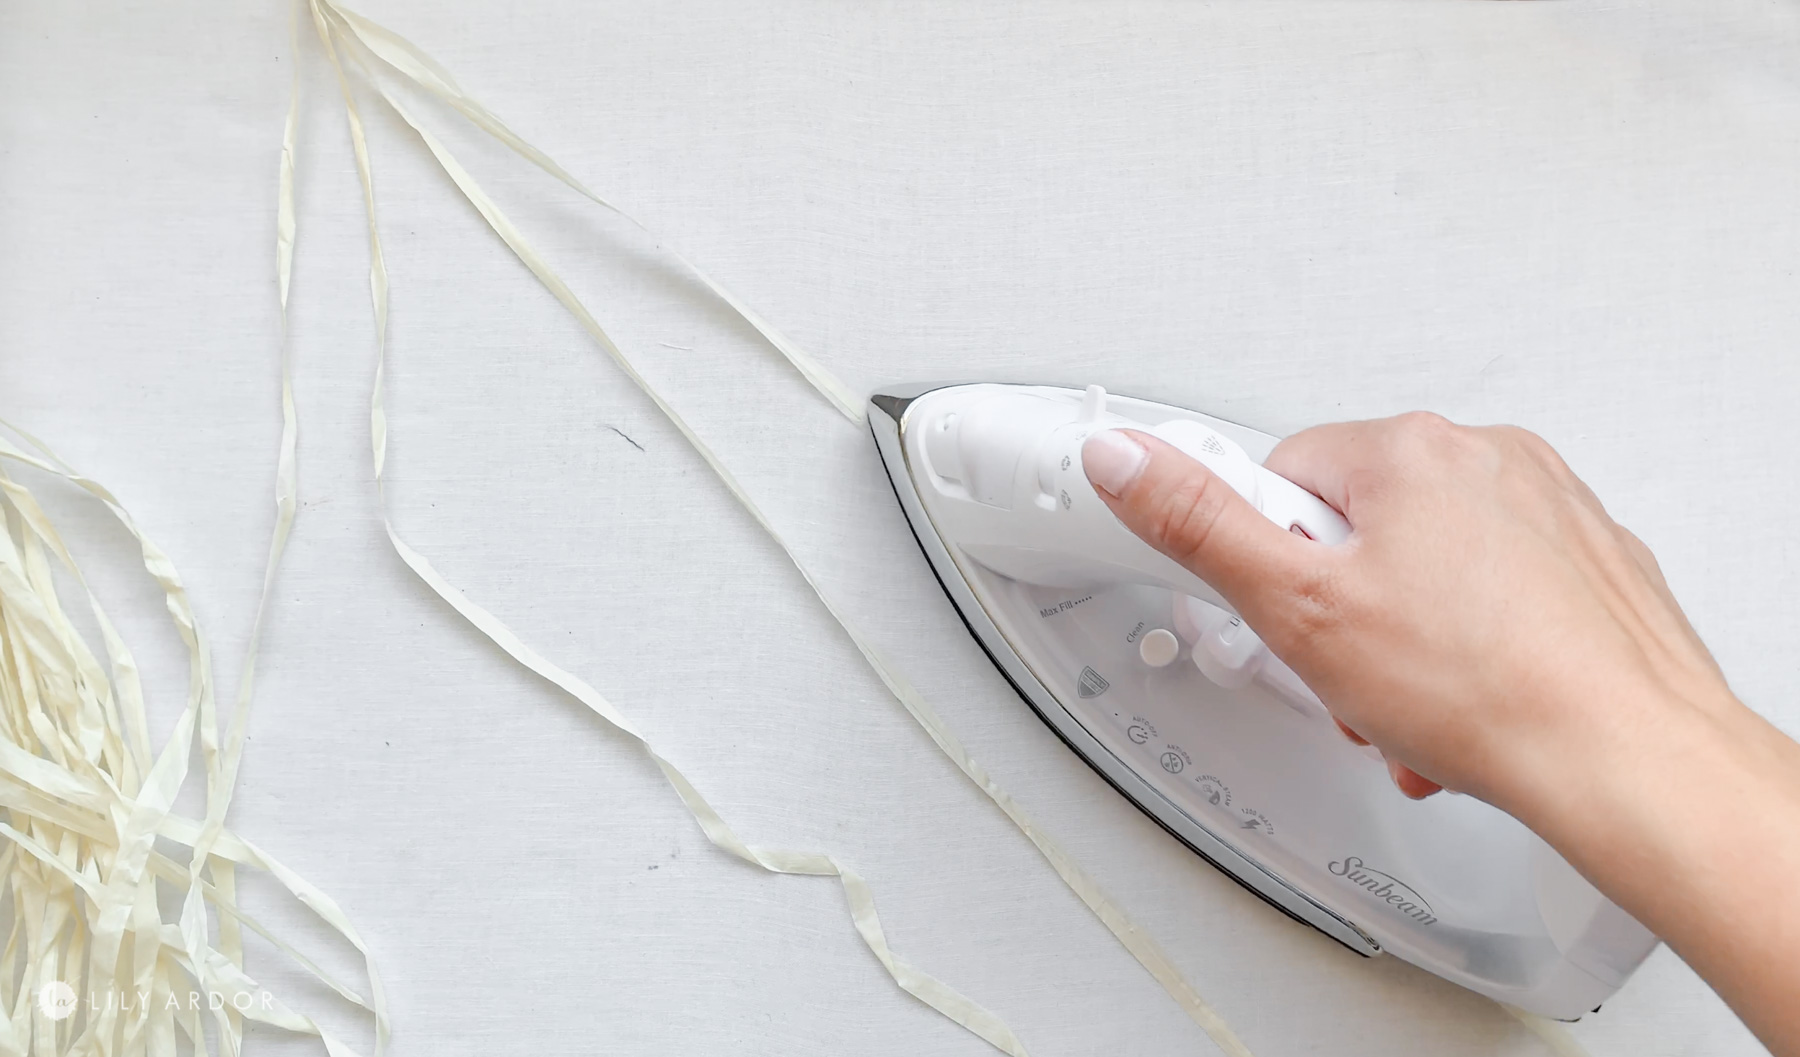
First off I ironed some strands from the luau skirt to help weave easier. Okay so I was debating whether ironing the luau pieces was necessary. Honestly it’s up to you. I tried weaving it without ironing the strands and it works great as well but, it almost seamed like it took longer to weave them. This process only took me about 10 minutes to weave a handful of them. That’s all you’ll need. You don’t need to iron all the pieces from the luau skirt.
Creating the weave!
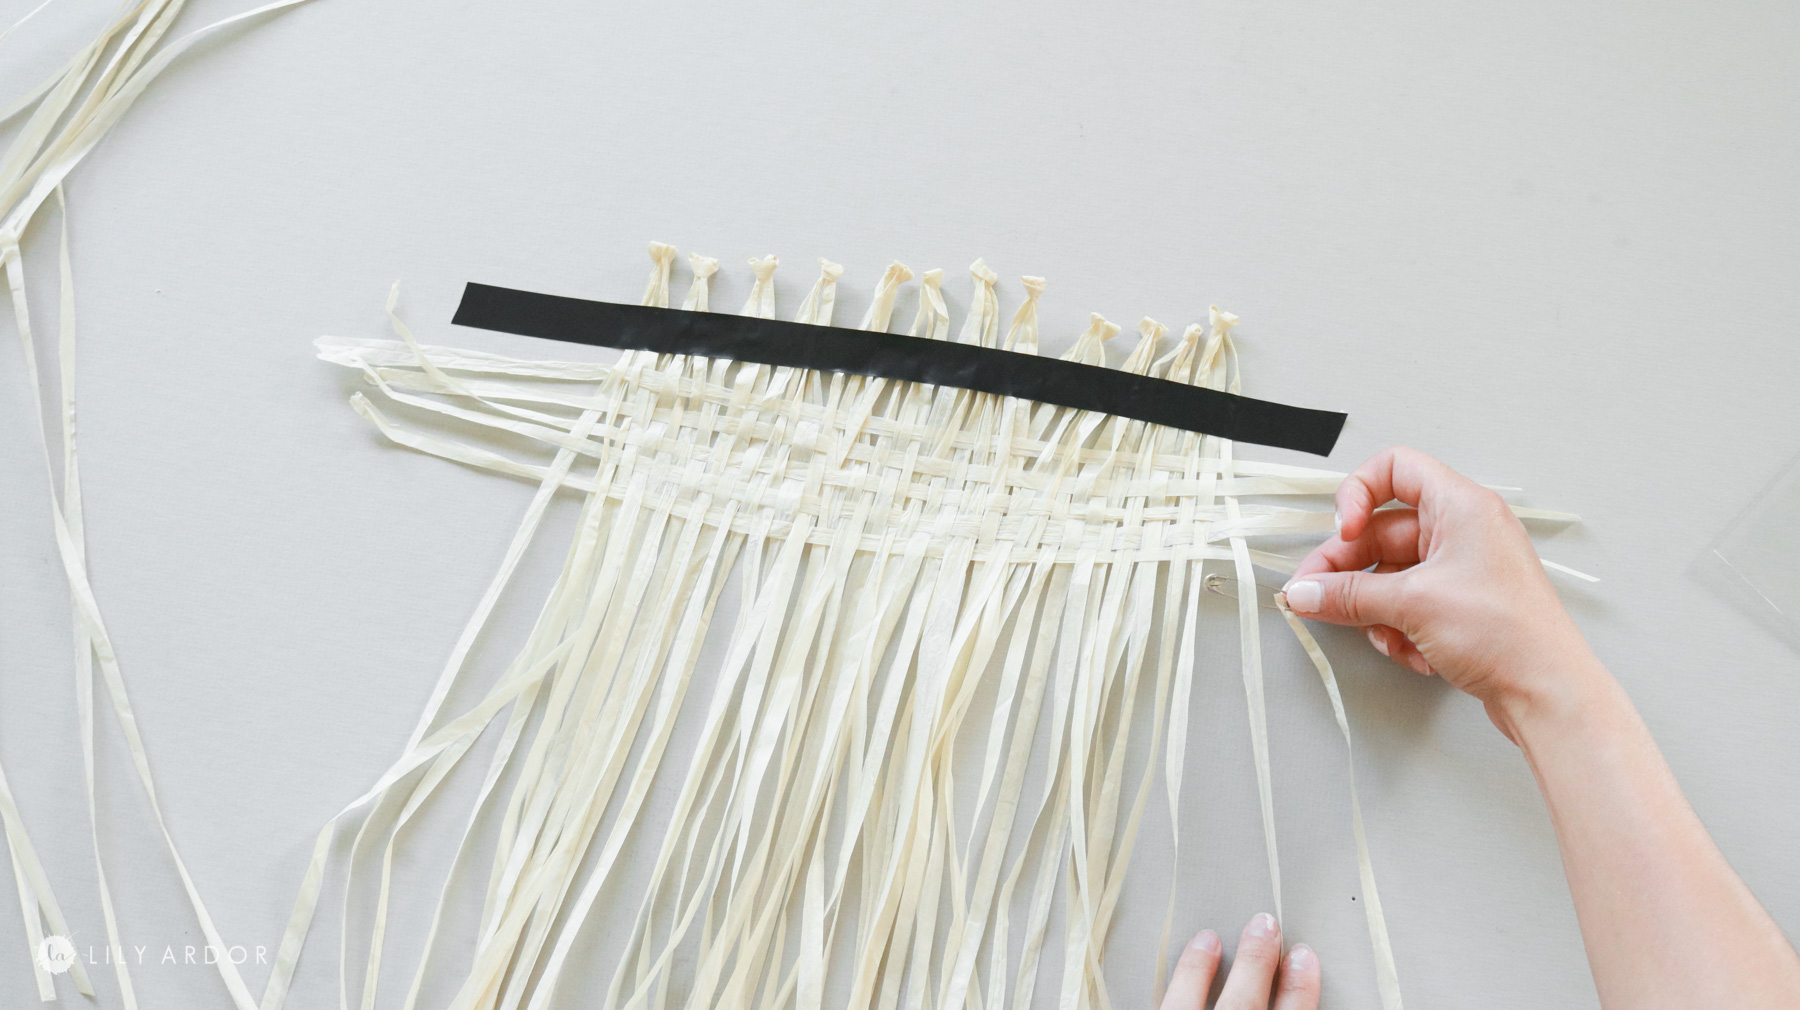
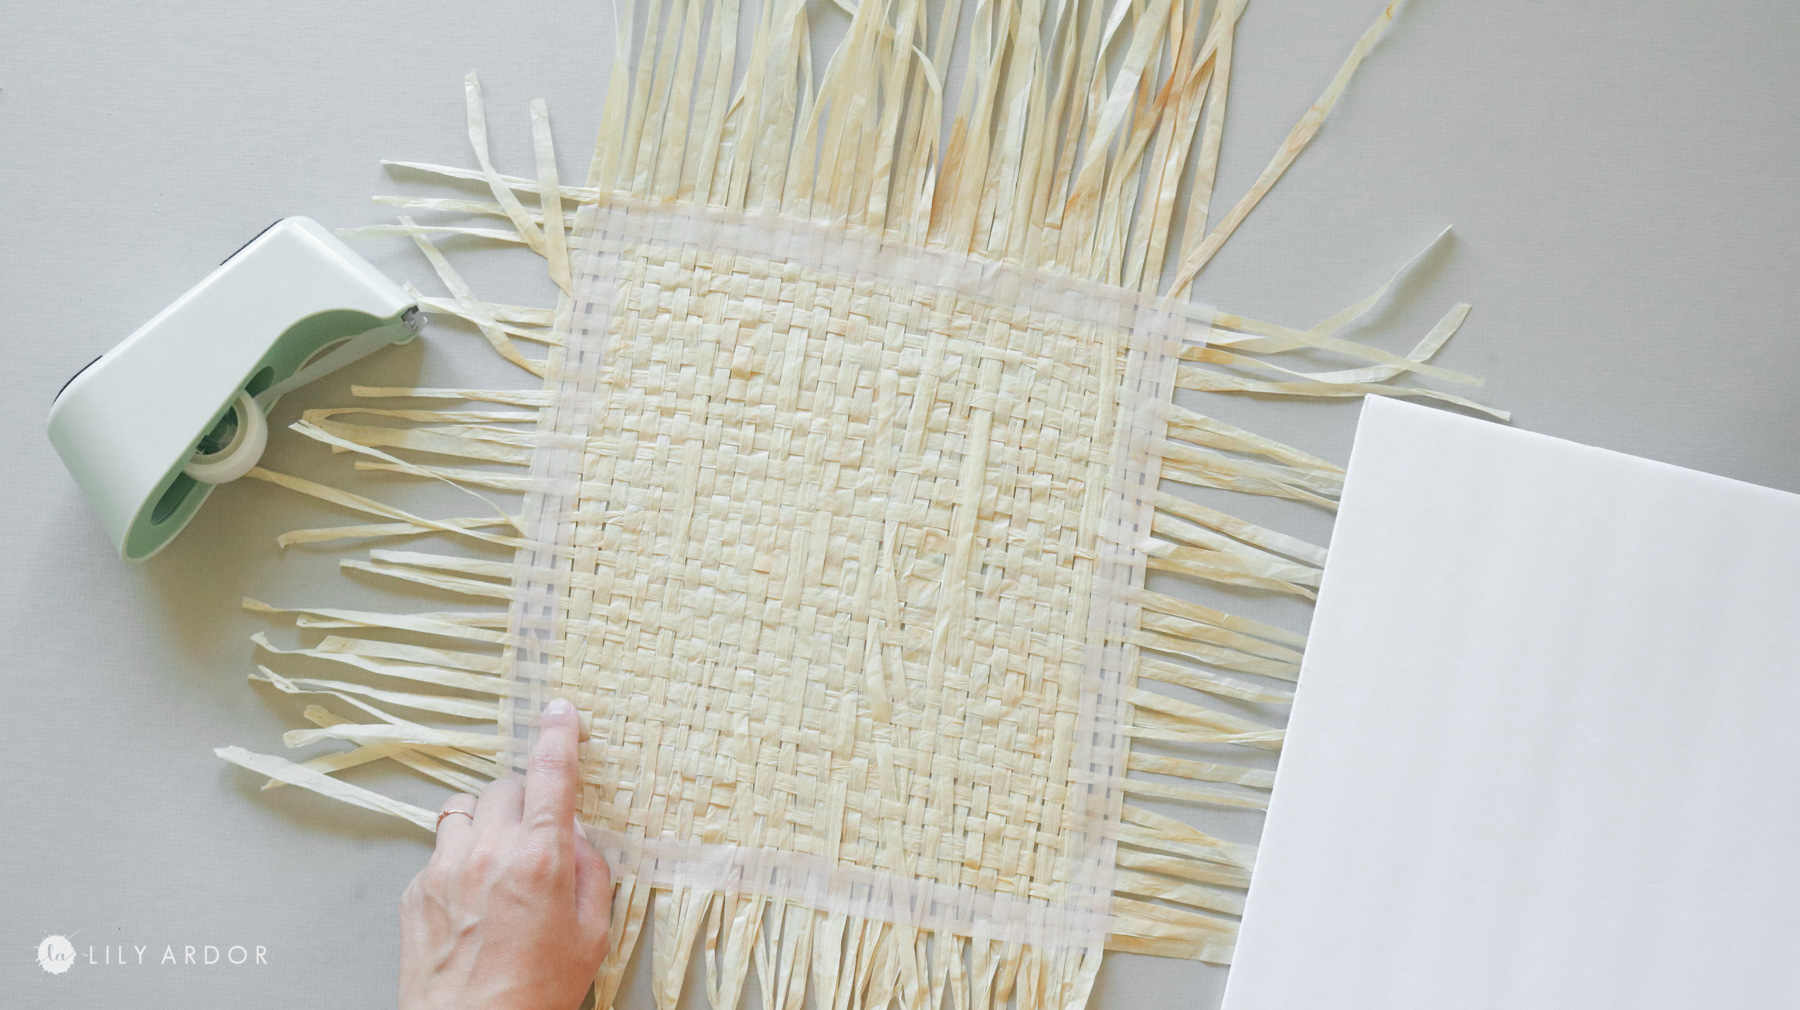
Okay next I applied a strip of tape to my table and added a row of luau strands. This should be the width of your erase board. Since I planned on using the glass from my 8×10 frame I made this about 8 inches in width.
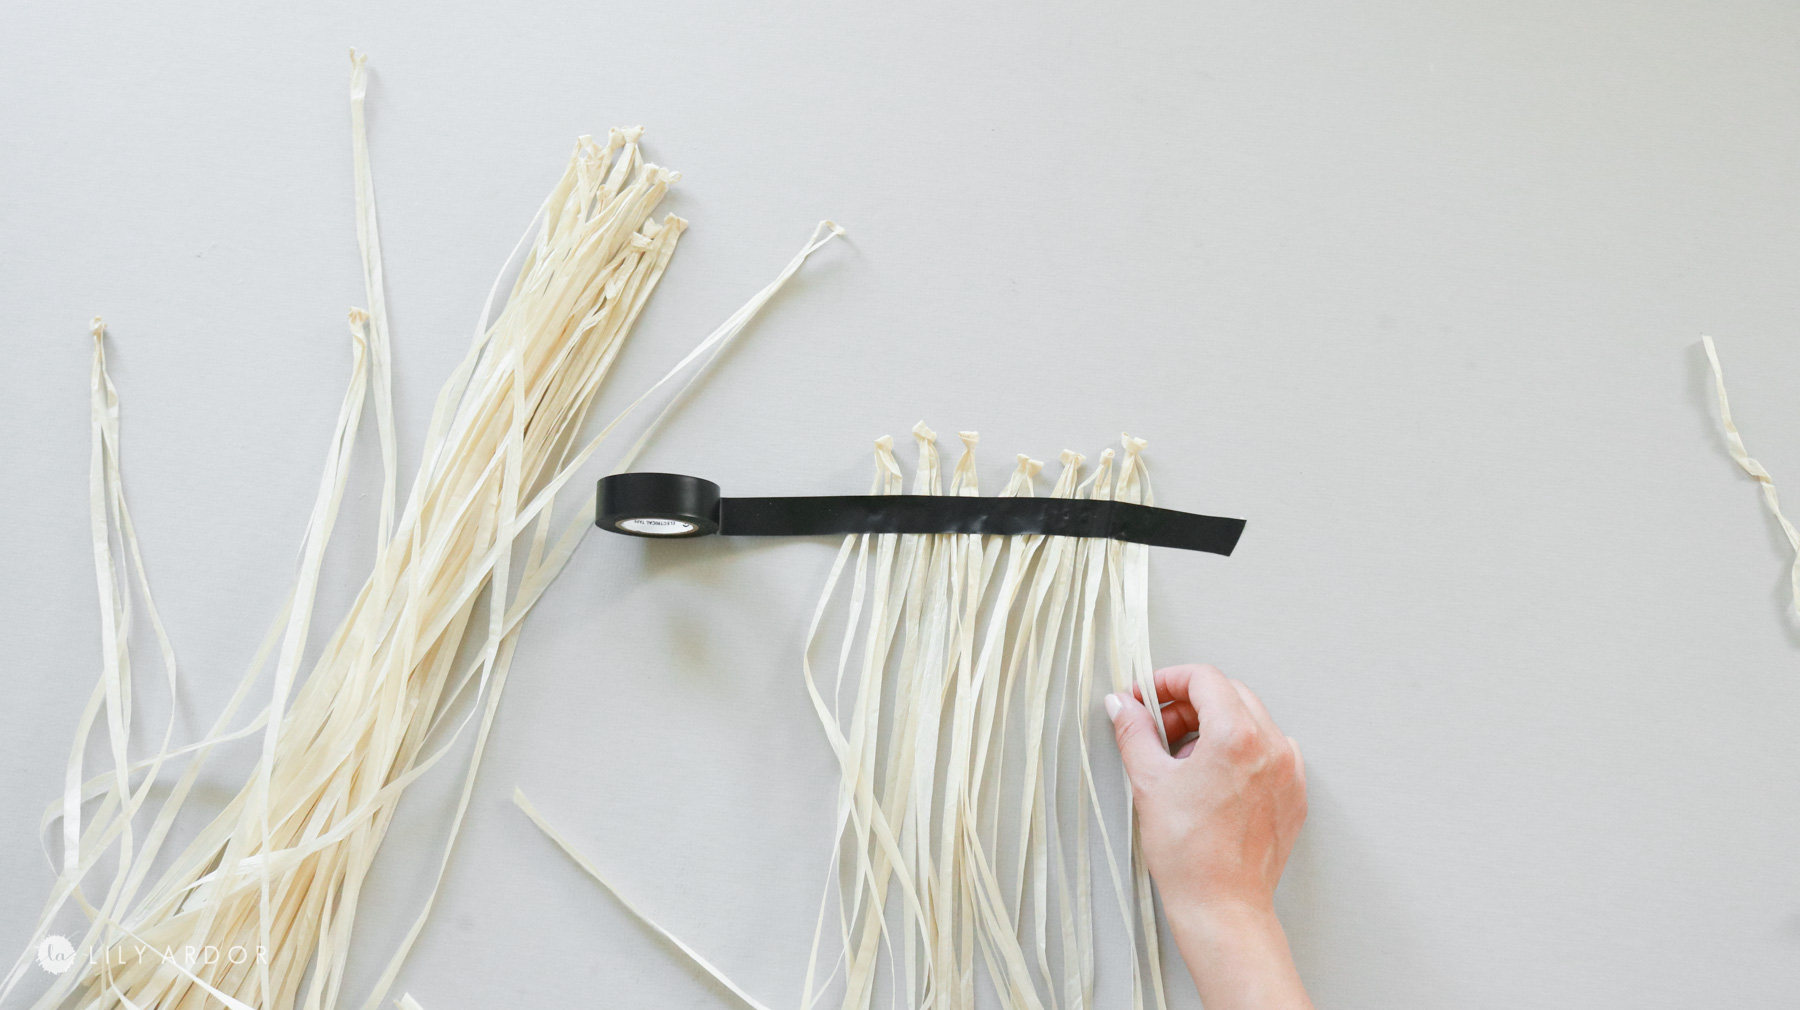
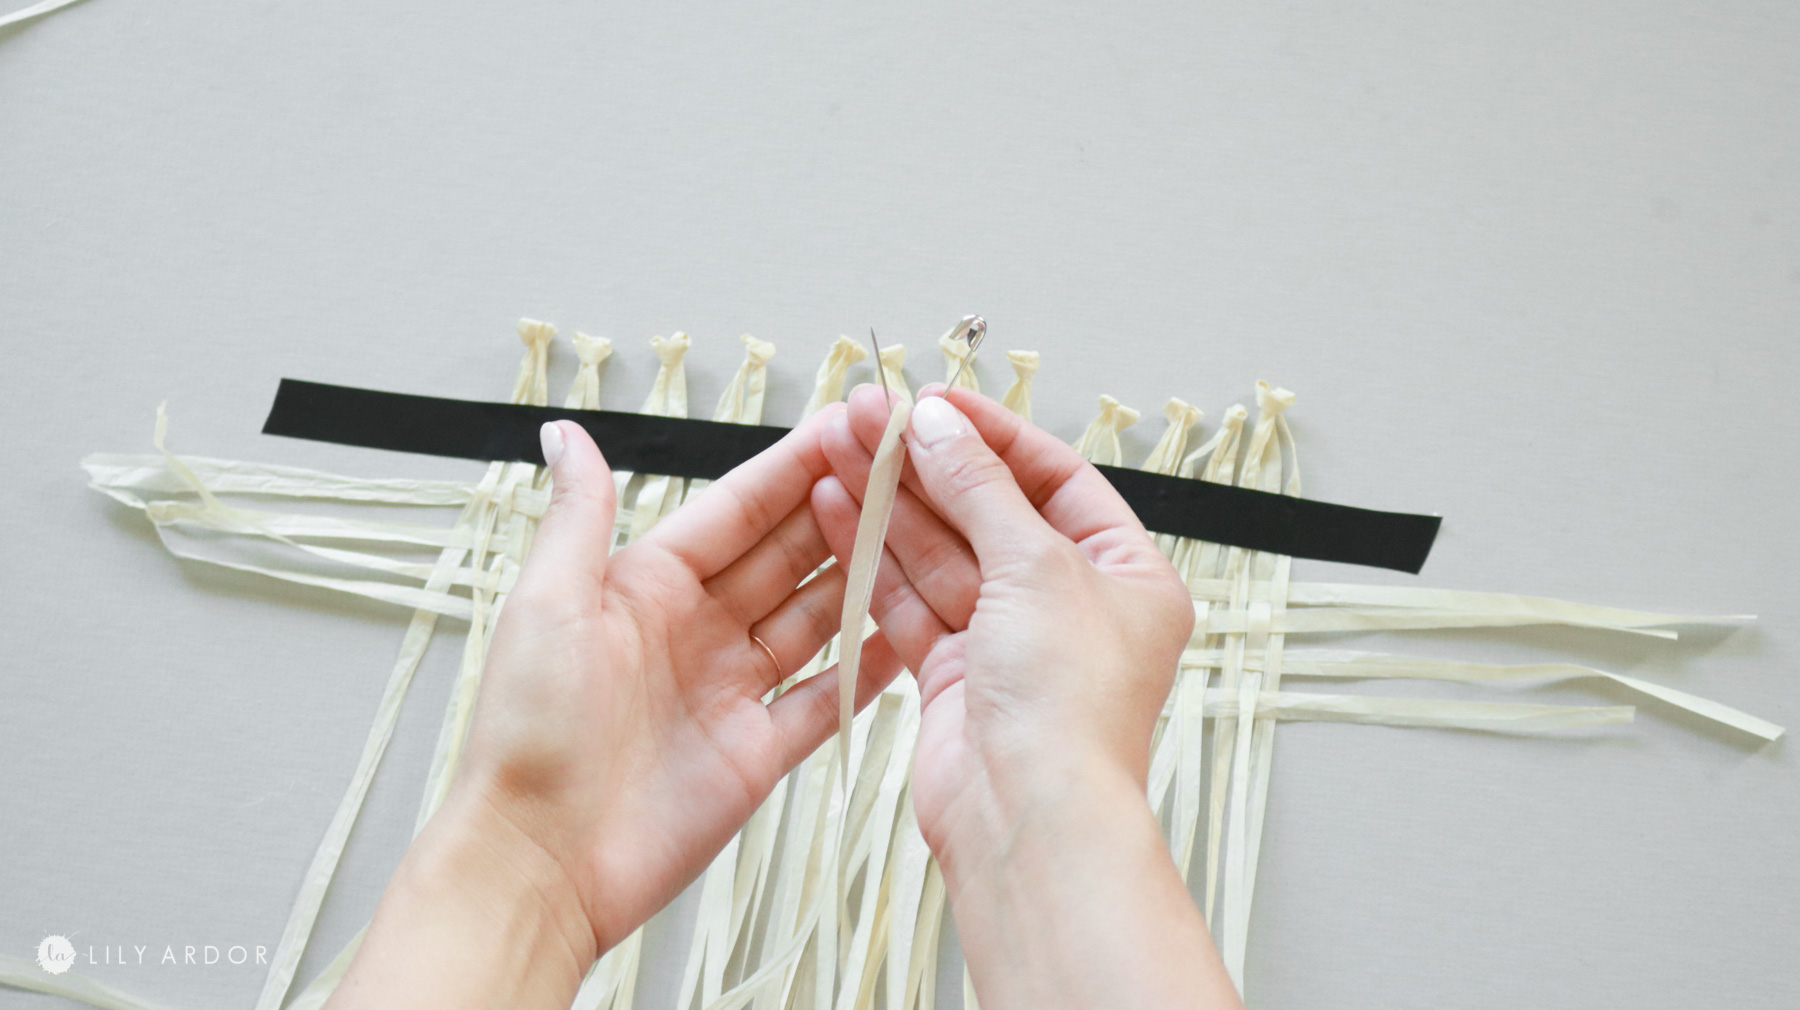
Now it’s time to weave. I attached a safety pin to the end of each strand before feeding it through my taped vertical strands to create a weave. This was what took up most of the time making this project. You can use this weave for some many things. I was thinking maybe a cute little bench covered in this and finished off with mod podge or clear finish to make it stronger. It reminds of cane webbing a little bit.
Staining it!
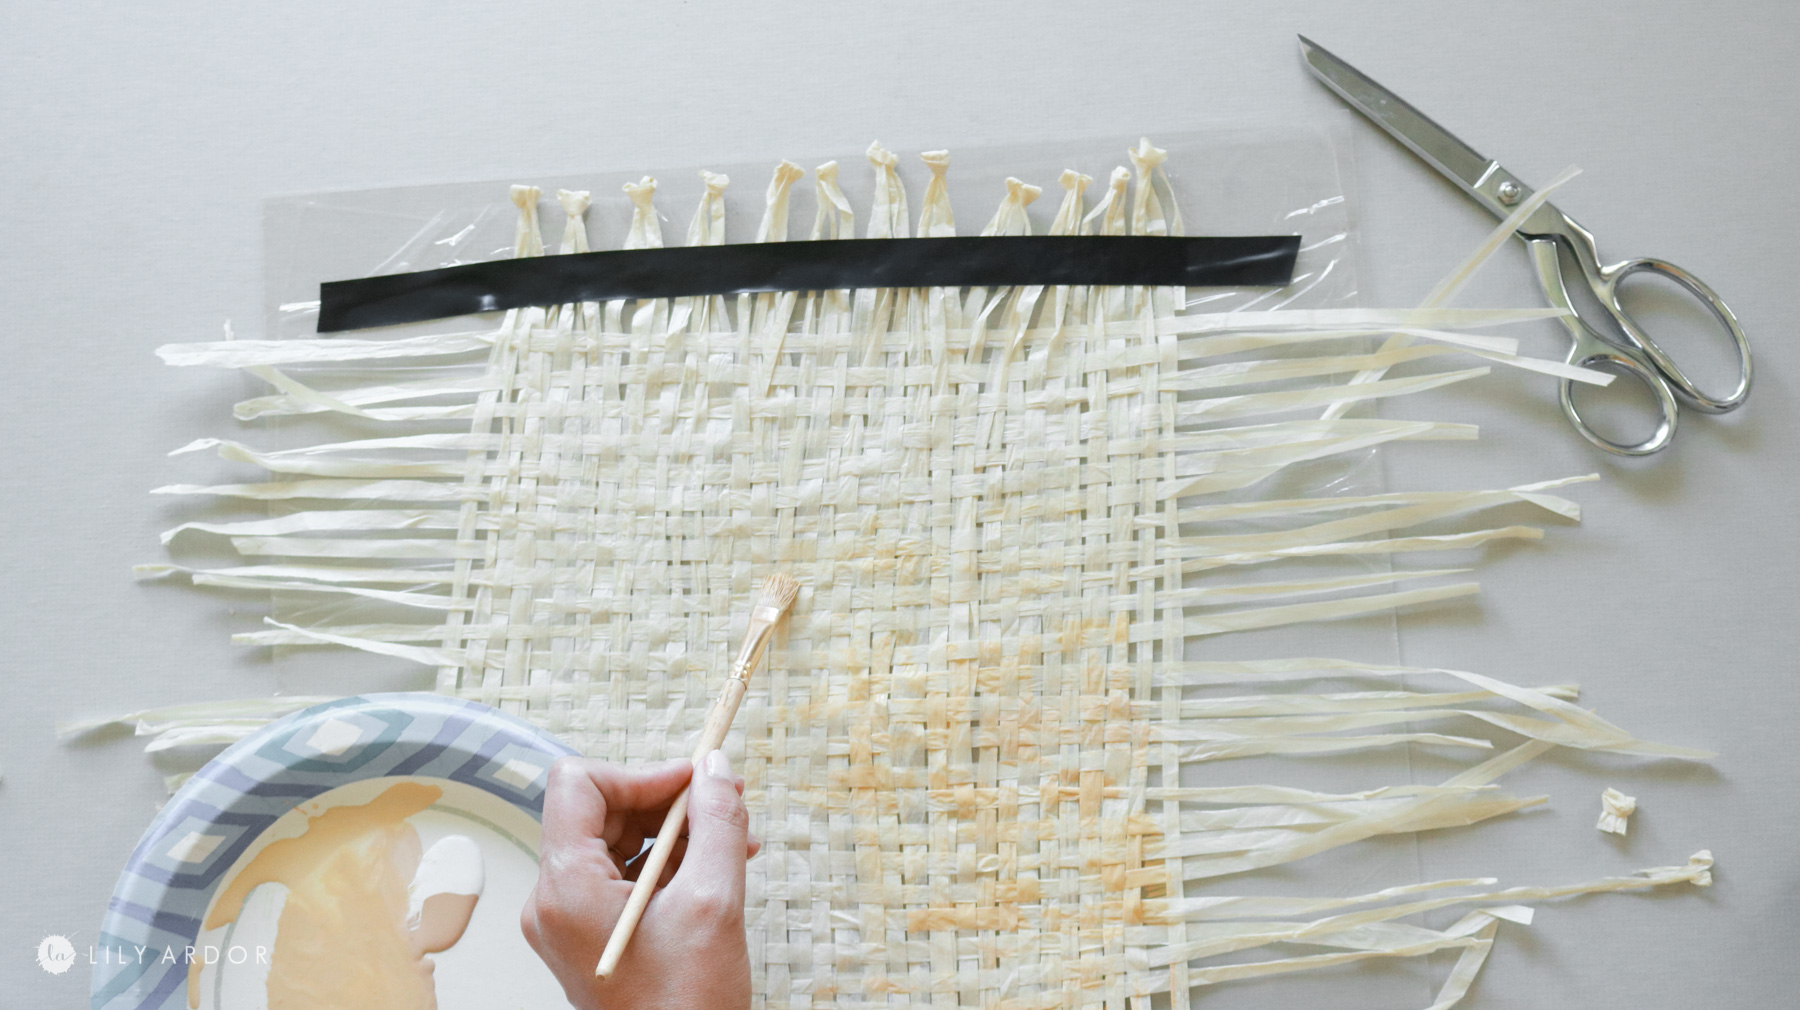
After I was done with the weave realized it looked a little too pale for my taste. I wanted it to mimic stained wood a little bit so I diluted some craft paint in water and gave it a thin coat.
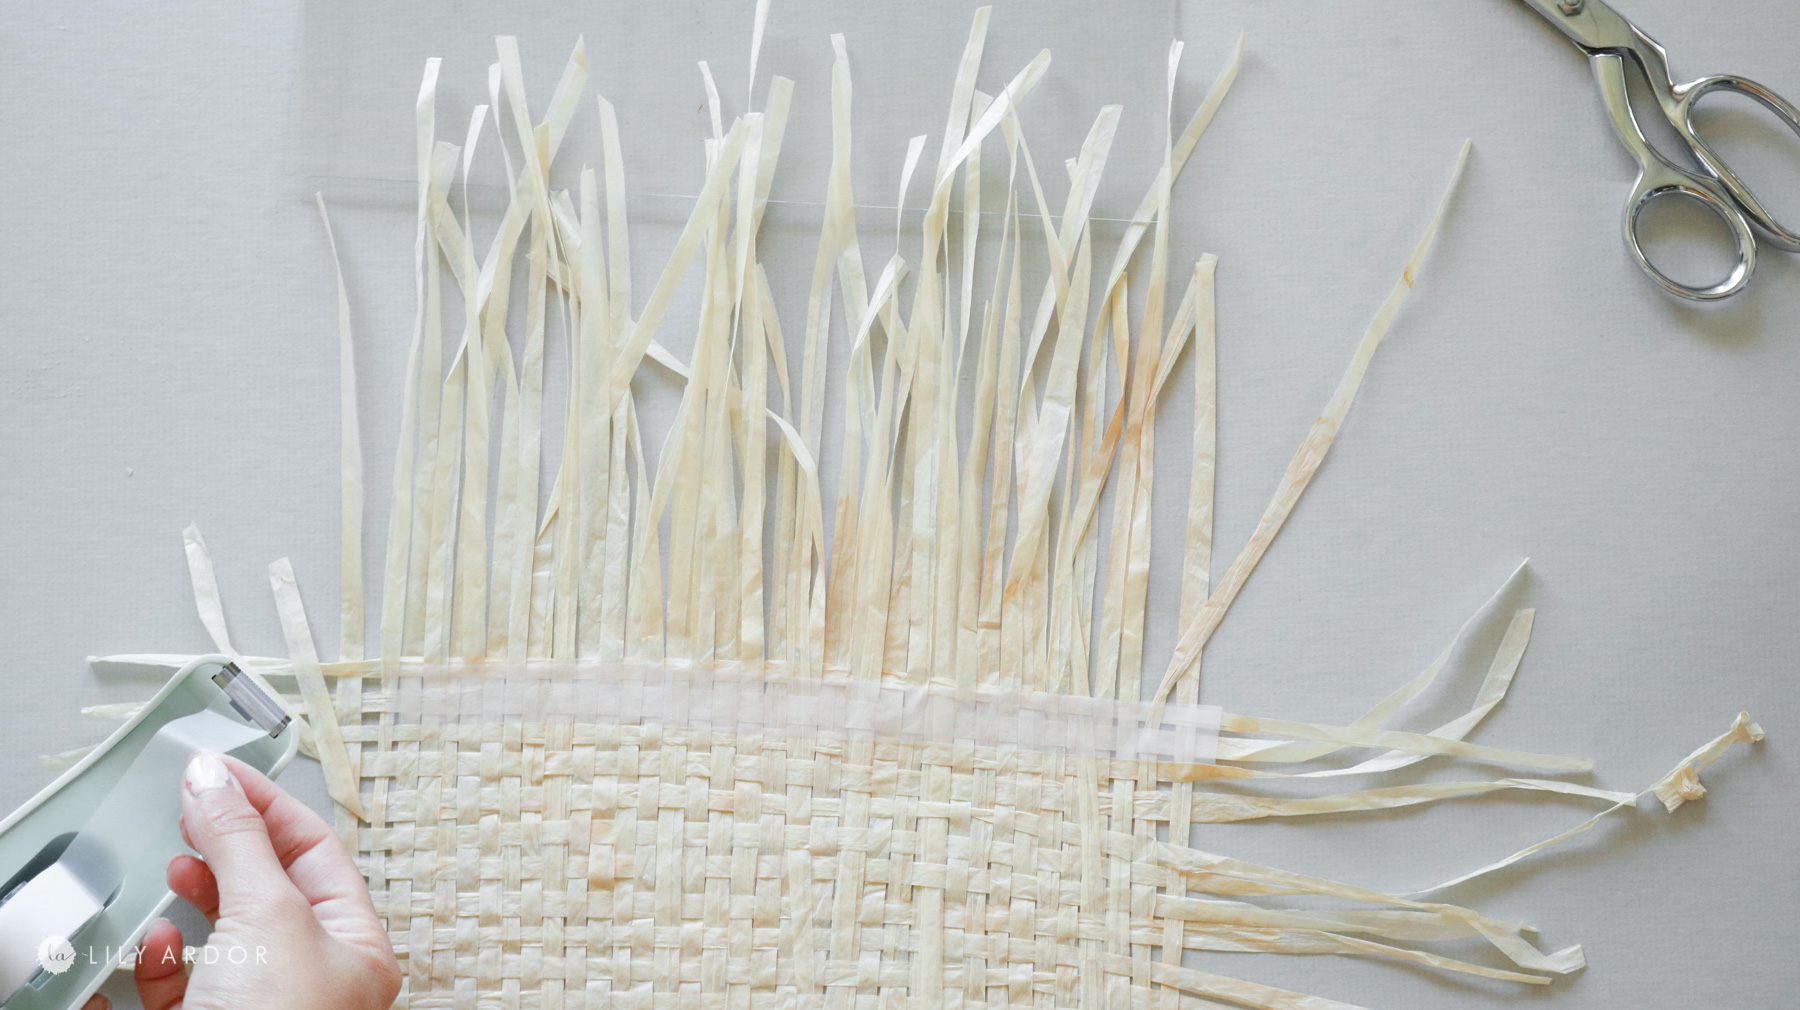
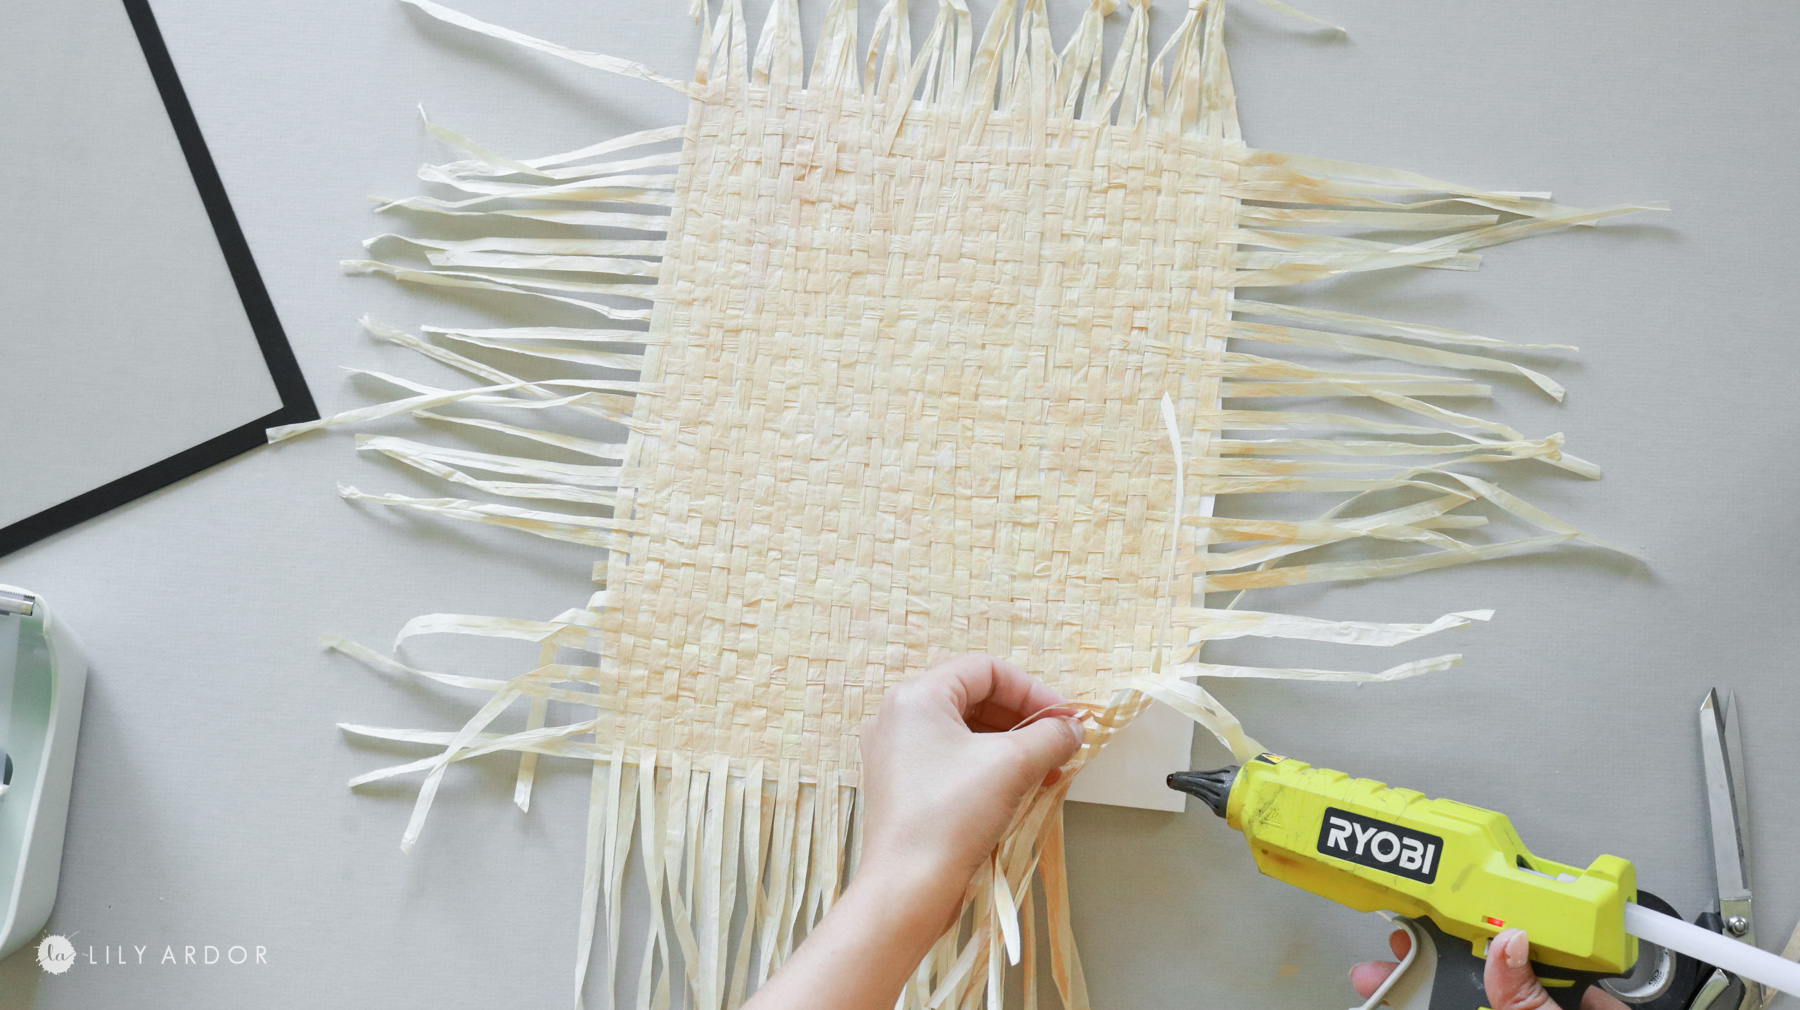
Once it was completely dry I flipped it over and applied tape along all the edges to keep the weave from coming apart.
Assembling your bohemian erase board!
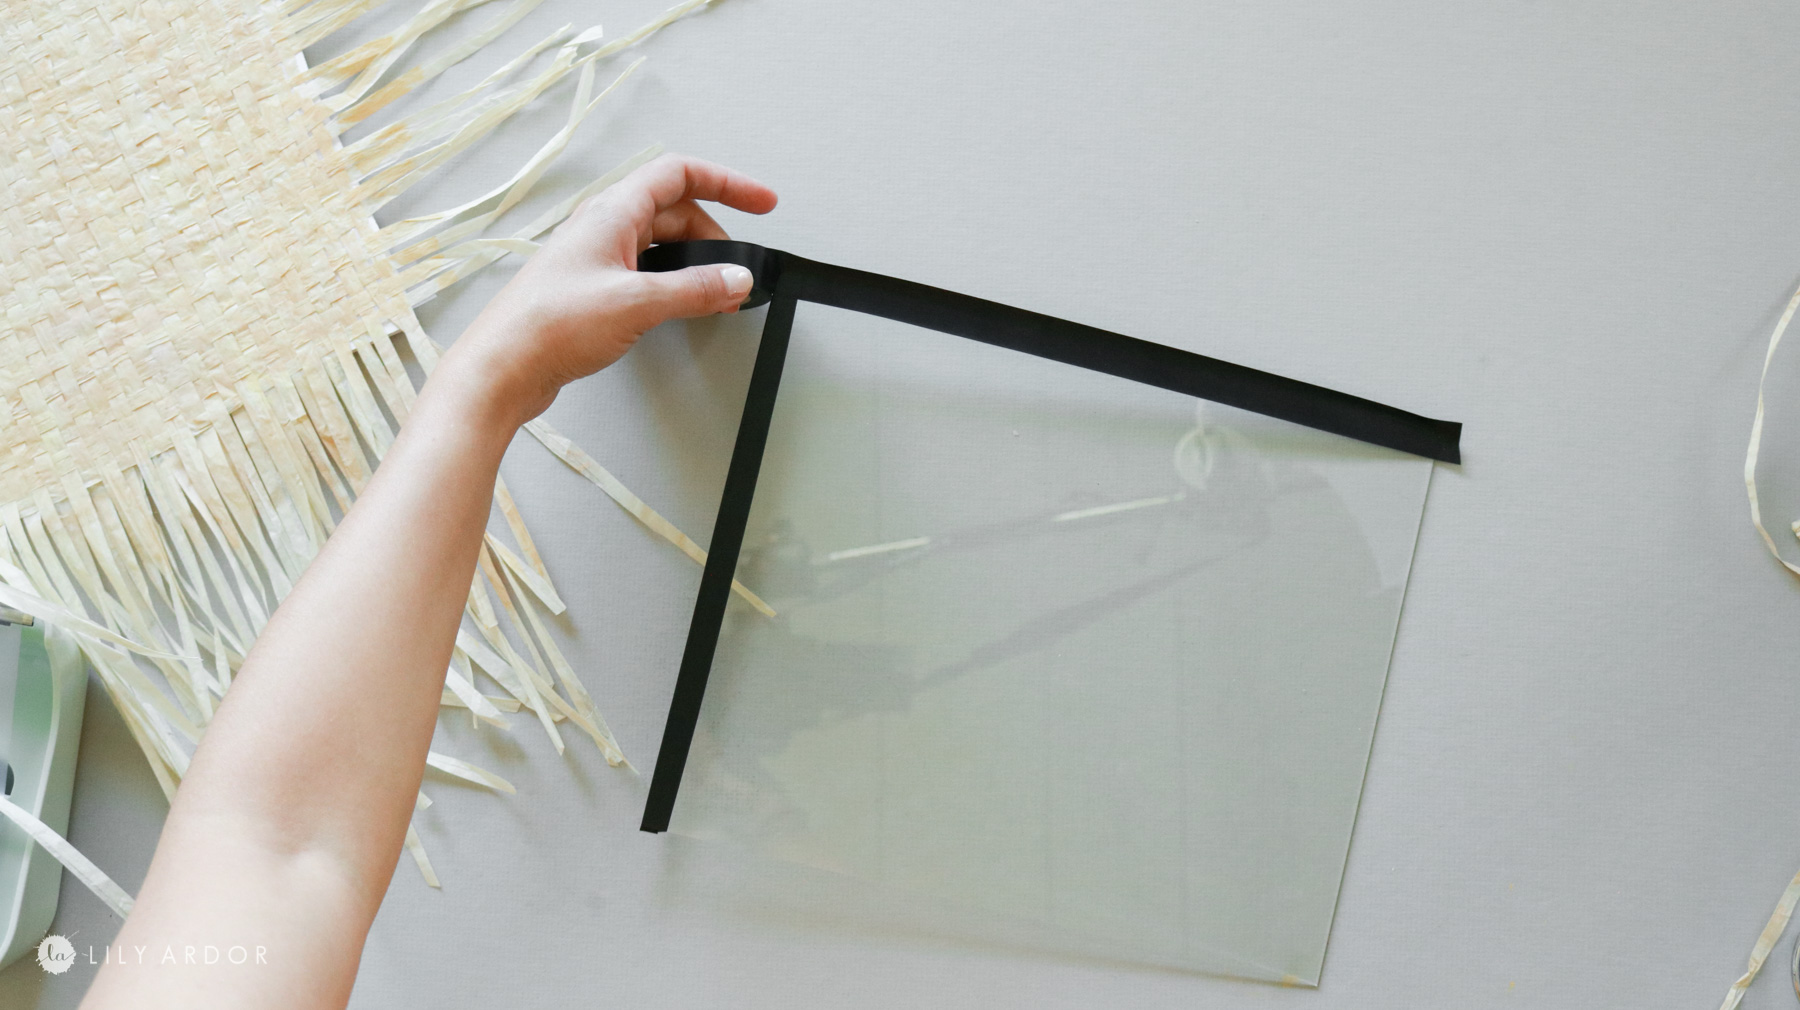
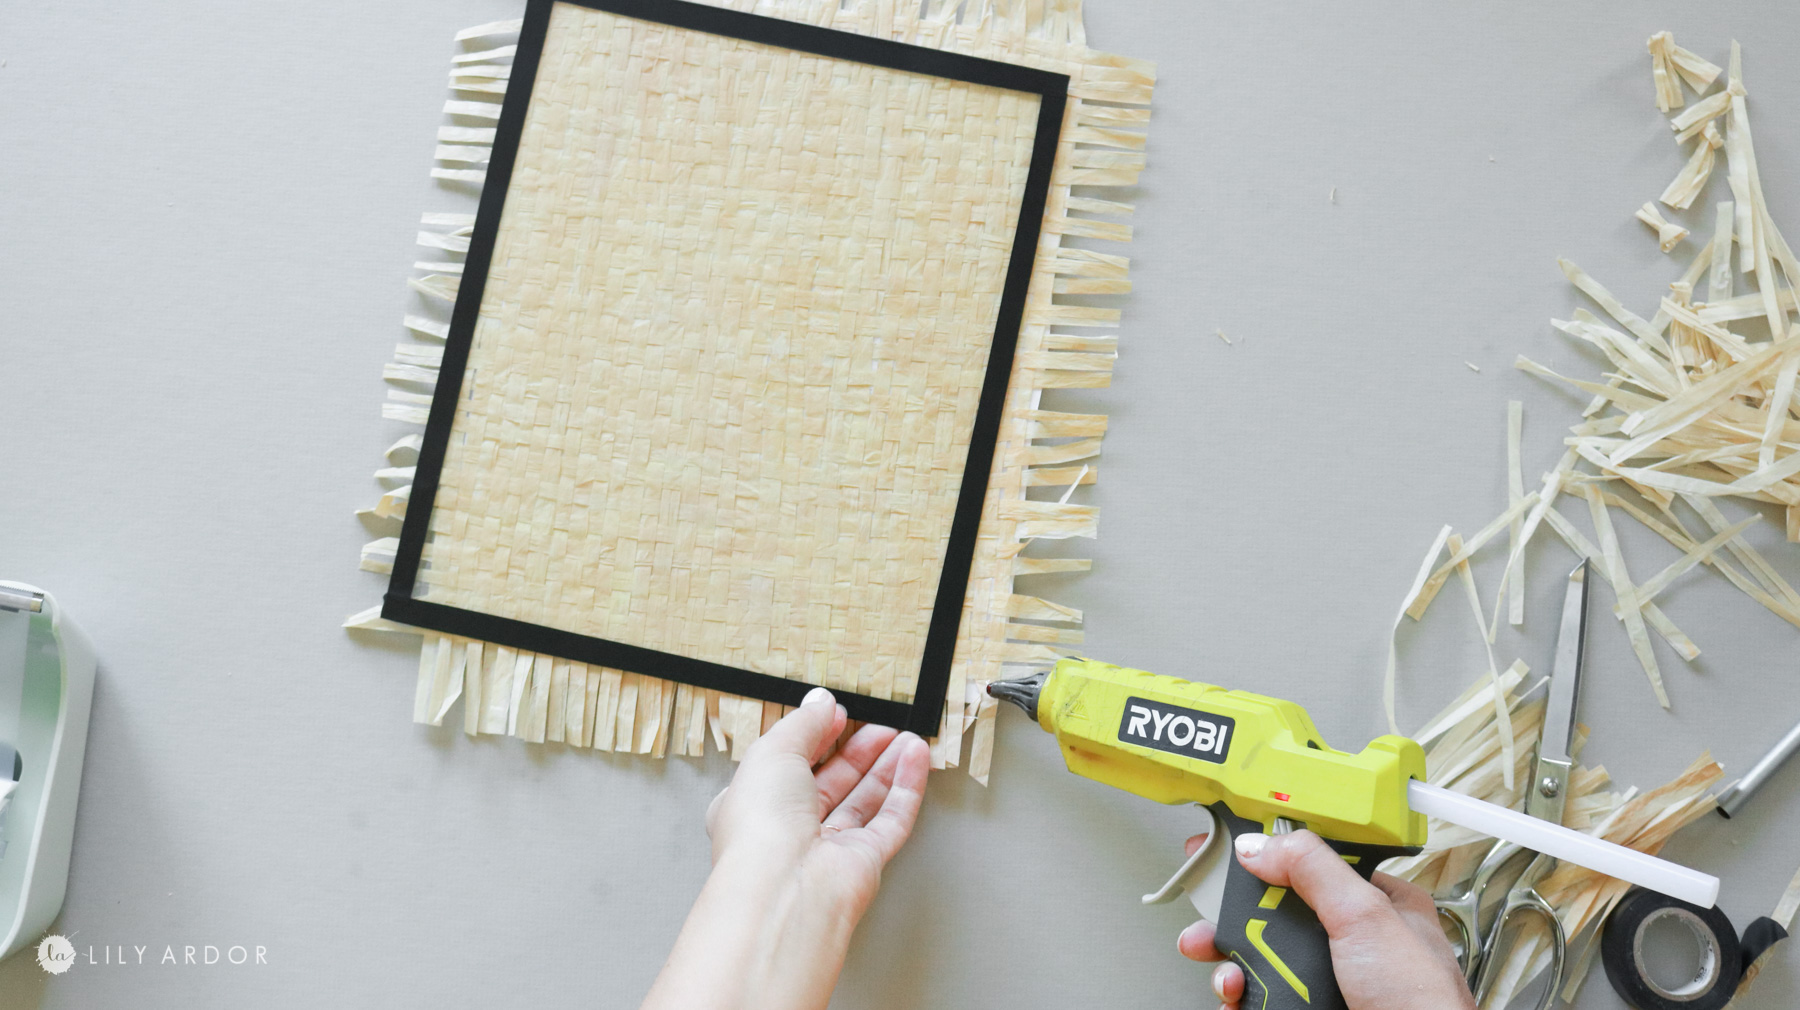
Next I removed the glass from the frame and taped all the edges on the glass with some electrical tape.
I glued the the weave to a piece of foam poster board I had previously cut down to size. Just a few dots of hot glue along the edges will work great.
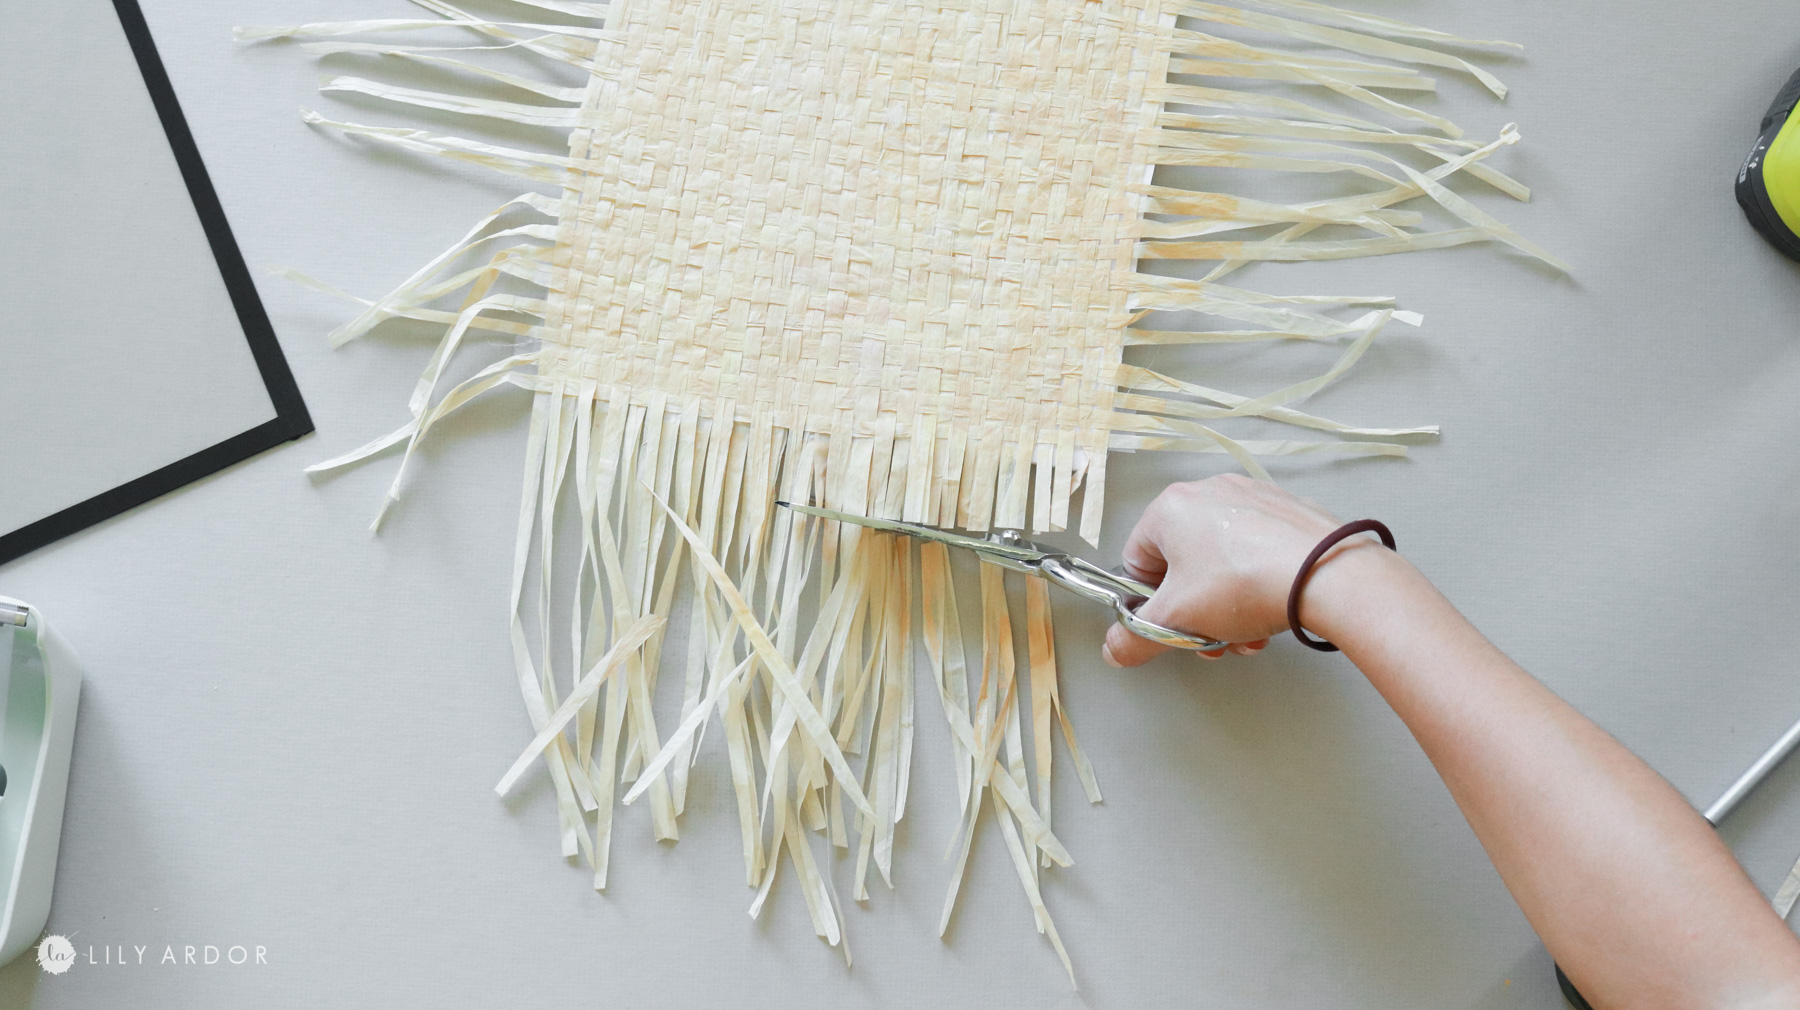
Than I trimmed the edges and glued the glass on top.
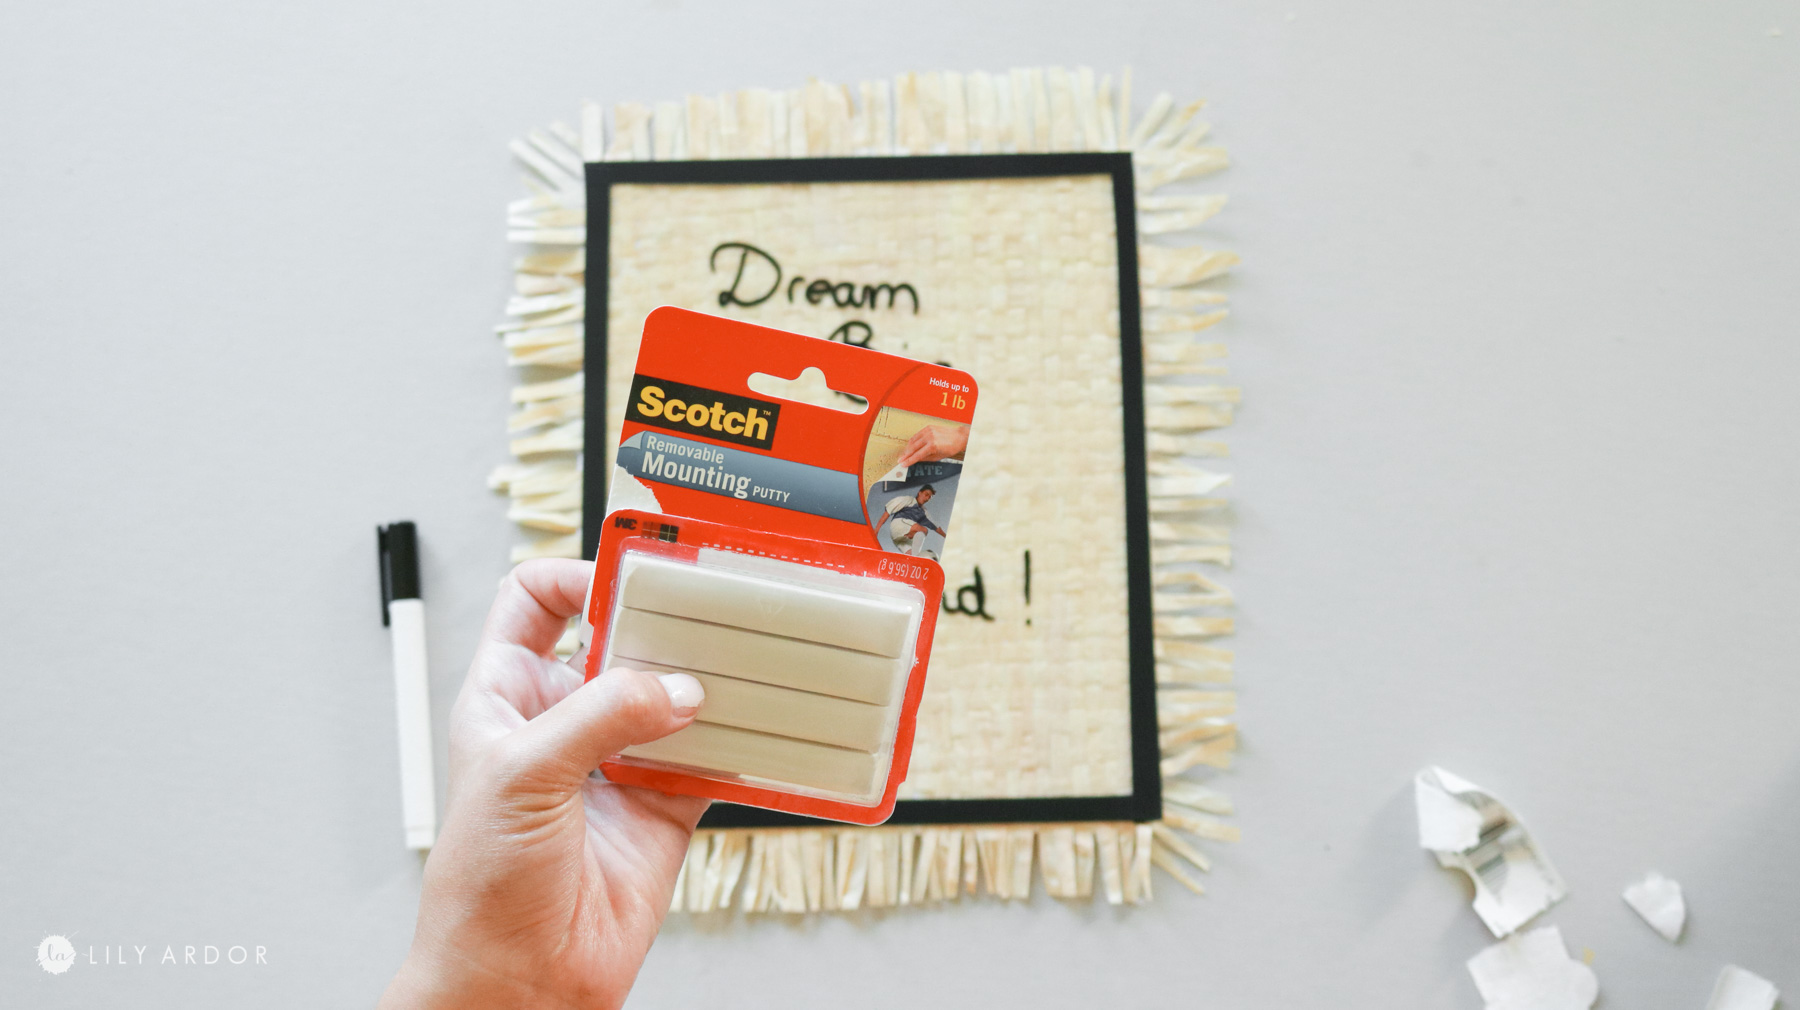
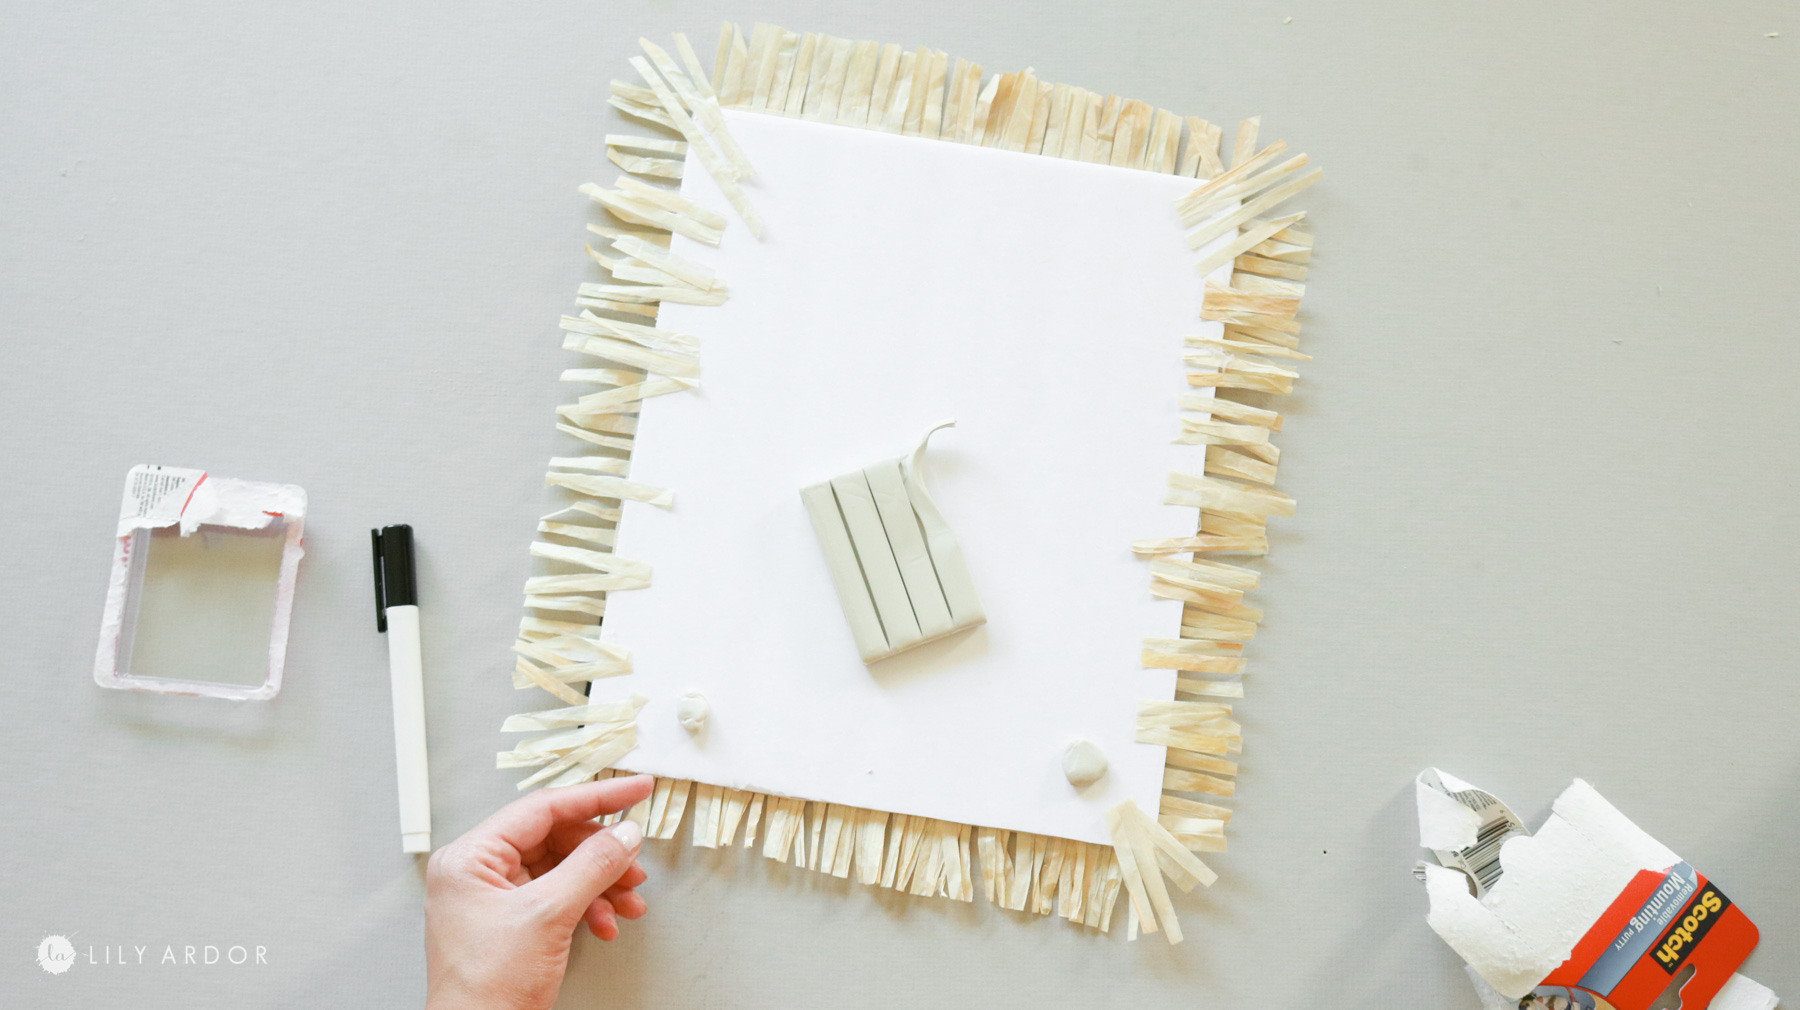
To attach it to my wall I used this scotch wall mounting puddy. I figured this would be a good option to avoid making holes in the walls. It was actually my first time trying it out and it didn’t hold up well at all. My erase board fell to the floor the next morning. LOL😅! Not entirely sure I used it correctly. I think it’s made only for paper weight things to be hung.
Here’s a quick video version of the DIY 🙂
That’s it! I love how cute it turned out! Definitely the cutest erase board I’ve ever owned. Much better than writing daily reminders on my hand. Such a bad habit 😅
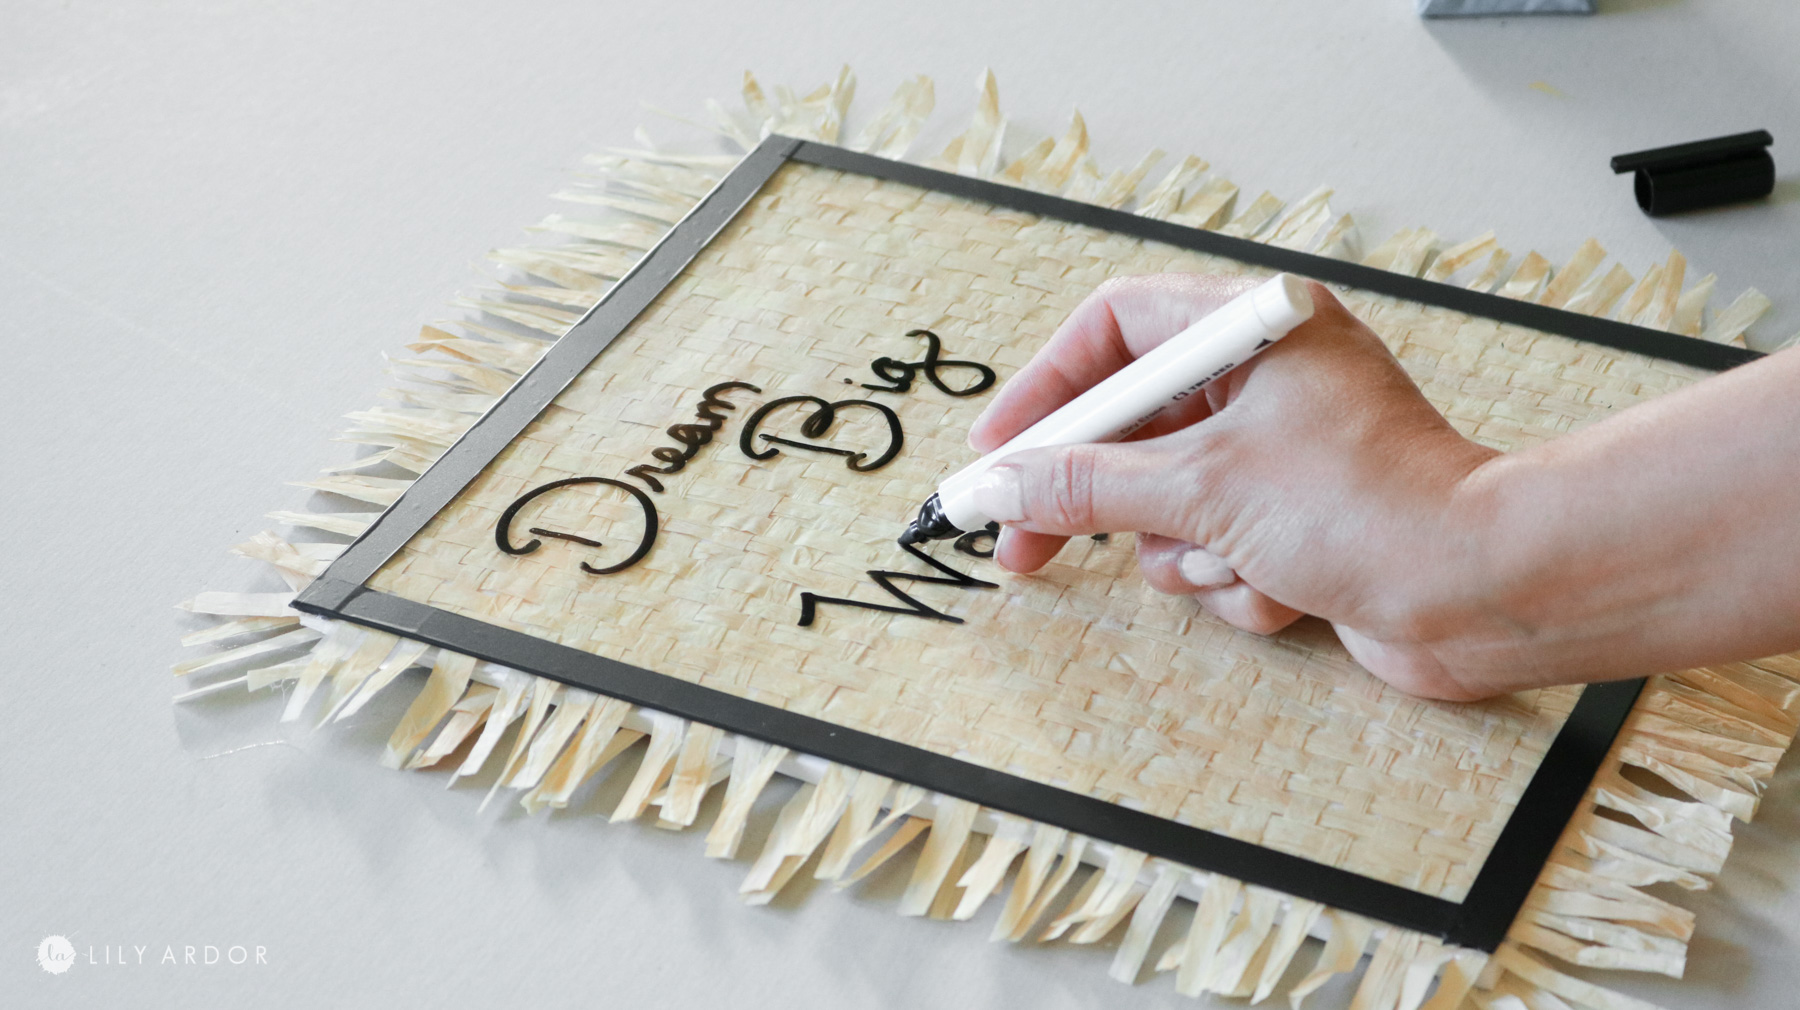
I love the play on texture! That weave is so cool! I can’t wait to make more projects with it!
That’s it! Thank you so much for tuning in! I hope you are doing well and crafting away! I’ll see you next time!
Best,
Lily