YEP!! The title says it all! If you’re a recycler of soda cans this DIY is right up your alley 😀 !
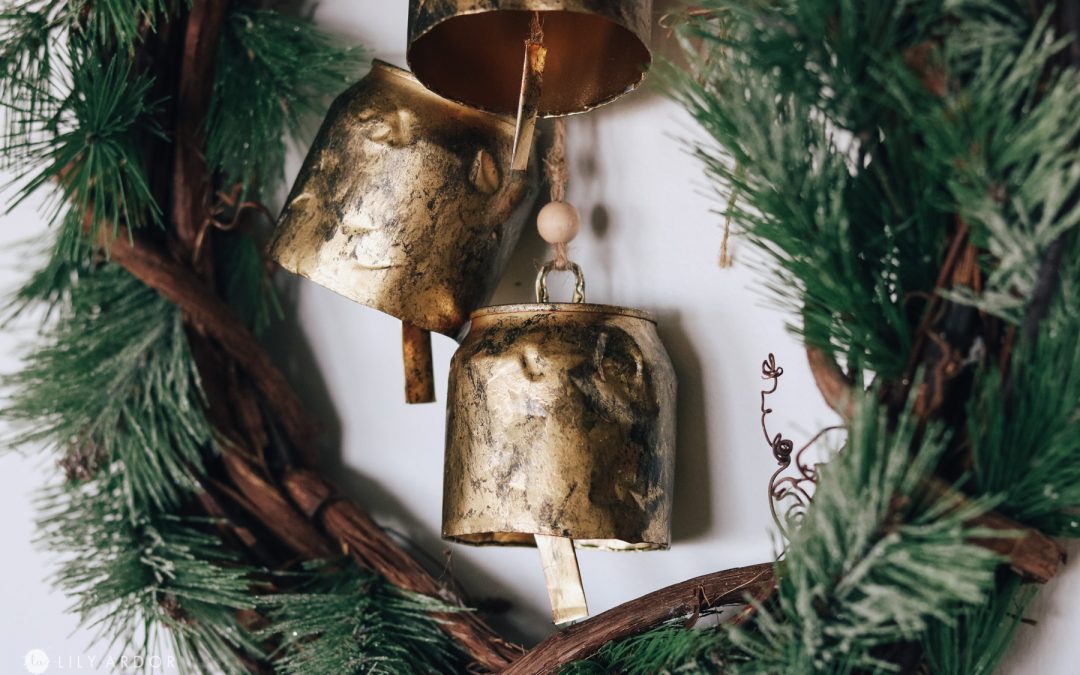
Today I’ll be sharing how I made vintage bells from soda cans.
total time:
about 30 minutes ( depending on drying times)
this post contains affiliate links ( please read my disclosure policy for more info )
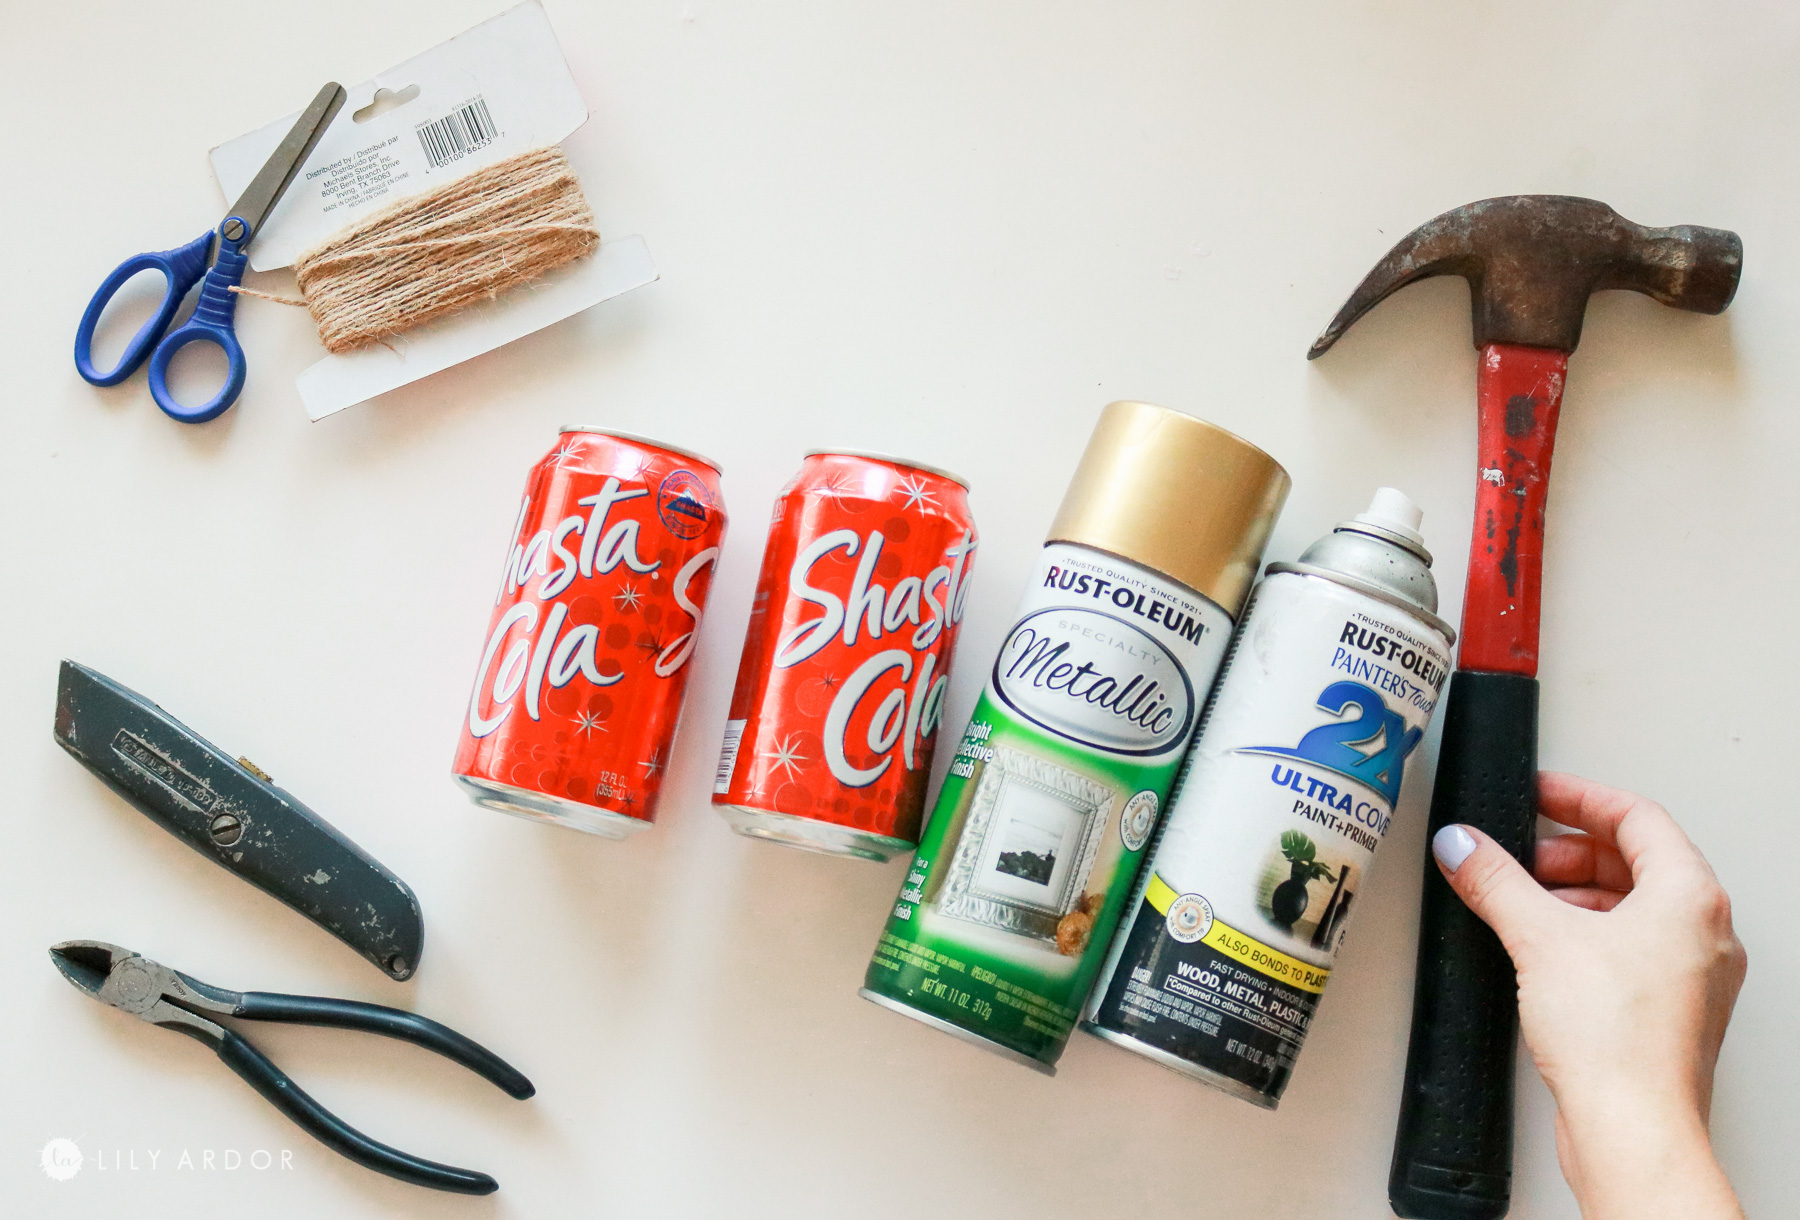
supplies:
- gold spray paint
- black spray
- soda cans ( rinsed and wiped down)
- plastic grocery bag
- twine
- utility knife
- cheap scissors
- needle nose pliers
- wire cutters
- hot glue and glue gun ( linking my favorite durable glue sticks and glue gun)
- wood beads ( optional)
- any paintable tape ( I used this tape )
- hammer
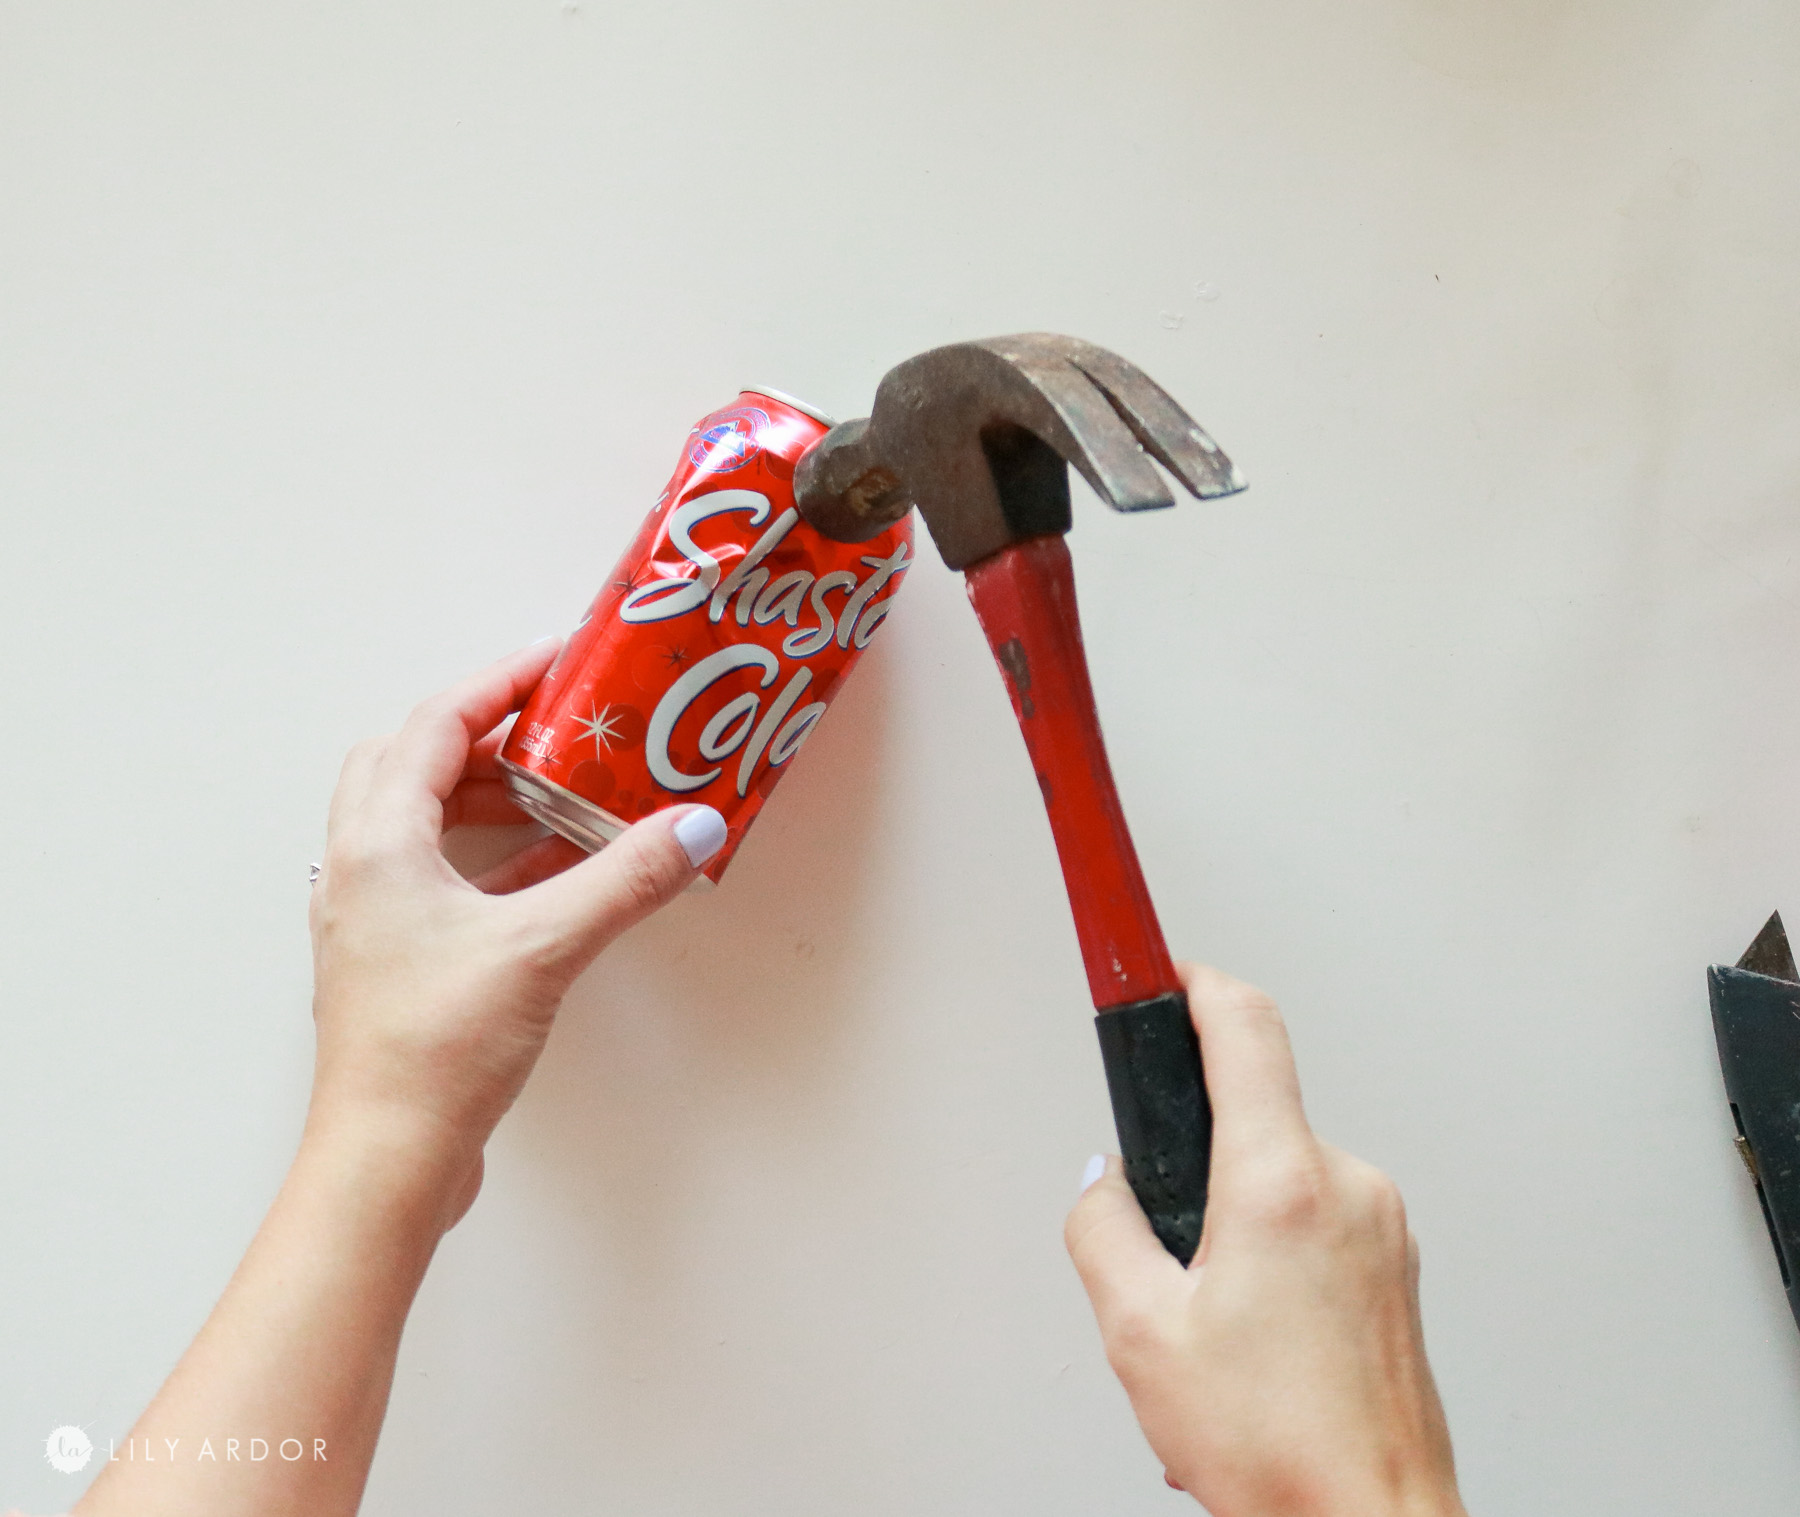
STEP 1: Shape your can!
Okay so this step is probably the most important. Beating up your can will determine whether it looks like a soda can in the edge or a vintage bell. I feel like the more beat up my bells looked the better. Especially the ridge around the top of the soda can.
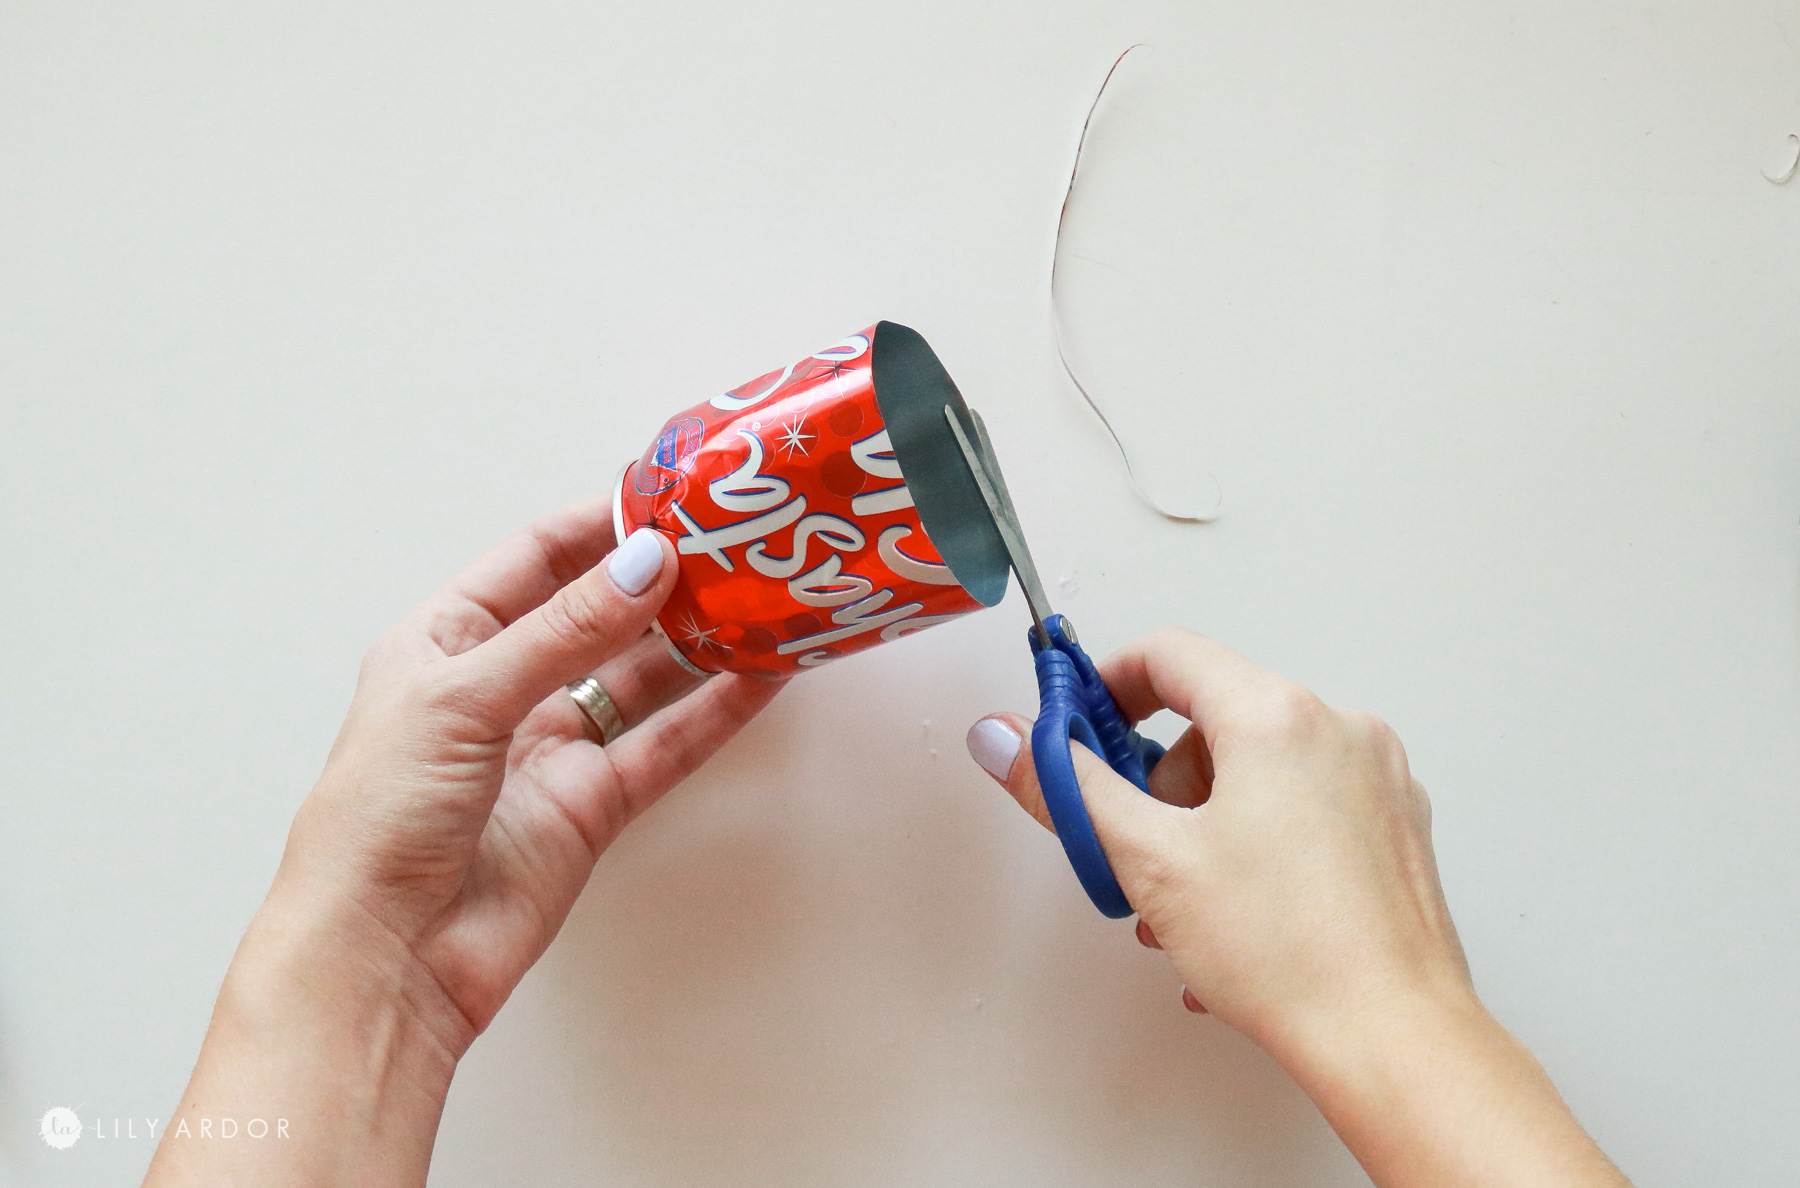
Next I cut the can with a utility knife leaving about 3 inches of the top portion of the can for the bell.
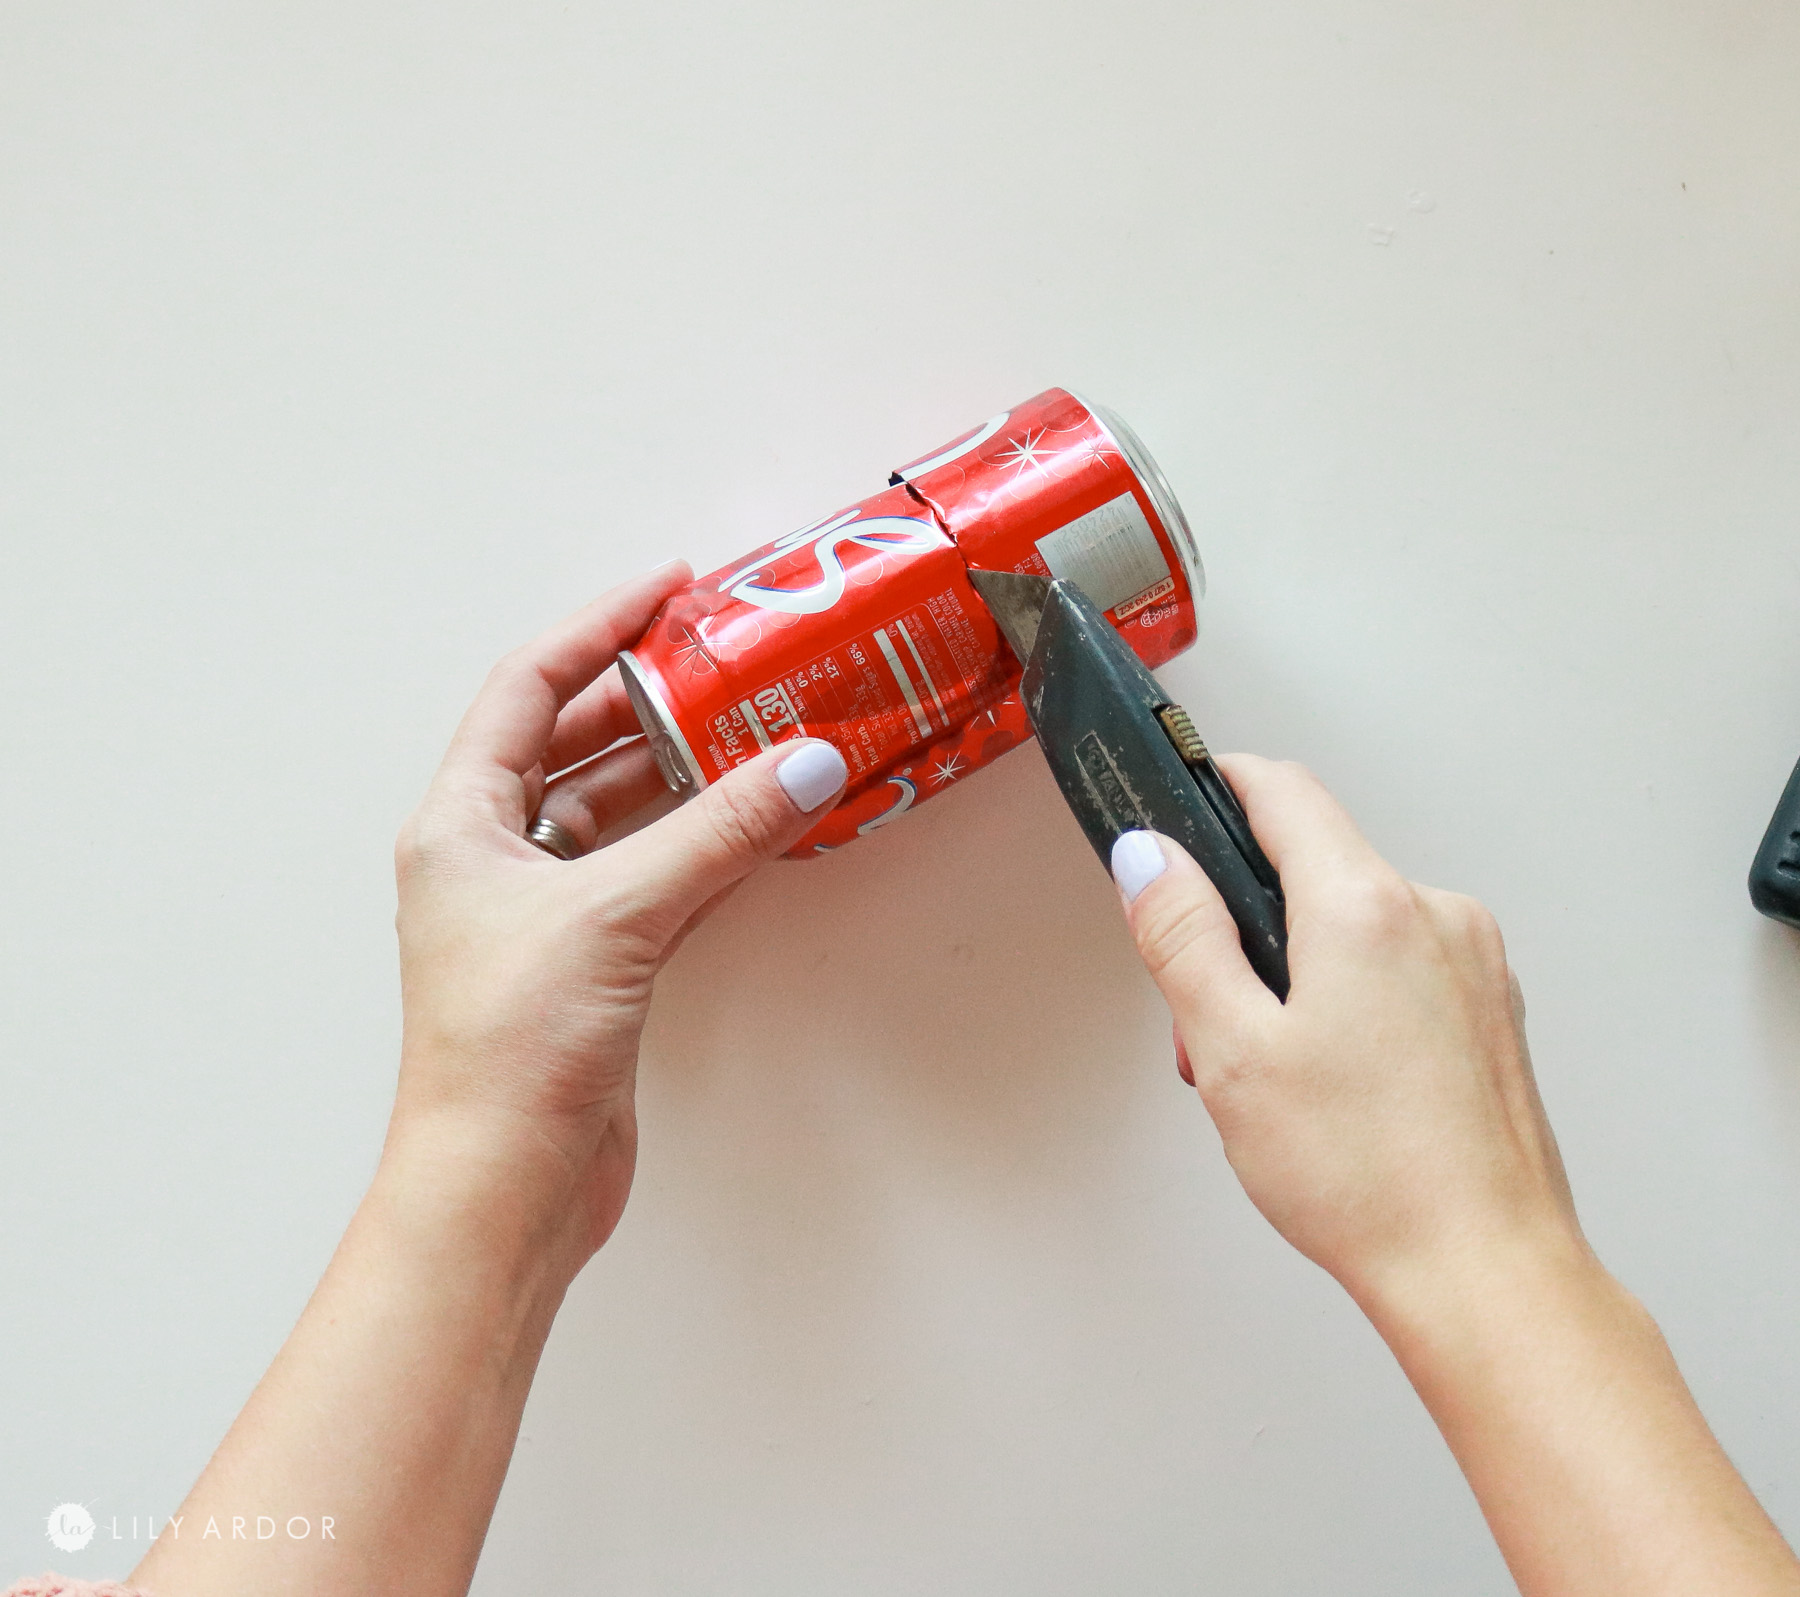
I than used some scissors to trim the raw edges. Any cheap scissors work for this.
I used some needle nose pliers to fold the edges in. No more than 1/4 of an inch.
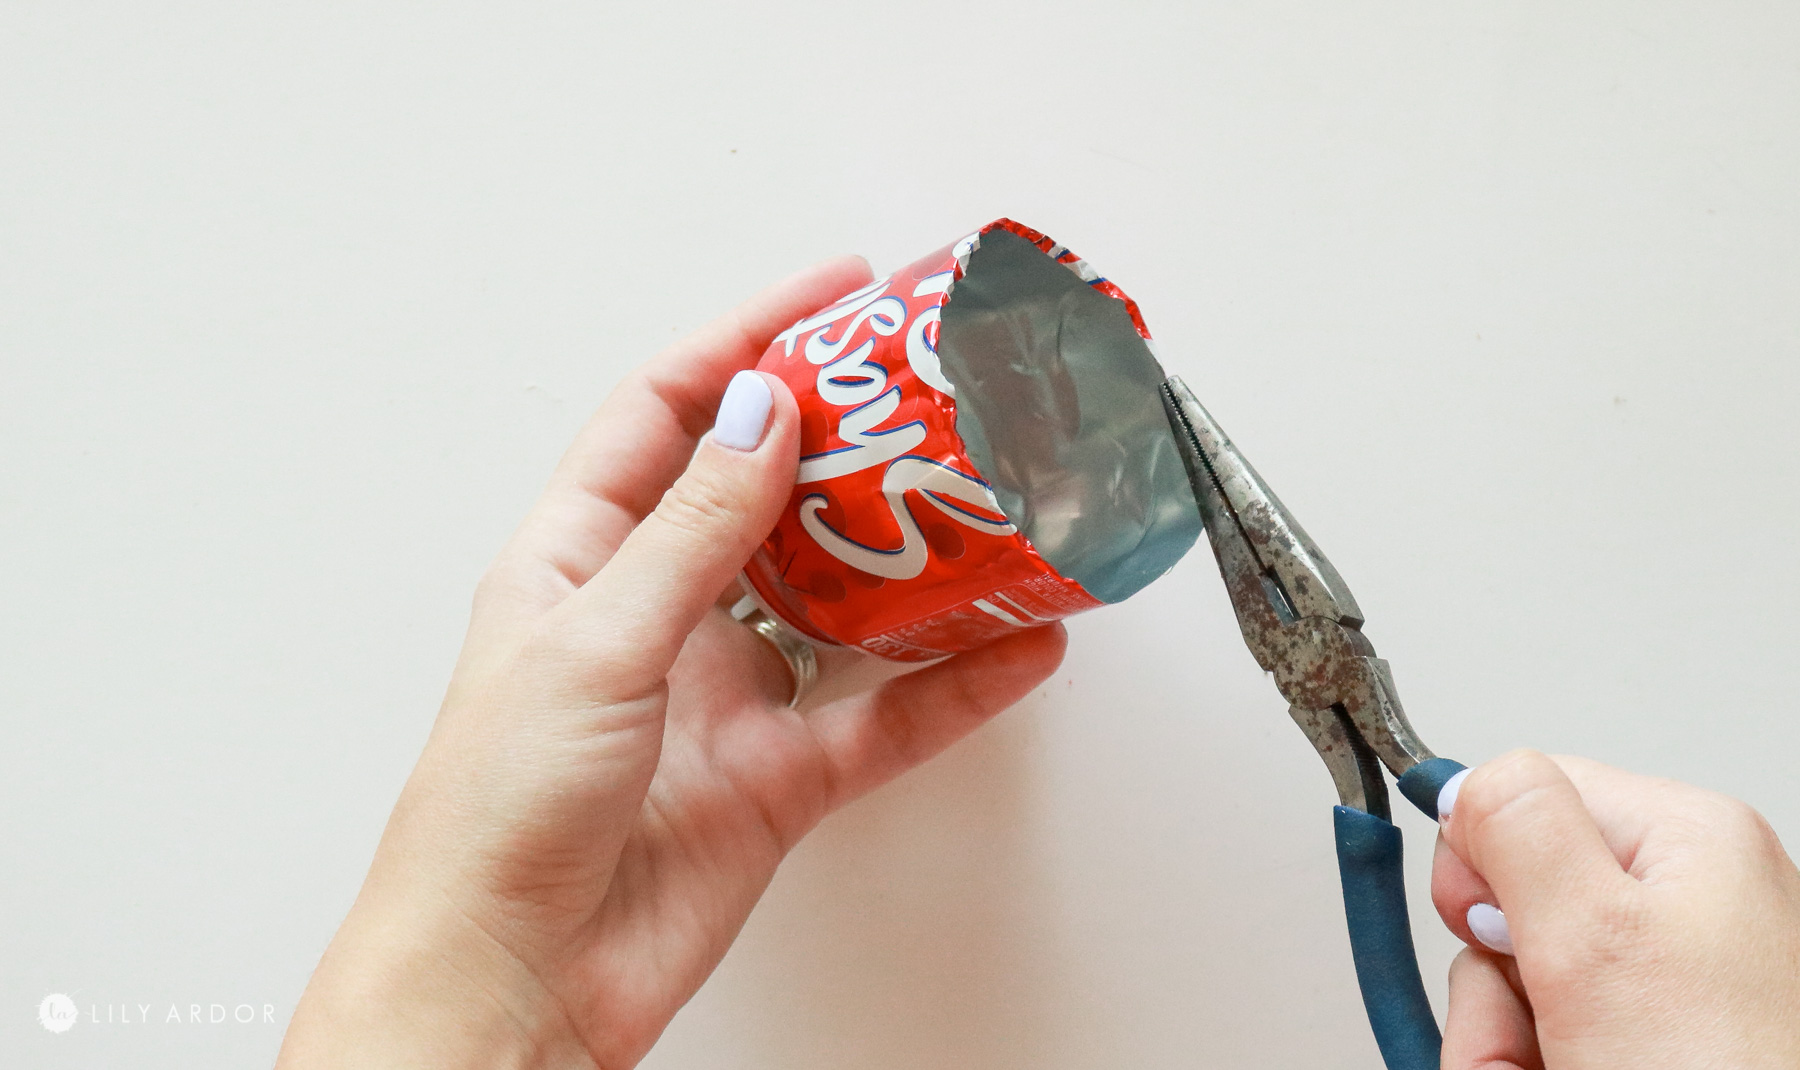
My fold turned out real thin for some reason ( photo below ) Once I folded the edges up I also went around and clamped it with the pliers.

Step 2: Prepping the top of the can!
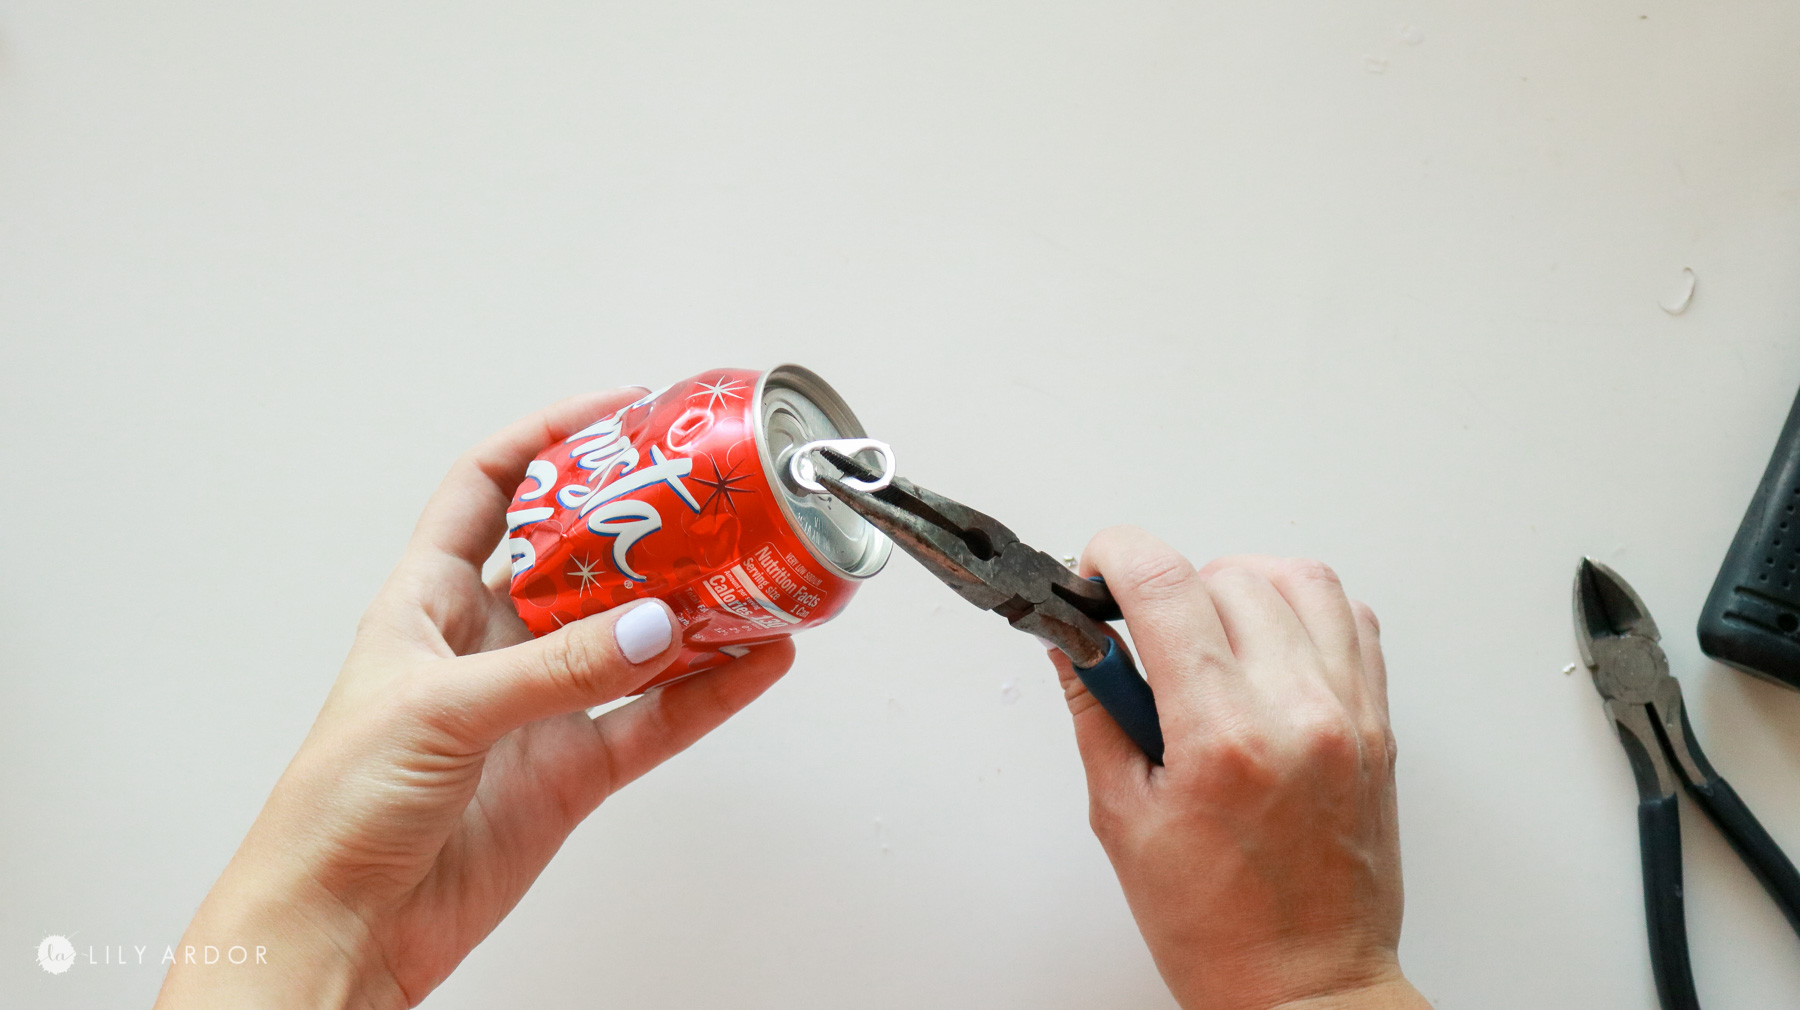
Okay next I used some wire cutters and snipped the center of the tab on the can.
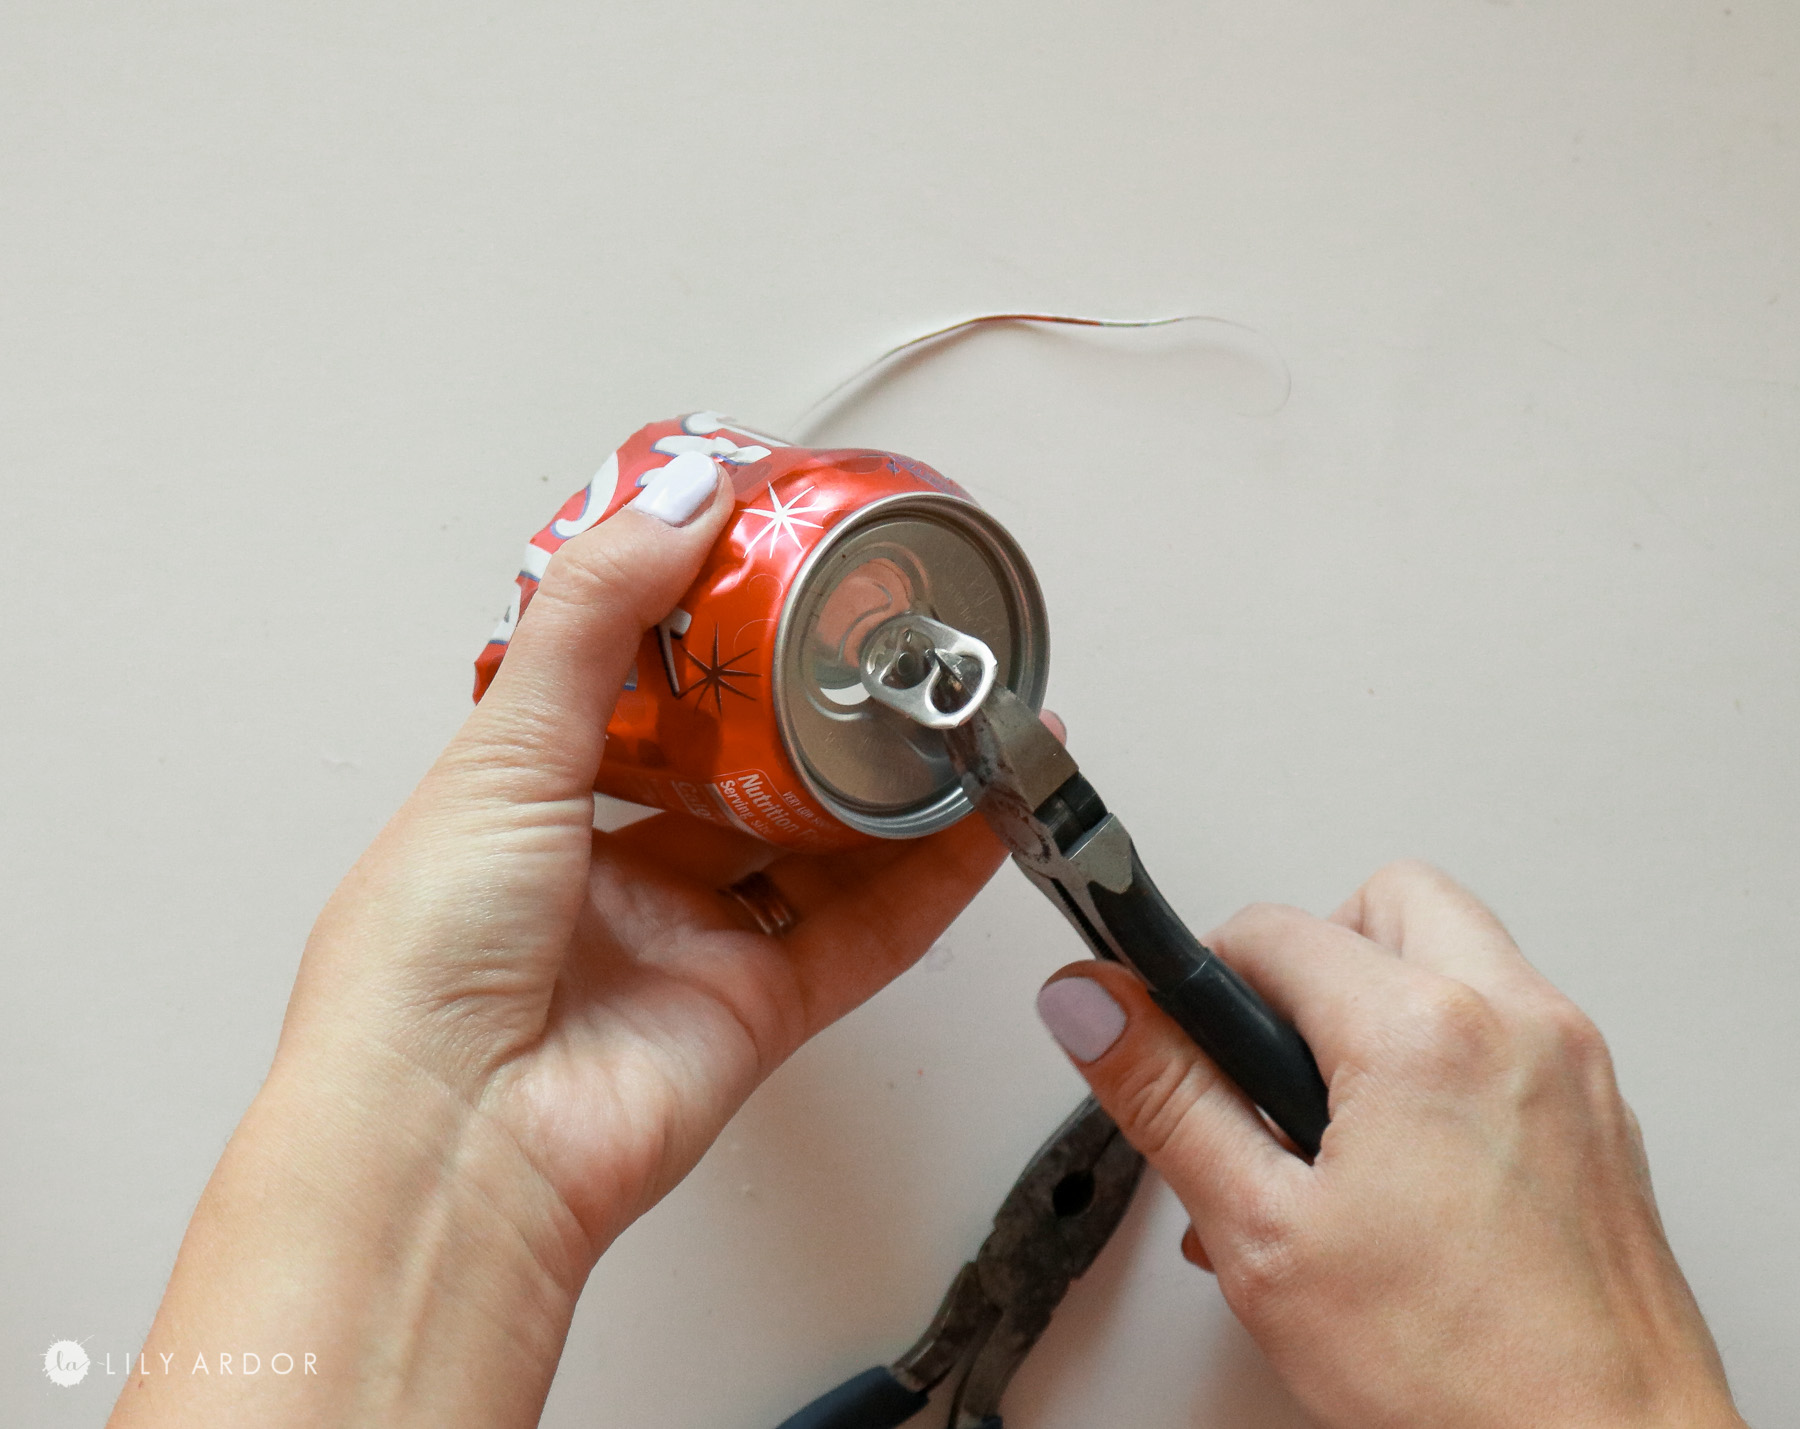
I than used my needle nose pliers to flatten down any sharp edges.
I used some tape and cut it out to fit on top of the can on both sides of the tab. Make sure your tape is paintable.
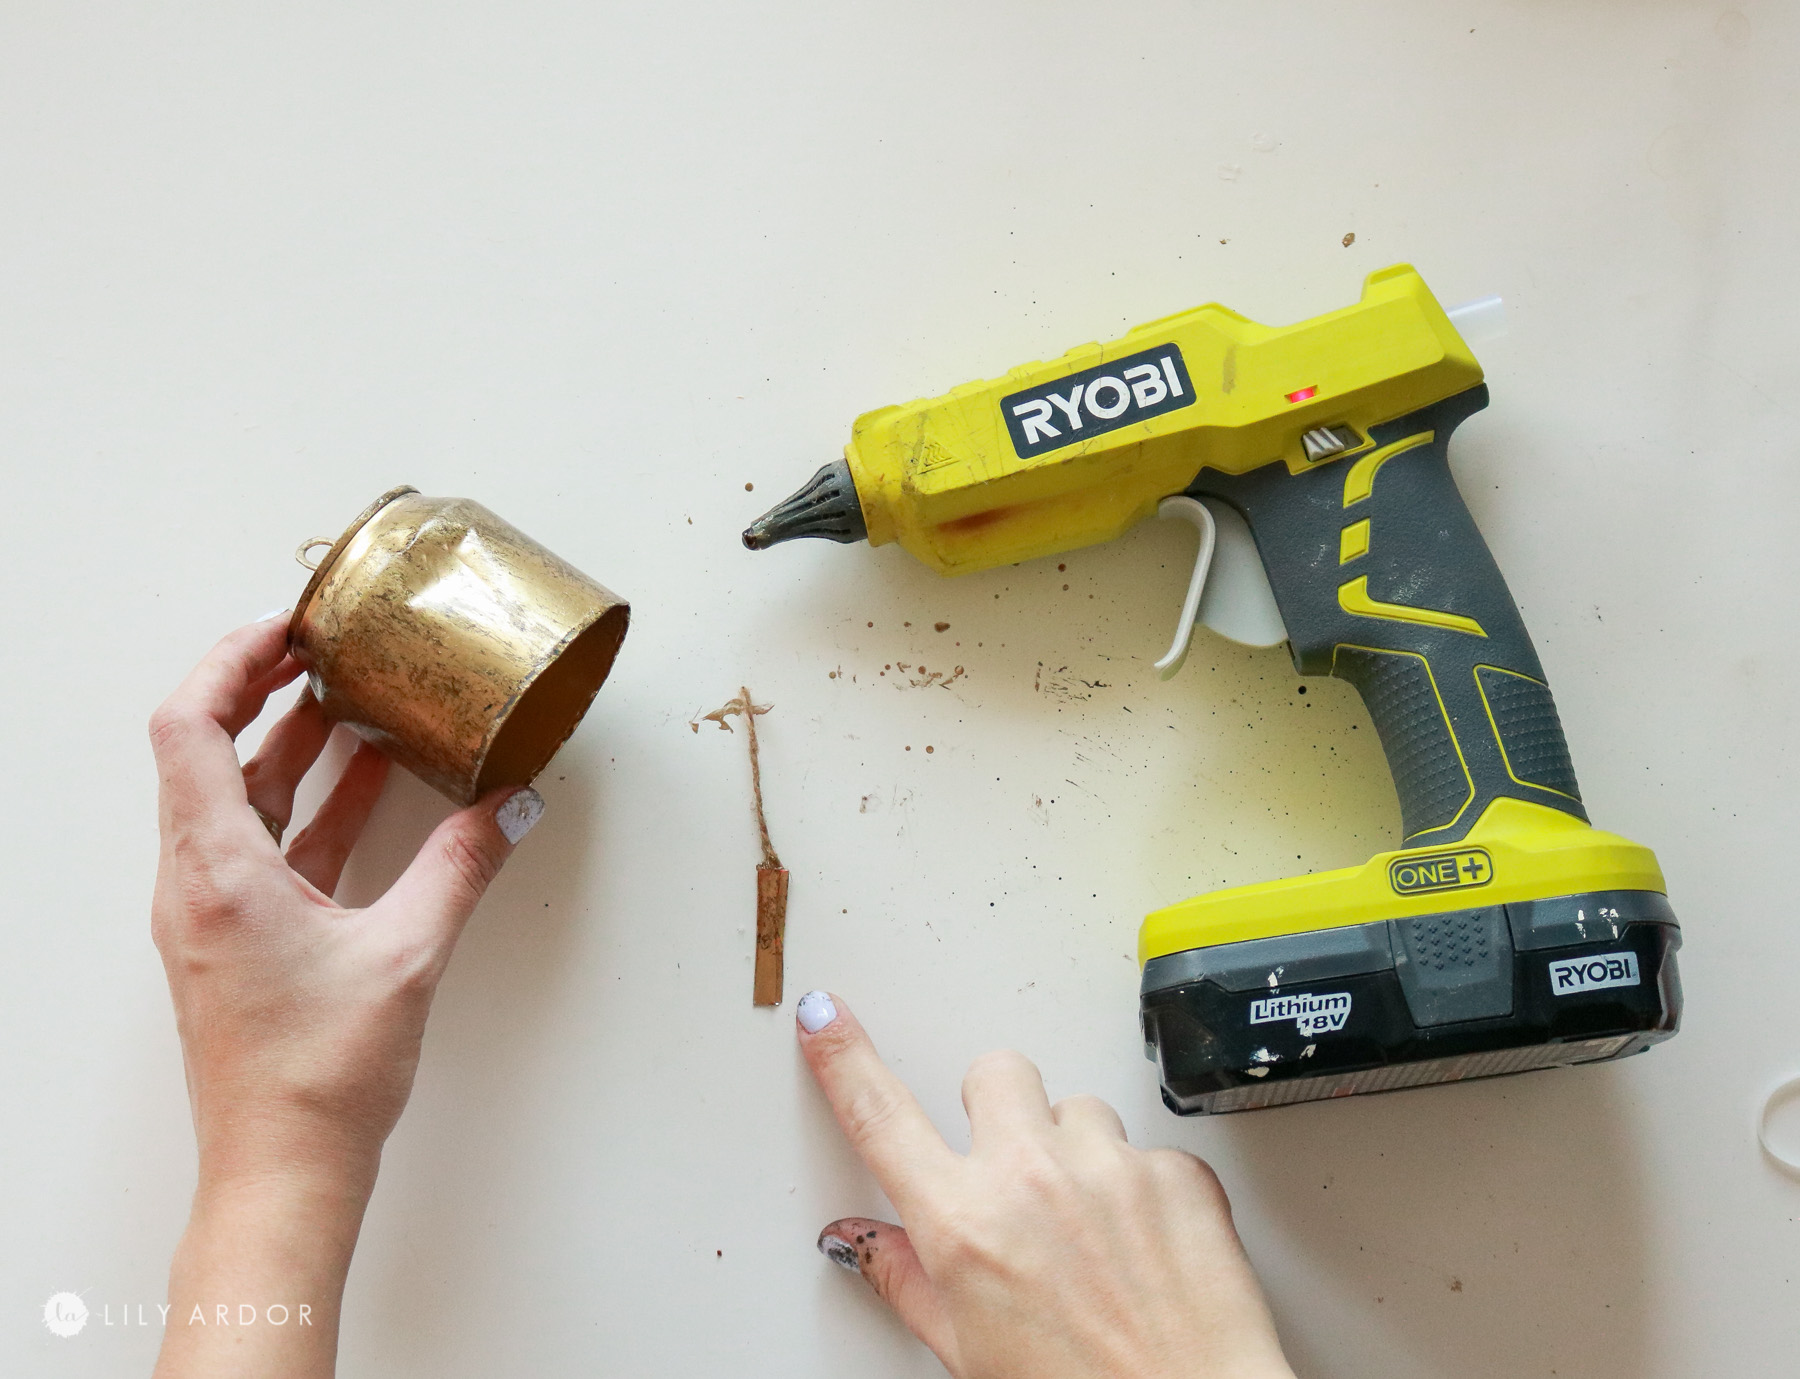
Step 3: Making the tongue of the bell!
Next I cut out a square piece from what was left of the bottom of the can and folded it a few times to create the tongue of the bell. 
I used some hot glue to attach twine to it.
I use my ryobi glue gun for everything! Honestly I can say enough! First of all it’s cordless so I never have to worry about my cord not being long enough. It’s also way more durable, by durable I mean the actual glue is heavy duty not just the gun. It would make the perfect Christmas gift too 😀
Step 4: Painting your bell!
Okay now I used some gold spray paint to paint both the bells and the tongue. I left them to dry for about 30 minutes.
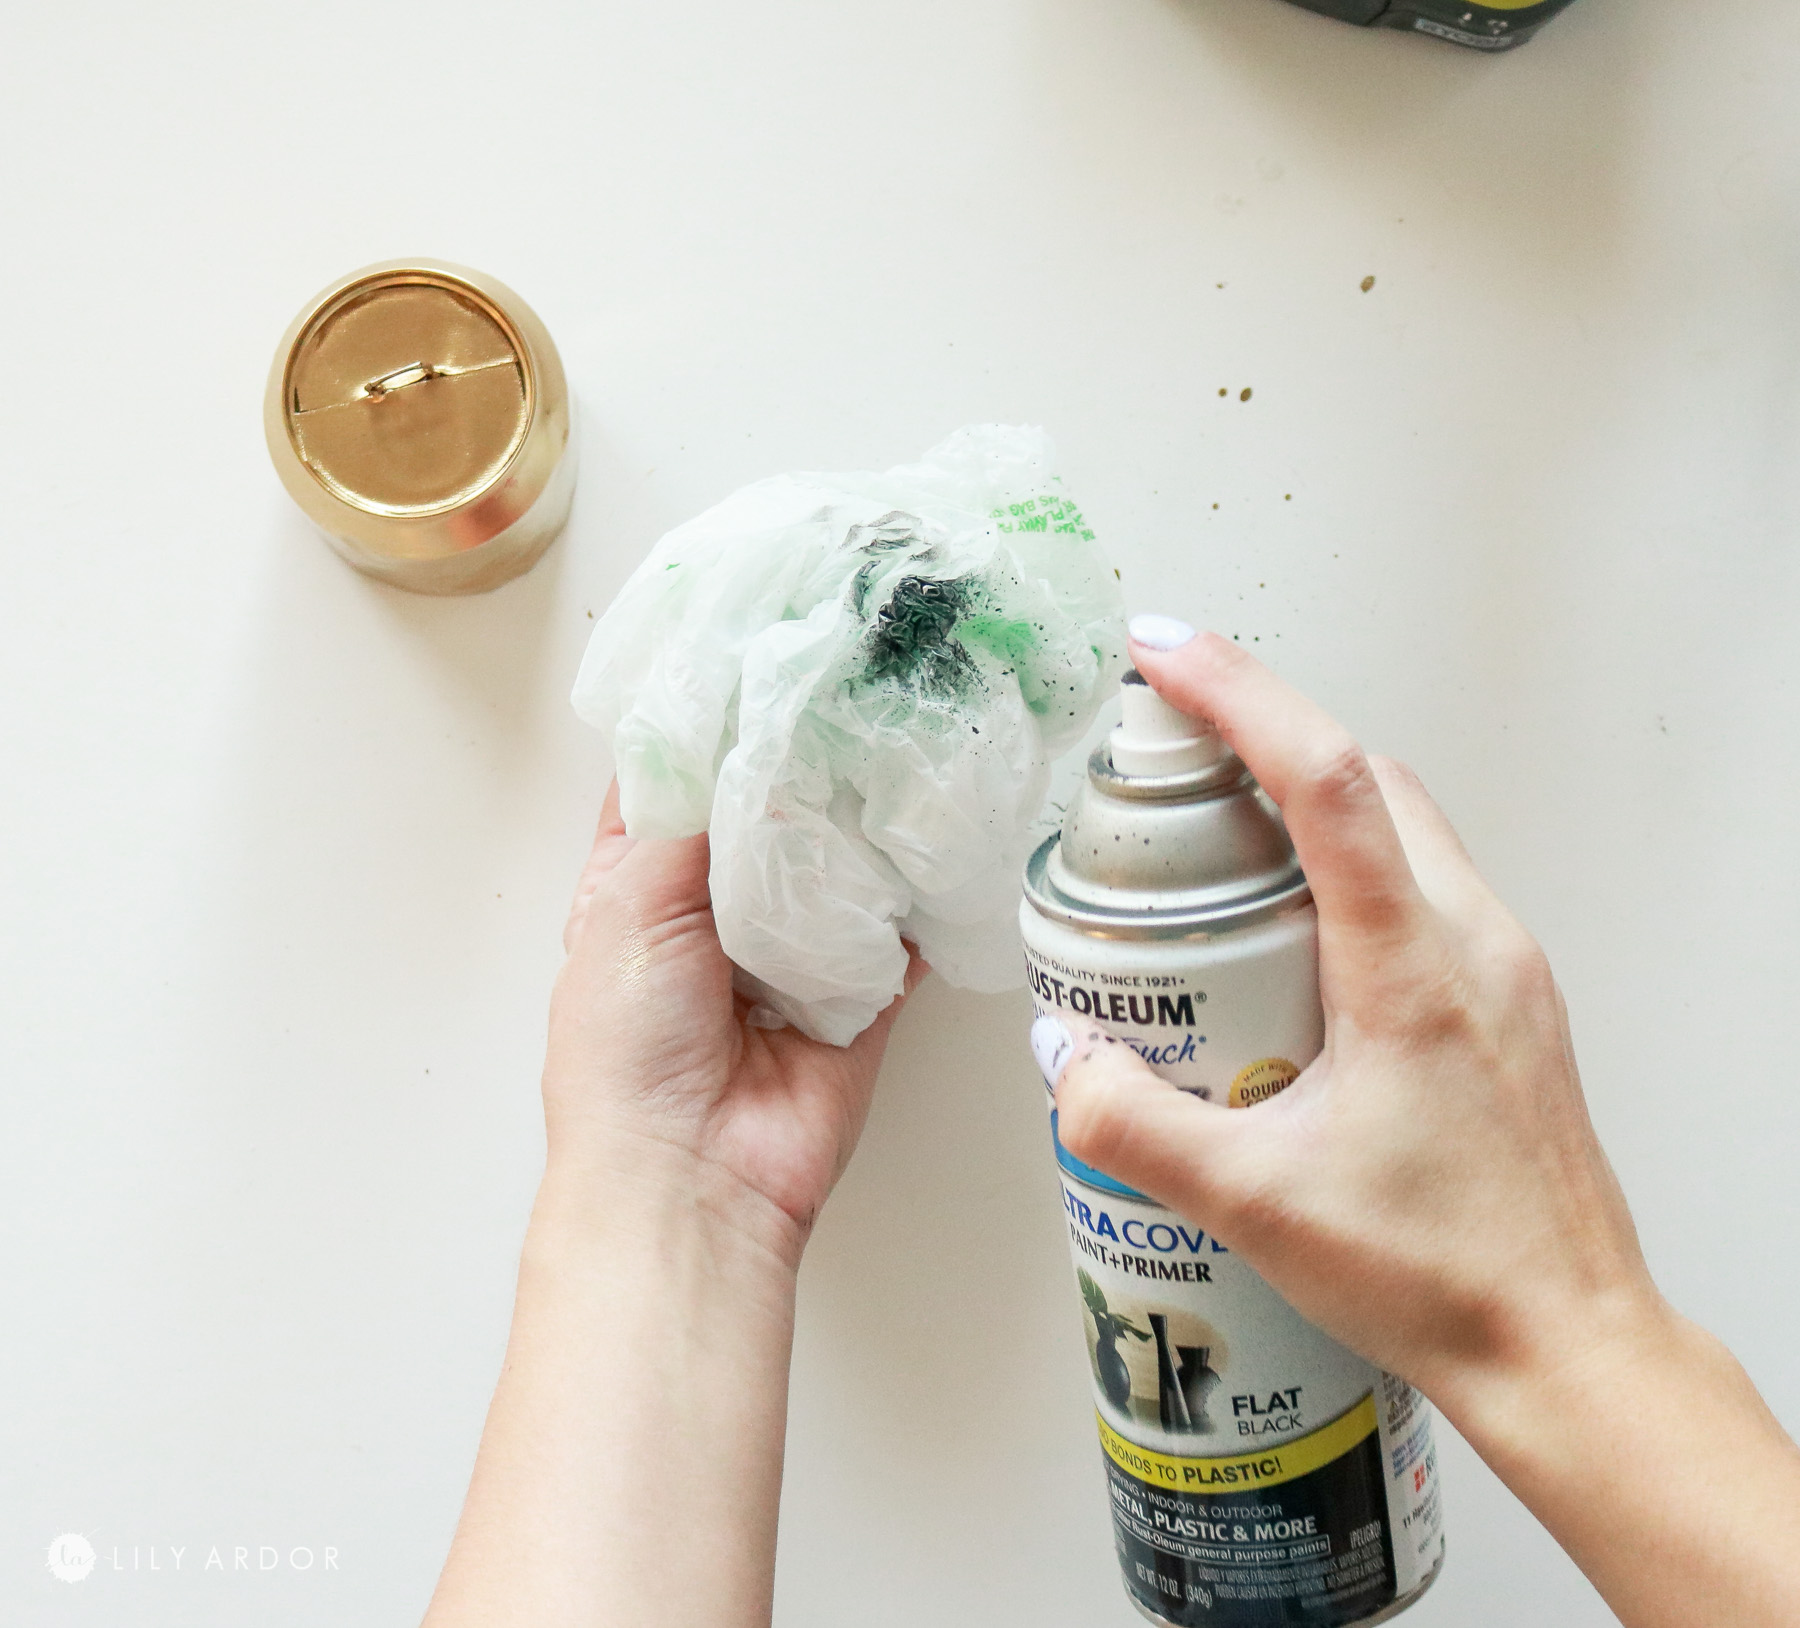
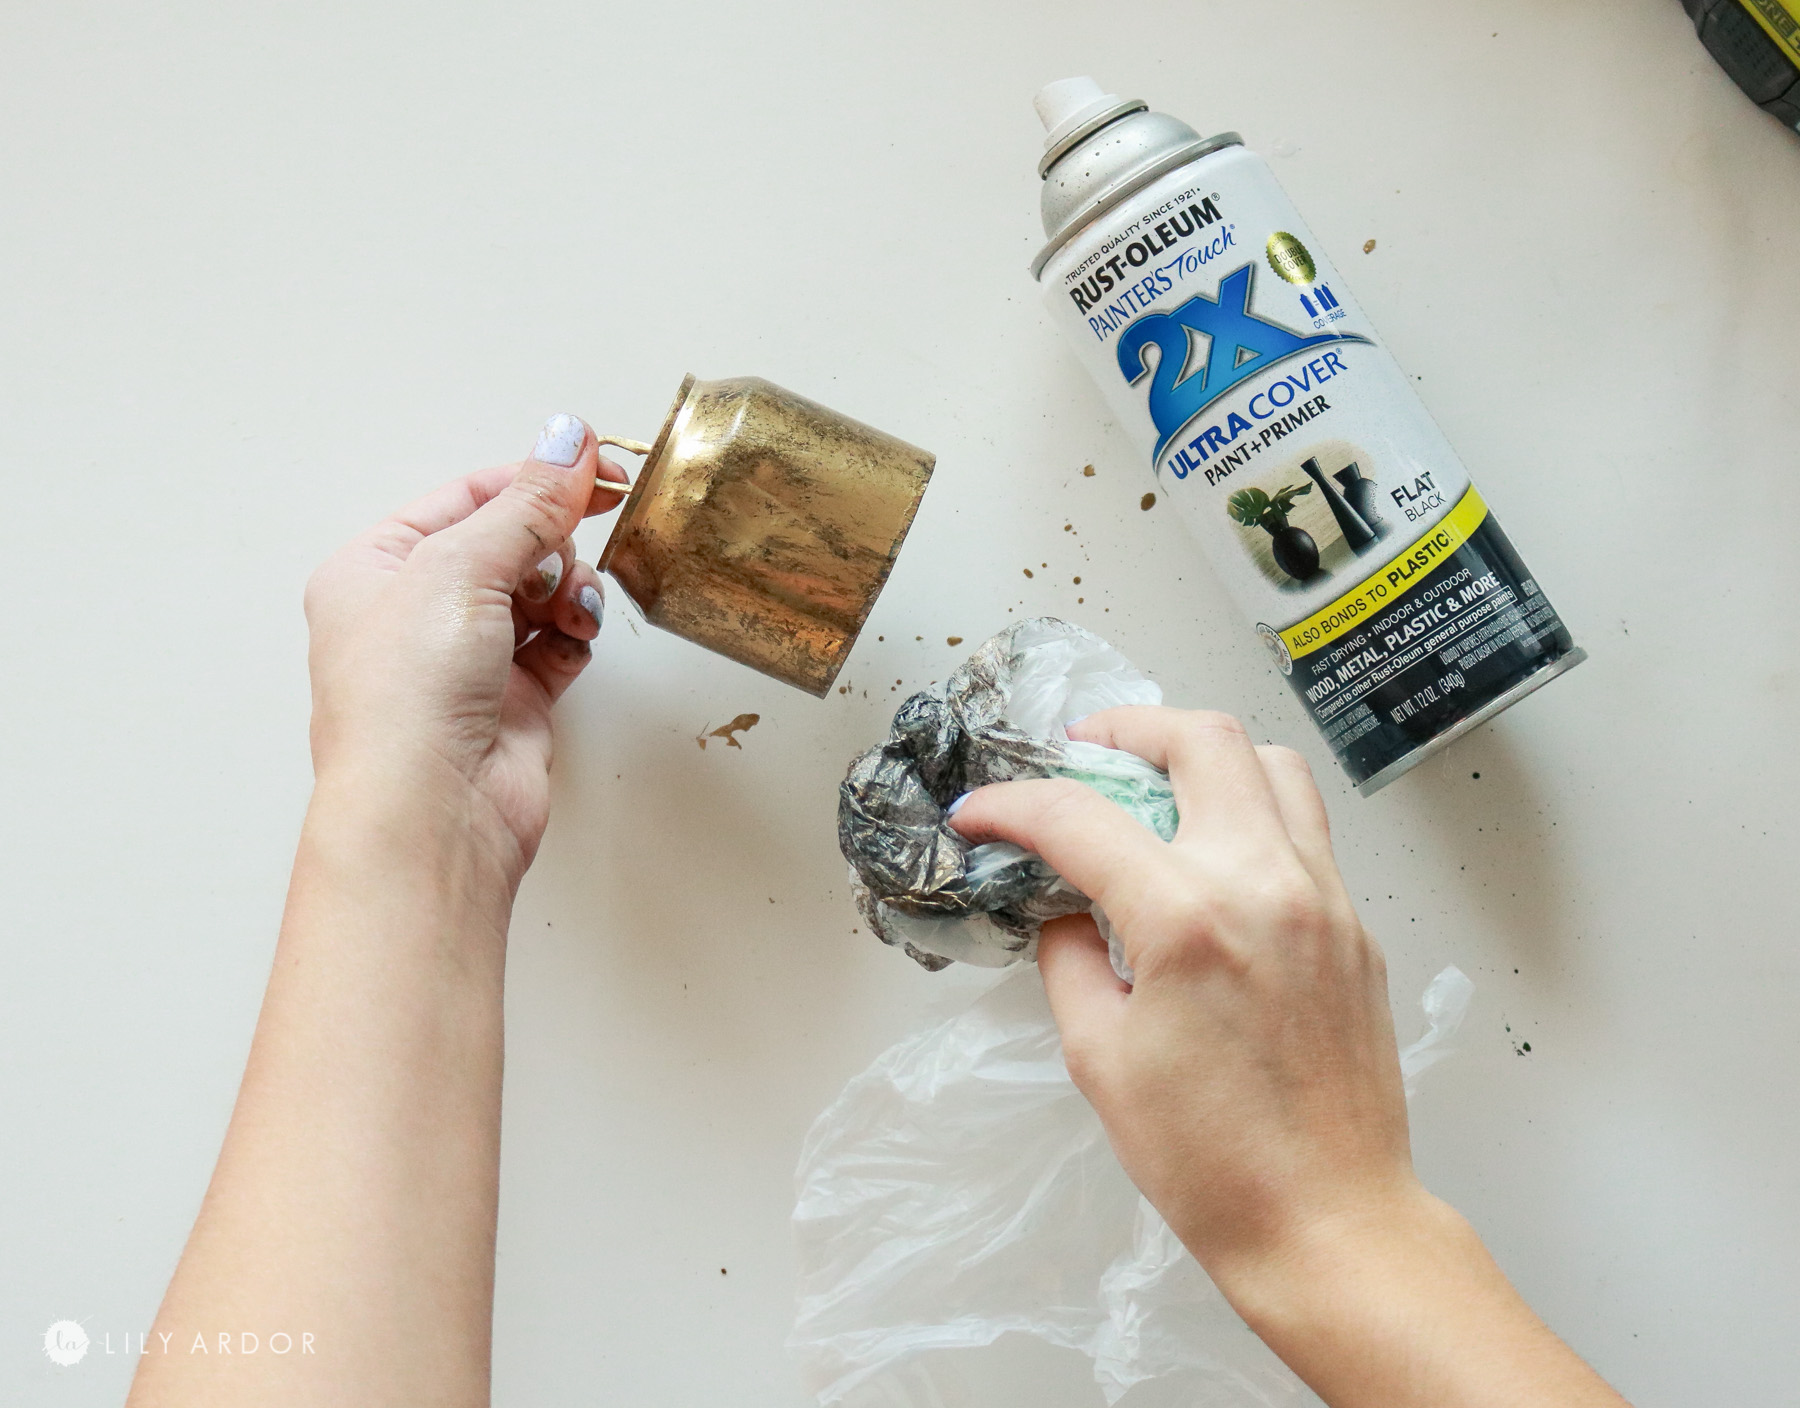
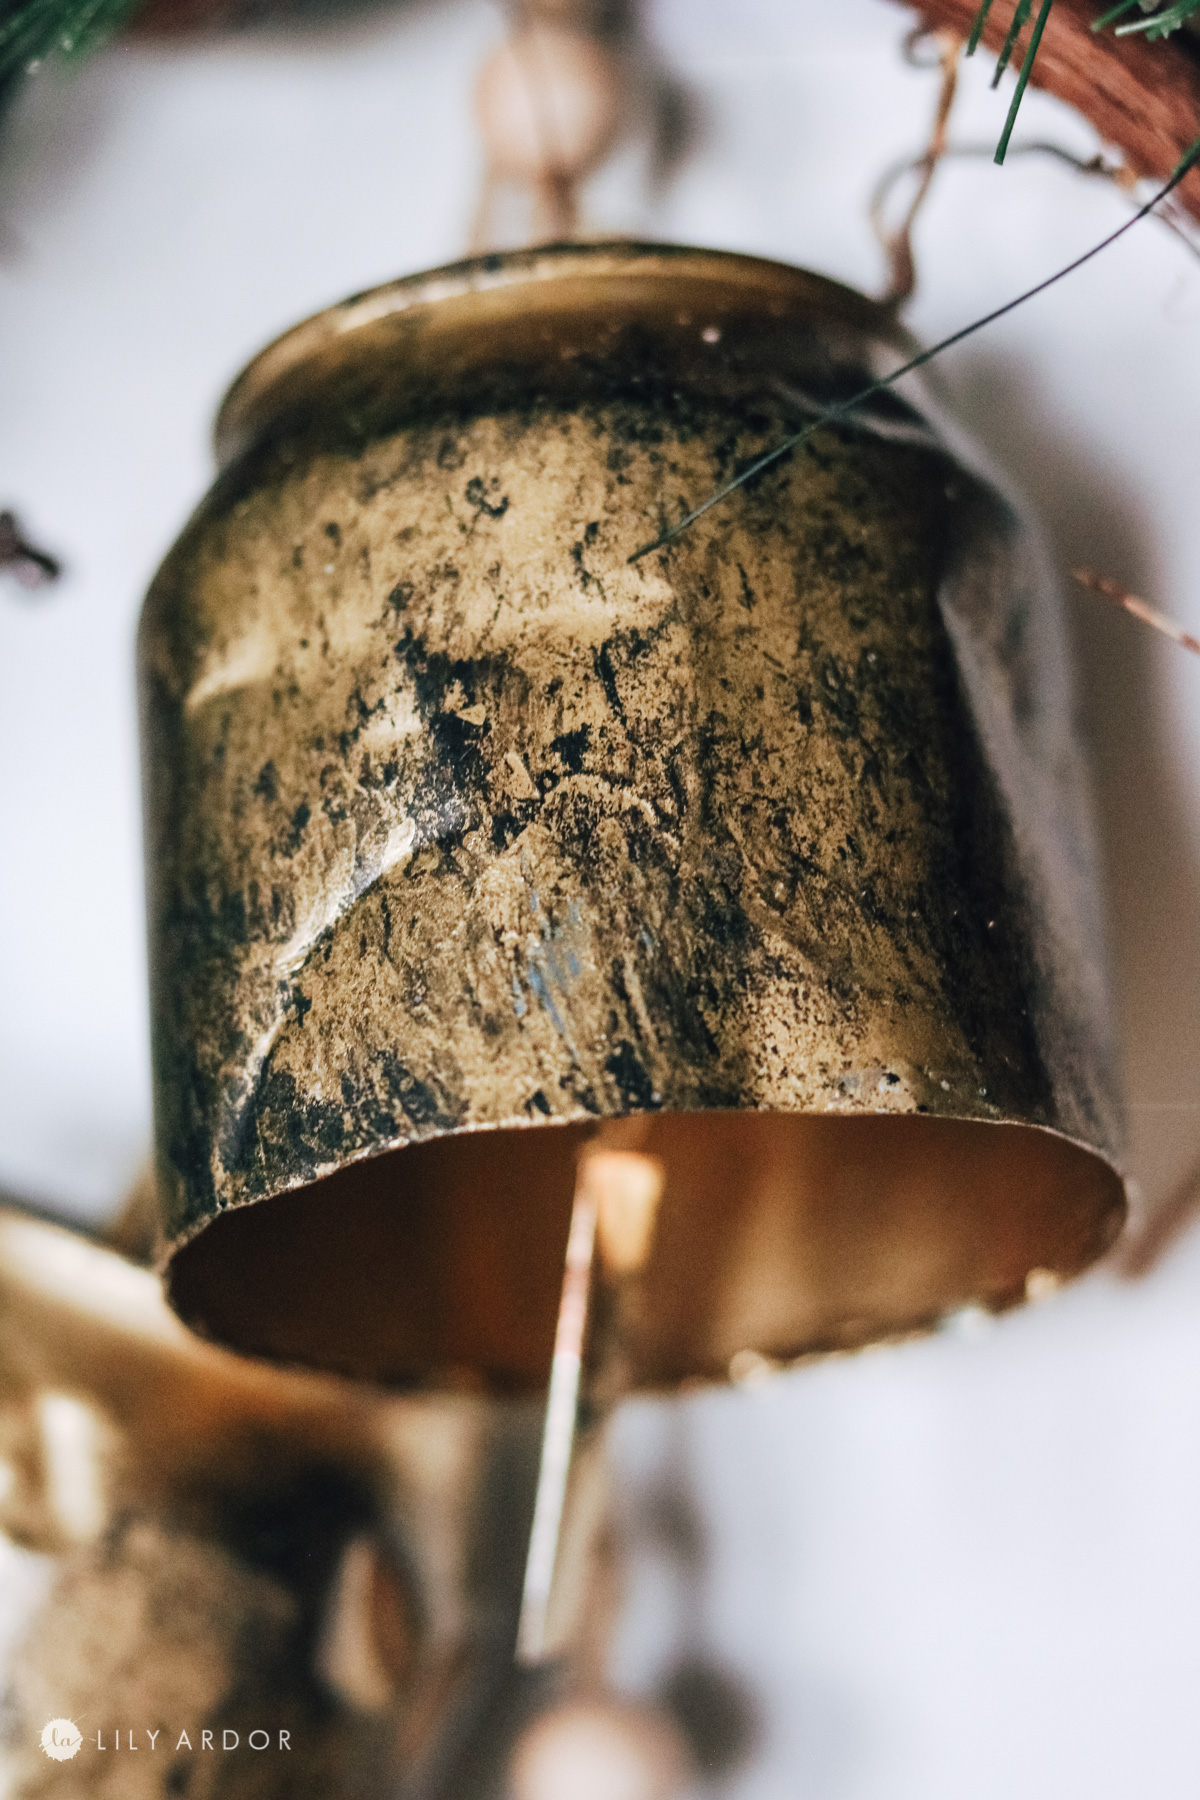
Applying the vintage patina!
This next step can get tricky. I sprayed small bursts of black spray paint onto a plastic bag and rubbed it onto the gold bells. Make sure the gold is dry before doing this. The trick is not to spray too much black spray paint onto the bag because if it gets the gold too wet it will wipe it off. It should be a tacky situation. When applying the black avoid rubbing too much try and tap in the area until you get the desired look. You can try rubbing the black on too. Worst case scenario you can add more gold spray paint on top.
I also noticed this worked better if you don’t shake the black can of spray paint too much it’s almost better if the paint is a little bit translucent. You can than build layers this way and depth in patina.
And the last step that’s left is attaching the tongue of the bell. I just used some hot glue to secure it.
I LOVE how these turned out!! Honestly if I was to make these bells again I would replace the tab on top of the can with a ring of some sort. Wood or metal should work fine. It just bugs me so much. LOL 🙈!
I would remove the tab, than tap the surface and hotglue a ring.
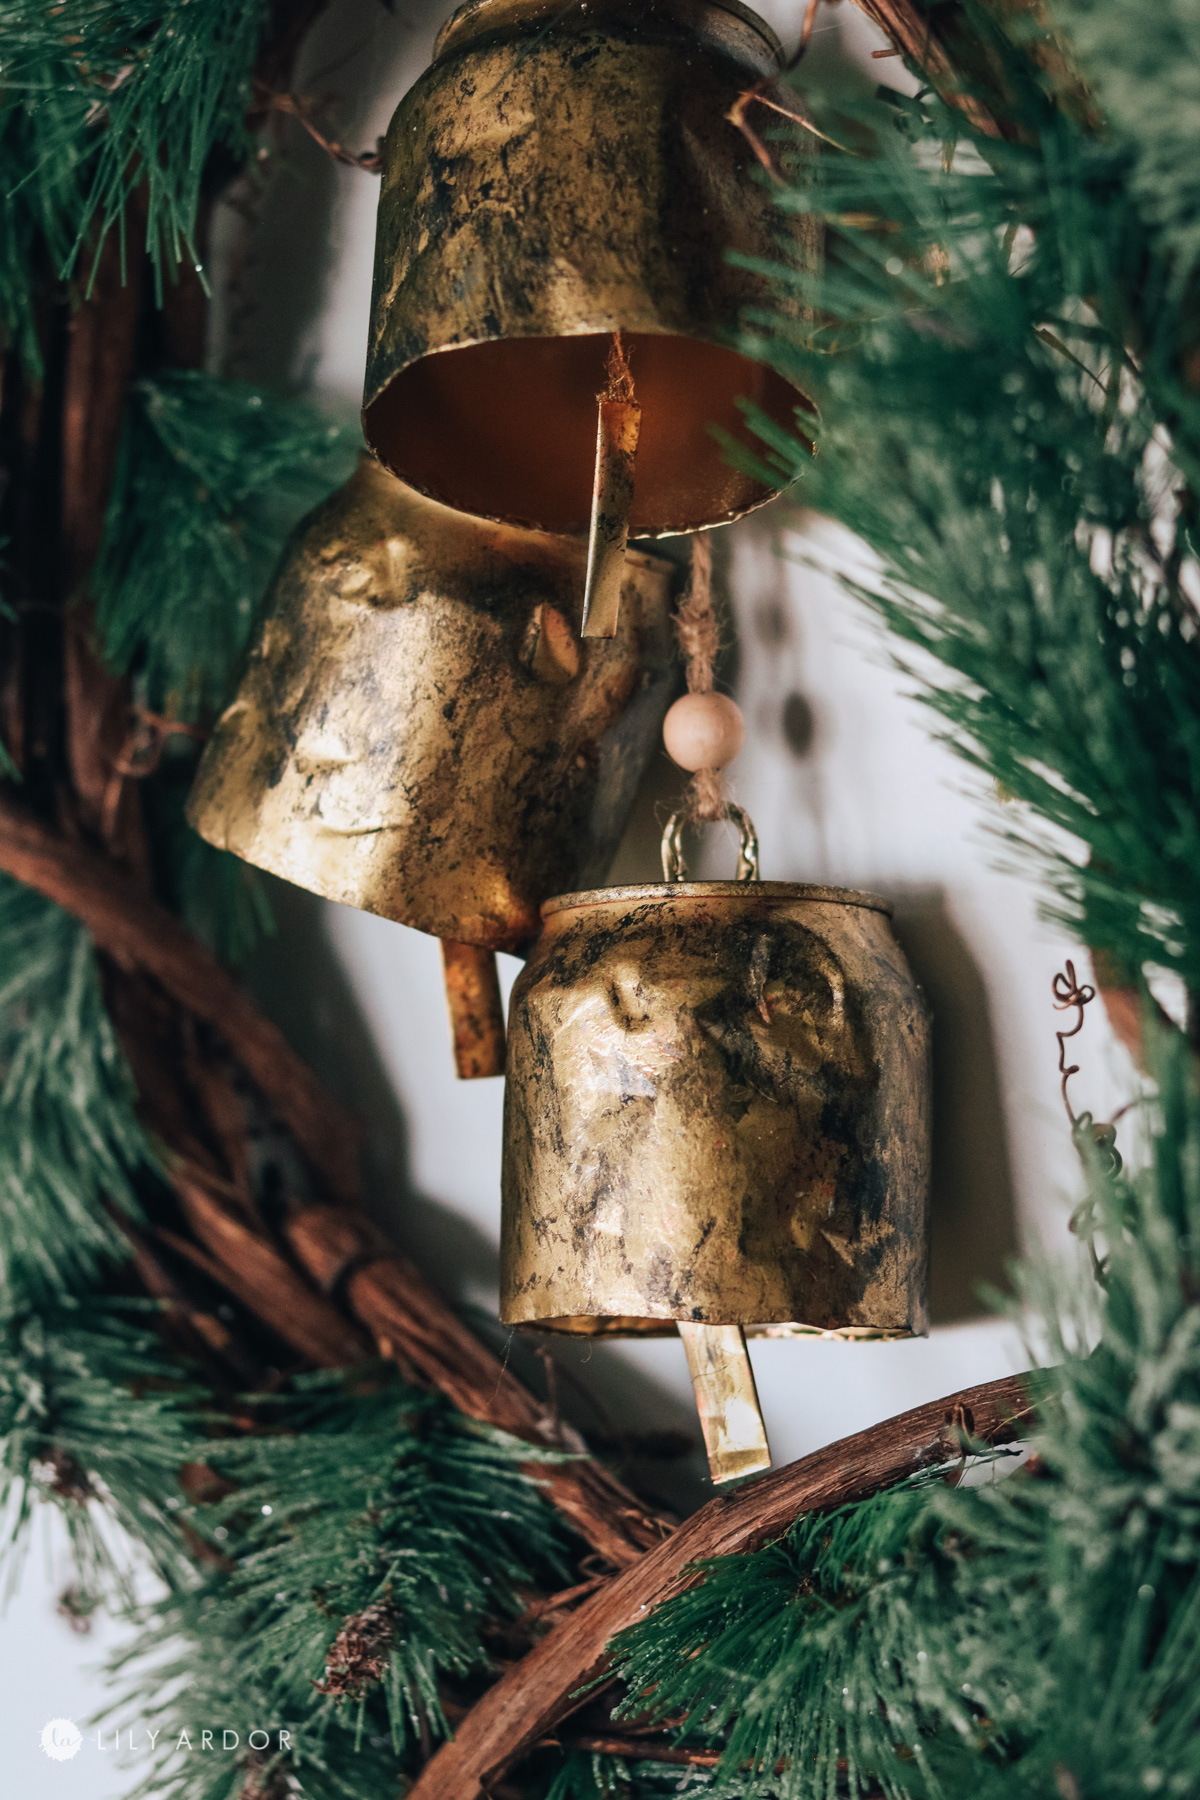
JUST look at that vintage patina! I love this painting technique! It isn’t the first time I’ve tried this. If you missed it on the blog I showed how to age galvanized metal using the same technique here.

I was hoping to hang them on a more simple wreath but this is all I had on hand for now. The bells would look so beautiful on an olive wreath though!

That’s all for now! Thanks for tuning in. I’m sharing 10 Christmas DIYs on Instagram if you want to follow along you can check it out here .
Best Wishes,
Lily
shop supplies here :


HERE’S 15 CHRISTMAS ORNAMENTS YOU CAN MAKE!


YAY!! I’m so glad you liked these!
these are gorgeous and beautifully distressed!! I made them in like 30 minutes…too easy!! Thanks!!
AWE so happy to hear this!
Awesome job! 😍
Thank you Jenny 🙂