Hi Everyone! I hope you are doing well and having fun decorating for Christmas! If you’re looking for non cracking homemade airclay you’ve come to the right place!
Last week I had the opportunity to do some airclay recipe testing. It was a long and tiresome process and I’m not going to lie my kitchen felt like a lab and I pretended to be a mad scientist for a day but, In the end it all payed off. There was one recipe that was a solid winner. It wasn’t just durable it was also the most non-cracking airclay I’ve ever worked with! YEP! there’s a secret ingredient I’ll share with you that allows the clay to dry without cracking. 
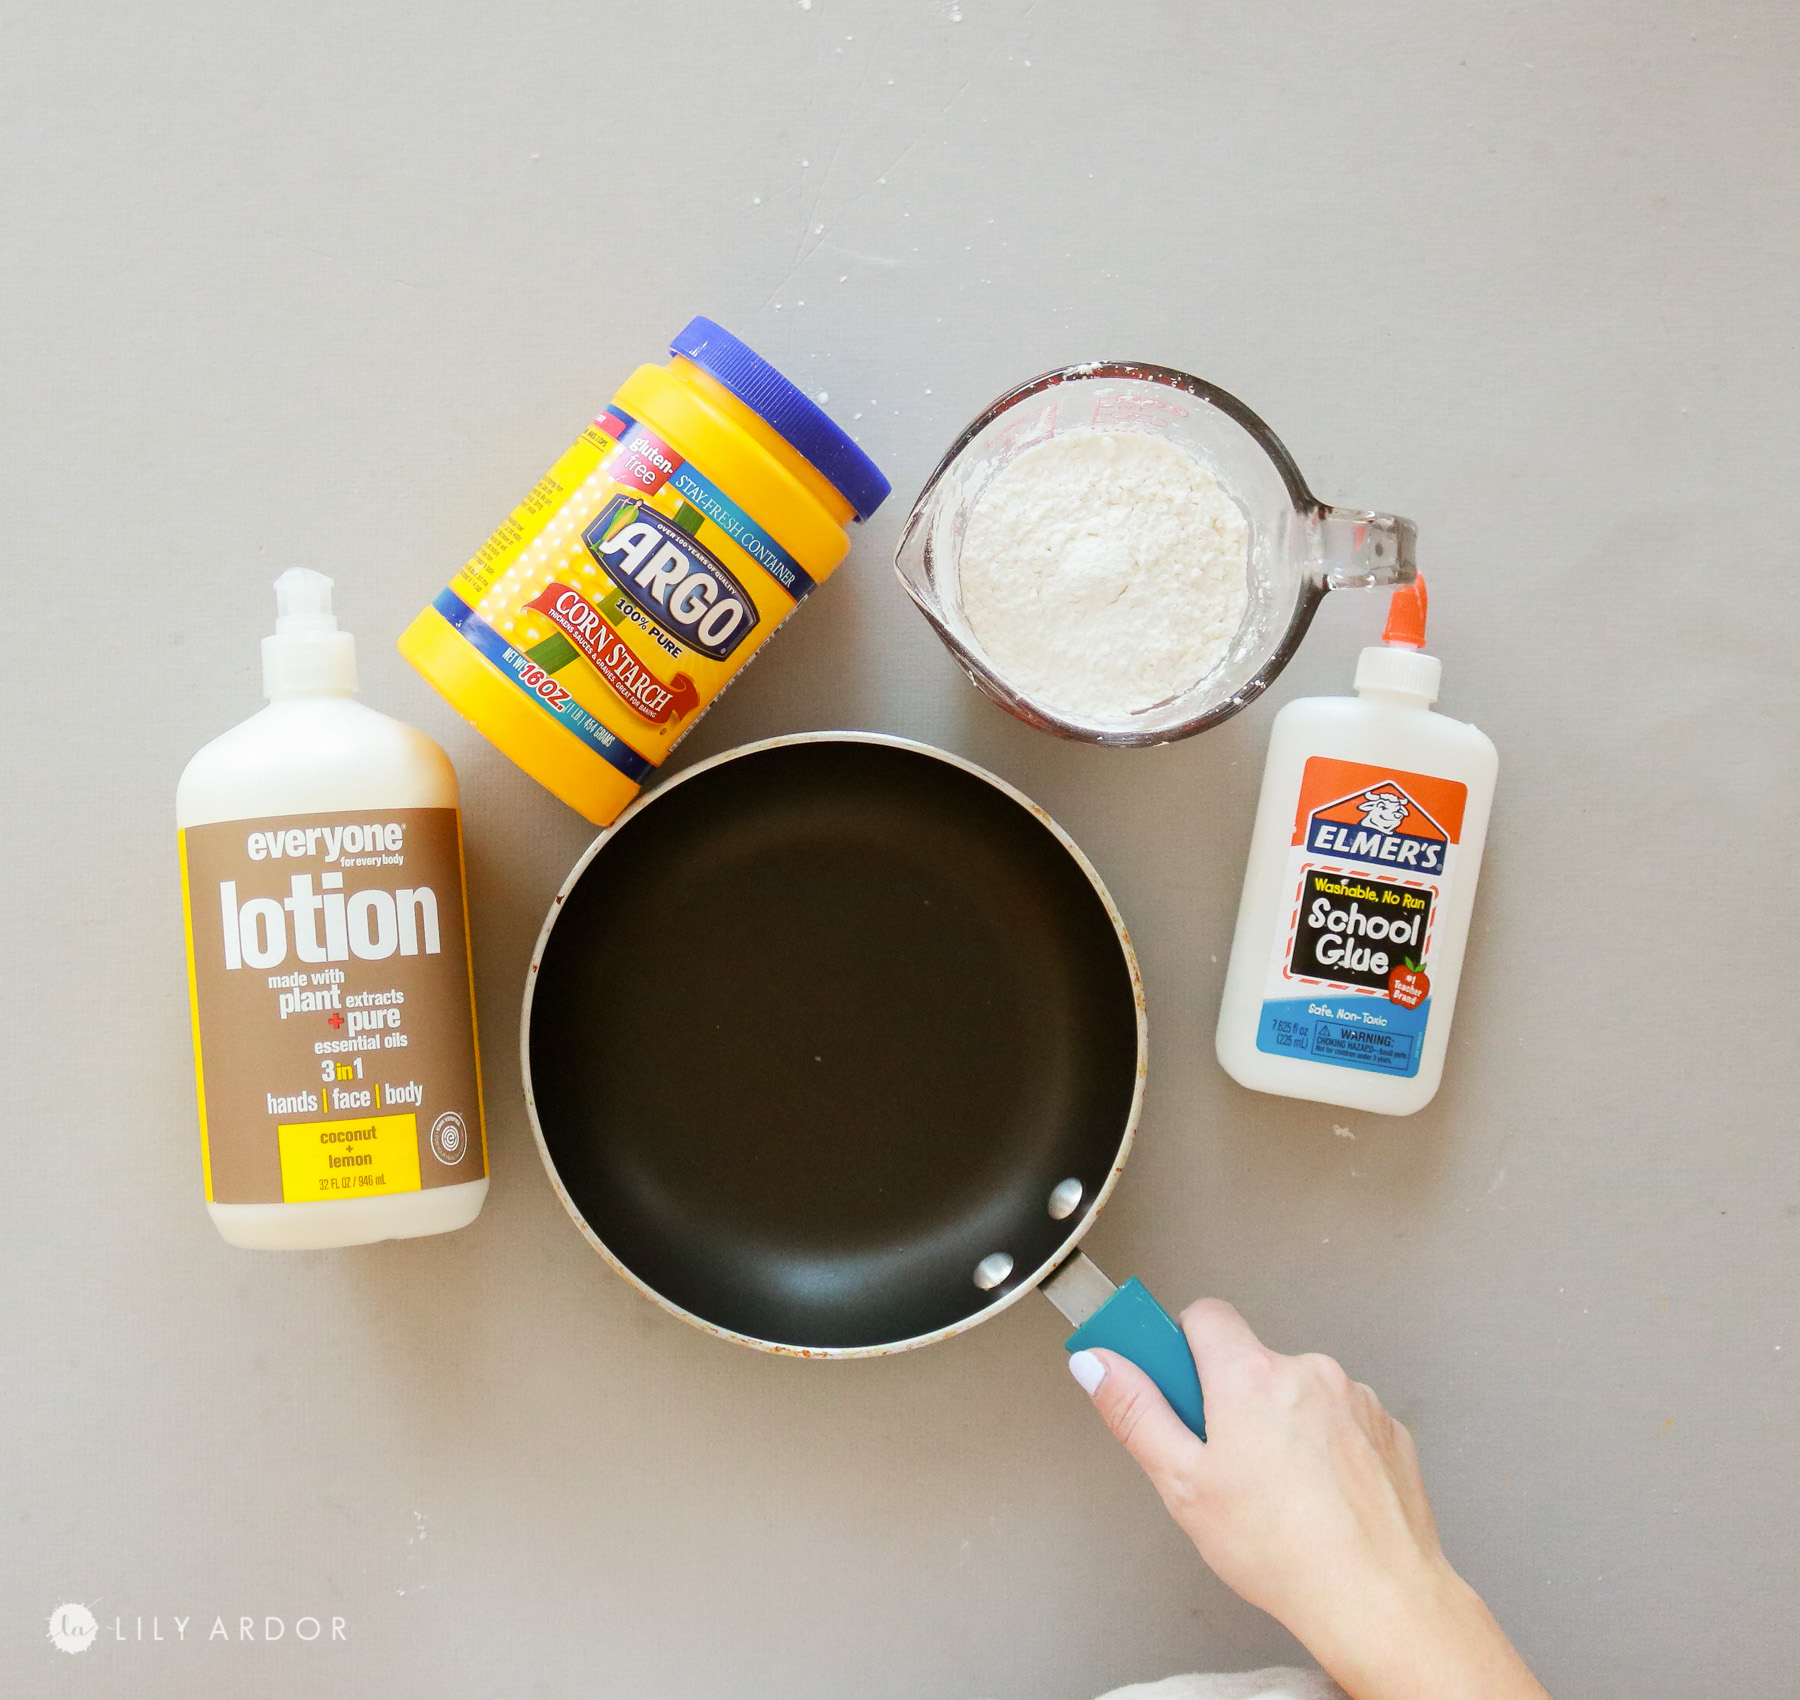
Ingredients:
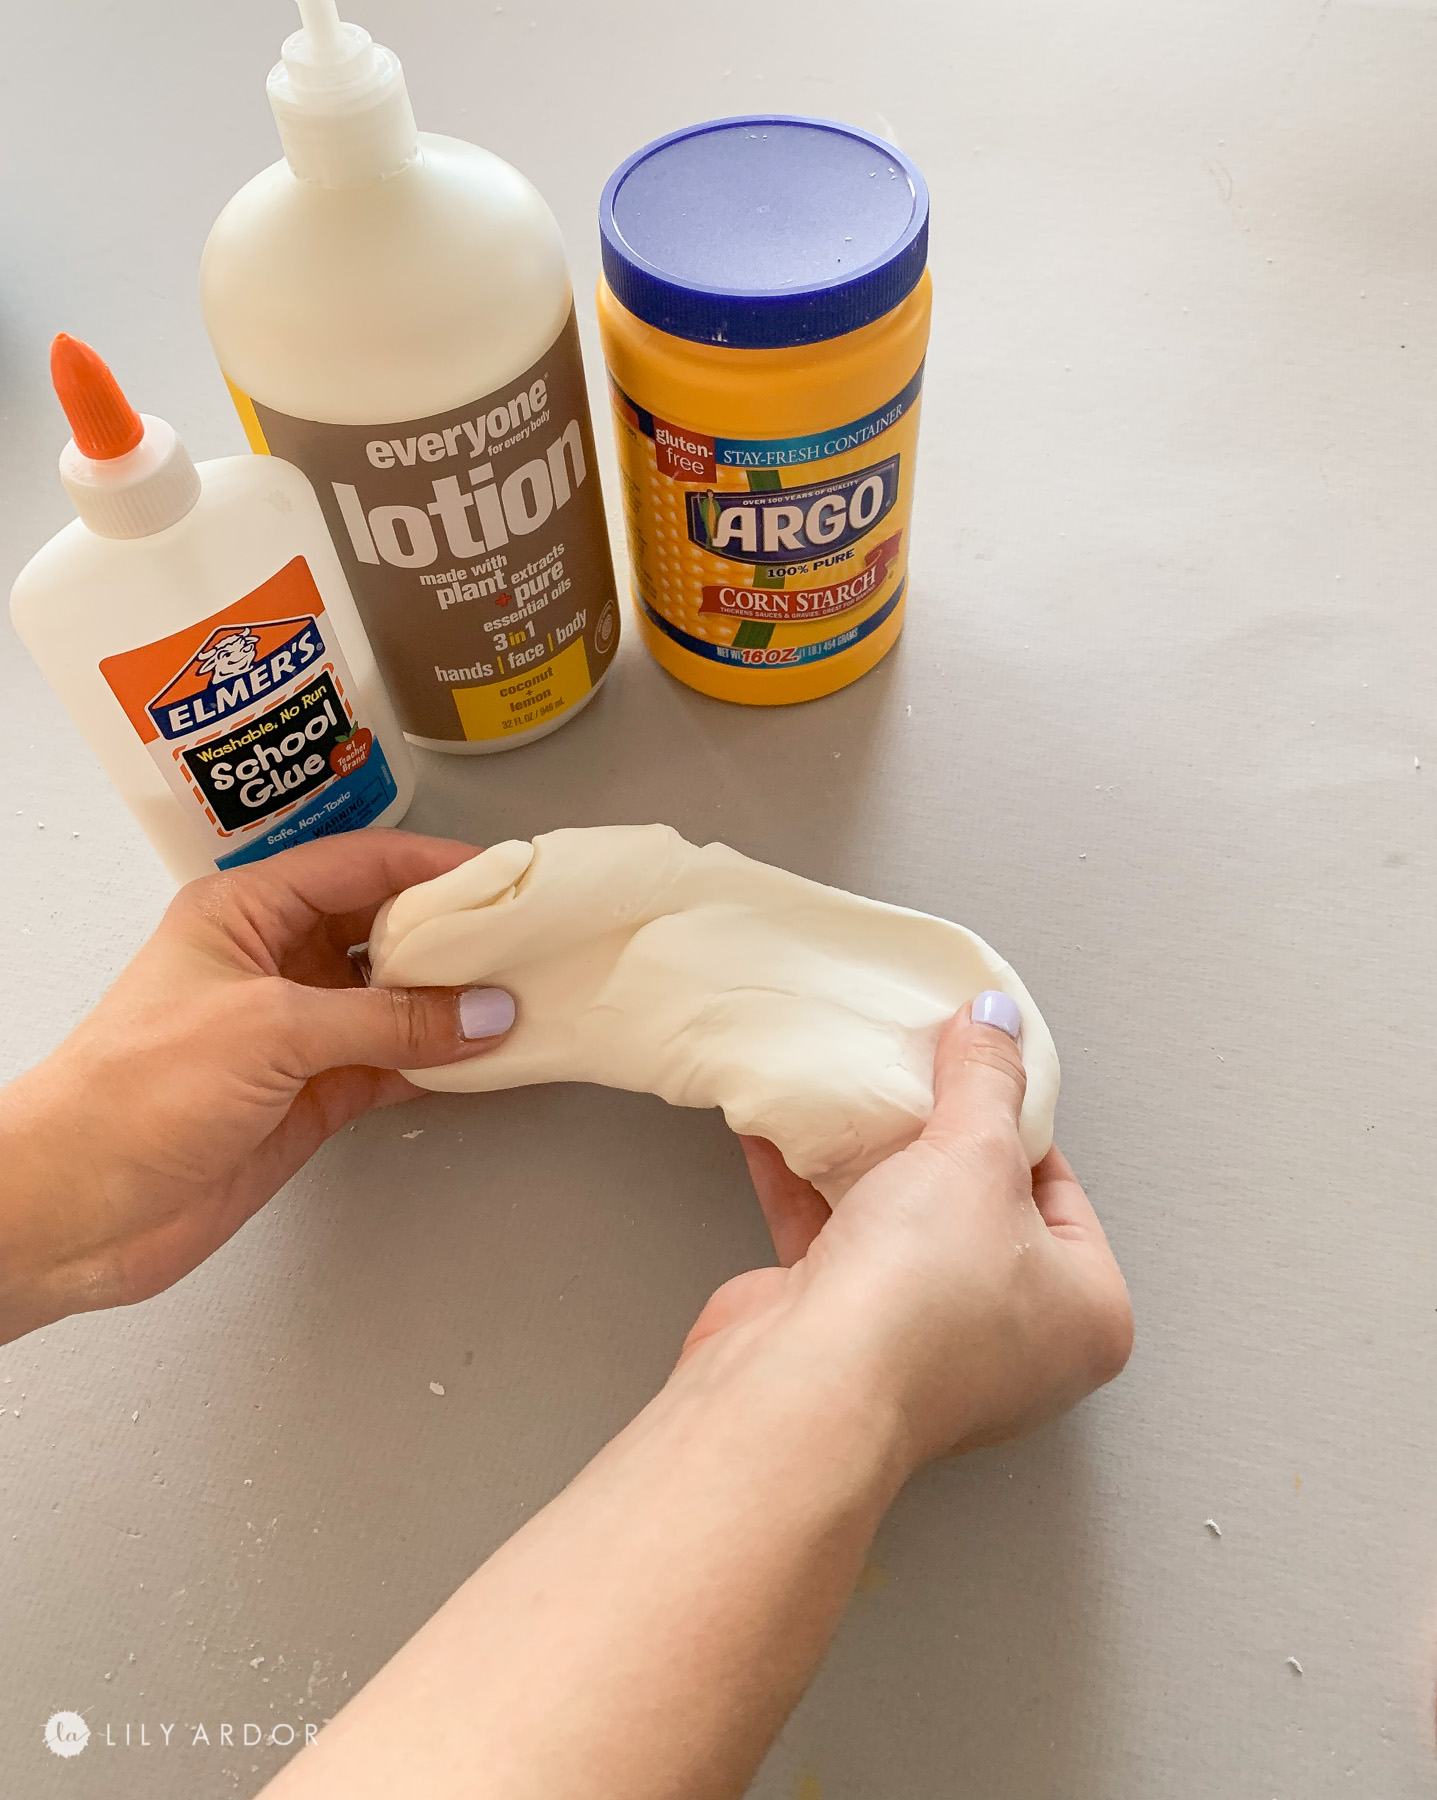
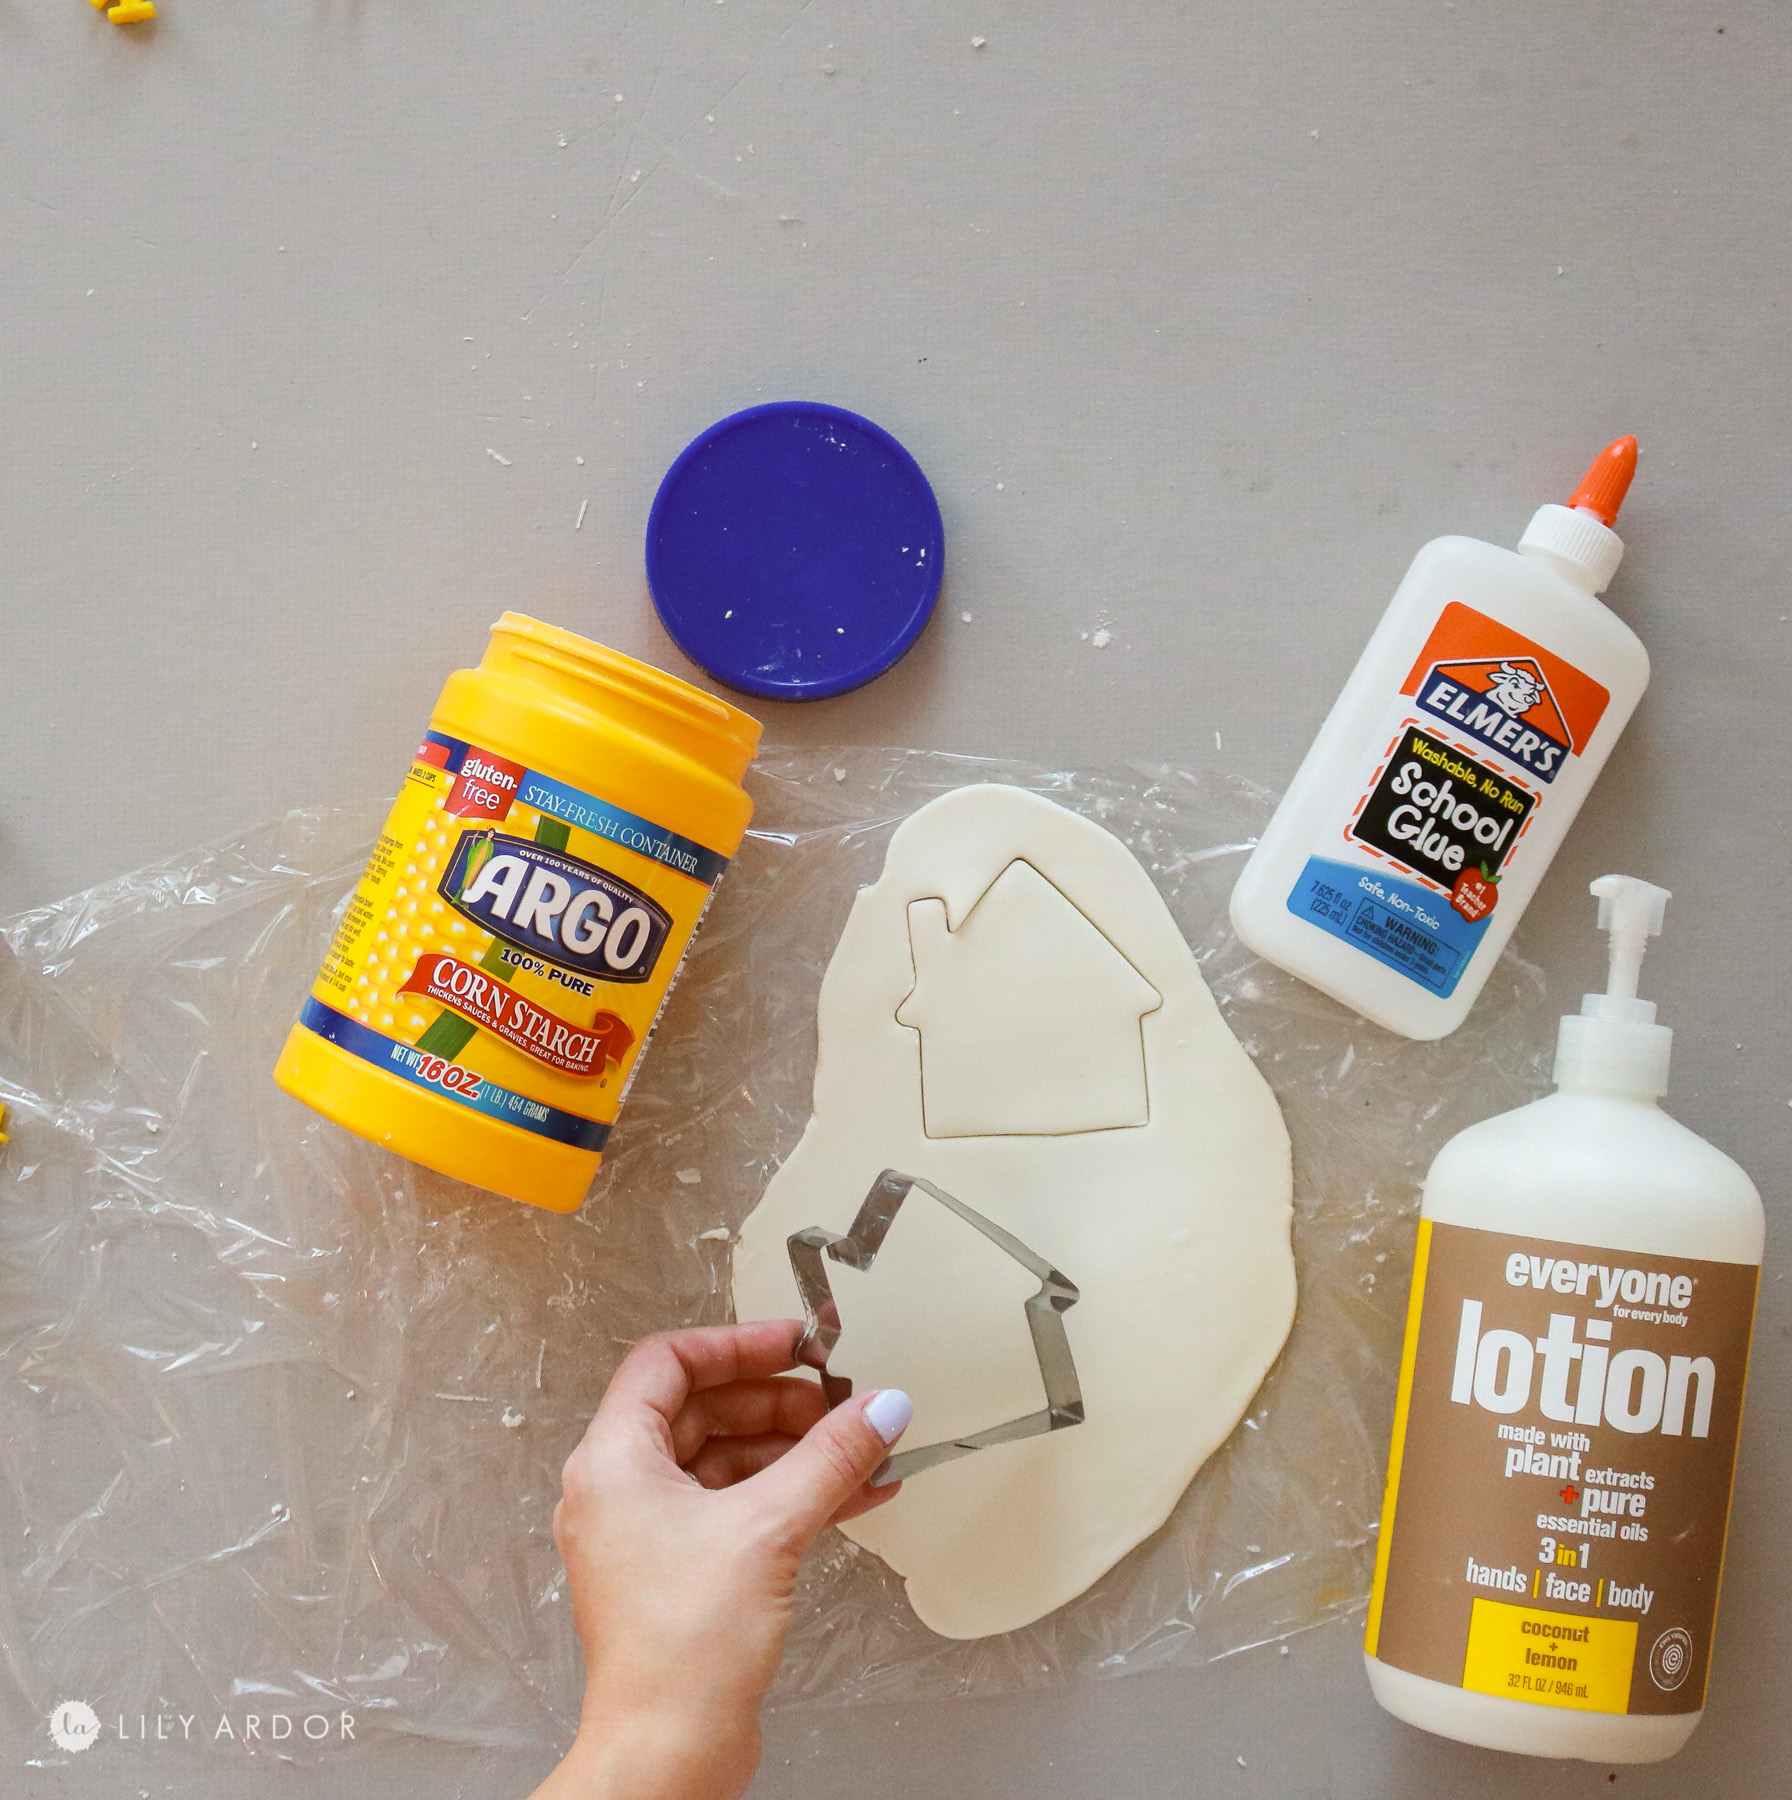
- lotion 2 tbs
- 6 oz Glue
- 1 cup cornstarch
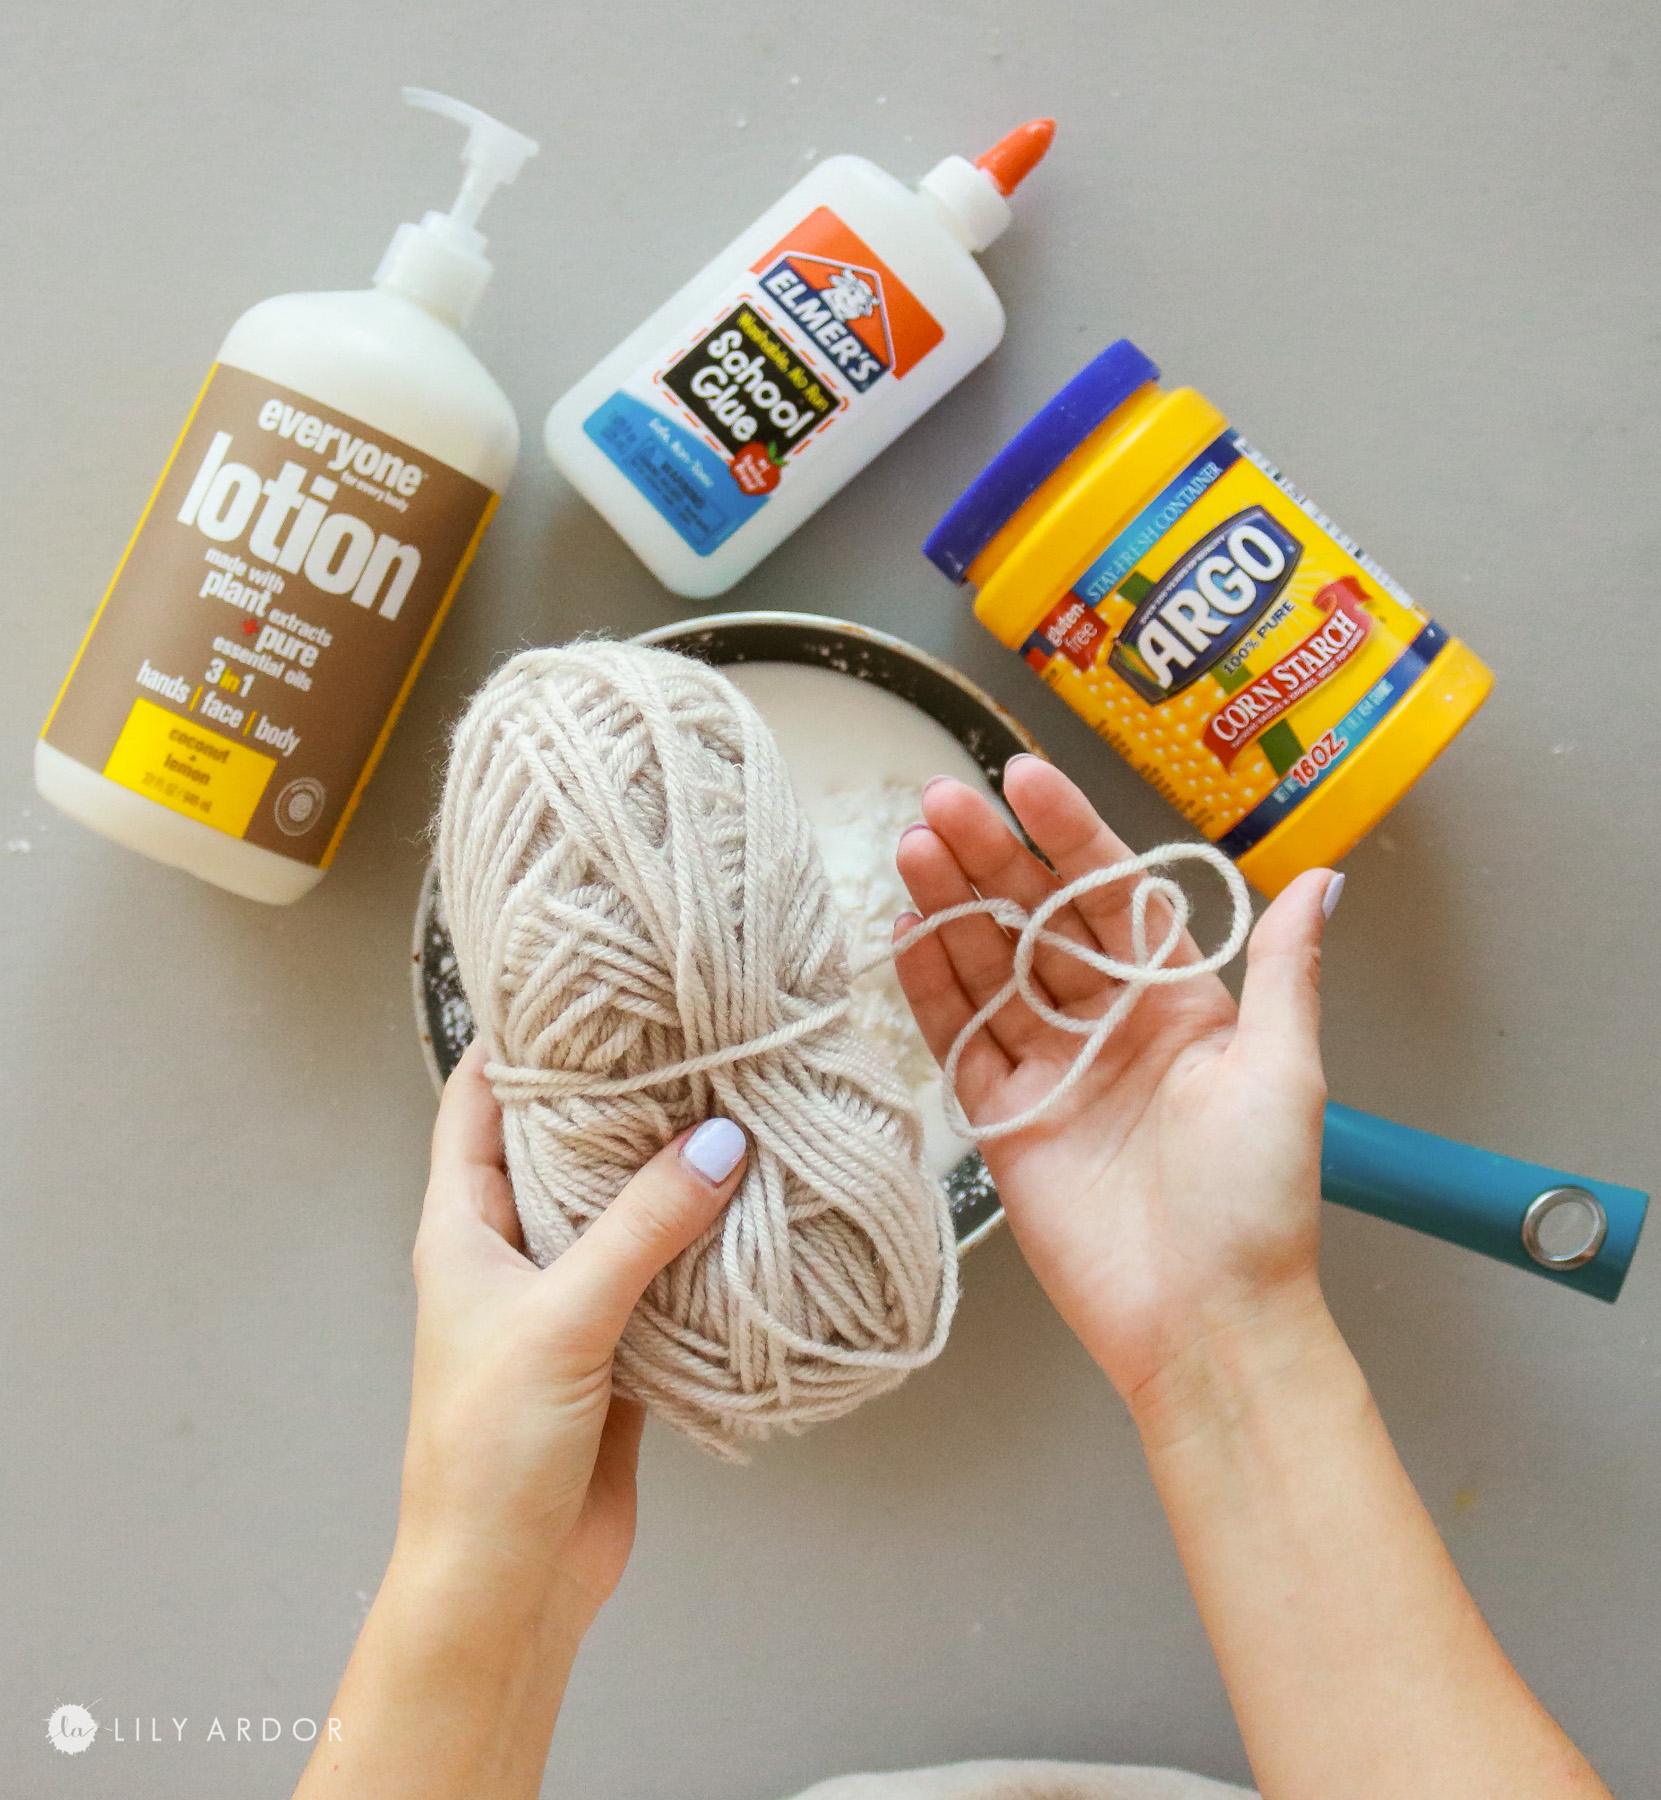
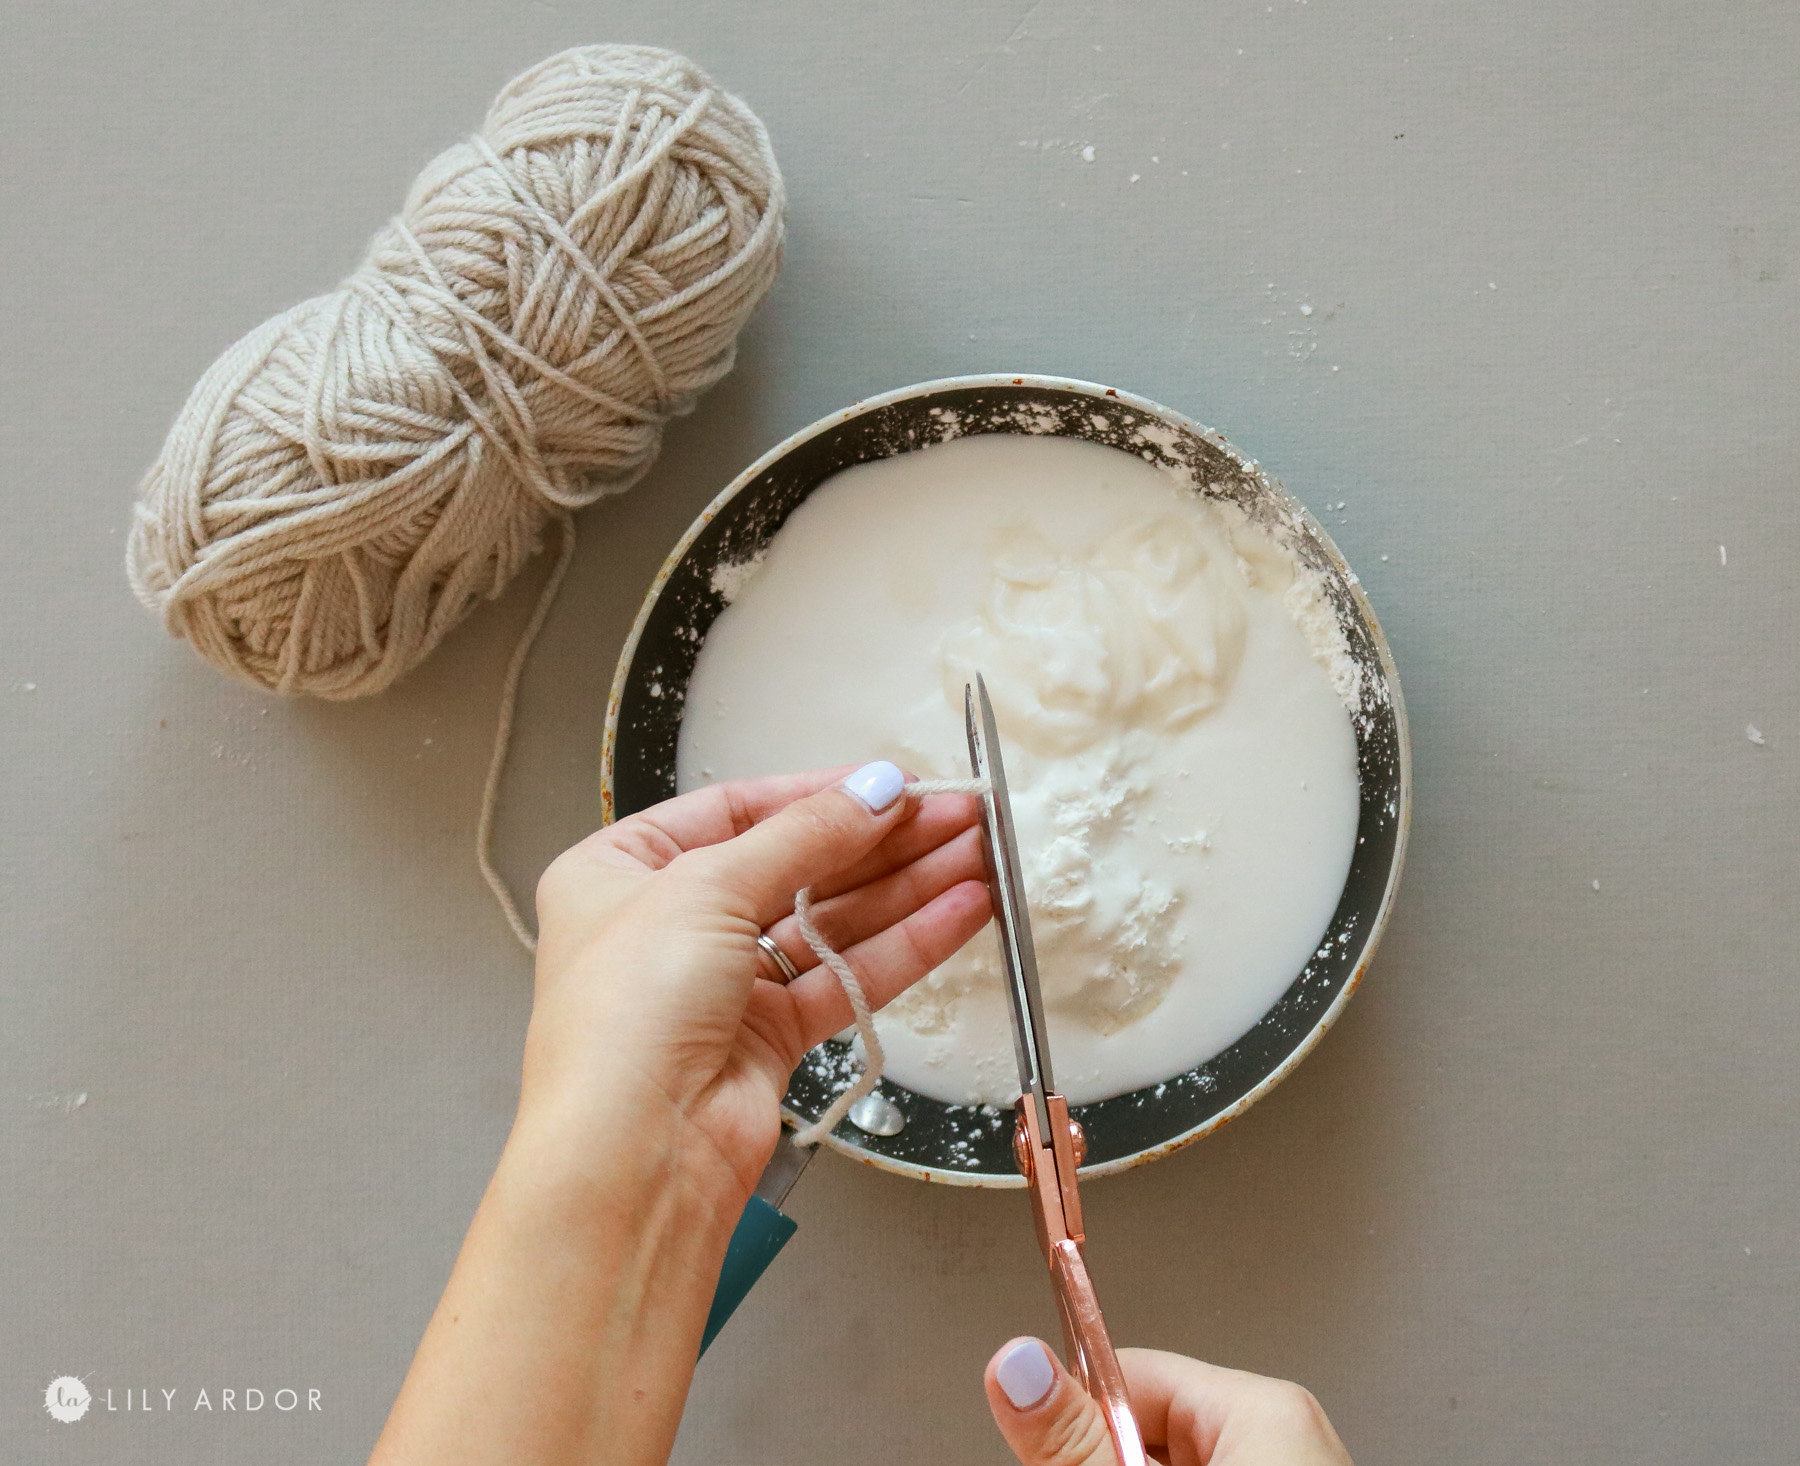
- 7 inches of yarn ( optional)
tools:
- scissors
- pan or pot ( to cook the clay)
- house cookie cutter
- letter press
HOW KEEP YOUR CLAY FROM CRACKING!! ( THE SECRET INGREDIENT )
Honestly I wasn’t planning on inventing my own recipe. It actually wasn’t until tried I a few recipes I found on pinterest that I had tried and didn’t like that I decided there’s got to be a better way to make airclay. My biggest issue was CRACKING! I would make my ornaments and they looked so cute and amazing for two days and then boom on the third day I wake up to giant cracks in the ornaments! Pretty frustrating!! In this recipe the yarn works as a bonding agent and keeps the clay from cracking when it’s drying. Weird, but it’s seems to do the trick. You could probably go without the yarn for smaller projects but, if you plan on making something bigger than 1.5 inches in diameter I would definitely recommend adding the yarn.
WHAT WHY YARN THOUGH!??
You’re probably wondering why yarn!!?? Okay so 🙂 , last fall I made some concrete garden head planters. For this project I used something called shapecrete. It was a moldable concrete mixture and while working with it I noticed little fuzzies throughout the mixture that seemed to work as a bonding agent. I used the most random ingredients I could find around the house to try and come up with a recipe. I mean we’re talking hair conditioner, rubbing alcohol, lotion etc… After all of my failed recipes kept cracking I remembered about the fuzzies in the concrete… The closest thing I could think of to add to this DIY air clay was chopped up yarn 😄. YEP! that’s how the yarn came about.
TIP:
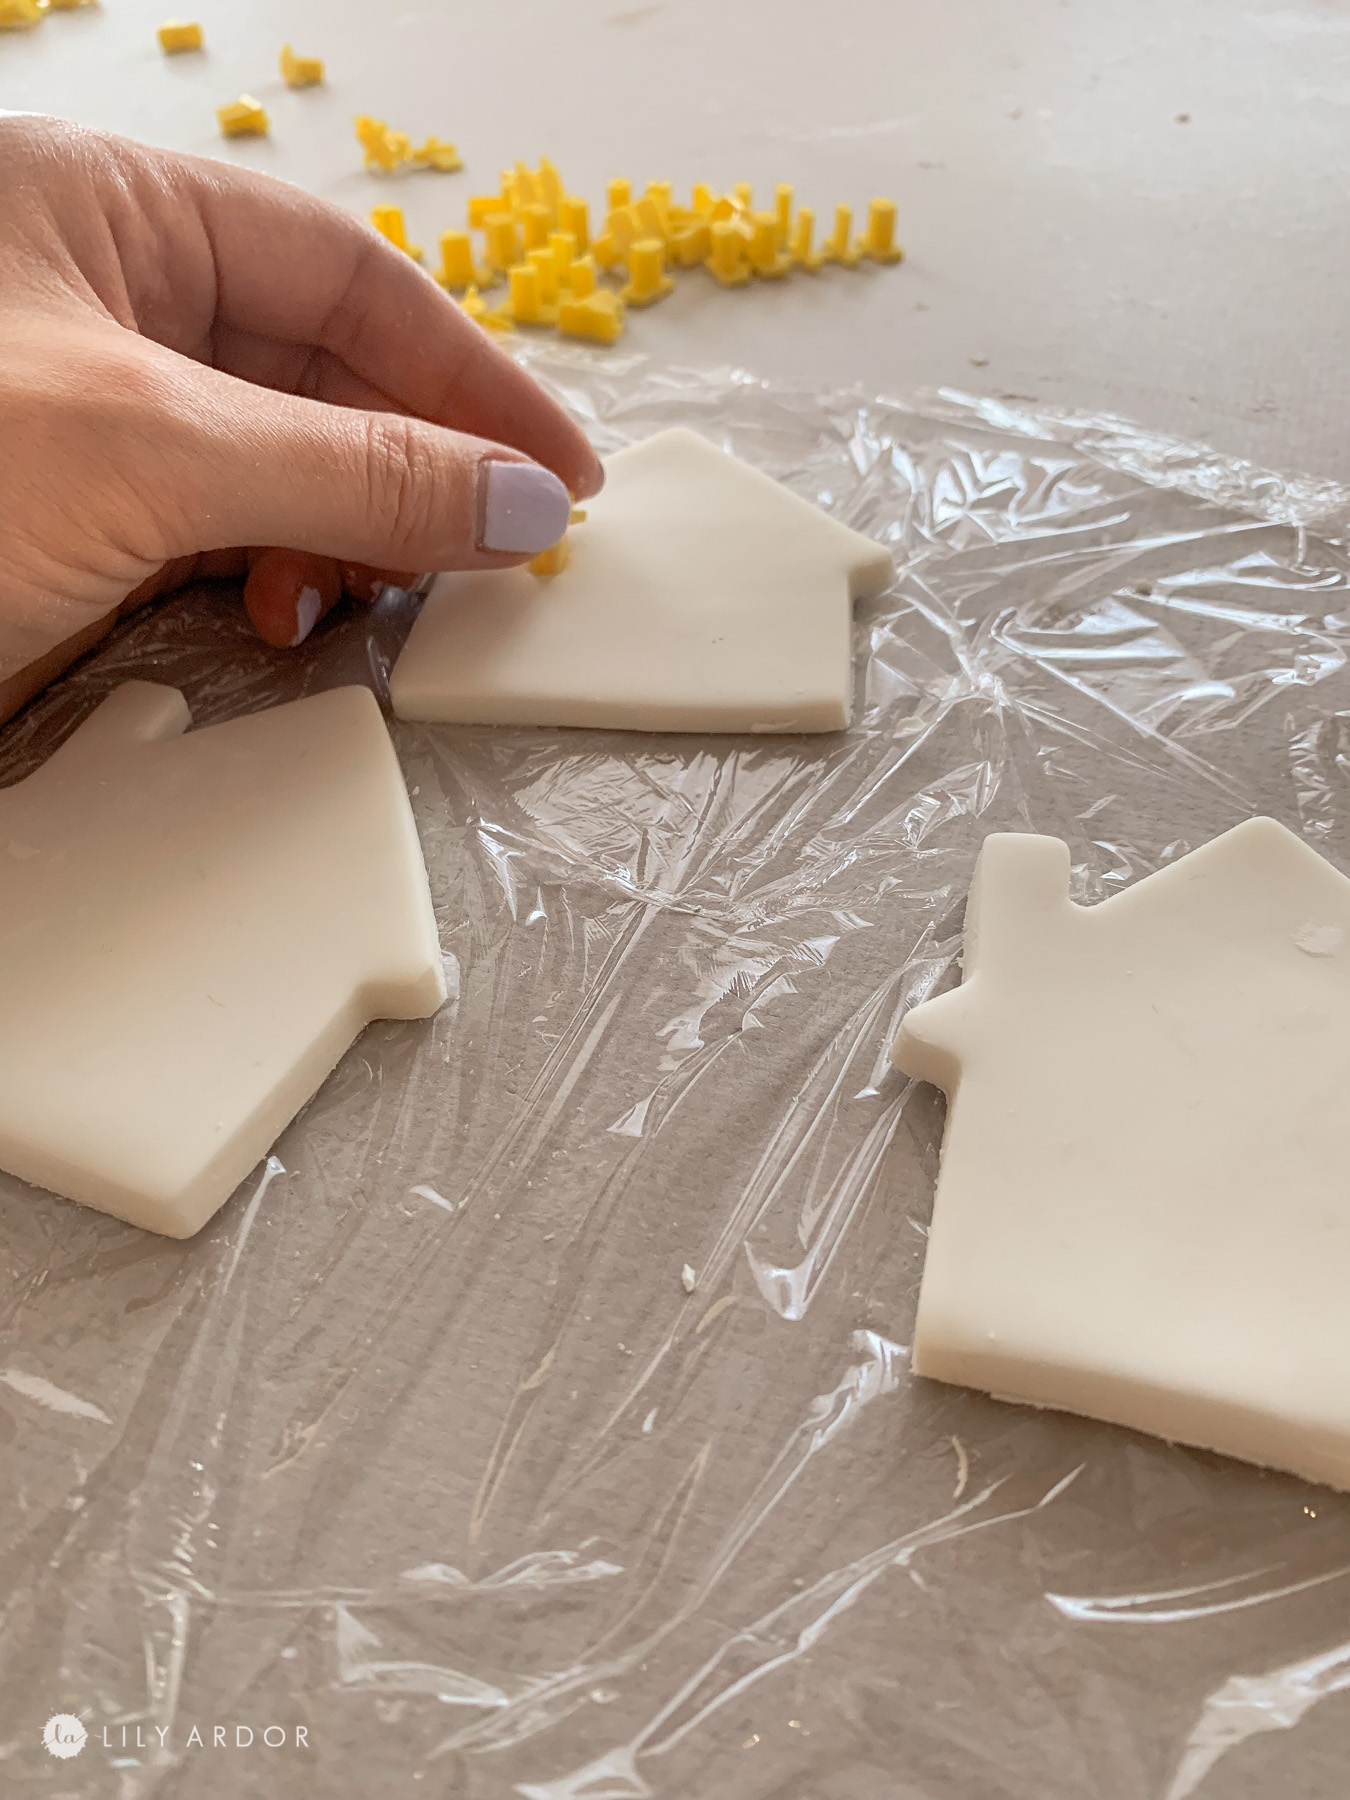
It’s also important to make your ornaments the same thickness throughout. If you have one side that’s thinner then the other it’ll dry faster and pull on the other side. Keep in mind you don’t have to measure the thickness precisely as long as it’s close you should ok. I eyeballed it 😀 !
HOW TO MAKE AIRCLAY IN 5 MINUTES!
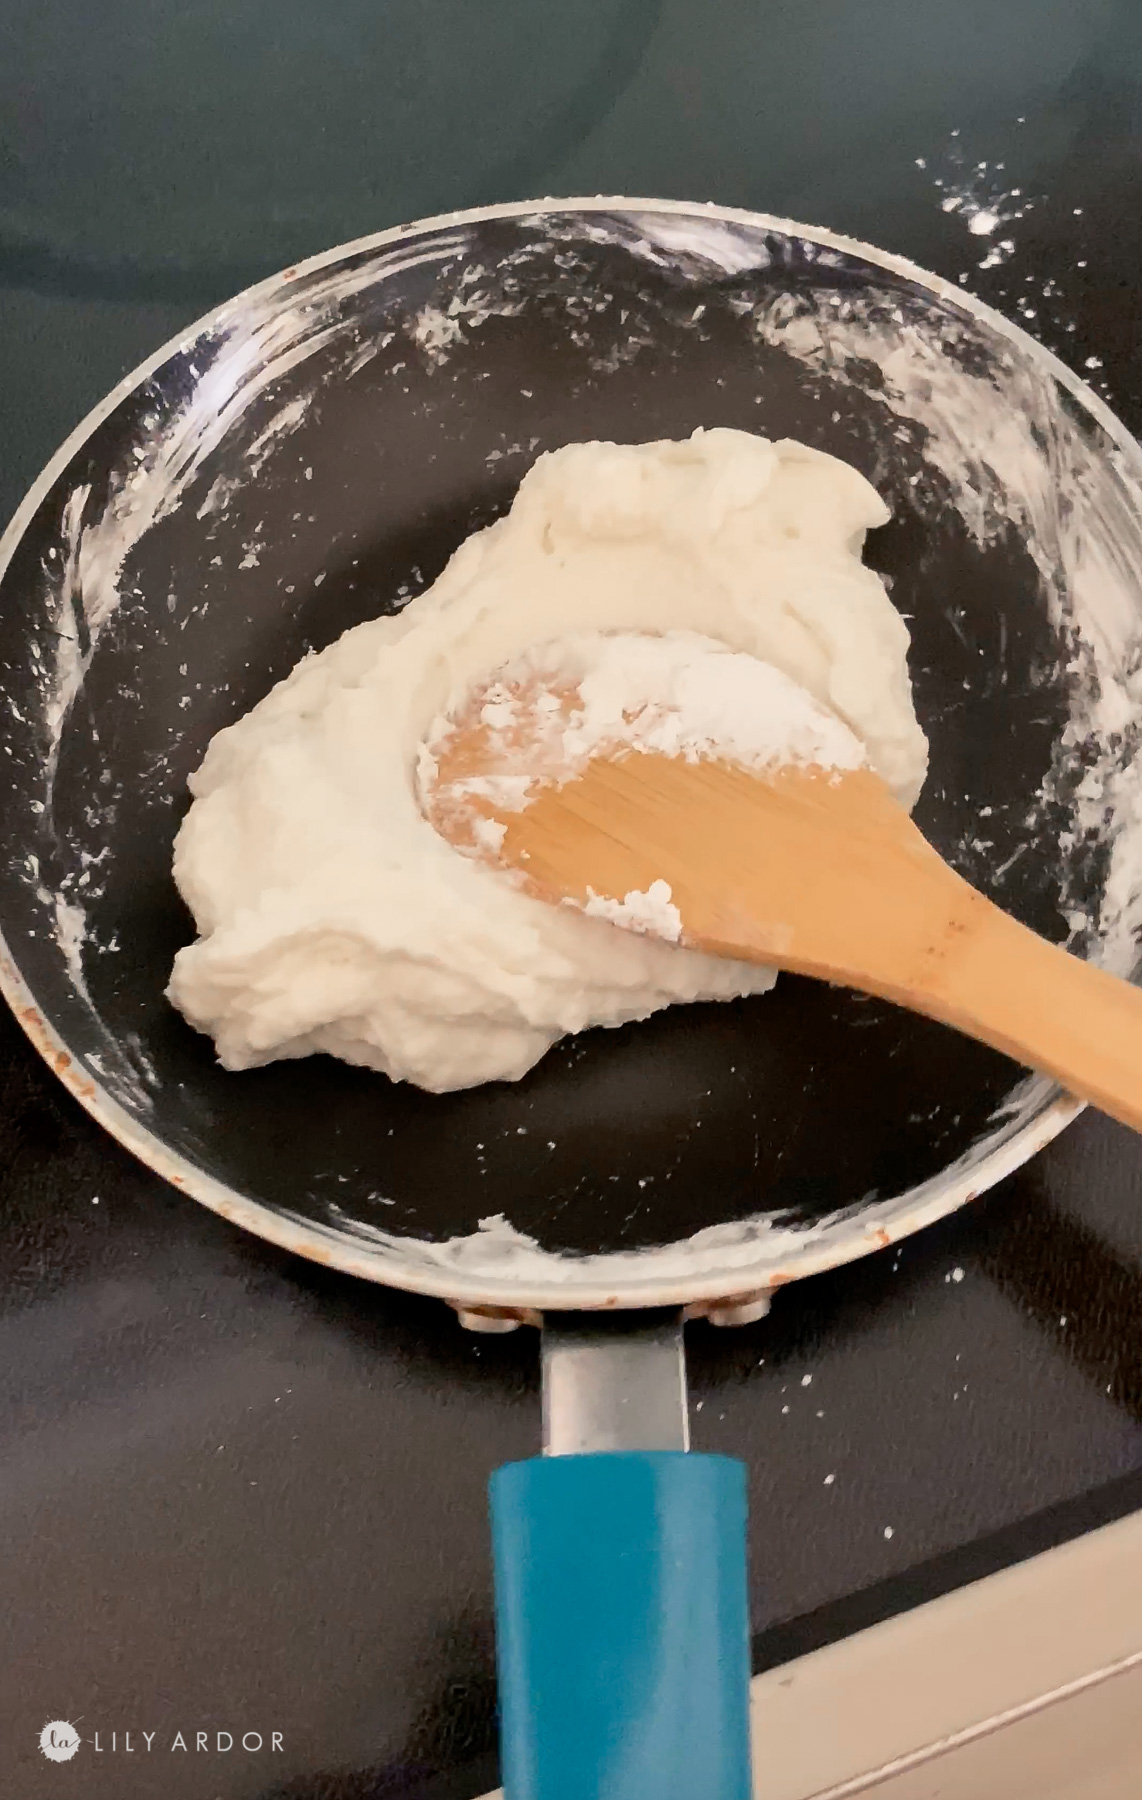
Okay now that we’ve figured out how to keep the clay from cracking let’s make AIRCLAY! This Airclay only takes 5 minutes to make! All you have to do is add all the ingredients into a pan/pot. Don’t forget to chop up some yarn into it if you want minimal cracking and cook the mixture. I cooked mine on medium heat for about 3 minutes stirring the whole time. It should become one big chunk that’s when you’ll know it’s ready.
Keep in mind a little yarn goes a long way. 7 inches is more than enough. If you add too much yarn you won’t be able to easily punch out shapes with you’re cookie cutter. It’ll be a hairy mess!
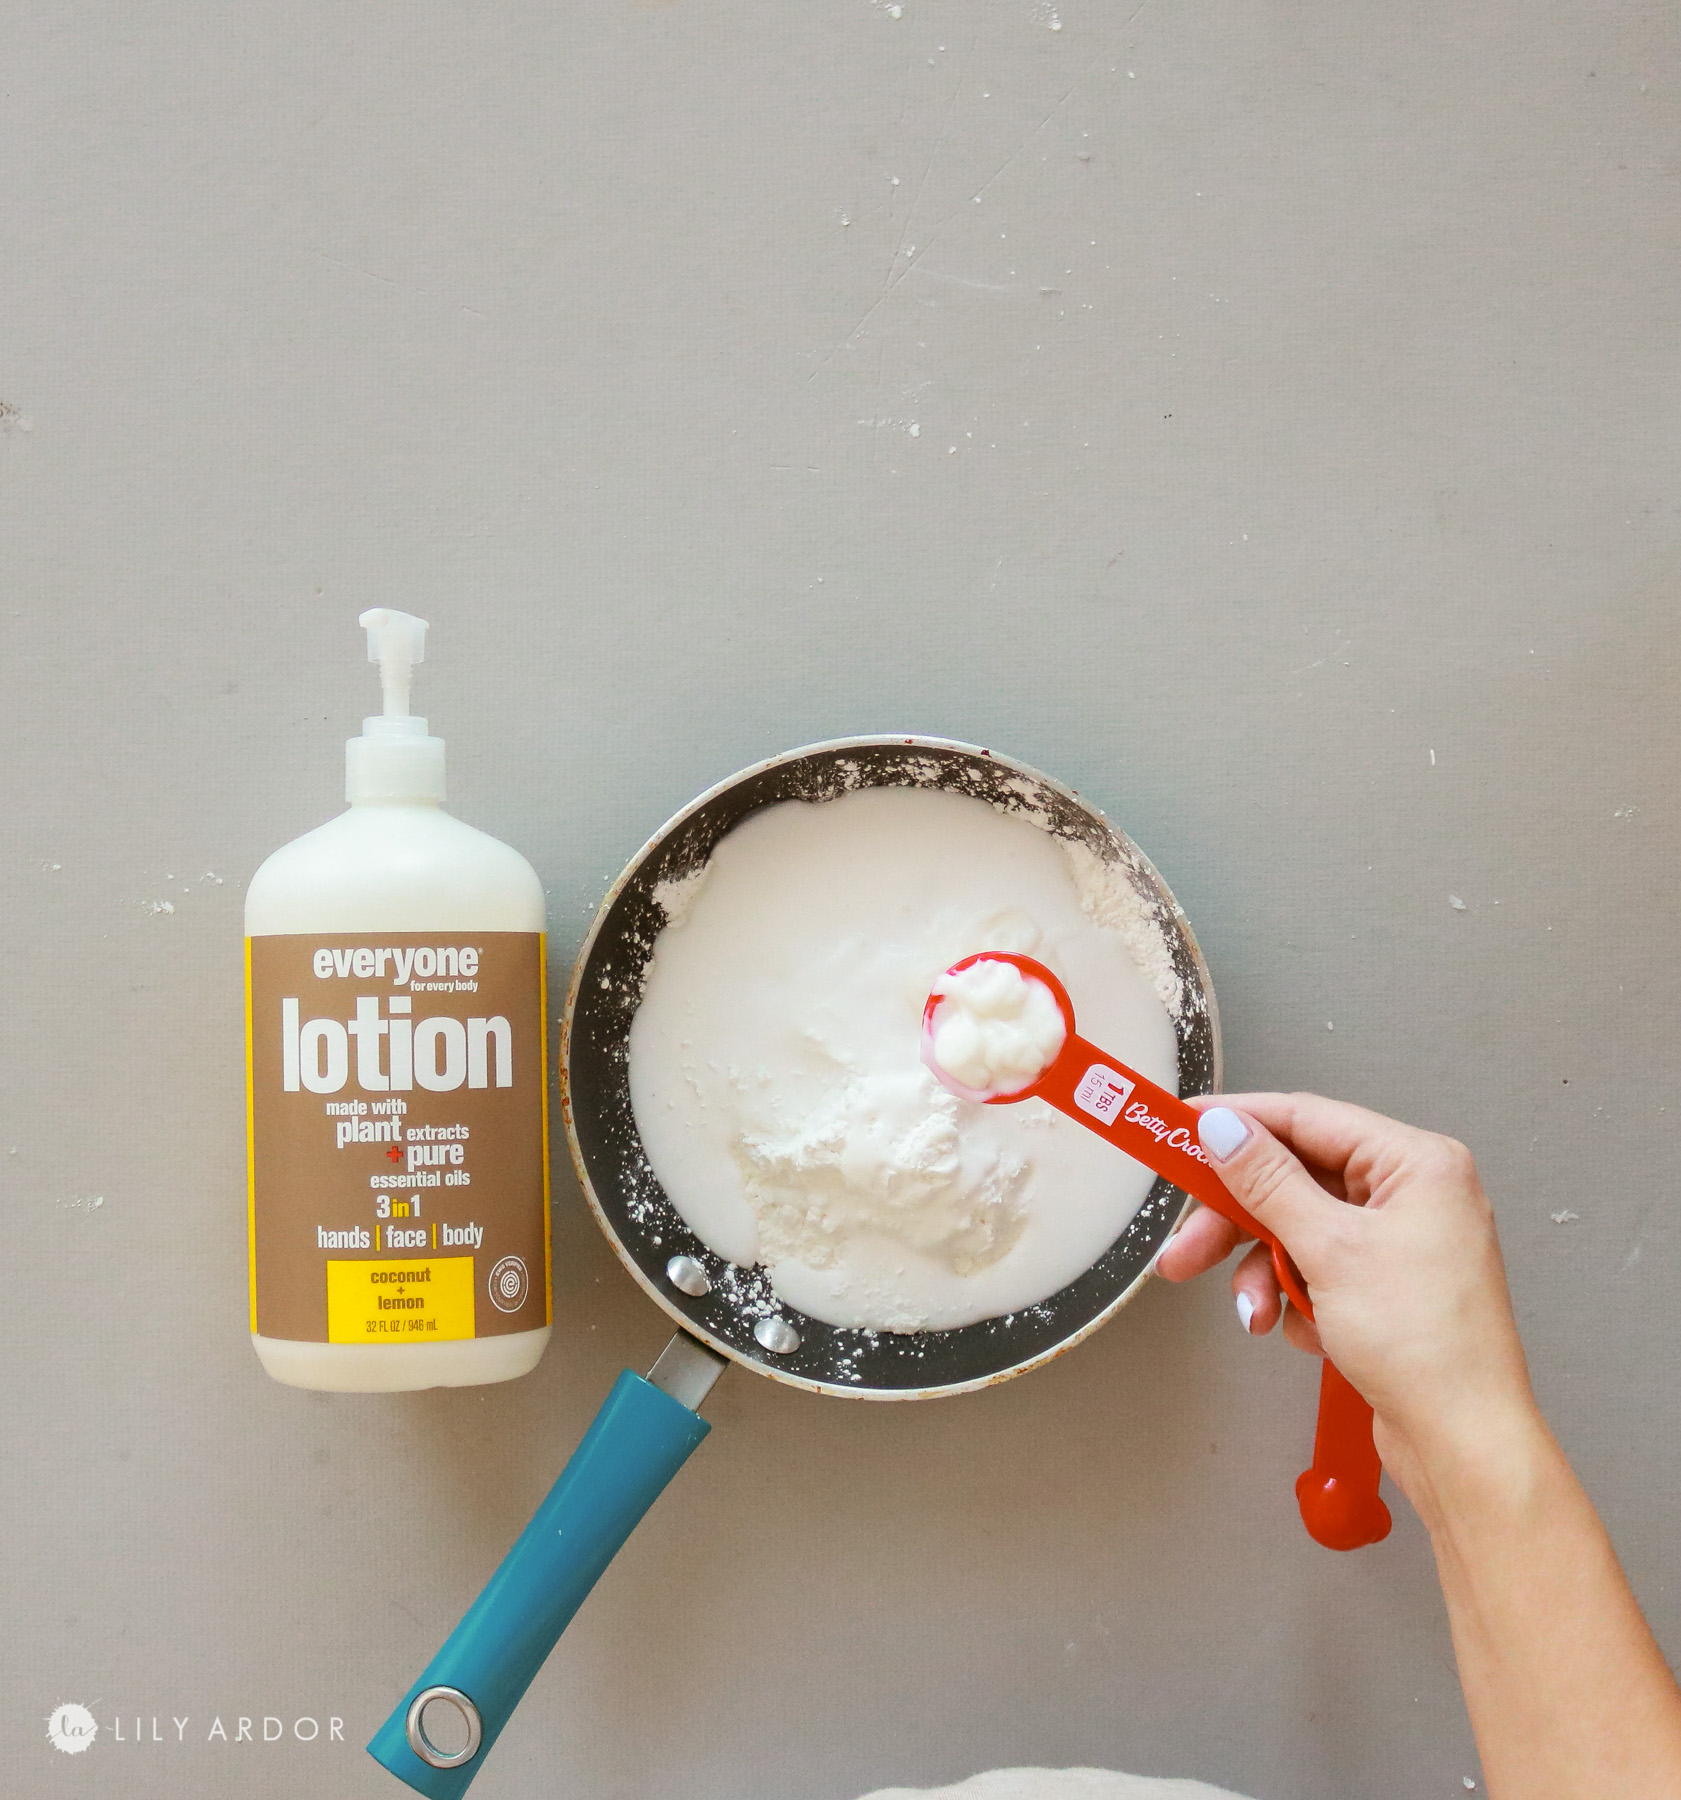
Here’s what it should look like when it’s ready. I let it cool off just enough to be able to touch it and kneaded it with about 2 tbs of cornstarch so it’s not sticky. Go easy on the cornstarch it will turn a bit hard if you add to much.
TIP FOR CLAY DRYING TOO FAST:
This airclay dries pretty fast. Keep the airclay you aren’t working with wrapped up in saran wrap. If your clay feels too dry add a tsp of glue and knead it again.
TIP FOR STORING IN FRIDGE :
You can probably store this clay in your fridge for at least 2 weeks the only thing I would recommend doing if you plan on doing this is adding some kind of preservative to keep it from molding. 1 tsp of lemon juice or vinegar should work perfect as a preservative.
What’s the texture of the airclay!
I’m always curious to know if clay is hard to work with. Good NEWS this one is super easy to work with! It’s not too sticky and once mixed doesn’t leave too much residue on your hands while working with it. It’s also SUPER stretchy and almost feels like slime clay without the goooey part LOL! Never heard of such a thing but, that’s what it made me think of. It’s sso soft and if you make it too dense you can always fix it with a bit of glue kneaded back in there.
WHY DOES IT NEED LOTION!
I also think the lotion played a big roll in keeping this clay from cracking. One of the recipes I had tried consisted mostly of all glue and cornstarch. The glue is a great bonding agent however it seemed to almost create like a plastic shell once the clay dried which isn’t a bad thing but, it caused terrible cracking. Almost like it sucked out all the moisture especially at the end once it was dry. It also felt like I was working with a melted piece of rubber shoe or something. Not really easy to work with. The lotion adds moisture and balances out the recipe in my opinion. It instantly makes the clay stretchy soft and easy to work with.
DIY handmade clay ornaments!
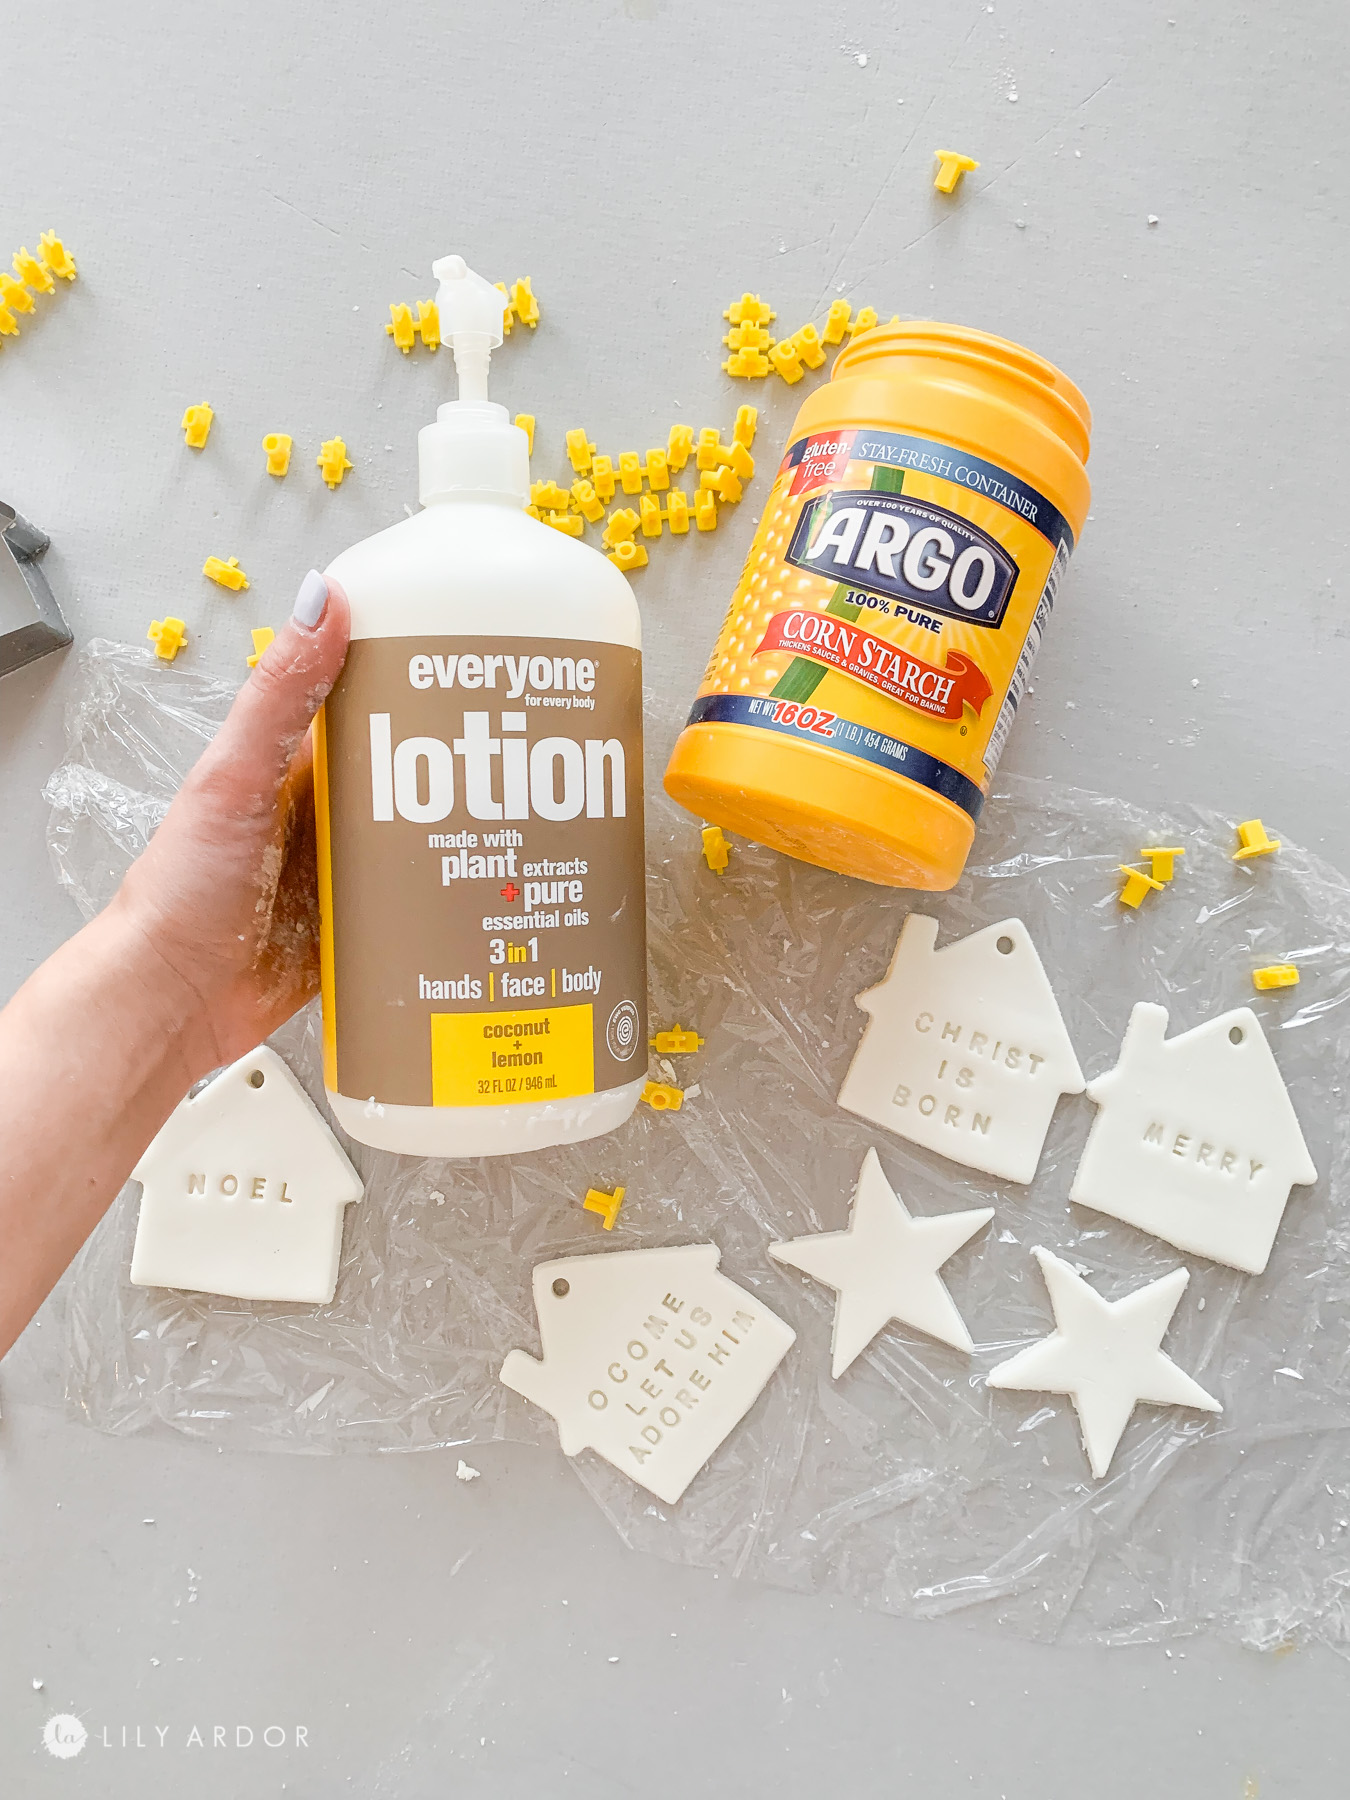
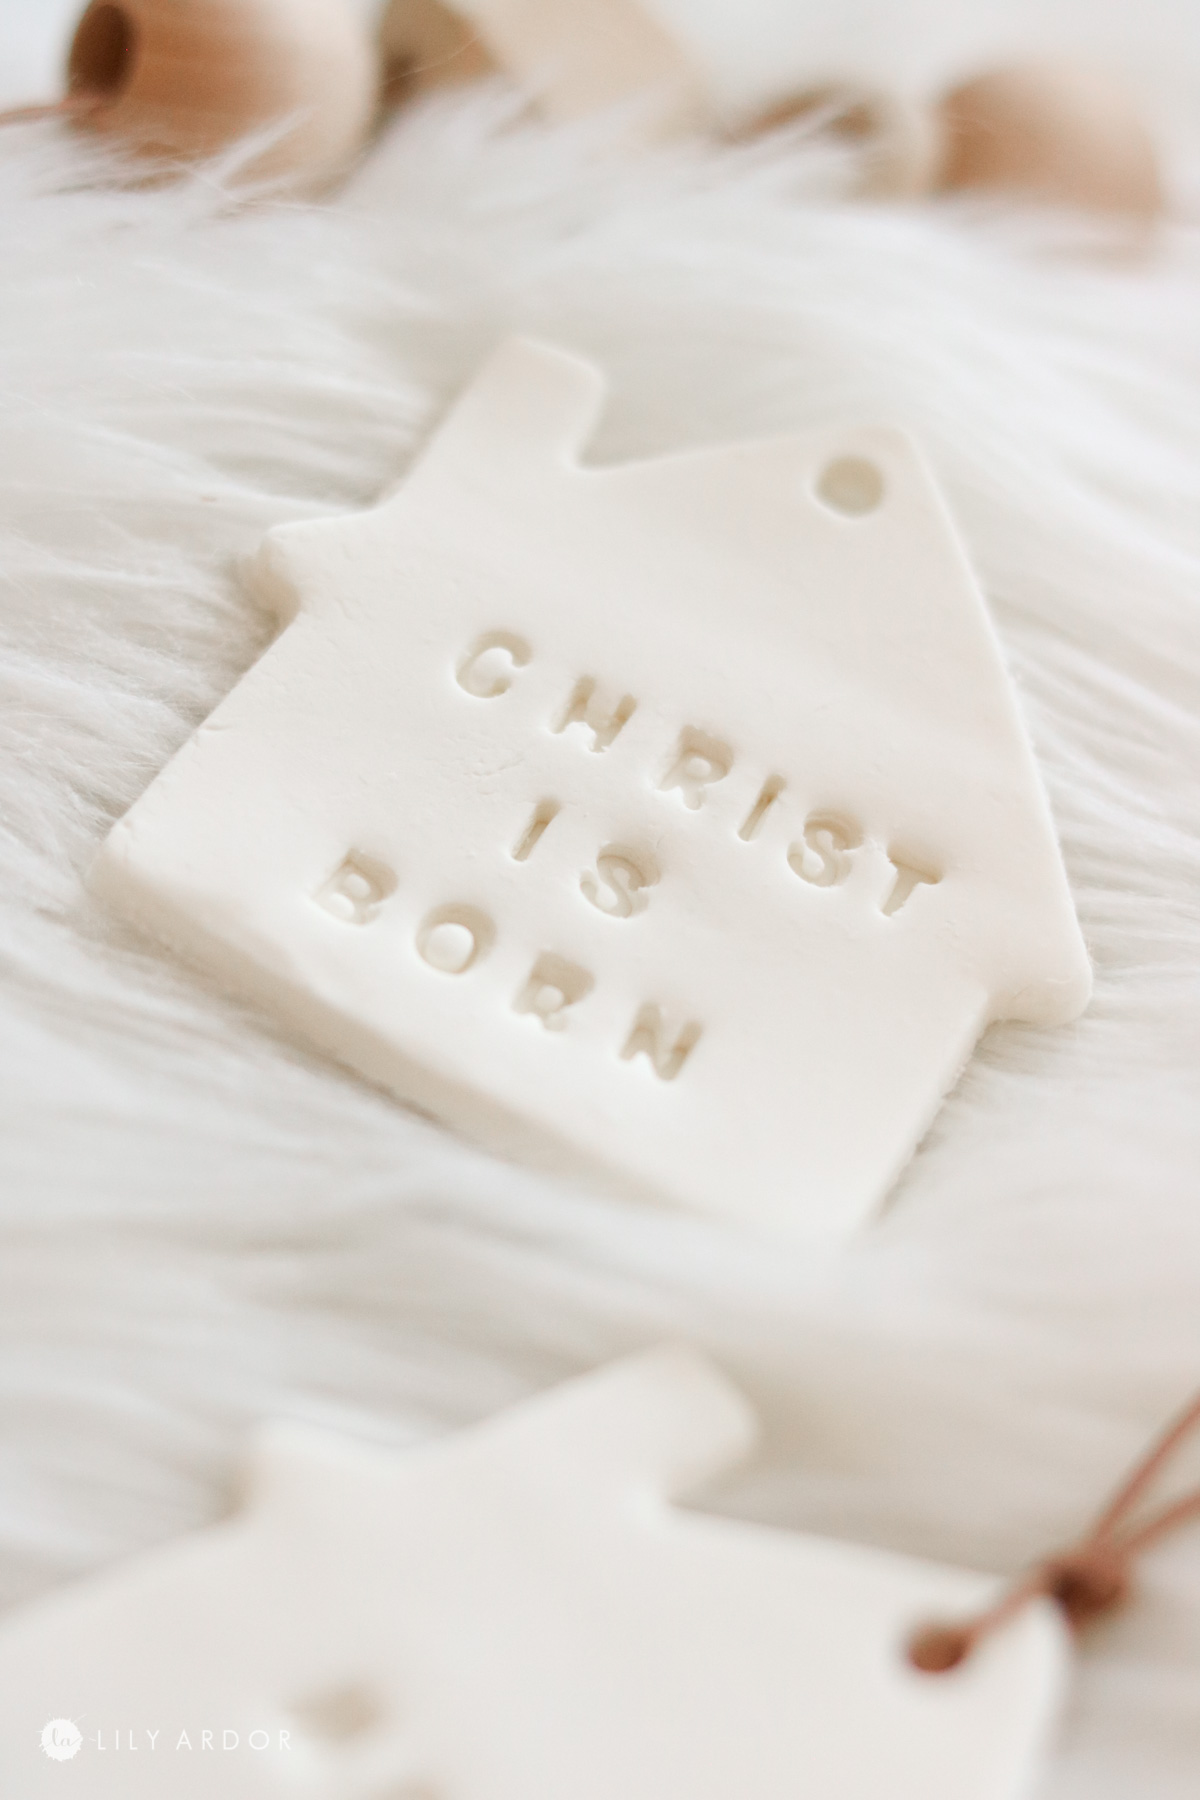
I rolled the clay out on saran wrap. You can dust the surface with a bit of cornstarch if needed. I used my house cookie cutter and star to punch out shapes.
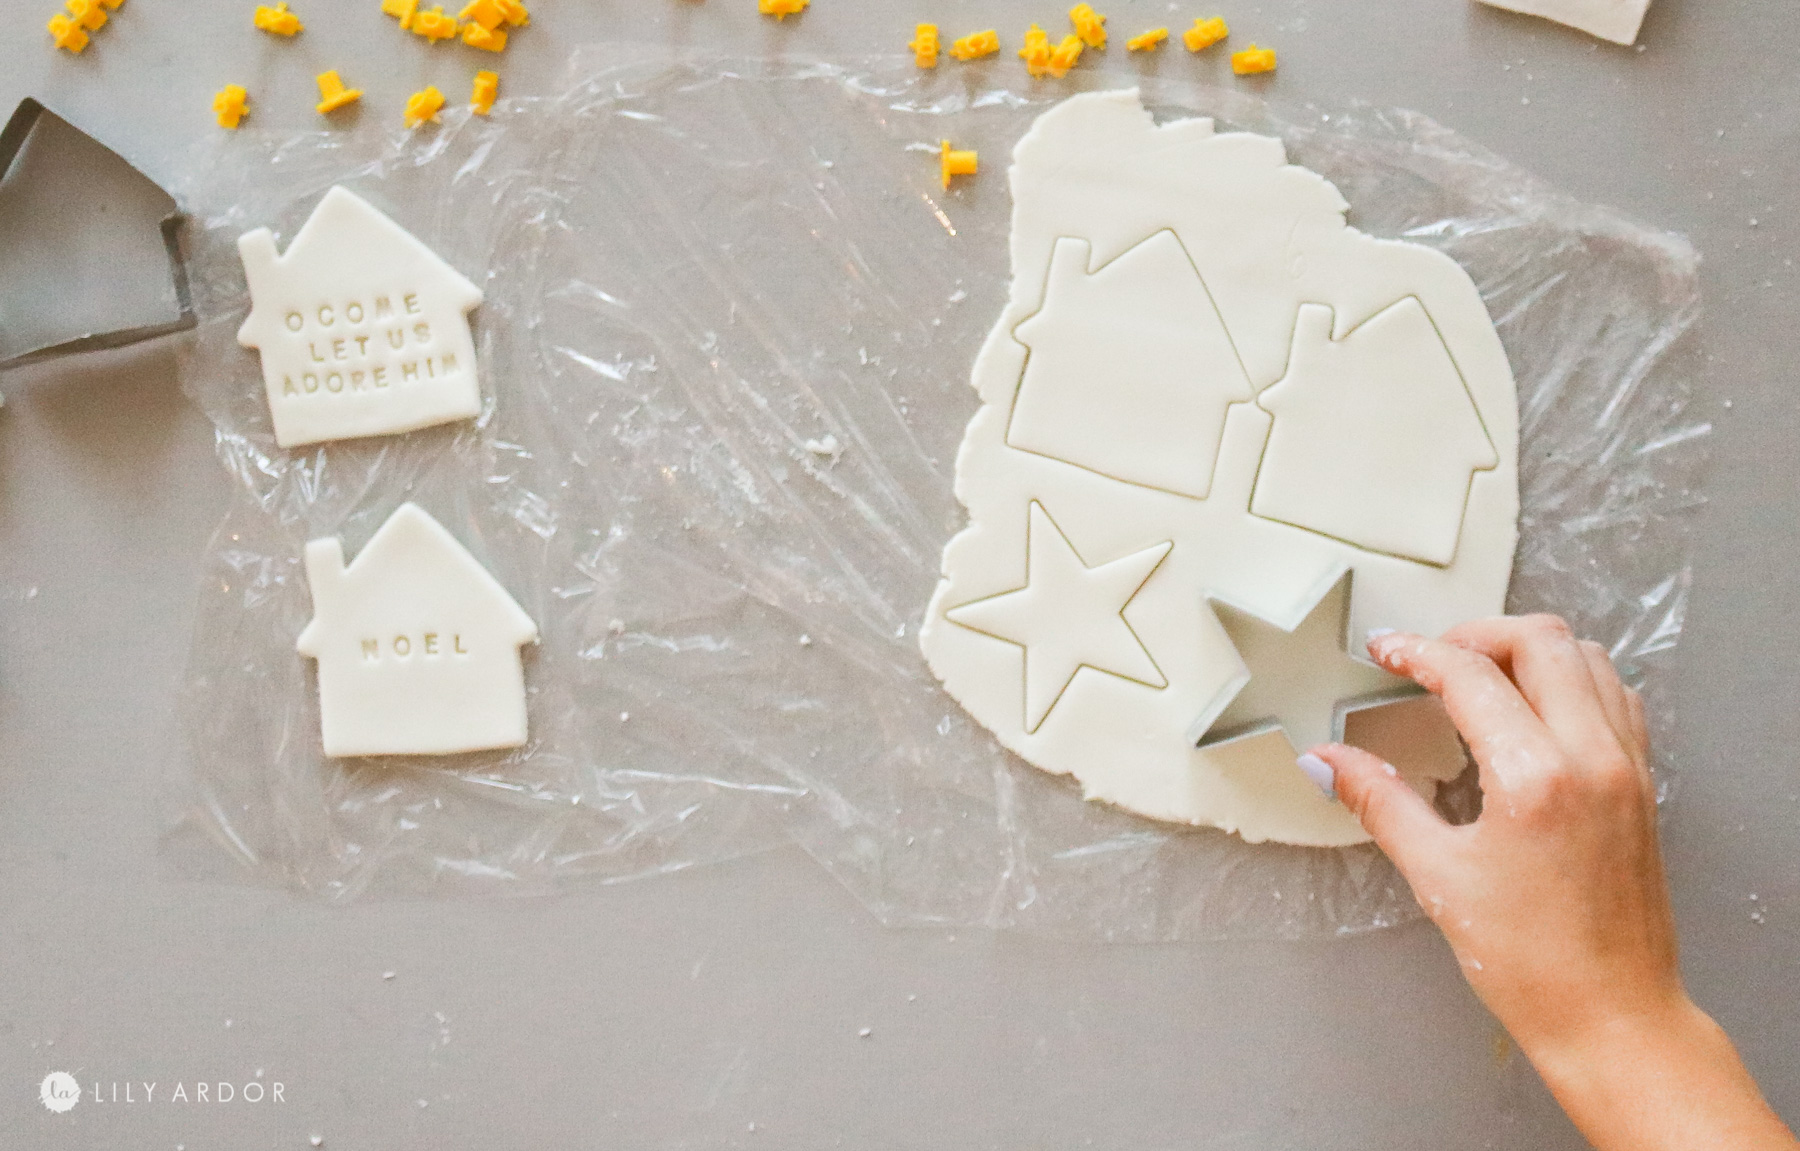
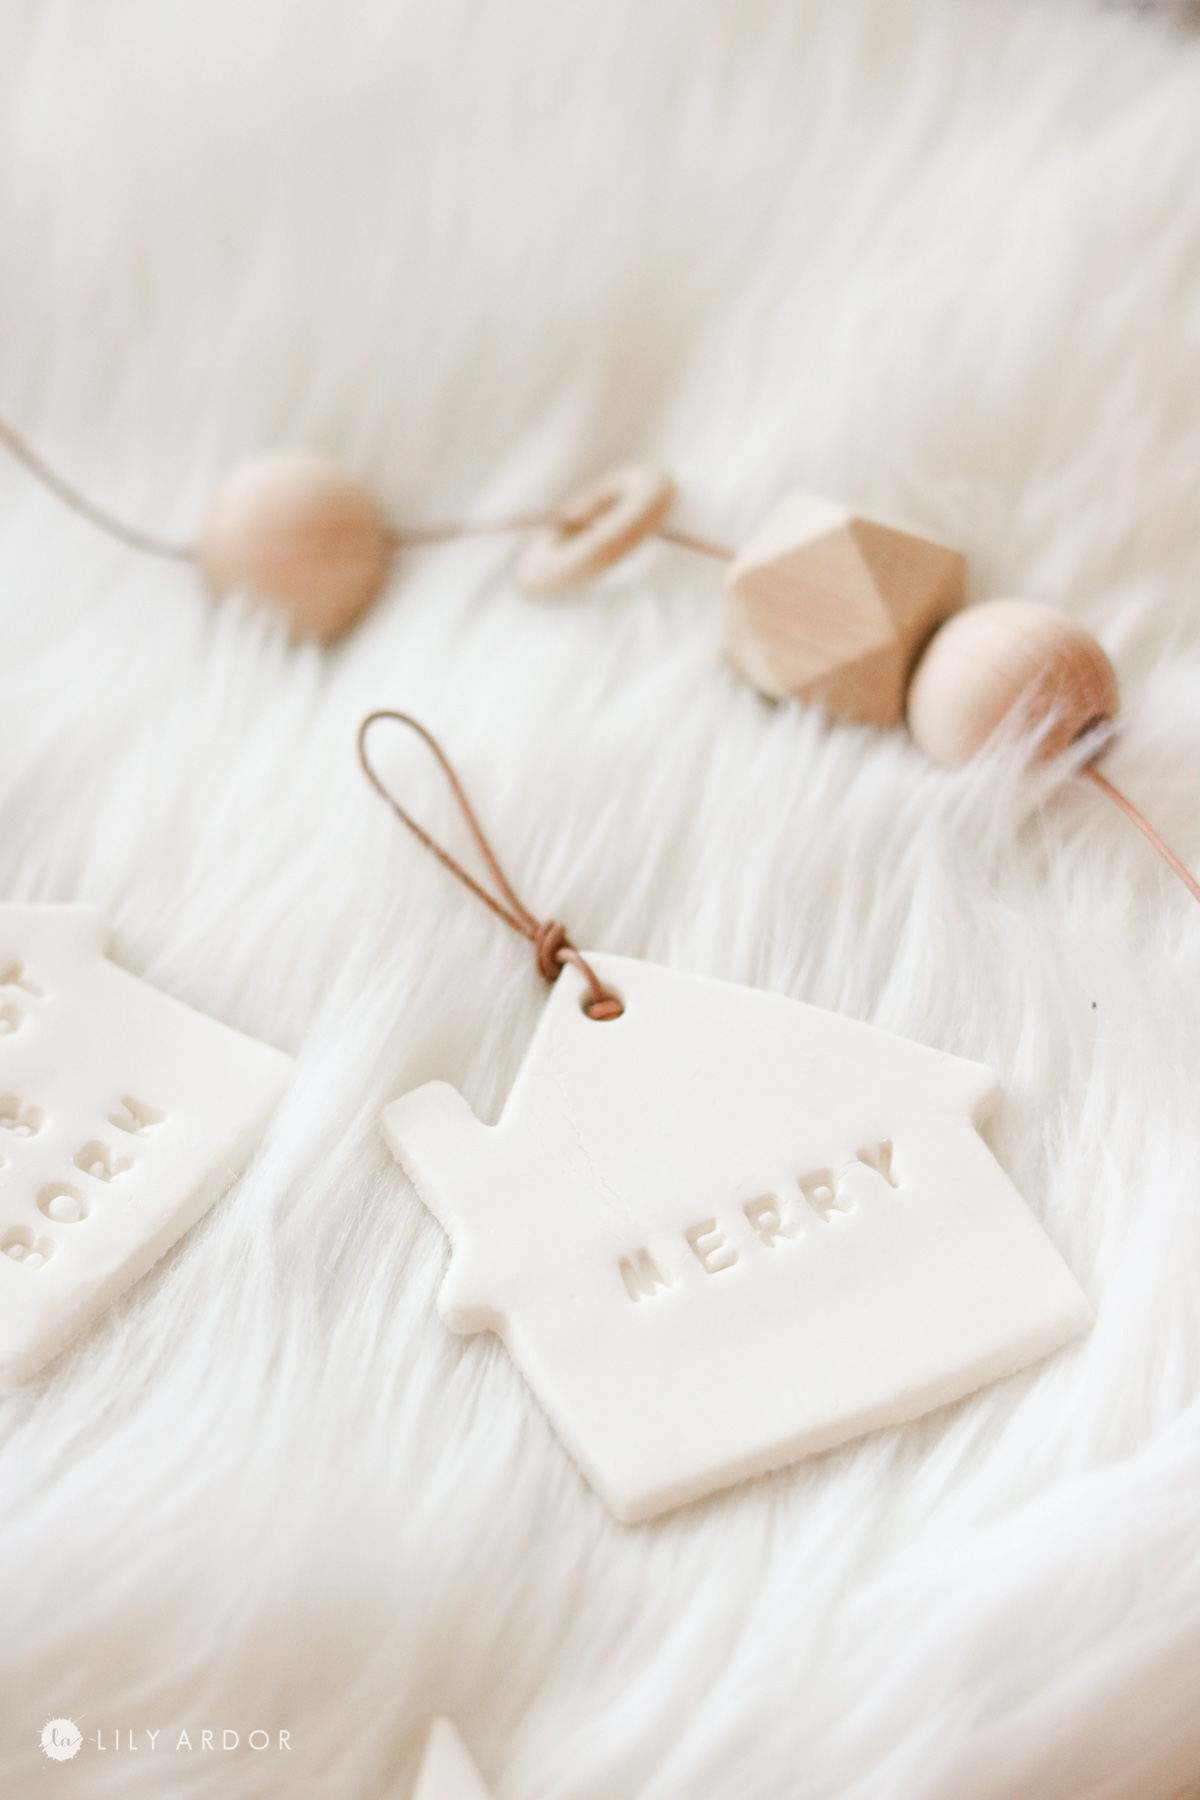
To add words I used some plastic letters I got on amazon. I think it’s called a letter press. You can get it on amazon here.
I LOVE these letters! They made the ornaments look so cute! You can also use them on biscuits before you bake them!
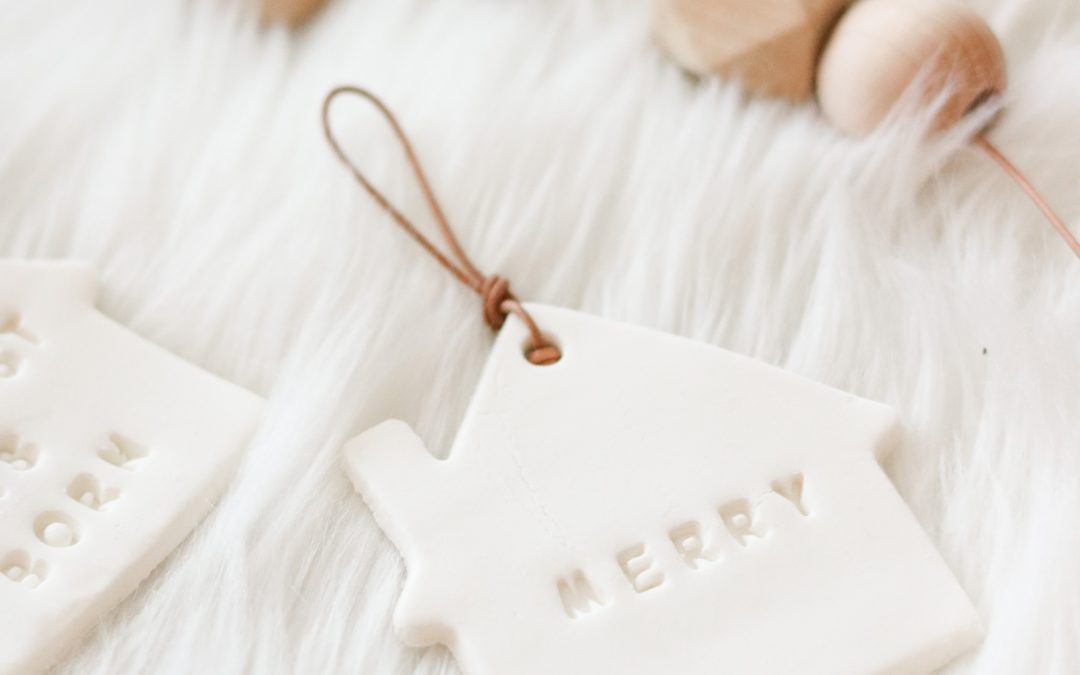
MINI HOUSE ORNAMENTS!
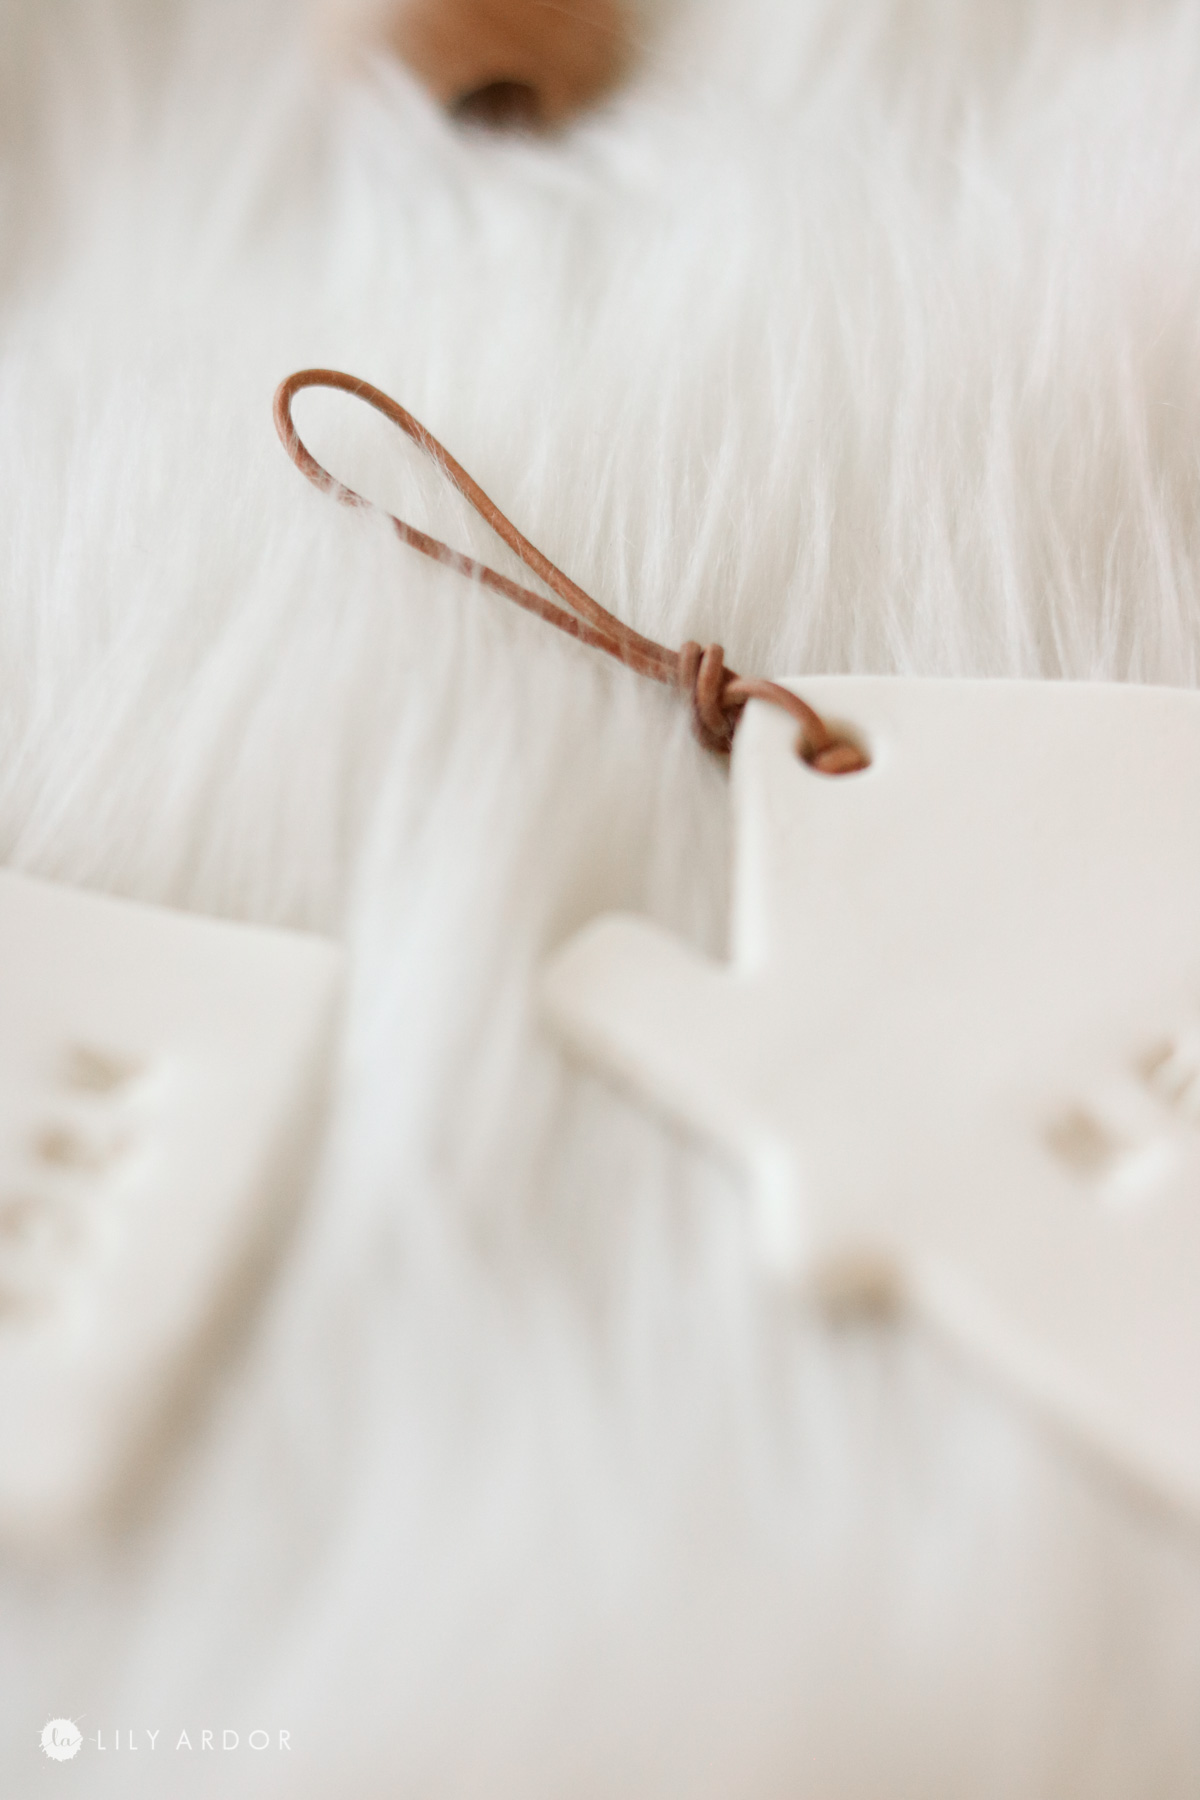
Here’s how the ornaments look! So happy with how simple they look! Oh almost forgot to mention I used a straw to punch a hole at the top and used some leather cording to add a loop.

I love leather elements in decor!
These are perfect minimalist decorations in my opinion!
If you’re looking for the same house cookie cutter I used here’s a link –

THOSE letters are too cute! You can personalize them and make one for your new home. Something that says ” last name – OUR NEW HOME – 2019 ” ( YES I’m I’m aware it’s currently 2020 😅 wake me up when it’s over )
Here’s a close up to show the texture. They are definitely a crisp white! Just what I was going for 🙂 .
Okay that’s all for today! I’d love to know if you try this recipe and what you think of it. Tag me on instagram @lilyardor or comment down below 🙂
I’ll see you all next time!
Best Wishes,
Lily
Hi Lily, hope you’re having a better start this year, then last year ? I think things are looking up, personally 😁
I love these ornaments, they are too cute and precious. I was going to make them before Christmas 2020 but filed them away and promptly forgot all about them, ahhh such is life 😘 Well I finally came across them while cleaning up email inbox so I think it’s time to order the little letter press ( another thing that’s way too cute!😍) and the little house ornaments. I was wondering though if you add cornstarch to the glue and lotion or is it only used to roll out the dough ? Also, does it matter what kind of lotion used ?? Thank you and look forward to hearing from you this year, lol. Take care, Diena
Hi Diena, it’s so nice to see you on here! It’s been a while 🙂 So happy to hear this year is going better for you. I’m also super excited about this year too! So much has changed for our family in a good way and couldn’t be more Thankful to God.
Oh yay I’m glad you came across your email. Yes I added cornstarch to the glue and lotion and some later when rolling out if it’s sticky from what I remember. It doesn’t really matter what kind of lotion. I would say as long as it’s not super smelly. I used a floral scent first and it was too much. Got sick of it fast. Unscented or the one I used with lemon scent is so refreshing.
Best Wishes,
Lily
Thank you very much for sharing, I learned a lot from your article. Very cool. Thanks. nimabi