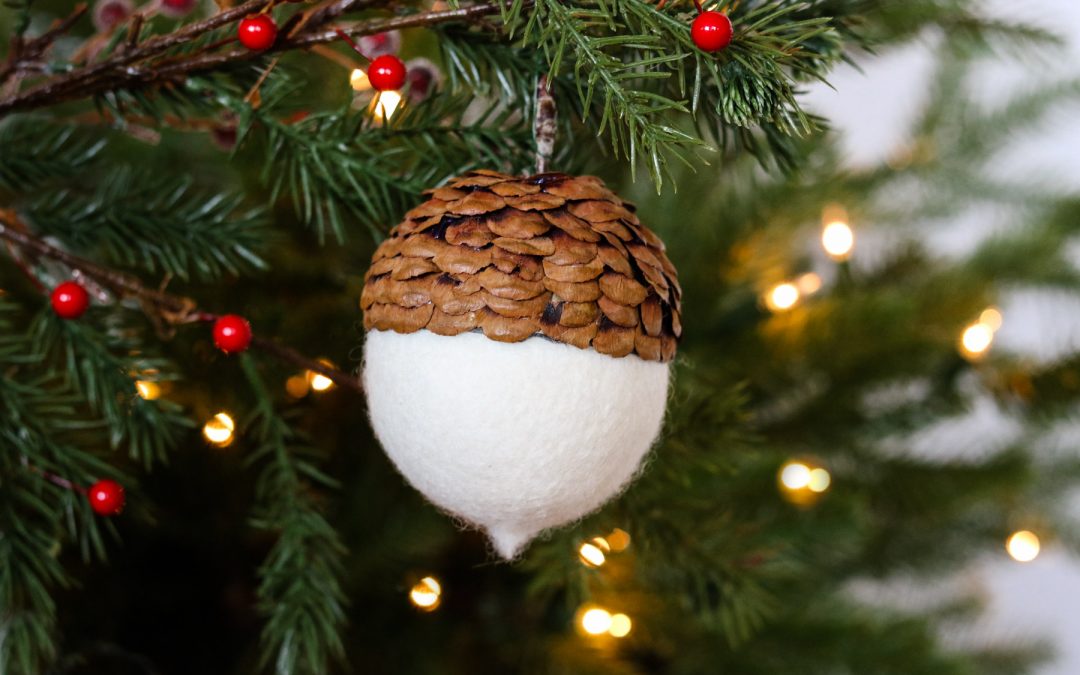
This acorn ornament is by far my favorite DIY ornament so far😊! Acorns are something I’m always fond of in nature 😍! Every Christmas season I find myself looking for acorns to decorate with and sadly I never come across any sold in stores that look realistic enough and are worth the price.
Best part is these are really easy to make and have a simple look to them that matches the rest of my home decor.
(this post includes affiliate links*)
TIME NEEDED:
I’m not going to lie they take a bit of time to put together. Easy but, time consuming. You can make them while watching your favorite show 😀 It took me about 45 minutes to make one.
TOTAL COST:
They cost me a little more than what I’d like to spend on an ornament but, I still love them even for this price. After dividing the expenses between the ornaments each one ended up costing me around $8. The wool dryer balls will be the most expensive part of these acorn ornaments and I talk about budget friendly alternatives in step 4 if you want more ideas.
Supplies:
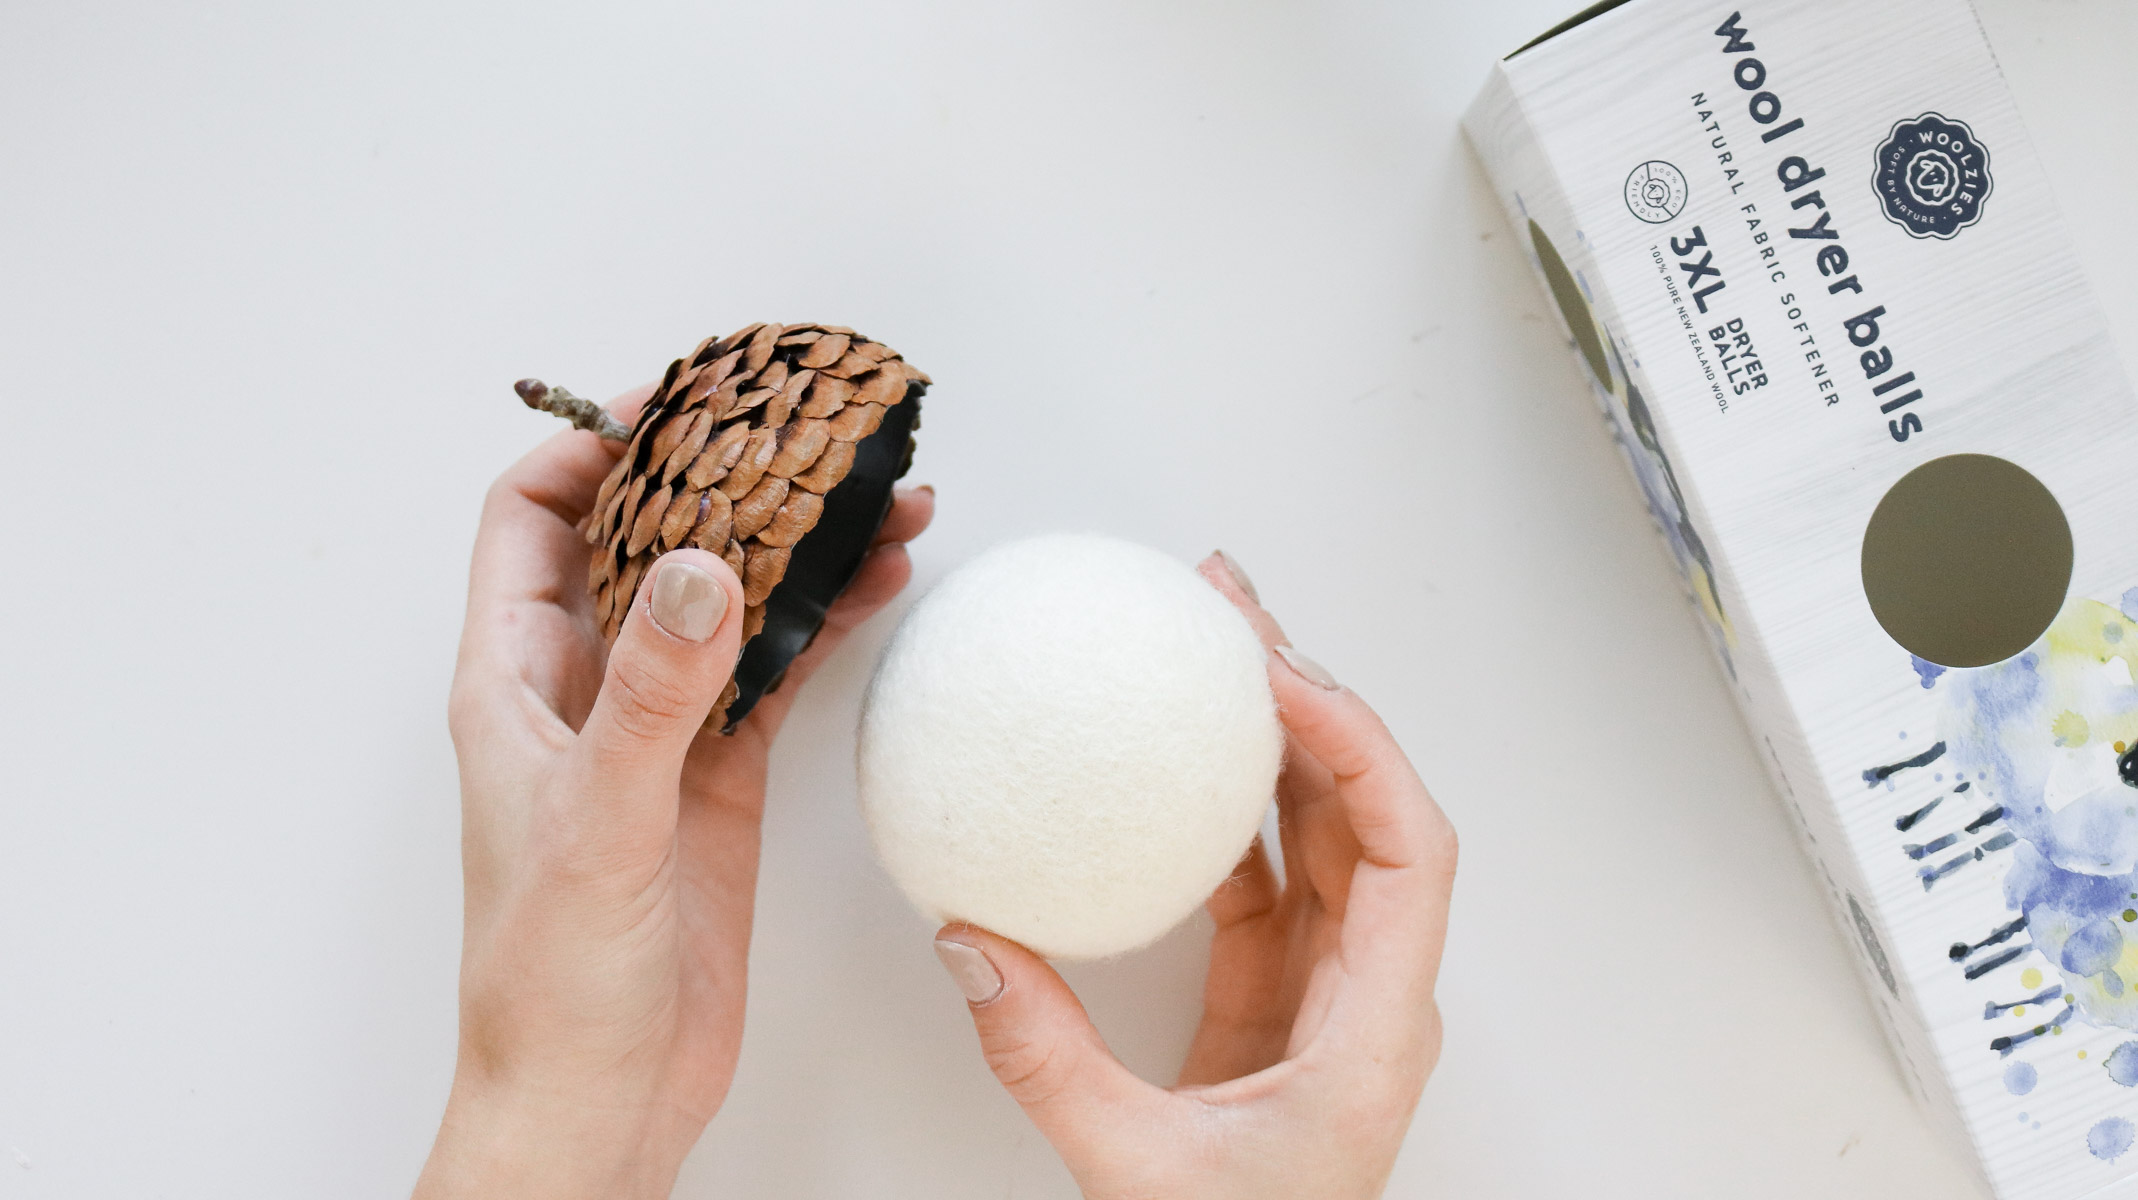
- XL dryer balls ( best deal I found on amazon here – https://amzn.to/2NTJbFU under $3 a wool ball )
- 4 inch paper mache egg
- wire cutters
- hot glue
- pine cone with fine scales (will depend on size but I used about 2 pine cones per ornament)
- twig
- pencil
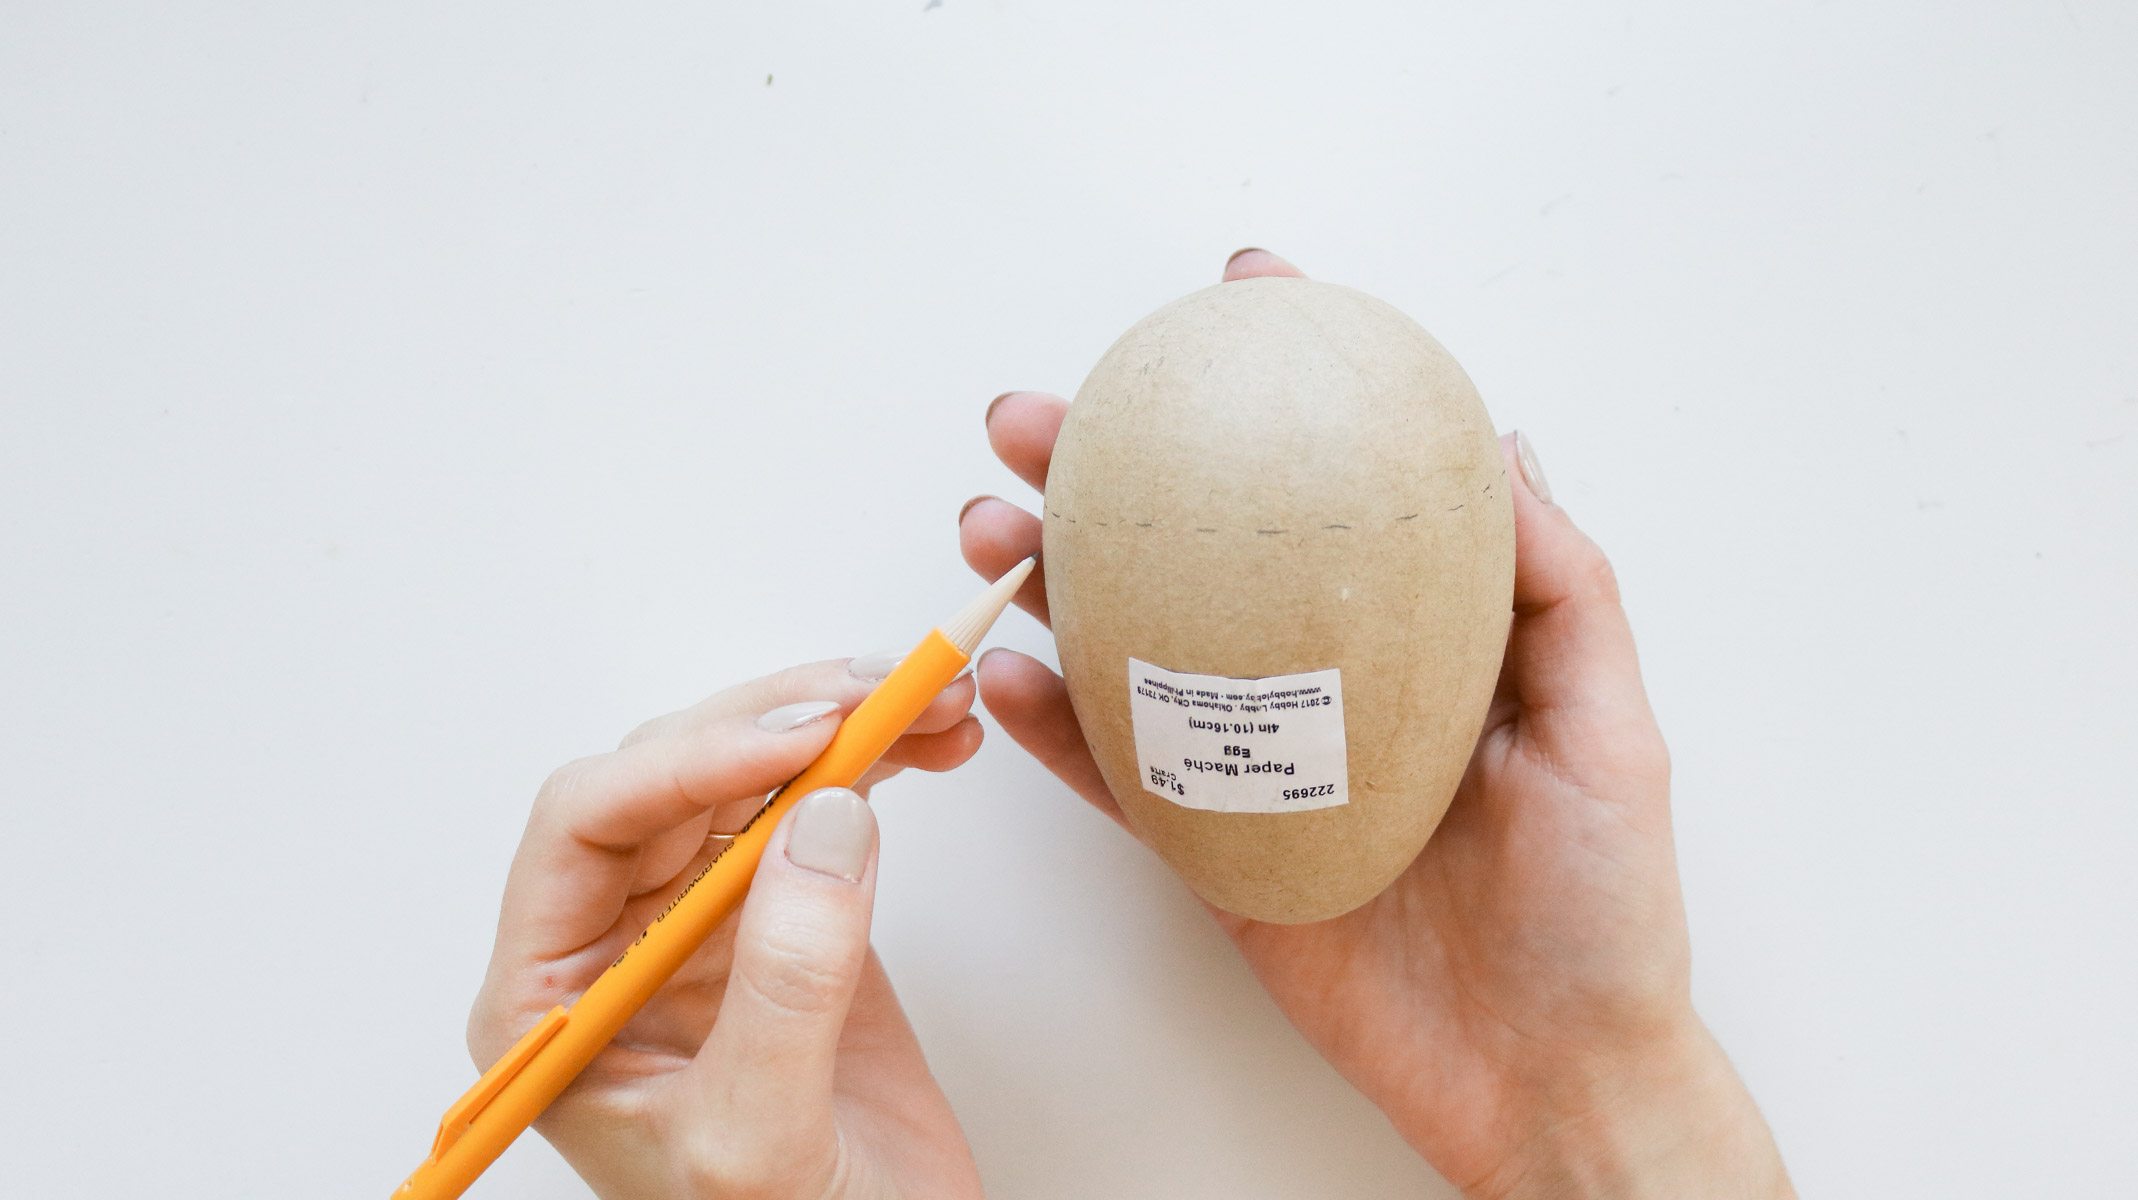
Step 1: Creating Your Base For the Acorn Ornament !
First I divided my egg into three sections and marked the top of the egg all around. This will be the top of your acorn. Be sure to use the rounder end of your egg vs the pointy side (this side fits perfect with xl wool balls). Then use a serrated knife to cut where you marked. Check to see if your wool ball fits in nicely before gluing on any pine scales.
TIP: if you can’t find dryer balls big enough use the pointy side of the egg it’ll make a smaller acorn top 😉
If you were convinced that these paper mache eggs are all made of paper I was too! Come to find out they’re actually plastic inside. I had to use the pointy end of my knife to help cut into the egg.
Before moving onto the next step be sure to glue the paper mache back on as you’ll need a brown base color for the pine scales.

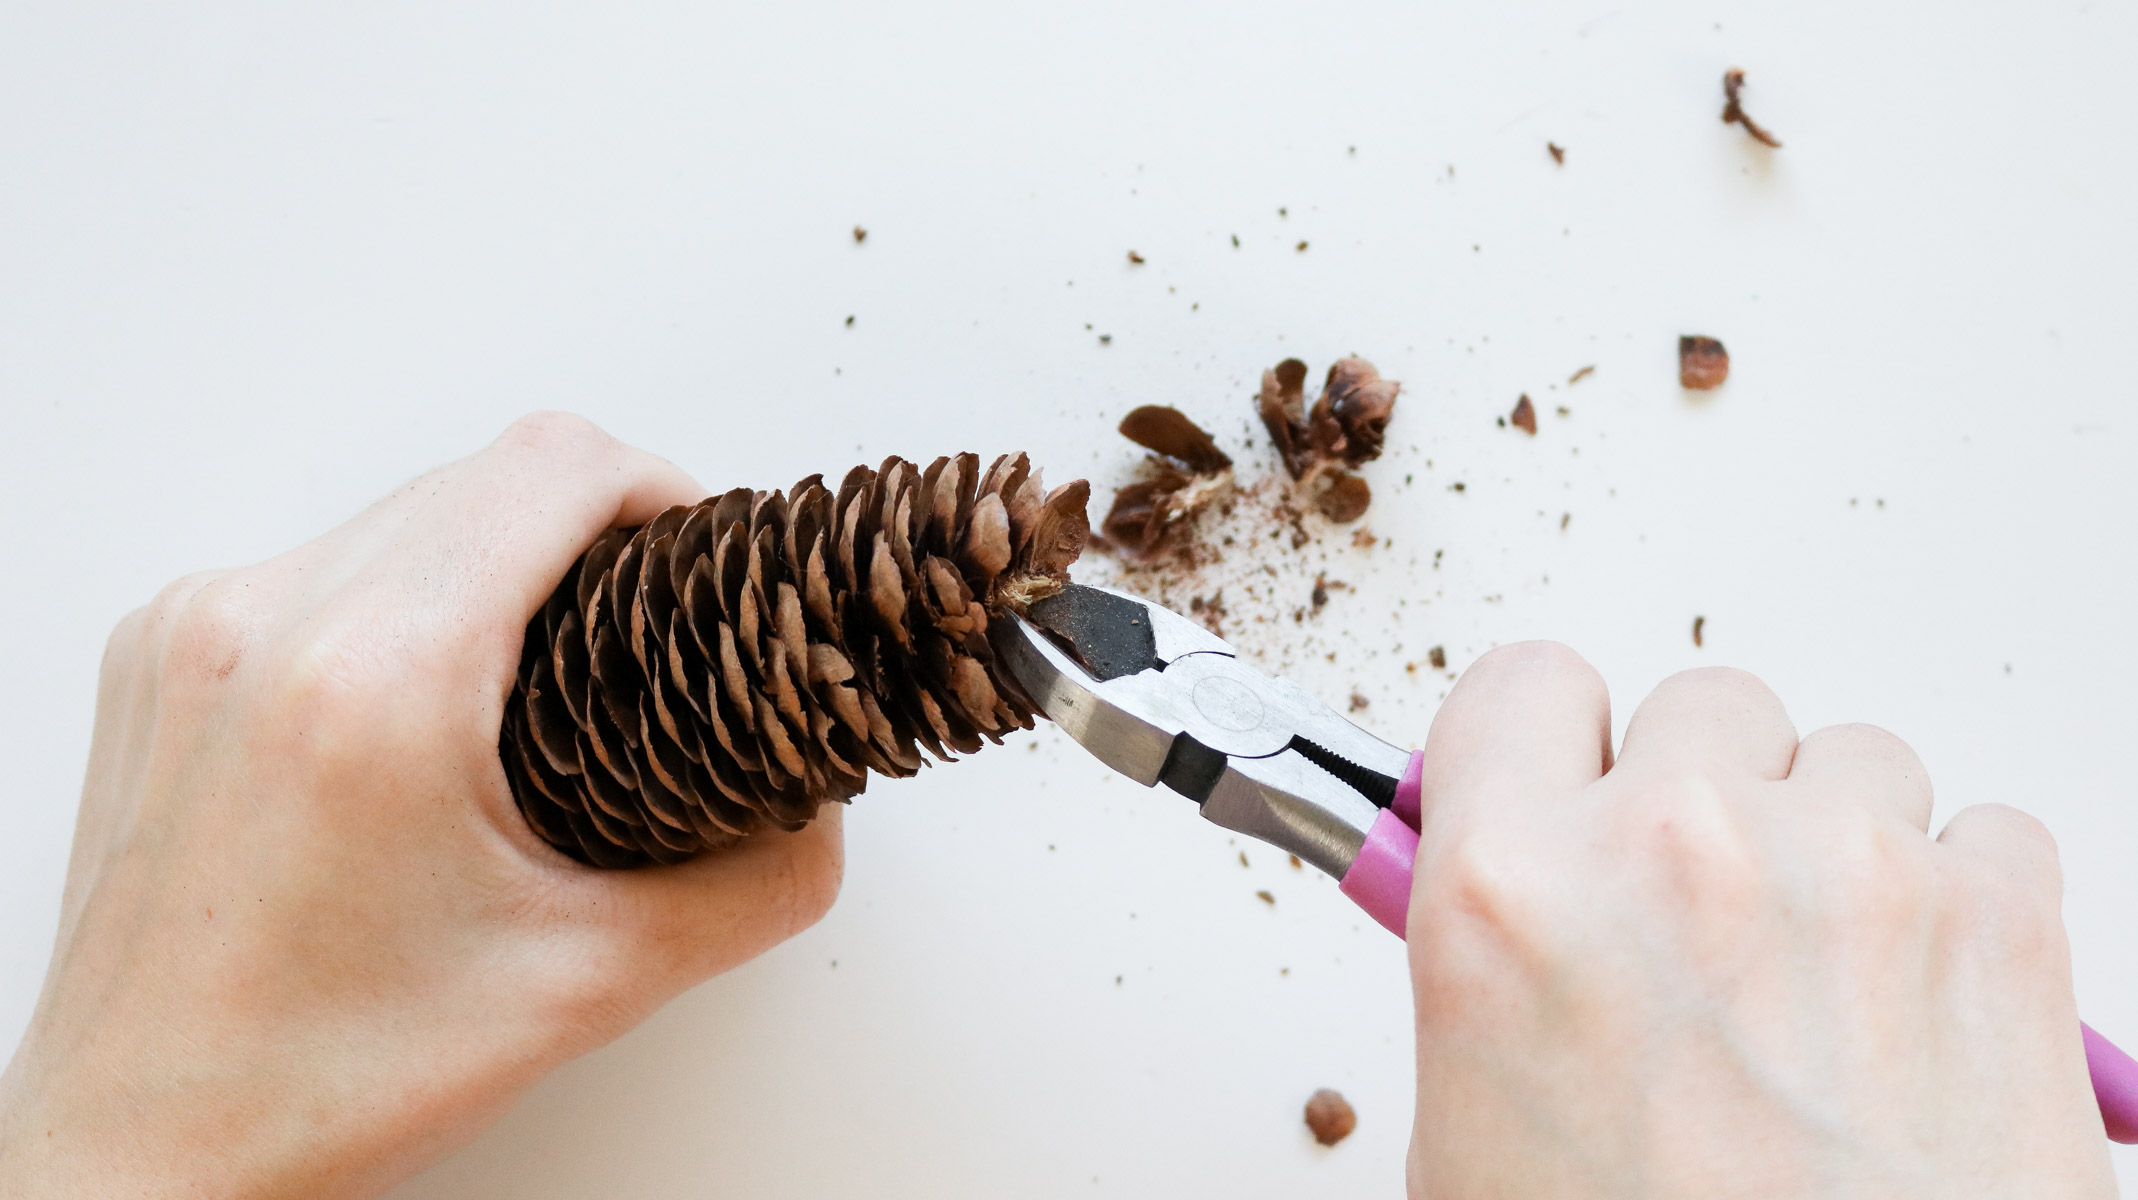
Step 2: How To Get Pine Scales!
Okay to get nice unbroken pine scales you need to properly take apart the pine cone. I got my pine cones at hobby lobby. They had nice and fine scales and worked perfect to create the acorn top.
To pull the pine cone apart hold your pine cone firmly in one hand while pinching and twisting with some wire cutters at the other end. I started at the top of my pine cone and worked my way all the way to the bottom.
Your scales will have some sharp ends sticking out that you’ll need to snip.
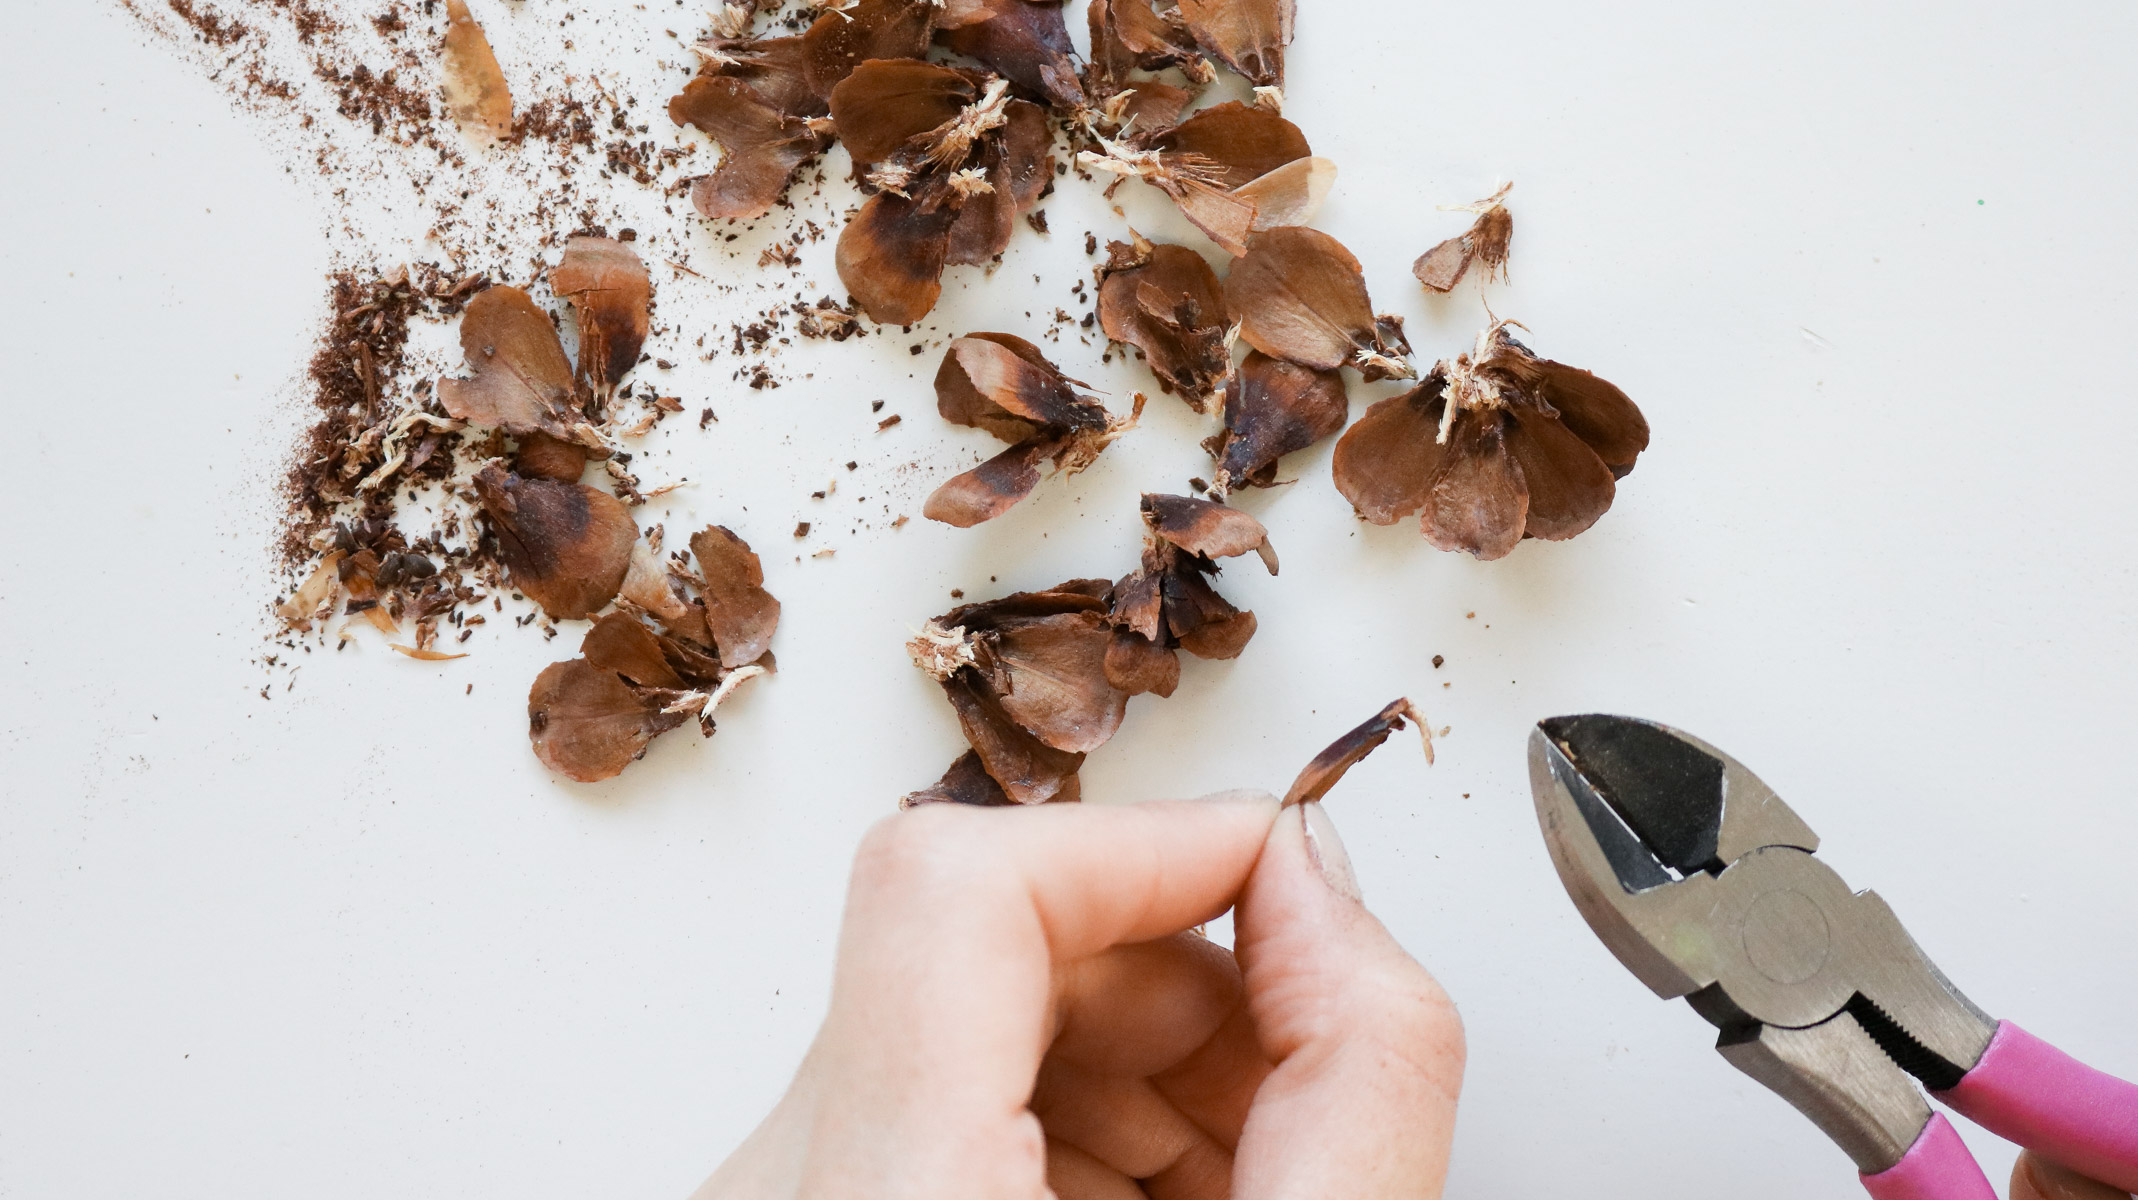
Here’s what they should look like before gluing them on. (photo below)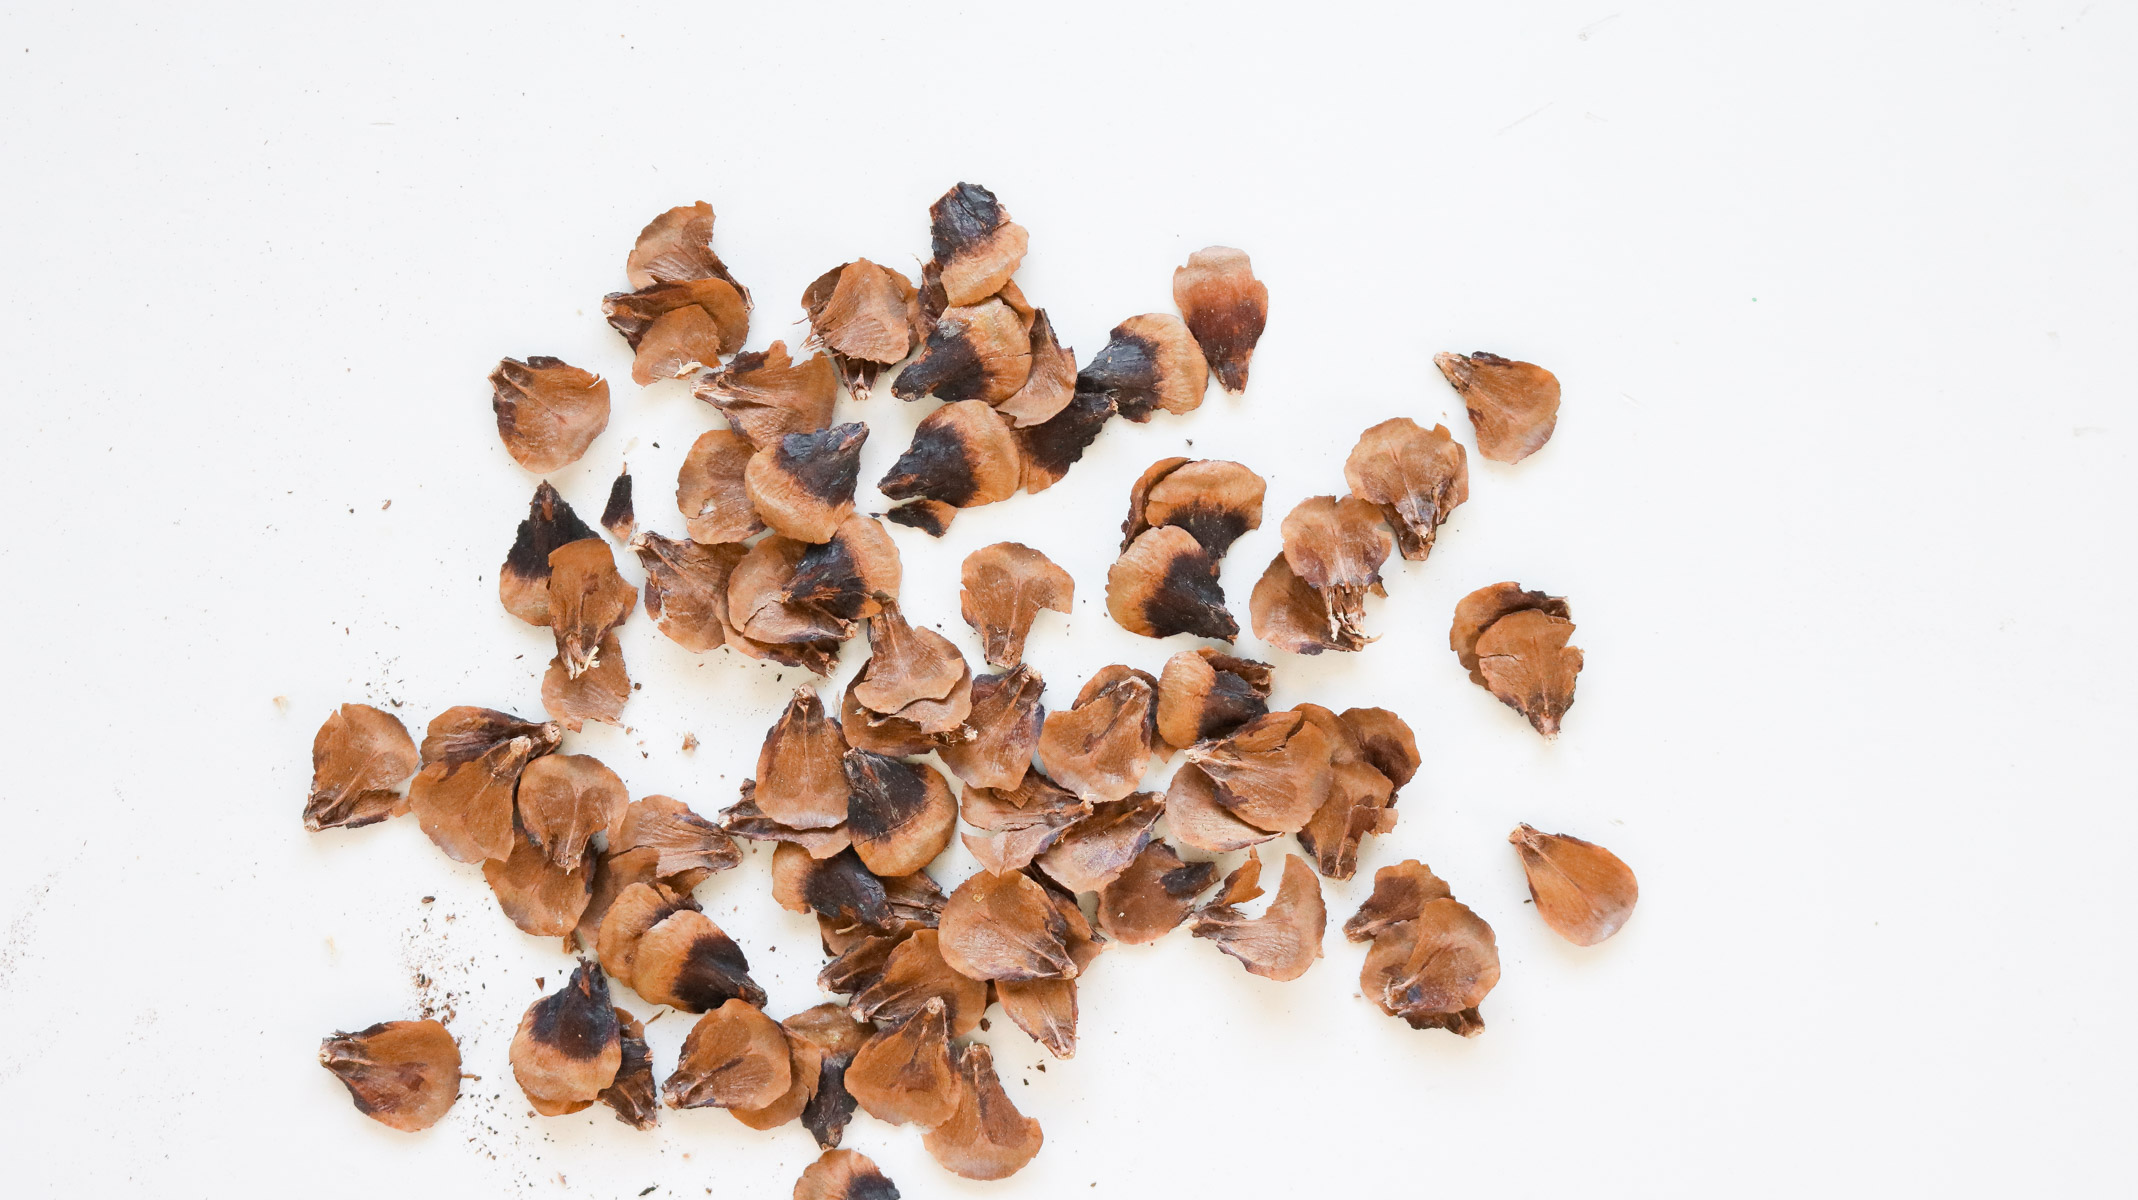
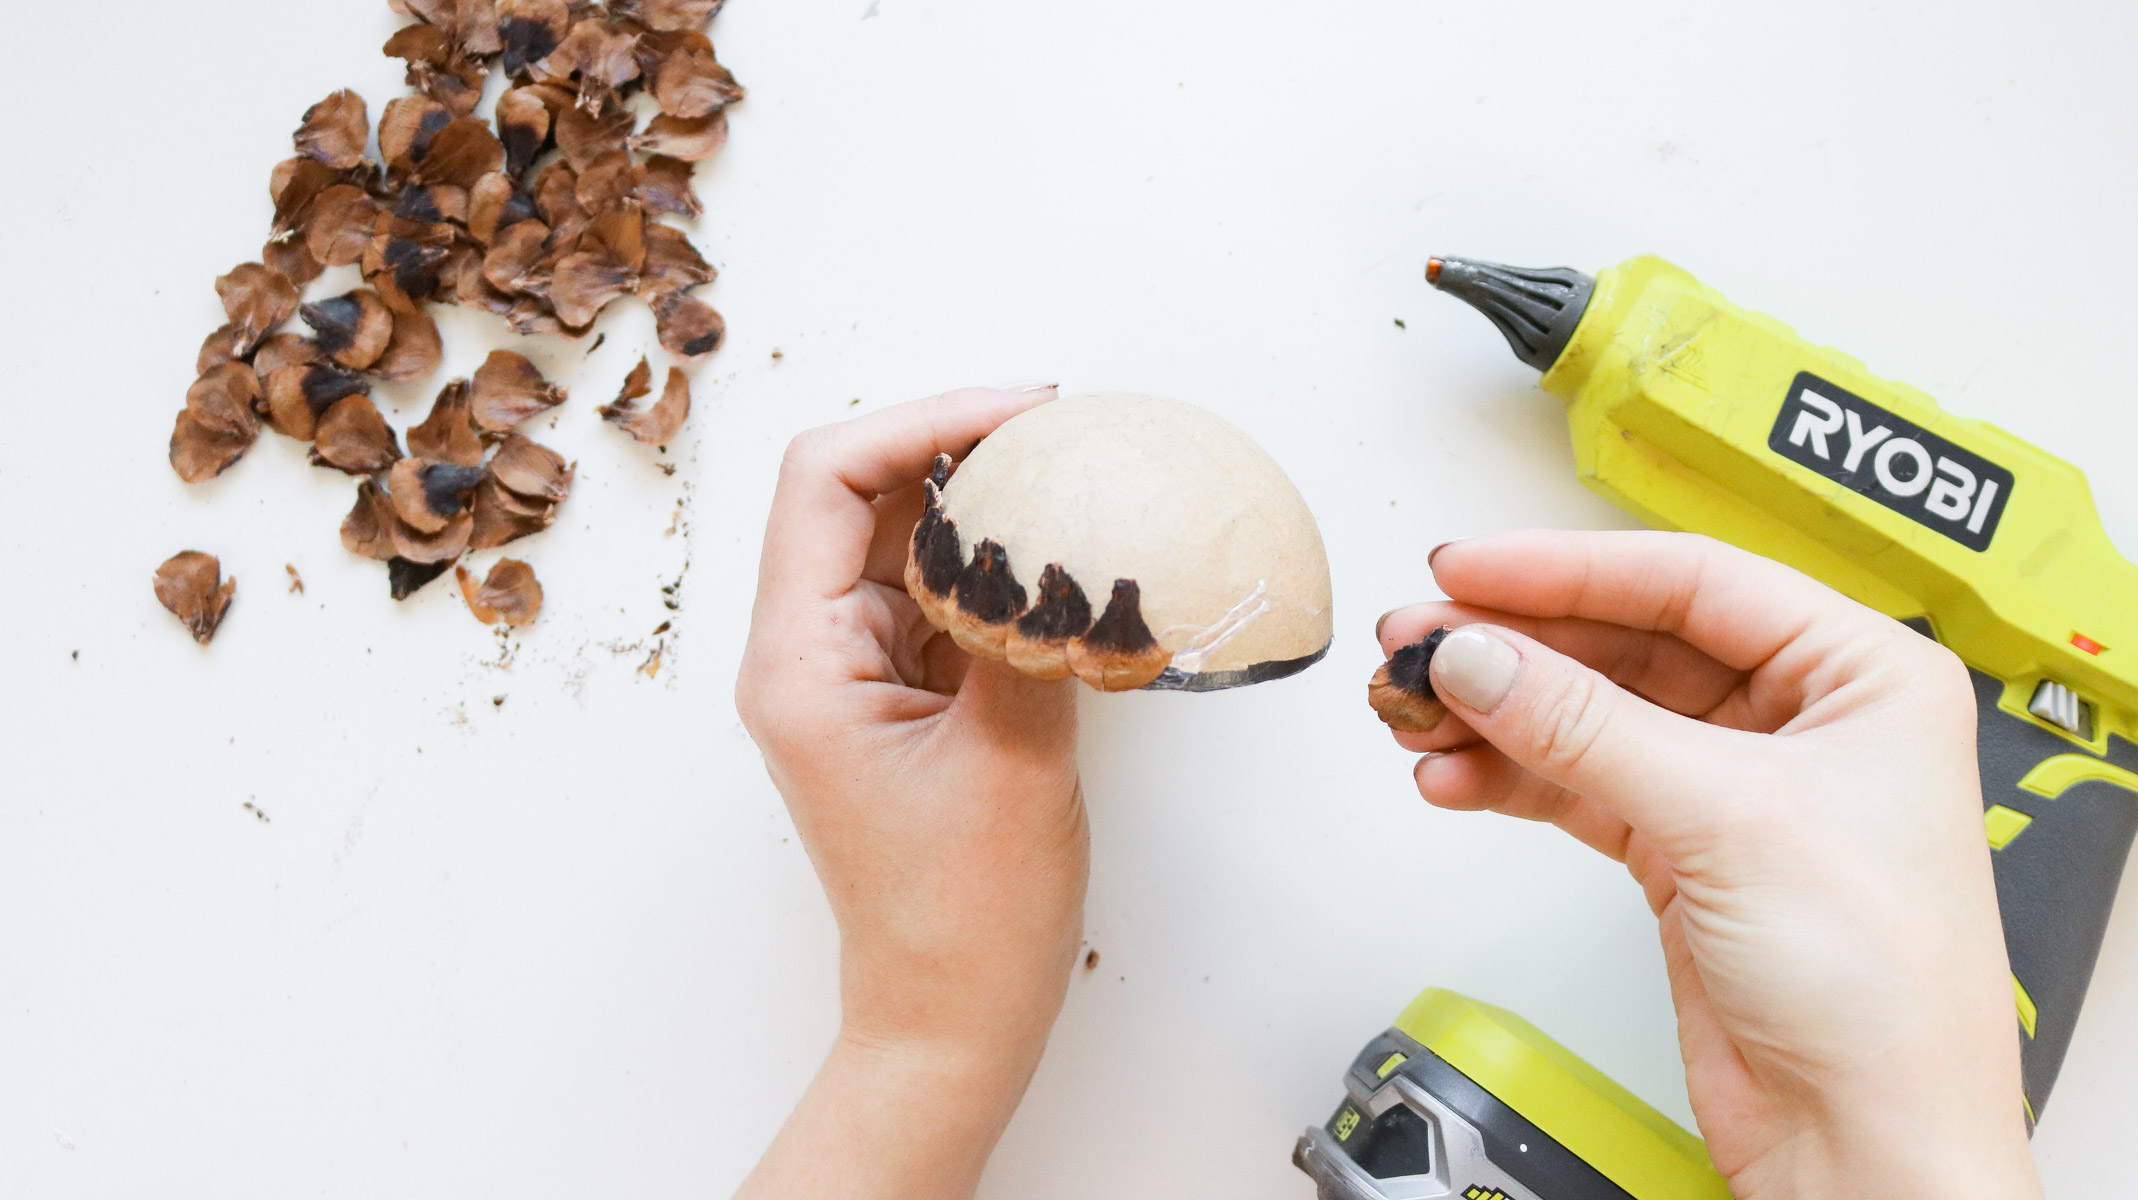
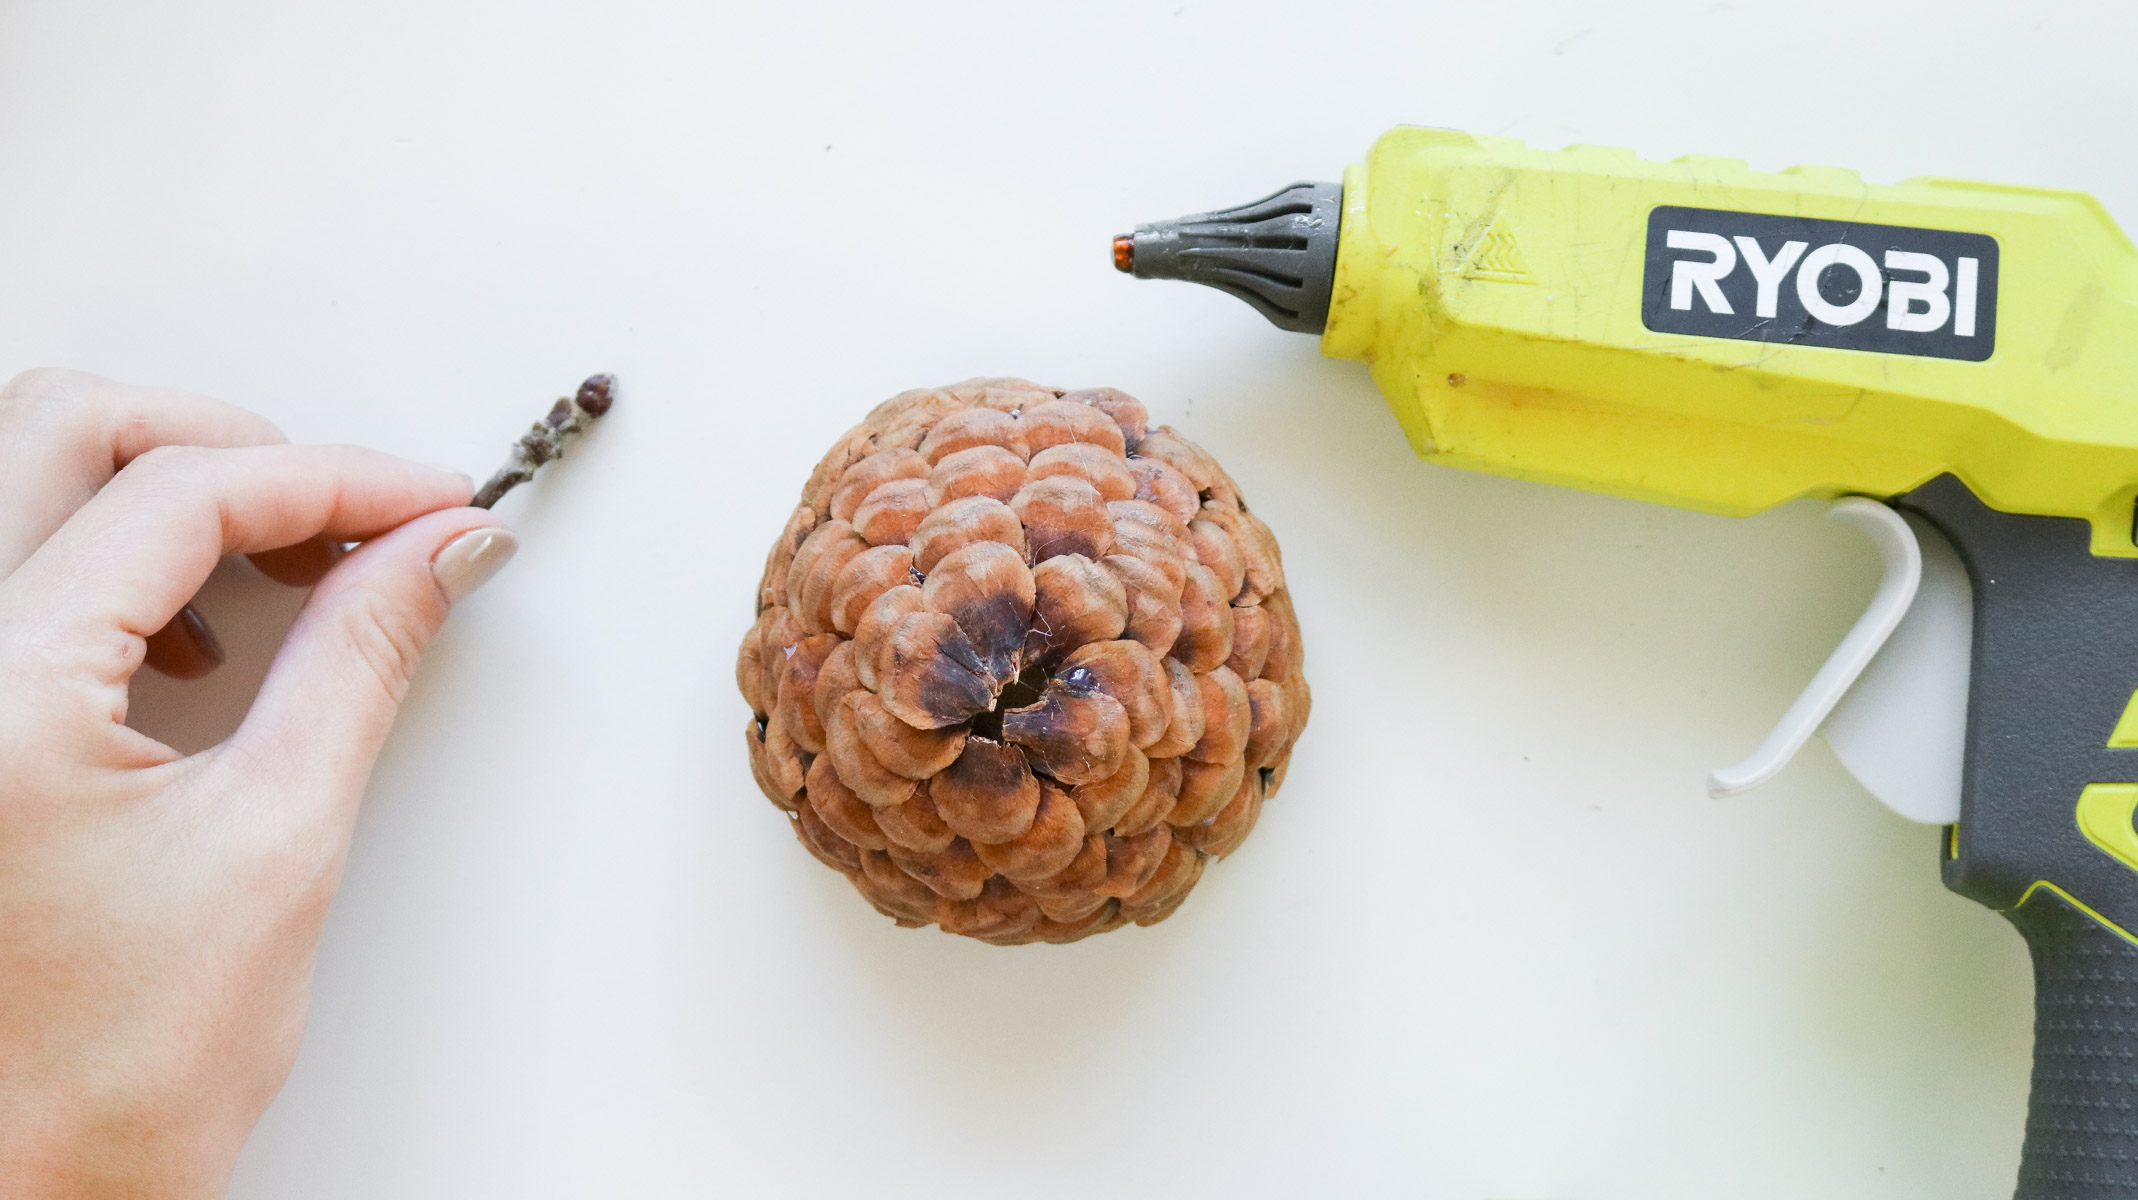
Step 3: Creating Your Acorn Top!
Now all that’s left to do is glue them onto the paper mache form. I started by hot gluing a row of pine scales at the very bottom.
Once the first row was done I snipped all the bulging edges off and continued to attach another row slightly overlapping the first row. 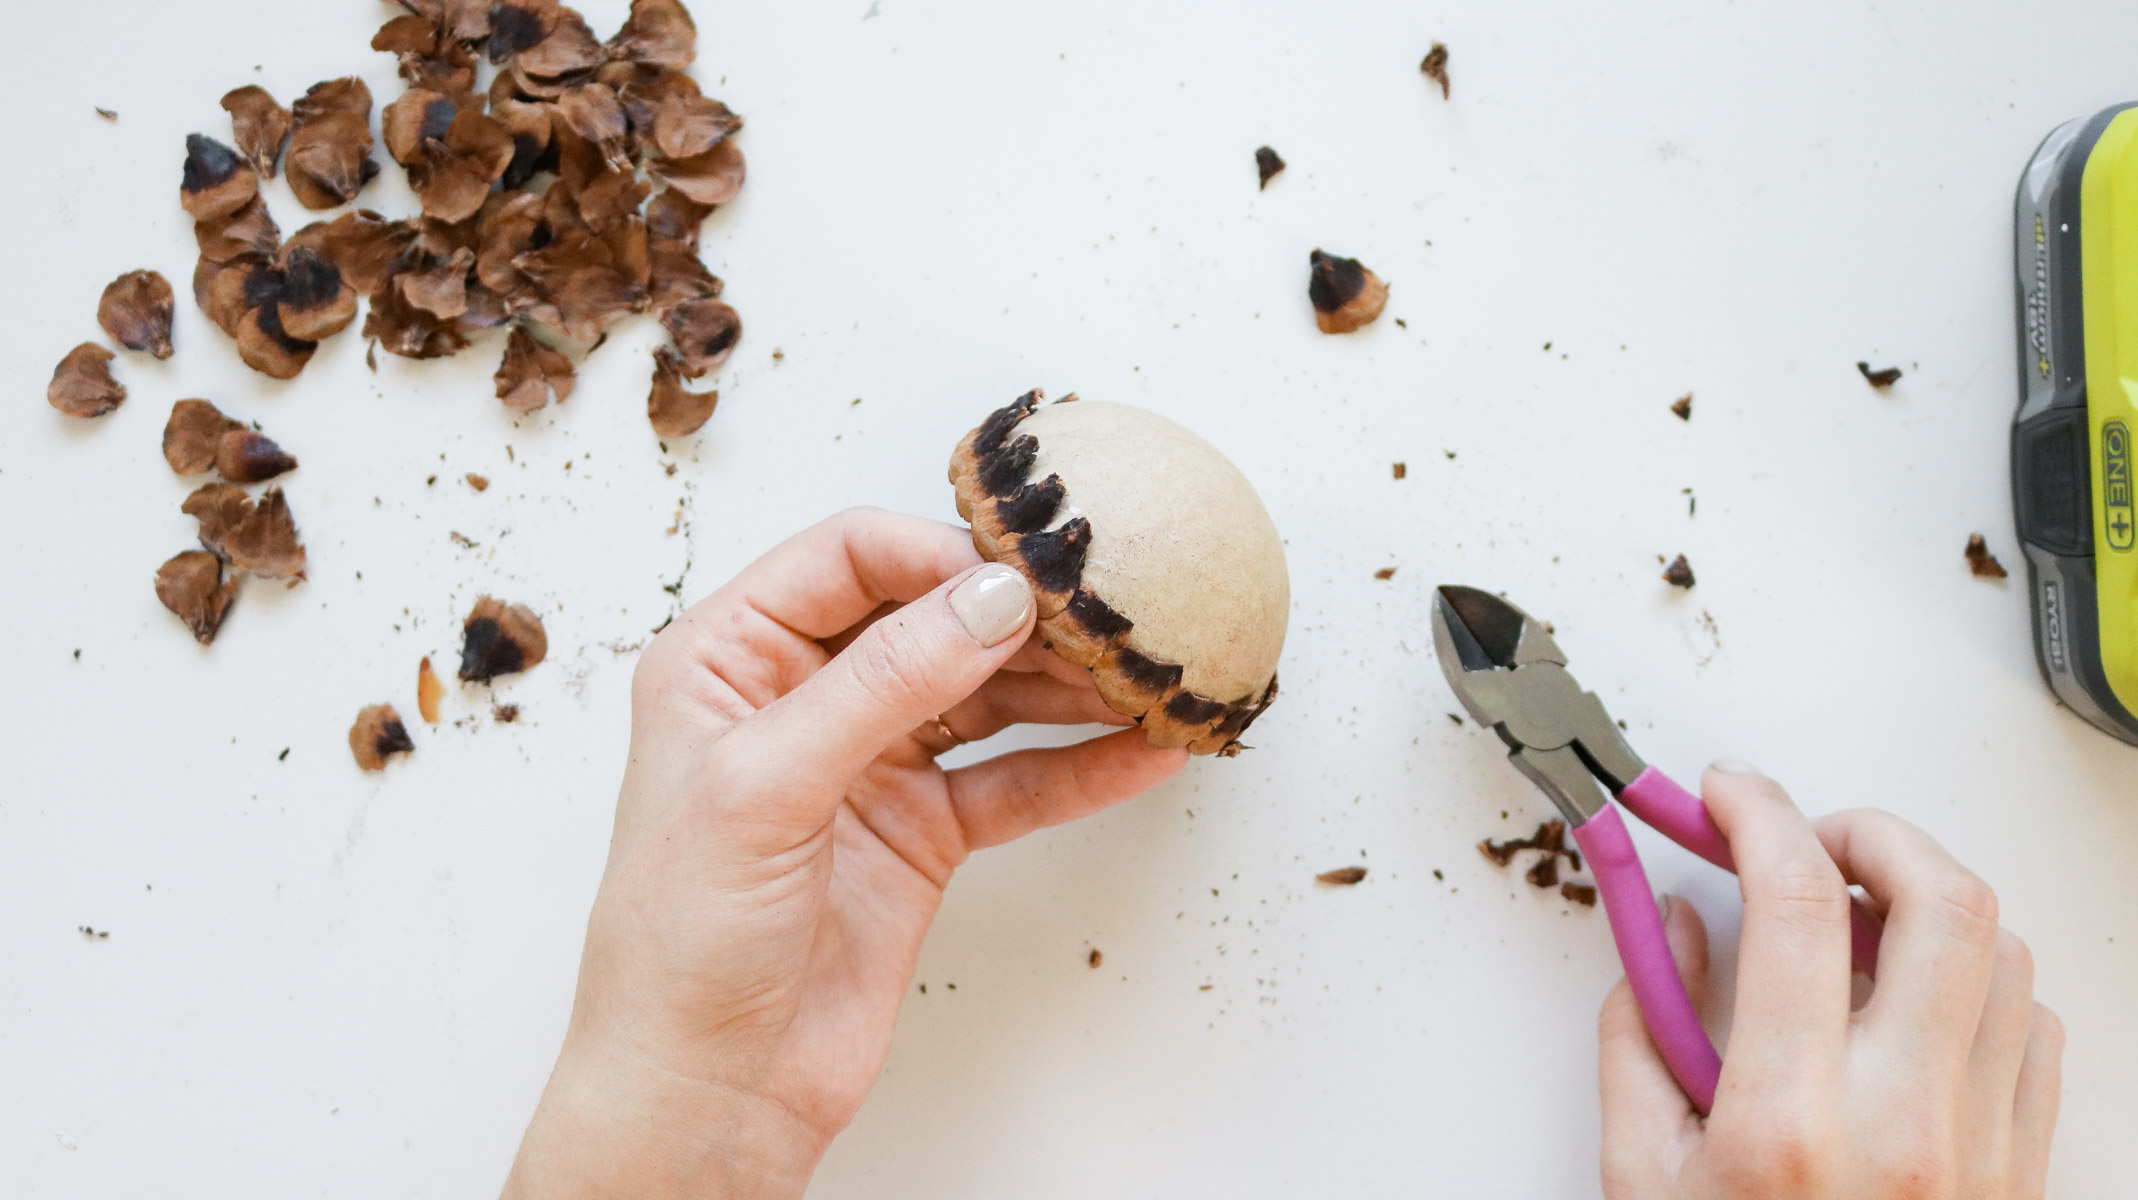
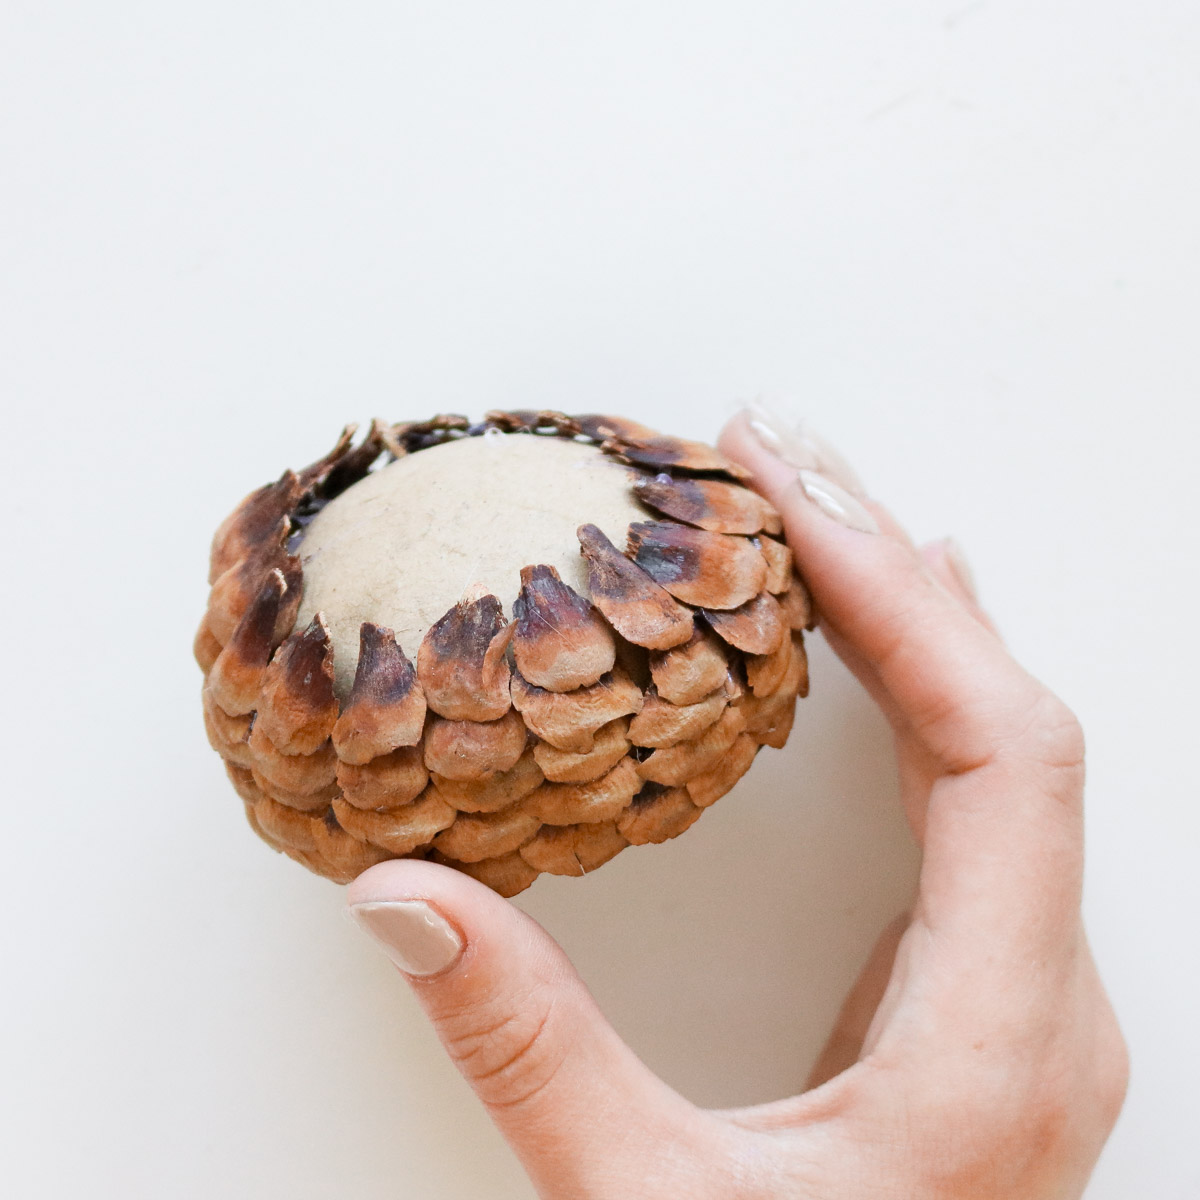
Repeat the steps and work your way around in rows until you’ve cover the whole paper mache form. Then hot glue a small twig in the center and your acorn top should be complete. 😊
Step 4: Attaching The Felt Acorn Ornament Bottom!
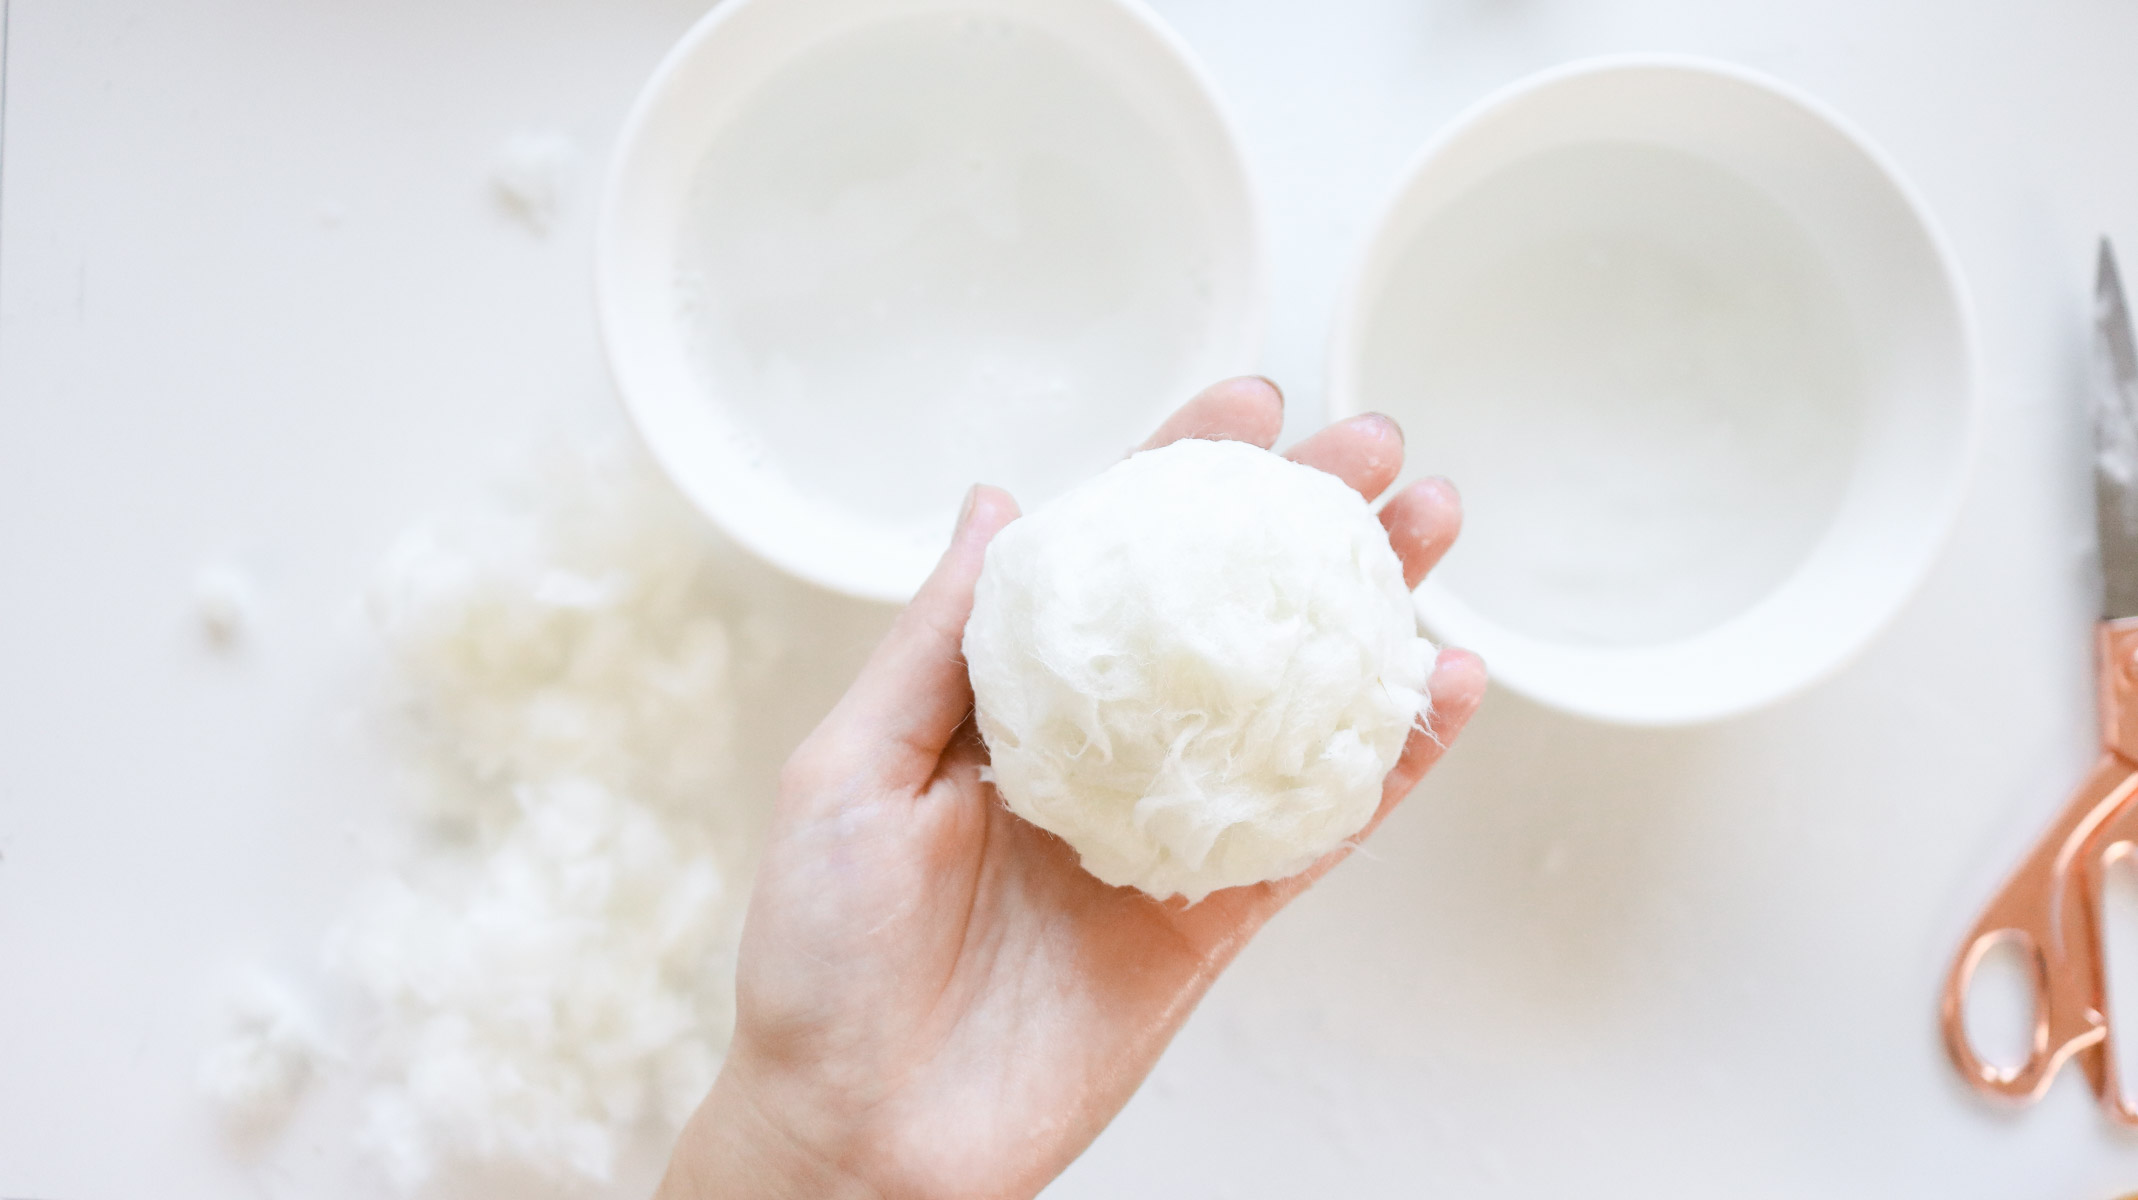
I originally planned on making my own felt balls however that was a complete fail. I messed around with one for an hour and finally gave up. It looked pretty crappy. I had no idea felt is so hard to work with. Don’t think I’ll be trying it again 😅
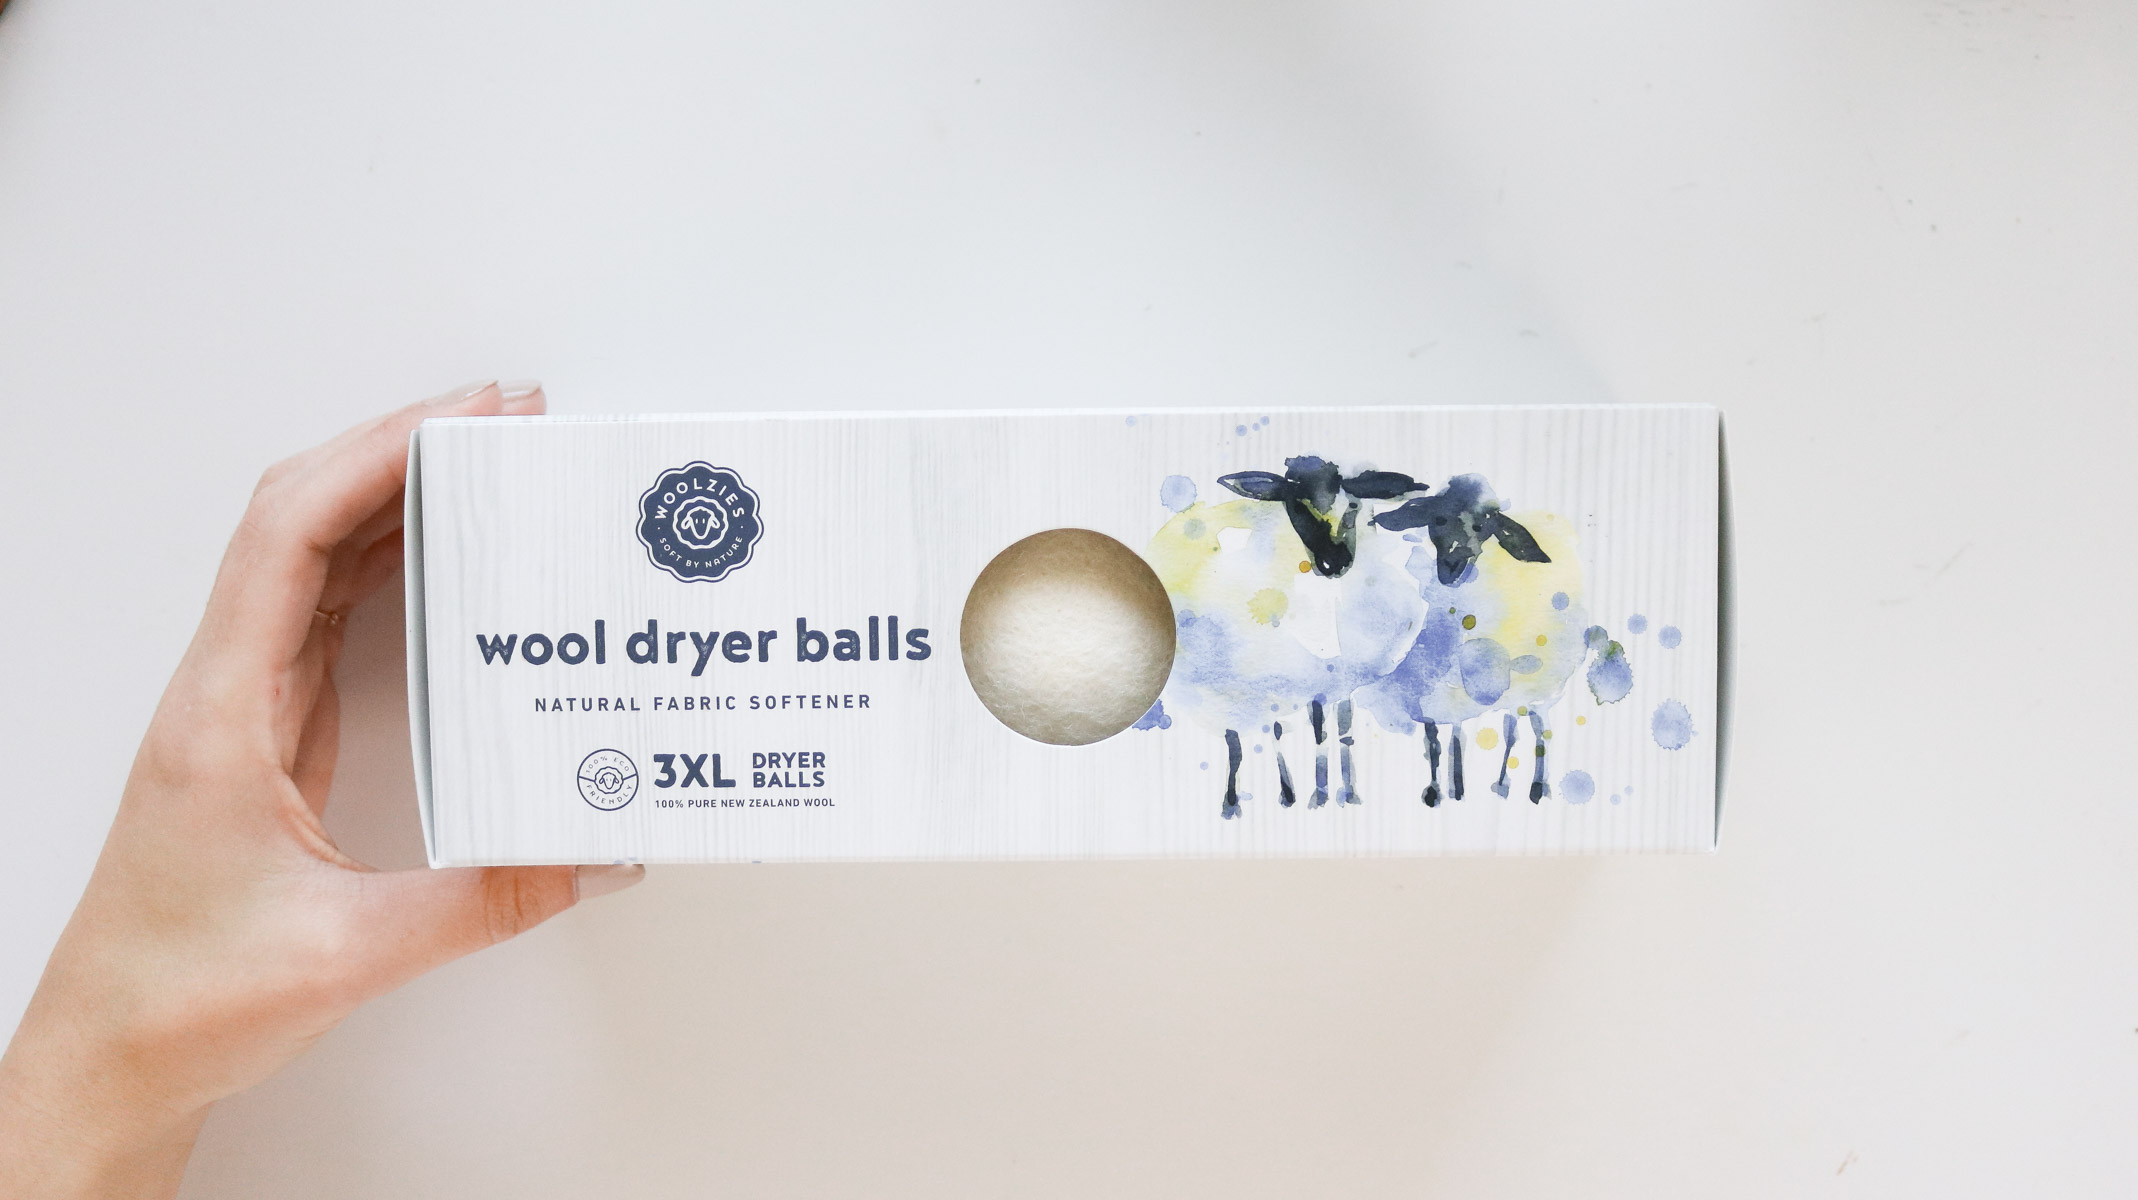
These wool dryer balls are what made the ornaments cost so much. If you’re on a budget I was thinking you can also use just the egg paint it white and simply apply the pine scales to the top of the egg to create an acorn. The reason I cut my egg and added a wood ball instead was because the egg seems slightly to long in shape for an acorn to me and I really wanted a sharp point at the bottom of my acorn. 😁
Also found a great deal on amazon costing under $3 per wool ball 😎 ( wow that would take the cost down quite a bit. )
I got these XL dryer balls at bed bath and beyond. They’re pretty pricey there. Gosh I think it was $17 for a set of three. What a rip off. If I would of known amazon had them cheaper would of went that route.
Surprisingly they fit perfectly inside the acorn top! Didn’t plan it at all😬. I actually made the top first and then went out looking for the wool balls because of my failed attempt at one.
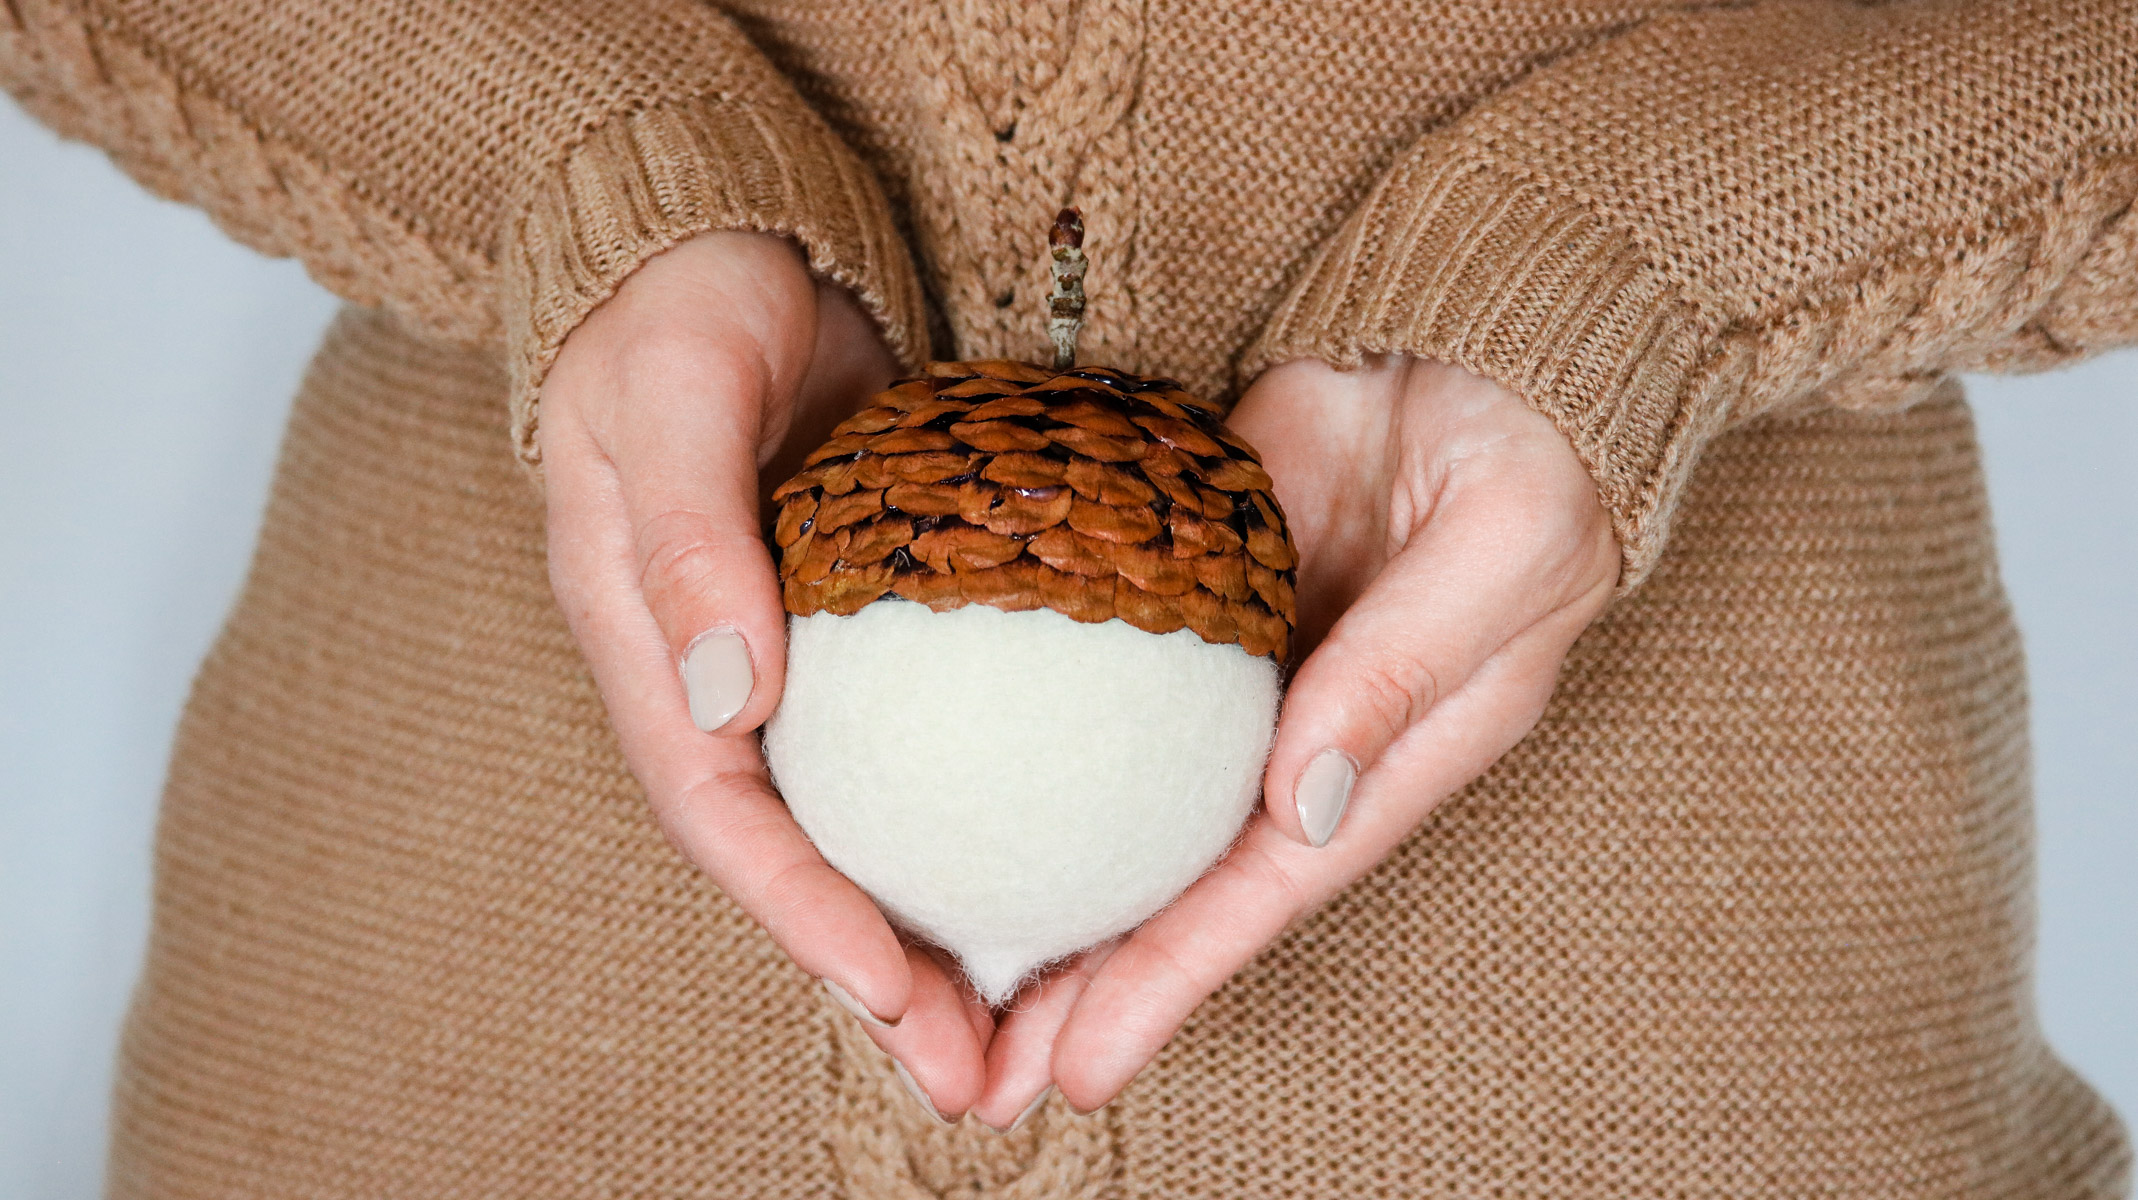
Before hot gluing the ball into the acorn top I used a needle to pull out a bit of wool at the bottom of the ball to create a sharp point for my acorn.
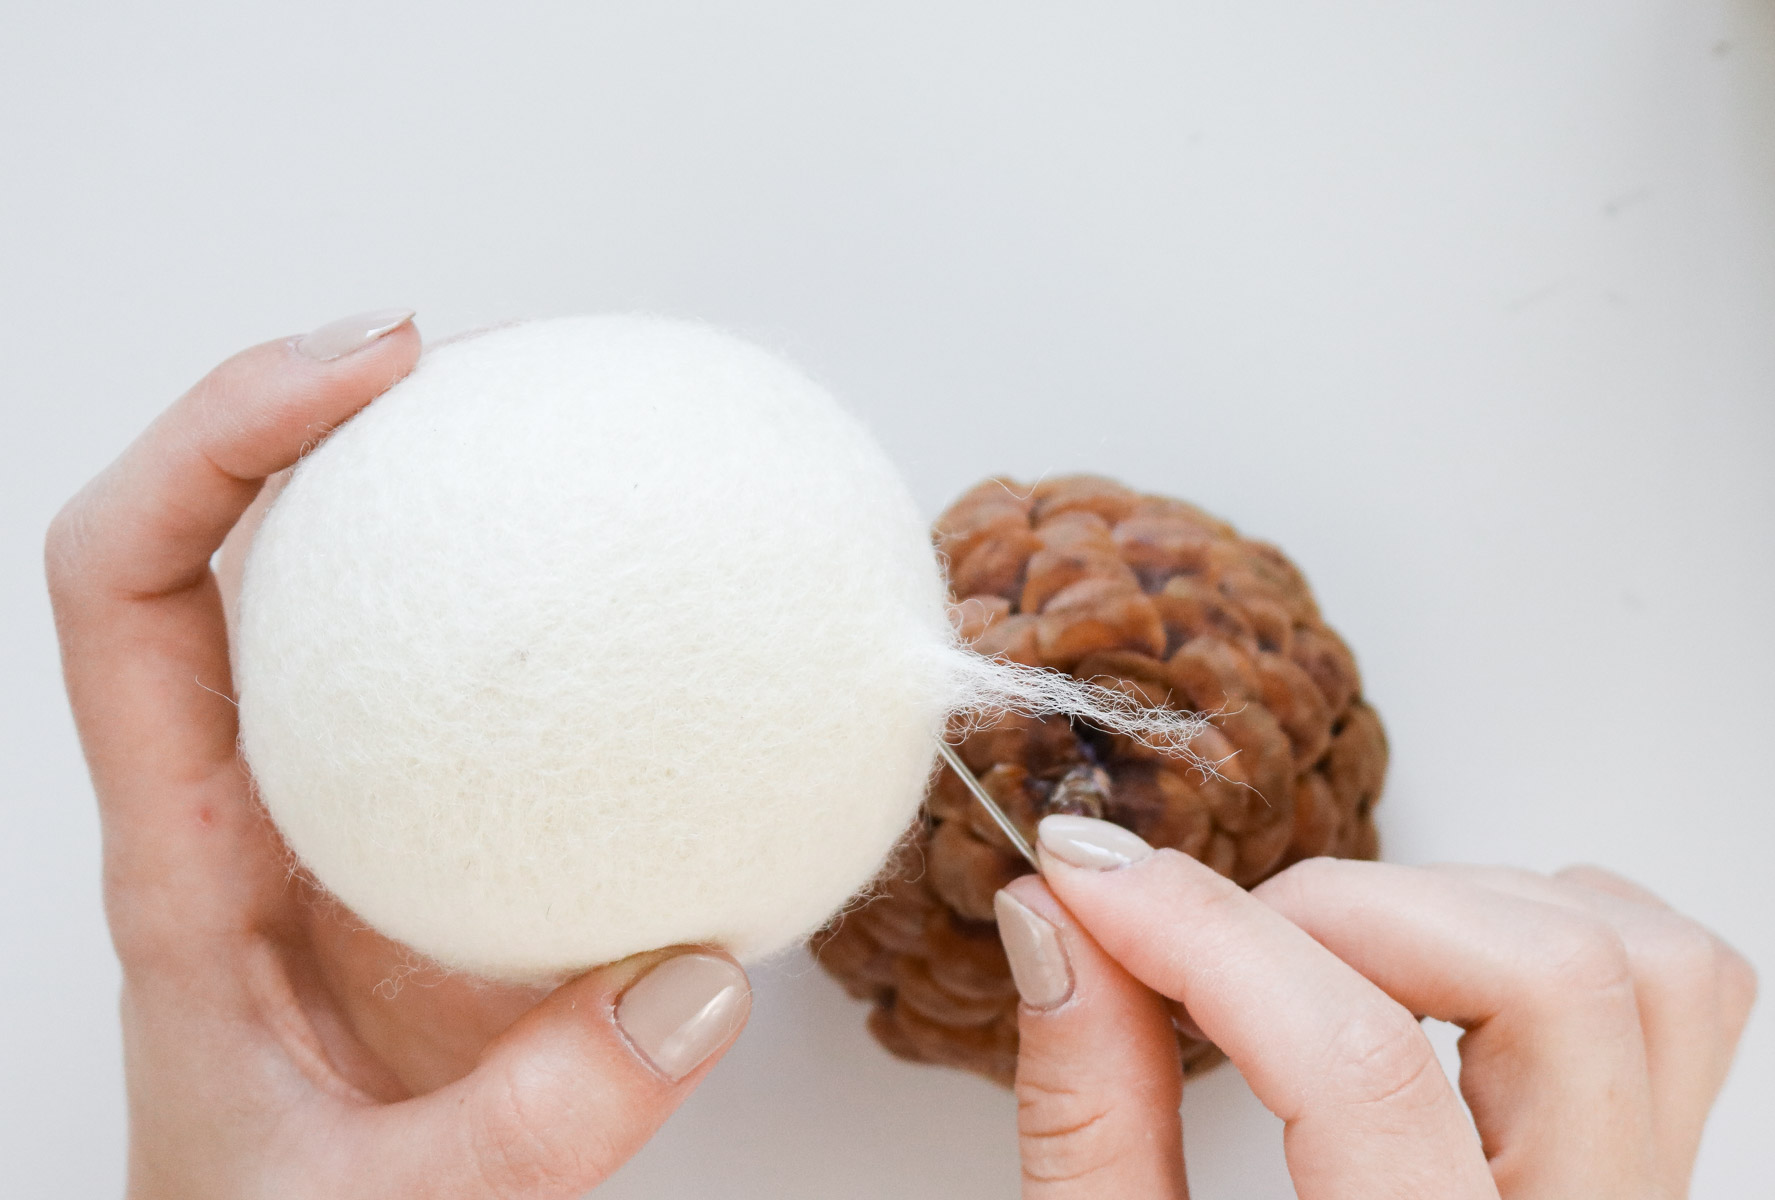
Than I simply hot glued the acorn top and wool ball together and that’s it your acorn ornament is complete!
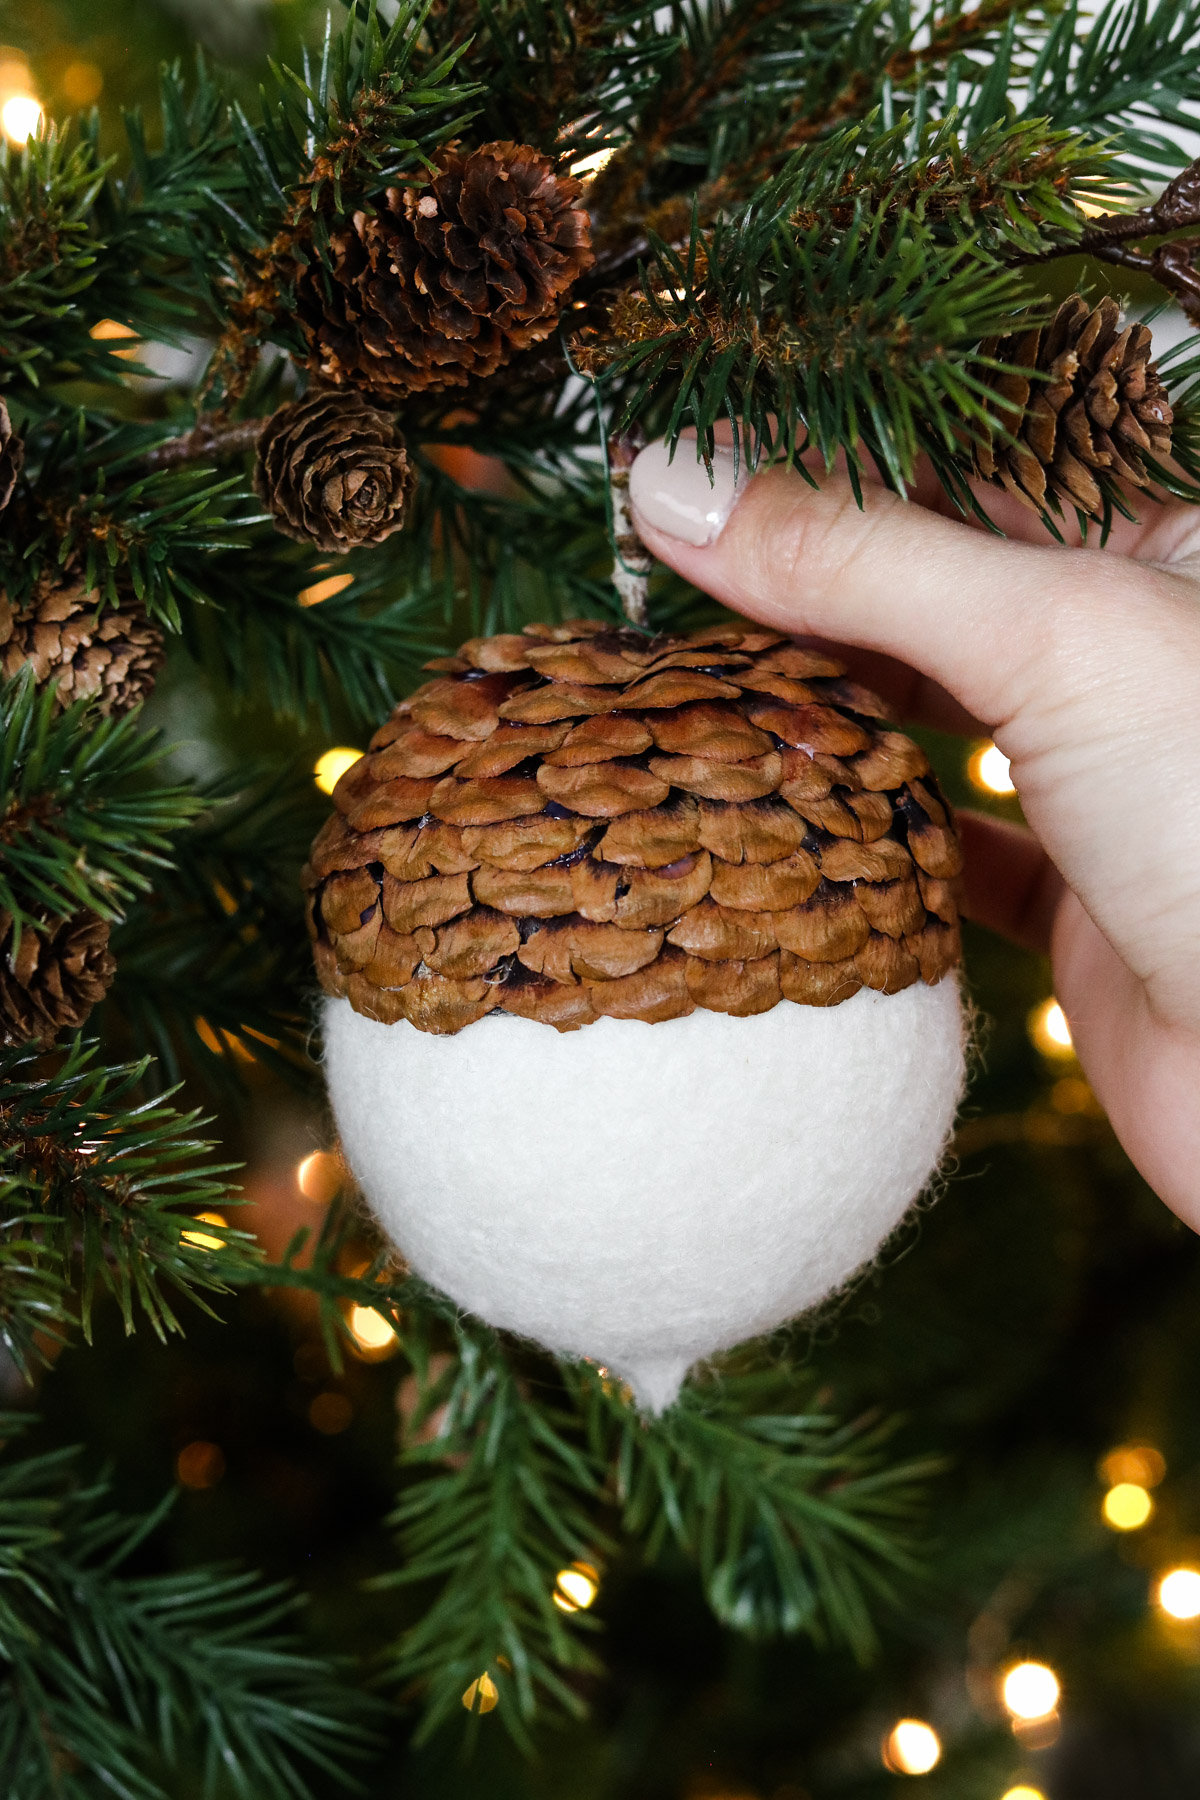
Here’s how the ornament looks on the tree!
That’s all for today!! I’ll see you all next time! I hope this inspires you to make your own acorn ornament with your kiddos or friends! Happy Crafting!

Looking for more DIY ornaments check out – 12 ways to make up-cycled ornaments