If you have some mason jar lids around the house you can make these easy boho inspired, nautical Christmas ornaments!
It’s been a busy couple of weeks and I find myself sharing this a little later then I would of liked but, I keep telling myself better late then never. RIGHT? 😅
WATCH THE VIDEO —– I shared a video on my instagram stories. you can find it here
Supplies:
- natural cotton cording
- lid band (regular mouth not wide mouth)
- fabric
- hot glue
- wood beads
this post contains affiliate links, for more info visit my disclosure policy
Time Needed:
They only take about 10 minutes to make.
Total cost:
My favorite part of these ornaments is that they could easily be made from items you probably already have at home. These ornaments actually cost me $0 because I had everything on hand but, if I were to buy the supplies I think it would be under $10 for 3 ornaments.
How much cording do I need & where to get it??
The cotton cording I used was about 4.5mm thick and 135′ feet long and I was able to make 3 ornaments from it. I got my cord at hobby lobby. Unfortunately I couldn’t find the exact cording online but I did find a similar thickness natural cord on amazon here. Depending on what thickness your natural cord is you might need more or less for each ornament. If it’s thicker you might need less of it to cover the lid. I wouldn’t do cording that’s thicker than 4.5mm. Even 4.5mm is on the thicker side and gives it so much character but, I just feel if it’s any thicker you might not get the same effect.
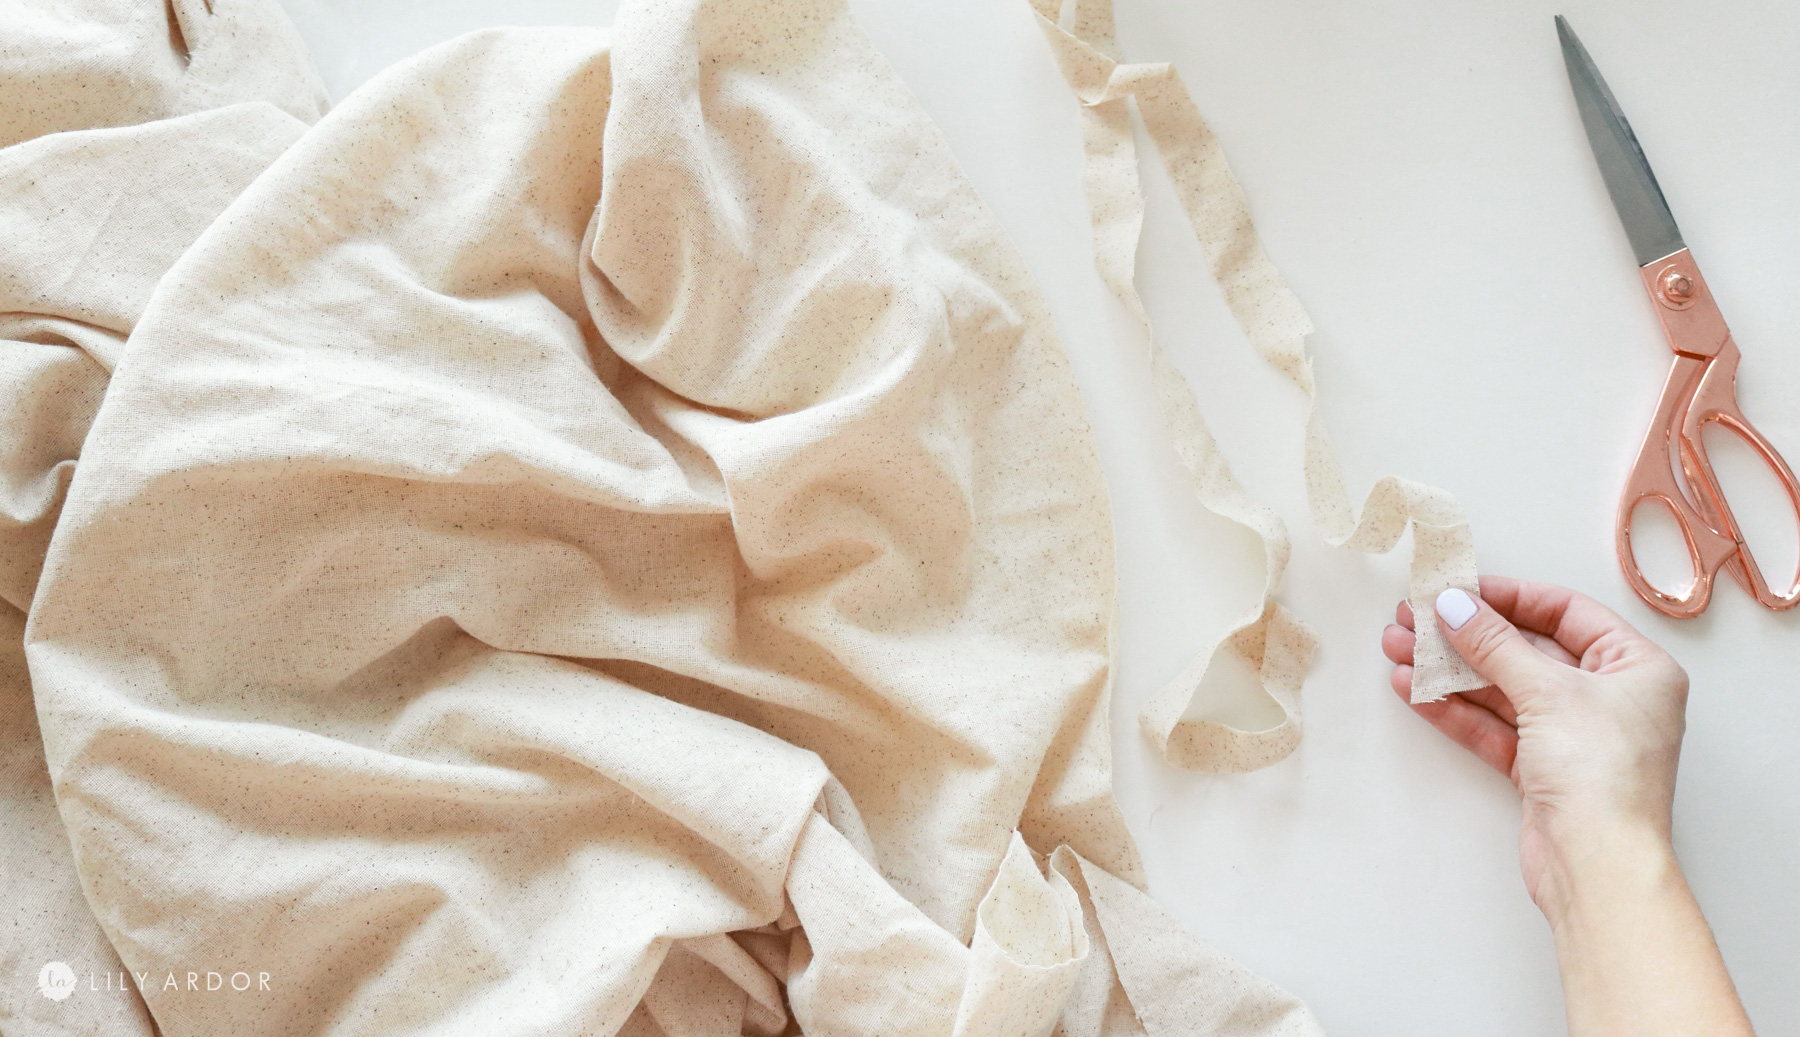
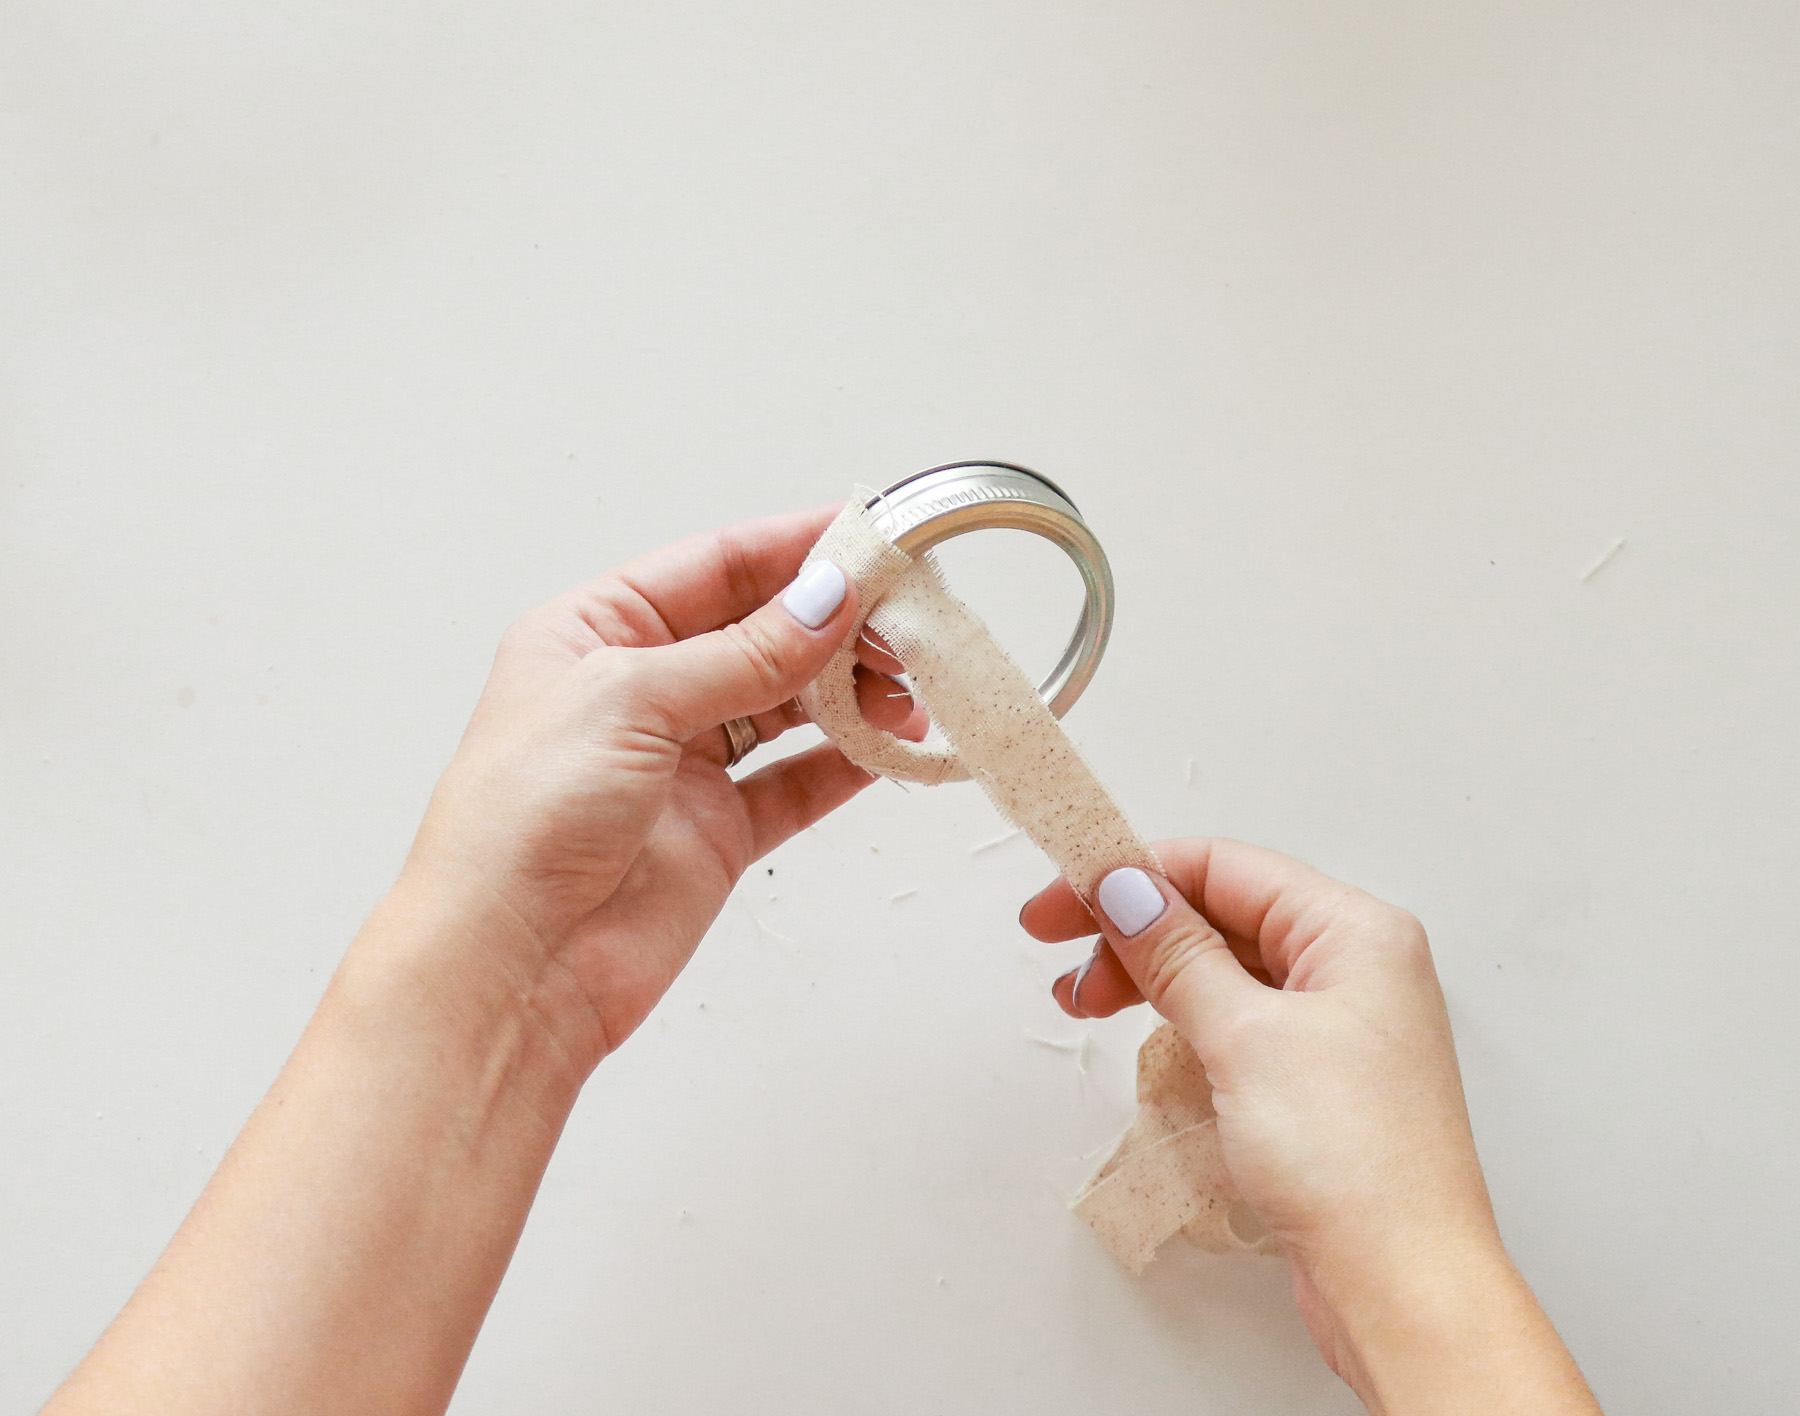
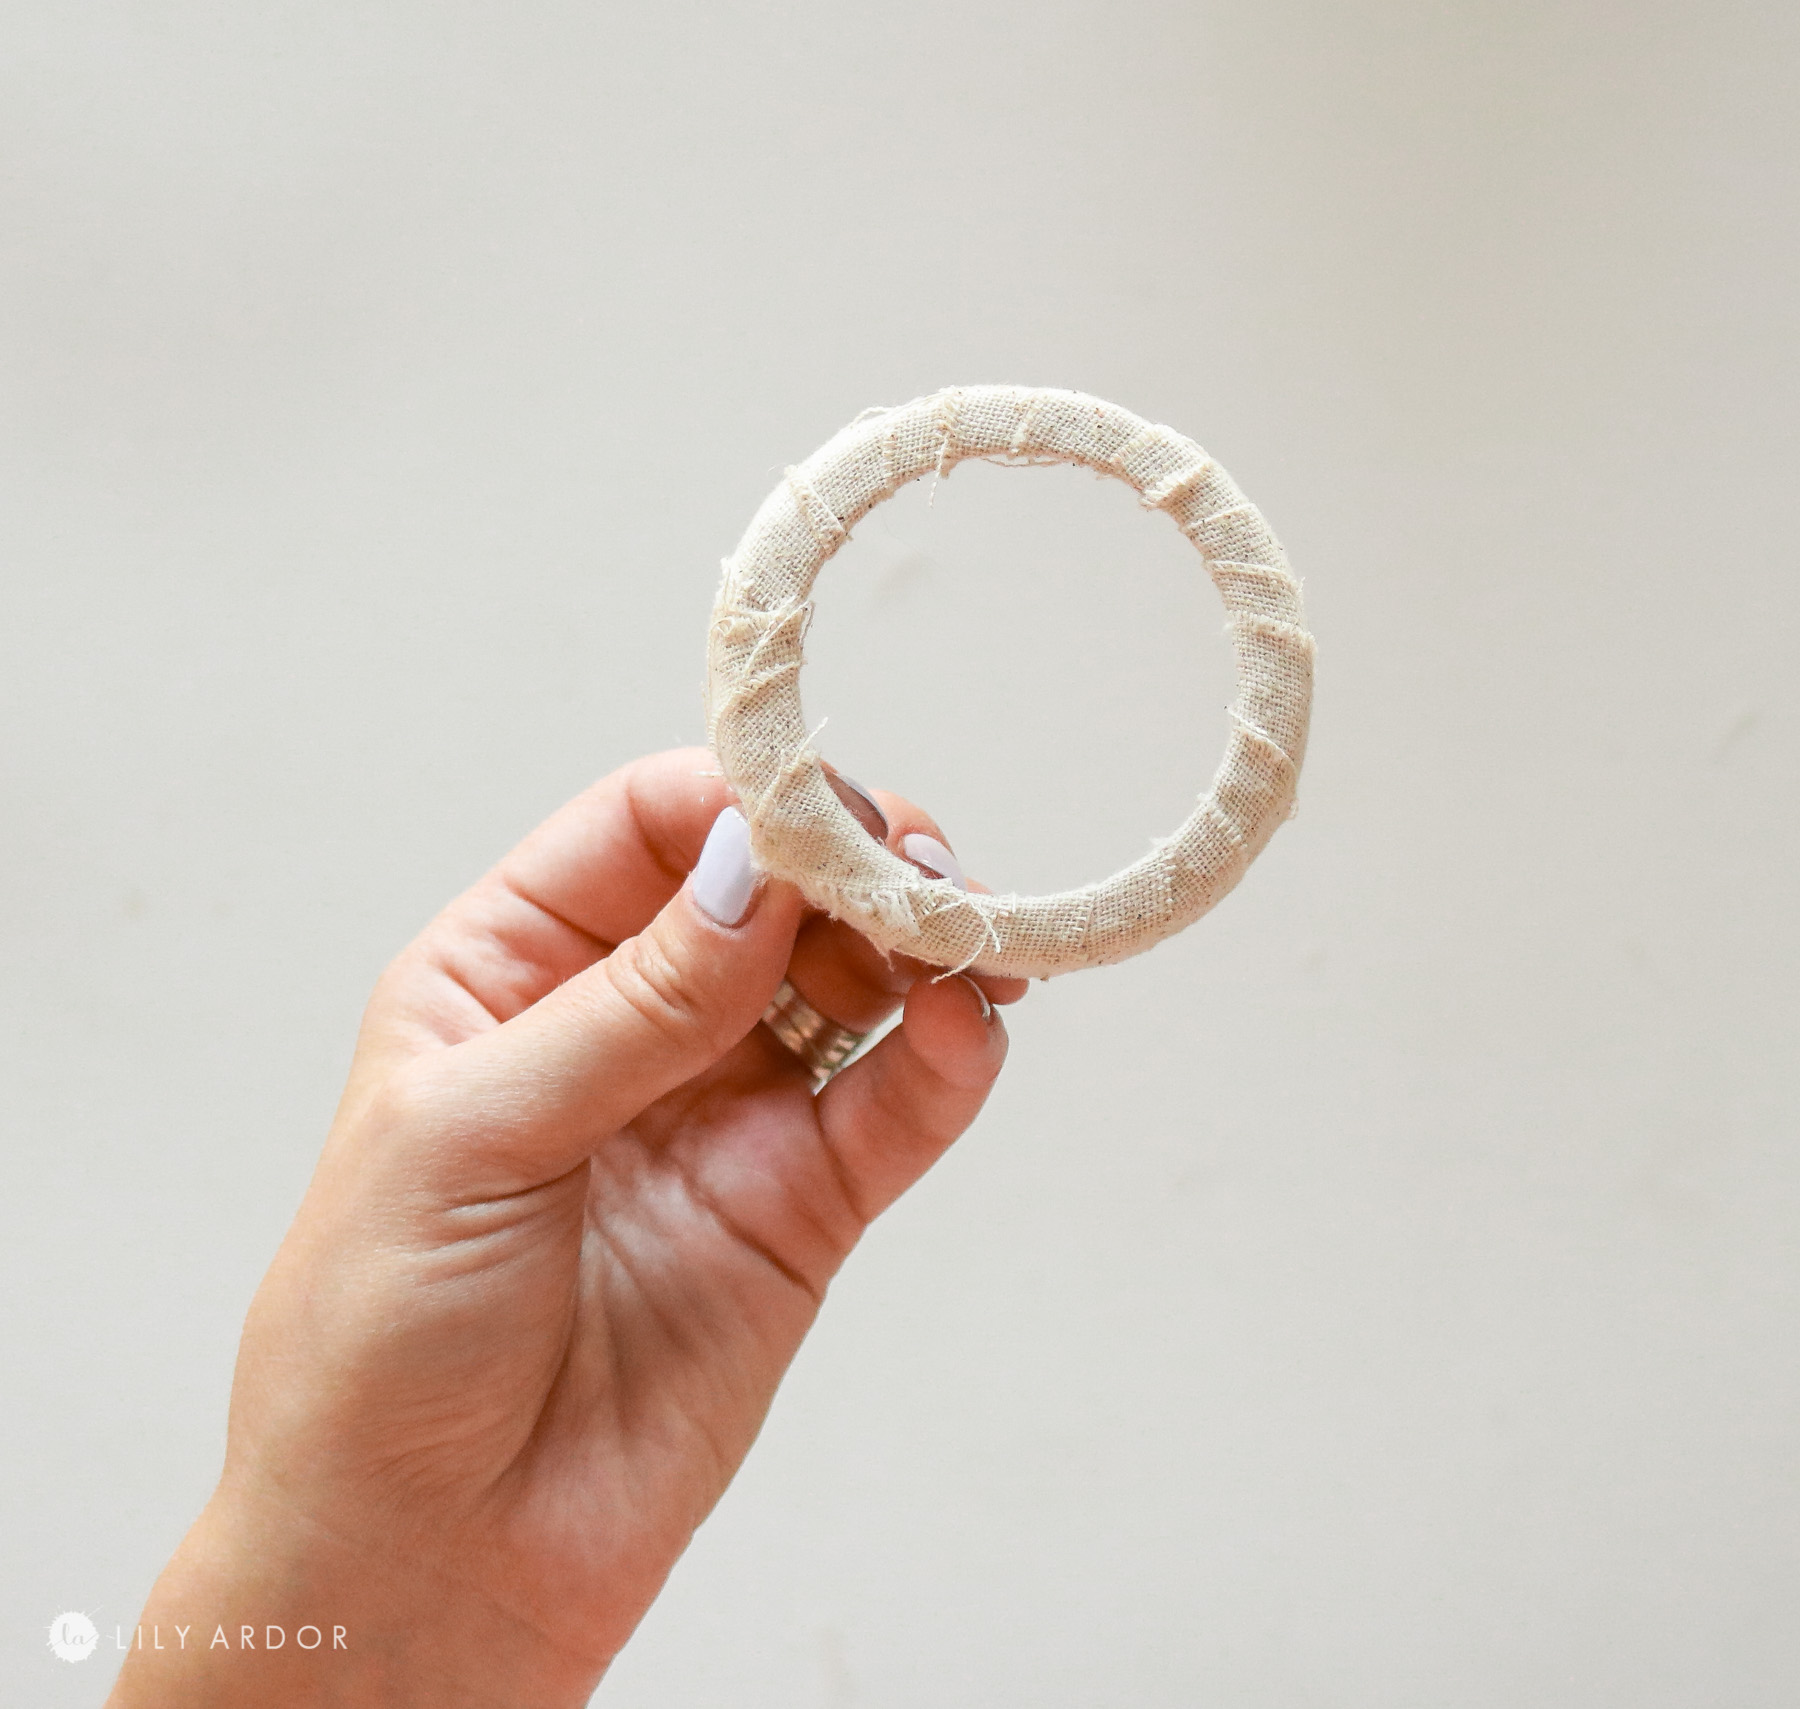
STEP 1: Prep the lids!
I had some fabric at home that was similar in color to the cotton cording. I used some scissors to cut strips from the fabric and wrapped them around the lids securing it with hot glue. This will work as the base to cover the lid so it’s not shinning through once you have the cording on.
Step 2: Creating the knotted look!
I do think photos alone might be confusing so, I will try and be as descriptive as possible with the written instructions.
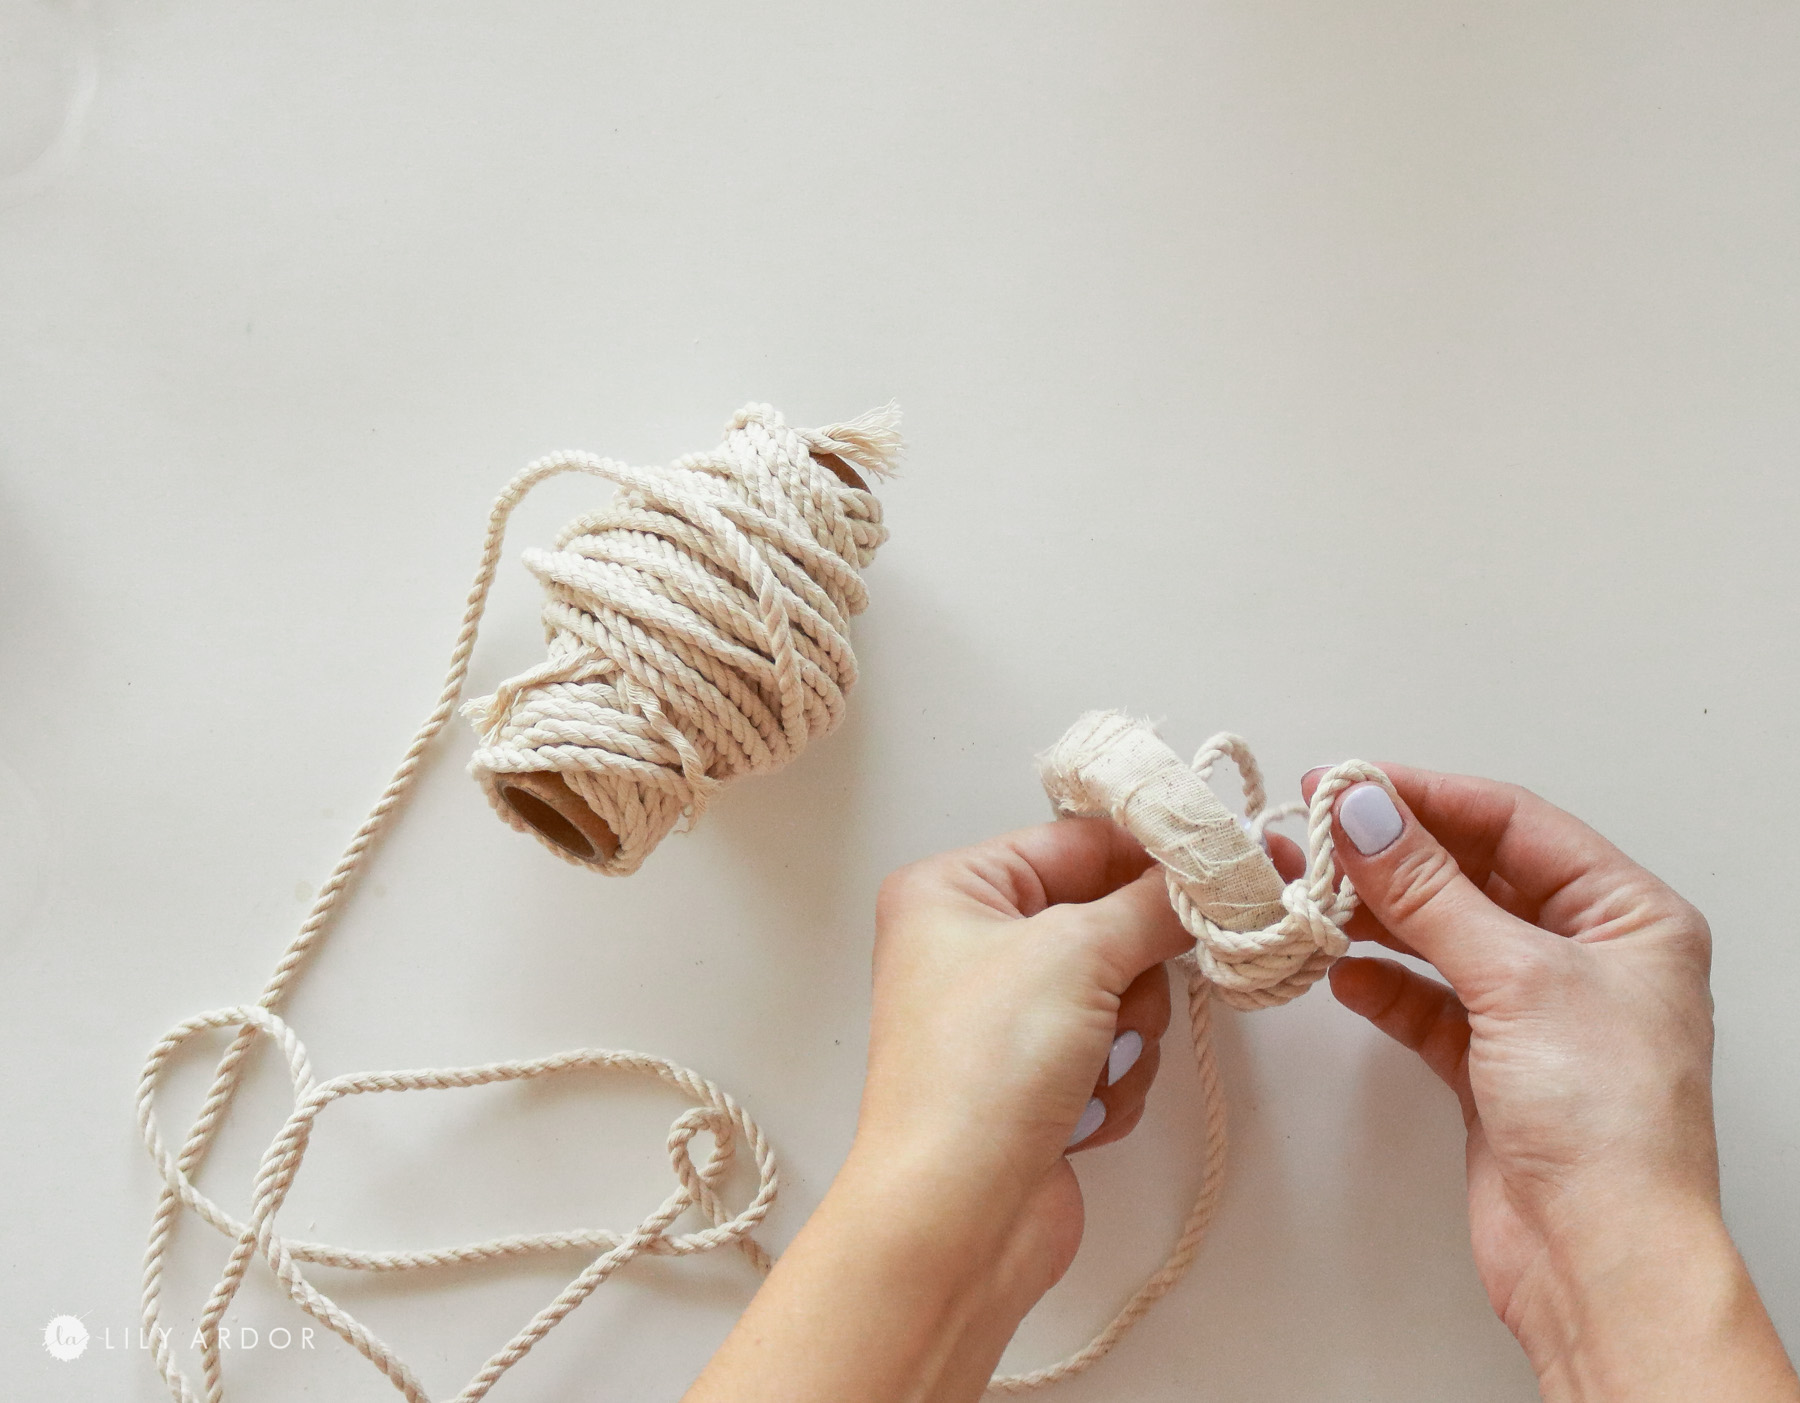
Ok, first I tied a knot on the lid and moved the knot towards the inside of the lid with the tail.
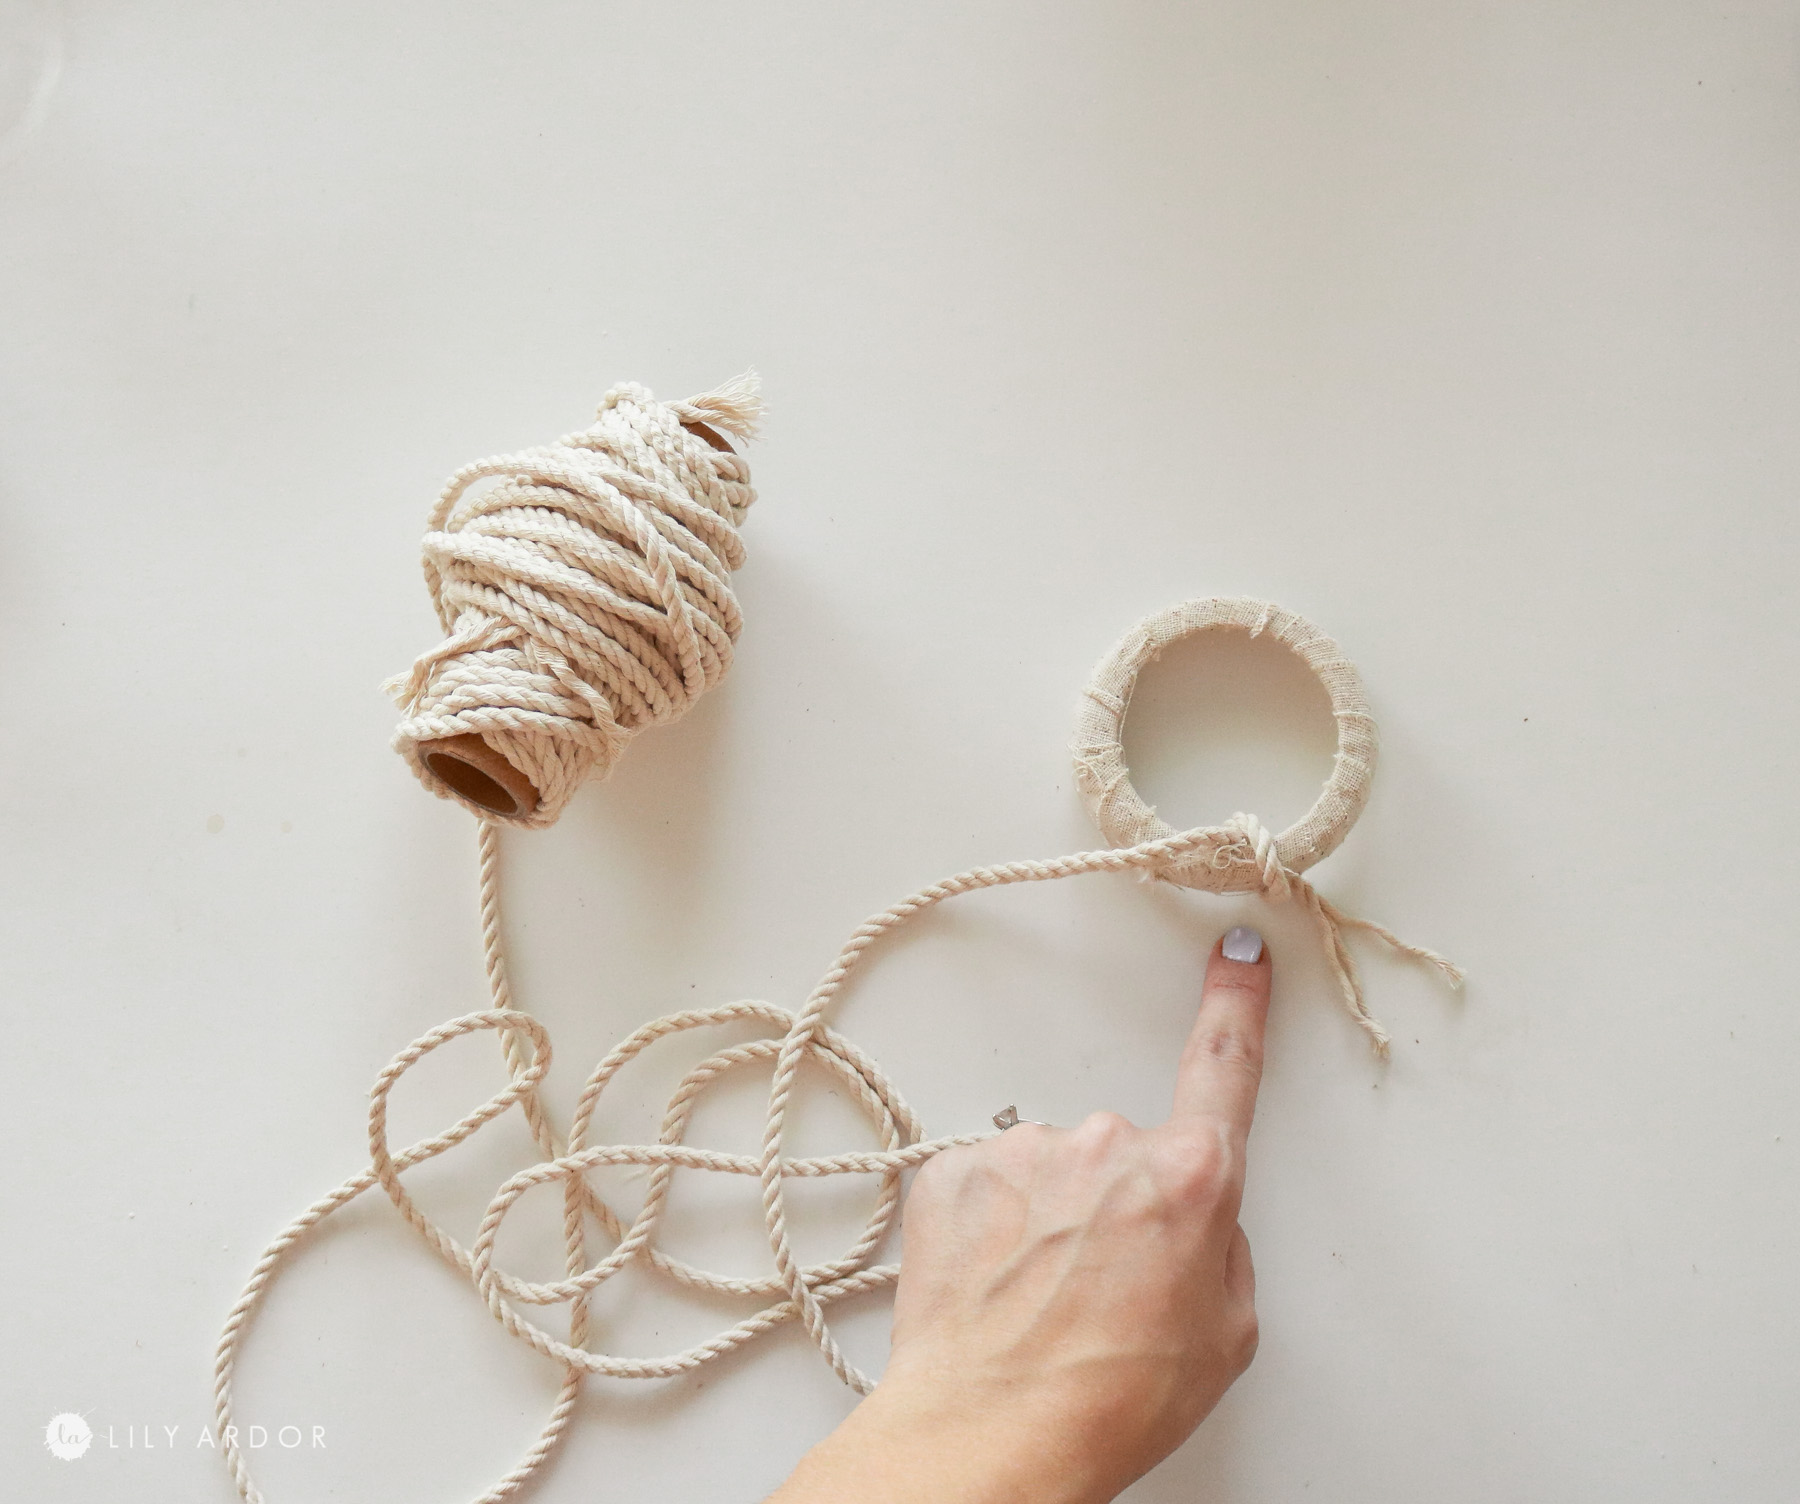
I took some rope and created a loop shape.
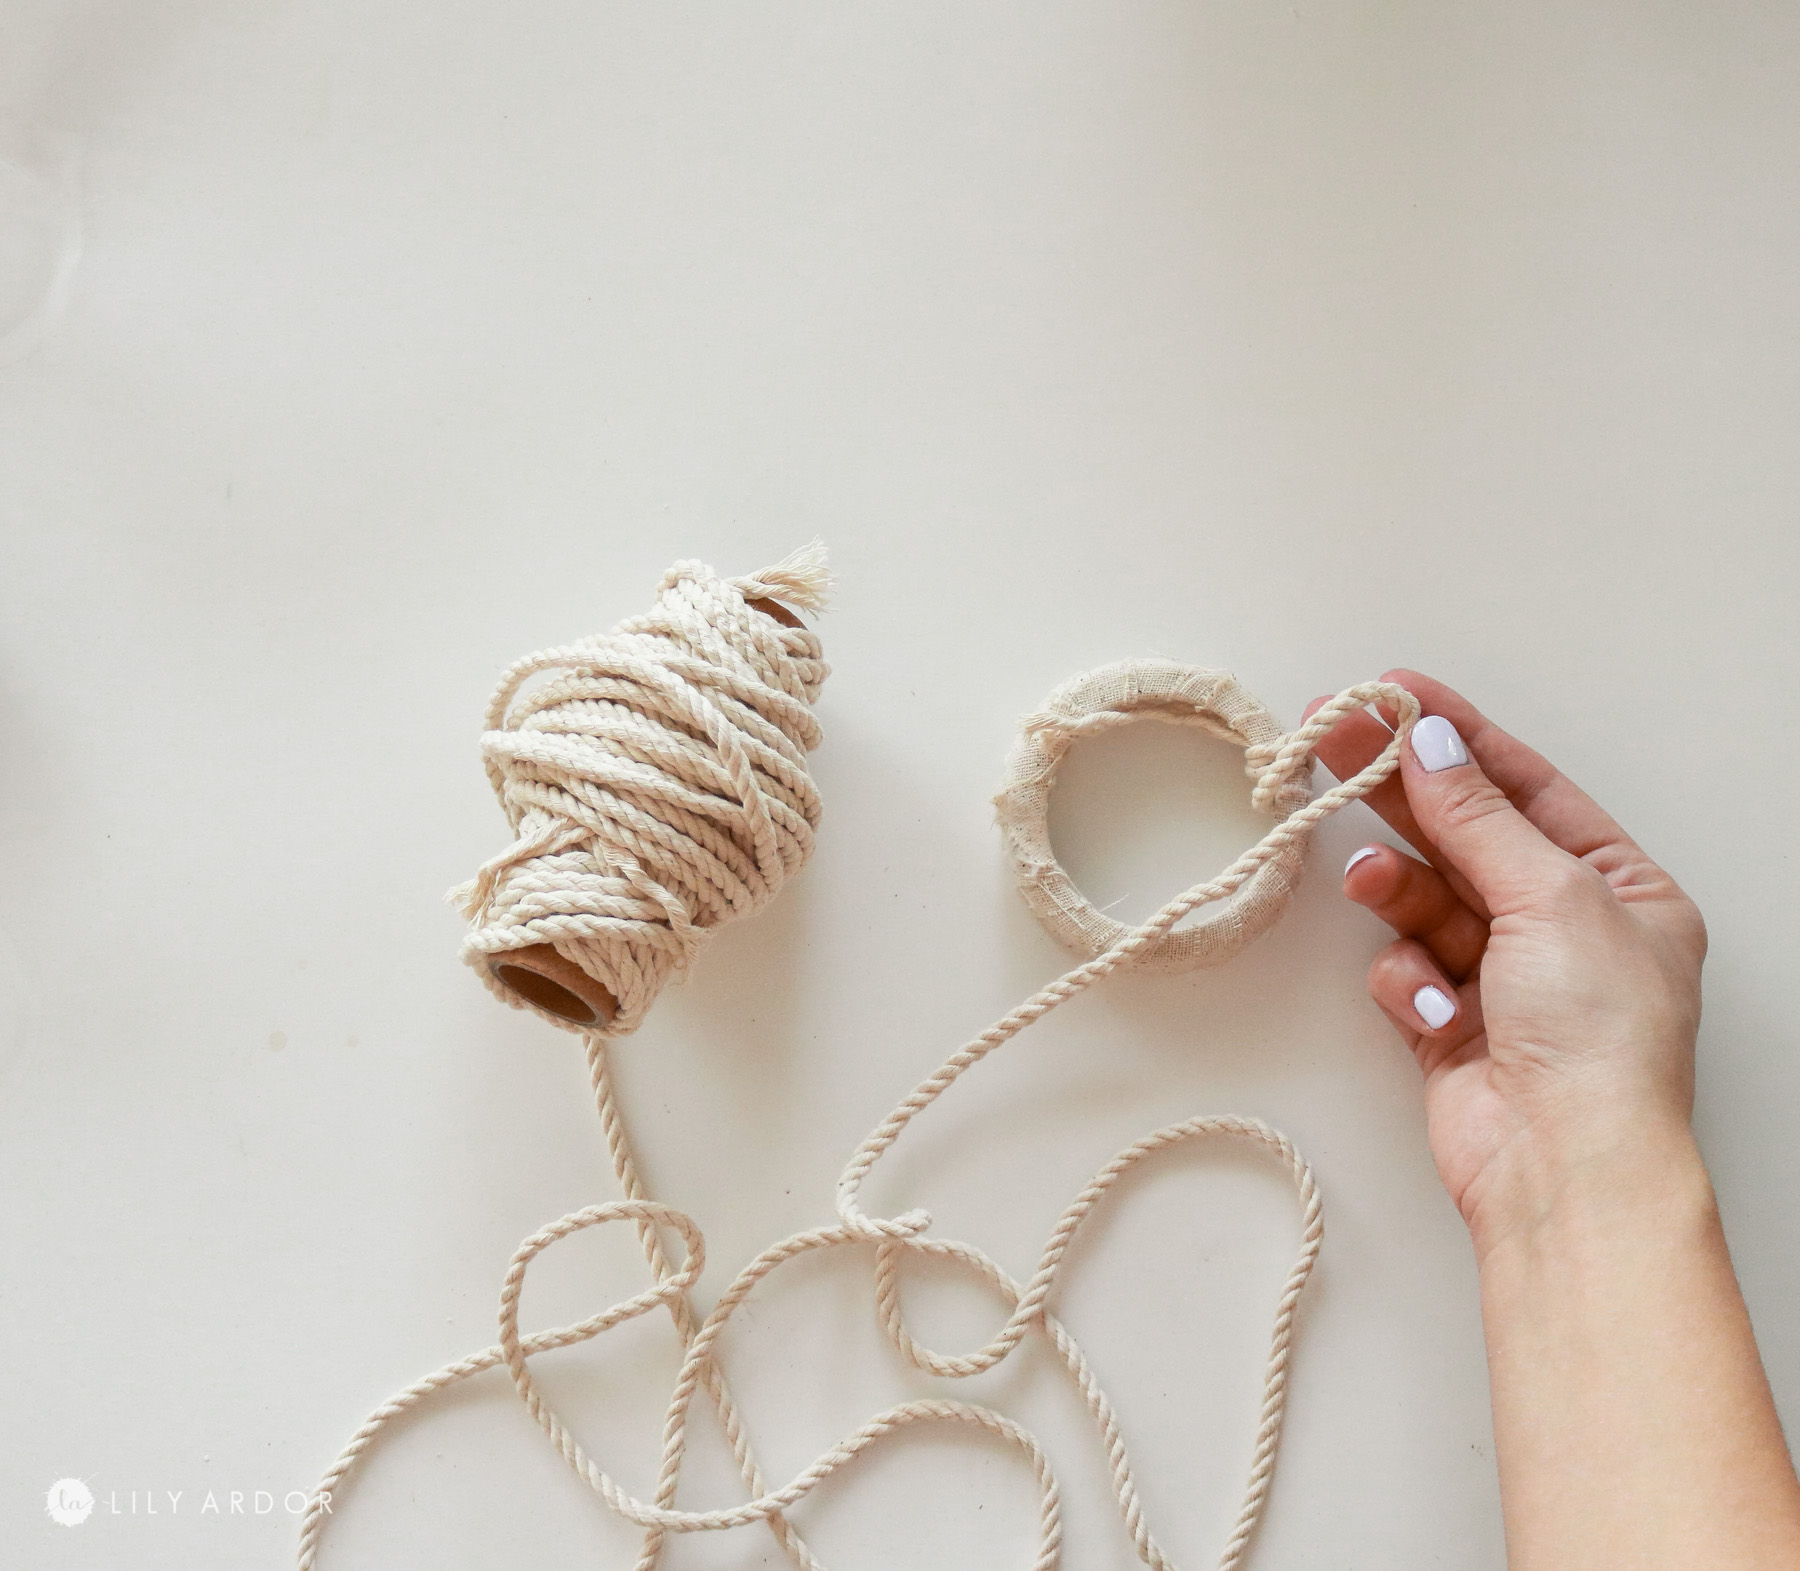
I pulled this loop over the side of the lid and held it. Its ok if the loop is held over your knot because, you’ll need to keep tying knots working to the left on the lid not right.
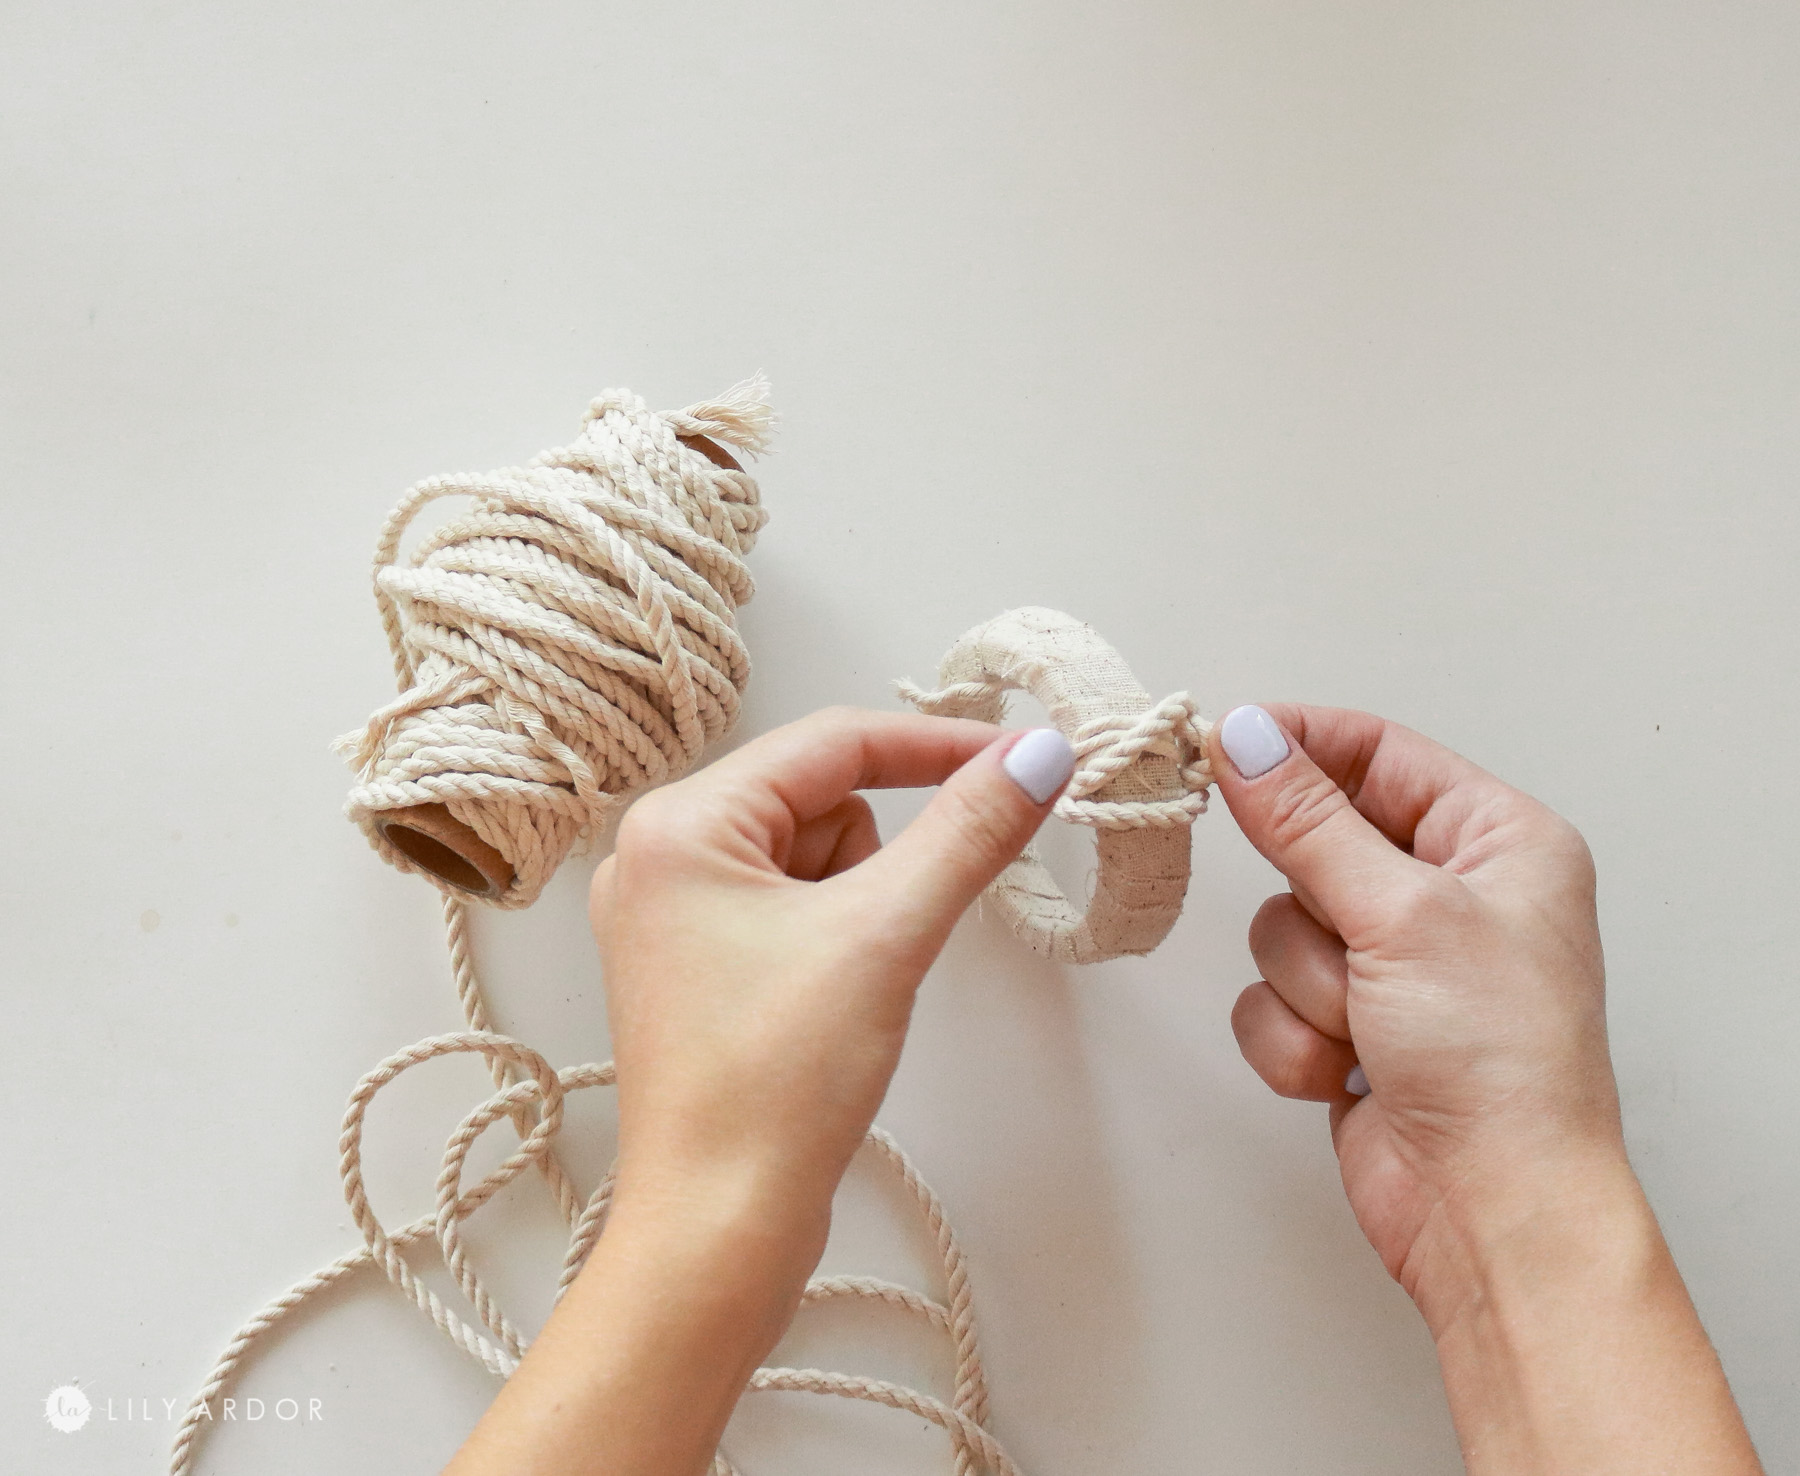
Next I stuck my hand inside the lid and grabbed some rope to pull through the loop I was holding. You should have now created a new loop. ( photo below)
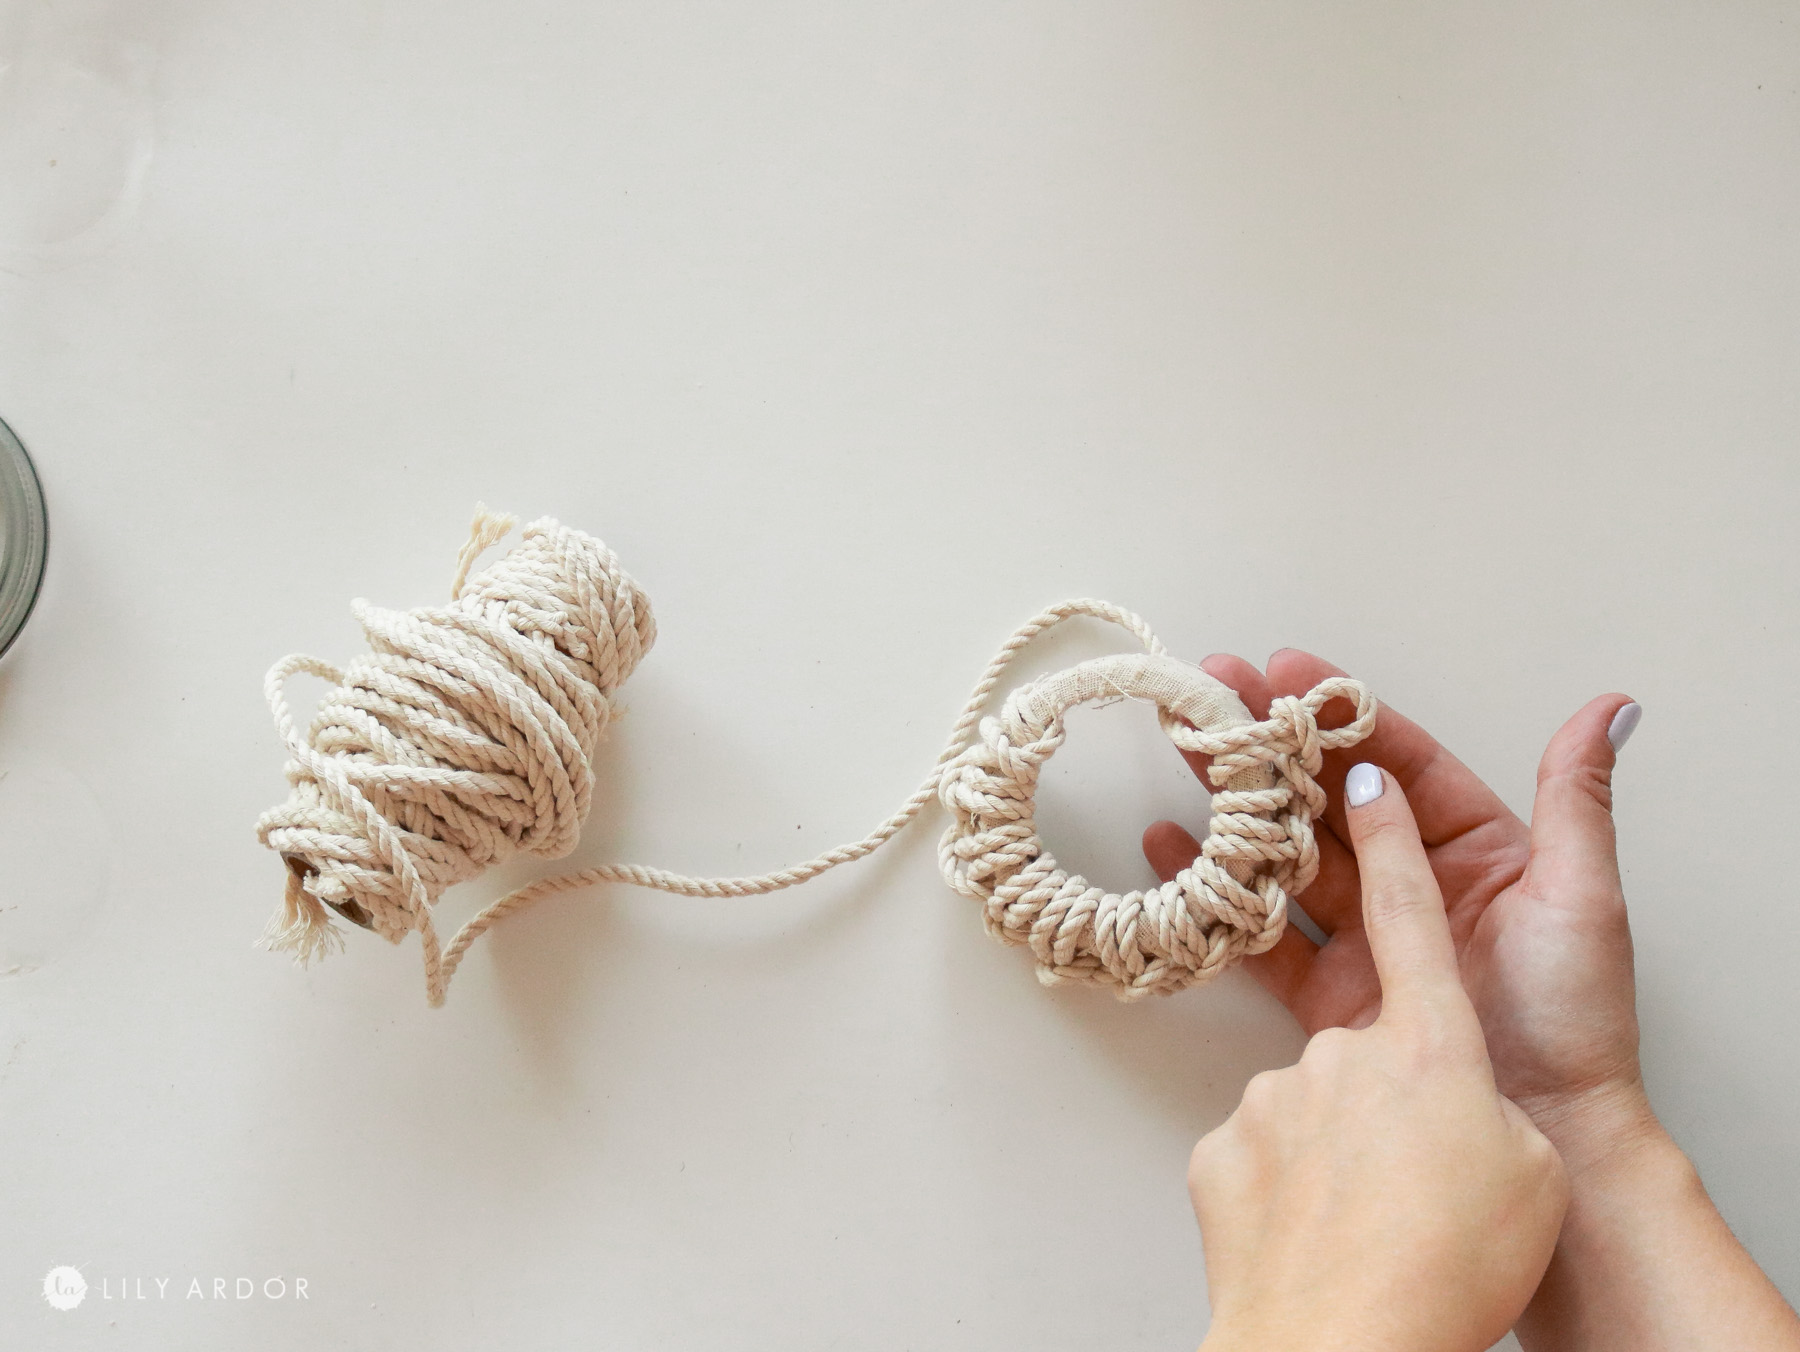
Step 3: Building up the knots!
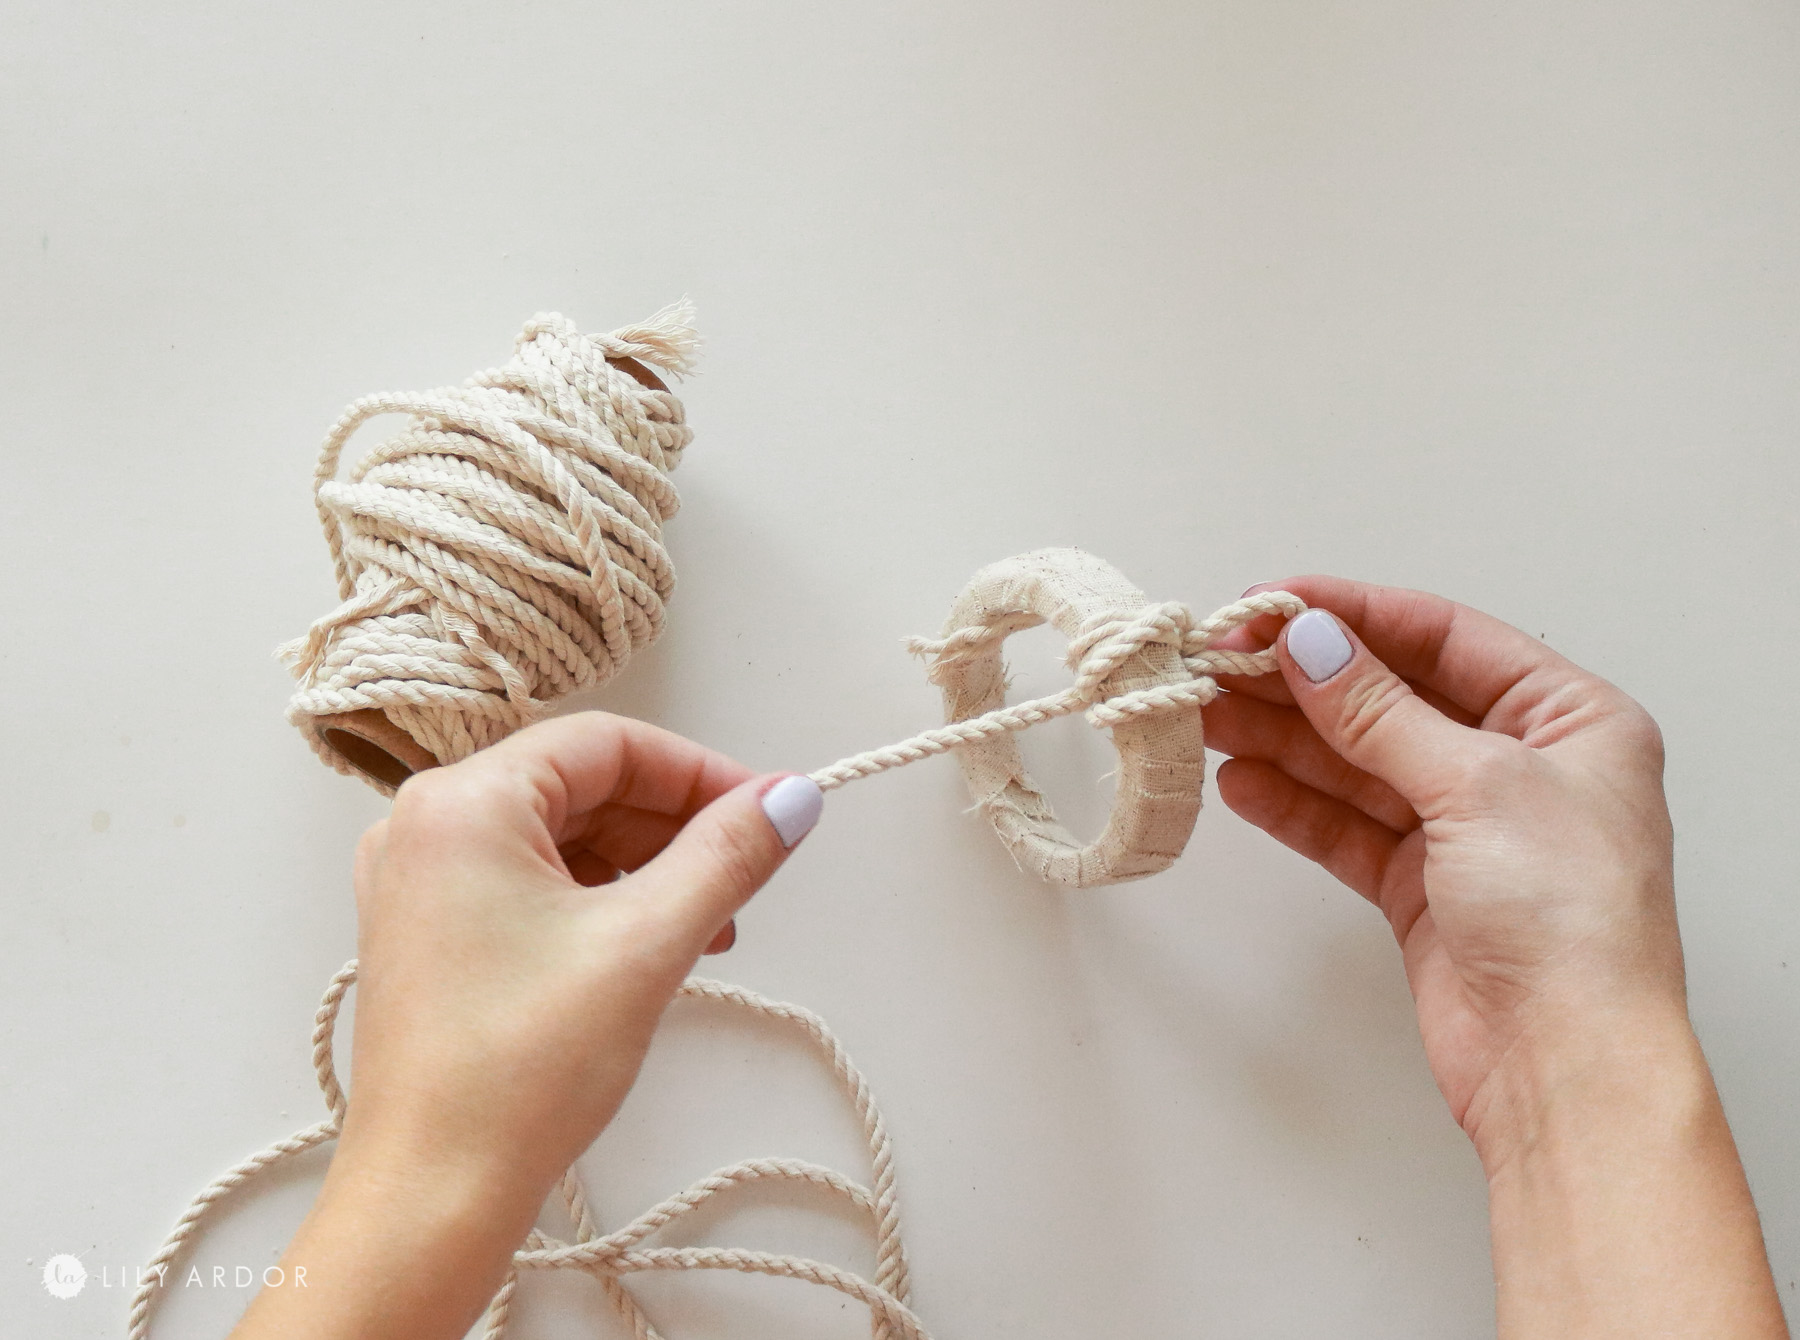
Now that you figured out how to create the knot it’s as simple as pulling out loops. You’ll always have a loop you’ll just need to feed rope through it to create a new loop. Alternate between grabbing rope from one side of the lid to feed through the loop then the other side. Work your way around the lid and you should start getting this macrame pattern.
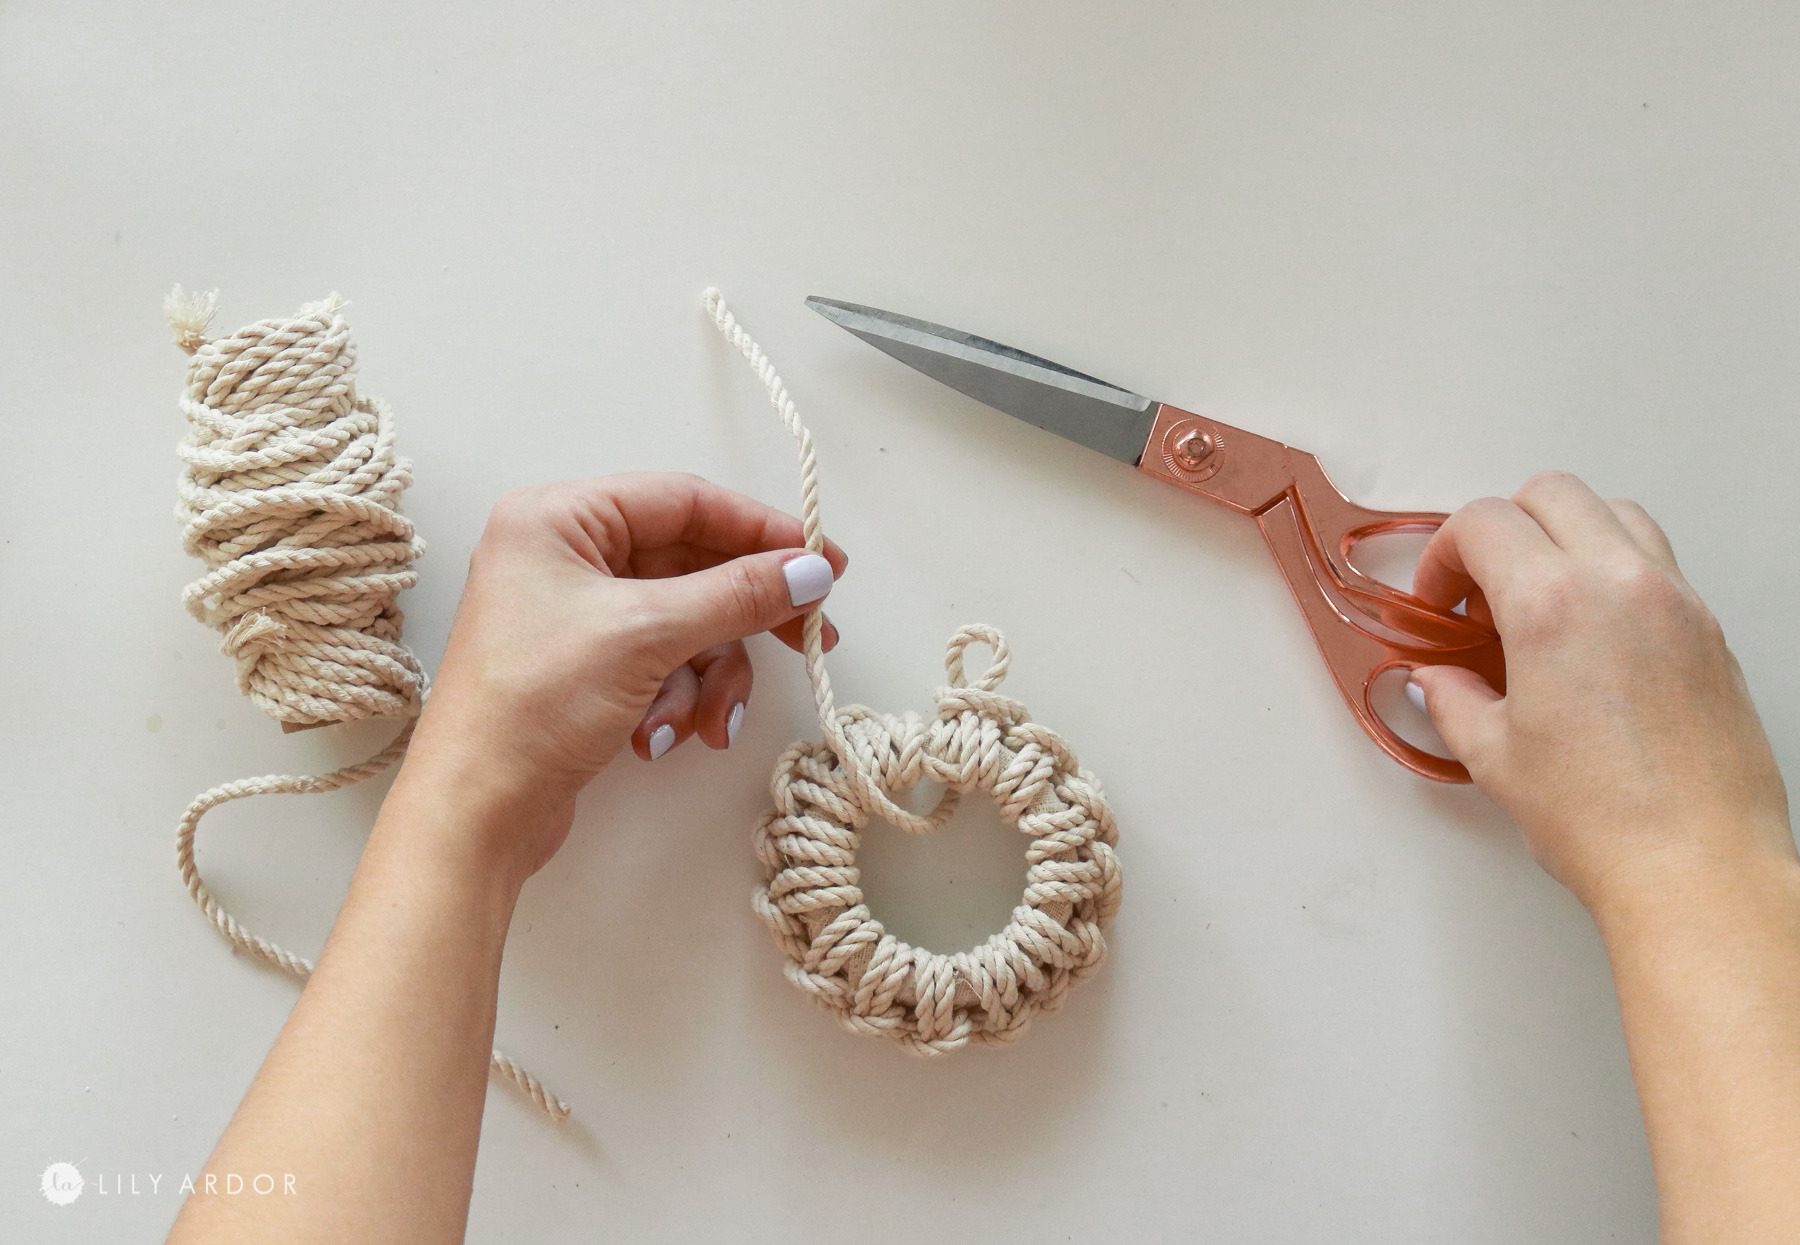
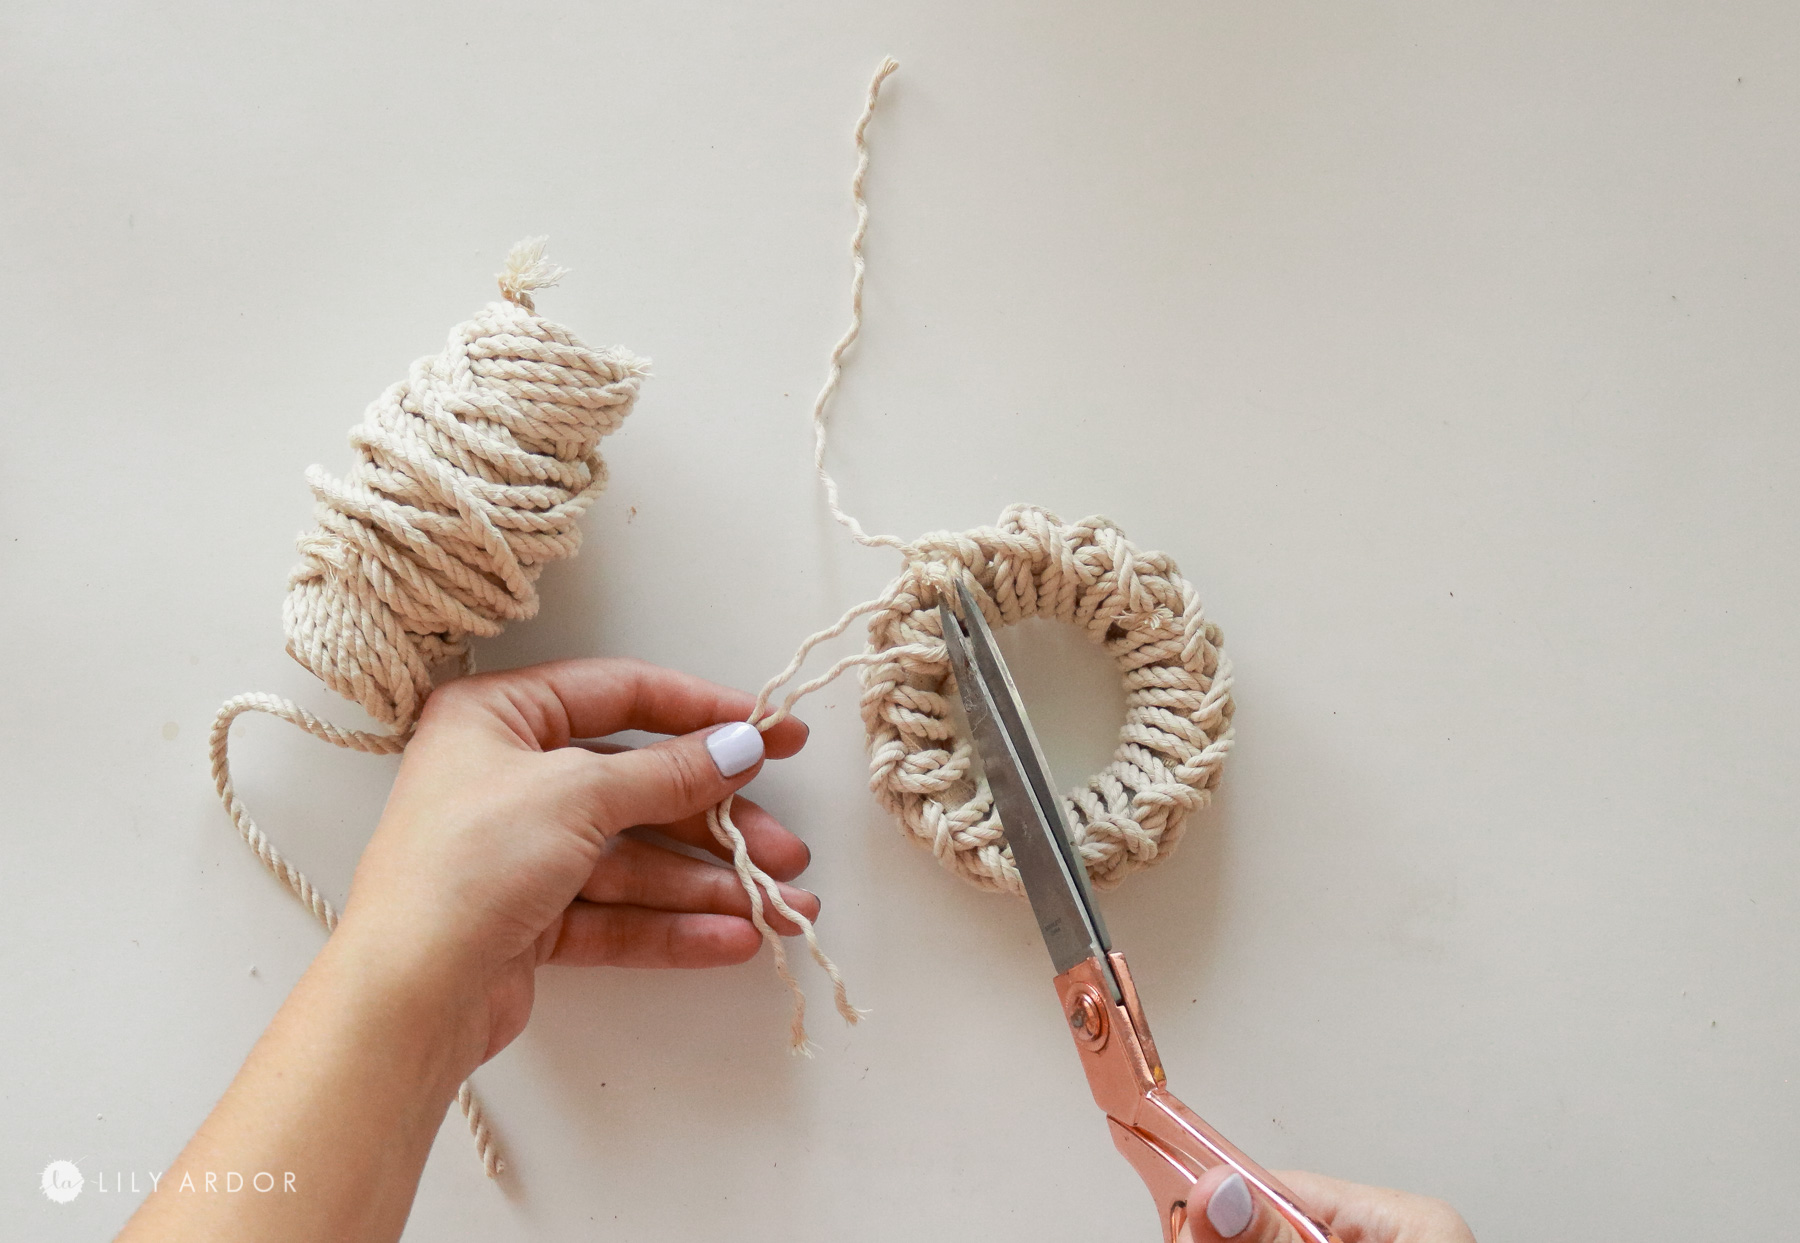
Step 4: Securing your knot and finishing touches!
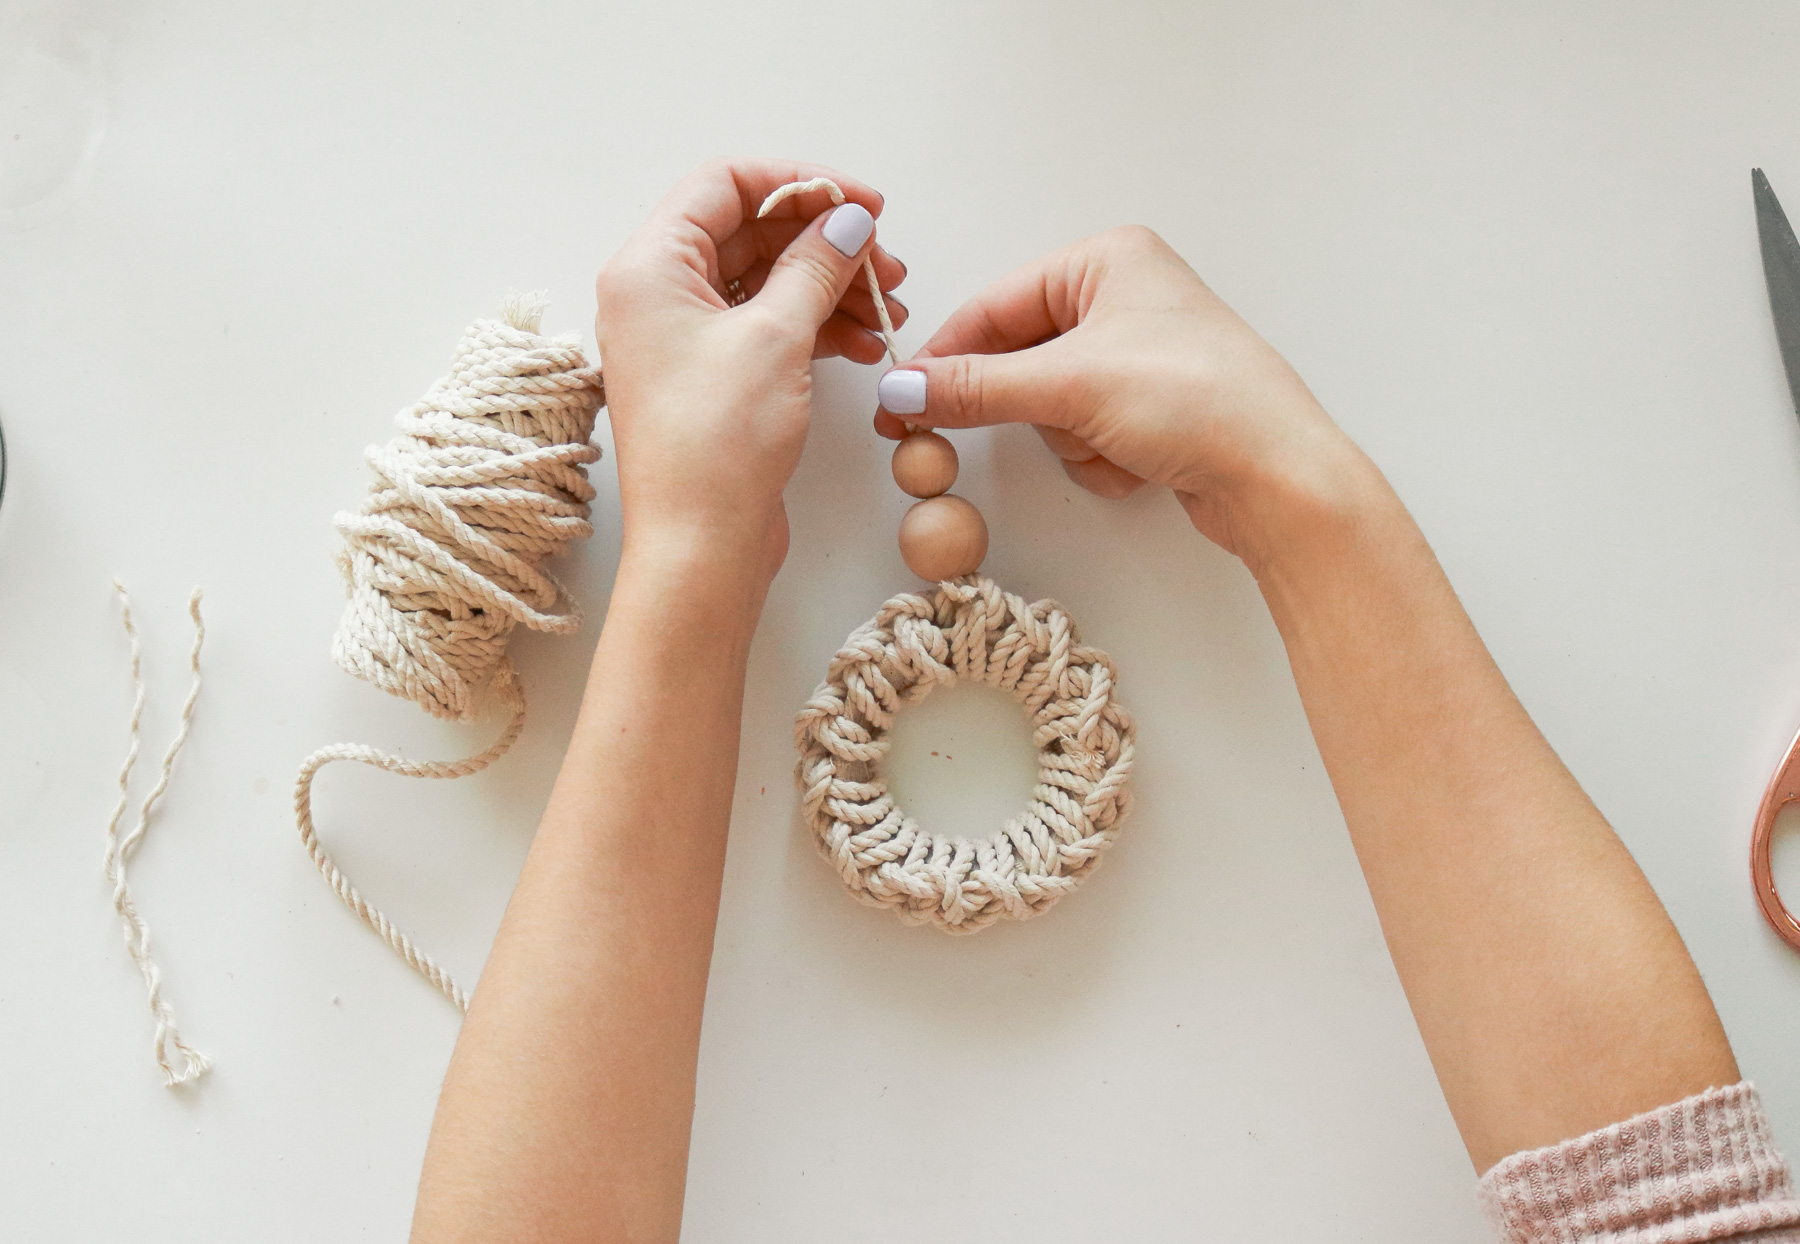
To complete your macrame cut off excess rope and feed the tail through the loop to tie a knot. You can leave it like this or add wood beads to the top like I did. In order to add my beads I first added a dab of hot glue to the knot and secured it. I than separated my cording to thin it out and left only one strand to add the beads to.
Once I added the wood beads I tied a knot at the top with a loop to have something to hang it on the tree with. If you’re having a hard time tying a loop at the top you can always use hot glue the to secure the loop.
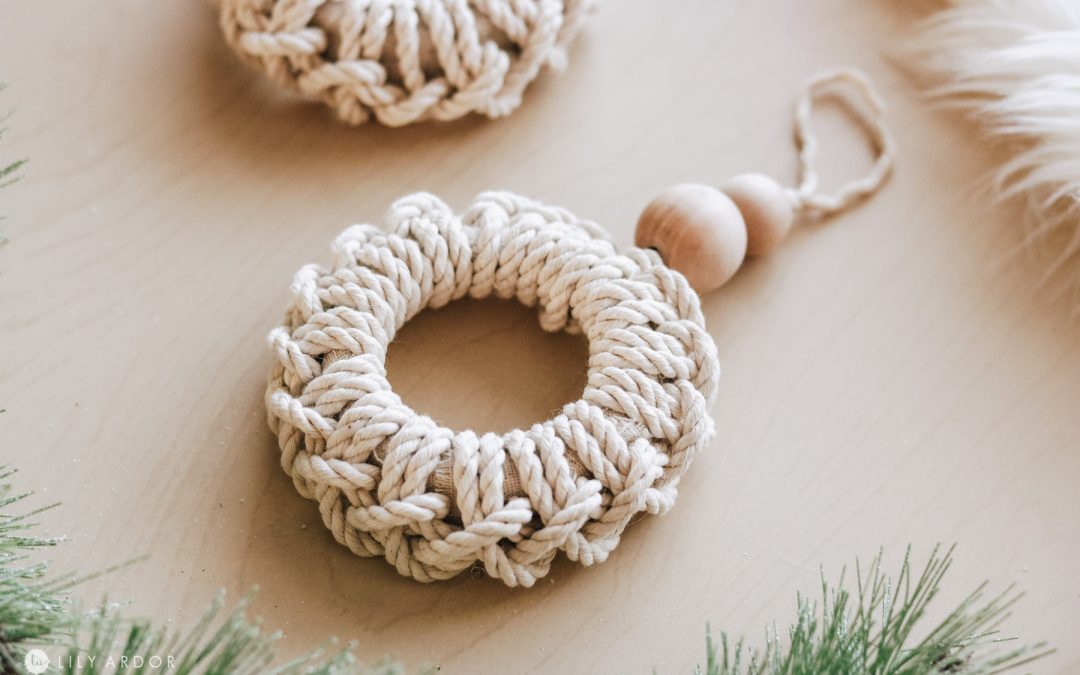
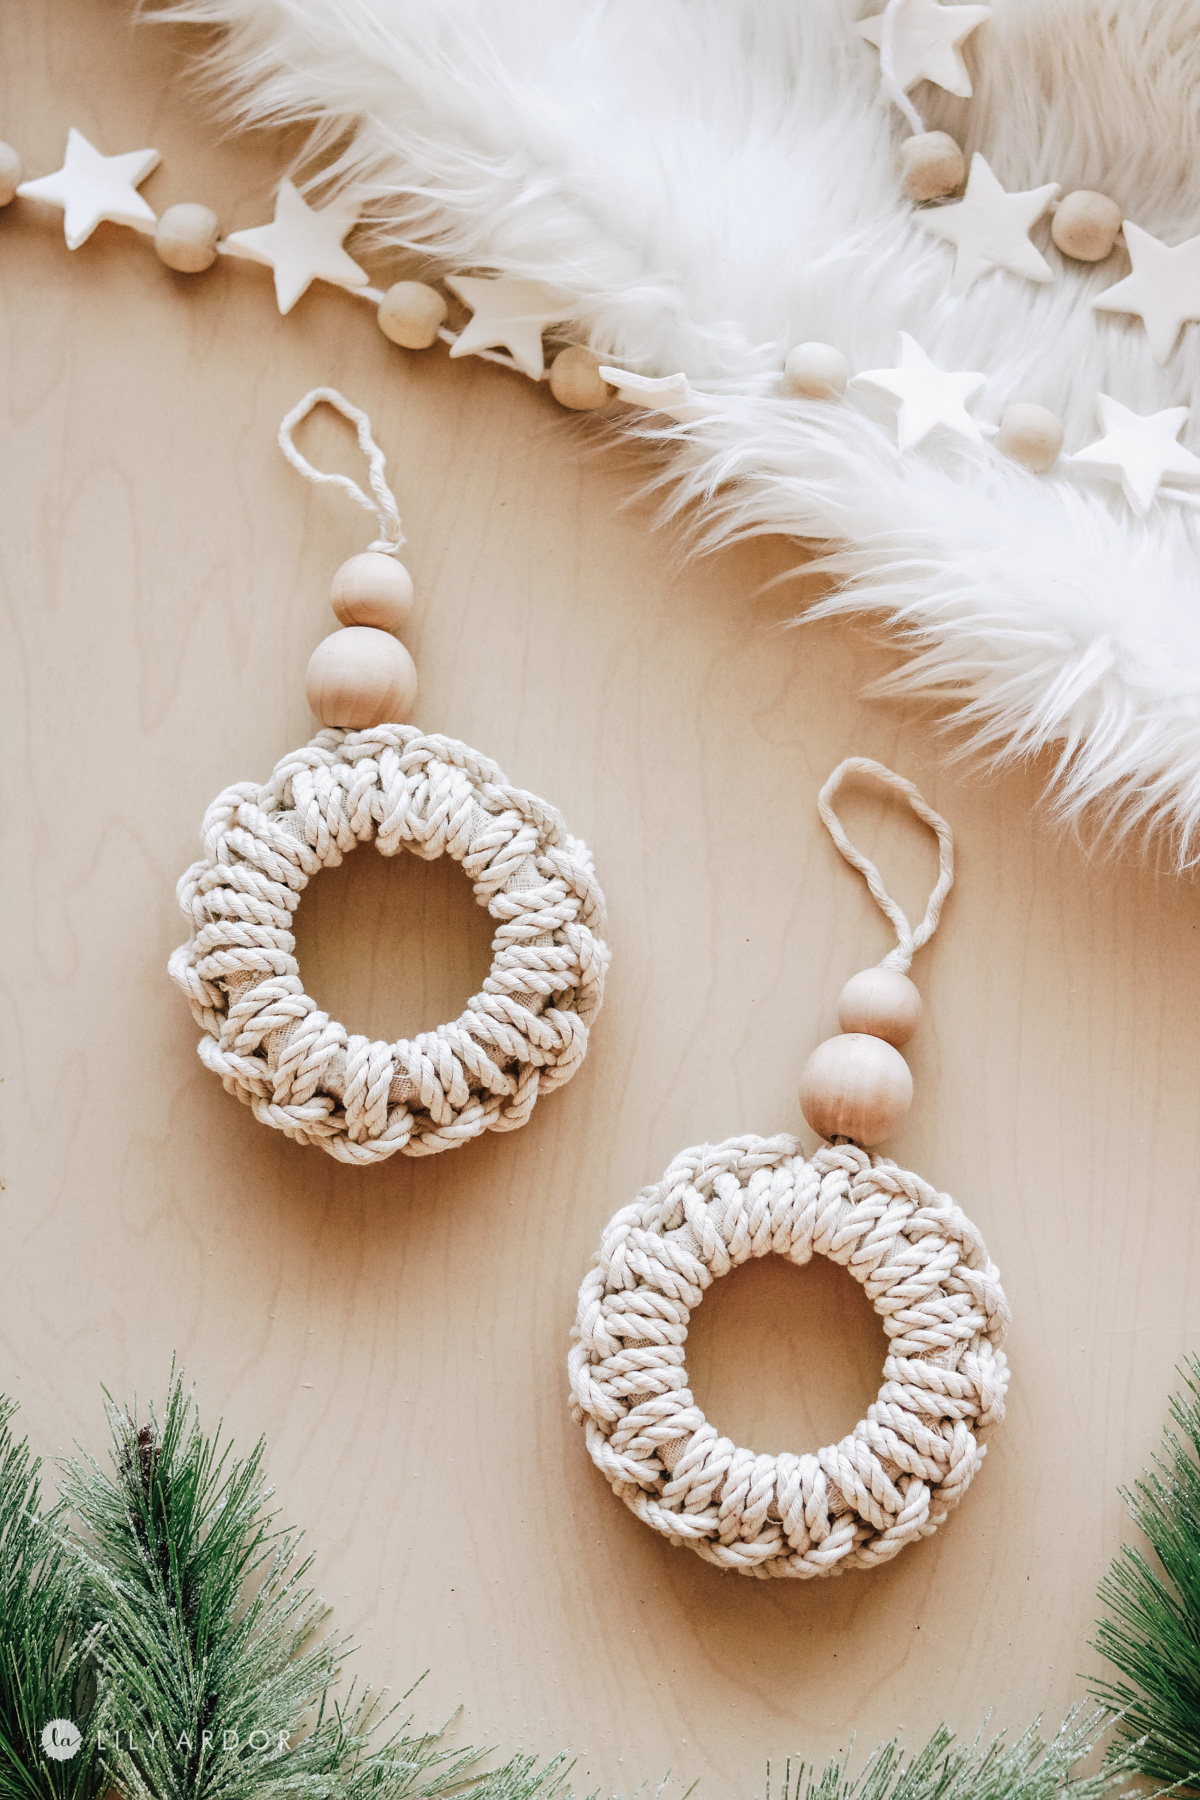
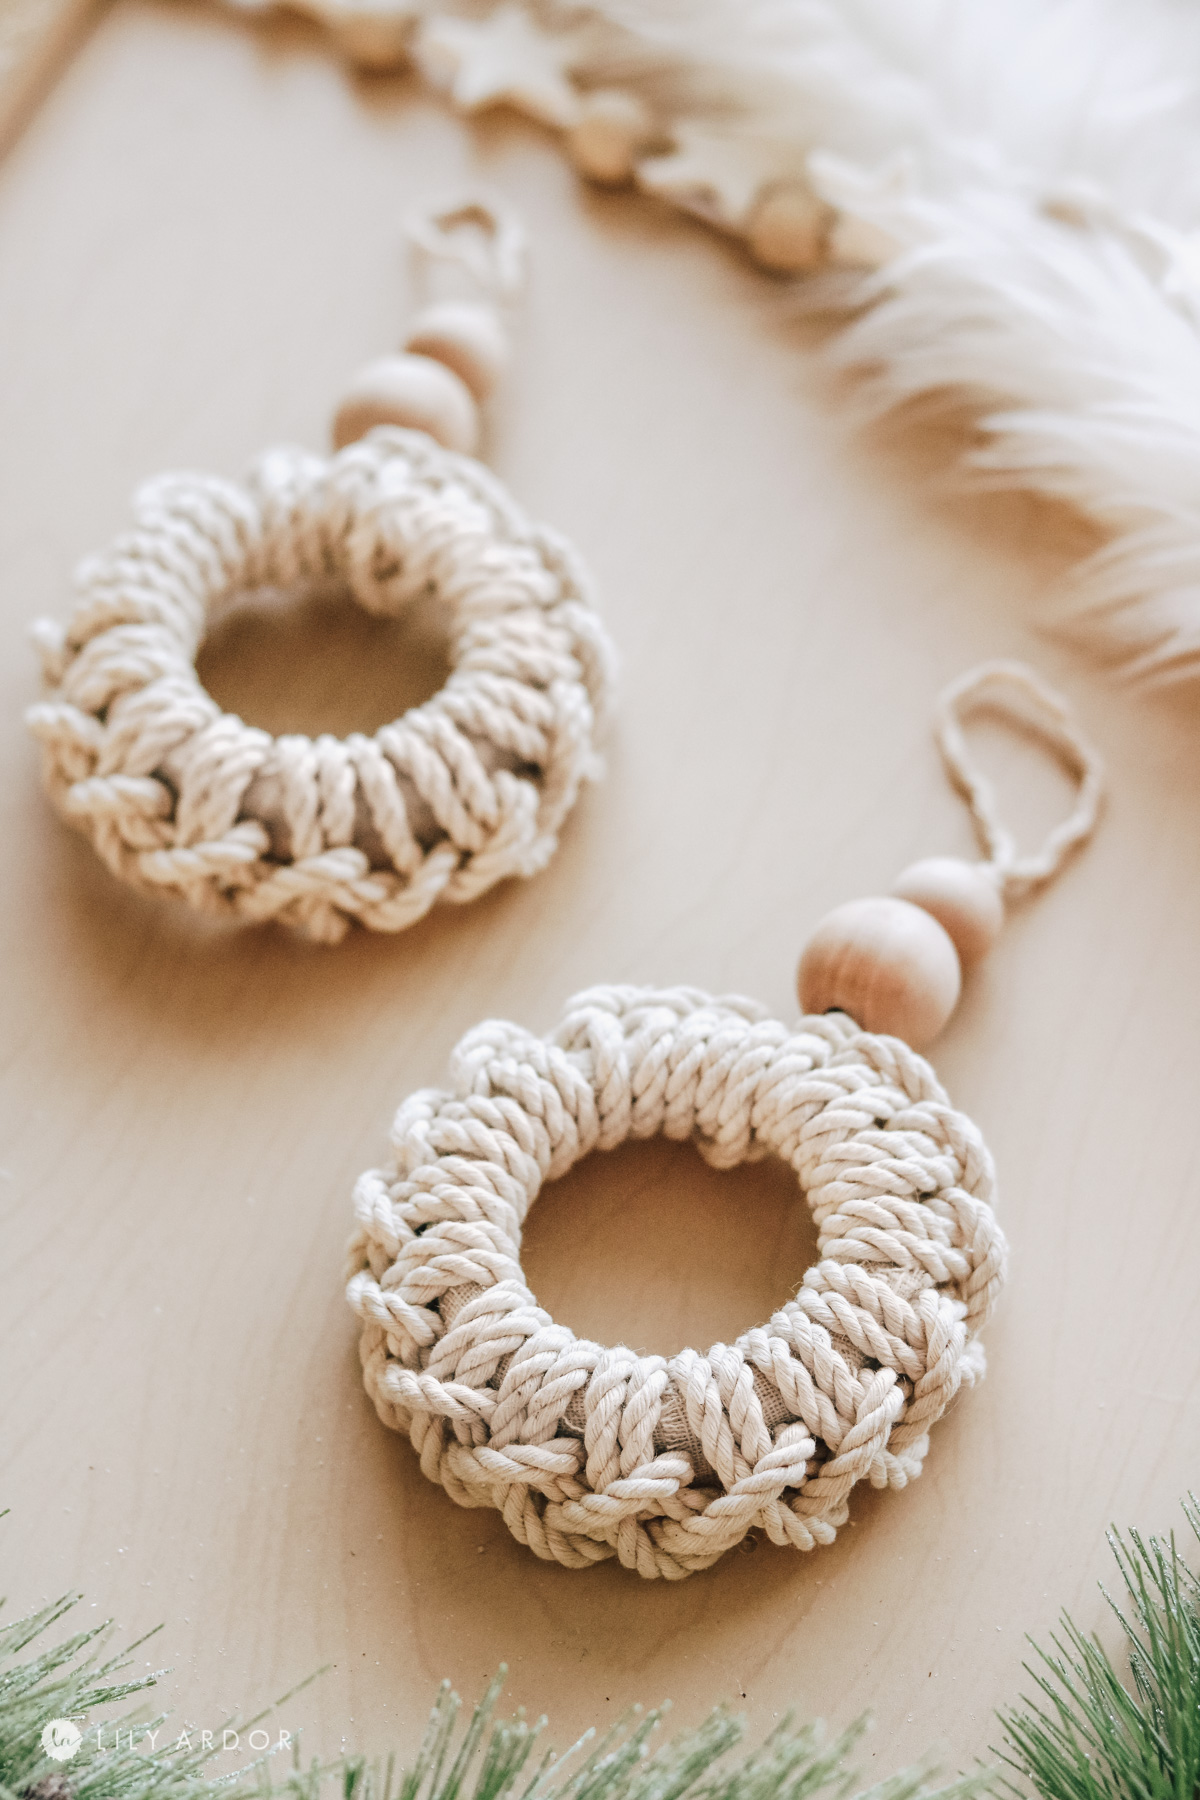
DIY Macrame Ornaments!
That’s it! Can you believe there’s a lid somewhere under there?!! I’m in LOVE! So simple yet elegant!
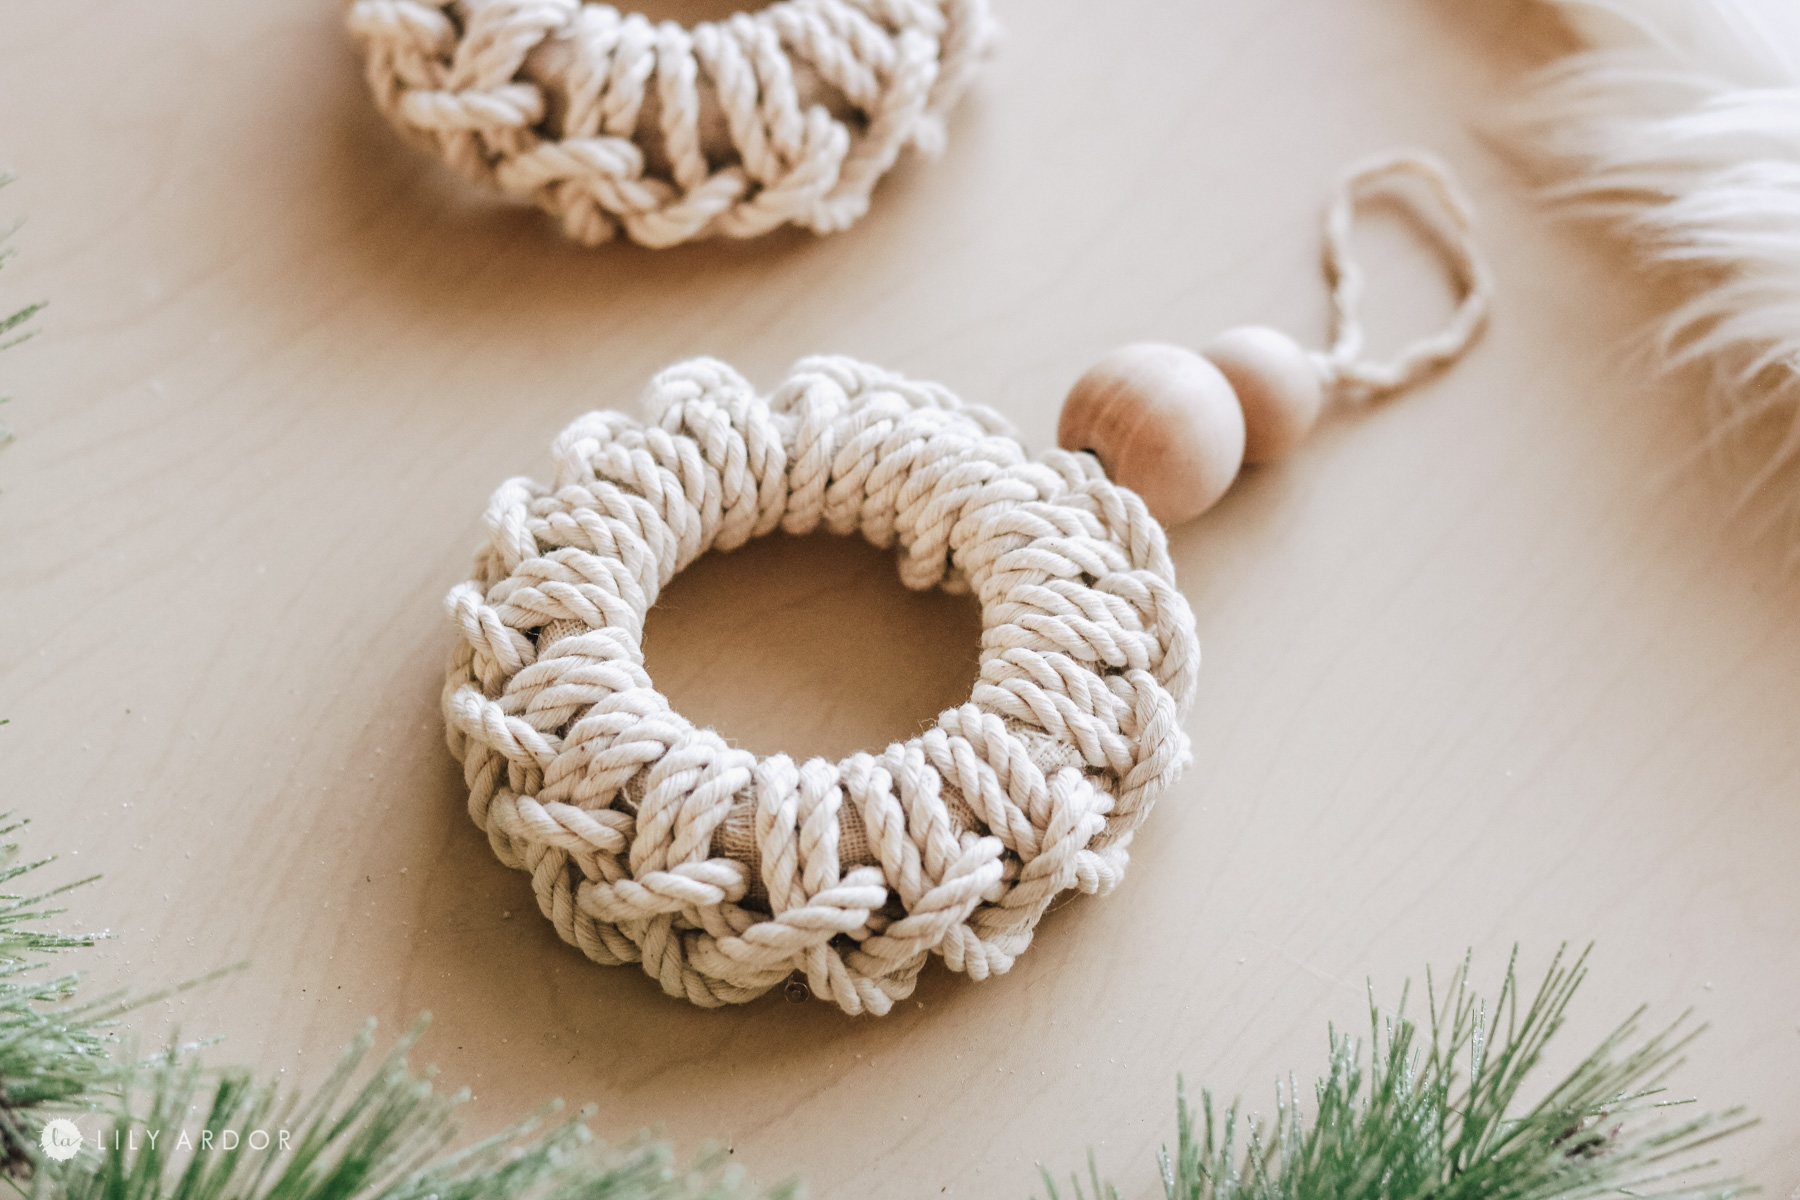
I love a boho christmas tree however I can never seem to nail that look. I had originally tried to leave fuzzy edges for a more bohemian feel but it wasn’t as cute and rustic as these turned out.
To be honest I was a bit worried the thickness of the rope would be a bit much but, I actually really love the edgy look it gives these ornaments. I do think it still looks like boho christmas decor. What do you think?
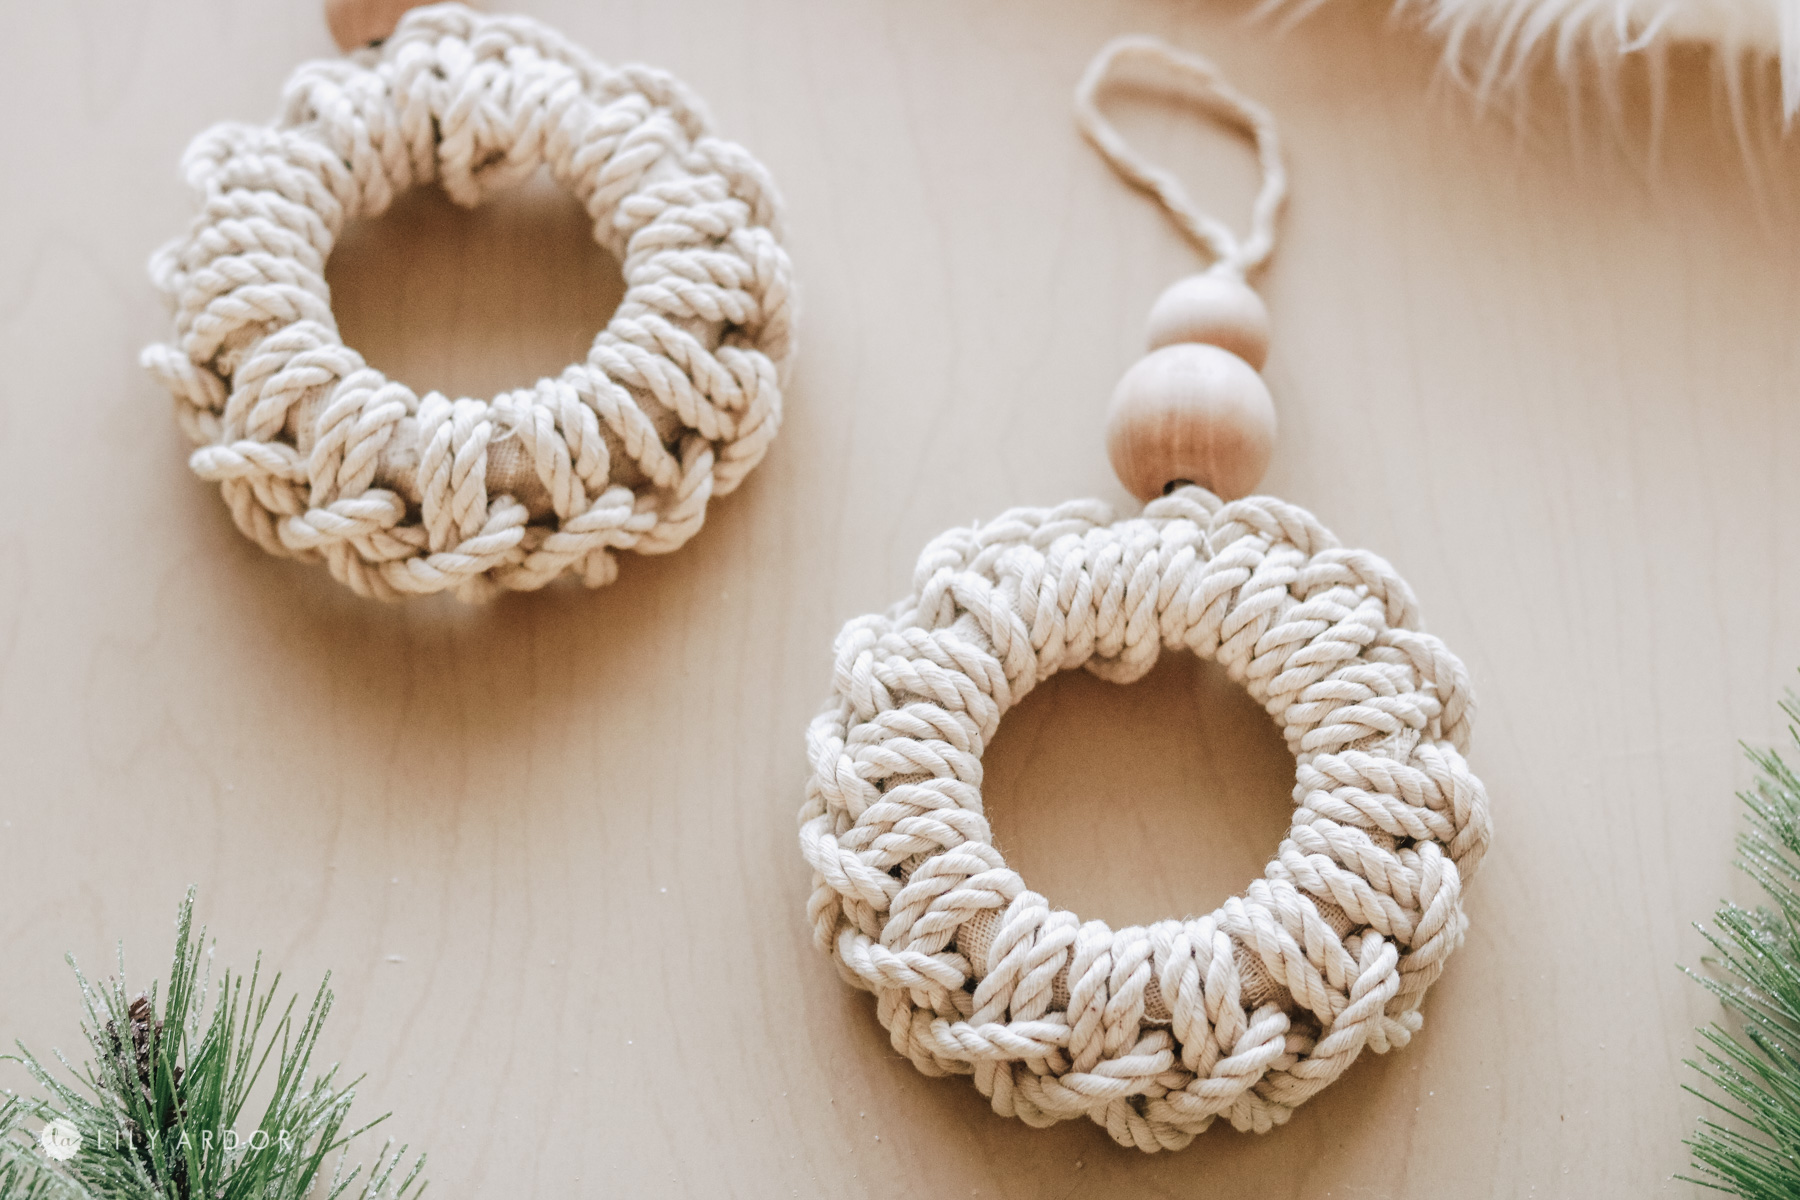
And the sides look so cute! Maybe I’ll try to crochet some christmas ornaments next year for a more bohomeian look.
Recycled diy christmas decorations are my favorite this time of year! It saves you money and keep me and the little one busy crafting.
That’s all for now! Thank you so much for stopping by. I hope this inspires you to pull out some craft supplies and your own little Christmas ornament wreaths!
SHOP FOR SUPPLIES HERE:


I’ll see you next time!
Best Wishes,
Lily