Howdy folks! I hope you’re all doing well. Today I’ll be sharing how we made this super easy seating for our dining area which also serves as our breakfast nook.
If you’re looking to make your own I’ll be sharing our exact banquette seating dimensions.
Before we start a little bit of history. Here’s a quick reminder of what our dining area looked like before. We made this DIY dining room table a few years back and it’s super durable however the color of the stain + the cracks were driving me crazy.

old dining room photo of before
It was really a gorgeous table and we loved it while it last but, it was time to make better use of the space in our dining room and this table just wasn’t cutting it.
old table we built
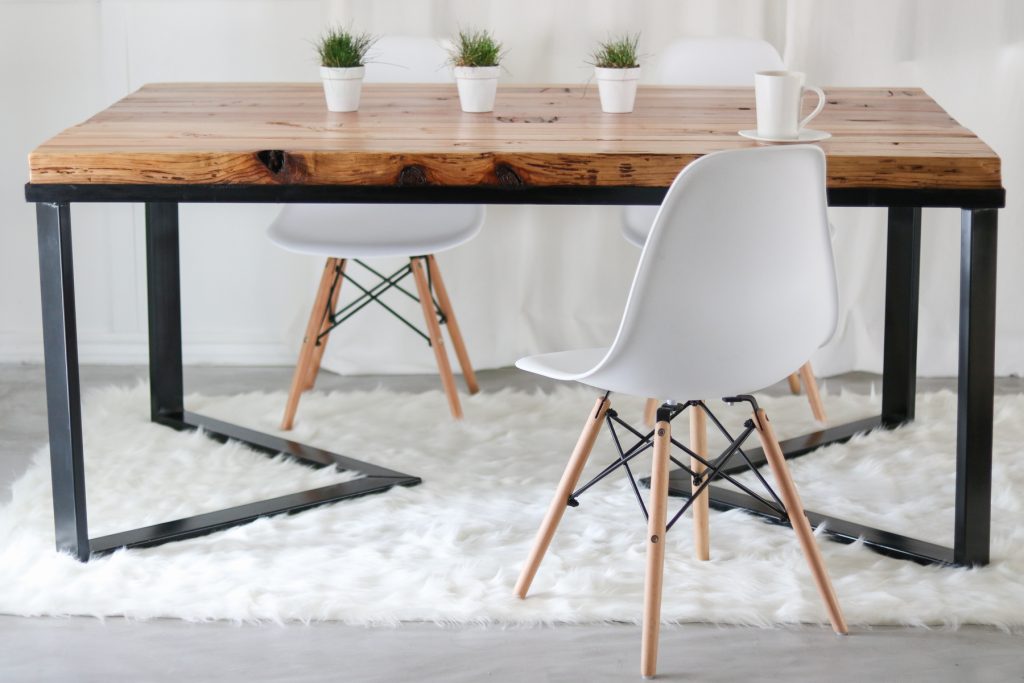
We realized we needed a new table because of the banquette seating. We needed the design of the legs to be out of the way if people were to comfortably use the benches. So we made this dining table last month. If you missed it i shared it here ( with a table plan – https://www.lilyardor.com/diy-farmhouse-dining-table/ ( photo below of our new dining table )
And finally we finished making the modern banquette seating to complete our the space. If you’ve been following me on Instagram you probably noticed i’ve been mia. That’s because I was editing the video for these benches. Doesn’t seem like much but, the editing process takes forever.
OKAY onto the fun stuff!
DIY banquette Seating!
supplies you’ll need:
- 12 to 14 , 2×4’s
- 2.5 inch screws
- 4×8 sheet of thin plywood
Tools needed:
- chop saw
- kreg jig
- impact drill with drill bit extension
- nail gun ( optional or screws )
- brad nailer ( or small nails can be used )
- stapler
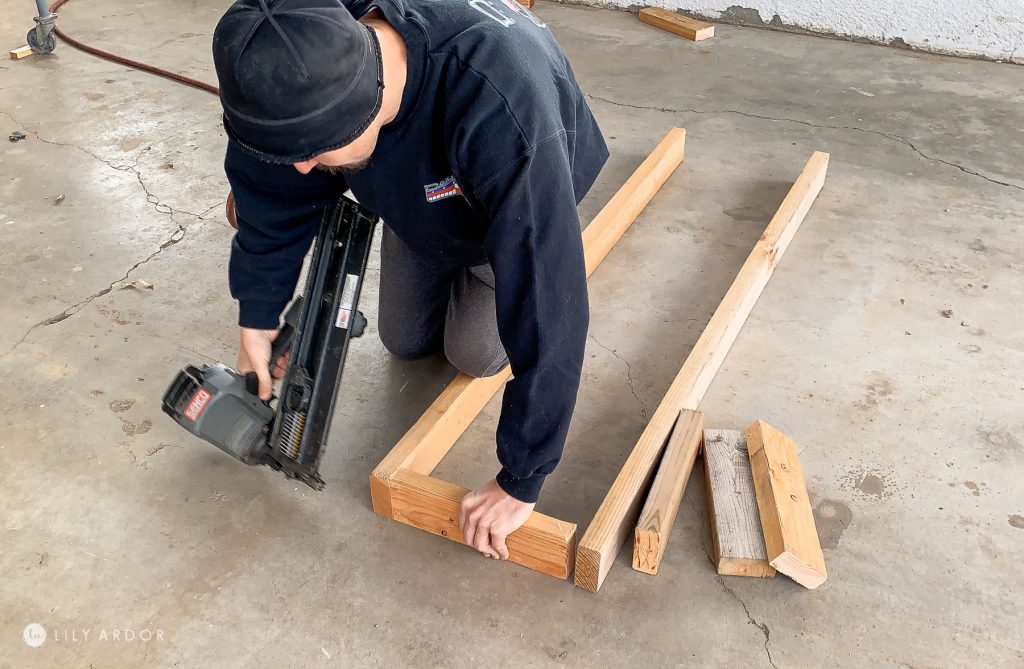
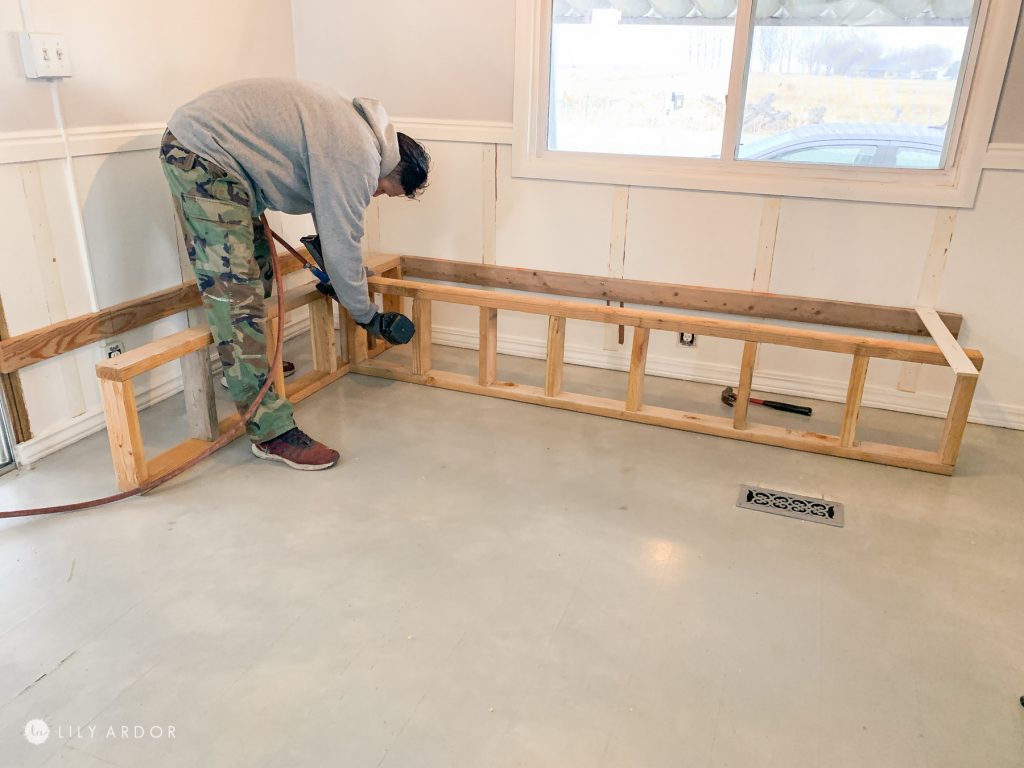
We first started by cutting two long pieces of 2×4’s to build the frame for the benches. Honestly I was most worried about this part when starting this project. I thought it was be the hardest part but, it wasn’t. In fact this was the easiest bit of it and only took us about a good day to complete.
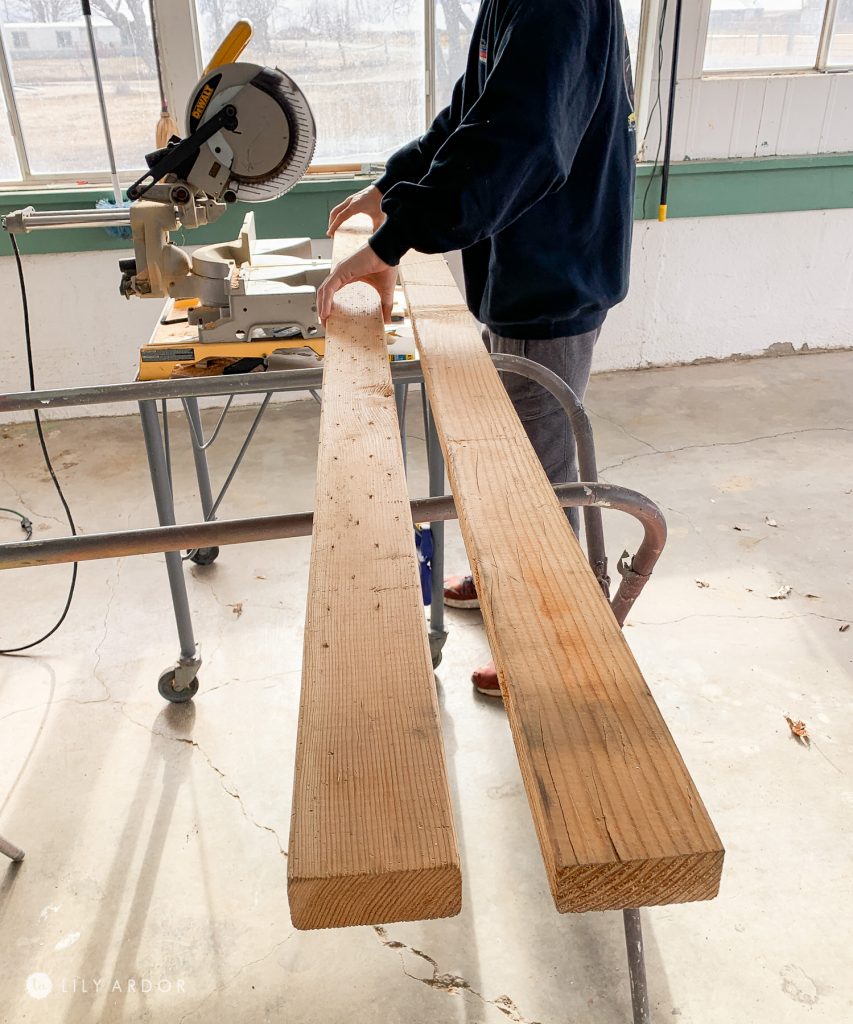
cutting wood for dining nook
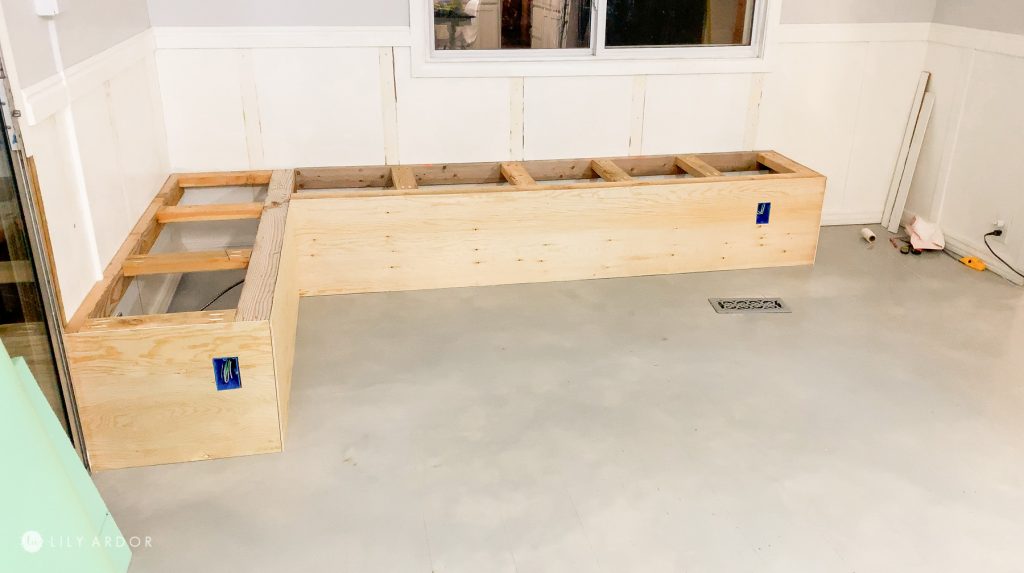
Here’s what the frame of the benches look like and the measurement we used.
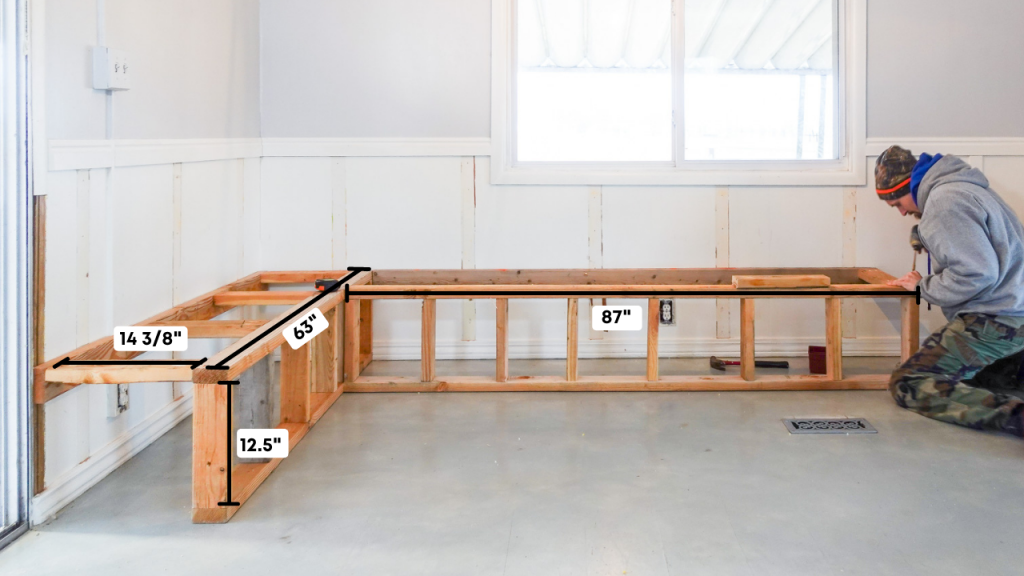
diy breakfast nook
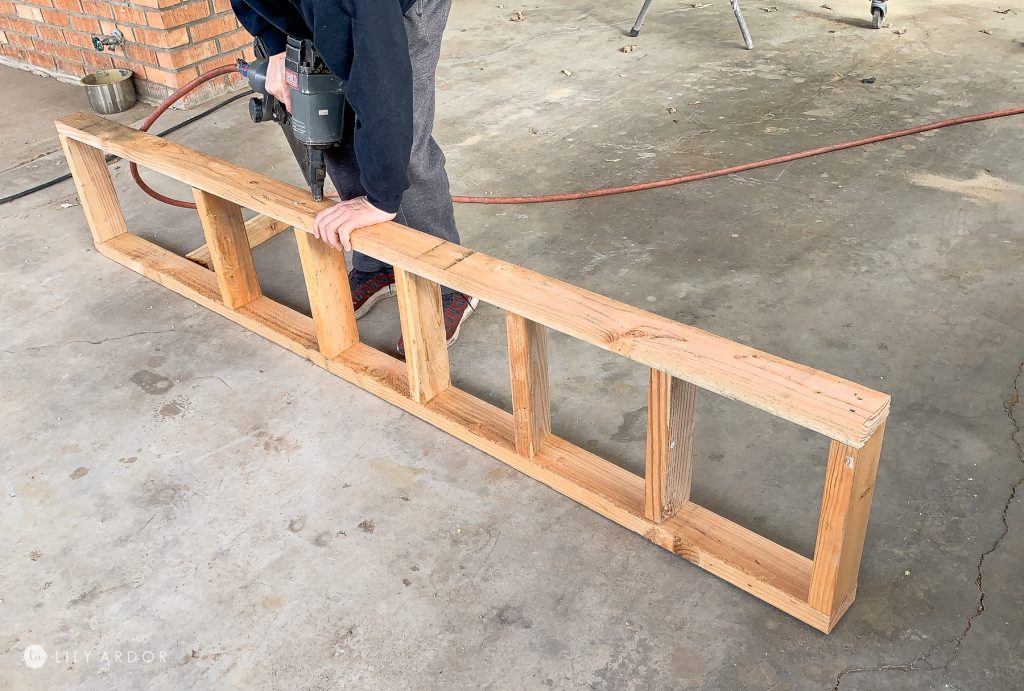
We added smaller pieces of 2×4’s to the longer one to create a wall.
making a breakfast nook
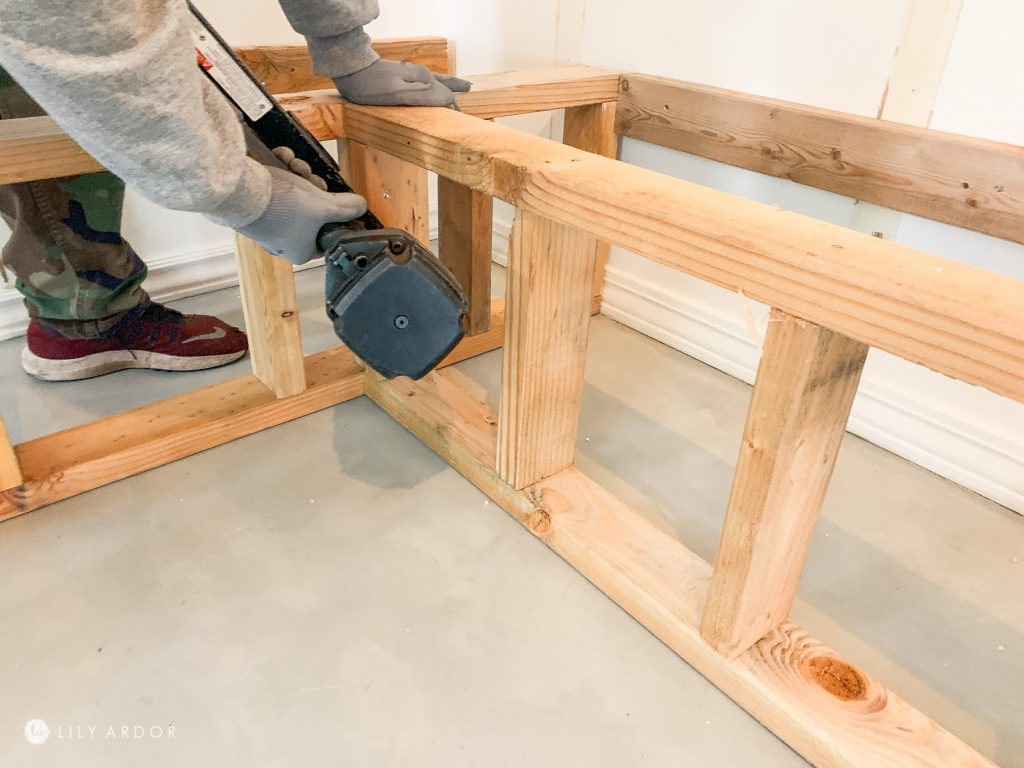
Tony used a nail gun for this because we had one on hand. He had gotten it years ago on craigslist for $60. Always a good place to look for tools if you’re on a budget.
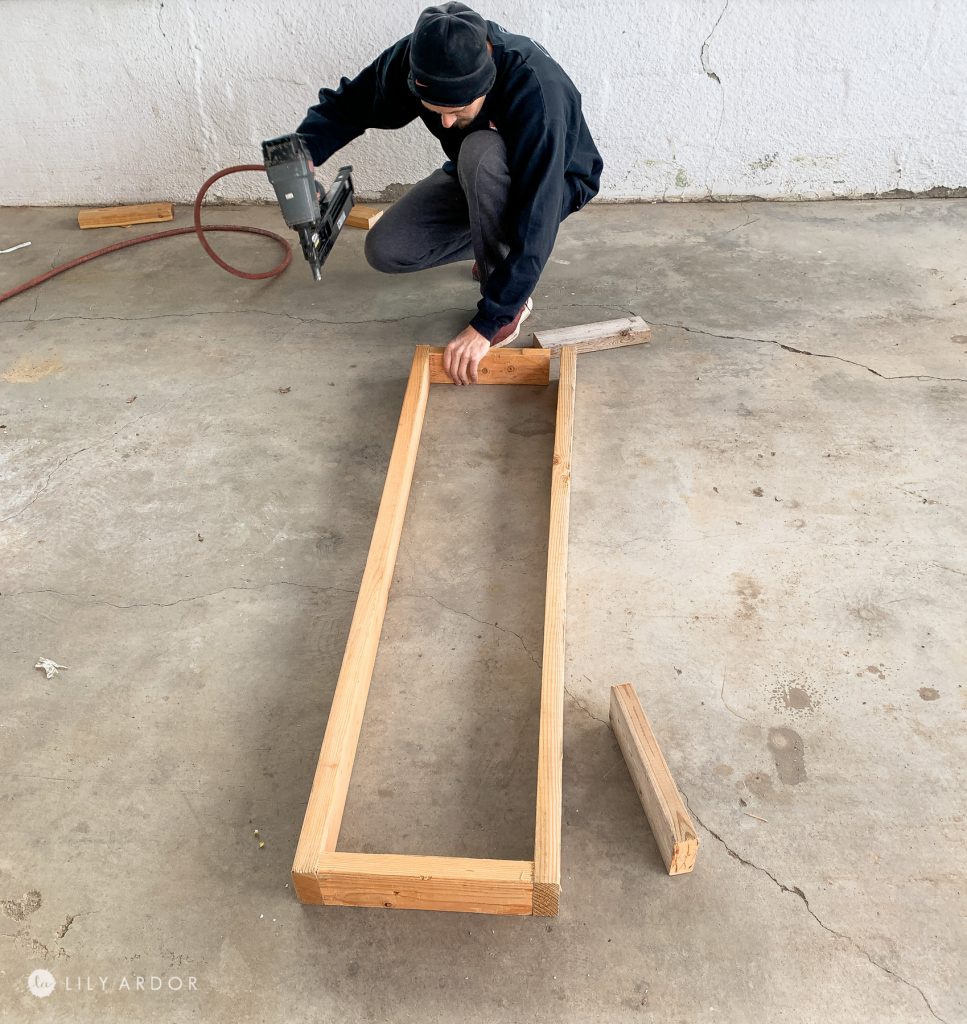
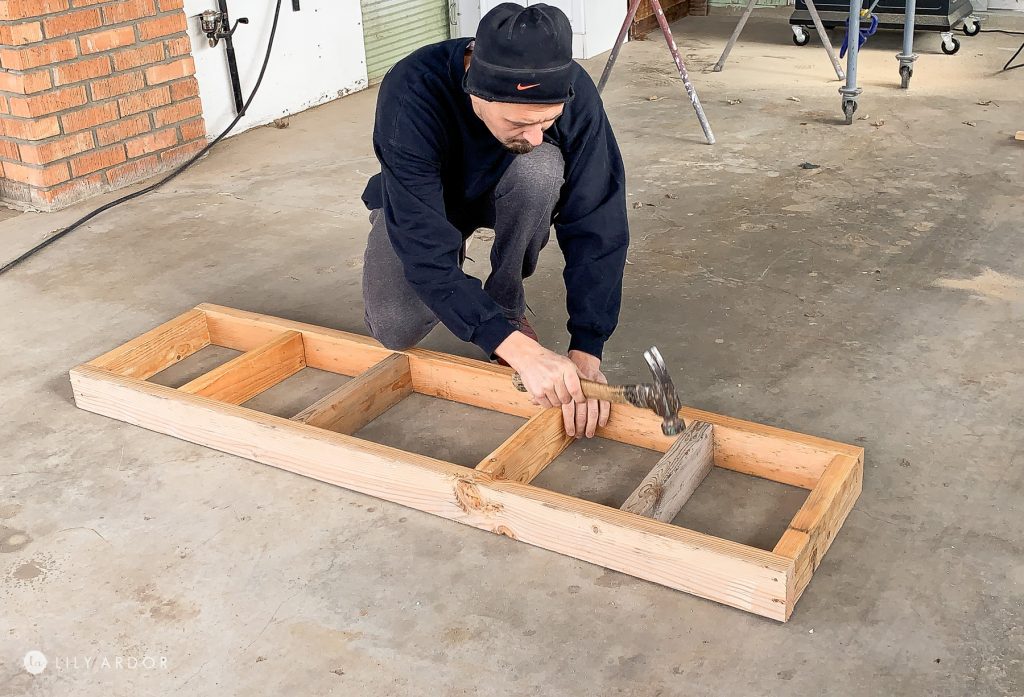
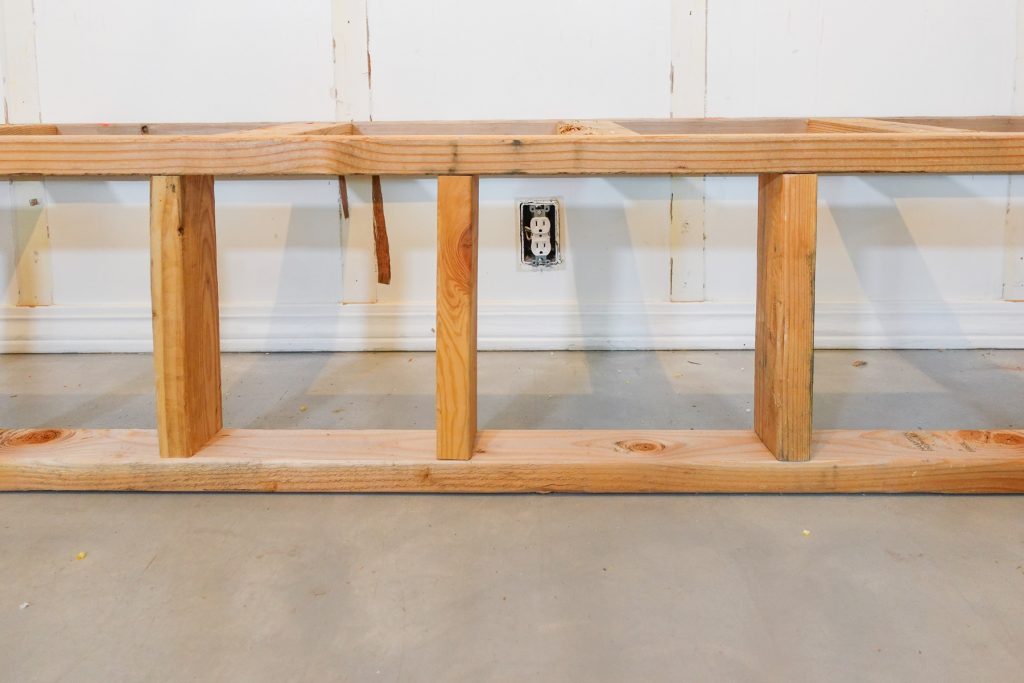
Here’s what it looked like once we were done adding all the pieces in the middle. LOL honestly to me it looks like a ladder.
diy breakfast nook
It helps if you stand up the wall to nail all the middle pieces in. We made a total of two of these ladders. One was 63 inches in length and the other was 87 inches in length.
OTHER DIYS you might like
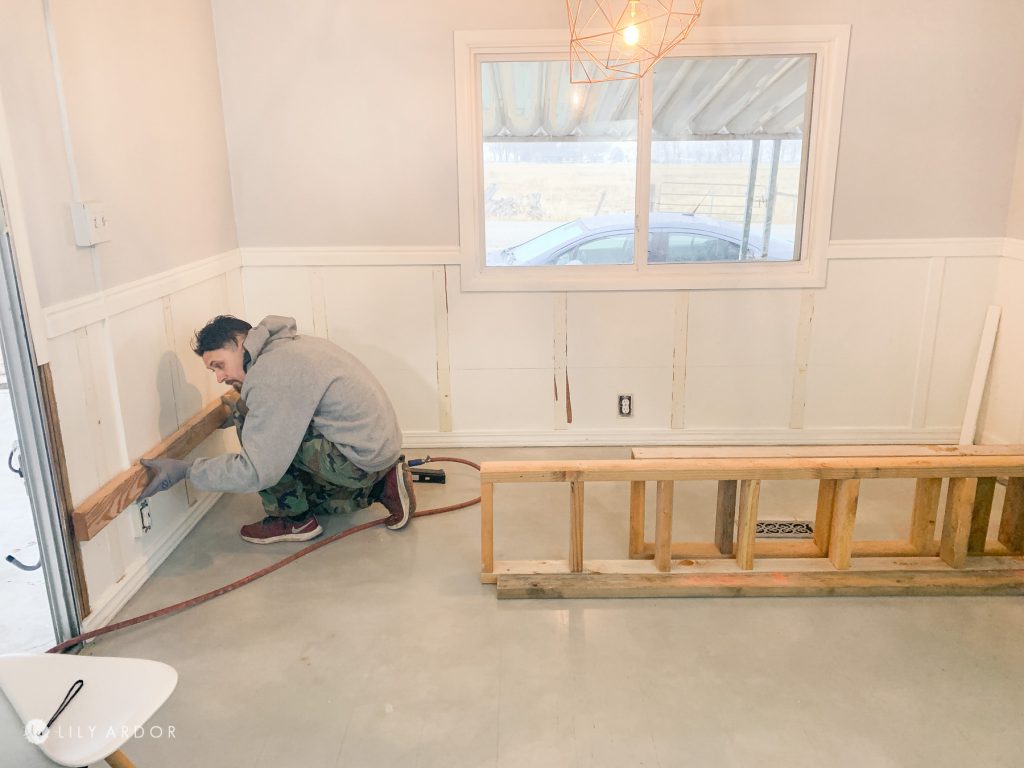
Next we needed to secure these walls we built to the wall.
diy dining nook
We actually ended up leaving the baseboards and some of the board and batten. We removed all the vertical pieces. This made it some much easier for us. This is optional though you can remove the baseboard if you’d like. We just decided it wasn’t necessary and would let more cold into the house if we were to remove it. Our house isn’t so great at keeping heat in in the first place because it’s just an old mobile home.
diy breakfast nook
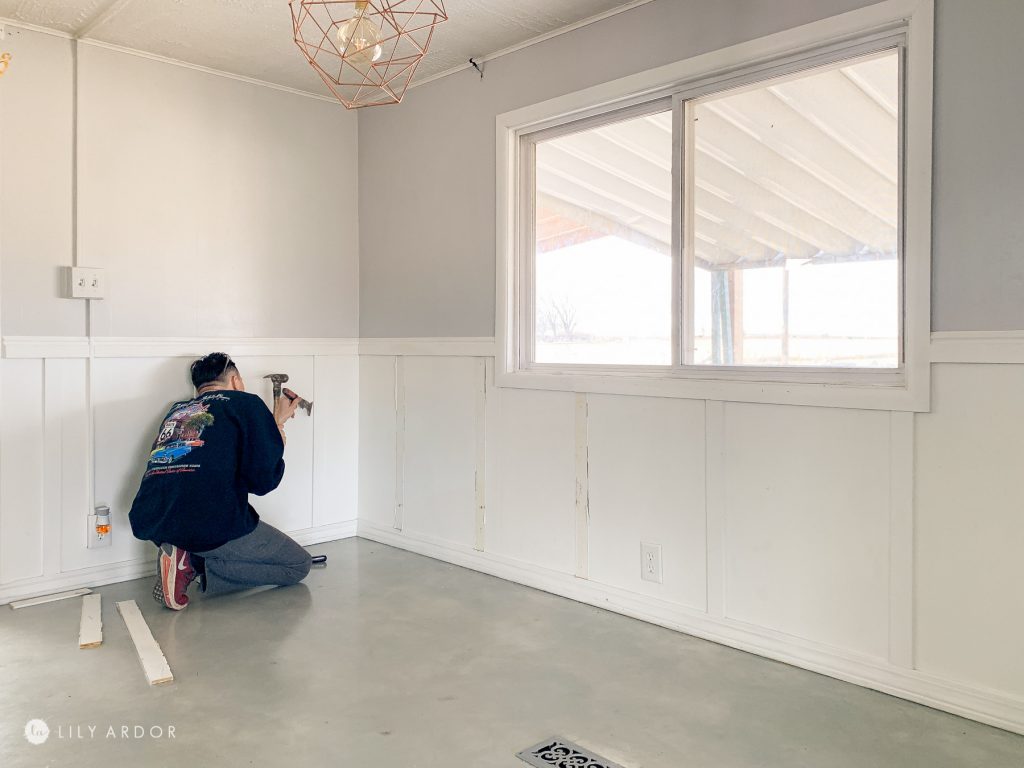
Tony also nailed some 2×4’s to the walls making sure they’re the same height as the wall we built. The 2×4’s were the exact length of the walls as well. This is important as you don’t want to have to trim it later. Everything needs to line up I talk way more about this in the video.
diy banquette seating
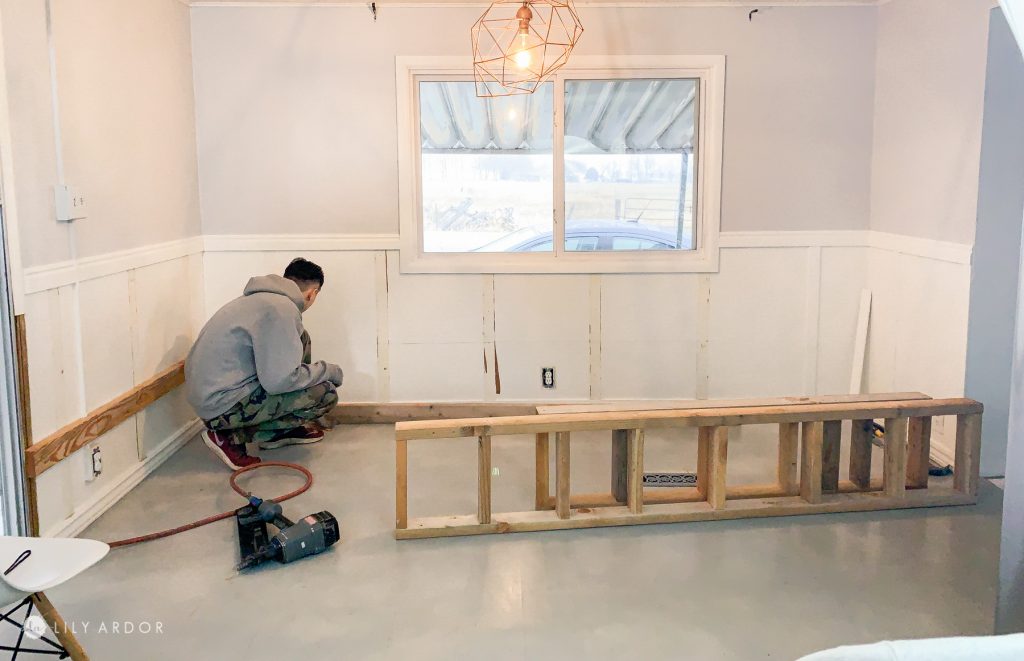
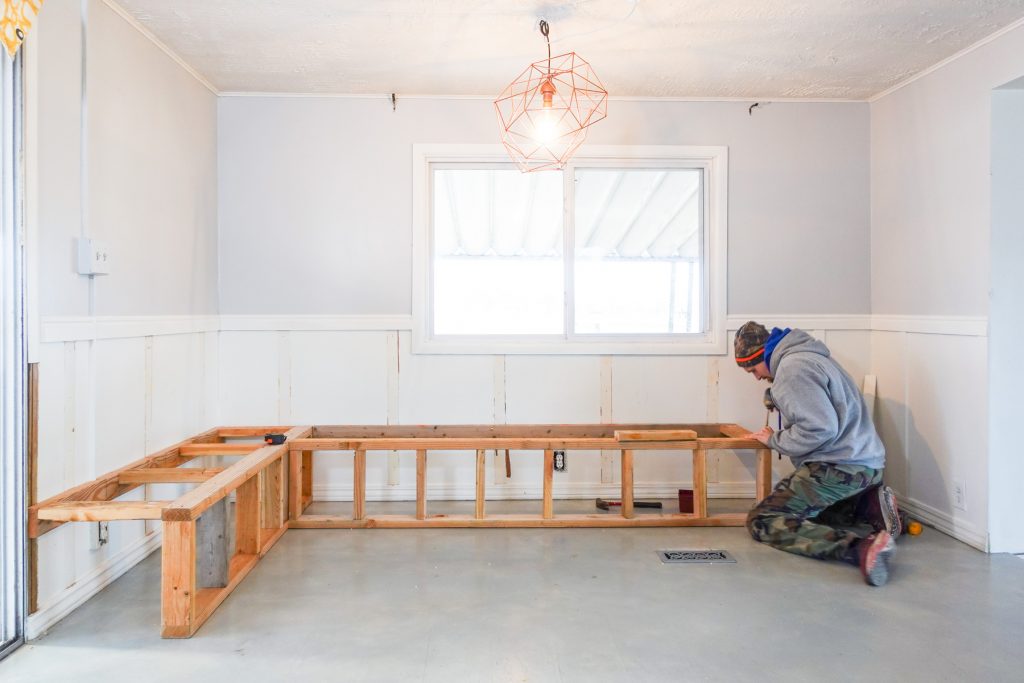
Okay after he was done attaching the 2×4’s to the walls we slid the walls into place. Position them however far away from the wall you’d like this will determine the depth of your benches.
The left side of the bench frame went to the very end of the wall and the right side of the bench t-boned the left if you look close.
diy banquette seating
Here’s a close up. We added a small 2×4’s to the left bench wall and Tony added some nails to secure them both together. At this point the wall of the bench were secured to each other but, not yet to the house.
diy banquette seating
You can also see more about this in the video
OTHER DIYS you might like
Securing the benches to the house!
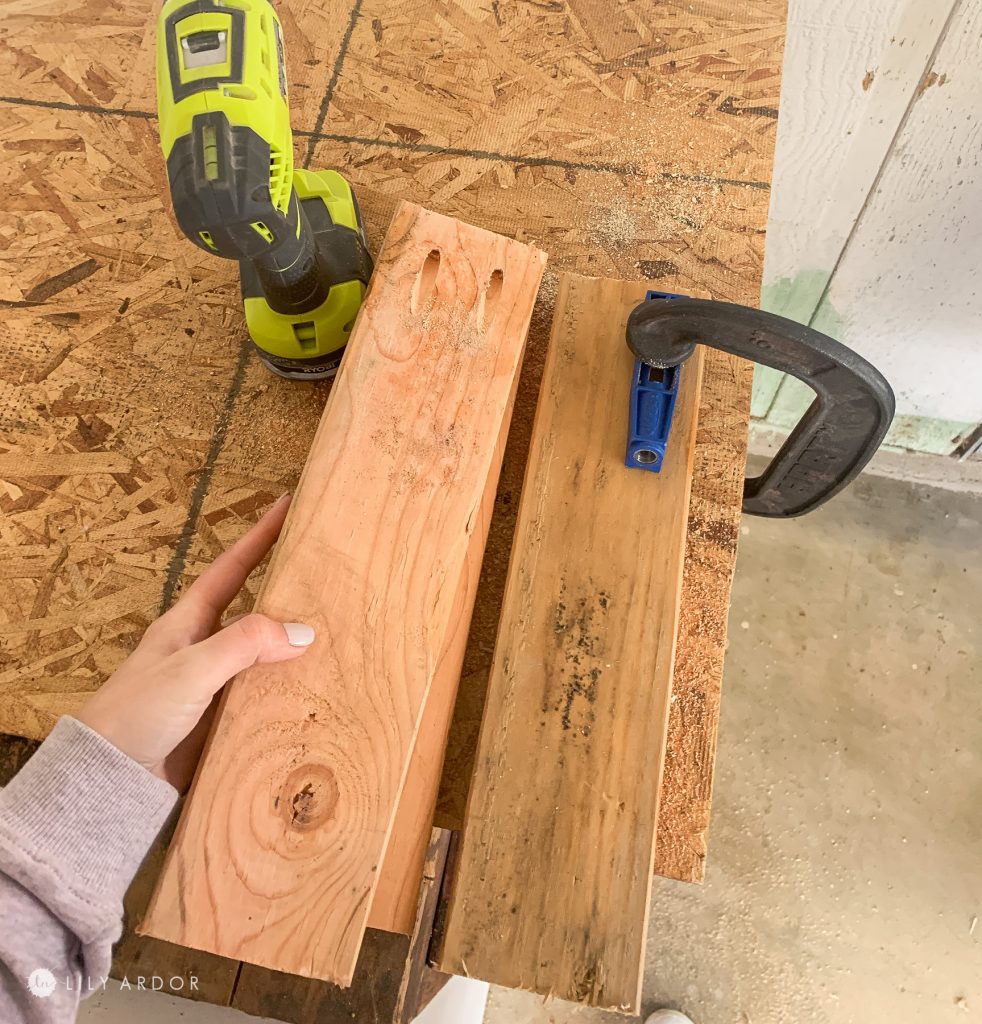
Okay so the next step was securing the benches so they were sold and attached to the wall. I cut some more 2×4’s and added slanted holes on the ends.
adding slanted holes
We then used the drill with a drill bit extension to add the pieces of wood which would secure the walls of the bench to the 2×4’s on the wall.
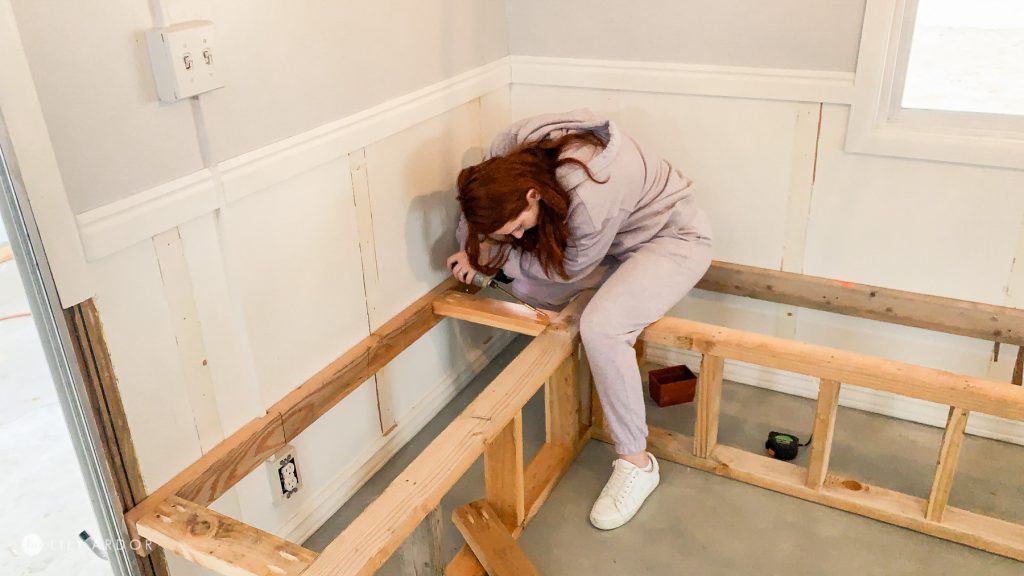
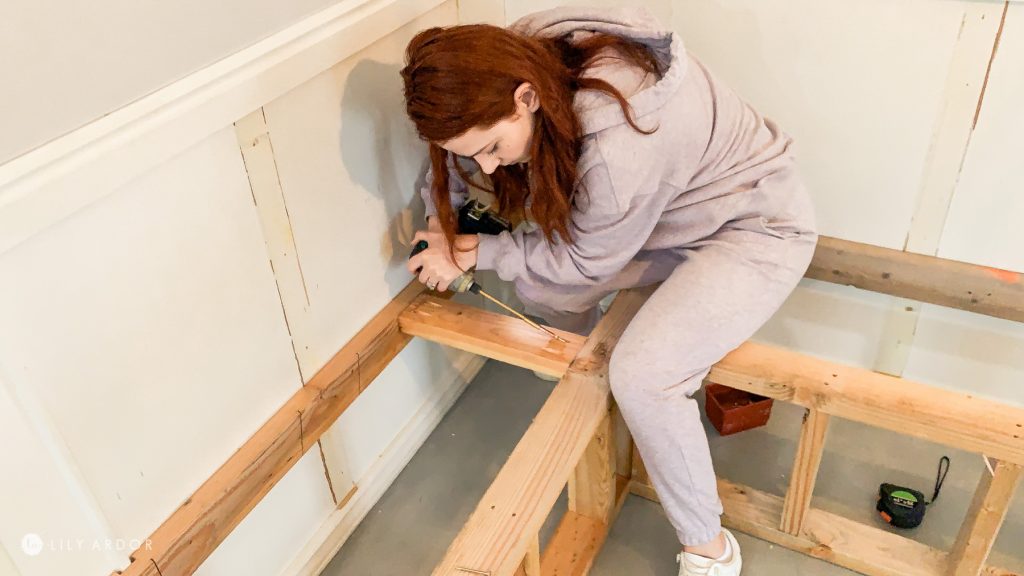
Here’s how the frame looked at this point. It was pretty darn solid!! One thing I should say is those braces added to the top to secure the wall to the 2×4’s aren’t made to be walked on. You’re make support will be the walls ( ladders ) and the 2×4’s attached to the wall.
We actually had some plugs that we had relocated. Not by ourselves. We had an electioneer come in and do it.
Adding paneling the benches!
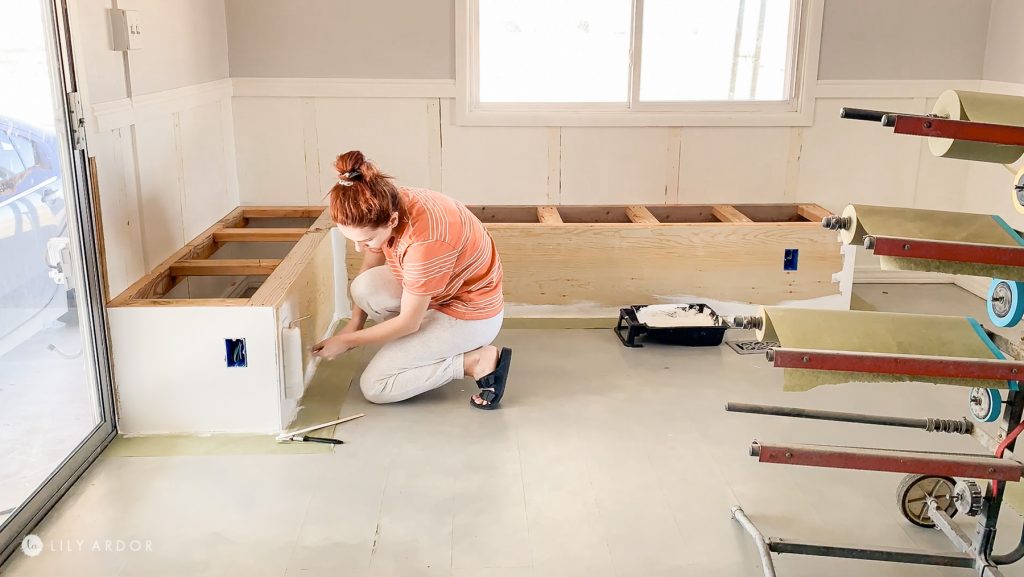
And that was the hardest part of this DIY. Adding the thin plywood panels was super easy. We lay the plywood next to each section and traced it.
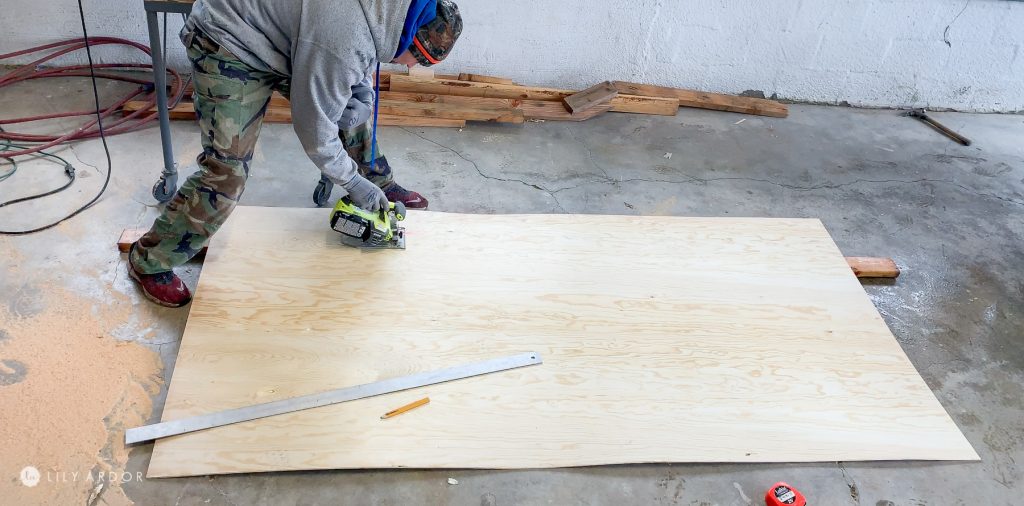
Here’s what all the panels looked like once they were attached. We used a brand nailer to attach all the plywood.
I than painted it all white and that’s it these benches were ready for cushions.
If you missed the video I share more about making the banquette cushions here.
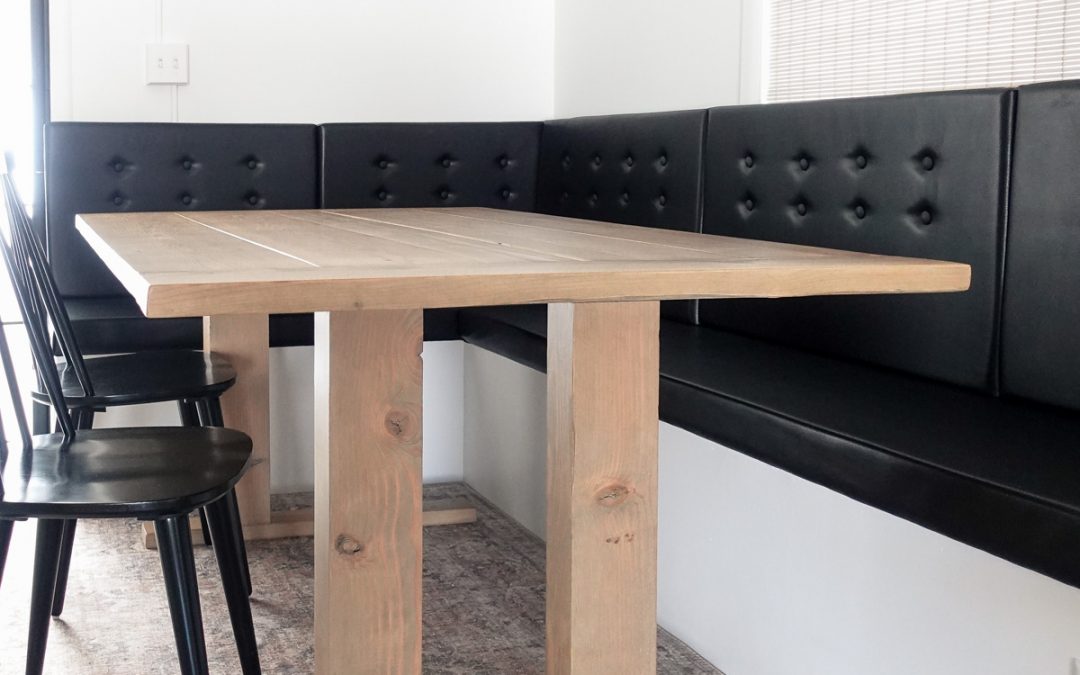
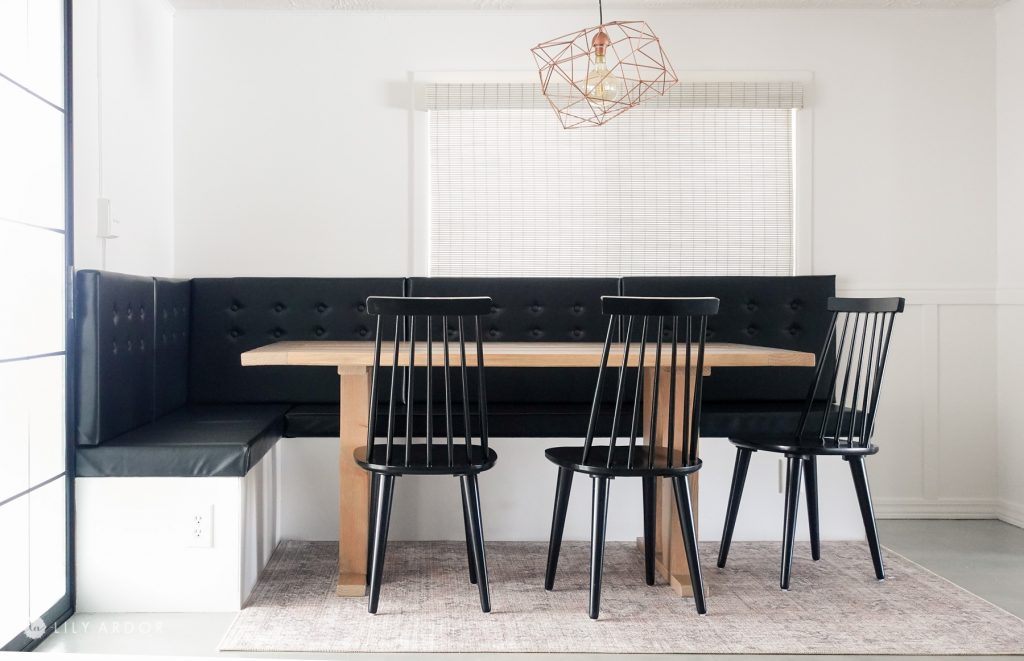
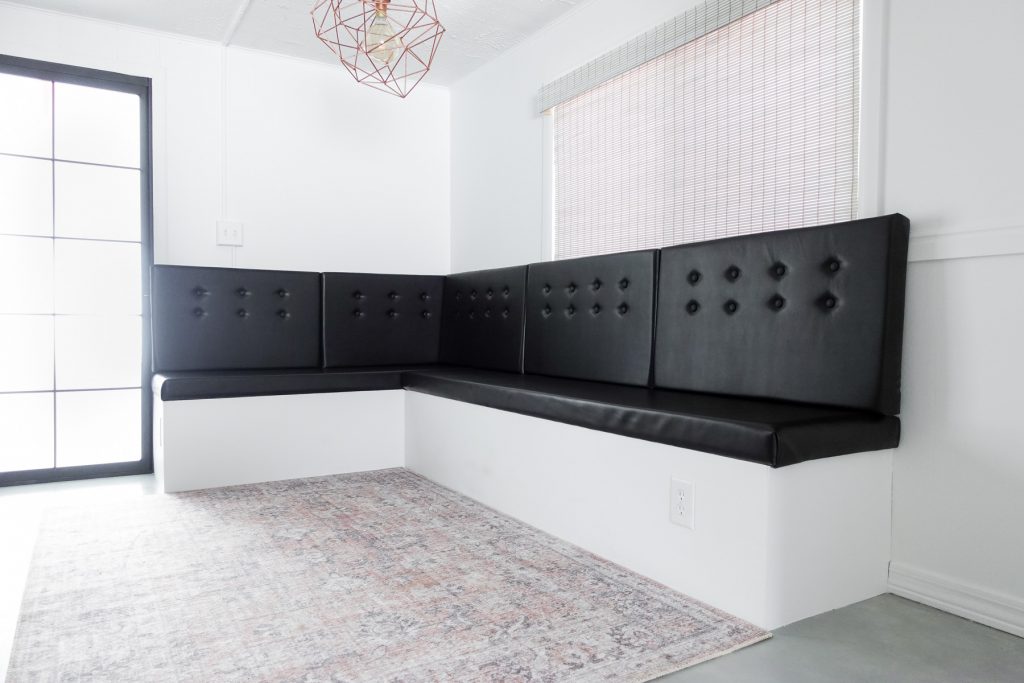
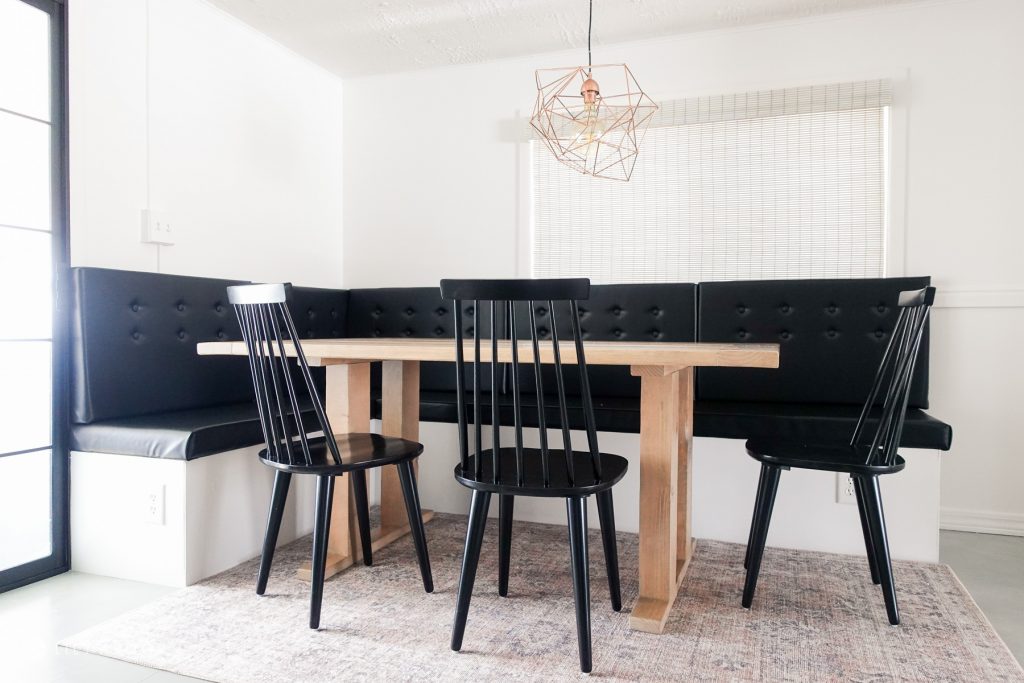
Completed look!
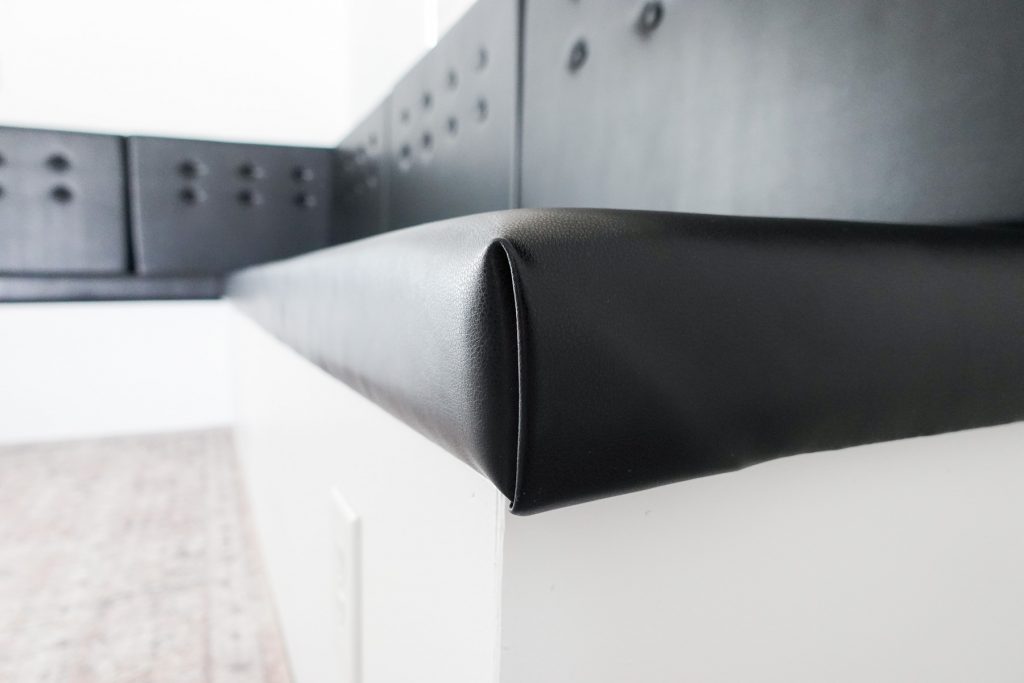
And here’s how it looks!! We’re so in love with these benches! The kiddos can’t stay off and I love that we did faux leather for easy clean up.
diy breakfast nook
diy banquette seating
I’m so glad we decided to do this cushion banquette seating! There were so many styles to pick from but, I really wanted them to have a back cushion for more comfort. Don’t they also make the perfect window seats. LOL not the most traditional window book but, it’ll do. The corners on the bench cushions turned out way better than expected. I share all the DIY steps to make the cushion in the video.
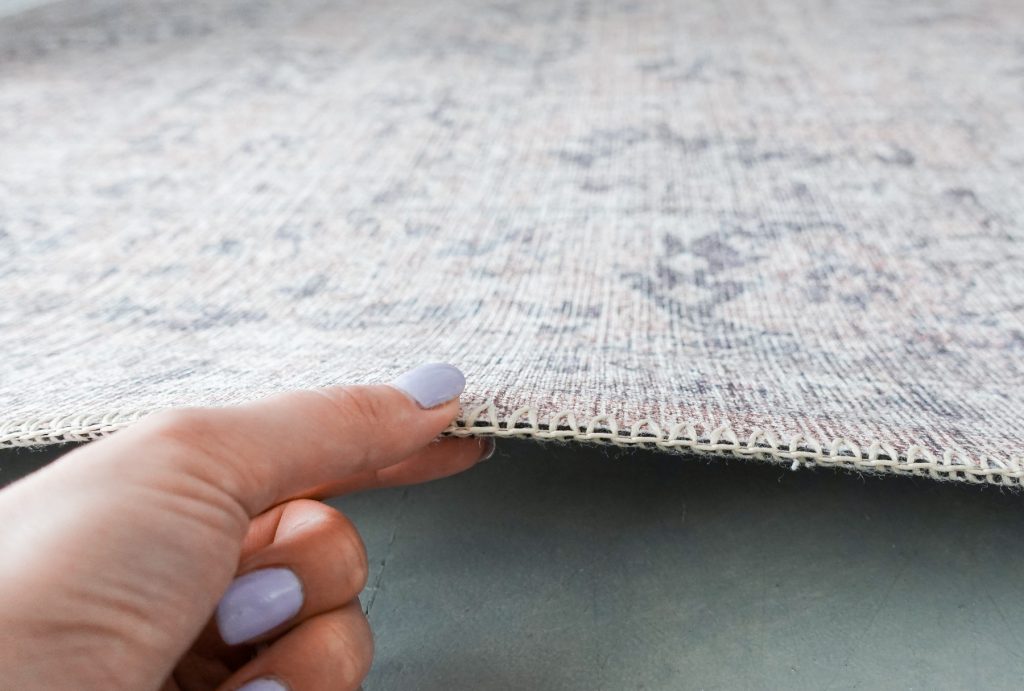
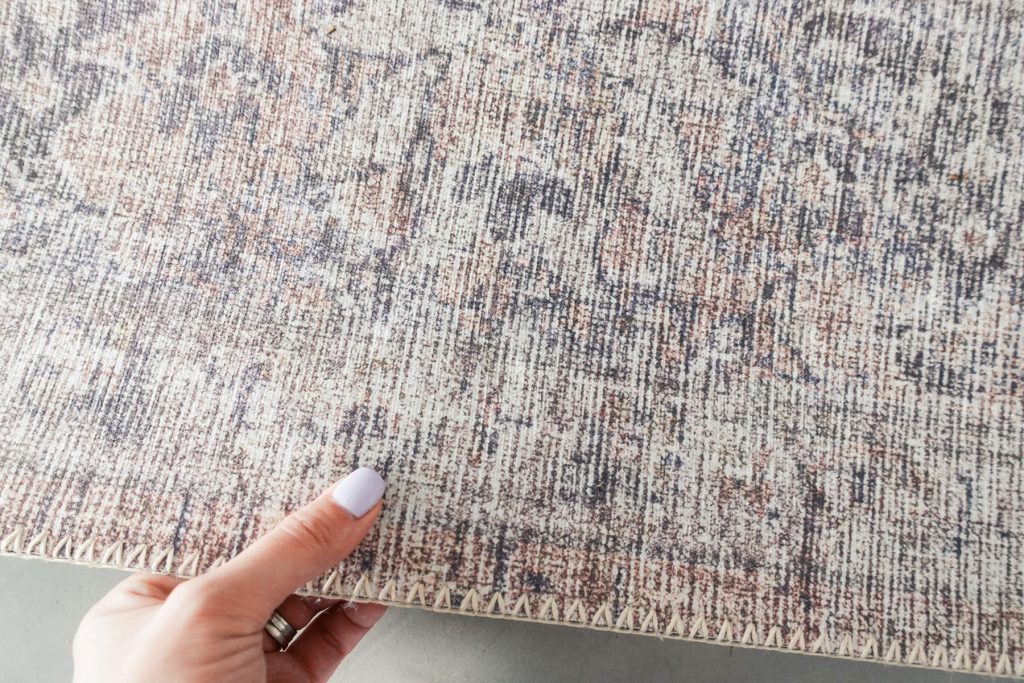
Also this rug is a keeper! It’s so stunning and the vintage design is so mild yet gives the perfect statement.
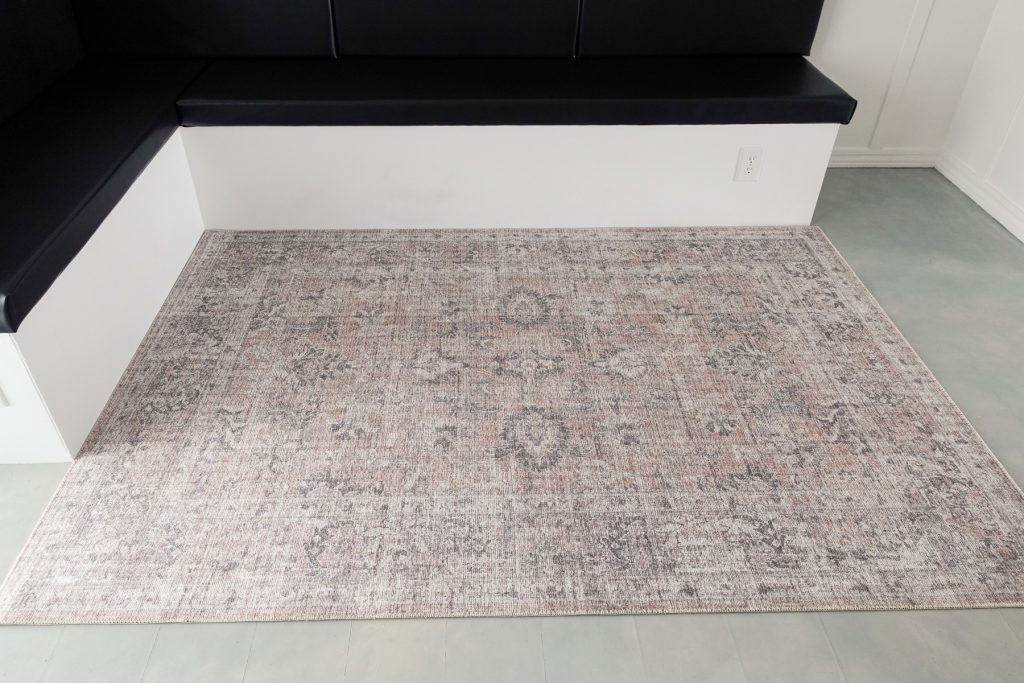
I love that it’s no pile for easy clean up under the table. That’s what I like most about it. I’m actually thinking to get something similar for my living room. It doesn’t feel cheap at all. Definitely feels like a thicker pad.
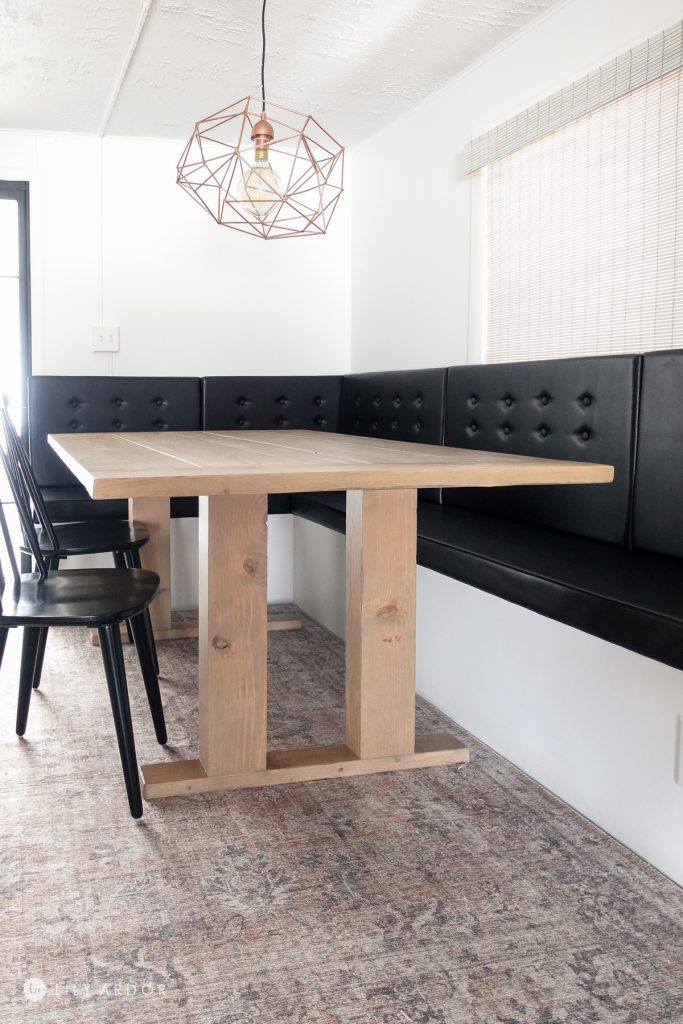
Here’s how the table looks in the dining nook. We built the table just for the nook.
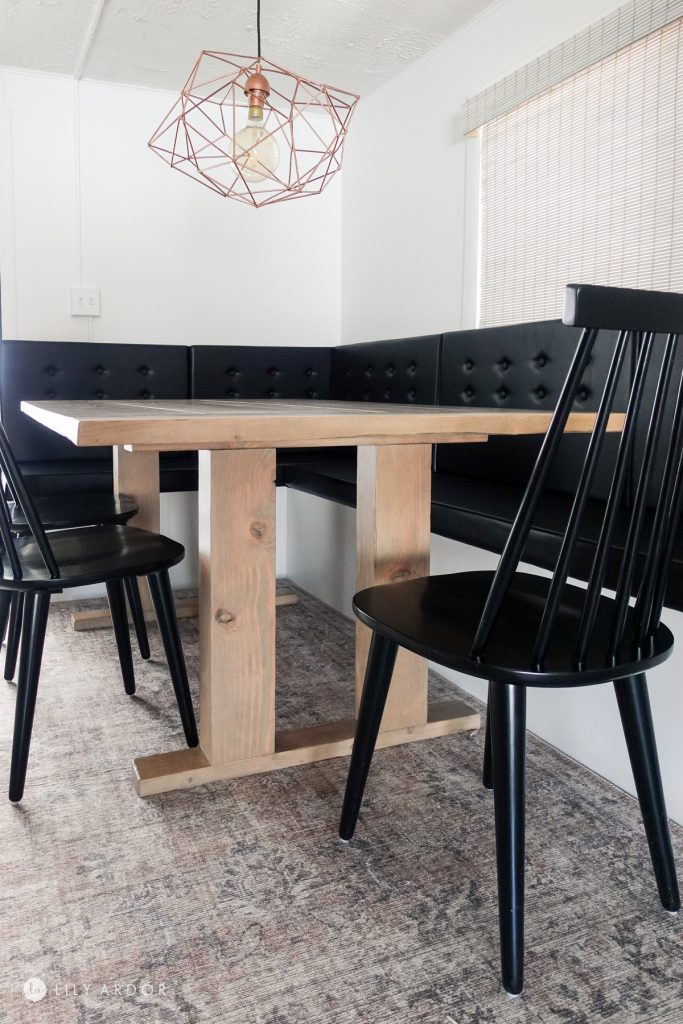
diy breakfast nook
I also got these black spindle chairs on amazon for a steal deal. We love them! They’re so easy to put together. You just need to attach the legs that’s it.
I’ll see you all next time! Hope you found this helpful.
Best Wishes,
Lily
☆Brilliant execution & video tutorial. ♡Love how it turned out. You made every step seem so simple! Thrilled that you’re reusing scrap wood too. Adore thrifty, earth friendly builds. Thx for using spray adhesive on your foam too. Bravo on tufting & calling an electrician to fix outlets! (For myself, I would’ve hinged doors along front face on bottom to have access to hidden storage & power outlets when needed. ‘Cuz I’m cheap & a hoarder.) Also ♡loved♡ your sliding door update. Sizzling farmhouse! ◇God bless you!!!
Thank you so much Bridget! I love that idea for storage and access to the outlets. We didn’t secure the top cushion on 100% they’re just lying onto of the bench for easy access inside the benches in case we need to reach the electrical stuff. OH YAY! So happy to hear you like the sliding doors too! Thank you and God bless you too 😀 😀
This is great! Super cute! Thanks for the breakdown! I’m going to try to build mine today. How did you attach the cushions to the base? Was it just glued?
Awesome! Glad to hear this was helpful. We didn’t glue the bottom seat cushions to the base. They stay on really well without moving at all. The back seat cushions we plan on attaching to the wall with strong velcro. Bought it just haven’t gotten around to installing it.
superb post.Ne’er knew this, regards for letting me know.