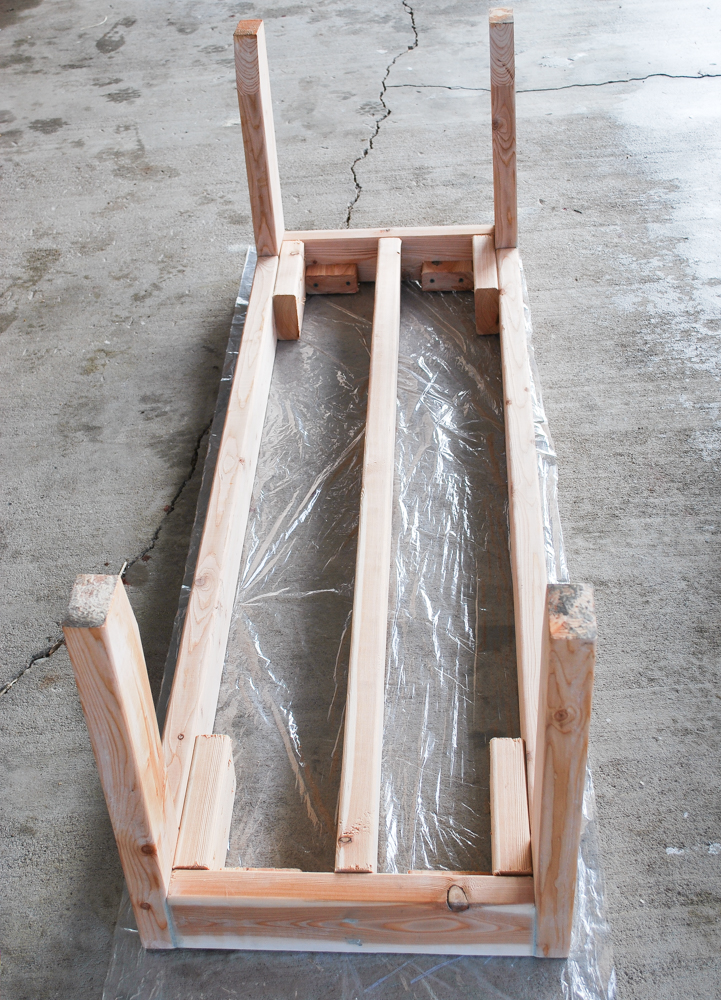
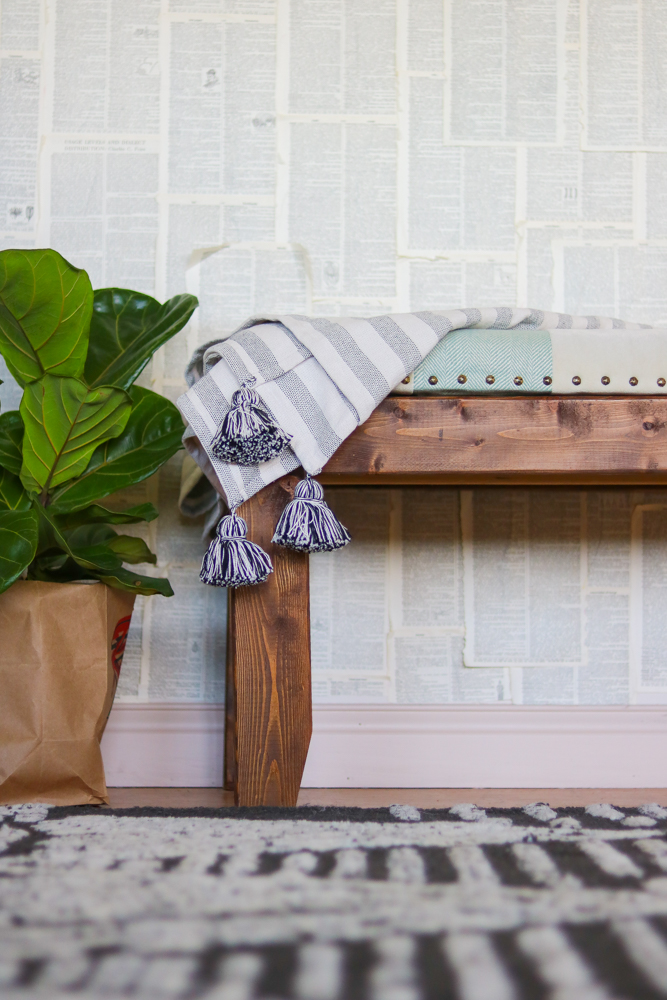
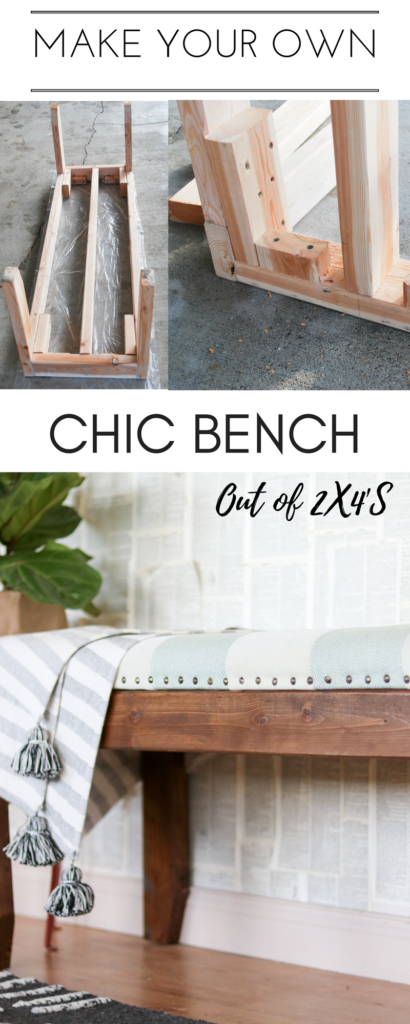
The Bench to be
I love benches for so many reasons. They are super versatile and can fit in any small space and still look good. I got around to building this bench because I needed something durable and on a budget for my alterations boutique. I had a specific style I was going for in the lobby area and buying a couch to match the style was out of the question. And so my hunt for the perfect bench begin only to find out that it wasn’t that much less then the couch. So that’s when my creative senses kicked in and I had this wild Idea to built it myself. Honestly glad I got hubby’s help , couldn’t have done it without him.
Staining 2×4’s
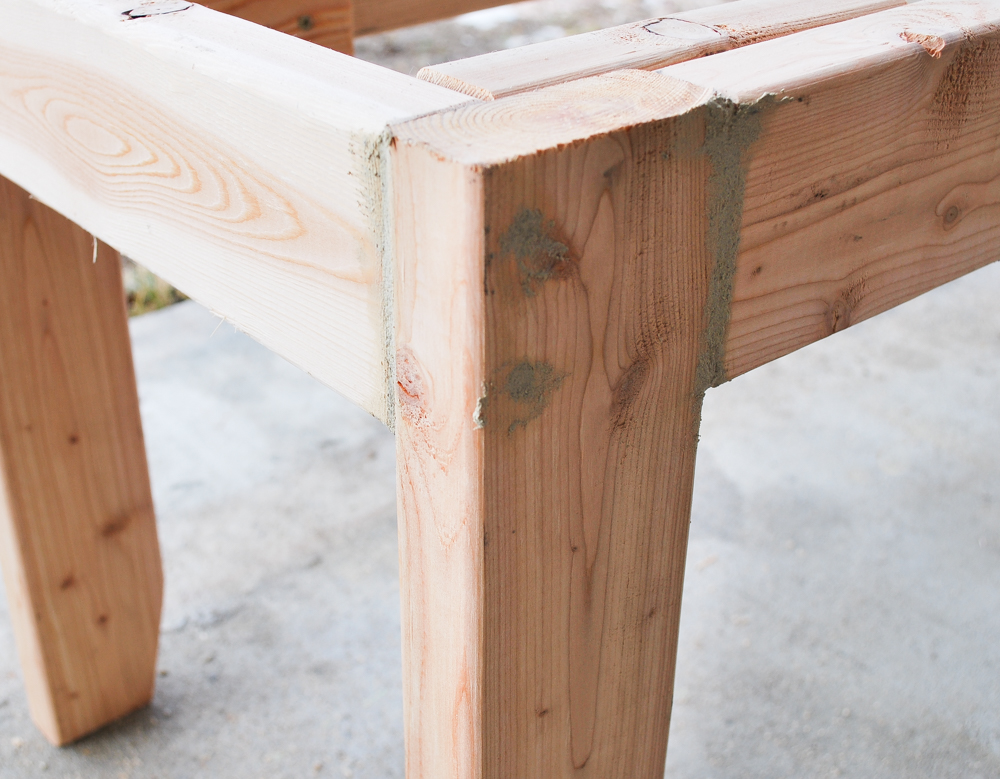
I have to say the staining process went a lot better then I expected. I wasn’t expecting the stain to soak into the wood at all. After all I’ve heard from everyone. I did caulk all the cracks and holes with a wood puddy before staining. Once dry I sanded it down a bit and went on with the staining process.
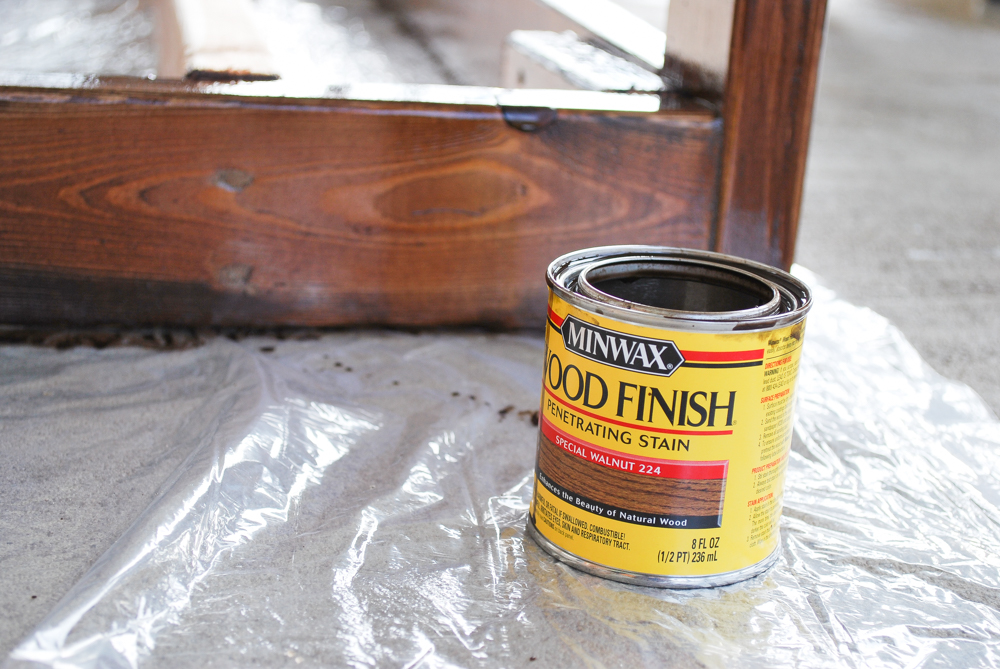
The stain I went with was this special walnut. I wanted a stain that was noticeable enough but not to dark. I did have to stain it twice because the first coat didn’t look dark enough for what I was aiming for. Keep in mind the more coats of stain you use the darker it will be.
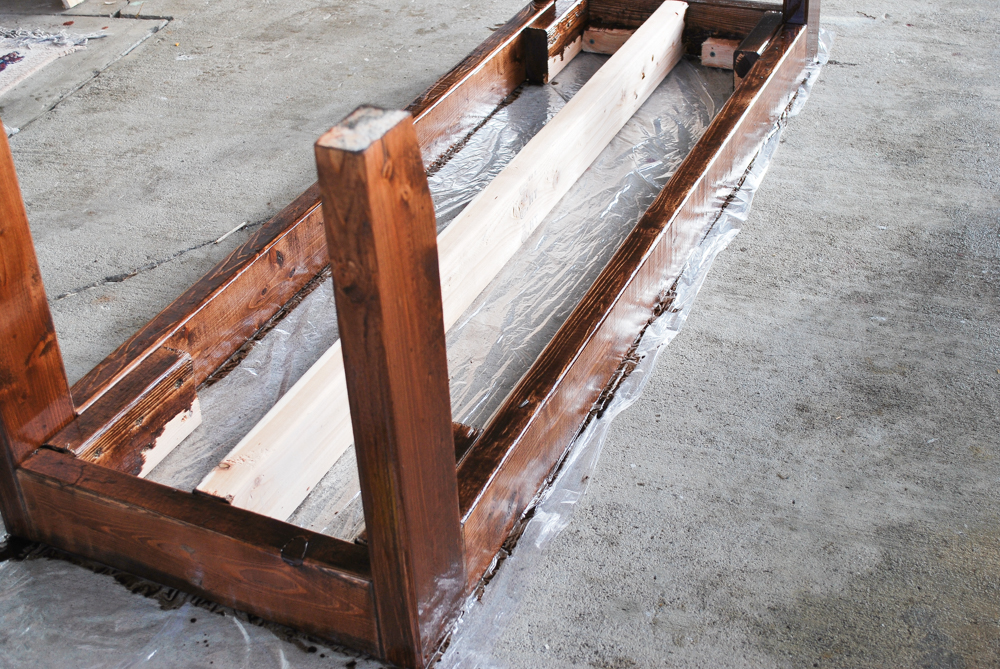
This is what the bench look liked right after the staining process. Not dry yet. After it dried overnight I applied one coat of polyurethane in the satin finish.
So Sorry!!
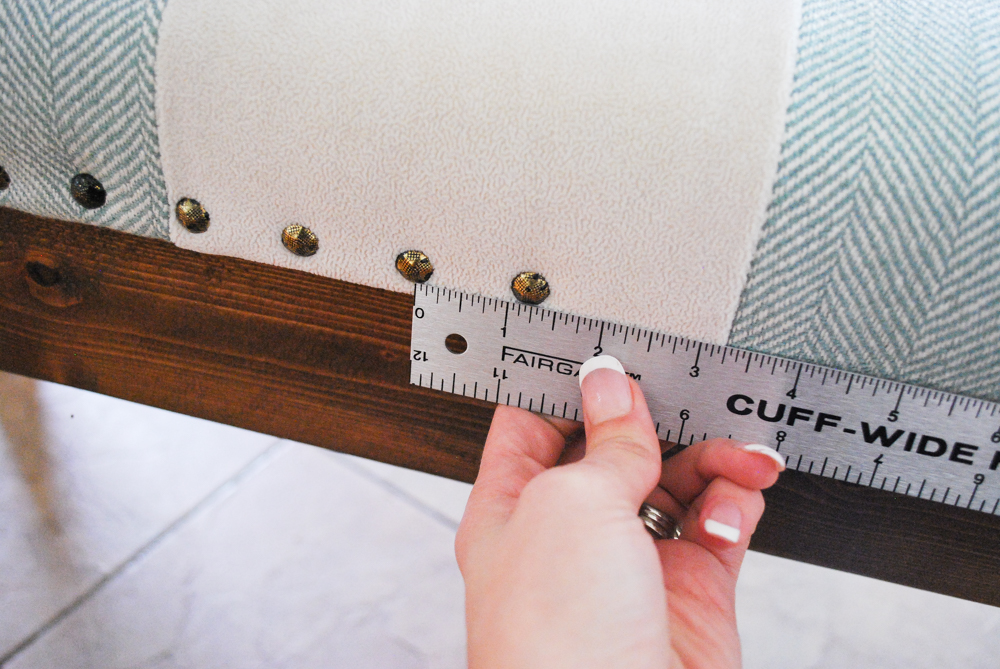
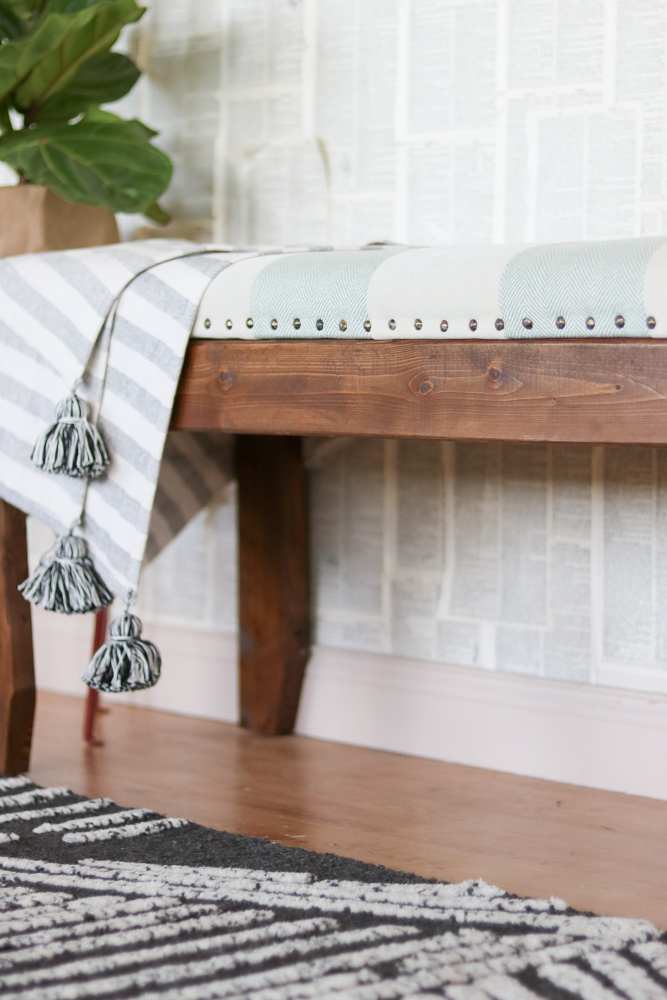
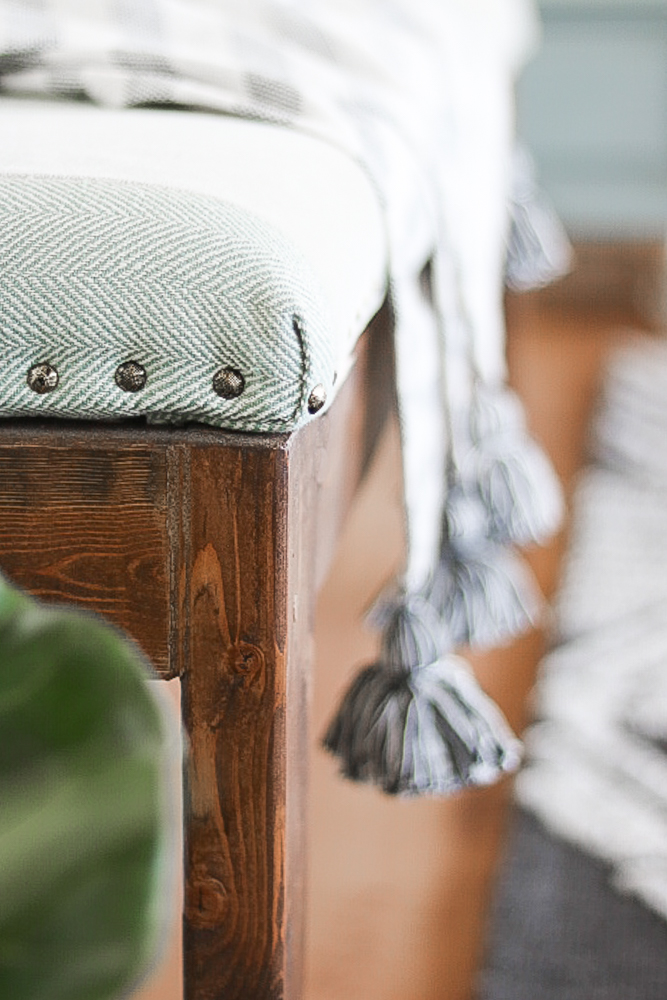
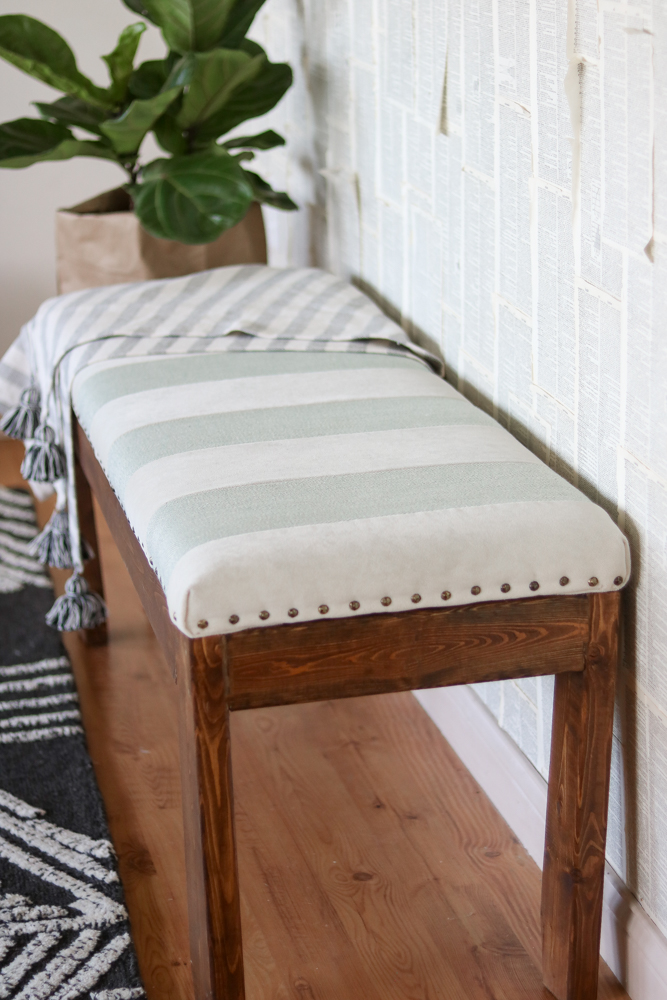
Now I am going to apologize in advance. Unfortunately I did NOT take pictures of how I covered the bench because I was in such a rush to finish it. I used regular plywood from homedepot cut to shape for the bottom of the bench. Then I purchased 2.5″ foam from Joanns and the fabric I used was another journey I went on. I couldn’t find any fabric that had thick stripes like I wanted so I purchased two different types of upholstery fabrics and sewed the strips together. Talk bout being picky. lol I figured if I’m going to put this much work into it might as well be super picky.. 😀 I purchased the little upholstery tacks from homedepot and hammered them along the edges right into the plywood. I used a ruler to make sure they were even because it was super noticeable if they weren’t. To finish it off I had my hubby find the perfect length screws to screw the top to the bench and that was it.
Conclusion
All in all I have to say it turned out way better then I expected. It stained pretty well , gave me the right amount of rustic, and after a year of constant use it held up pretty darn good. Still just as sturdy as the day I built it. 😀 Thank you for joining me on this DIY journey. It was a great experience and if you decide to journey out on your own ” bench diy ” adventure then don’t forget to tag me on Instagram. I would love to see it.
PS. I’m not a carpenter and never took a class of any kind for wood work. So this could be done by anyone. Anything is possible if you put your mind to it and a dab of elbow grease ;D

Notice the wood isn’t super shiny. Yes that’s how it looked after only one coat of satin polyurethane. Just the effect I was aiming for. LOVE IT>>
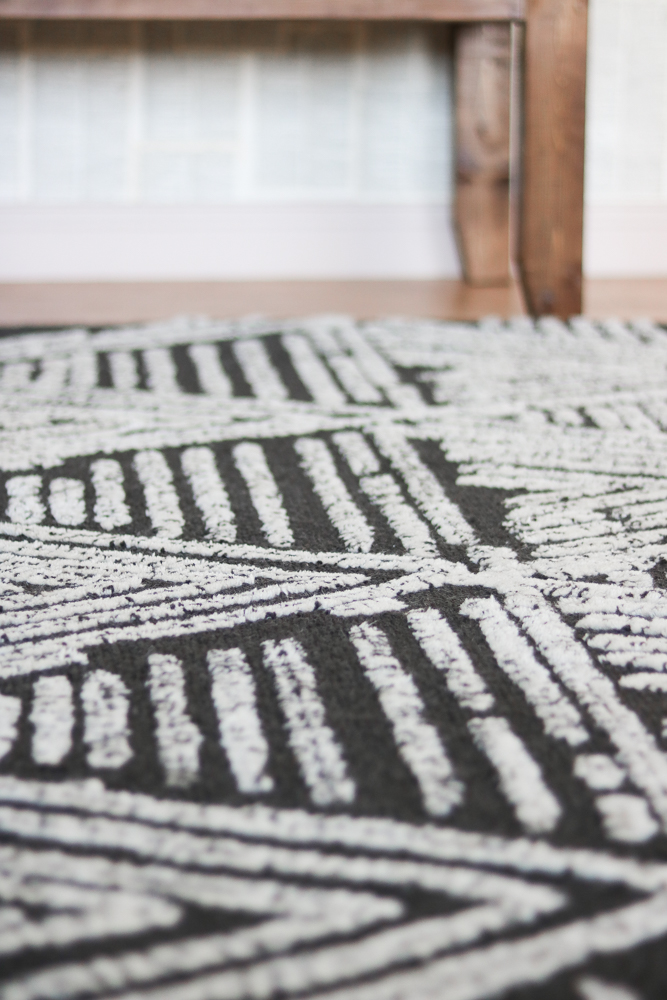
My newest addition to my lovely home is this lovely Nate Berkus area rug. I am absolutely in love with the modern/tribal look it gives although if you notice any debree on the floor it is probably because it sheds quite a bit. (LOVING the wallpaper?? I created this beautiful wallpaper on a 14ft long wall for only $6 dollars you can view the DIY here.)
Here’s a cute pinnable to pin to your favorite board. 😀 Till next time my lovely craftohalics.
This is so cute and creative! Good job! Love it !! 🙂
Thanks girl. Glad you liked it 😀
Great job!
This is just what I was looking for the end of my bed. This also gives me idea’s of making it square for a coffee table.
Oh I’m glad you found what you were looking for 😀 Yes this could totally be made as a coffee table. Can’t wait to see what you come up with don’t forget to tag in on Instagram @lilyardor. 😀
Don’t you just love making something that people said either couldn’t be done or wouldn’t work. 🙂 Sometimes I think it is better if you don’t know what you are doing because your head isn’t filled with all the this isn’t how to stuff. you just go with it. it came out great.
Thanks I’m glad you liked it. Yes that is so true. I try not to think to much when DIYing. LOL And YES It’s always nice to do the unexpected 😀
What a beautiful, simple bench. I am in love with it! I want to make one for my new home now. Best of all is that the materials are so easy to get! Thank you for sharing!
Your welcome I am so glad yo liked it. 😀
what are the measurements that you used? For example what are the lengths for the long and short pieces and legs, etc
I used Two 46.5 2×4’s , two 14.5 2x’4’s and four 18.5 2×4’s for the legs. Hope this helps. 😀 The little ones on the inside could be any size.
These measurements are in inches?
Yes those are measurements in inches. 😀
I am a mother and this helped me!
What are the length of the 2″x4″ ‘s for each section ?