Hi everyone, today I’m sharing how we made our DIY modern farmhouse dining table with the most basic tools.
This was really easy to make and could easily be a 2 day project. A great weekend project!
WHAT NOT TO DO WHEN BUILDING A TABLE!
We had originally planned on making the table from raw live edge wood. This was a project we started in the summertime but, weren’t able to finish it in time before Christmas. So we decided to store it in the shop. Unfortunately the wood wasn’t kiln dried so while it was stored in the shop it slowly warped and was eventually unusable! I share more details in the video.
$200 out for the raw wood and we weren’t able to use it for the table. We do hopefully plan on using it for benches. That said, lesson learned we will not be attempting to make a DIY table from raw wood again.
After all the hassle with the raw wood we decided to make a quick trip to home depot and get some basic builder grade wood there.
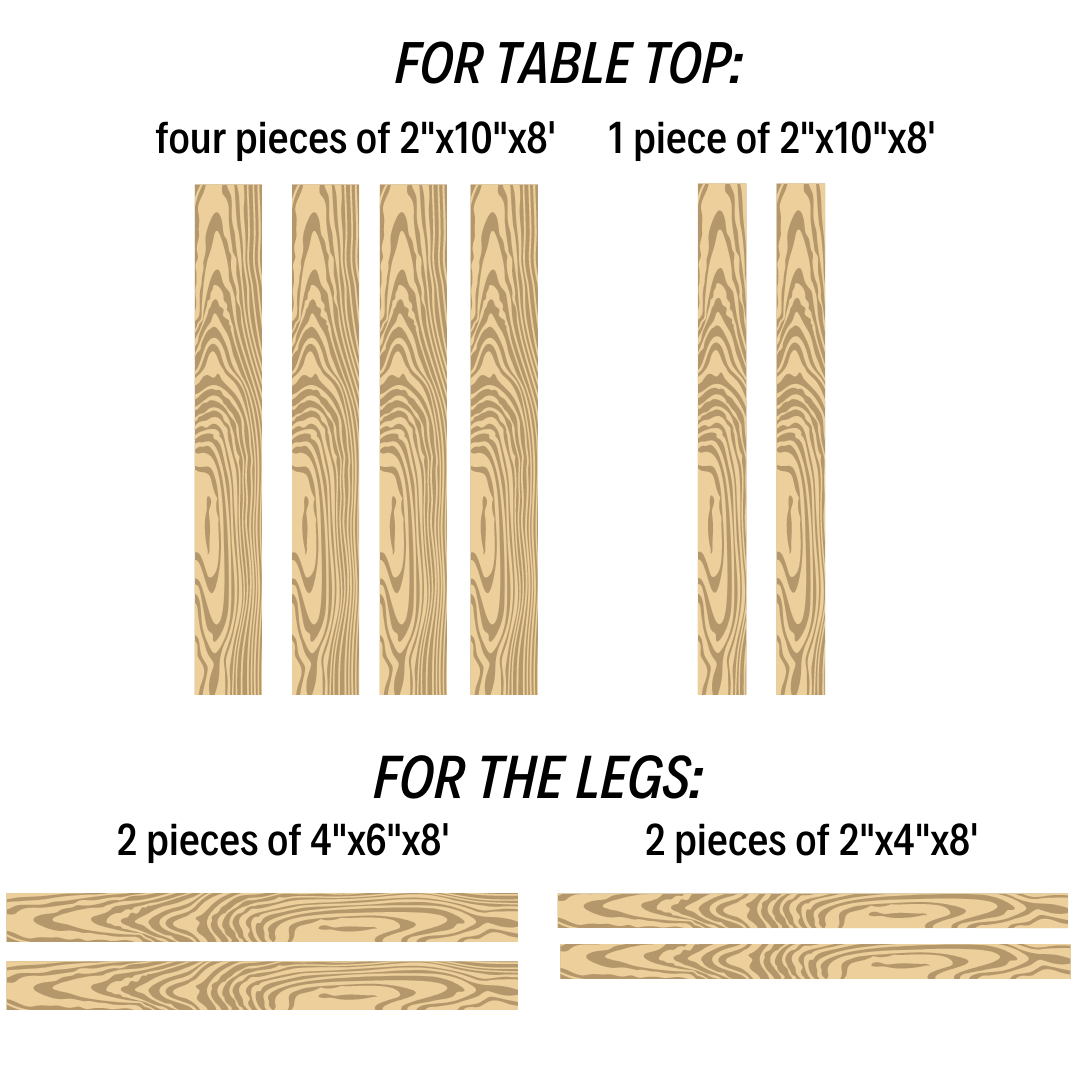
Supplies needed:
- 2 pieces of 4″x6″ by 8 feet
- 4 pieces of 2″x10″ by 8 feet
- 2 piece of 2″ x 6″ by 8 feet
- 2 pieces of 2″x4″ by 8 feet
- wood glue
- simply white minwax stain
- fruit wood minwax stain
- early american minwax stain
- polycrylic gloss clear finish
- polycrylic minwax flat matte finish
- paper towels
- brushes
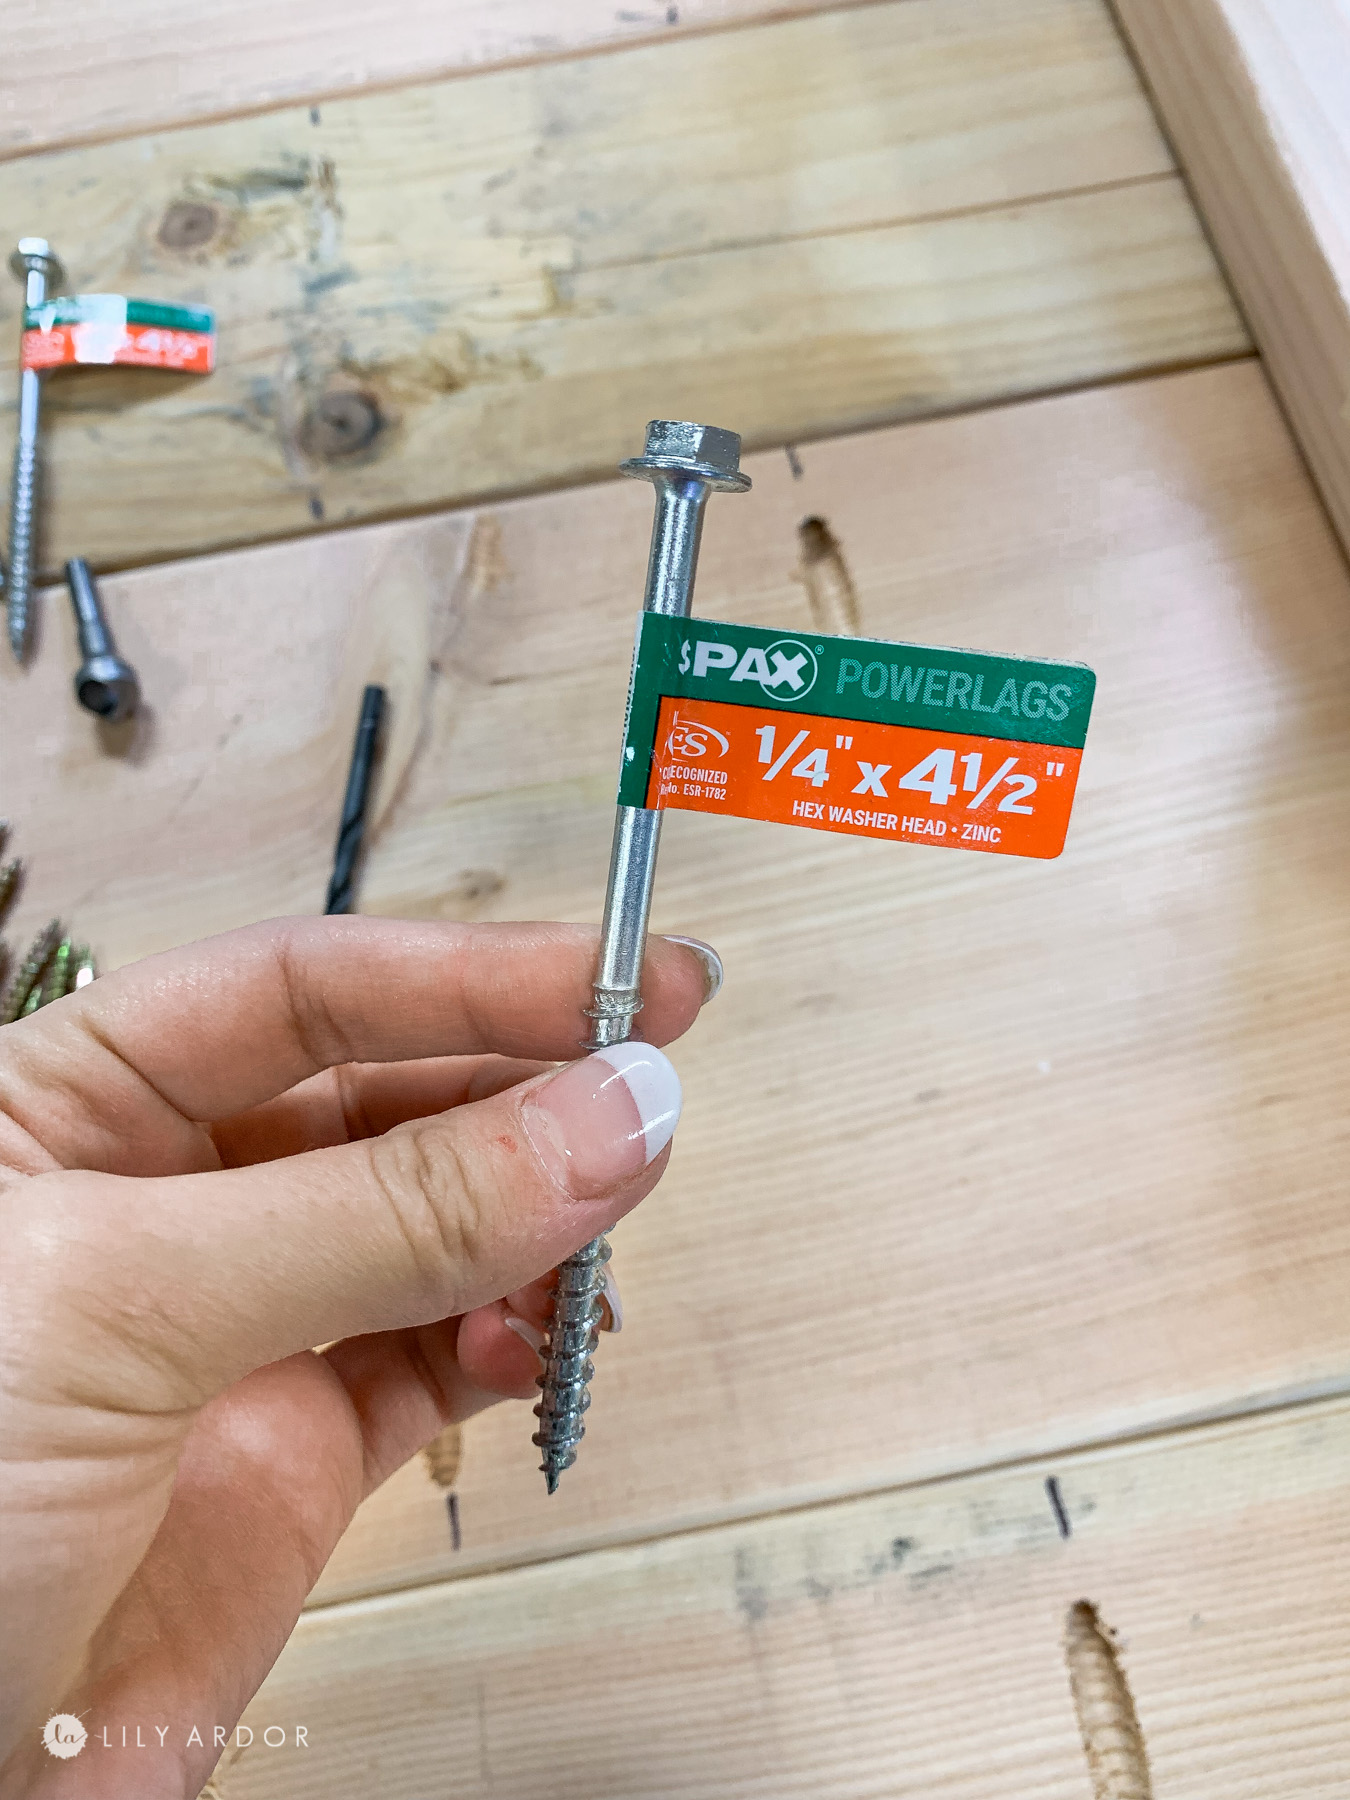
- 24 – 4.5″ screws (1/4″ inches in thicnkess)
- 16 – 2.5″ screws ( 1/4 inches in thickness)
Tools Needed:
- circular saw
- miter saw (to cut 2″x6″)
- drill
- drill bit extension
- kreg jig
- countersink drill bit + regular drill bit
Total Cost:
The wood cost us around $130. We used some recycled wood we had at home too. The top coat and stain cost an additional about $60. So in total this table cost us under $200. What a great deal!
DIY table plans
Now that I think of it these plans could also be used as diy picnic table plans if you’re looking for some.
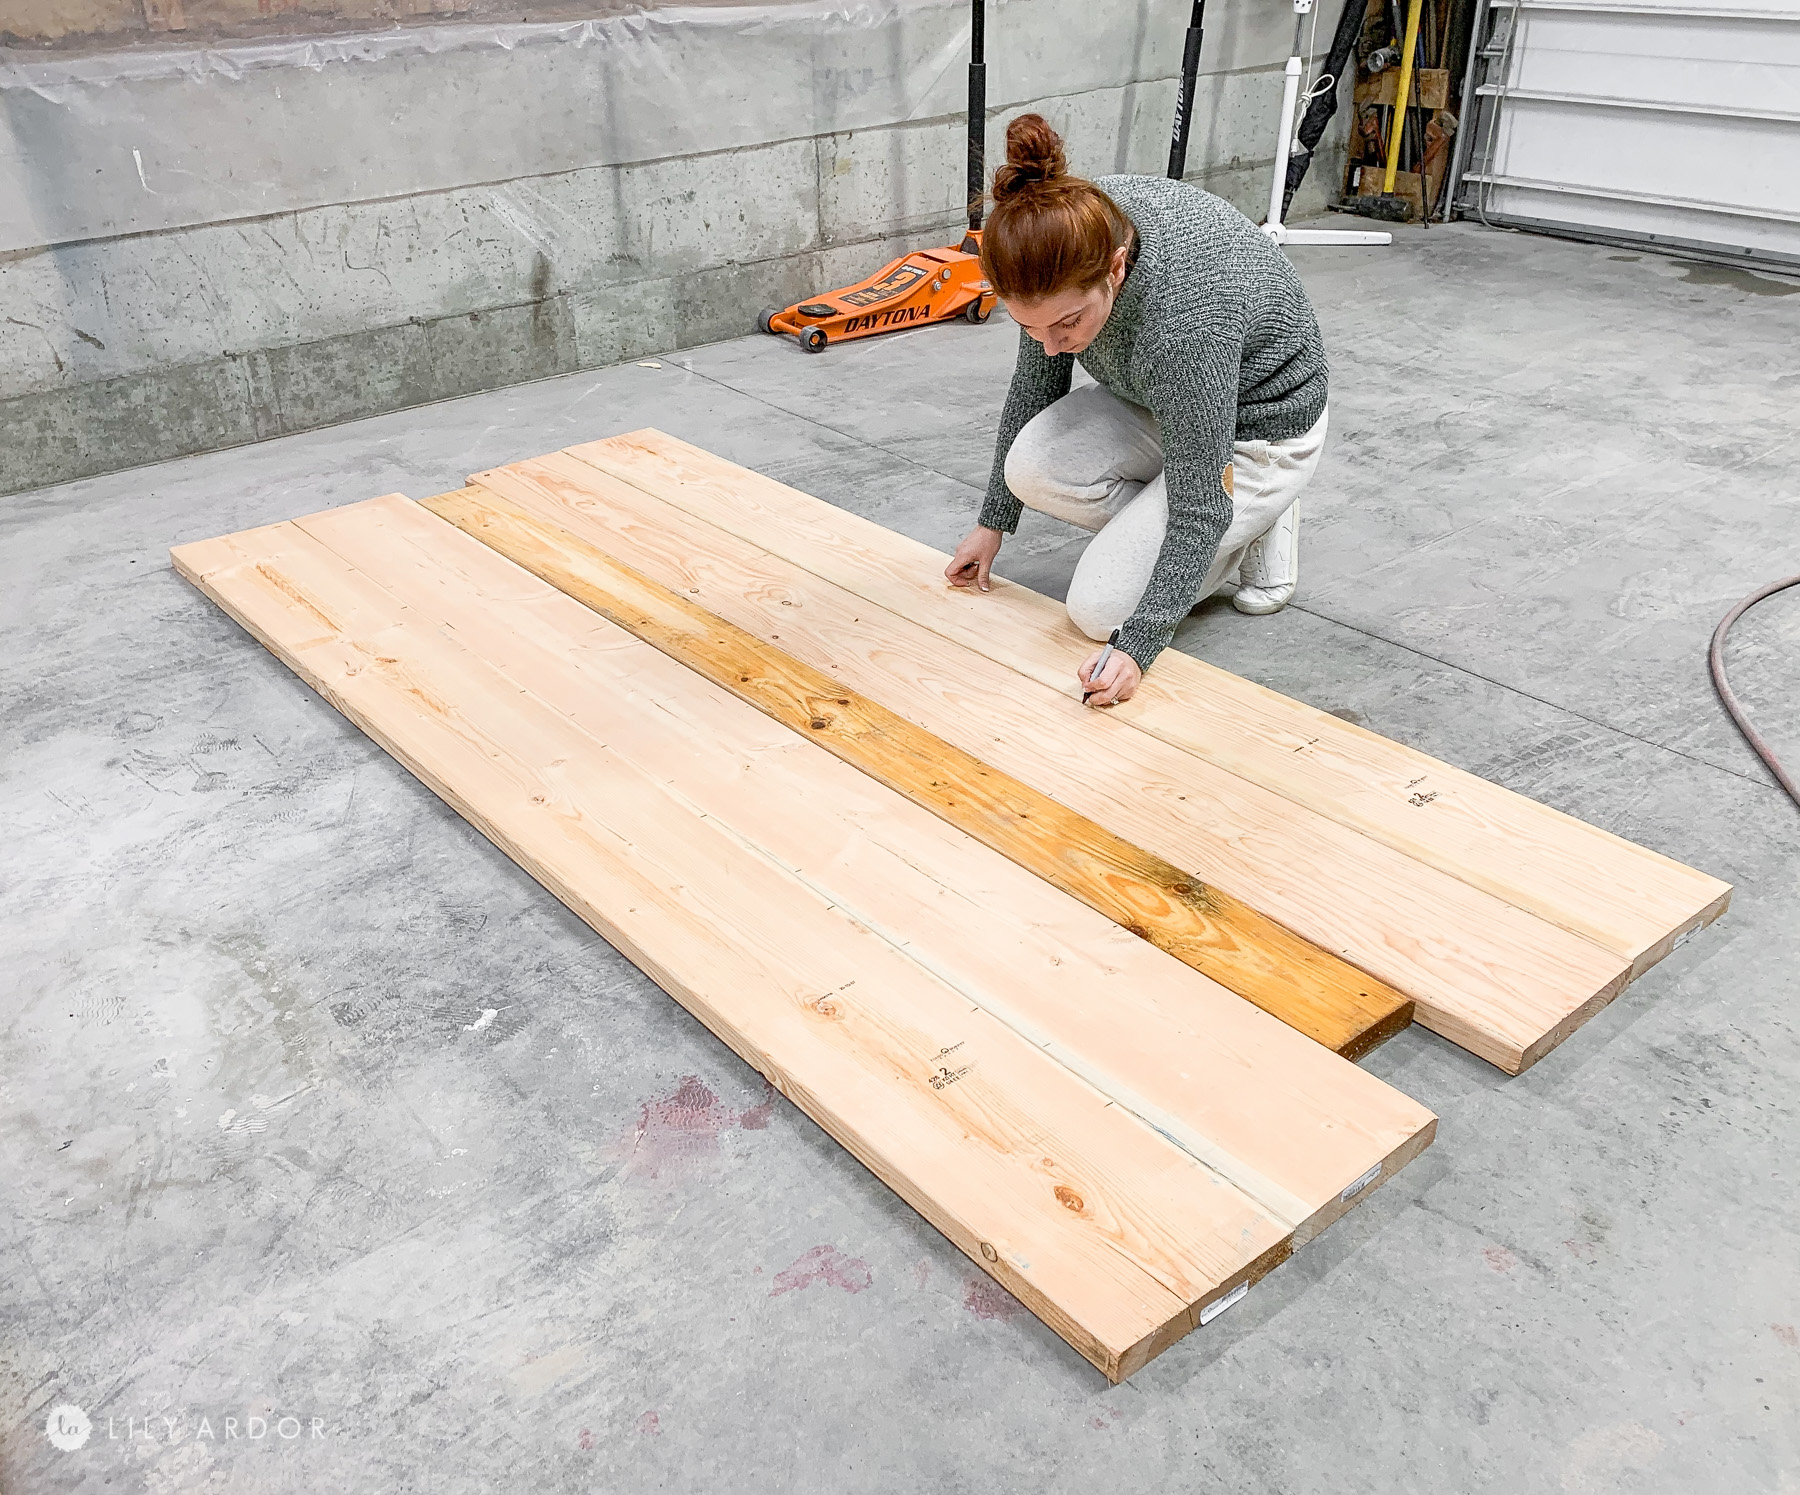
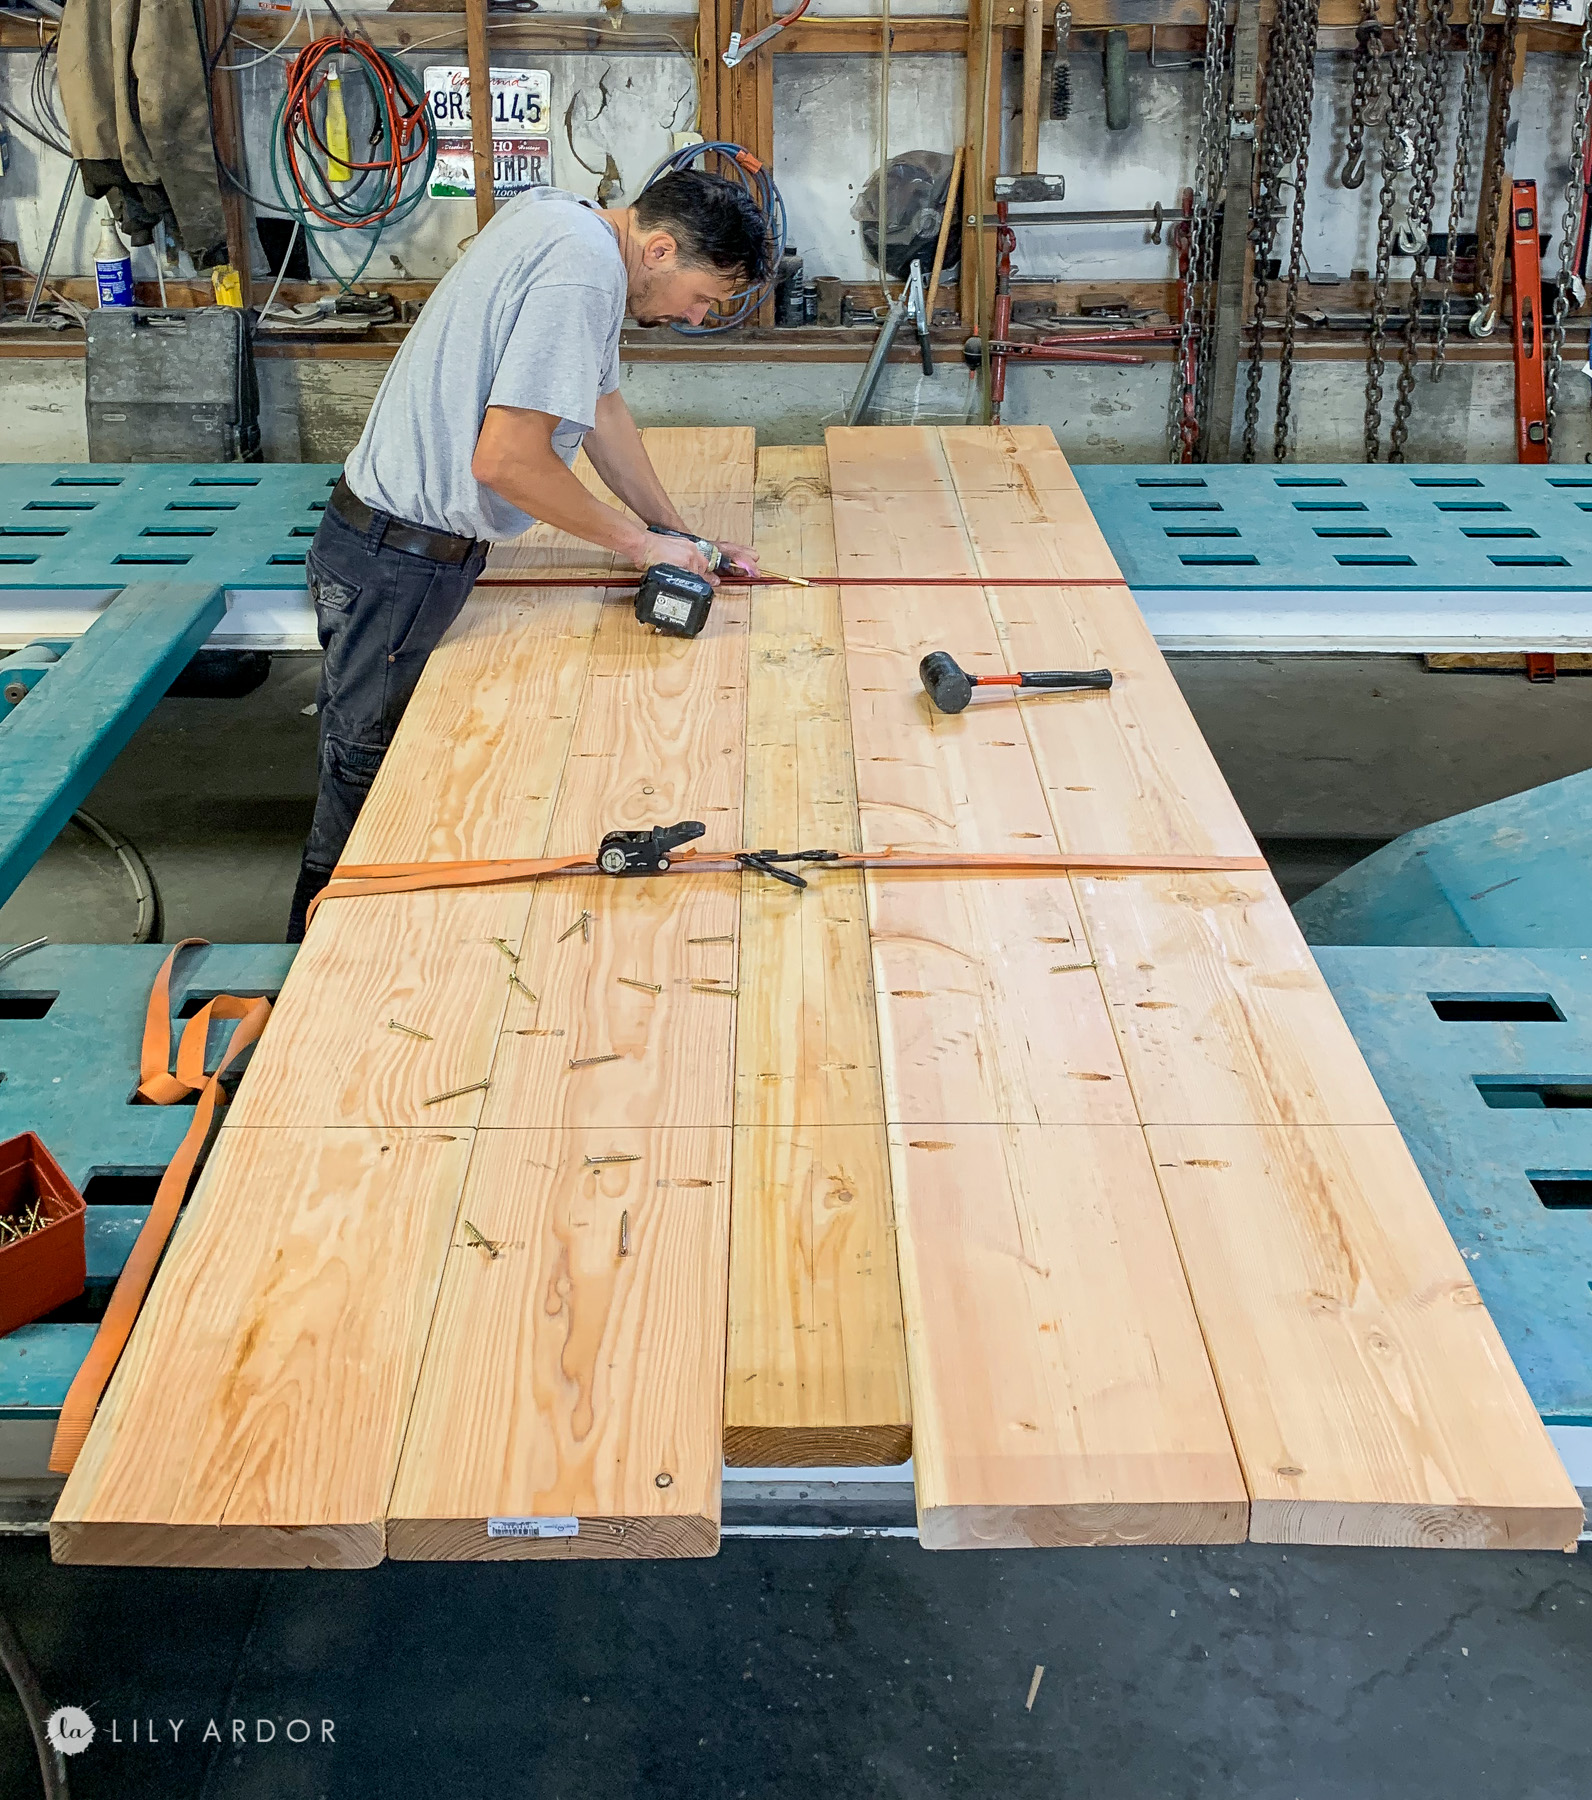
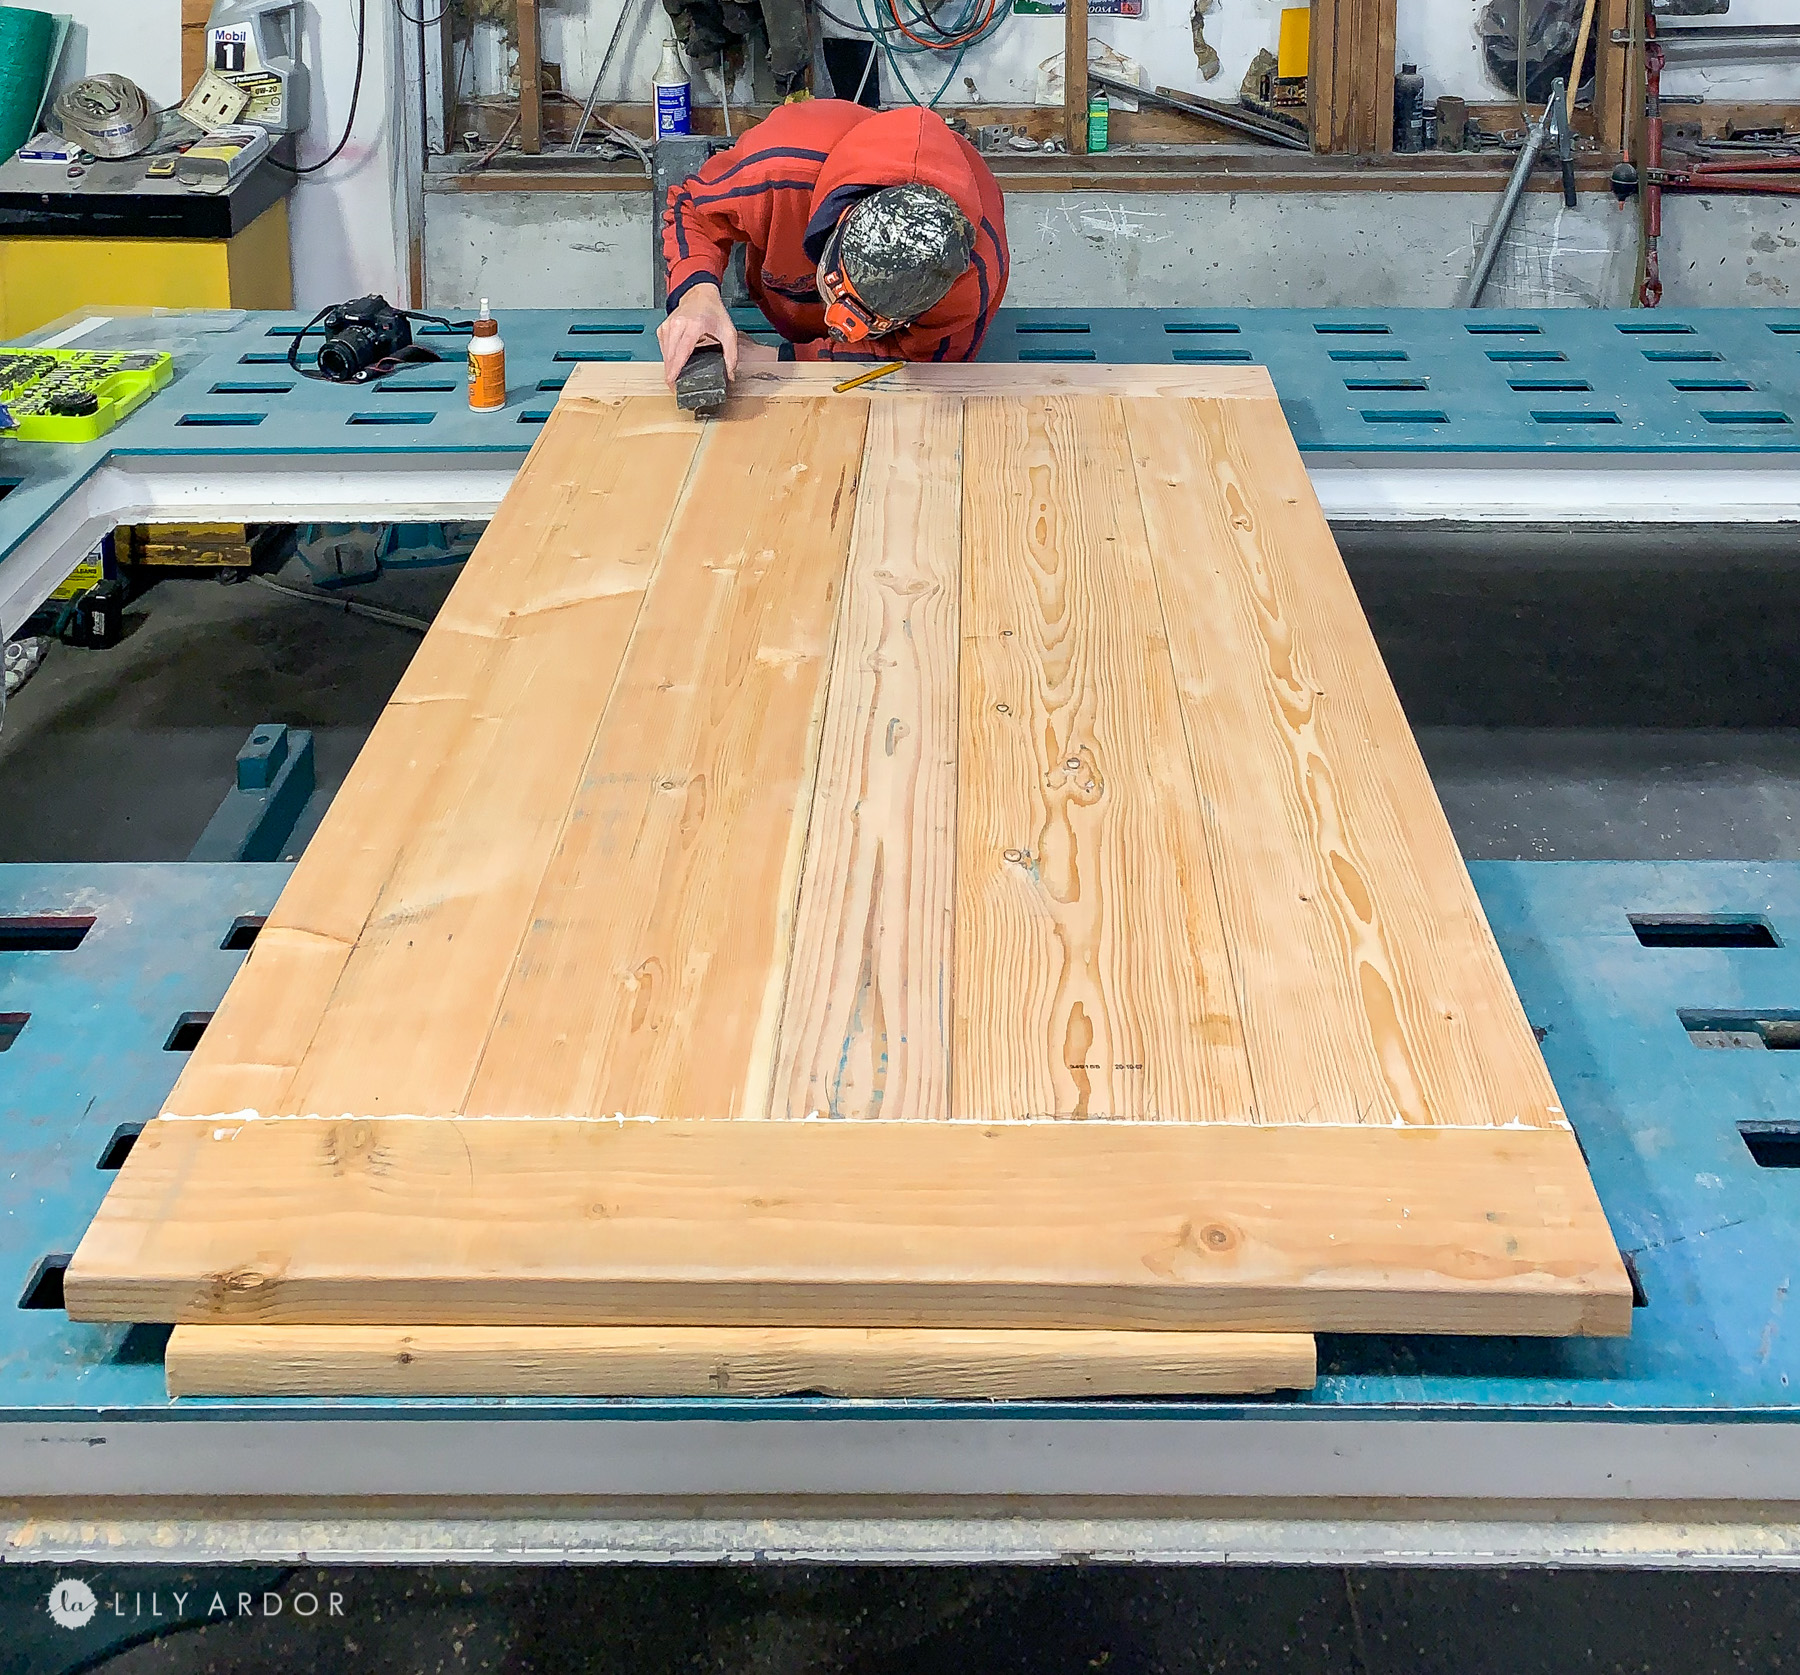
Step 1: Prepping the wood!
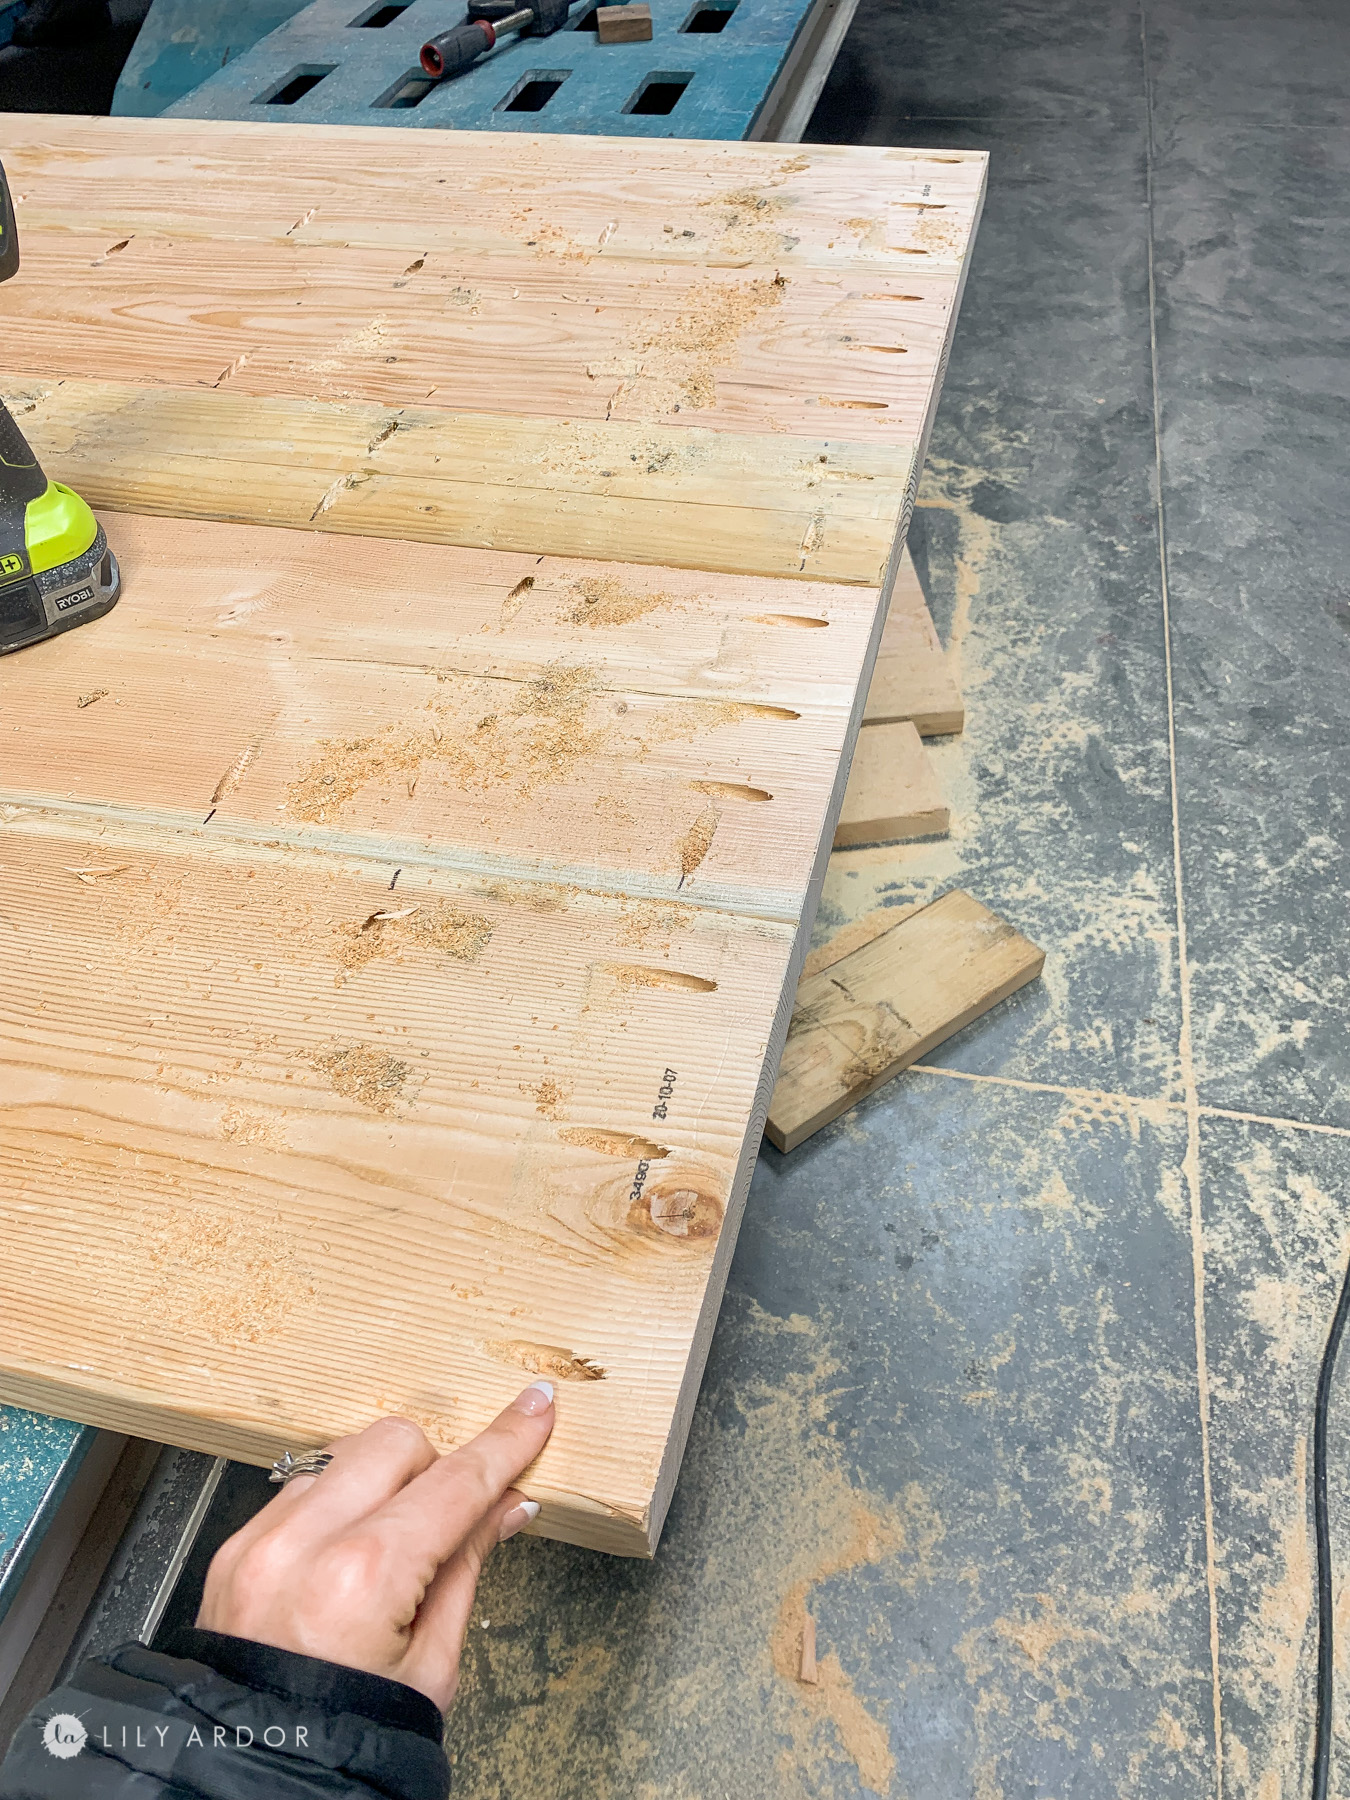
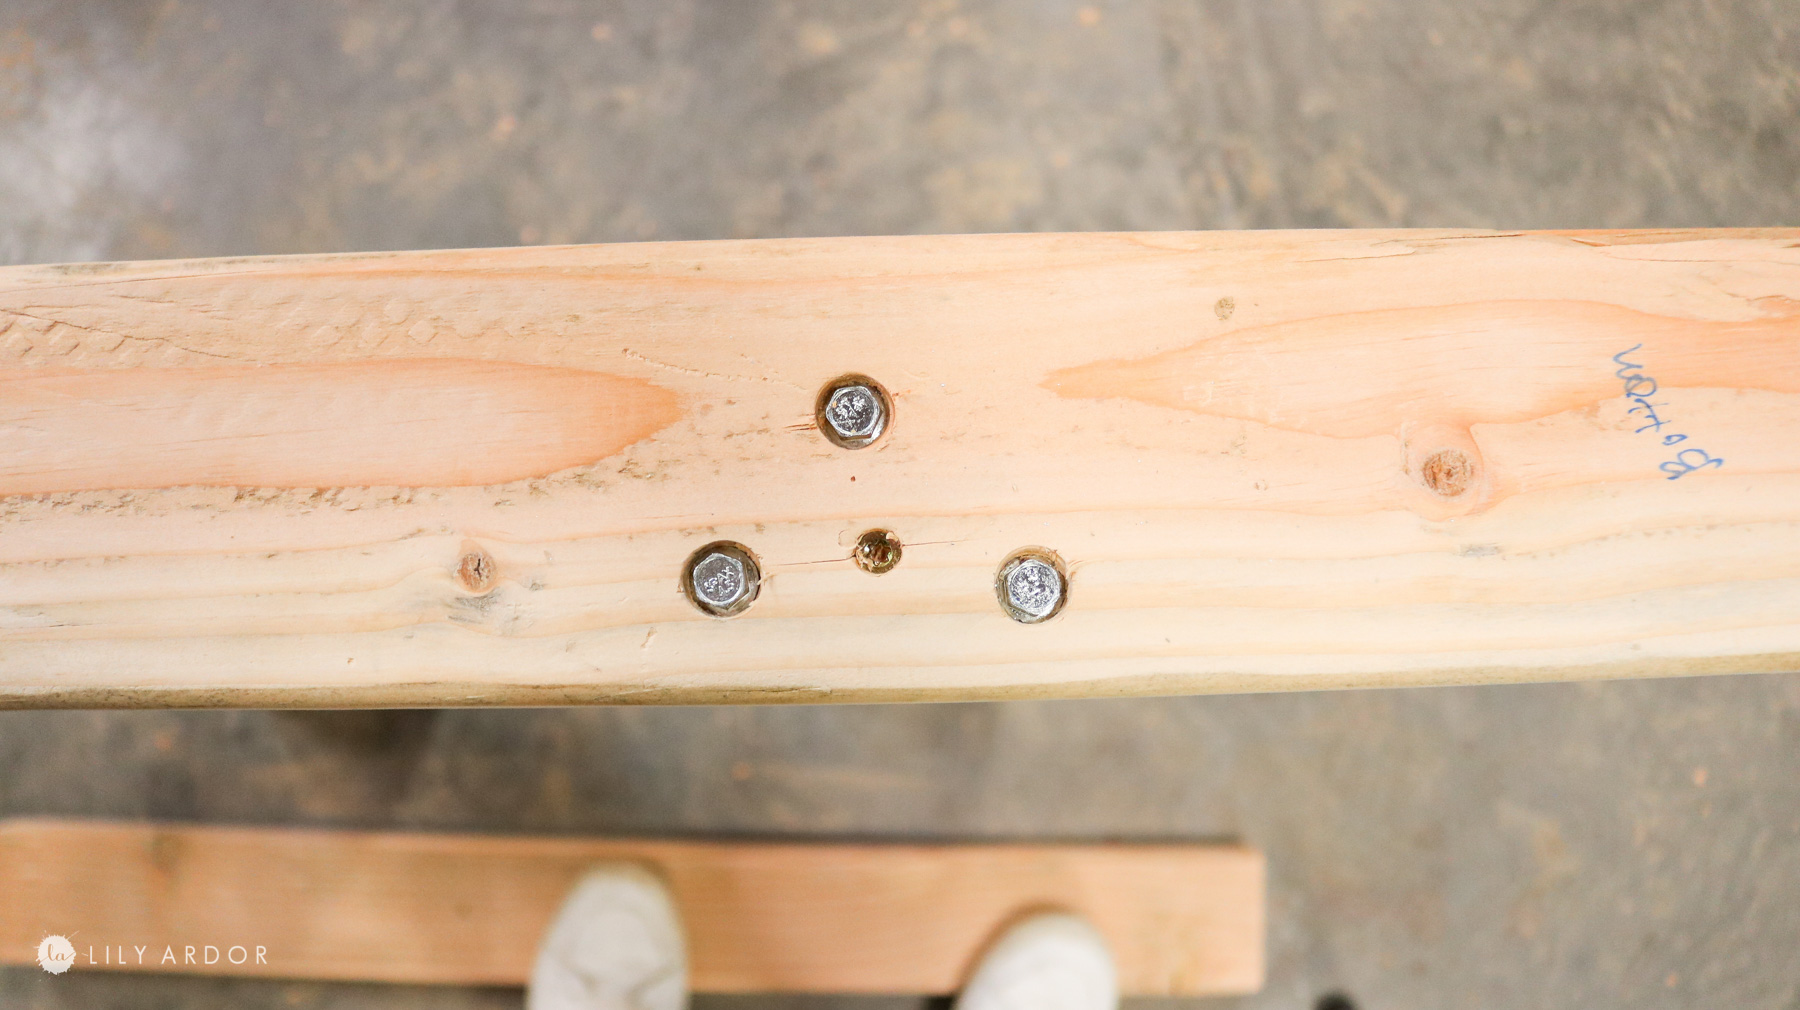
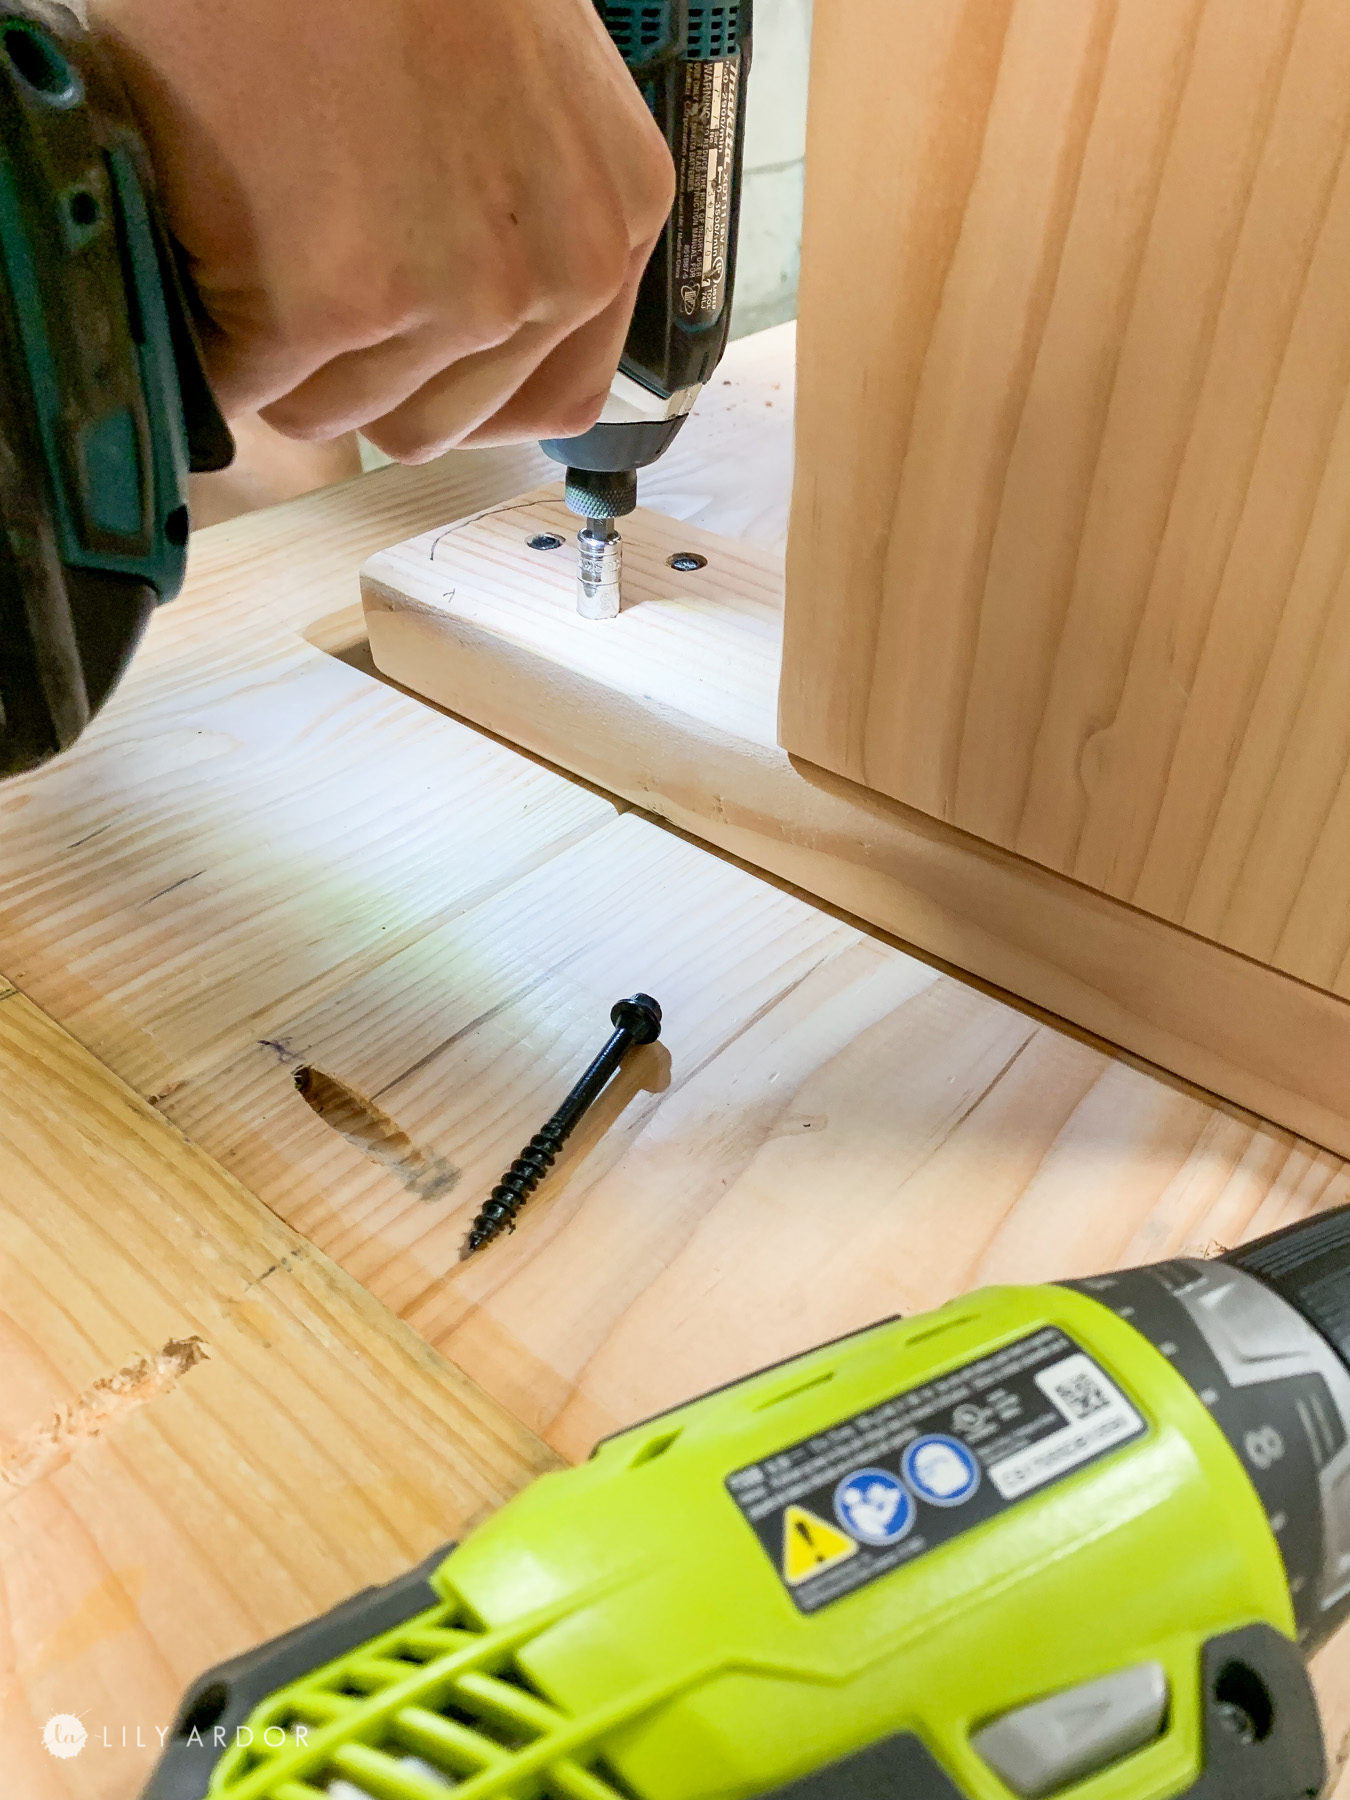
I first started off by laying out the 2″x 10″ and one 2″x6″ in the center. I than marked where I would be making my slanted holes. Make sure to mark the wood pieces by numbers and a line across so they don’t get misplaced if you have to move them.
To make my slanted holes I used a kreg jig, a clamp and a piece of wood. You can check our the full video of the DIY table here if this step is confusing.
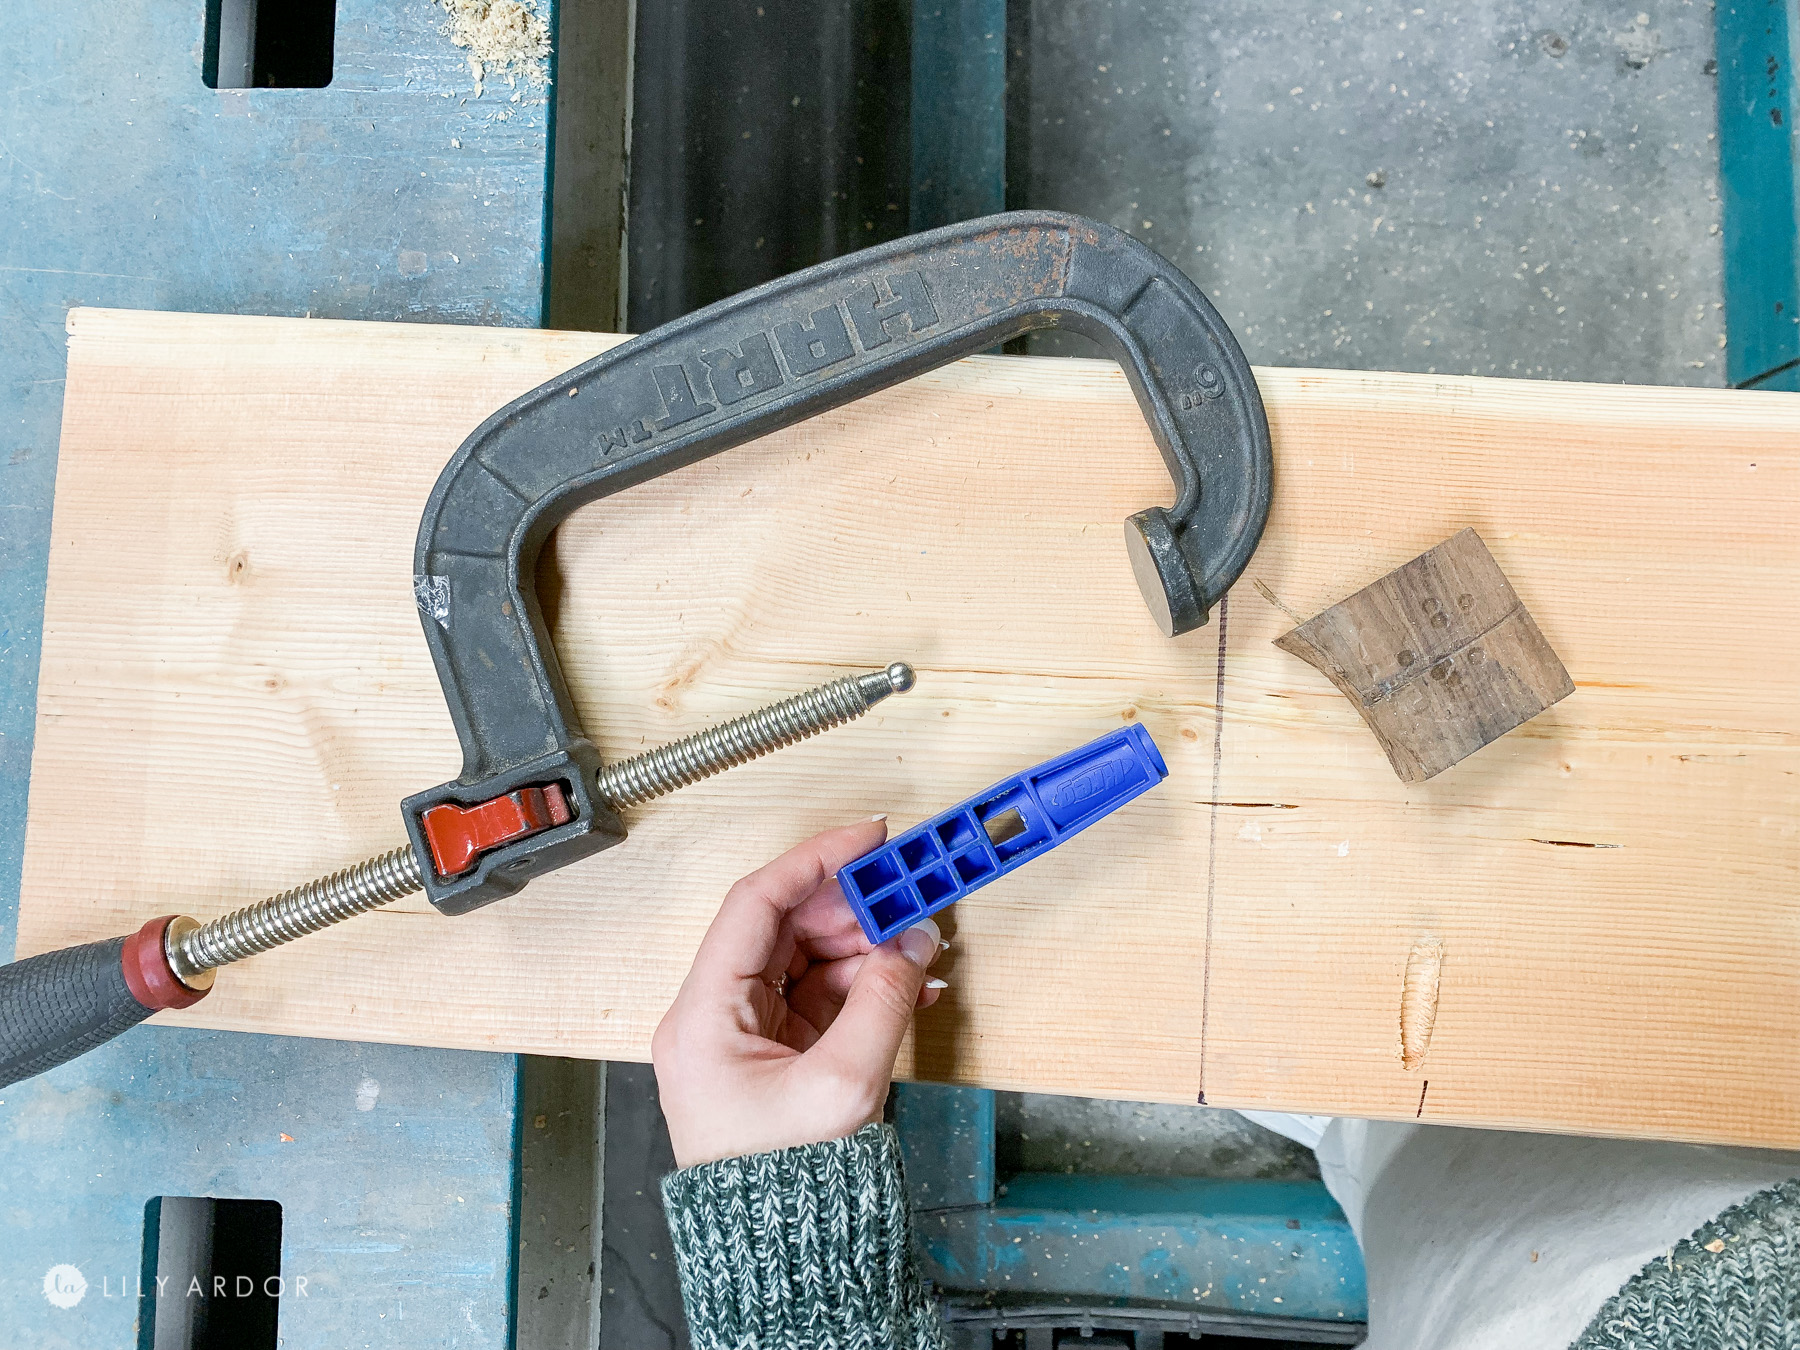
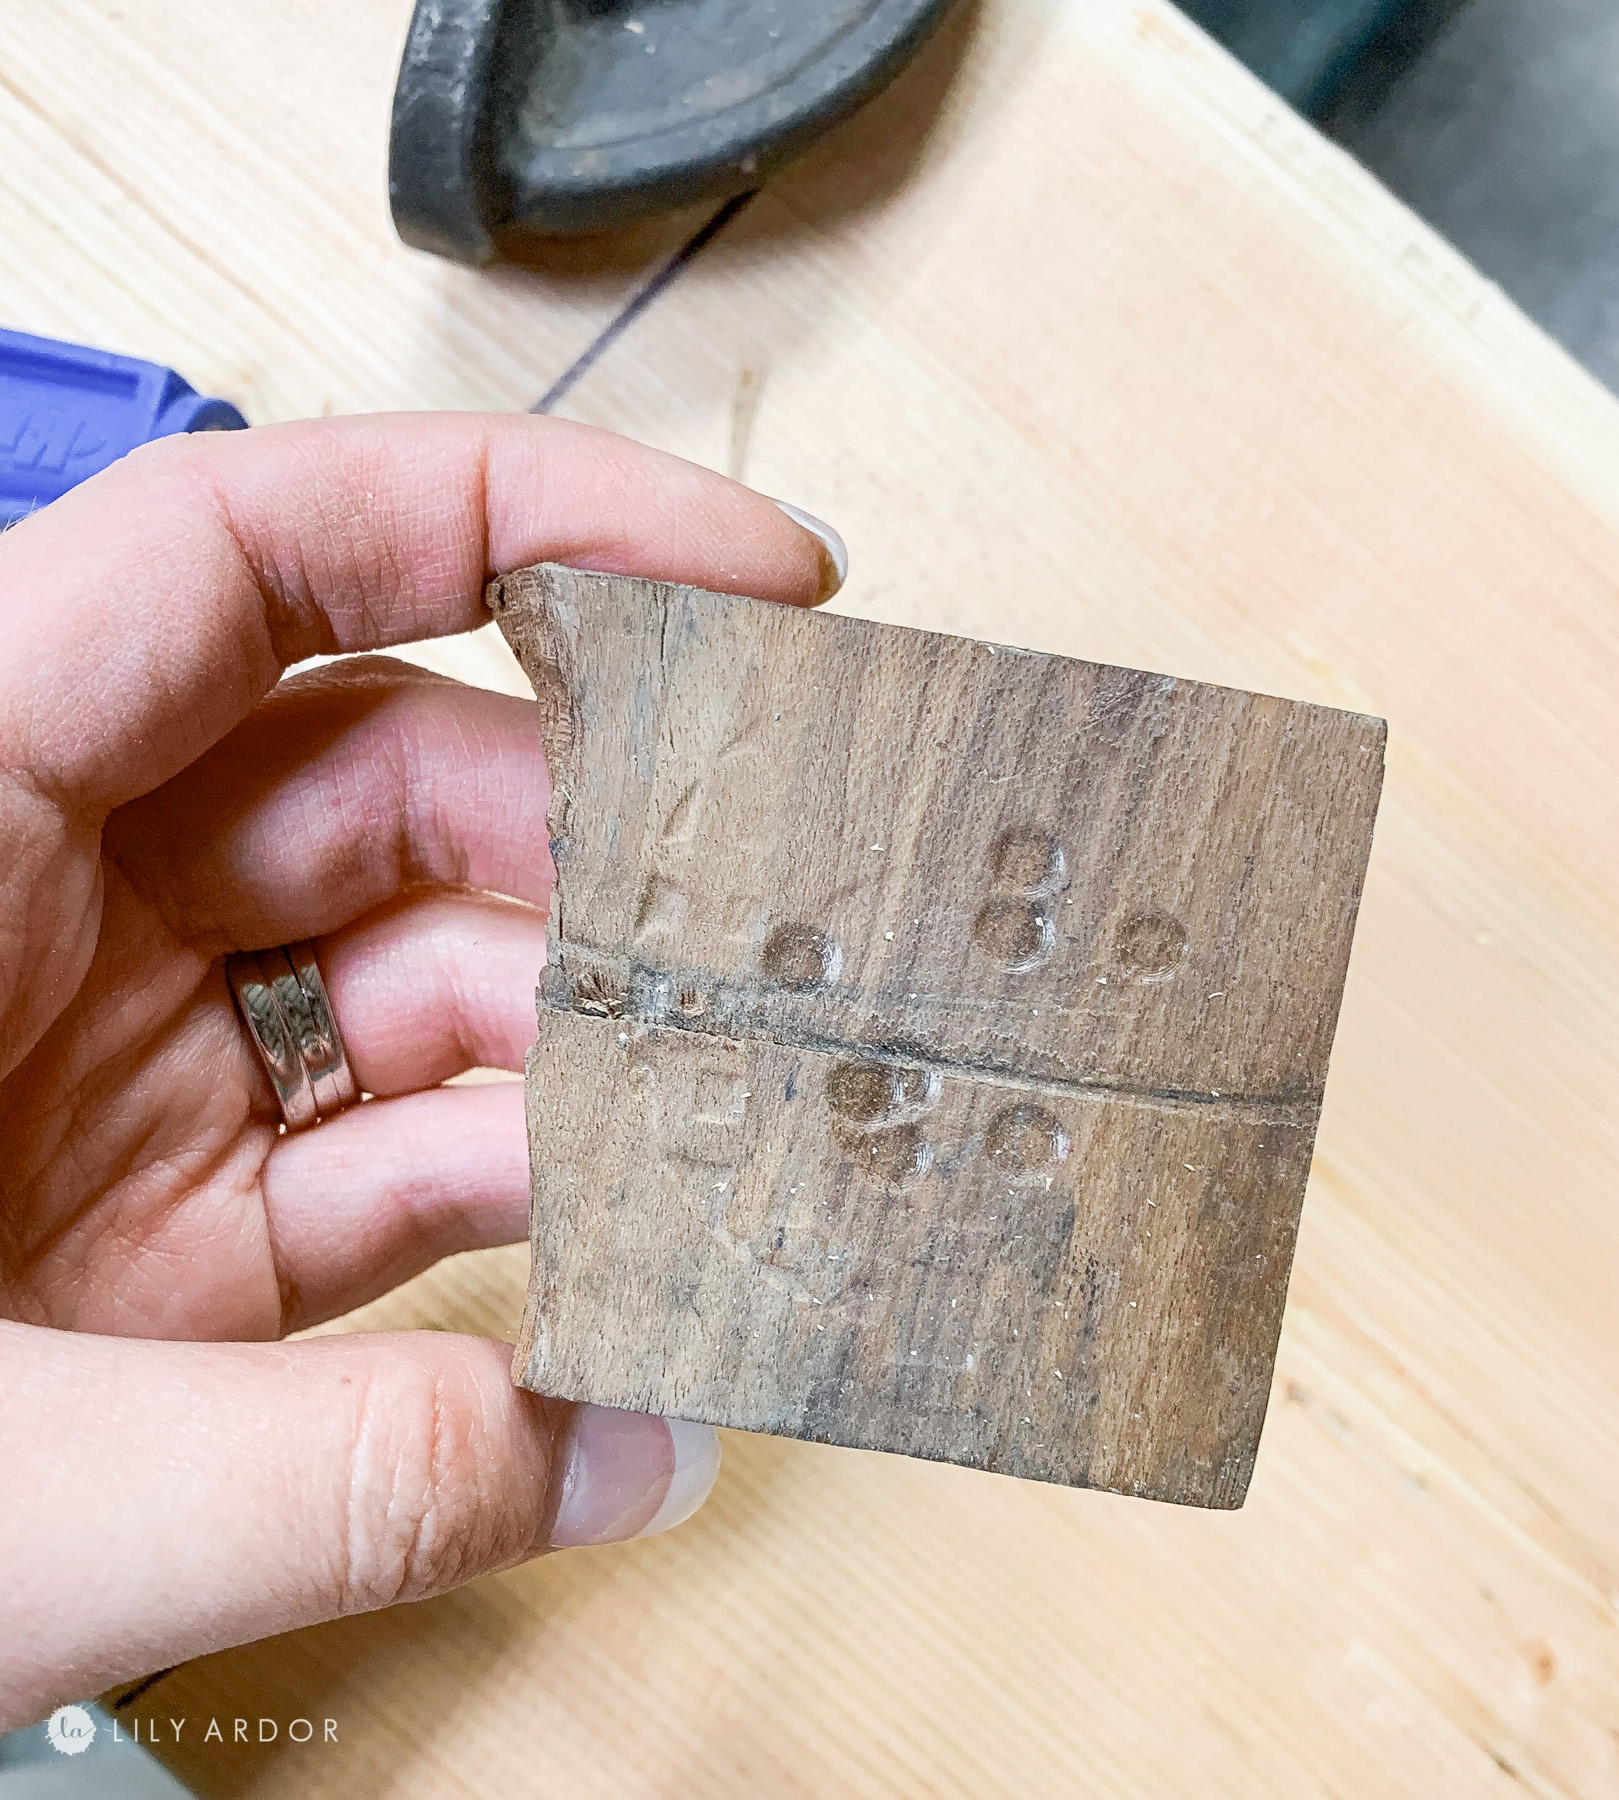
You’ll need the piece of wood underneath so the clamp doesn’t leave marks on your table.
Here’s what the kreg jig looks in action (photo below).
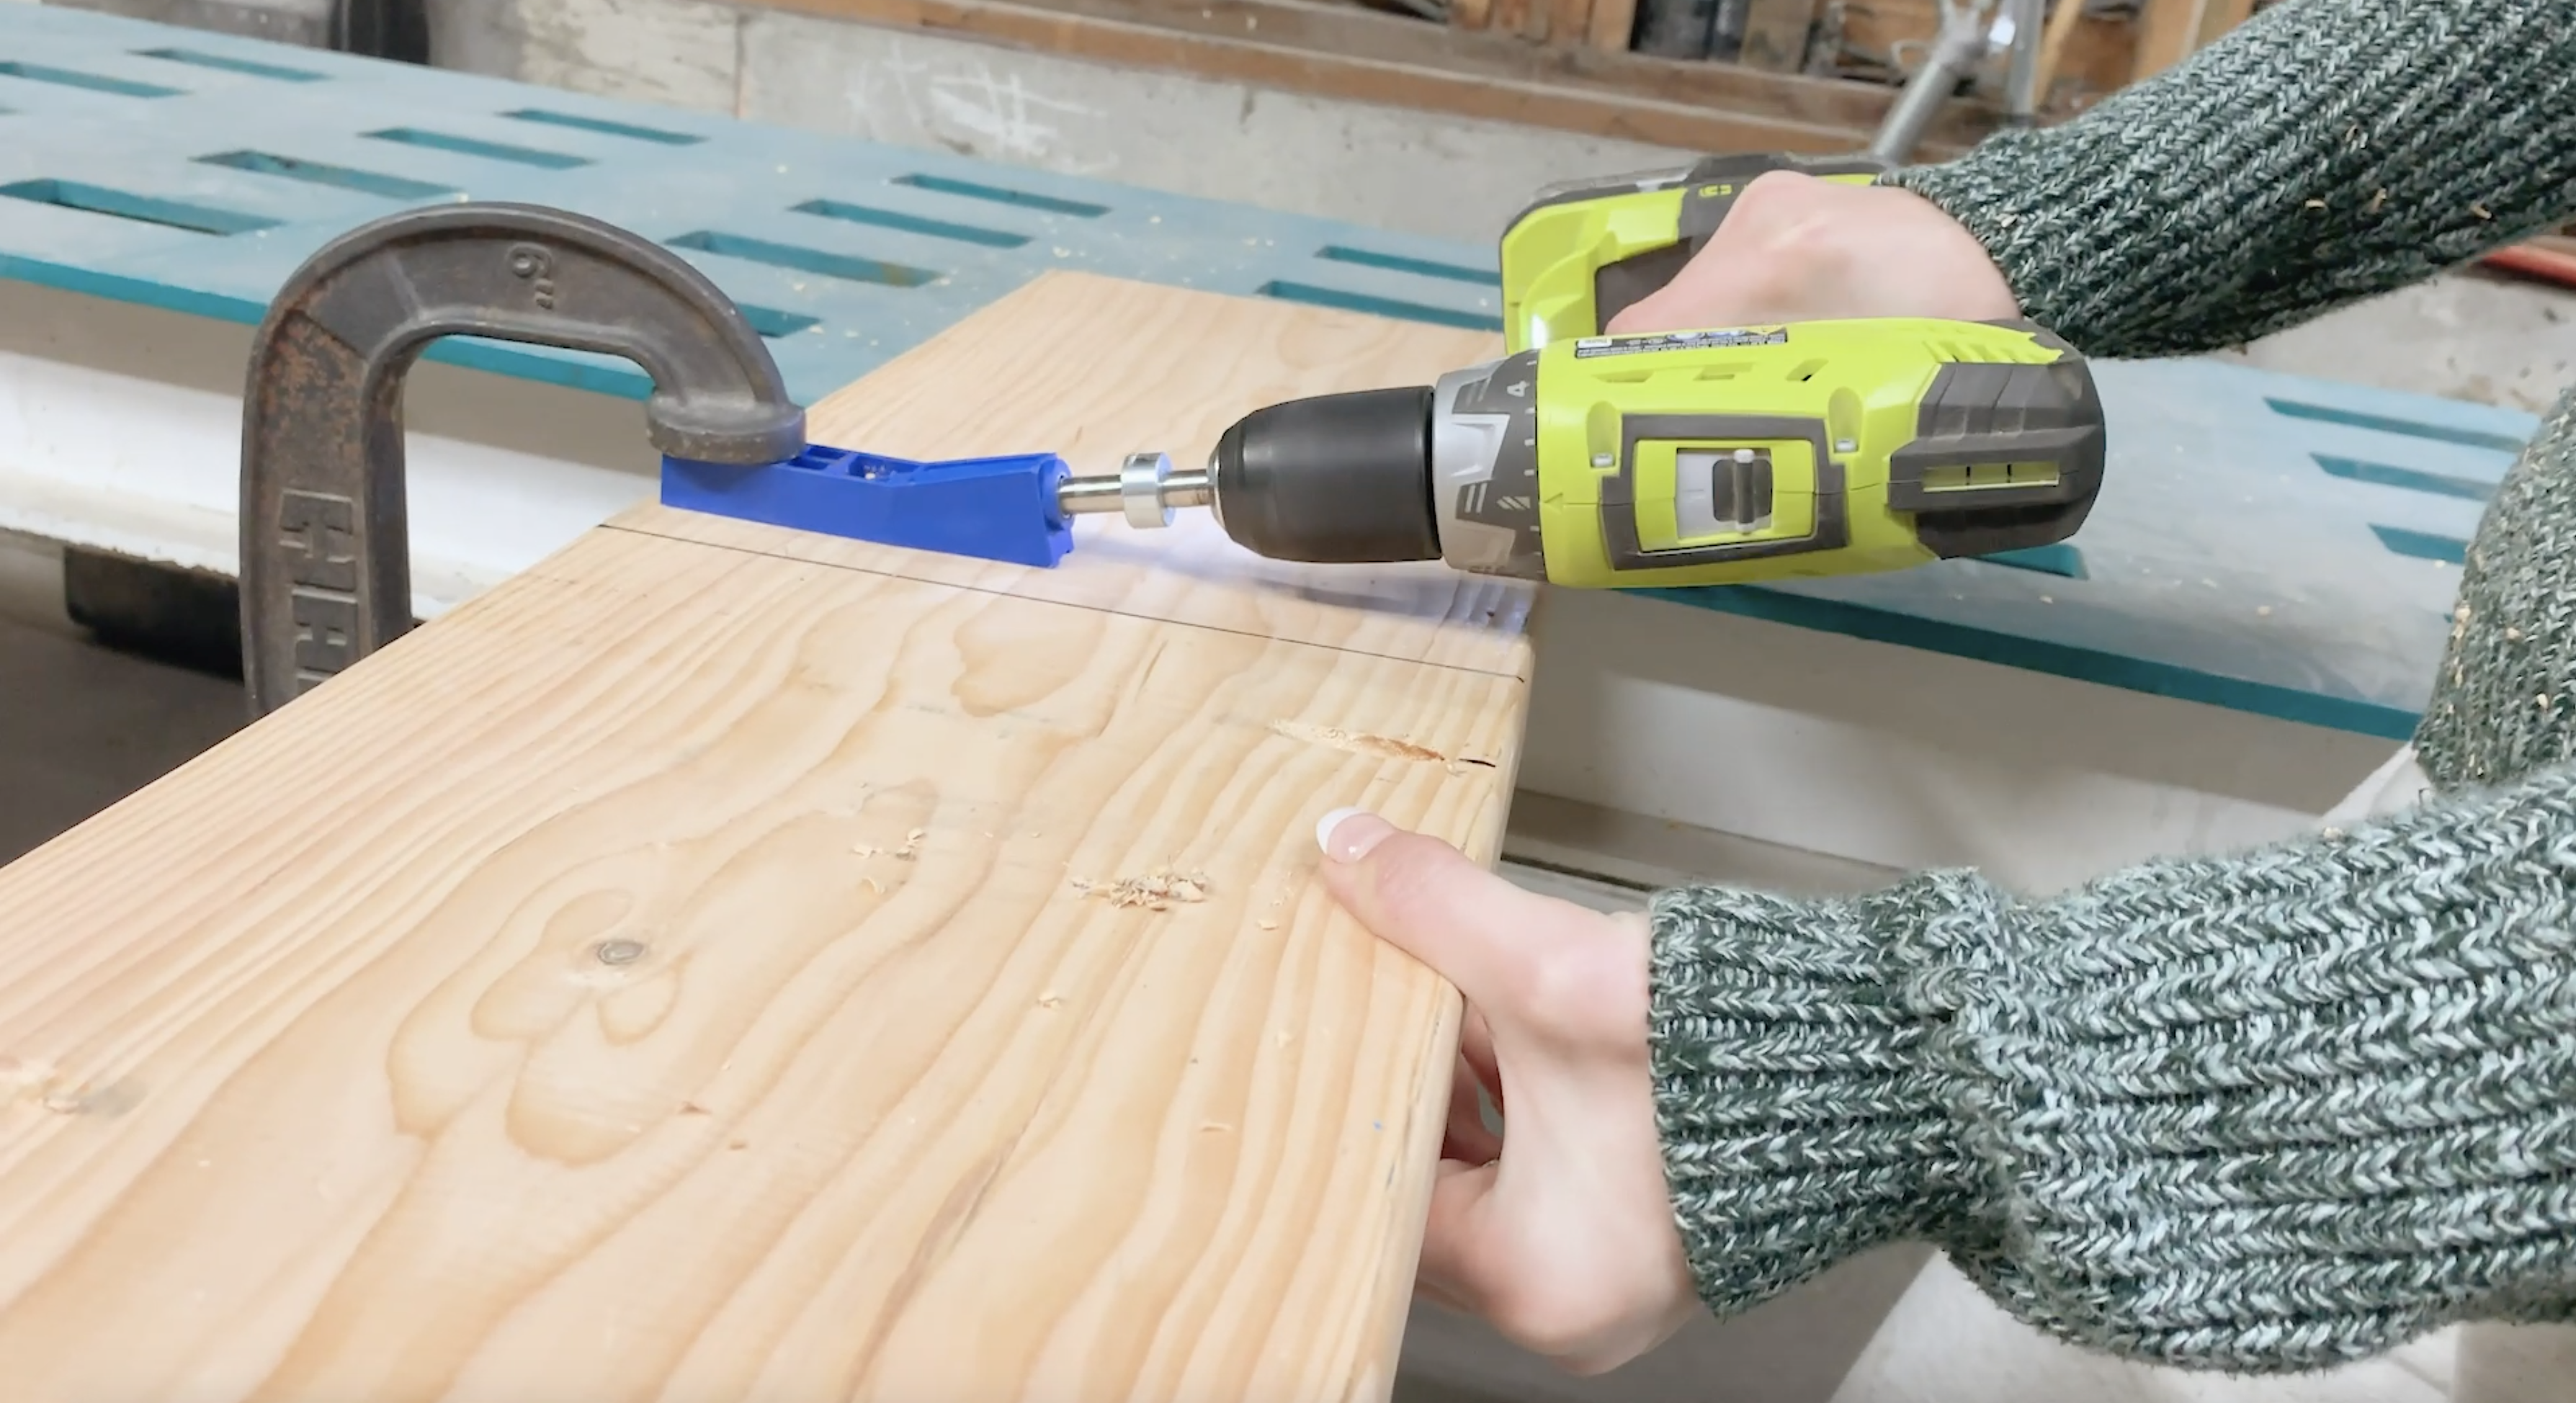
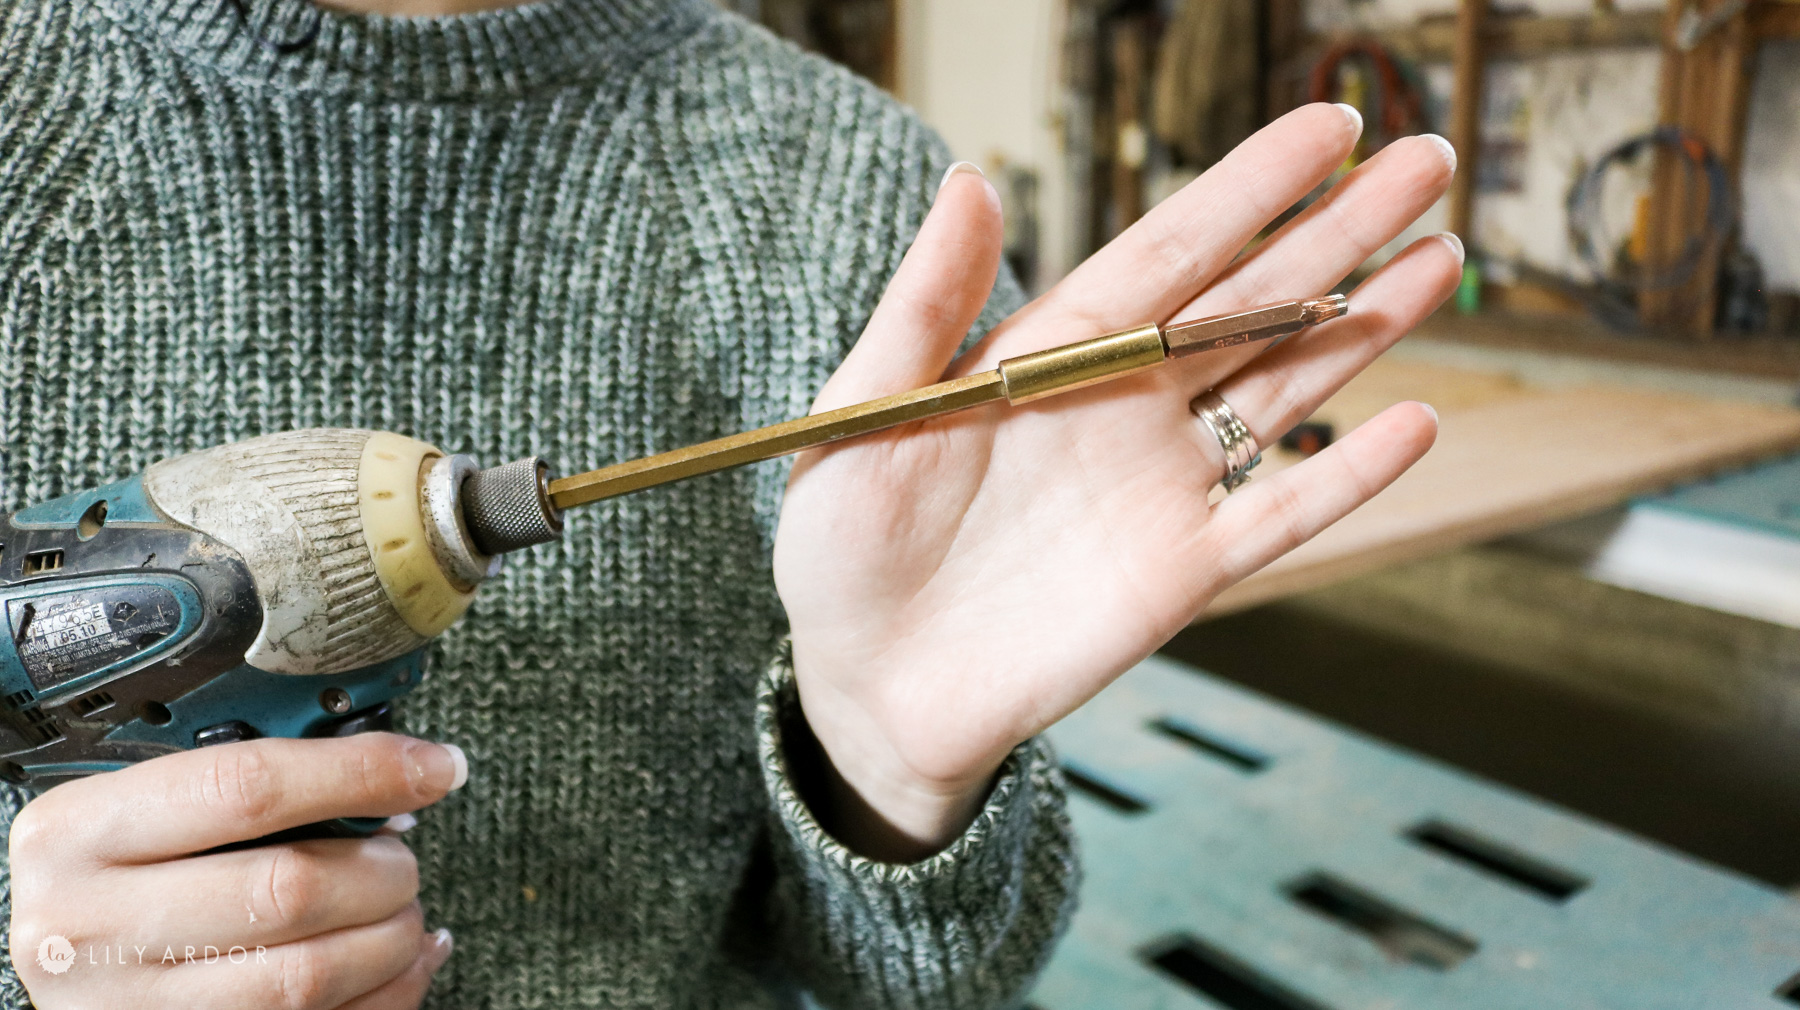
We used regular 2.5″ screws to secure all the pieces of wood together. You’ll need an extension for this. It makes it so much easier to screw the screws in.
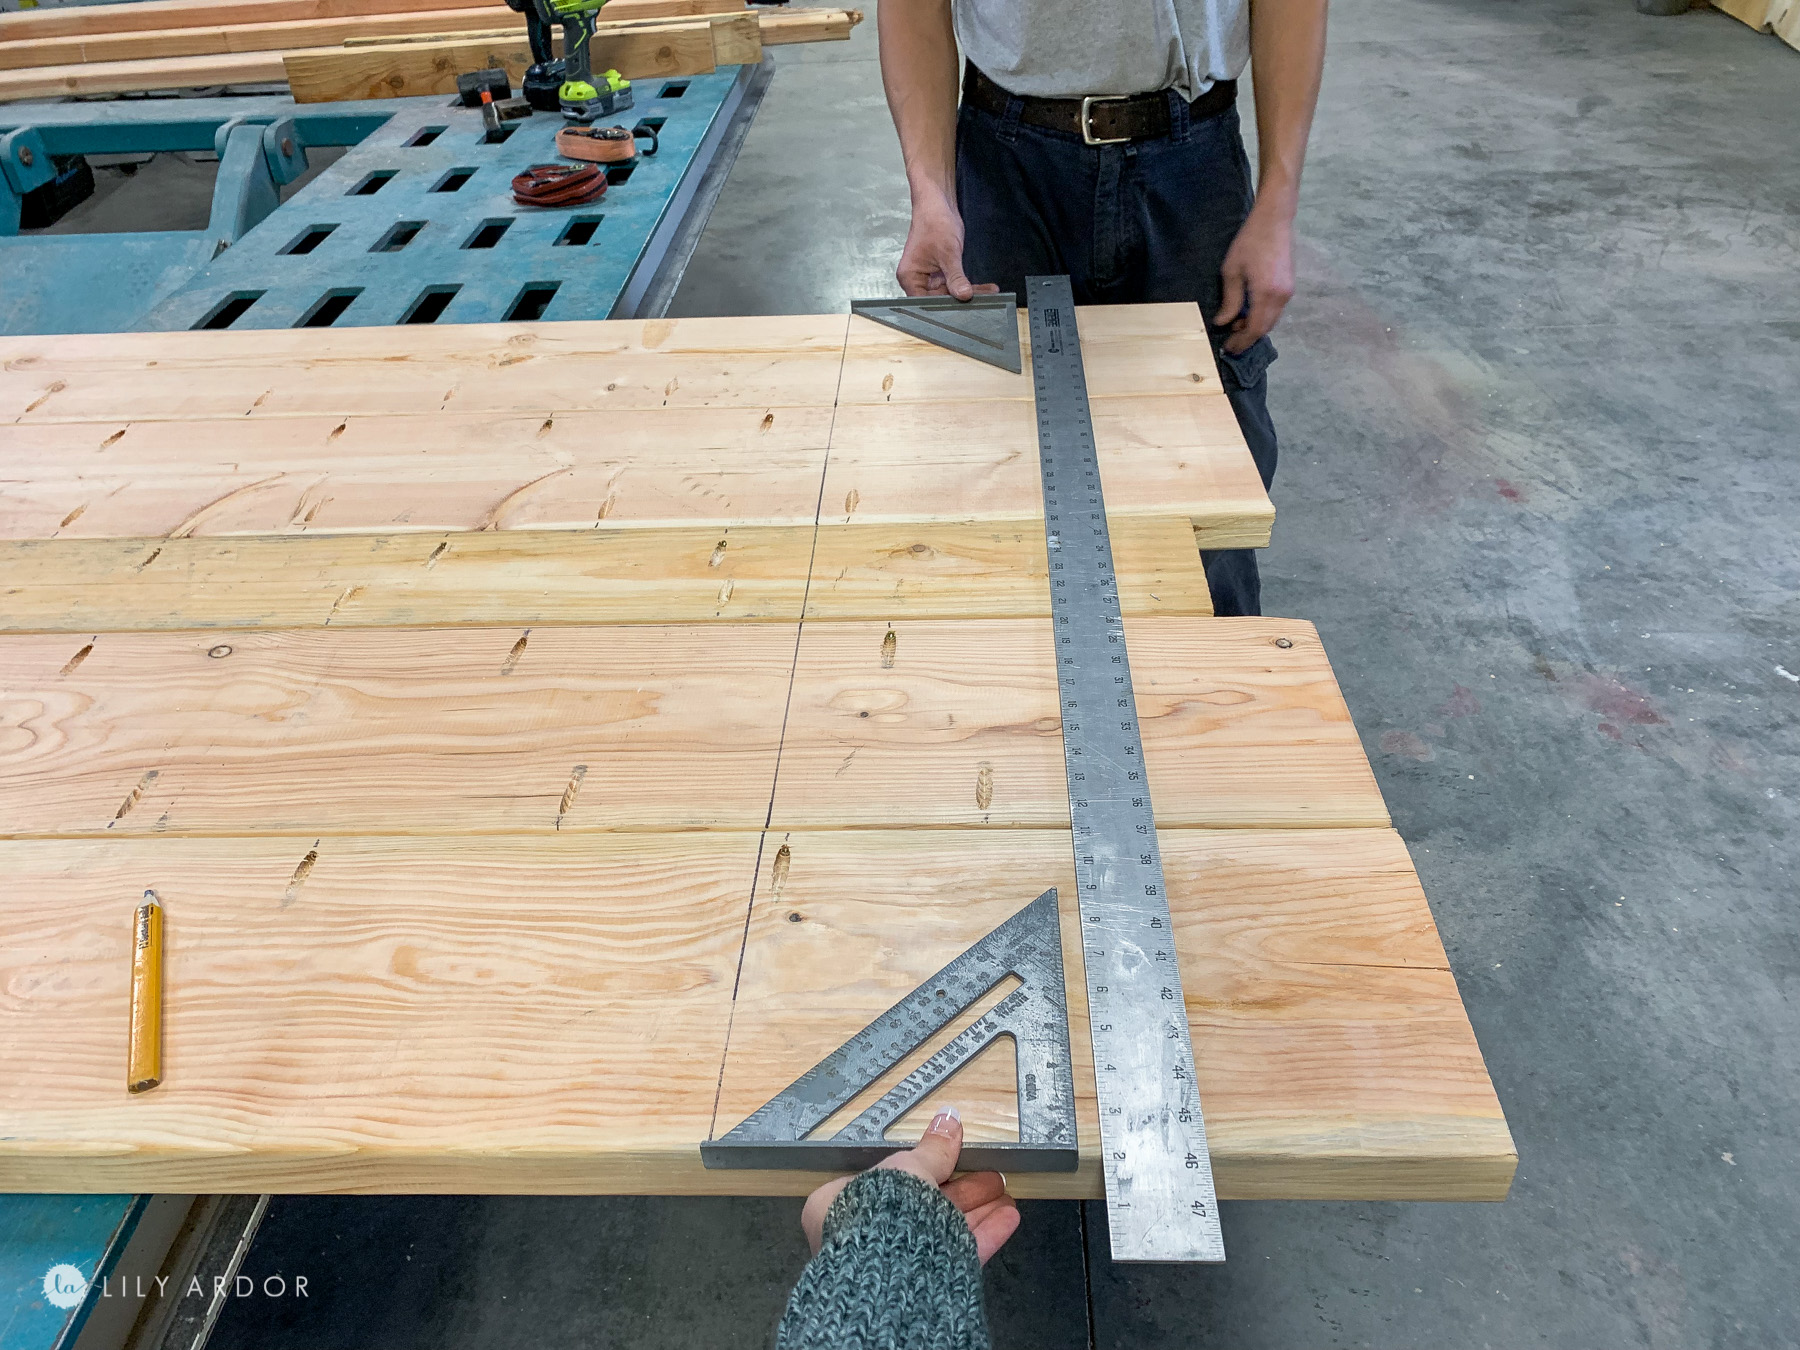
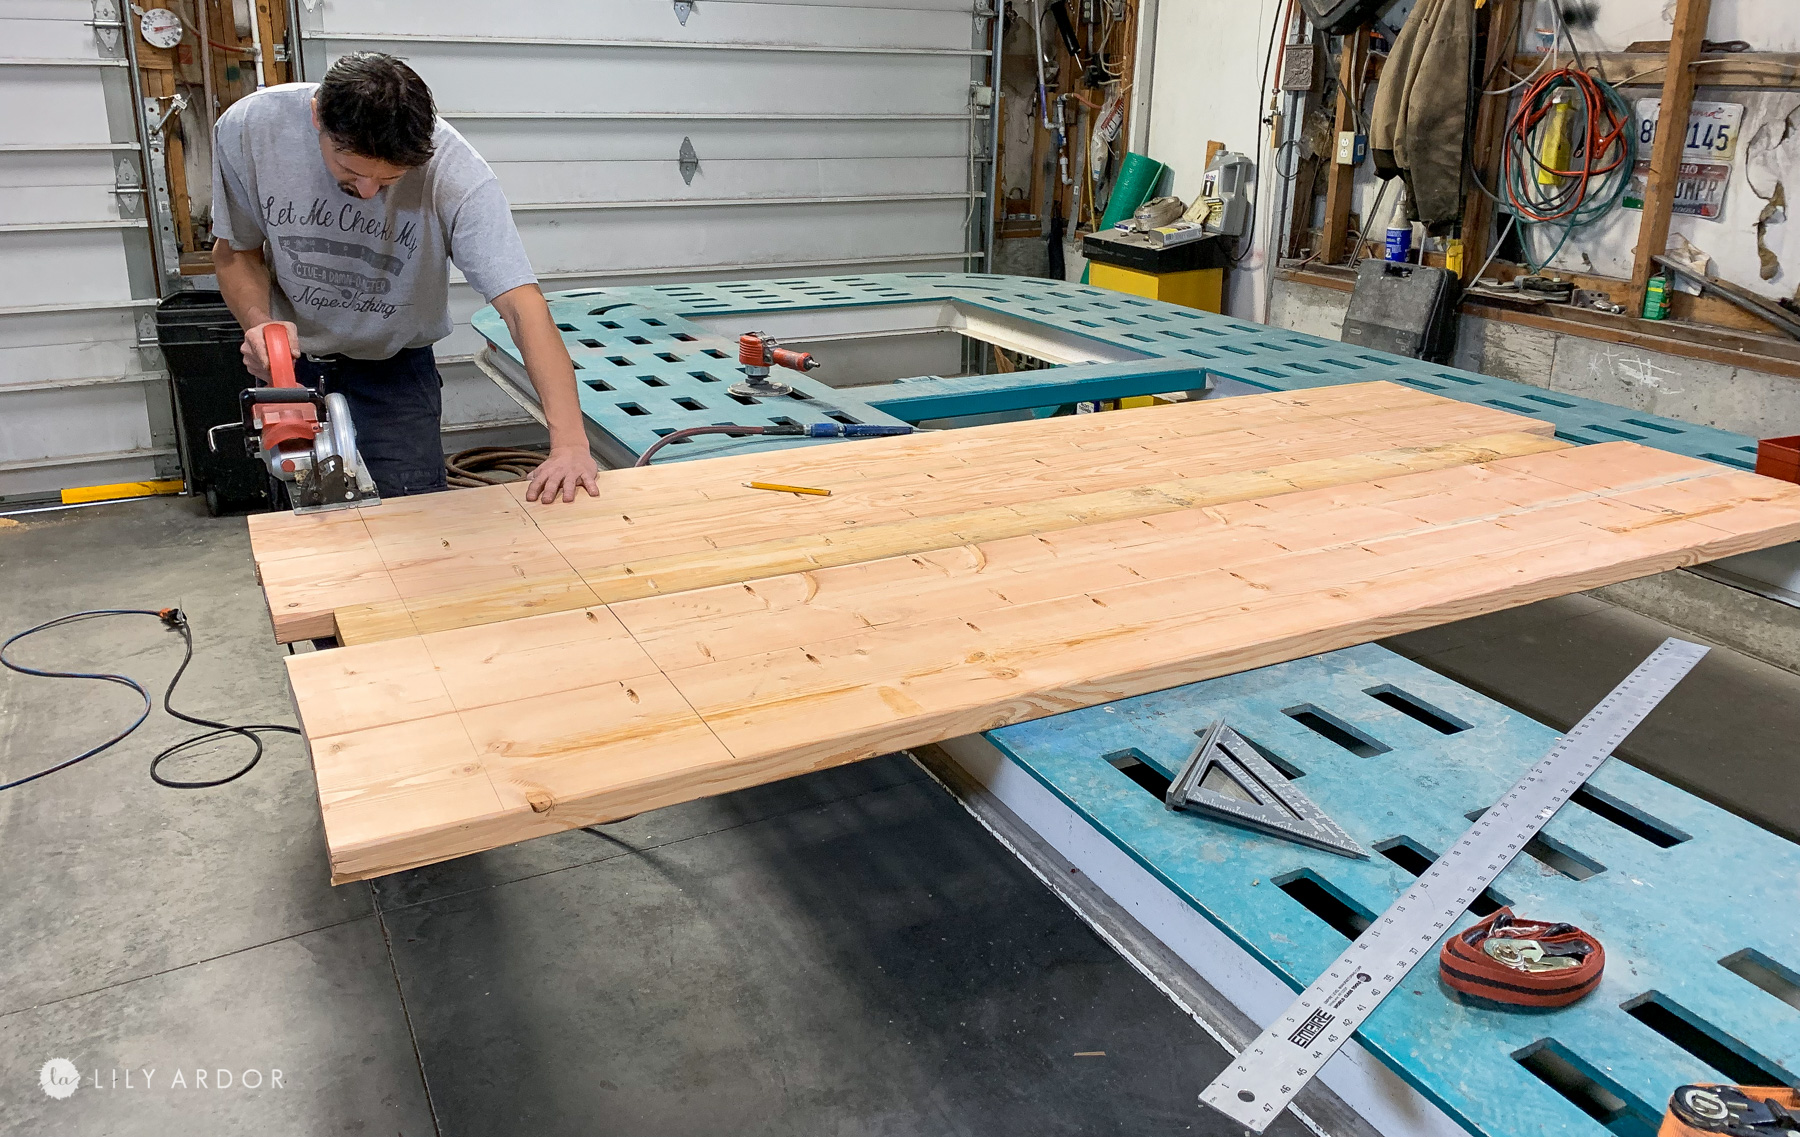
Sizing the table!
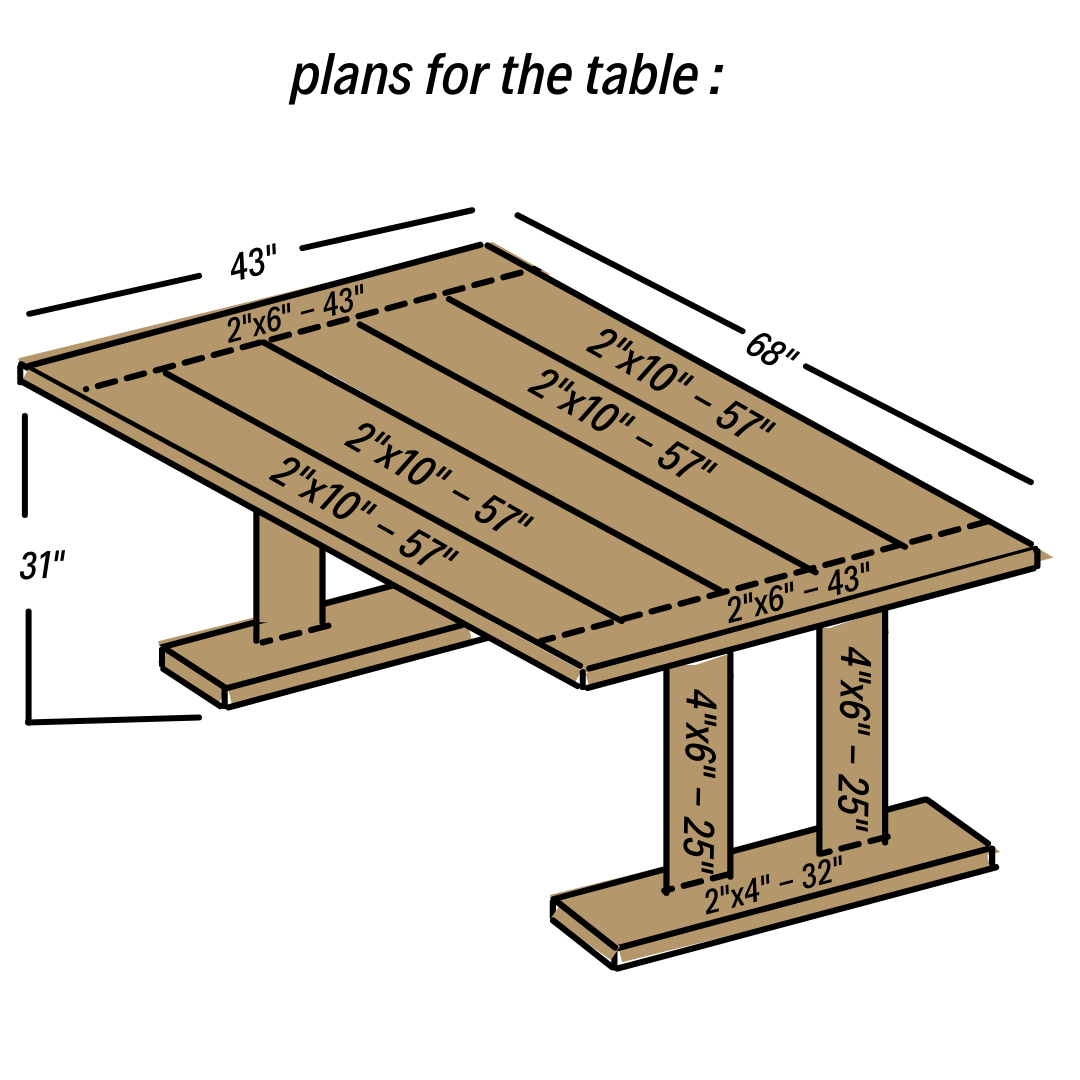
We marked and cut the table down to 57″ inches in length. We used our circular saw to cut it down to size.
Securing the edges of the table!
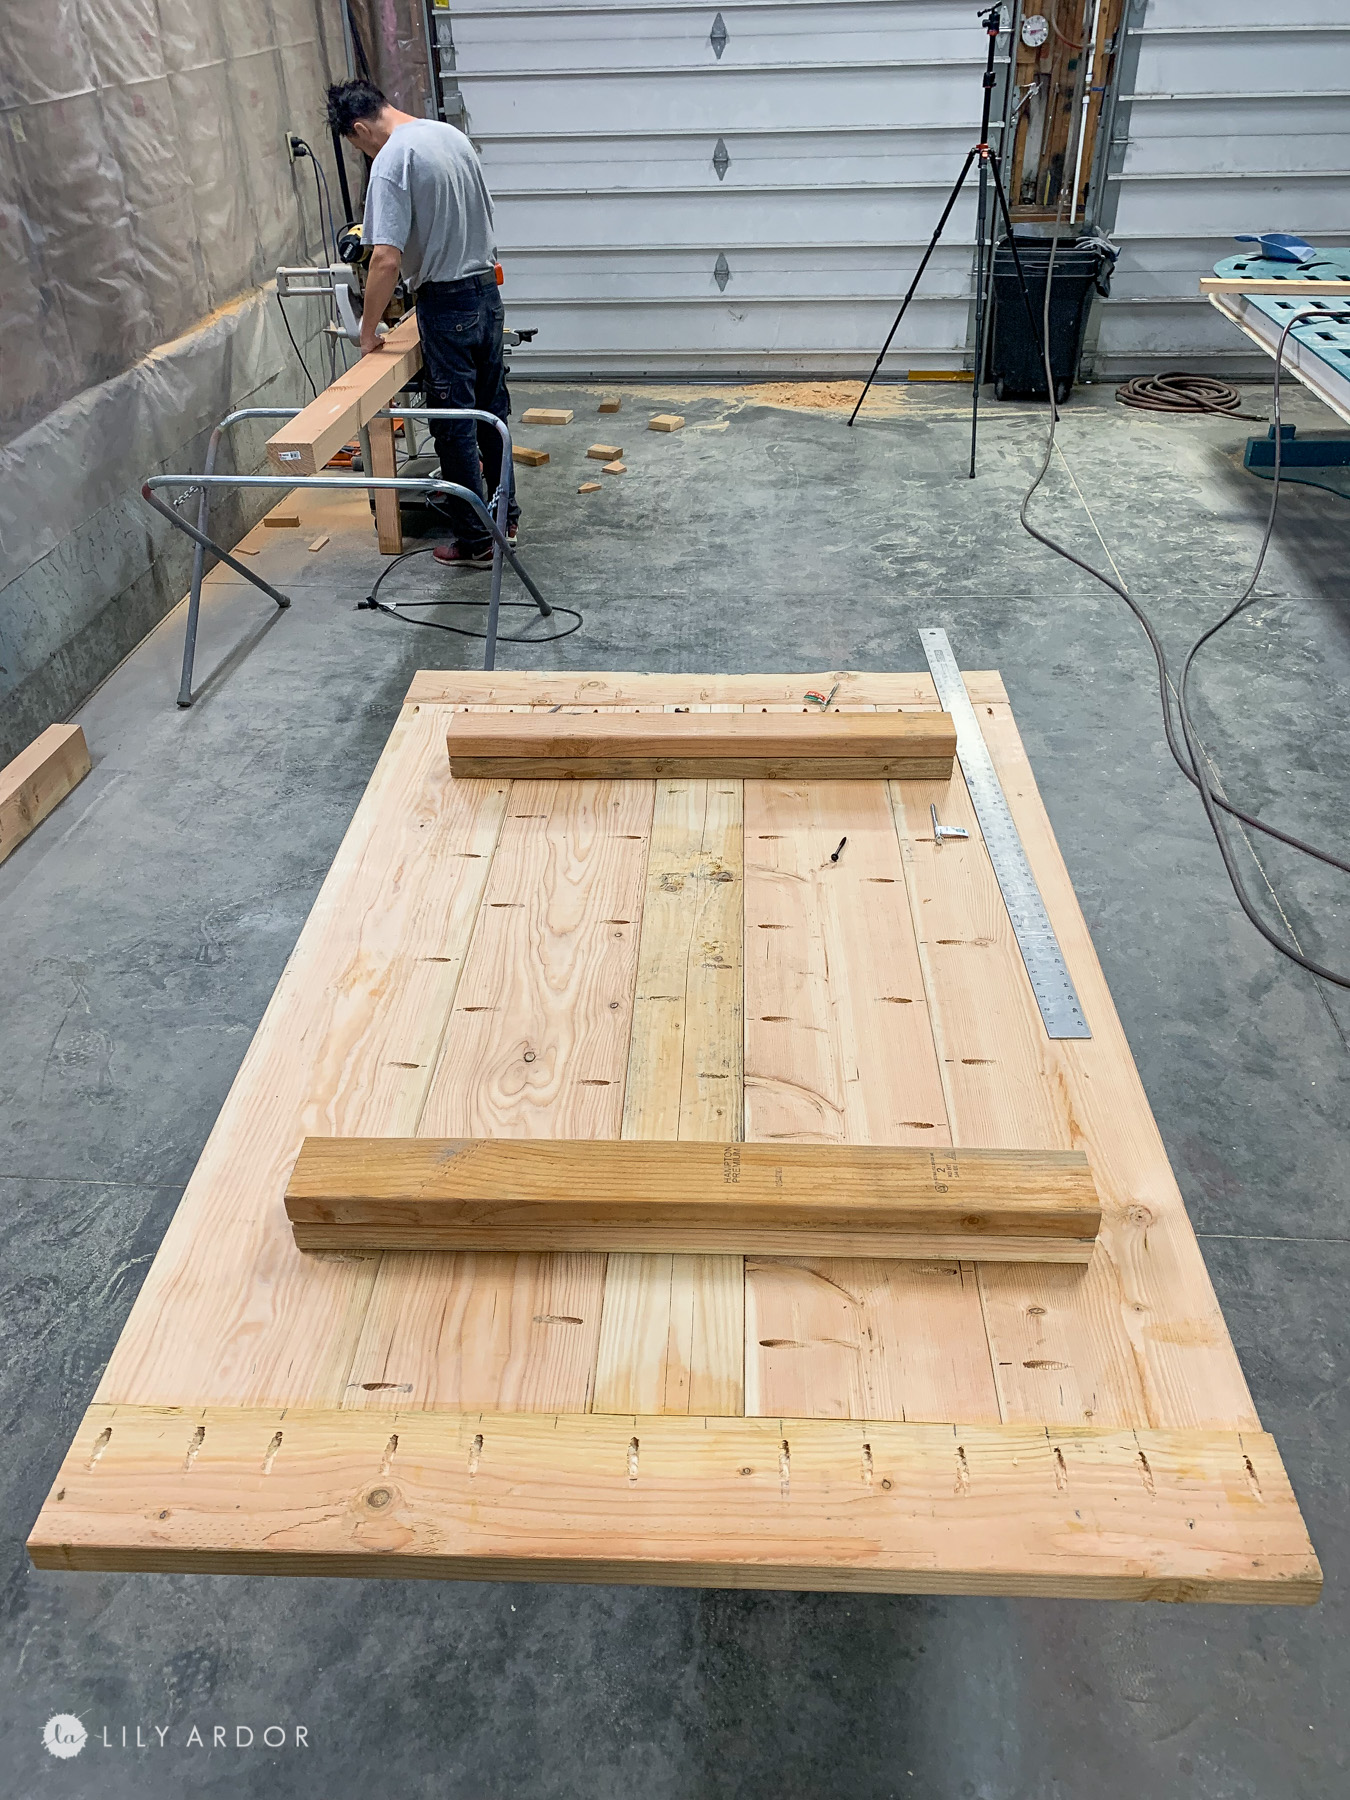
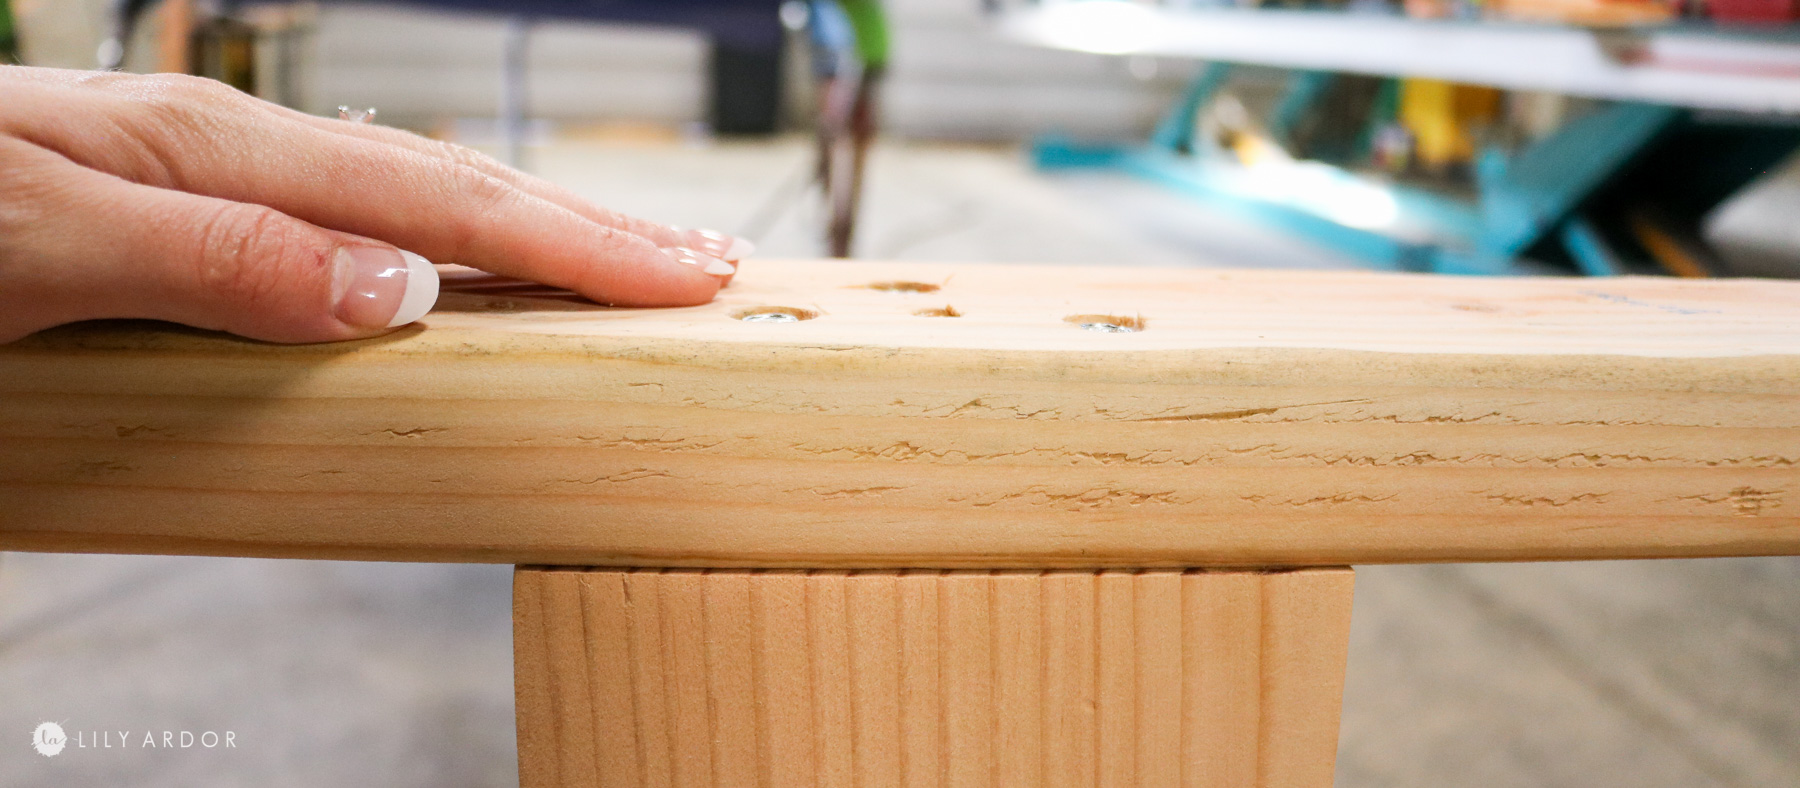
We than made some slanted holes on the edges of the table using the kreg jig and used some wood glue and screws to attach some 2″x6″ pieces of wood on the edges.
We actually realized once securing the 2″x6″ with screws that the slanted holes held up better if they were made on the 2″x6″. So instead of attaching the screws from the table into the 2″x6″ we made holes in the 2″x6″ and attached screws in through it into the table. It was more durable this way.
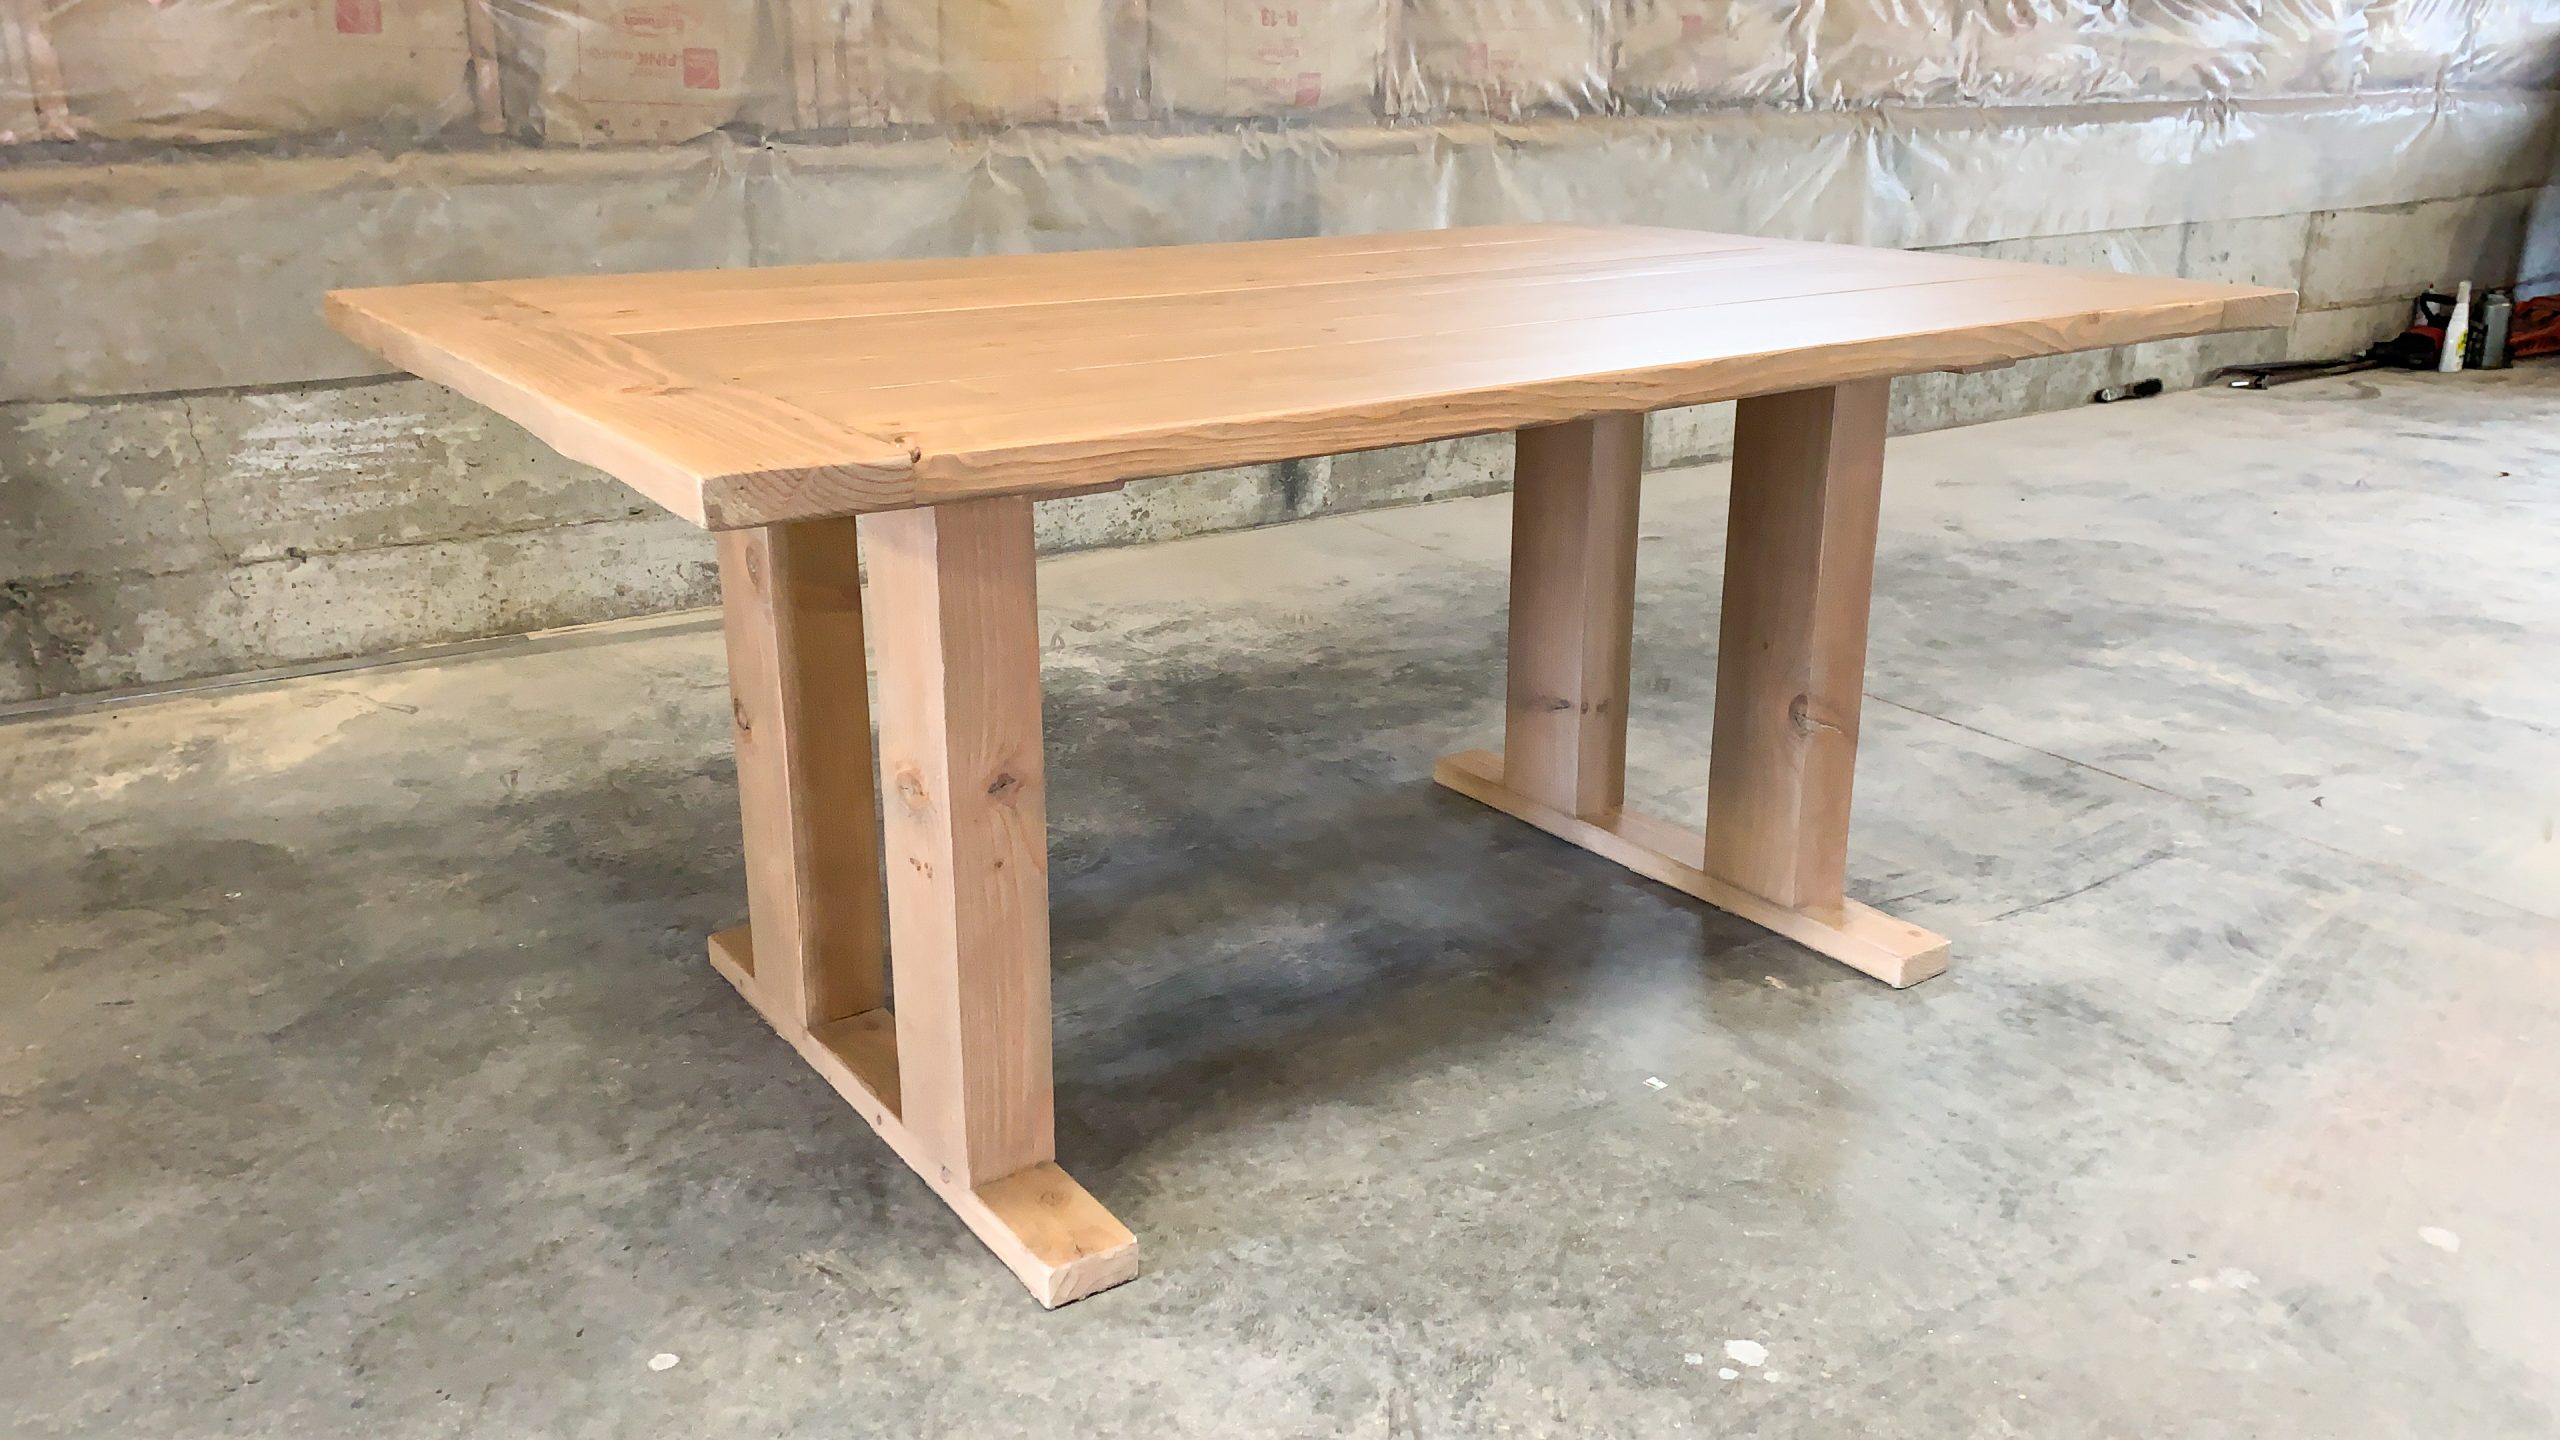
Here’s what the 2″x6″s looked like on both ends. K almost done with our diy dining room table.
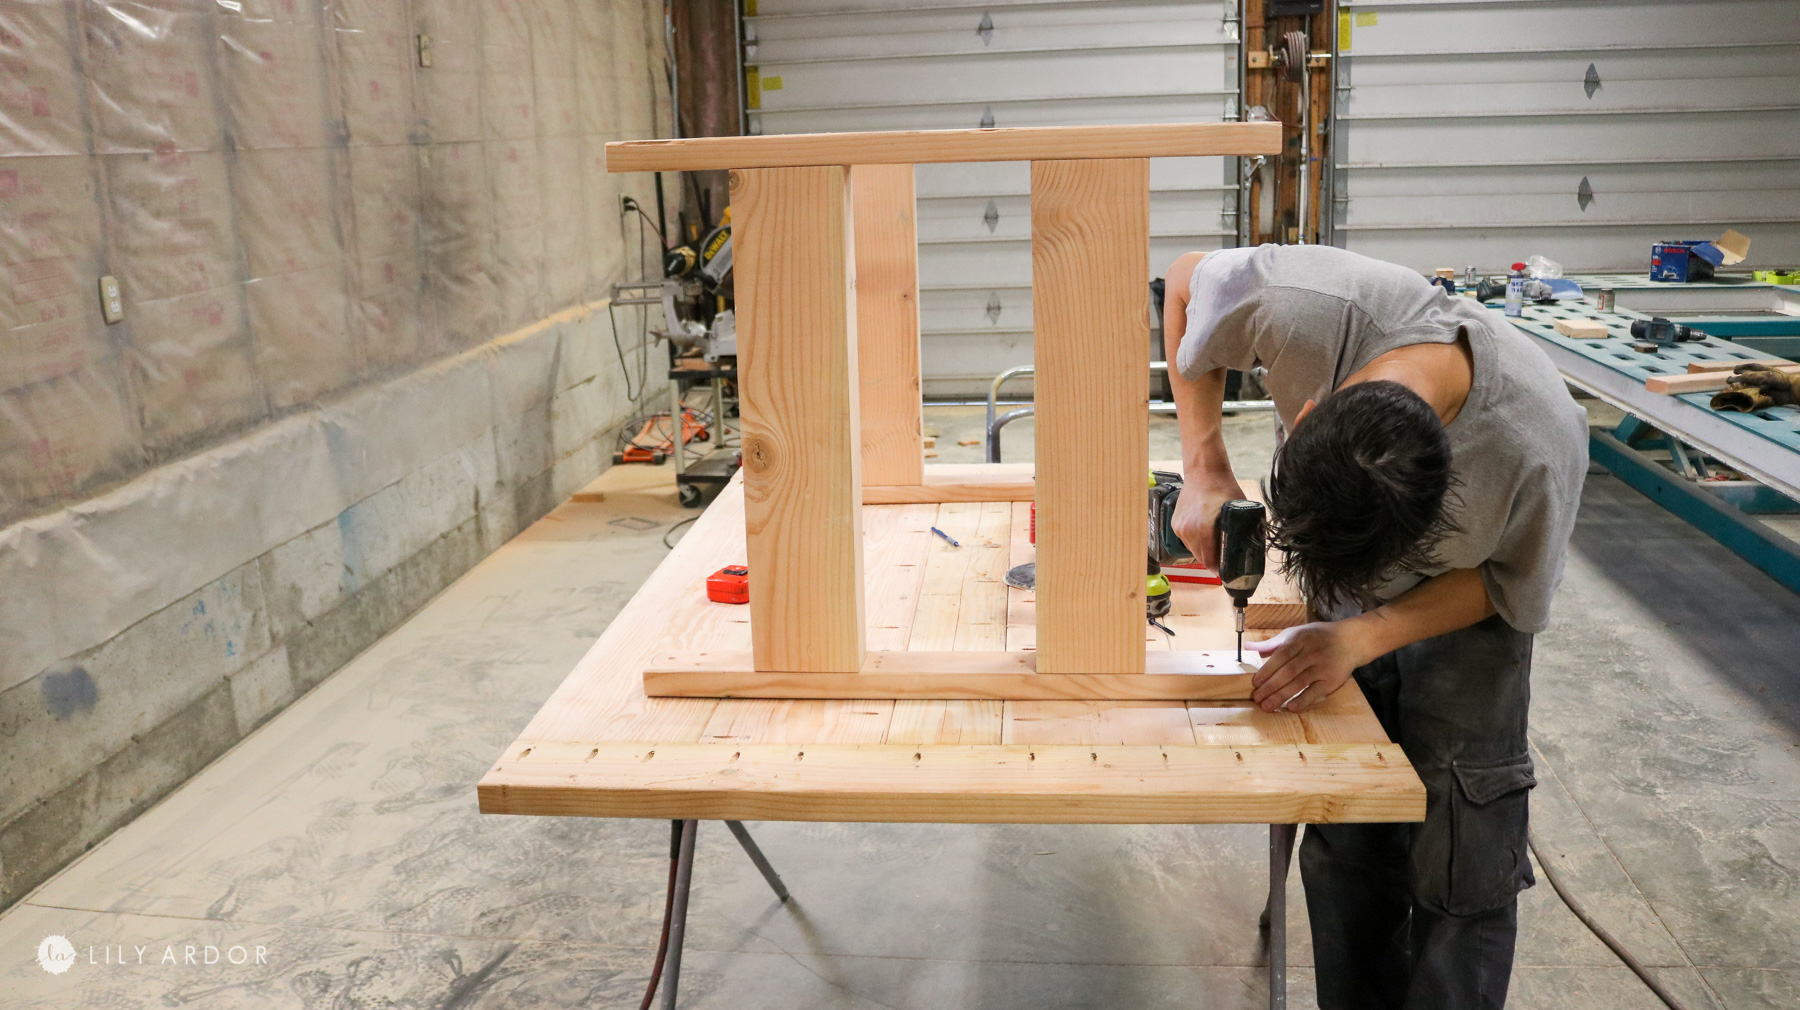
Making the legs for our DIY farmhouse table:
To make the legs we started off by cutting 4 pieces of 2″x6″ measuring at 25″ inches in length. This will make up for the pillars on the legs.
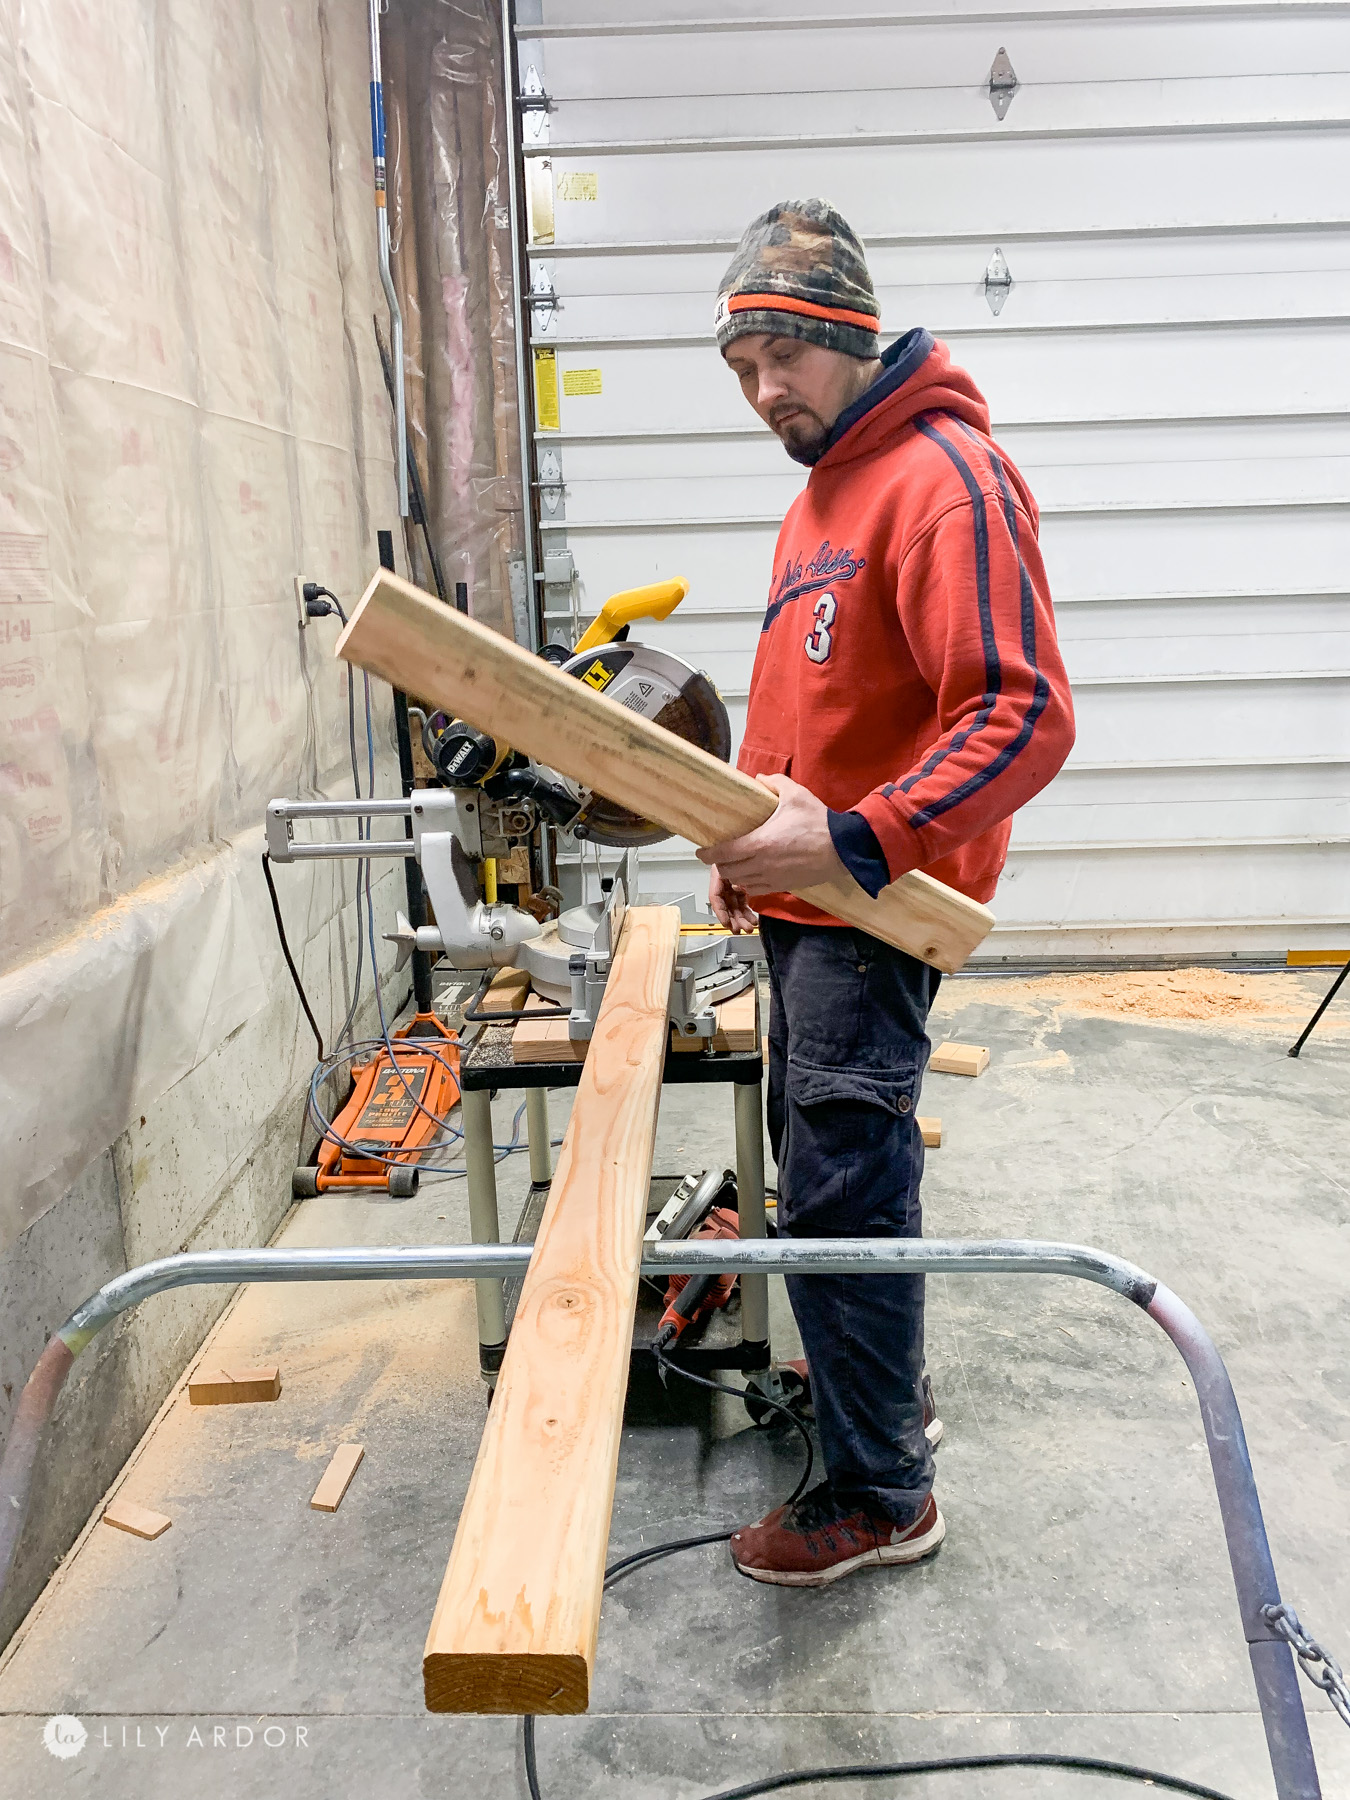
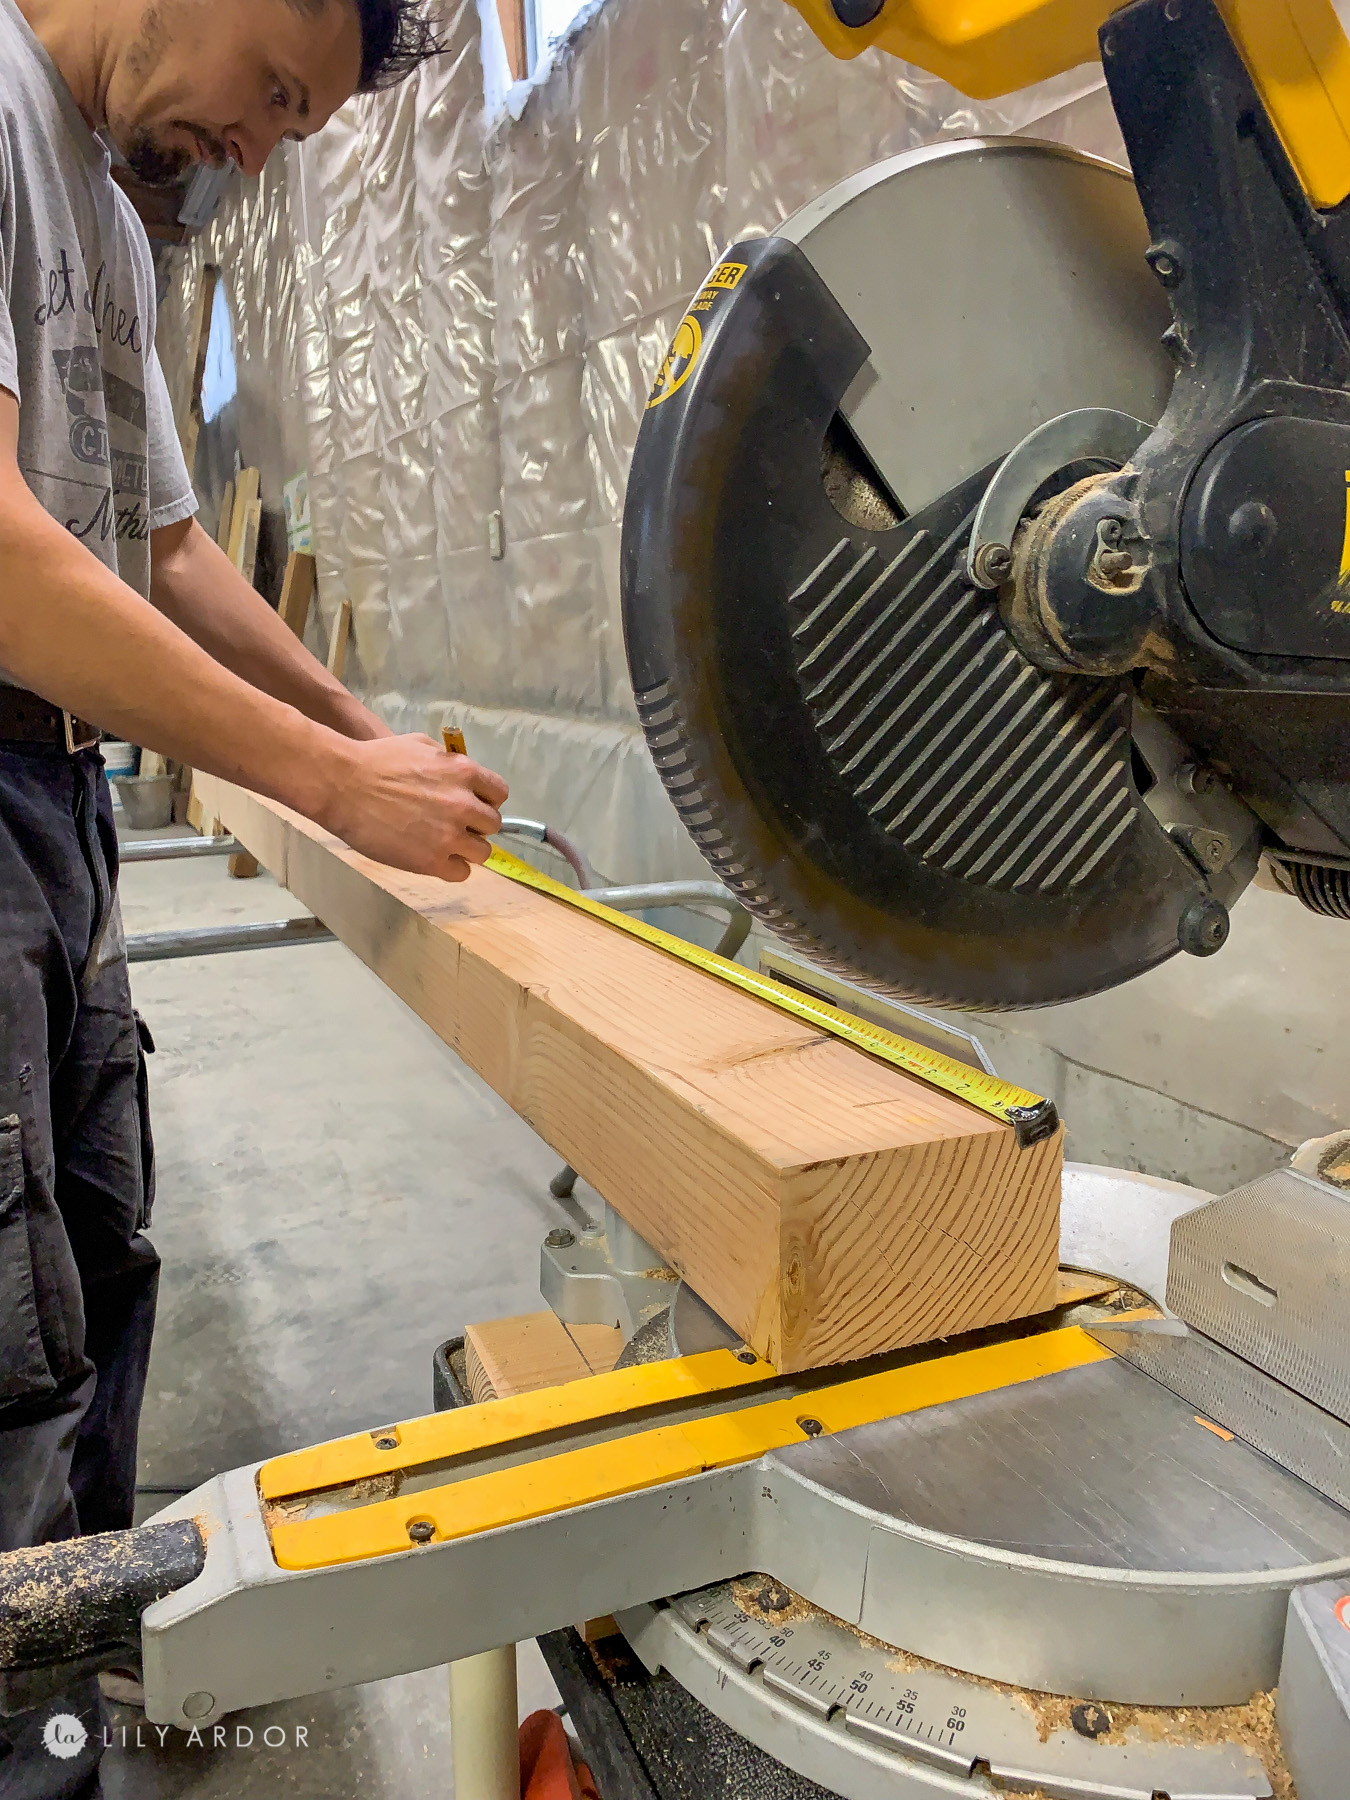
We also cut 4 pieces of 2″x4″s that went on both sides of the pillars. The 2″x4″s measured 32″ inches in length.
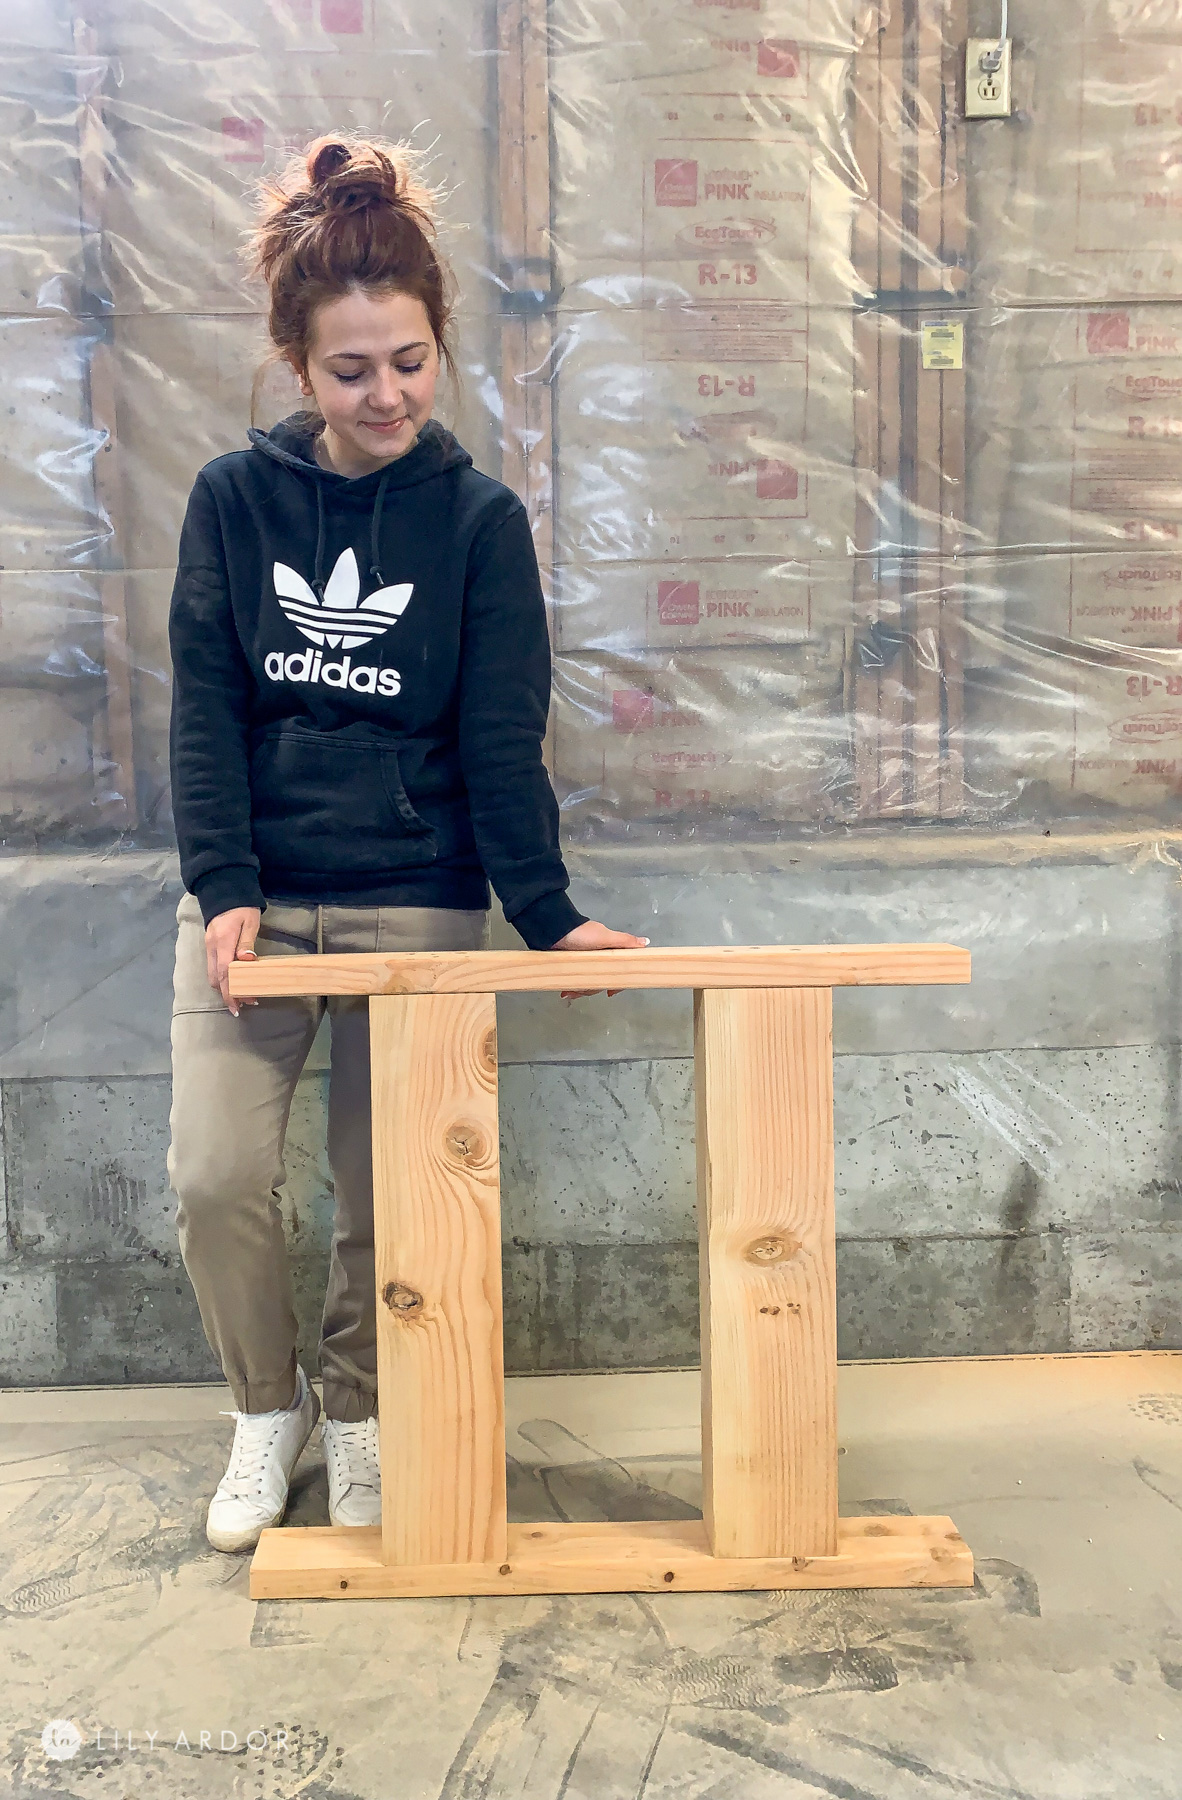
Here’s how each leg looked complete
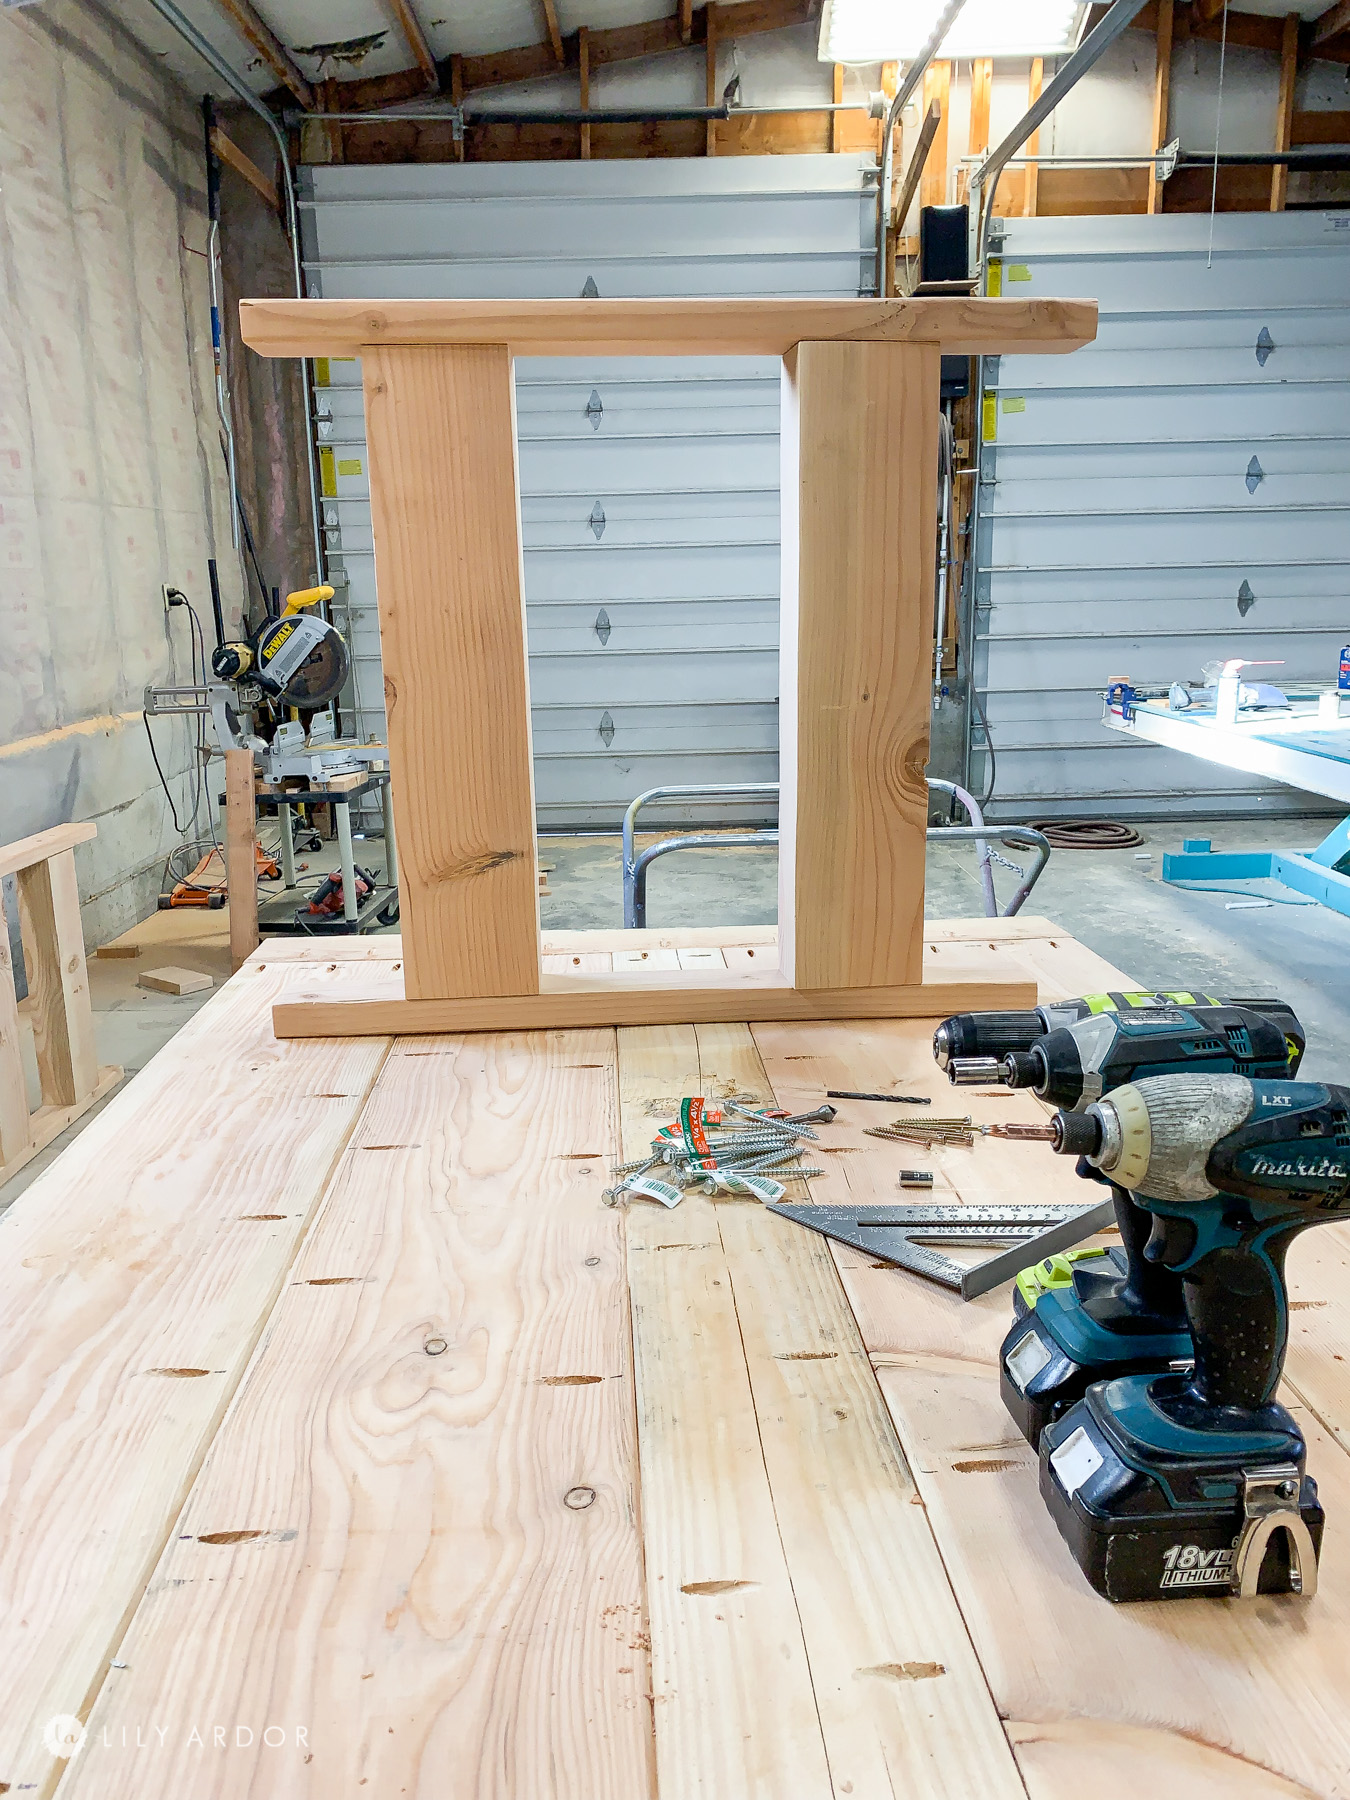
Securing the legs!
Those 4″x6″s are pretty heavy we decided to use long 4.5″ screws to secure the 2×4’s to them. Honestly the bottom side of the legs probably didn’t need screws this long. You can get away with using something smaller if you’d like.
To secure the screws into the wood I pre-drilled the holes and used a counter sink drill bit to help counter sink the screws. I share more about the tools I used in the video.
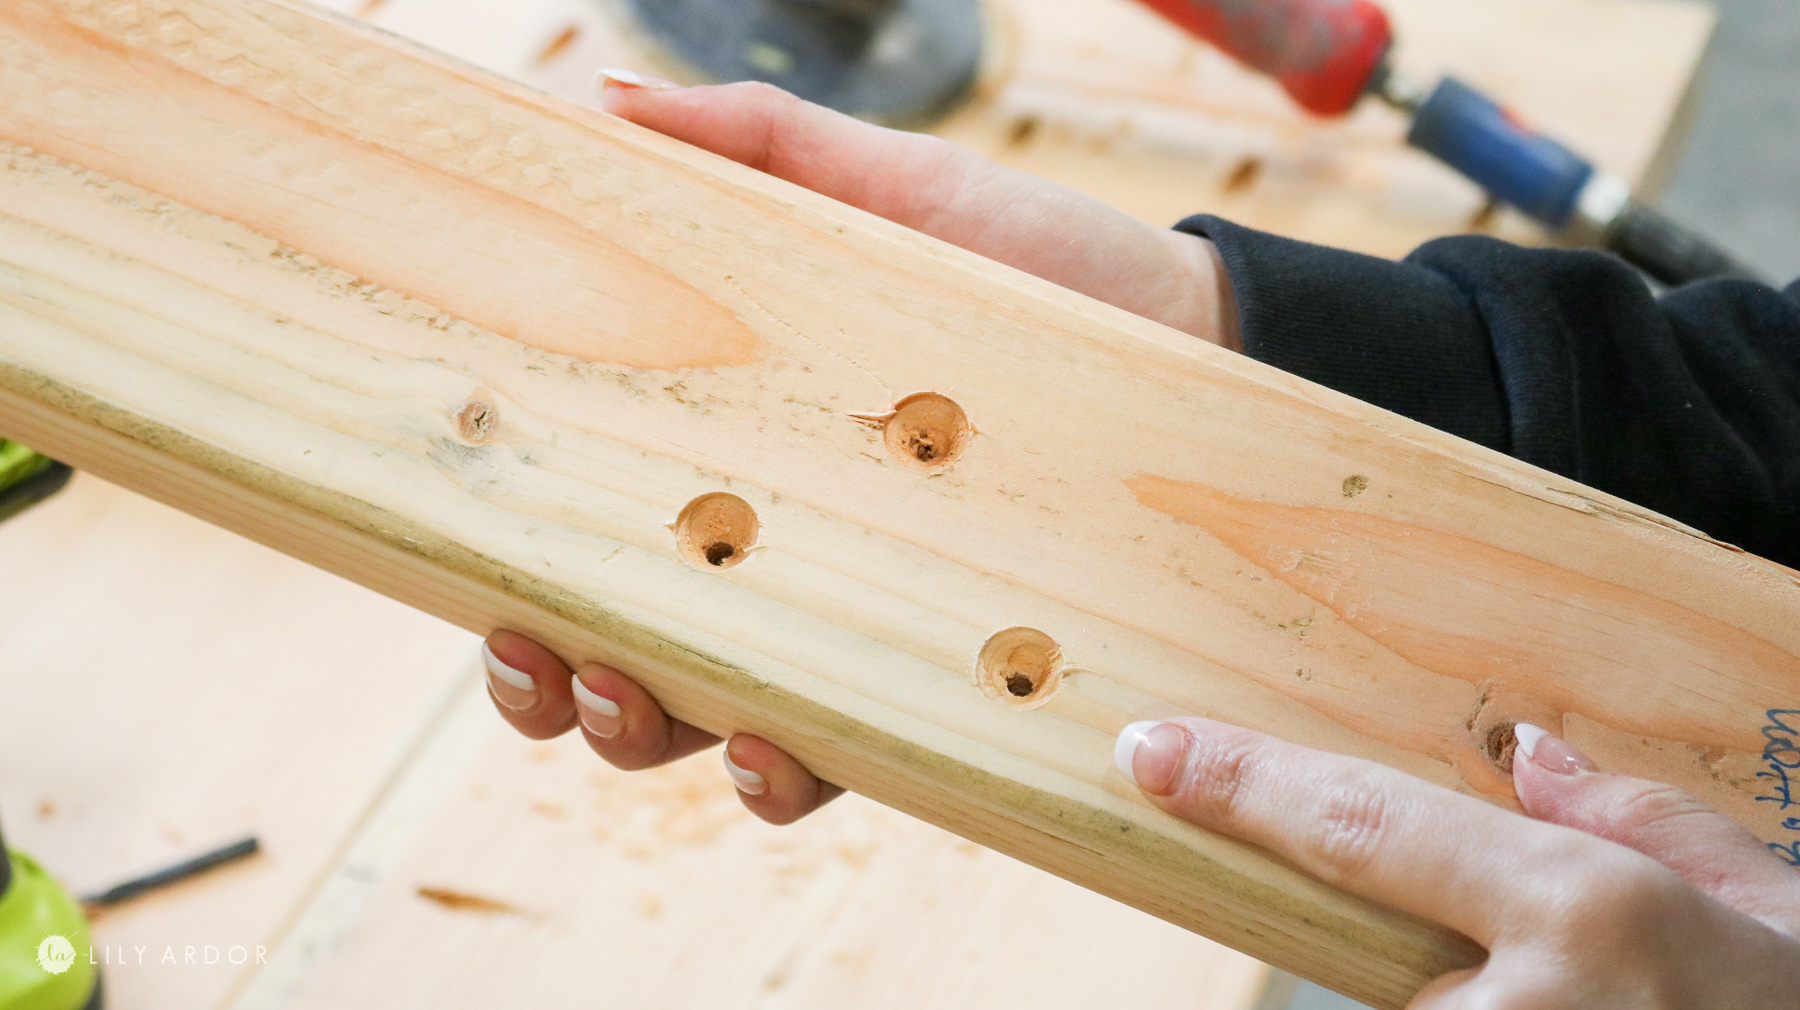

The screws should settle in nicely and be flush with the surface.
Here’s how it should look once attached to the 2×4. If the screw heads stick out they’ll be in the way of attaching the legs to the table top and will not scratch the bottom of the floor.
Securing the legs to the table!
To secure the legs to the table we used some 2.5″ screws. They were 1/4″ in thickness which made the legs super durable.
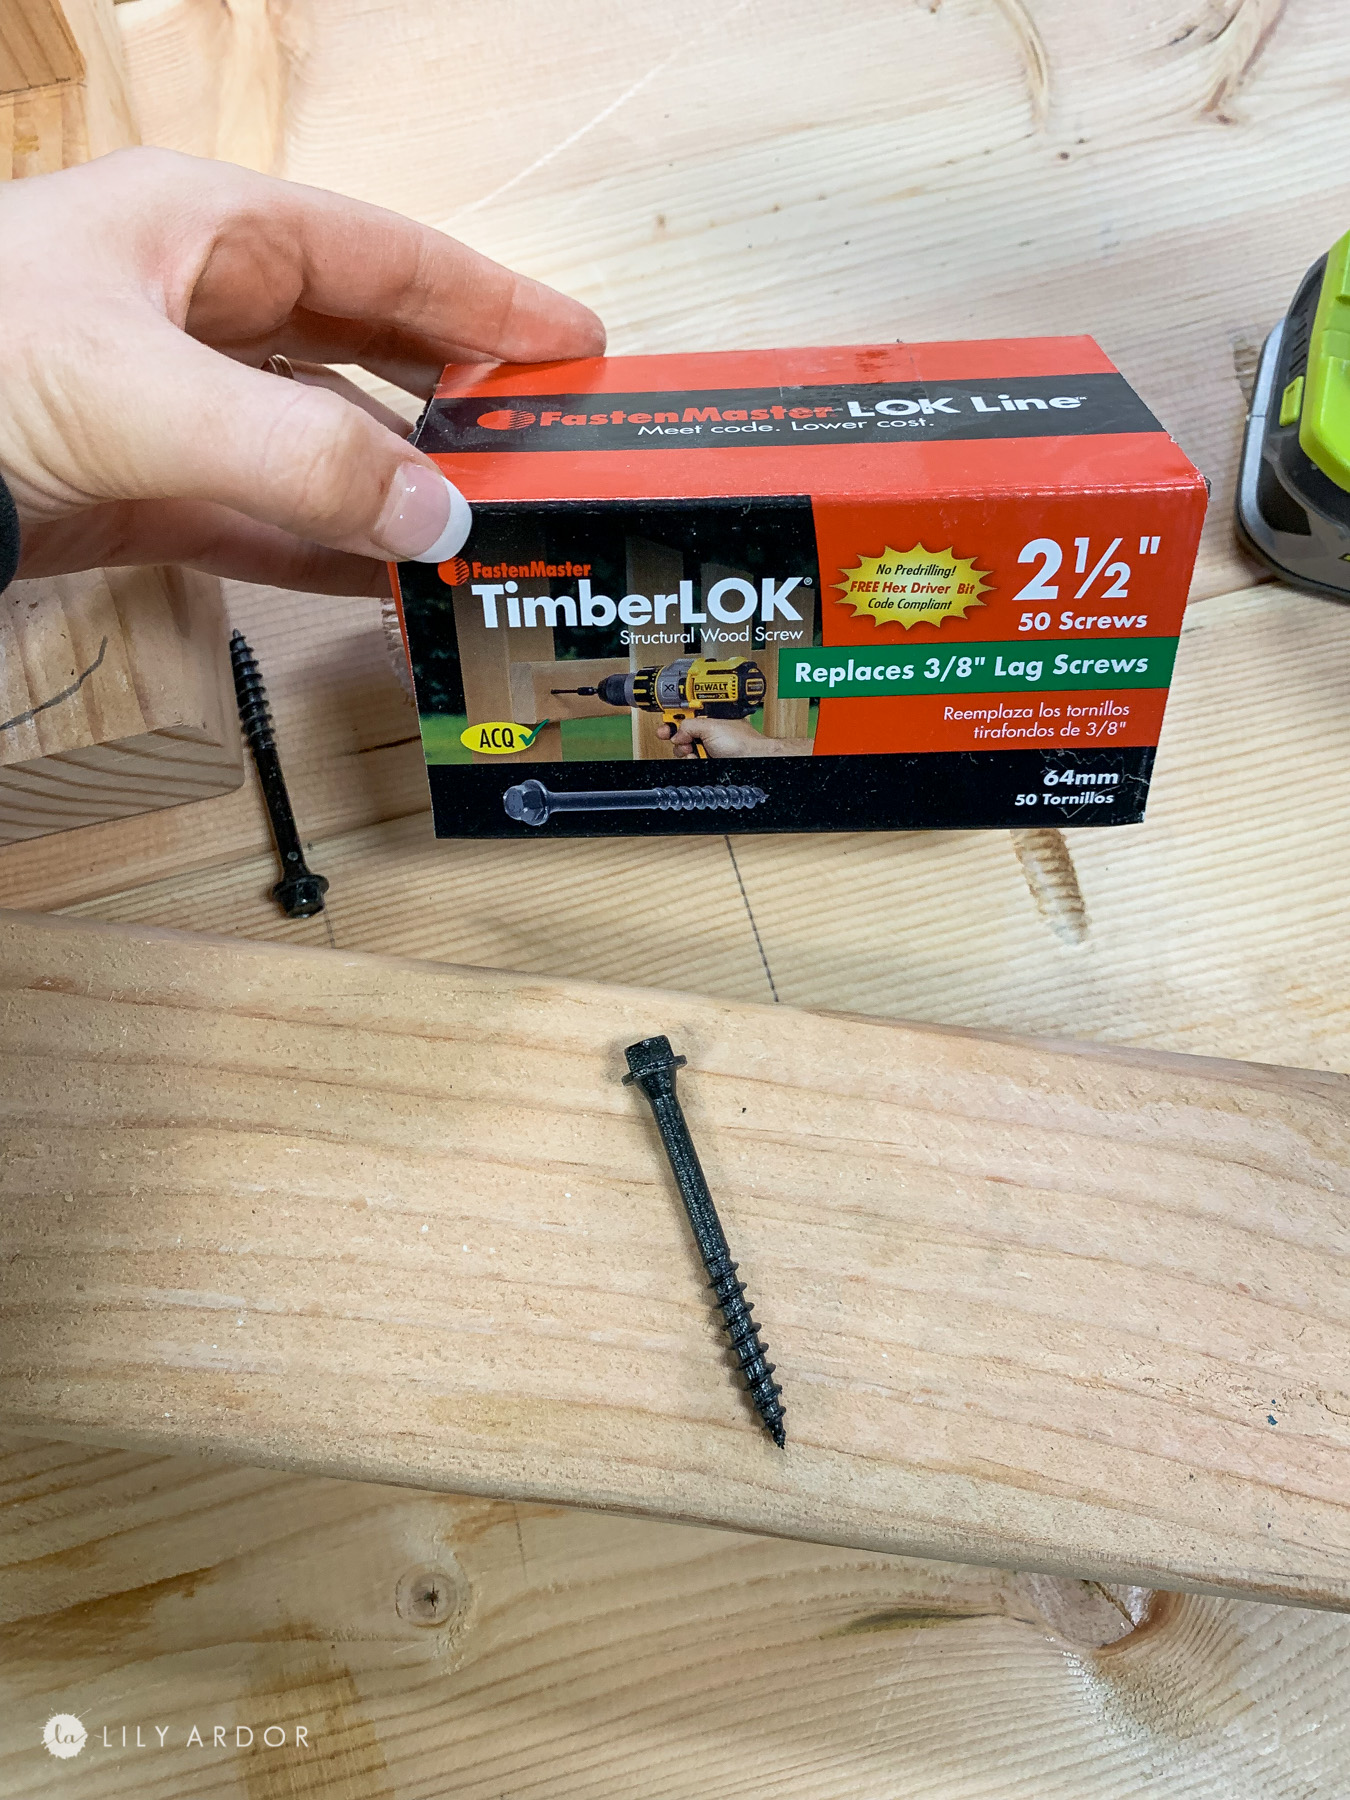
I would highly recommend using screws like these to attach the legs or something similar. We got these at homedepot.
I also made these flush by using a countersink drill before screwing in the screws.
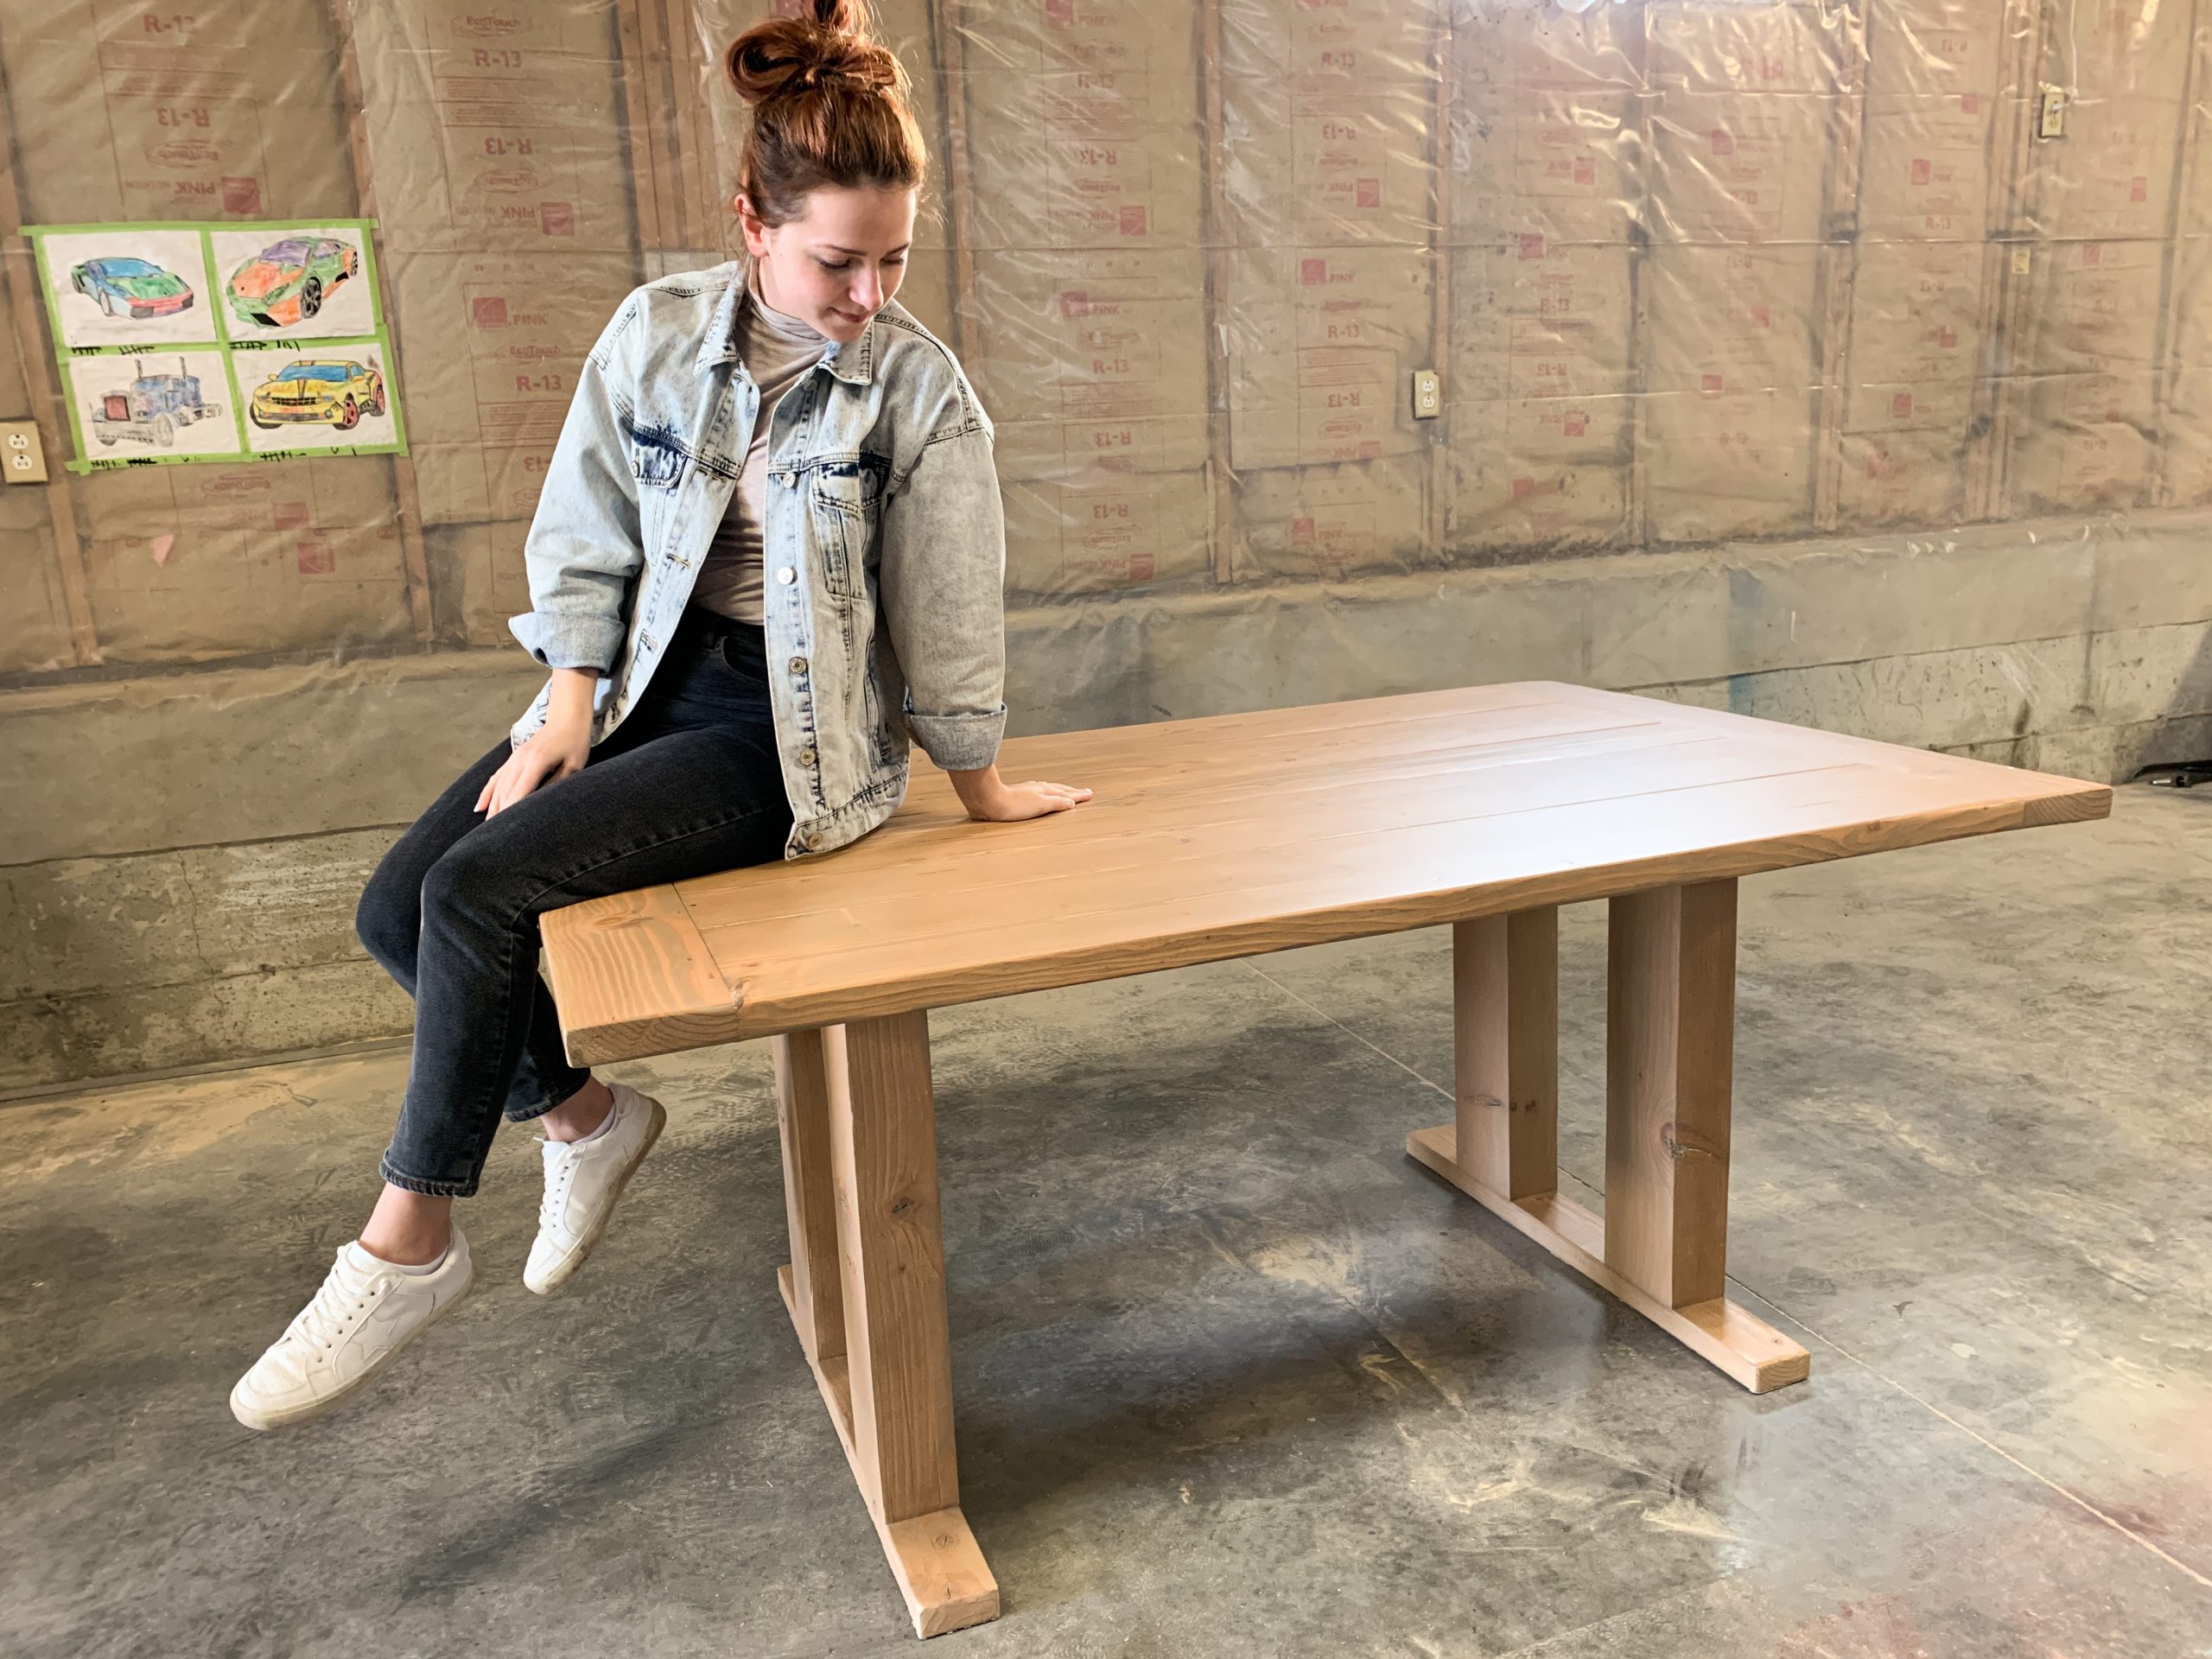
We did plan on adding cross beams between the legs but, after securing the legs they were so durable we decided not to add the beams in the middle. If you’re concerned about the legs not holding up without the cross bars you can test try at least one screw on a sample piece of wood. We were pretty surprised by how strong they were.
I also love how simple the table looked this way without the cross beams.
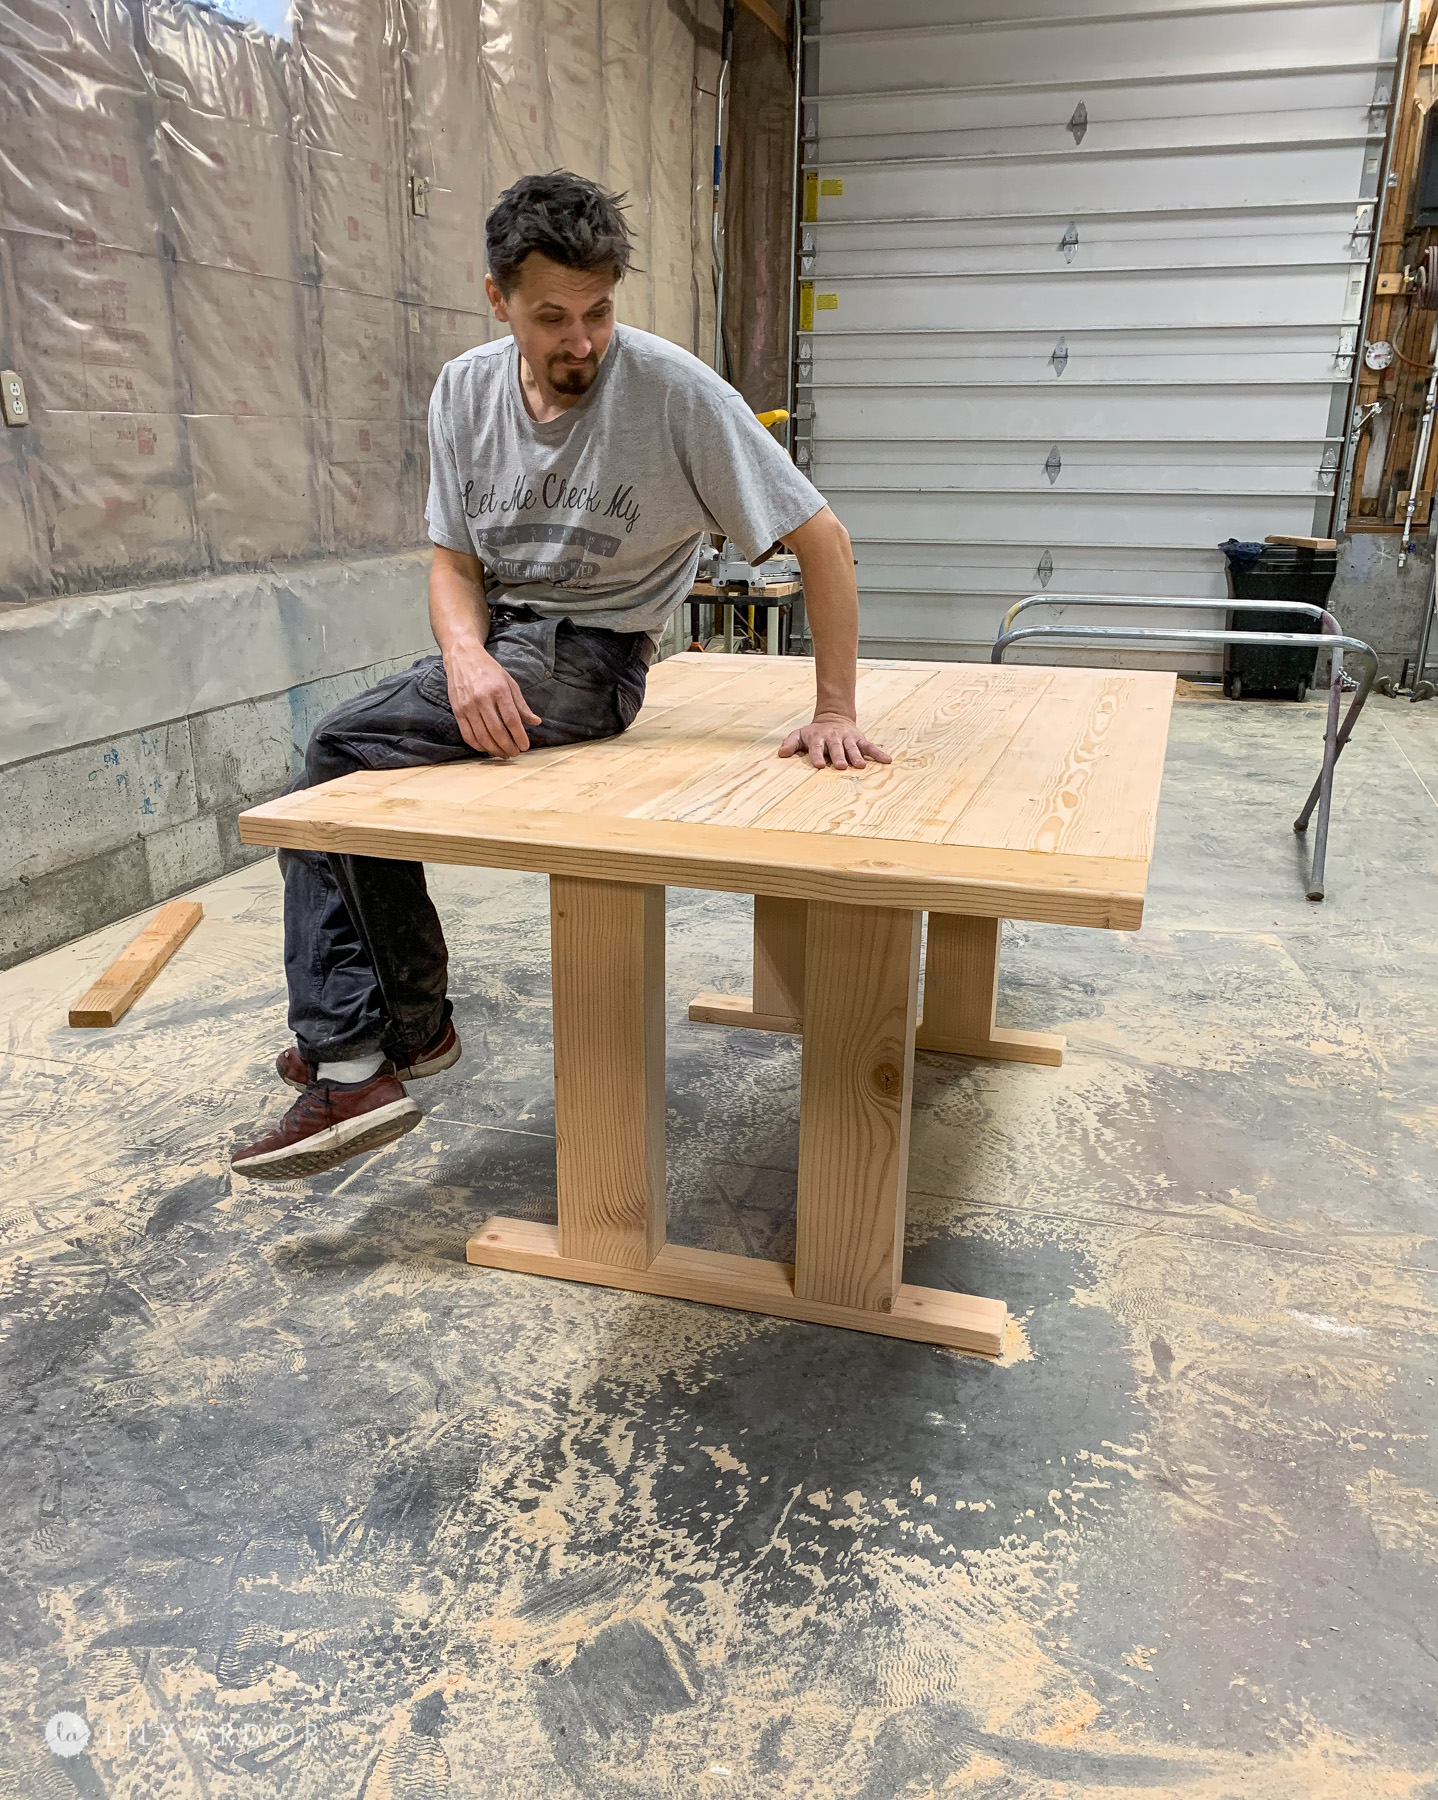
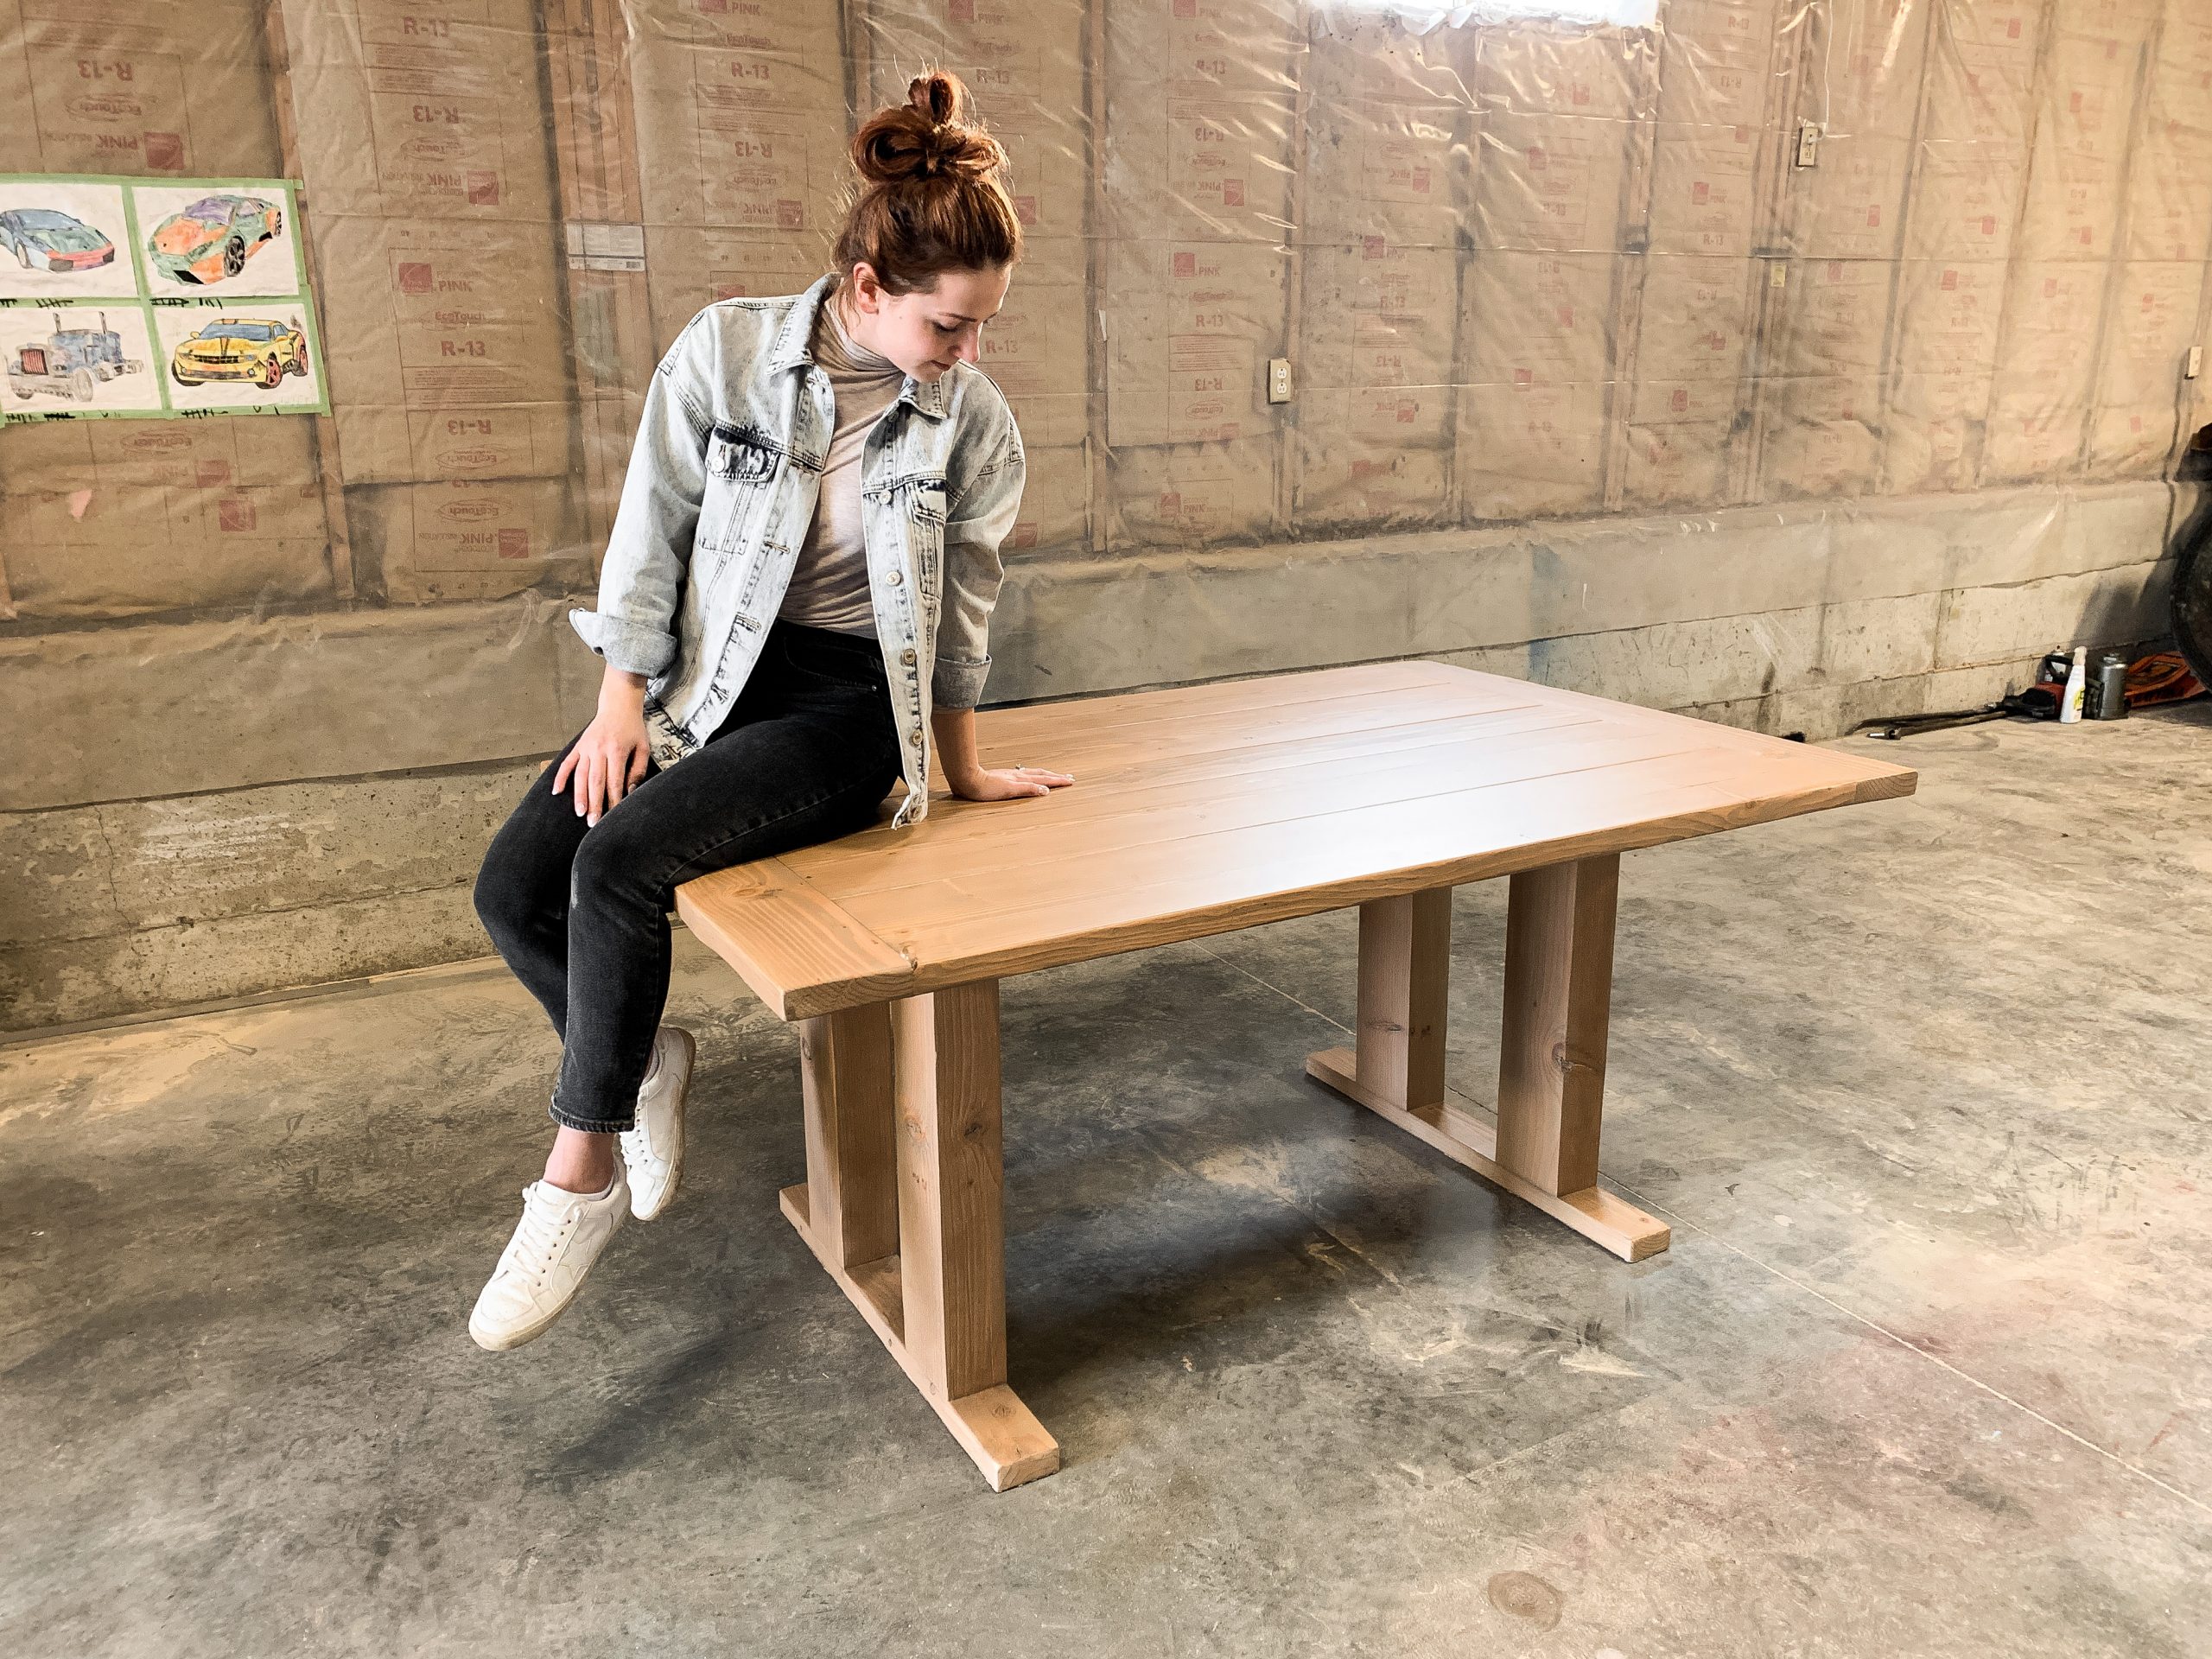
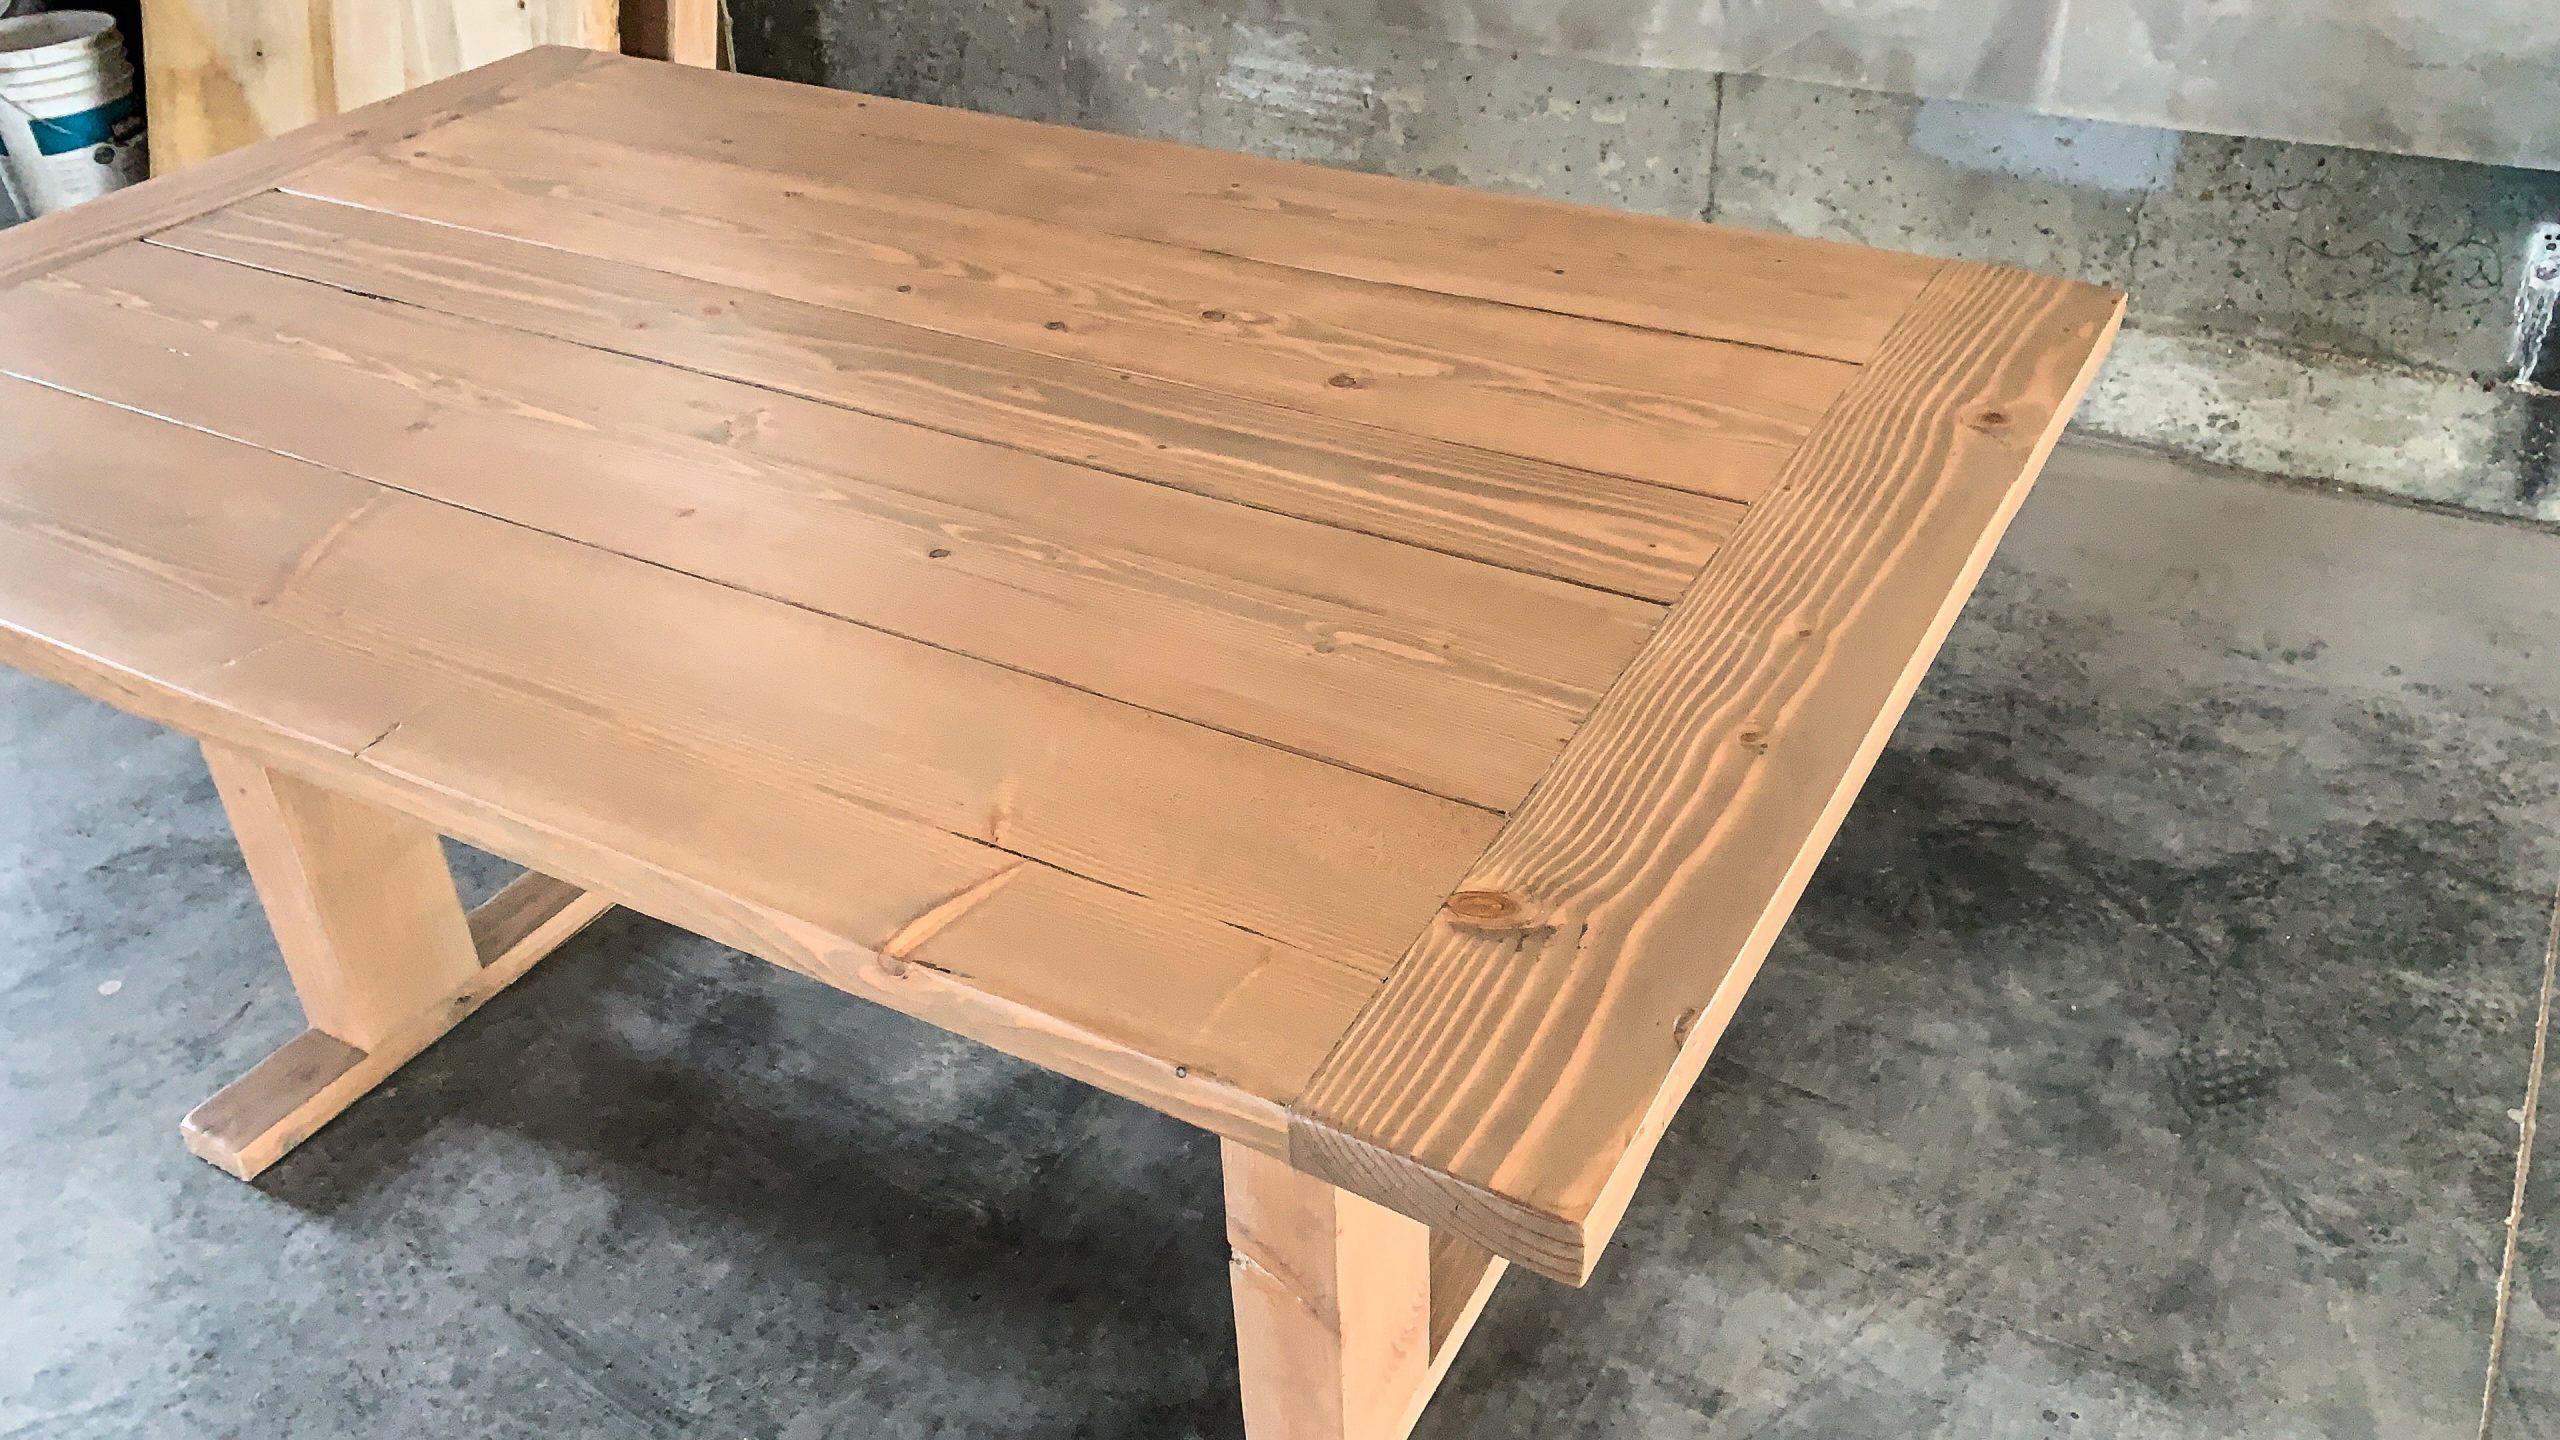
Here’s how the table looked like complete before staining it.
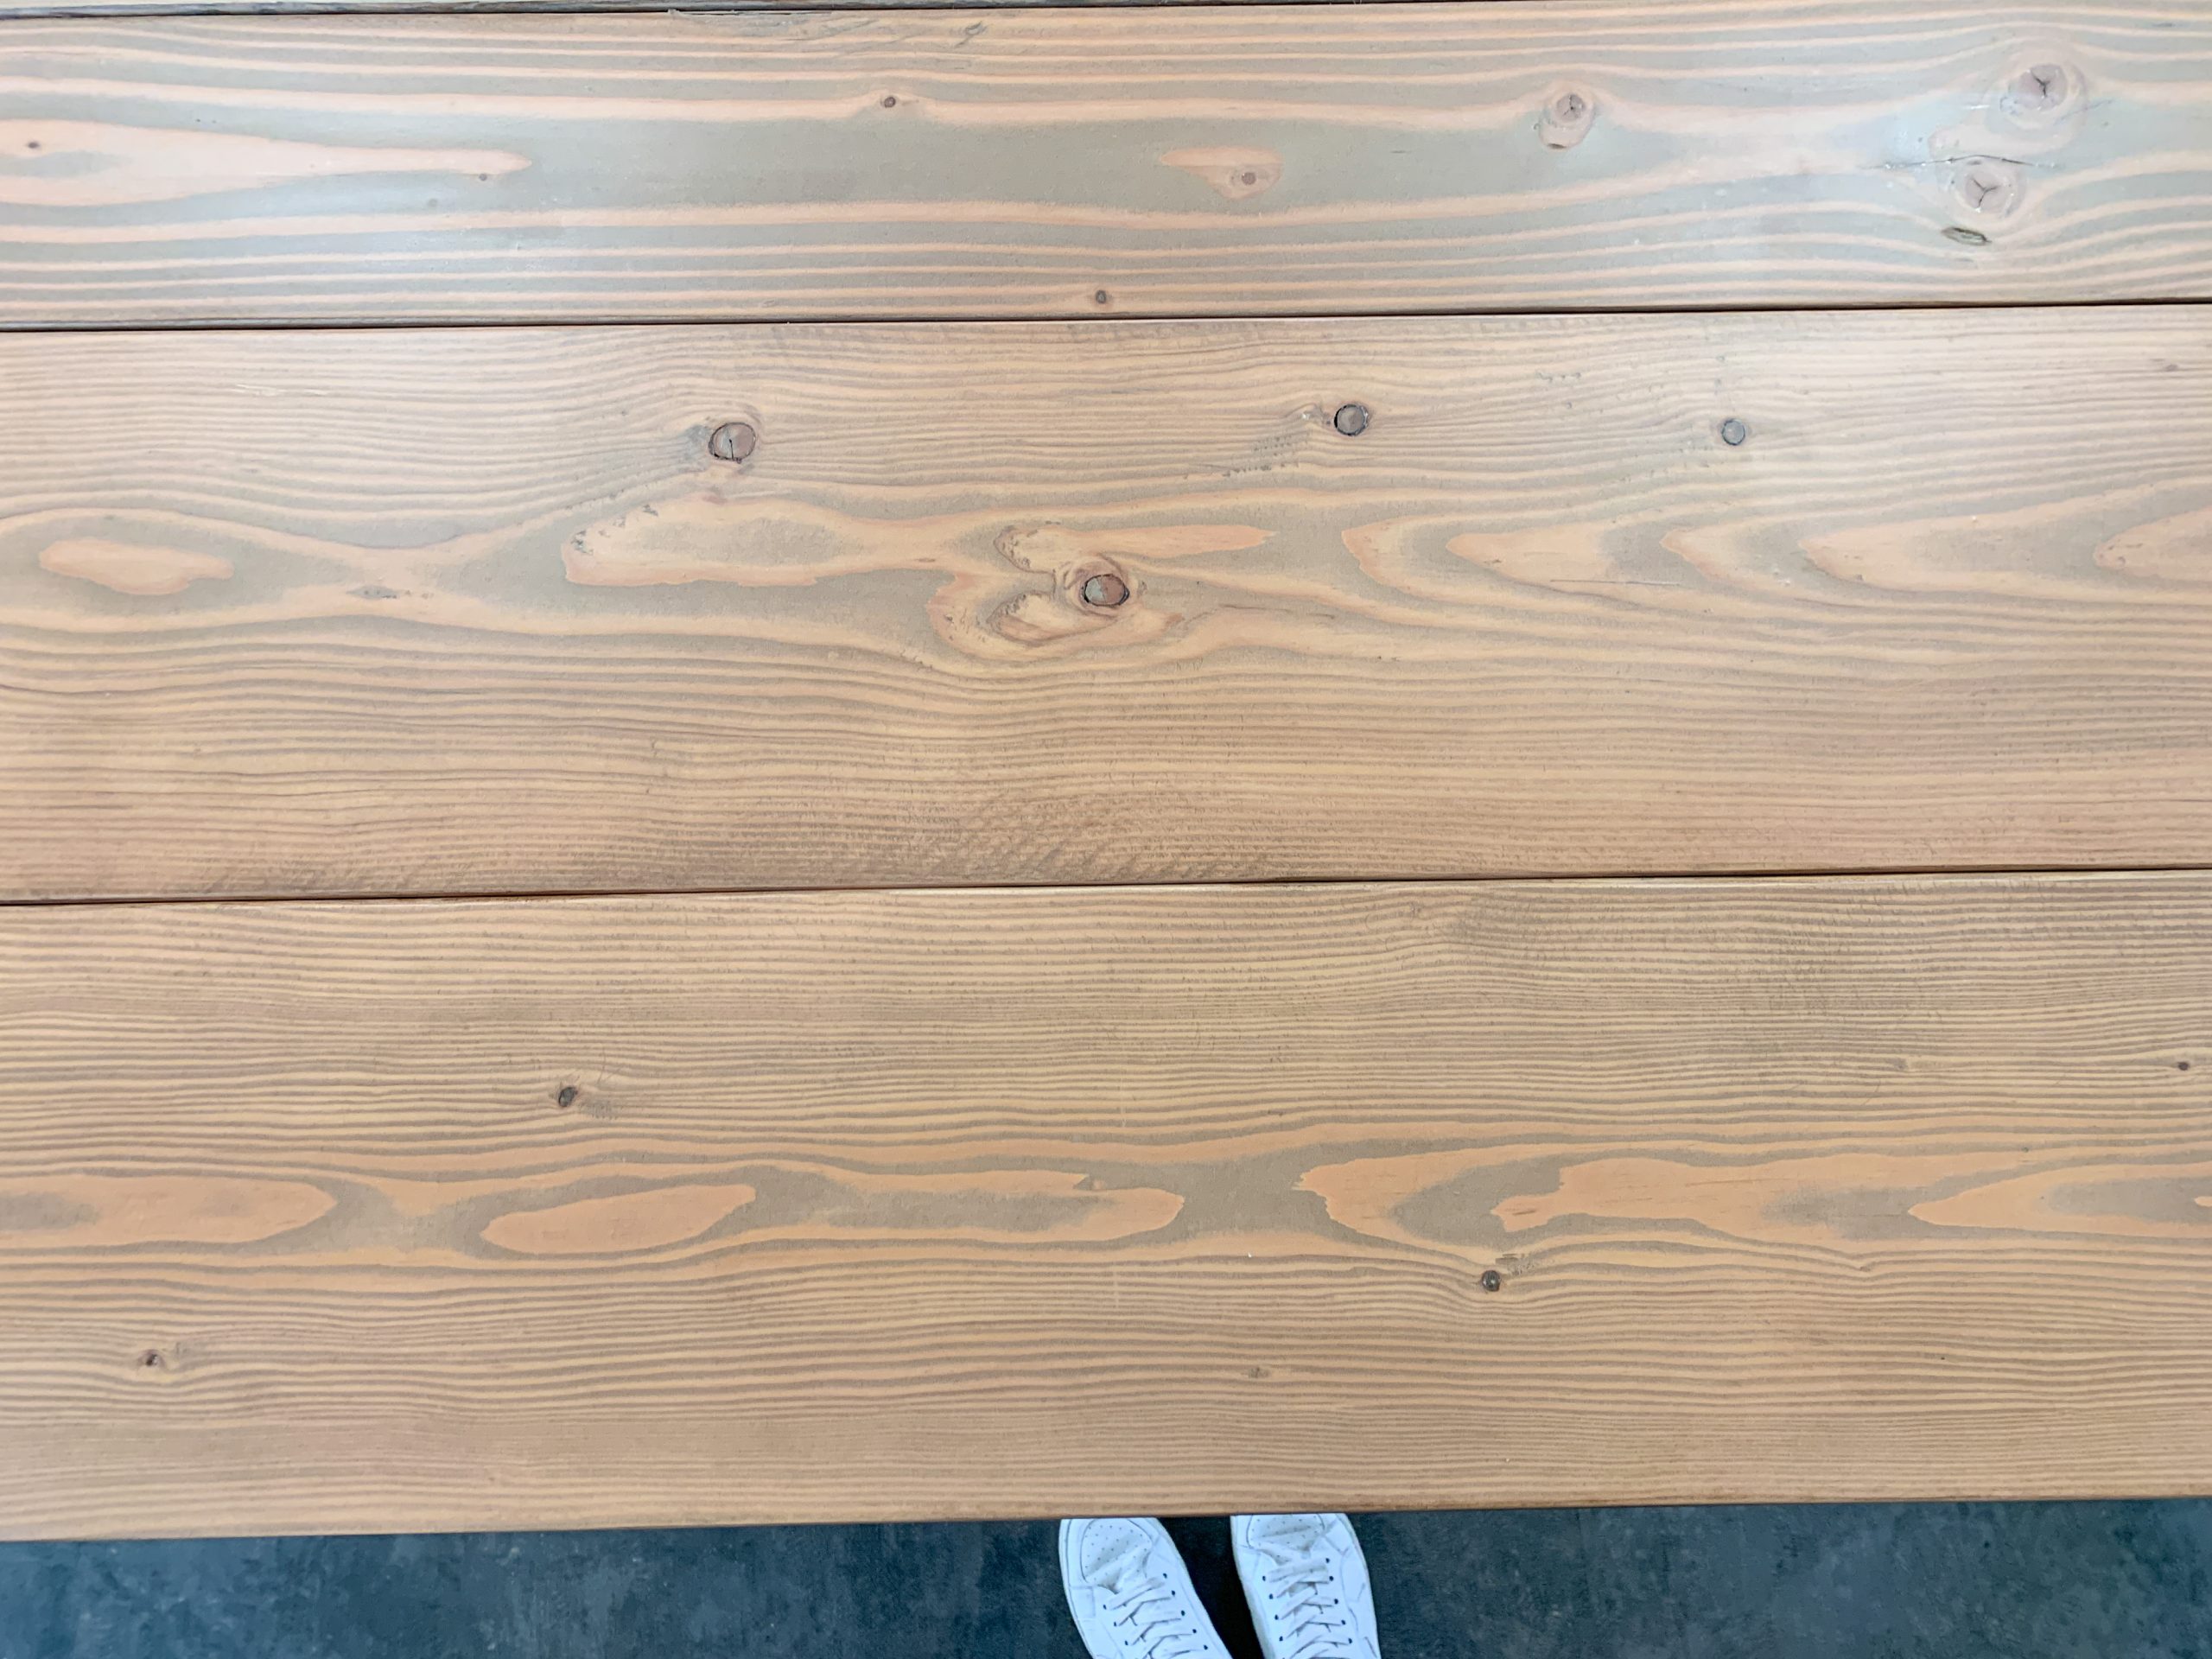
If you’re wondering how we stained it you can check out my 3 step tutorial here. I share my secret stain recipe…Douglas fir isn’t the easiest wood to stain because it tends to turn red super fast! I used my three step recipe to avoid getting a super red colored wood. We really wanted to keep it natural.
HOW TO STAIN DOUGLAS FIR — https://www.lilyardor.com/how-to-stain-wood/
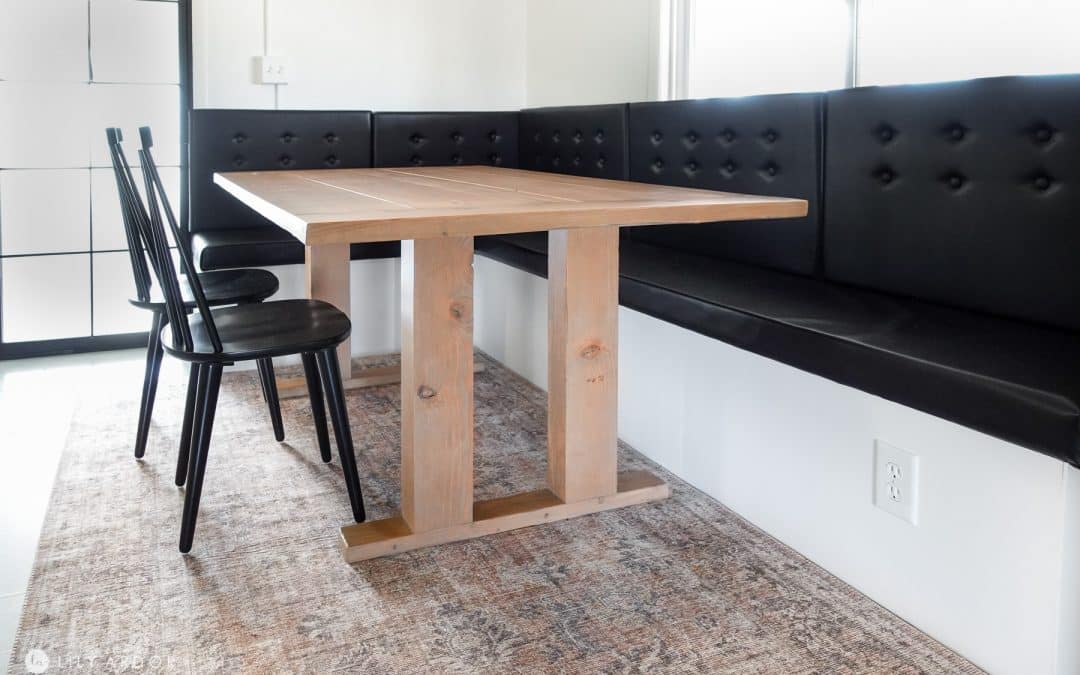
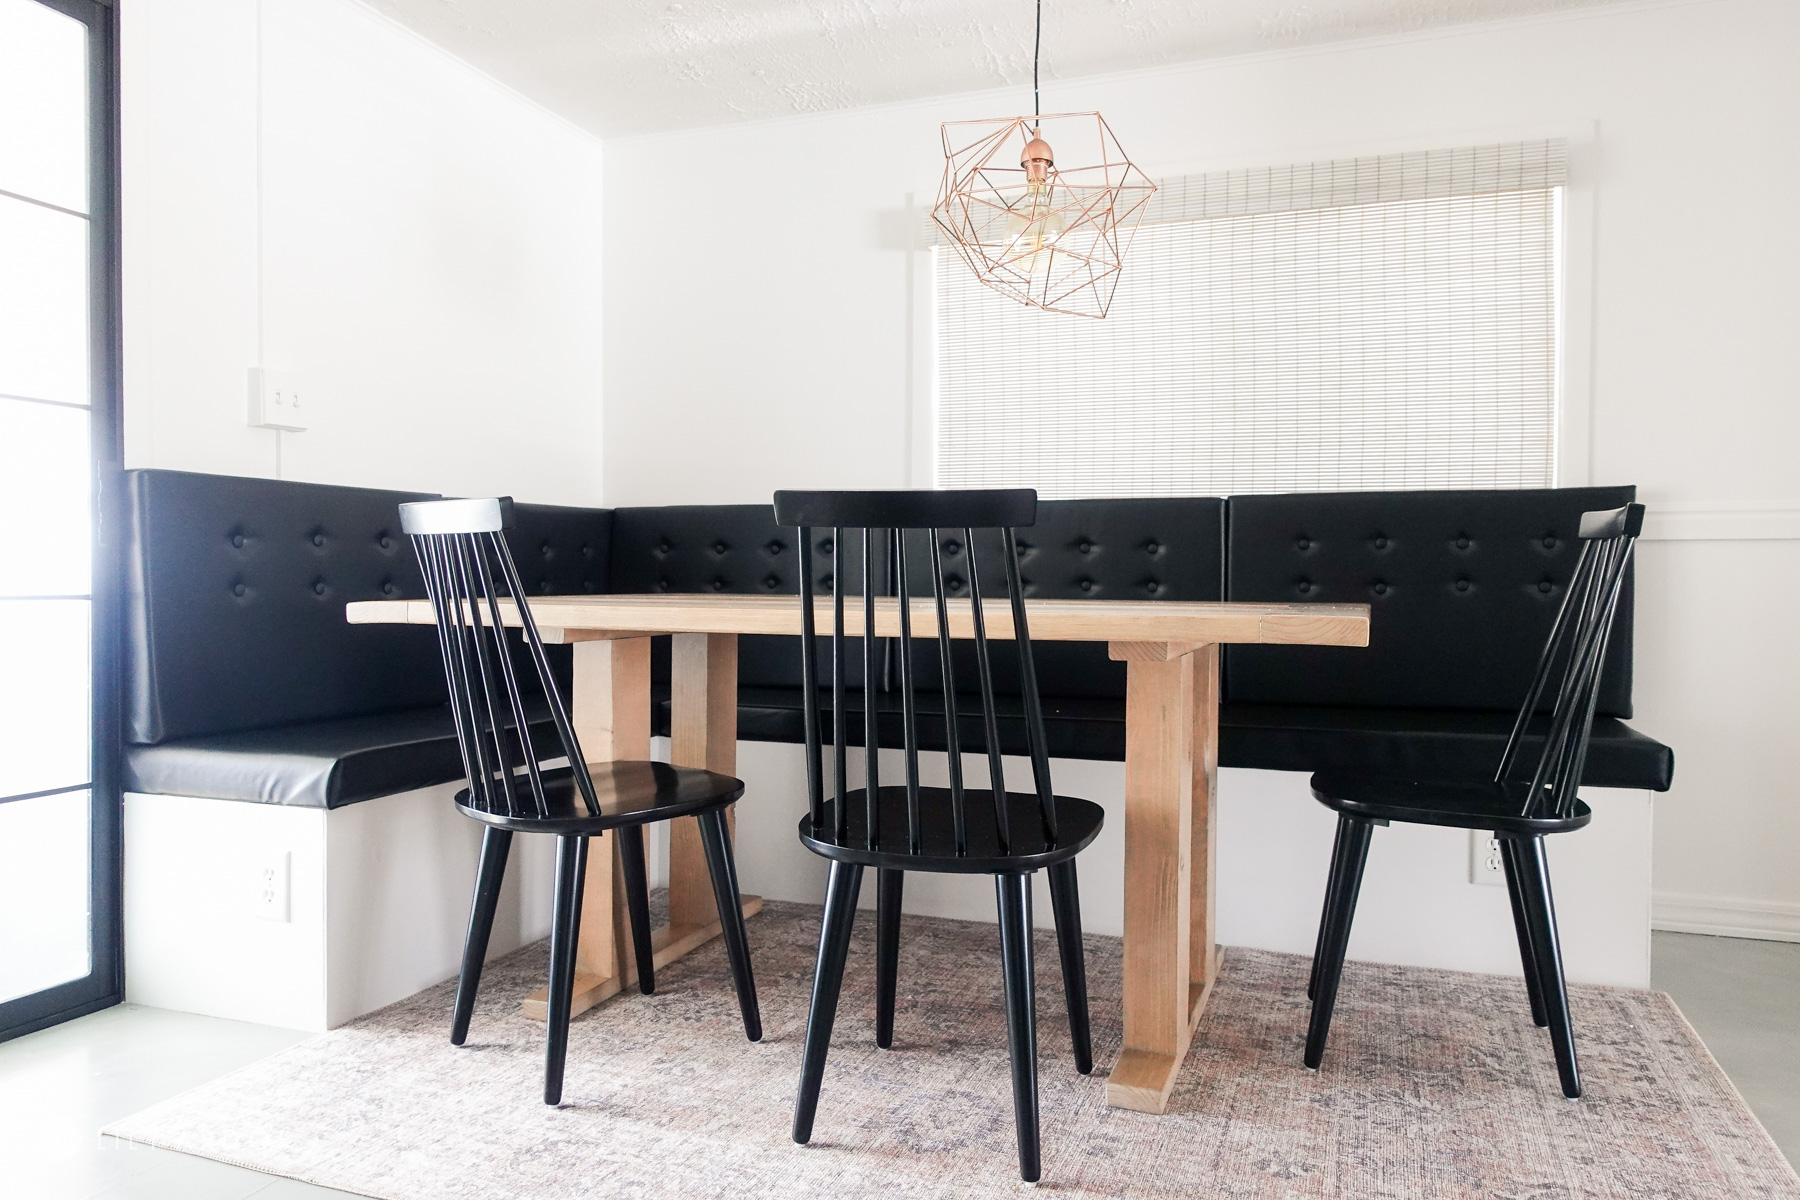
Here’s how the table looks. I’m so in love with how simple it looks.
Here it is in our dining room!
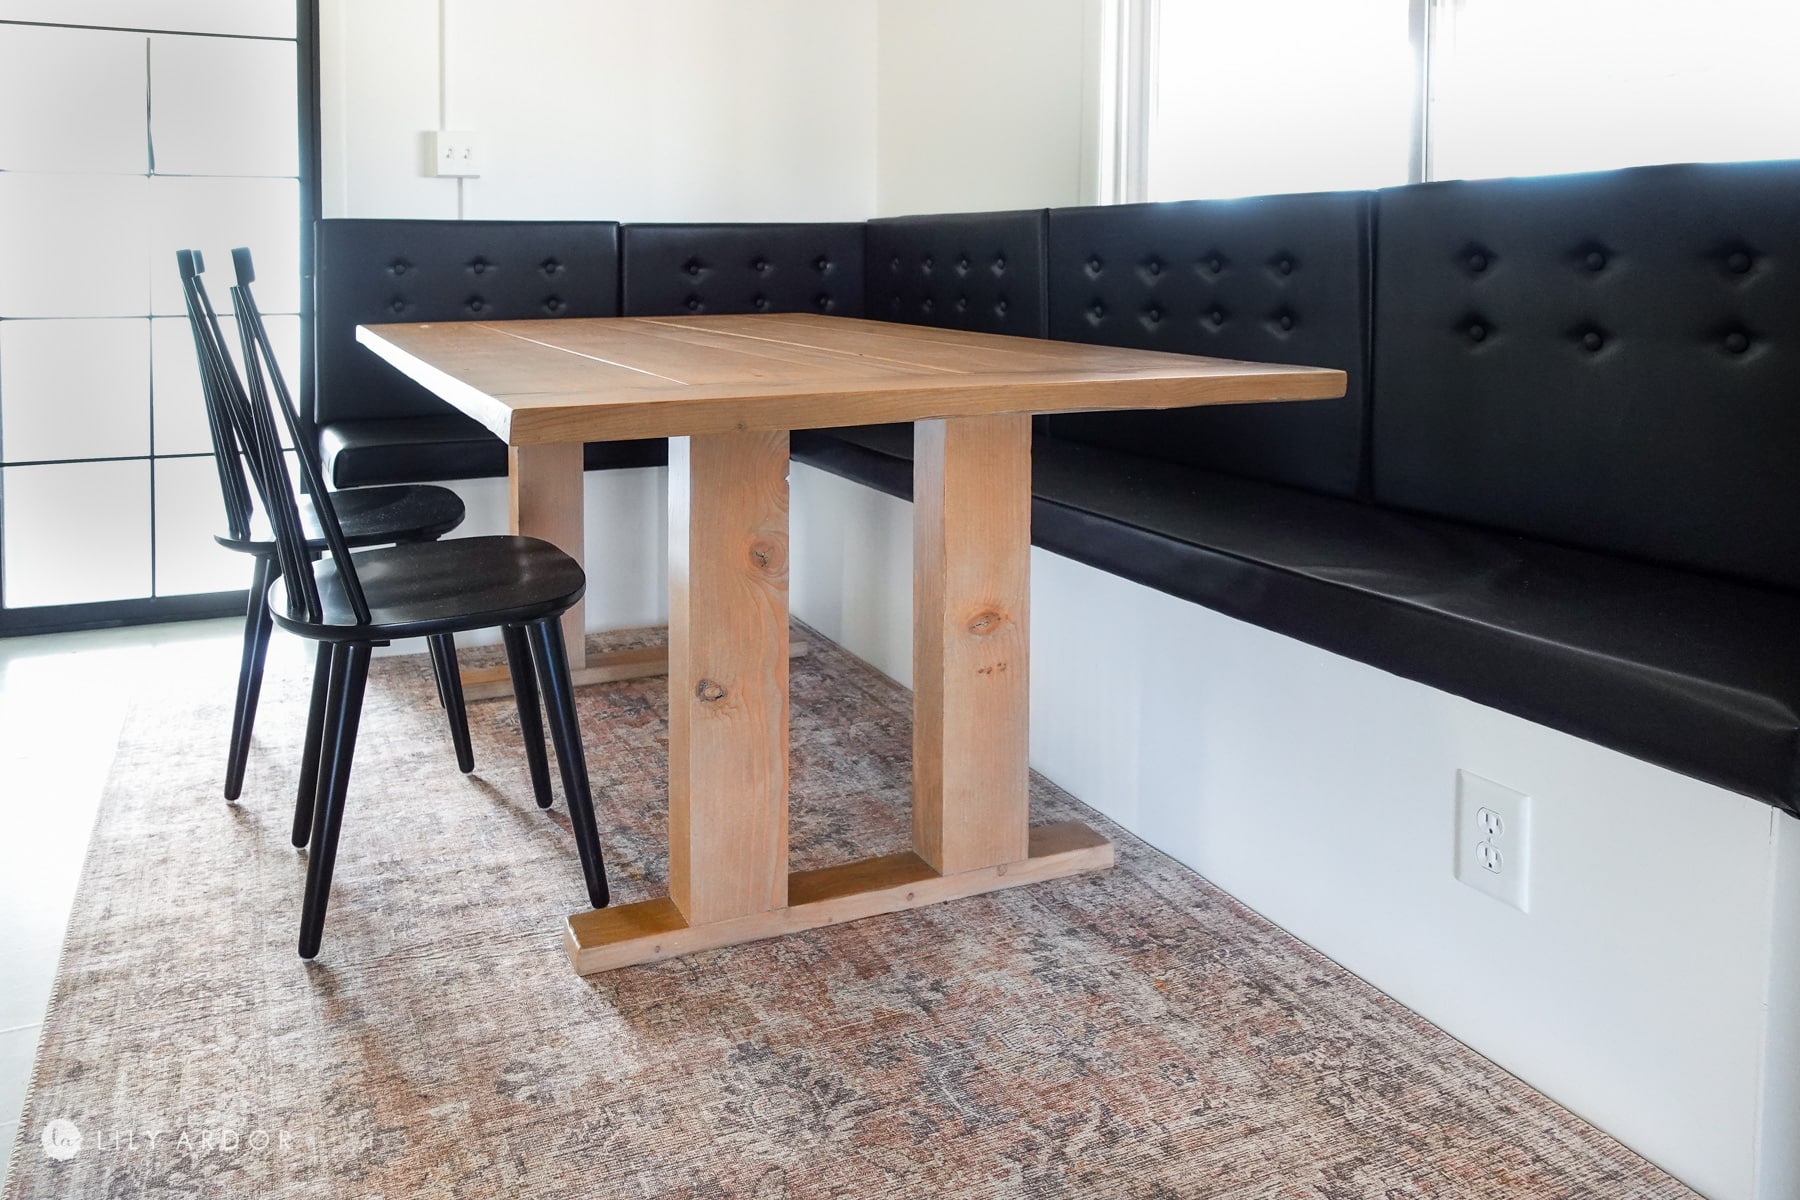
Love this stain! All the reds are way toned down. LOVE LOVE LOVE IT! still can’t believe it’s just Douglas fir.
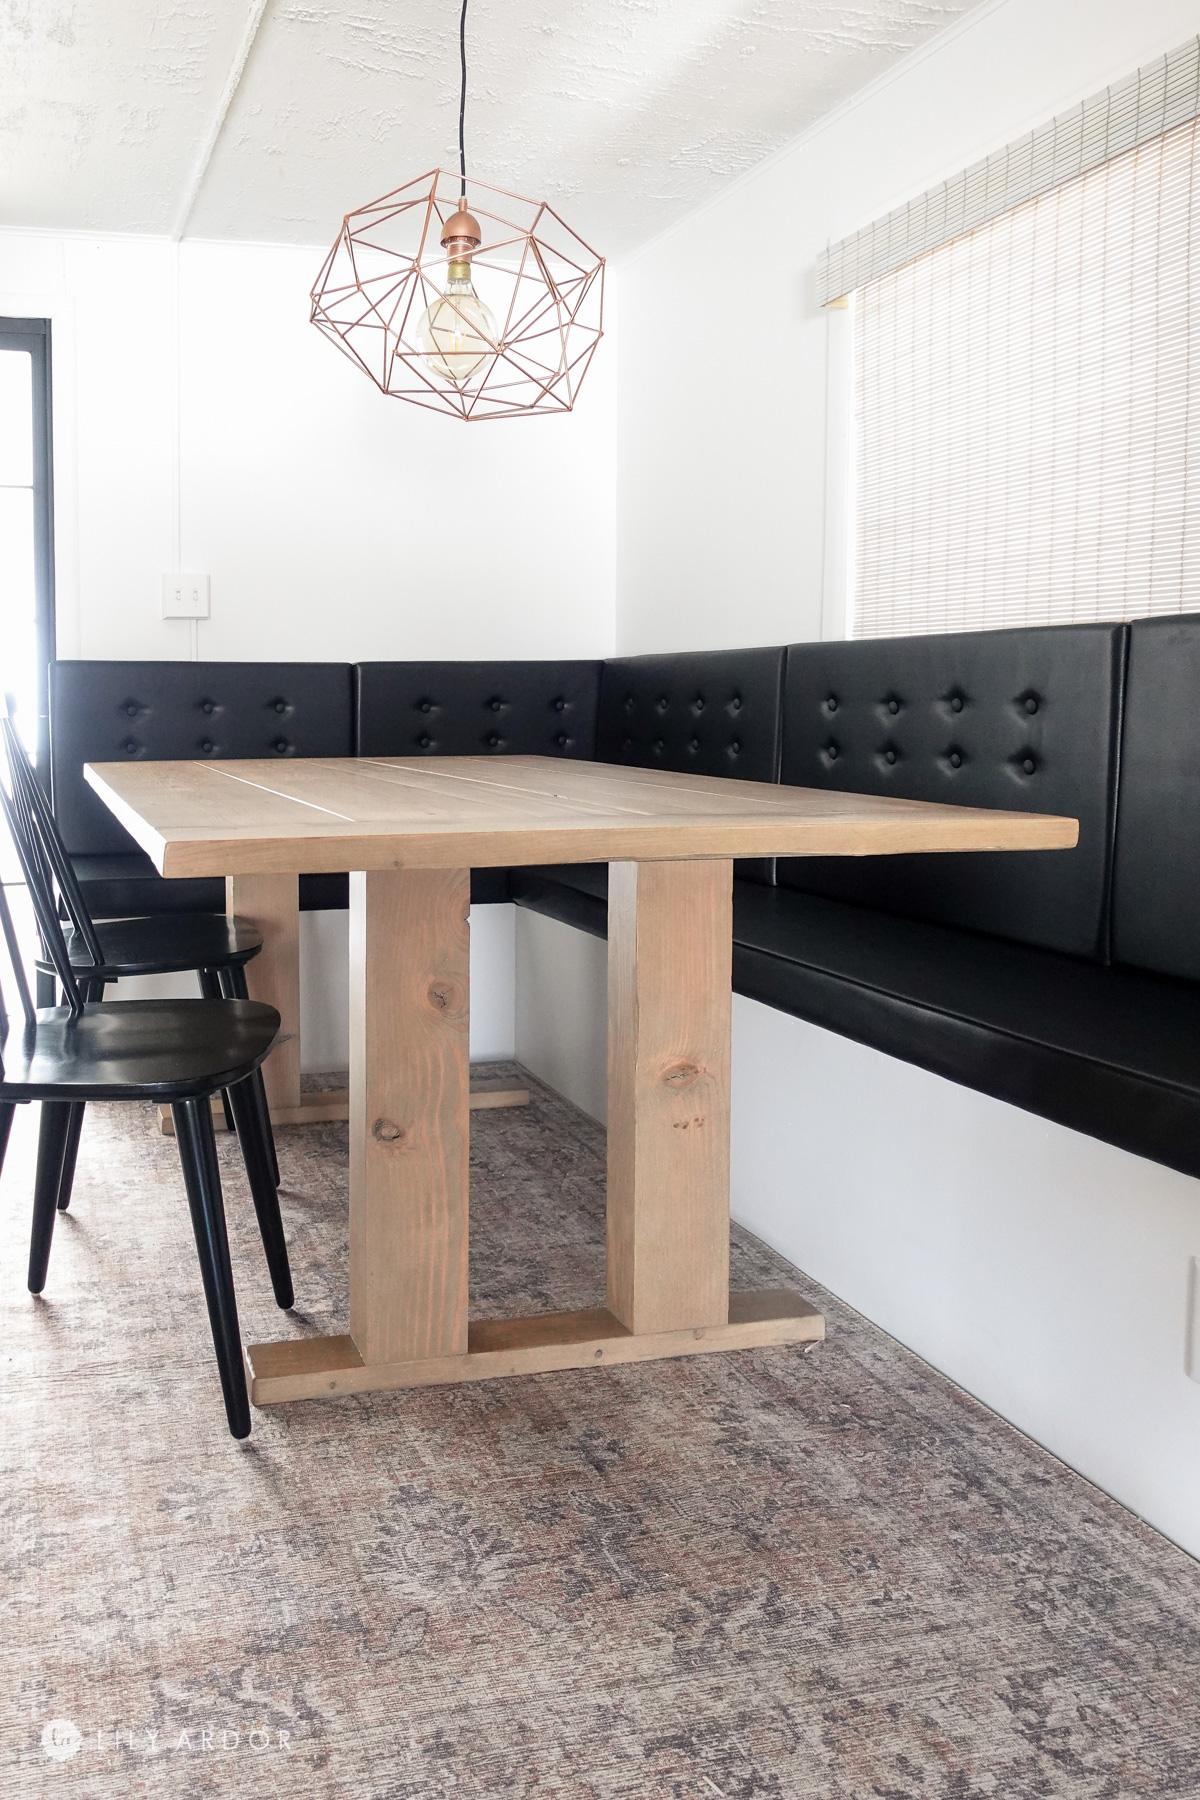
That’s it! I hope you liked our DIY modern farmhouse table and it inspires you to make one of your own. I’ll see you all next time. I’m hoping to start on the banquette setting next week 😀 Another DIY I can’t wait to share with you! Than I’ll share some updated photos of the table with the new seating.
Best,
Lily
If you’re looking for the DIY dining table plans scroll up.
Thank you very much for sharing, I learned a lot from your article. Very cool. Thanks. nimabi
of course like your web site but you have to check the spelling on several of your posts. A number of them are rife with spelling issues and I find it very troublesome to tell the truth nevertheless I will definitely come back again.