Hi everyone, today I’m sharing about the best wood stain techniques for douglas fir or pine wood.
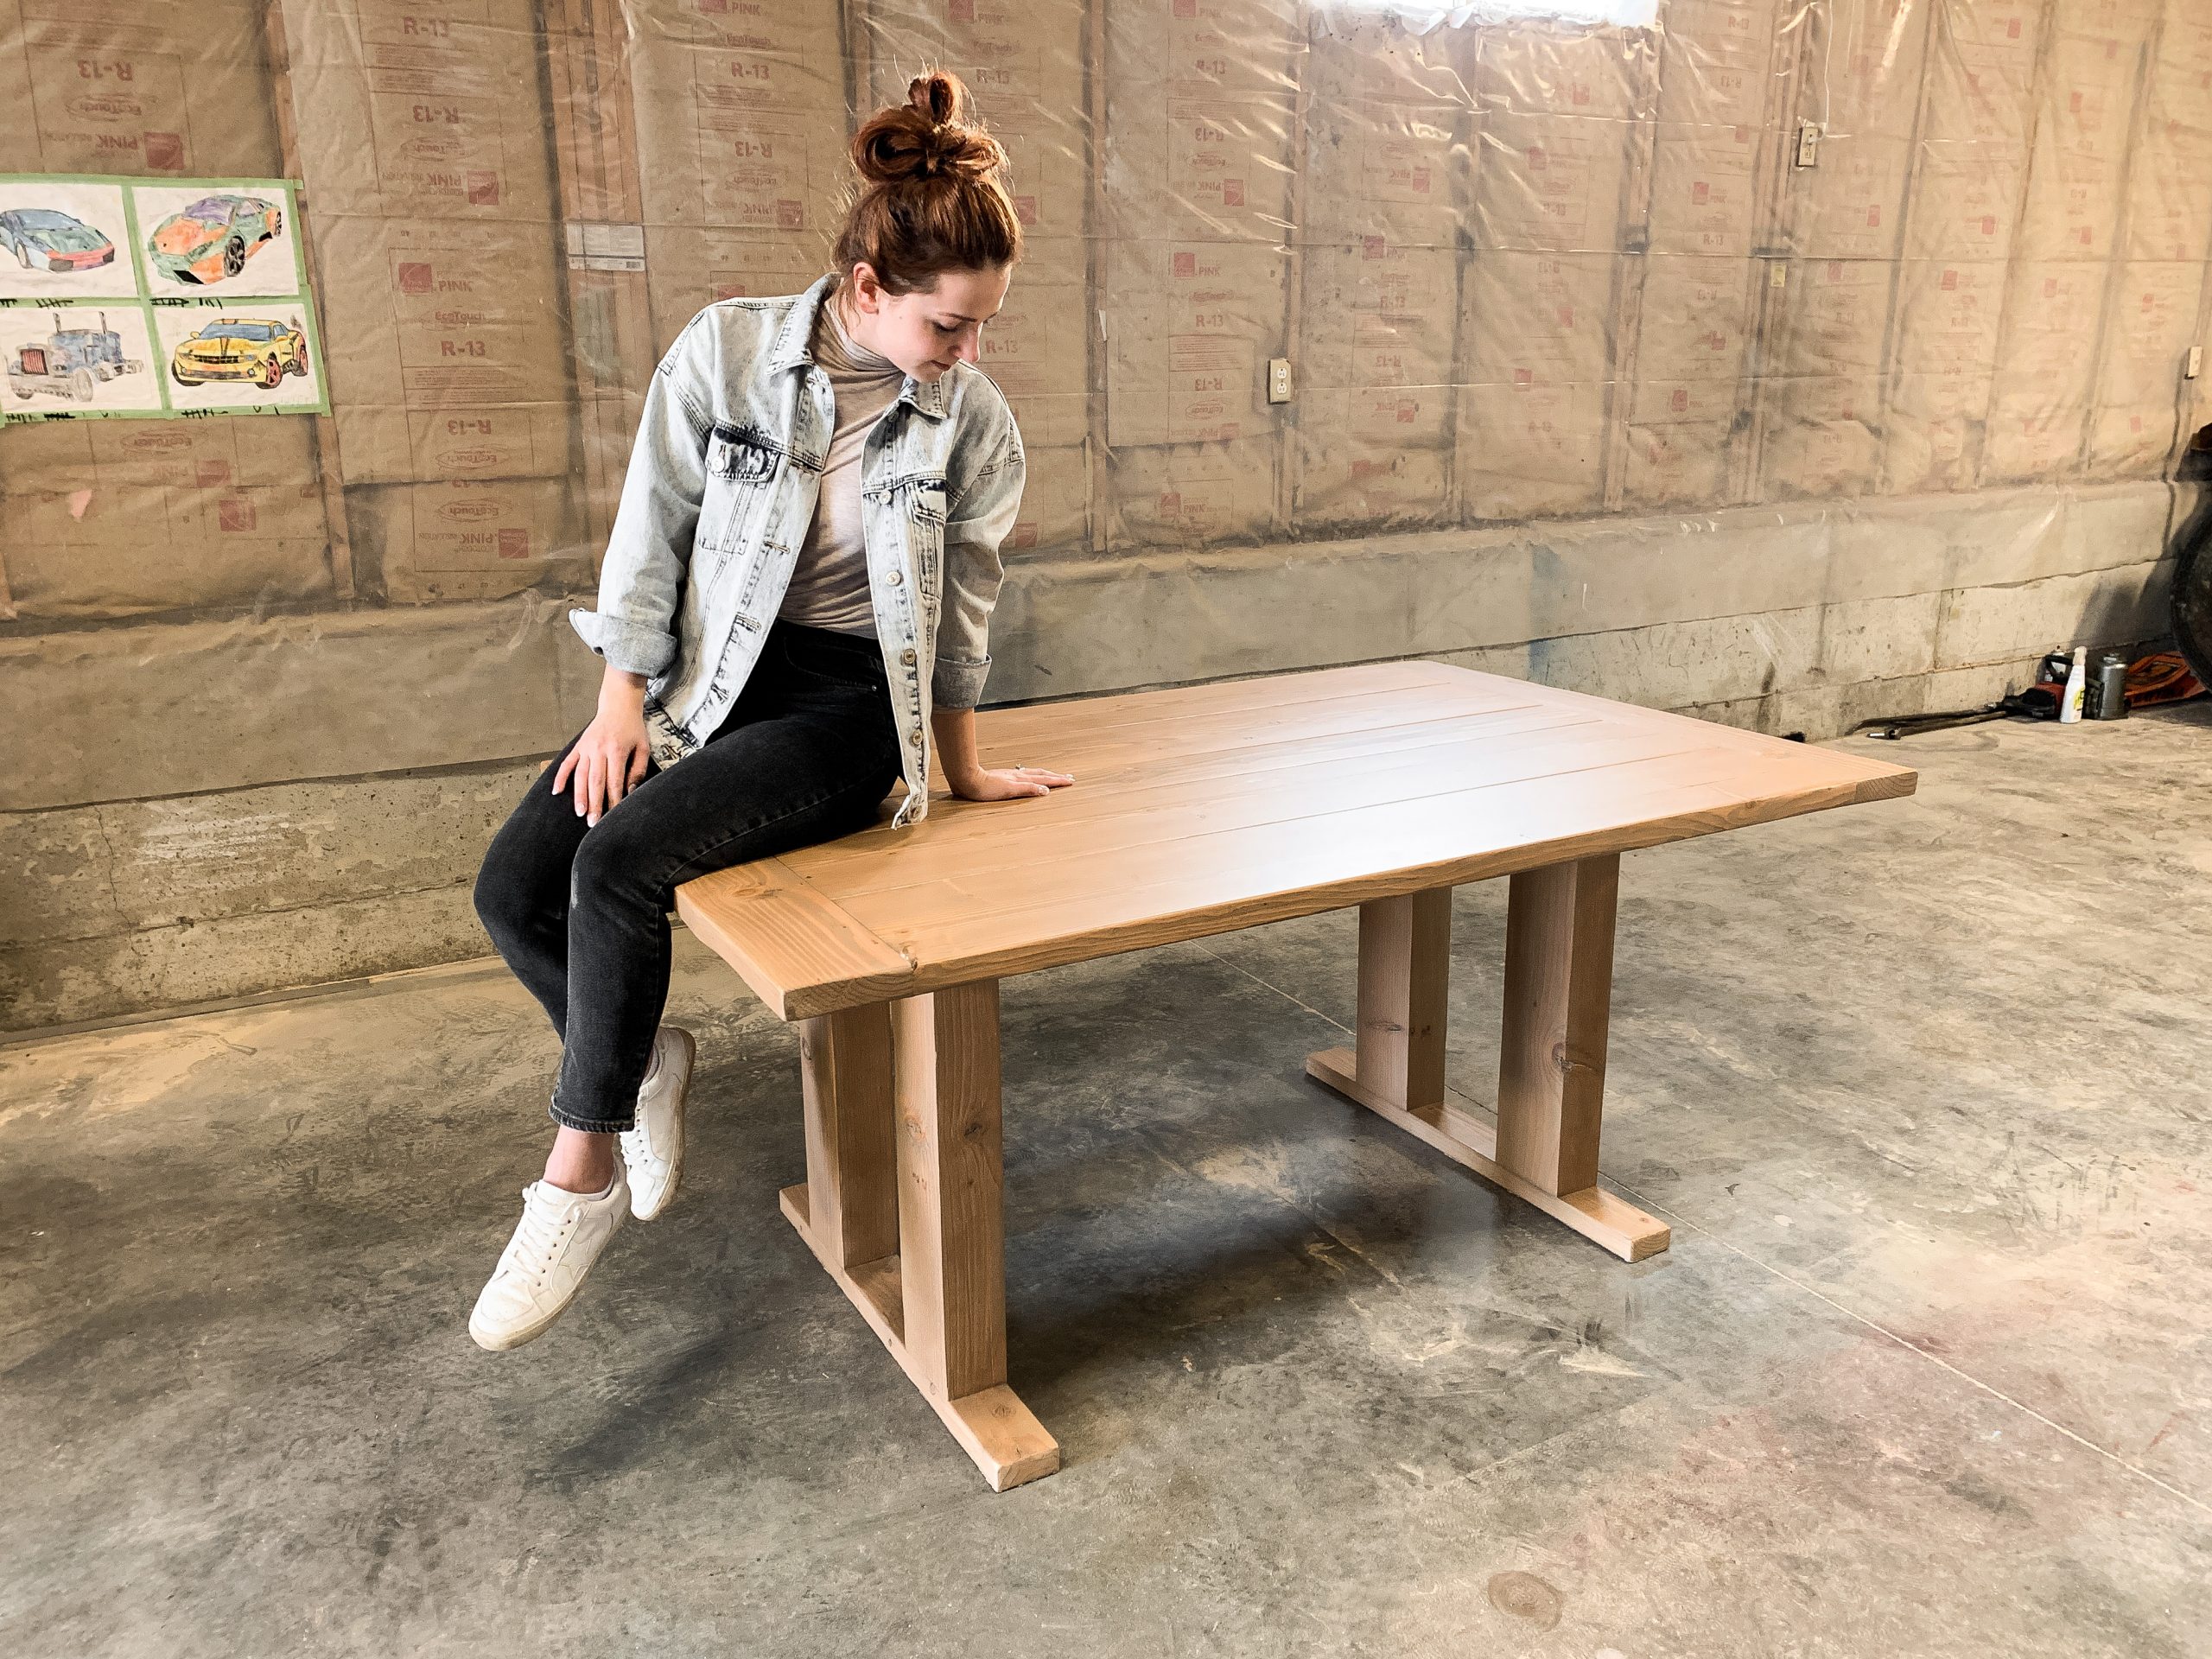
Staining Douglas Fir!
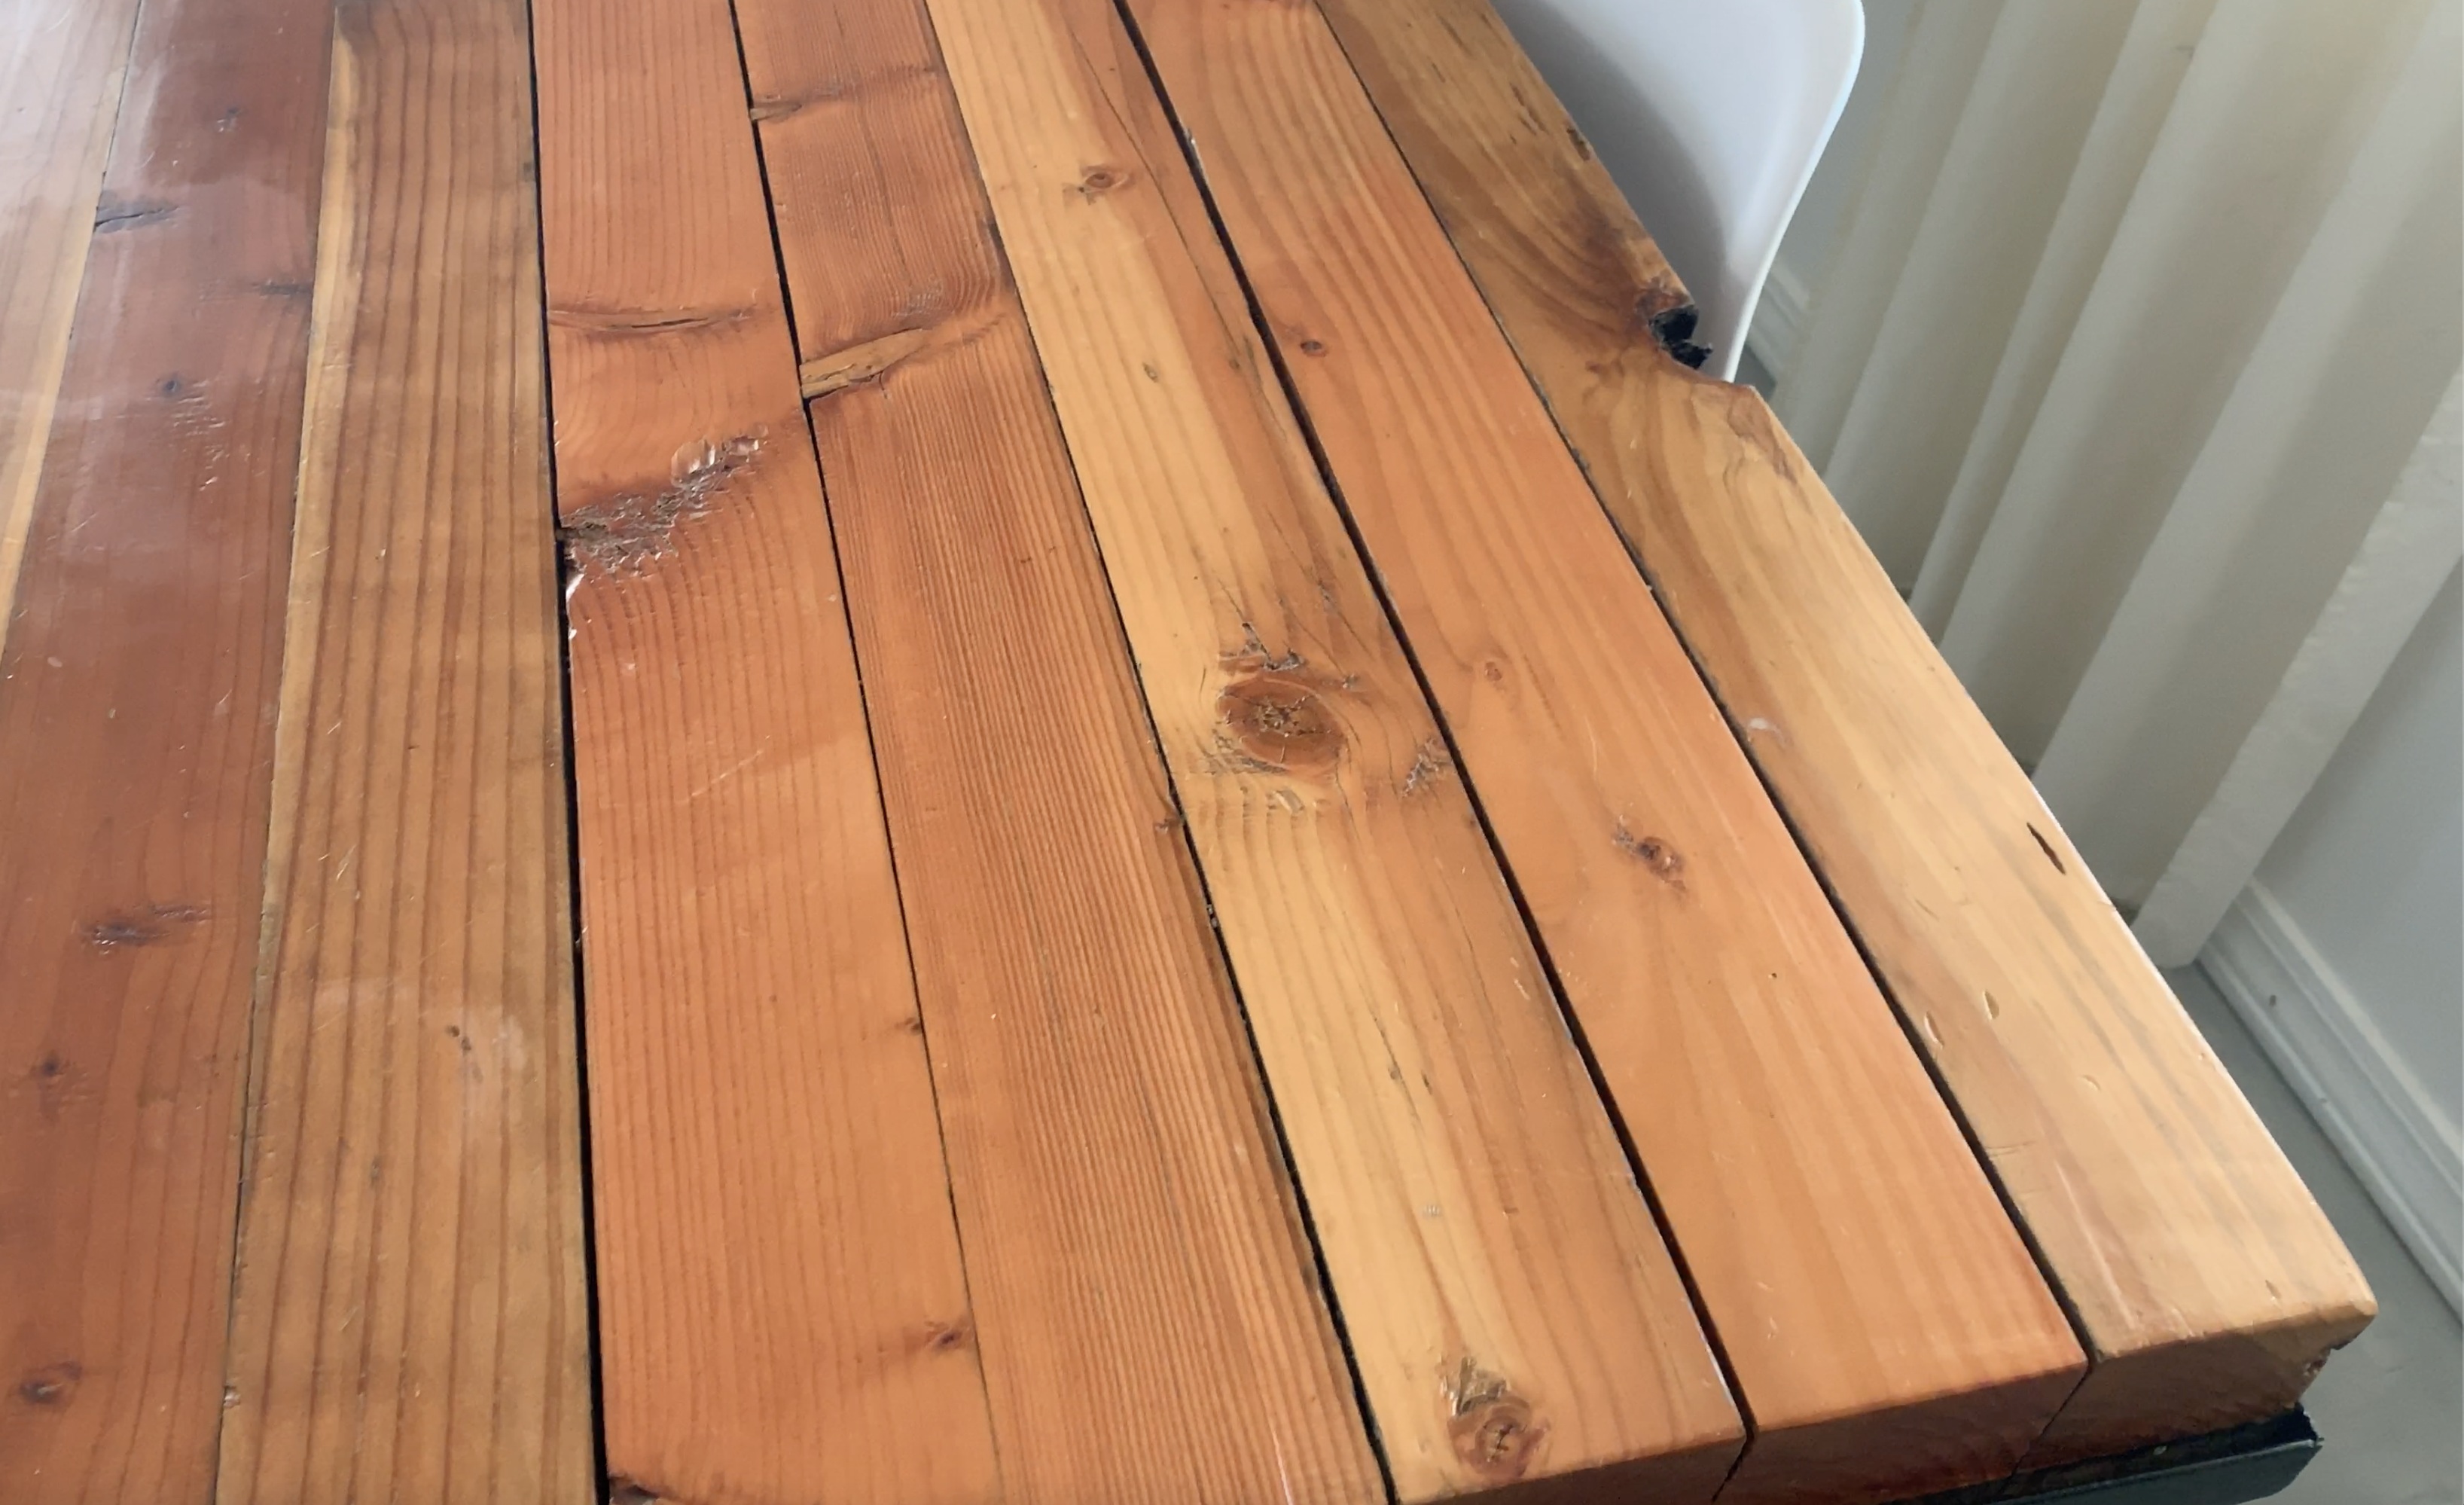
Douglas fir isn’t an easy wood to stain! If you remember our previous DIY table it was also made of Douglas fir and I made the mistake of simply clear finishing it without staining it only to find out it turned super orange and red. Douglas fir has a lot of red and orange hues that seam to pop through almost any stain ( photo below is of our old table) That’s why I set out to find the best wood stain for our new table!
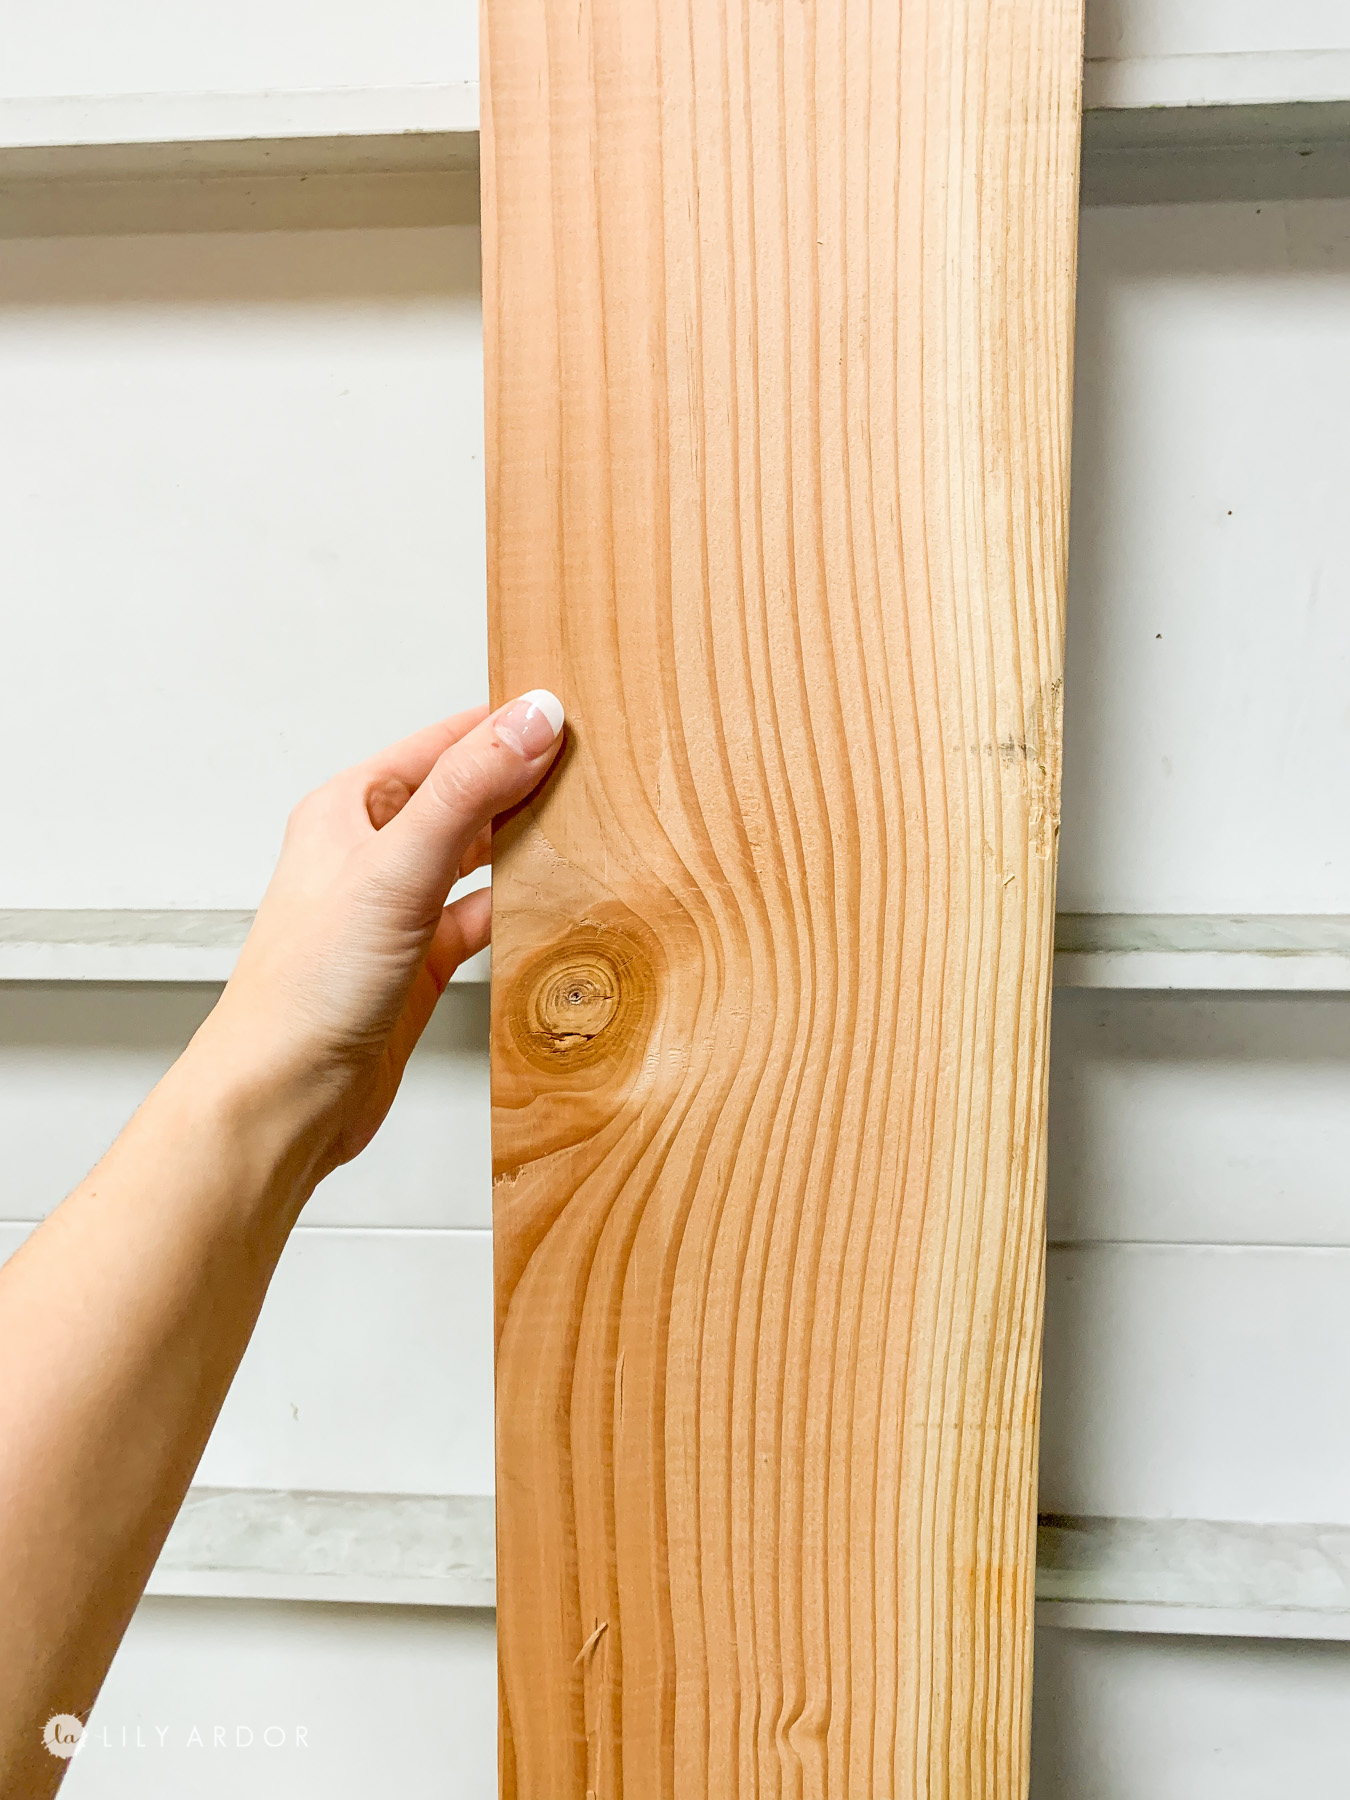
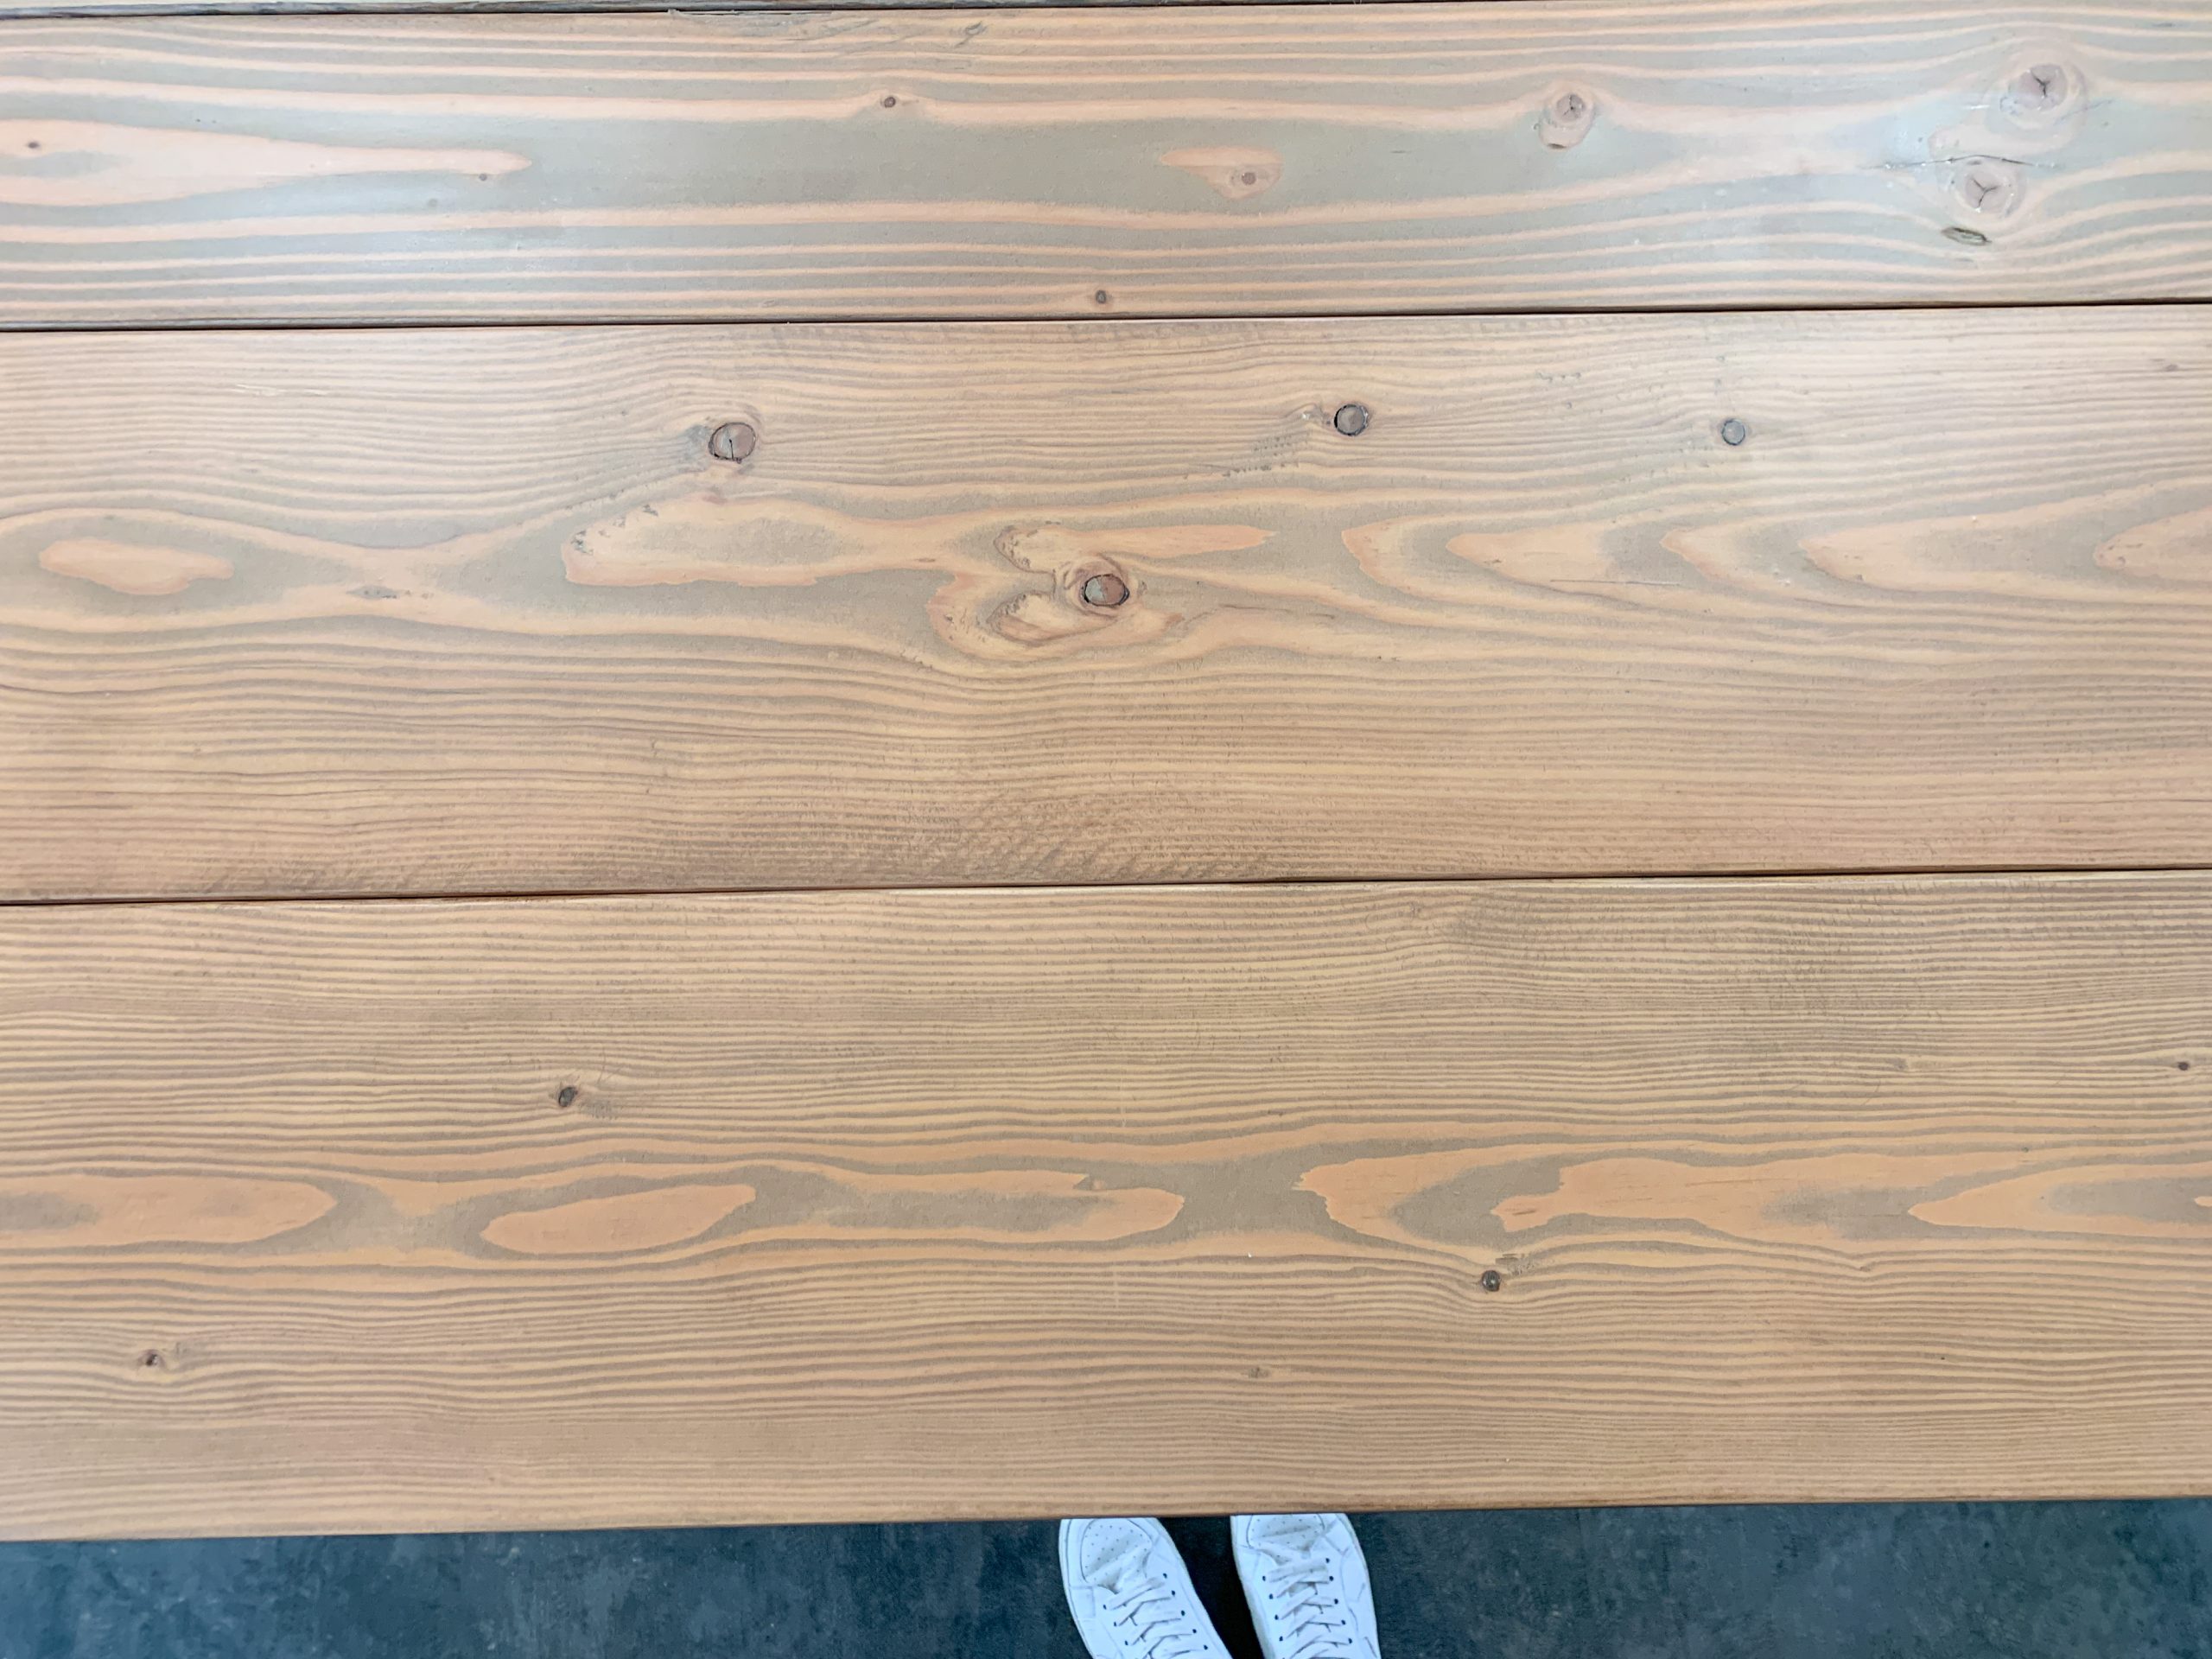
Here’s what it looks like raw (photo below) You’ll notice lots of oranges and reds even without a clear finish.
MAKE YOUR OWN WOOD STAIN BY MIXING COLORS!
I’ve tested a handful of different methods to try and tone down the reds. Just experimented really.. I couldn’t find any techniques online that offered clear instructions. Initially I really wanted to get a pretty tan color on the wood. So eventually, I ended up going with a three step stain. It was something I came across by total accident!! This three step method was the best for toning down the reds and oranges. In fact it almost acted as a grey wood stain because it turned all the red areas a pretty toned own beige gray. None of the stains I used were grey though.
a photo of wood stain colors on pine
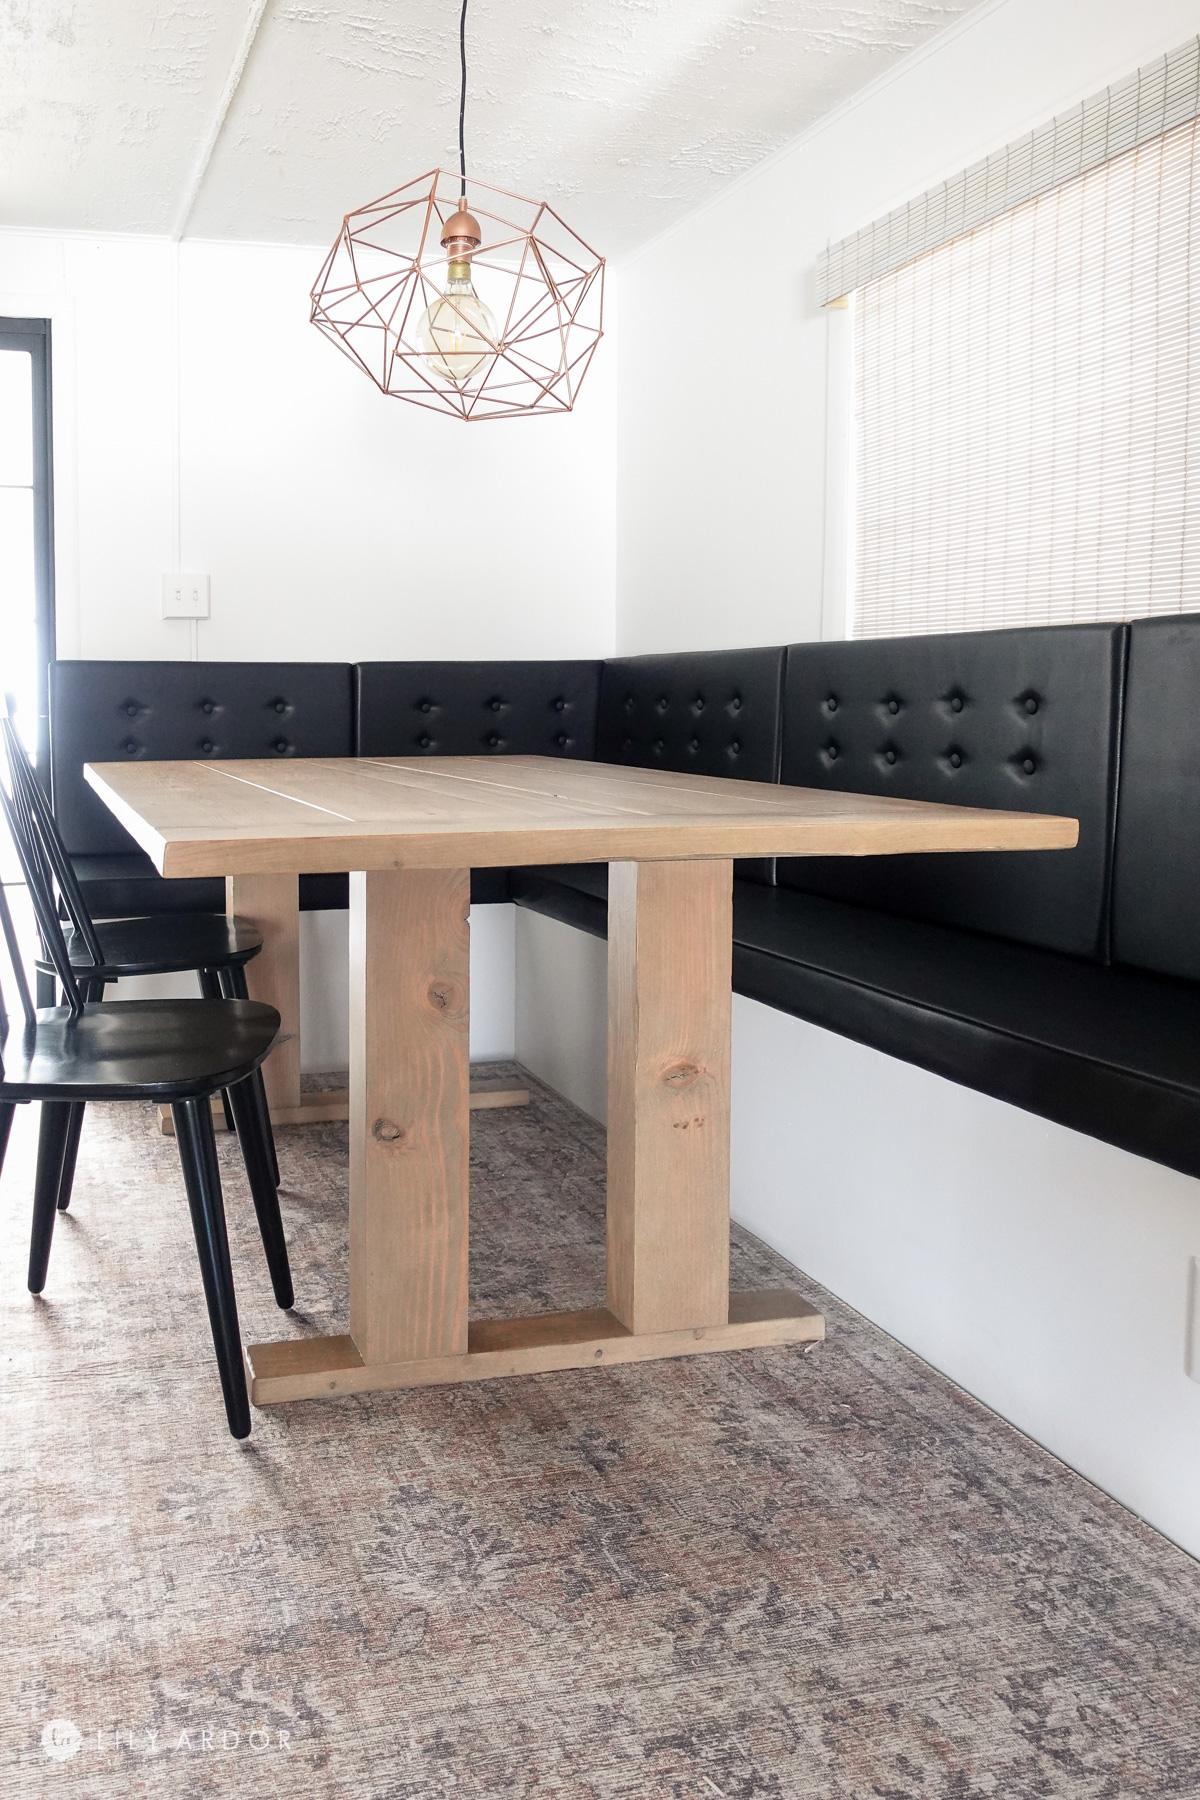
Here’s what the table looked like stained! I love the warm color we got with this staining method.
How to apply wood stain!
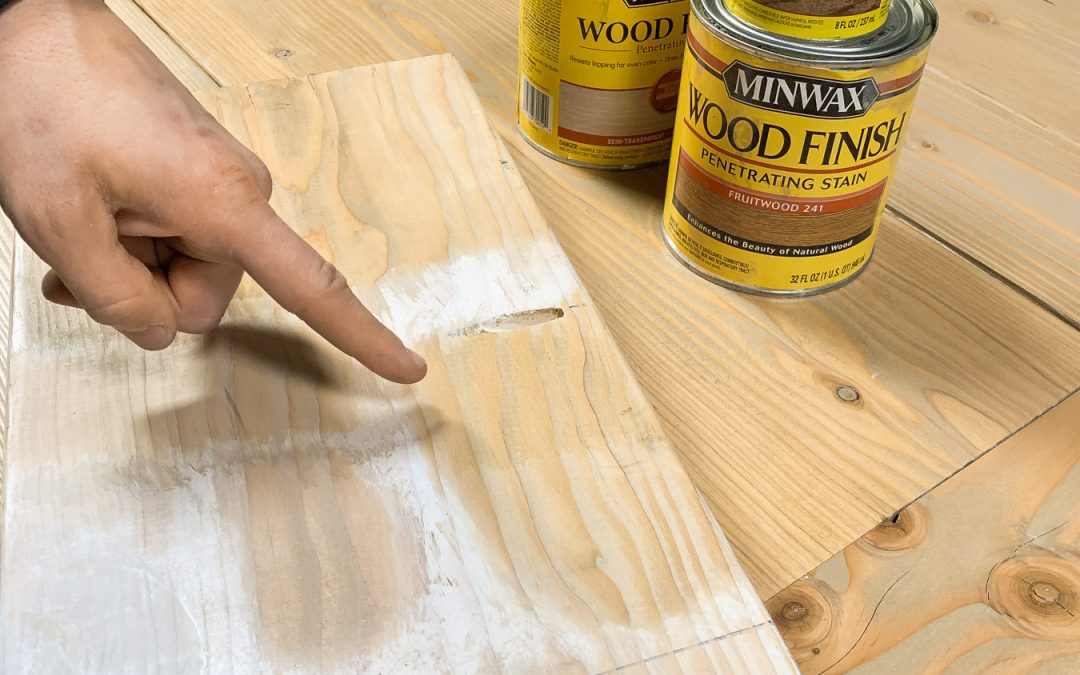
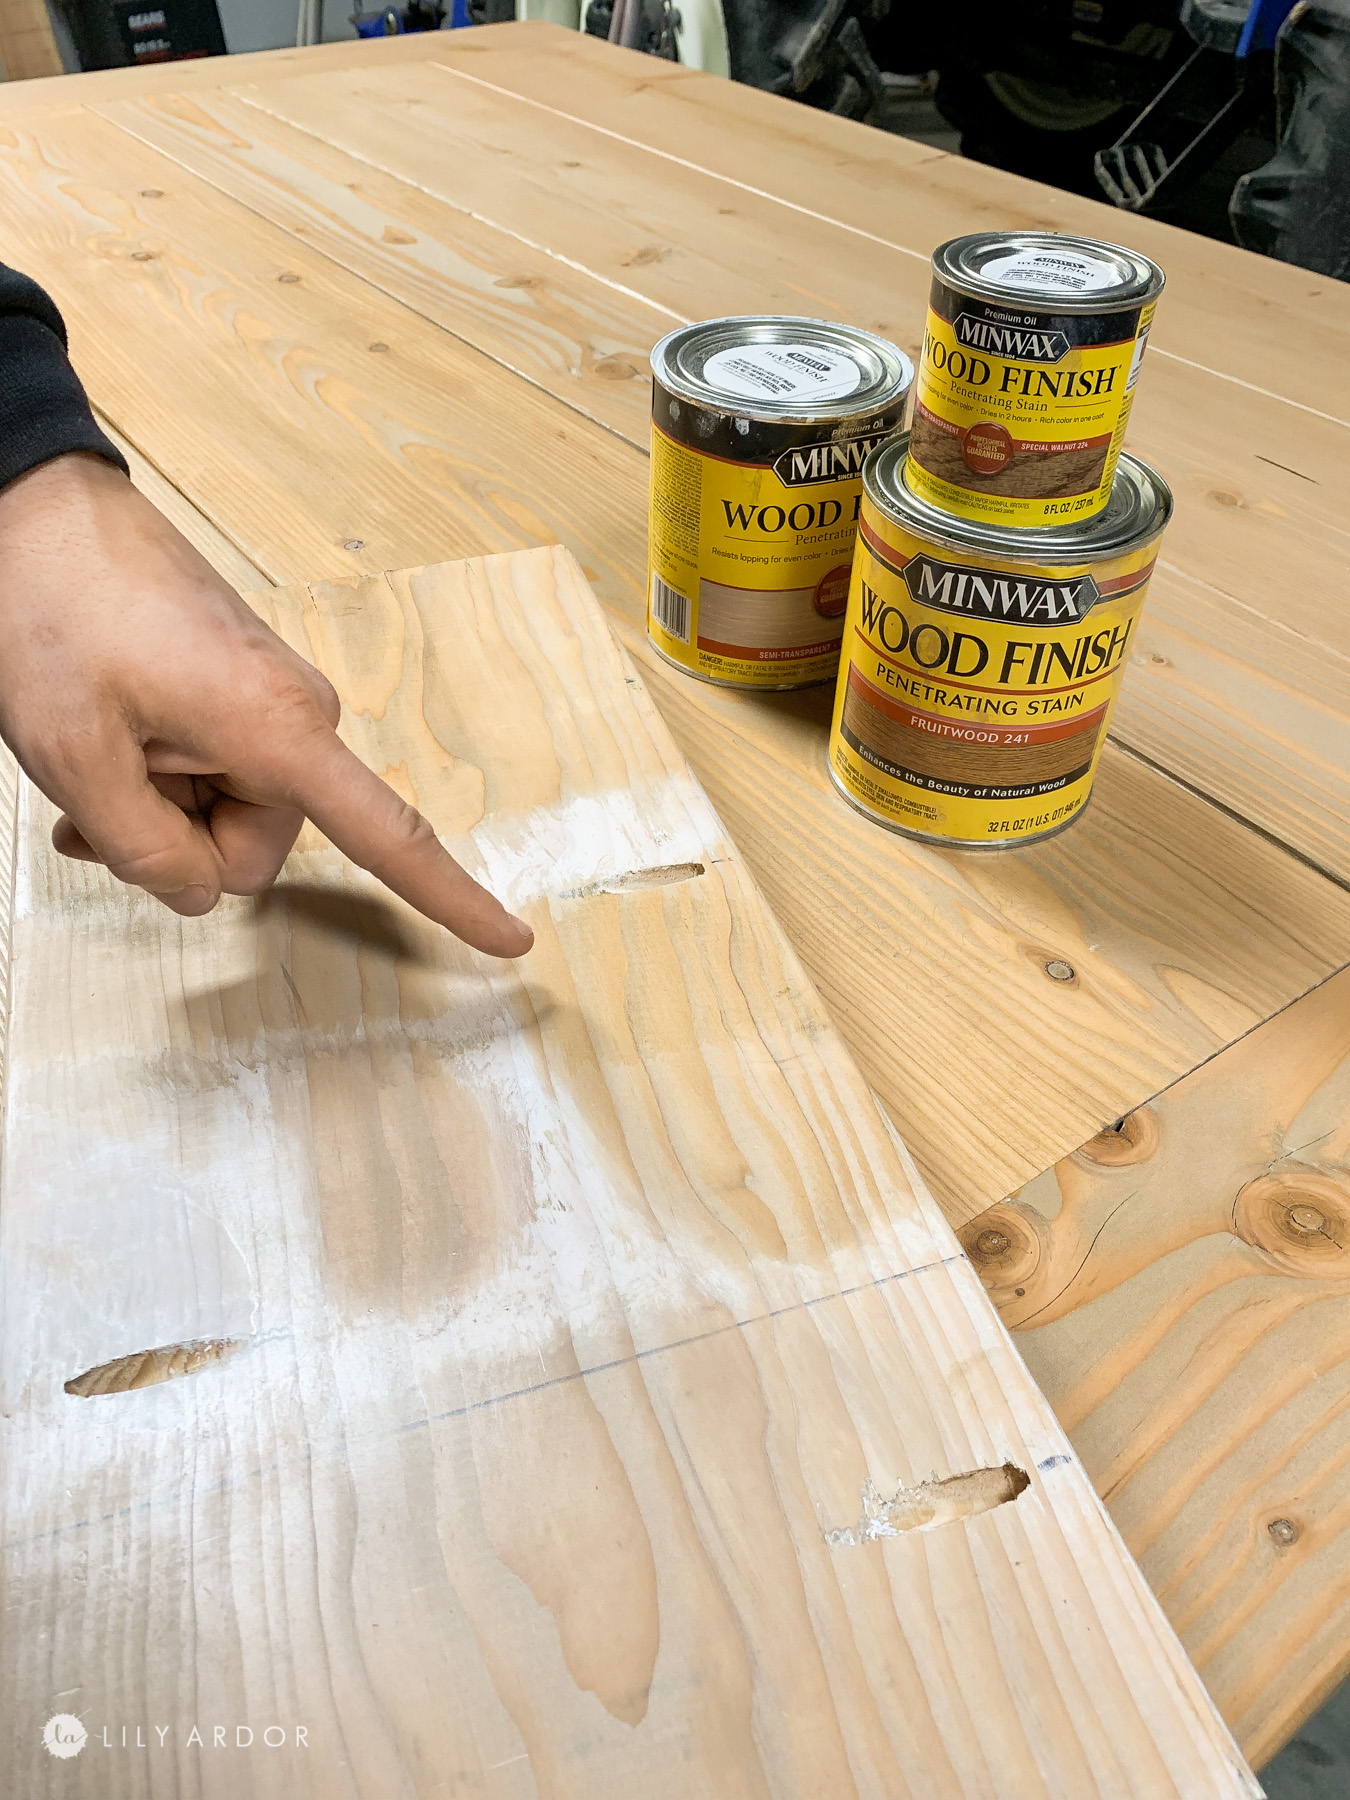
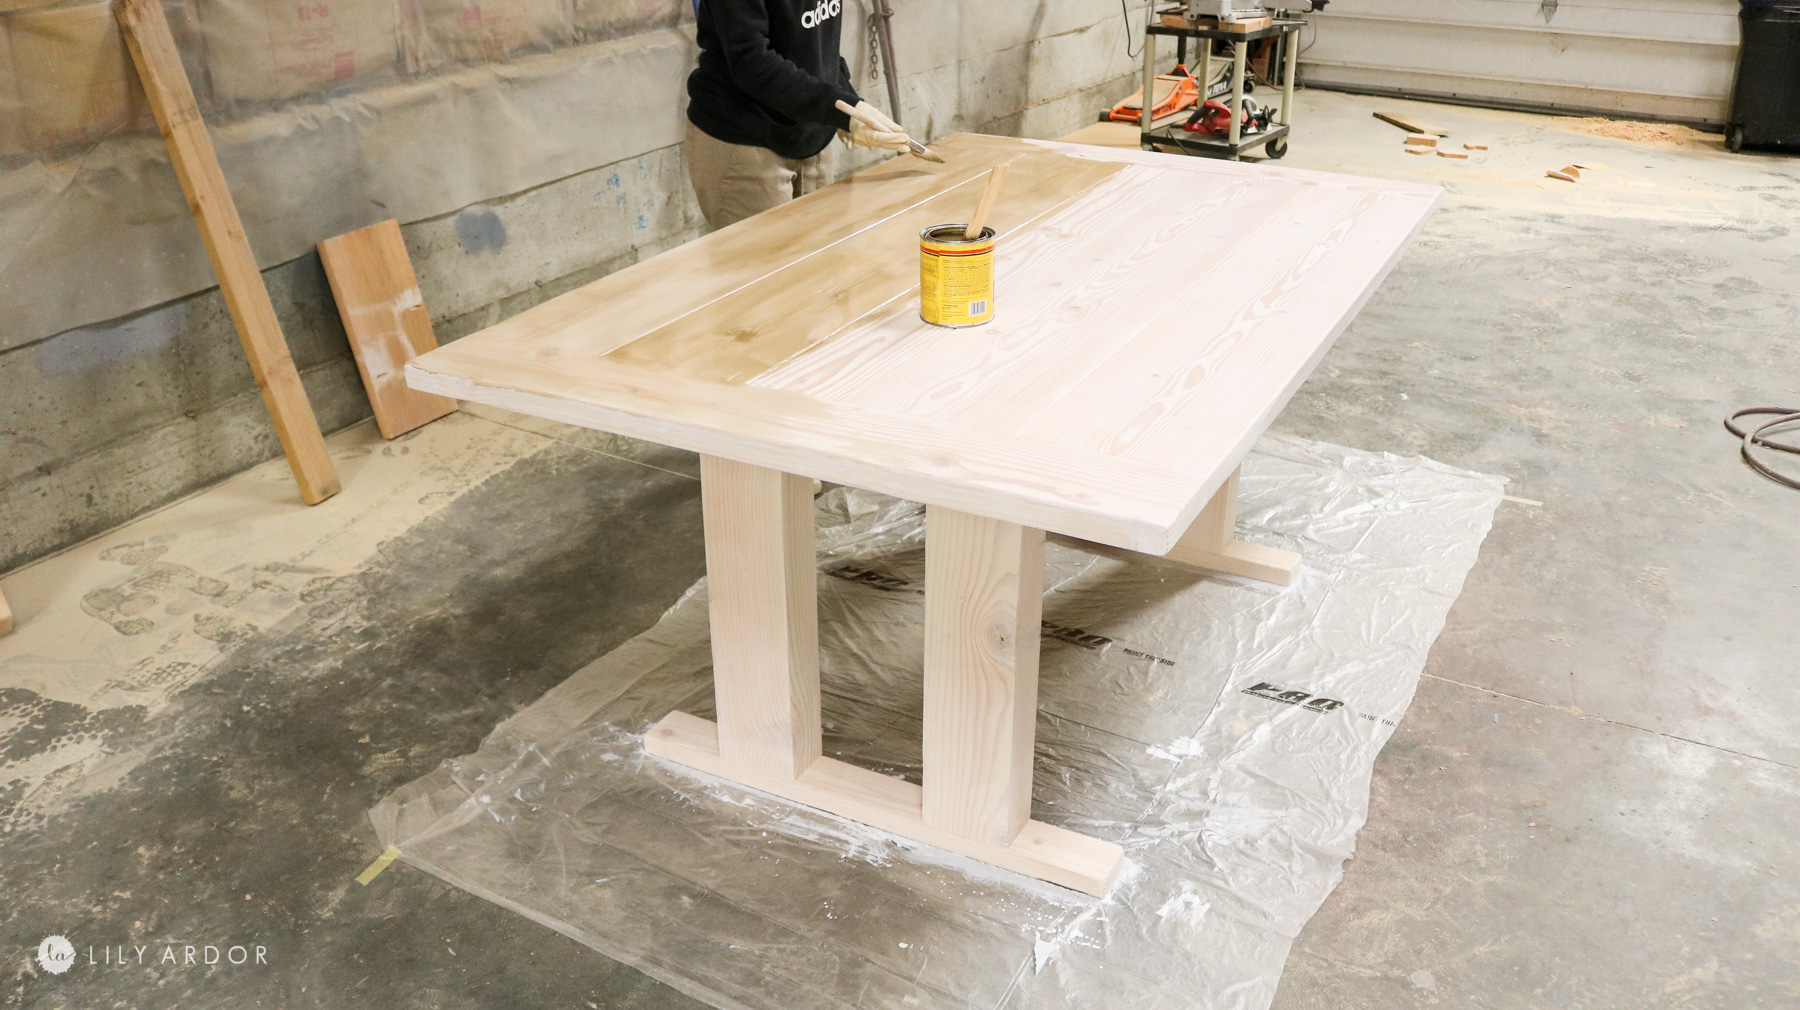
STEP 1: FIRST LAYER OF STAIN!
For my stain I went with a simply white stain first made by minwax. The white stain acts as a toner to fade all the yellows and oranges. This will also help the stain you apply next not to penetrate too much into the red and orange areas.
Minwax stains are by far my favorite. I’ve tried about 6 different brands and always keeping coming back to minwax. If you’re looking for pine wood stain this stain work great on cheap wood too.

I simply brushed on the white stain and wiped it off after about 5 minutes. Be sure to wipe off the excess stain before it dries. It’s a quick process.
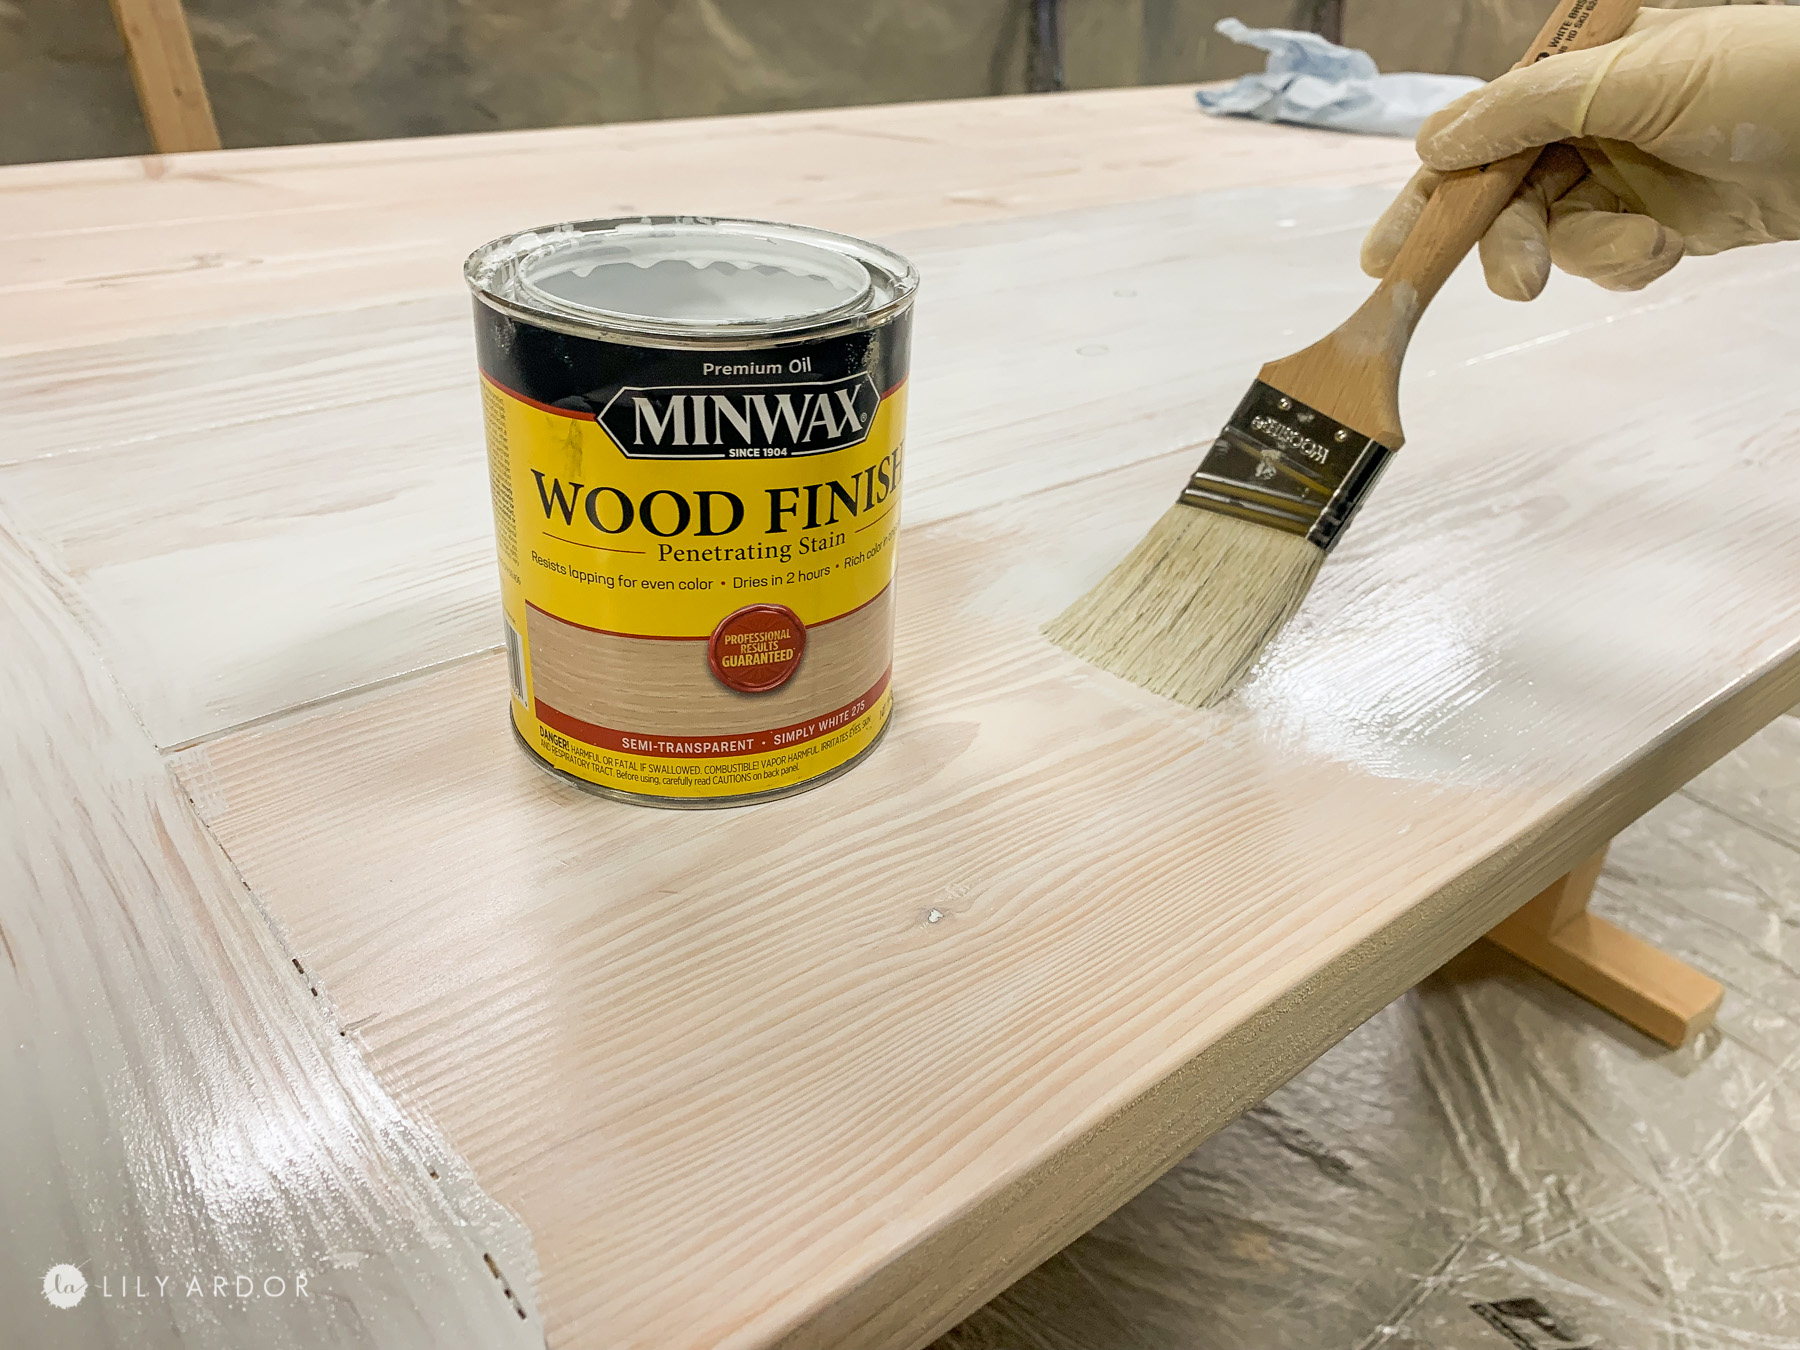
Honestly even after the white stain it was looking good already. I just feel like it was maybe a little on the pinkish side and needed some beige warm tones.
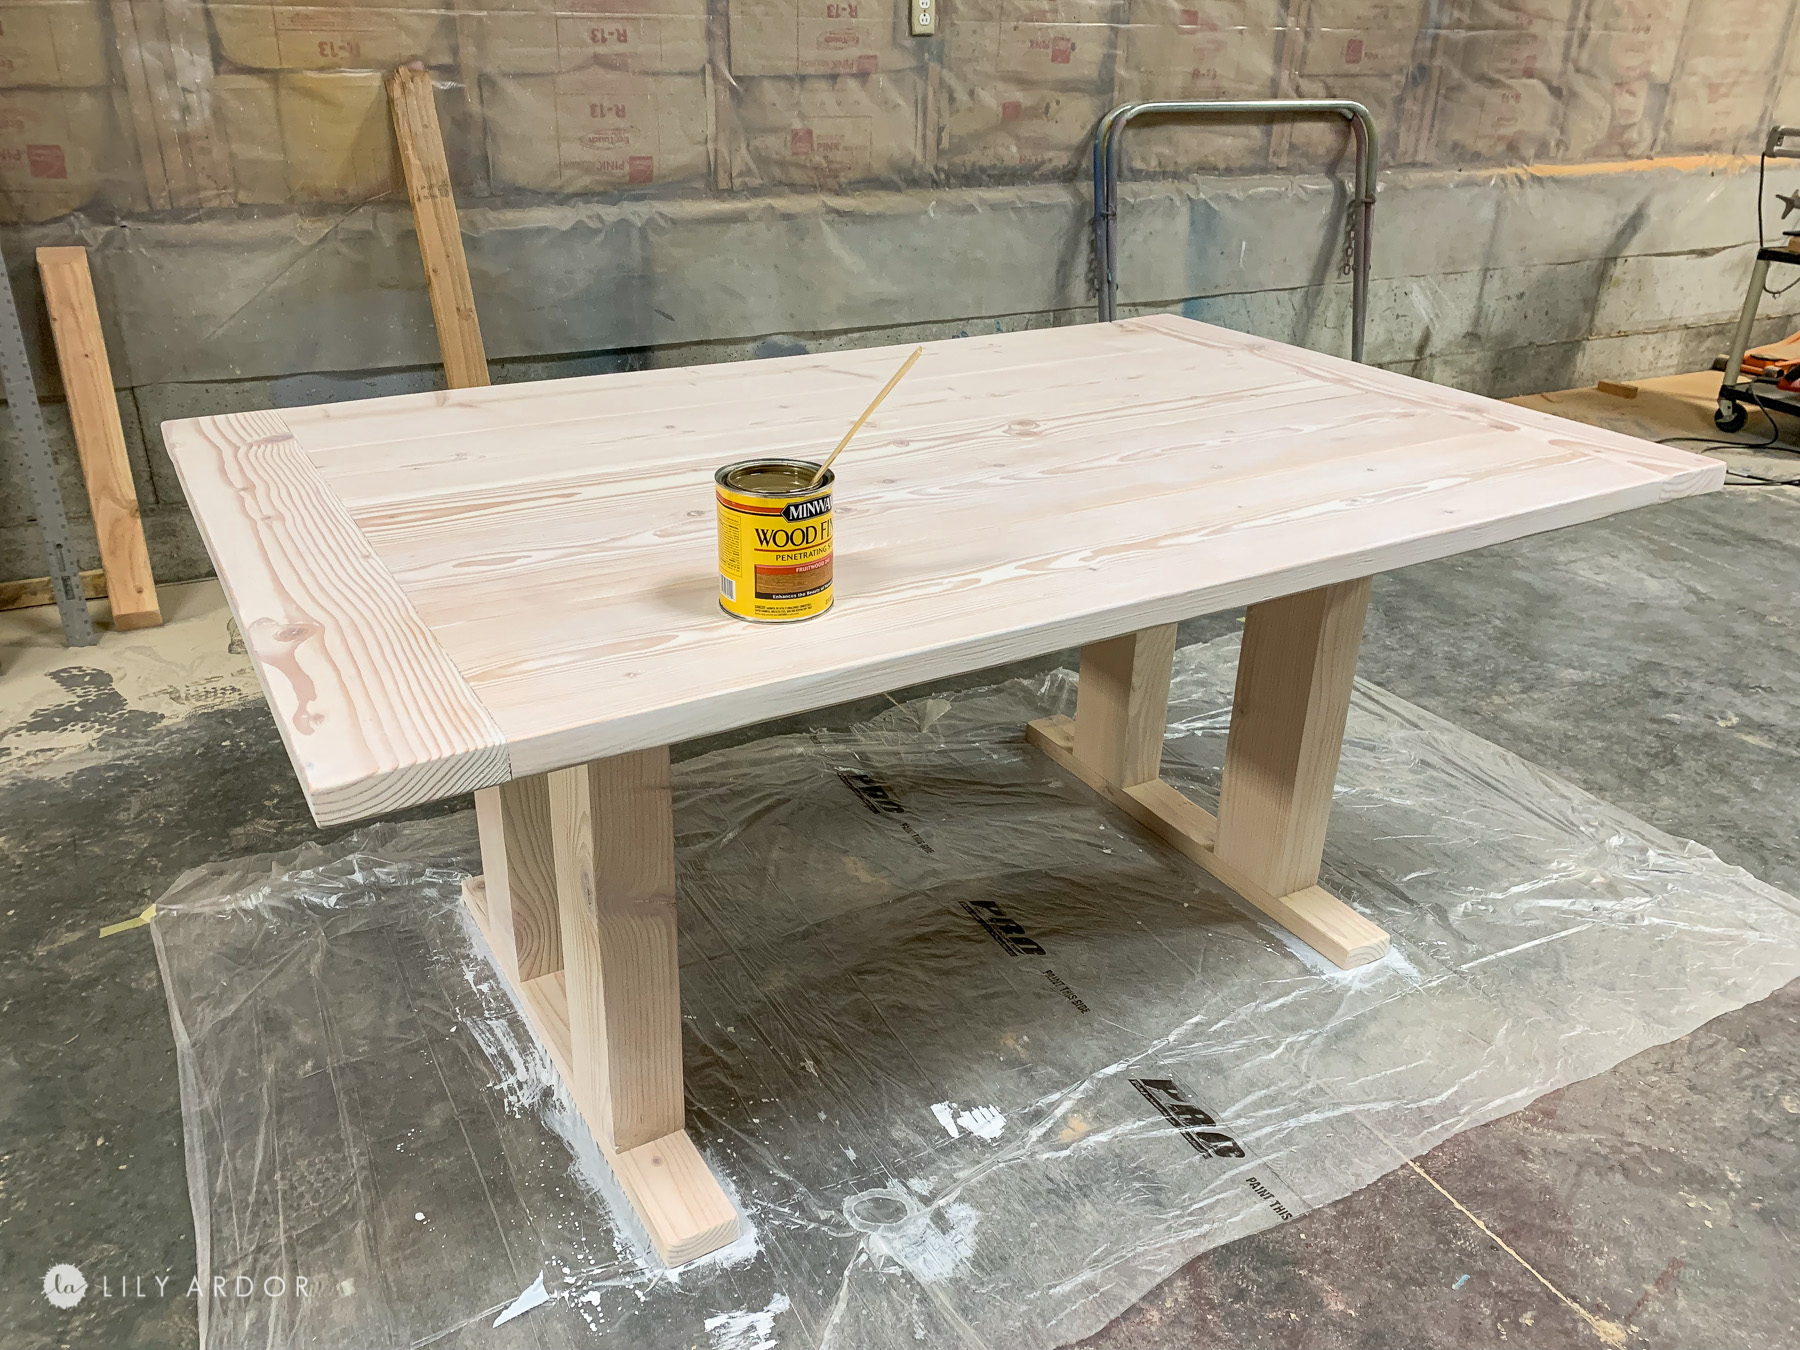
As you can see the yellows and oranges are completely toned down.
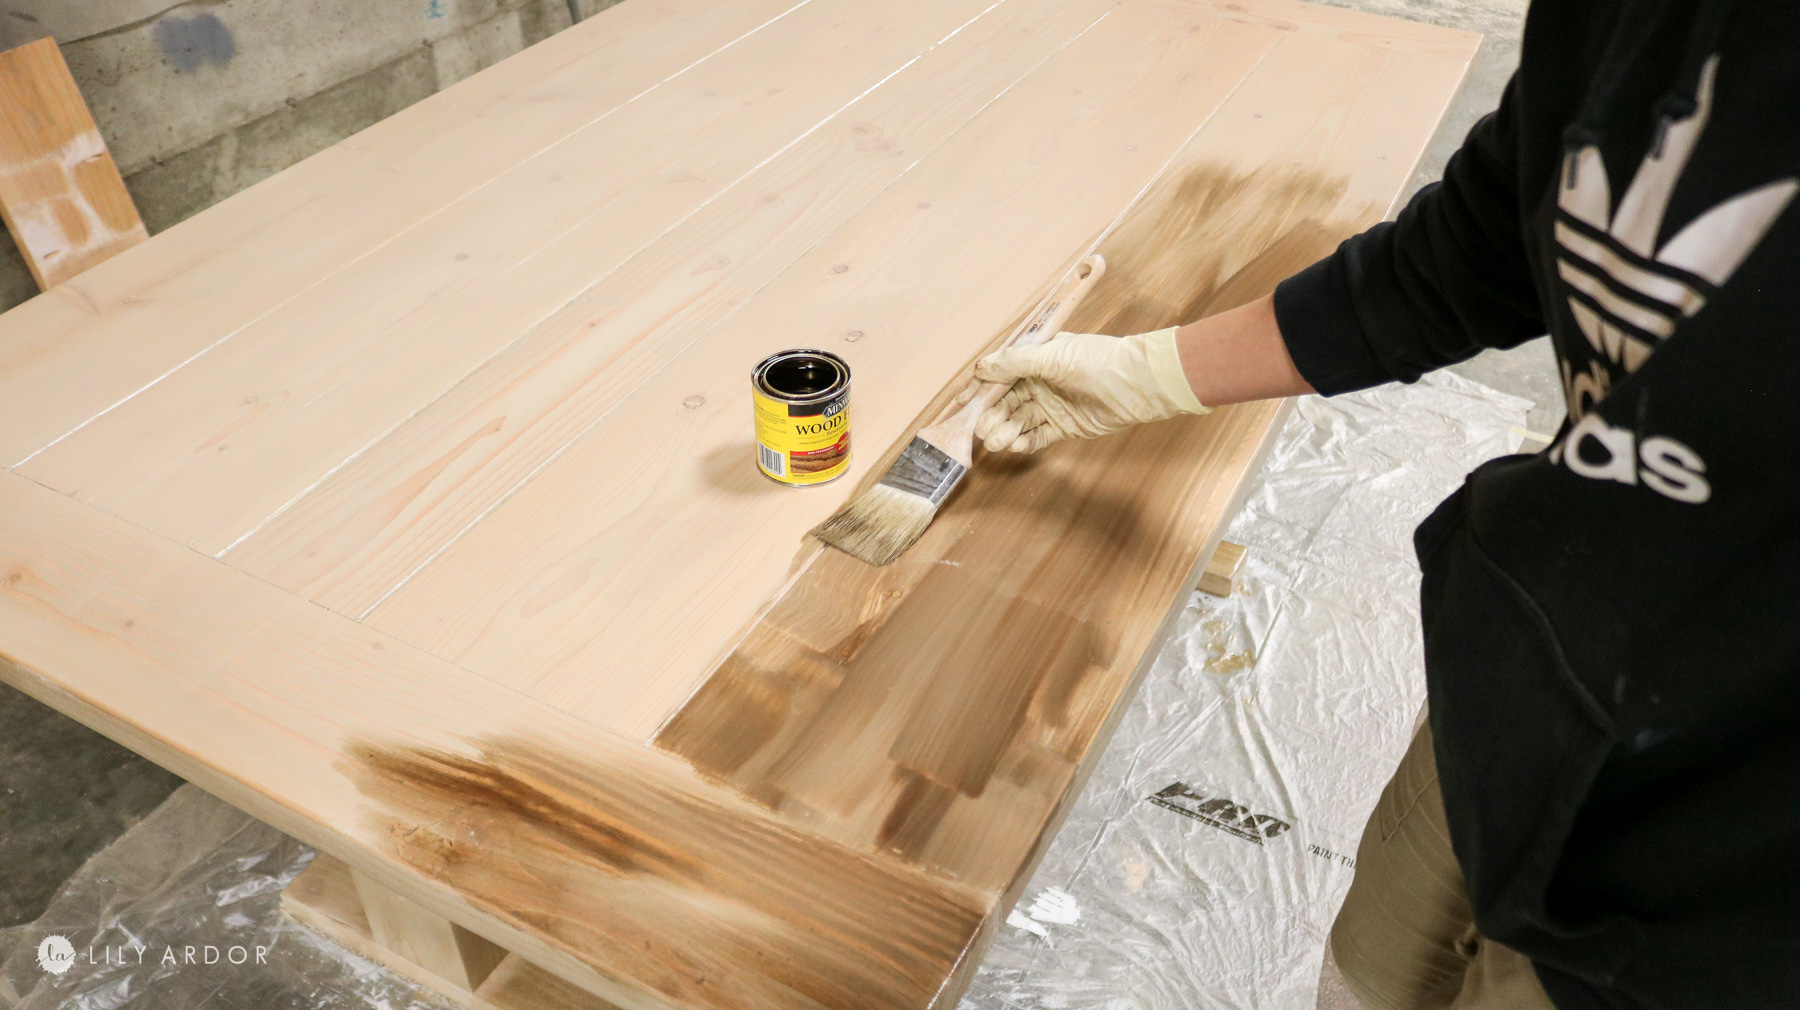
STEP 2: NEXT LAYER OF STAIN!
How long does it take for wood stain to dry?
After wiping the white stain I let it settle into the wood for a few hours. Depending on what look you’re trying to achieve wood stain can take anywhere between 1 hour -24 hours to dry. Because I was simply creating a barrier with the white I didn’t leave it overnight or longer than a few hours. As I still wanted it to mix in a bit with my next stain. I applied the fruitwood stain next. It has somewhat of a greenish undertone and I think this is what gives the wood a grayish stained looked at the end. The greens balance out the reds making it look grey.
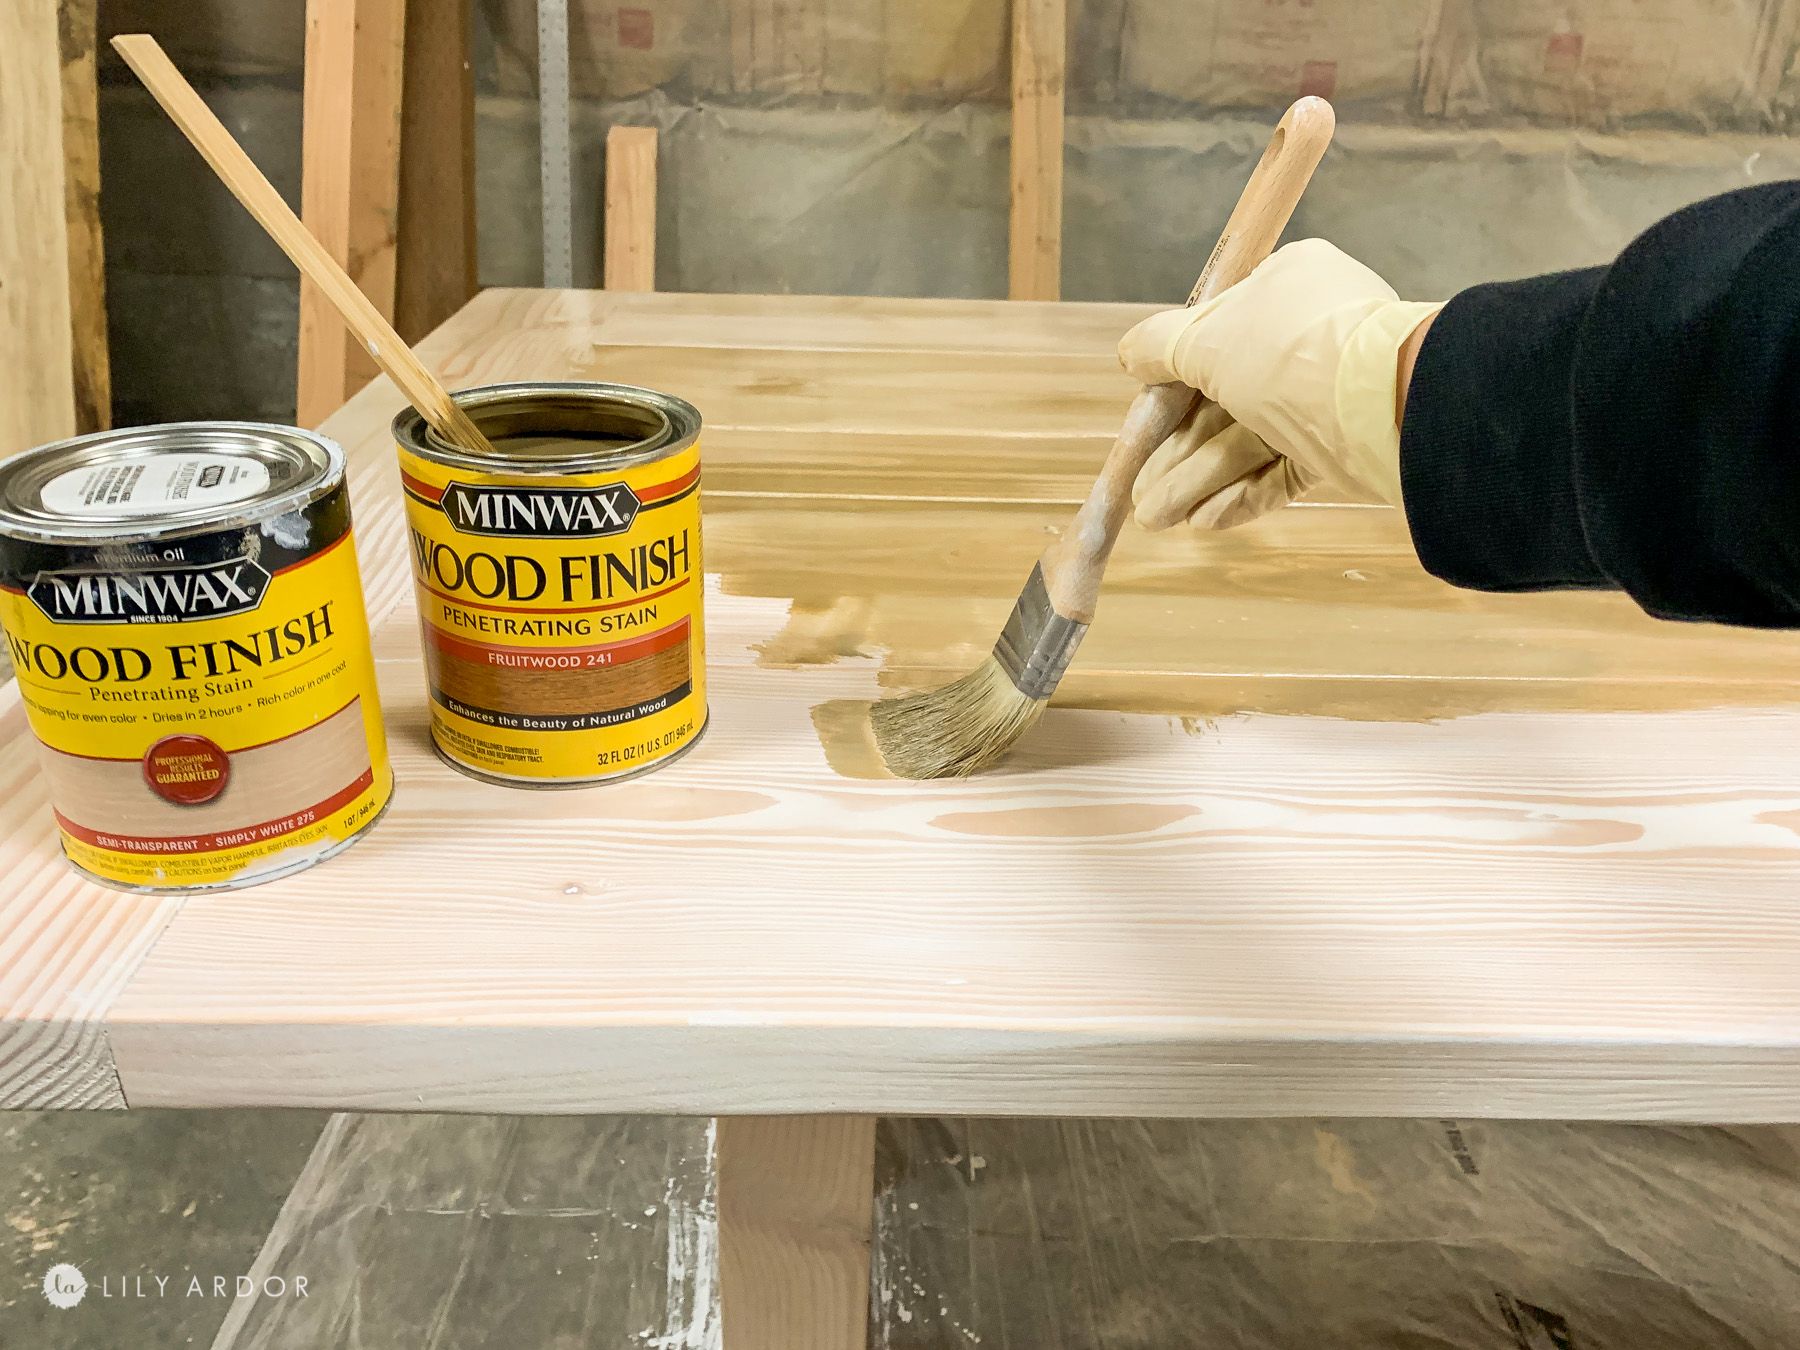
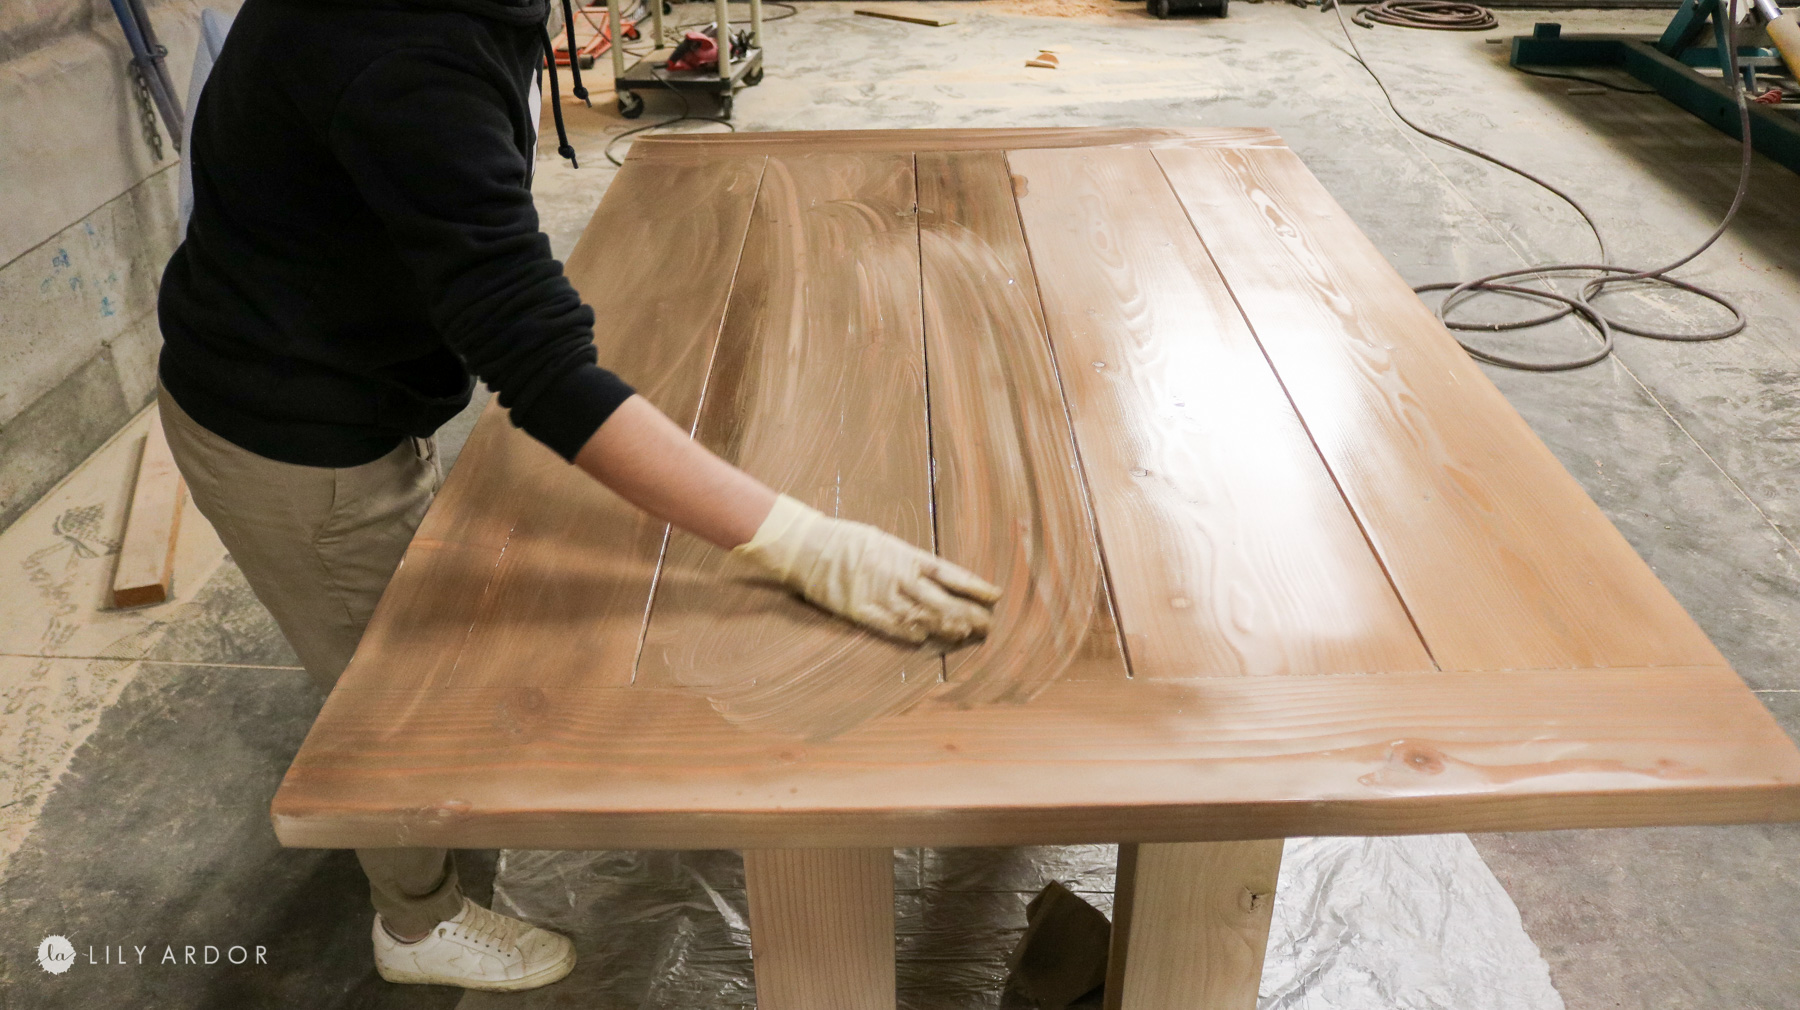
I also applied and wiped it off pretty much right away. I only let it set on the table for about 5 minutes. Do not allow it to start drying. You want to wipe it off while it’s still wet.
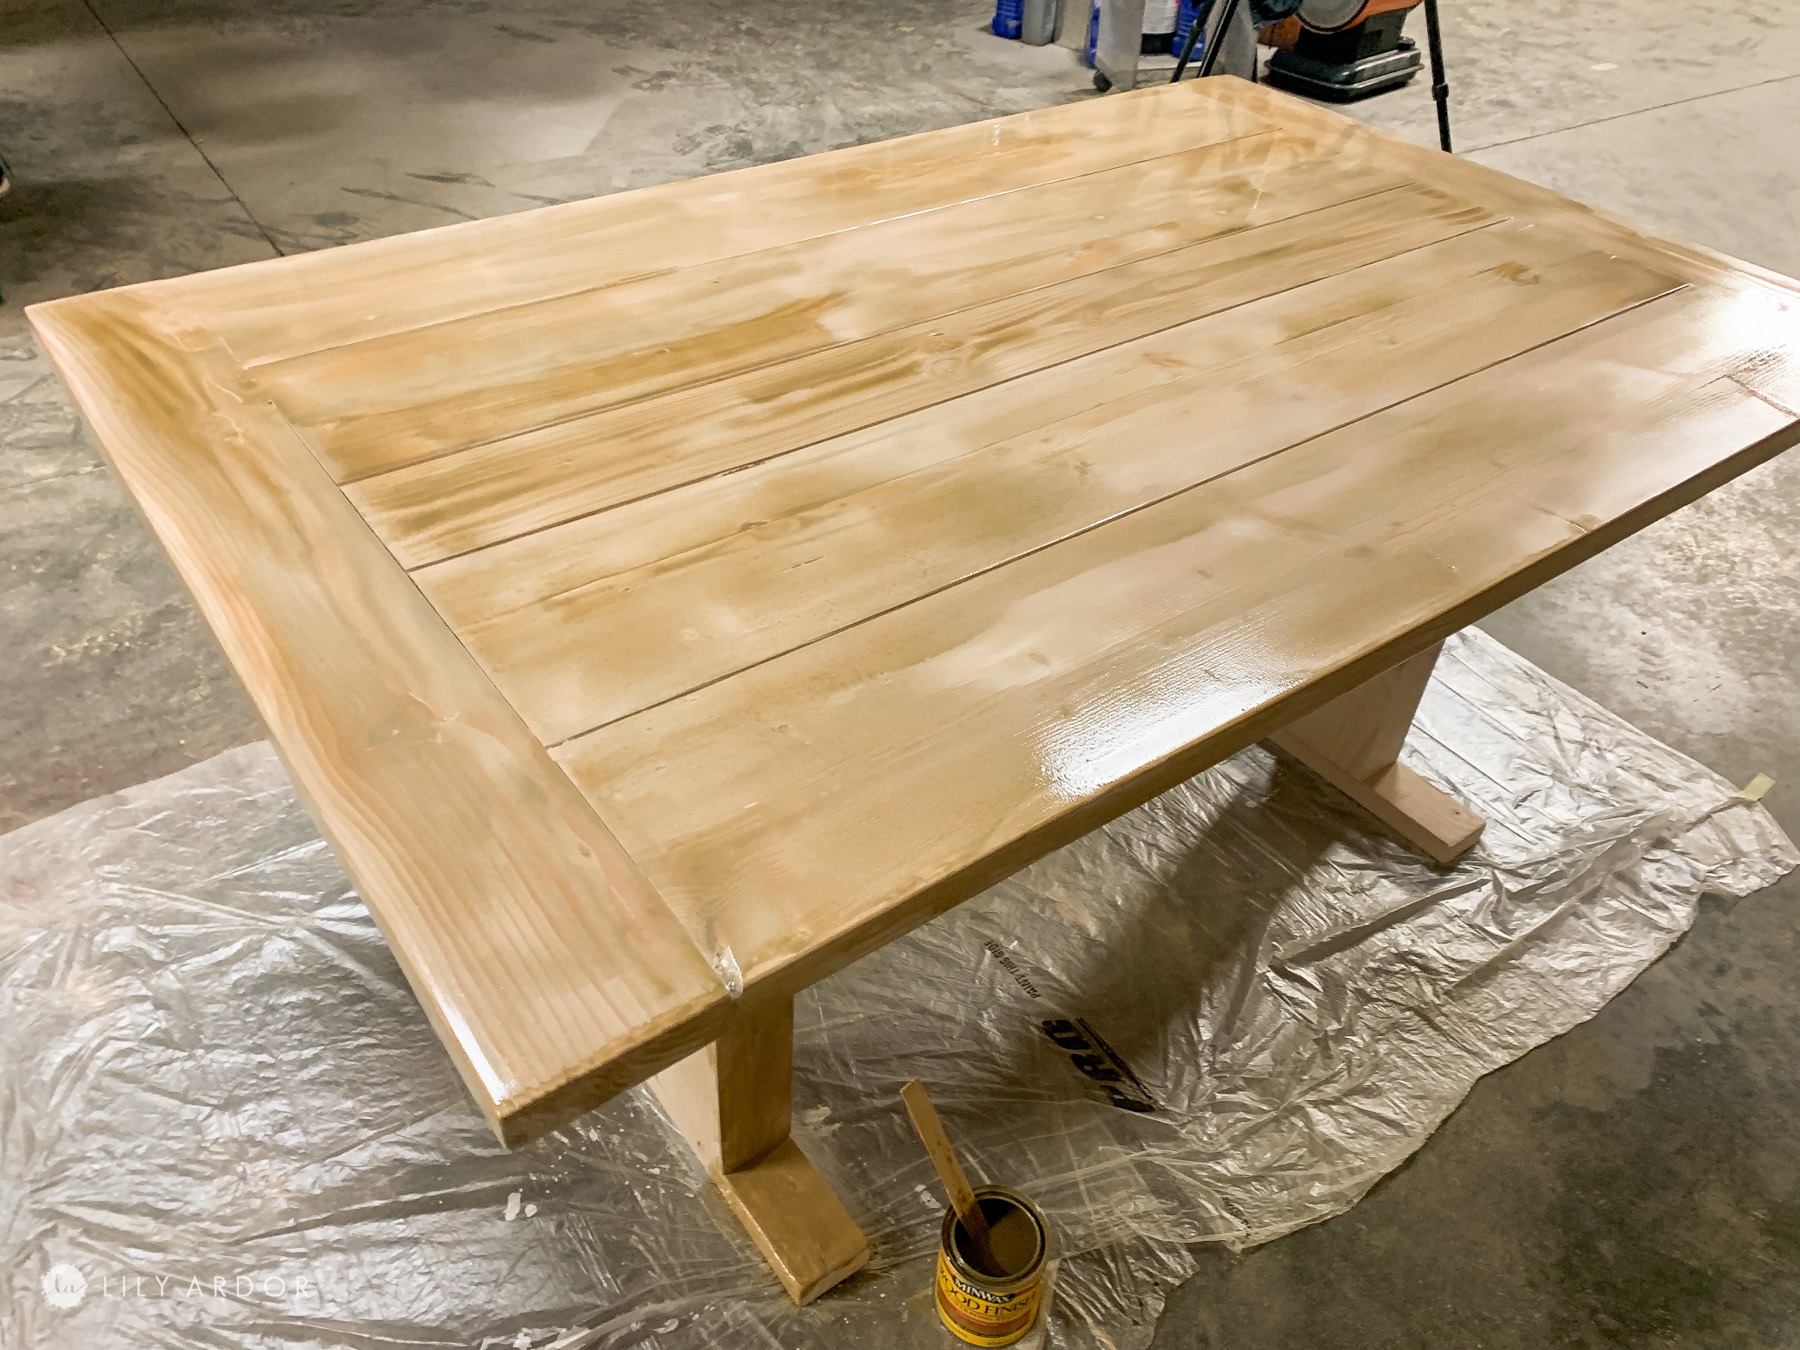
How it looked after applying the fruit wood stain. I was so tempted to leave it this color! That beige hue was perfect but, we agreed it was on the lighter side. We wanted it a bit darker. You can leave it like this if your looking to get that raw wood look.

You might have noticed the fruitwood stain will change color quite a bit before wiping and that’s ok. It’s simply settling into the white stain. Once you wipe it off it should do what it’s intended to do – –tone down the reds even more and bring in those pretty beige hues.
STEP 3: Applying stain #3
For the last stain I went with early american minwax. This was a much darker stain and it almost seems to dark once applied. Keep in mind that the the white and fruitwood stain underneath won’t allow it to stain too dark. You do not need to wait too long after you applying the fruitwood in order to apply the early american stain. I only waited about 1 hour after the fruitwood stain. Once you apply the early american wipe it off immediately. This should be the last step in staining. If you wish to achieve a darker color you can let the stain settle in overnight and apply another coat of early American wiping it off right away as well. That’s what I did.
I should also mention that wood tends to darken overtime. Your stain will darken a bit over the years. I wished I wouldn’t have double coated with the early American at first because even after just a week it seemed like it darkened quite a bit. Once we brought it into the house it looked great though. 🙂 This has become one of my favorite ways to stain wood. In my opinion it’s the best stain for pine wood.
HOW TO SEAL WOOD WHILE KEEPING IT NATURAL!
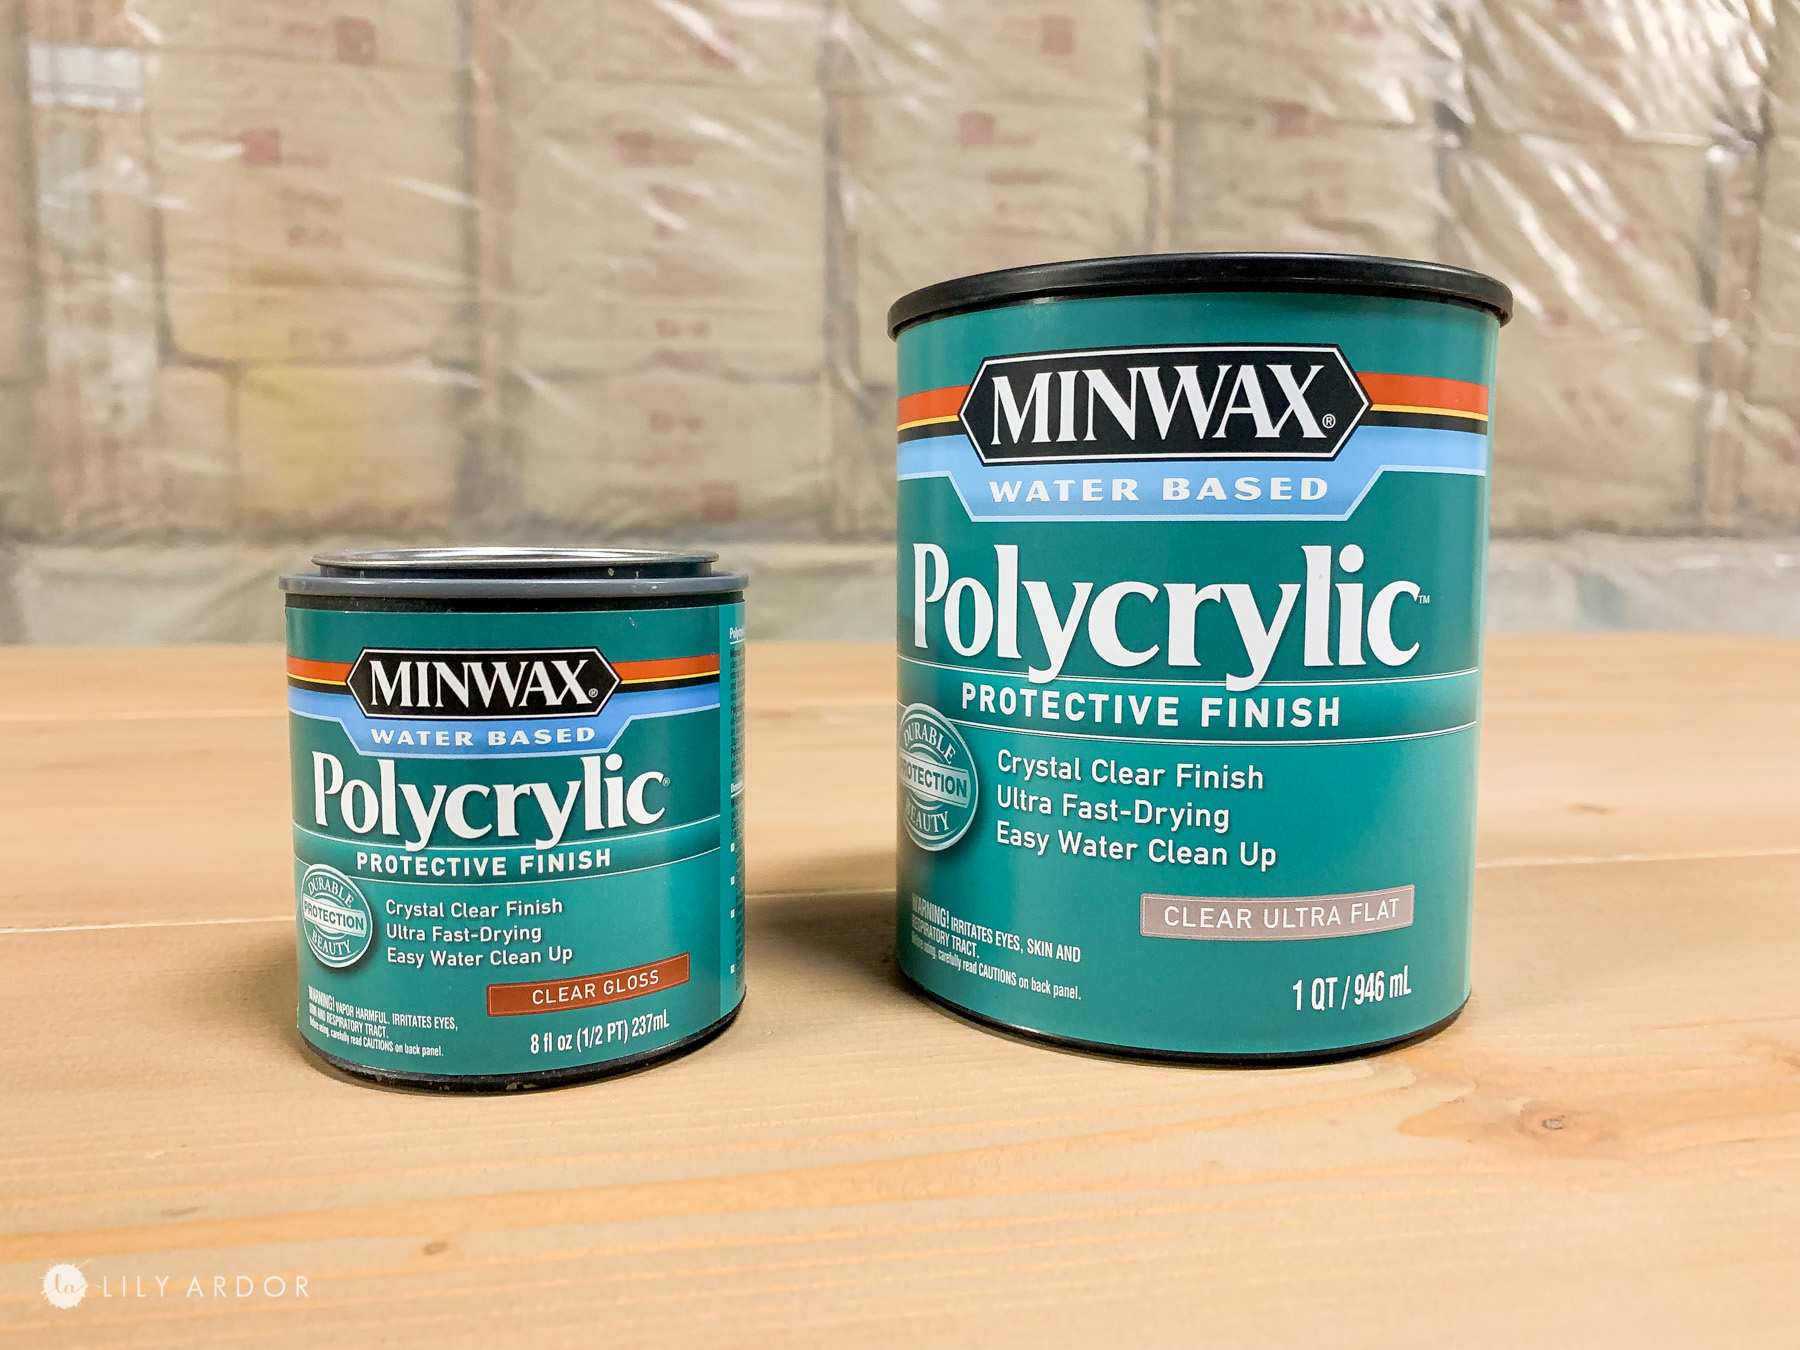
I think it’s super important to use a good sealer. I’ve tried my fair share of bad clear finishes. Some that yellowed overtime or flaked off! All were crossed off this list. I decided to go with my favorite polyclinic water based stain.
If you’re trying to keep your wood natural it’s important to understand you base stain need to be correct. Typically clear stain will always darken the look of your wood even if you apply it on raw wood. If you want your wood to look natural It’s best to create a barrier. That would be using the correct wood stain underneath. Like white for example will help eliminate all the yellows. So you can use the white stain and clear over it and you would get a more natural look. I kind used this method but added more color to bring back some of those warm tones.
HOW TO SEAL YOUR WOOD TABLE MATTE! A TRICK I USE!
Okay so I’ve been using my 2 step clear finish method for a few years now and it hasn’t let me down. I love my wood to have that matte/satin look yet still be 100% waterproof. The trick is to first apply the gloss clear finish and let it completely dry overnight. The next day score it a bit with a scotch pad and apply the matte finish clear over it . You can do two coats of the matte if you’d like. That’s it! The gloss keeps the water out while the matte gives you a modern look! I love this trick!
Here’s how the table looks. I’m so in love with how simple it looks.
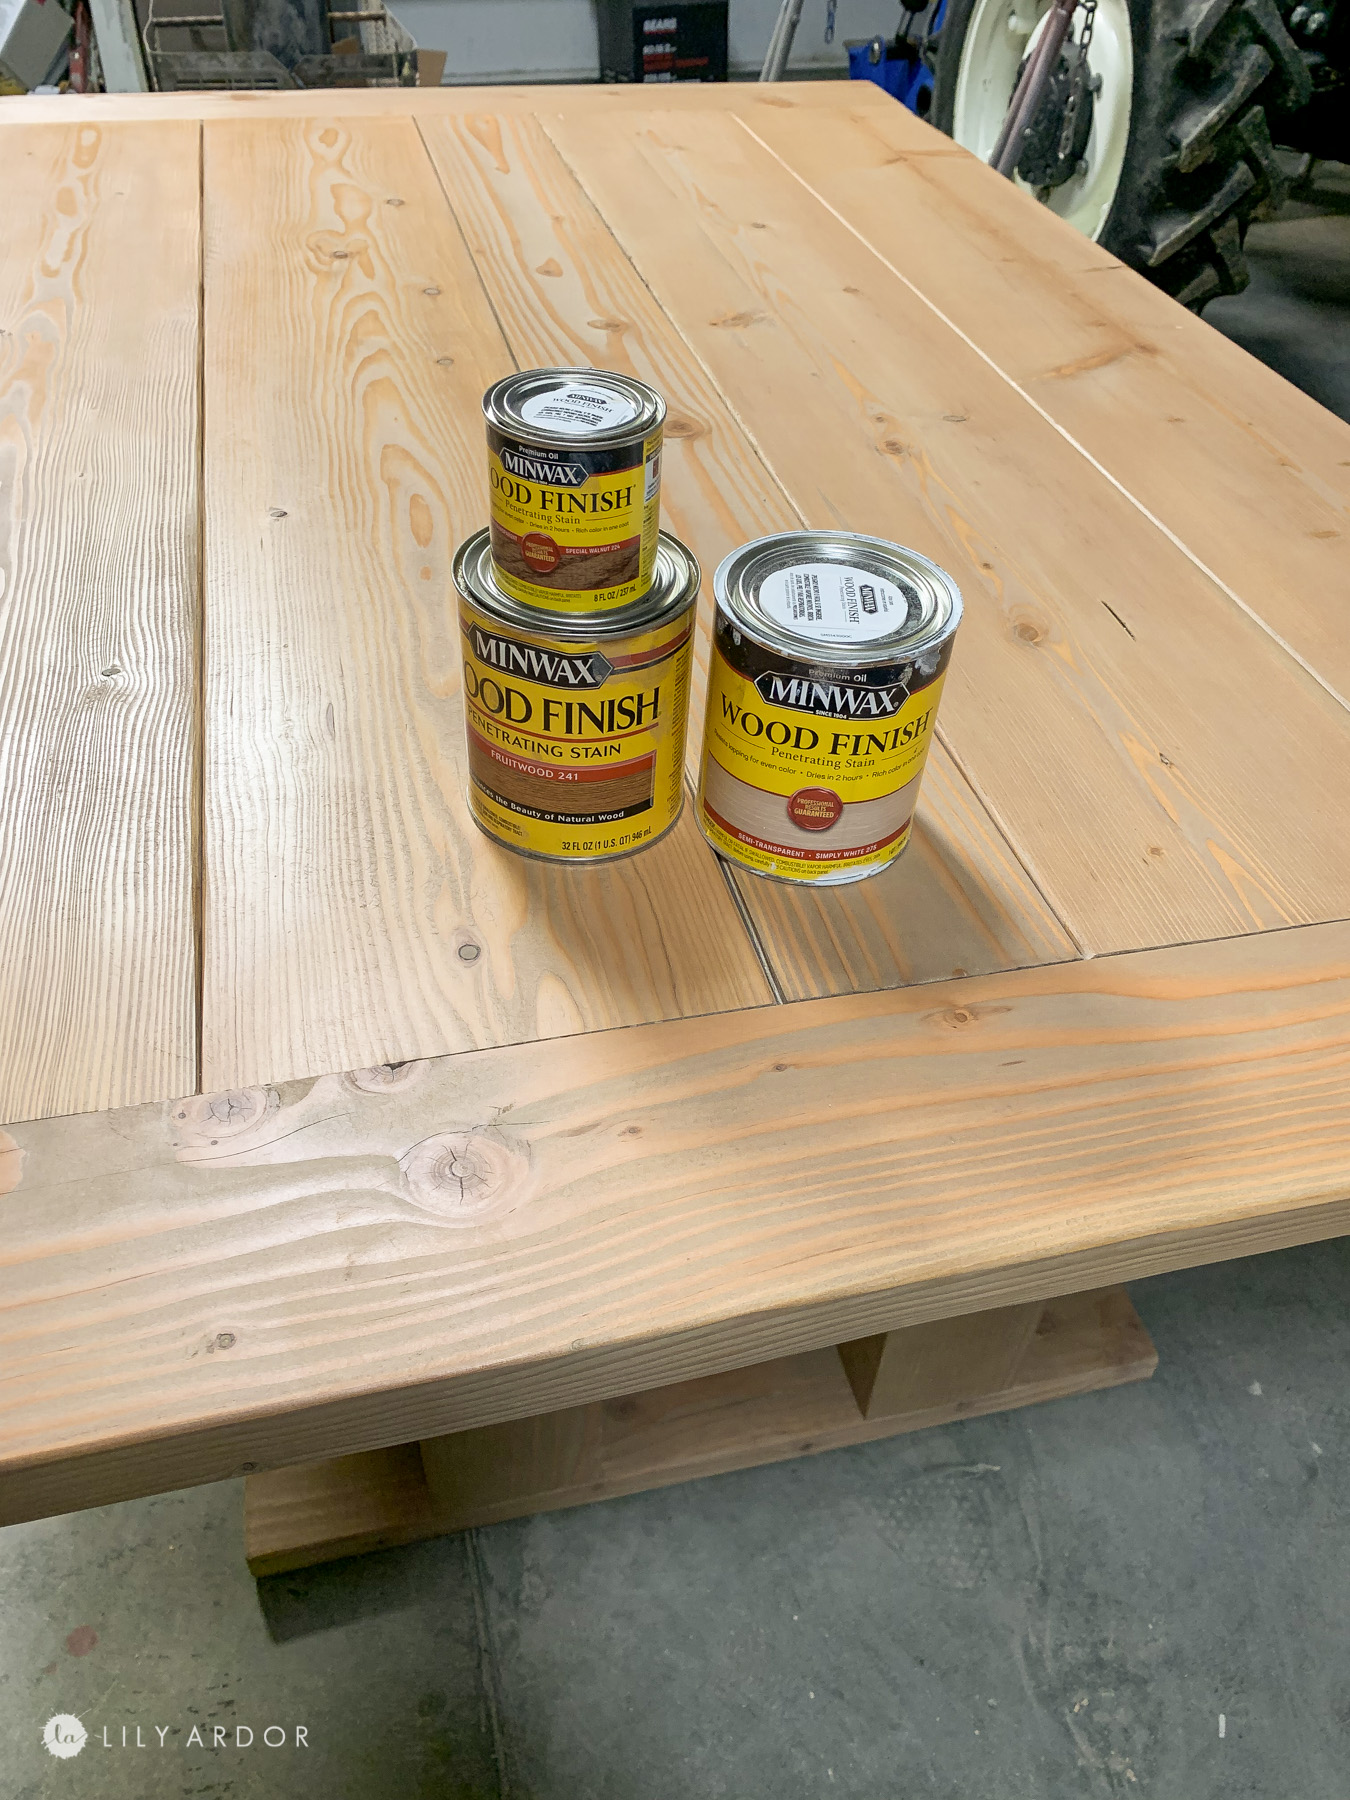
Here’s all the products we used
Other’s DIY you might like!
I have a small pine unfinished hutch for my kitchen. I am going to try your method. I hope I get a good as a result. Are you using just your gloved hand to apply the last stain color?
And is the white stain in the beginning instead of using a wood conditioner which is recommended for pine especially?
Thank you,
Hi Donna, I hope you hutch turns out perfect! I used a paper towel to apply all stain. It just looks like just my glove in the photo. Sorry. I’ve actually never used a wood conditioner but I would assume it goes on before any stain.
hey thank you so much this is so detailed And helpful. What do you mean by score it? So you put the gloss on to make it waterproof and then you said score it before putting on the mat flat coat on top but I don’t understand what that means. Thank you
Glad you liked it. When I say score it I mean use a scoring pad to rough it up a bit. Or in other words sand it with a scoring pad.
Can you please confirm the dark color used? The can shows special walnut but in your description it says early american.
I’m pretty sure it was early American not sure why I photographed special walnut
Heres a trick I use that works very well. First, I have an early 1920s American Foursquare and all of the wood trim is vertical grain douglas fir. I have done a lot of remodeling and spent several days experimenting to match the color of the old woodwork. Some of the wood that I was using was new, some was from the house but stripped of white paint someone used in the 70s or 80s.
So, the secret is to mix your poly and oil stain together. In my case I use a mixture of 4 different oil stains + a really good oil poly + mineral spirits to cut the thickness of the poly.
Each coat goes on even so there is no blotching. I use a lint free rag, folded, to apply and I dont wipe it off after. After it dries, I lightly sand using either 150 or 180 grit paper. Because you’ve already closed the pores, you could even go higher depending on the sheen you’re looking for. In my case, 3 coats of the mix Im using gives me exactly the color I want. I finish with 2 more coats of the same oil poly used in the mix, but also thin it with mineral spirits and apply with a lint free rag folded.
And thats it!
Now, I didn’t exactly stumble onto this solution. I did some homework and read finishing guides for homes of my era and type. Many of these homes where kit homes and the stain could be ordered with the home. And what was being sold with them was colored varnish. Even the old timers didn’t stain and then top coat doug fir. The color and topcoat were combined. In my case I couldn’t find a premixed varnish that matched, and I use oil and poly regularly, so I essentially made my own wipe on colored poly mix that is very similar to varnish.
Hello, did you use pine wood or douglas fir? I think they are different.
They are different. Just realized that after googling. I’m pretty sure the wood we used was douglas because it had a lot of red tones in it.
Hi, do you remember what grit you used to sand the Douglas fir? I tried this method and it didn’t give me the results you got – didn’t pull much color when applying the fruitwood and had a light orange/red color, but thinking it’s because I didn’t sand it enough. My goal is to get the result of the picture you had when applying just the white base and then the fruitwood, so I’m leaving out the third step of applying the darker stain. Thanks!
From what I remember I think we used 220 grit sand paper. Have you tried maybe applying the white twice. Hoping maybe that might neutralize the reds. And maybe two coats of fruit wood the greens in it should also counter act for the reds. Not sure why it’s not doing that. I wonder if it could be a douglas fir that has more red tones in it then the one I had.
We have built a timber framed home out of reclaimed Douglas Fir, we have large beams and columns, along with a full ceiling of tongue and grove, and joists all from the same wood. The wood is rough sawn and looks like the picture of your old table, all different shades, etc., of blonde, red and orange huges….. How do I get it to be brown or tan? I have pictures of the color I would like…. Can you help?
Hi Denise, Sure do you have instagram. send me photos on instagram @lilyardor . I’ll try and help you.