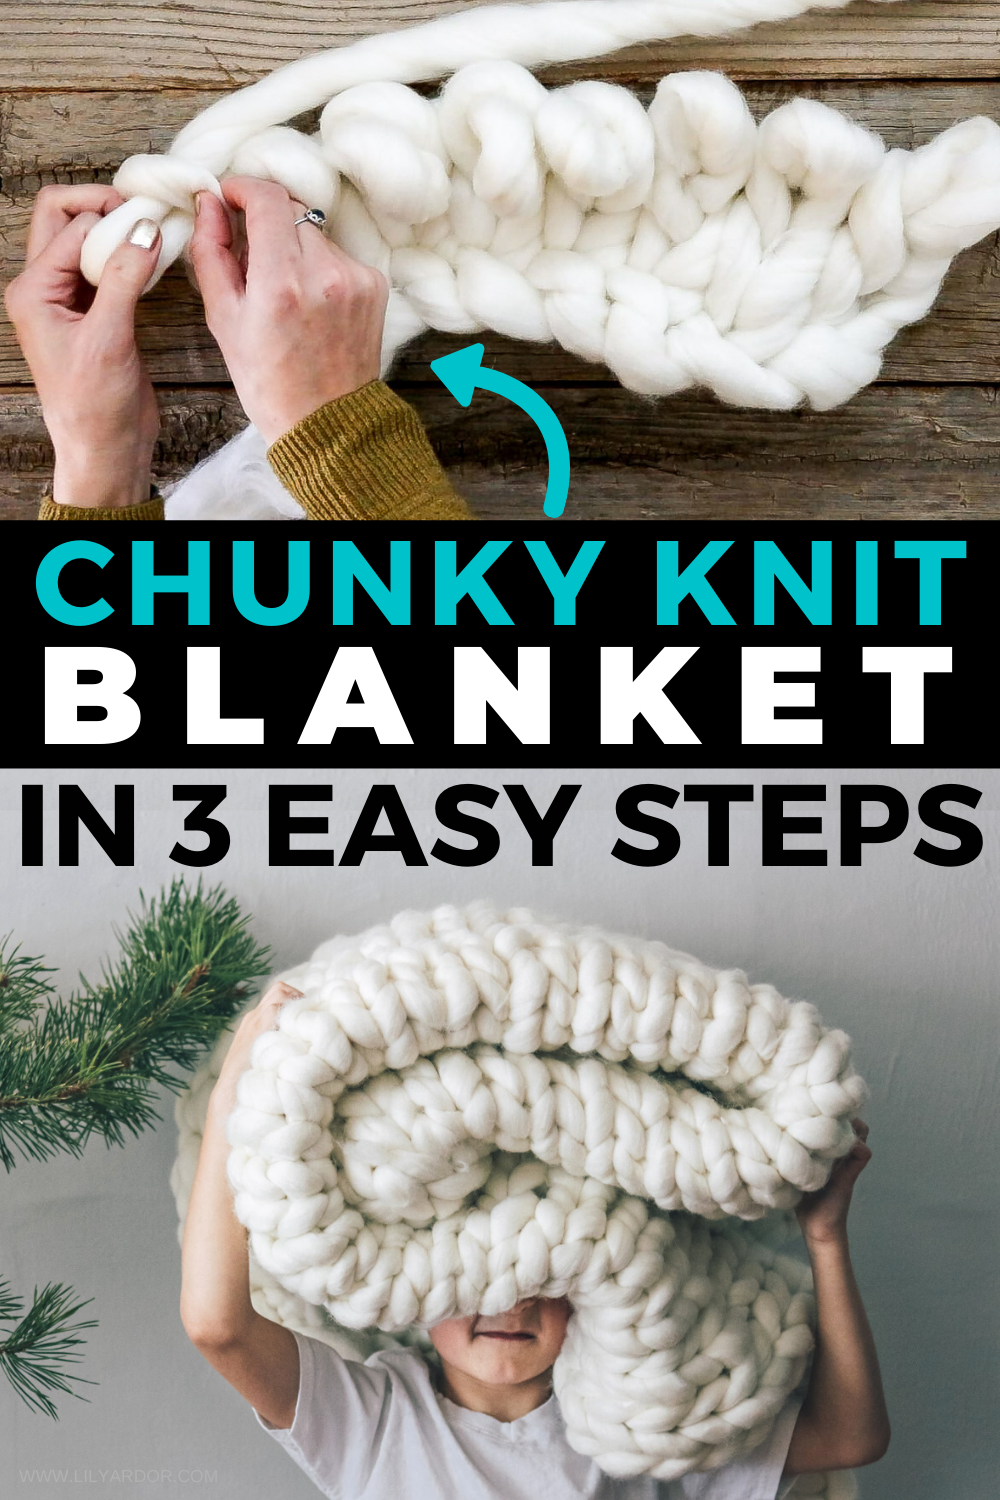
Chunky Knit Blanket DIY
The chunky knit blankets have been all the rage and the moment I saw one I knew I wanted it!! Seeing as this was a year ago believe it or not, they were priced at $300-$600 a blanket. How crazy is that!! I set out to make one and, the first youtube tutorial I came across was a bit overwhelming. I don’t really know how to knit so making the needles and learning how to knit seemed a bit much! Plus it’s not like the yarn is cheap. Even with a huge discount the cheapest I’ve gotten it for was $18 a ball of yarn. I decided to make it worth my time and money so I figured out a way to make this blanket in three easy steps.
Keep in mind now that these blankets have been trending for quite a while you can find them around a lot cheaper but, not all of them will have the same thickness of chunky knit and, not all of them will be of the best quality. That’s why I’ve decided to make my own granted you can find them for about the same price as the cost of yarn. Oh and guess what, once you learn this technique you’ll have endless possibilities.. Chunky knit holiday wreaths, throw pillows and much more.. 😀 😀 Be creative with it and have fun!
How much yarn do you need?
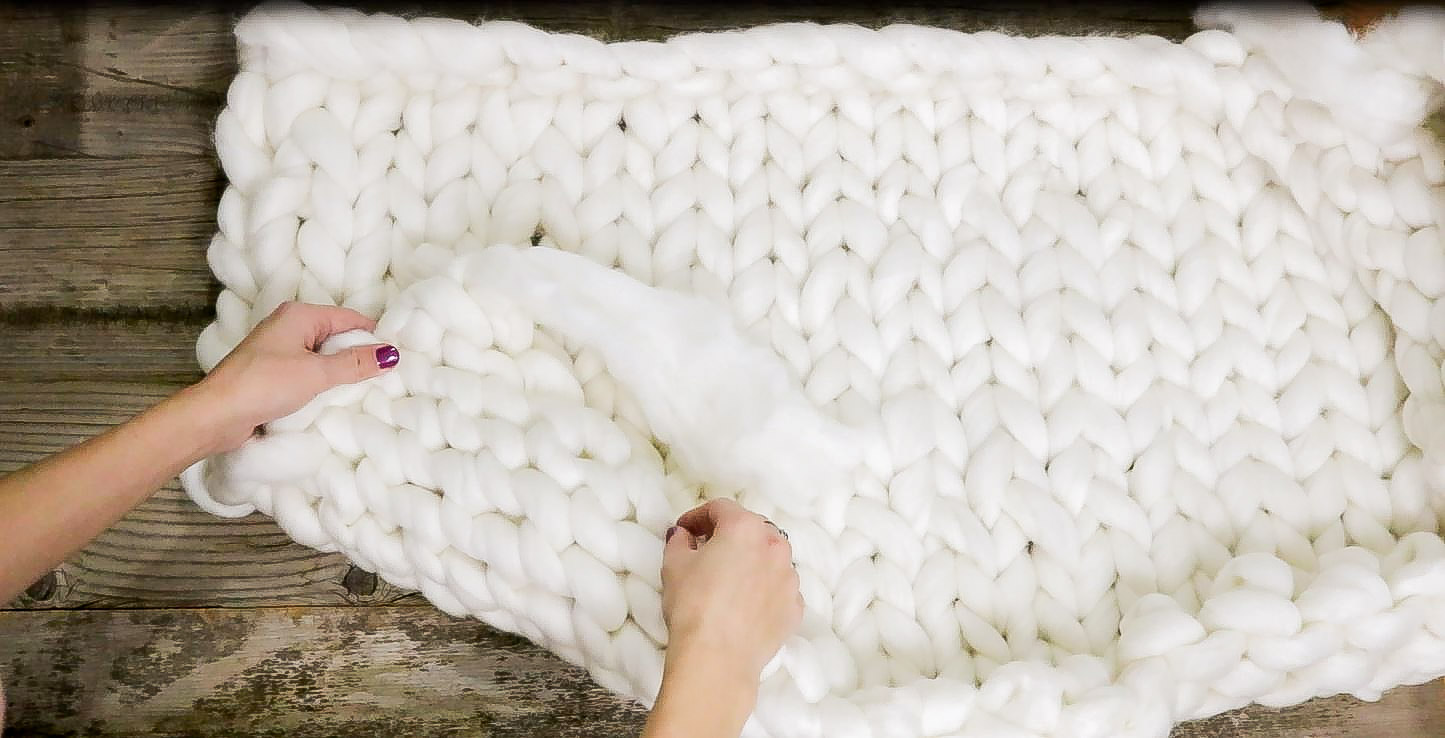
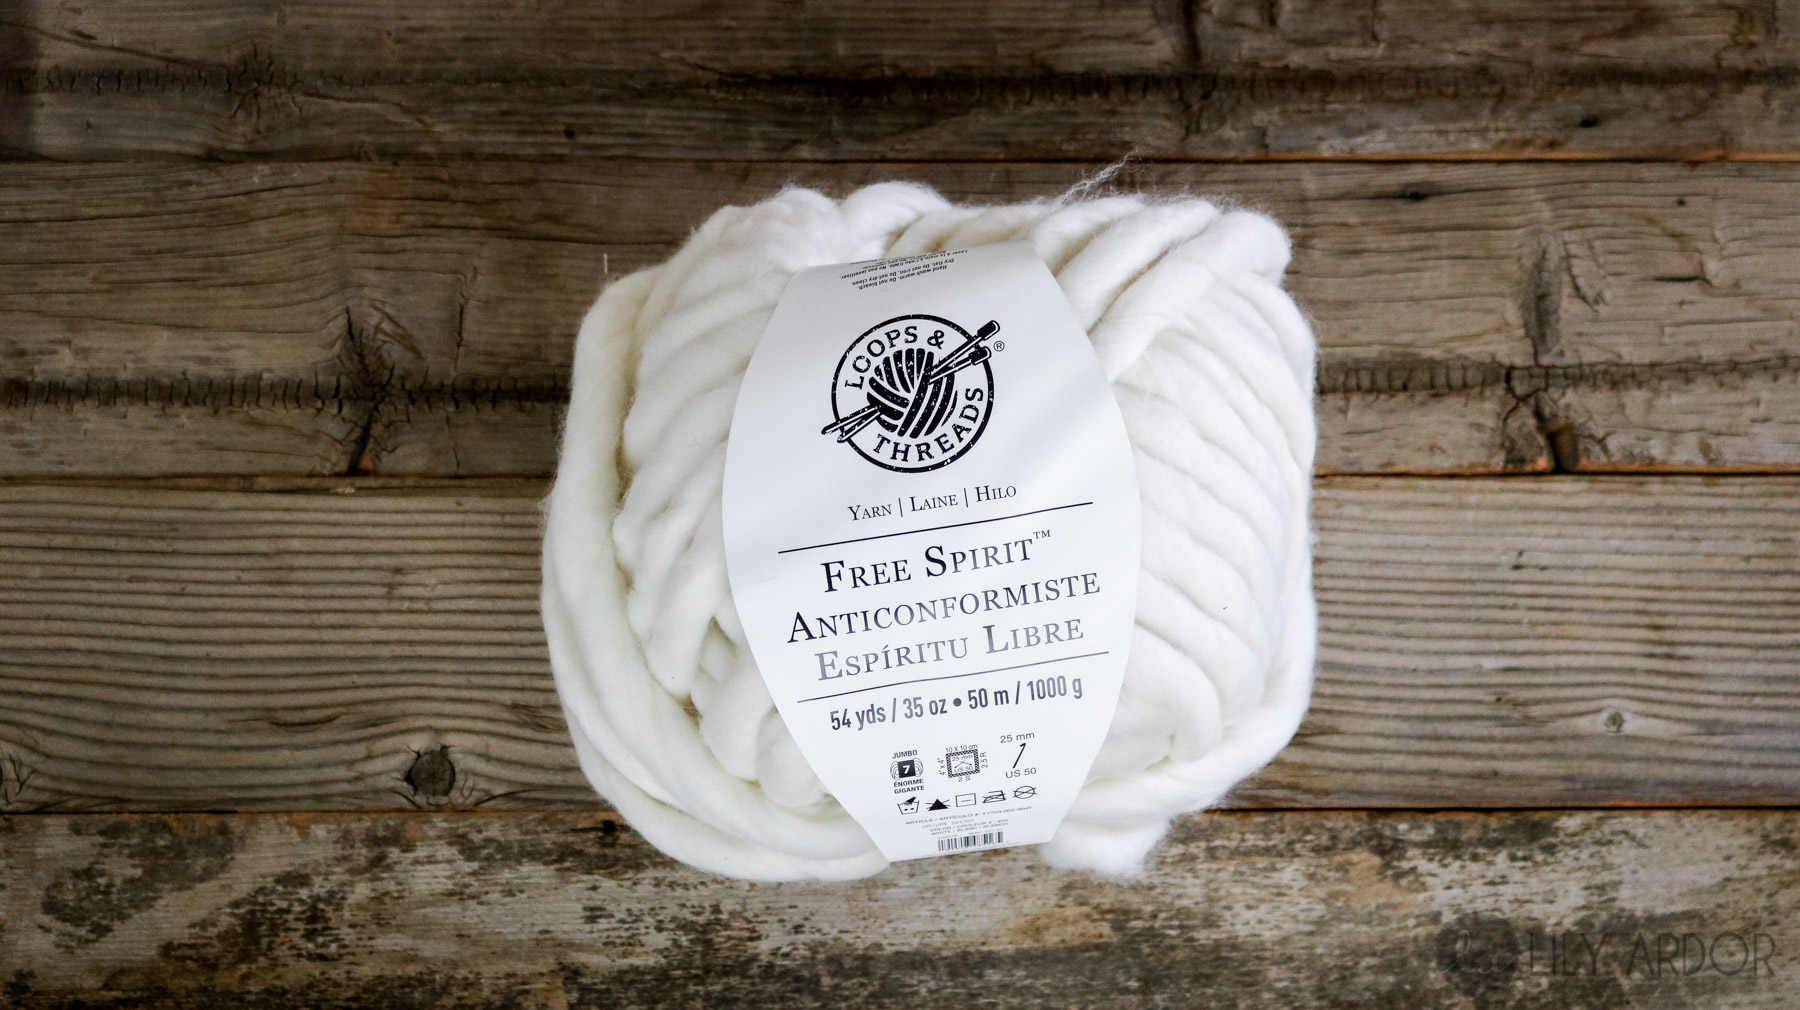
You’ll need more then you think.. I made 3 trips to the store before I realized that a little doesn’t go a long way with this chunky knit situation! For my chunky knit blanket I used 3 skeins of yarn. They each weigh 35oz and had 54 yards. The thickness of the yarn was 50m. Photo about shows how it looked after two skeins of yarn. Can you believe that? It was only about 2.5 feet in height! Awkward size!! The width of my blanket was a few inches shorter the the width of a queen bed. I wanted it to be big enough to go over our feet at the base of our bed. (Image below shows what yarn i used)
Follow Three Easy Steps
You will not need jumbo knitting needles or your arm to knit. I’ll show you how to make this blanket crochet style but, instead of using hooks you’ll use your fingers. There are three main steps to this process. Once you get them down you should have your blanket done within a few hours. Yes that quick! This isn’t like knitting a sweater where it takes you weeks or days. Those loops add up quick. (note: these photo instructions show a mini version of the blanket…Up-size as you wish)
Step 1
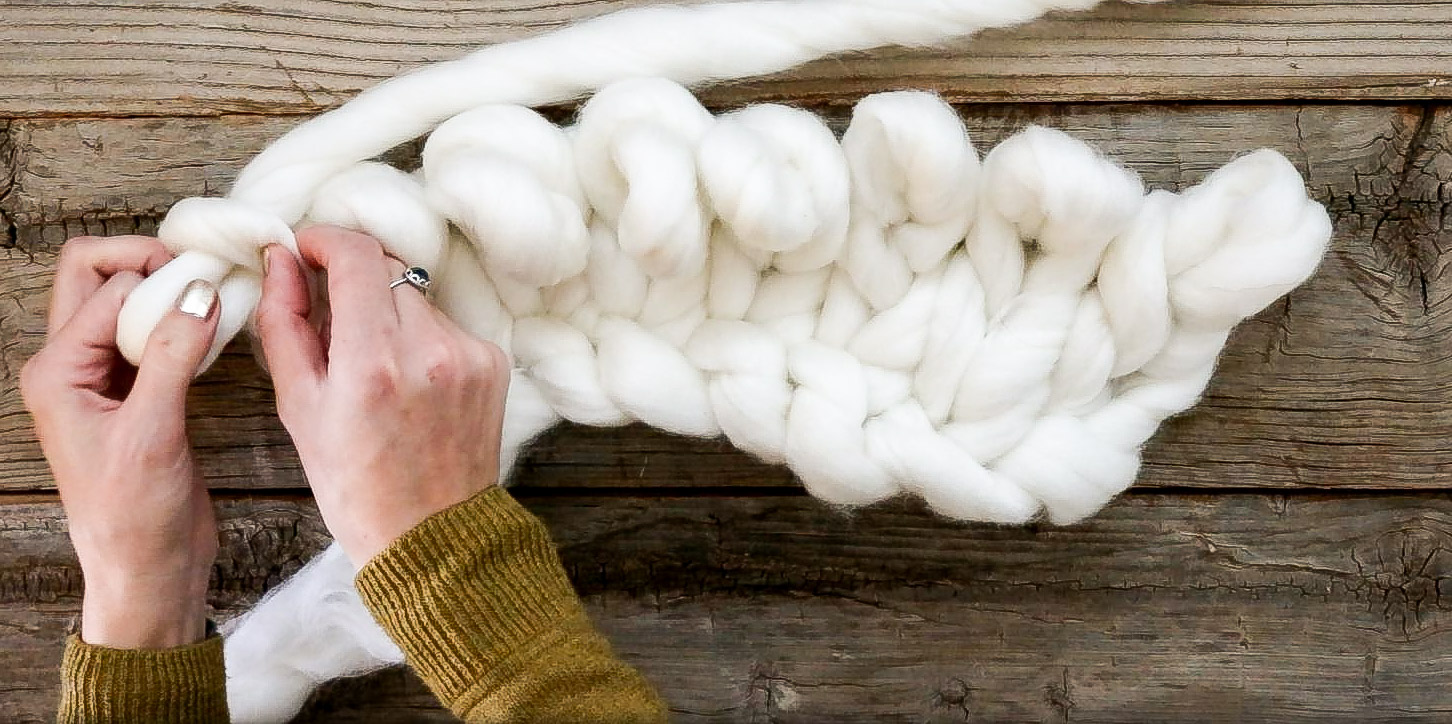
Step one is the beginning of all loops. To begin, you’re going to need to make a loop out of your yarn. Just like pictured below. 😀
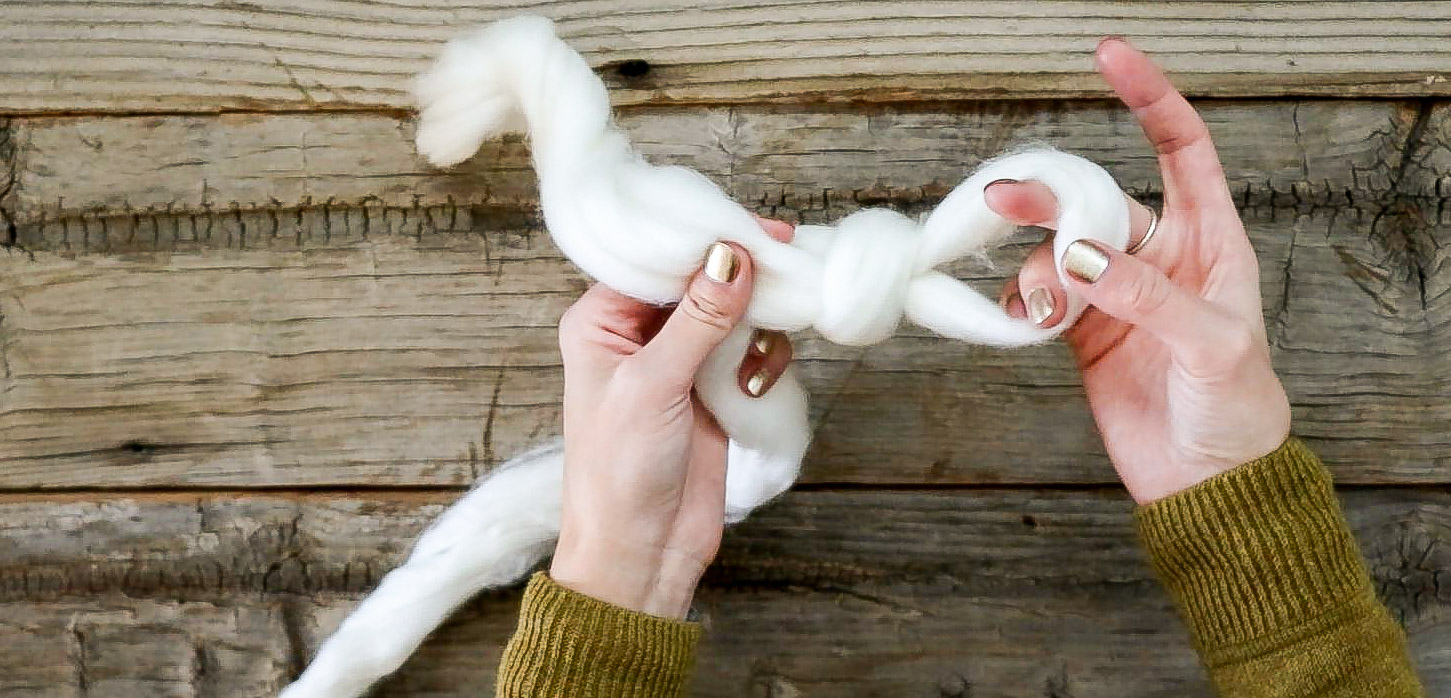
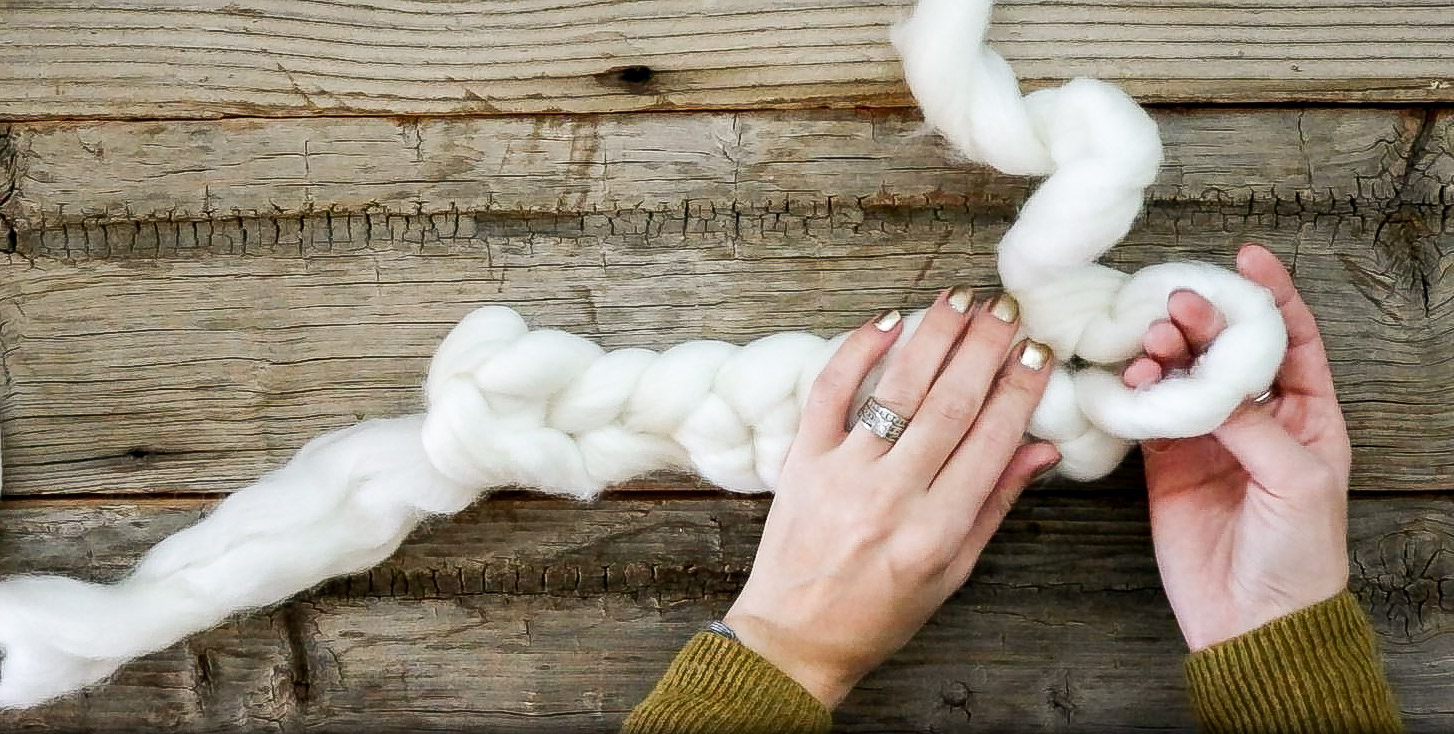
Once you have your first loop, your going to keep making loops by sticking your hand in the loop and pulling through yarn to create a new loop. Keep in mind the new yarn you’ll pulling through to make each loop needs to be from you ball of yarn. (notice my tail is left alone) Don’t worry about the tail it’ll get covered. Eventually your loops should start looking kind of like a braid. The amount of loops will determine the width of your blanket. I did a total of 30 loops. (note:these photo instructions will not be showing 30 loops… I downsized to help you understand the instructions more) You don’t need to do 30 loops. It’s up to you what size you want.
Step 2
Once you have your braid at the length you want your blanket, you’ll need to take your yarn and lay it straight across the top going back the other direction from which you were braiding (looping) .
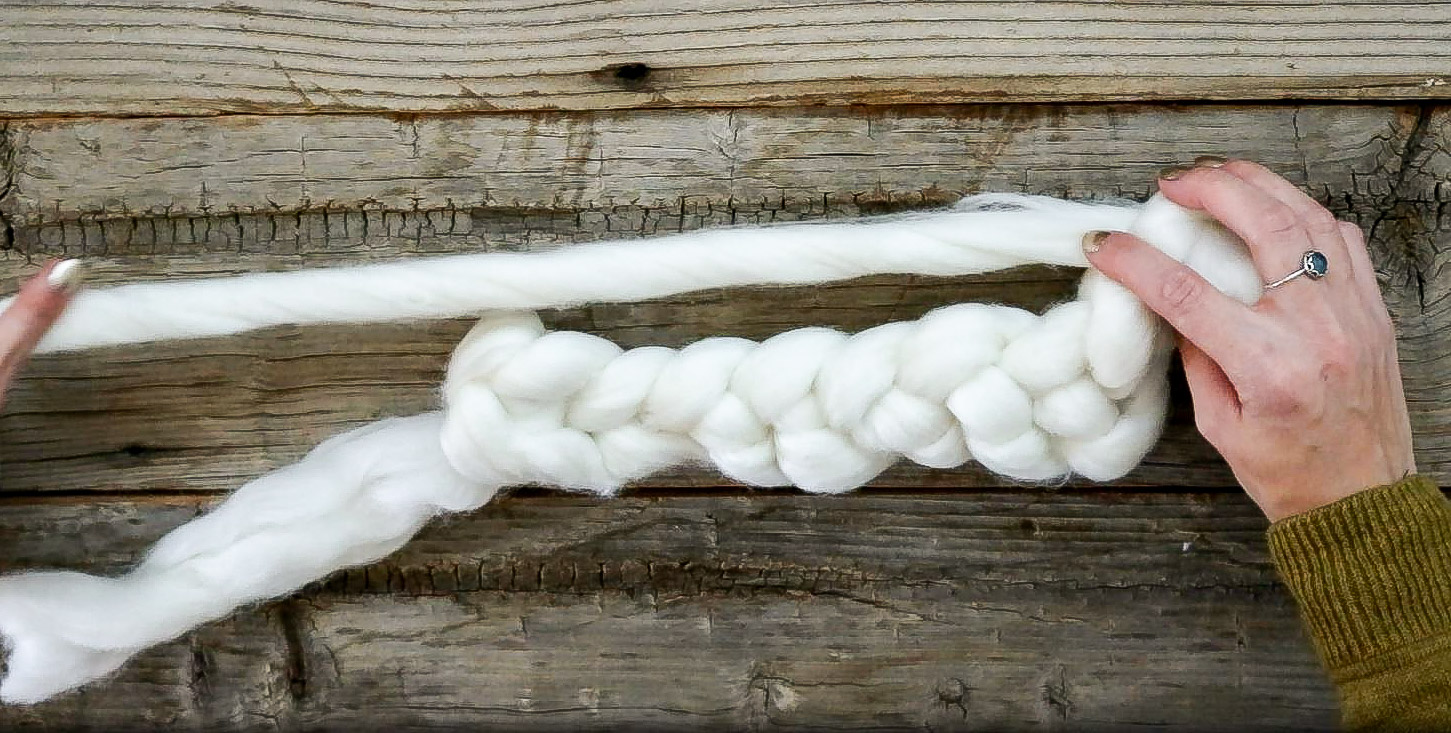
And then simply start pulling through more loops. Use the top half of you braid to stick your fingers through and pull out the loops.
Then all you need to do is keep making rows of loops. Every time you finish a row turn around and go back making another row. (still confused? check out the video) (note: if you miss a loop your blanket will fall apart…so make sure not to miss a loop.)
Step 3
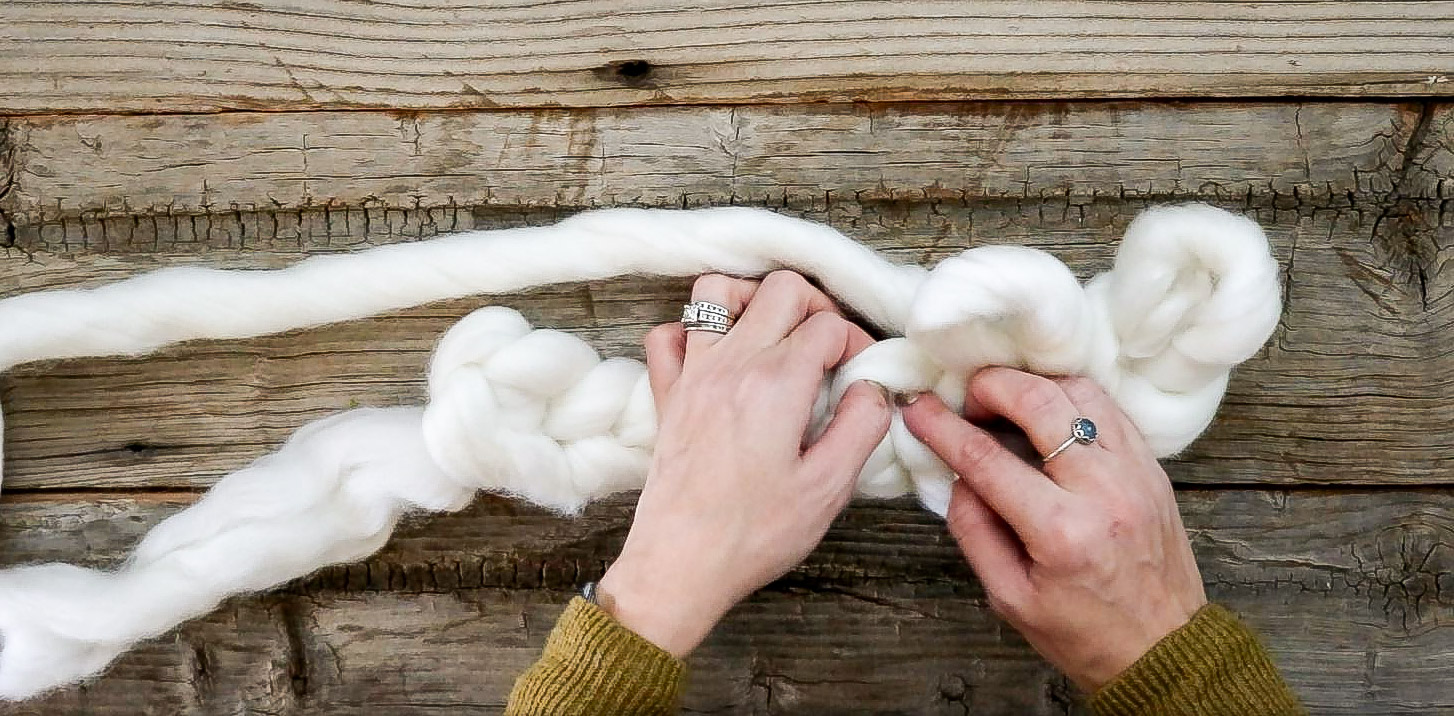
Once you feel the size you have is good you’ll need to finish off the edges. To finish off the edges you’ll need to stick your fingers through two loops and pull one loop out. Keep doing this across the whole top of your blanket.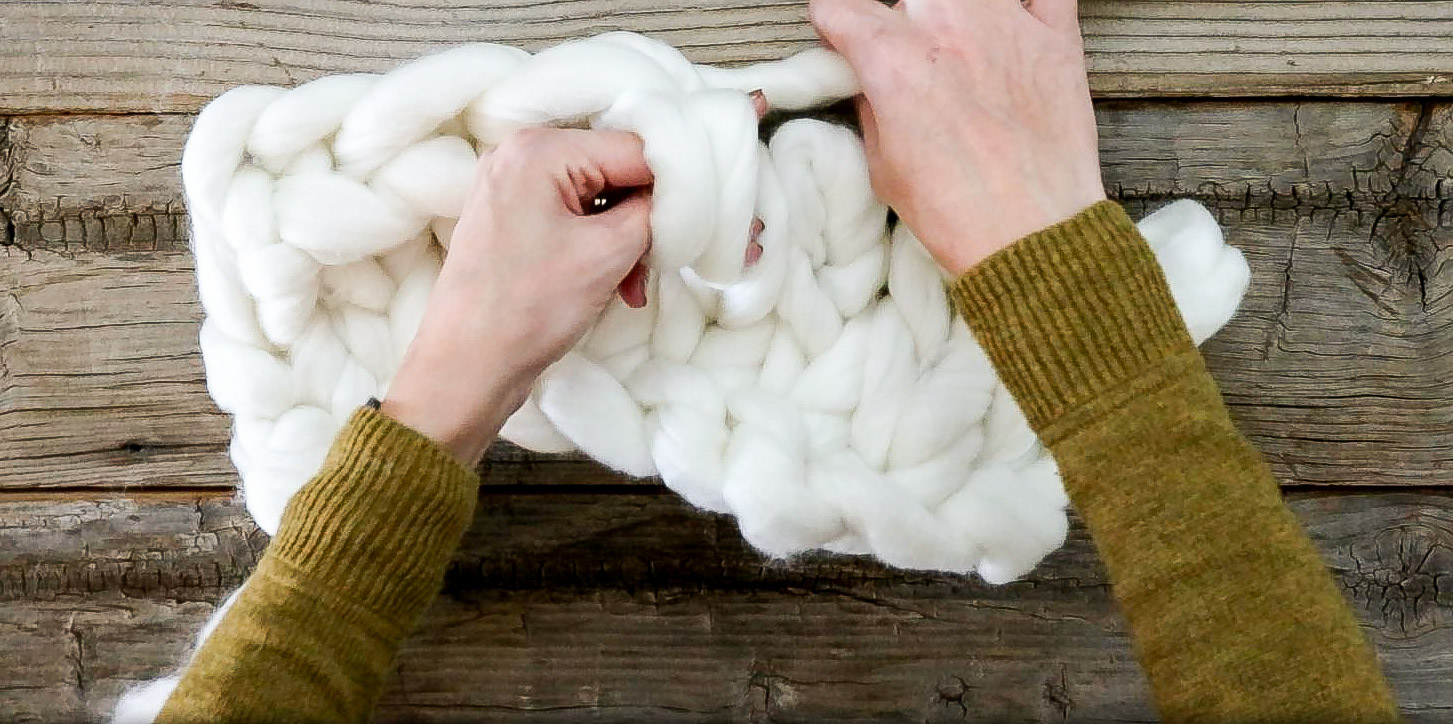
The edges on the top should look kind of like a braid once your done. To secure your last loop, cut off your yarn leaving about 5 inches and tie it in a knot on the very edge. Then take whatever yarn is remaining and feed it through your knitted blanket hiding it. That’s it!! Feel free to ask questions if you have any!! I hope this was pretty straight forward and understandable!

Here’s Quick Video
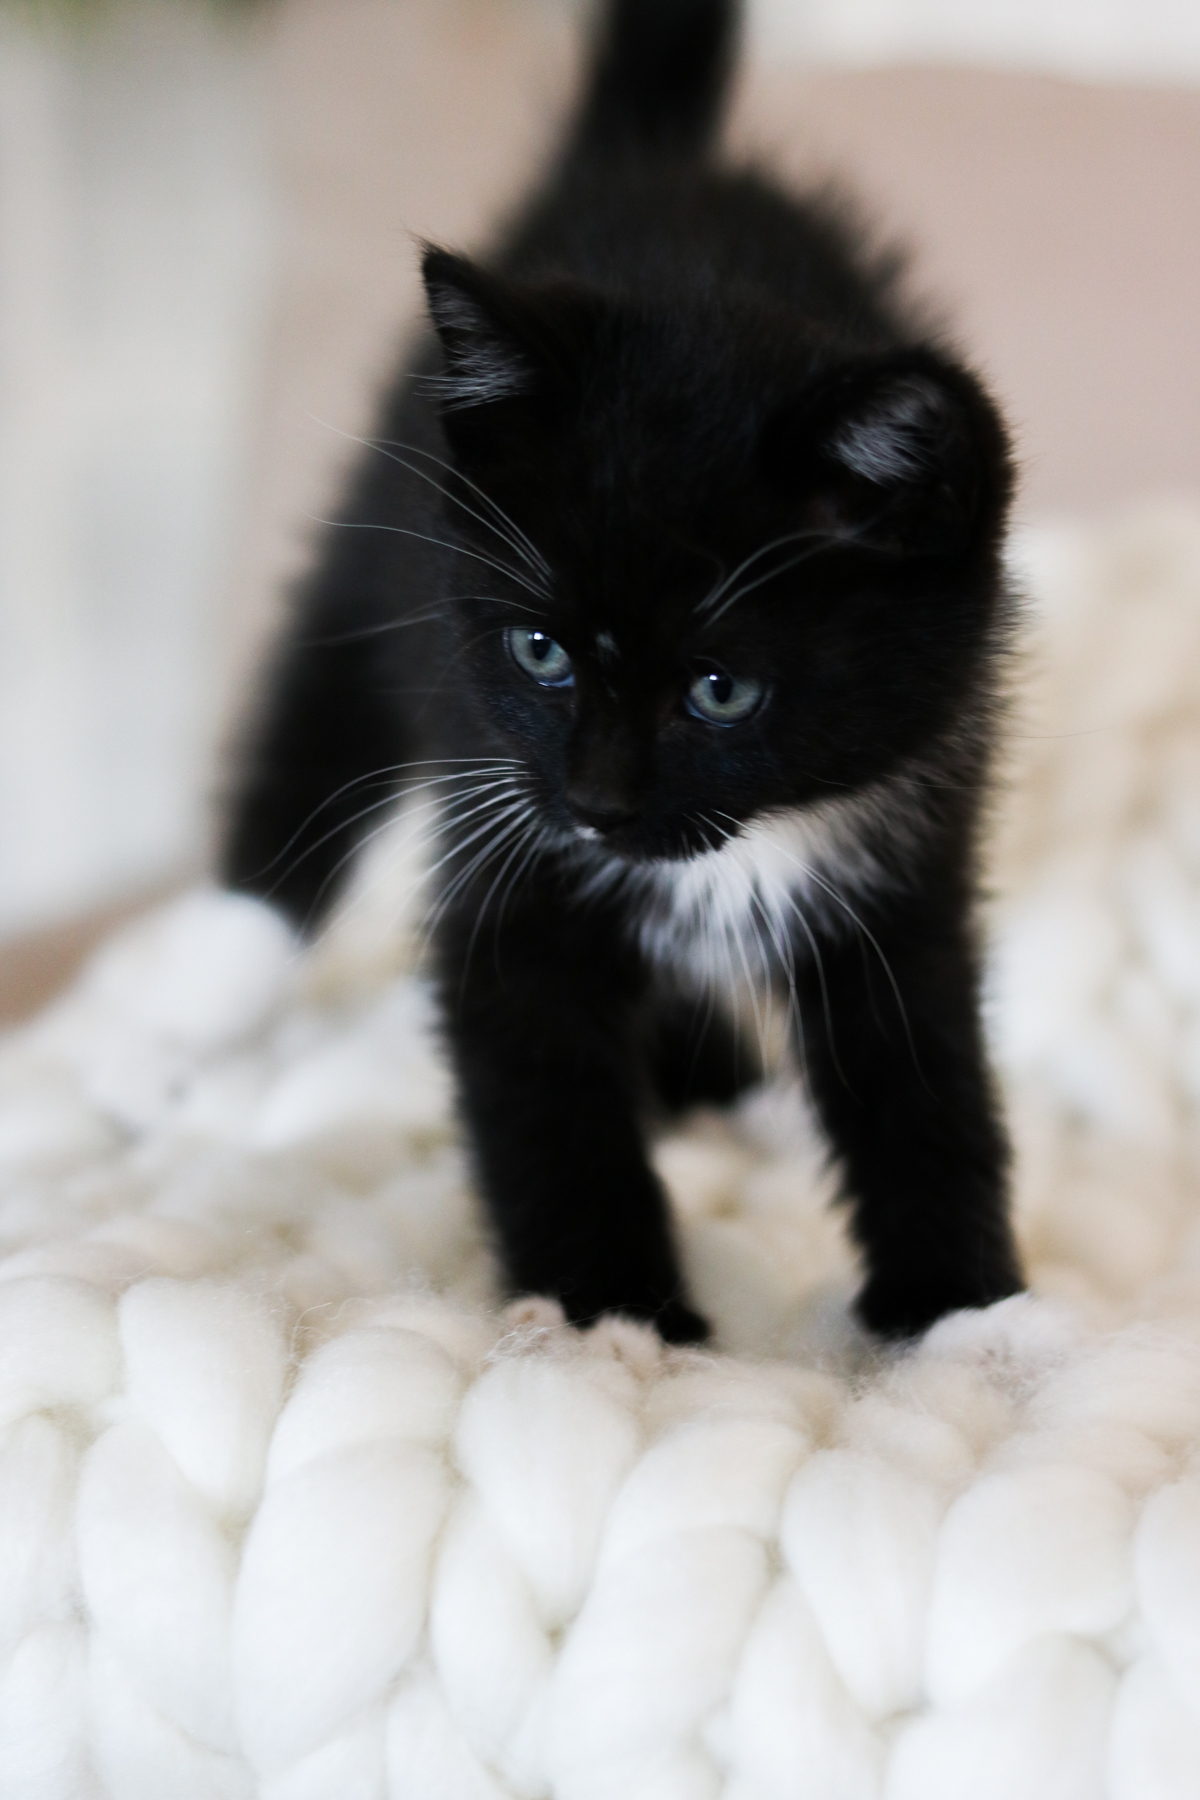
Our kittens are in love with it!! I think they found their new favorite cuddle bug!!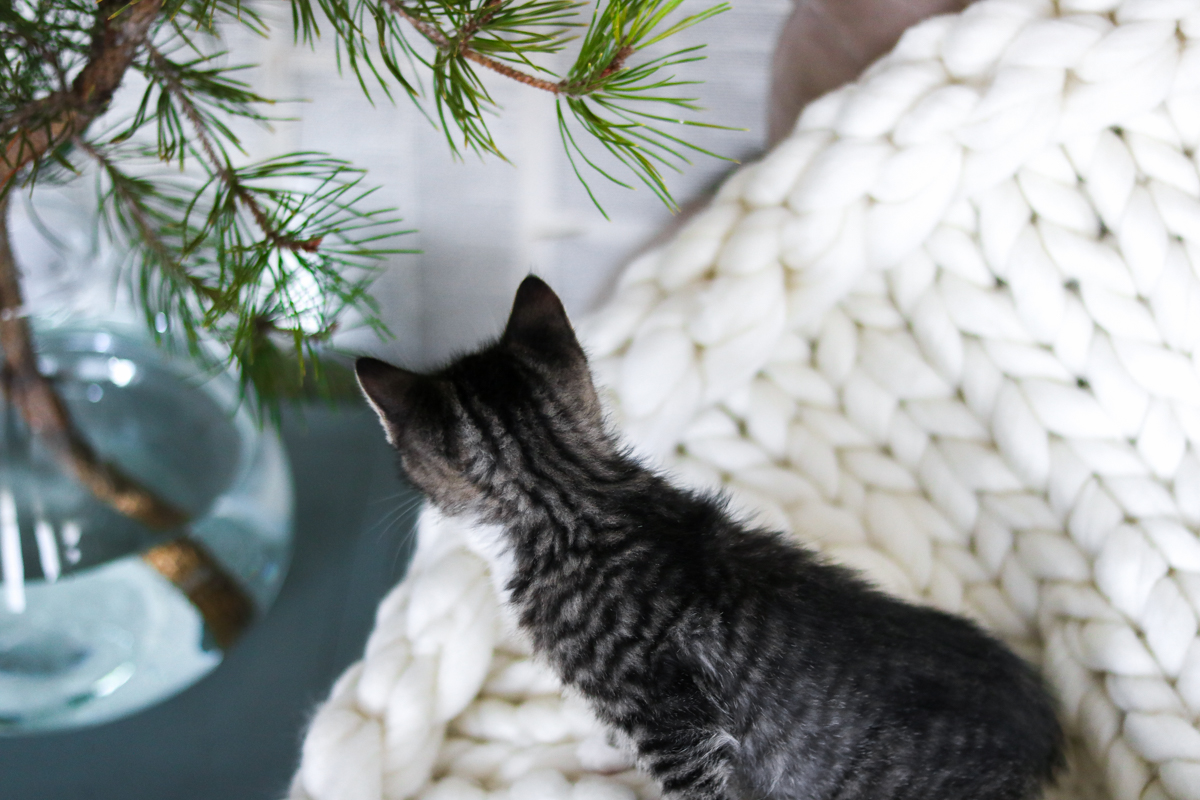
Here’s Tod getting his mini claws into this fluffy goodness!!
Although this blanket looks fluffy and you think it probably weighs about the same as a feather!! IT DOESN’T! This thing weighs a ton! I don’t know if it’s because of the type of yarn but, I’m pretty sure it was weighs close to about 7 pounds! That’s quite a bit for a blanket! It’s still nice and cozy though! We use it every night for story-time!
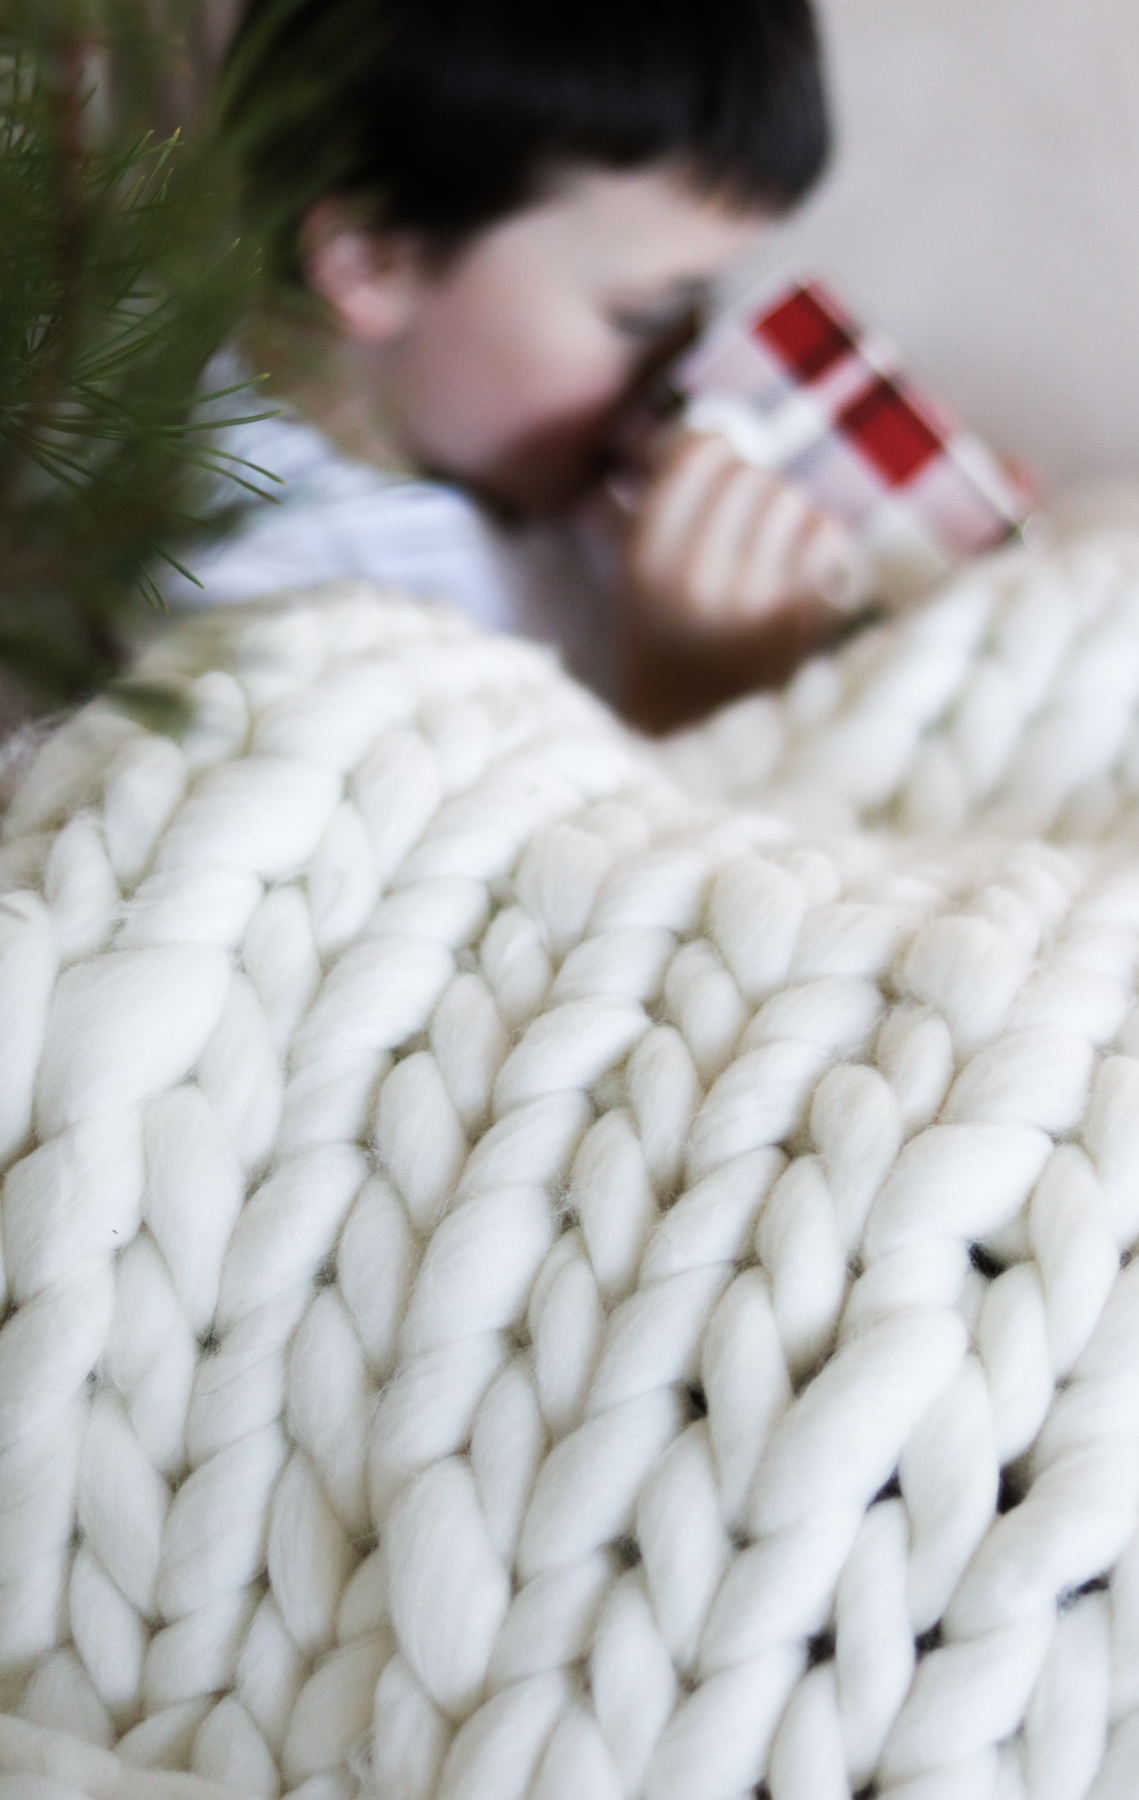
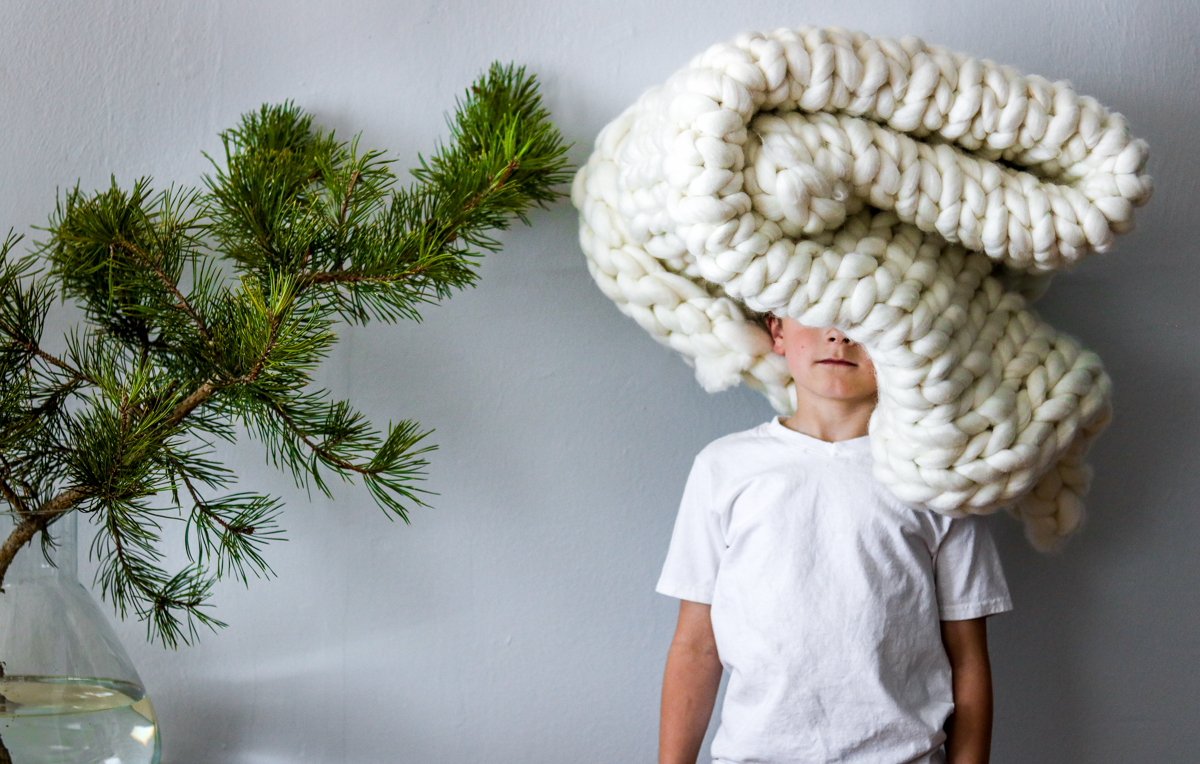
Look at the size of that knit though!! I love how my living room looks with it! It’s definitely a must have if your looking to add texture. 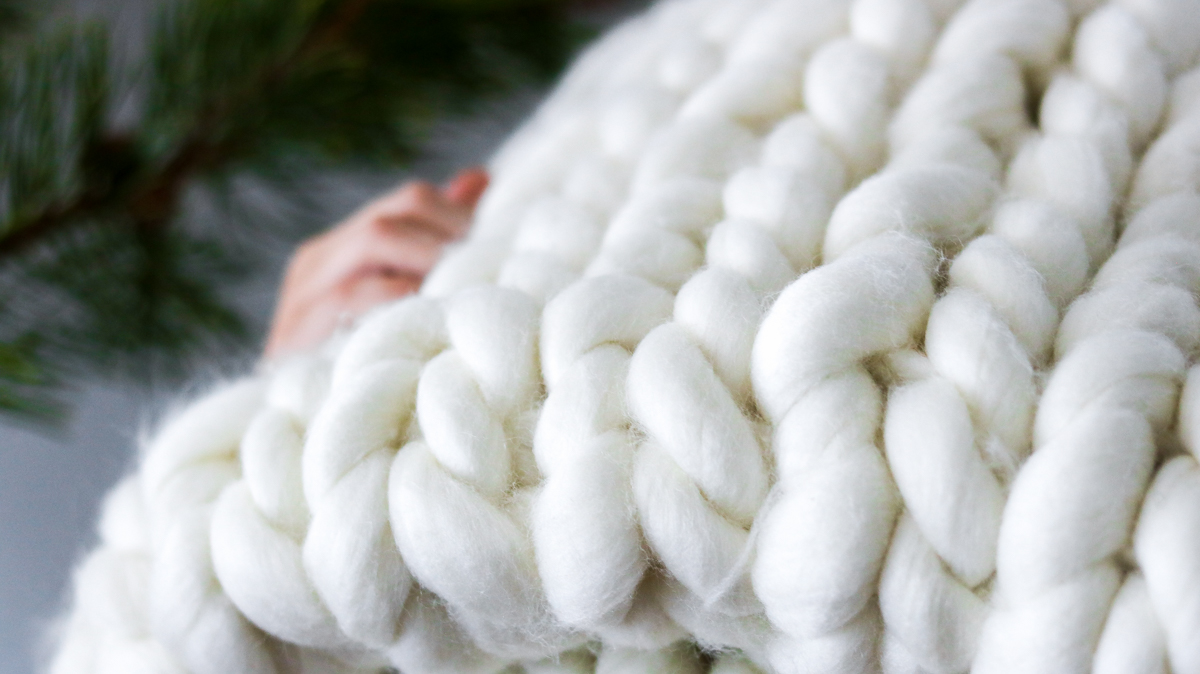
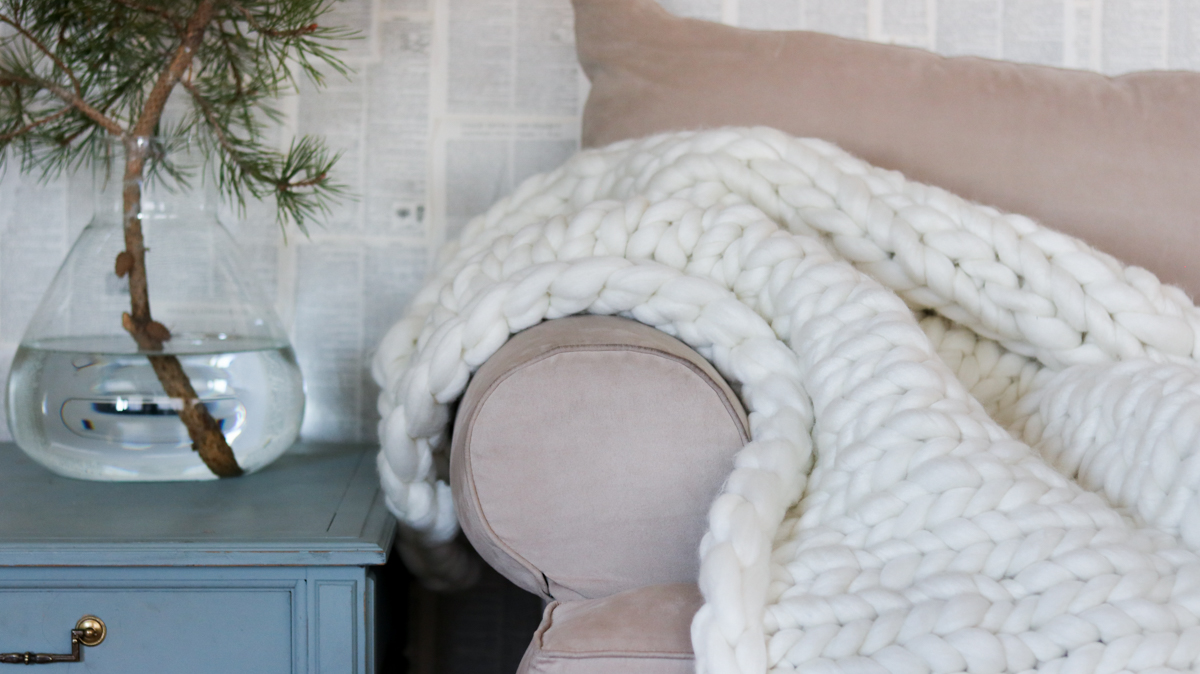
I love simple home decor! This pine tree branch goes so well with the knit blanket! 😀

That’s it! I can’t wait to see your throw blankets!!
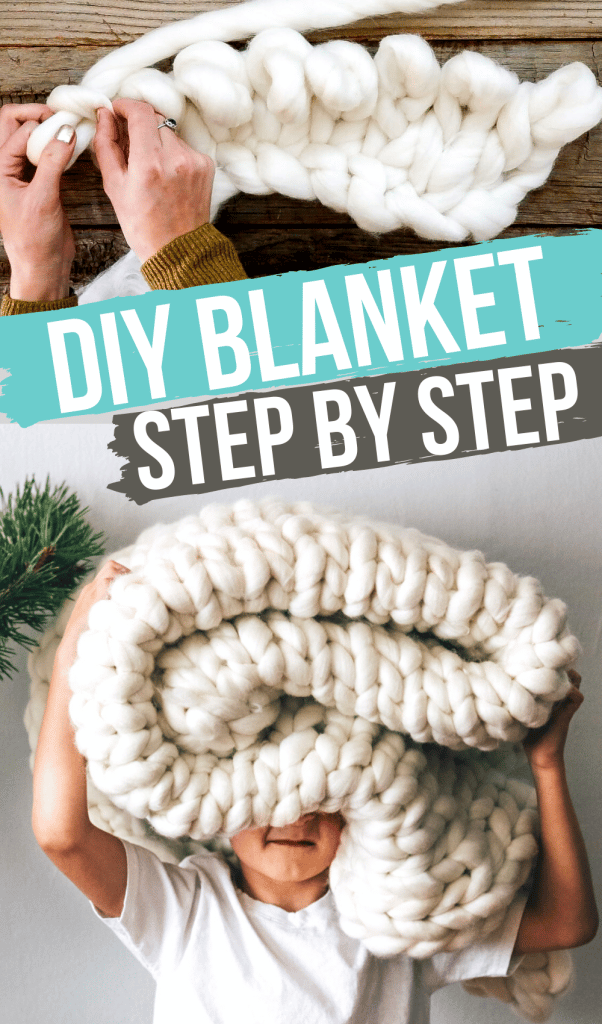
( here’s a pin you can add to pinterest for later – photo below – CLICK ON PHOTO TO PIN )
Here are some affiliate links for similar products I used to make this project. (If you purchase anything from my affiliate link I might get a small commission. However this DOES NOT result in any additional charges to you. For more info read my disclosure policy)
SIMILAR DIYS YOU MIGHT LIKE
CHUNKY KNIT CHRISTMAS TREE COLLAR
Simply beautiful. Hoping to make a smaller version for my new grandbaby coming in March.
Thank you Beverly. Awe that would be ssso cute! How exciting!! Congratulations!
This looked so easy. Made me want to try it. trying to find where you got the yarn from. Beautiful blanket.
Thank you so much. I got my yarn at michaels. Unfortunately I think it’s sold seasonally there.
Although this blanket is beautiful, please don’t use this yarn to make one for a baby. I have made three blankets using this yarn and in a week they look like they’re ready for the bin. This yarn sheds way beyond reasonable. Not only does it look horrible, your baby will choke from the shedding. I did while making and so did my pups. I read where these are not to be used except for decoration only.
What yarn do you suggest instead of this?
I think Bonnie is right in saying that you shouldn’t use this yarn to make a blanket for a baby. The last thing you want is for the baby to choke from the blanket shedding.
I want to do the same for grand daughter due in March. My mom was an amazing crocheter I just never could get it. She did teach me how to crochet with my fingers. Best wishes on yours.
Did you see the posts warning not to make this type of blanket for babies?
Vеry good post. I absolutely love this wеbsite. Keep writіng!
Awe thank you. Makes my day to hear feedback like this. I sometimes wonder if anyone reads my work. YAY!! So excited to hear you do. 😀 😀 Can’t wait to share more!! 😀
What yarn would you recommend for a baby blanket? I have a granddaughter coming in a few months and I really want to make one for her.
Hi Jerri, I probably wouldn’t use wool roving if you are making it for a baby as wool can be pretty harsh. I’ve seen this – https://amzn.to/3a0Kl0U yarn around and thought it was the softest thing ever. If I was to make a baby blanket I would use that.
Vеry good. I absolutely love this. It is Soooo sooo fun,. I can’t wait to do this with my kids!
Awe thank you. So glad you love it! It’s such a fun project.
Hello! Someone in my Facebook group shared this site with us so I came to give it a look. I’m definitely enjoying the information. I’m book-marking and will be tweeting this to my followers! Excellent blog and amazing design and style.
Awe thank you i’m so glad you liked it. 🙂
Great tutorial!Thank you. I just made up a blanket this morning and love it! I’m wondering if you’ve washed yours? The yarn says hand wash, but that would seem kind of difficult with the size and thickness. What has been your experience?
Thank you. Glad you liked the tutorial. Not much experience with that 🙁 . Honestly I don’t use mine too much it just sits on the couch. I’ve shaken the dust off a bunch of times but haven’t yet washed it. I plan on doing it before christmas (before the cold hits) so it can air dry outside. I’m a bit scared to wash mine since the yarn is I think 100% wool. I don’t want to throw it in the washer for sure because I think it’ll roll up or the wool will fall apart although I don’t know. If I try the washer I’ll definitely let you know. I would probably do what the instructions say. Make sure your water isn’t too hot as well as it may shrink it if the water is too hot. Hope this was somewhat helpful. Let me know how it goes. 😀
I I don’t know why you are saying the video was great for the instructions! I wish you had shown how to tie a knot to start a new skein and also how to finish it! To me the perfect instructions would be, the beginning and then follow through until the end of a project in a video. This did not! Confused on how to tie the knot and how to finish the blanket?? Great idea and your blanket is beautiful!
Thank you April. I’m sorry it’s confusing. I totally understand what you mean. I totally forget to show the tying part. If it helps any its just like tying two pieces of rope together. You can either leave the tails or cut them but once you keep knitting it shouldn’t be visible it knits right in.
So you just have to tie them together? It doesn’t show? I have the same question as I am planning on making a few of these for Christmas gifts.
Tie it together and stick it through. It’ll show but only in the back. You can cut down the tails shorter too. I’ve haven’t found any other way to do this so far. sorry 🙁
Hi, exactly which yarn did you use in your tutorial?
Thanks
I purchased my yarn at Michaels Crafts store. (photo at beginning of the post shows exactly which yarn brand) I believe they have it in seasonally and I’m pretty sure it’s 100% wool.
20% wool 20% acrylic 60% polyester
How much yarn all together and how did you tie a new set of yarn to whats already been done?
Yes I used 3 skiens of yarn in total and they were tied in between.
I am wondering the same thing! I can’t get my head around how exactly new yarn is tied into it as you’re working!
Hi Jessica I apologize about the confusion. Tie it like you would if you had two pieces of rope that needed to be tied together. Just one simple knot. Once you keep knitting it’ll weave into the blanket and shouldn’t be very visible. I hope that makes since. Let me know if it’s still confusing.
love it, will have to try for Christmas gifts!
I’m so glad to hear you liked it. YAY! Let me know how it goes.
Thank you! How easy!
So, I have read all the comments but still a bit confused as to how to add a new skein. I believe you said just to tie a knot joining the 2 skeins together, but do you just keep looping and leave the 2 knot ends loose and weave them in after you are all done the project? Because this yarn is so thick it would seem to me that weaving in the ends will make it quite noticeable?? Help please.
I tied a knot and you can cut off the tails making sure it’s only visible on the back side of the blanket. That’s what I did.
I’m so excited to try this project. I just got my yarn today. Do you just knot together the skiens, when you add one?
Oh YAY! Awesome. Let me know how it goes 😀 😀 Yes just tie them together.
Silly question… Does the blanket stretch out ?
Does any of the holes get bigger if you pull on it or stretch out if your feet go through a hole ?
I didn’t have it happen to me. Although it might make a difference if you use different kind of yarn.
I absolutely LOVE this, thank you so much for sharing!! What are the dimensions of the blanket? I want to make one but confused on how much material I will need. Thank you!!
Your very welcome 🙂 So happy to hear you love this. The throw is 62″ by 43″ I used a total of three skeins. Keep in mind it will make a difference in size if you use thicker or thinner yarn. I talk about the thickness of the yarn above in the blog post.
how long and big is ur blanket and how many yards u used for?
The throw is 62″ by 42″ in size. 😀
So if I want it wider than 42″ would I do more than 30 loops in the row?
Yes it would mean more loops 🙂
Gorgeous and looks like fun.
Thank you 😀 😀 So glad you liked it
How many balls of yarn did you need?
This absolutely looks like a fun project and looks simple enough, especially for someone who has never crocheted..Can’t wait to try this and I’ll reach out to you if needed…I will definitely sign up for your newsletter…Keep up the good work!!!
I’m so glad to hear you liked it Connie. Yes definitely feel free to ask any questions 😀 😀 I would love to help as much as I can. Awesome I’m glad to have you on board 🙂 Happy Crafting.
The blanket looks great, and super easy, but the yarn you used at Michael’s is $35/skein. That’s pretty pricey. Even with a 50% coupon, that’s over $50 for a throw.
What would you suggest for something less expensive? Would a 10.5 oz/35 mm work okay? Some of my purchased throws are lighter weight.
Yes it is a pretty pricey. I haven’t tried different yarn so I’m not sure about that all. I’m thinking you might need more yarn since it thinner. Hobby Lobby sells a similar blanket in store although I’m not sure what the price is. Maybe try a 40% off hobby lobby coupon on one of those.They’re pretty pricey overall. I haven’t really found one that was below $50 or really close to that. Let me know if you have anymore questions 😀 .
Thank you again so much for sharing this! I made one using the same material that you used, only in the charcoal color, and it turned out so bad! Making it was so easy, thanks to your tutorial! It looked beautiful at first, but it’s just that the material sheds HORRIBLY and mats up as well. It ended up looking like an old, tattered sweater. I made 2 blankets, one for myself and 1 for a friend, using about 5 skeins each. It only lasted 3 days and we had to discontinue using it : ( I have heard that it could be due to the dyes in it. Do you have the same issue with the cream color?
Hi Sara, AWE I’m so sorry to hear that. I used mine to simply display on the couch and yes I did notice it sheds quite a bit. It’s also really heavy not like the blankets I’ve seen at the store but I’m assuming because it’s wool. I’m glad to hear the tutorial was good. I really want to try this with ohhio yarn.
Thank you so much for the input! I’m definitely going to try the ohhio yarn you mentioned. LOVE the blanket, but sadly disappointing with the yarn I used. Sounds like others have said that about the charcoal gray color as well.
Yes I hate when you put so much work into something and it doesn’t last long. If you try the ohhio yarn let me know how it goes. 😀 😀
Loved this very pretty and easy .
Thank you Karen and I’m happy to hear it looks easy.
How do I find these instructions for later?
You can either bookmark the page or search “knit” on the blog. Top right has a search bar. If on mobile it should be on the bottom.
Hi. I’m a bit confused. I’ve never knitted or crocheted, but I’m unclear about how tge second row attaches to the first istgere anyvreference to make this more clear? I’ve only completed my first row.
Hi Patti, it can be a bit tricky. You’ll simply need to keep pulling new loops through the previous loops you’ve created going up in rows. Each time you finish a row go back in the opposite direction
I enjoyed making this blanket SO much! Thanks for the terrific tutorial. One episode of This is Us, one episode of Real Housewives of Orange County and one glass of Sauvignon blanc and I had a 3-skein blanket. 🙂 My 8yo has claimed it as his! I ordered 3 more skeins from Michaels so I can double the size bc we all want to snuggle under it.
AWWWE that’s awesome I an ssso happy to hear that. It’s the perfect project to do while watching shows. 😀 😀 😀 I’m so glad you had fun. LOL OH wow that so nice. Family snuggles are my fave.!
There’s a photo of the yarn used. The brand is loops and threads
I can’t wait to try this! Just wondering how many loops you started with to get your finished size 62 x 42?
YAY! OH man If I’m not mistaken it was around 30 (maybe 32) Happy crafting 😀 !
!!! Thank you so much for this tutorial! My first time making a chunky blanket was the same as you stated, very confusing and I used an arm knitting diy. Yours, however, was super easy to follow and my blanket turned out so good, actually better!! Thanks again!!
Hi Robin, Thank you . AWWWE I am so glad to hear this tutorial worked for you. YAY that’s awesome. Your all ready for winter 😀 😀
What do you think about using this technique with jazz couture yarn?
OOOH I’ve never tried Jazz couture yarn but I think it would look lovely! I just googled jazz couture yarn and those blankets look so cute! 😀
I want to make my first blanket – can you explain how after you finish one skein you go to the next skein?
Hi Jessica, YAY Awesome! Sure you just tie it like you would any other string or rope. Than keep creating loops as you would if it weren’t tied. Once your done with the blanket stick the tails from the knot where you tied it through to the back side and you can either leave the tails long or leave them. (the knot should be visibly only on the back side of the blanket) Does that make sense?
Great video! Question though, I want to make a big throw blanket like this —around 40X60 inches, when I use up one skein how do I continue/add the the next skein in my blanket?
Hi Sara, sorry for the late response. I simply tied my end to a new spool and kept going. The knot will hide into the knitting pattern on it’s own.
This yarn went on sale today at Michael’s with email sent today 07/18/19. Just $9.97 a skein! Huge savings.
How do I access the video?
https://youtu.be/zZs8aMVjD7I HEre’s the link 🙂
Can you recommend another yarn that would give the same result? This will be my first time trying this and I don’t want to buy the wrong thing but the brand you used is out of stock in the color I want. Thank you!
Hi Nicole, I’m not familiar with another chunky knit yarn. I would try etsy and read reviews. I know they have a lot of chunky yarn to pick from. Also I think Joanns started caring chunky yarn as well maybe check there? 🙂 Hope this was helpful.
Just finished my first blanket following your instructions. Love it! I used 2 skeins Bernat blanket extra. Feels like chenille.
I’m so happy to hear you loved it! 😀 YAY!!
It’s doesn’t fall apart. It does pile up a bit. The yarn is wool
It’s lovely but as always, the quality of your end product, you get what you pay for. Those expensive blankets were most likely made from Merino wool, which is one of THE best in the world. It’s a Spanish sheep and renowned for its wool and you’re right, it’s not cheap. I’m about to embark on my first hand knit chunky blanket for inventory to open a small shop of hand/home made goods. I want the best for my customers. I’ve ordered enough for 2 full size blankets and no, not cheap but I’m sure the end result will be beautiful! Again, you blanket is beautiful and well crafted!
Video is way way too fast and way too short I couldn’t follow at all definitely no for beginners
sorry to hear it was hard to understand.
How do you start a new roll of yarn? I can’t wait to try this! Thank you!
I just tie it to the other ends and it hides into the knit
This throw blanket is so beautiful! I love it so much! I would love to add something like this to our living room seating area. I am going to have to try and recreate this. With this and some upholstery cleaning, our Windsor home will finally be finished! Thanks for sharing your wonderful ideas!
Ummm… I’m confused. I tried the written directions and the video and I’m either really dense or something else is going on, because I can’t figure out how to get it to chain up or whatever to get to the next row and the video really doesn’t seem to adequately address this.
I swear I commented, but it was deleted somehow. How exactly do you chain up to the next row? It’s not really explained, just implied.
You just tie to new yarn and keep knitting. The knot should get hidden in the knit. I pushed my not through to the back and cut the tails so they’re small.
What a great tutorial! Best I’ve seen so far…im finally ready to try!
I’m so happy to hear that girl! You GOT THIS!
it is fun 🙂
Thank you for the easy to understand directions!! I have crocheted for the majority of my life and I have never used a set of knitting needles – my blankets turned out absolutely amazing! I wish I could post a picture here.
OH DARN I wish you could share a photo.
Tuck it through the knit to stick out the back. You can cut it down
Hi, I check your new stuff regularly. Your story-telling style is witty, keep it up!
Автор старается представить материал нейтрально, что помогает читателям обрести полное понимание обсуждаемой темы.