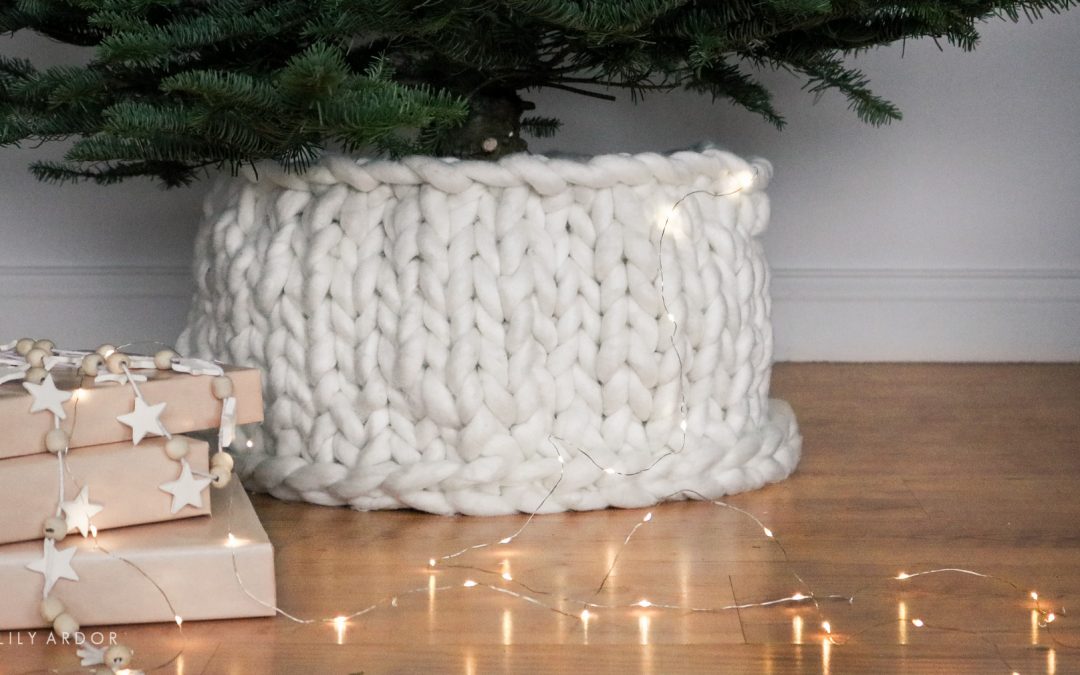
Hi everyone, today I’ll be sharing how I made my chunky knit christmas tree collar. This DIY doesn’t require any knitting experience and requires only three steps to complete.
If you missed my chunky knit series I did a few years back I made a chunky knit blanket. That DIY is what inspired me to make this knit collar for my christmas tree. I’ve also seen something similar online. Crochet style christmas tree collars sold at crate and barrel that weren’t exactly chunky knit but it definitely got my wheels turning.
Supplies:
yarn
Time needed:
40 minutes to one hour
Total cost:
Around $80 -$90. This is isn’t the cheapest project but, I’m sure it’s one you’ll keep for years to come. I do think it’s worth the investment.
HOW TO PICK THE CORRECT YARN
There’s a few different yarn types you can use to make this tree collar. You can use wool roving or something called cotton tube yarn.

wool roving

cotton tubing
Both yarns are good but, it’s important to keep in mind the wool roving is hard to clean. It’s not easy to wash. In fact it piles pretty badly if you machine wash it. I would recommend using cotton tube yarn for this since it’s so easy to keep clean. It’s doesn’t catch lint so easily and you can machine wash it.
If you’re looking for the video version of this DIY I actually shared it on instagram last week ( in my highlights).
WHERE CAN YOU GET YARN?
I’ve found wool roving at michaels crafts store before but, they’ve discontinued it recently. You can also find both yarns on amazon. In fact that’s where I purchased the cotton tube yarn ( photo below). If you’re not familiar with cotton tube yarn, it’s pretty much a fabric tube filled with polyester filling. They sell a few different types. Some with fuzzy velvet like fabric (photo below ) and some that have Jersey knit like fabric. Here’s a link for the one I bought shown in the photo below. I love how fuzzy and soft it feel however the color is pure white and I really wanted something creamy. 
Here are some links for yarns I purchased on amazon and loved.
HOW TO Make A Christmas Tree collar chunky knit style
The simple concept behind this technique is all about pulling out loops. I broke it up into 3 easy steps. You’ll first need to make a braid. Than build up the knit on that braid and to finish I double looped. That’s it!
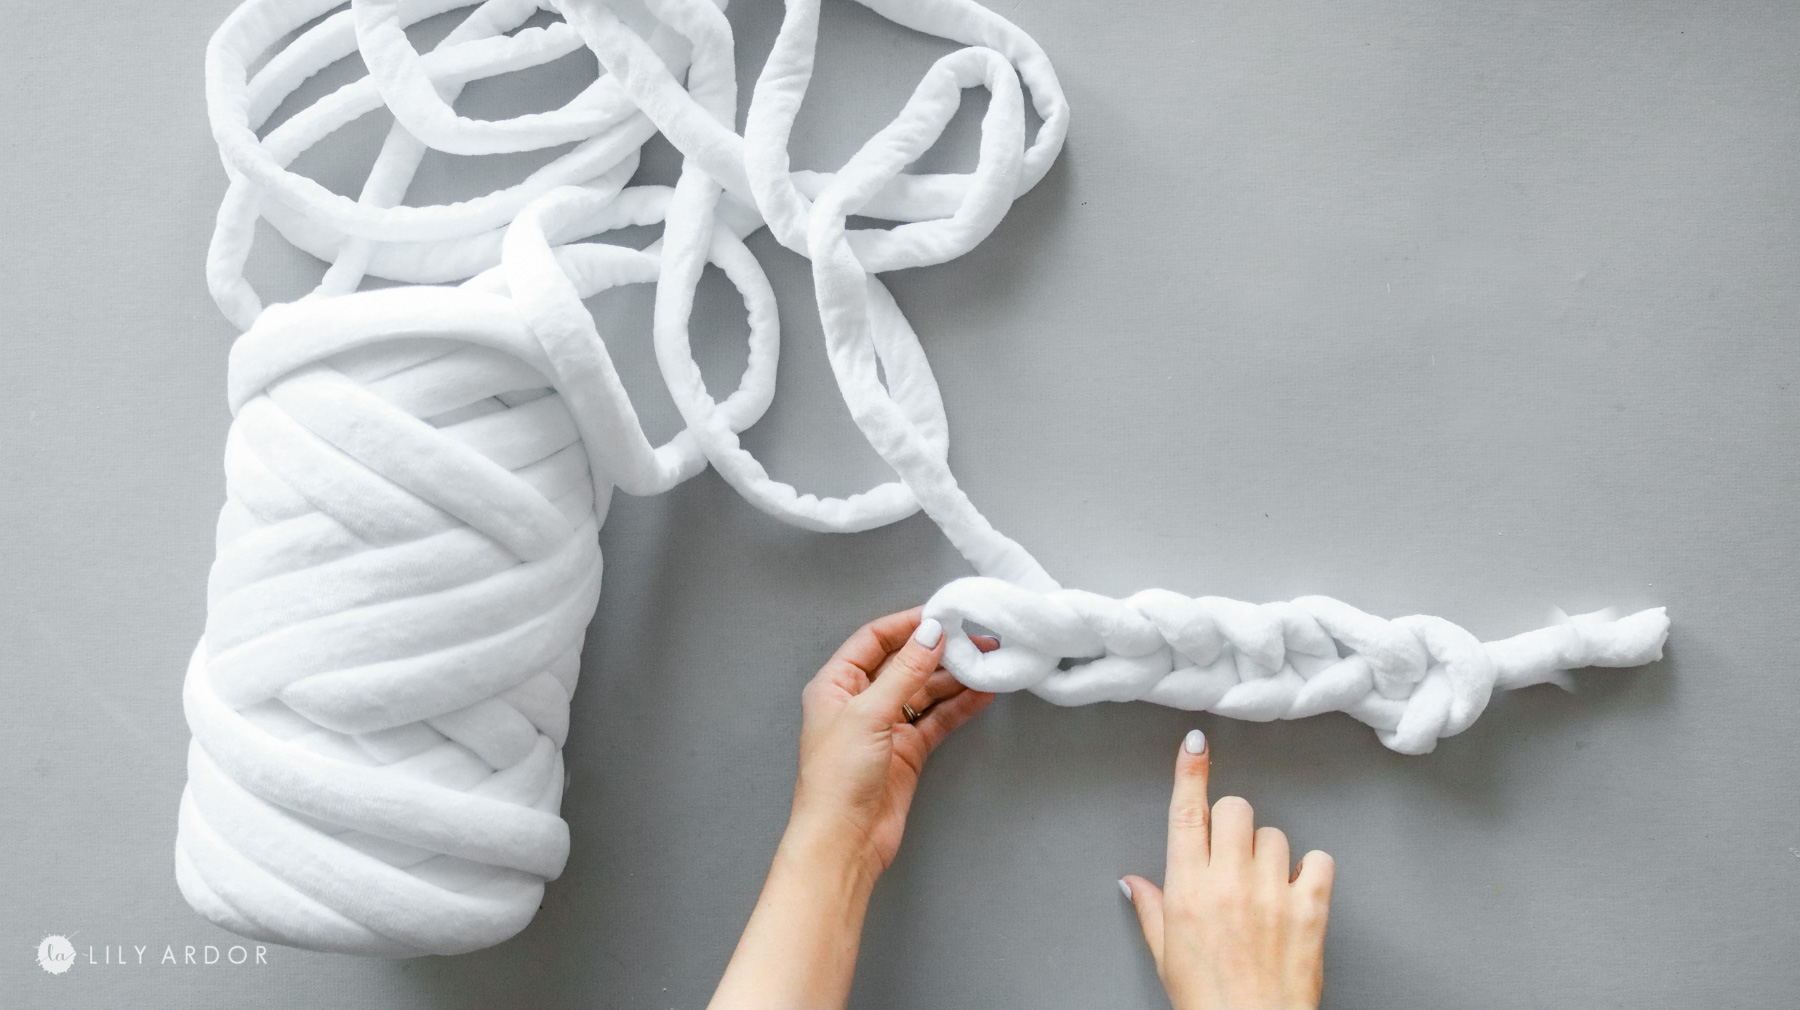
STEP1: Creating the braid!
Okay for the first step you’ll need to take your yarn and fold it over to create a loop in your palm.

Stick your hand through it and pull out some yarn to make a knot with a loop.
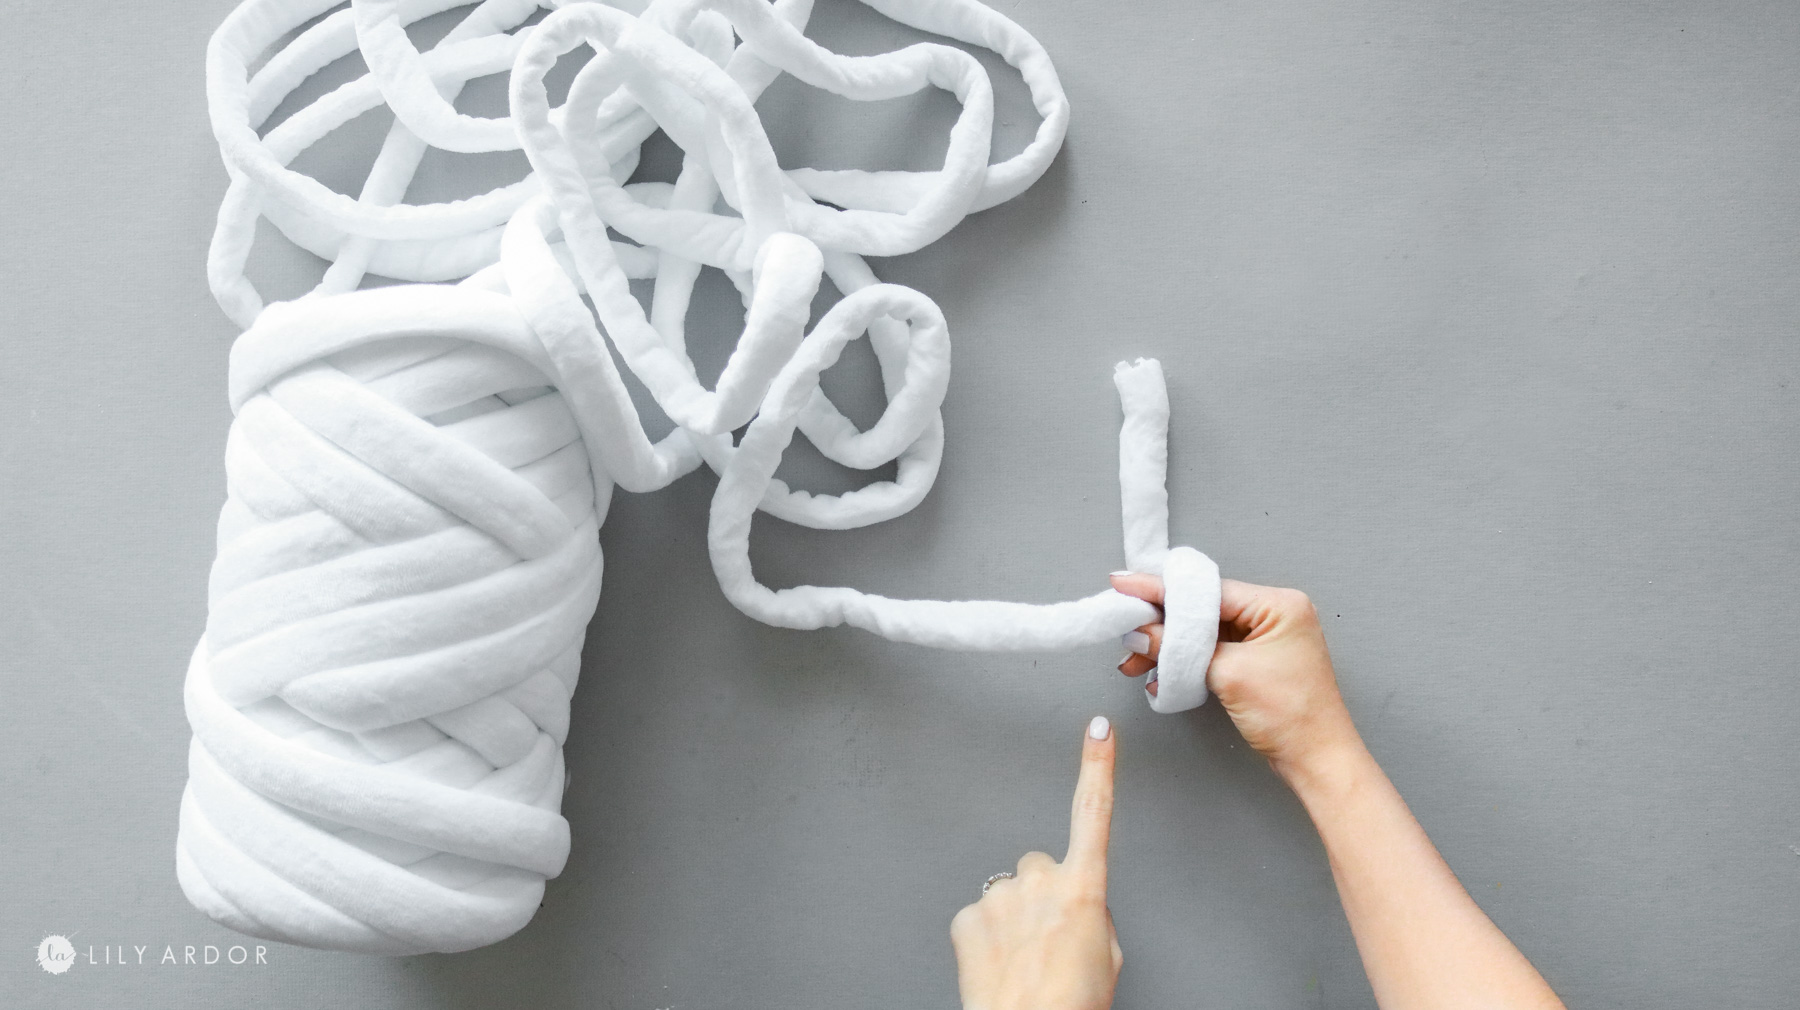
Here’s what it’ll look like.
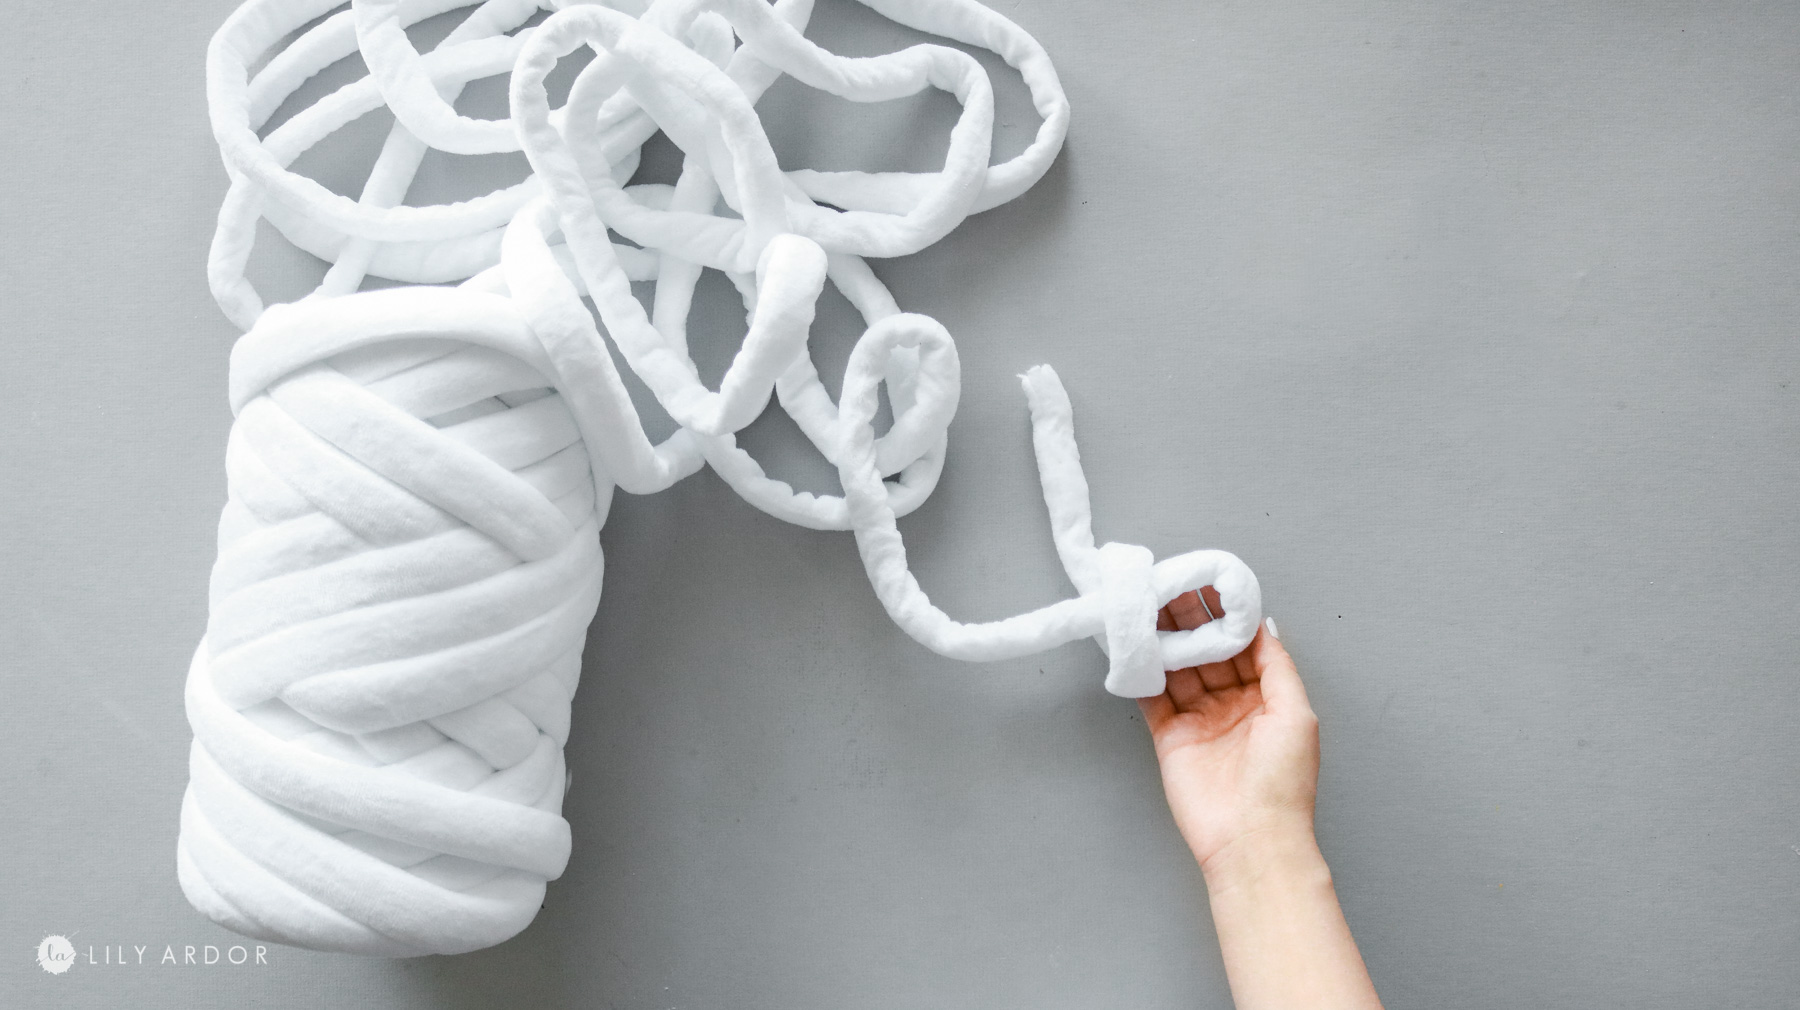
Now that you have your first loop you’ll simply stick your hand through that loop and pull out a new loop.
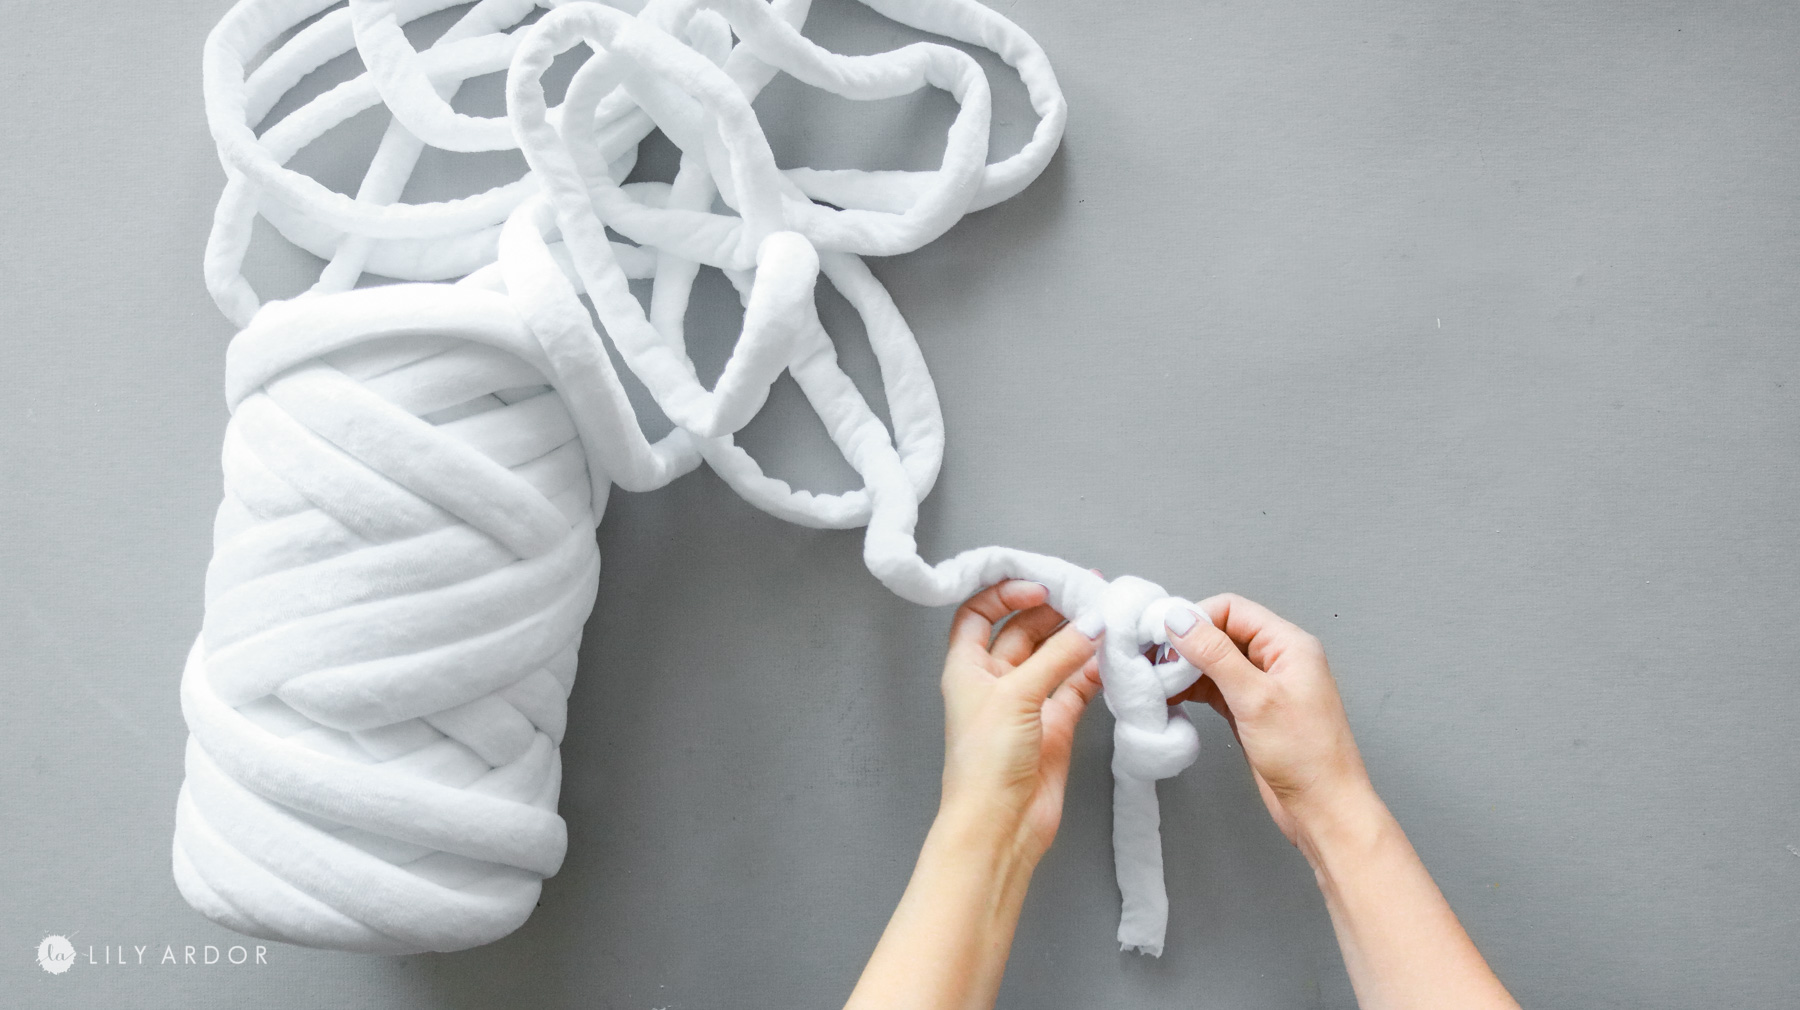
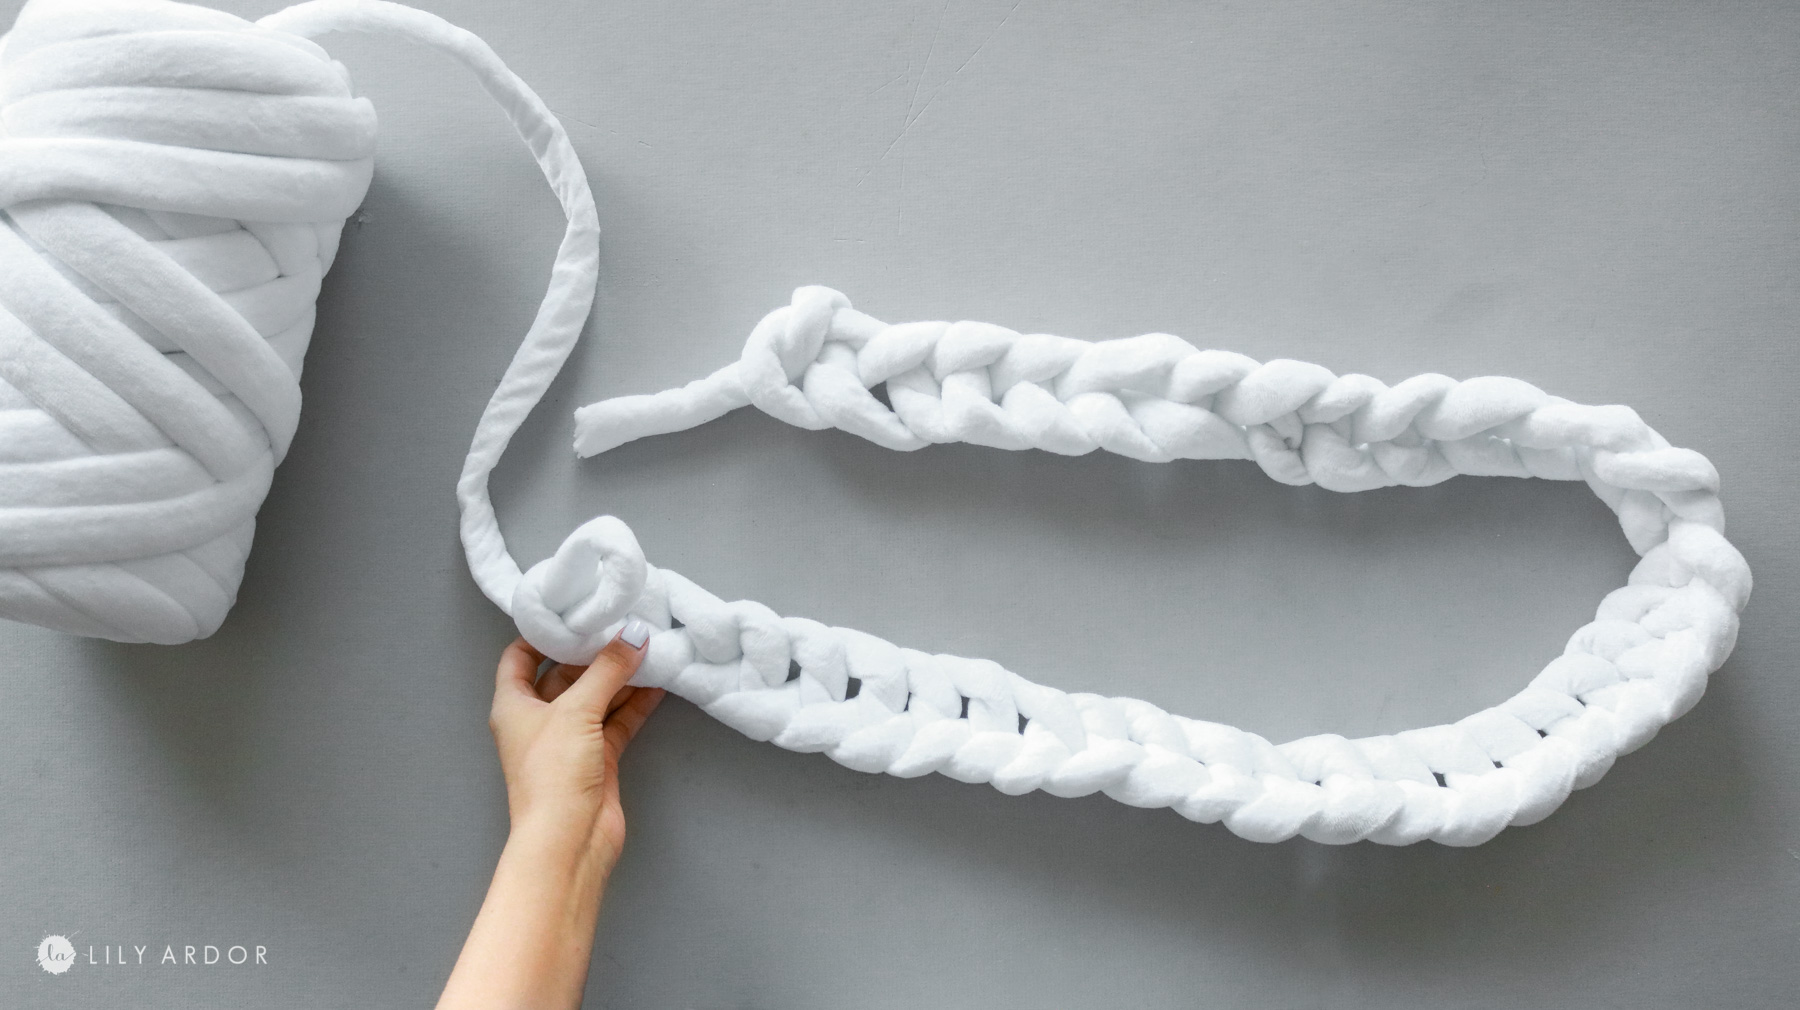
Keep pulling out loops through loops to create a braid.
Here’s what my braid looked like (photo below) once I was done. I did 37 loops in total. The length of your braid will determine the length of your tree collar that will wrap around the base of your tree.
STEP 2: knitting the middle section!
Once you’re done with your braid take the yarn and lay it down above the braid.
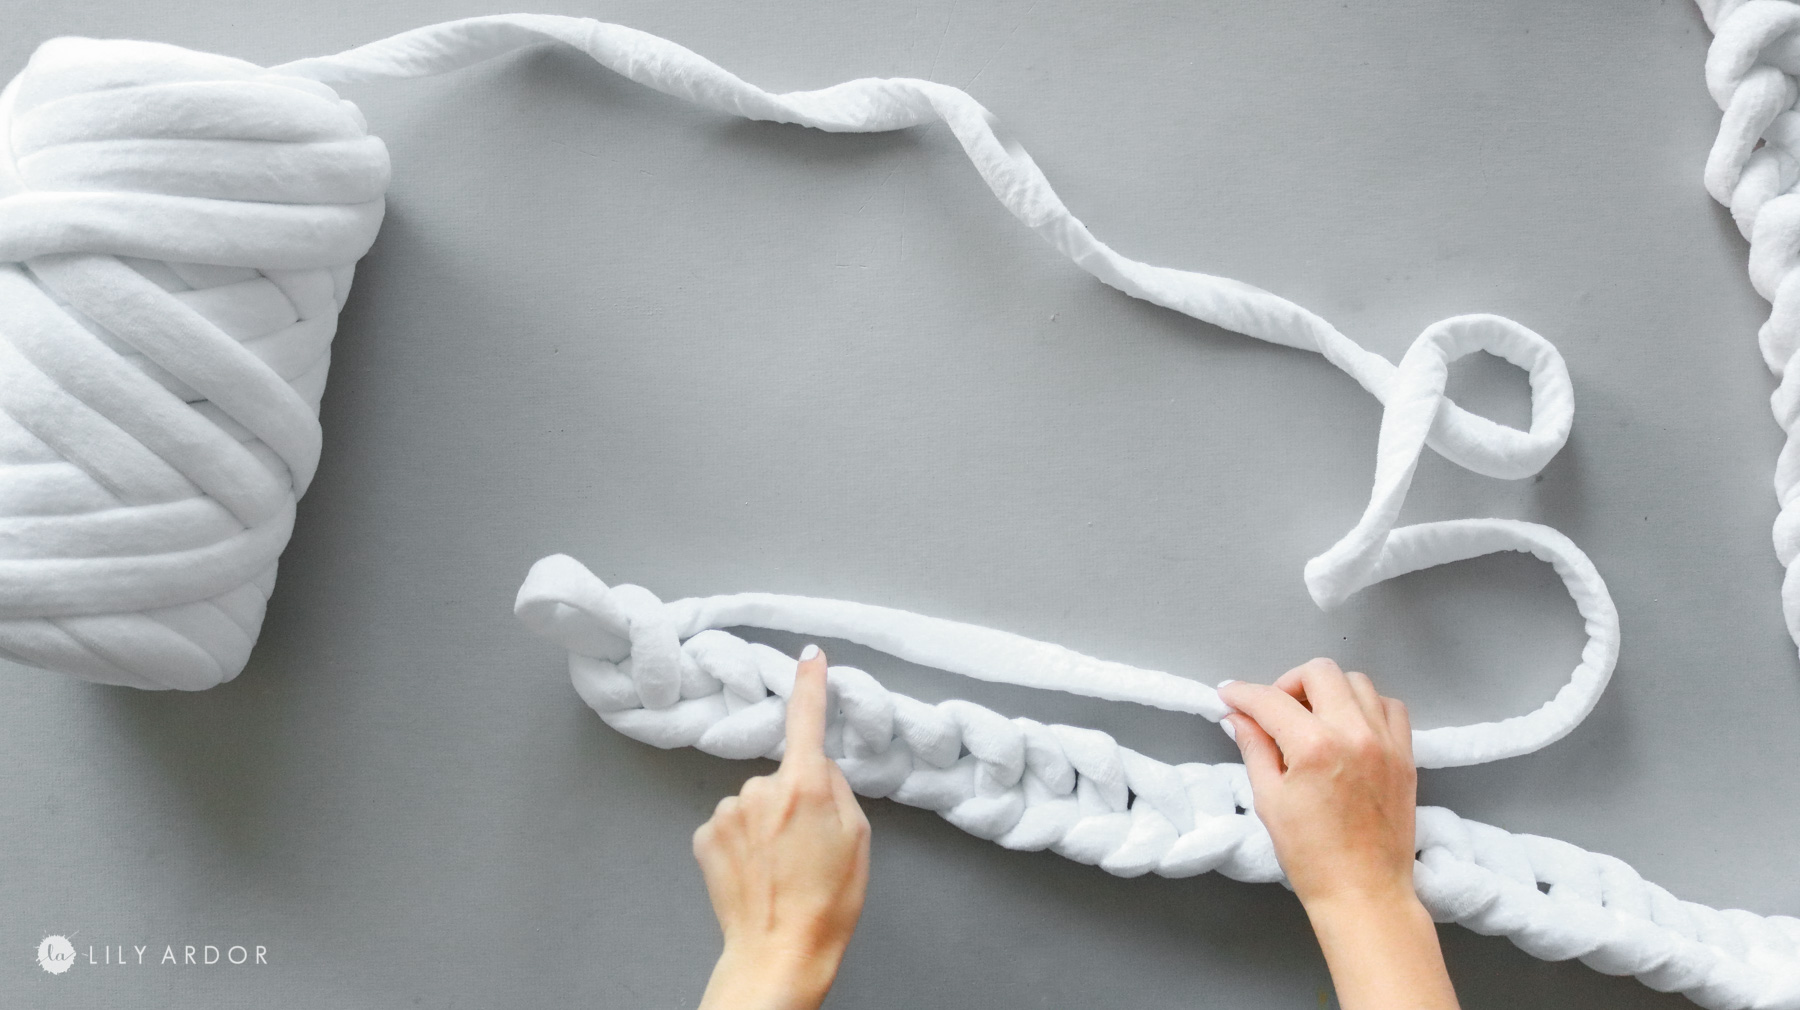
Feed your fingers through the top portion of the braid and start pulling out loops as you make your way down the braid. ( photo below) 
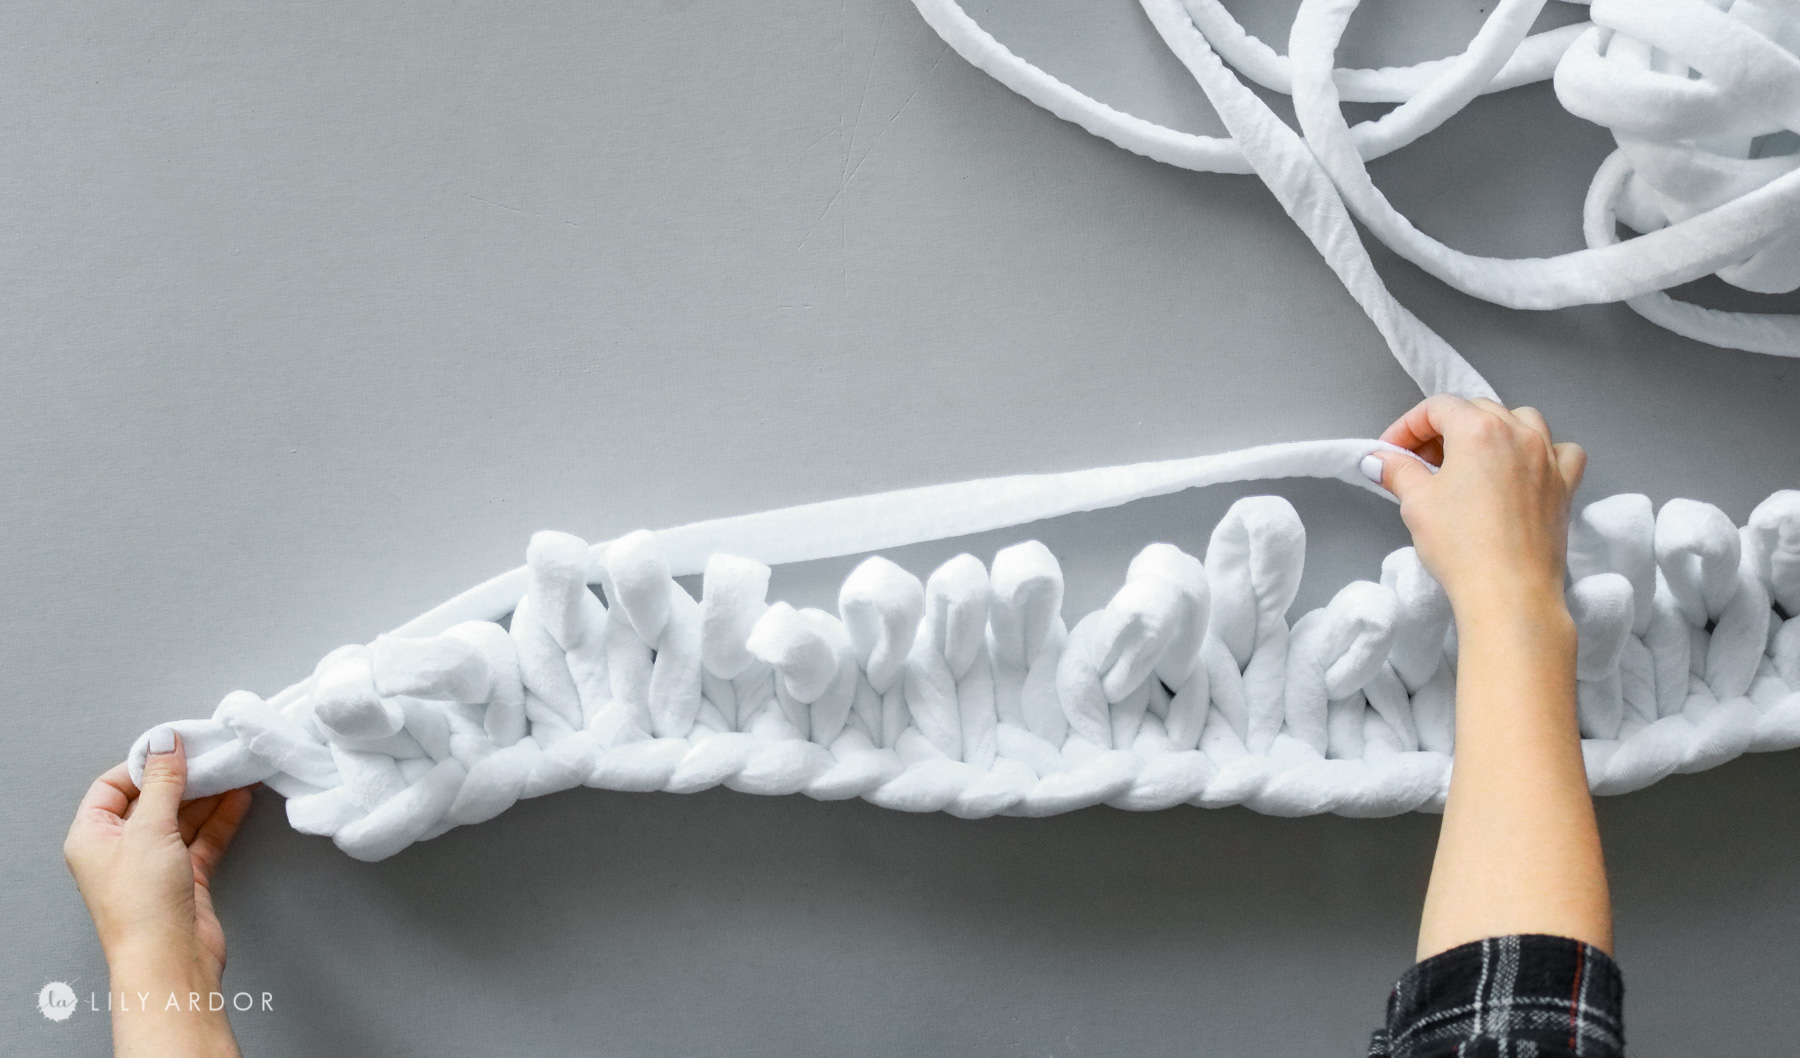
Once you get to the end of the braid grab the yarn and lay it down above the loops. Make your way down the braid pulling out new loops through the old ones. 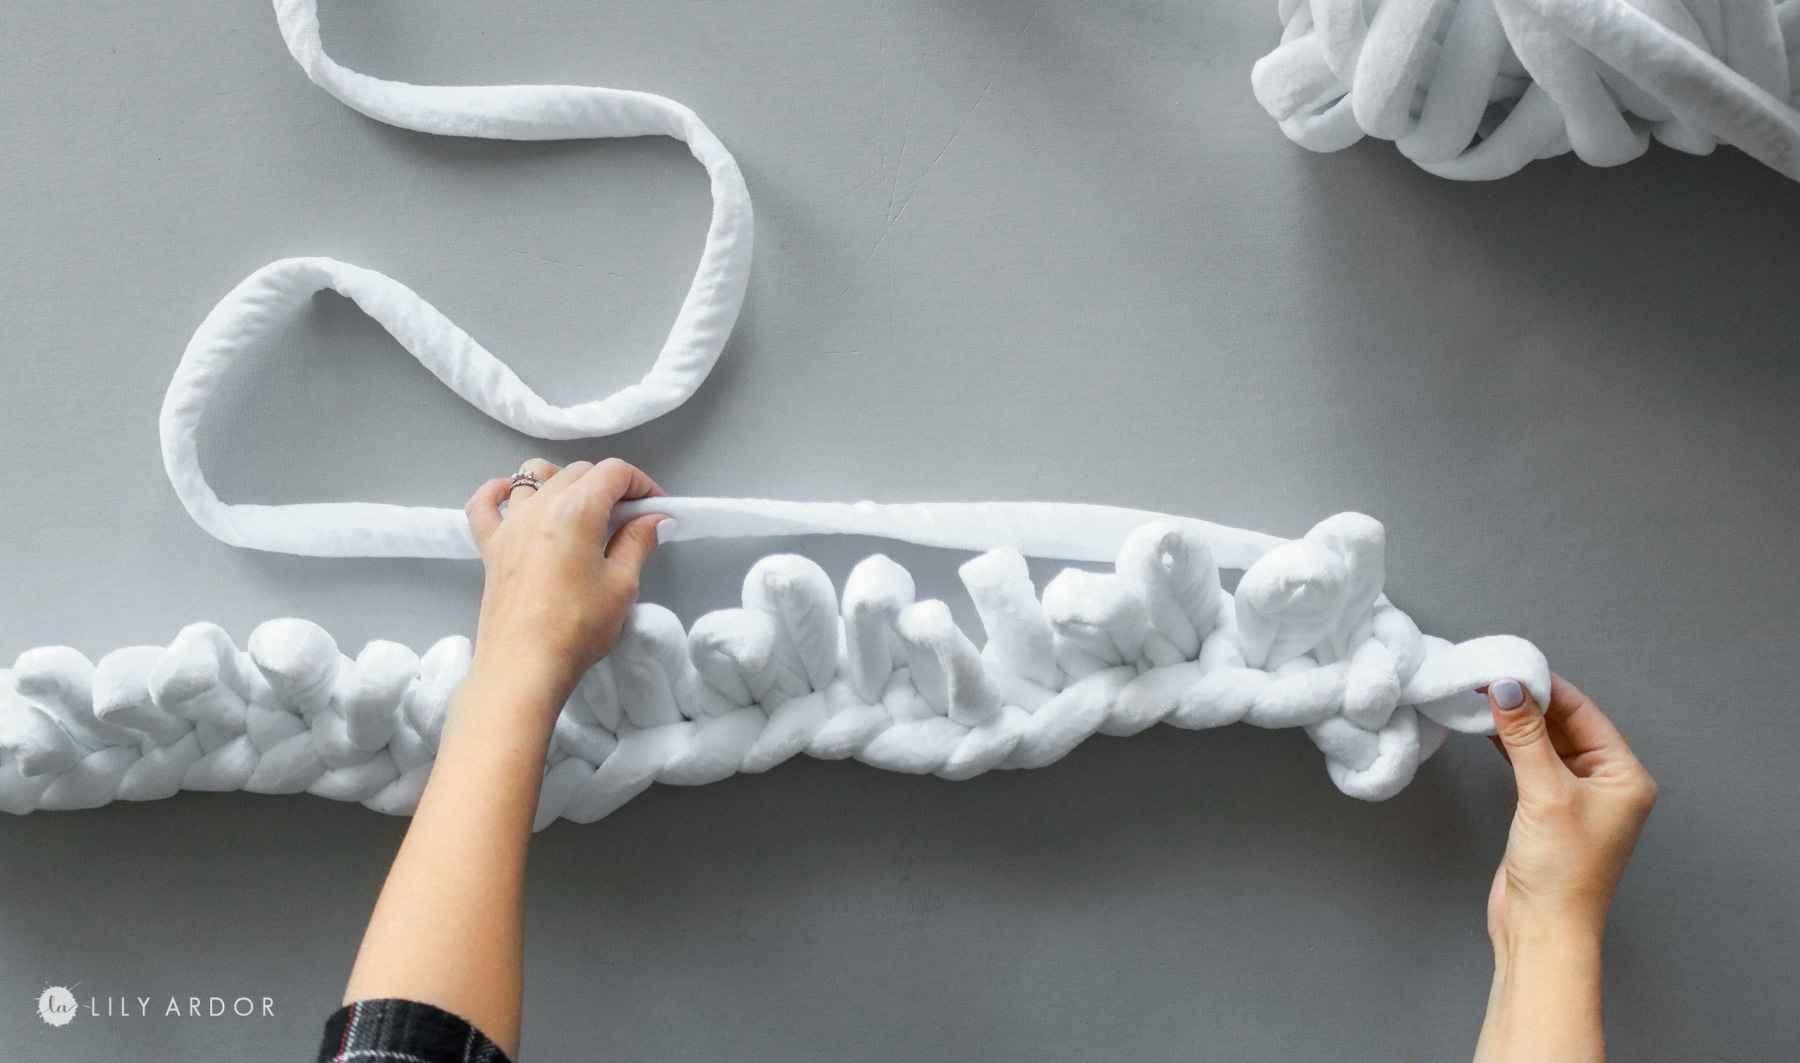
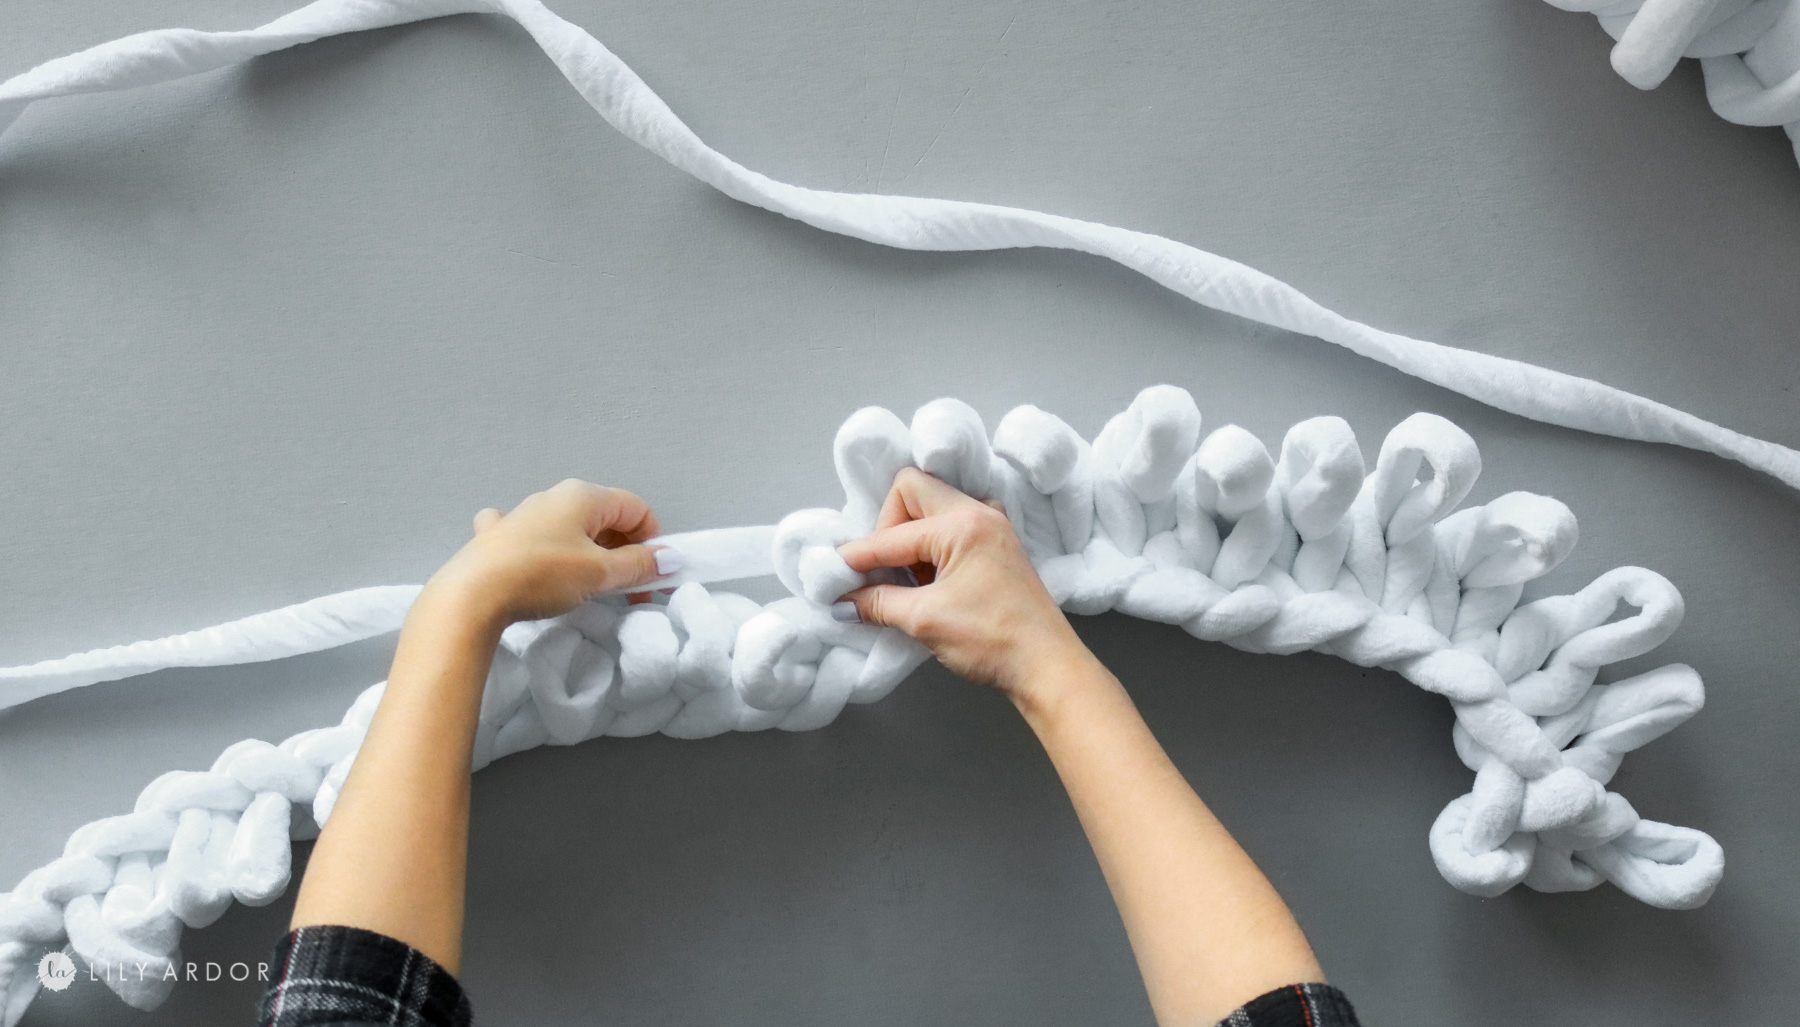
Photo below shows two rows complete.
Once you have the height you like for your tree collar you’re ready to finish off the edges. I did a total of 9 rows.
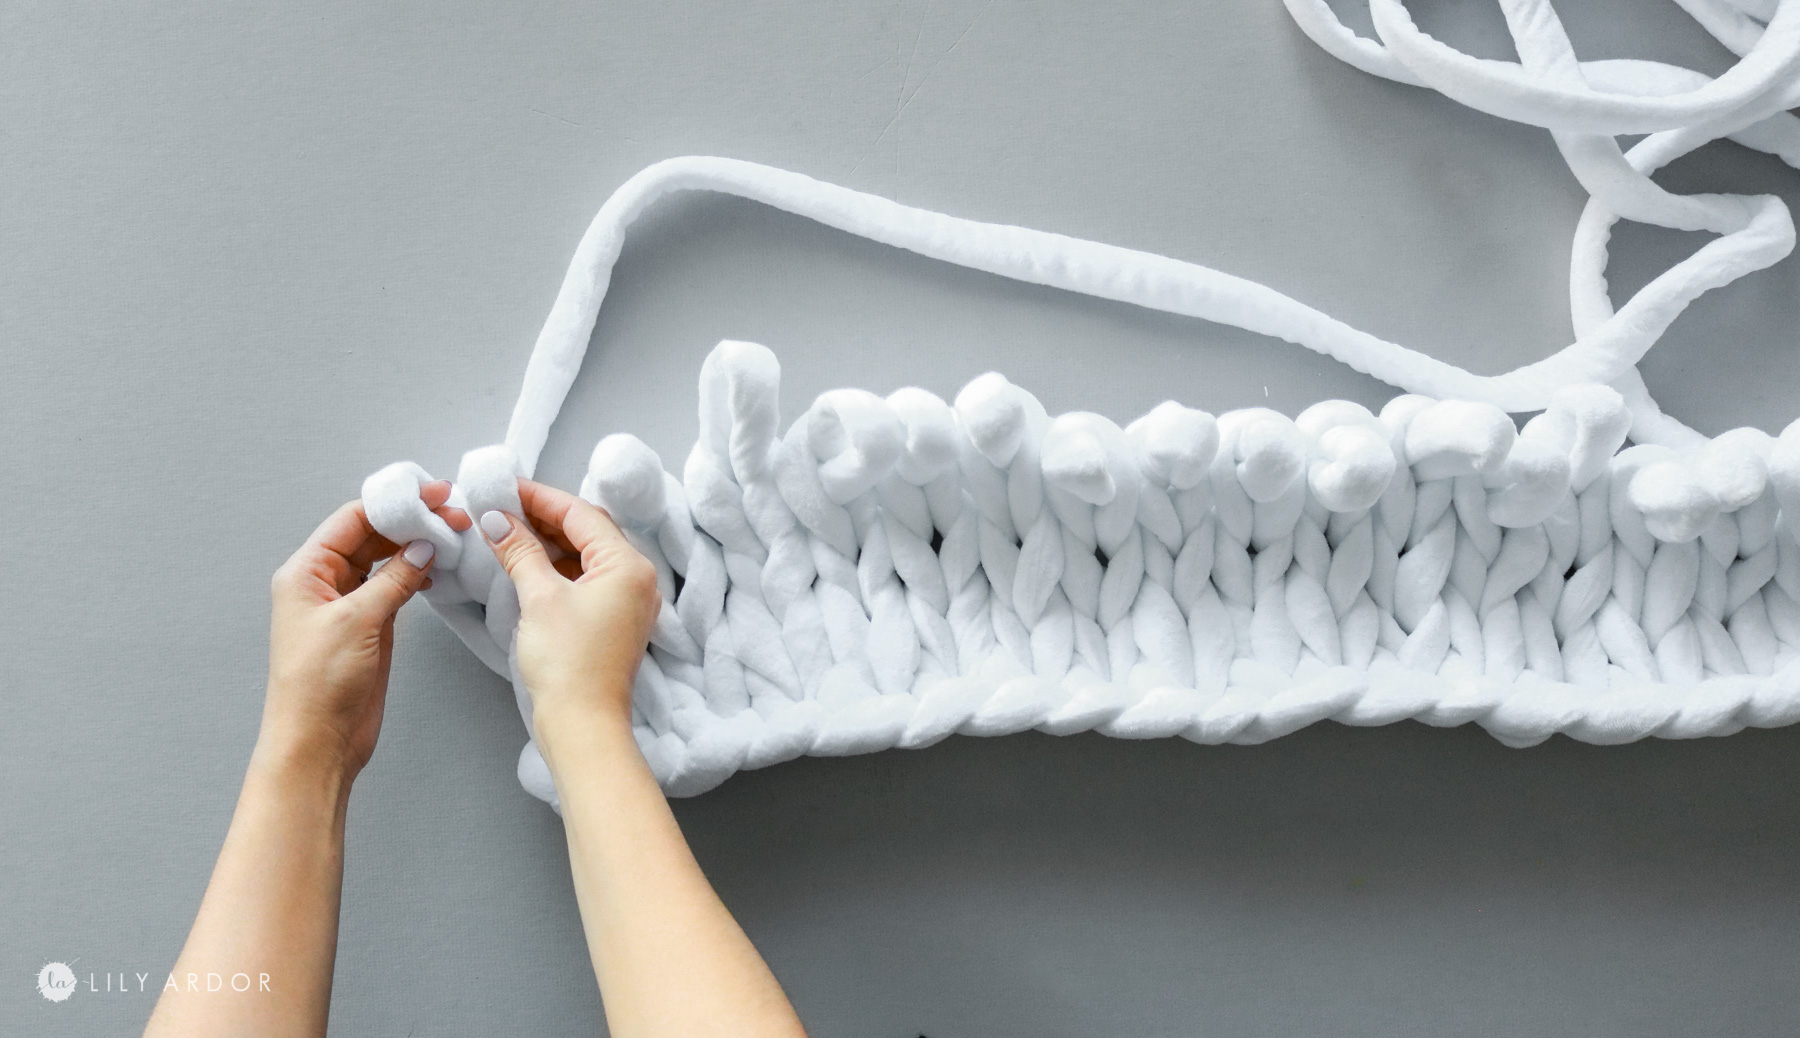
STEP 3: finishing the edges!
To finish the edges you’ll need to stick your fingers through two loops and pull one out. Repeat these steps until you gotten to the end of the knit. Again if this is confusing you can check out my instagram stories. Once the edges are complete cut off the yarn leaving about a 10 inch tail and tie a knot at the end.
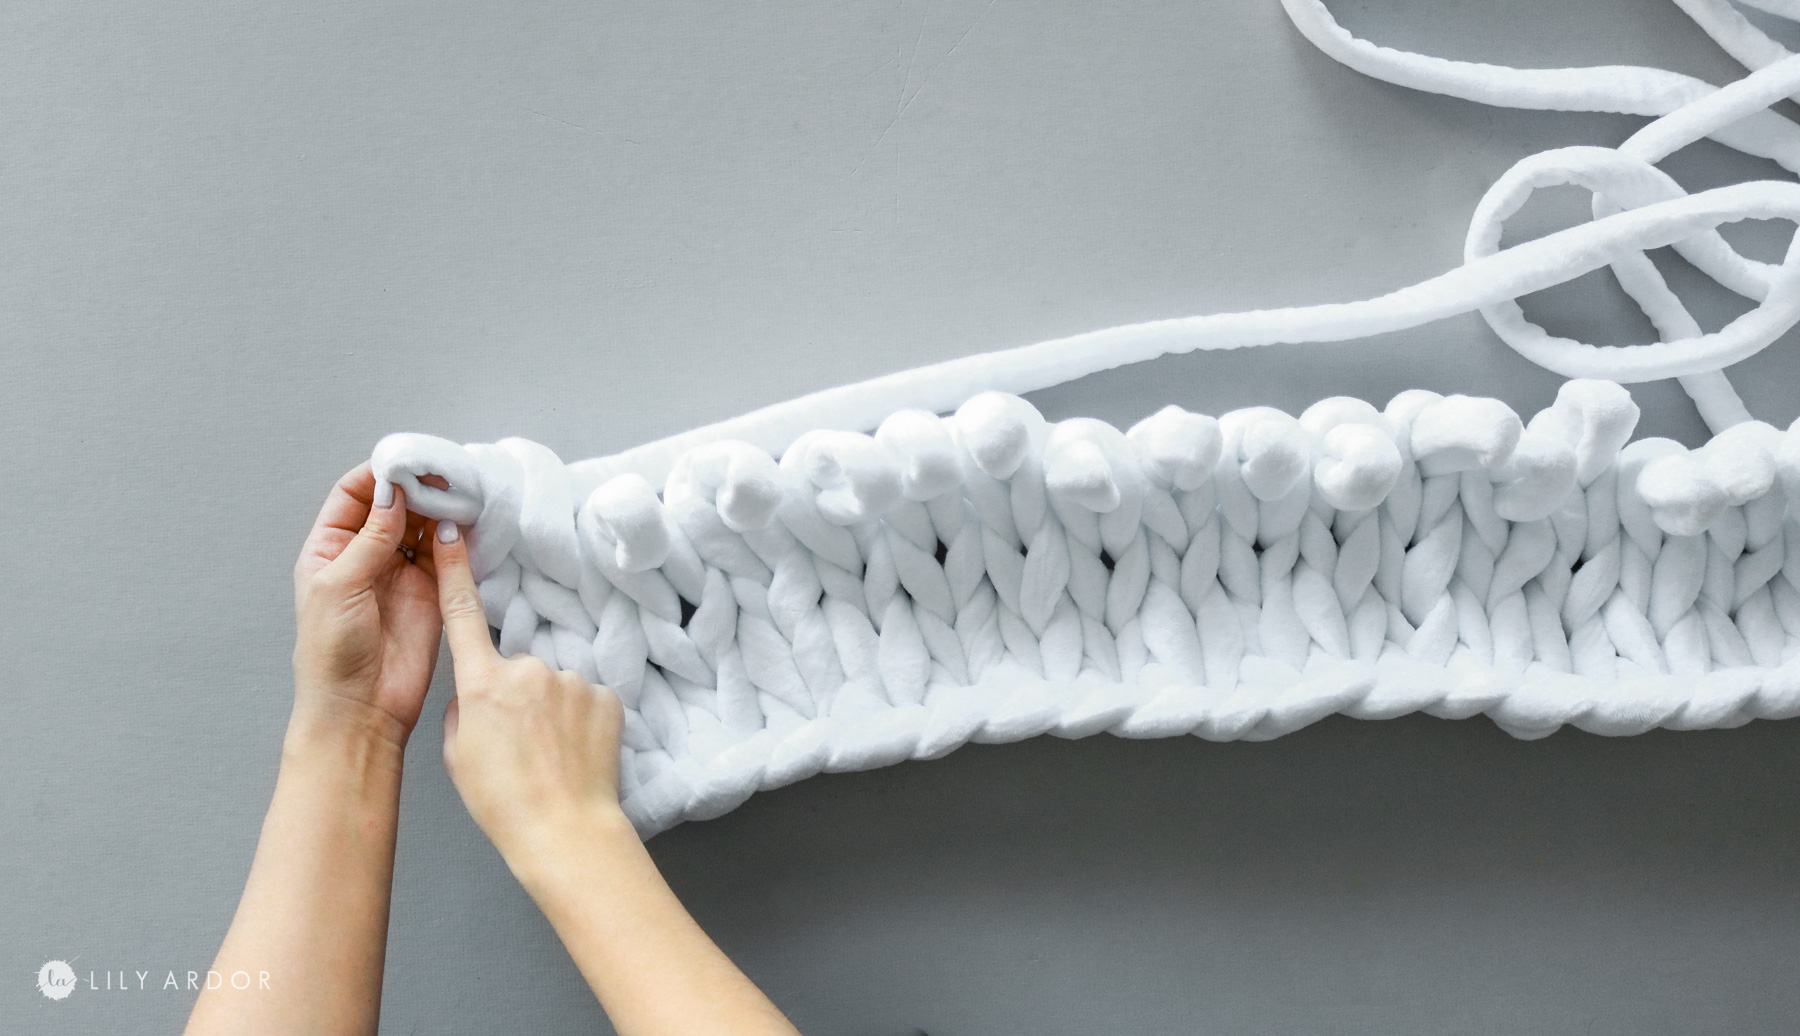
This photo shows my pulling one loop out after sticking my fingers through two loops to grab this one. Next you would stick your fingers through this new loop and one old one (making that two loops) to pull out a new loop. Keep repeating these steps.
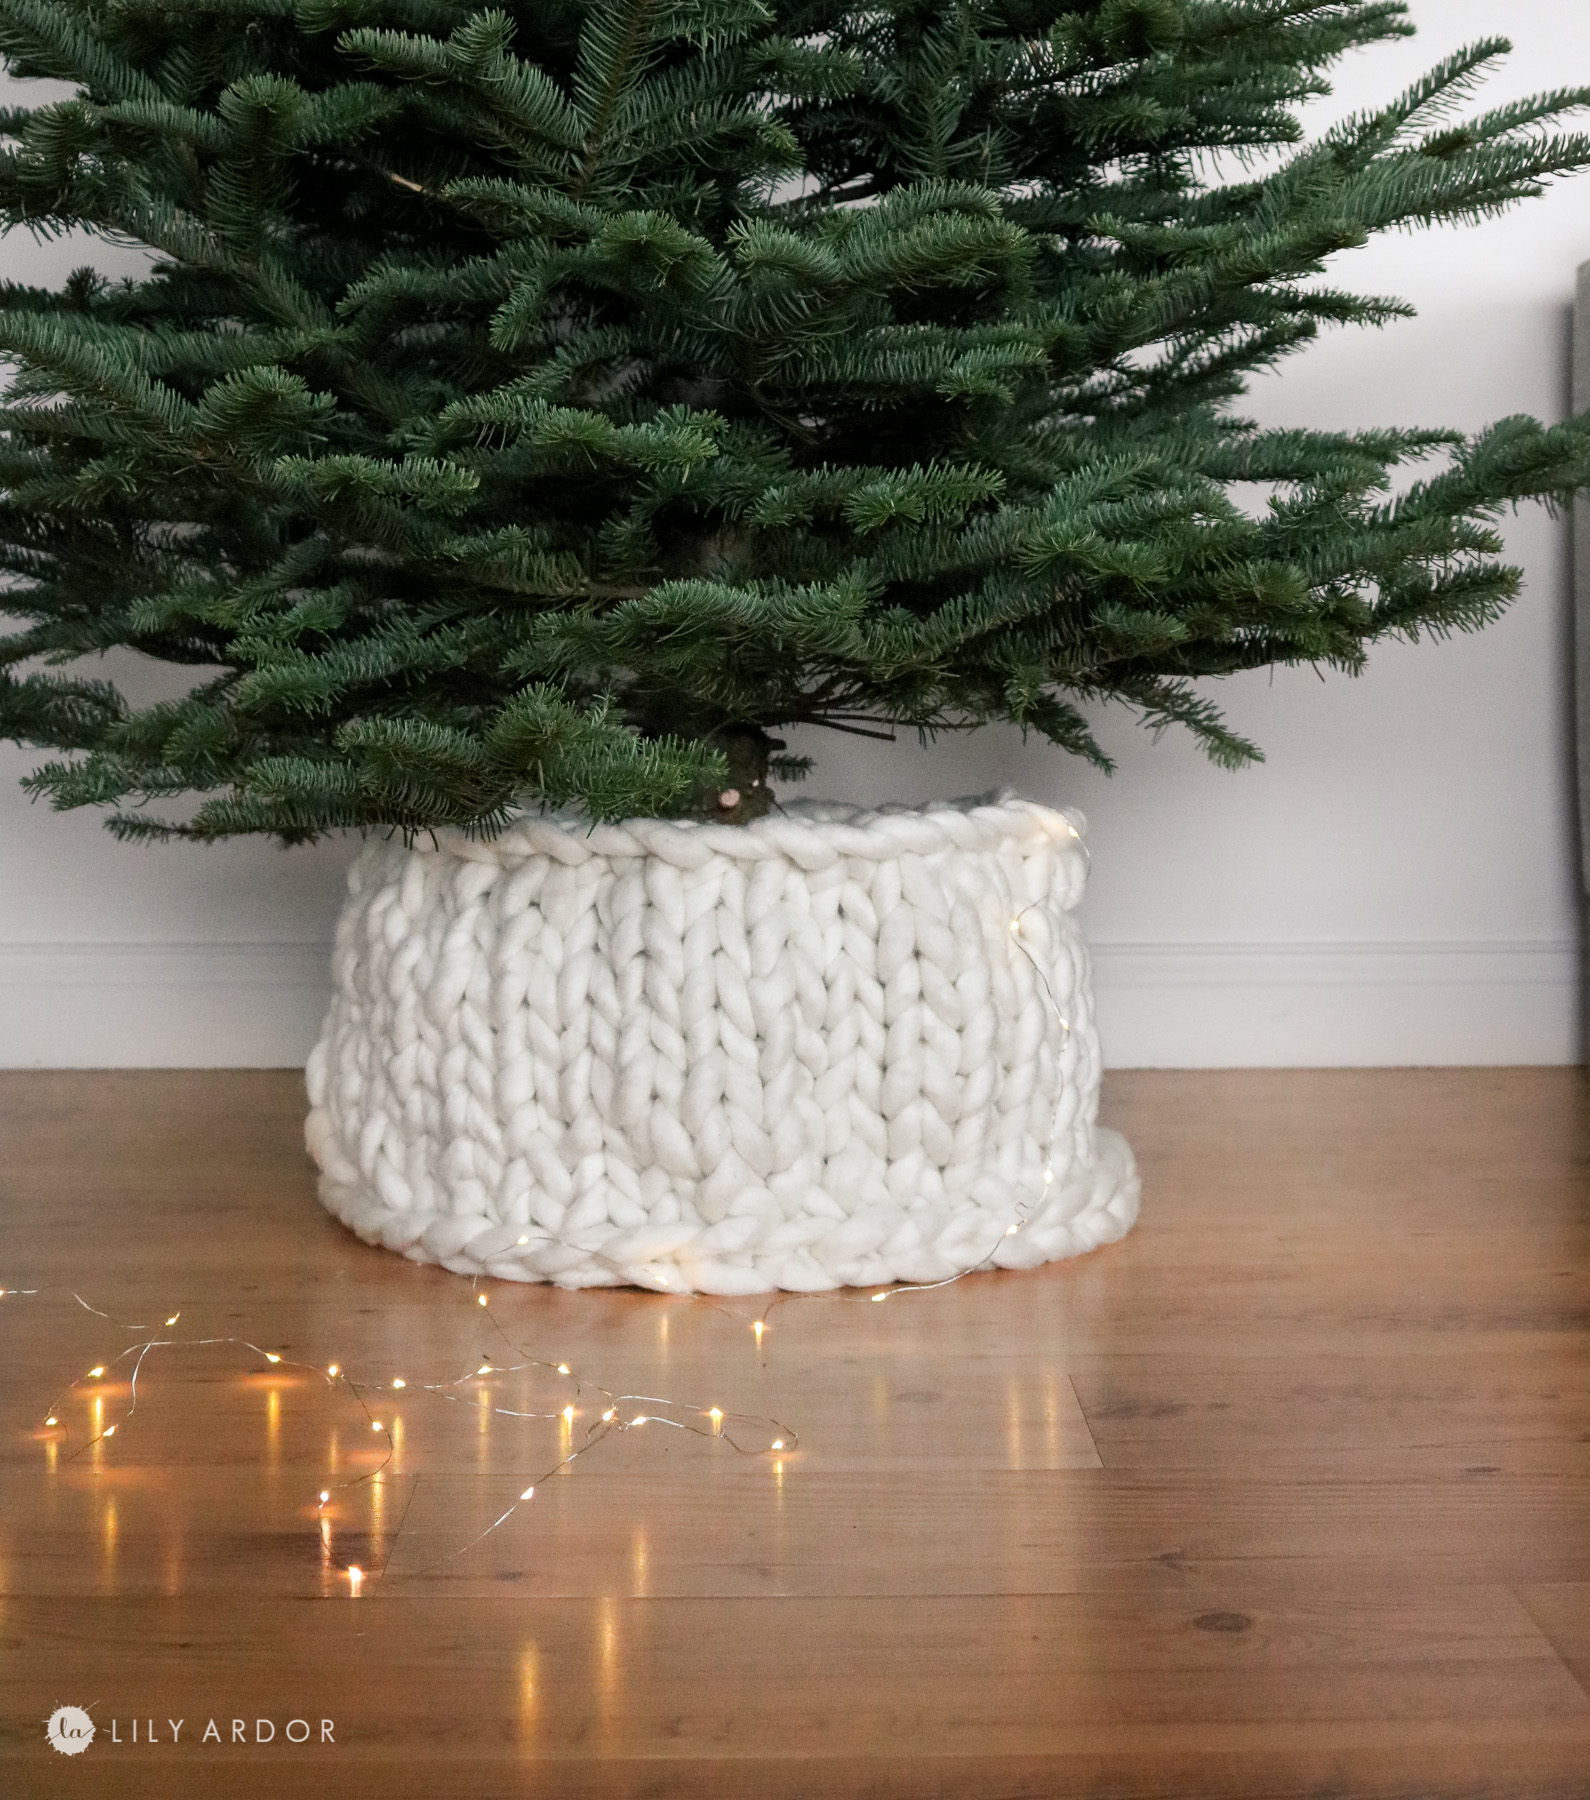
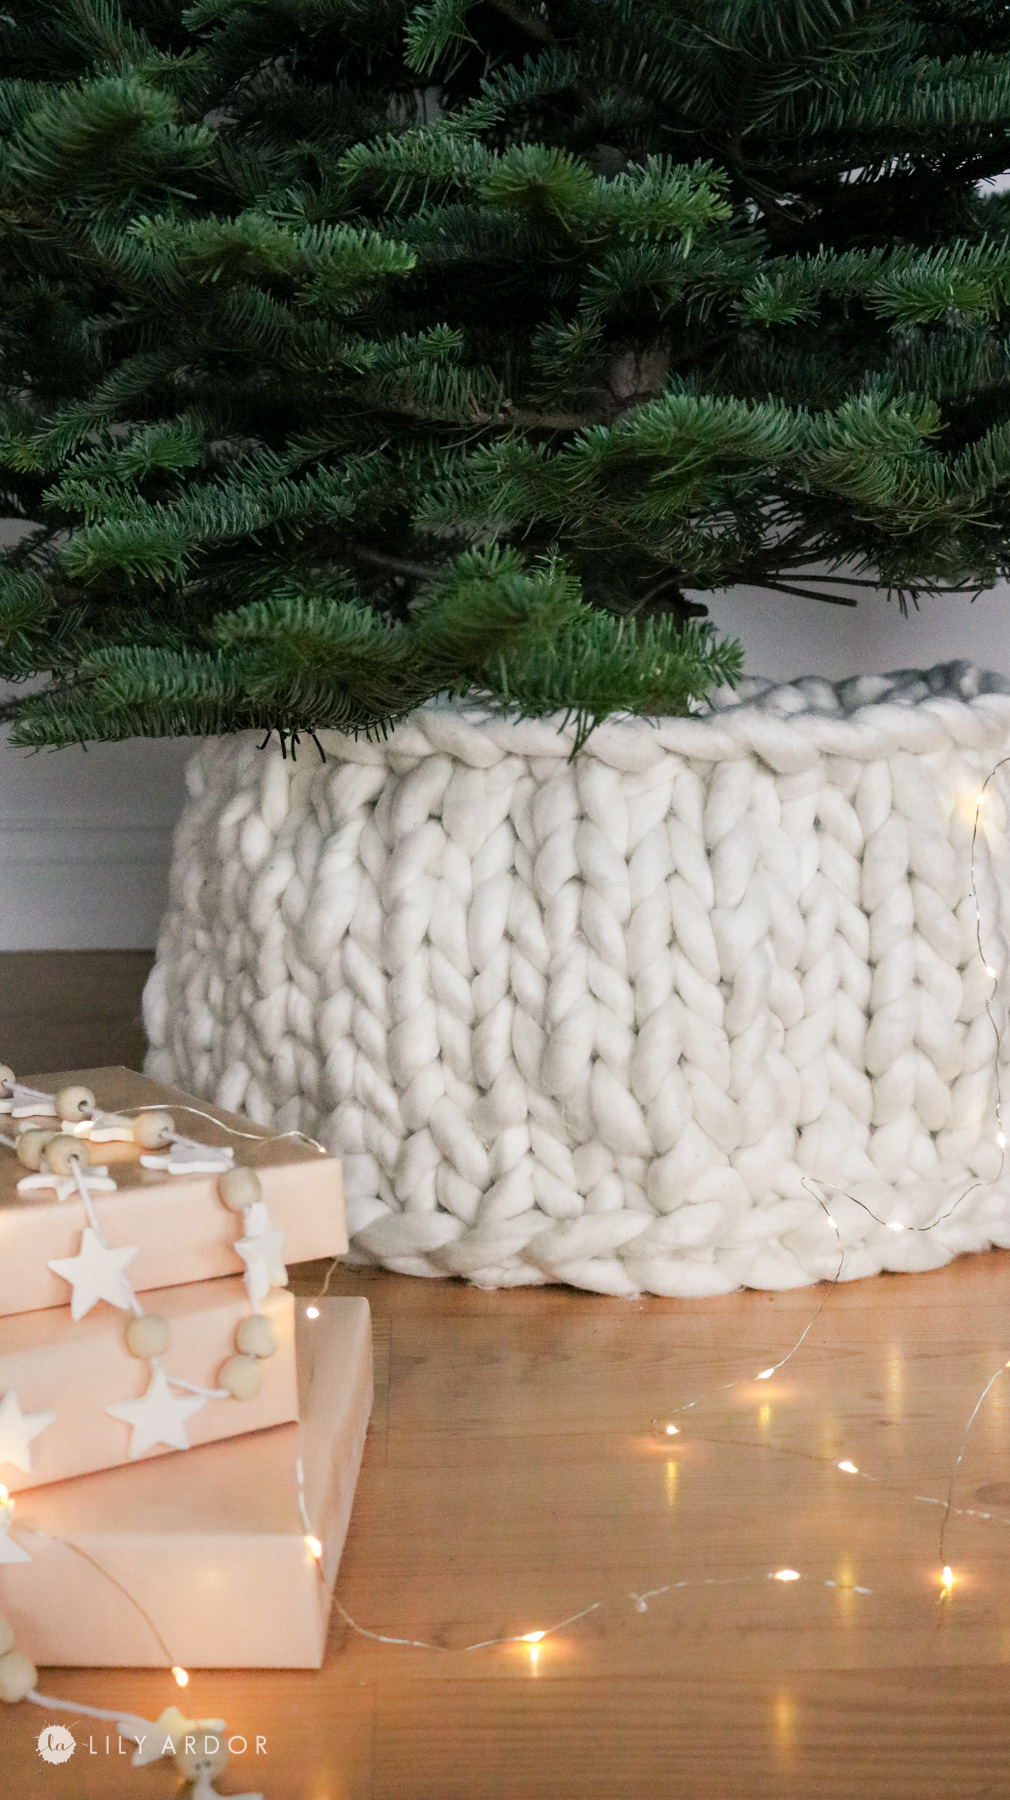
That’s it! The nice thing about chunky knit is it’s sturdy and stands up on its own if you do a tight knit. You can simply wrap it around the base of your tree and it’ll stay. I didn’t get photos of the back but, you can add loops on the back to tie it together.
You can also make a DIY christmas tree skirt by simply make it bigger in size and wrapping it around the base of you christmas tree instead of standing it up.
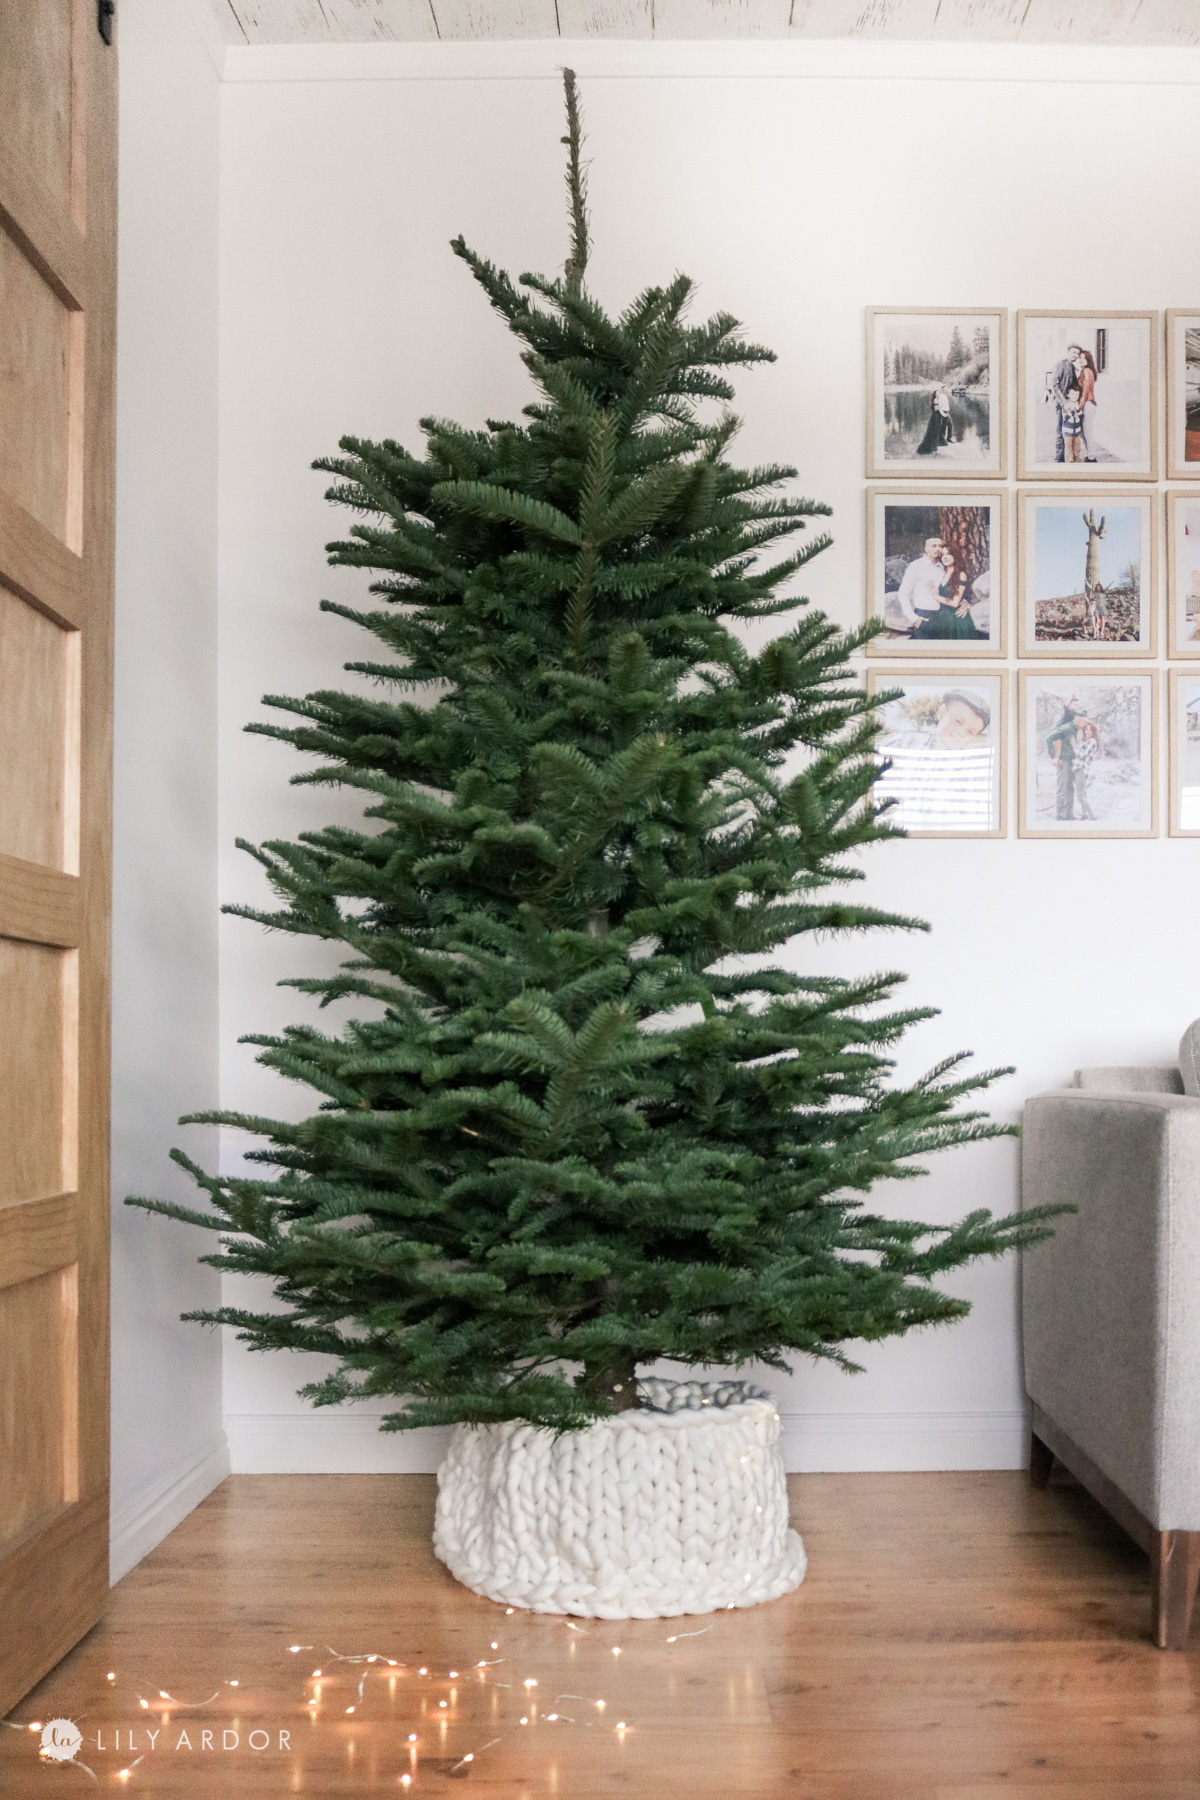
DIY Chunky knit Tree collar!
This photo was taken before I got a chance to decorate my tree. I’ll have to update with some fresh photos soon.

That’s all for now! Thanks for stopping by and I hope this inspires you to make your own DIY christmas tree collar. Let me know if you have any questions.
Best Wishes,
Lily
You may also like
I want to make this for our tree this winter and was wondering, how much yarn was used for this project with the size you made?
If I remember correctly I used 3 skeins of yarn.
Thank you very much for sharing, I learned a lot from your article. Very cool. Thanks. nimabi