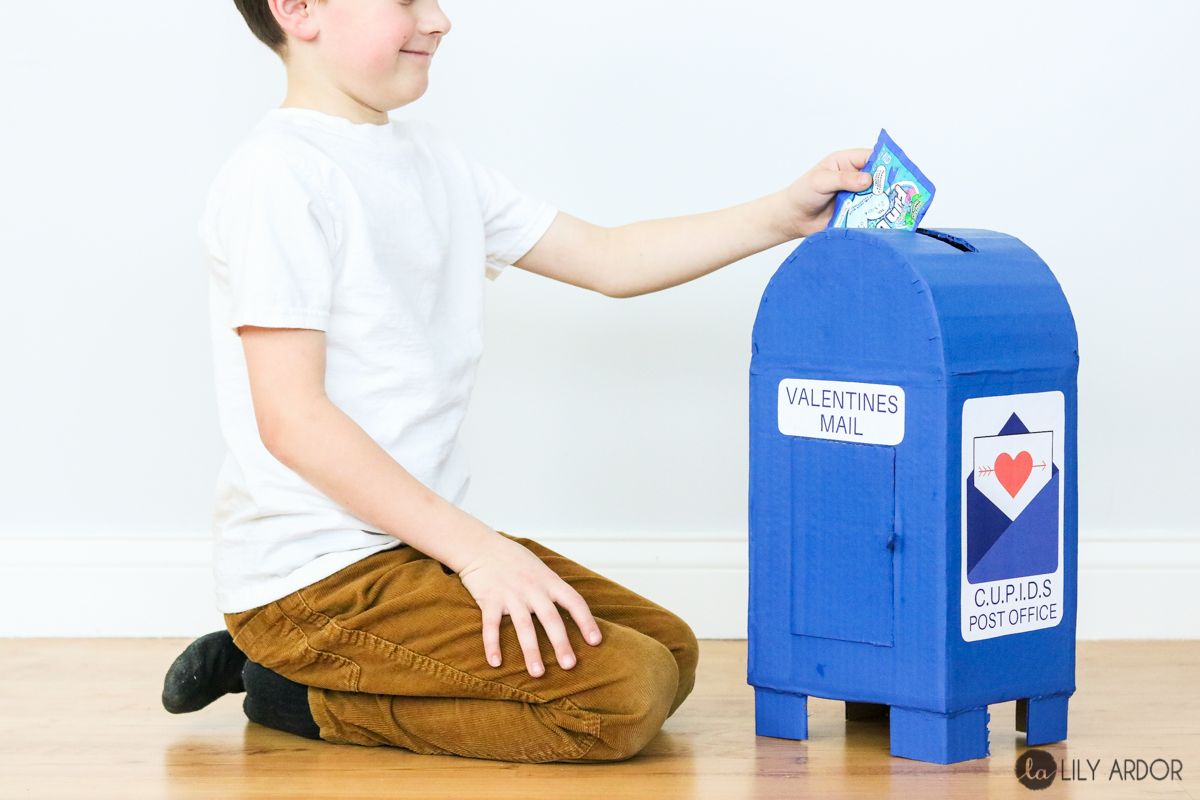
Valentines Mailbox
So, I’m sad to say this is kind of a last minute post and I apologize for it being so late, but as they say, “better late then never. ” Last week our little guy came home with a valentines project assignment he needed for school. I’m sure his class isn’t the only one that has the valentines mail box tradition. He went through a few ideas before he was set on this one and I’m glad we ended up doing this one because, it turned out so cute and, it’s perfect for a boy.
Valentines Box Idea for Boys
Yes I did surf through google and pinterest for valentines boxes for boys and their isn’t much to pick from. We wanted a masculine yet still valentines themed mailbox. Everything we came across was either pink or red. Don’t get me wrong I love pink and red they’re just not very masculine colors. At least not what he wanted. Blue was what he requested and the only thing we could think of that was related to mail and was blue was the post office mailbox. So that’s where our inspiration came from.
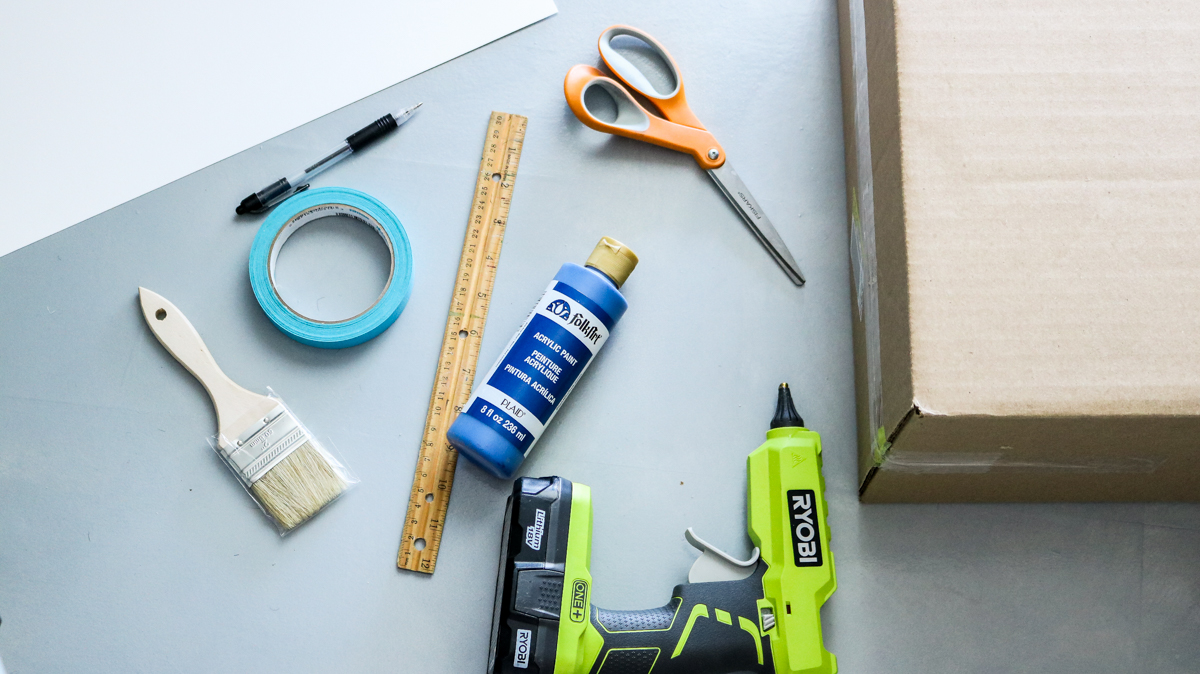
What You’ll Need
- Cardboard Box
- Glue gun ( here’s the one I use – https://amzn.to/2wbsxwh )
- Blue paint + brush
- Printable
- Masking tape
- Glue stick
- Ruler
- Scissors (or knife to cut cardboard)
- Razor blade
This post includes affiliate links*
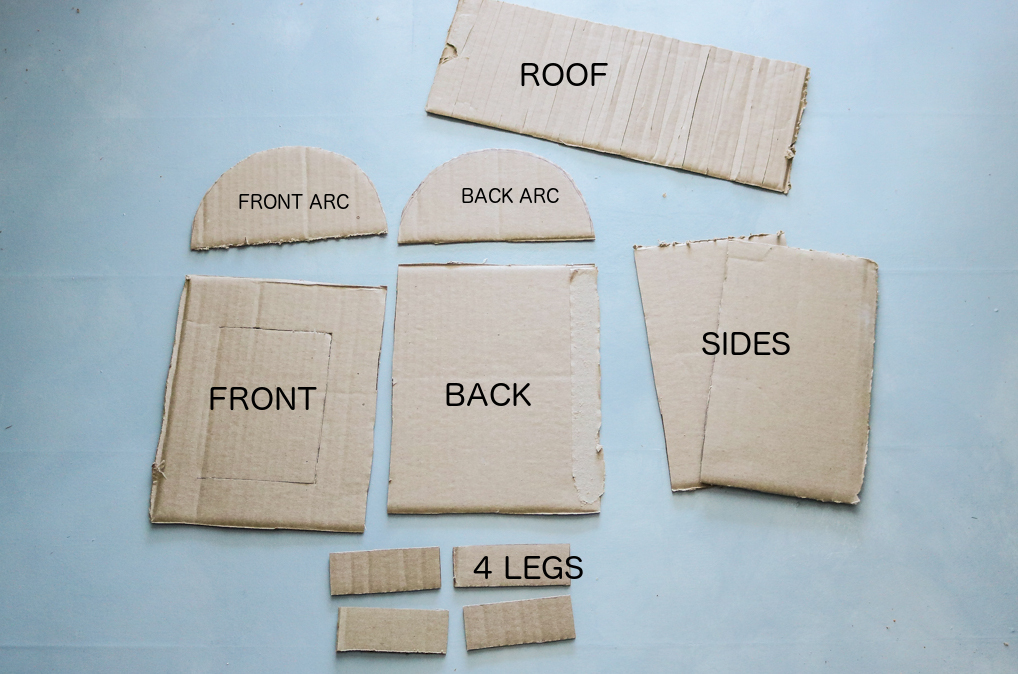
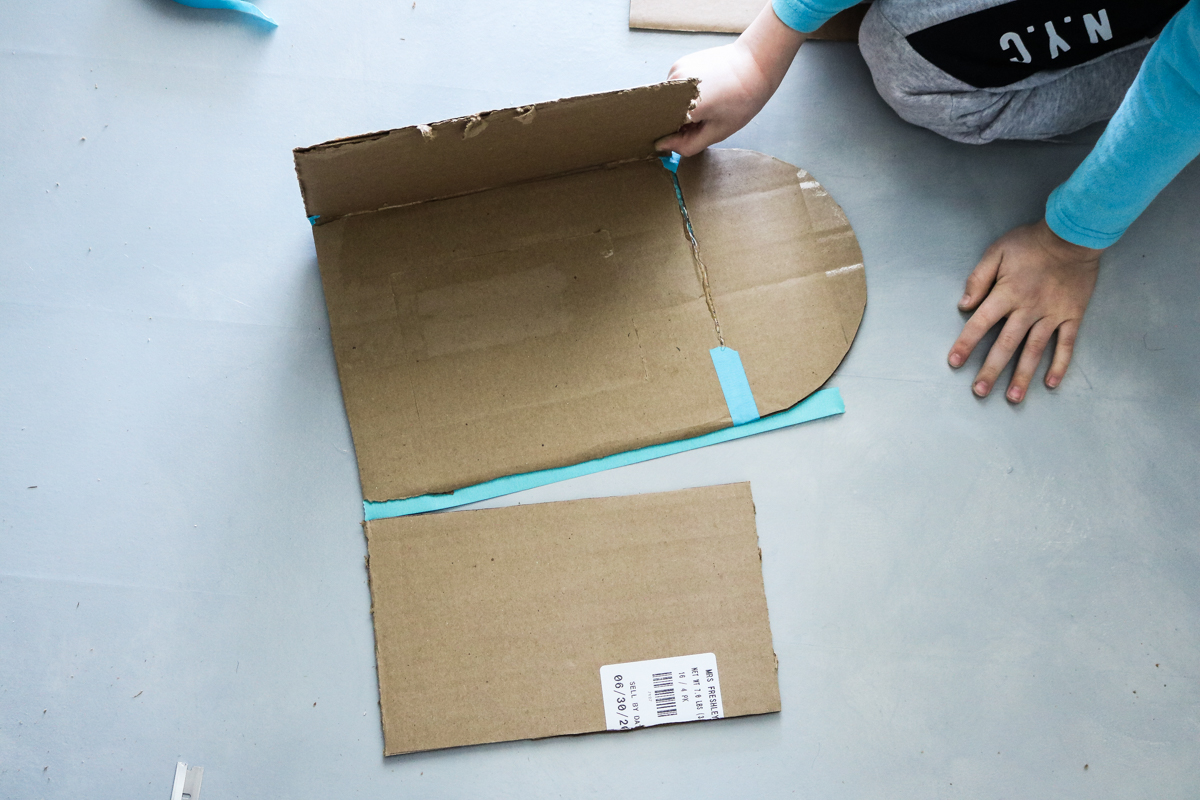
Step 1
To begin cut out all your pieces out of cardboard as shown in the photo below. You’ll also need a bottom (it’s not shown in the photo because I did it last)
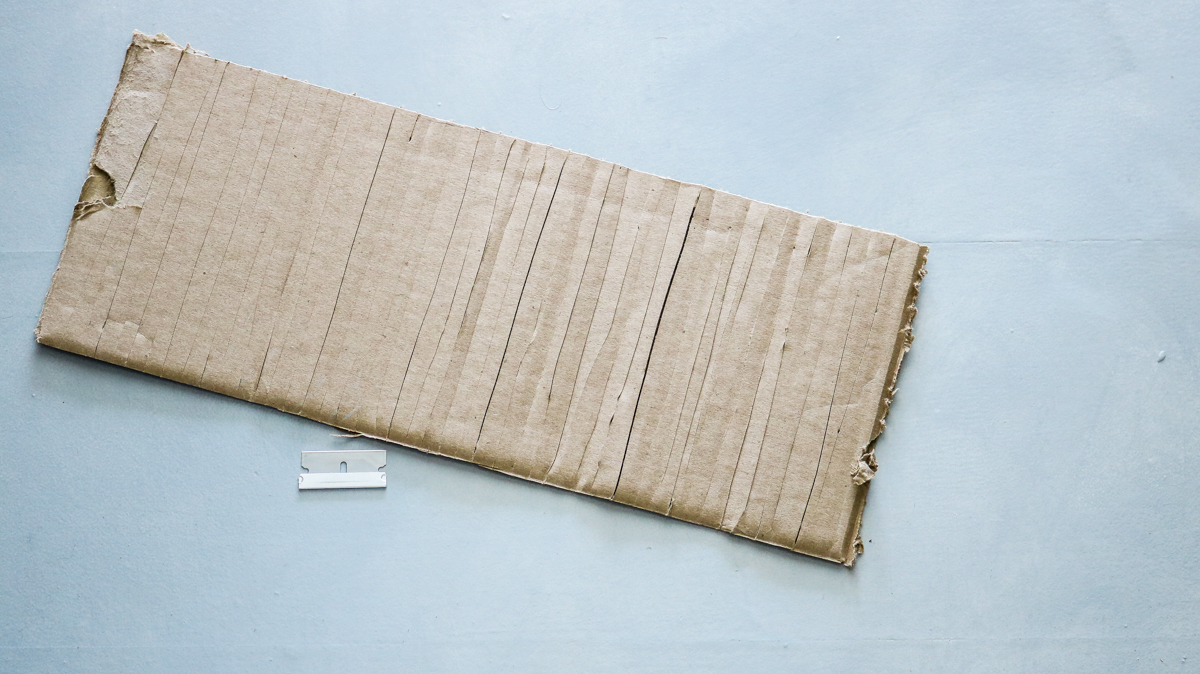
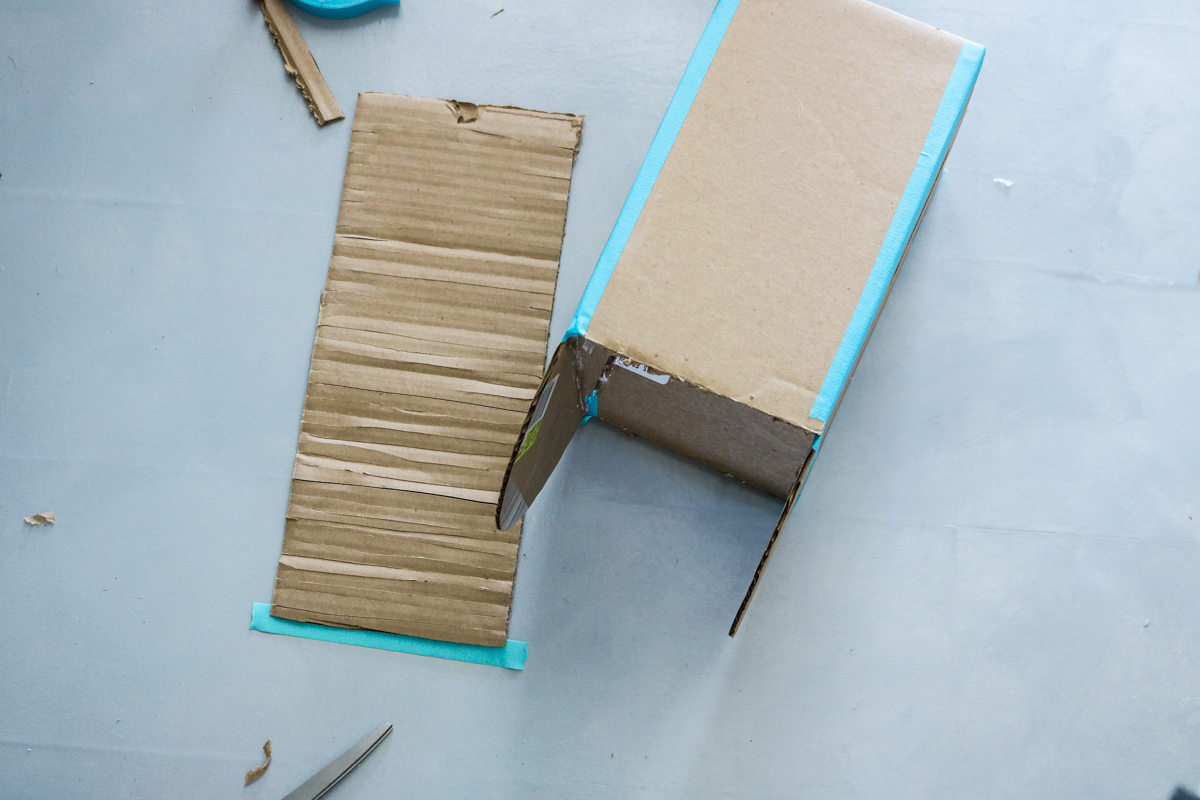
Step 2
Then take a razor blade (or razor knife) and cut slits onto the roof piece of your cardboard. I did my cuts between 1/4″ to 1/2″ apart. Be sure not to cut through all the way. This only needs to be visible on one side of your cardboard. (adults please do this step)
Step 3
Following that tape all your pieces together. We used both tape and hot glue. The tape was visible on the outside and kept the edges cleaner and the hot-glue was on the inside.
Step 4
Then glue your roof onto your arches making sure the slits are on the inside. Before attaching your roof make sure to bend the cardboard back and forth making it more flexible where you put your slits in. This will help you get a smoother look .
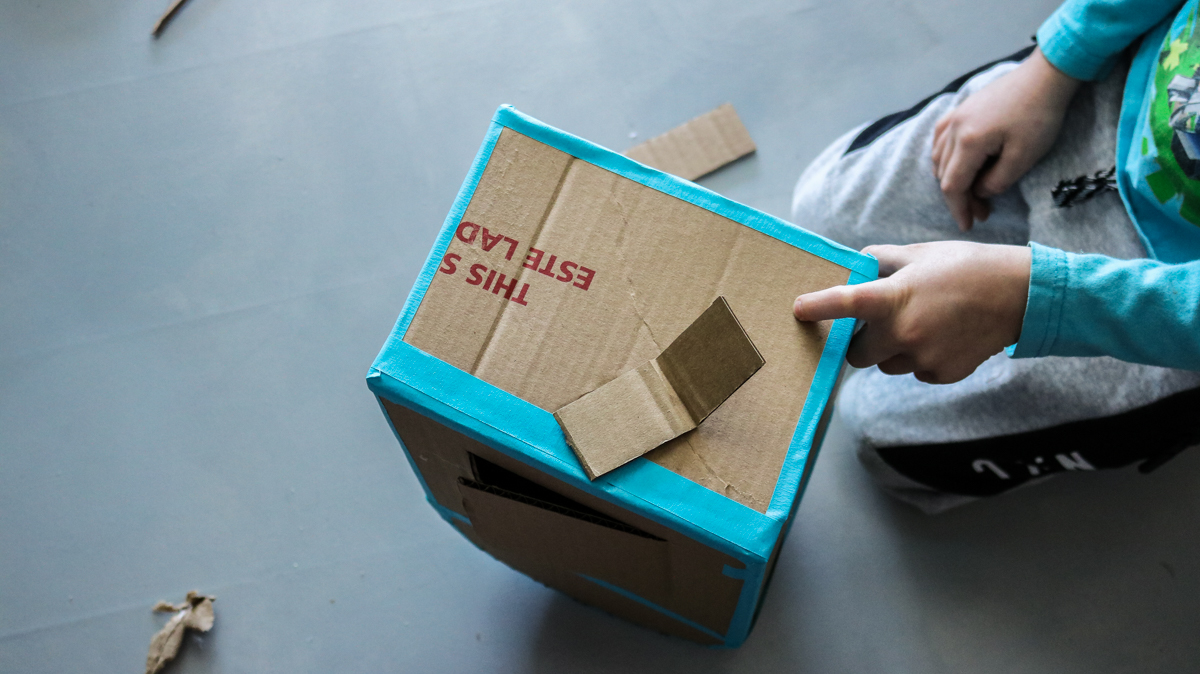
Step 5
Once your roof is attached use your razor blade (knife would be better) to cut a little mail slot at the top. ( be cautious – adults please do this step)

Step 6
Then cut out and attach your bottom and fold your legs in half and attach them all with hot-glue.
Step 7
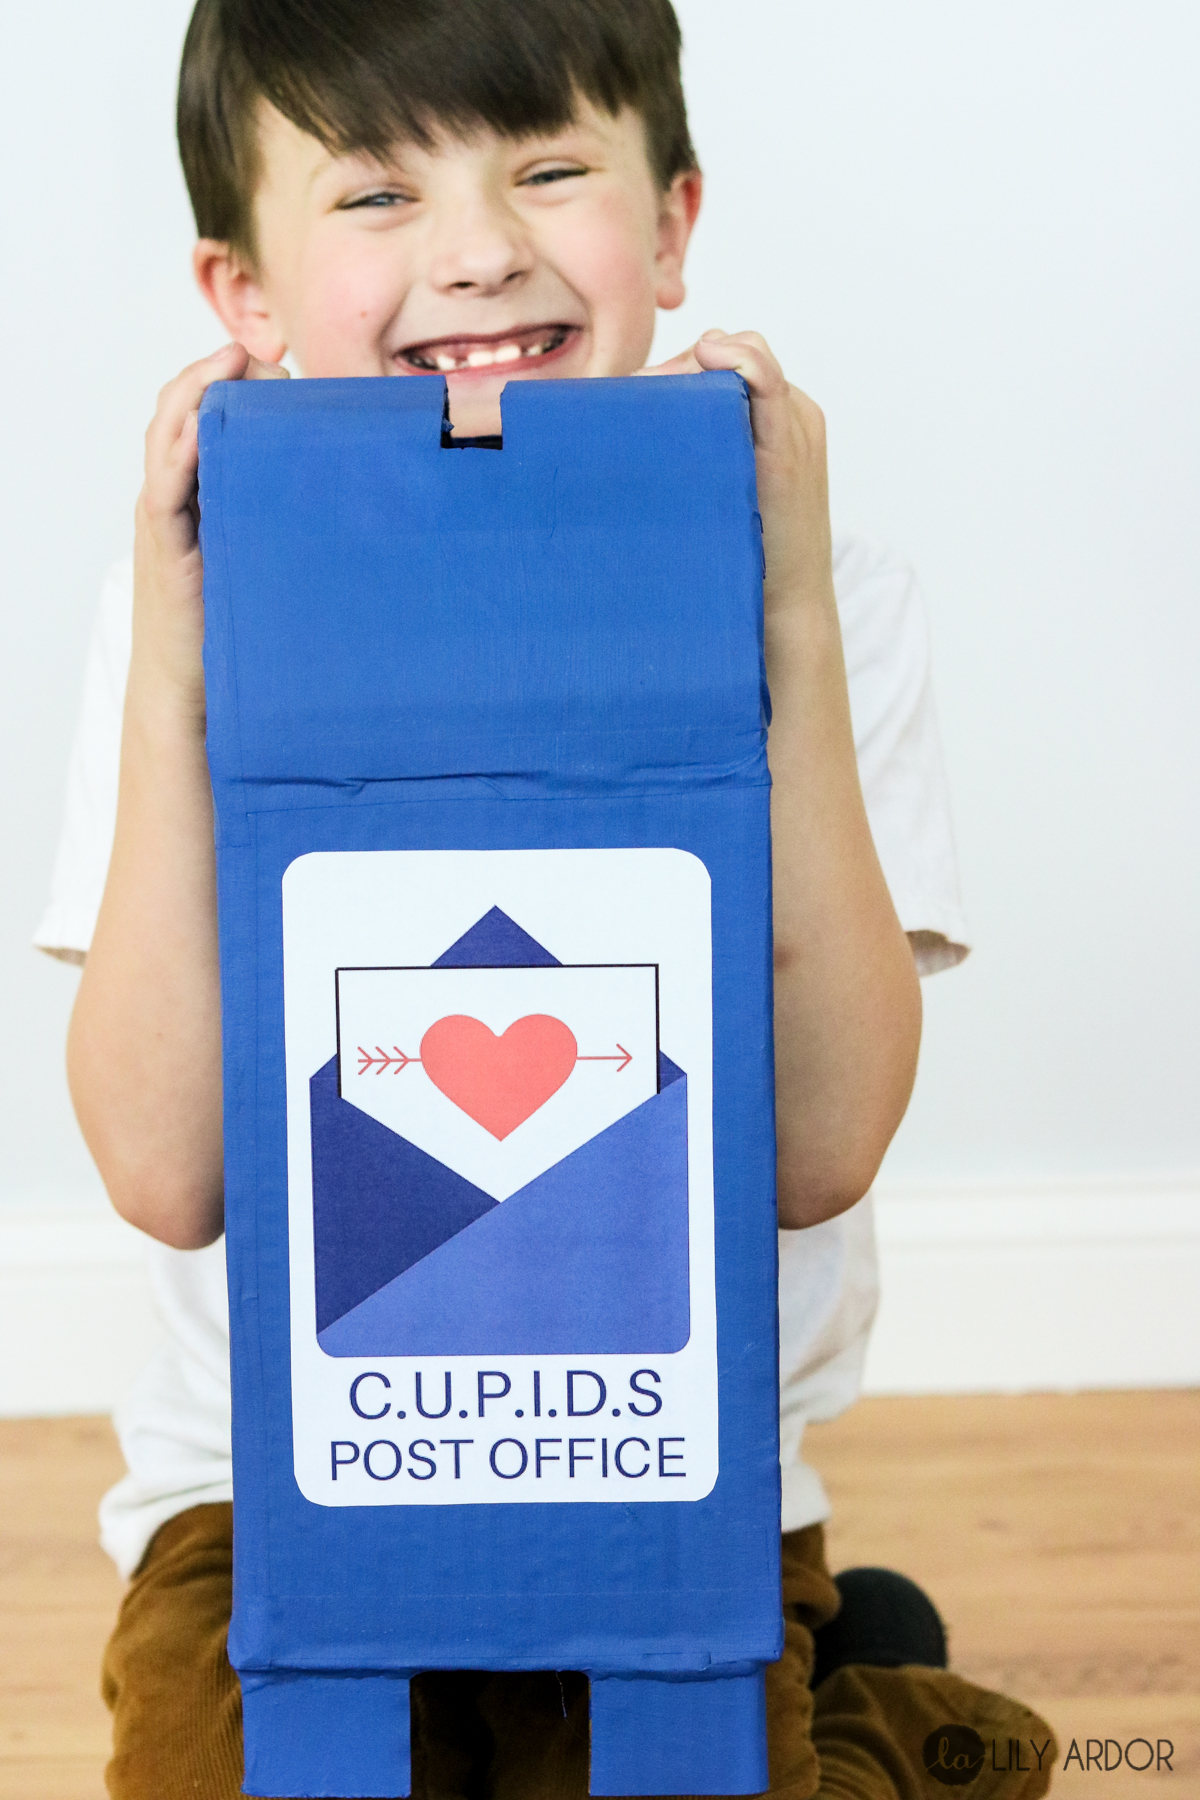
And to finish it off give it a coat of blue paint and attach your printable with some glue from a glue stick:D
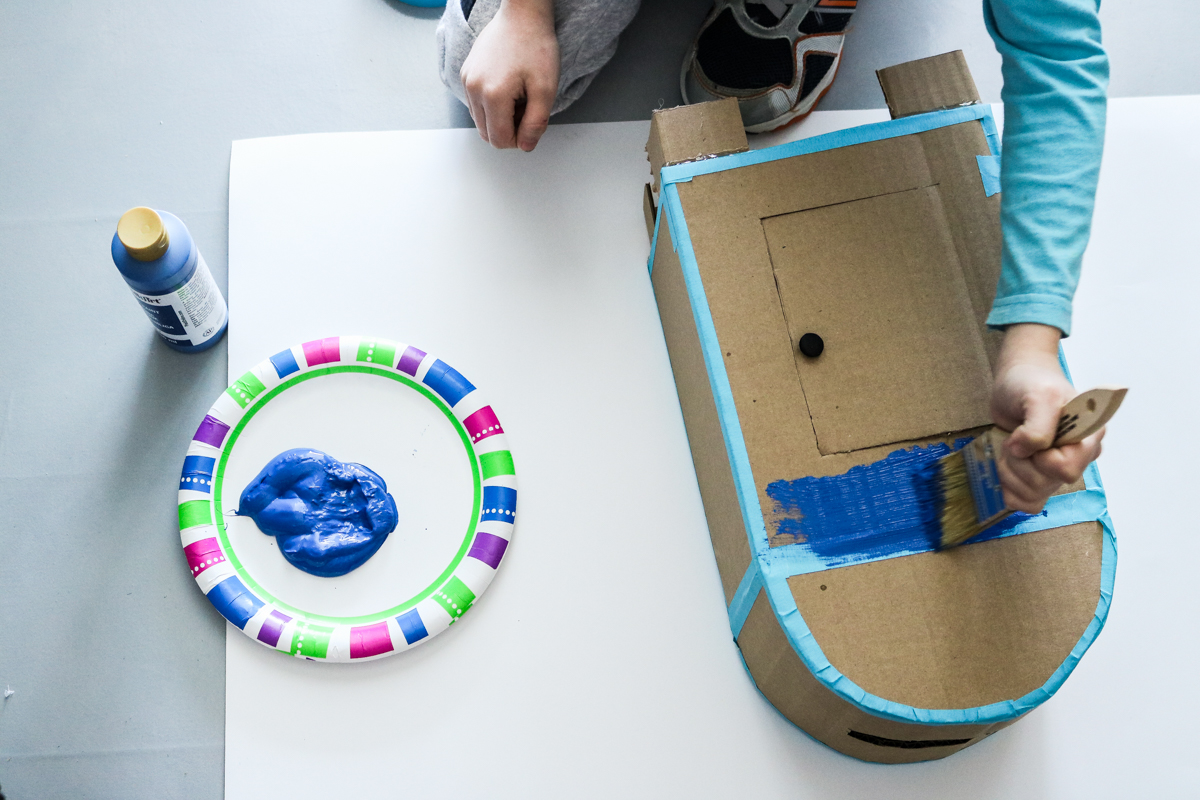
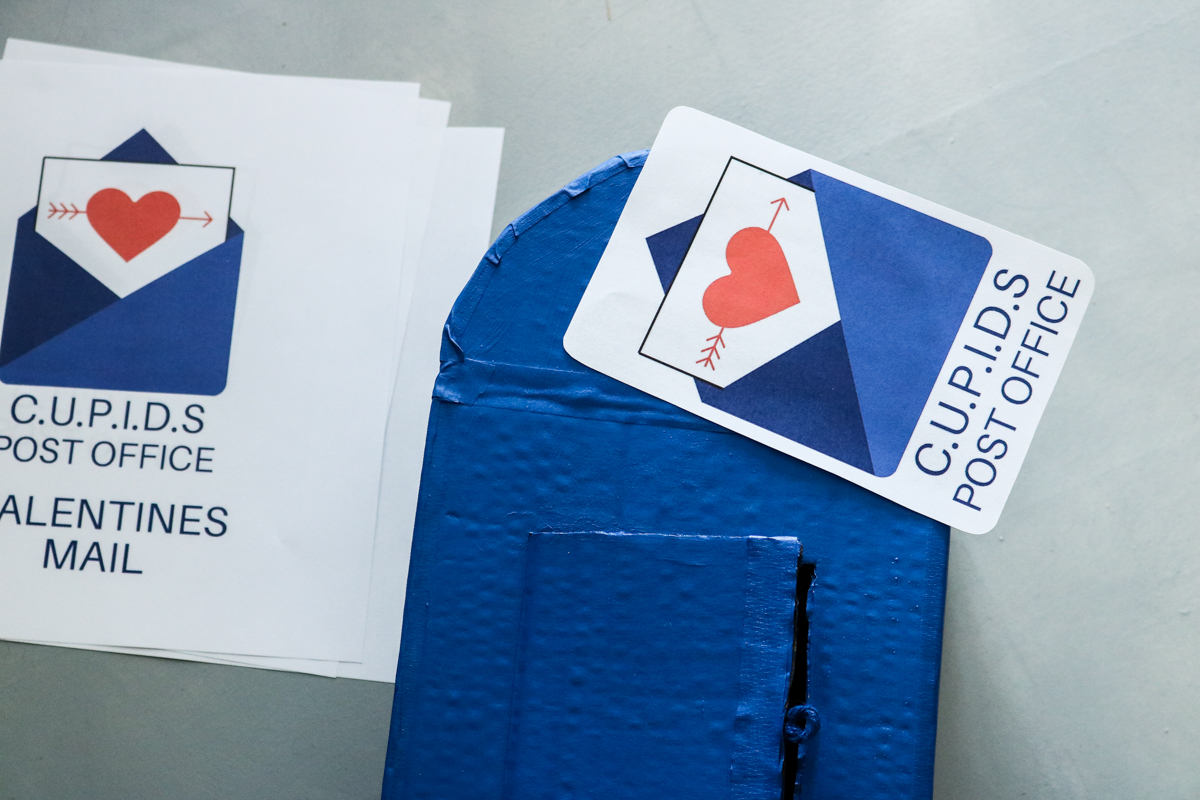
Here’s the printable we used. (feel free to use them if you’d like 😀 ) To print : right click on the image and save as image to your computer. Then you can either drag and drop onto a microsoft doc or print however is more convenient for you.


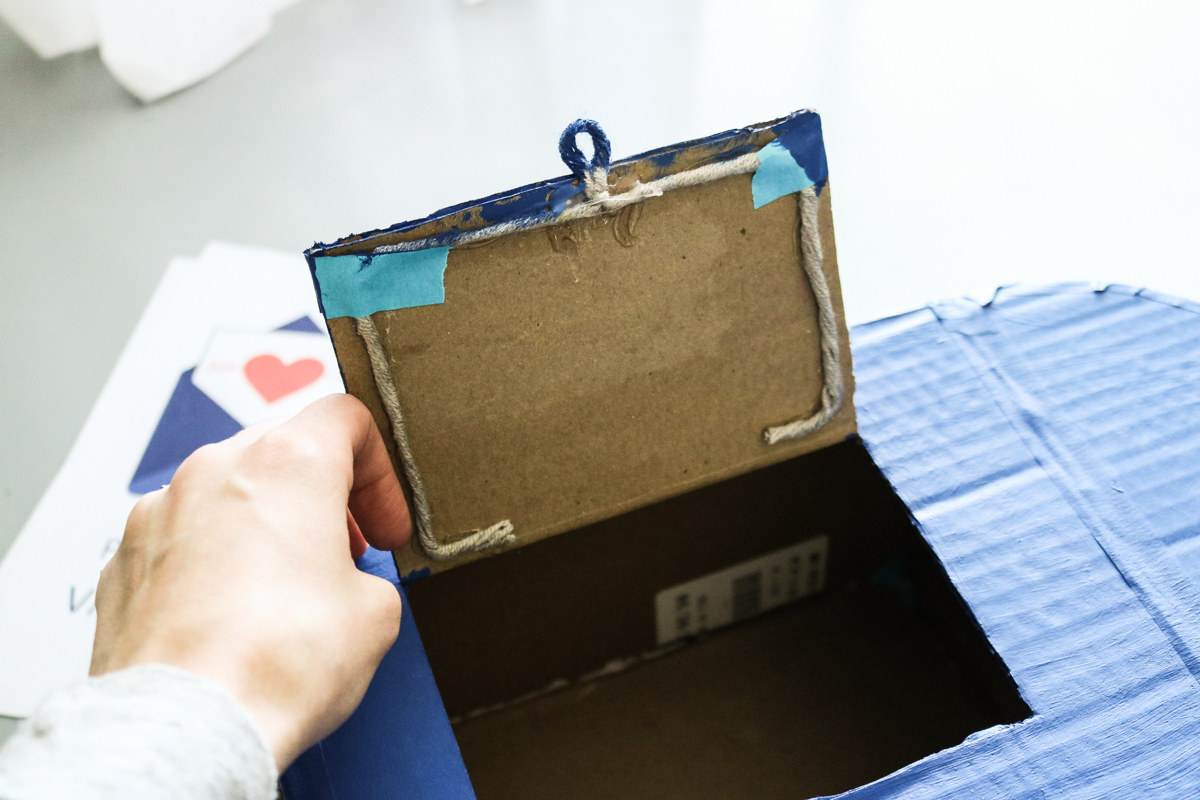
Here’s how I made a little handle for the front door. It’s a bit messy but it works. I used regular yarn that I attach with hot glue. The tape isn’t needed it was just extra from the front. (We tried using a button at first that we glued on the front to open but, it fell off from the first try. This was a lot sturdier)
That’s it.
MORE TOP RELATED VALENTINES DAY DIYS :
- Press Flowers In 3 Minutes : Plus frame them to make perfect gifts!
- Moss Heart Photo Display : Personalize your gift with this DIY!
- Heart String Art : A perfect gift with a row of memories!
- Flower Candle : Make this candle with their favorite flowers!
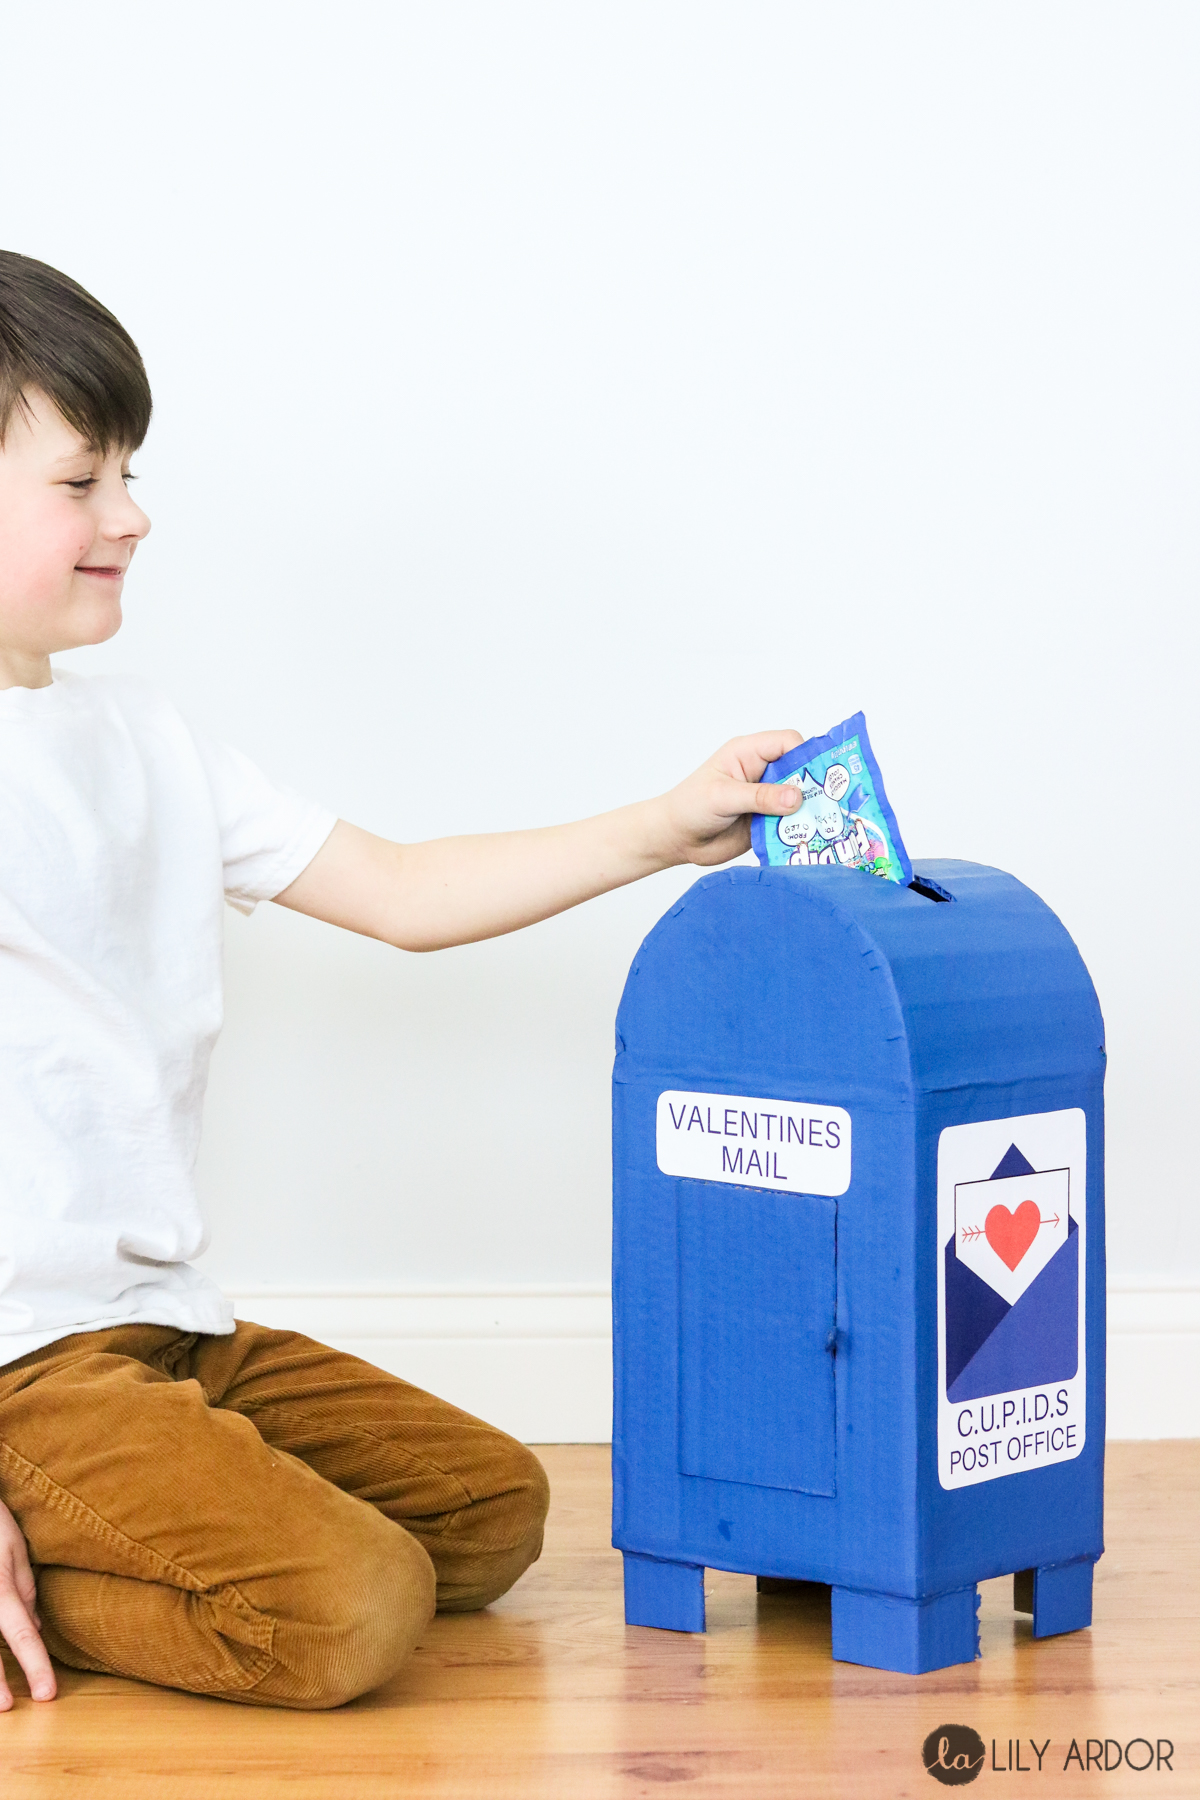
How cute is that! 😀
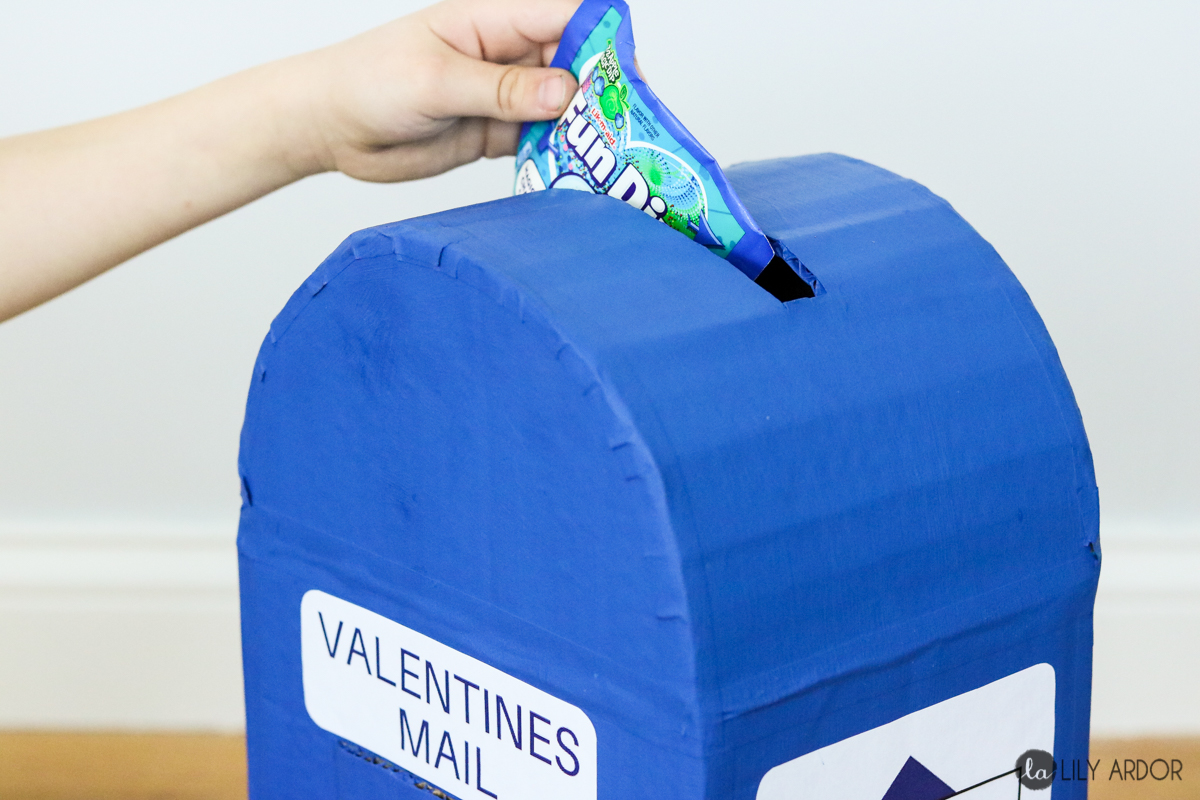
Here’s how the little door opens to remove that candy. 😀
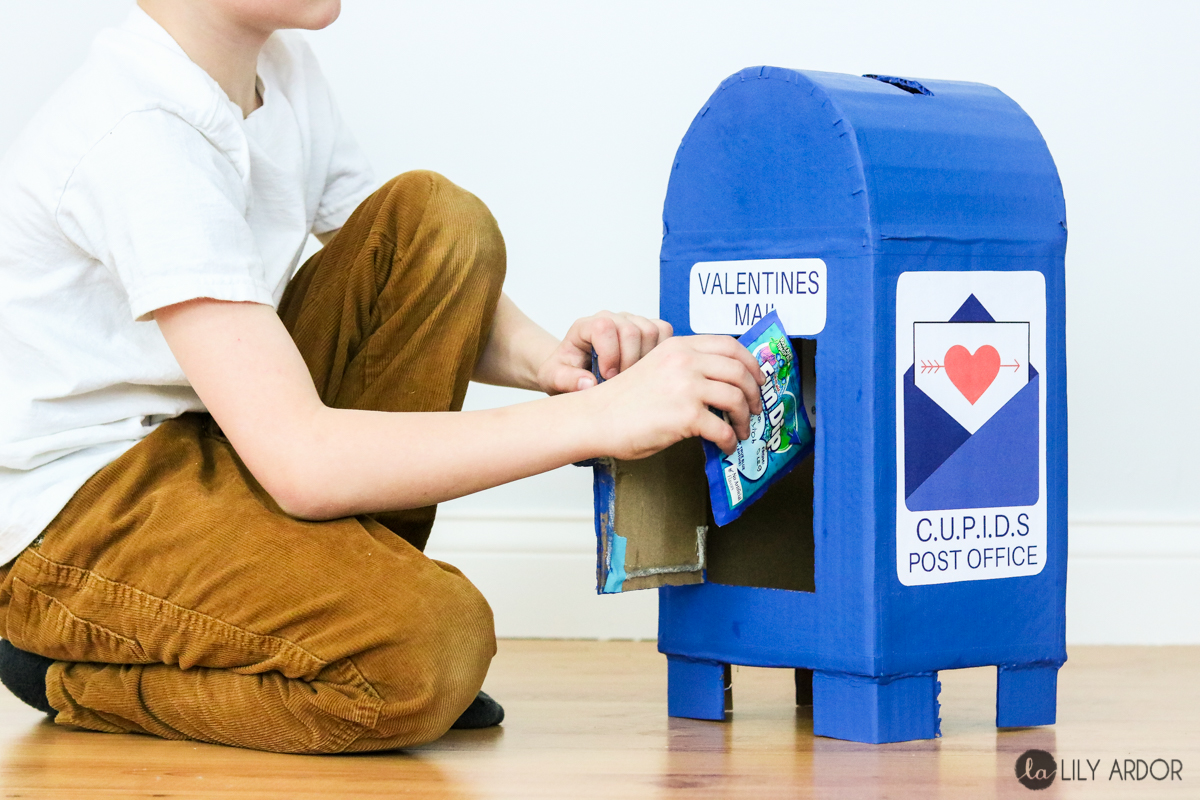
Can you tell he’s happy?! 😀 😀 😀 I hope this Valentines Box Idea Inspires you to make your own!
Here are some affiliate links for the products I used to make this project. (If you purchase anything from my affiliate link I might get a small commission. However this DOES NOT result in any additional charges to you. For more info read my disclosure policy)
Hi,
do you have a template for your valentine box or did you just guess?
Sorry I don’t have a template. I just use a ruler and guessed.
My son picked out this design for his mailbox this year. I’ve spent my evening assembling it, and it was super easy to make. The directions are easy to follow. Instead of cutting out each individual piece, I found two same size smaller boxes. I made sure one box opened up while standing tall. Then, I cut all of the folds off the top and saved two for the rounded pieces. I used the other box for legs and the top curve of the mailbox. I can’t wait for him to bring it in to school tomorrow!
WOW that’s awesome! Sounds much quicker! Did you paint it blue as well! Oleg was obsessed with the blue color. 😀
What are the measurements for every part ?
Sorry Mariii it’s been a while I don’t remember. I should of written it all out. I know the complete box was about 2.5 feet in height and 1.5 feet in width. Hope this helps 🙂
Thanks for the idea, it was easy to follow! Our post office box came out awesome!
That’s awesome to hear!