I’ve always been a huge fan of macrame wall hangings. They’re truly a work of art and take countless hours and sometimes even days to complete. Today’s macrame wall hanging is by no means the real way to make one. It’s merely inspired by macrame 😍😊. I guess you can call this a hack 😬 ! I’m not really handy with knitting or knots so here’s my take on macrame. (ps. 🙈someday I plan on learning how to make a real one. With knots and all! )
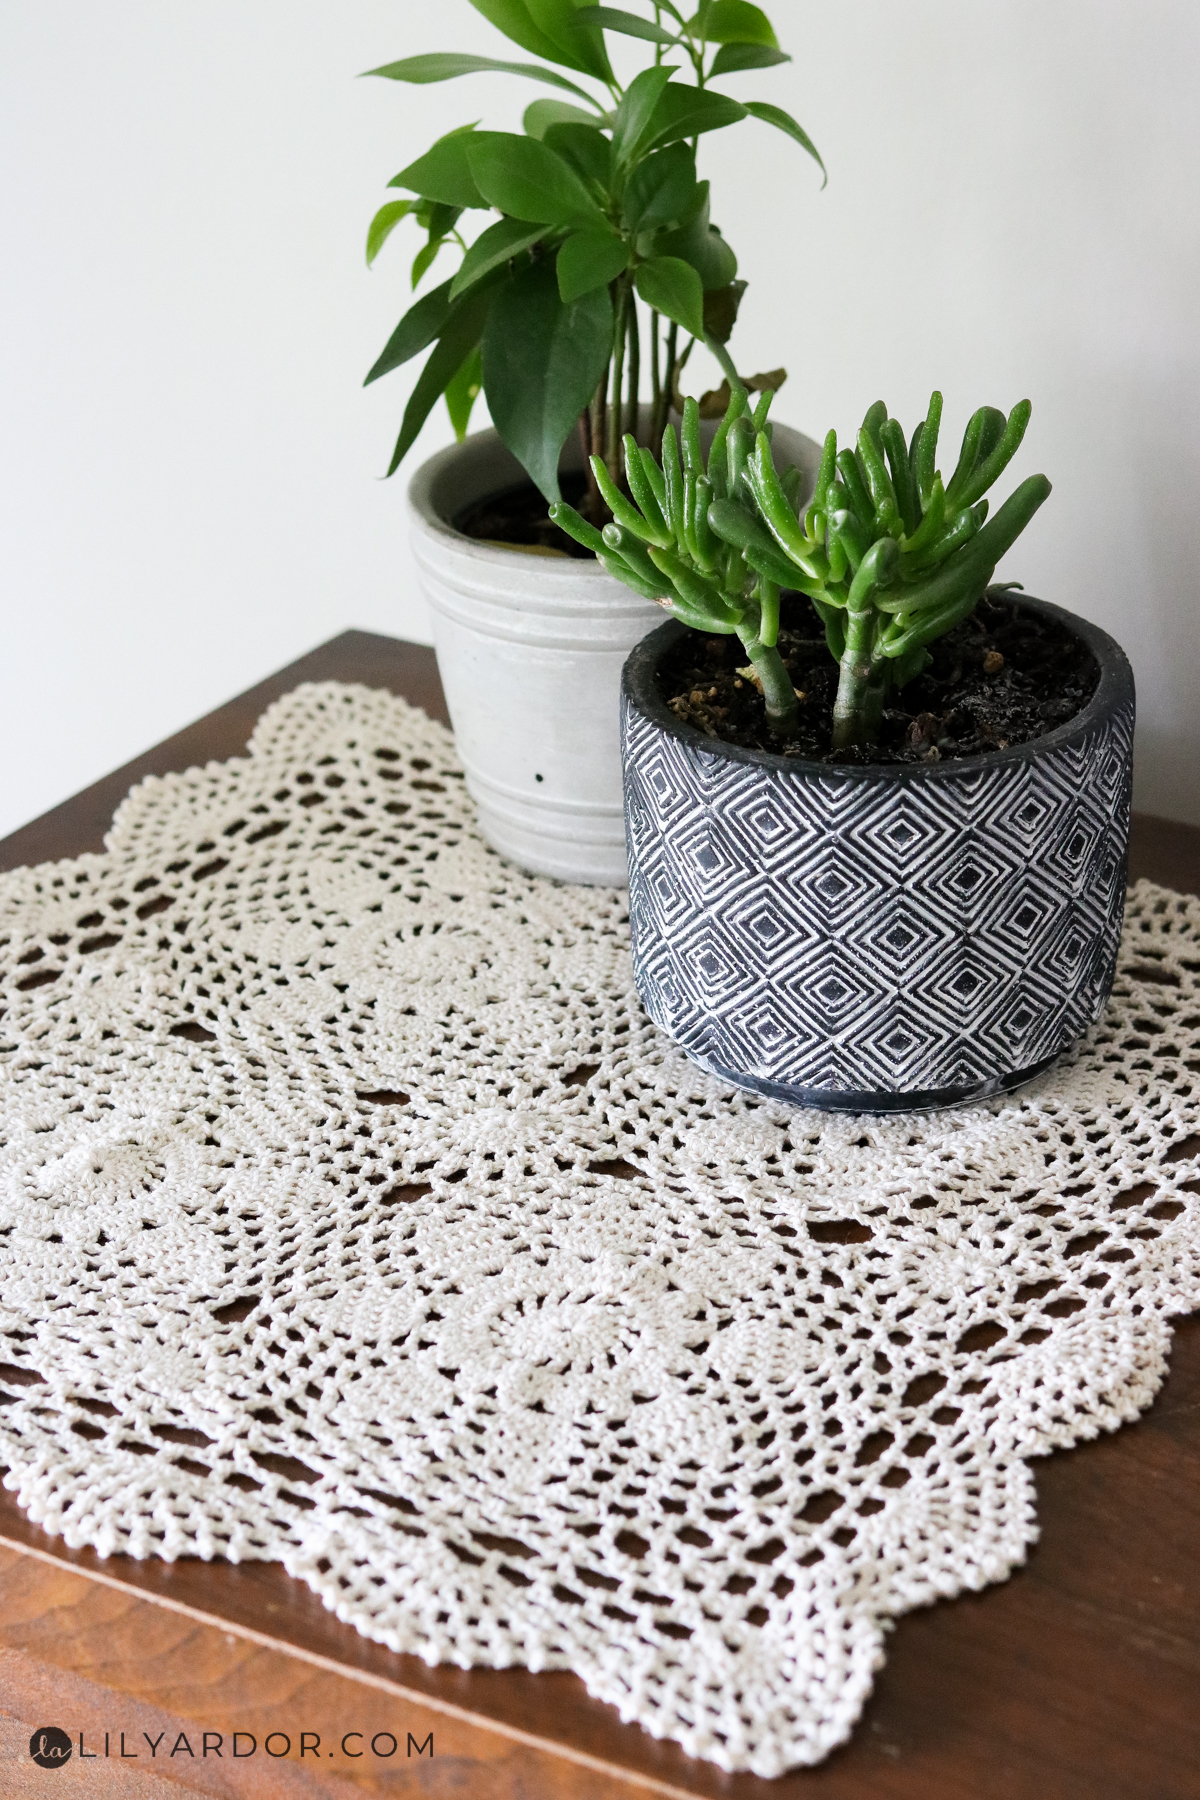
Here’s the doily I ended up repurposing.
TIME NEEDED:
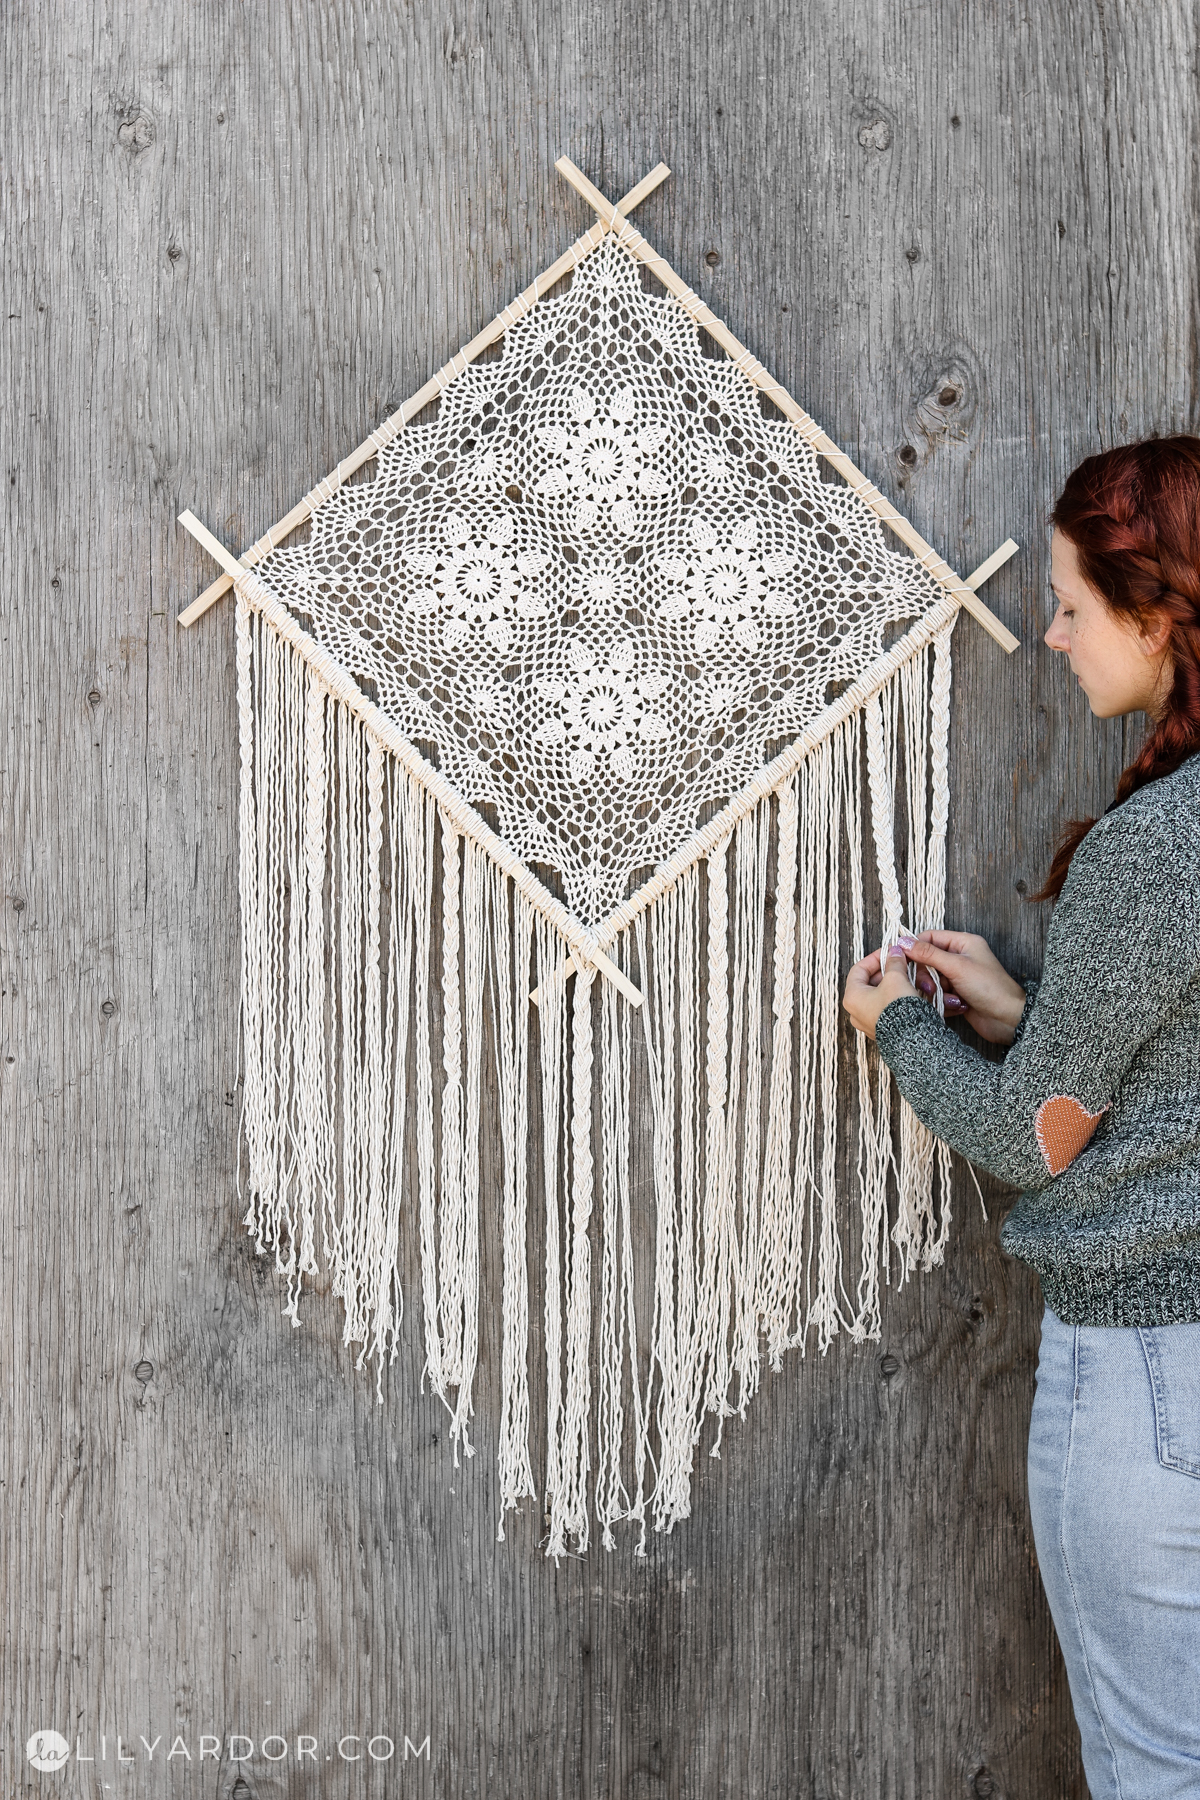
Even though this project isn’t really hard to make it takes time. This took me around 4 hours to make. Size will also make a huge difference. Mine measures about 17″ by 17″. That’s pretty big and I should mention that adding the threads to the bottom took the most time.
COST: $25-$30
This only cost me around $24 to make since I had some of the supplies at home.
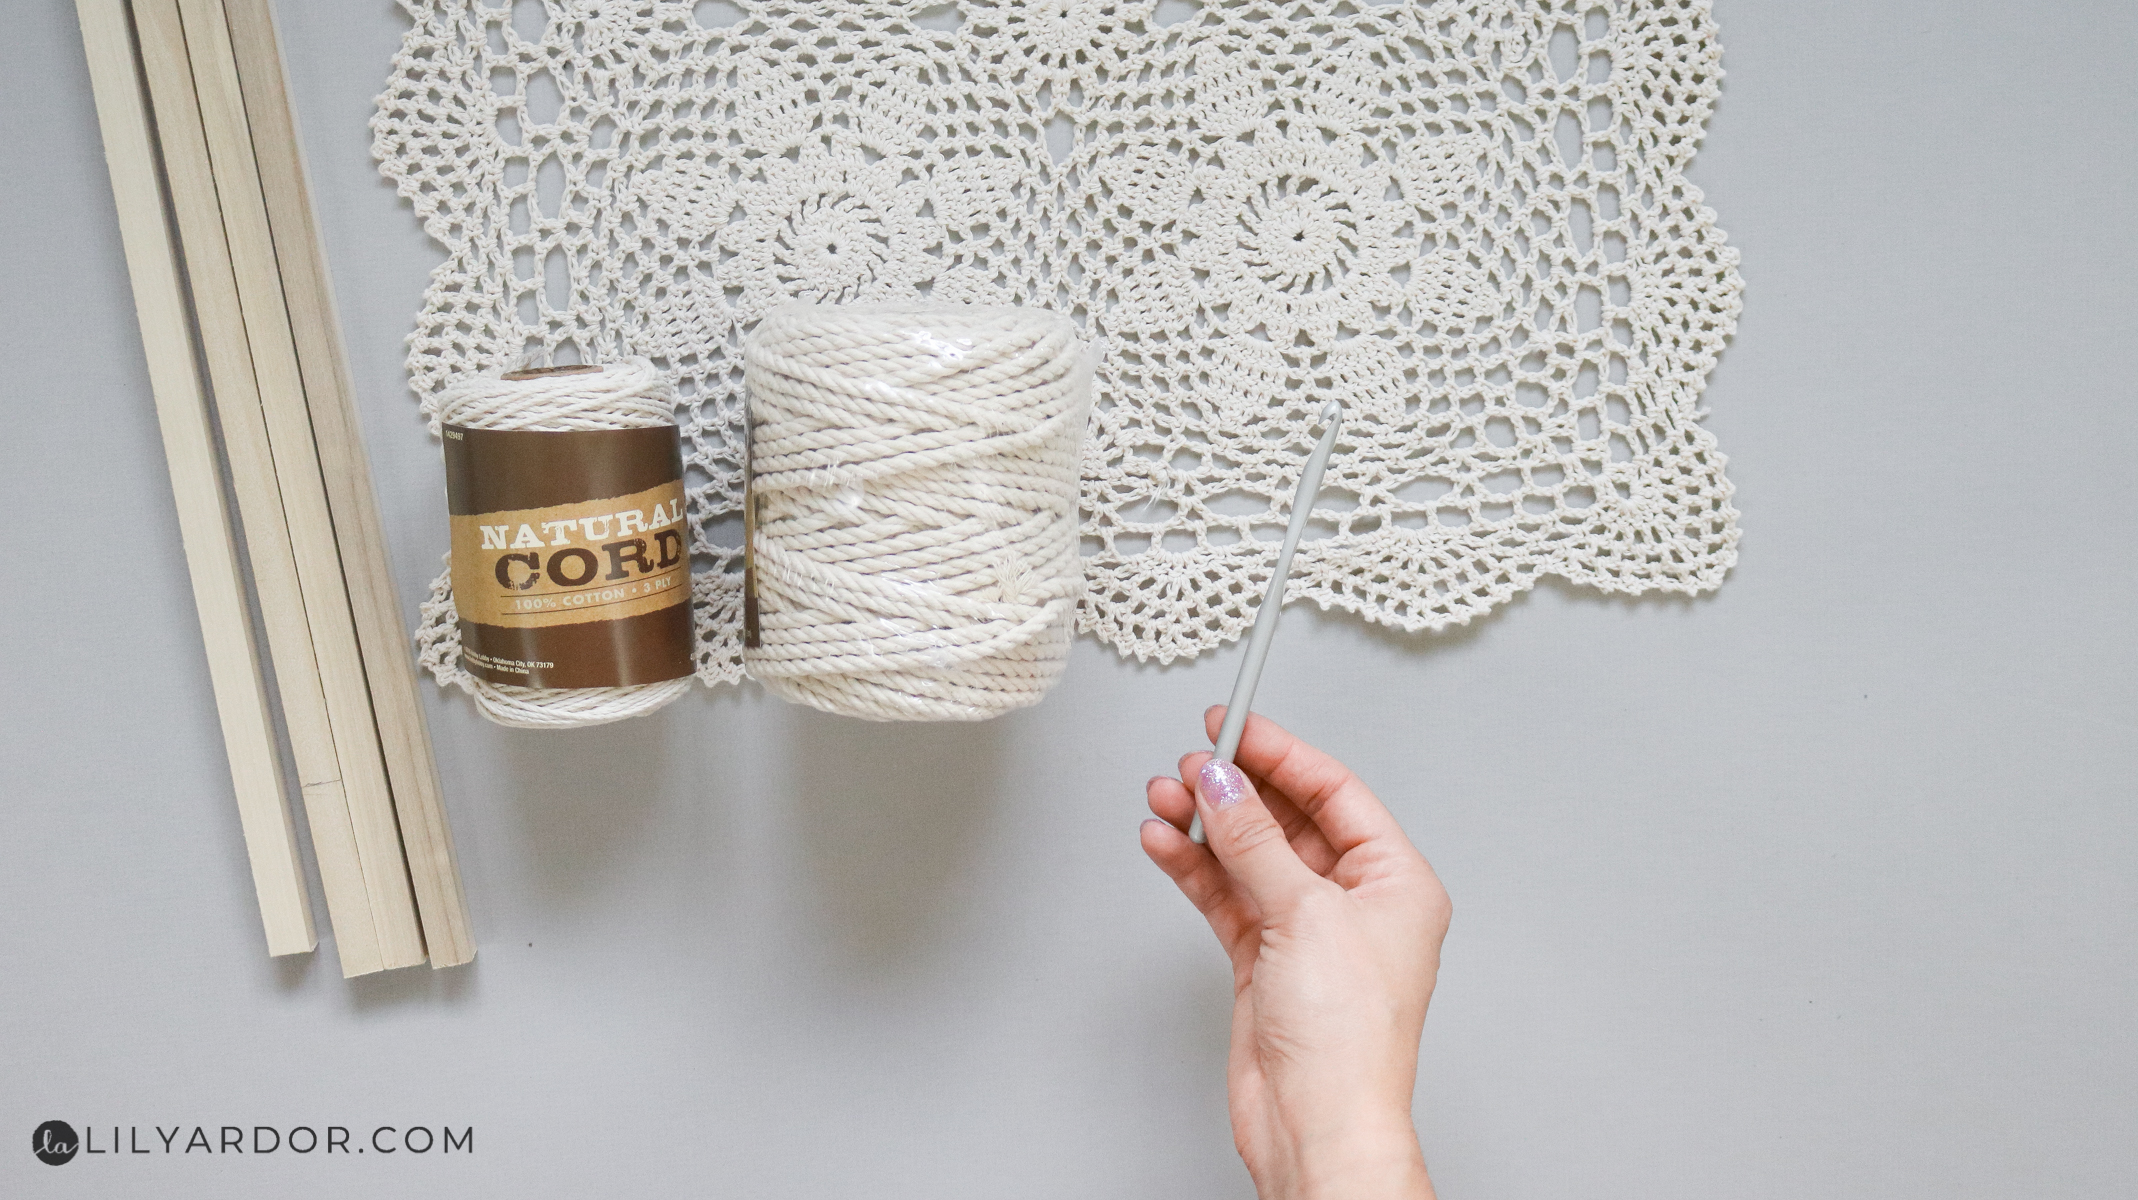
SUPPLIES:
- doily ( I got my doily on amazon. Here’s the link . It was only $9.59 and measures 17″x17″ inches )
- dowels
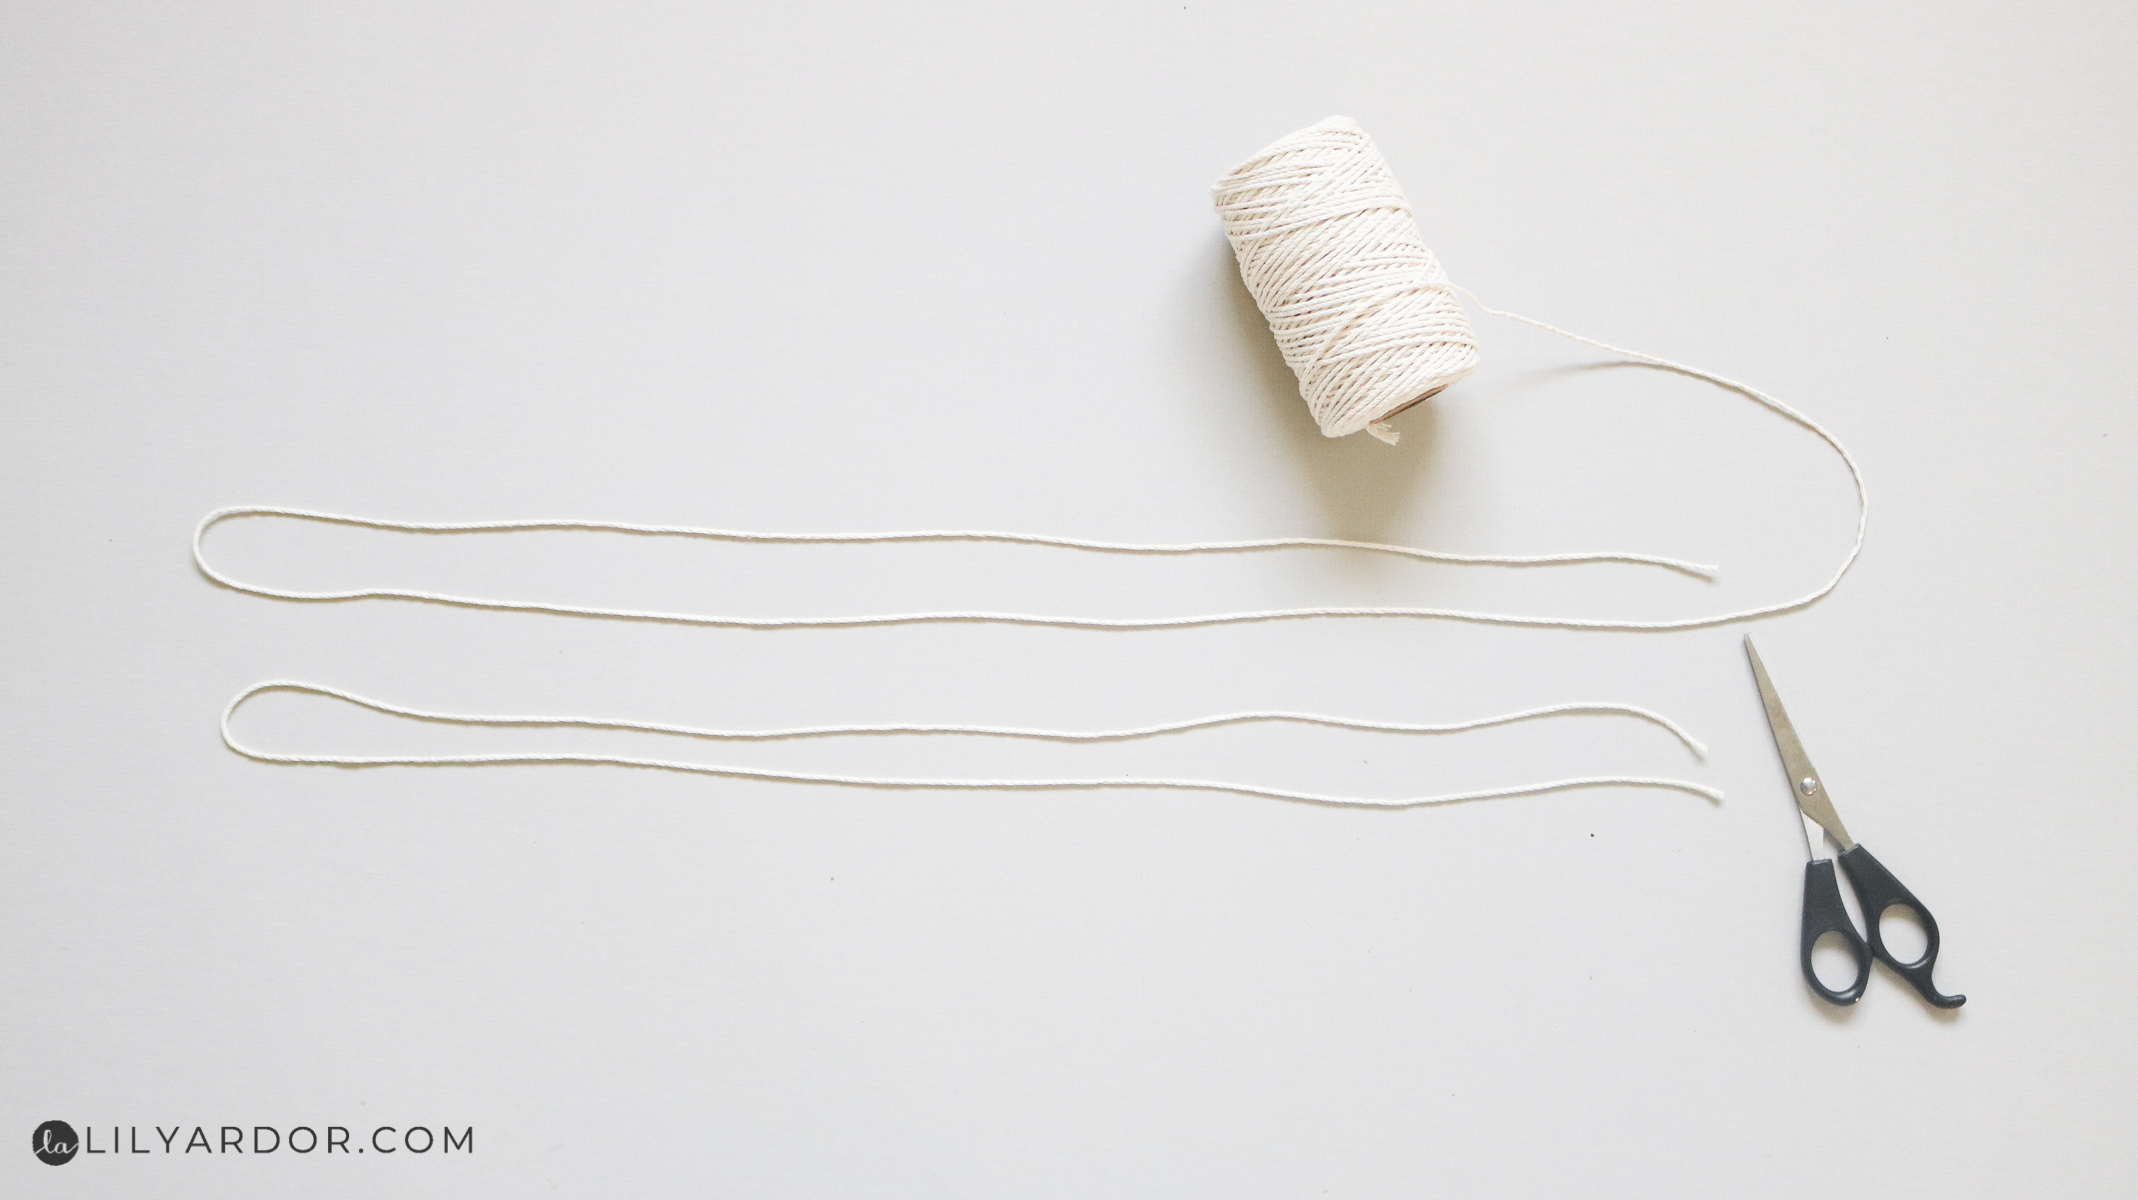
- natural cord ( I got two different thicknesses at hobby lobby in the rope section. NOTE: not by the yarn )
- crochet hook
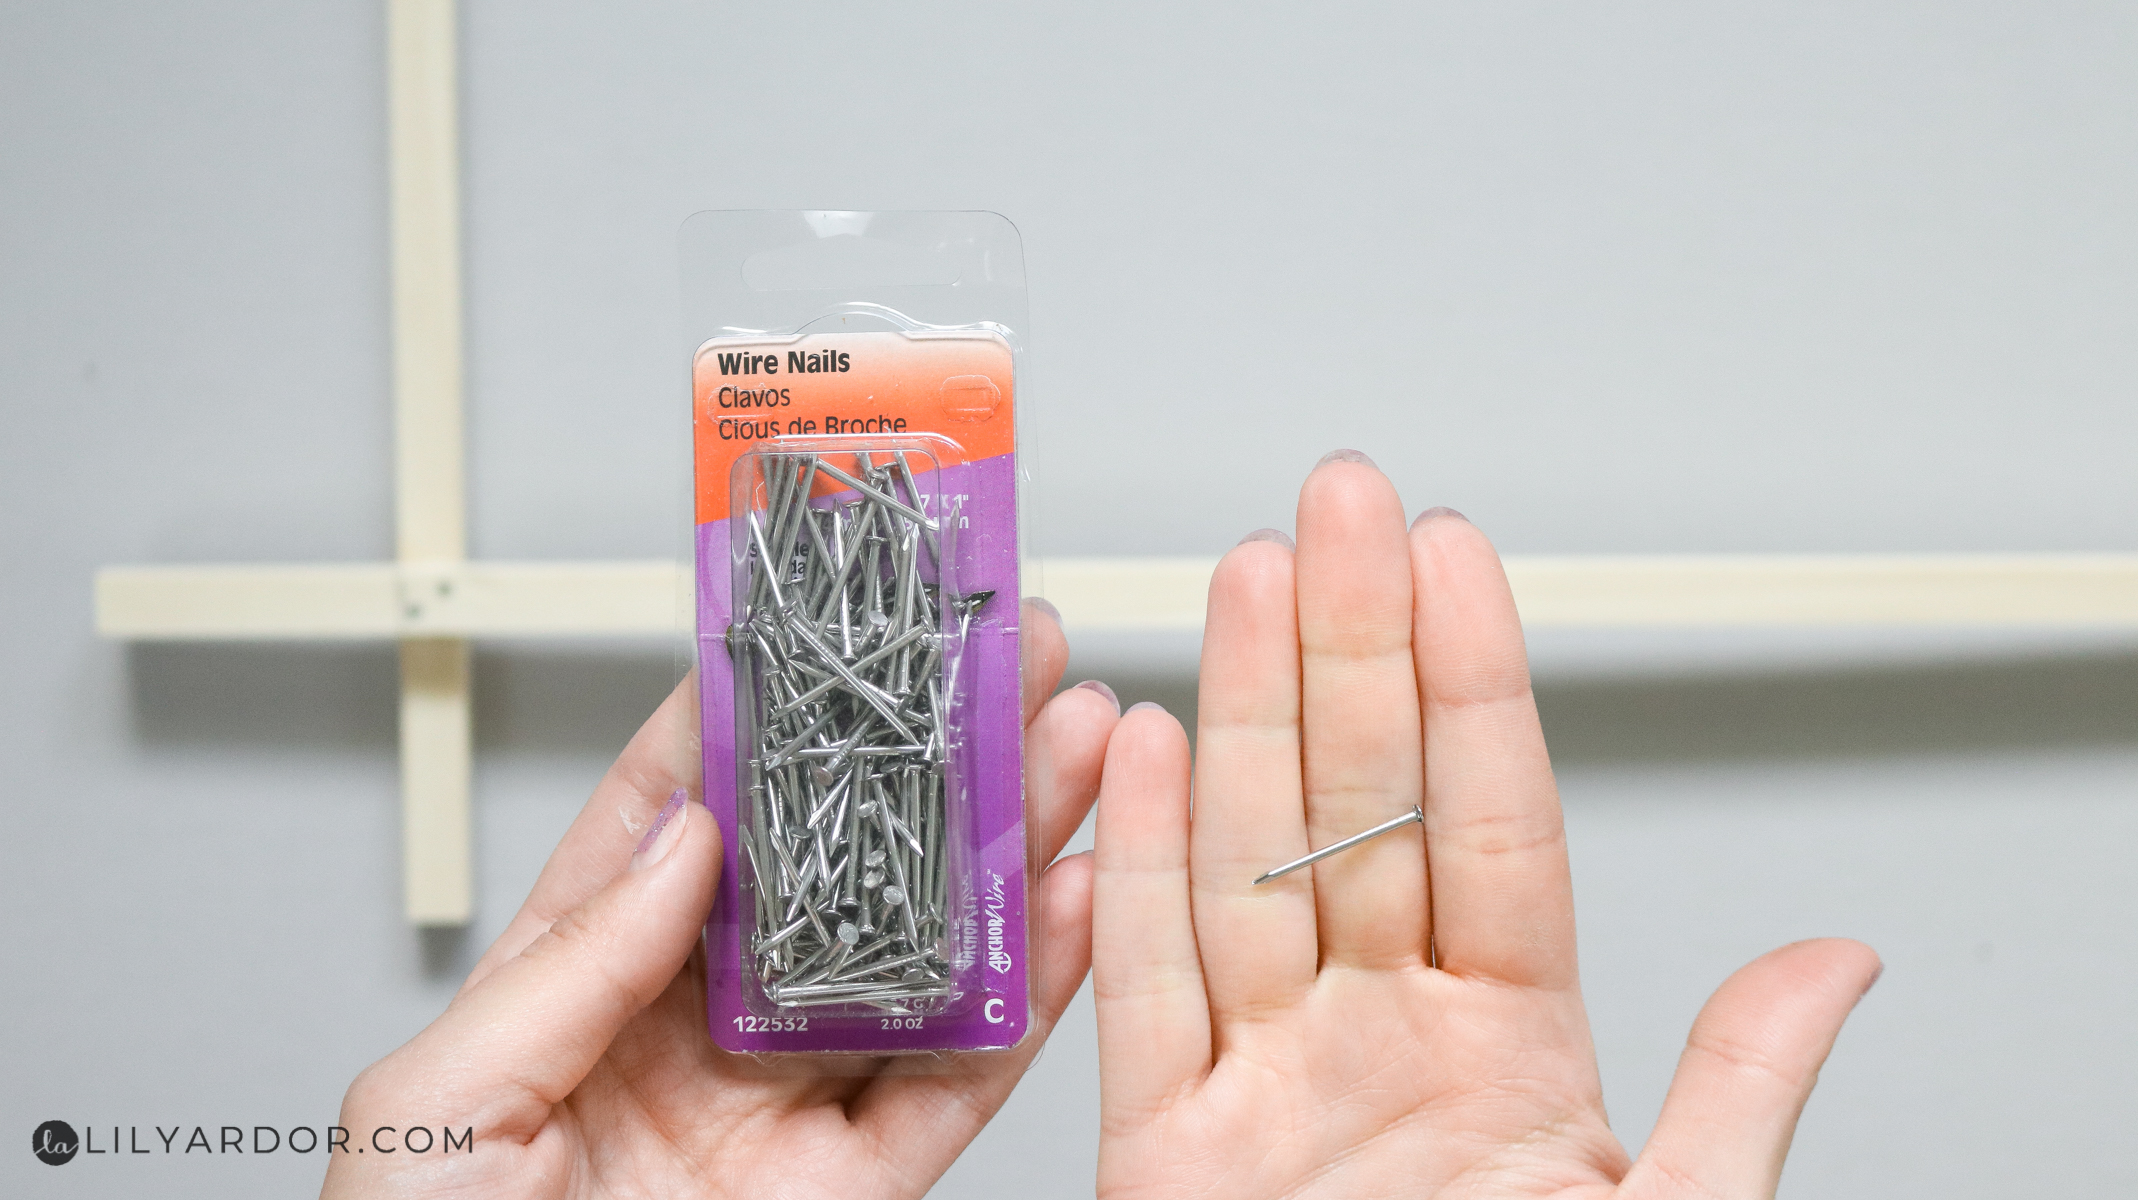
- nails
- hammer
- woodglue
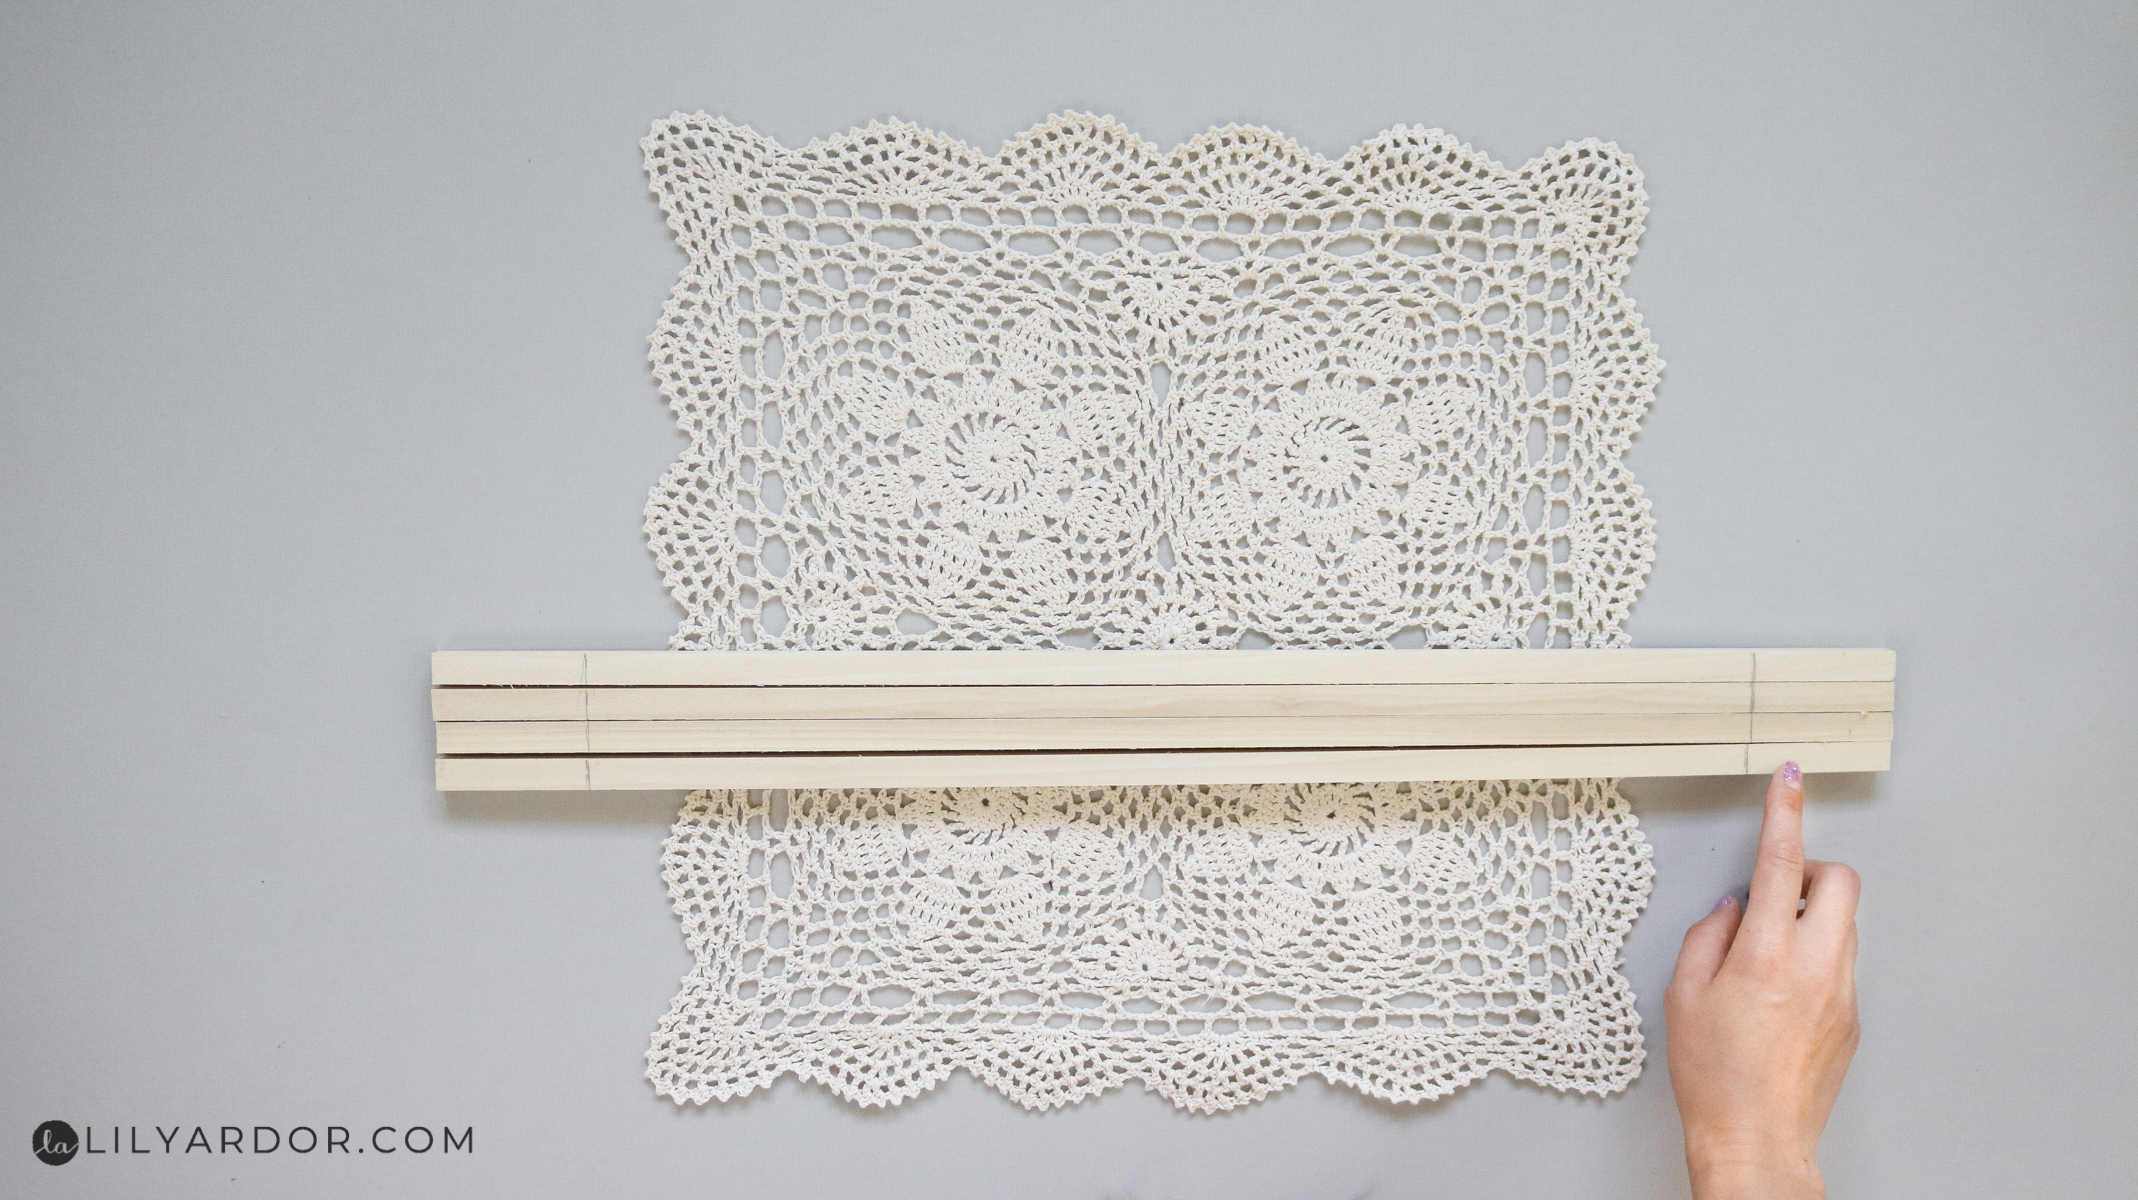
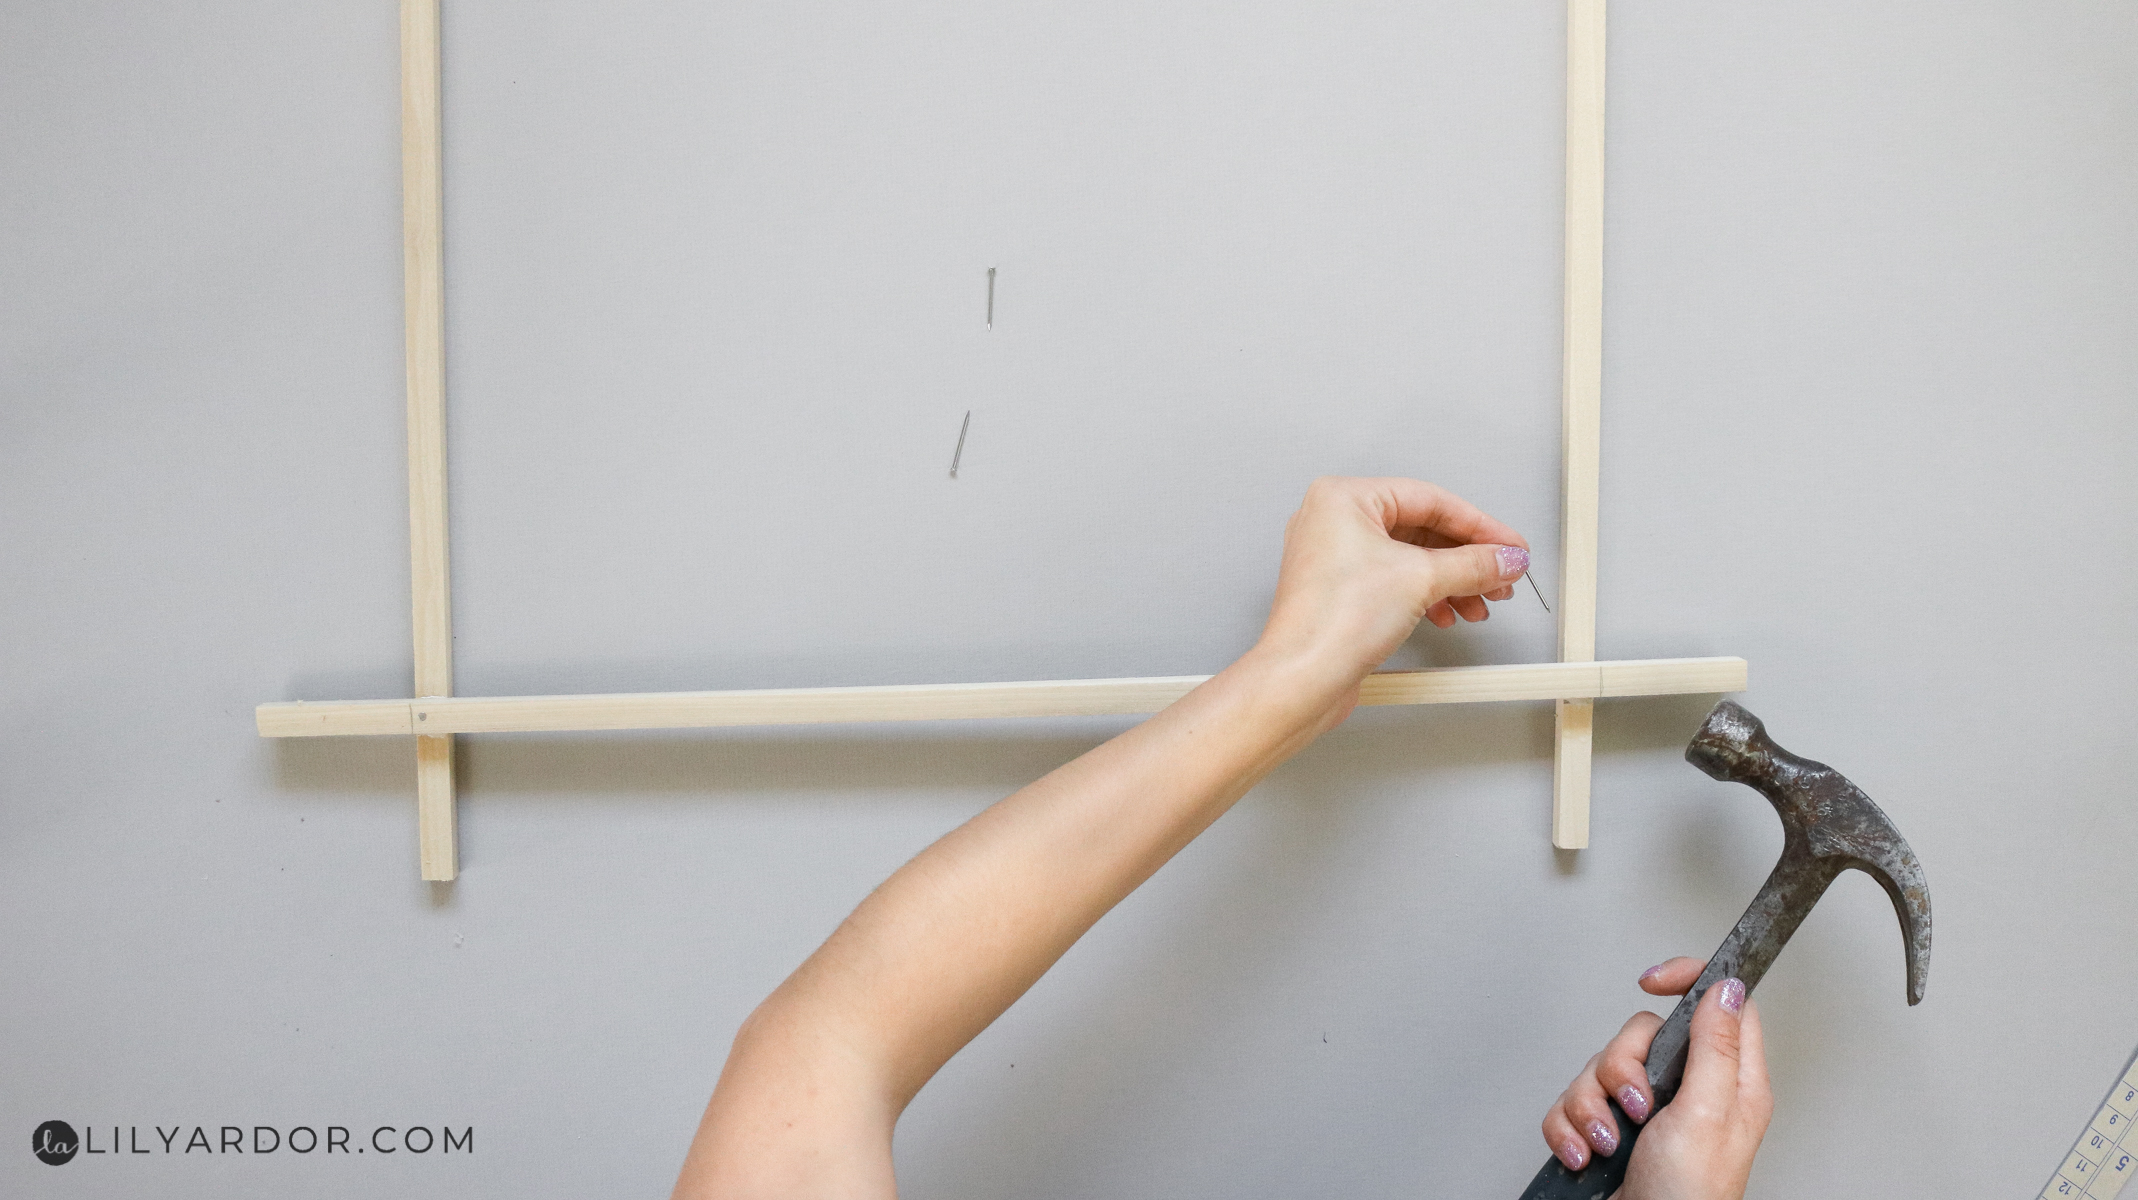
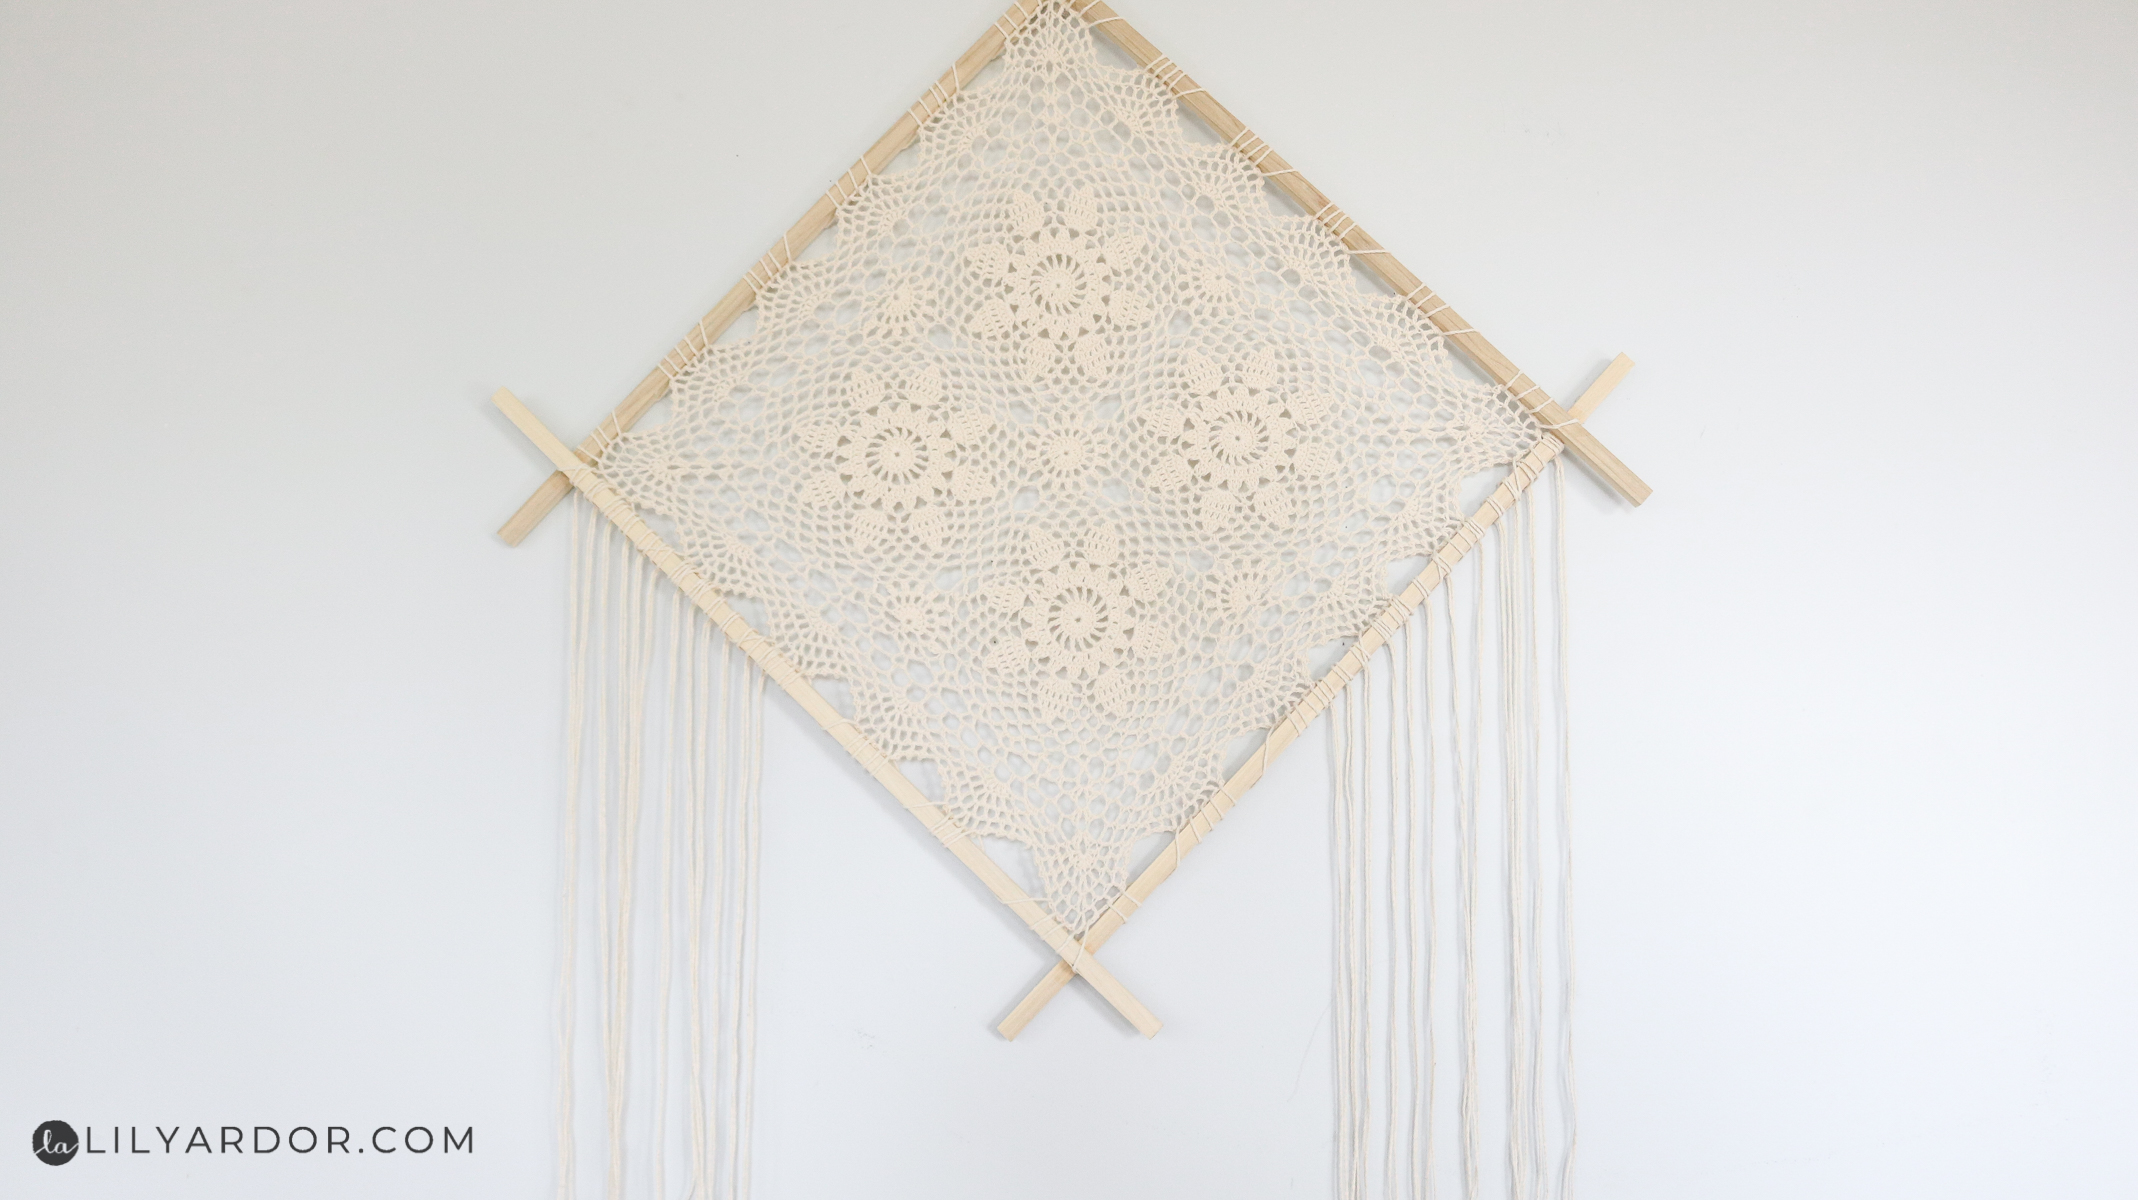
Step 1: Making the frame!
My biggest concern before starting this project was how big should I make the dowel frame. I eventually figured out that the best size is to have is approximately 1 inch of space between the dowel frame and your doily all around. This will give your doily a nice and tight fit once your stretch it onto the frame.

ps. the dowels are not bent. My camera for some reason gave it a fish eye effect 🙂
My doily measured around 17″x17″ so I made my dowels a total of 24 inches each. 19″ inches of the 24″ inches will have the doily attached to them and I left 2.5″ inches on both ends of my dowel to stick out past the doily. I hope this makes since. ( you can watch the video for reference here )
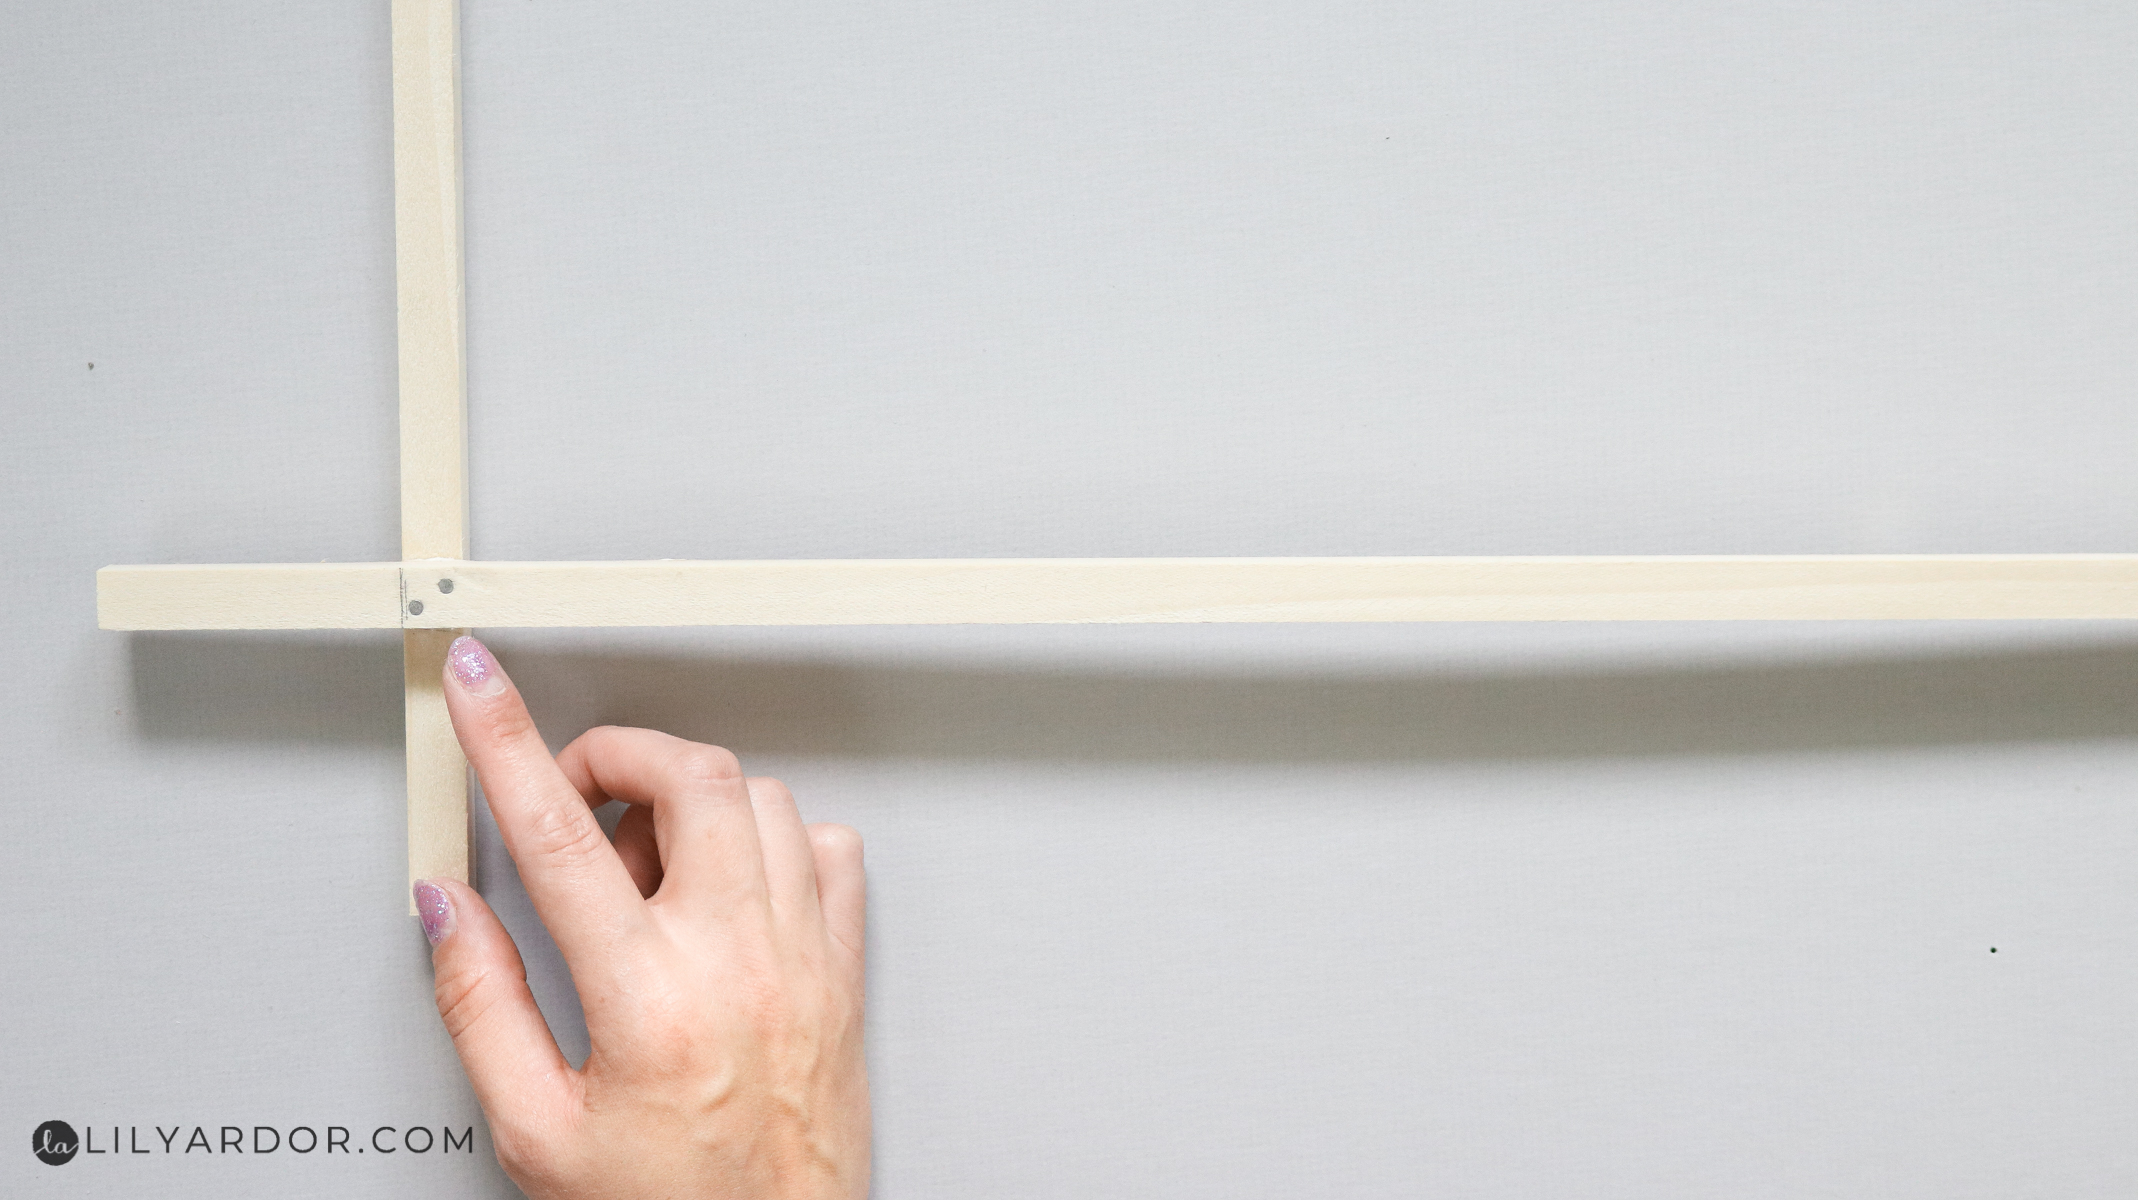
To secure my dowels together I applied a drop of wood glue and nailed in two nails next to each other on all 4 corners. Make sure you have your dowels placed evenly. For example I aligned each dowel to sit inside my markings. I got my dowels from lowes and was pretty impressed with them. Most of the time I can barely get one nail in them. These didn’t crack a bit not even after two nails side by side. Keep in mind I did use really thin nails. 🙂
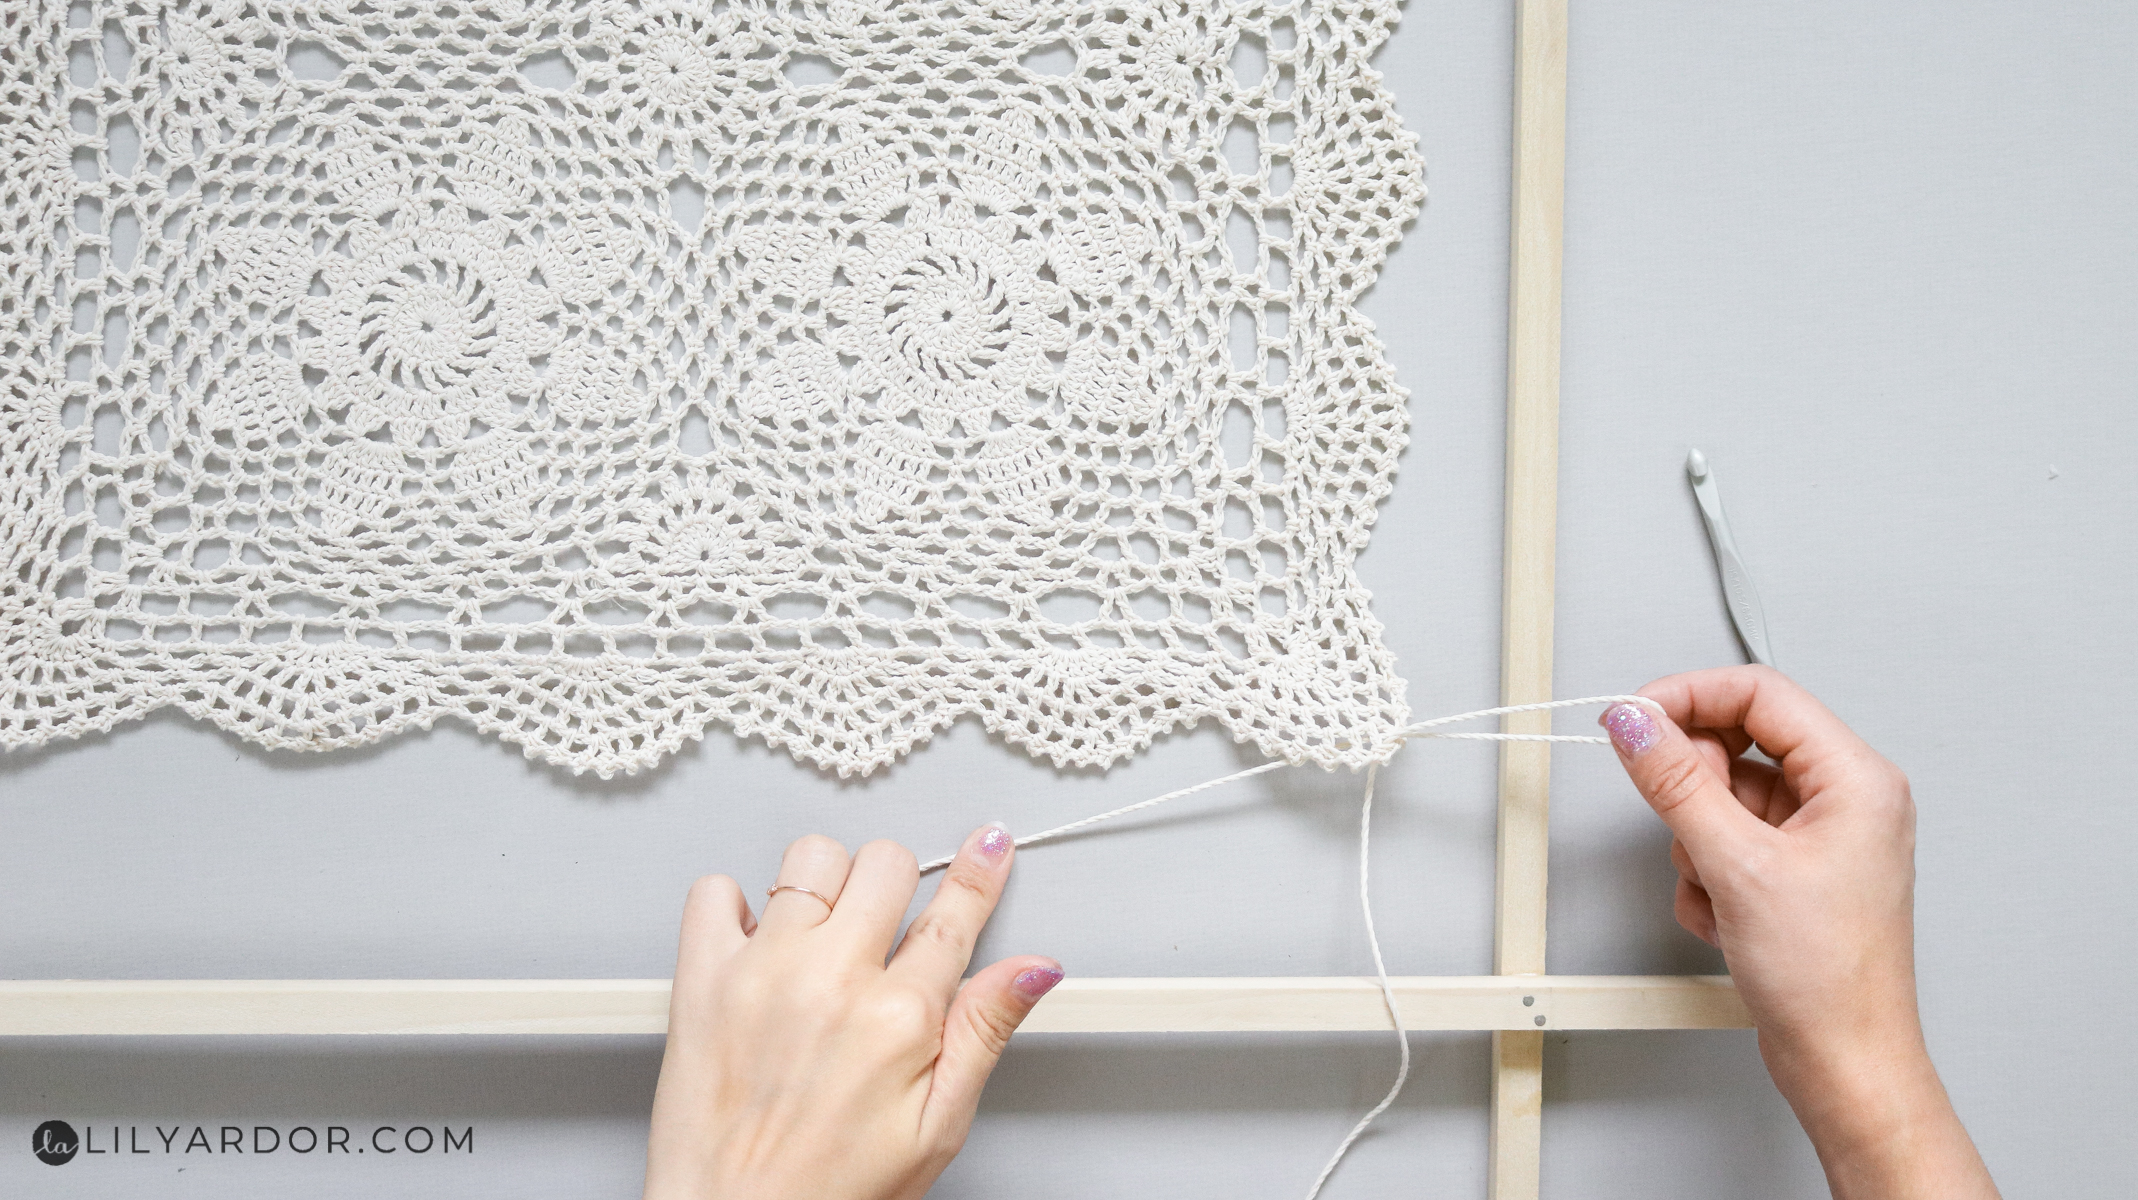
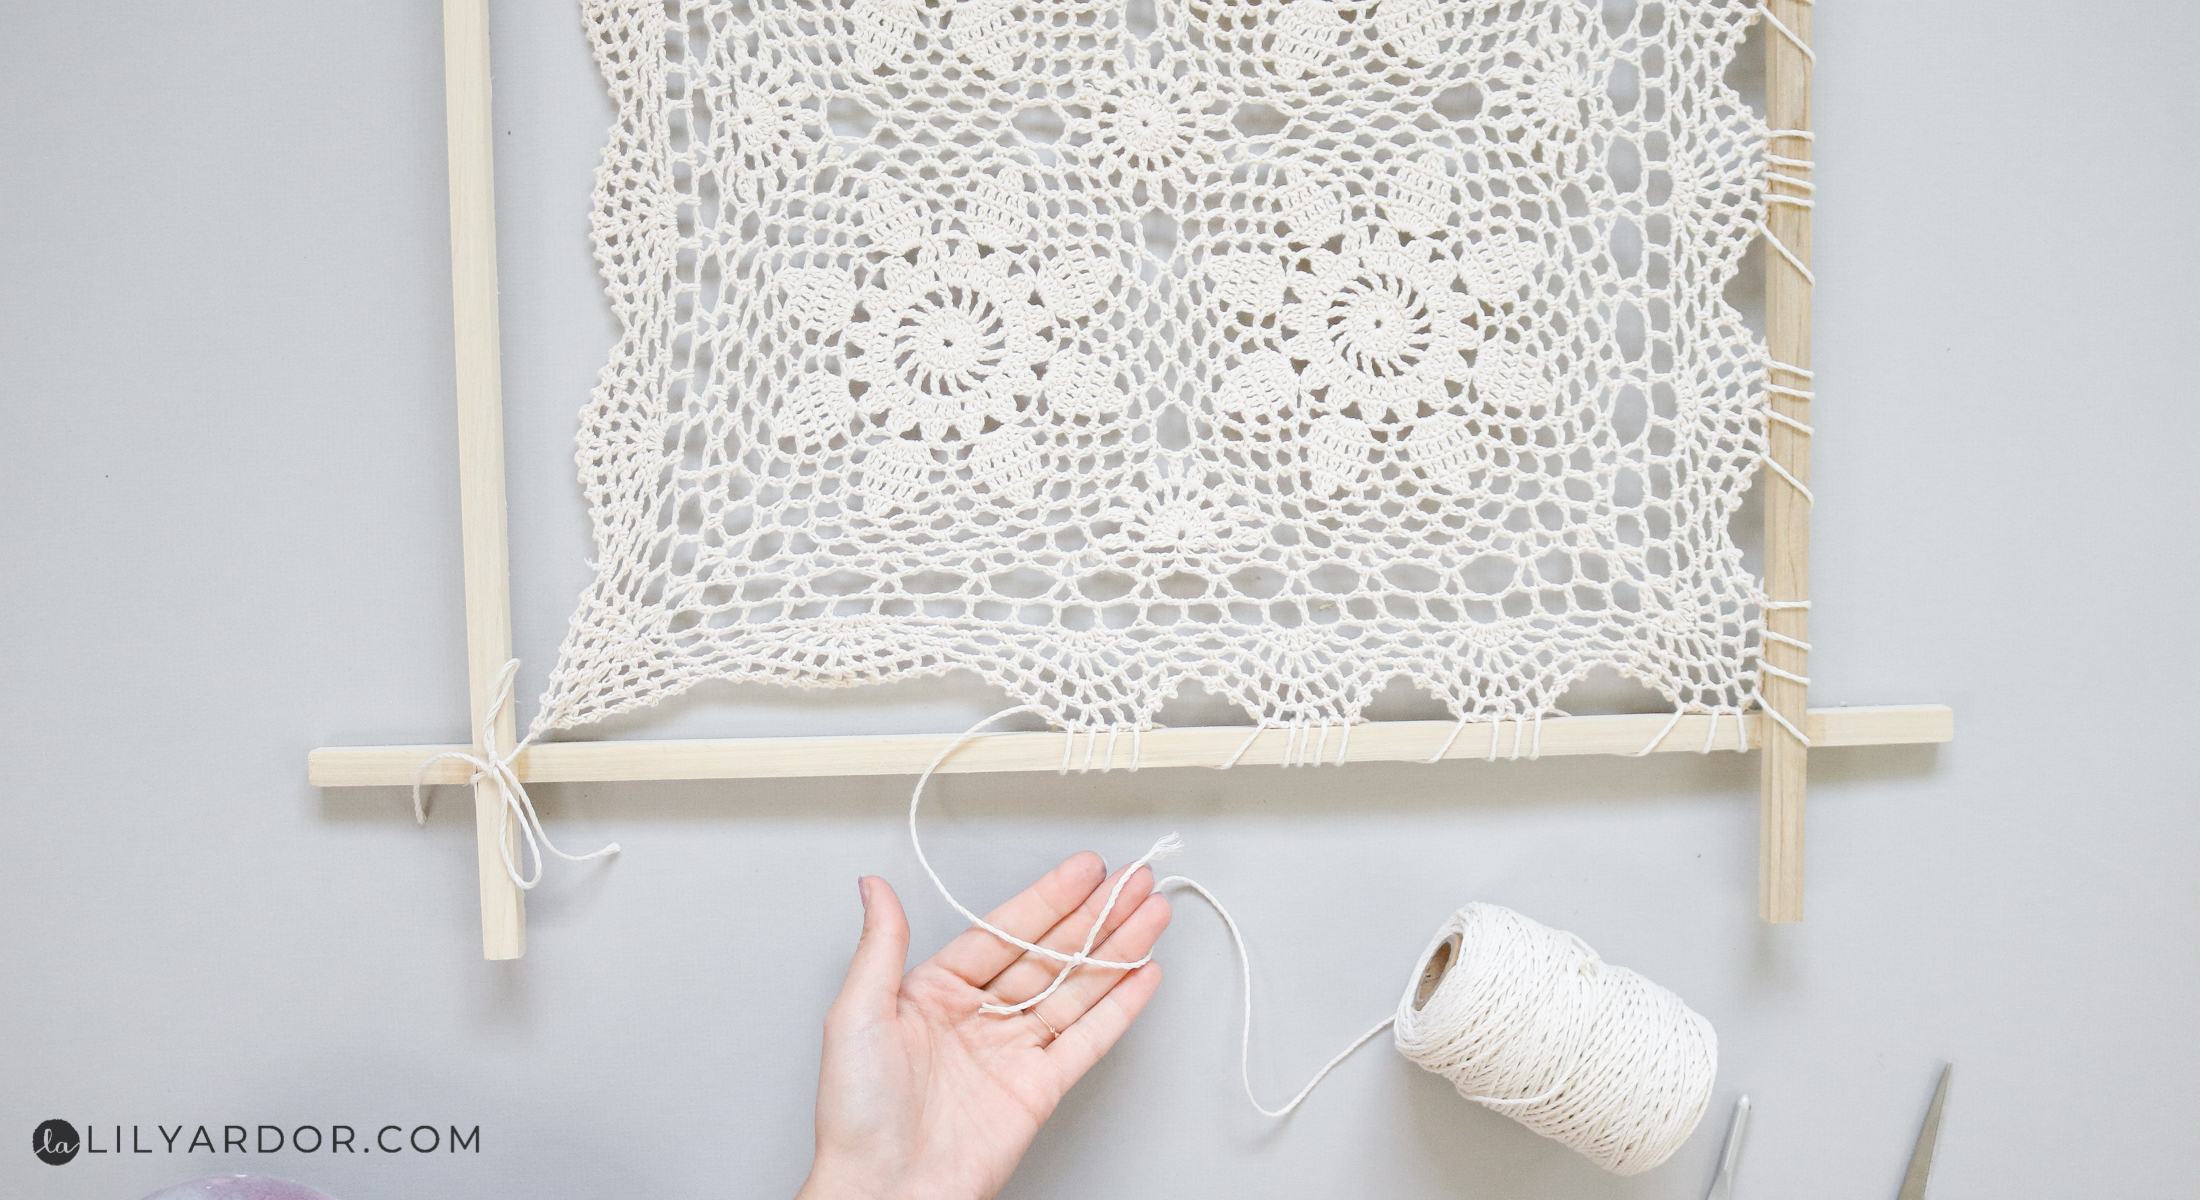
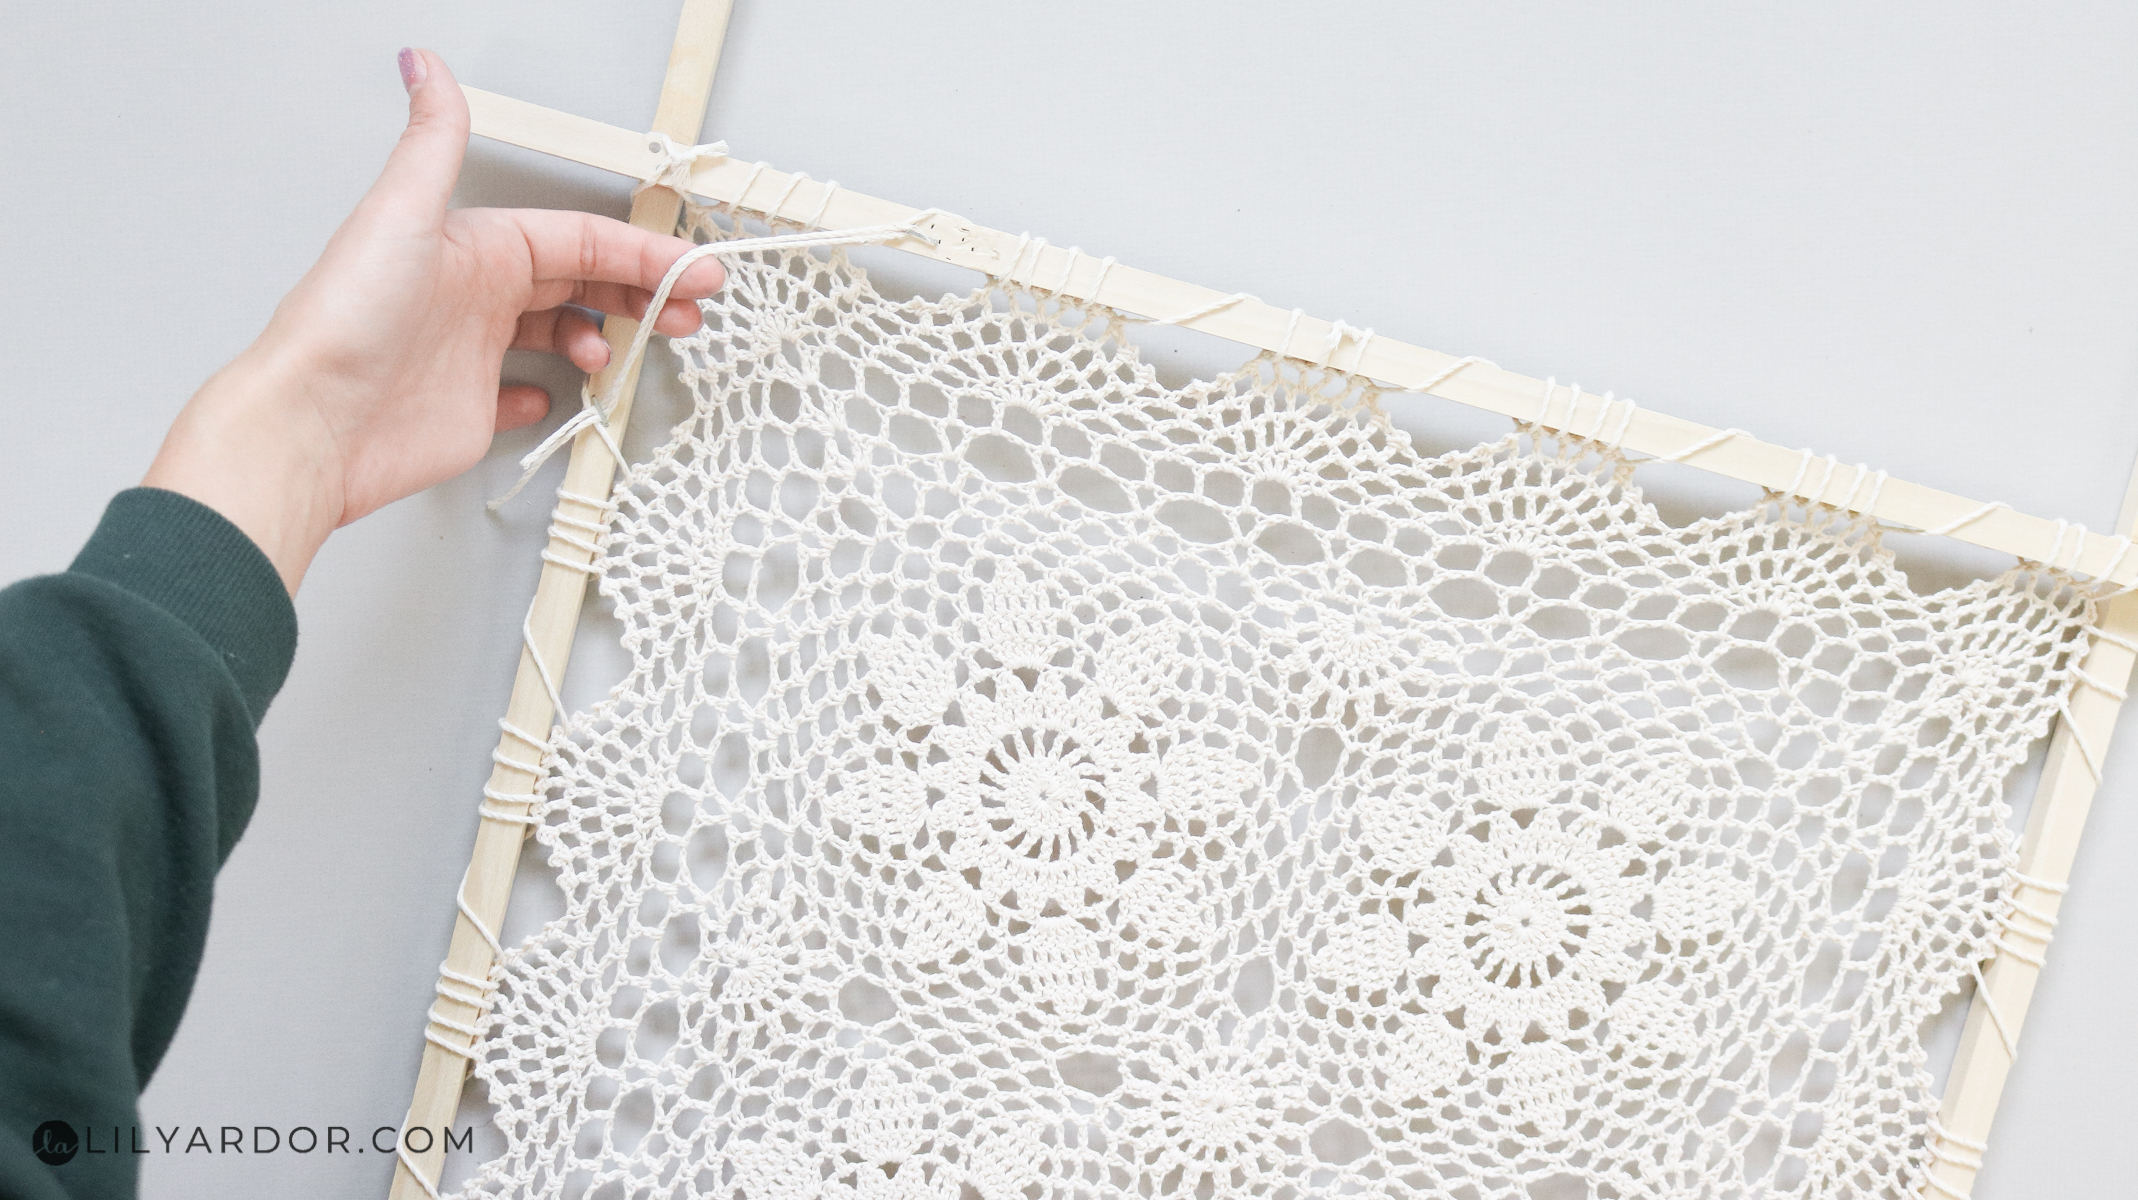
Step 2: Attaching the doily to the frame!
This step is super easy. I lay my doily in the center and started by tying 3 corners to the dowel frame. I cut little 6 inch pieces of cord and helped pull them through the doily with a crochet hook. Once my cord was fed through the doily I than stretched and attached the cord to the edge of the frame. These don’t need to be perfect as they’ll be removed later. The reason you’ll need to attach the three corners is so it holds in place while you’re attaching the other sides of the doily.
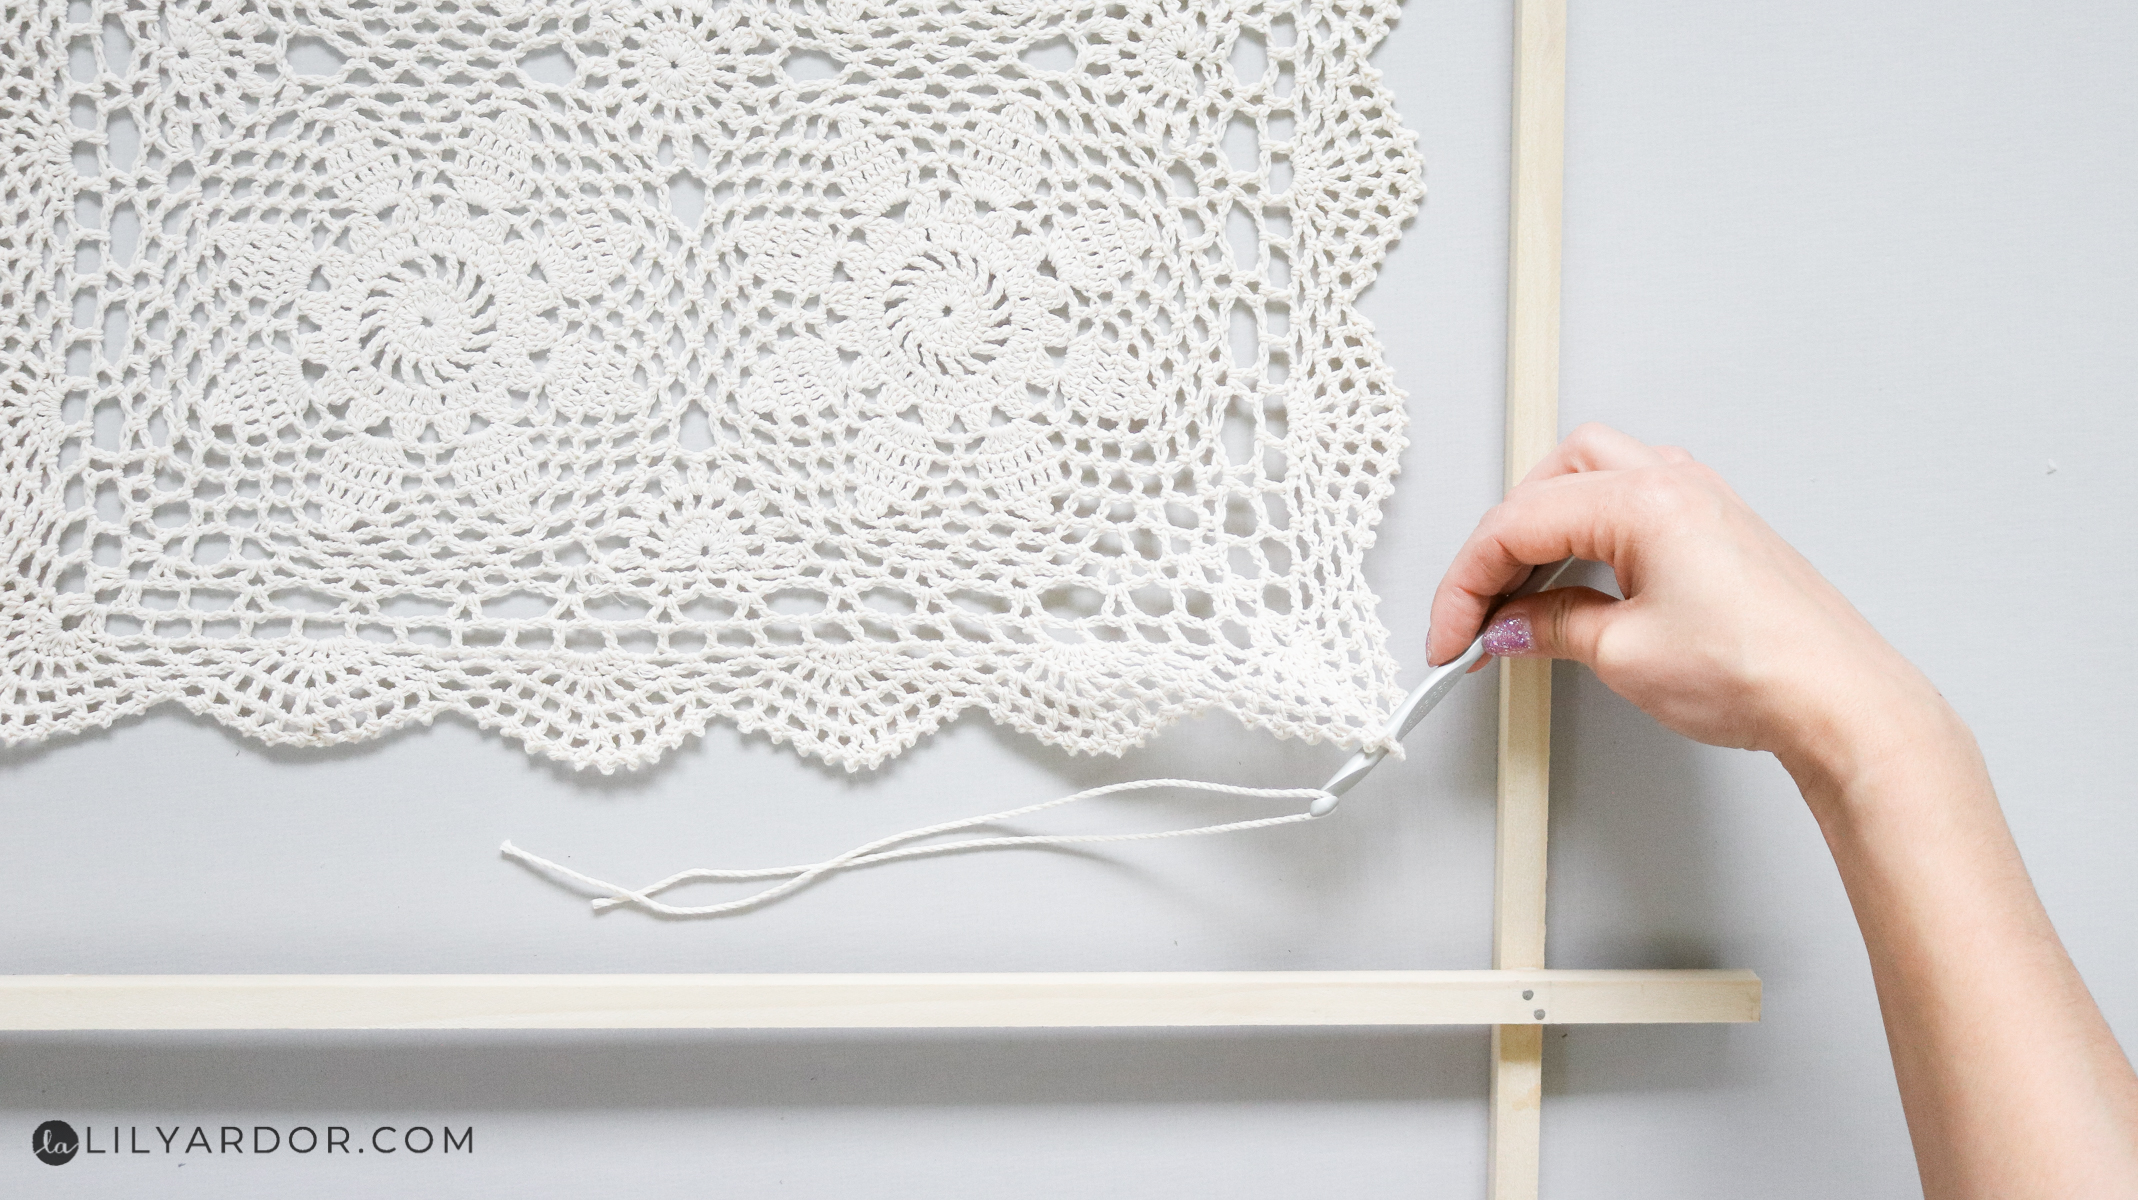
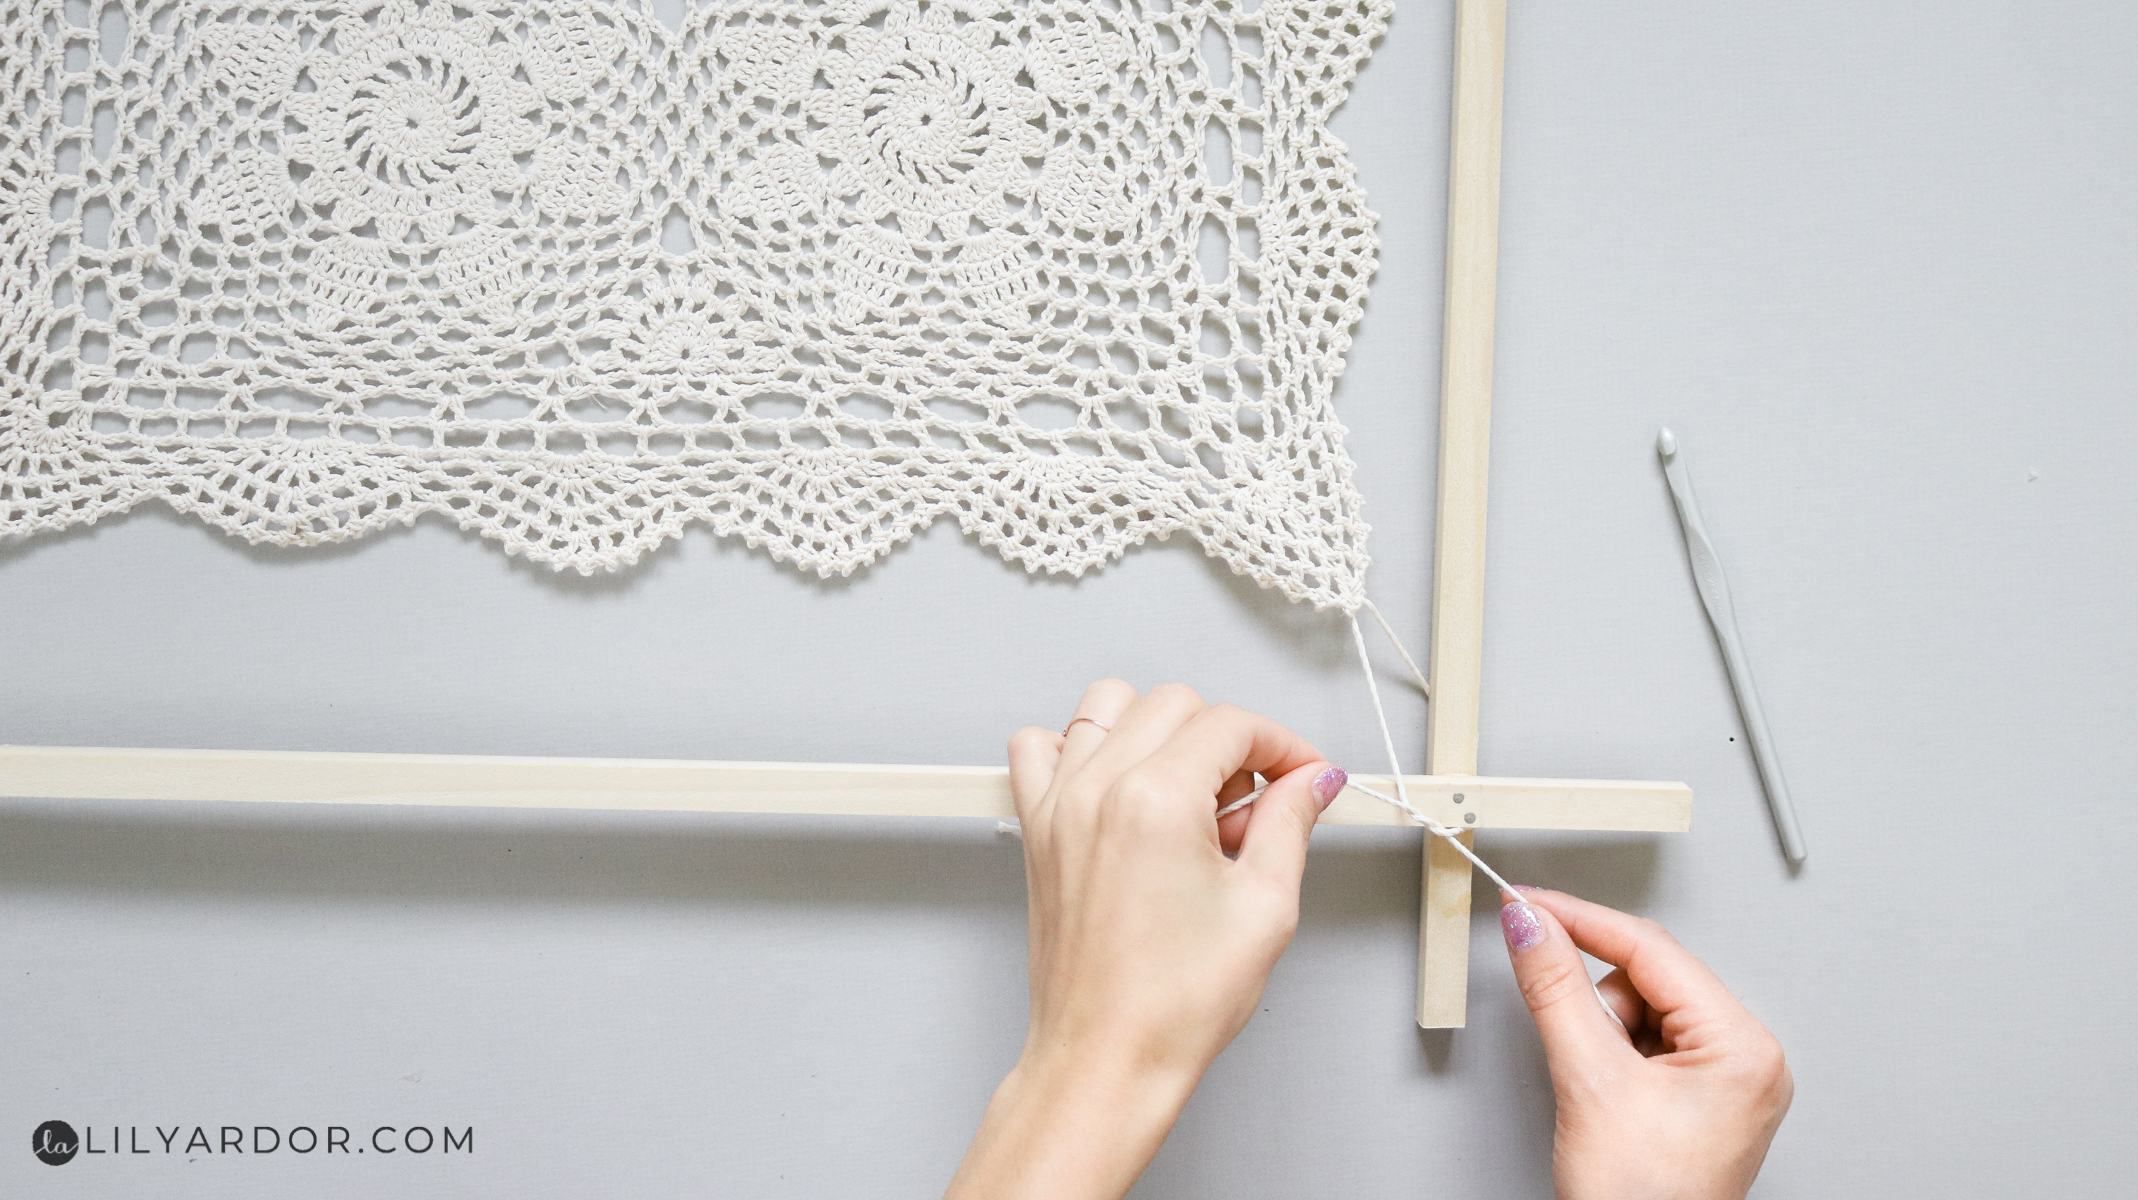
Fourth Corner :
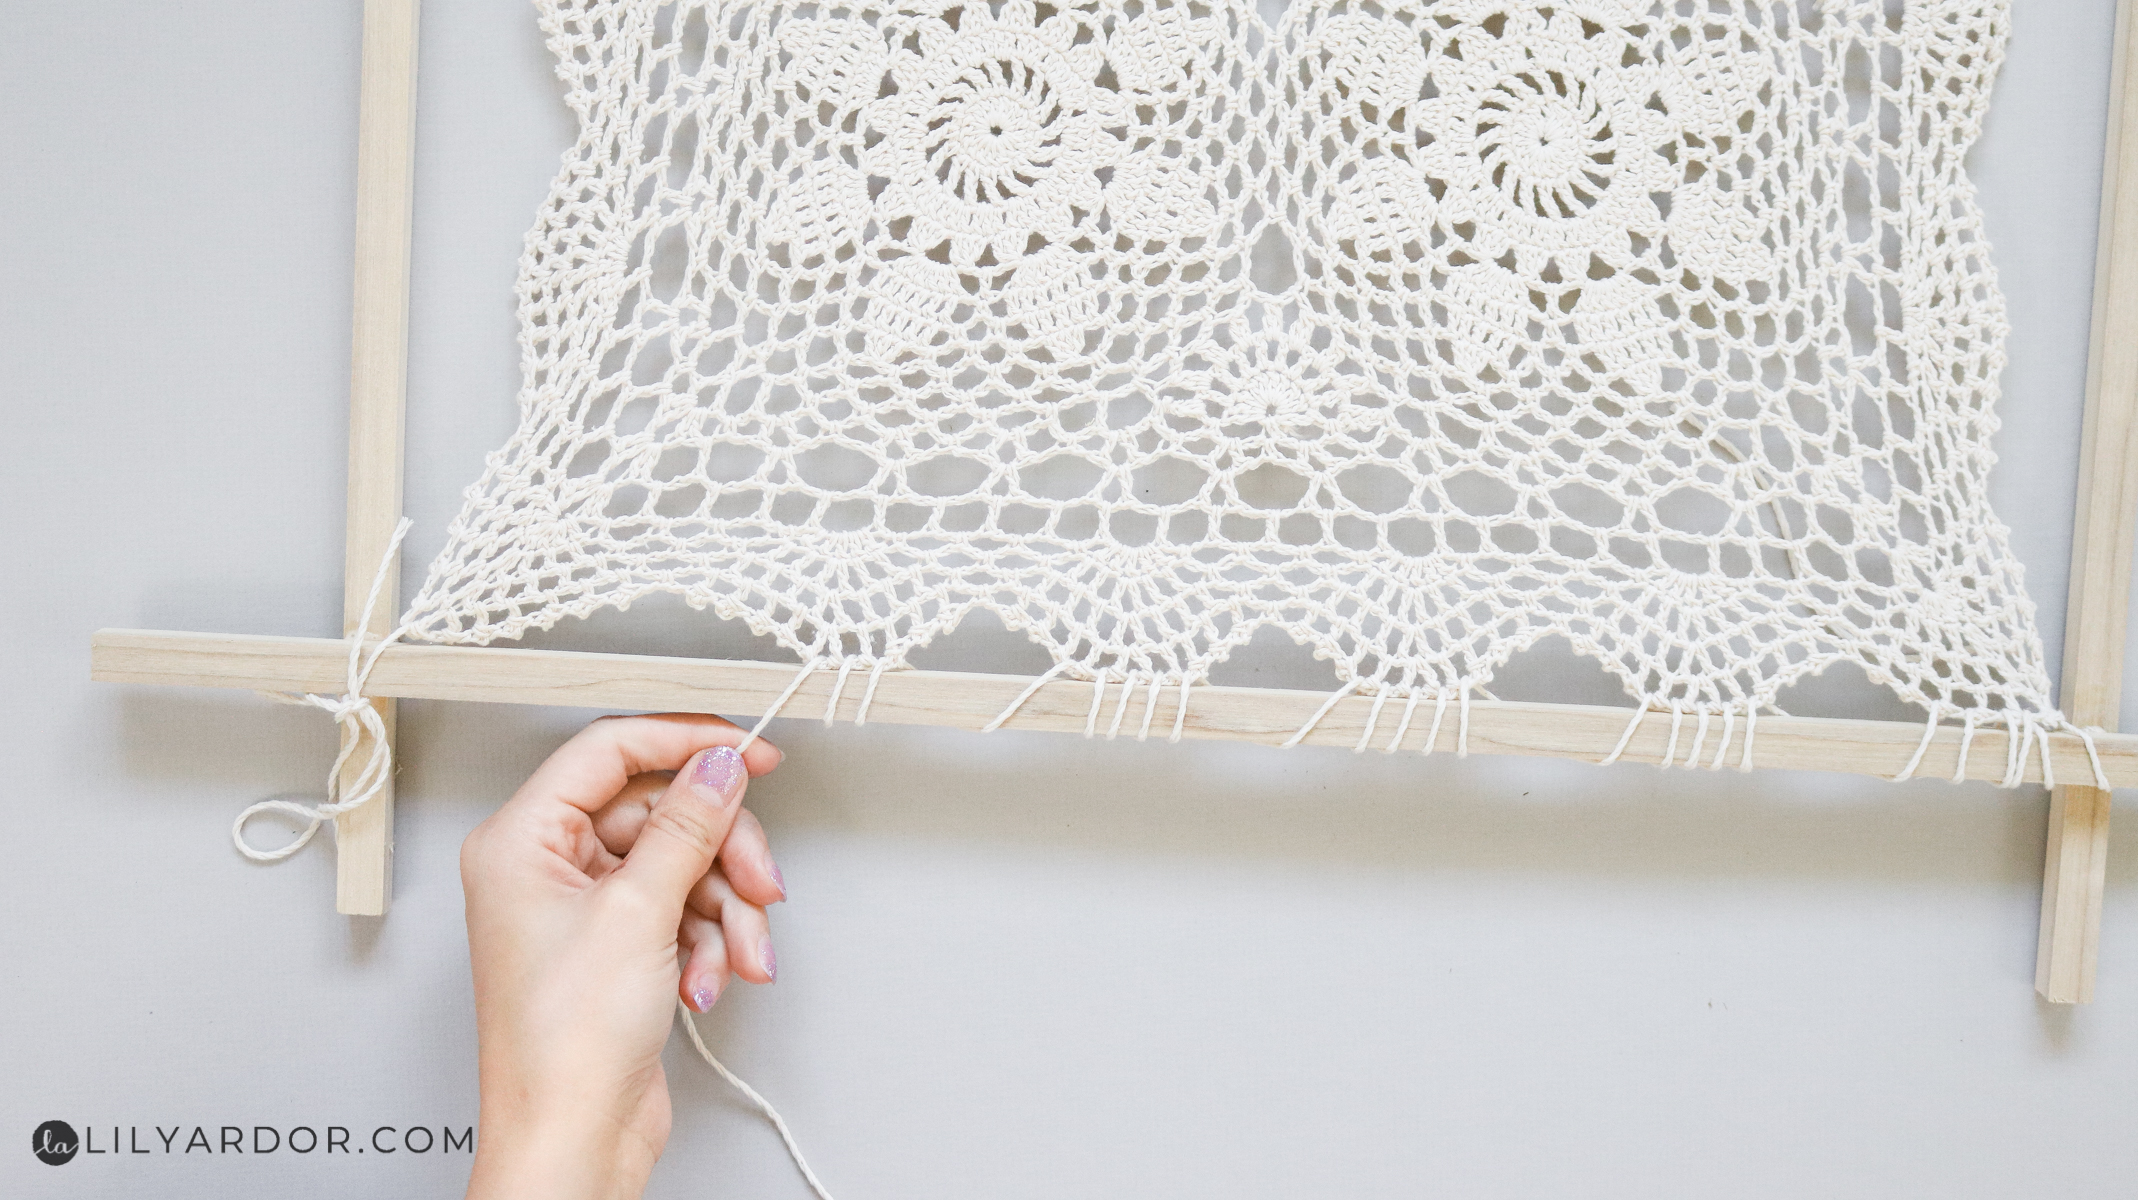
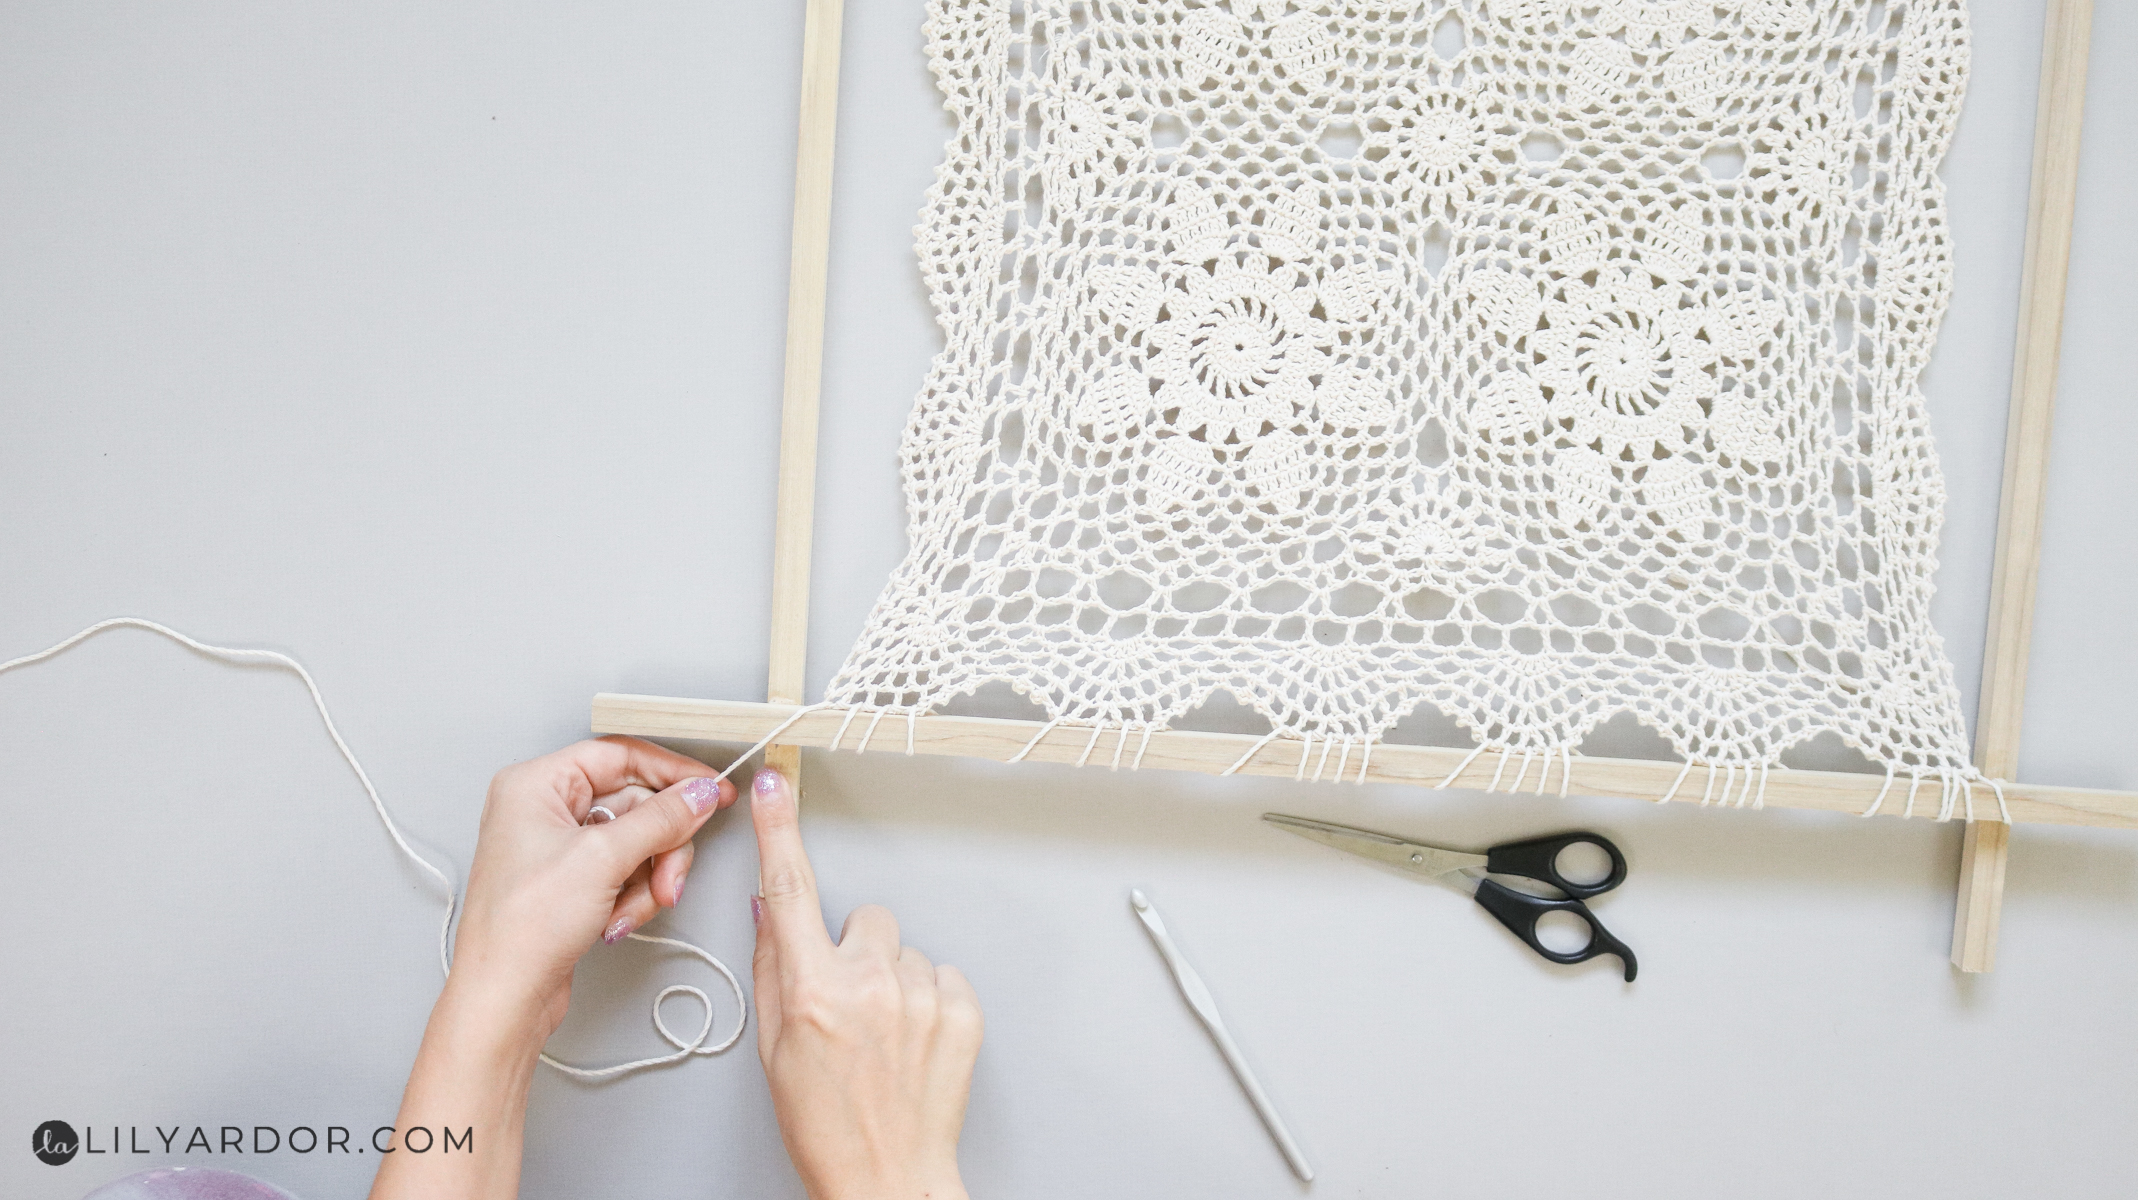
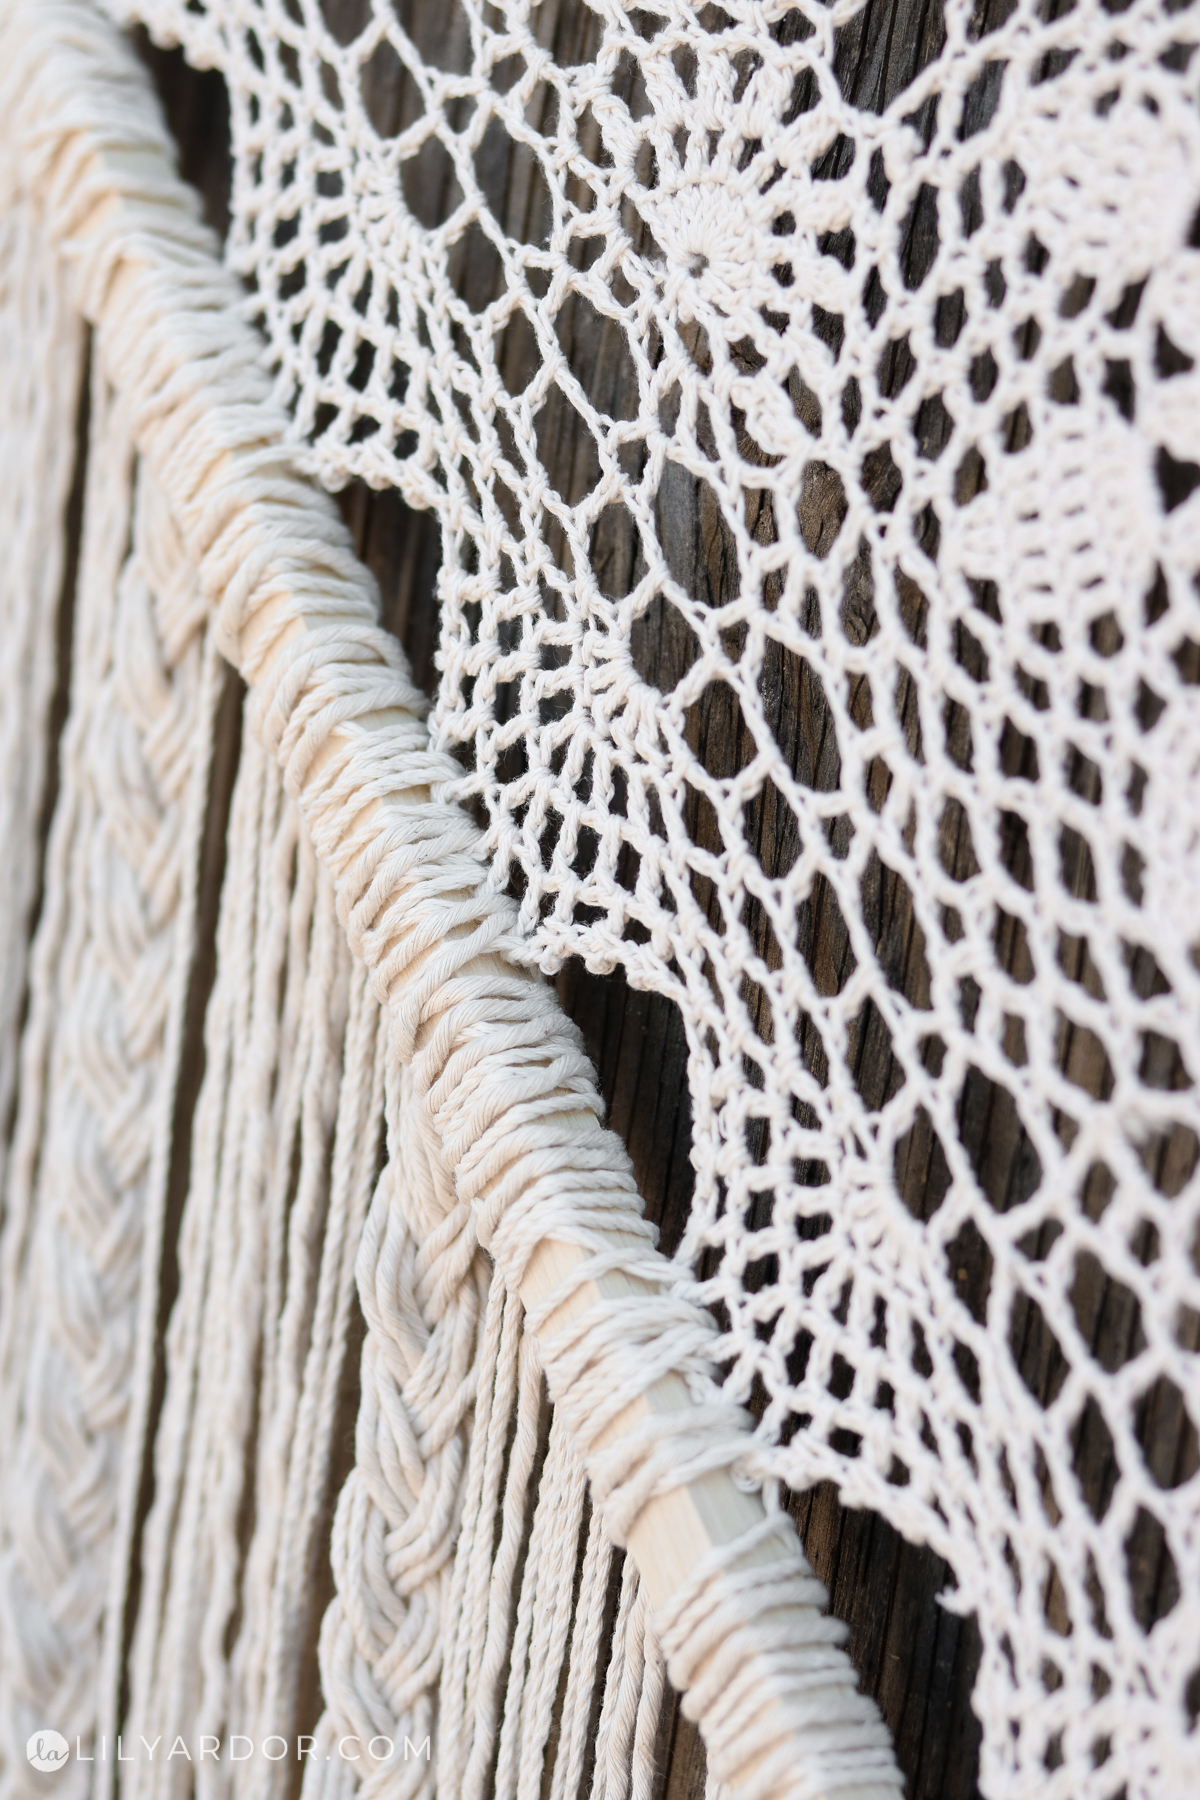
On the fourth corner of your doily feed some cord through the same way and tie it to the corner however, this time leave a long tail of cord. This is what you’ll use to attach the doily. Keep feeding the cord tail through the loops on the edges of your doily and wrapping it around the dowel. You will need to pull the tail all the way through each loop. Keep in mind you don’t need to feed the cord through every single loop on the edges of your doily. I wanted to keep my scalloped edges so I skipped some loops to keep the scallops. If you choose to do this make sure you stick to a pattern. example: wrap 4x skip 3x wrap 4x skip 3x and so on.
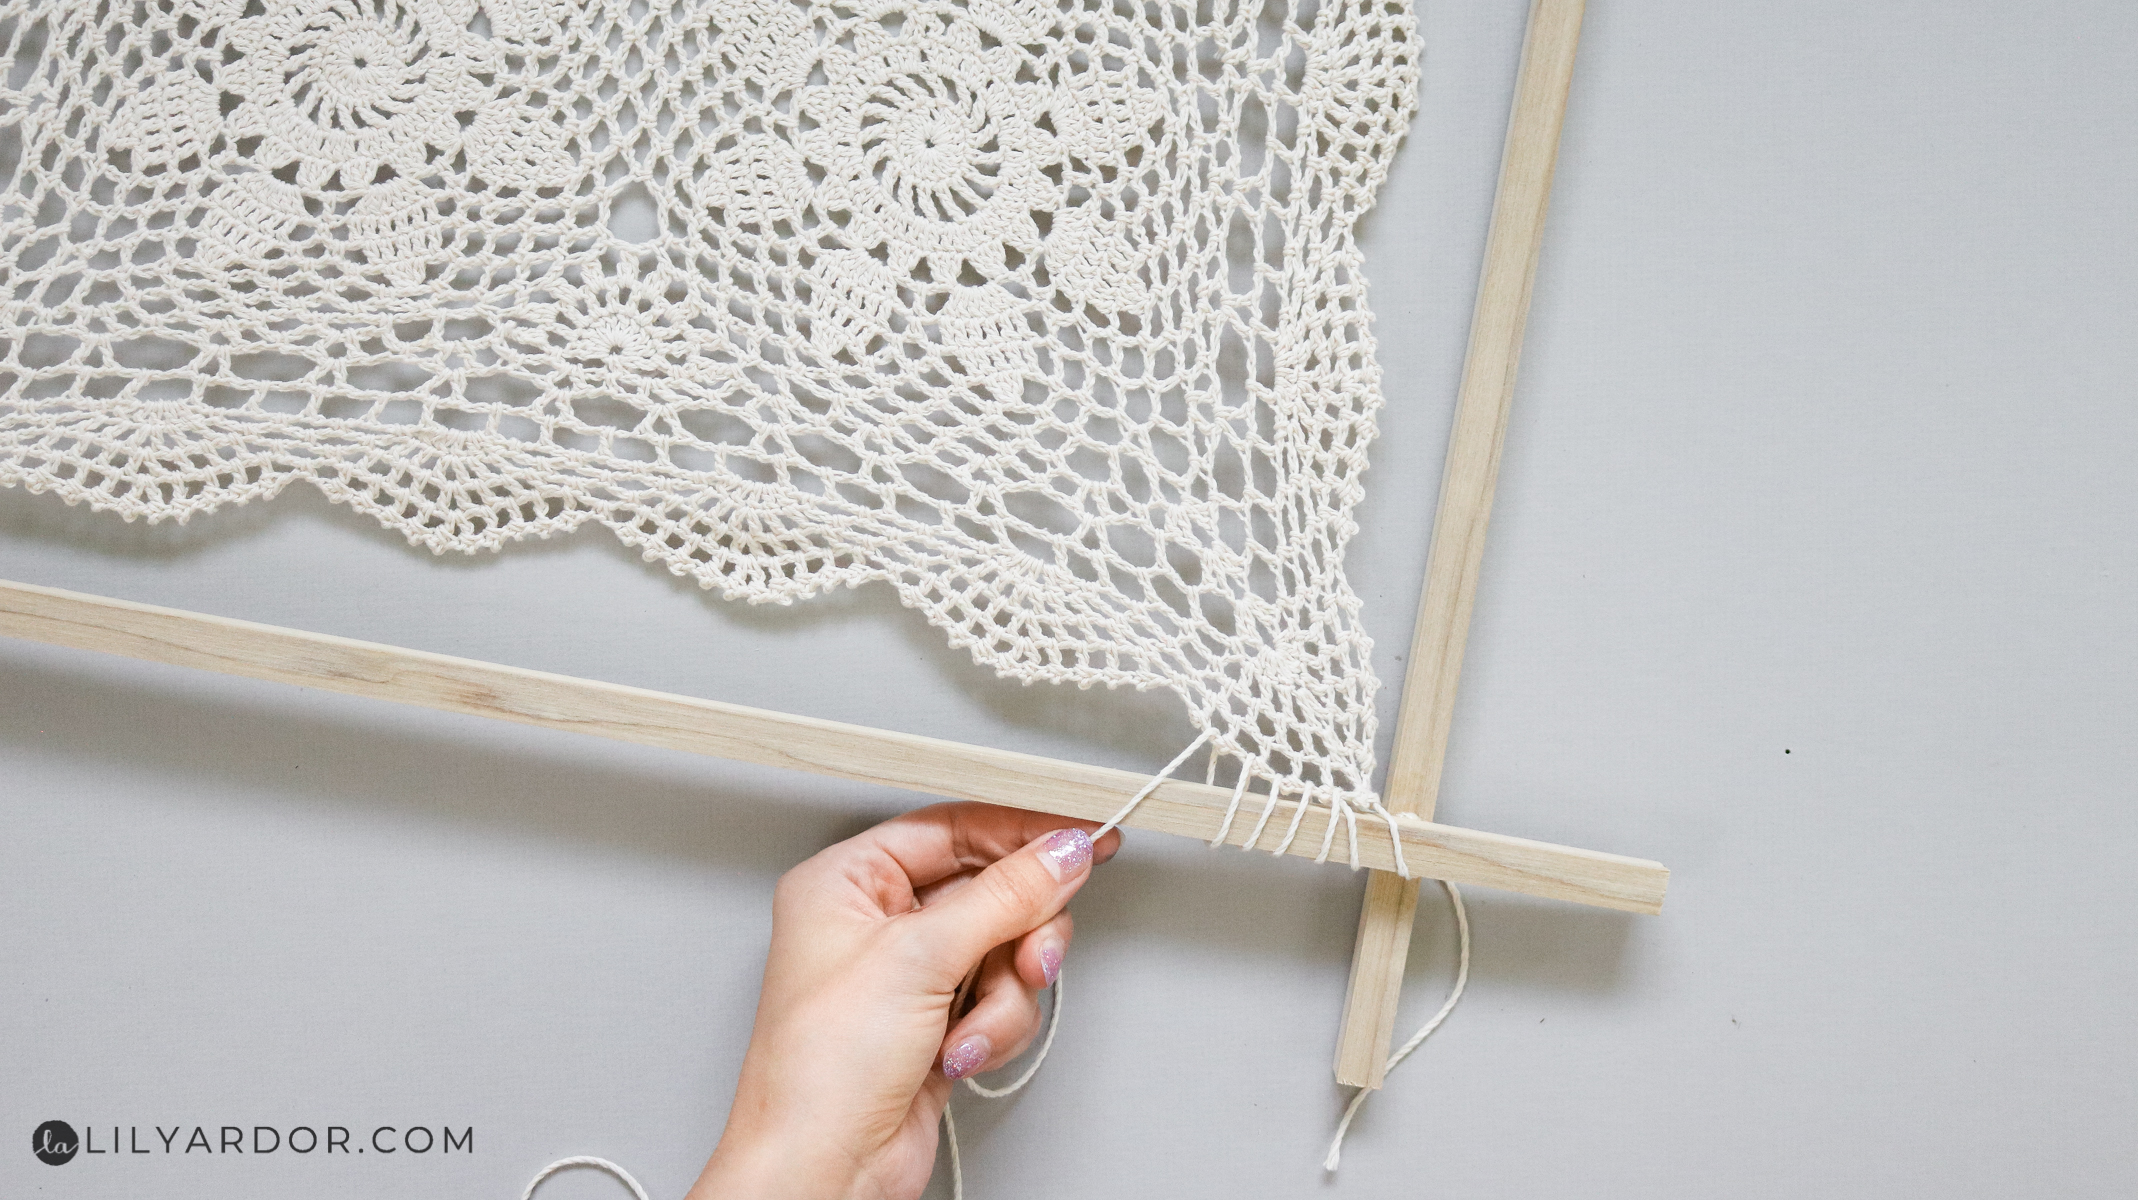
If you run out of cord just tie another long piece to your cord. Cut off any loose ends and tighten the cord until the knot is on the back side of your dowel. I like to work in three foot sections at a time.
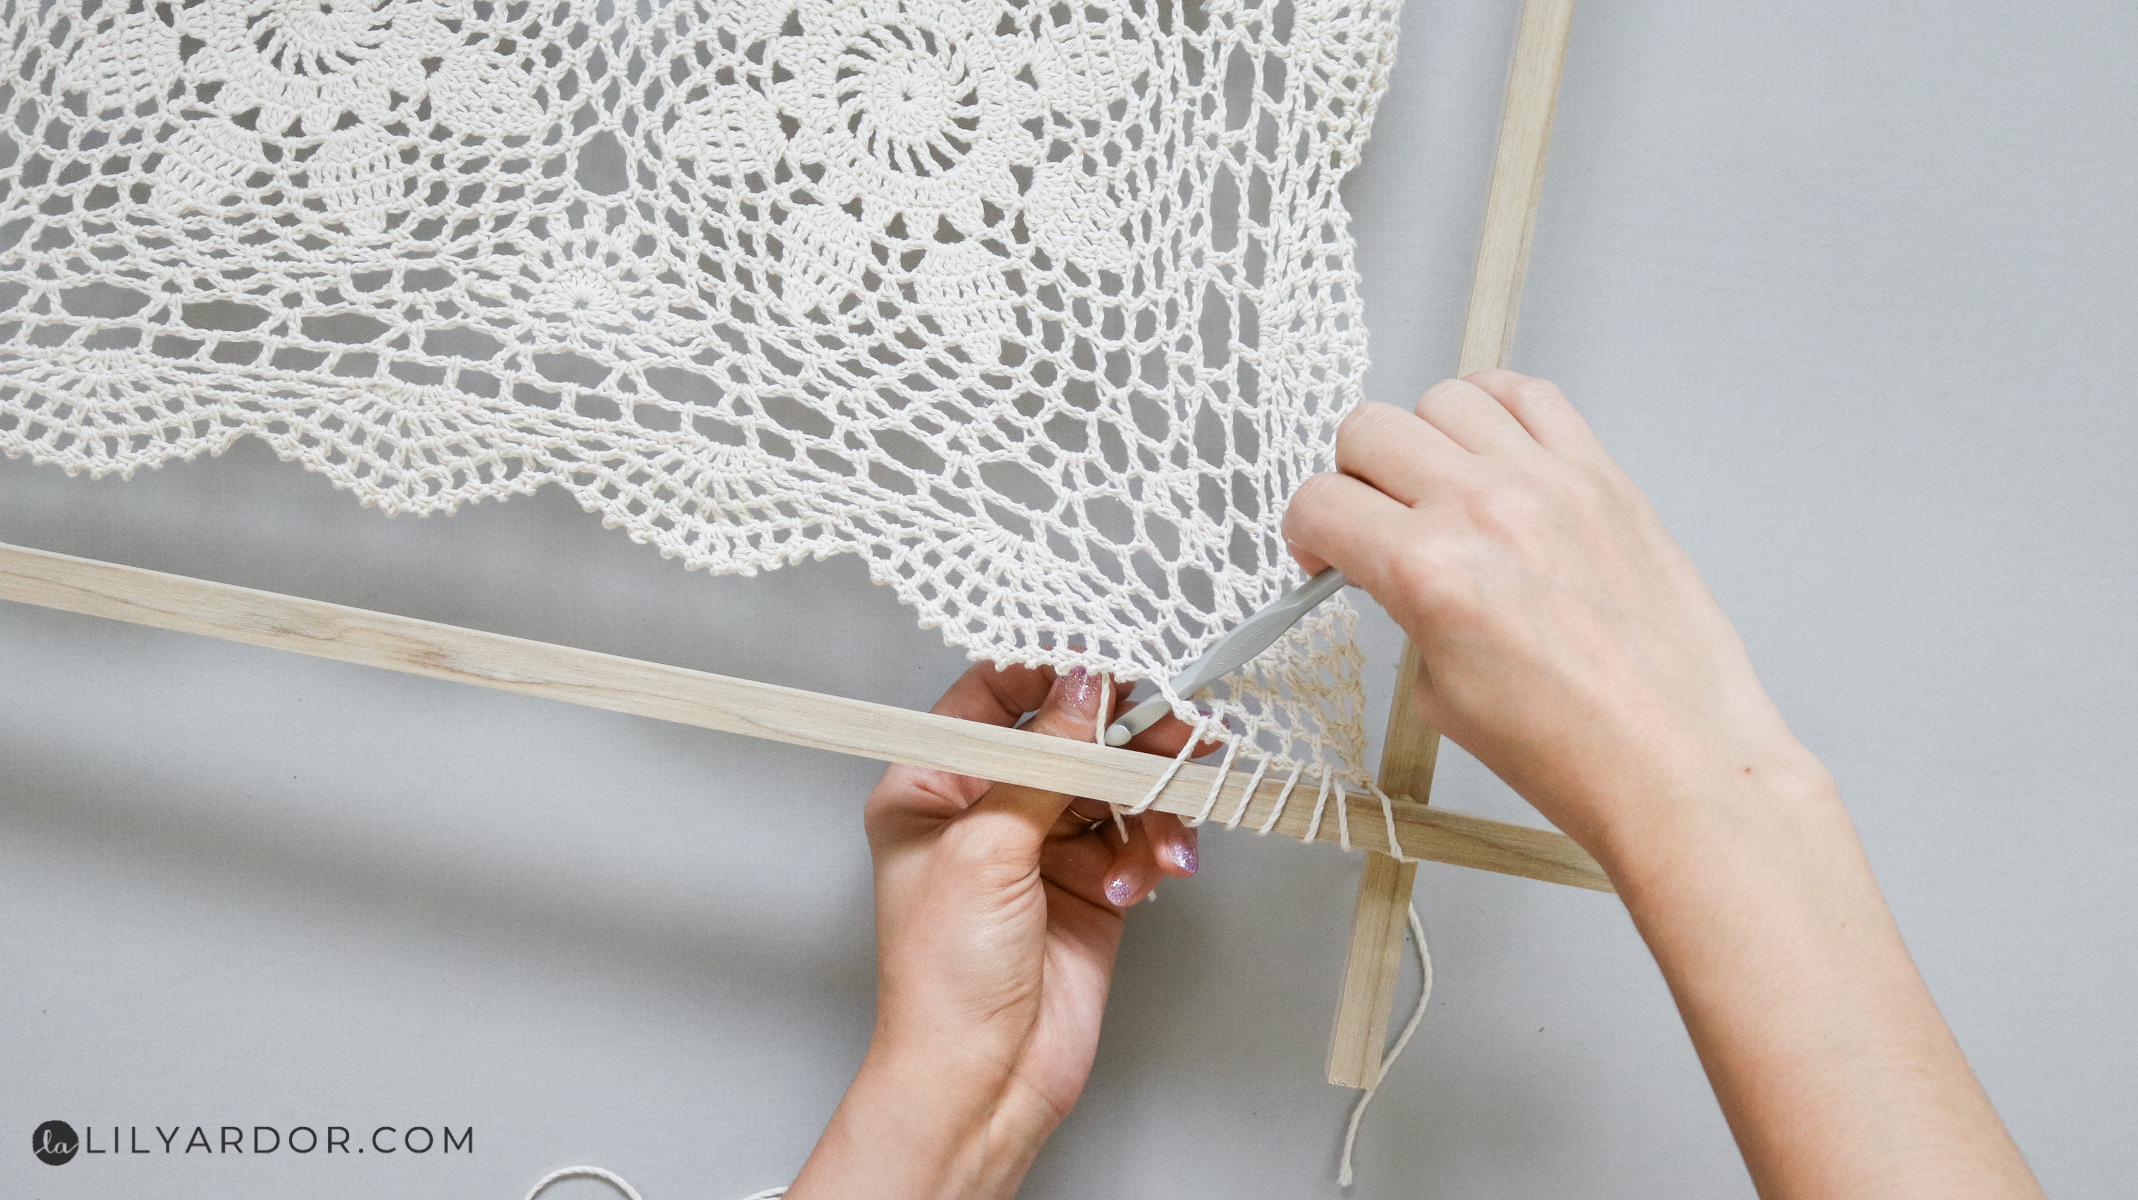
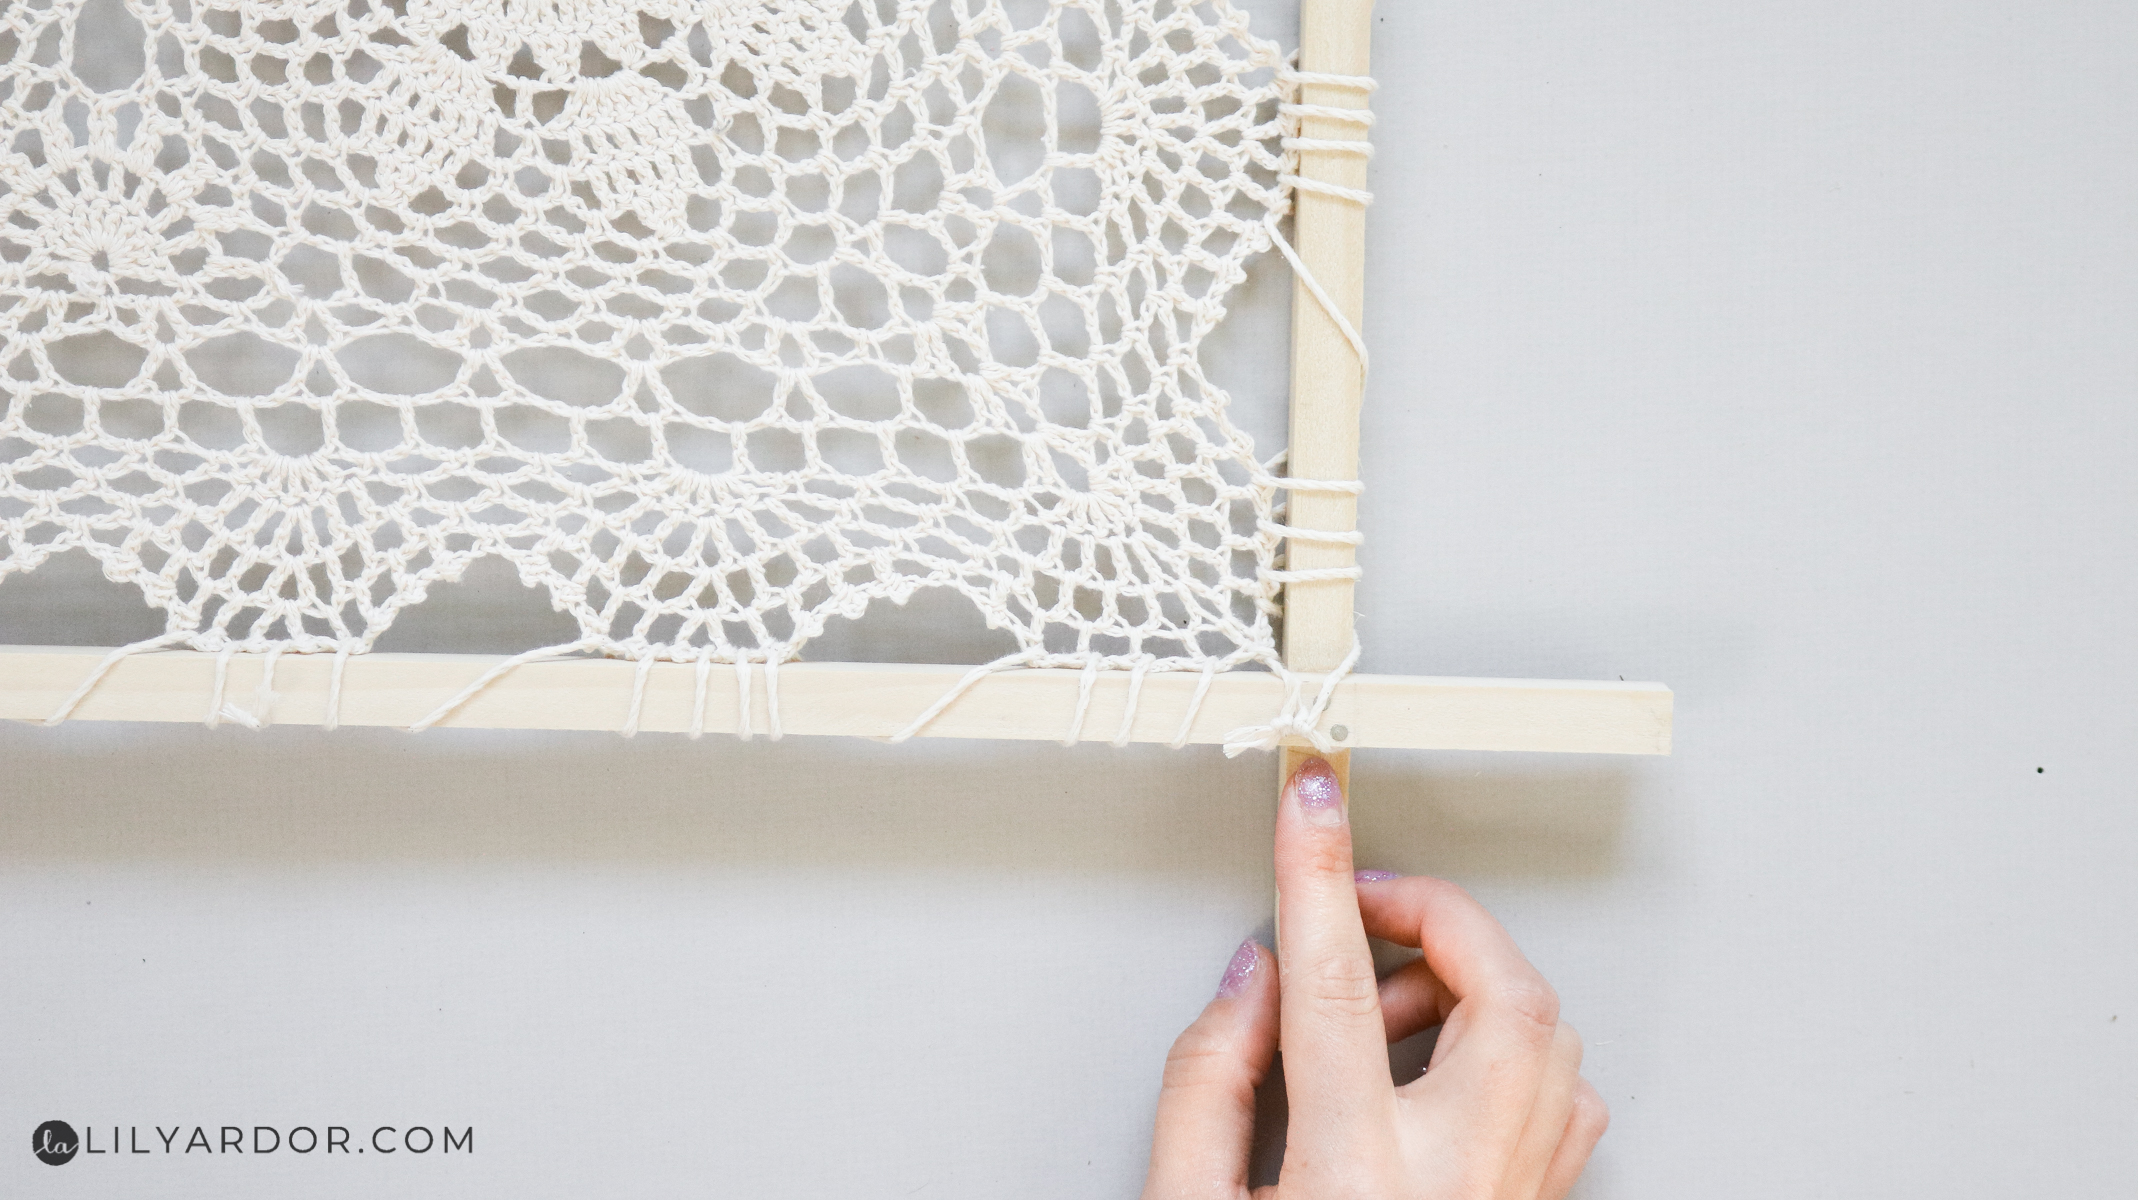
Once you get to the corner remove the previous cord you secured the edges with and keep wrapping your new cord through the doily and around the dowel.
To finish attaching the doily simply tie a knot on the back side and cut any loose cord off.
I also attached some cord on the back side to hang it by.
Step 3: Attaching Loose Cording to your wall hanging!
This is probably the most tedious part of the project. It only took my about 40 minutes to make the frame and secure the doily onto the frame. The rest of the 4 hours was dedicated to adding all the loose cording on the bottom.
First pick the length you want your cording to be and cut a pile of cording that are all the same length.
Okay now fold your piece of cord in half and feed it through the gap between the dowel and doily. Photo below shows me holding the cord in my hand and you can see a loop from the cord being folded in half.
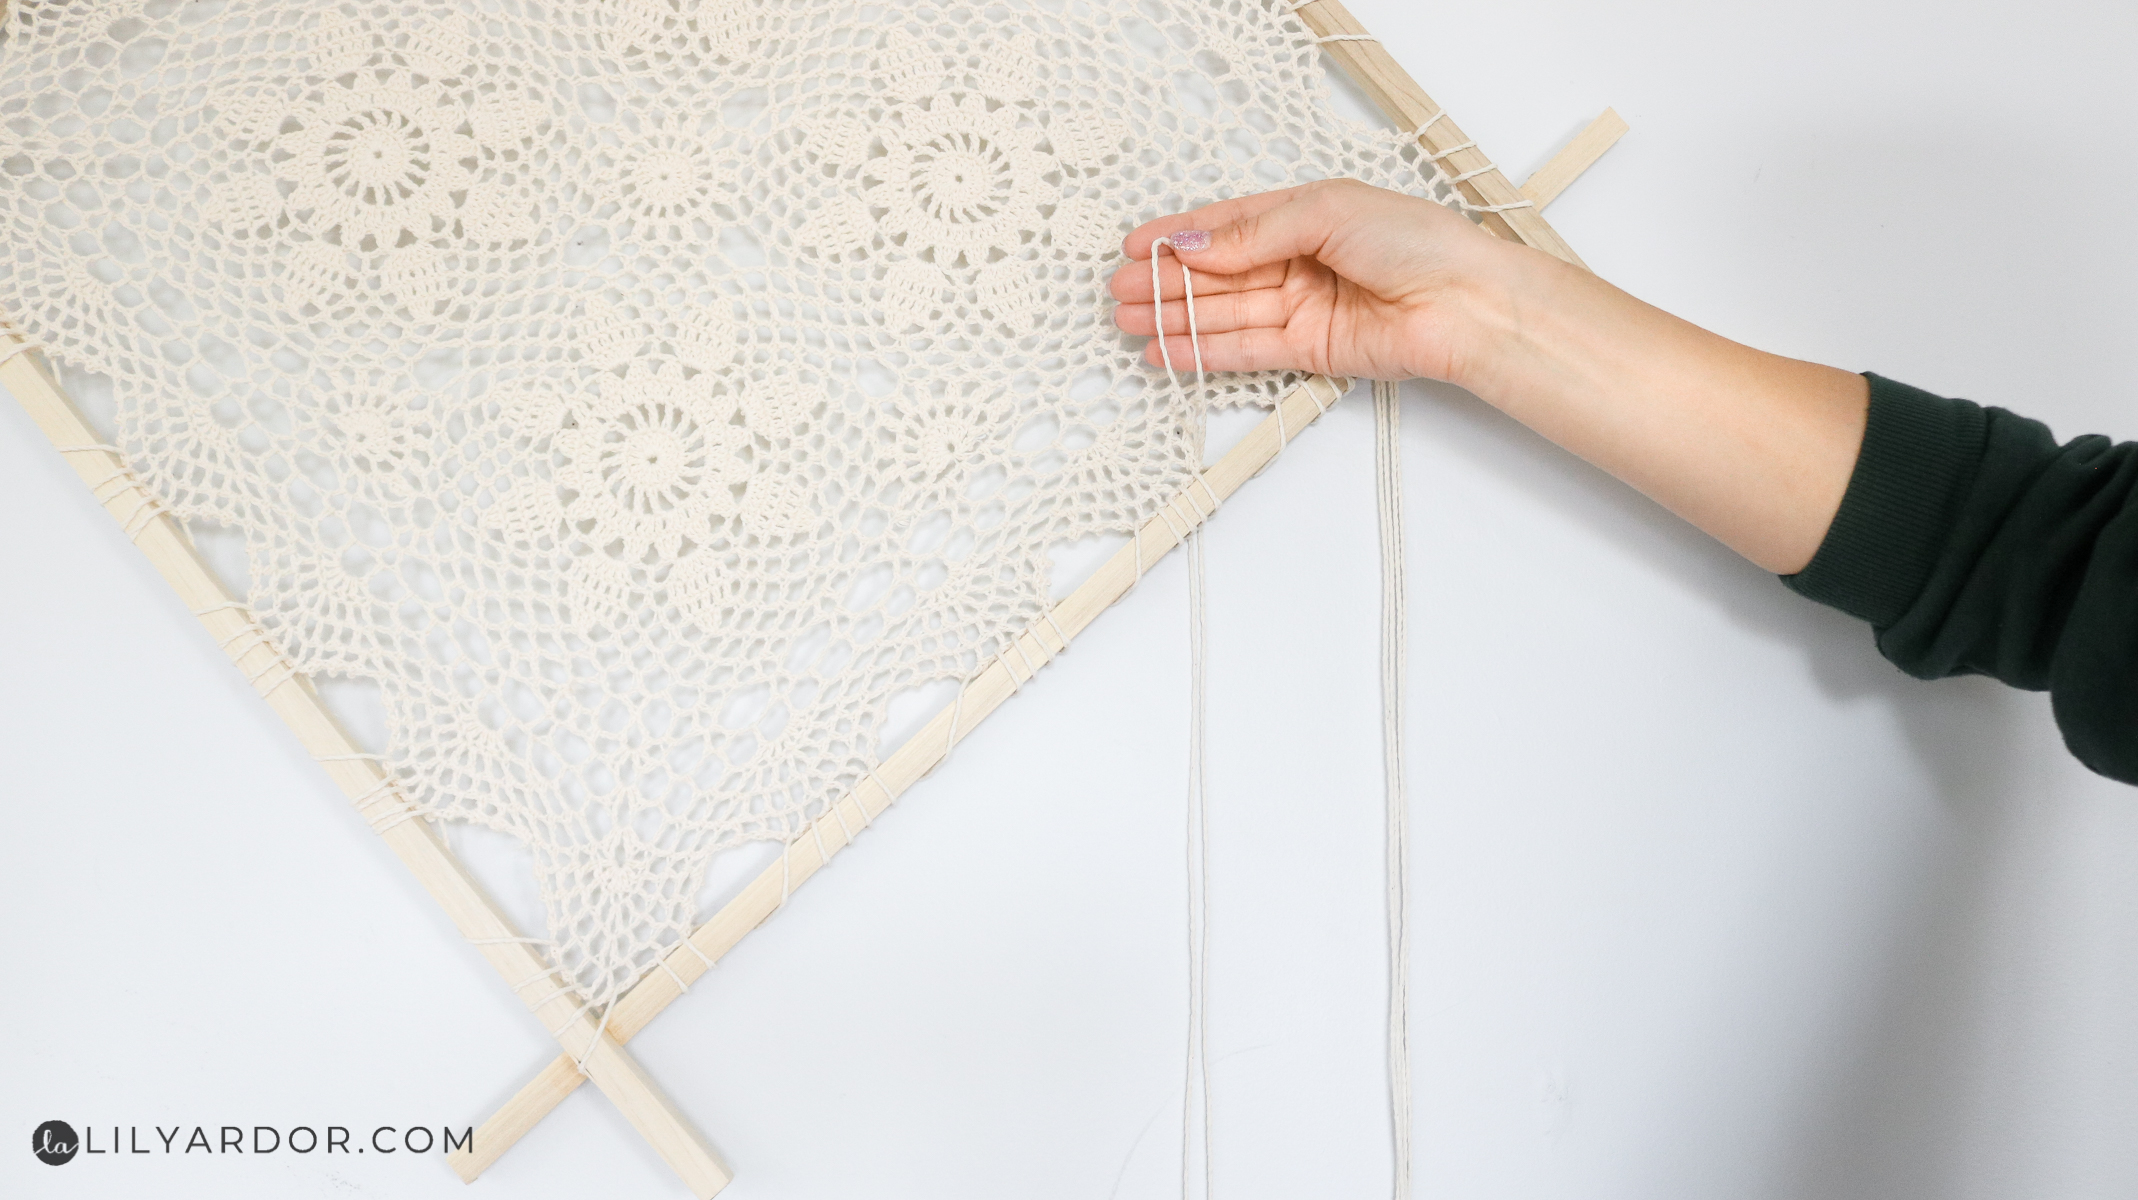
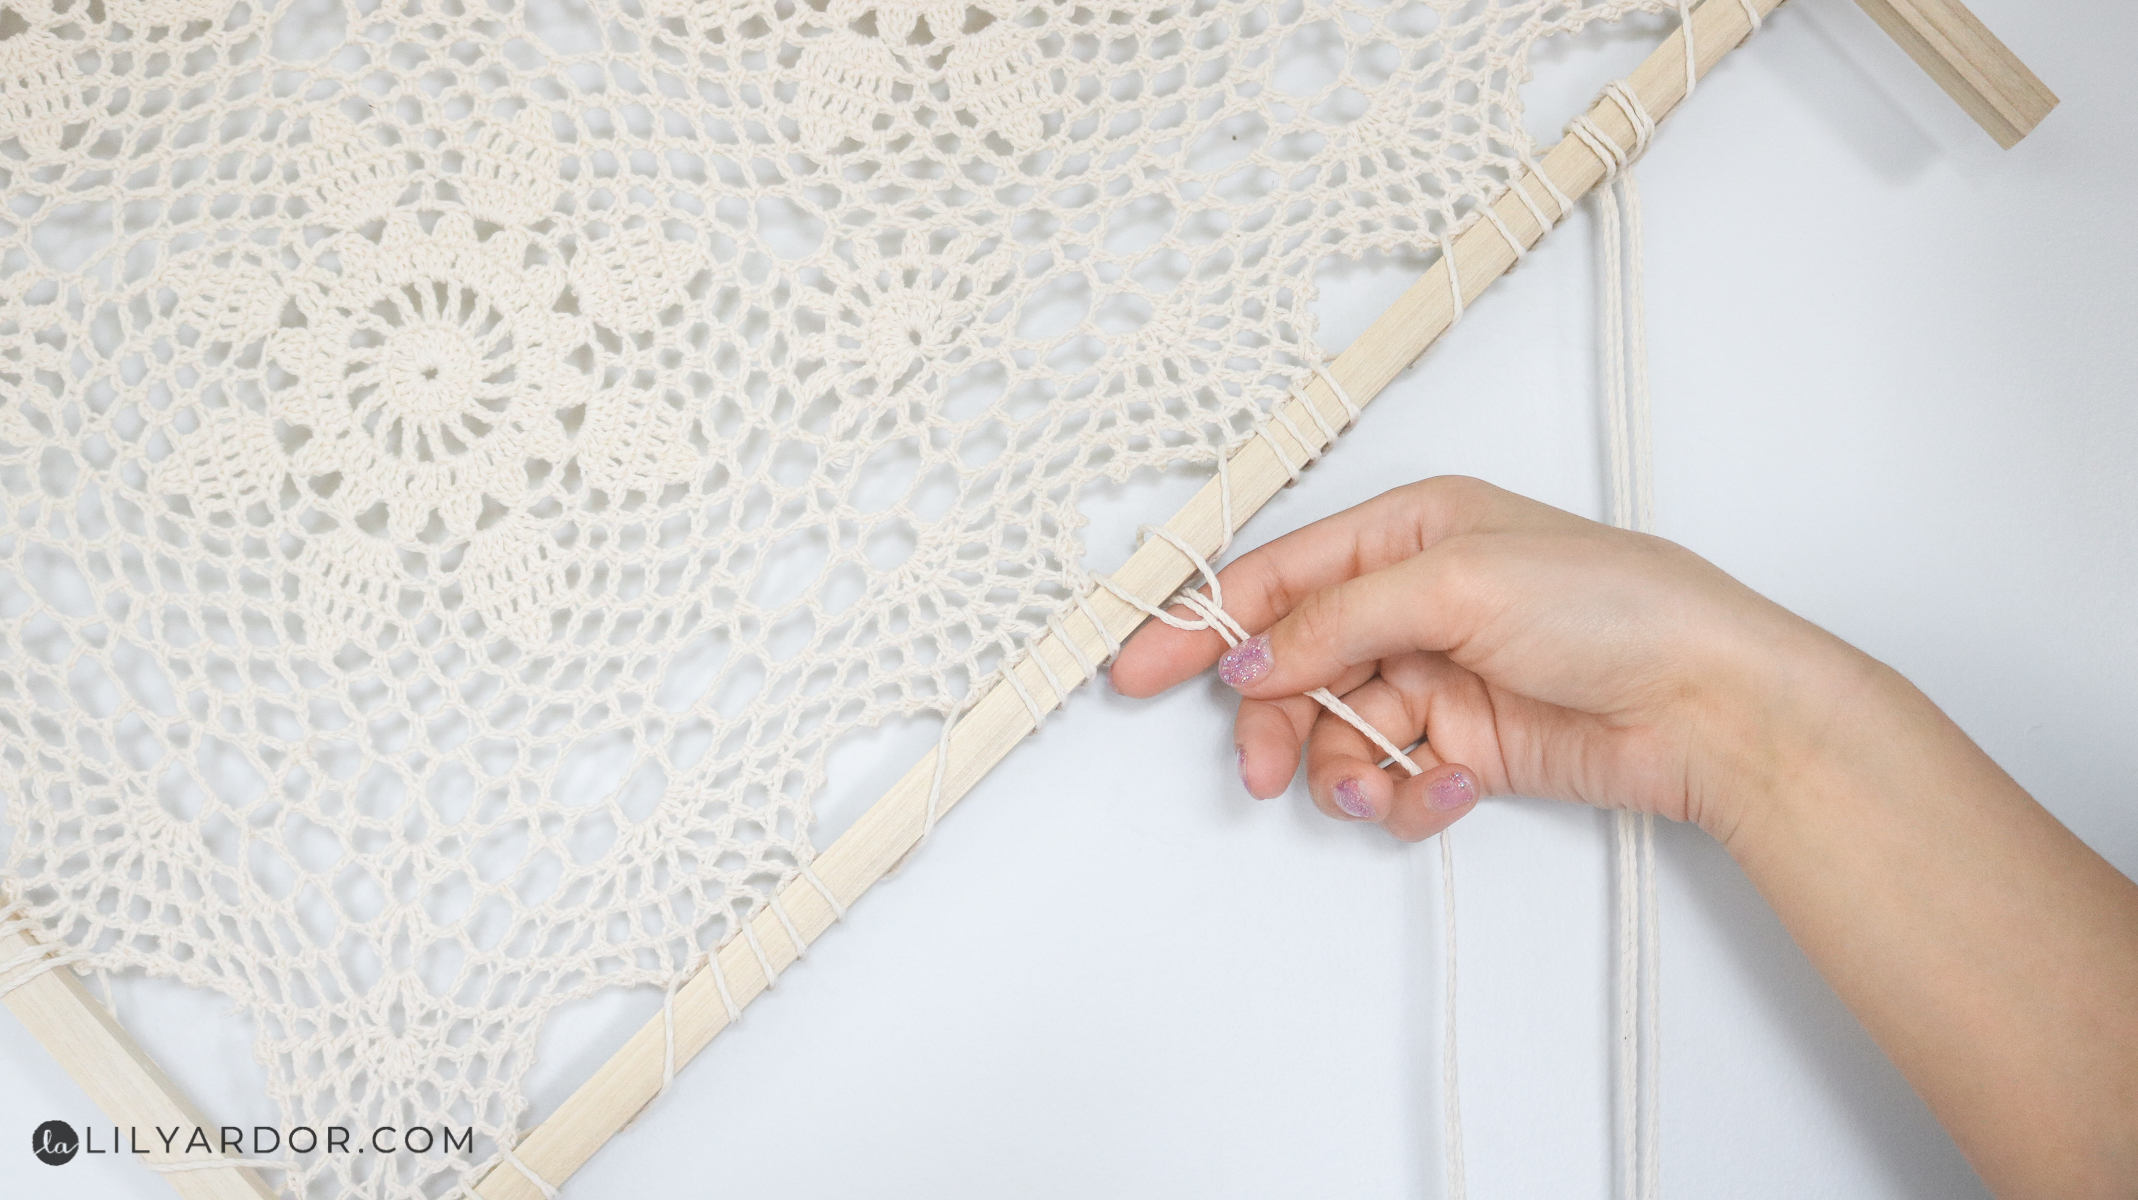
Take this loop and drop it over the cord. Than stick your fingers through the loop and pull out all the cord through the loop. ( if this is confusing check out the video for reference here ) As far as I know this is called the larks head knot.

Once you’ve pulled out all the cord simply tighten it and that’s it! You can additionally hot glue it on the back side if you feel it needs more security.
Be sure to take turns attaching pieces of cord to each side. This helps it stay consistent. After attaching my thin cord I decided to attach some thicker cord as well. My thicker cord ended up being way too thick so I unwound it and attached the strands separately.
A quick video for the wall hanging!
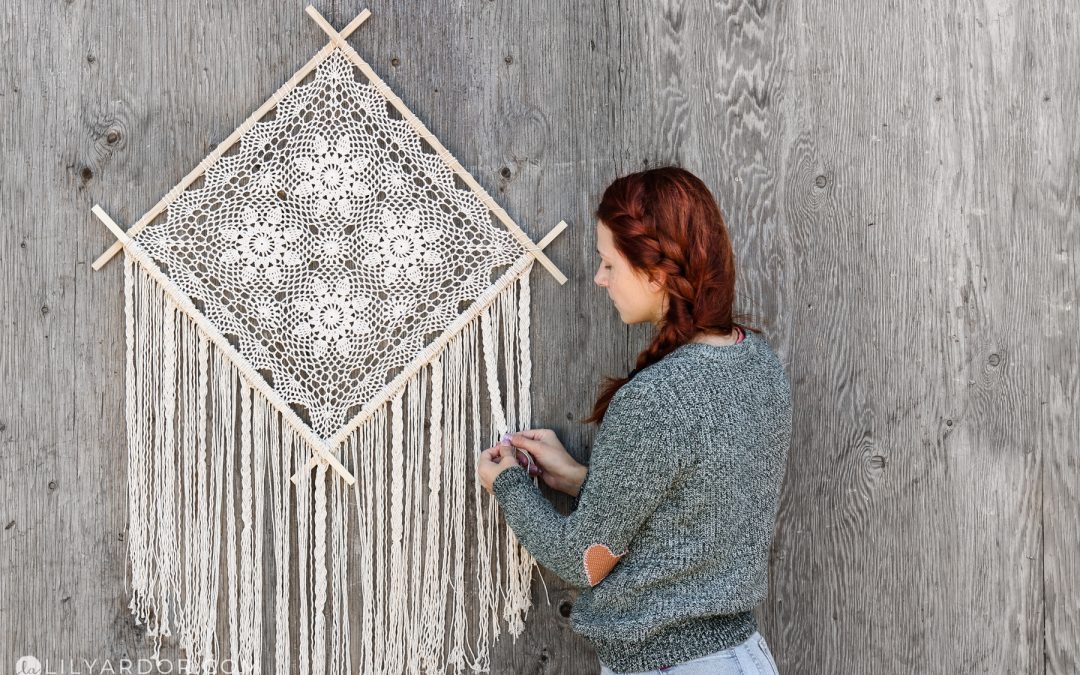
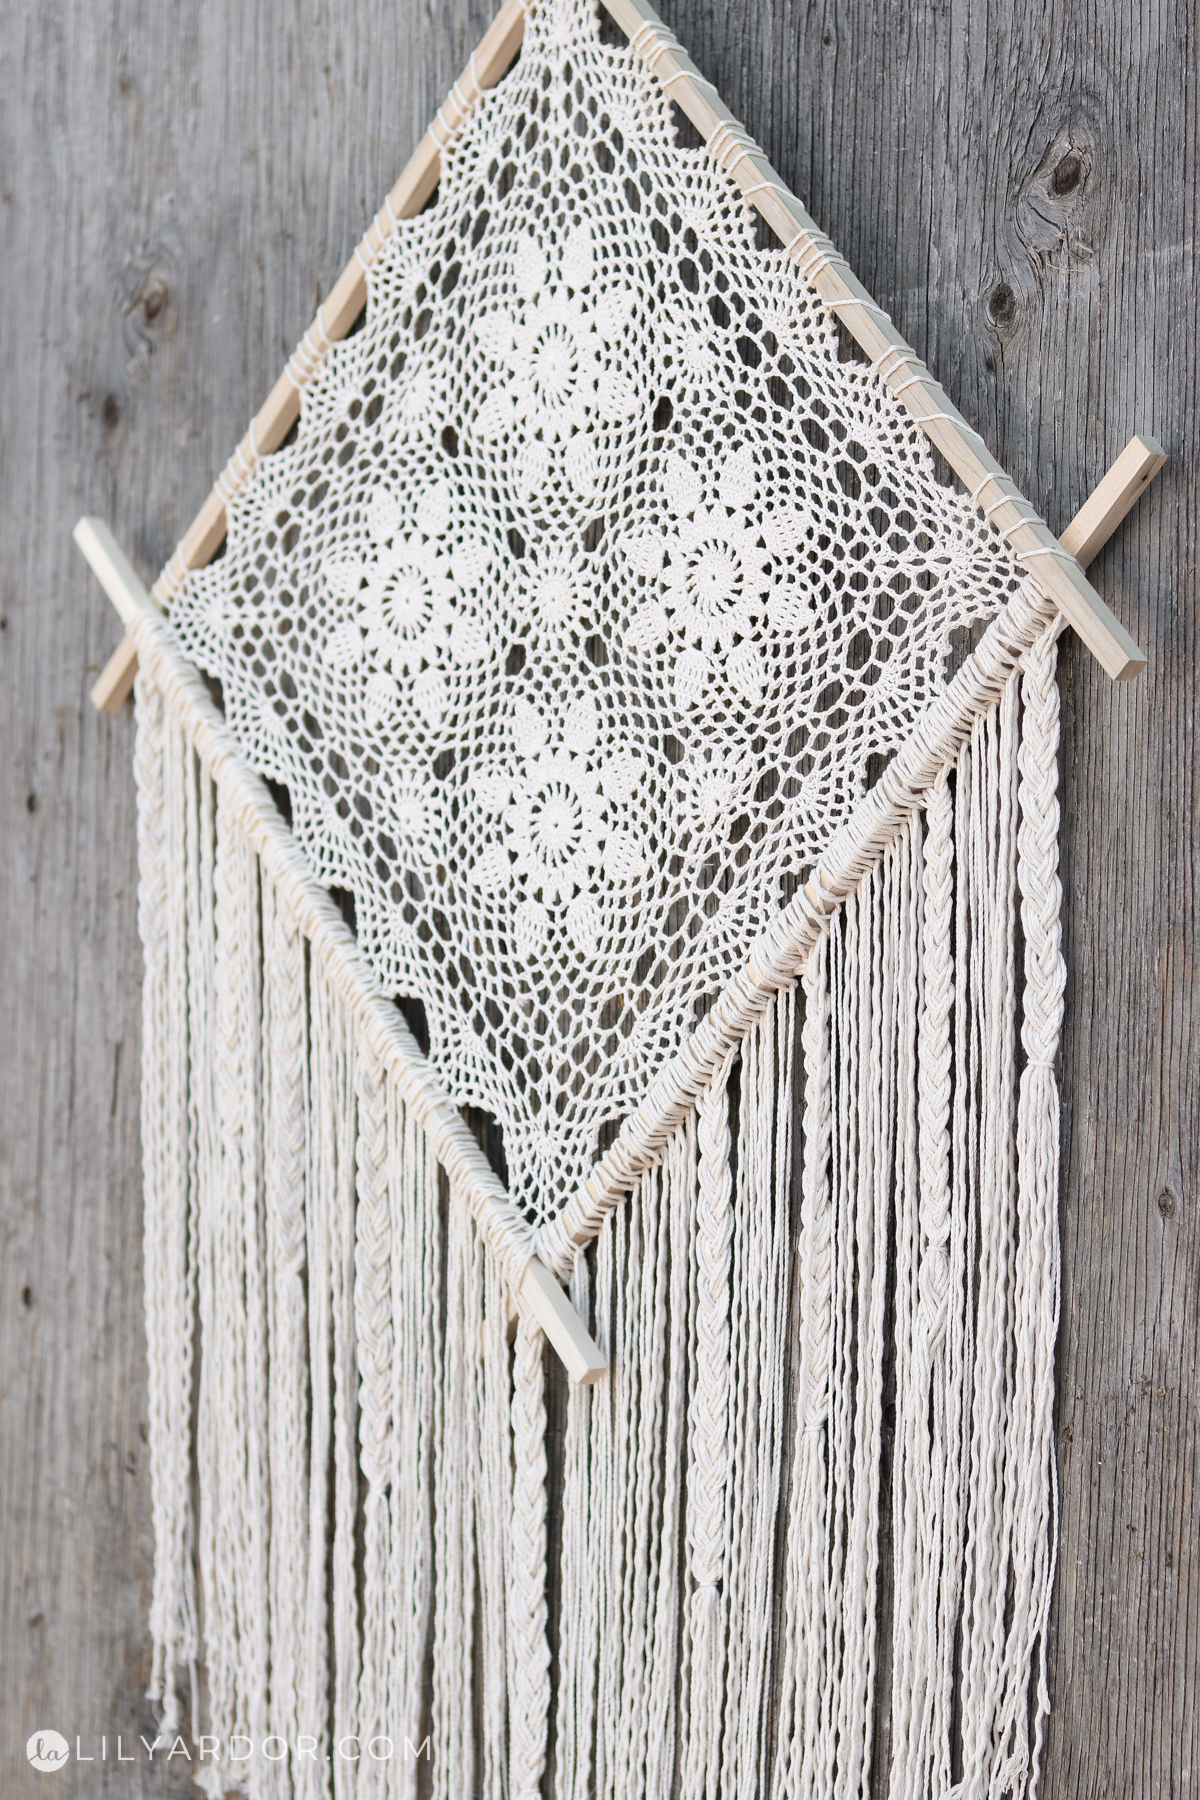
Here’s how it looks all done! 😀
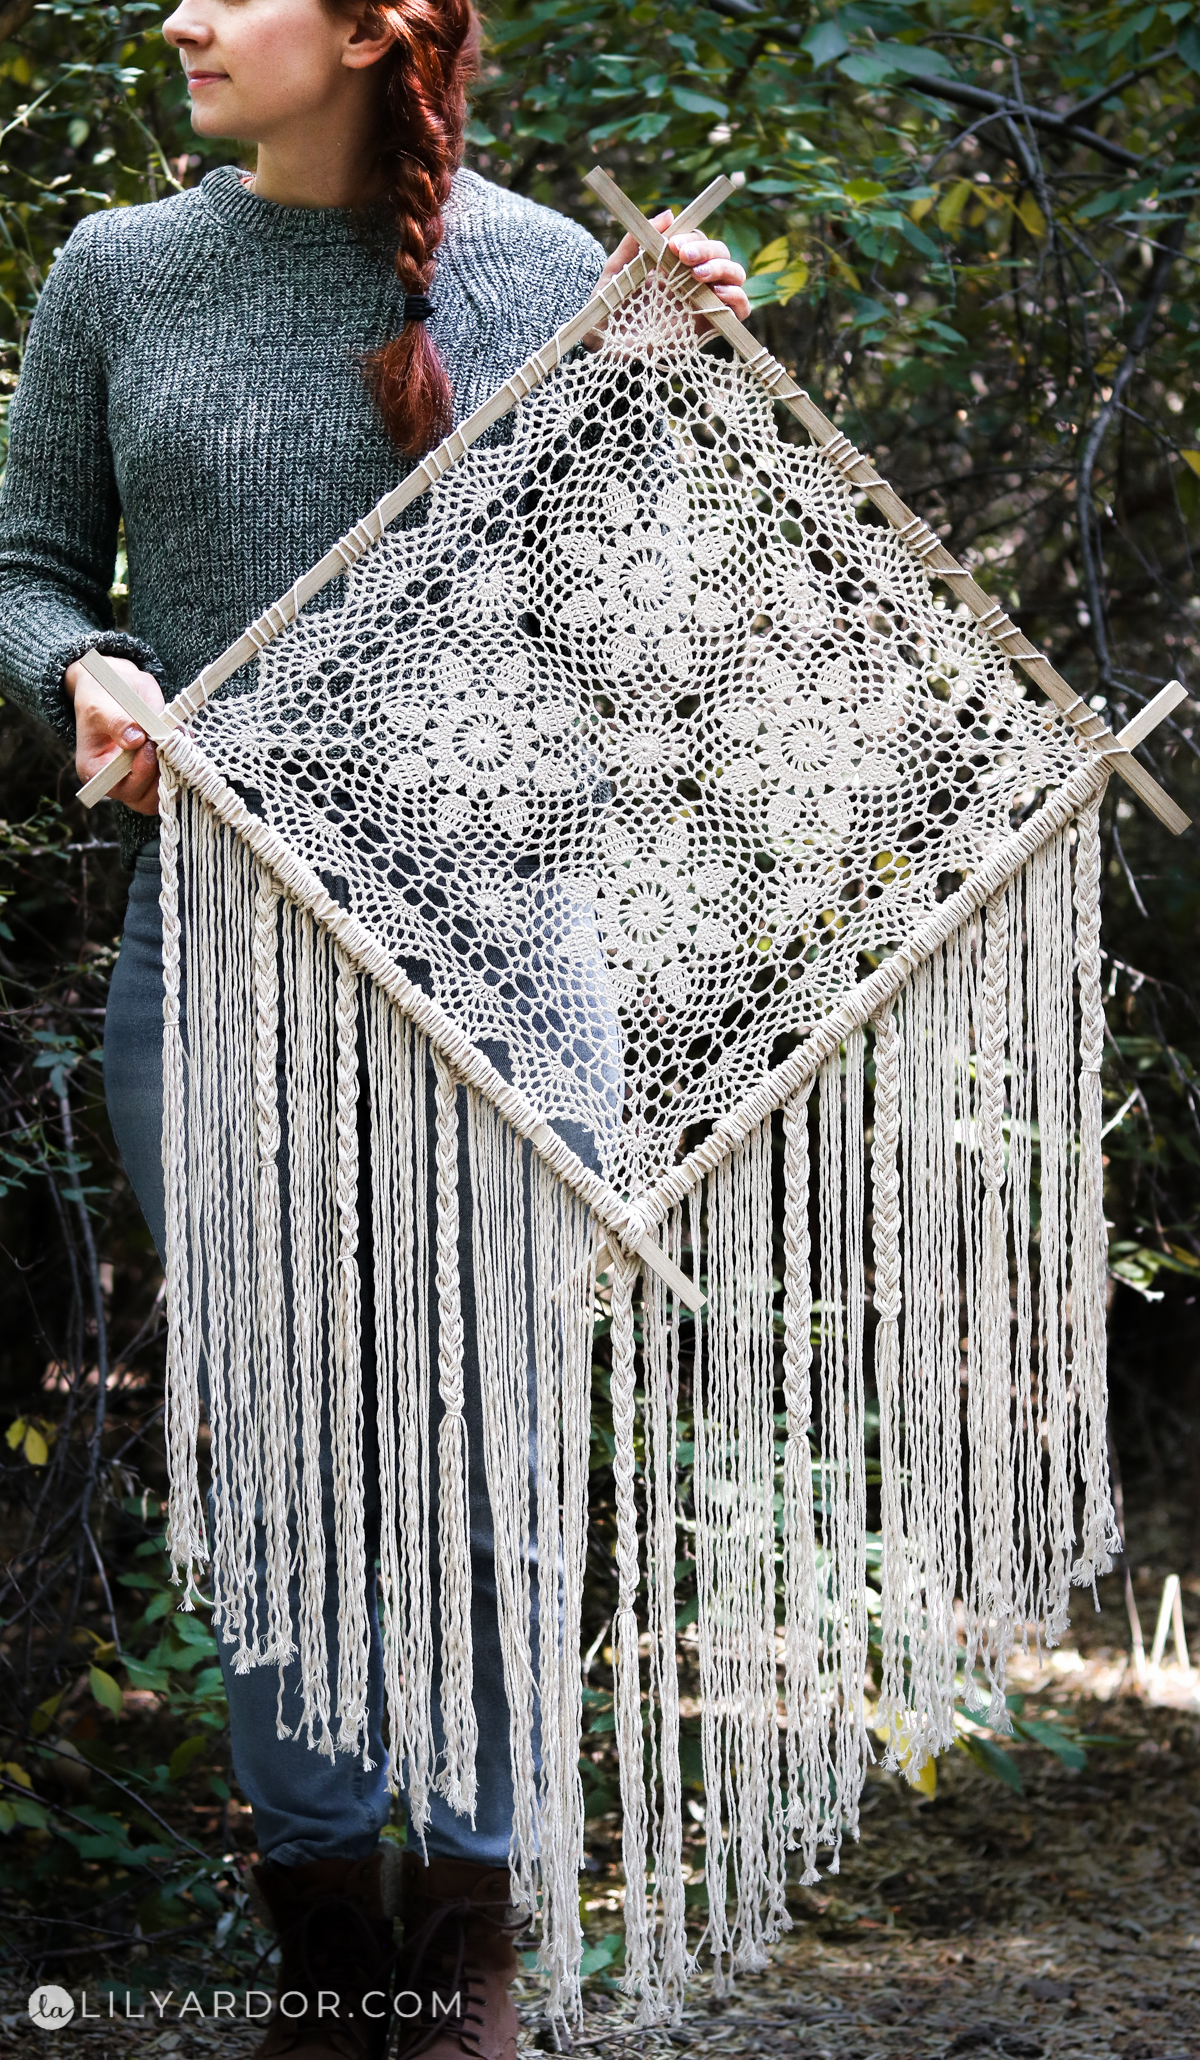
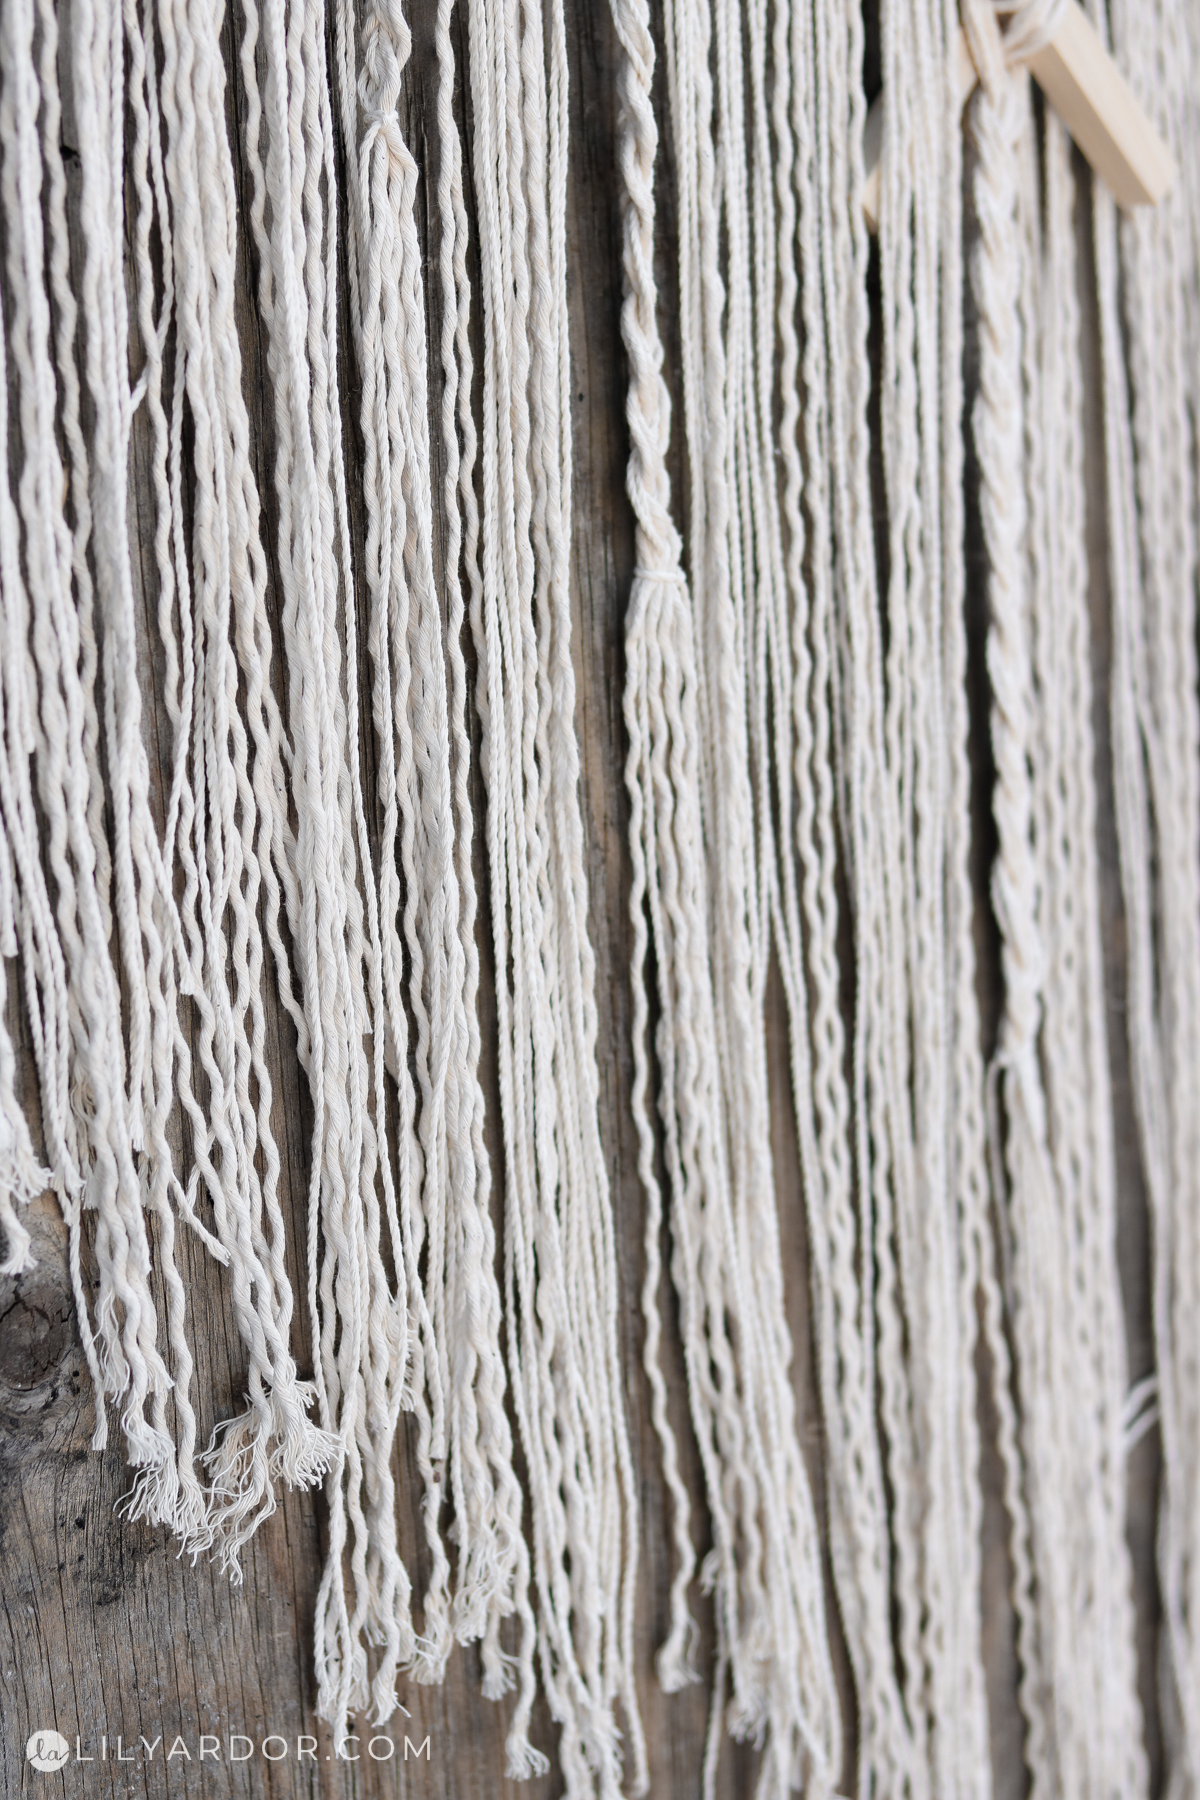
I ended up unwinding (separating) my thicker cording because it was so thick. This resulted in thinner cording that looked wavy. 😍 Okay honestly the wavy effect is probably my favorite!! Isn’t it cute!?
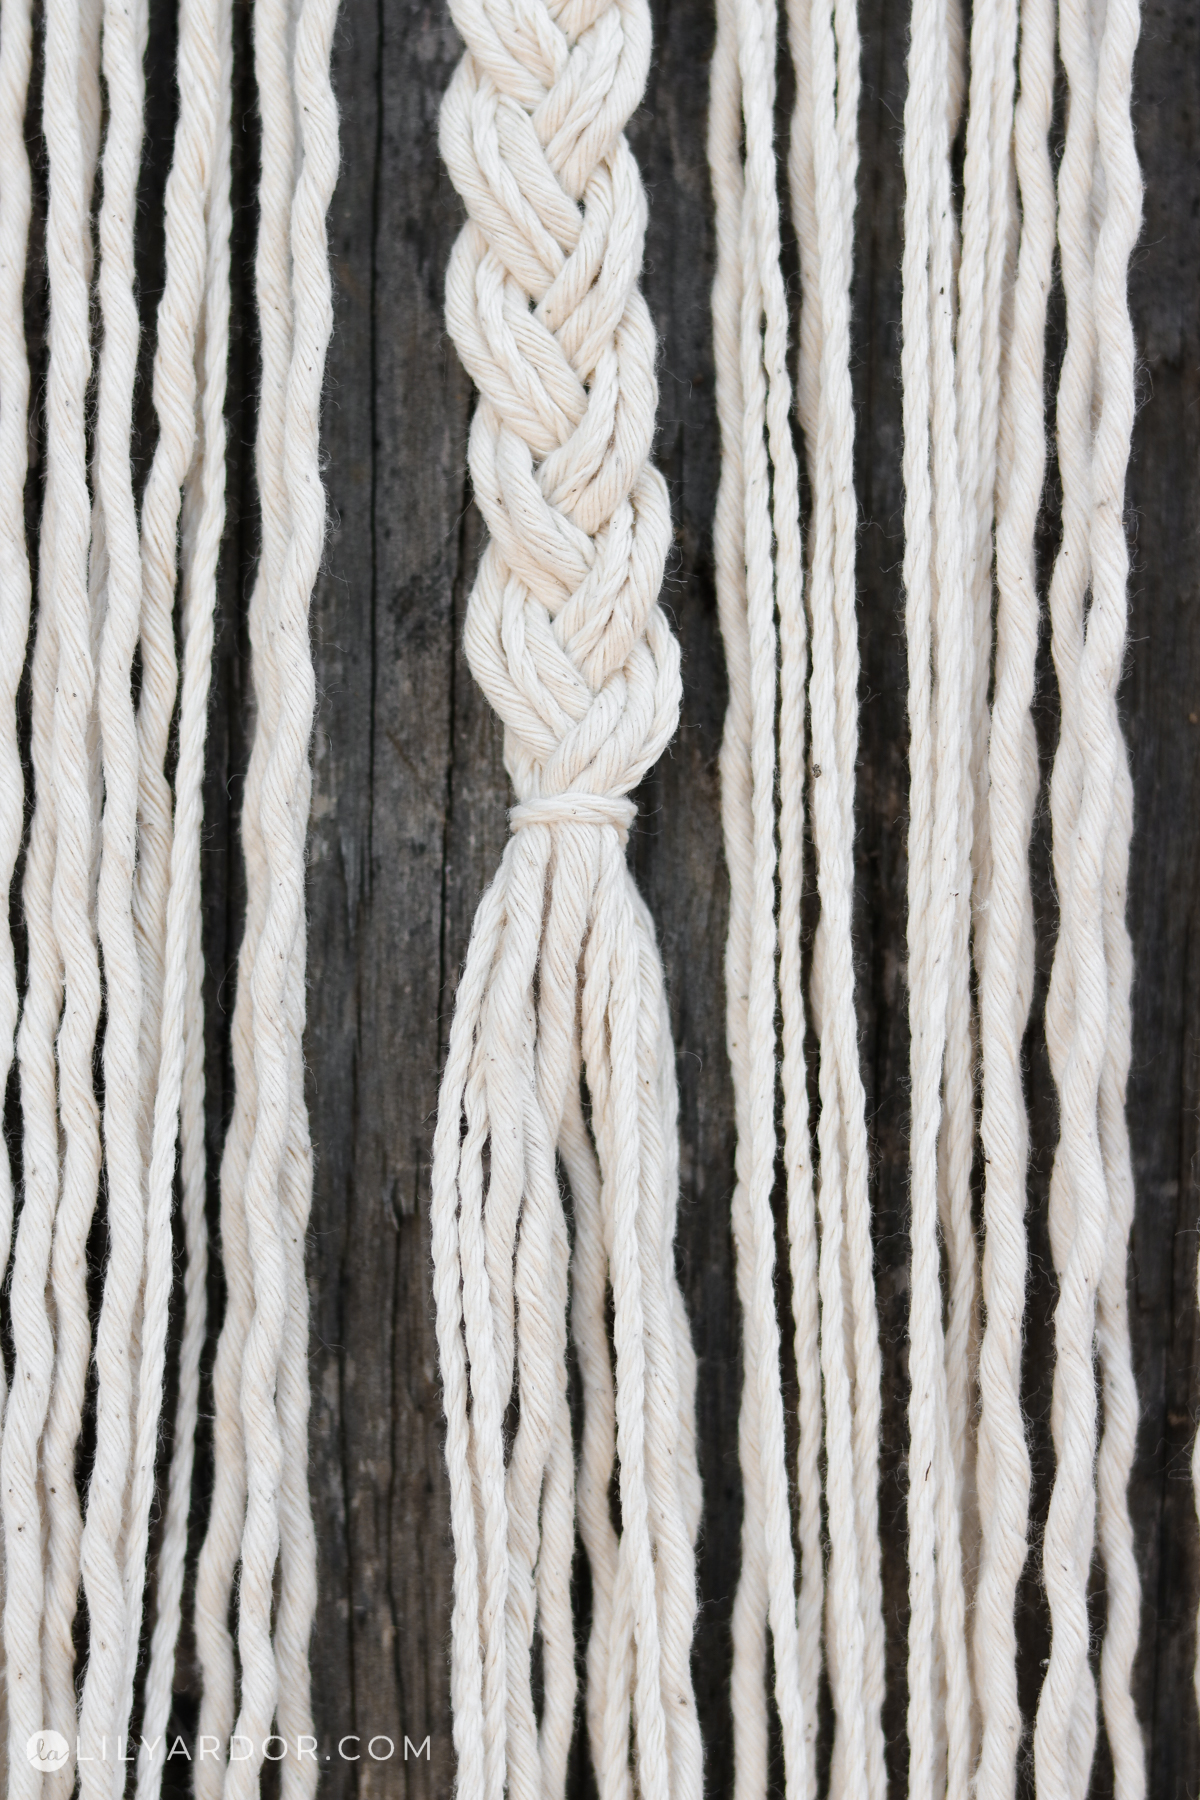
I even added a few braids by simply braiding the cording once it was all attached to the macrame wall hanging. 😊 I love how this gives the wall hanging more play on texture.
That’s all for today!! Thank you so much for tuning in! Let me know if you loved this DIY macrame wall hanging hack?
I hope you enjoyed this DIY macrame inspired wall hangning! I’ll see you all next time!
Here’s another wall hanging you might like! It’s made using photos! https://www.lilyardor.com/diy-hanging-picture-display/

Absolutely love this…great job!
Thank you Sharon! So happy to hear you loved it!
Beautiful idea!! So glad I found your website! Love your ideas!
Thank you Tiena 😀
As someone who crochets, I think this is a super cool idea! I normally have no idea what to do with my doilies when I’m done with them, but this is great.