How to Fix Ripped Jeans – WE ALL HAVE FAVORITES RIGHT?!!
Did you ever have a favorite pair of jeans that just ripped right up the crotch or you accidentally got your toe stuck while putting them on and made a small hole 5 times bigger?? YEP!! That’s happened to me. I go through motions when it comes to my closet because, I like to wear a pair of jeans until they’re worn out and the rest just kinda sit pretty in my closet until I have no choice but to wear them. That said I usually just wear them out a lot quicker than I would normally and in most cases I’m not ready to let them go so I add a few patches here an there.
What else you can fix with this METHOD!
When I worked as a professional seamstress we had all kinds of ripped things coming through the door. From parachutes to seat cushions, to doggy suits and more.. What’s nice about the method I’ll be showing you in this tutorial is that you can use it on virtually anything. YEP! This isn’t just for jeans if you ripped your favorite dress pants or made a hole in your dress give this tutorial a try. 😁
Before we jump into this tutorial. If you want to learn more about sewing this is a 5 part series where I teach you the most basic clothing alterations coming from a professional seamstress. Here’s what else goes in this series.
- How to hem a dress
- How to hem sleeves
- How to hem pants
- How to fix ripped jeans
- How to cut jeans into shorts
Here’s the quick 7 minute video to teach you all five
What You’ll Need
- Stitch Witchery (fusible bonding web)
- Scissors
- Thread (to match your jeans as much as possible)
- Ruler
- Jeans Patch
- Iron
- Sewing Machine (nothing special just a regular straight stitcher)
- Seam ripper ( I usually use a razor blade. Be very cautious)
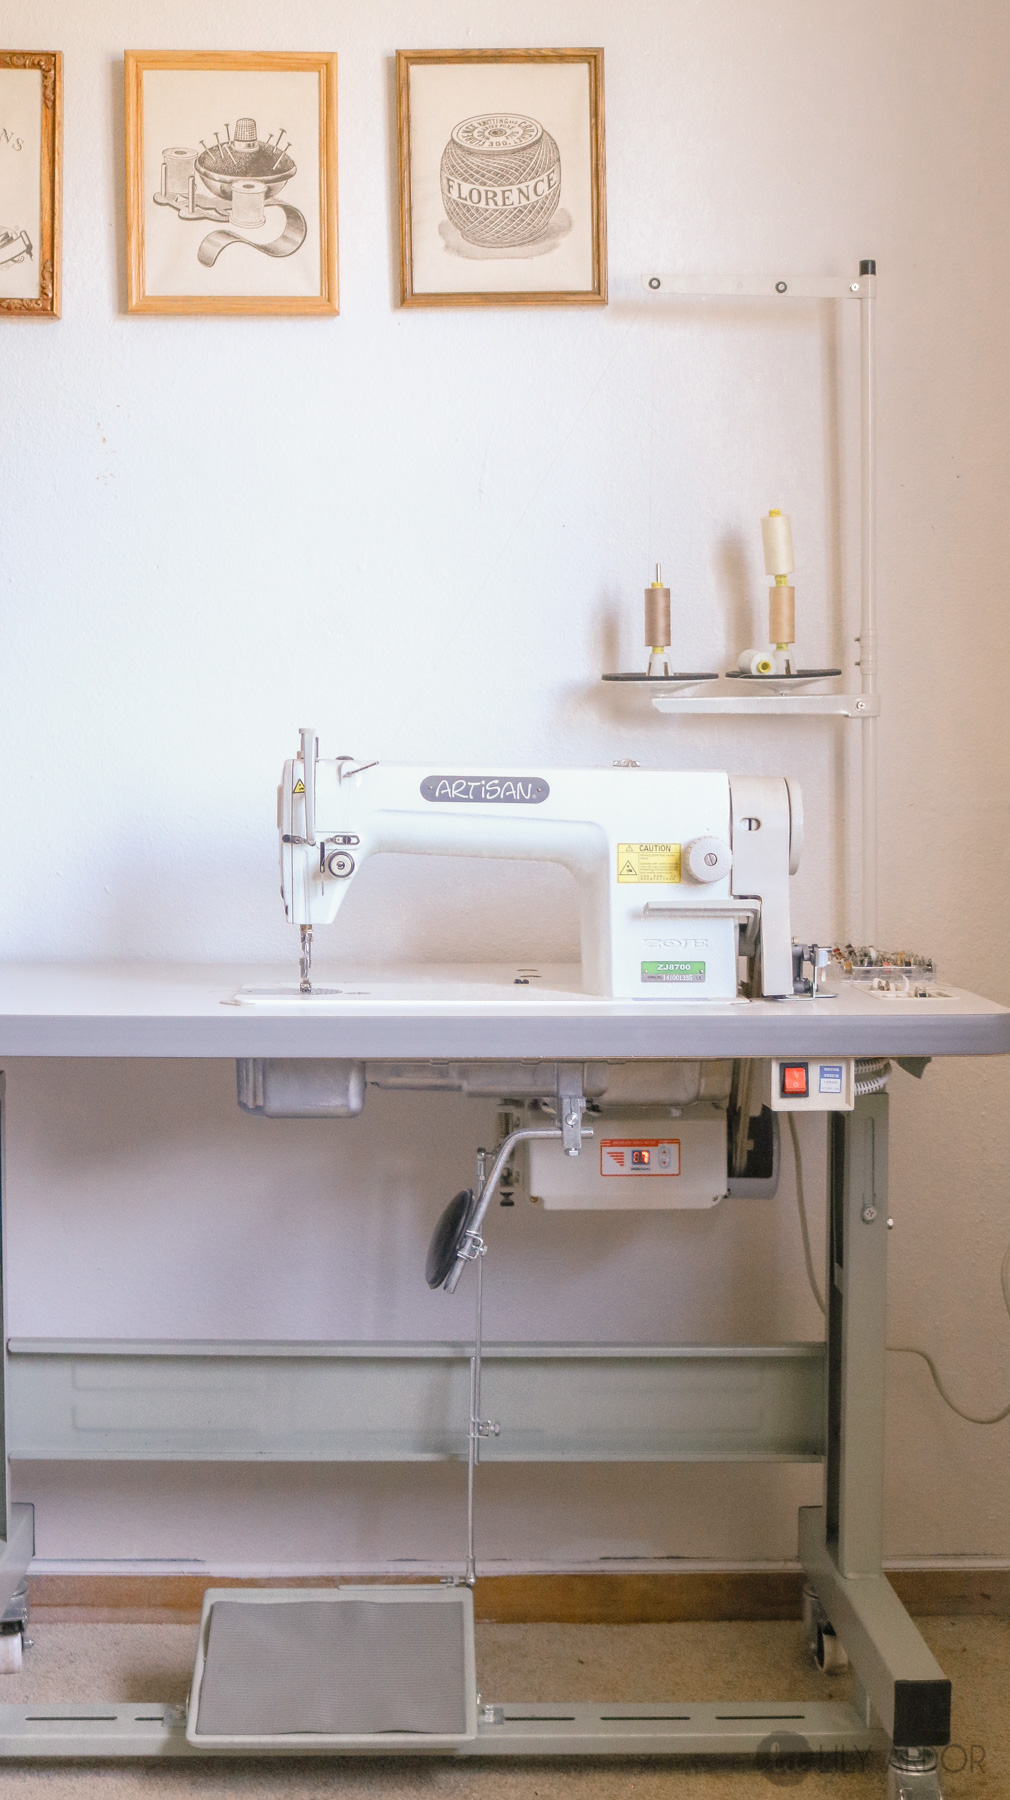
What equipment you really need!
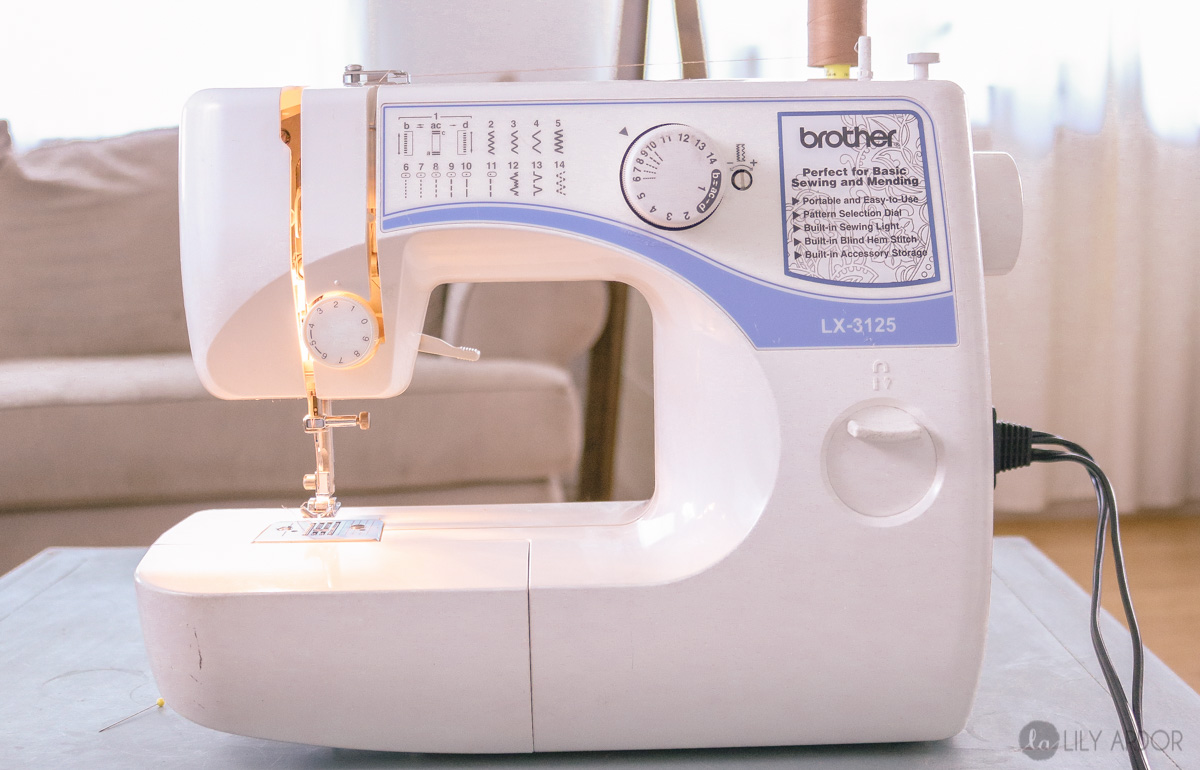
Okay so before jumping into this series of sewing tutorials. I was debating on whether I should use my industrial sewing machine or my smaller little straight stitcher from Walmart. Man this was such a tough choice. I really do love my industrial sewing machine but, to show you it can be done with a cheaper shewing machine I did the whole series of sewing DIYs on my little one. I want you to understand that you don’t need expensive equipment to get professional results. All you need is a sewing machine that could make a straight line plus a zigzag stitch an iron and some scissors and thread. Nothing Special. Here’s my baby! (photo below)
This is the sewing machine i used for this series of DIYs! I got it at walmart like 10 years ago and it still works as good as new. I’ve made so much clothing from start to finish with just this sewing machine. Can you believe that?! 😁
So I’ll be showing you how to fix a hole in little Olegs pants today.
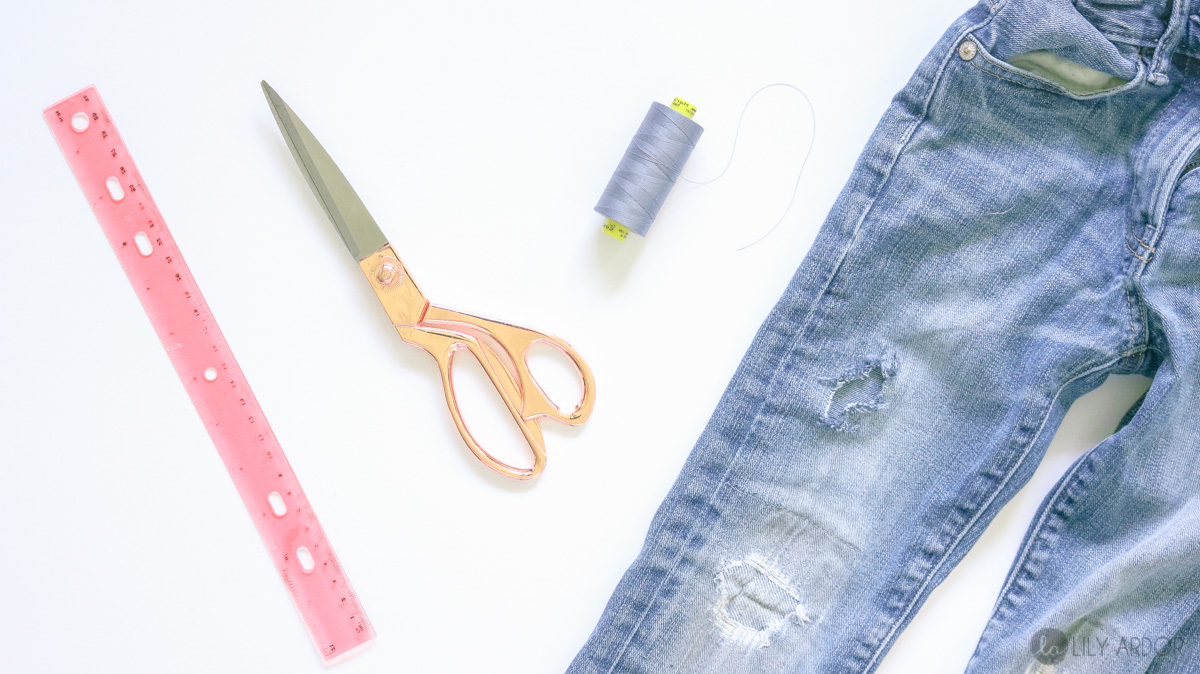
Here’s a weird fact. I never throw away my old jeans. I always keep a box full of old jeans to use as patches. Honestly the patches they sell at the craft stores suck. They never match in color or texture. 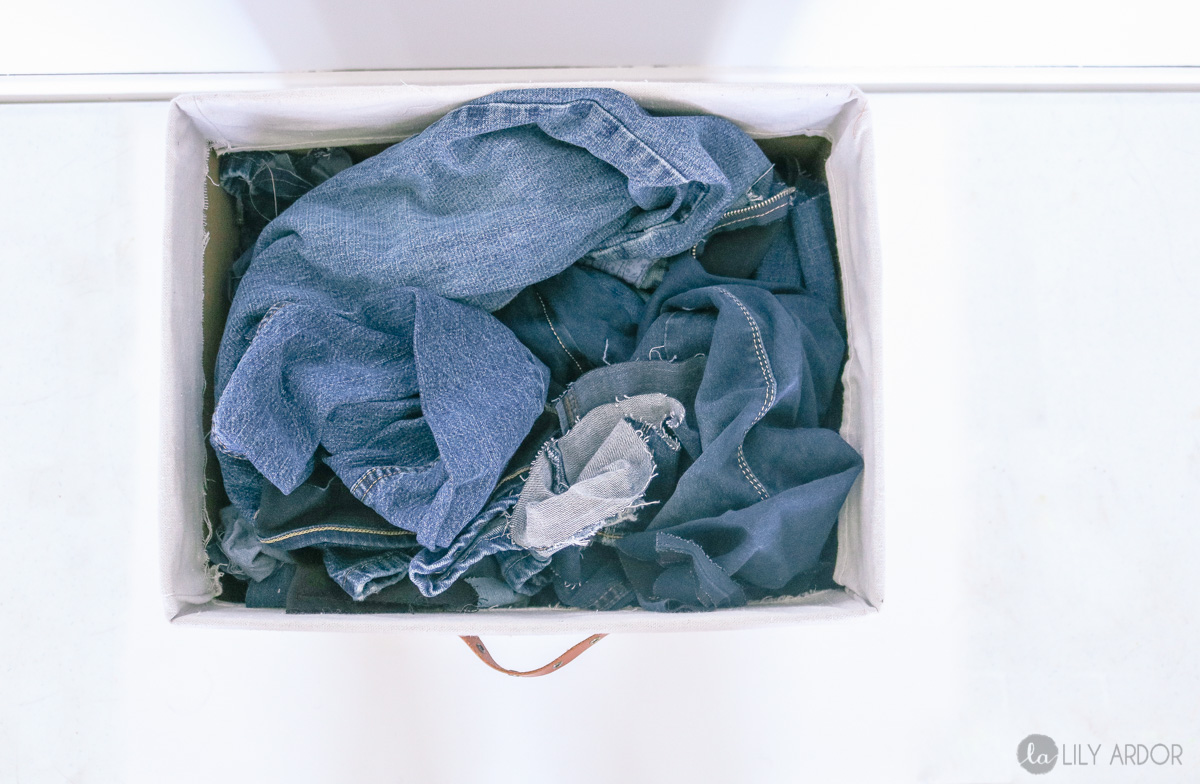
To match Olegs pants I used the jeans on the left. The pants we’ll be fixing are pictured on the right of the photo (below). Yes these pants already have previous patches but, I couldn’t find another pair of paint to do this on so here we go.

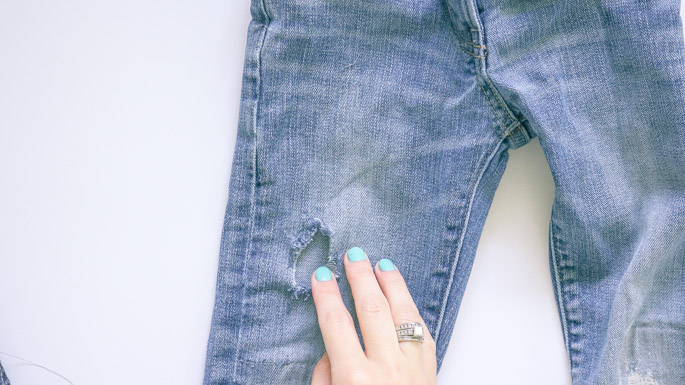
Here’s a closer view of the hole we’ll be working on. 
Step 1 – Prepping
Start by cleaning up the hole you will be working on. Cut away any excess fuzz that will be in your way. Measure how big you need your patch and cut out the size needed from an older pair of jeans you won’t be using. 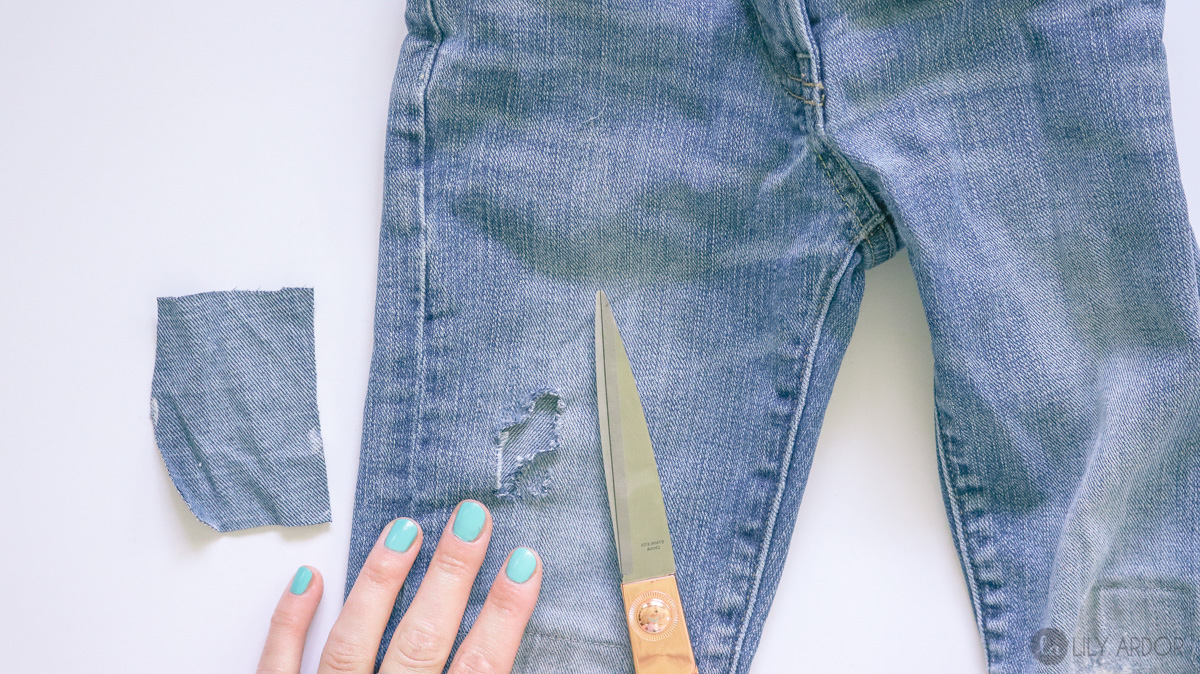
Step 2 – MAKING IT EASIER ON YOURSELF!!
Okay so this step is optional but I find it sssso much easier if you do it this way. Use a seam ripper to undo one side of you pant leg if you’ll be adding a patch on the leg. If you can easily access it with you sewing machine without taking it apart go for it. Don’t be scared to take it apart if you need to. It’s super easy to sew your pant back up.
QUICK TIP :
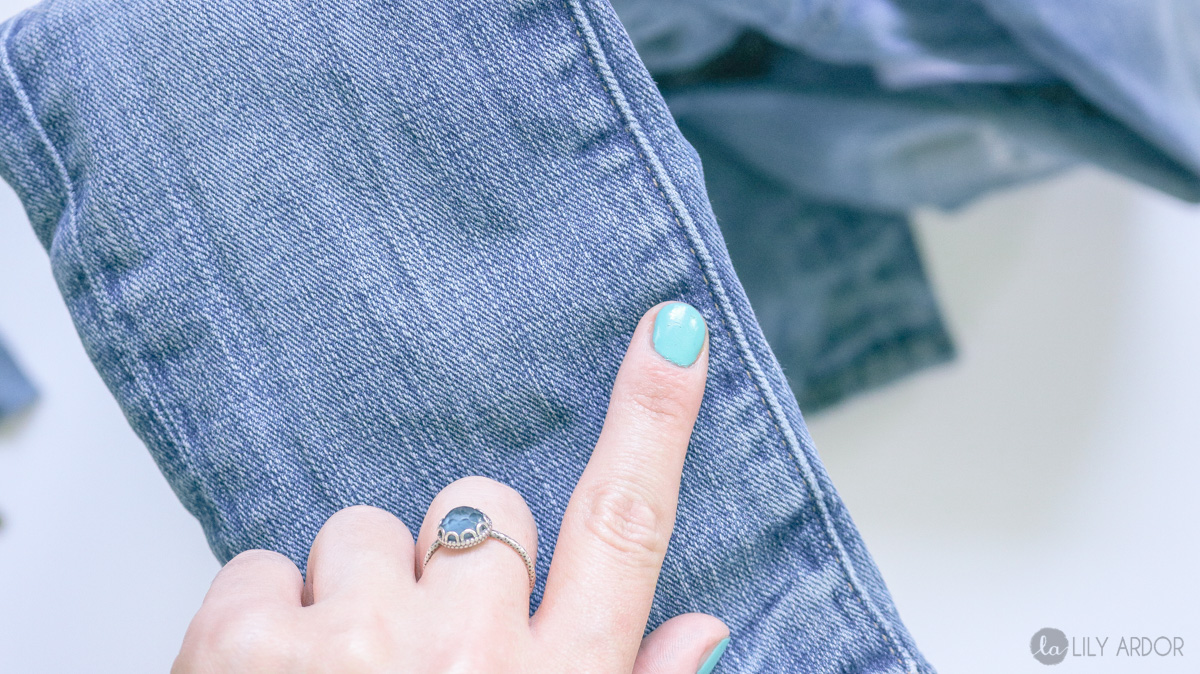
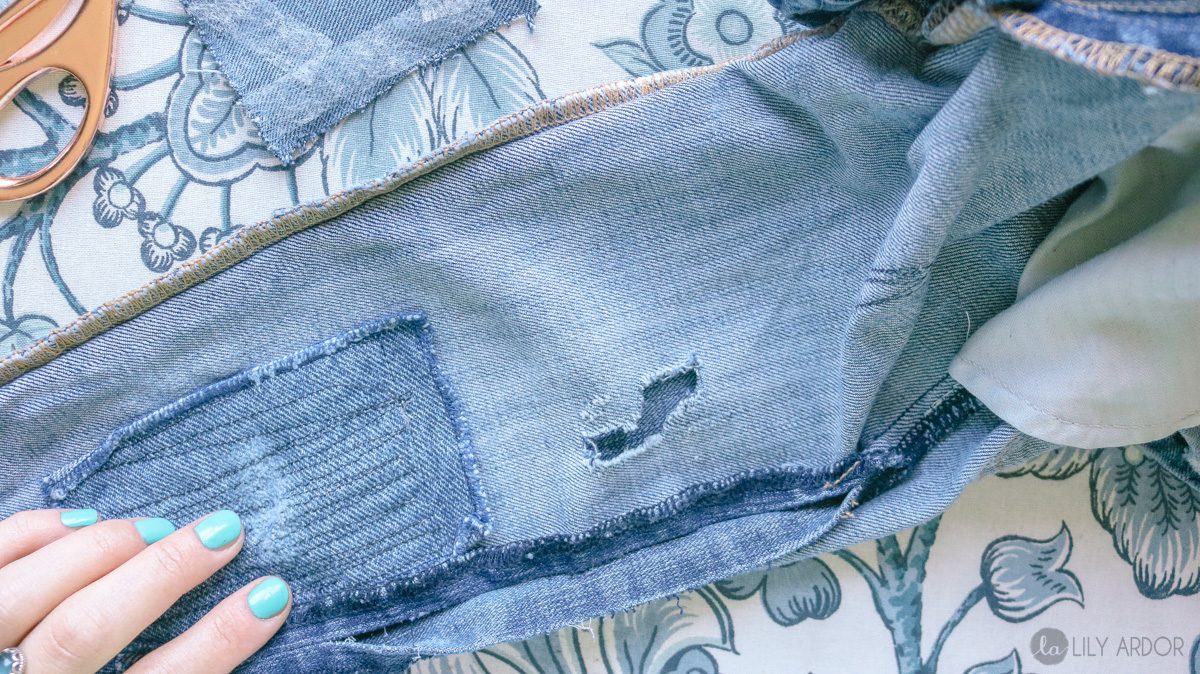
Knowing which side to take apart is very important. Unless you absolutely have to you will never take apart the side with the top-stitch. In the photo below the left side doesn’t have a top-stitch and the right side of the pant leg does. Every pair of jeans will have this.
Here’s what I mean by top stitch. (I’m pointing at it in the photo below) Notice the other side of his pant leg doesn’t have a visible top-stitch which makes it easier to take apart and put back together.
Step 3 – Patch Prep
Okay to get your patch ready you’ll need to finish of the edges with a zigzag stitch. If you have a serger you can use that.

Then use some bonding web to help secure it to your jeans. This will help your patch easily stay in place while you sew. 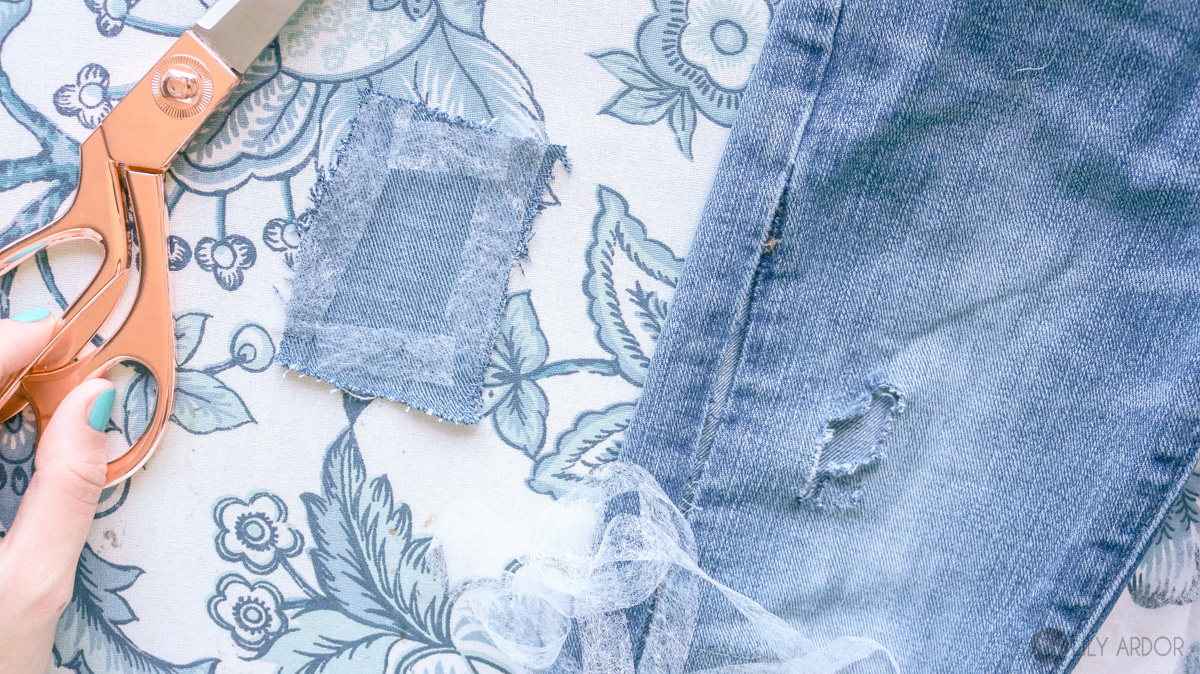
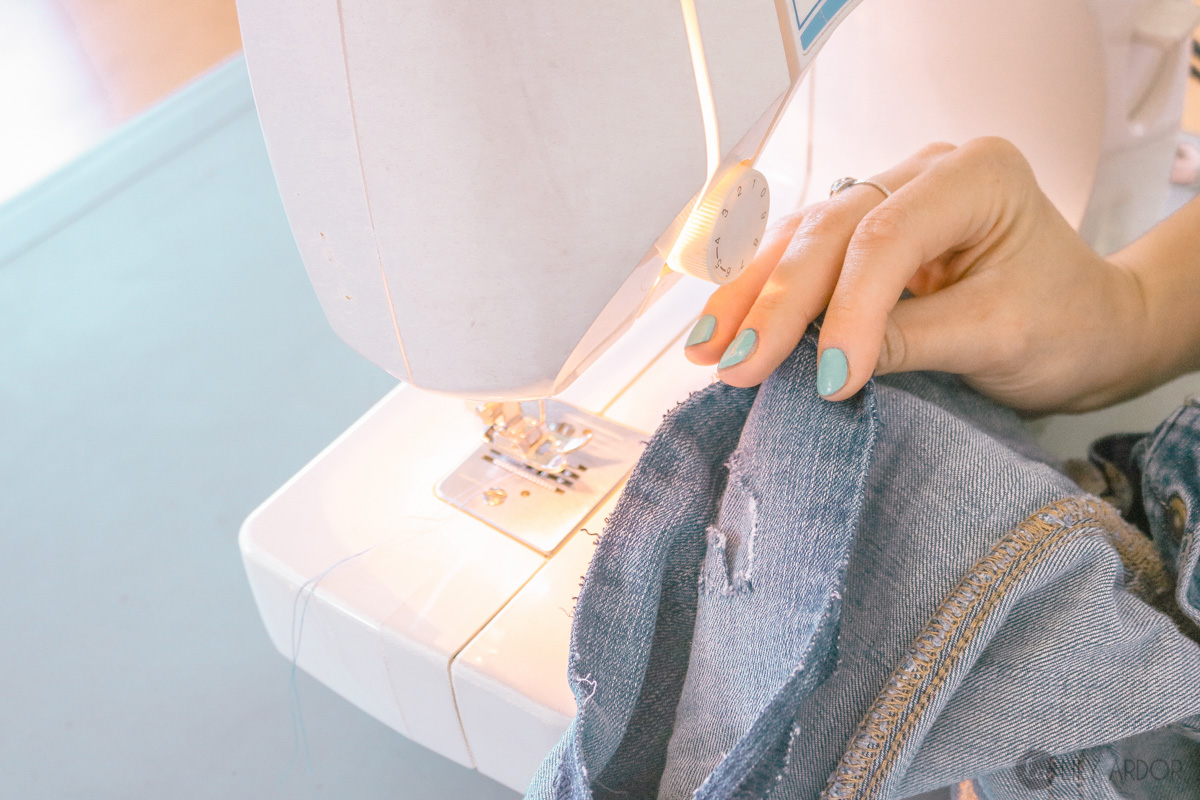
Step 4 – Securing you patch
Following that turn your jeans inside out and attach your patch with the bonding web. It melts right in once ironed over. Keep in mind the is not strong enough to leave on it’s own. This is simply a substitution for using pins and having to make a basting stitch.
To fully secure your patch you will need to sew the patch to the pants.
 I like to do this by first outlining the patch. Then I make long zigzags using my reverse stitch lever
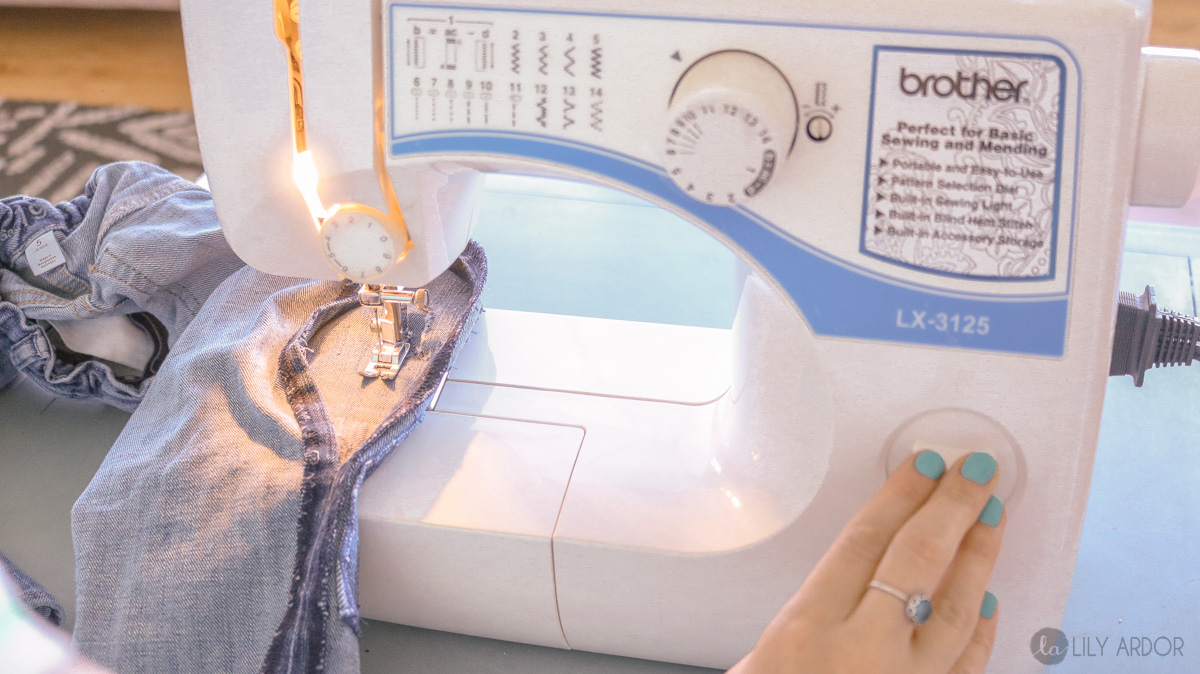
Here’s what the back side looks like once done. As you can see there’s a square outline around the patch and long zigzags in the middle. You can do more zigzags if needed. 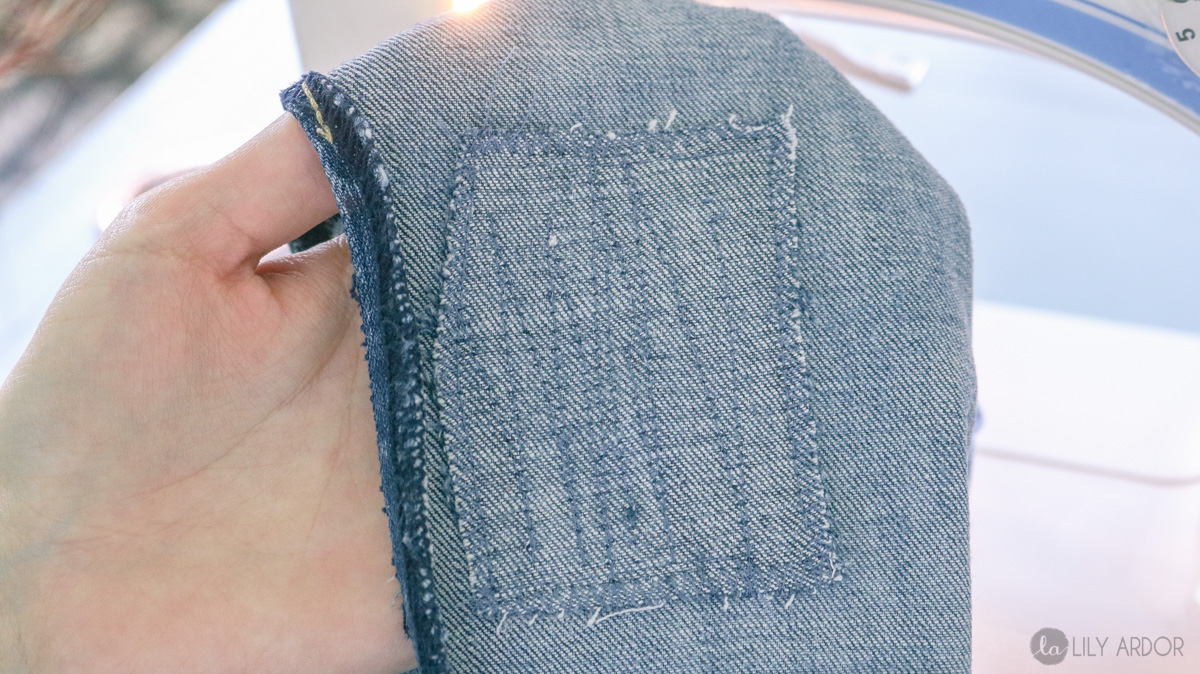
Step 5 – Finish it off!
Once your patch it done you’ll need to sew your pants back up if you had to take them apart for the patch. This take seconds to do. And that’s it! That’s wasn’t so bad right? 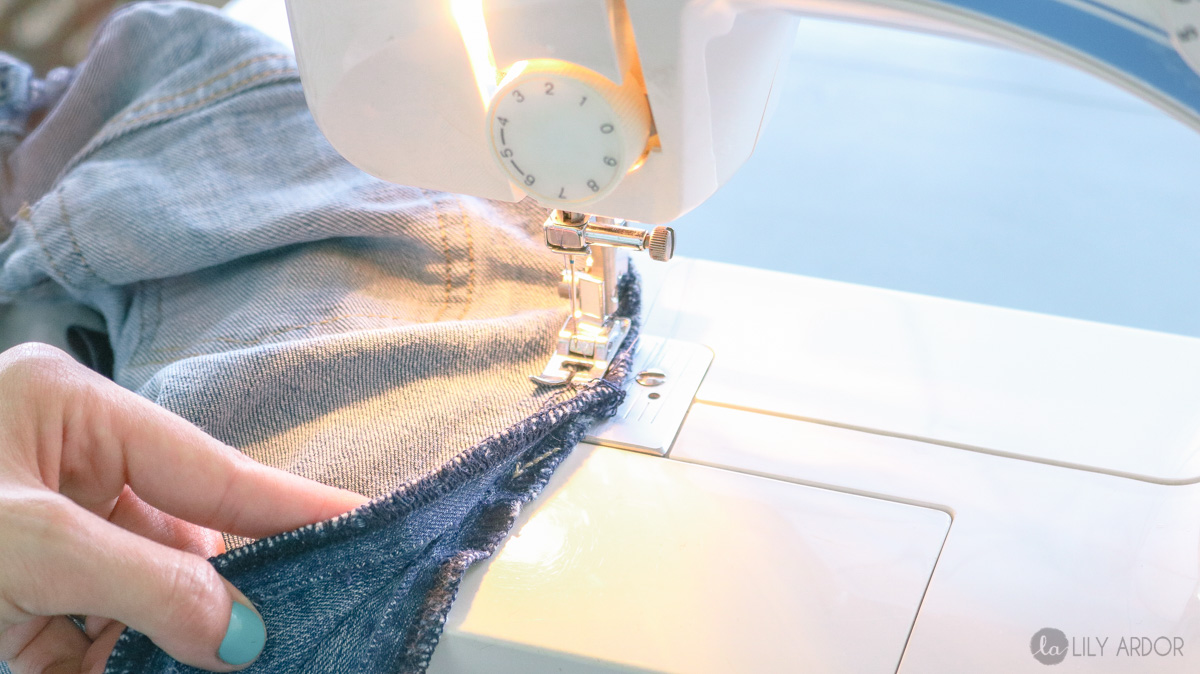
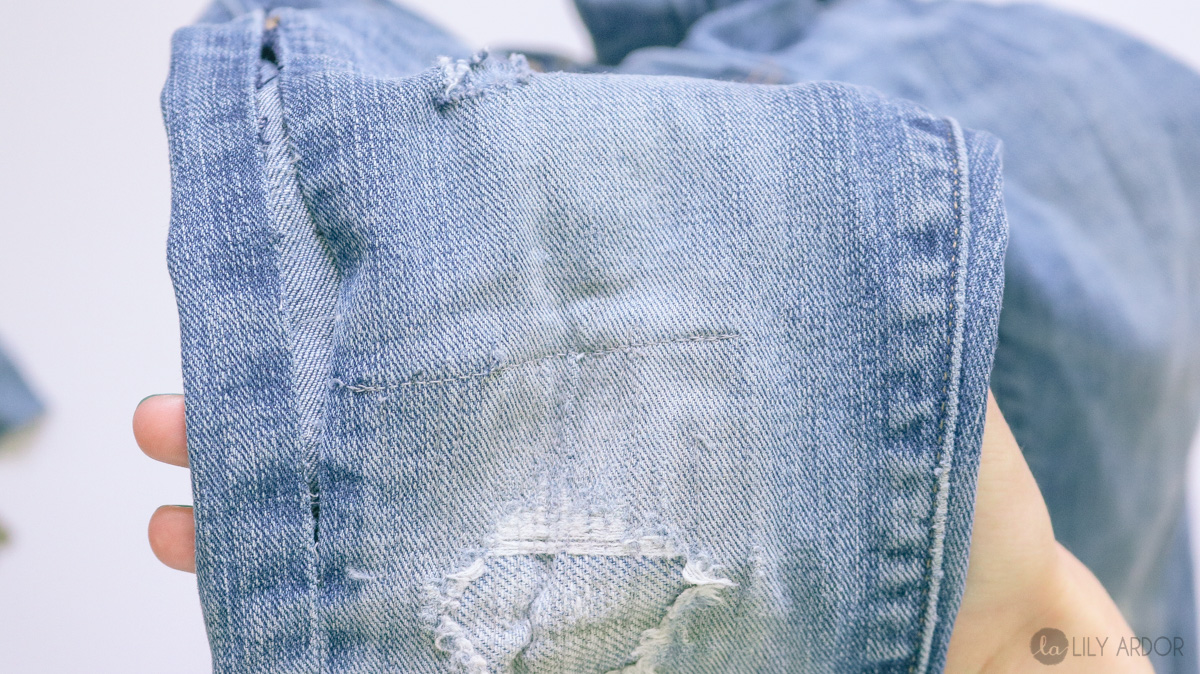
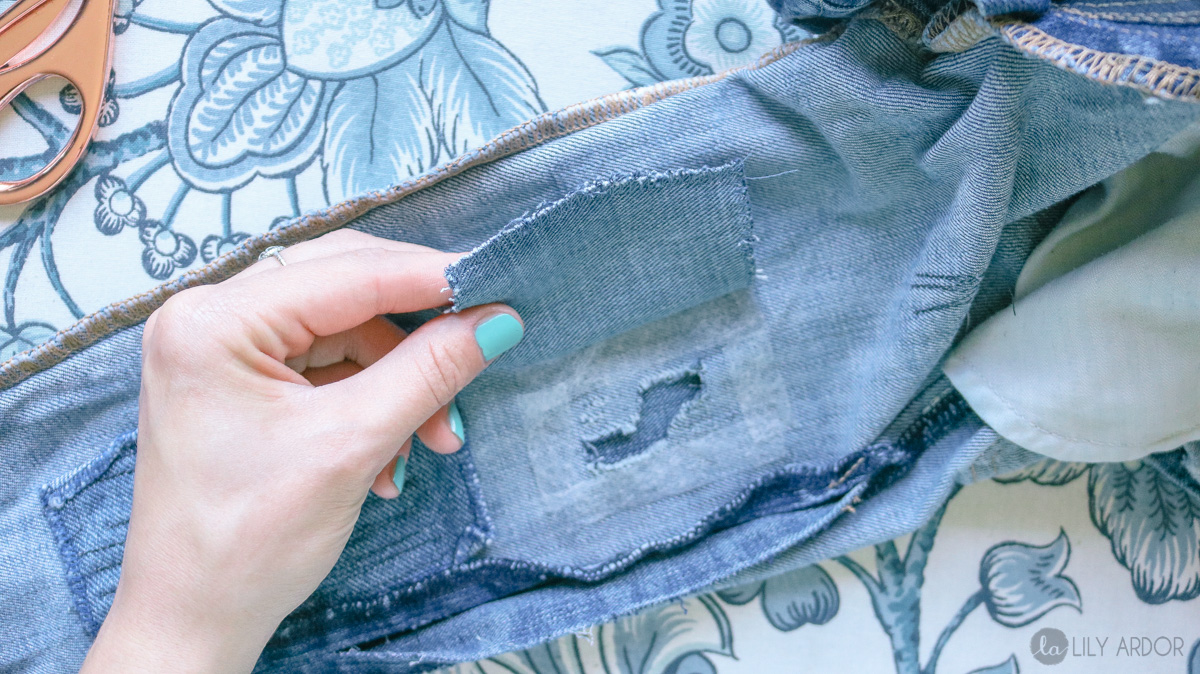
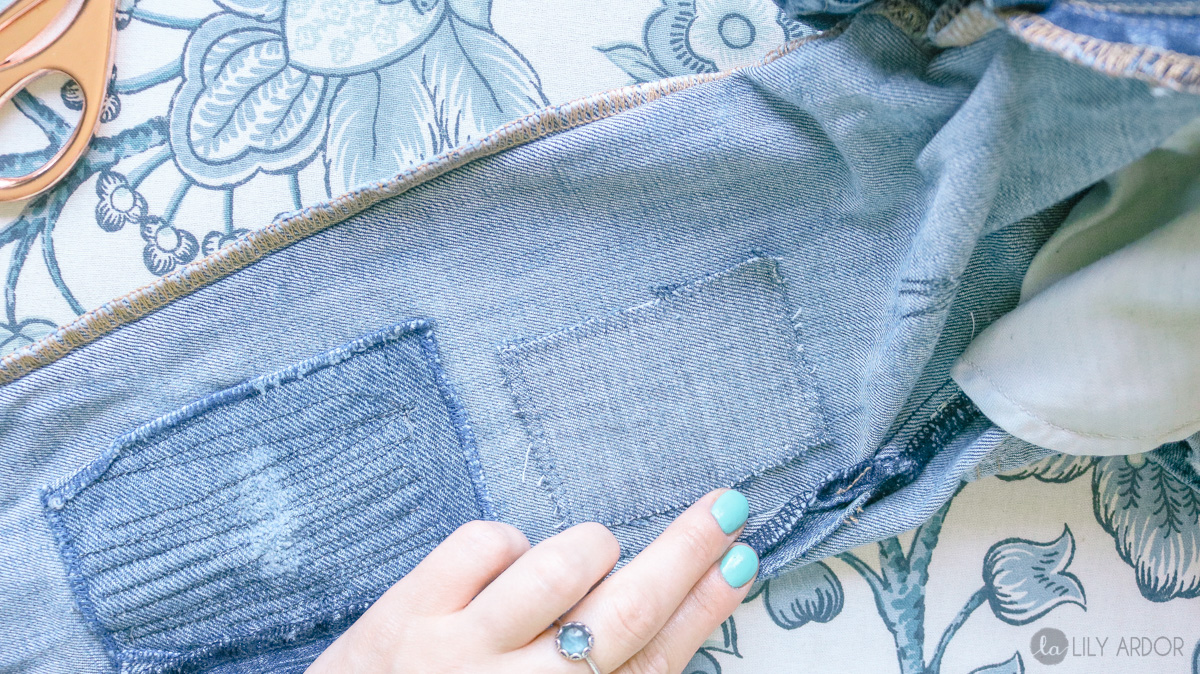
Here’s what the patch looks like.
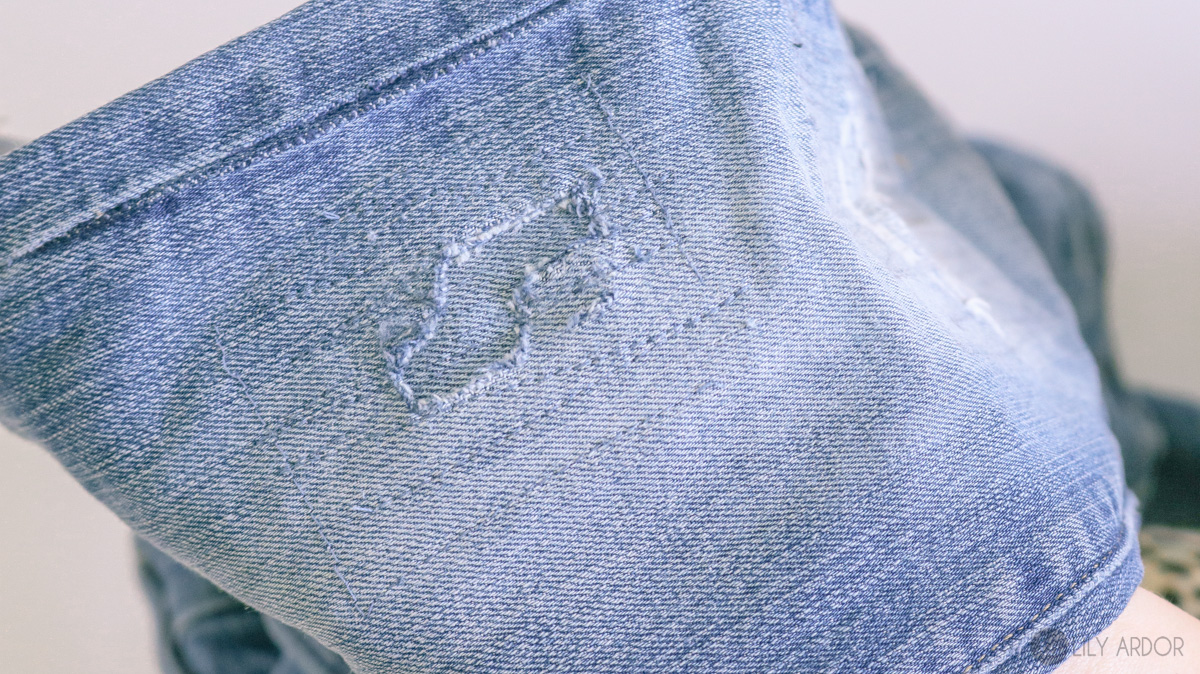
Here’s a photo of the older patch as well. As you can see there was more damage on the lower patch so it is more visible. 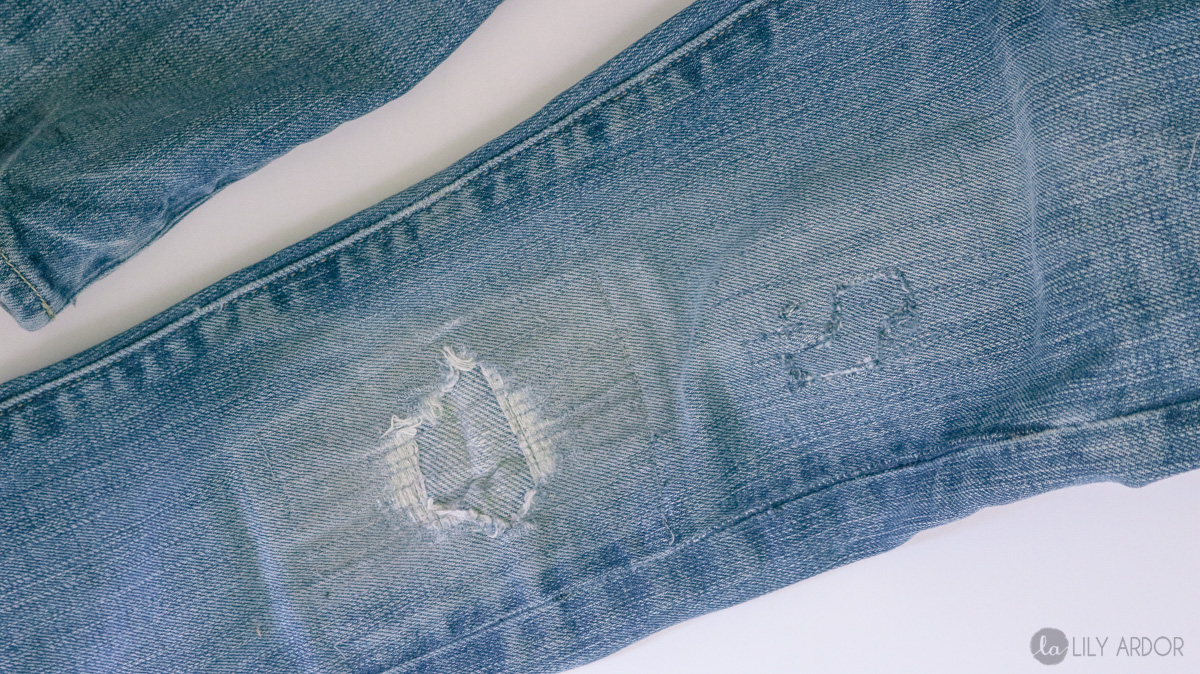
Well that’s it for this DIY. I hope you learned something. Feel free to ask questions if you have any? (comment below)
If you want to learn more about sewing this is a 5 part series where I teach you the most basic clothing alterations coming from a professional seamstress. Here’s what else goes in this series.
- How to hem a dress
- How to hem sleeves
- How to hem pants
- How to fix ripped jeans
- How to cut jeans into shorts
This is a great tip. I have a slipcovered sofa that is made of denim, and the cushions are denim, too. I have worn a few holes in the covers on the cushions, and at first I thought it looked cool (shabby chic?) but now the holes are getting bigger and, not so cool looking. Since I can take the covers off, and they have a big zipper all around them, I’m pretty sure I can use this method to patch them. I’ll source some denim from a pile I’ve been keeping of old jeans for the donor patch.
Thanks for the steps – I was trying to figure out how to iron on a patch but I was sure the edges would lift up during use.
Oh wow I’ve never seen a denim couch sounds so cute! How cool never would of thought to use this trick on a couch. This method would work great. Yes unfortunately I’m afraid those iron on patches wouldn’t last long 🙁 This should do the job 🙂 I would love to see your couches. if you’re ever on facebook feel free to share them on our facebook group where we share all our creative DIYS https://www.facebook.com/groups/2037907749797117/
Thanks, it never occurred to me to open up stitched seam on jeans!! I have pair of jeans that are too big in waist, and I don’t want to be stuck wearing belt all the time. I was thinking of taking them in at center back, but I have to deal with the top stitch and jean belt. Any tips?
Yes Marna it definitely helps if you take the side seam out! 😀 😀 I usually only take the waist in if it’s 2 inches or less. That’s the only way you can work around it without touching the top stitch. To take the waist in I usually take the waist apart from the pants then I would take in how ever much you need taken in at the waist usually in the center back just one seam. Once you put the belt loop back on it’ll cover it. I never touch the center seam on the back of the pants instead add darts above the butt pockets to help your pants cinch in so it matches what you’ve taken in at the waist or try and get as close as possible without deforming the shape of the butt LOL. I could usually get away with taking in a total of 1.5″ with the darts and it’ll still look good. Then to finish it off put it all back together you might need to stretch both a little while sewing it back together if you couldn’t take in as much on the darts as you did on the waist. Don’t forget to iron them that usually makes a huge difference. Hope this makes sense. Let me know if it’s confusing I can try and explain in more detail. 😀
Thanks for the post. I will definitely work on the hacks you mentioned in the blog to fix ripped jeans. Usually, I use embroidered patches on my jeans to deal with the ripping. That gives astonishing look, and also hide the ripped part of my jeans.
Great Article Worth Reading!
Glad you liked it Maria. I like that idea. I’ll have to try it next time 😀
I’m so happy to hear this was helpful 🙂 Thank you for you kind words Terry! This made my day 🙂