Idaho Adventures Recap
Today I’m sharing how I made my DIY wood plant stands but, before we began a quick recap.
HELLO beautiful people! It’s been an amazing couple of weeks. I know I’ve been a bit absent lately and that’s because we had family over for a week. We rented a house in Mccall idaho. Got to visit Ponderosa State Park and had lots of BBQ, pulled pork, and LOTS AND LOTS of tea with desserts! It was a blast! If you’ve never been to McCall Idaho you should book a trip! It’s amazing! The forests out there are so beautiful with ginormous trees and beautiful lakes that have beach like access. I’m not going to lie there was a bit of mosquito’s but, totally worth it🙌! I wish I would of taken more photos unfortunately my phone took a 💩 and I didn’t get much photos at all!

-

- Nope not showing the rocker sign! Just fixing my hair 😬!!
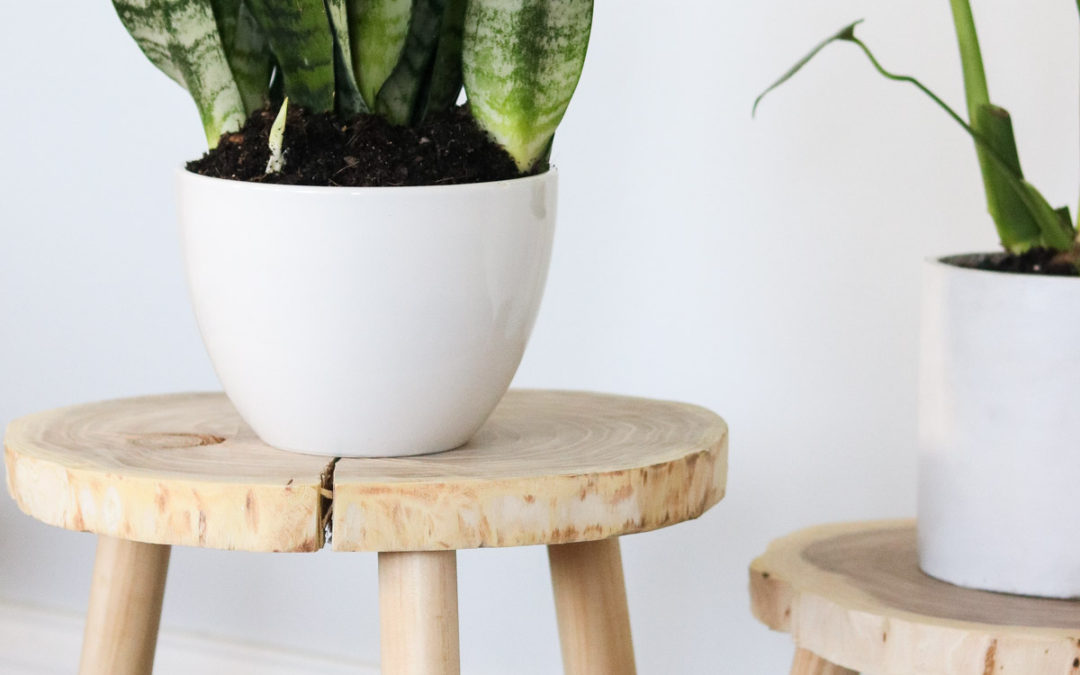
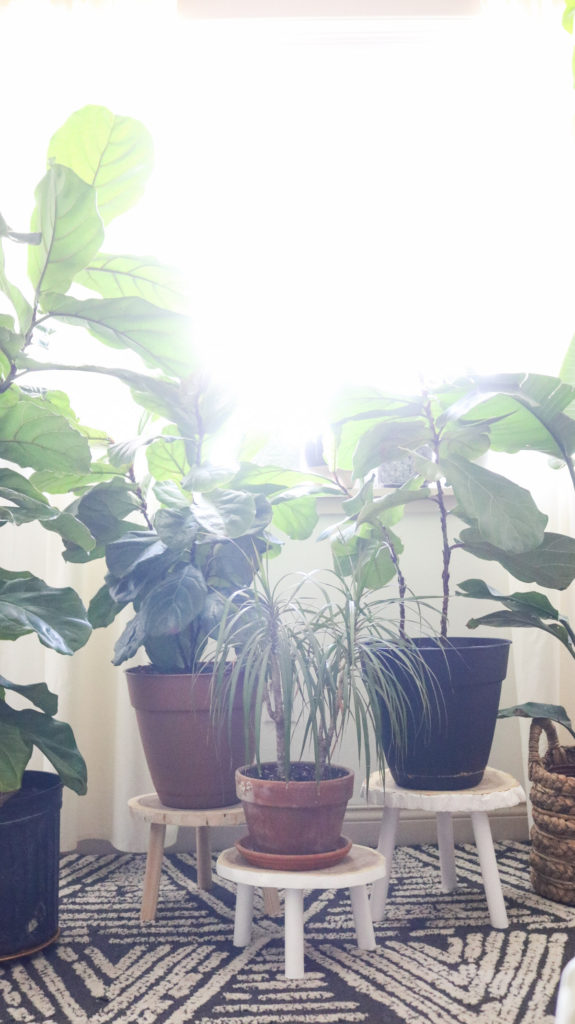
Natural Wood Plant Stands
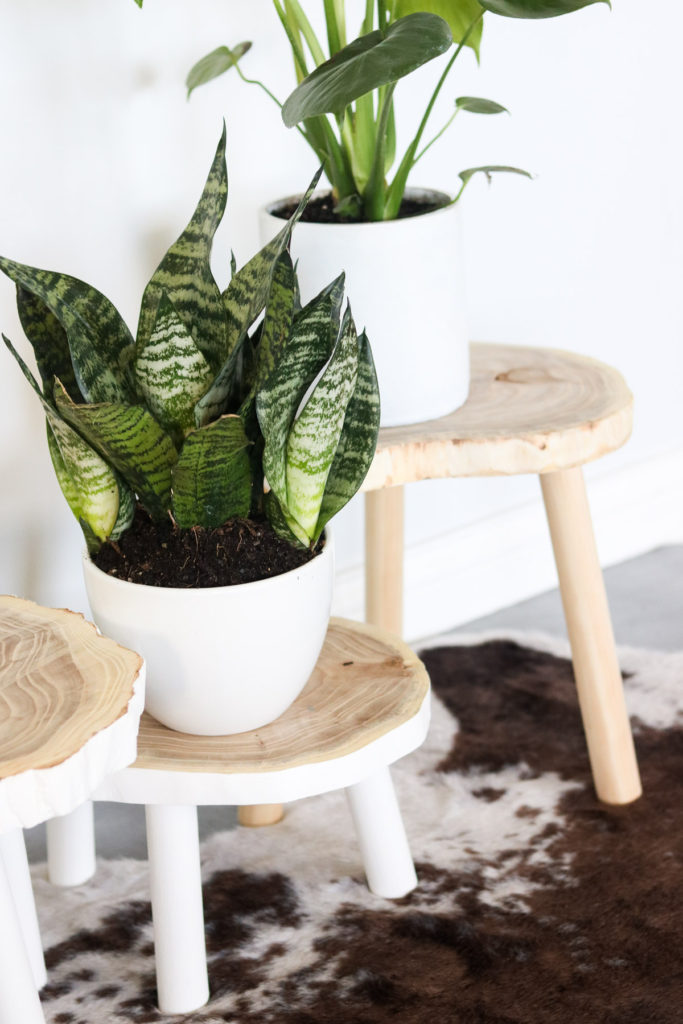
Today I want to share how I made plant stands for my little plant corner. I accumulated quite a few plants over the years. If someone were to come into my house 3 years ago you wouldn’t see a plant in sight. That’s because I have no green thumb. After I started my blog in 2017 I LOVED LOVED LOVED how plants looked in photos and slowly started buying plants again! I killed a dozen of succulents and at least another dozen house plants but, I think I’m finally slowly growing🌱 on my house plants because, they’re surviving longer than usual😅! Honestly I tend to my plants more during the summertime and having them stand on random buckets and stumps has gotten kind of annoying! That’s why I finally decided to make some plant stands. I wanted something that would show off woods natural textures and hoped it would look good enough to maybe mimic anthropologie home decor.
* This post contains affiliate links
Total Cost : Between $7 – $15 Each
Time Needed:
This should take between 20 and 30 minutes to make.
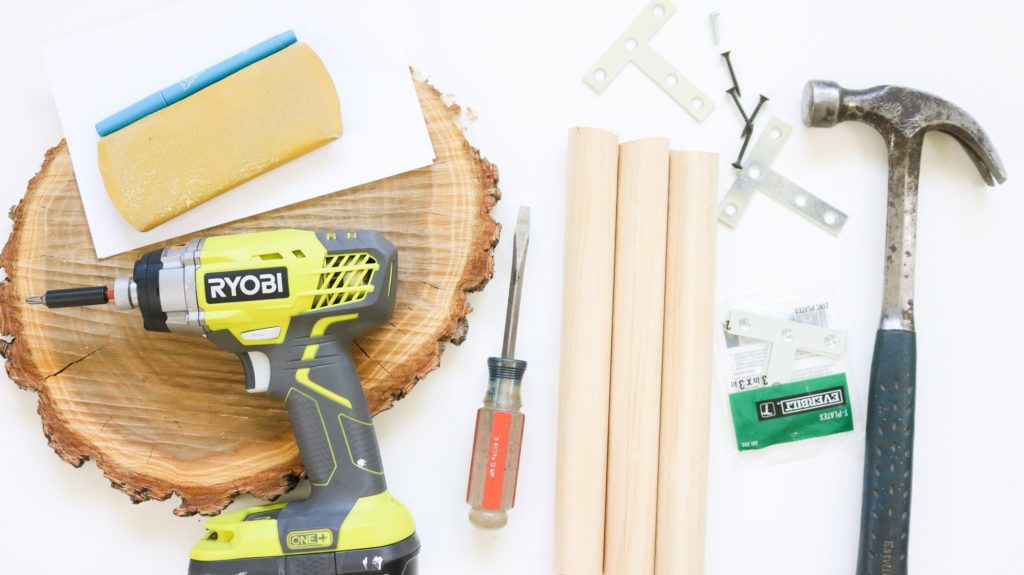
Supplies Needed:
- 1 1/4 inches in thickness dowel ( cut to size for the legs)
- 3″ by 3″ Metal T Plate ( preferably heavy duty)
- Flat head screw driver
- Hammer
- Longer and shorter screws
- sandpaper
- marker
- 1×3 or yard stick ( to help draw line on dowel)
- wood slice
Tools Needed:
- drill ( driver and impact – Here’s what I used )
- miter saw ( you can also get your dowel cut to size at homedepot ) I used my dewalt miter saw. You can get one here. I use it all the time! There’s also cheaper options like this one here.
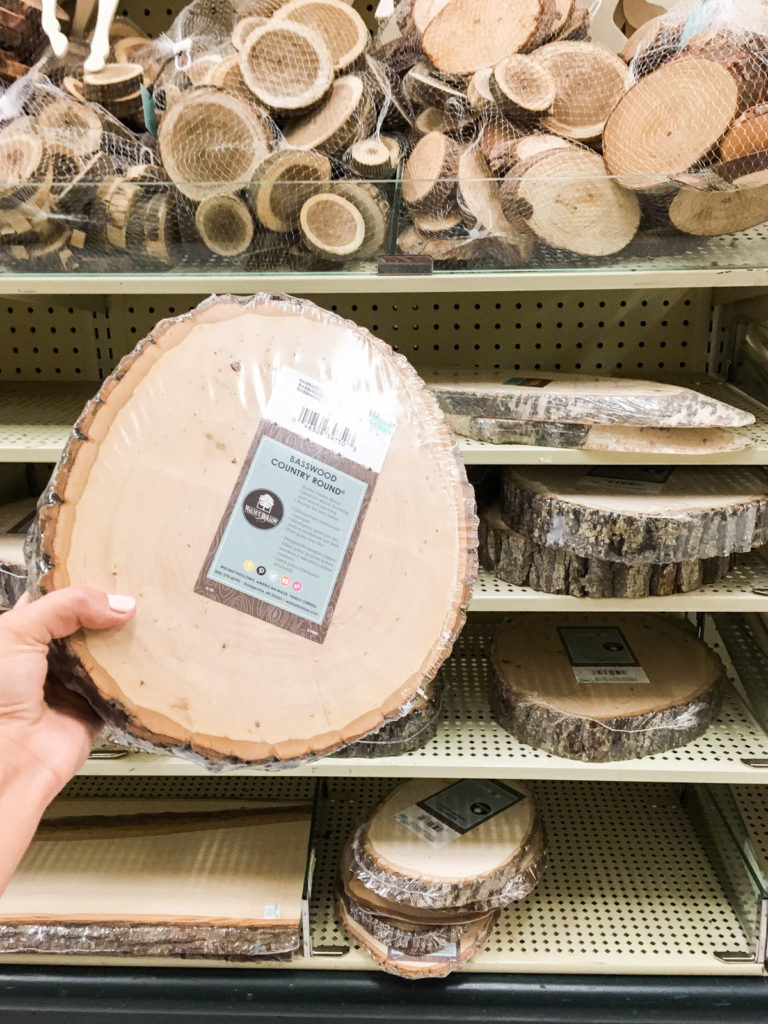
Where to get wood slices for your plant stand!
There’s a few places you can get wood slices. Most craft stores should sell them in their wood section. The photo below shows what hobby lobby sells. They’re nice and thick but if you’re making multiple plant stands $15 a slice could add up quick. ( note: hobby lobby does have a 40% coupon. Their rules are one coupon per day per person. You can find it by googling ” hobby lobby coupon ” )
Here’s a good deal I found on amazon. 4 slices for $35. That makes each slice about $8.75. Not bad at all! ( note: amazon pricing may change over time)
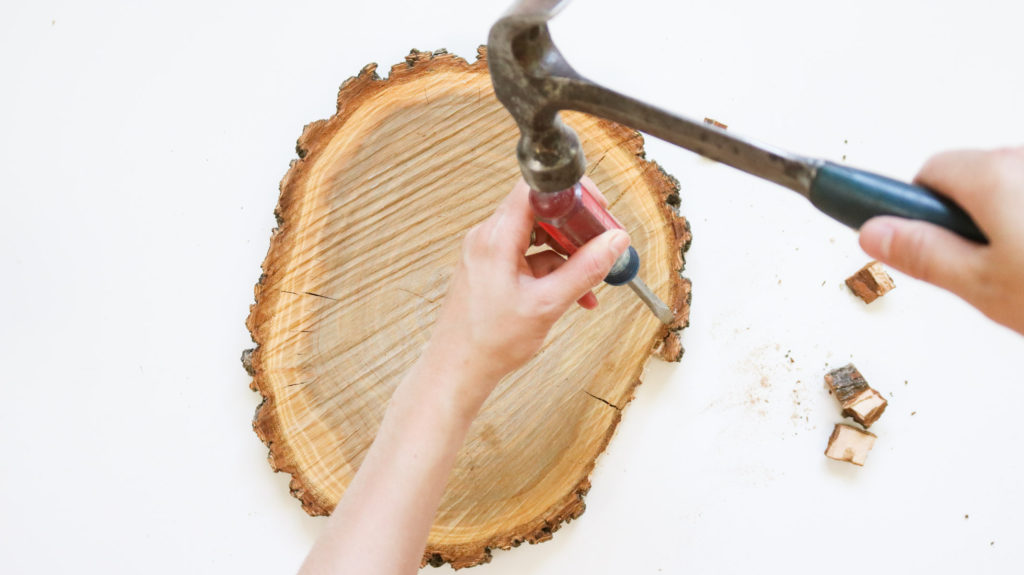
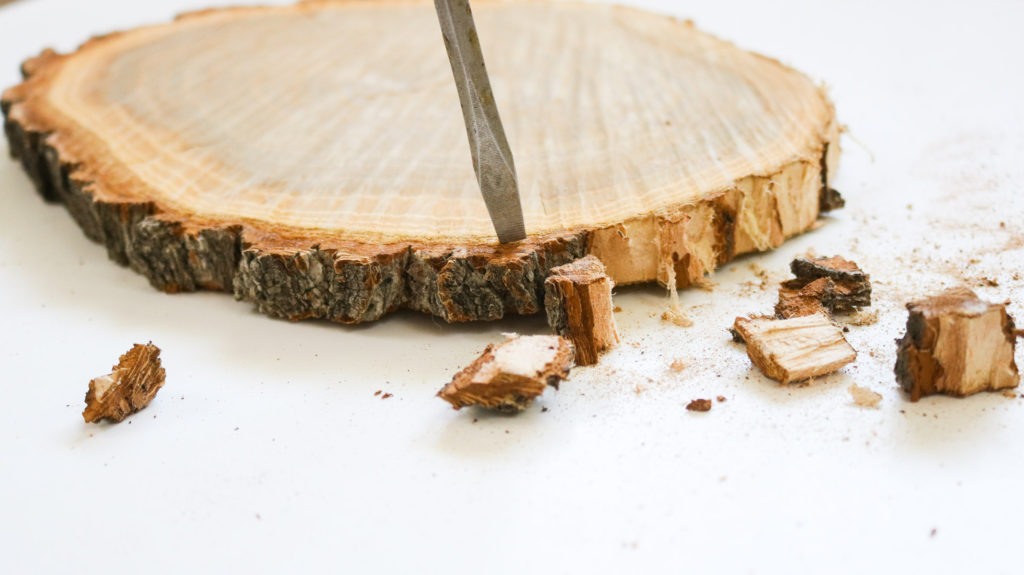
STEP 1 : Removing the bark from your wood slice!
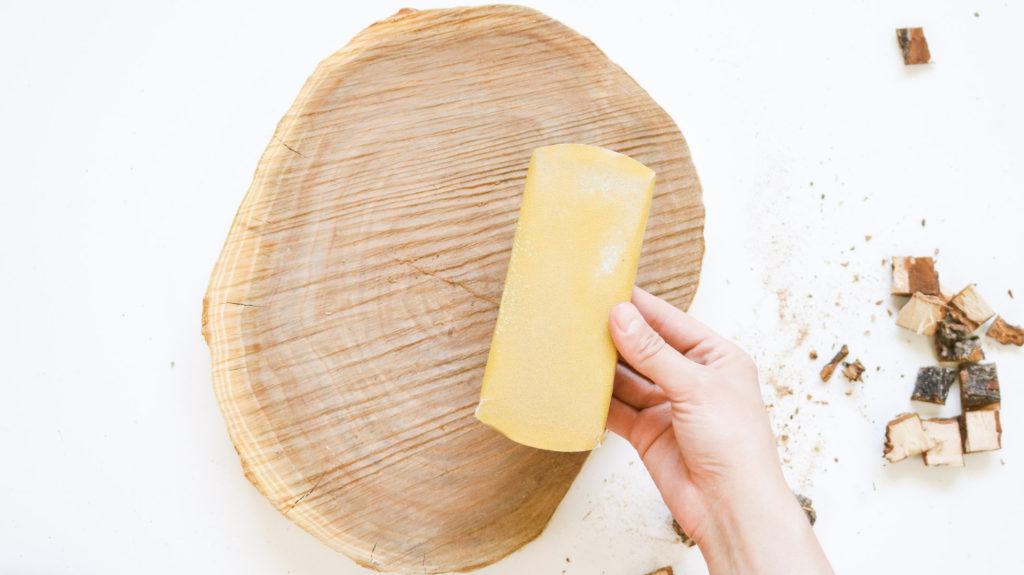
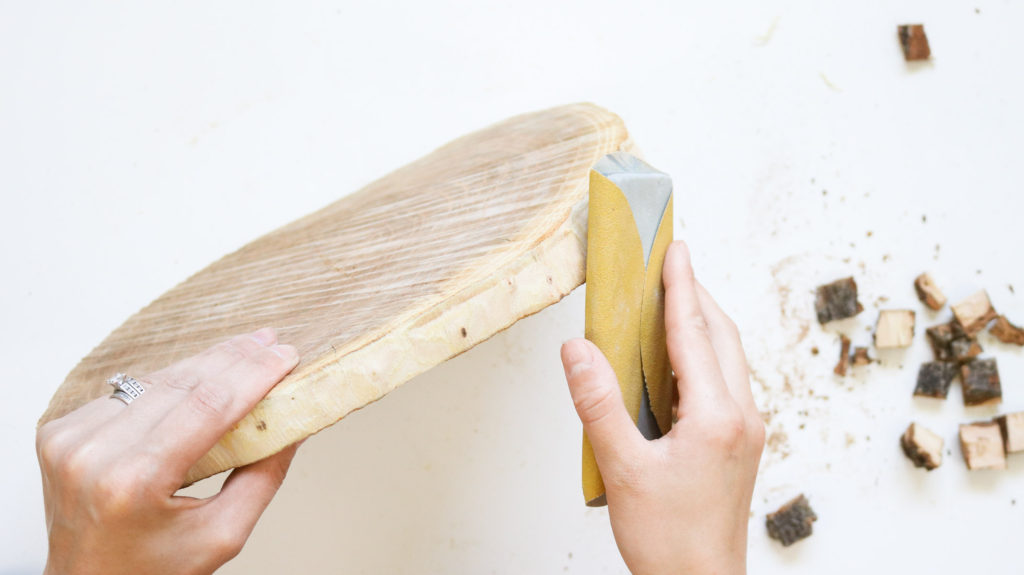
This is pretty easy to do. I tried a few different ways and this by far was the quickest and easiest. Simply use a flat head screw driver and a hammer to chip away all the rough edges. You can leave some bark visible or remove it all completely. Both look gorgeous 😊 ! Than lightly sand the edges and the top.
 Step 2 : How to cut your dowels to size!
There’s a few options here. You can make the legs on your plant stand angle out or stand straight. The photo below shows an example of both plant stands. Straight legs on the left and legs that angle out on the right. I personally LOVE the angled legs! 😍😊 To cut your dowel down to size for straight legs you simply need to mark and cut however, for the angled legs there’s a bit more work. If you don’t want to deal with cutting the dowel at all I’ve found some ready made legs on amazon. 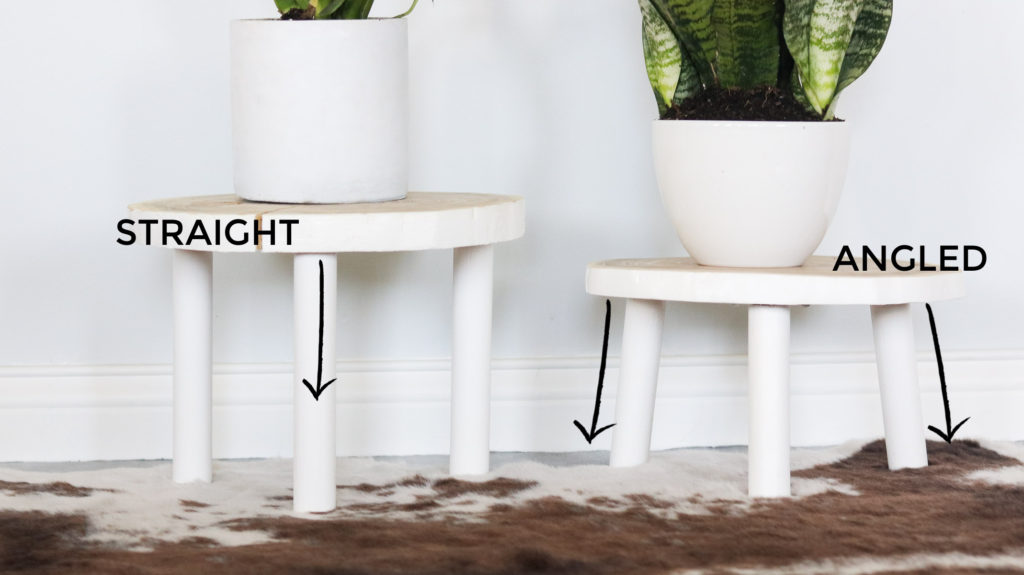
How to cut your dowel for angled legs!
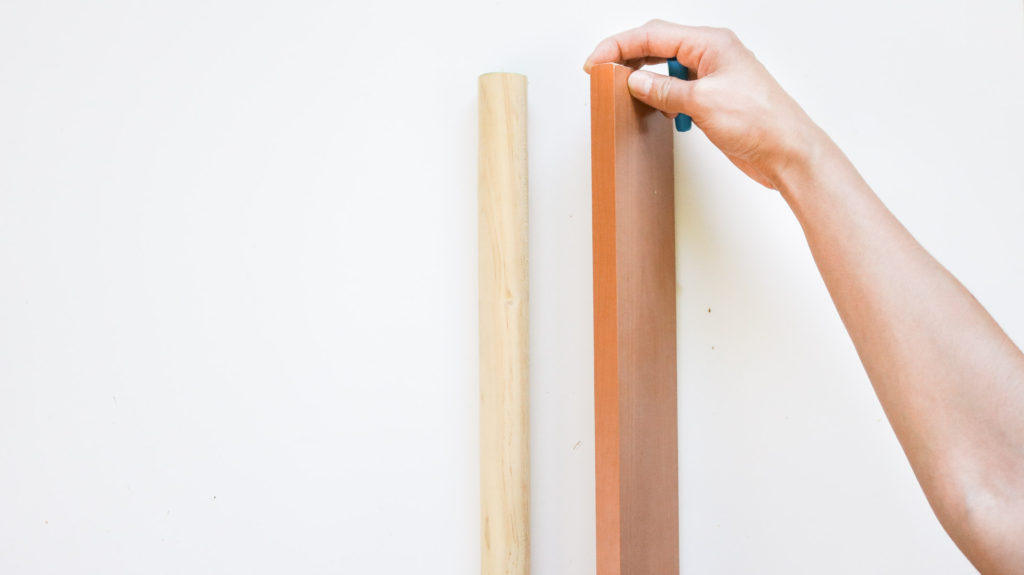
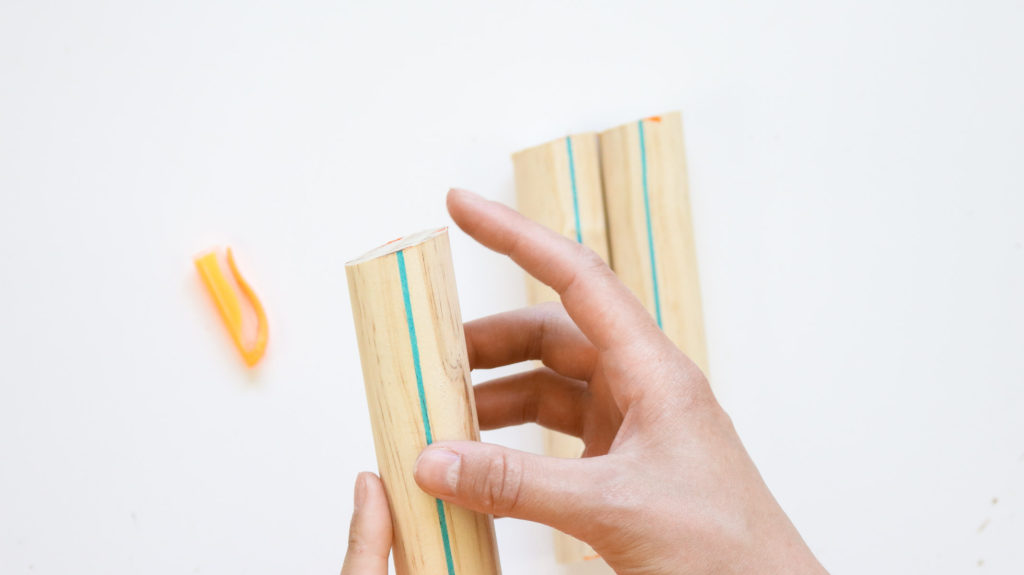
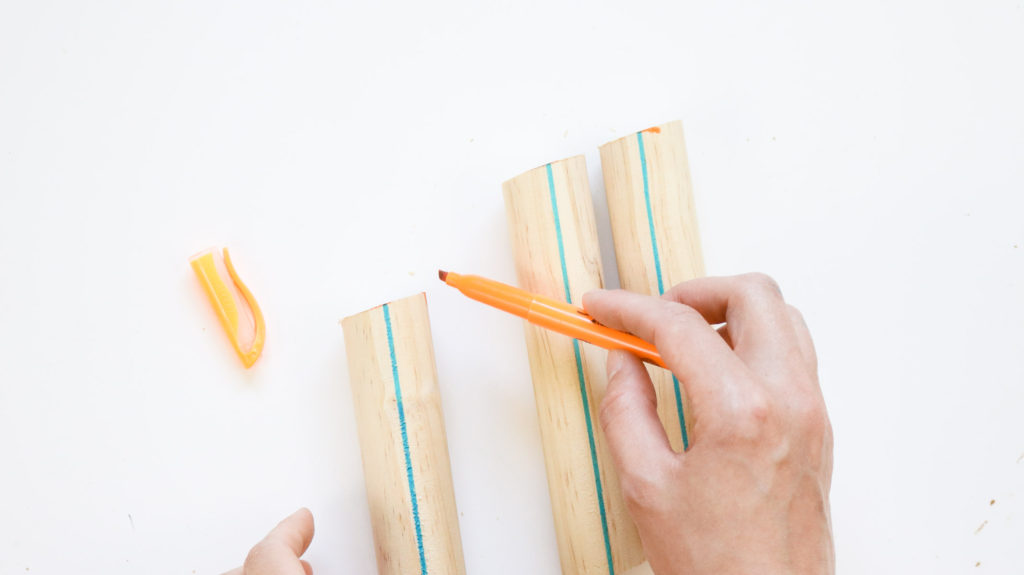
Since I used a round dowel it’s hard to keep track of an angled cut. Especially if it’s cut at a slight angle that’s barely visible like 10 degrees. To keep all confusion at bay you’ll need to draw a solid line along the whole dowel. To do so I lay my dowel against a piece of wood ( 1″x3″) and used a marker to draw a solid line going down my dowel. Try and get the line as straight as possible.
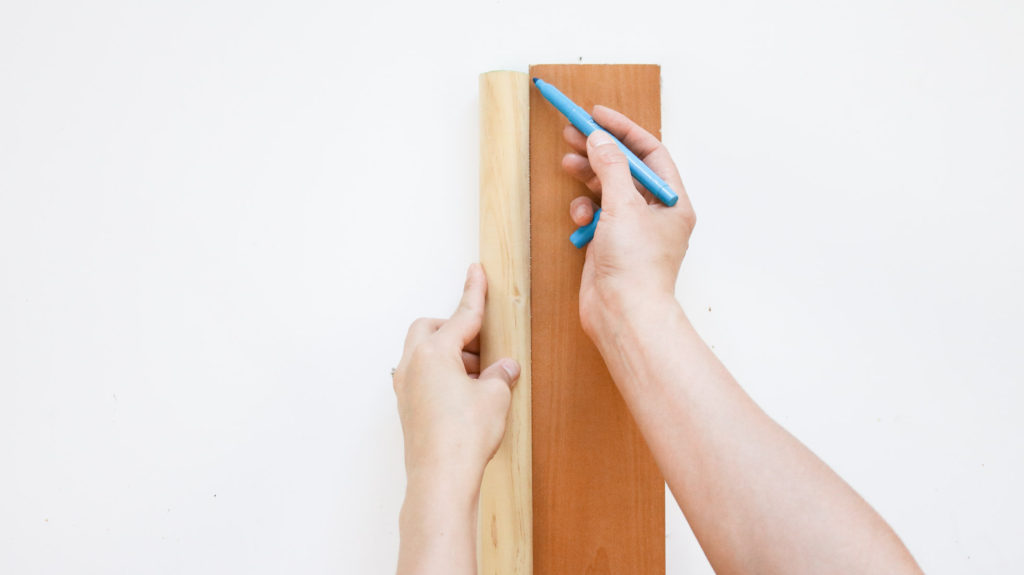
Here’s what the line should look like. You’ll need to keep the blue line facing the top where your saw comes into contact with it! It should be facing up at all times for every cut you make! This helps keep confusion at bay.


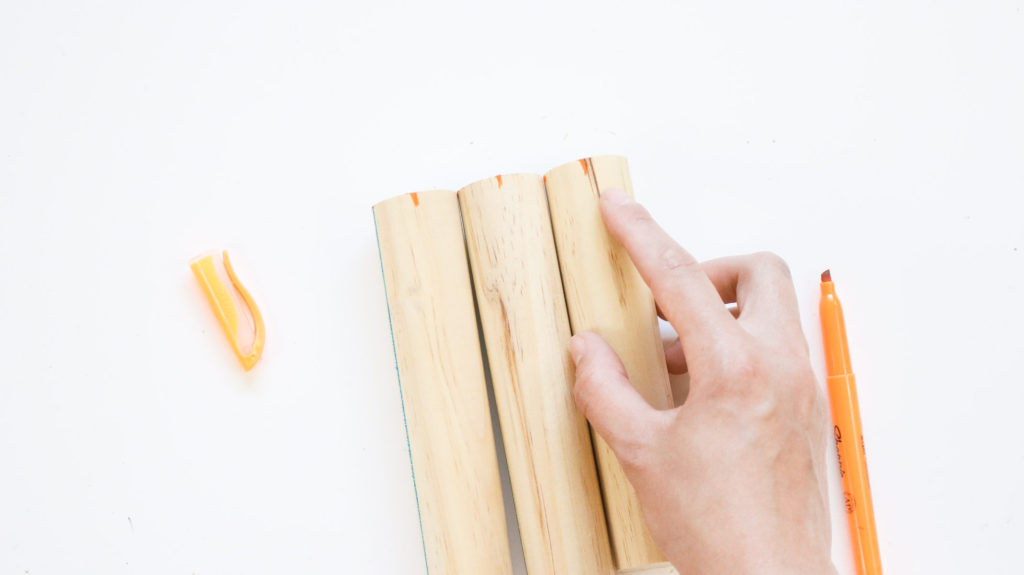
here’s a photo showing where your line should be positioned for each cut.
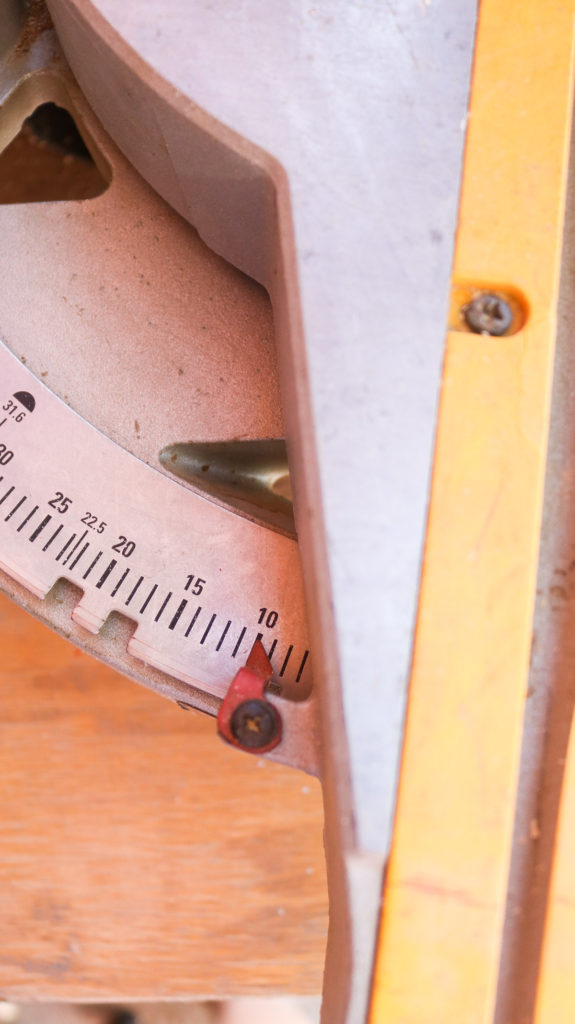
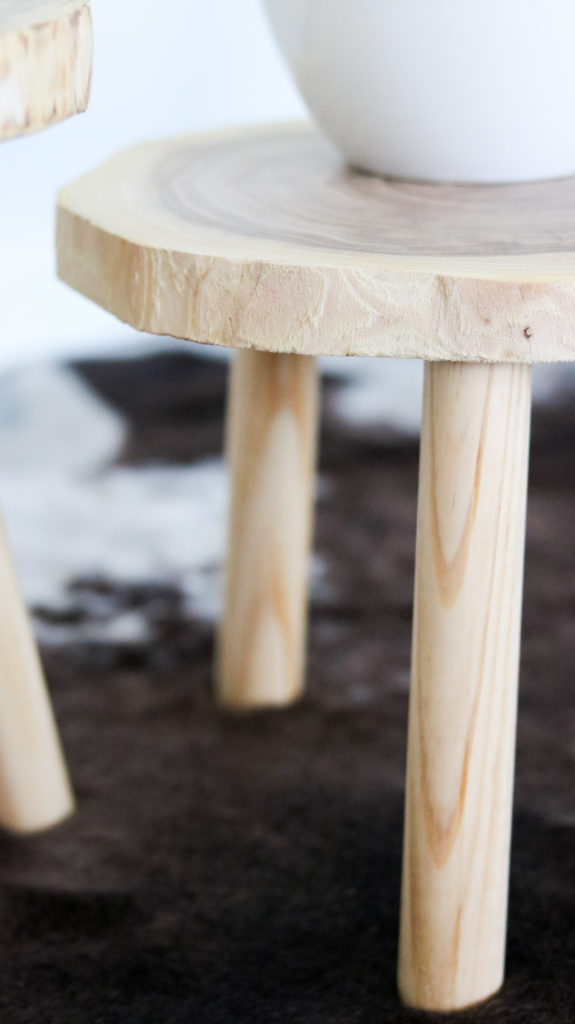
Than I sat my miter saw to 10 degrees and cut the dowel to size. I made a total of three legs for each plant stand and no higher than 10″ inches in length. This insured my plant stands were sturdy. Both the top and bottom of your dowel (cut legs) should have the same angled cut ( not one cut inward and one outward) If your planning on making super tall plant stands keep in my you might need some sort of reinforcements at the bottom.
Step 3: Attaching your T plate to the legs!
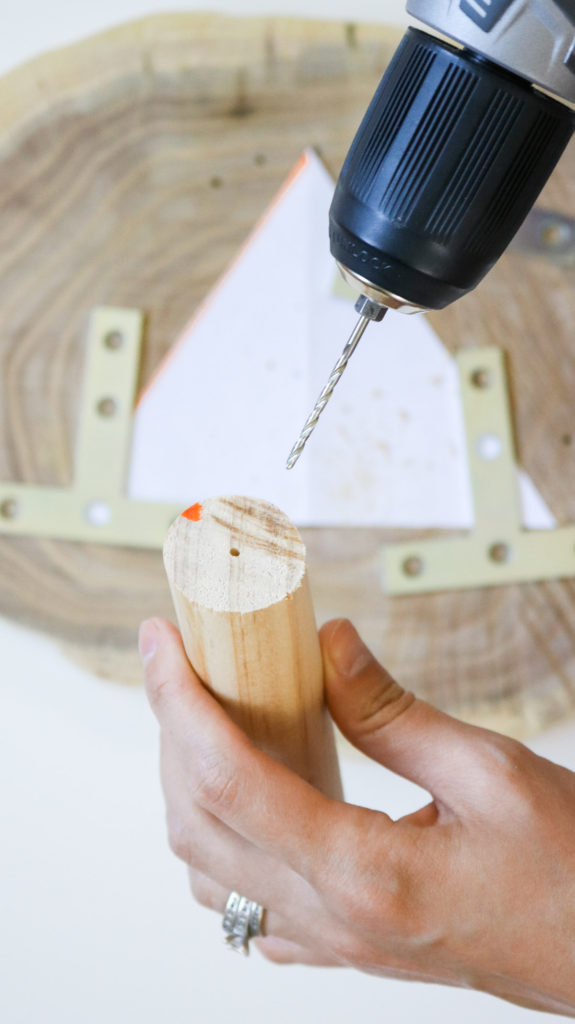
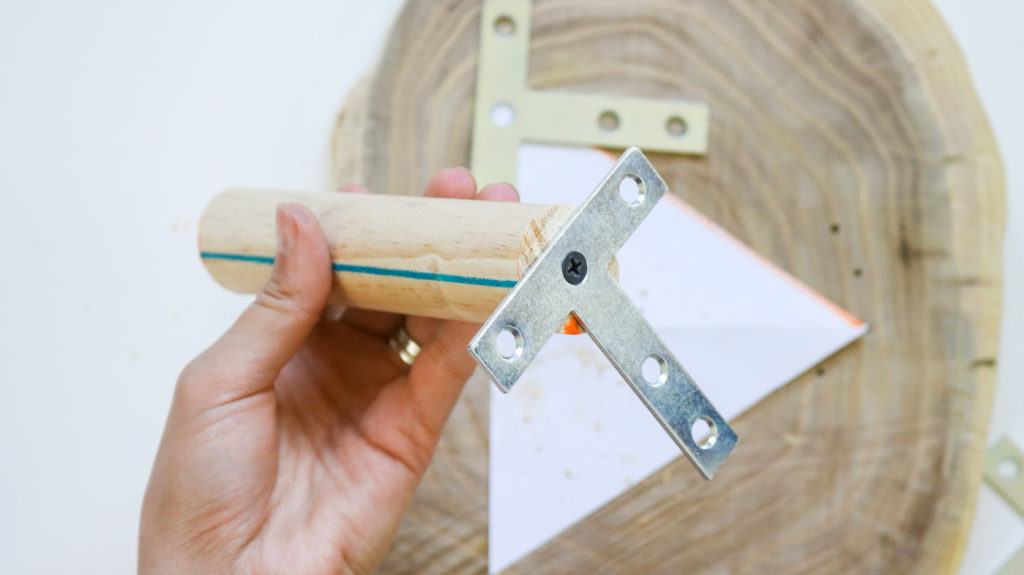
Once you have your dowel cut down to size you should see a slight angle when holding the legs a certain way. ( like shown in the photo below) Find the highest point of the angle and mark it with a marker.
Than pre-drill a hole in the dowel. Try and drill as straight as possible ( not at an angle). Following that attach the T plate onto the dowel.
DON’T MAKE THIS MISTAKE!
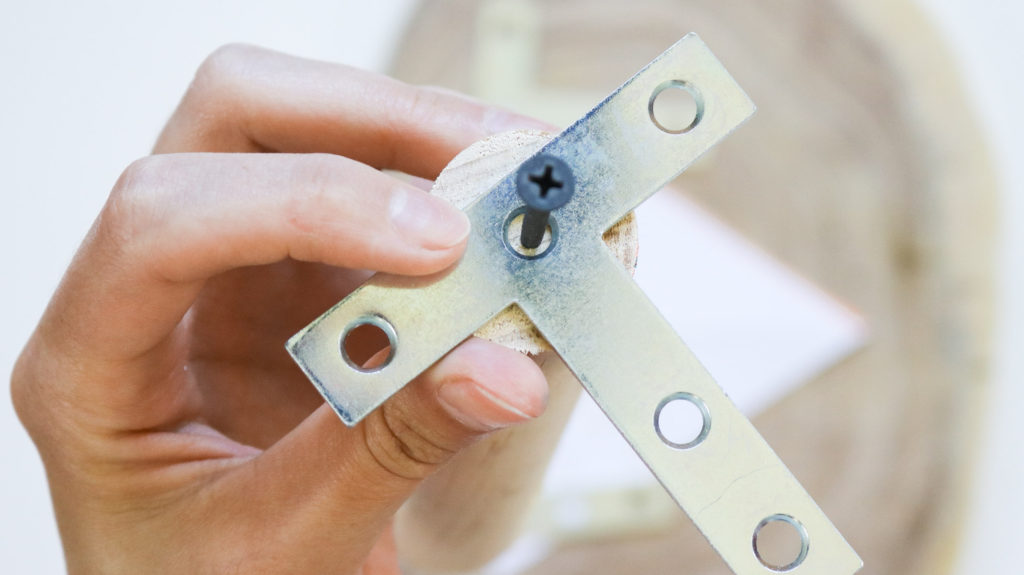
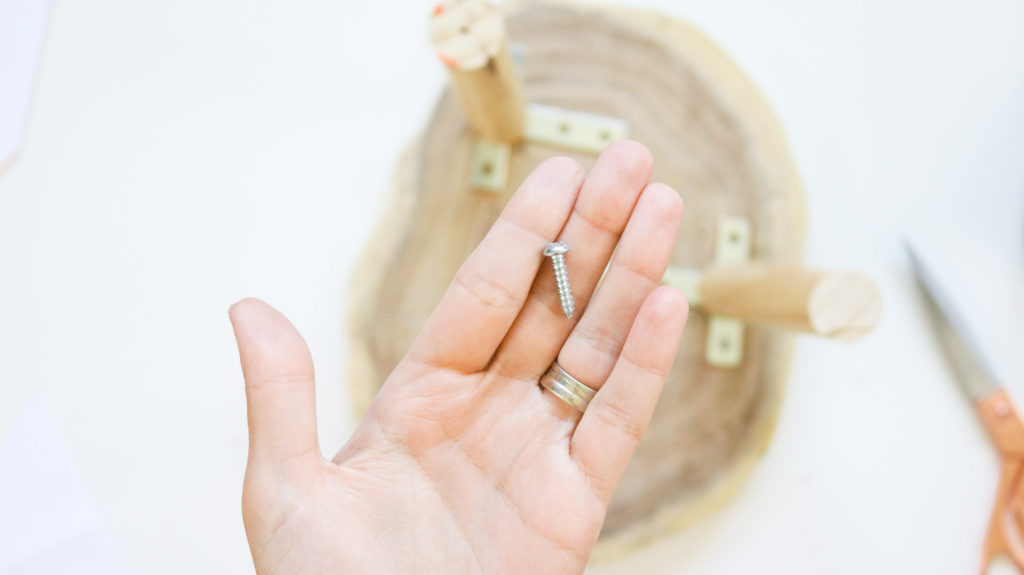
So this one is kind of a biggie! Your T plate will have a back side and a front side. The front side will have what’s called countersink holes while the back side will have just normal holes. If you look at the two photos below you’ll notice the difference. The photo with the screw shows what countersink holes look like. When attaching your T plate to the dowel make sure the countersink side is facing up. This will help you attach your screw flush with the surface so it’s not in the way when you have to attach your T plate to the wood slice.
Front side ( Has countersink holes )
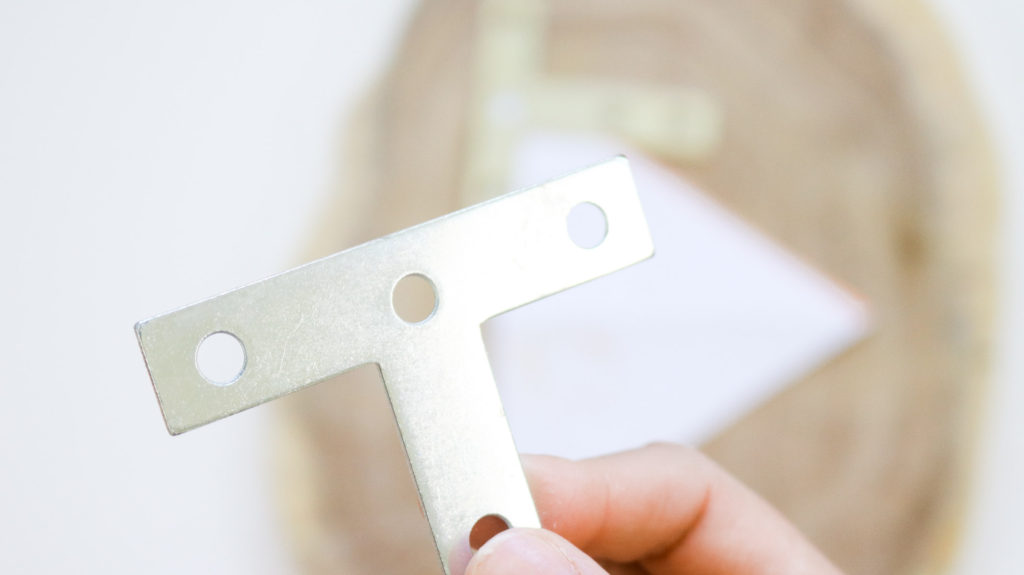
Back side ( doesn’t have countersink holes)
Before moving on to the next step make sure your dowel is secured on tightly and your screw is as flush with the surface as possible.
PLANT STAND FAIL ( What not to do )
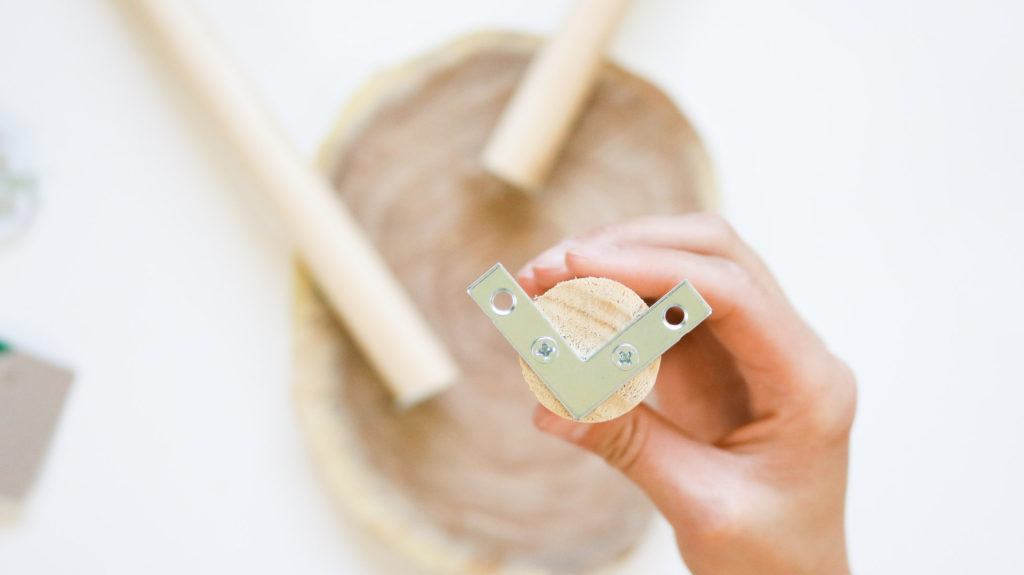
If you’re thinking of trying an L plate like shown in the photo below than I’m here to tell you it’s not going to work. I tried this and sadly the legs were so wobbly they couldn’t hold a plant. Save yourself the trouble and go for a heavy duty T plate. You can also drill right through the wood slice into your wooden legs however I avoided this since I didn’t want to ruin the pretty wood grain look on the wood slice.
Step 4: Attaching the legs to your plant stand
Okay almost done! Once you’ve attached T plates to all the legs lay them onto your wood slice. Make sure the little marks you made earlier are facing in towards each other. ( in my case orange marks marking the highest point of the angle on the legs) This step will ensure that the legs on your plant stand are angling out.
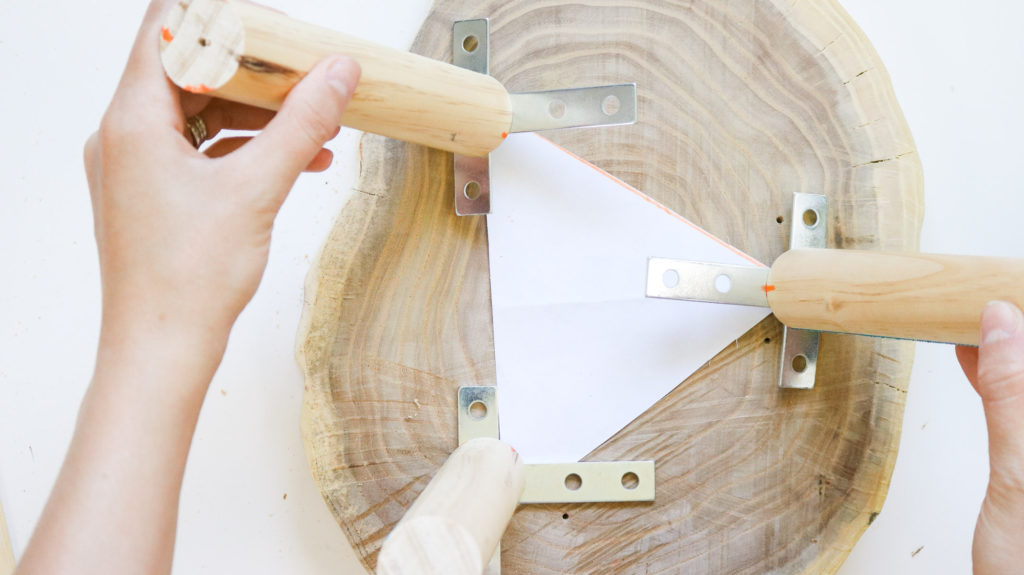
I used a marker to mark where I wanted the legs before attaching them. I also used some plain paper and cut out a little triangle to help attach the legs more evenly however I found this method doesn’t work since each wood slice has a different shape. The best way to determine where the legs should be is to simply attach closer to the edge of your wood slice in an approximate triangle shape. 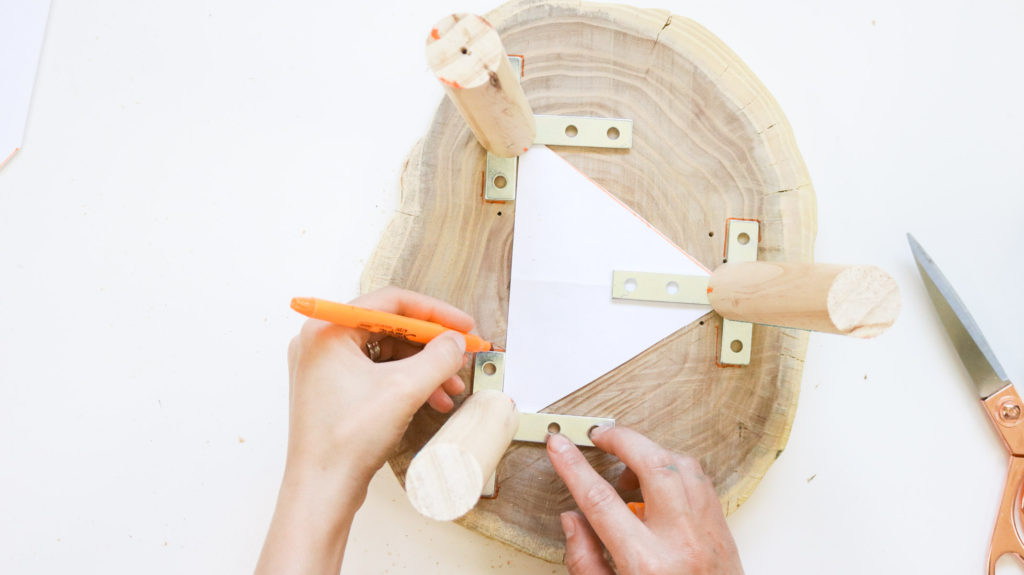 Than I pre-drilled the holes before attaching the t plates with screws. Make sure your screws are small enough not to go through the wood slice completely!
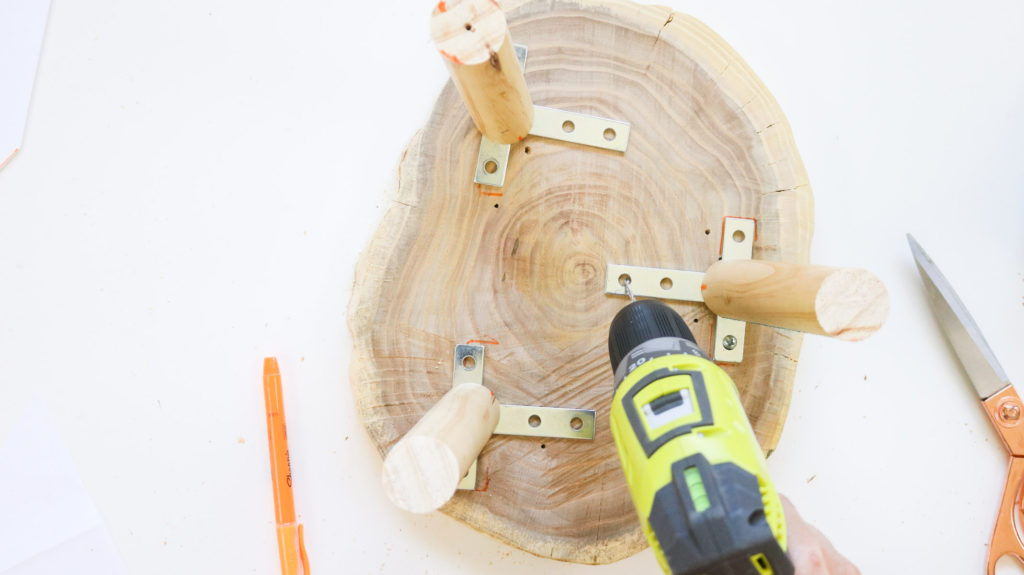
 That’s it! Aren’t these so easy to make?
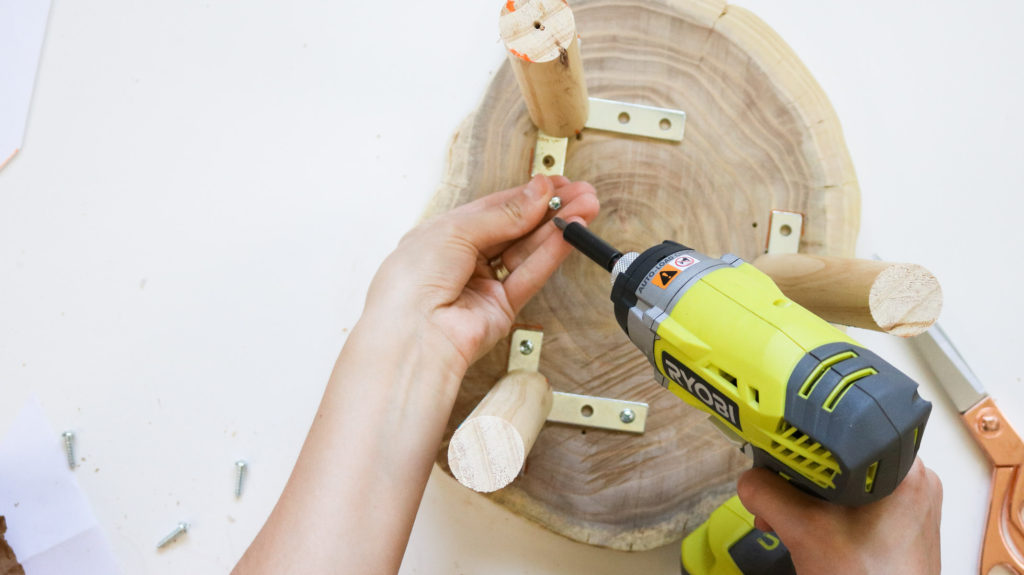
OTHER DIY’S YOU’LL LOVE:
- HOW TO ADD SCALLOPS TO TERRA COTTA POTS
- MID-CENTURY MODERN NIGHT STANDS ON A BUDGET
- LIVE EDGE CONCRETE PLANTS STAND DIY
- 5 DOLLAR STORE DIYS YOU’LL LOVE
- DIY DINNING TABLE FOR $60
Here’s a quick video!
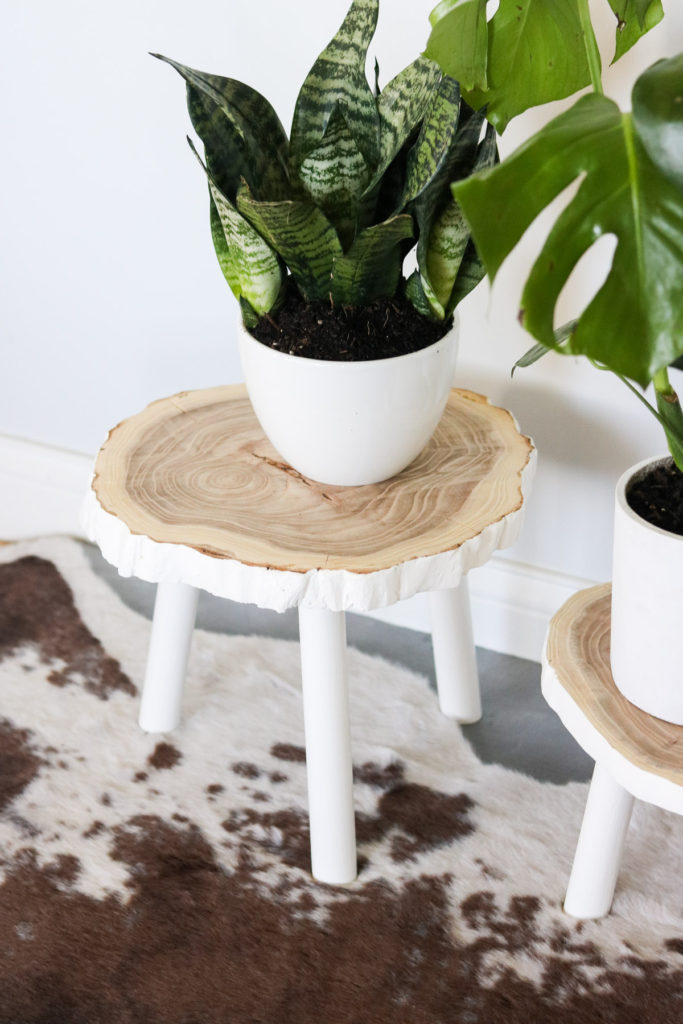
I made a few with white bottoms and a few with just raw wood. I was in love with the white look at first however, the raw wood look has grown on my so much I kind of regret painting the others white. Eventually I think I’ll just have to sand down all the paint 😐.
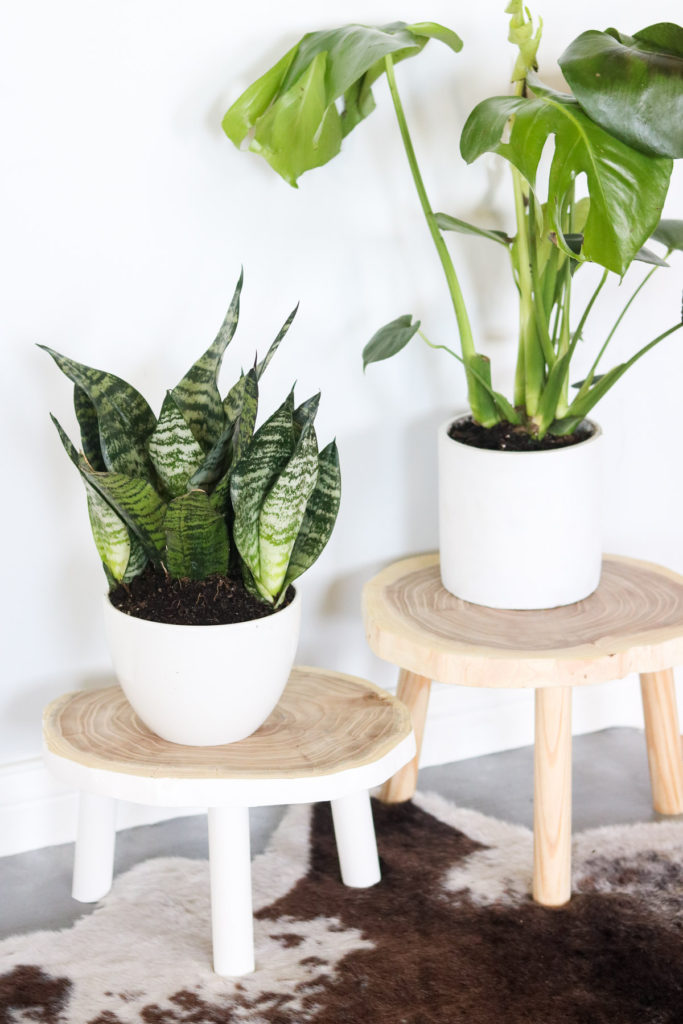
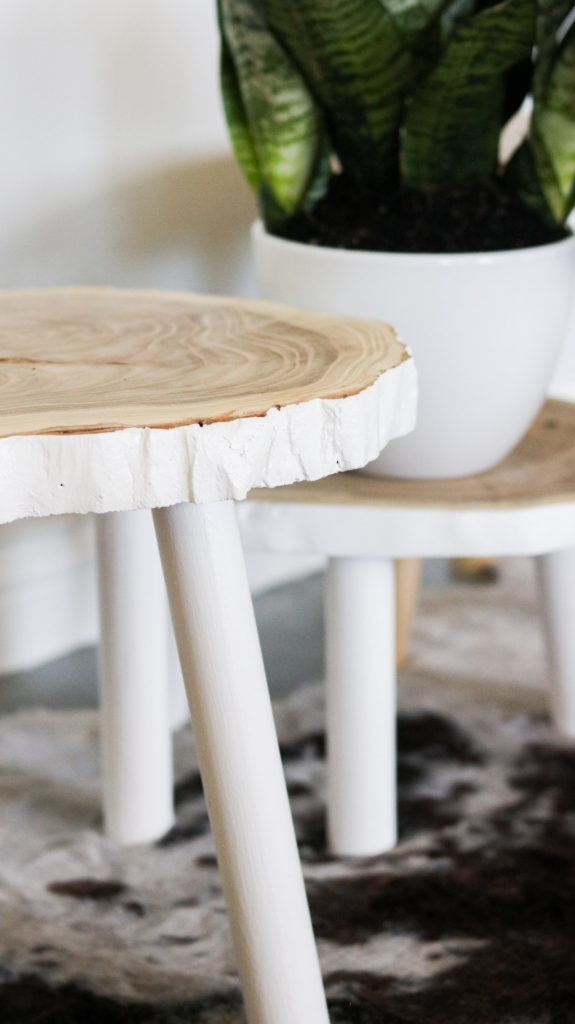
Here’s how the white one looks next to the raw wood plant stand. What do you think? Which ones your favorite?
I do think if the white plant stand wasn’t compared to the raw wood one it looks very pretty on it’s own. Right ?
Here’s a snippet of the wooden onces together! AWWWE 😍😍 I’m in LOVE!! 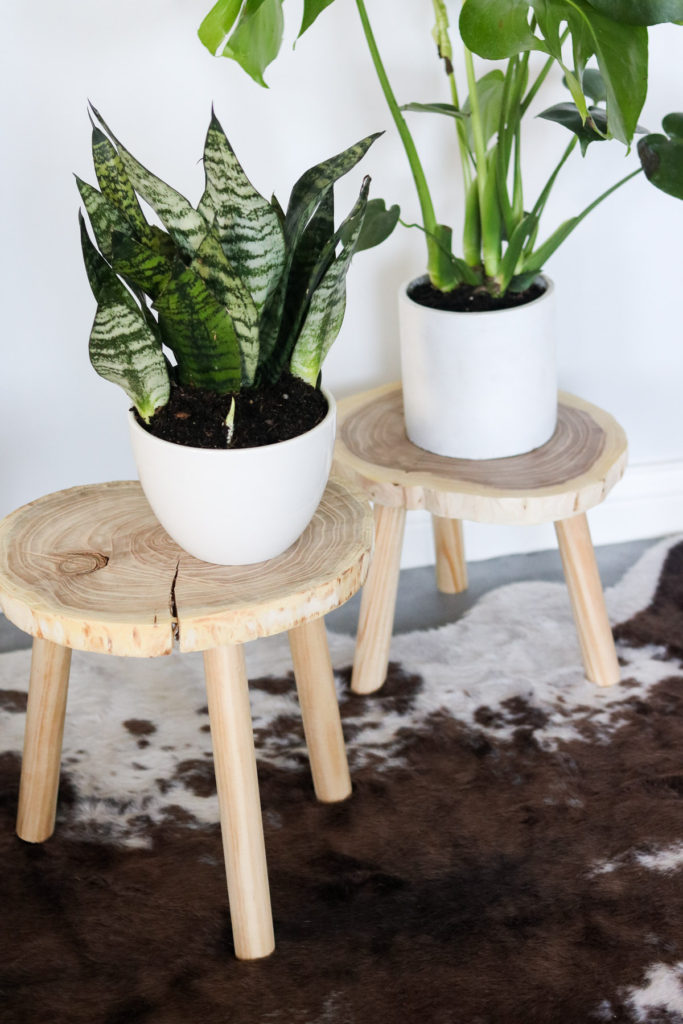
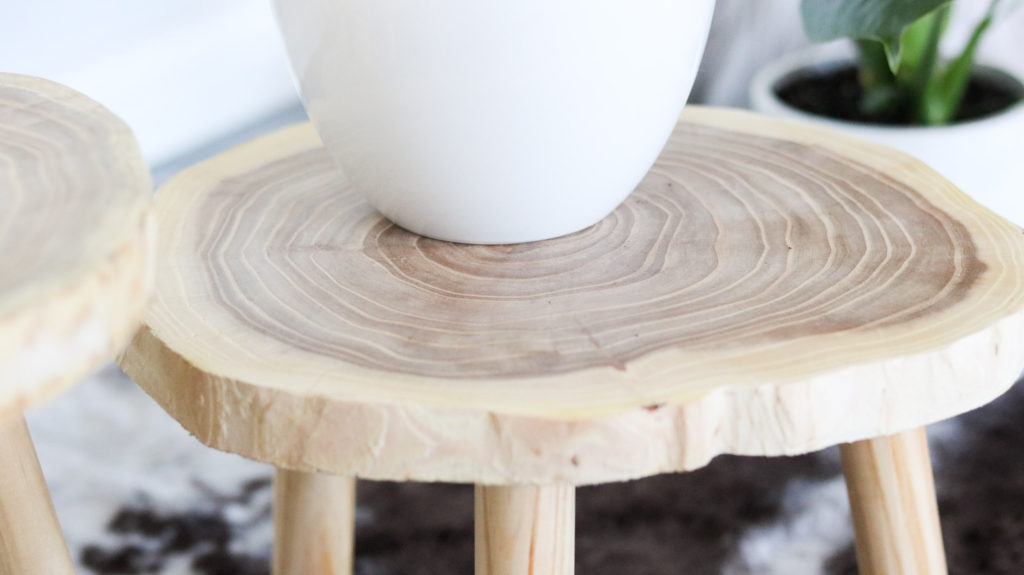
Just look at that wood grain on this plant stand! It’s so pretty! 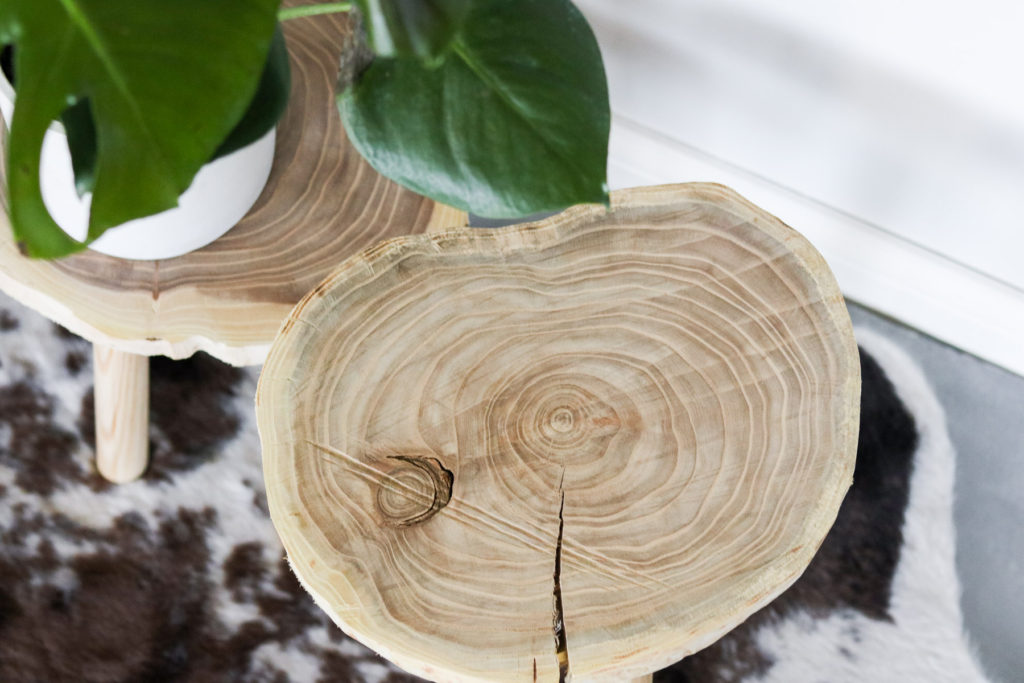
This wood has so much character I love the crack in the wood!! By the way I totally forgot to mention I got my wood slices from a tree Tony cut down in our back yard last year. He used the chainsaw and made me a whole pile of wood slices. I’m so glad I could bring them to some good use instead of just sitting around. 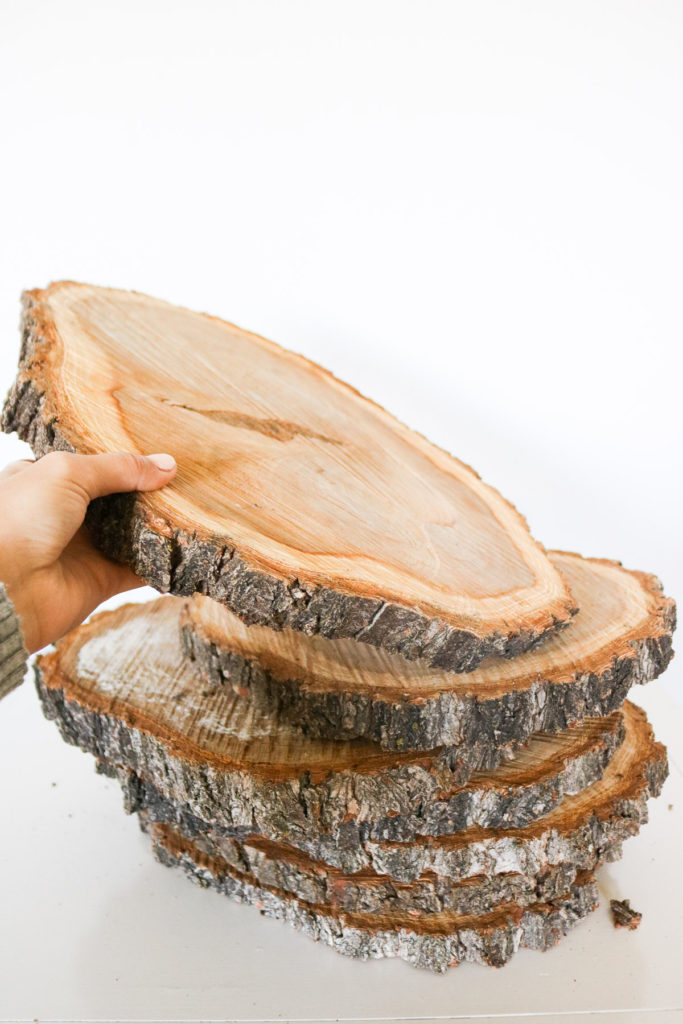
Okay, that’s it for this one! I hope you’re inspired to go cut a tree down HAHA😅 Just kidding. You can get around without that! Cut your neighbors tree instead 😂😂 Okay totally kidding 🙈😅! Have a great rest of your week! Happy Crafting and DIYing! I’ll see you all next week! Tag me if you me your own plant stand @lilyardor on instagram I can’t wait to see them.
Here’s a pin a for you to add to your Pinterest board. You can add this to your 😃 diy decor board. Click on the photo to pin! ( photo below)

x,
Lily
LOVE these!! Adding to my to-do list.
YAY! I’m so happy to hear you LOVE them!! Thank you
We used a band saw to quickly remove the bark off our oak slices. Love this project! ❤️
OOH nice! Thank you 🙂 so happy you love it!
These are gorgeous! What do you think about making them taller? My cat would chew these plants to shreds in minutes.
I love the natural uneven edges of the wood Do you think the crack will grow any more and eventually break in two? I’d read that if you let the wood dry out it wouldn’t do that. It looks like you didn’t take the bark off till you were making the plant stand. Would that have helped? Was it already there?
Finally, you didn’t seal the wood with anything, right?
Thanks for listening to all my questions! I have hundreds of trees in my yard, so my neighbors are safe! I have a dead tree that is still standing. I’ve been toying with the idea of carving him into something interesting. He’s at the head of my driveway. A welcome sign is too bland. A ghost at Halloween?
Hi Nancy, I think they could be a bit taller however I would do 4 legs and the highest I would go is probably around 13-14inches on the legs. You can always try taller I’m just not sure if it’ll be as sturdy. You might need to add dowel at the bottom to keep the legs from spreading apart. I don’t think the crack will grow but it might be a good idea to treat the wood with something. After sharing this on facebook someone recommended the product called Pentacryl to treat the wood. They said it keeps the wood from cracking. Yes correct I didn’t remove the bark until I made the stands. It had about a year drying time before I removed it. I noticed a lot of mold on the wood too and I’m sure that has a lot to do with me not treating it properly. The tree was really wet when we cut it down. Nope I didn’t seal it yet, I tried however I sanded the clear off because some spots of the wood turned super yellow. I was hoping to give the wood a nice white wash stain to eliminate all the yellows than seal it with clear coat. That stain stinks pretty bad which means I’d be without plant stands for about 3 weeks while they air out in the back room. I’m enjoying them a bit more before sealing them 😀 😀 LOL!! I’m glad to hear you have trees you can make so many things. OOOh that sounds lovely! I’ve never done wood carving it sounds fun! I think a ghost would be cool. 😀
Hi Lily! Darling little stools, can be very contemporary (especially if the bottoms of legs are painted gold) or easily could be very farmhouse (think milking stools!🐄😄) I might have to try this, some of my poor plants could use some help right now. Looks like you had fun in Idaho w/family, it’s so nice to get away from the world and clear your head! Can’t wait for the next crafty idea from you. Have a great summer 😍😁
Thank you Diena, Oh my goodness yes they do look like milking stools LOL! We grew up on goat milk. my grandma used to have a stool that was similar. Yes it was amazing to get away and spend time with family. YAY I’m so happy to hear that! Thank you so much and I hope you have a an amazing summer as well!
I absolutely appreciate the details you give! This tutorial is so wonderful! I will definitely be checking out your other items. I that you share every little step and the mistakes as well! 🙂
Thank you so much Heather! I’m so happy to hear you found the details helpful 😀 😀
These plant stands are adorable! I love them so much!!!! We are doing some kitchen cabinet refinishing next week and I have been looking for some accessories to finish up the space. I would love to get a couple plants and make a few of these. Thanks for sharing such a great idea!