Finally a DIY Nightstand
So I’ve had this nightstand on my DIY list for about a year now. It’s crazy how DIYS can be put on hold for so long and I’m ssso glad I finally got around to making it happen. Last year I received a brad nailer for Christmas because, my hubby knew it was something I’ve wanted for a while. I had so many DIYS planned that included using a brad nailer and I was sssso happy to get one. It was a pricey gift but, I knew it would pay off. Reality is…, within this year I’ve only gotten a chance to use it a few times. The plans I had were scratched and what remained were put on hold. It’s been too long and I can’t wait to start popping out home decor DIYS so stay tuned for some sweet home decor tutorials. YAY!!
Scandinavian Nightstand
Okay I’ve been dreaming of making my home look more neutral and bring in some Scandinavian vibes. My bedroom needs some major updates. I’m talking there’s like no decor style going on at all. I have an old nightstand from the thrift store that’s like yellow and a simple white down blanket and that’s it. After doing some research I liked the idea of pin legs. Then I found out that the metal pin legs are pretty pricey which didn’t really fit my budget. So, I decided to do my legs from 2″x3″s but, still keep it stylish by tapering the legs in.
Here’s what you’ll need
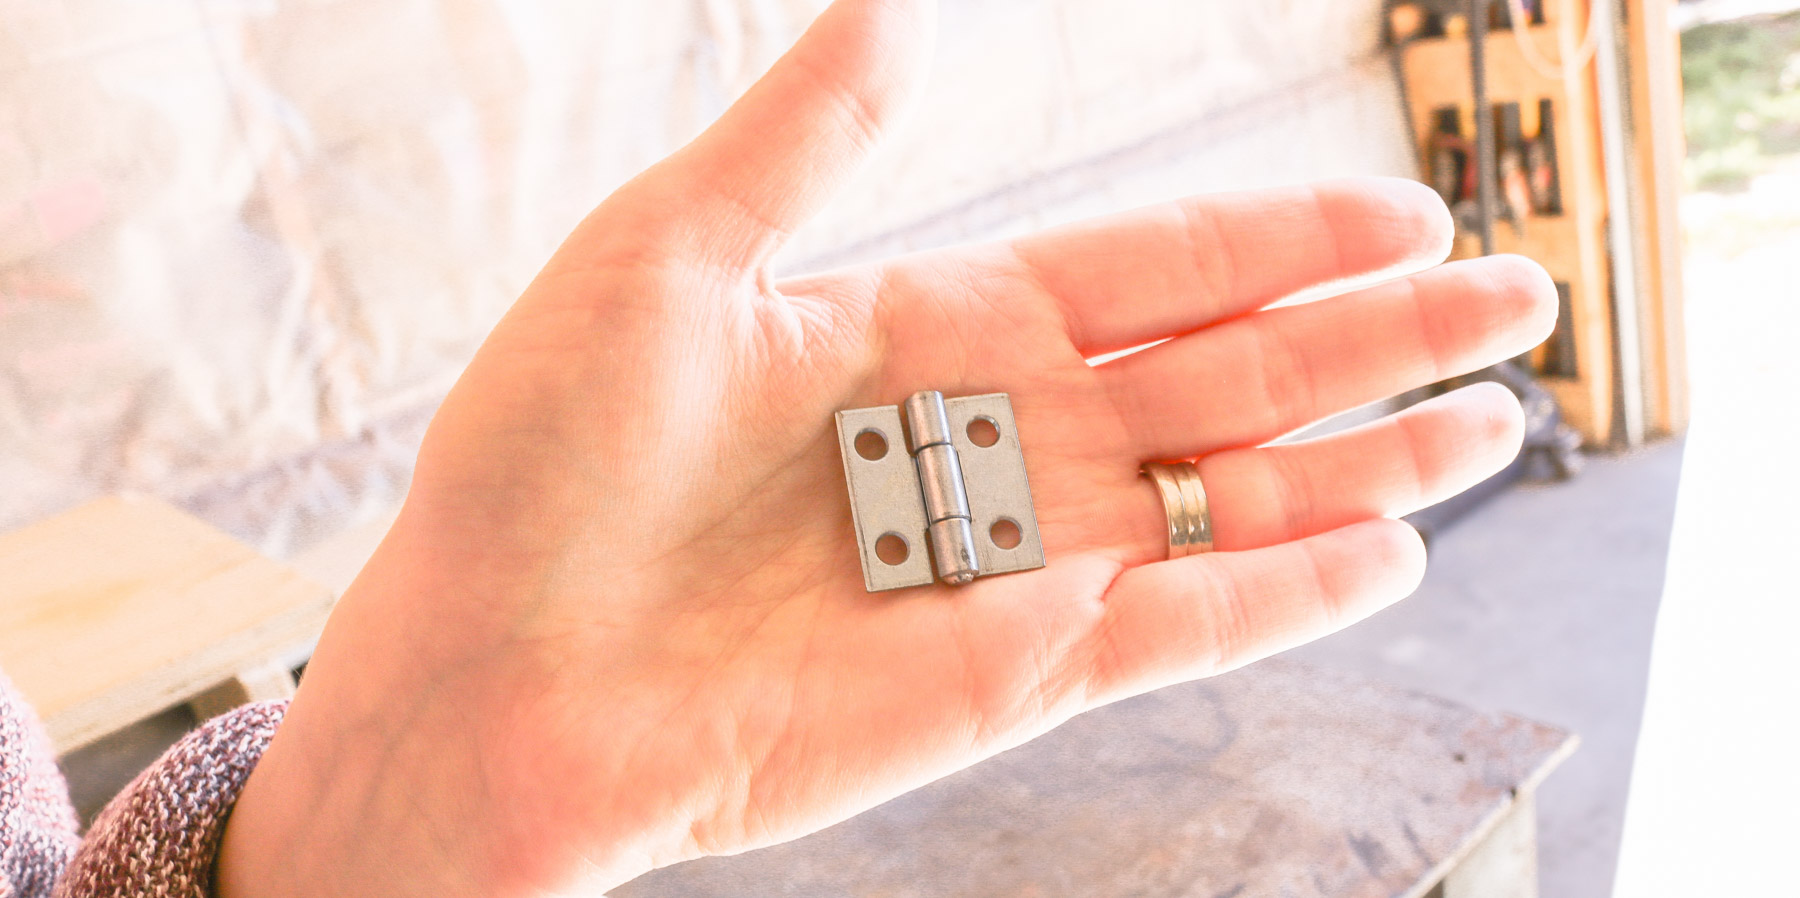
- two small metal hinges
- 2″ screws
- Brad Nailer
- Table Saw
- Wood Glue
- optional : Sander
- One 2″x”3 x 8′ length
- Pine plywood
- Screw driver
- Drill
- brad nailer
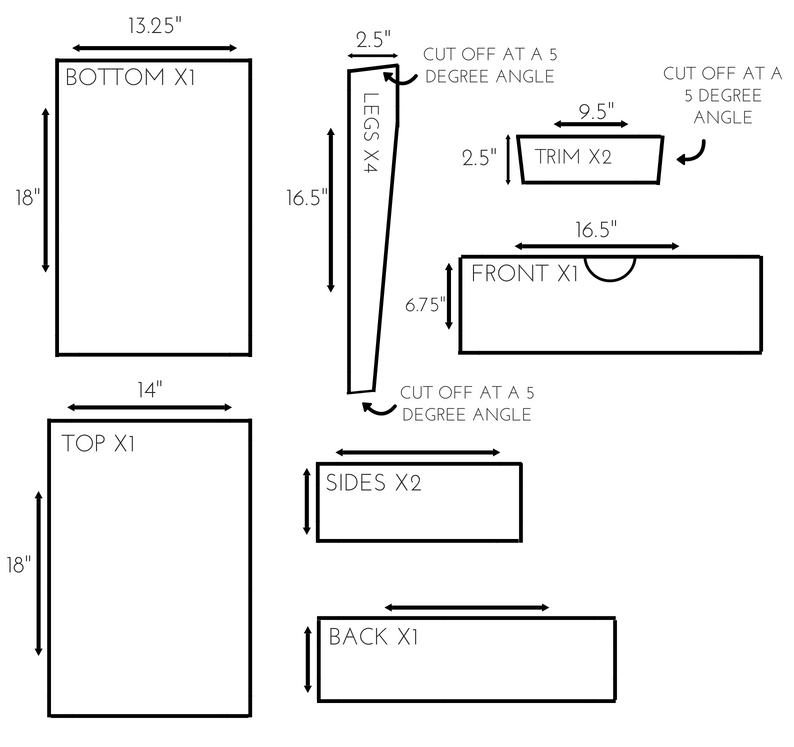
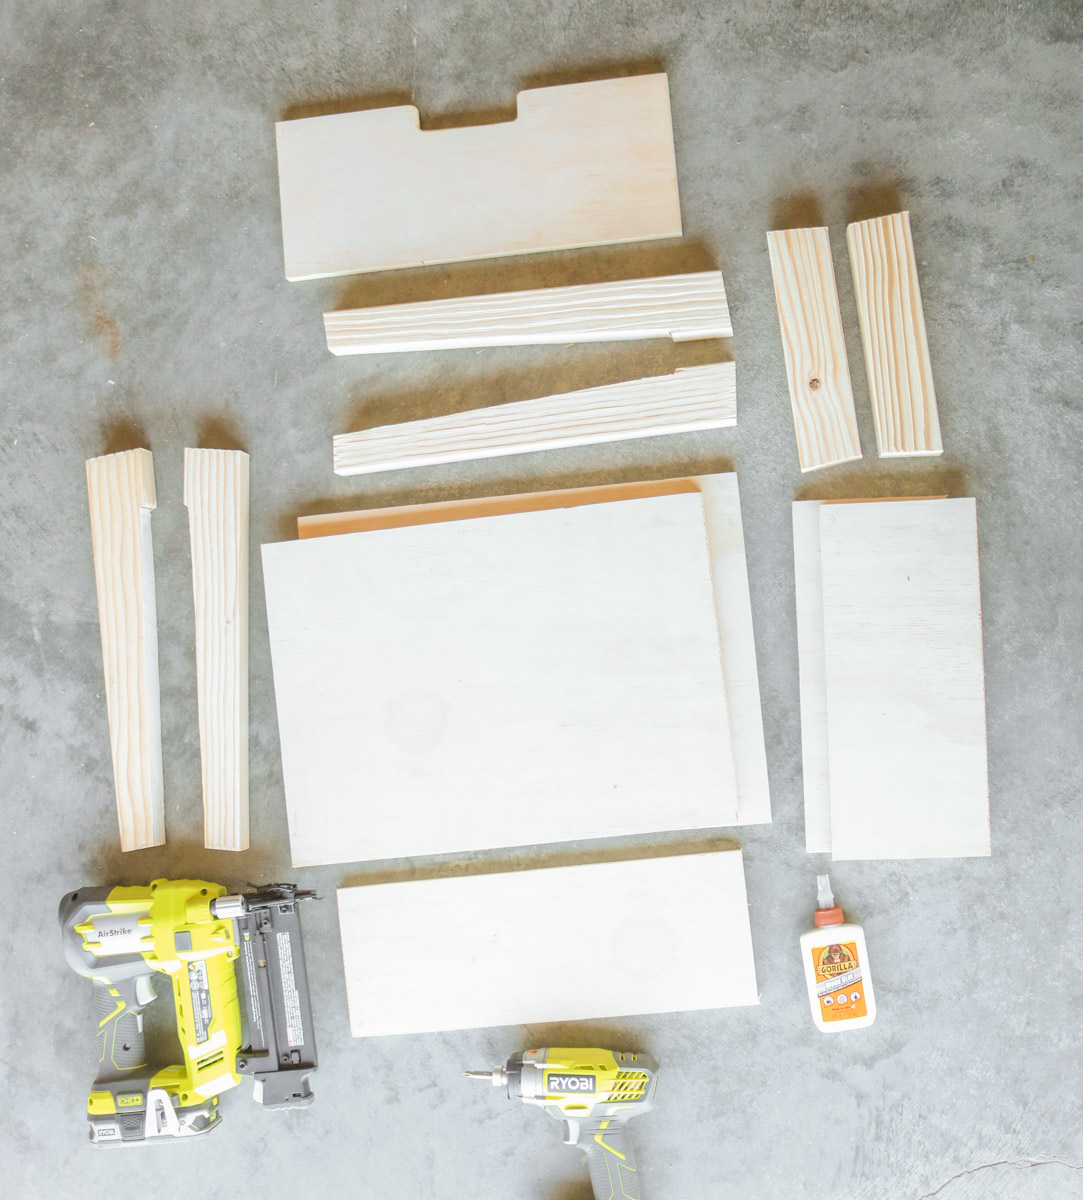
Here’s what all my pieces look liked cut out.
Okay here are the steps to put it all together.
If you’re into videos here’s a video showing how we put it together. Plus our fails along the way. 😀
Step 1- Piecing it together
First we glued the sides to the bottom and added some nails with the brad nailer. Following that we flipped it over and added the back.
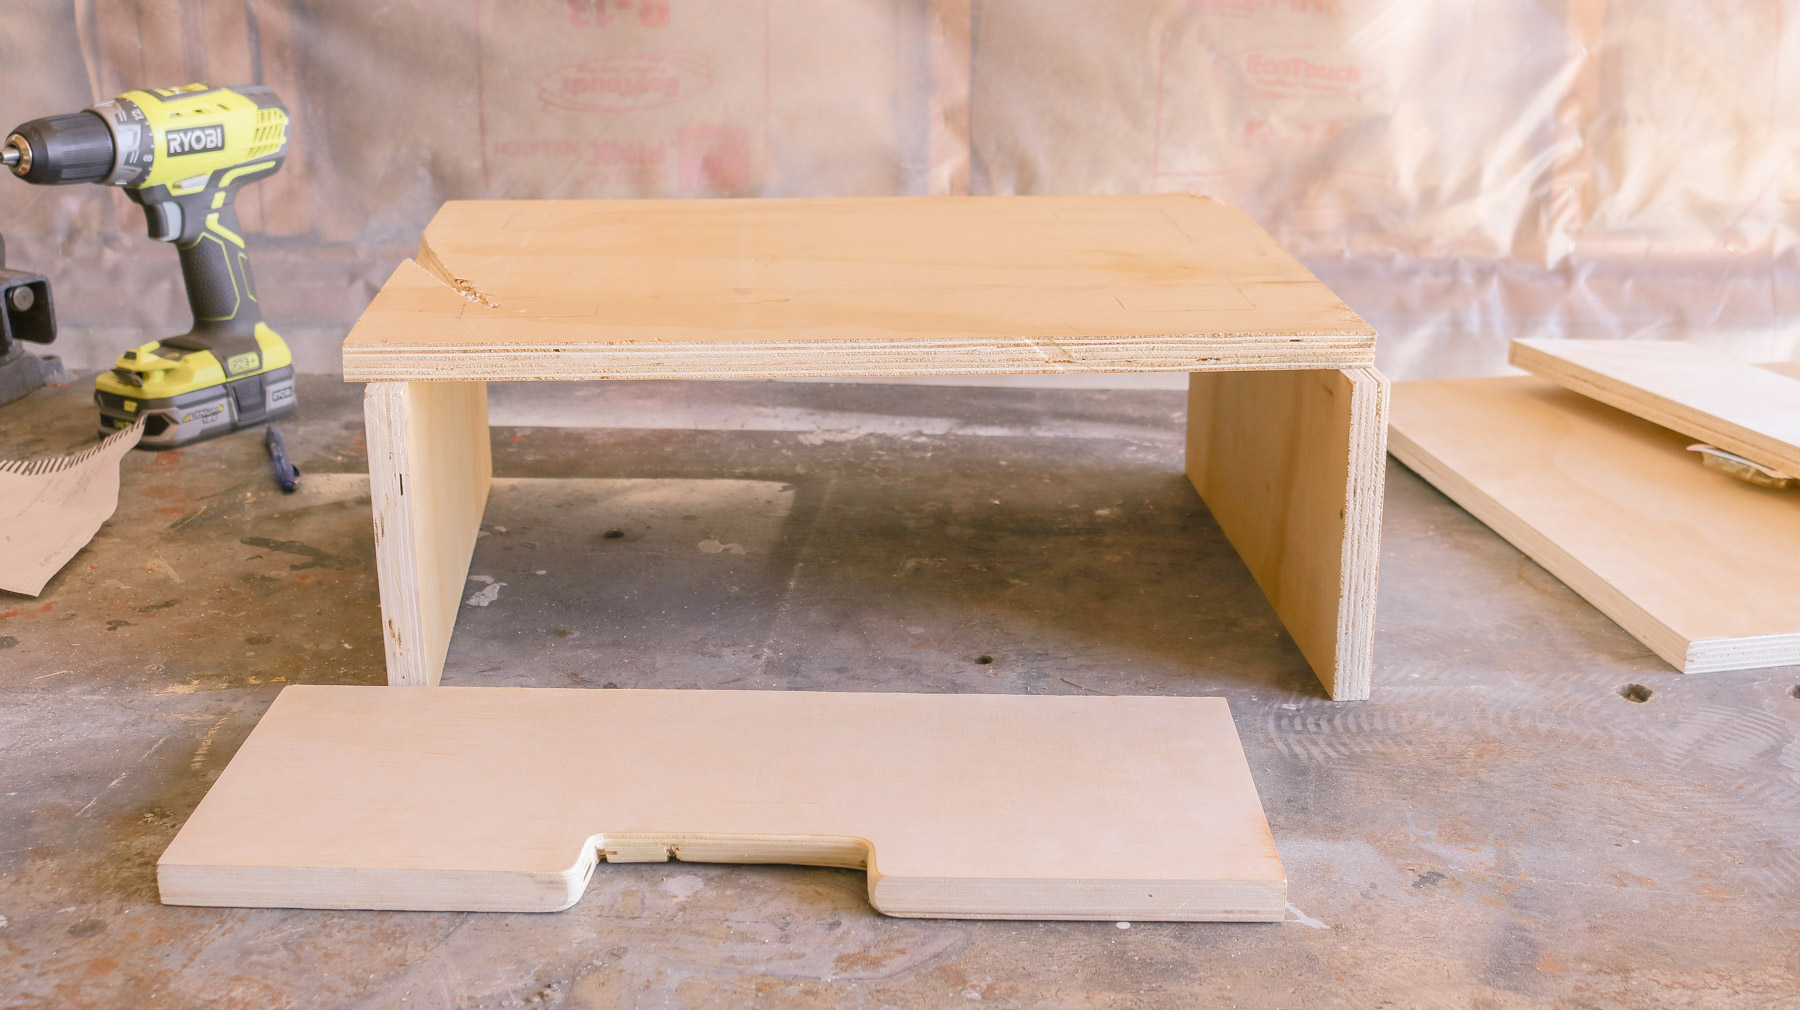
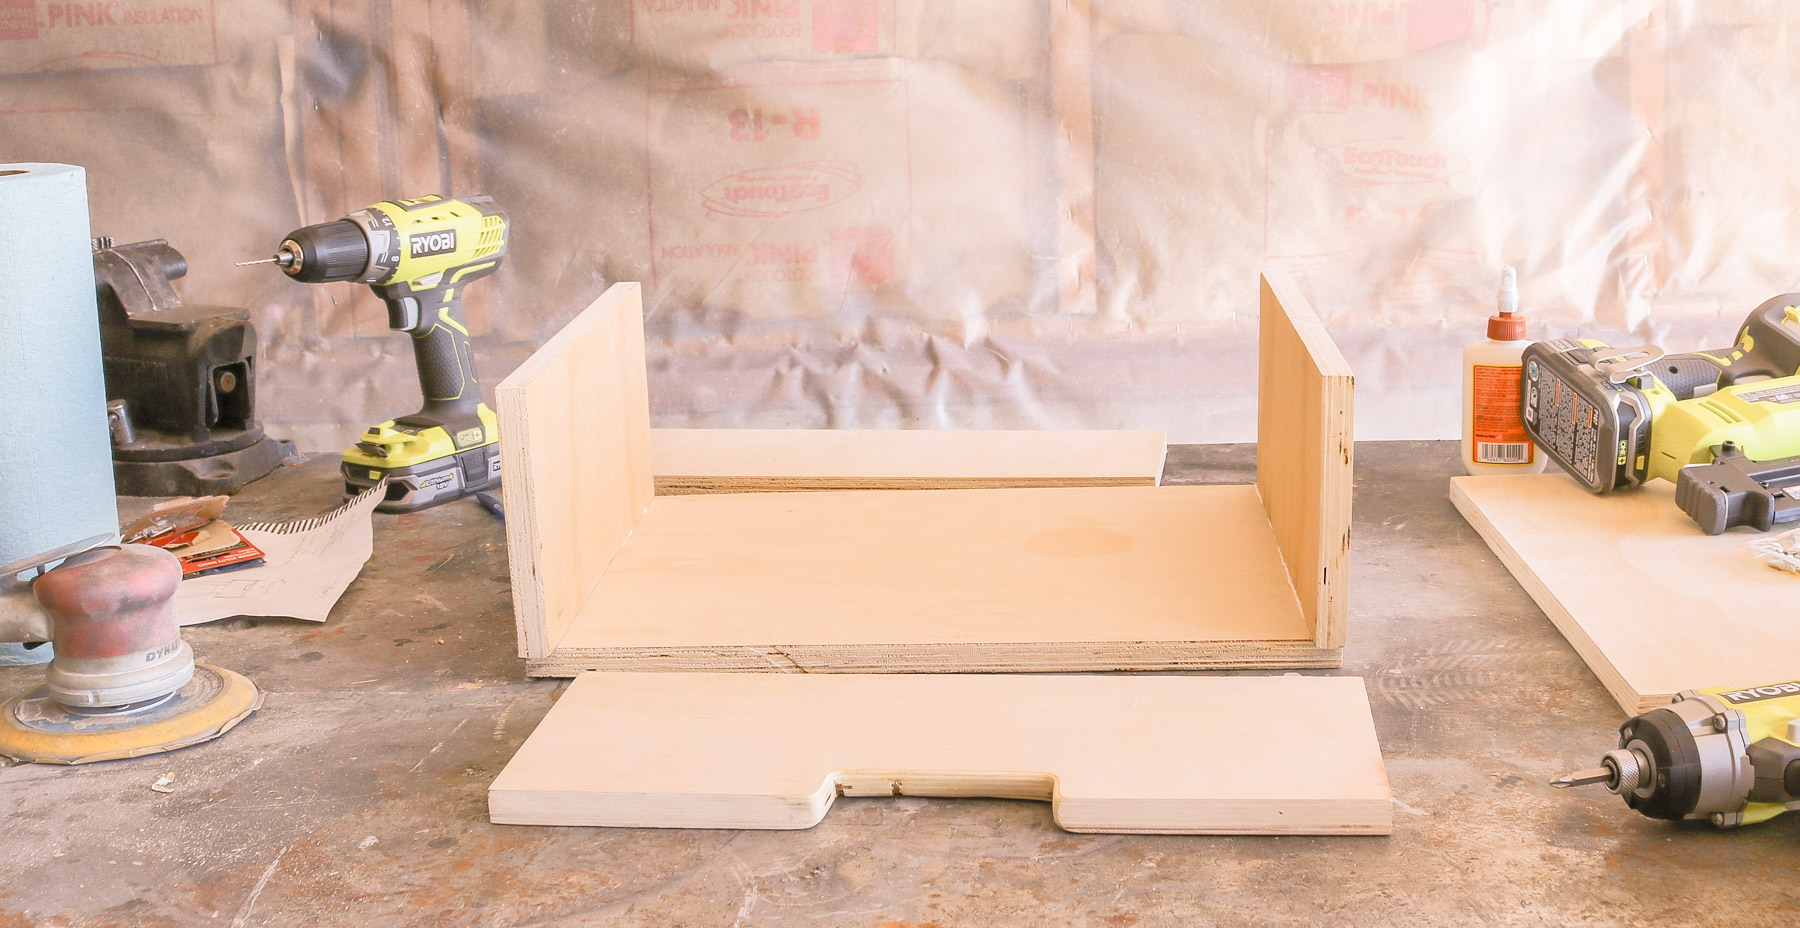
YES our wood had some damage but I was ok with it since it was on the bottom.
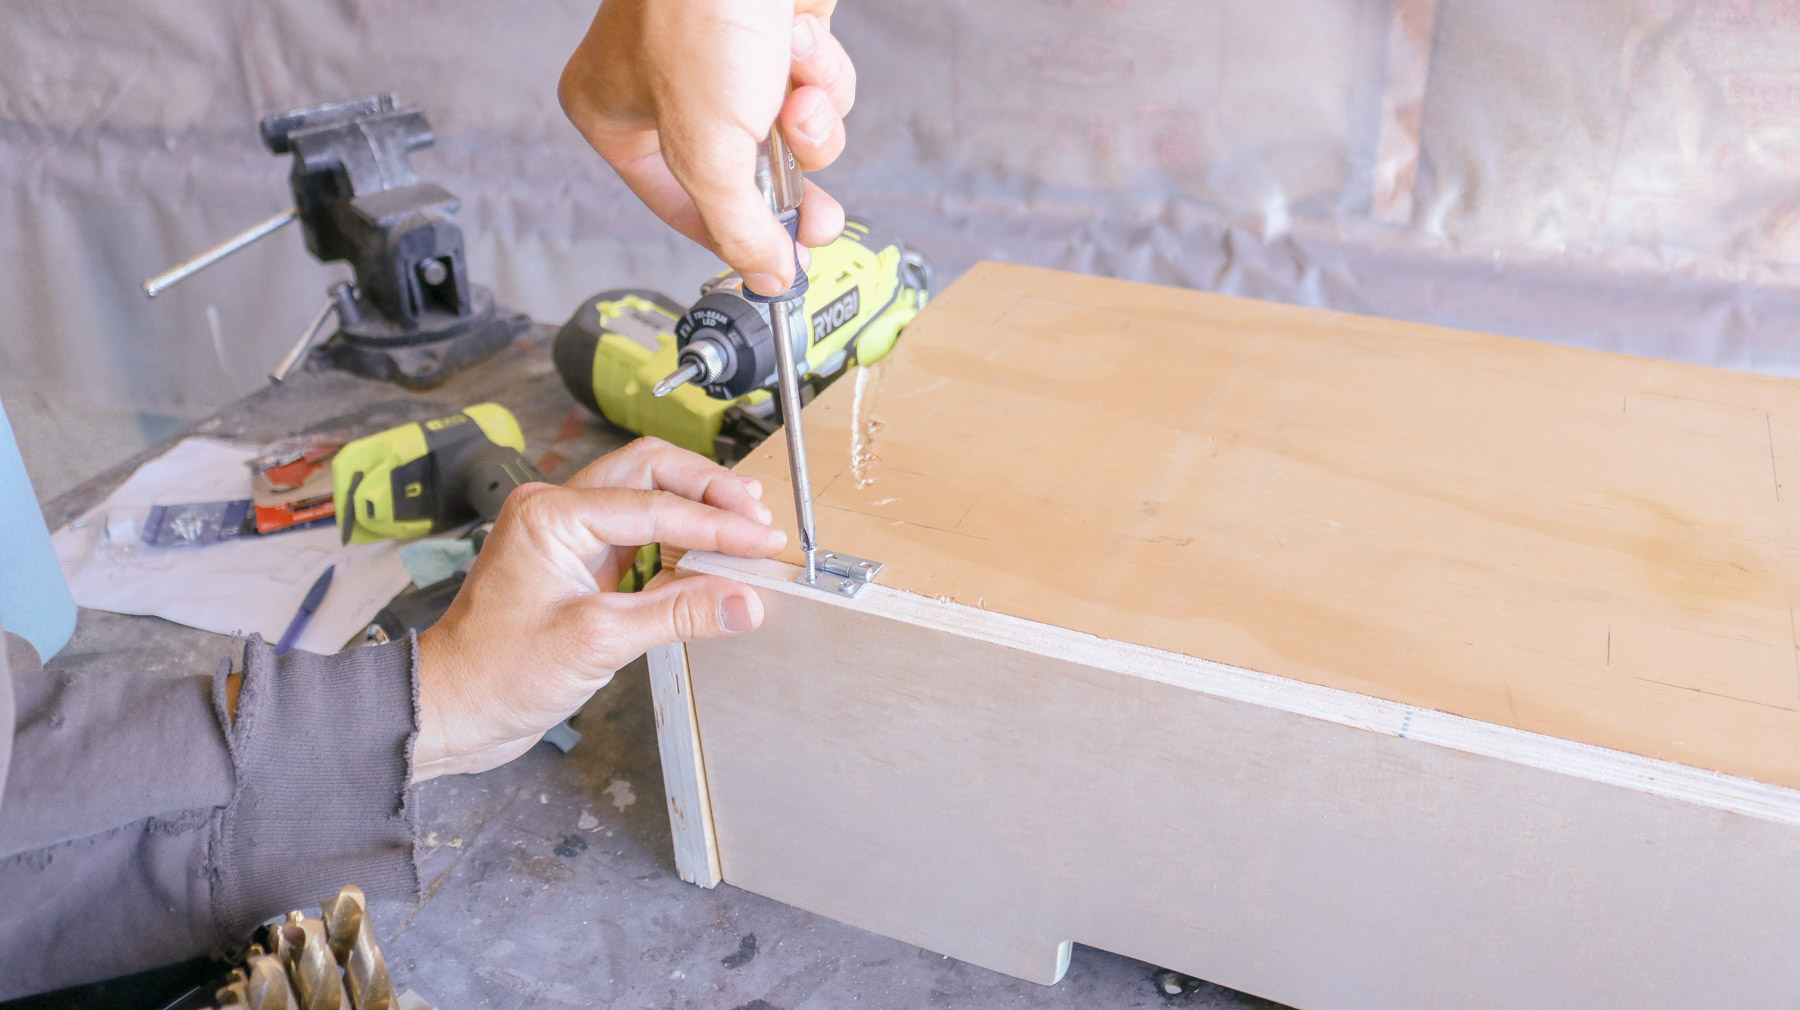
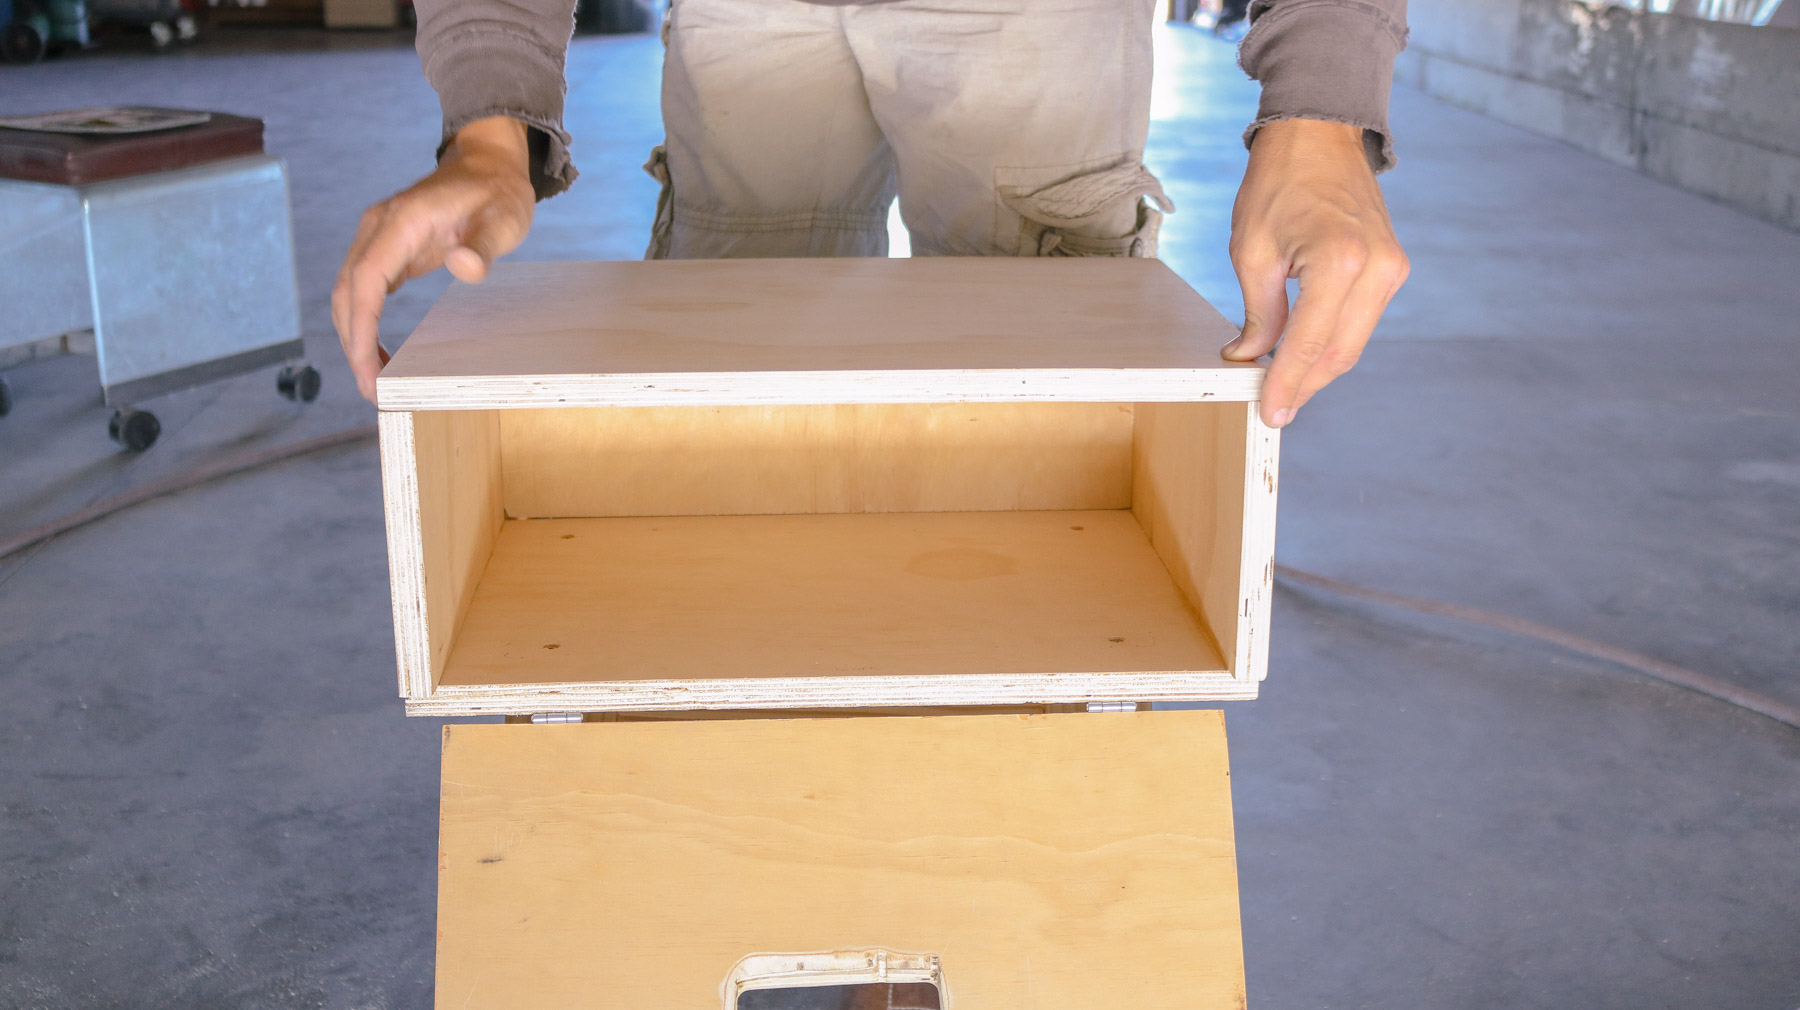
Step 2 – Attaching the front door
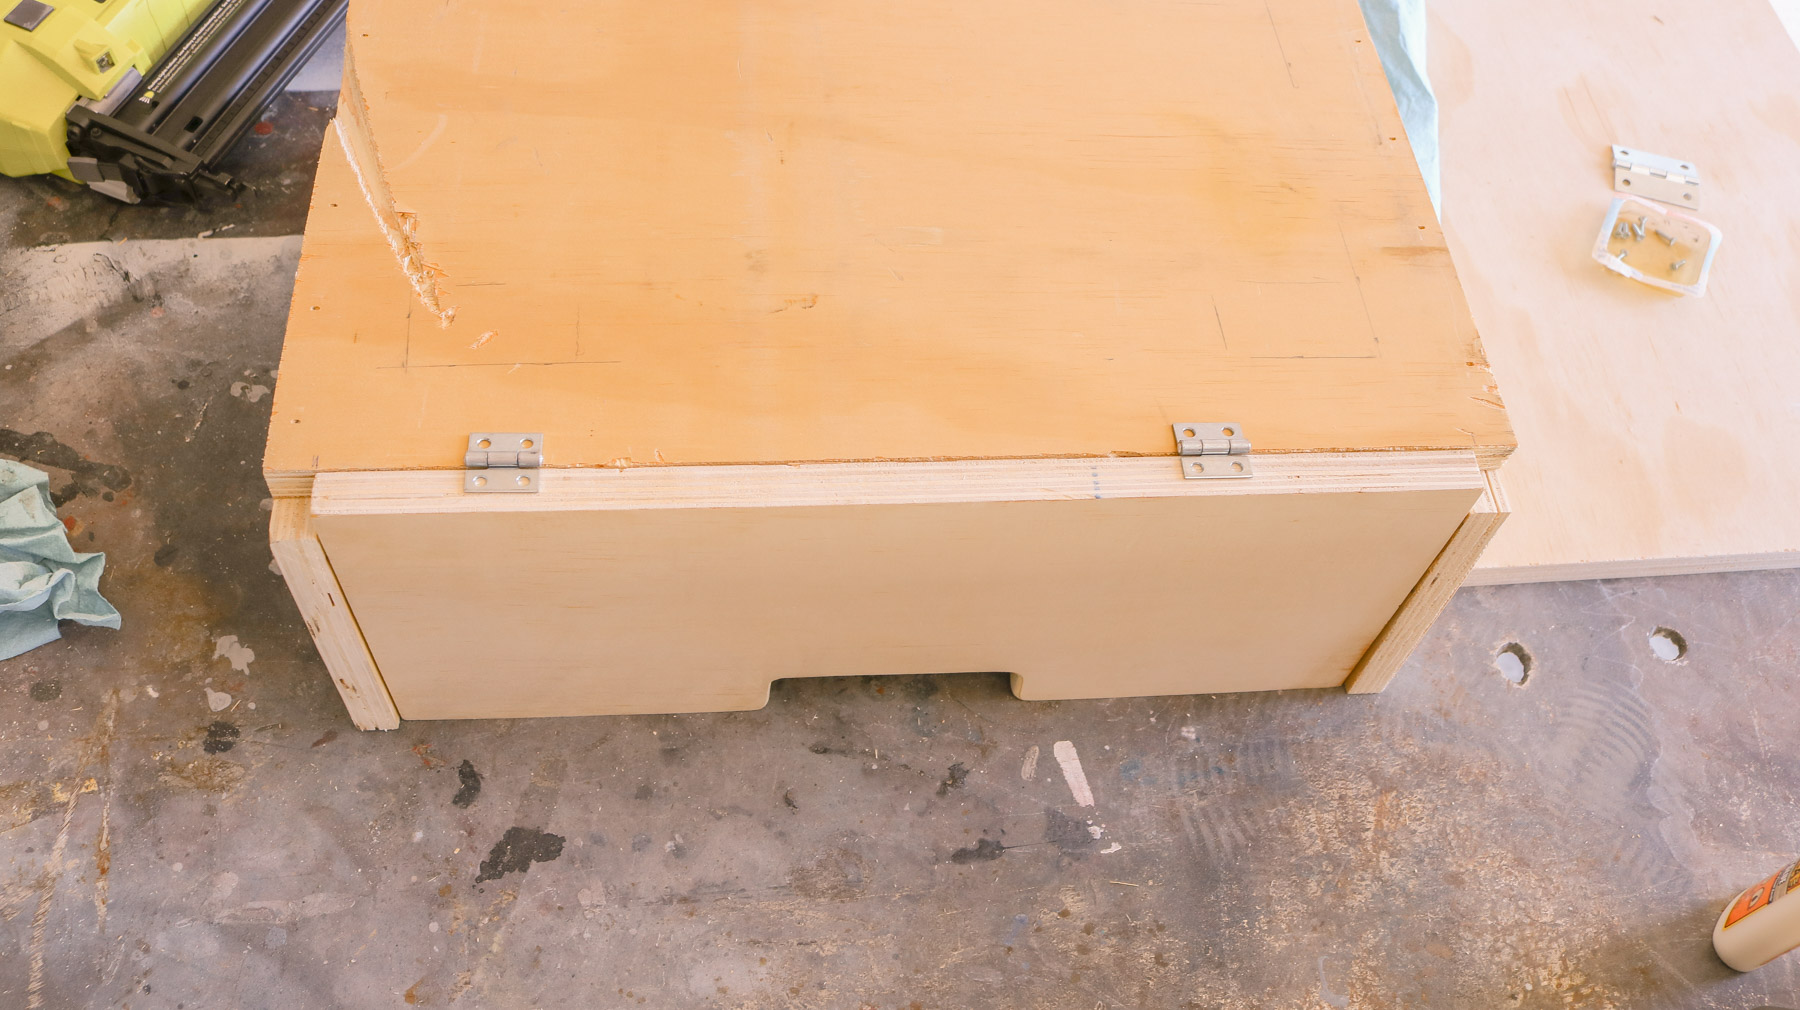
We used small hinges to attach the front shelf door.
We carefully pre-drilled some holes and used a screw driver to secure it. If you’re using a drill be very careful so it doesn’t split the plywood.
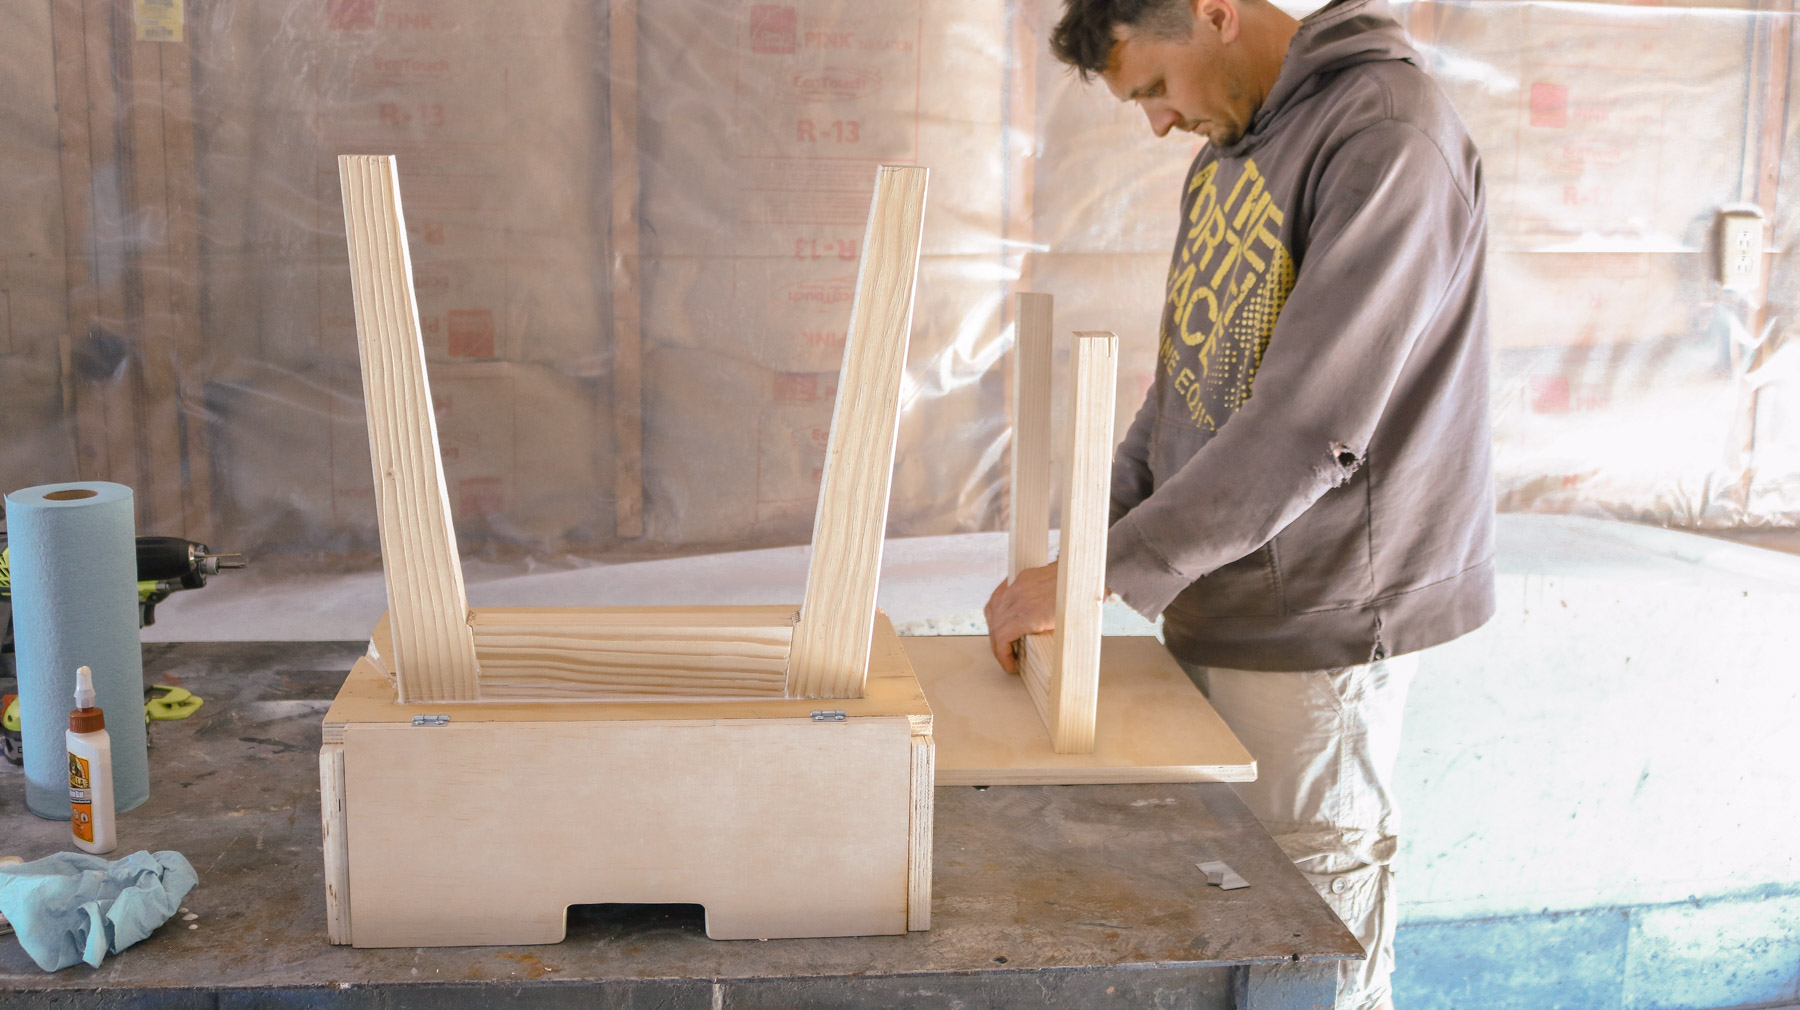
Step 3 – Centering your Legs
Following that while it was flipped over we marked 1.75 inches away from the edges and centered our legs and trims.
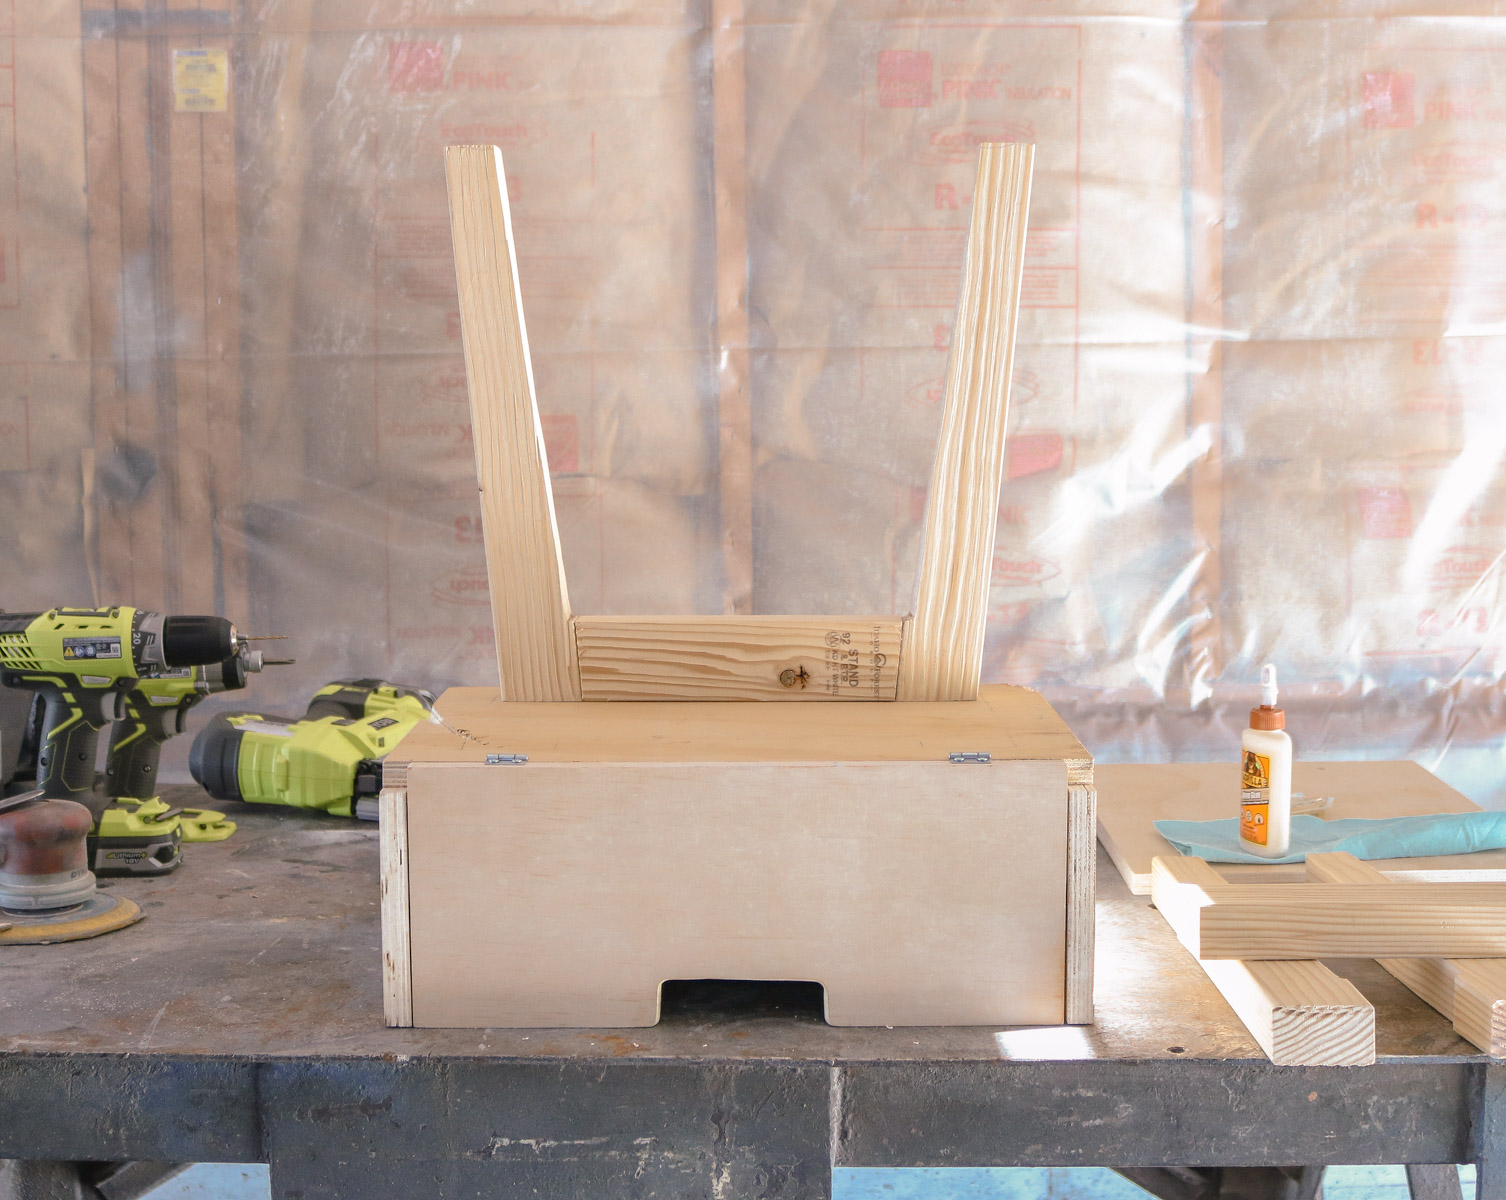
We glued the legs and trim together then attached it to the nightstand with glue as well.
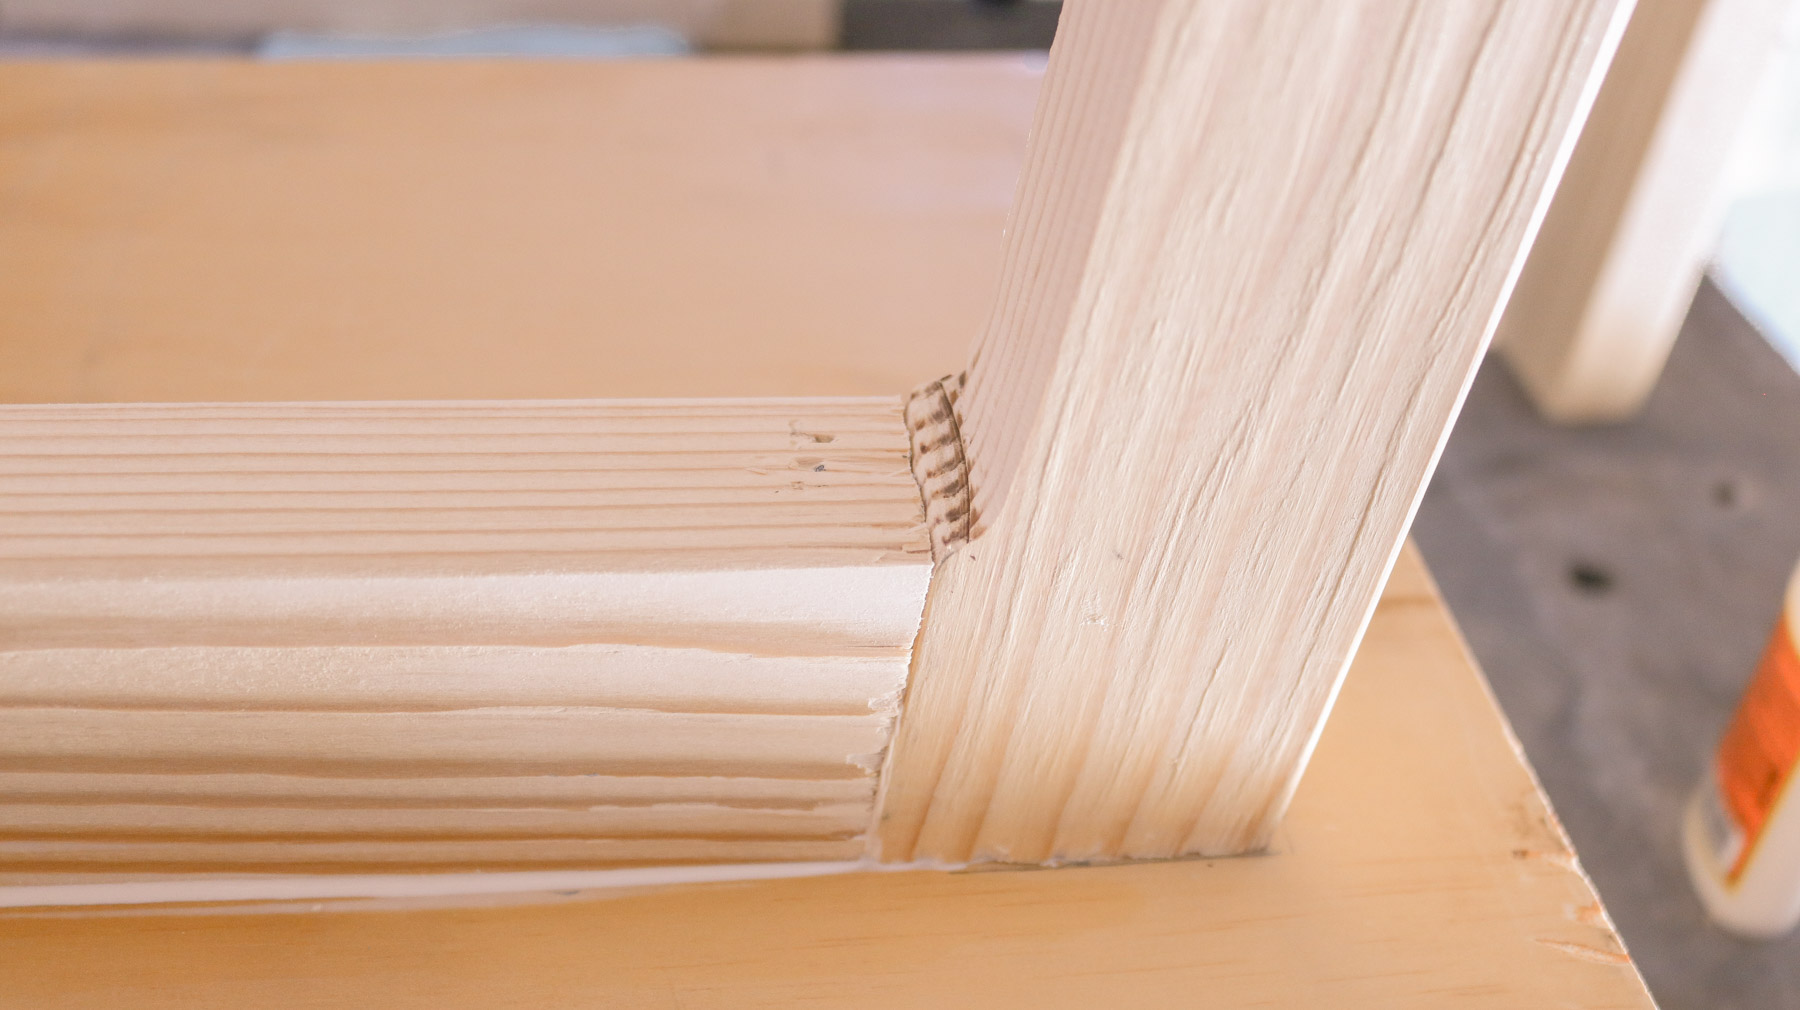
Step 4 – Securing the trim to the legs
We used our braid nailer at an angle to secure the trim to the legs.
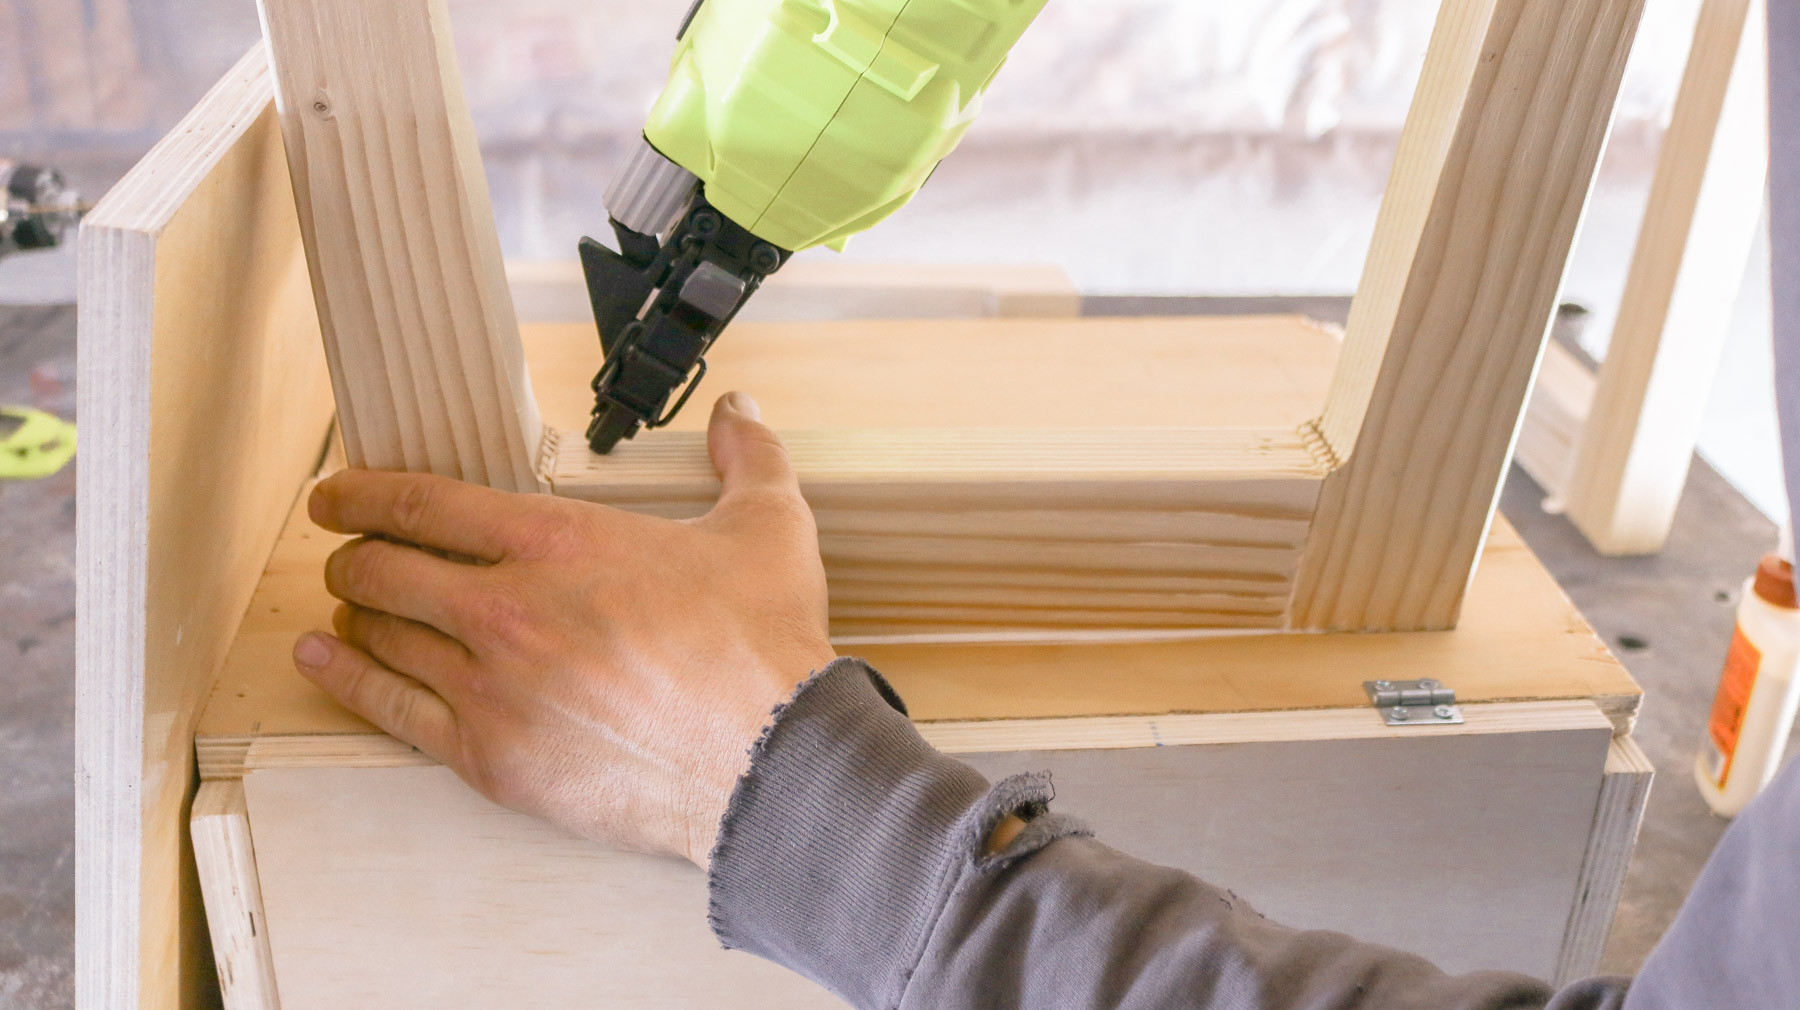
Like this.
Step 5 – Attaching the Legs
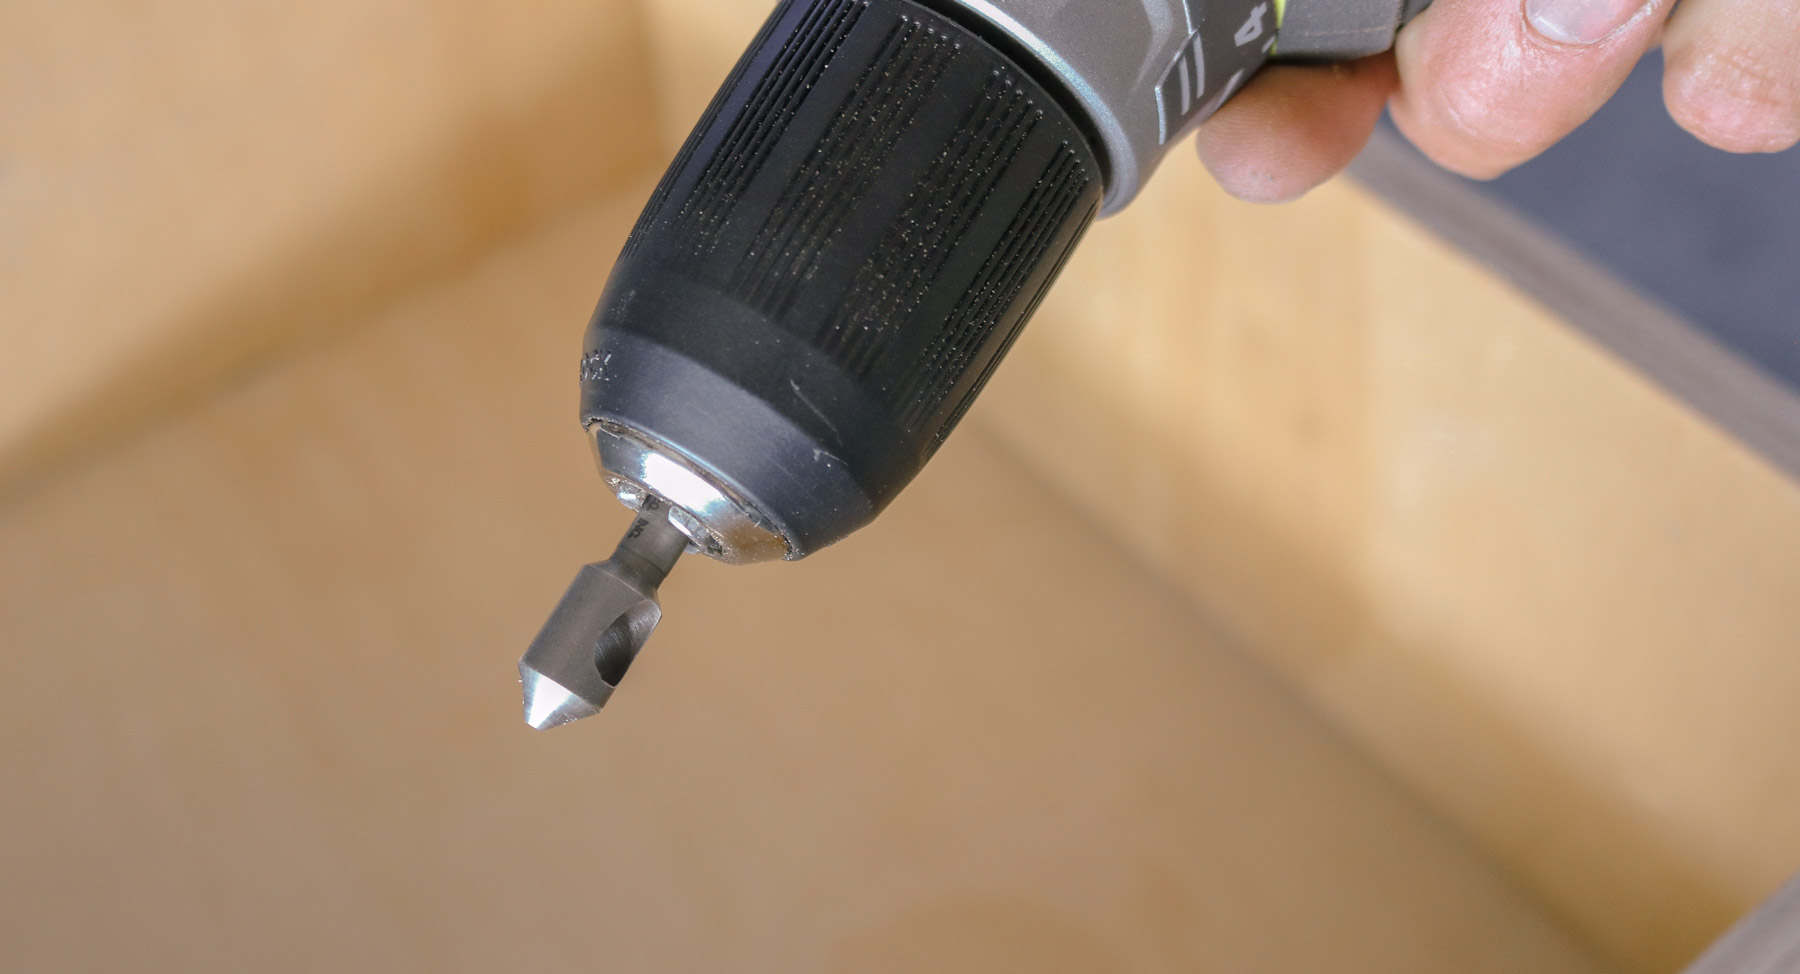
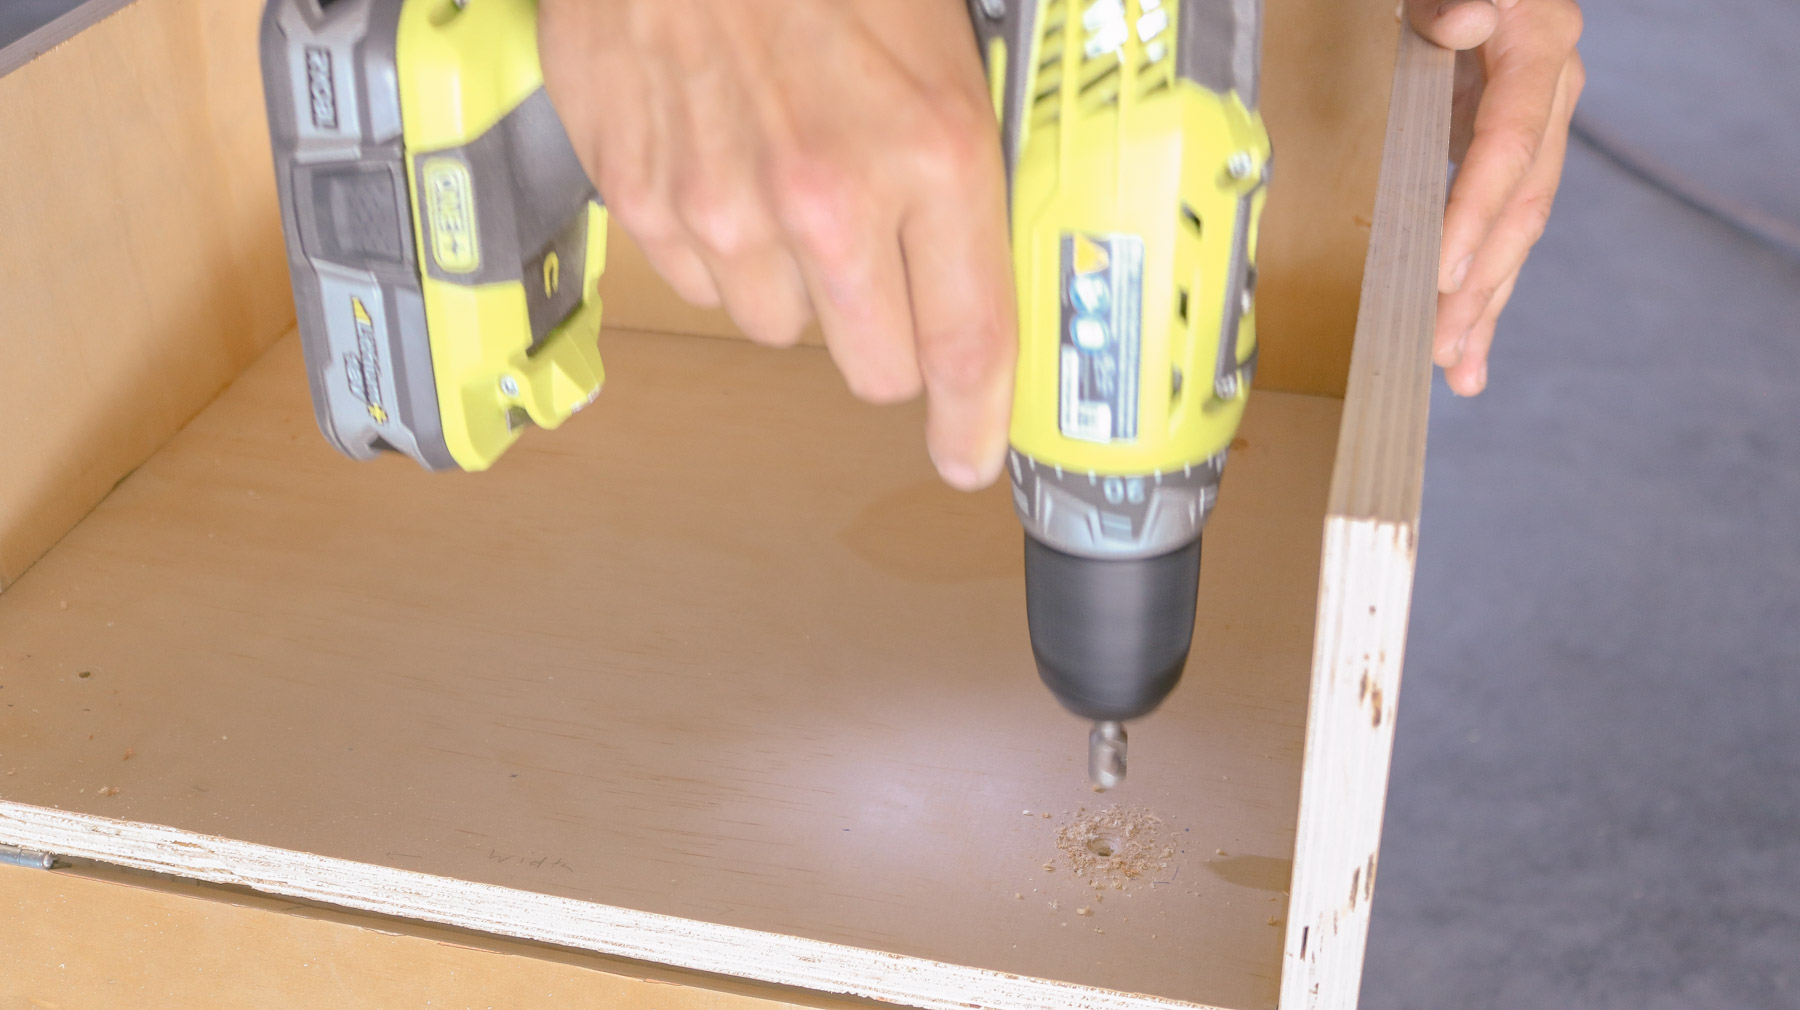
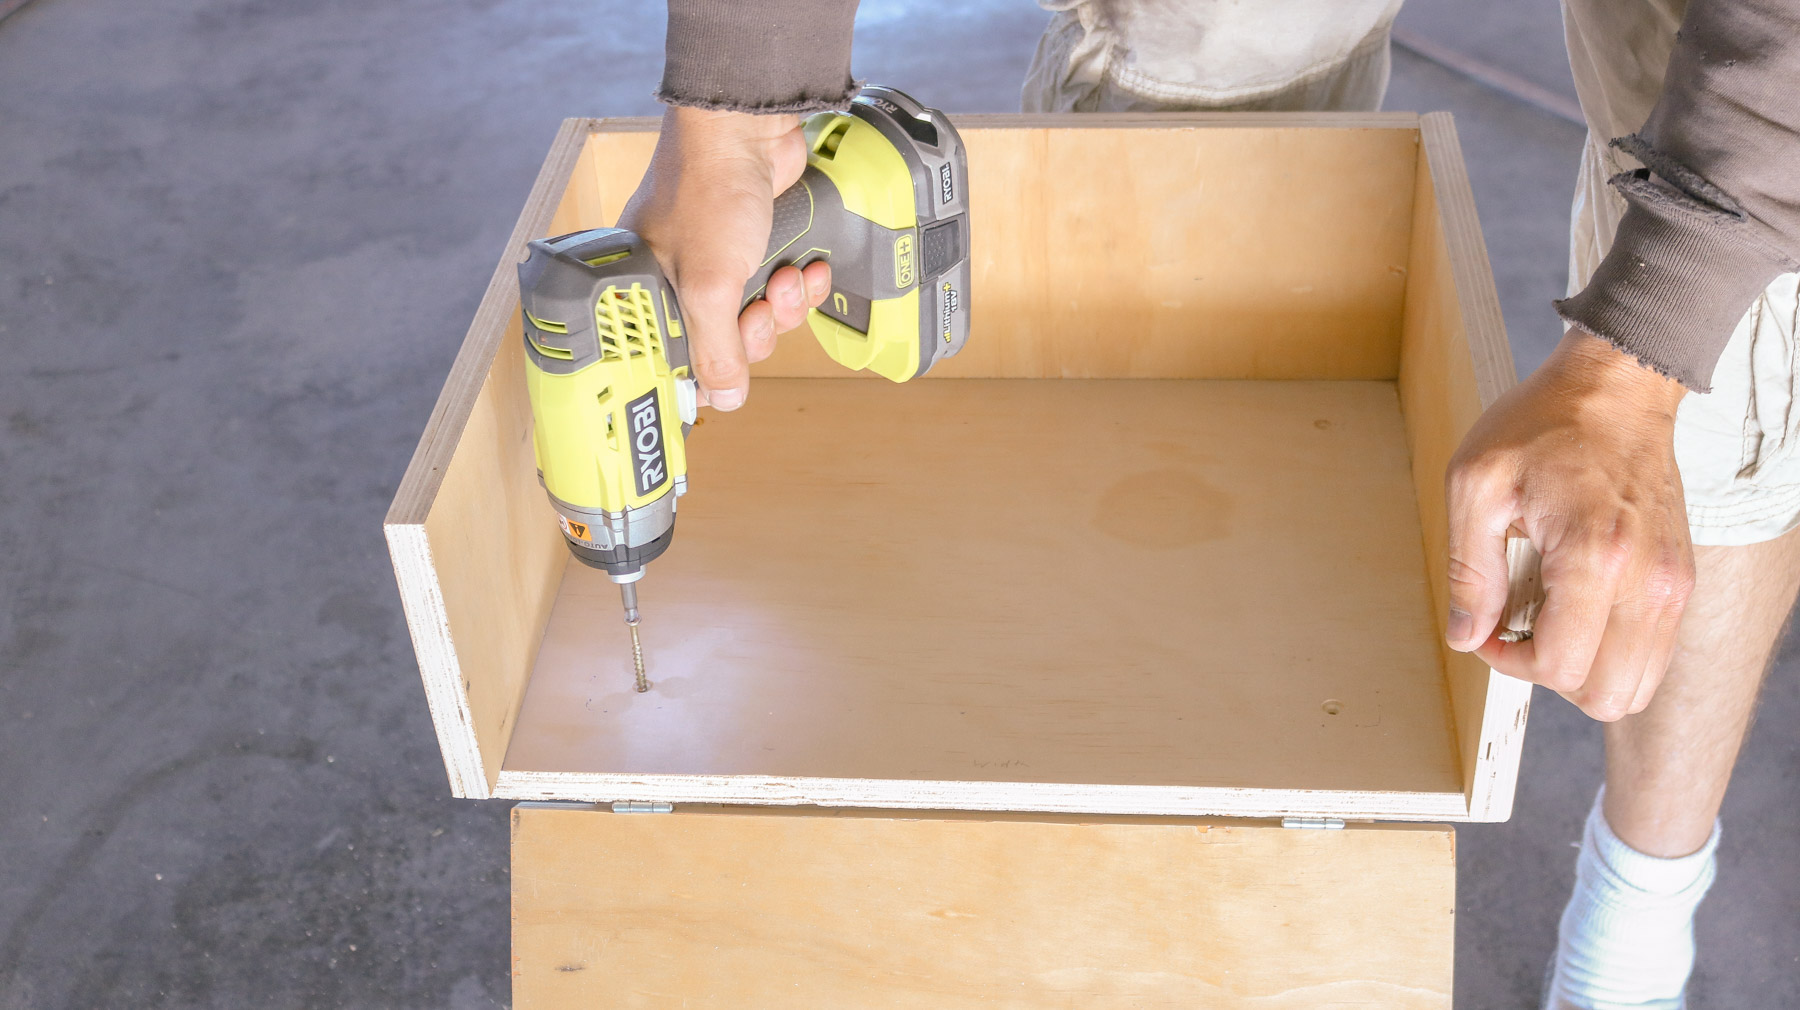
Okay than we pre-drilled a hole in the center. Once our first hole was pre-drilled we used a bigger drill bit to countersink the screw because it wasn’t long enough.
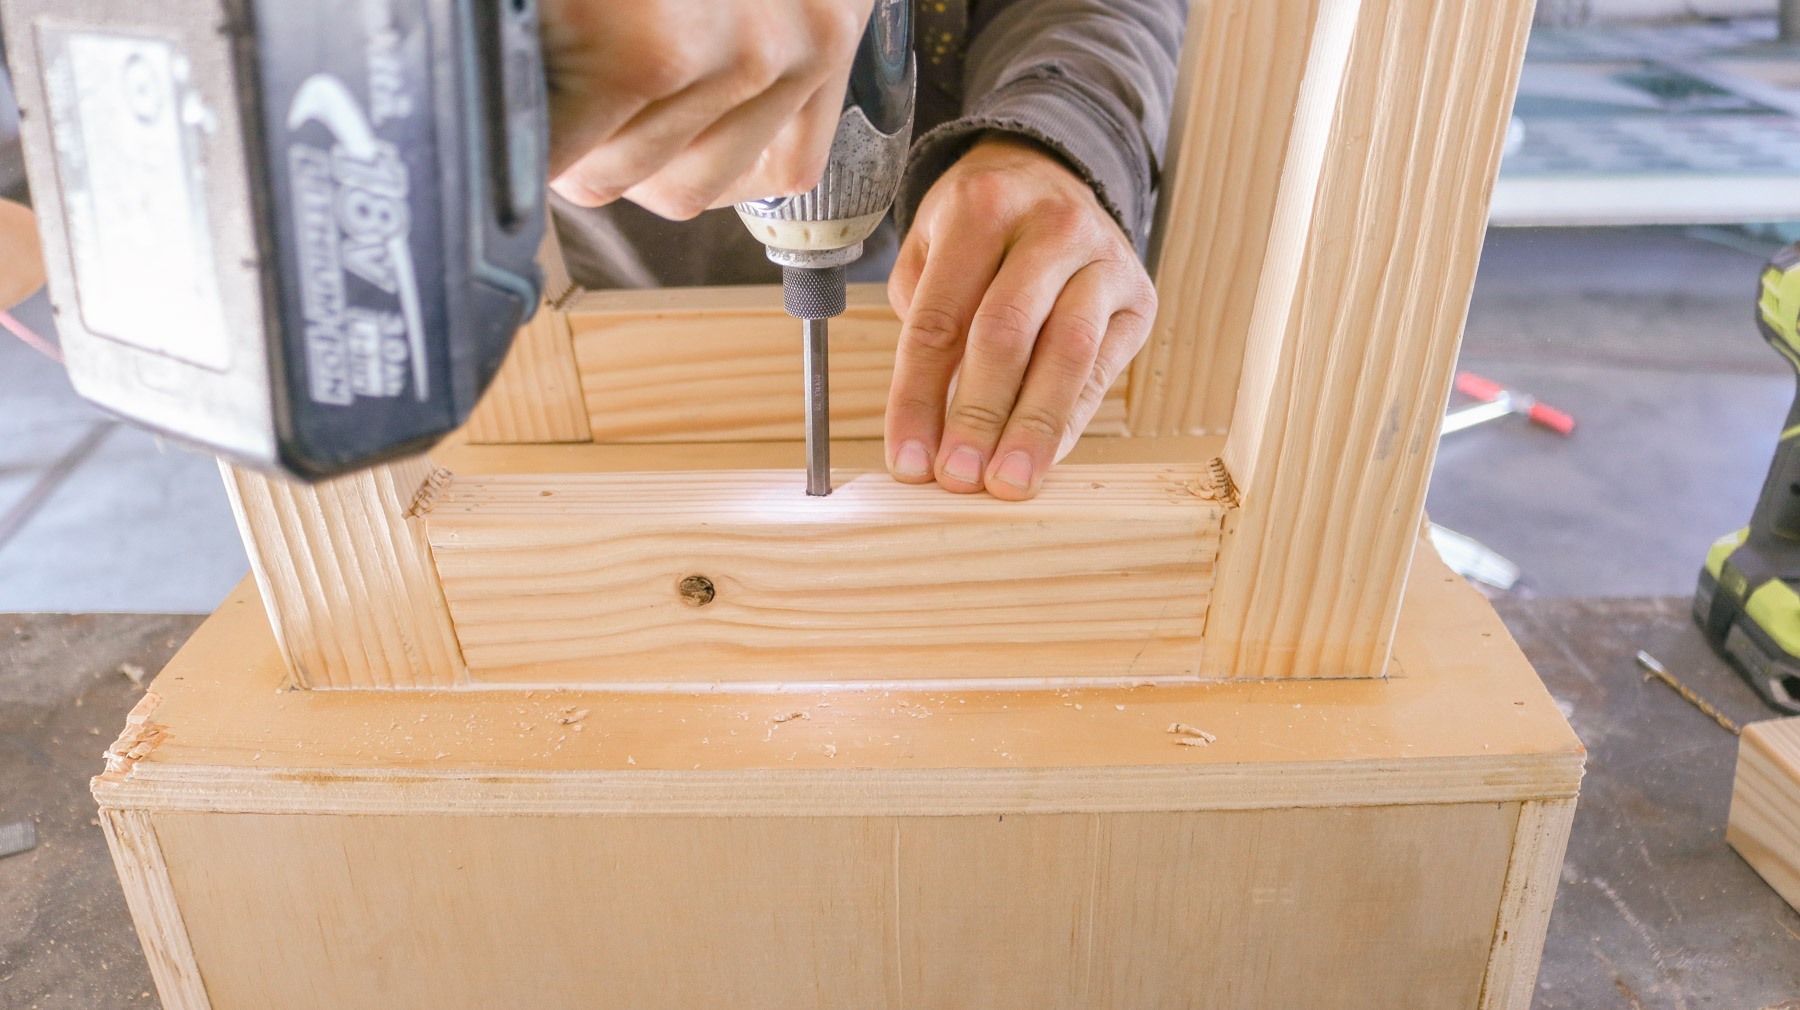
Flip your night stand over, pre-drill holes and add screws as well to secure the 4 legs.
We used this drill bit to counter sink our screws for a smooth finish.
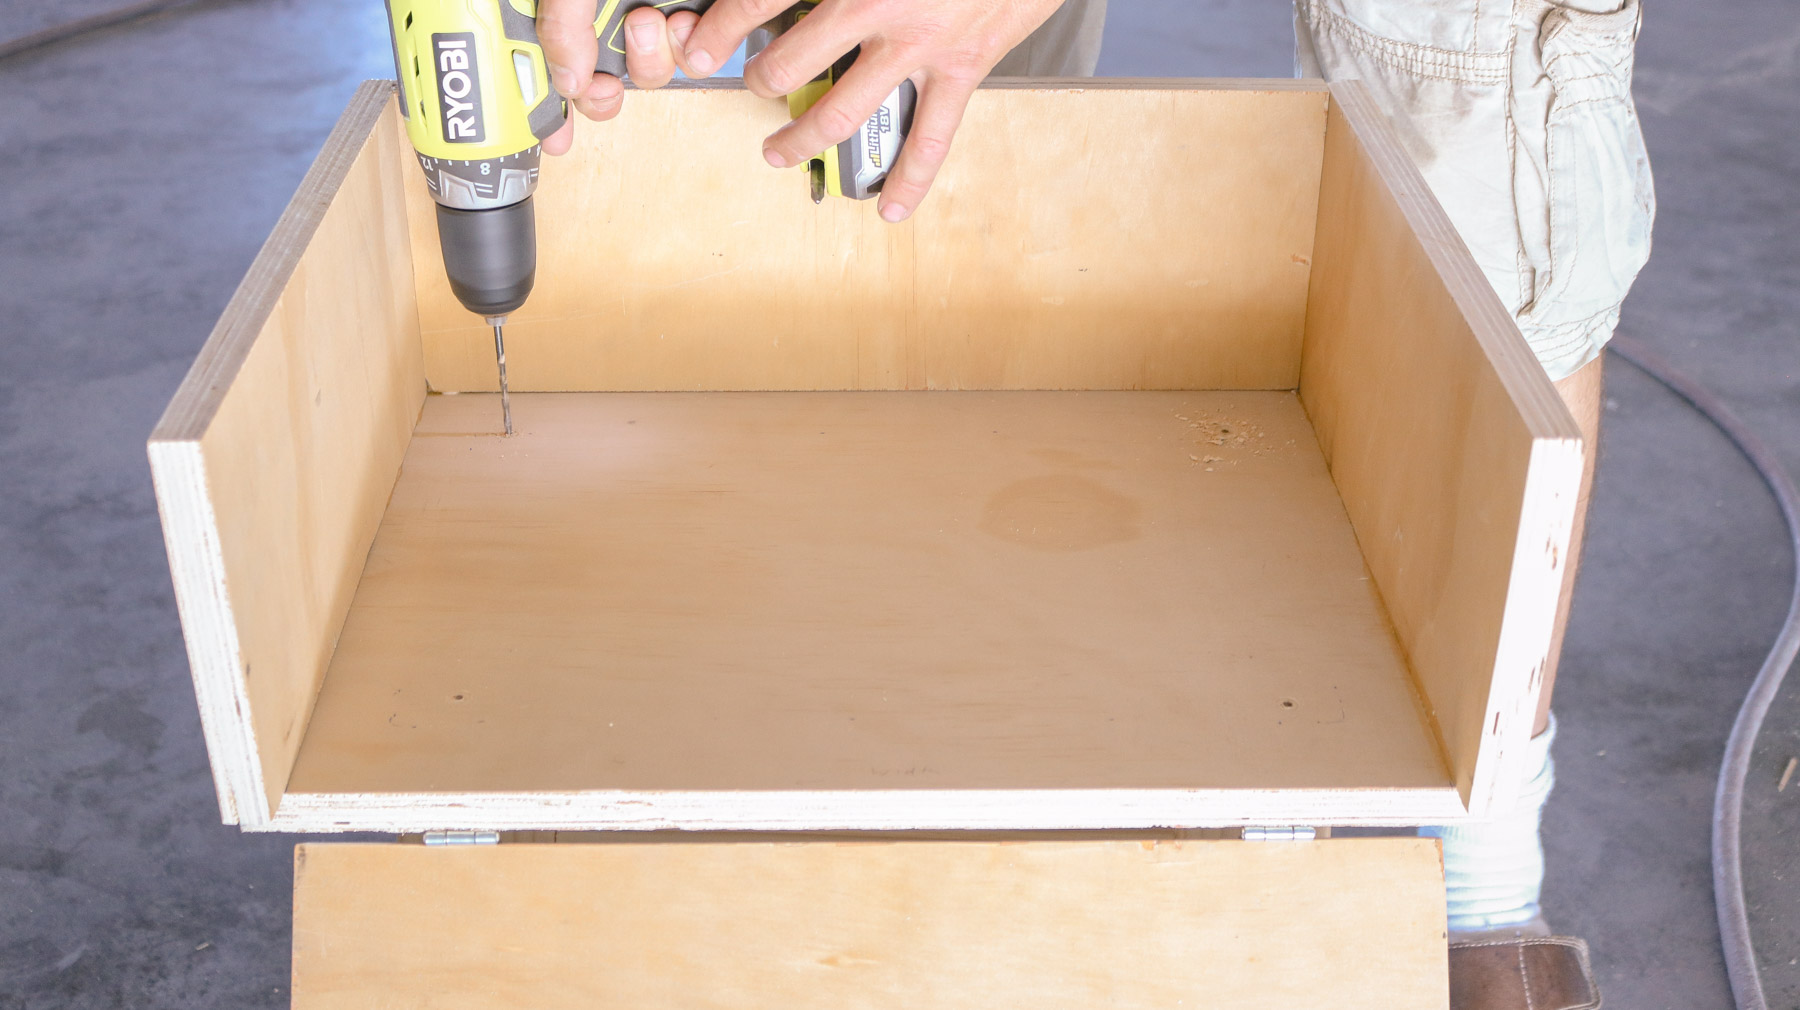
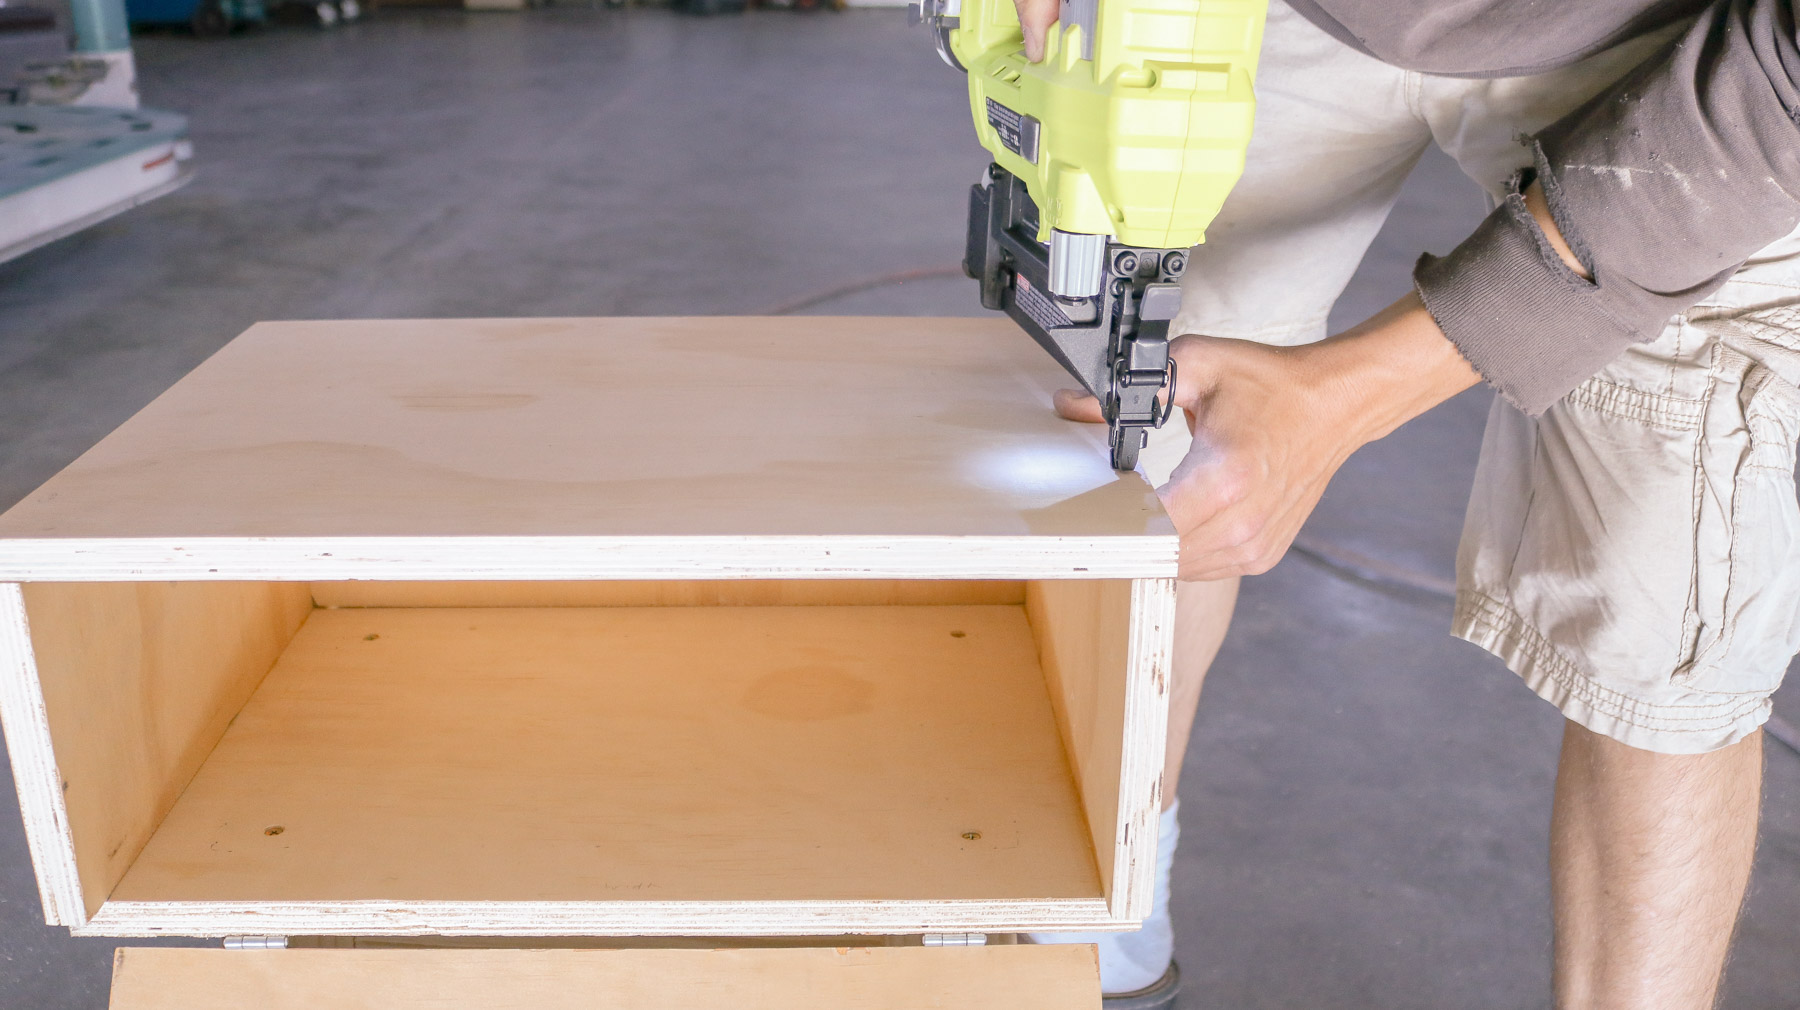
Step 6 – Attaching the top
Okay following that we glued the top before securing it with a brad nailer.
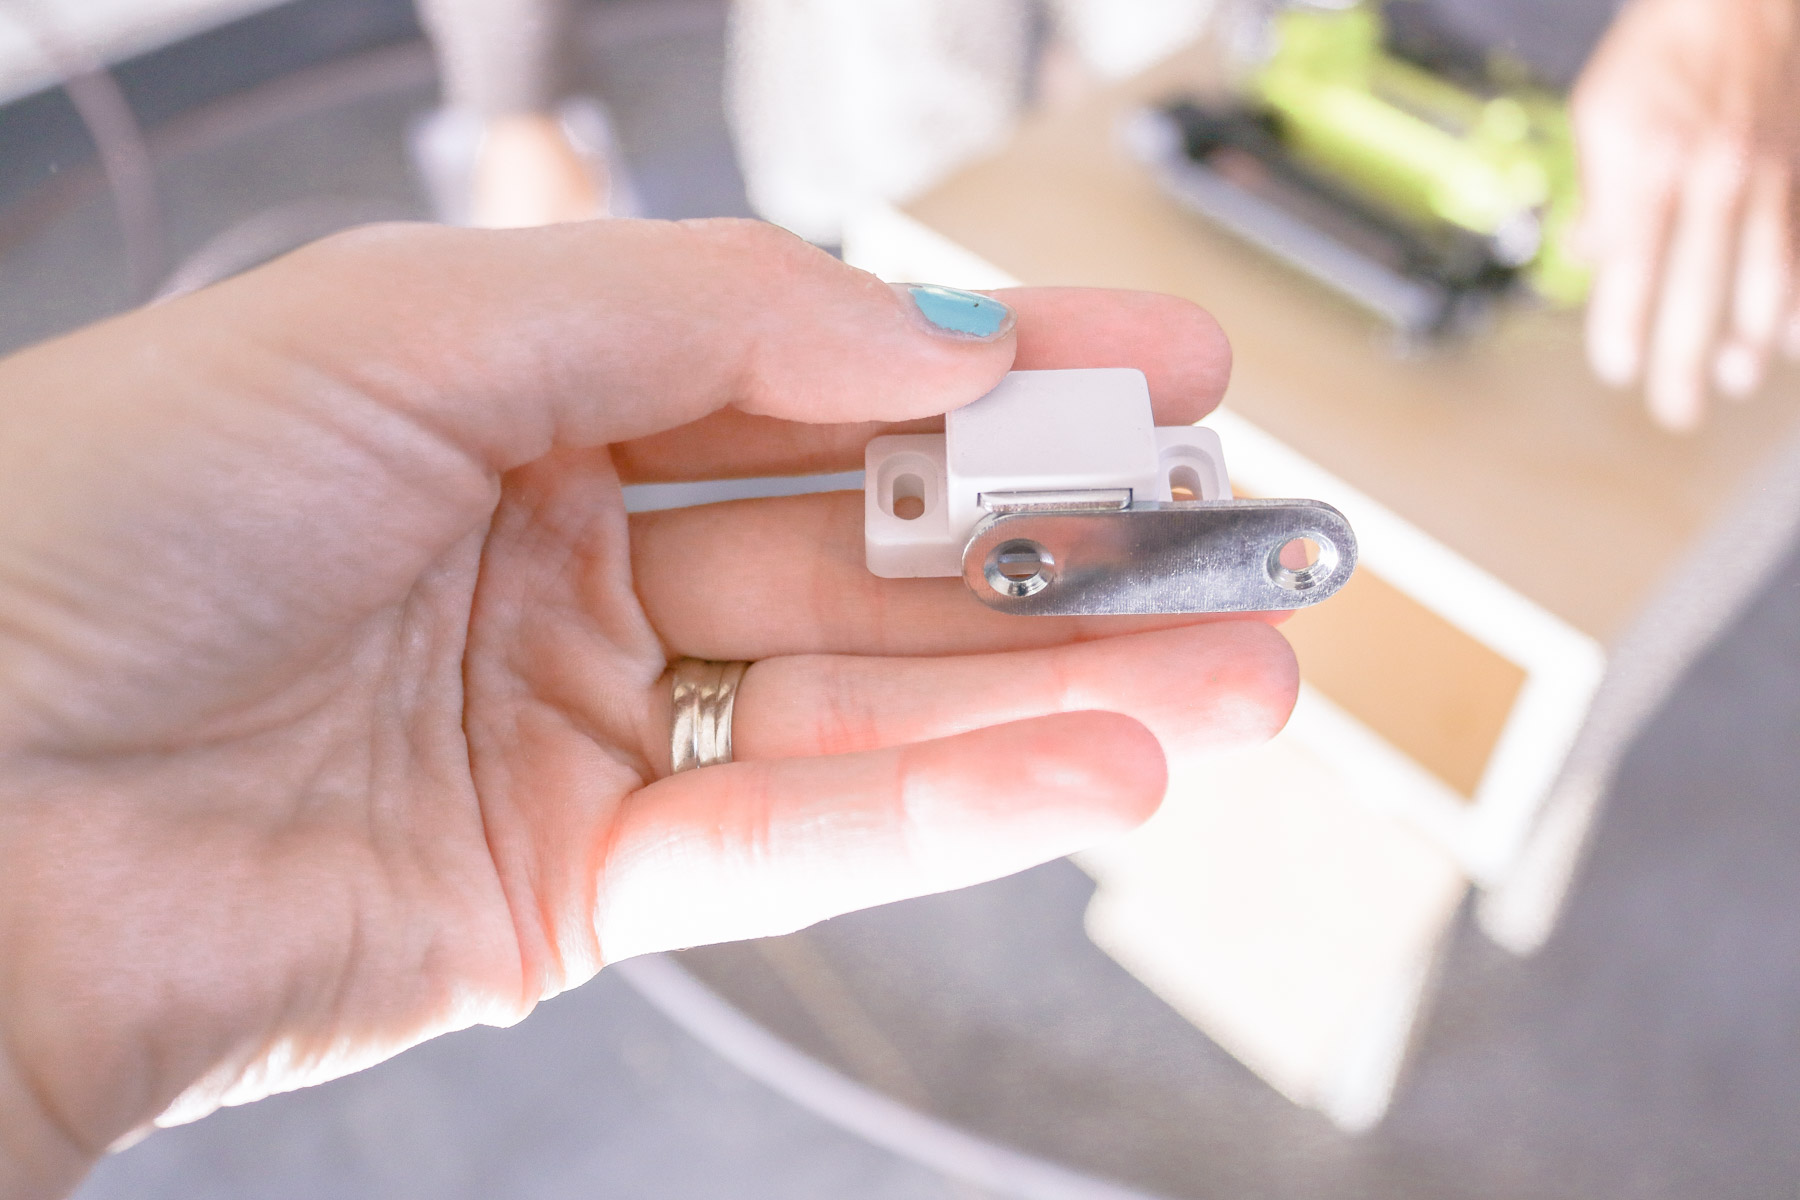
Step 7- Attach your Magnet
To finish it off we installed this magnet so the door closes and that’s it.
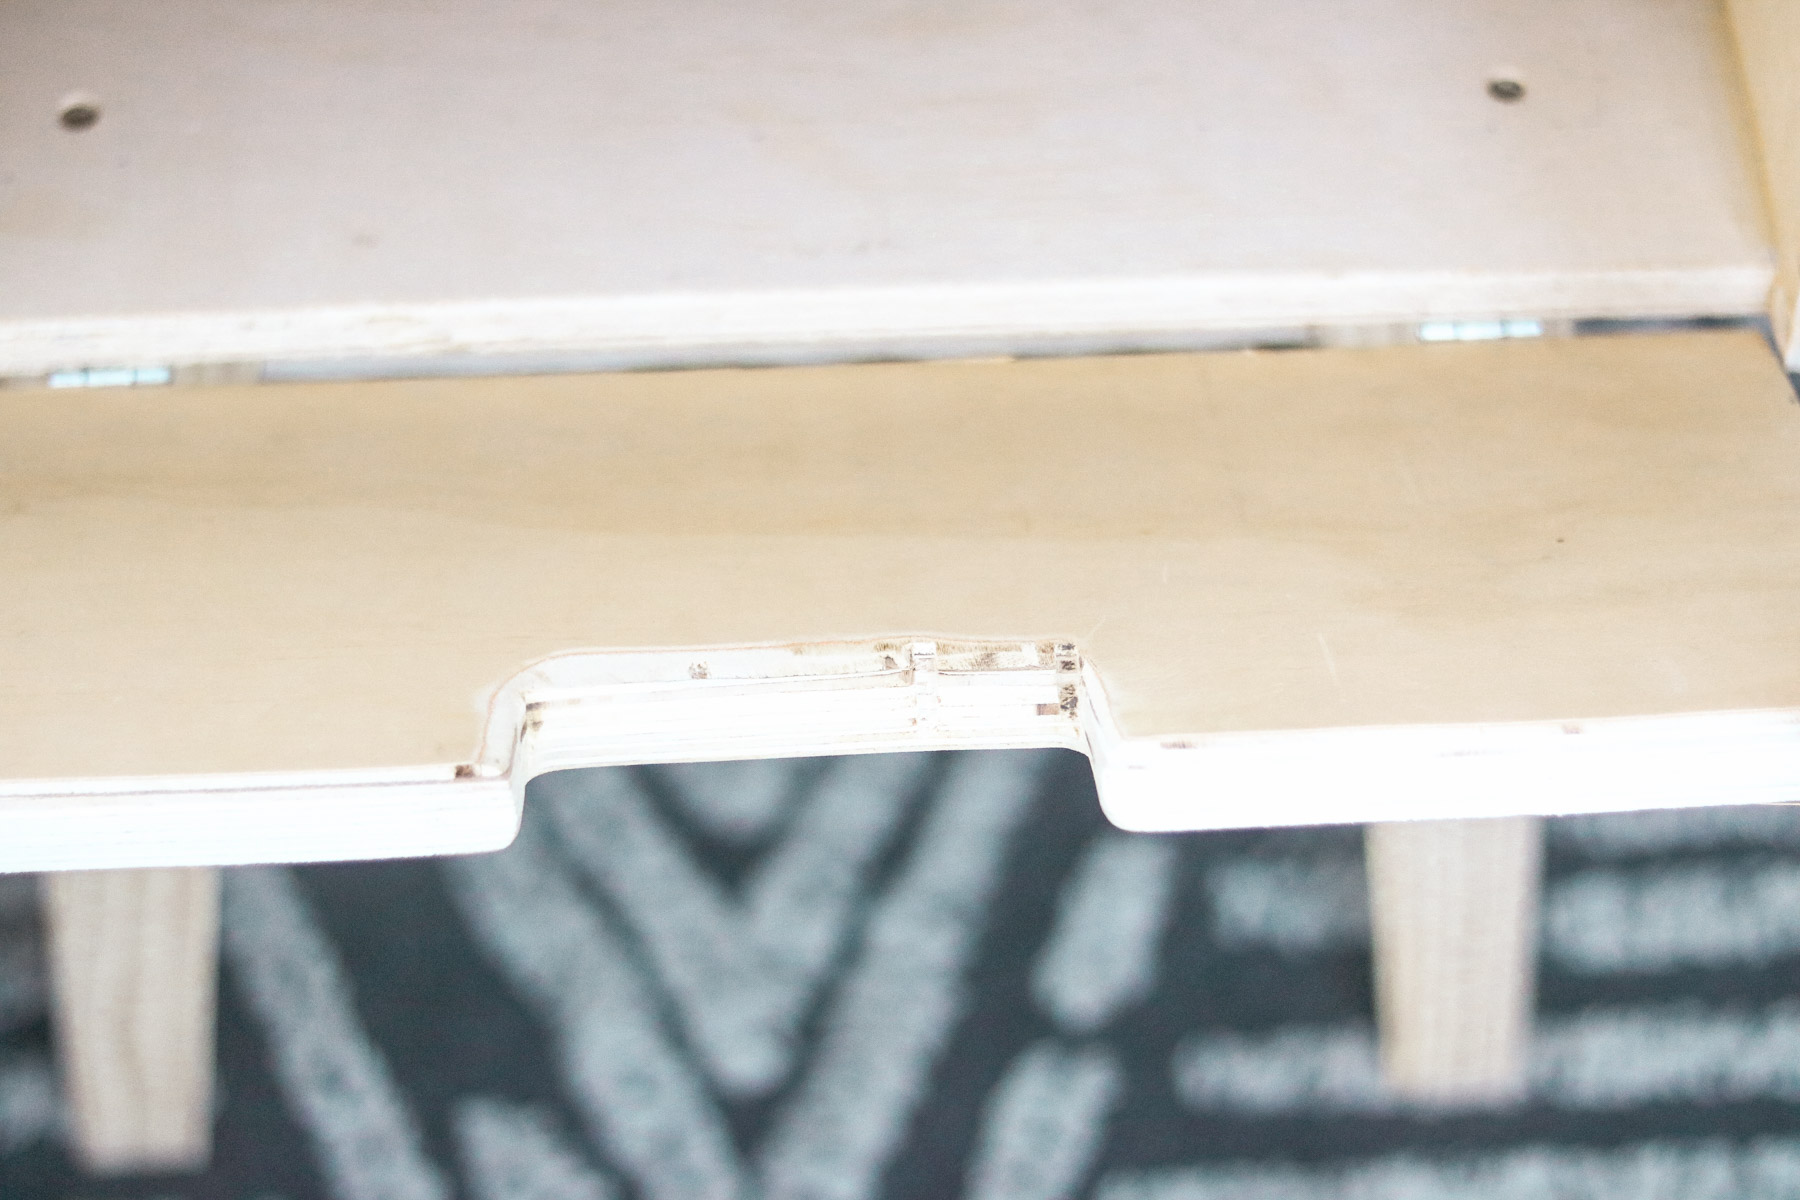
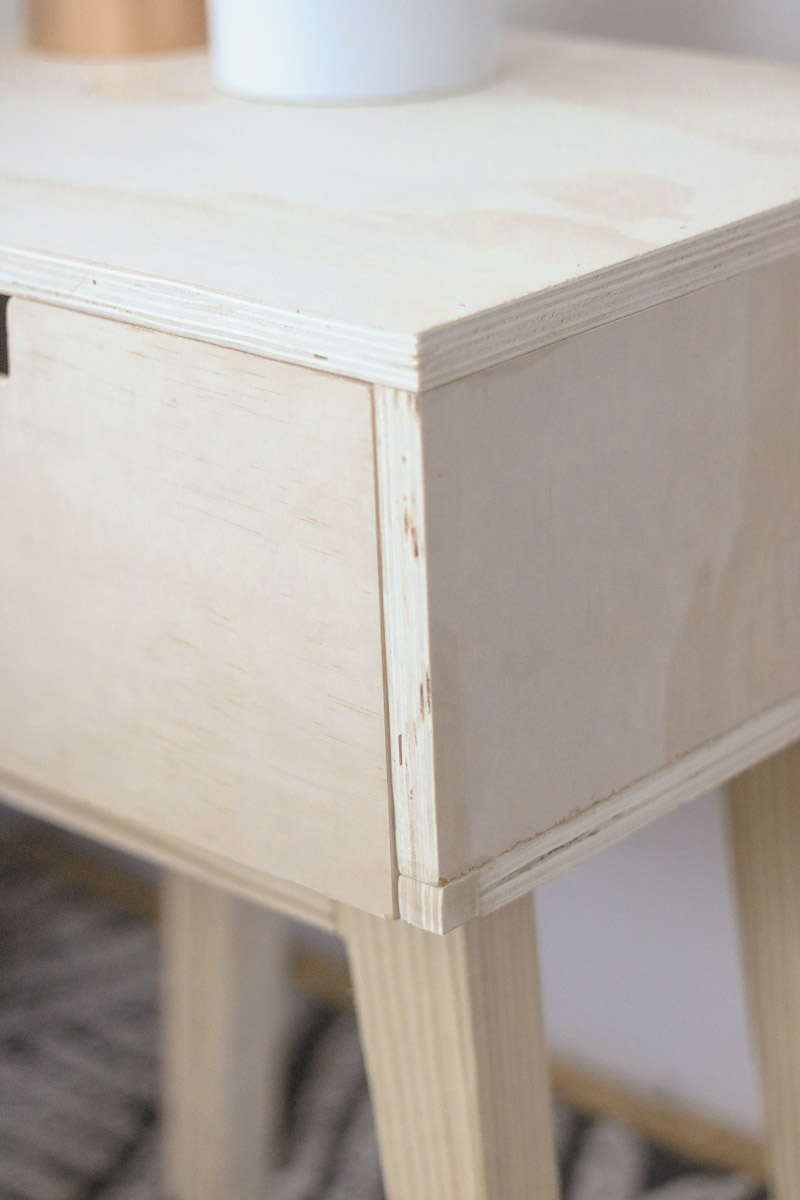
There was a few bumps we came across. We didn’t have a router saw to cut out our little hand on the front door so he used a table saw. It ended up being pretty messy on the back but it worked and looked great on the front side. Here’s what it looked like on the back side. Honestly can’t complain. I couldn’t have done this without my hubby so I’m super with it even if it’s a little rough around the edges. LOL
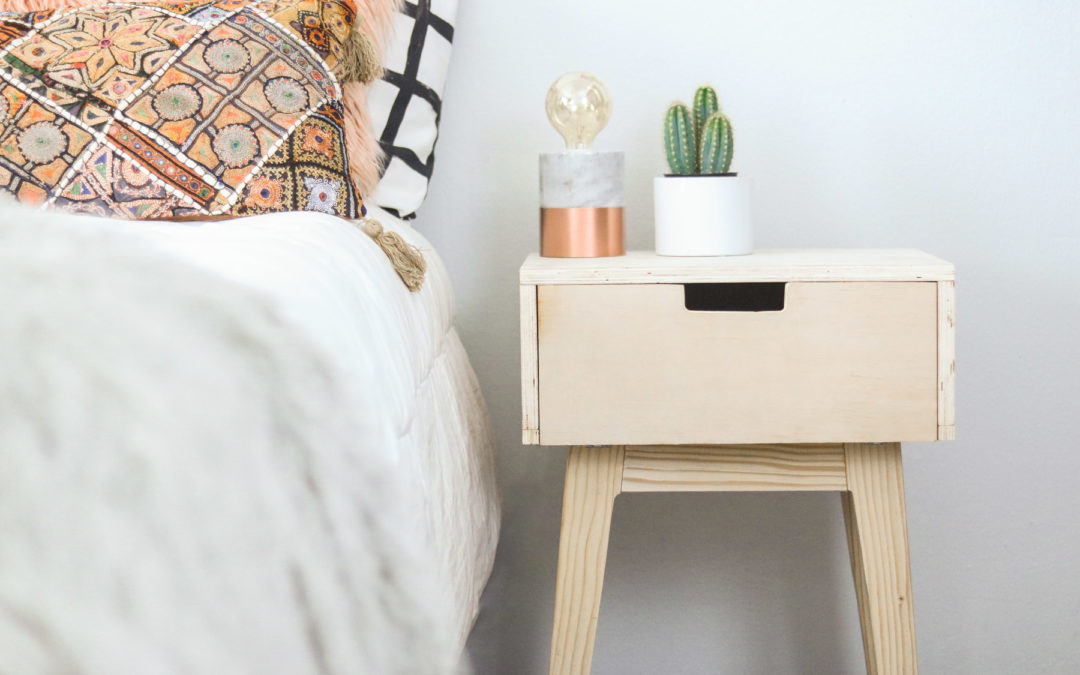
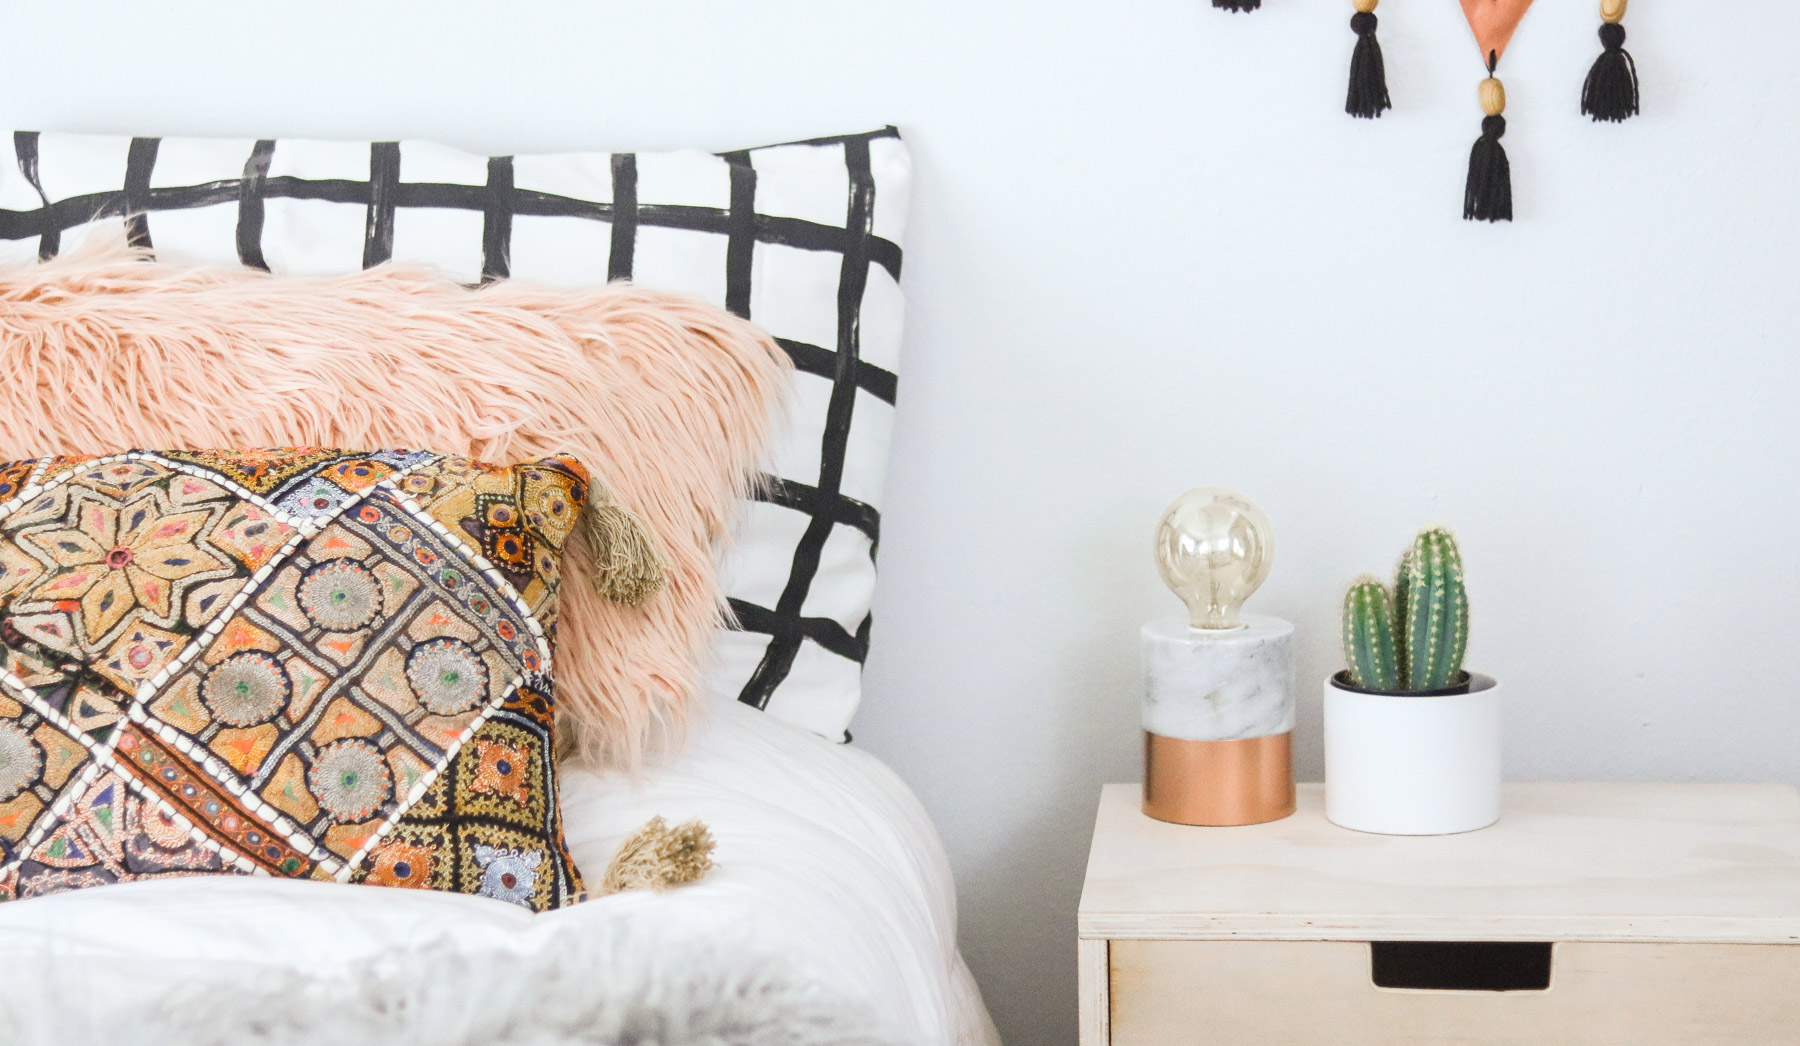
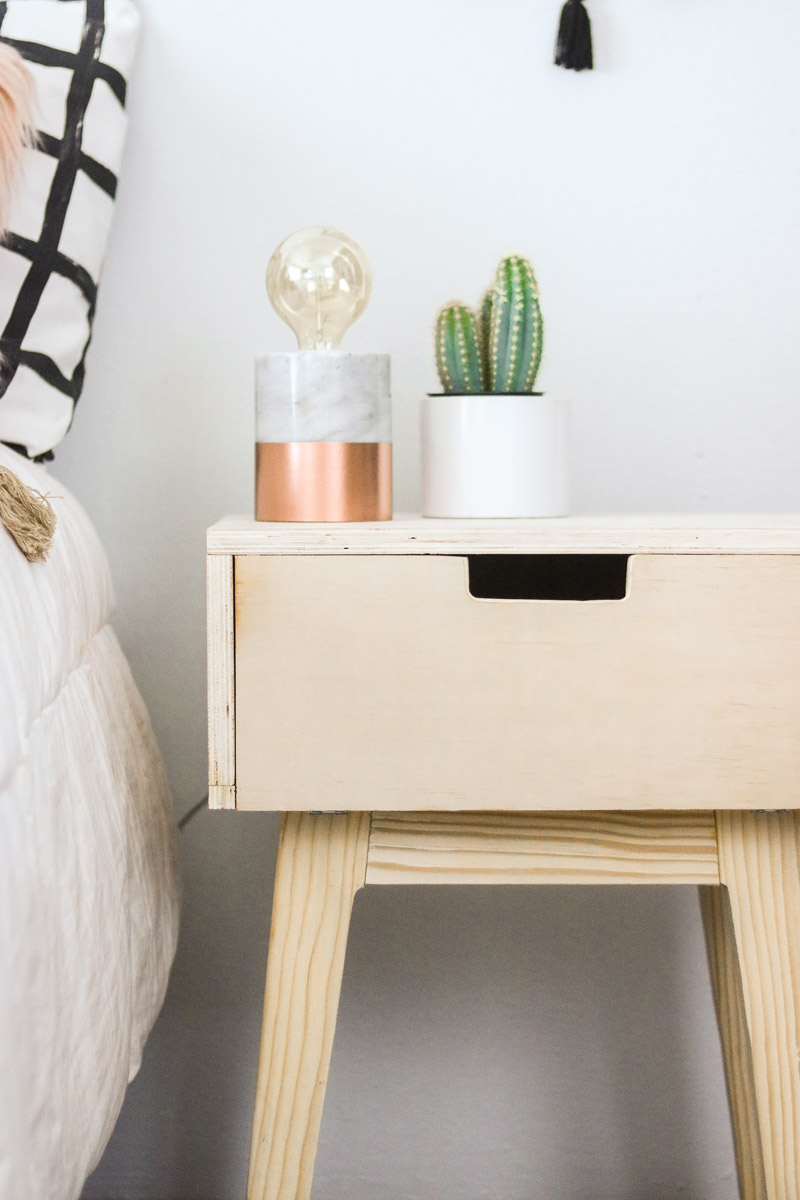
And here’s how it looks like in my bedroom. I love the natural look of the wood.
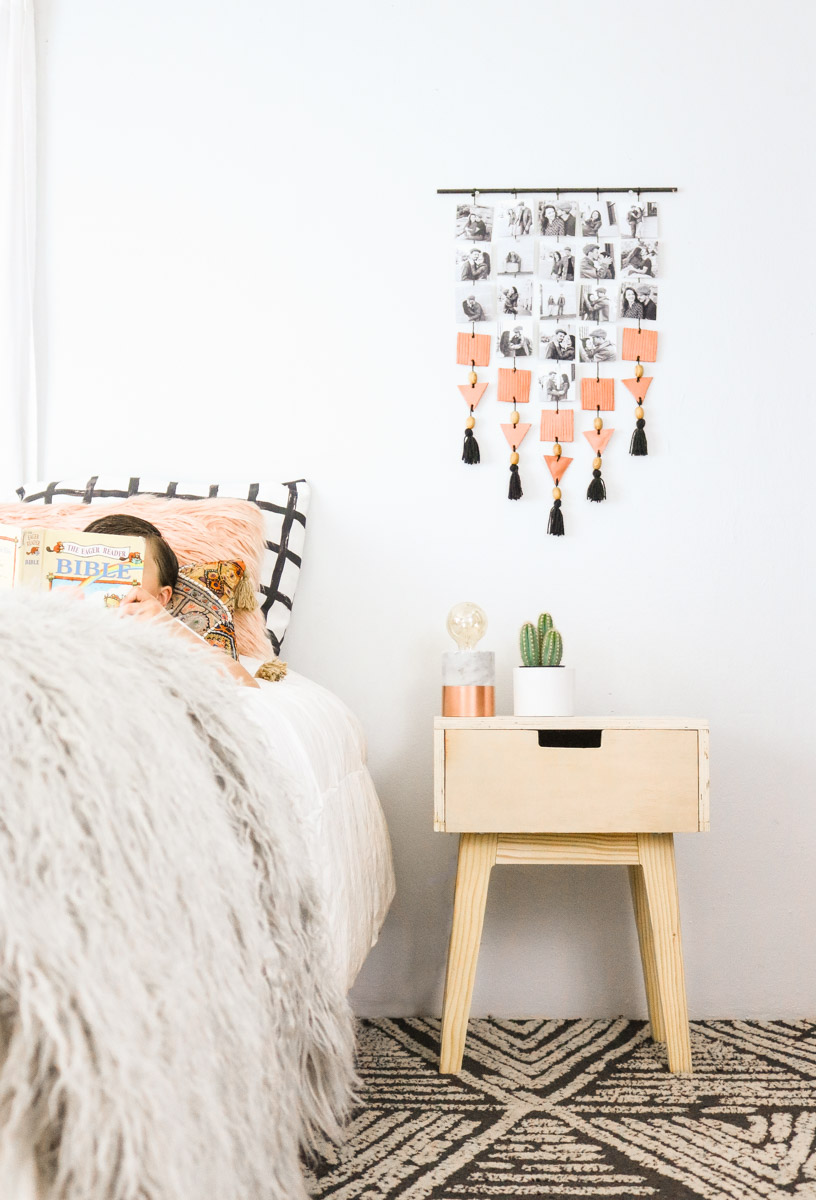
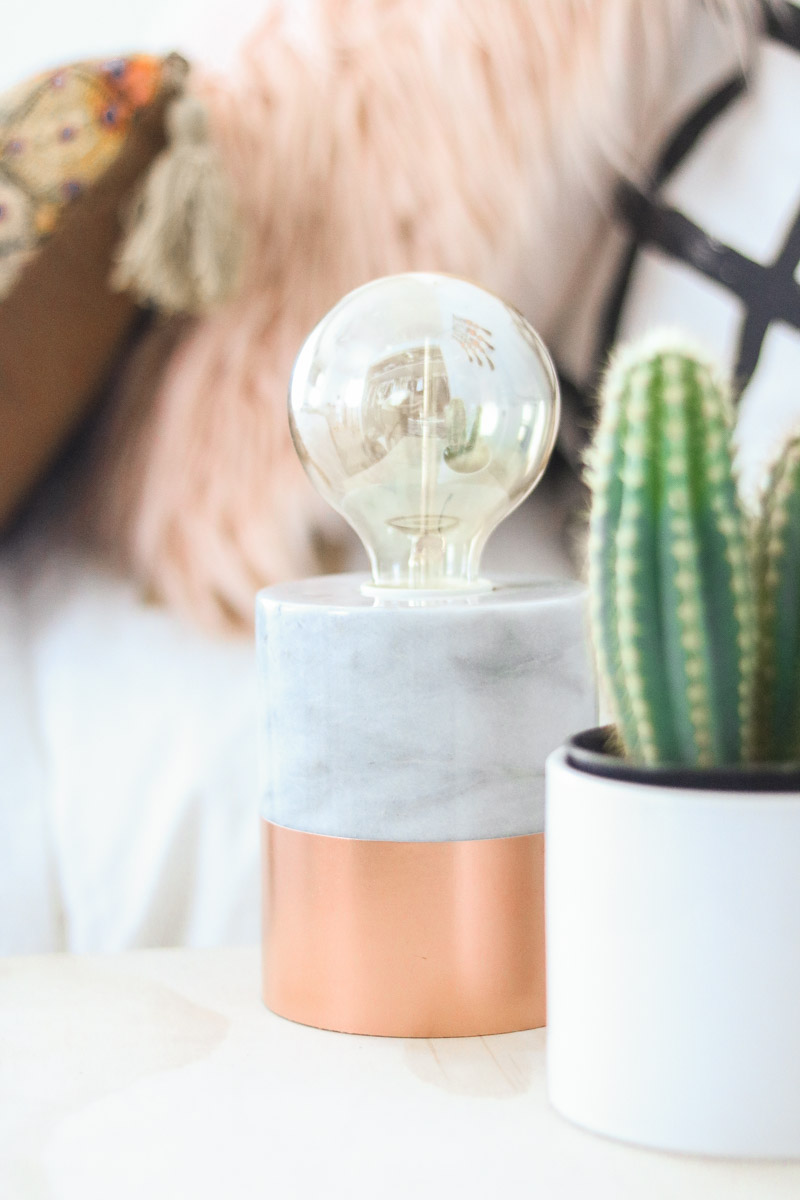
This little table lamp is sssso cute. I got it at world market. Unfortunately they were all out of stock and she said they weren’t getting any back in. She sold me the one on display. YAY! World market always has the cutest decor.
I got this pillow there too . Isn’t it ssso cute! I love the bohemian feel it gives.

I know we had a poll on Instagram for which color to stain the nightstand. I didn’t stain it the color that was picked because I forgot that my rug would be dark. Sorry 😩 I know everyone was so excited about the stain color. I just couldn’t see the dark stain come together with my dark rug. I’m thinking if I ever get a lighter color rug I’ll make sure and stain it and I’ll add updated photos. Ok 😁👍?

The combo of these pillow though. I love a good set of throw pillows 😀 😀 .
If you’ve watched the video to the end you probably know where we screwed up with this DIY lol👀. We had to add little squares to the edges since I wanted the front door to fold open instead of slide open. Totally didn’t think that through. It doesn’t look bad without the squares but, if you have a perfection streak like my hubby you’ll probably get creative and end up adding squares or make a drawer that slides of instead. If you do make a slide out drawer keep in mind the plans (above) won’t work you’ll need to do your top and bottom pieces same size instead of the different sizes that are indicated on the plans.
Okay than that’s it for this DIY. I hope you enjoyed it.
Have a great weekend everyone.
this is so cool. i love the simple clean lines. and the drop down door is genius. also i really like the black and white pillow is that a pillow case? or decoratiive? keep up the good work!!!
Awe thank you Angela. So glad to hear you loved it. The black and white pillows are shams I made from ikea. They sell this fabric there. I’m hoping to get a simple tutorial on that 🙂 THANK YOU 😀 😀
I love how simple and adorable these are! They’re the perfect night stands that don’t take up tons of physical or visual space. Great work!
xo, Sincerely Colleen
Awe thank you Colleen. I’m so happy to hear you liked them 😀 😀 Yes I love that I kept them simple no regrets. 😀
I made them! Without a nail gun and just a normal circle saw, and i didn’t cut the legs in an angle because i didn’t know how to but they look good anyway, and very functional
OH my gosh!! That’s awesome. Oh yeh the angles are a bit hard to get. I only know how to do them because my miter saw has the angles displayed and it slides right into place if you want to cut it at an angle. What color did you make them ? I would love to see 😀 😀 😀 😀
Hi there, great post! I did have a question though I think you could answer. Is there a really good brand of belt sander for sanding a deck? I’m working on the deck at my parents house this summer and it needs to be sanded and restained. Looking forward to your reply! :]
Hi Ollie, thank you! I’ve actually never tried using a belt sander. Wish I could be of more help. Maybe try reviews online. I usually always go by amazon reviews. Good luck on your project.
What thickness of plywood did you use? 1/2 inch?
Looking to make these but couldn’t find the link to the materials and plans. thanks!
I think it was a little thicker than the 1/2″ plywood. The plans are on the article let me know if you want them emailed?
What size of plywood did you get, aslo the thickness. I’m really looking forward to making this, but just ran into this problem.
I’m pretty sure we got the 4’x8′ plywood and had some left over. The thickness is right under 3×4 of an inch from what I remember. Hope this is helpful 😀
What is the measurements for the 2 sides and the back of the nightstand?
am I wrong, but are the measurements missing from the side and back pieces?