DIY Pillows out of Homemade Mudcloth
Okay there’s this pretty fabric called mudcloth that I’ve been completely obsessing over. Unfortunately anything this cute comes with a hefty price tag. I’ve been on the hunt for some budget friendly black and white pillows for some time now. However most pillows either have to much pattern or just not enough.
If you search mudcloth on Pinterest it’s full of pretty patterns , zigzags, dots, lines squares and a little bit of everything yet somehow it still looks so simple and sophisticated. I think the fact that basic shapes are used this decor style is toned down rather than comes off as being over decorated. At least to me it seems that way. You wanna know why I love mudcloth so much?? 😬… I tend to overdecorate 90% of the time. I like to keep things simple but, those decor stores sometimes get the better of me. Mudcloth however has that simple touch that keeps me in check. Thus said.. Solves all my decor problems. LOL🙃 Just kidding not all but, most.
Honestly this DIY turned out to be a lot easier than I thought it would be. I guess you can say I was overthinking things and I’m glad I found a quick and easy way to do it.
Choosing your Fabric
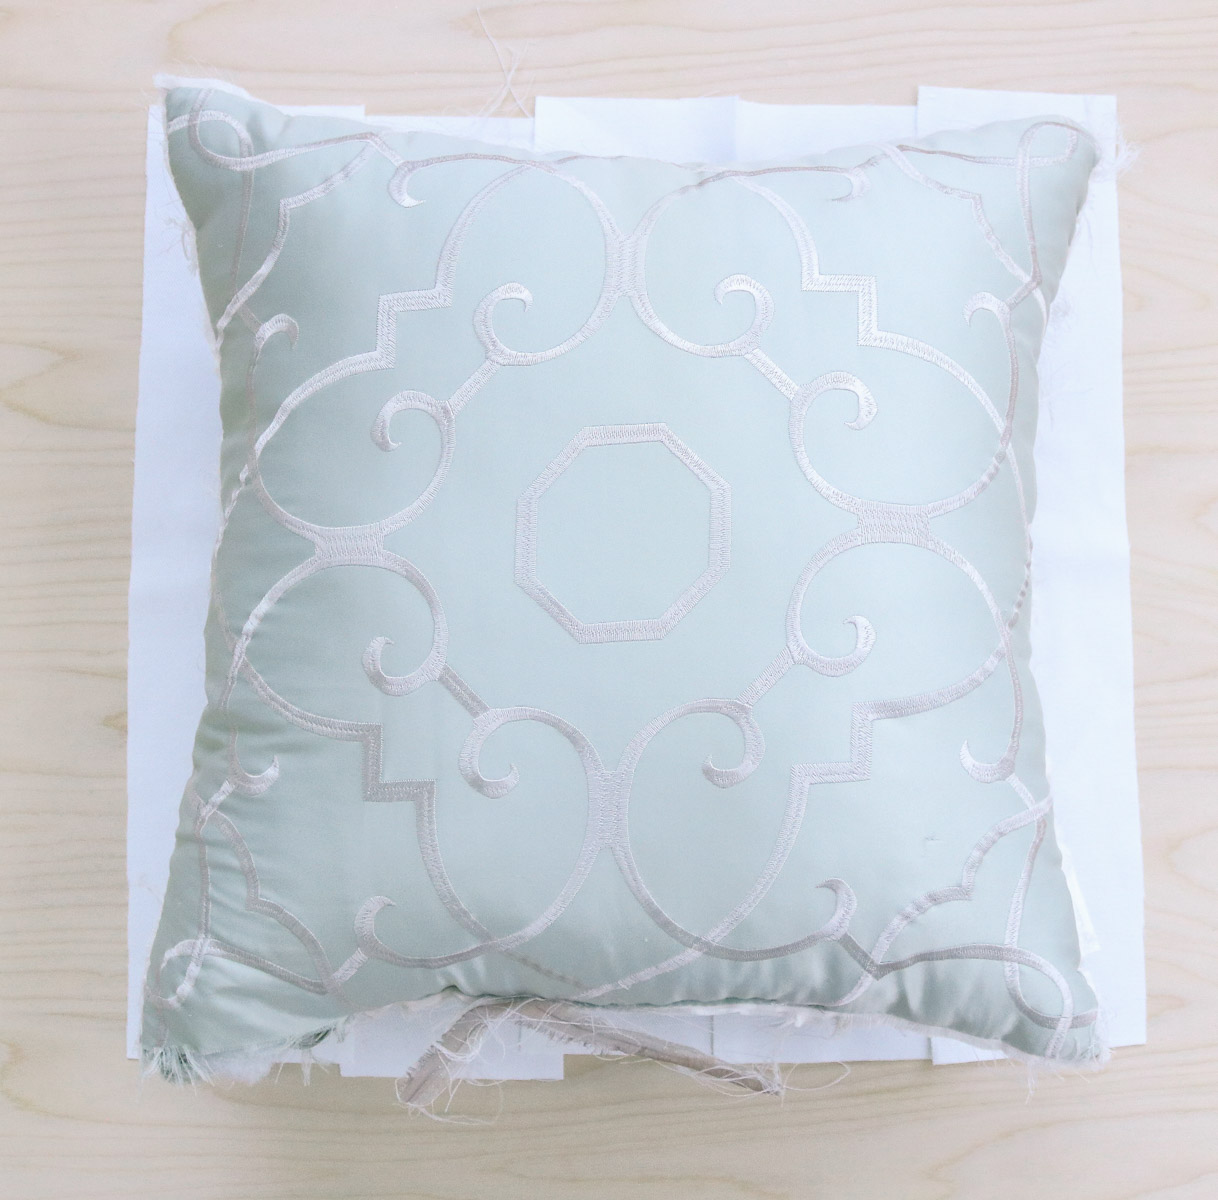
Let’s talk a little bit about the fabric before we jump into this tutorial. I know the real mudcloth has somewhat of an off white look and quite a bit of texture to it. Since I wanted my pillow to be pretty white I chose not to go with mudcloth. I’m not sure if they sell mudcloth in Joanns fabric but I know for sure home depot sells mudcloth drop cloths that I believe are between $5-10 If you choose to go that route. The fabric I went with was a white denim that I purchased at Joanns fabric which only cost me about $6 for two pillows. Since I was planning on using a fabric marker I didn’t want my fabric to have to much texture. For some reason I thought if you have smoother fabric the lines would be more crisp and the marker wouldn’t bleed on the fabric as much. (photo below of my fabric choice close up)

Choosing your Marker
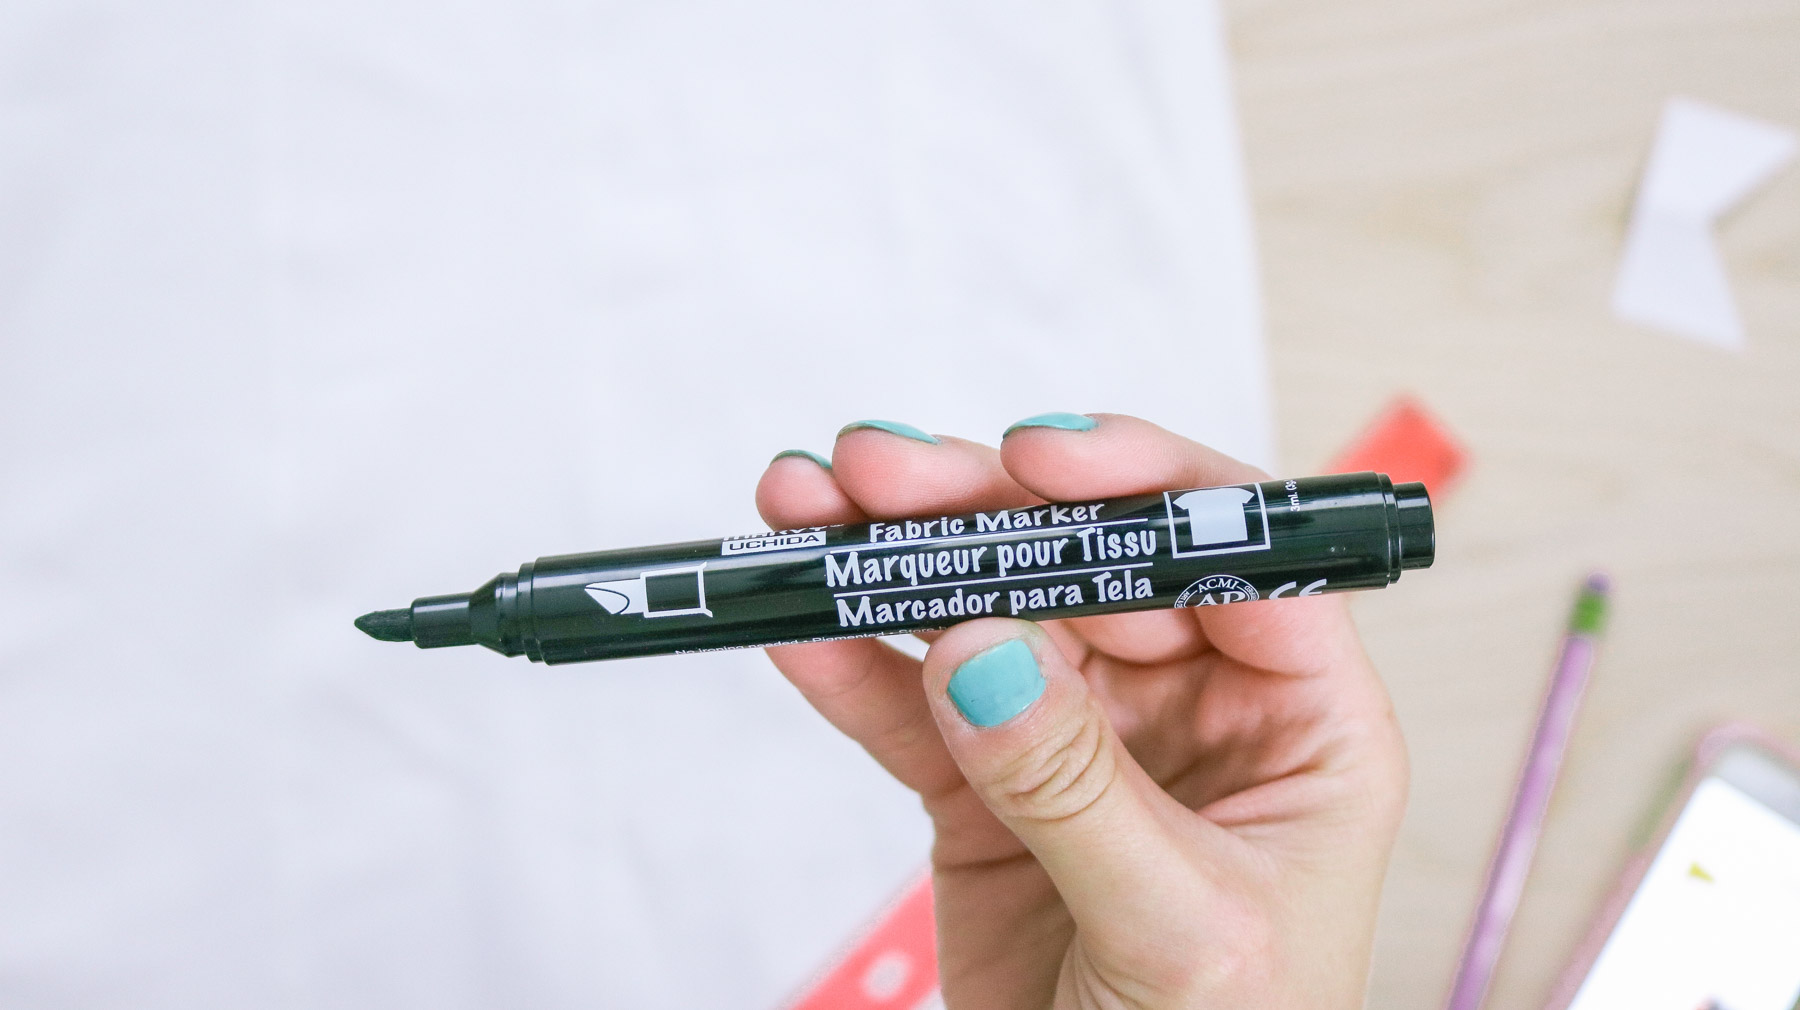
Okay for the marker I was debating on whether I should use a sharpie or a fabric marker. Boy am I glad I invested into a fabric marker. LOL😂 I make it sound like it’s so expensive. It’s not!! I think I payed under $3 for this one. (got it a joanns) Worth every penny. I tried using a sharpie on fabric before and it was a big mess. It ran out of ink in no time and kept looking dark purple instead black. So, if you choose to go with a sharpie you might run into that. The brand name of the marker I used was called Marvy Uchida and as long as it says fabric marker on it you’re good to go. Oh and this one had a super nice tip that could cover bigger areas as well as draw fine details. By the way it doesn’t stink like a permanent marker. Well then…, their you have it! A full review on fabric markers. Hope this helps if you’re having a hard time deciding 😊.
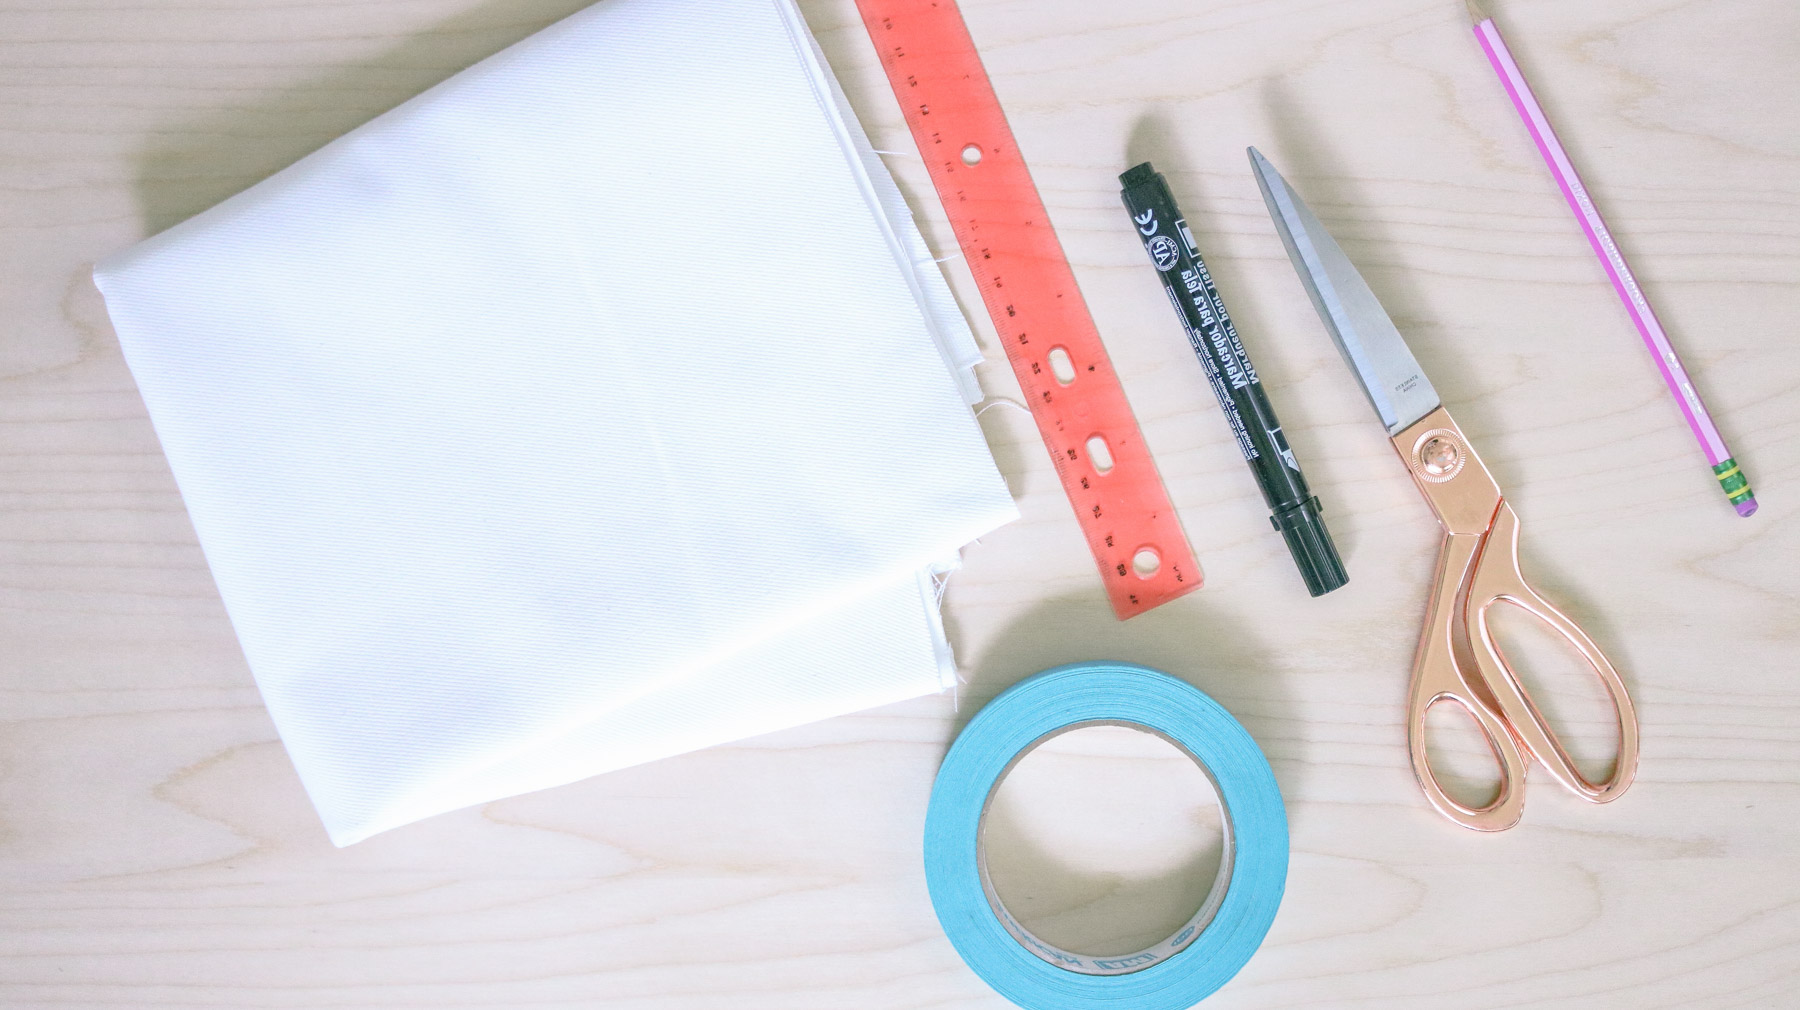
What you’ll need
- ruler
- fabric
- pencil
- scissors
- fabric marker
- Sewing machine
- Paper
Step 1 – Making your Mudcloth
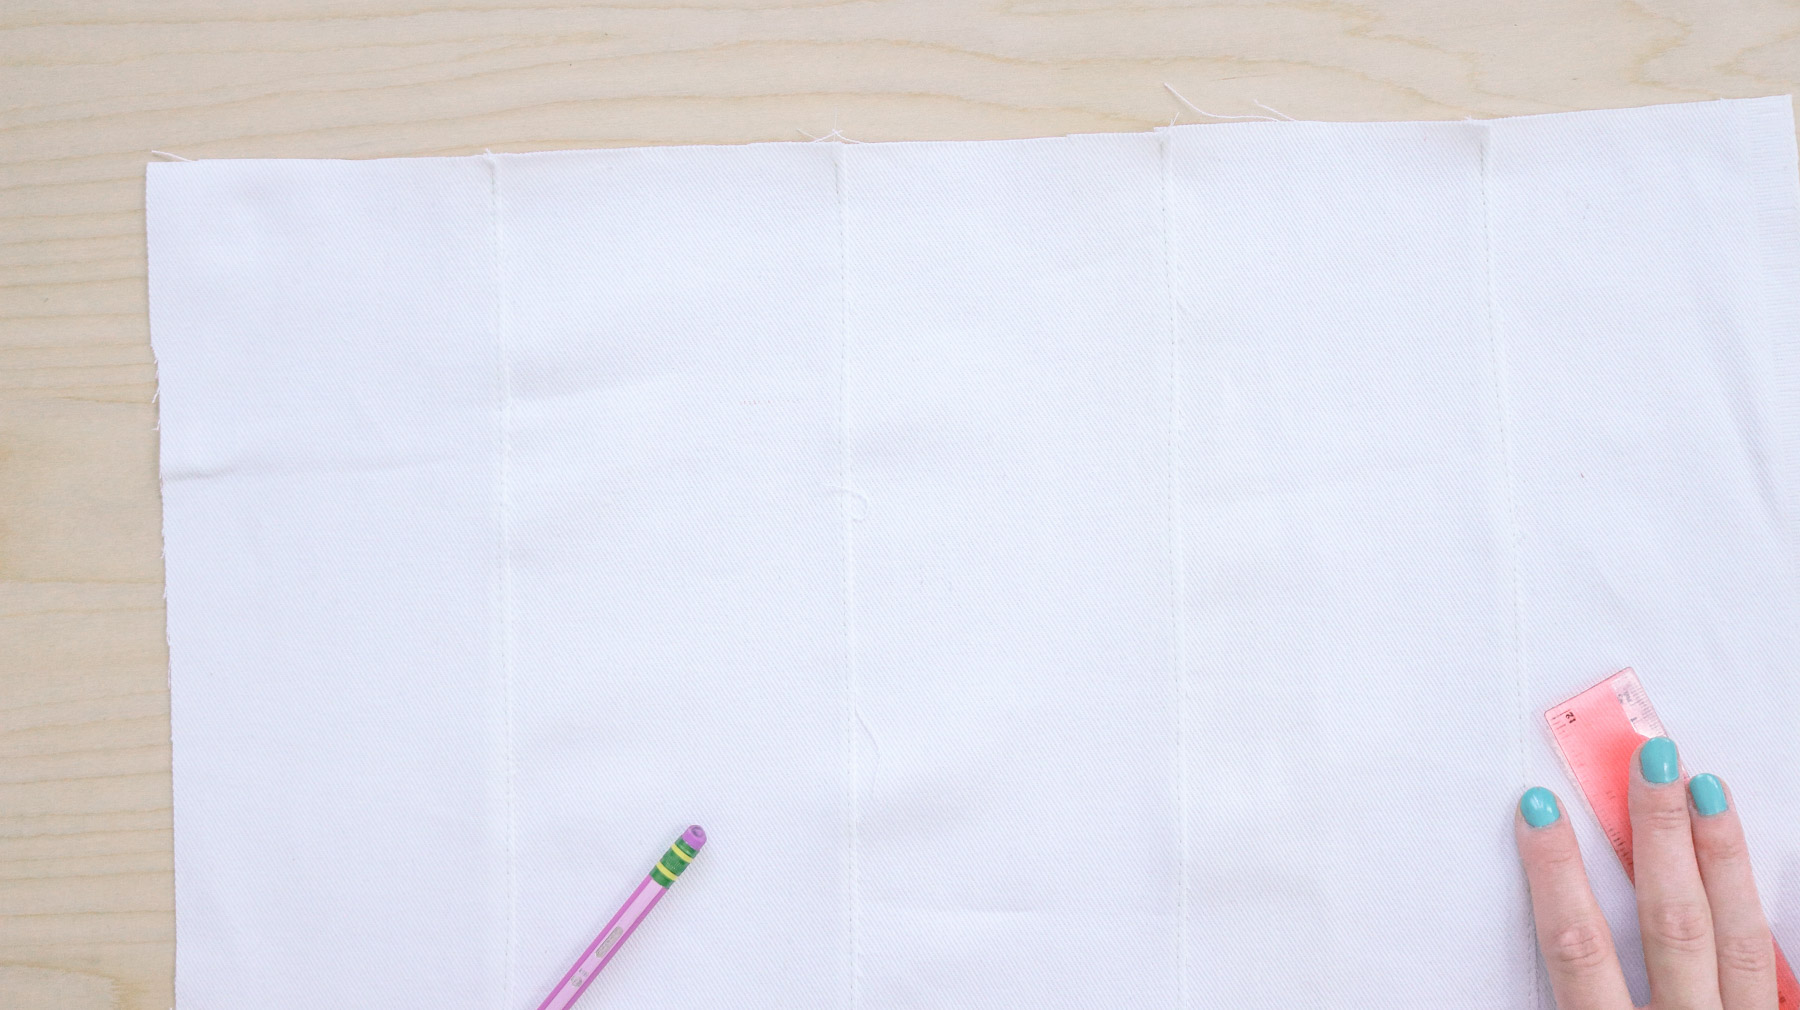
To begin you will need to deconstruct your fabric to get it to look as close to the real mudcloth as possible. I did this by cutting my fabric into 4 inch strips.
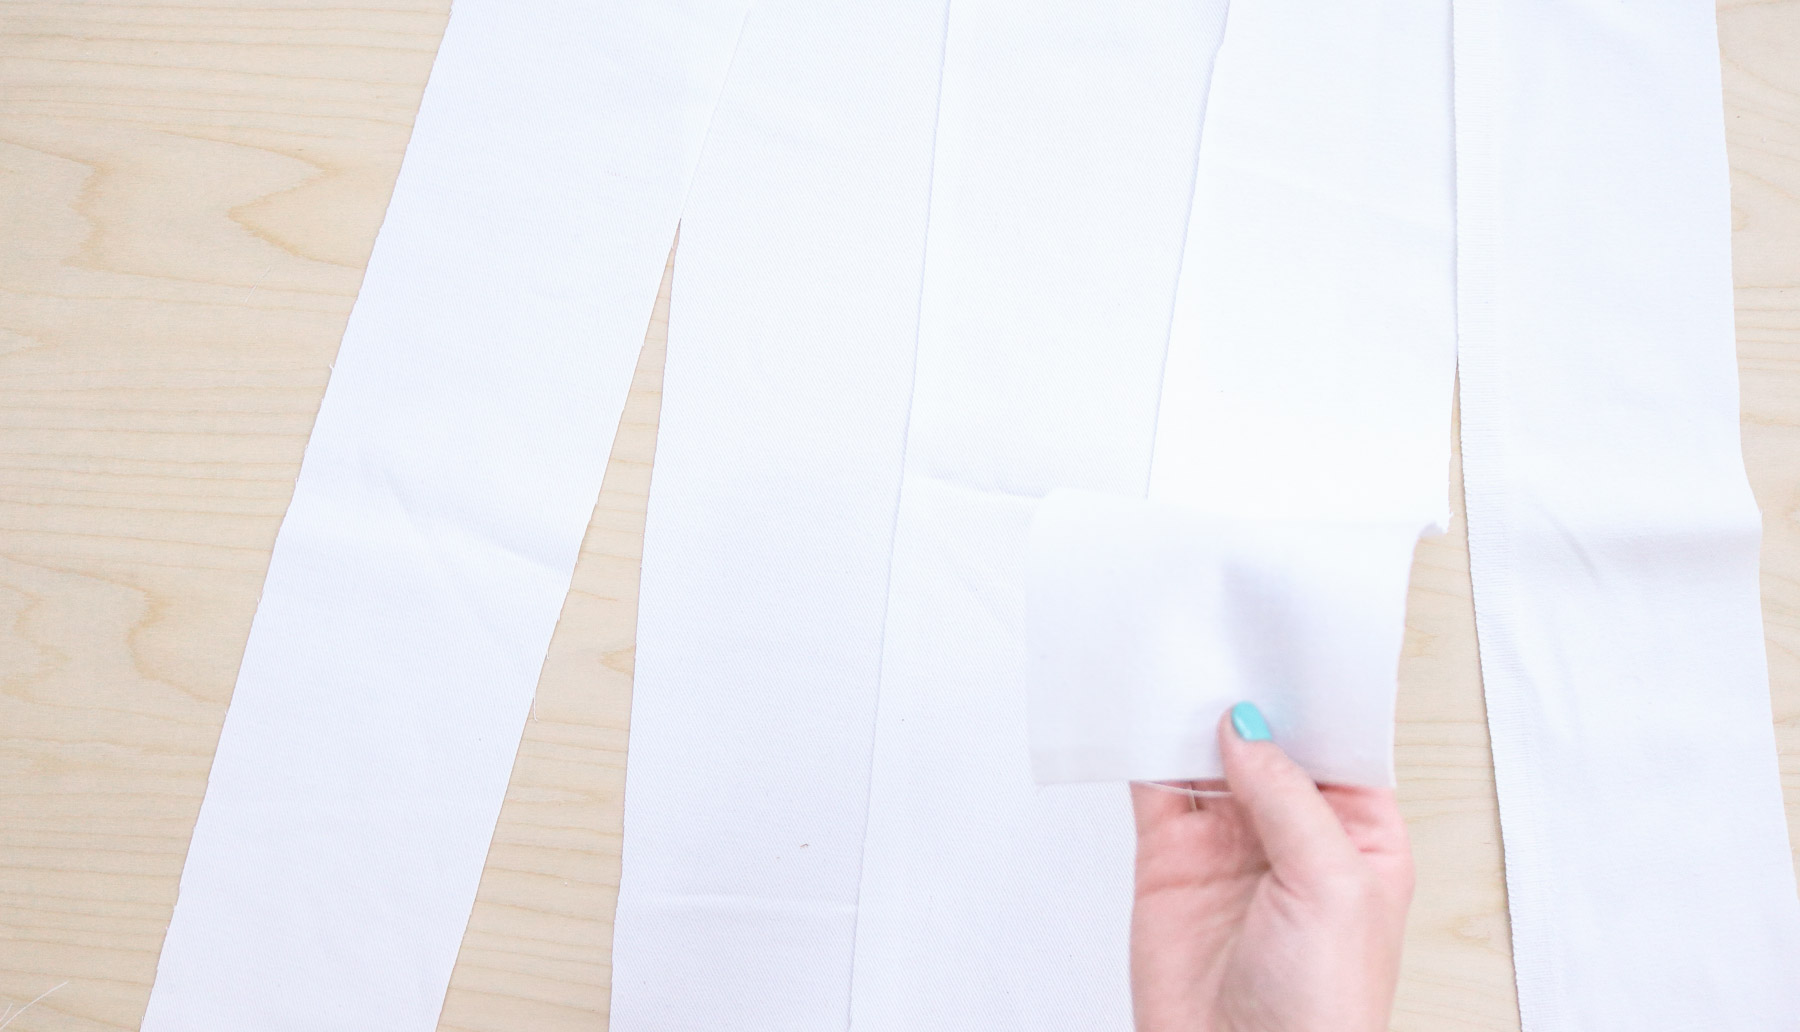
Lay your strips out and make sure your fabric is the right size for your pillow.
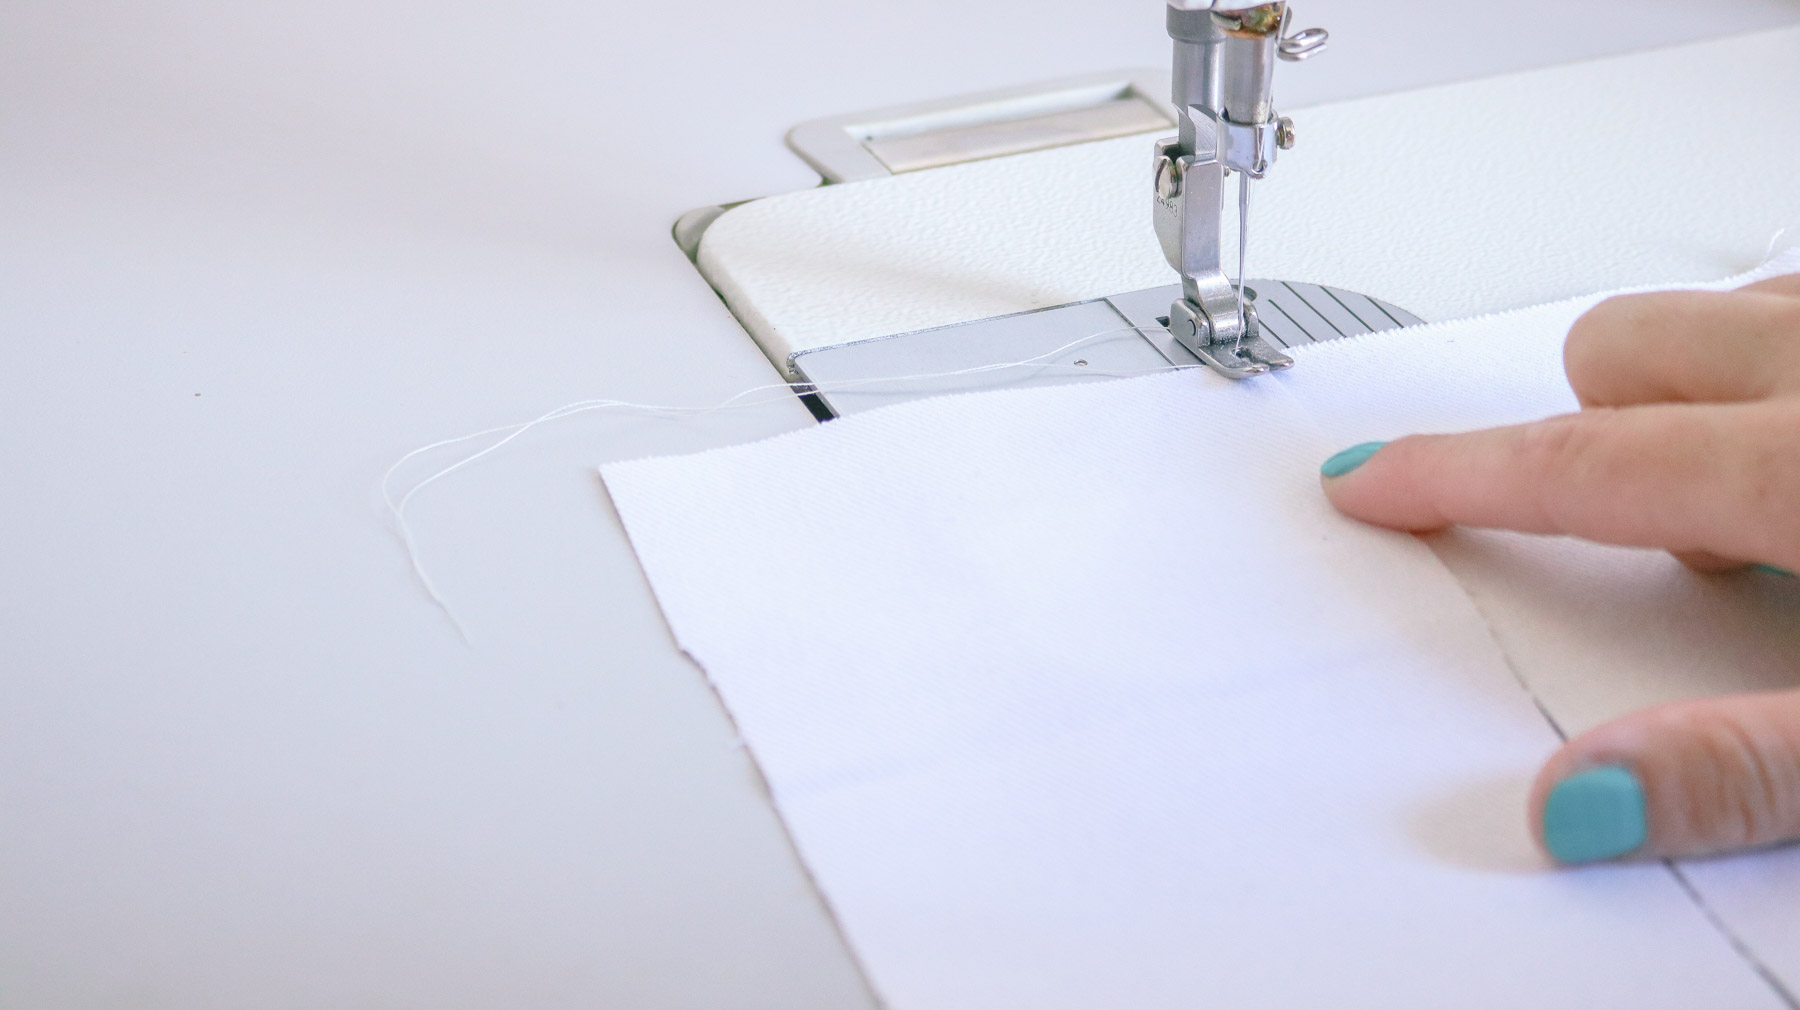
Than to complete your mudcloth sew it together. Slightly lay one strip over the other and give it a straight stitch. Leave your edges raw it’ll help give your mudcloth that rustic feel it needs.
Here’s what it should look like (photo below). This process took me about ten minutes to make.
Step 2 – Adding your Pattern
Ok so originally my plan was to use tape to keep my pattern neat. I was thinking to mask off areas and trace with the fabric marker. However I realized that would be A LOT of work 🤔so to quicken the process I decided to use a piece of paper. I cut my pattern out of the paper than I lay it on my fabric and lightly traced it with my pencil. If you’re super paranoid you can totally try the tape method.
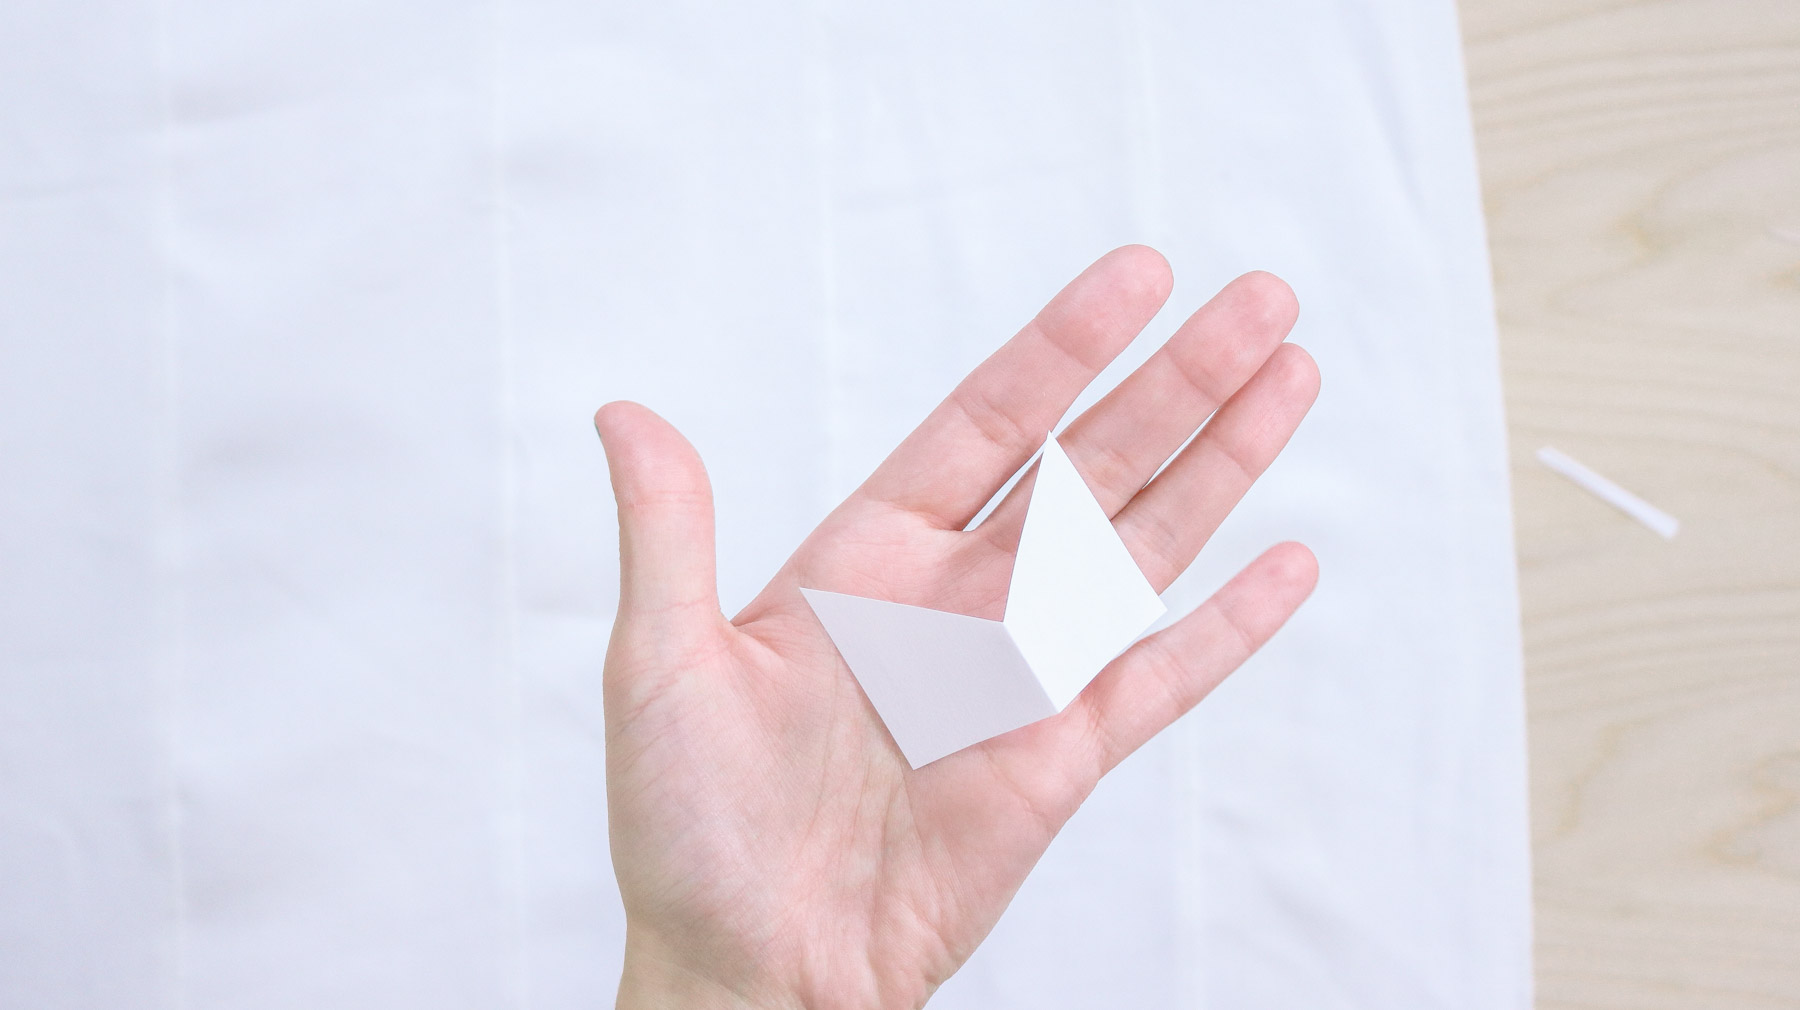
Here’s what my little triangles looked like once lightly traced with my pencil. 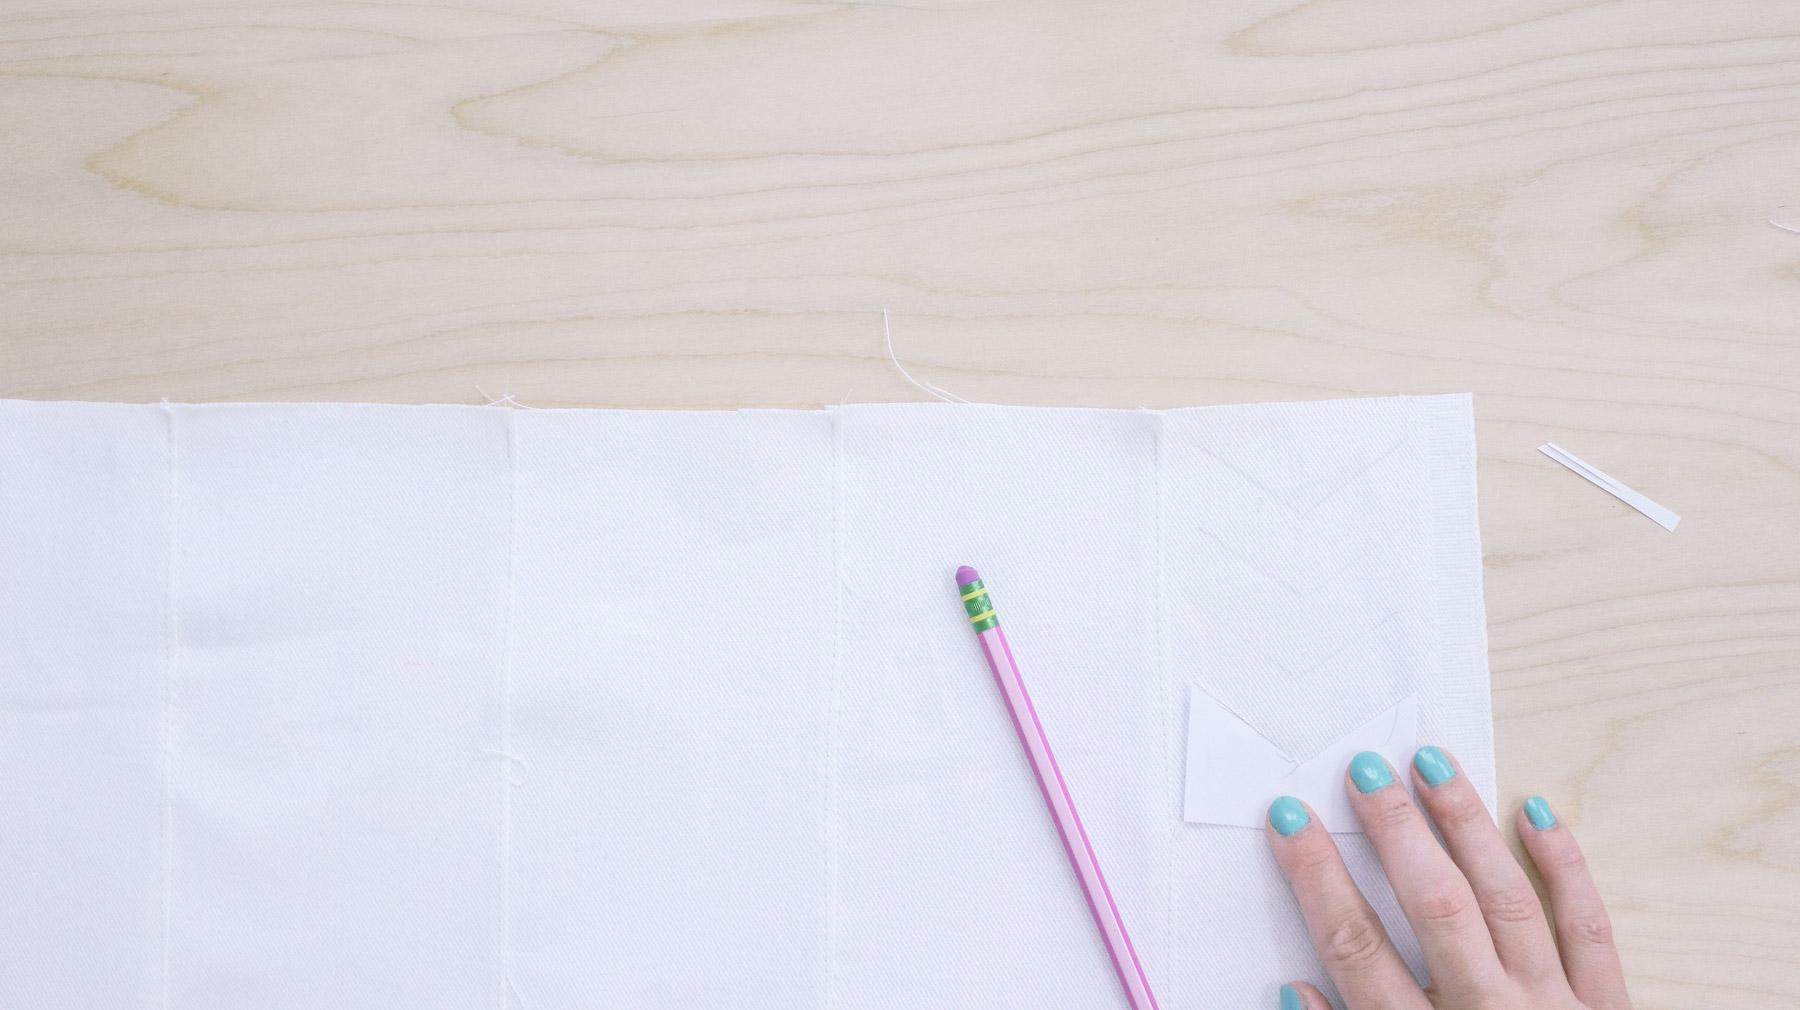
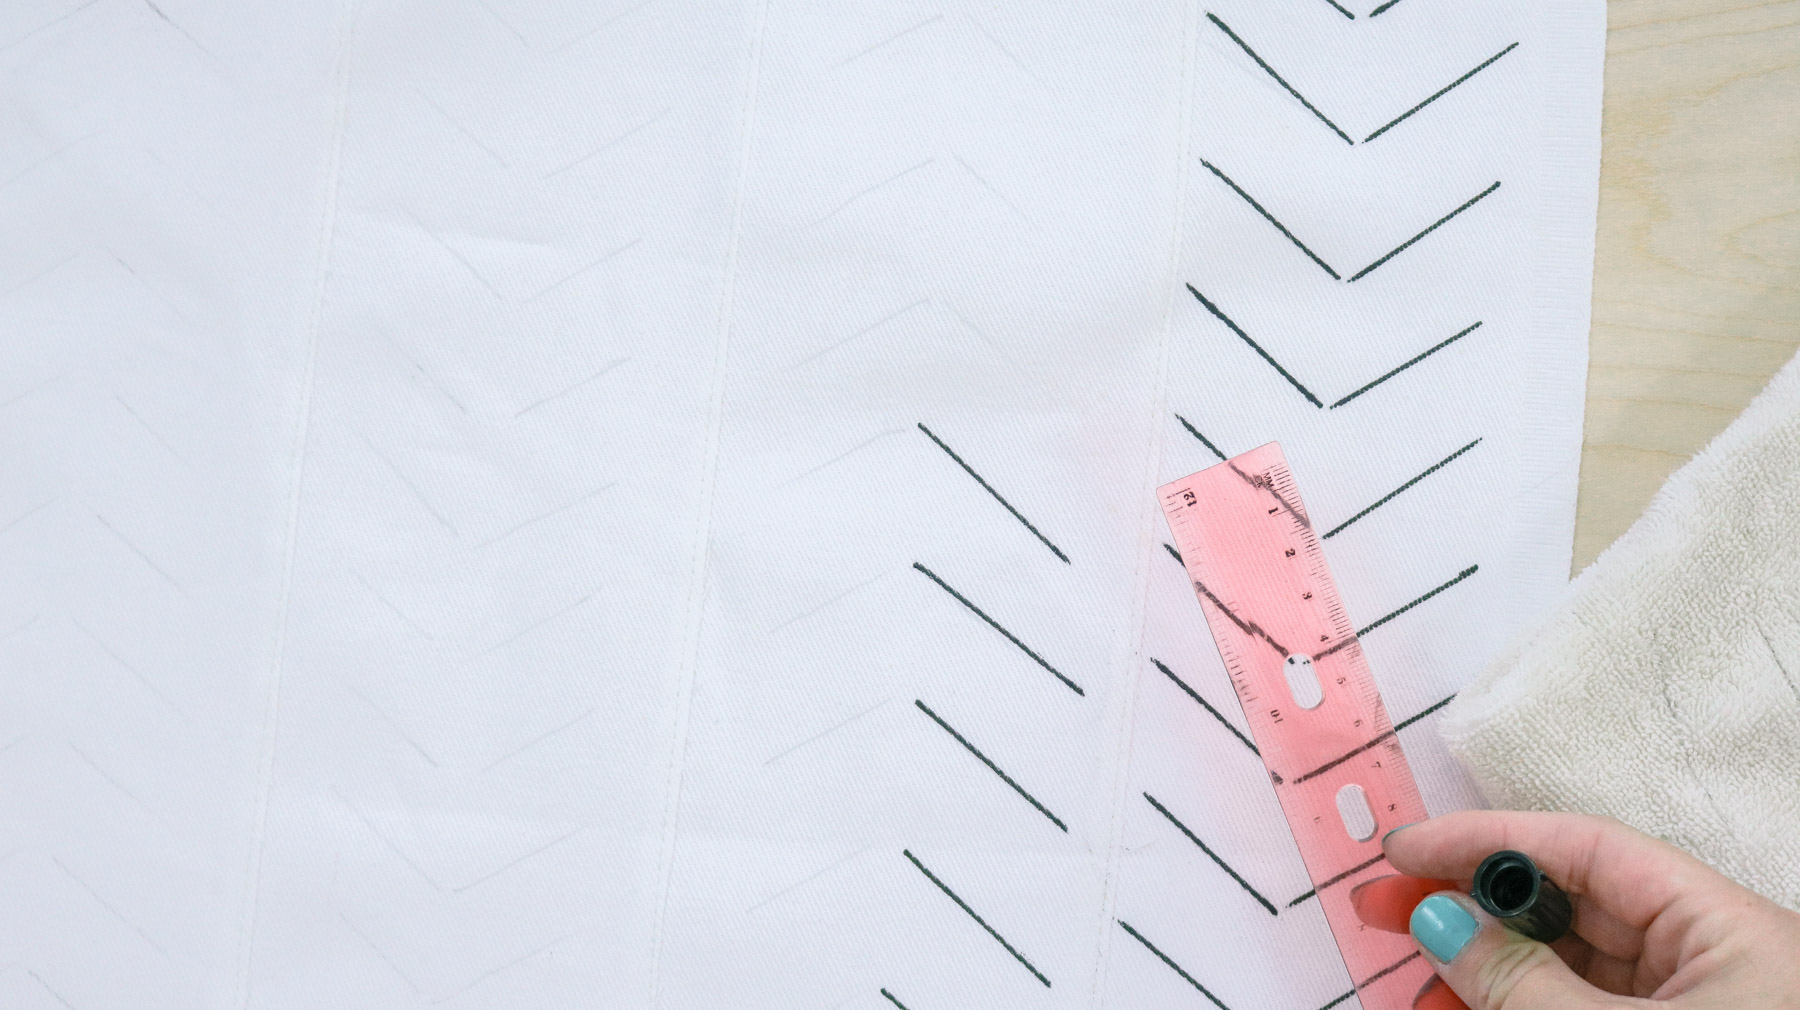
Okay to start adding your pattern you’ll need to use a ruler and to help guide your fabric marker. You don’t have to use a ruler but, I would highly recommend using it. It will minimize your chances of screwing up. I also used a towel to wipe the ruler off on. The marker transfers onto the ruler and could leave unwanted marks on the fabric.
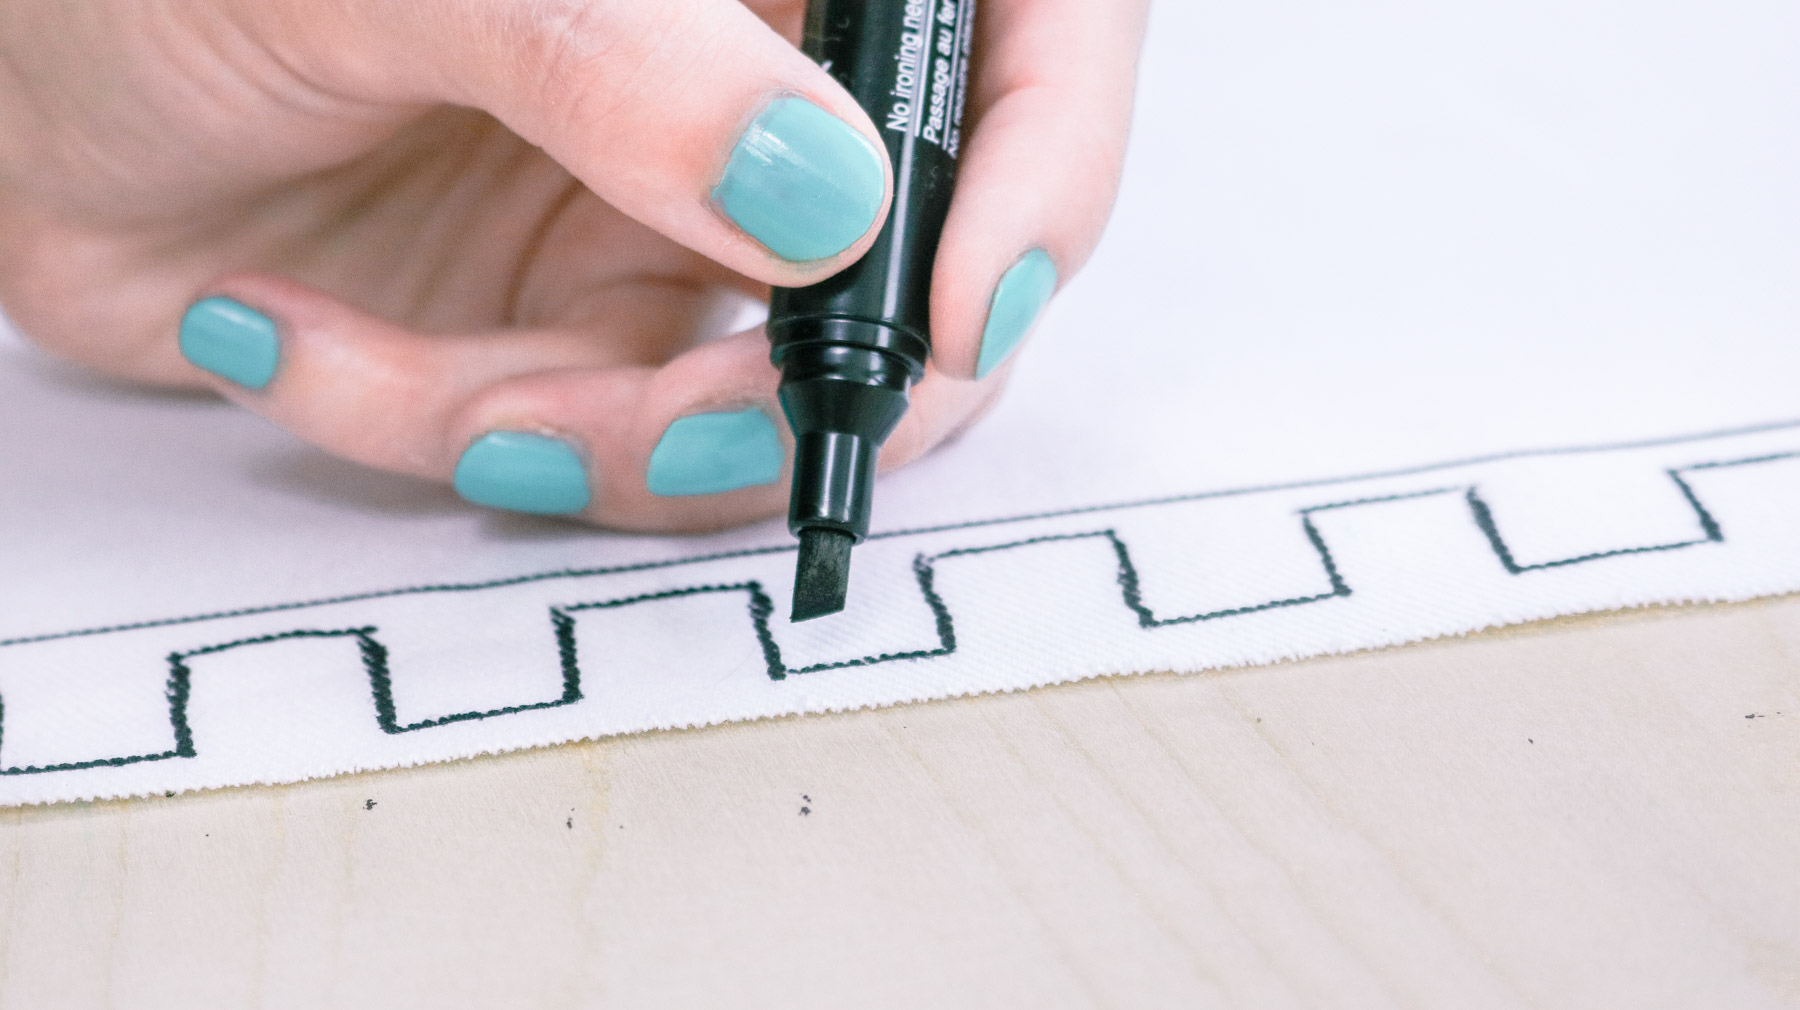
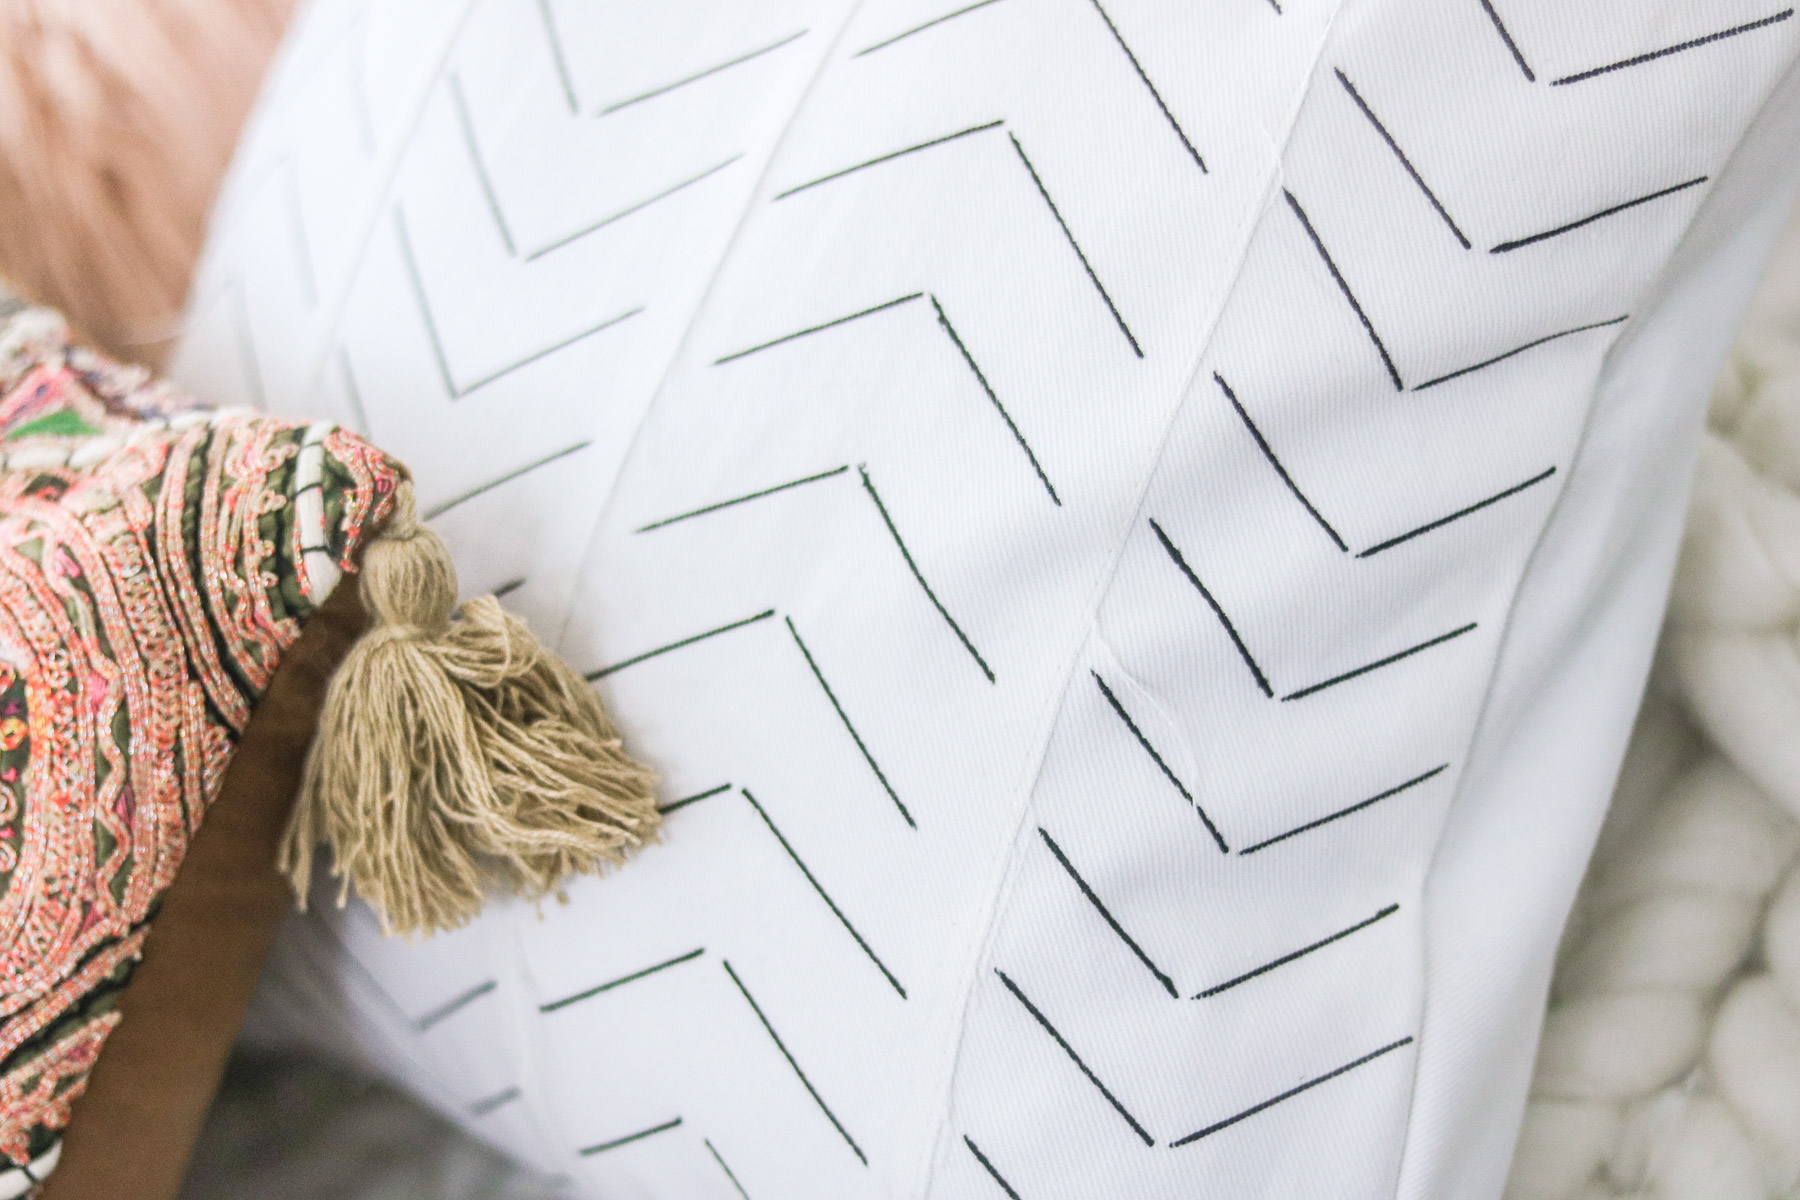
OKAY I am officially in love with this marker. It has such a fine tip. Look how sharp it is ( photo below).
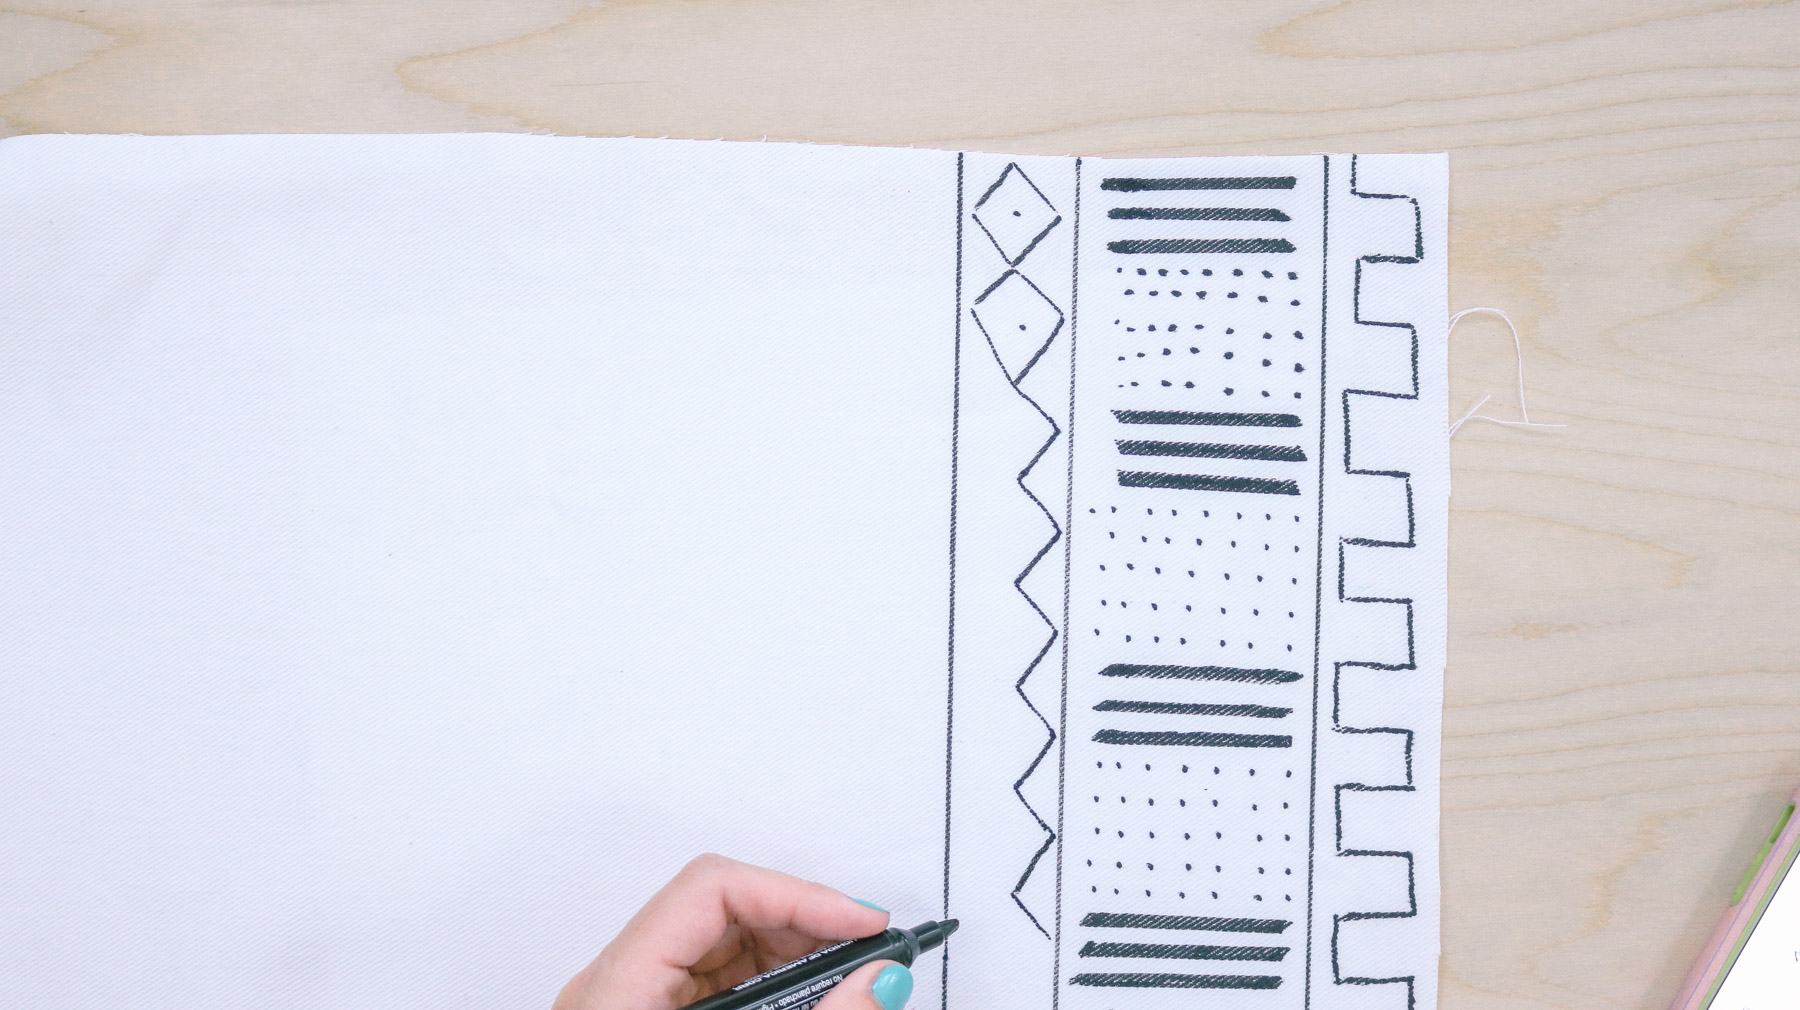
For my larger pillow I did simple triangle shapes and for my smaller pillow most of it was free hand. As long as you stick to a pattern you should be fine. I used pinterest for inspiration. It definitely helps if you have some inspiration to go off of. I liked so many patterns and couldn’t pick one so i did a little bit of everything on my smaller pillow.
Step 3 – Completing your pillow
Okay so this step could be as easy or hard as you’d like. You can pick to fully sew your pillow together, install a zipper, or making an overlapping back like most shams have. For my smaller pillow I stuffed it with filler and sewed it up all the way. If you plan on using a pillow insert you will need to do an overlapping back or install a zipper.
I have previous tutorials I did on pillows. If you don’t know how to do it check out these links for the tutorials. 👉 Installing a zipper in a pillow | Adding overlapping backing to a Pillow
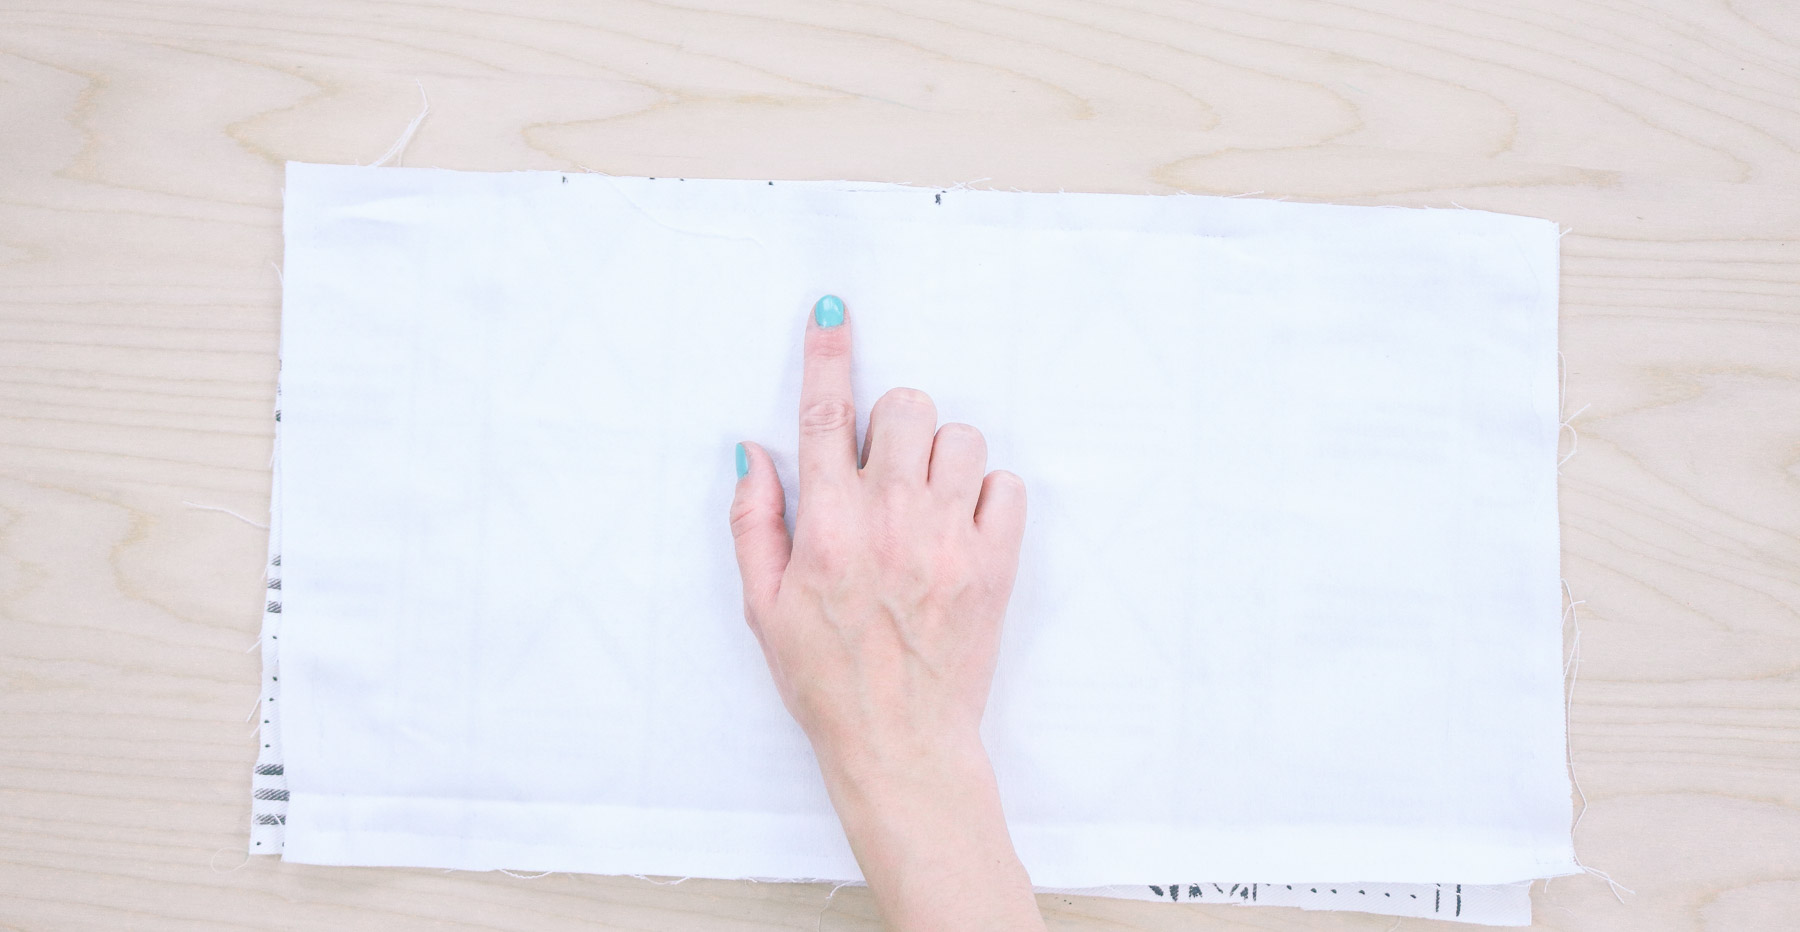
For this pillow I cut out another piece of fabric measuring the same size and I sewed both pieces of fabric facing each other. I also left about a 4 inch gap to stuff it.
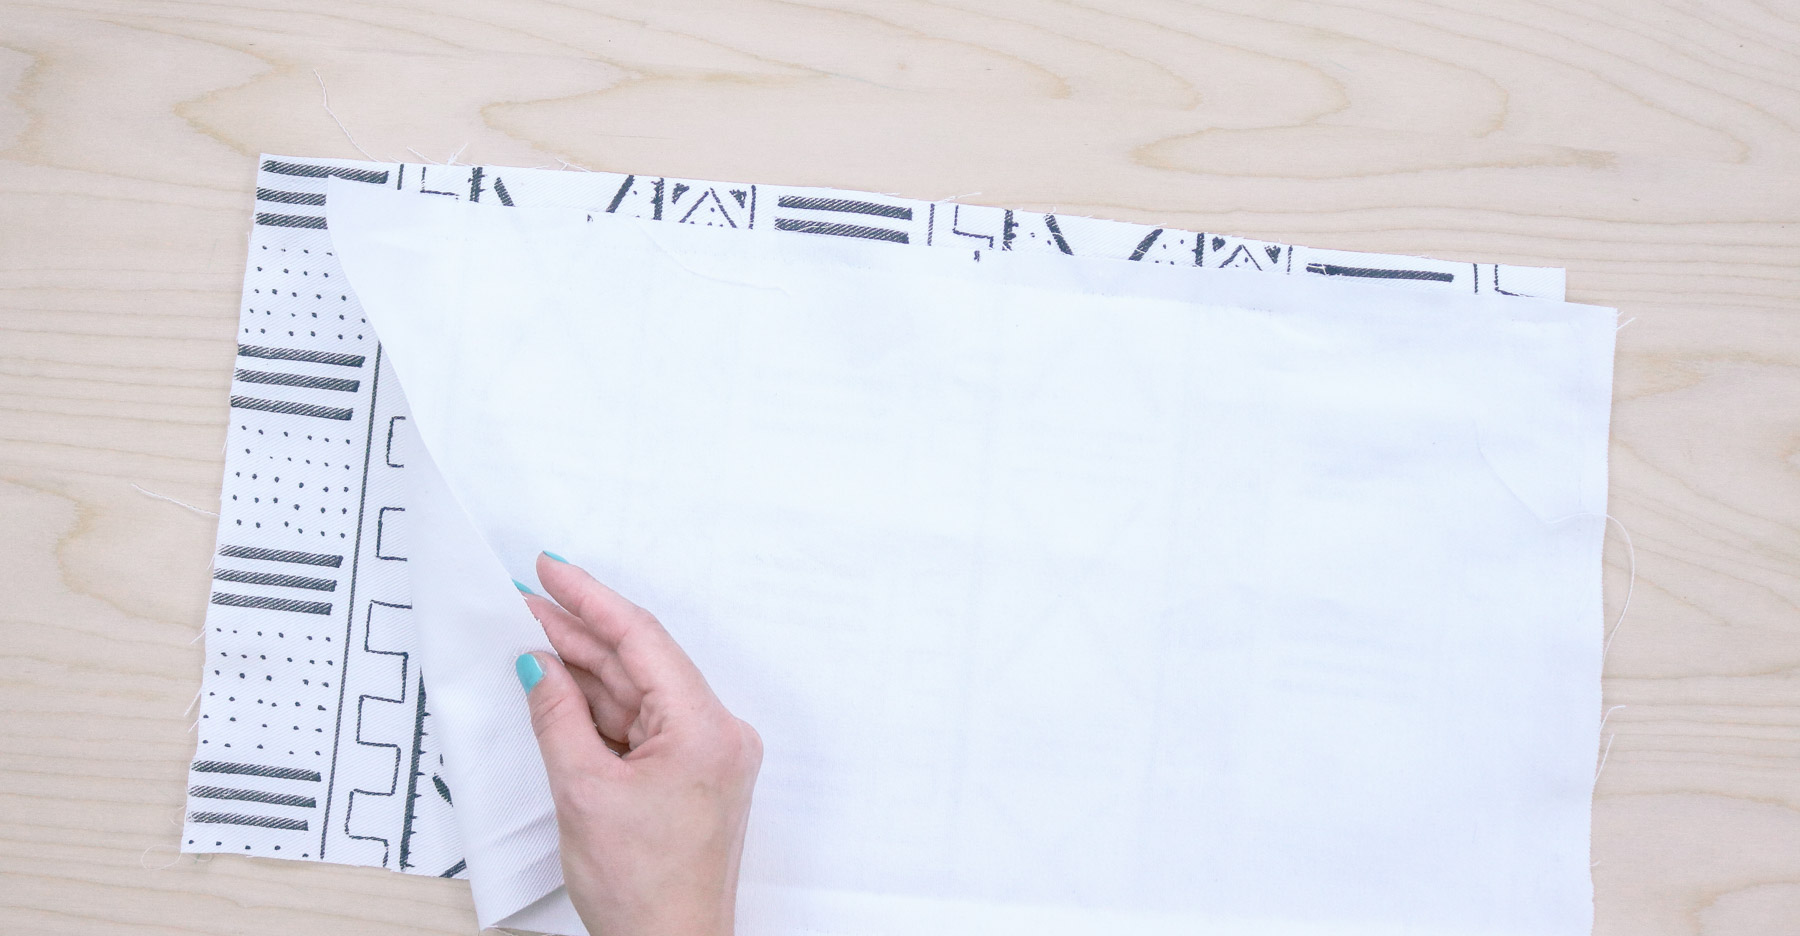
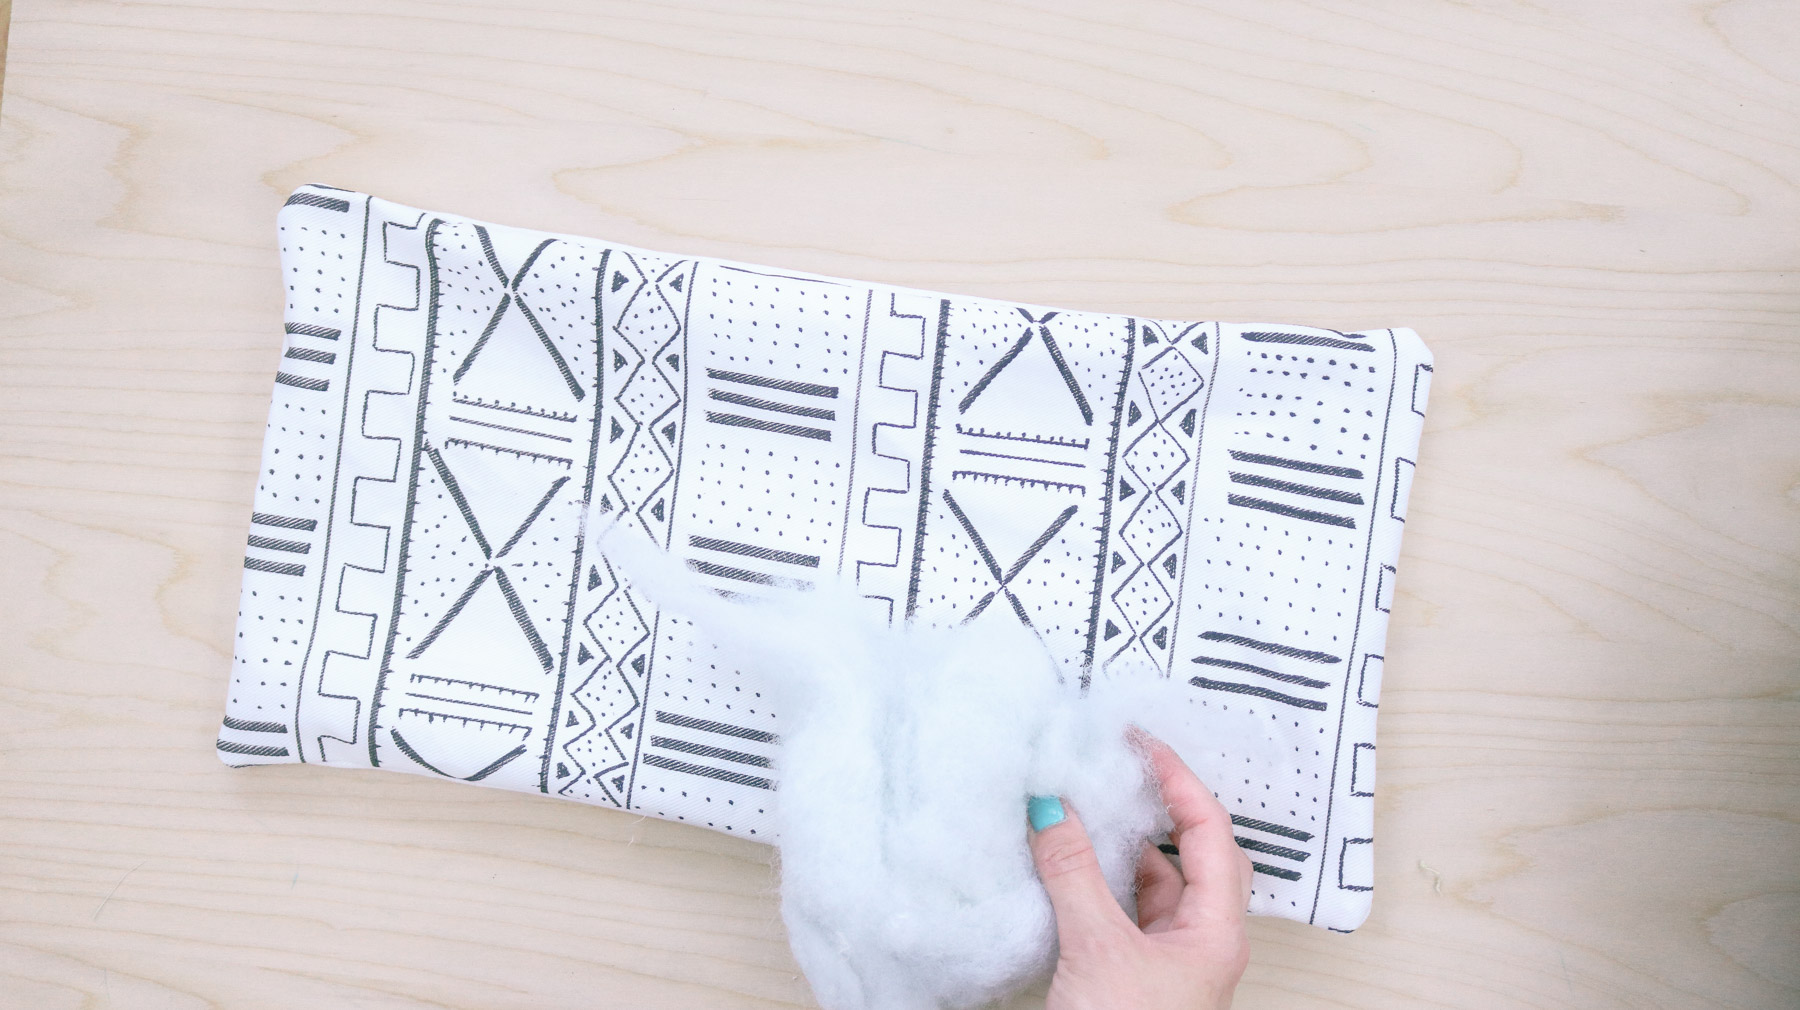
Then I turned the pillow inside out and and stuffed it.
Once you’ve stuffed your pillow simply sew that gap up with a needle and thread and you should be done. 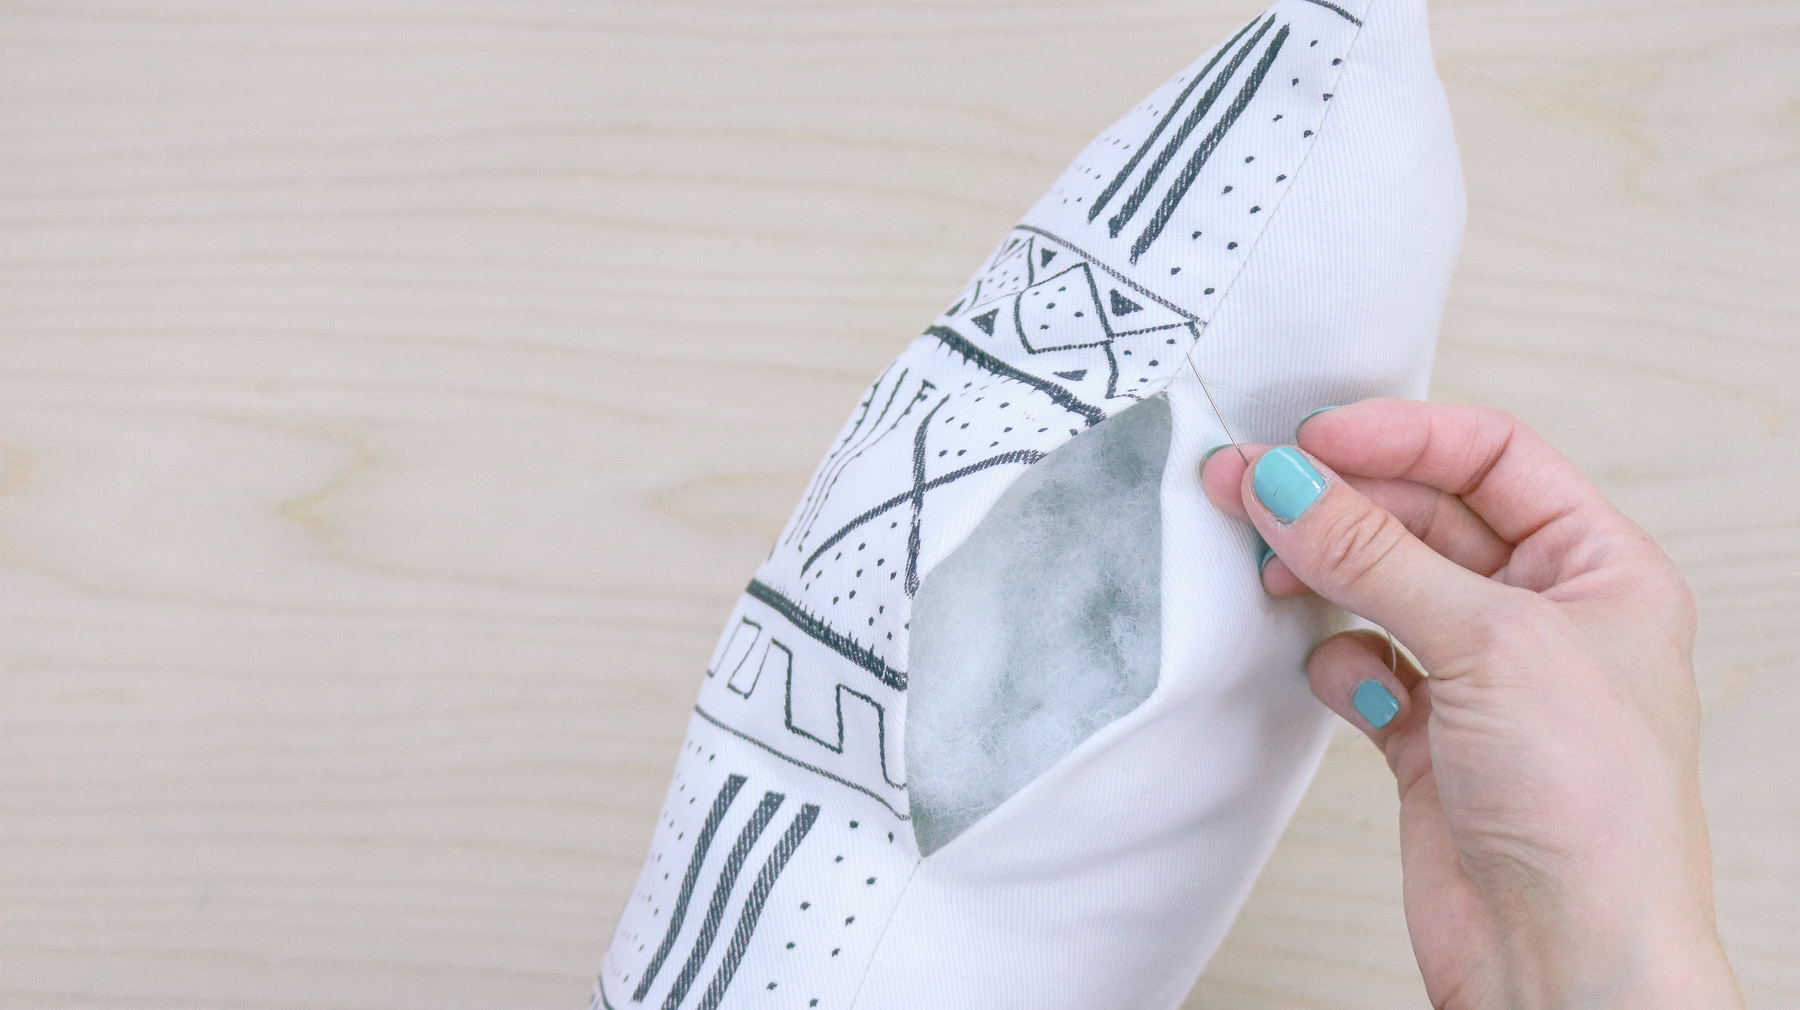
Here’s the video version of this DIY if you’re into that kinda stuff 😬
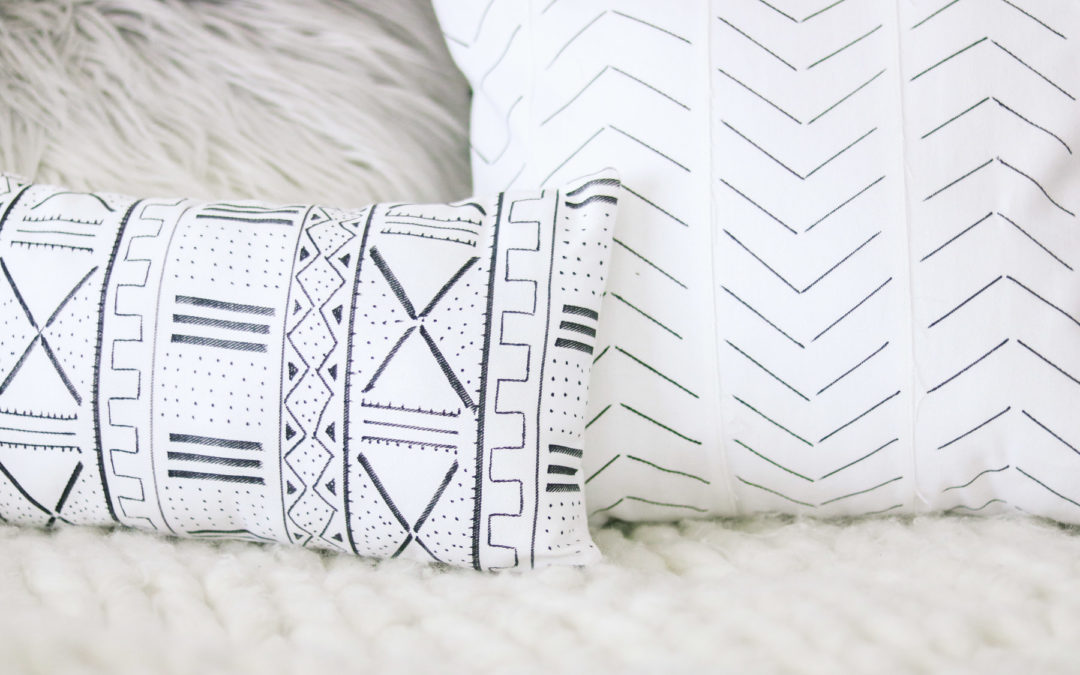
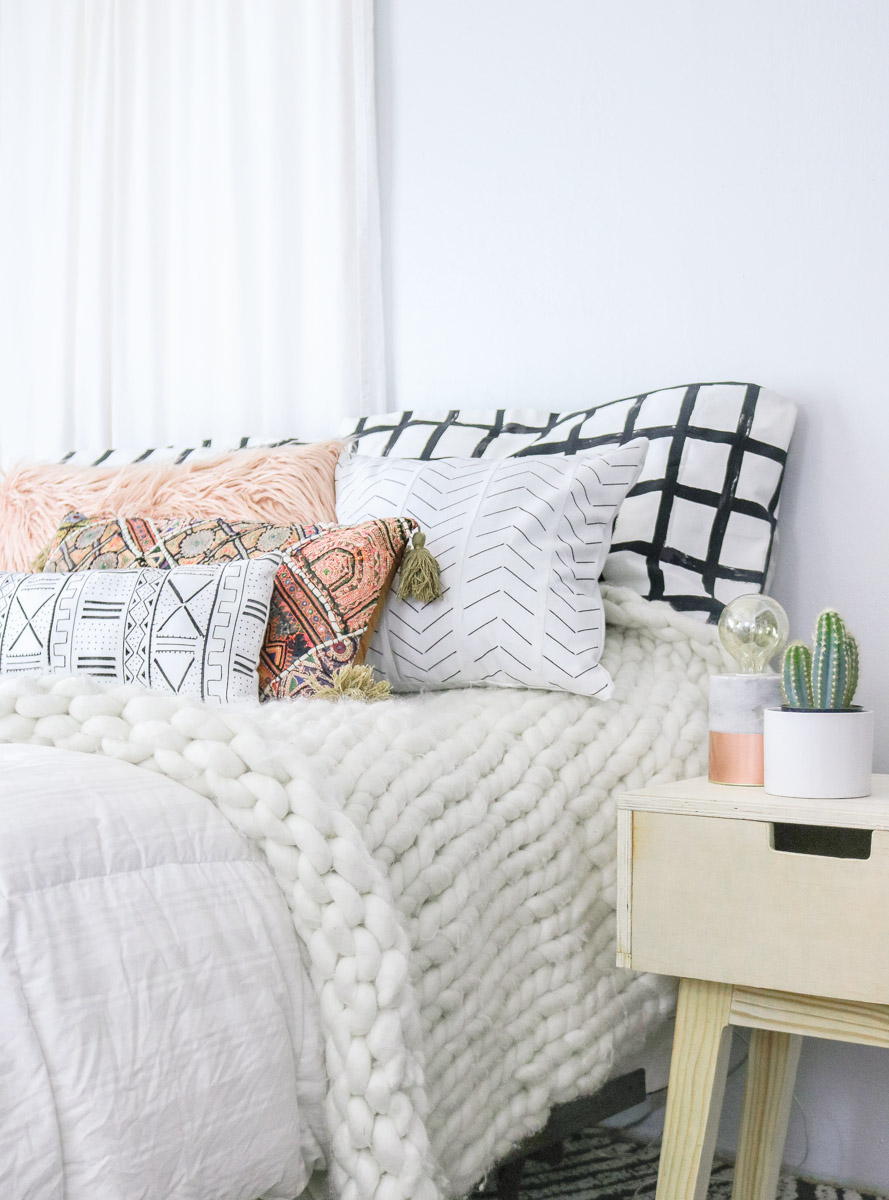
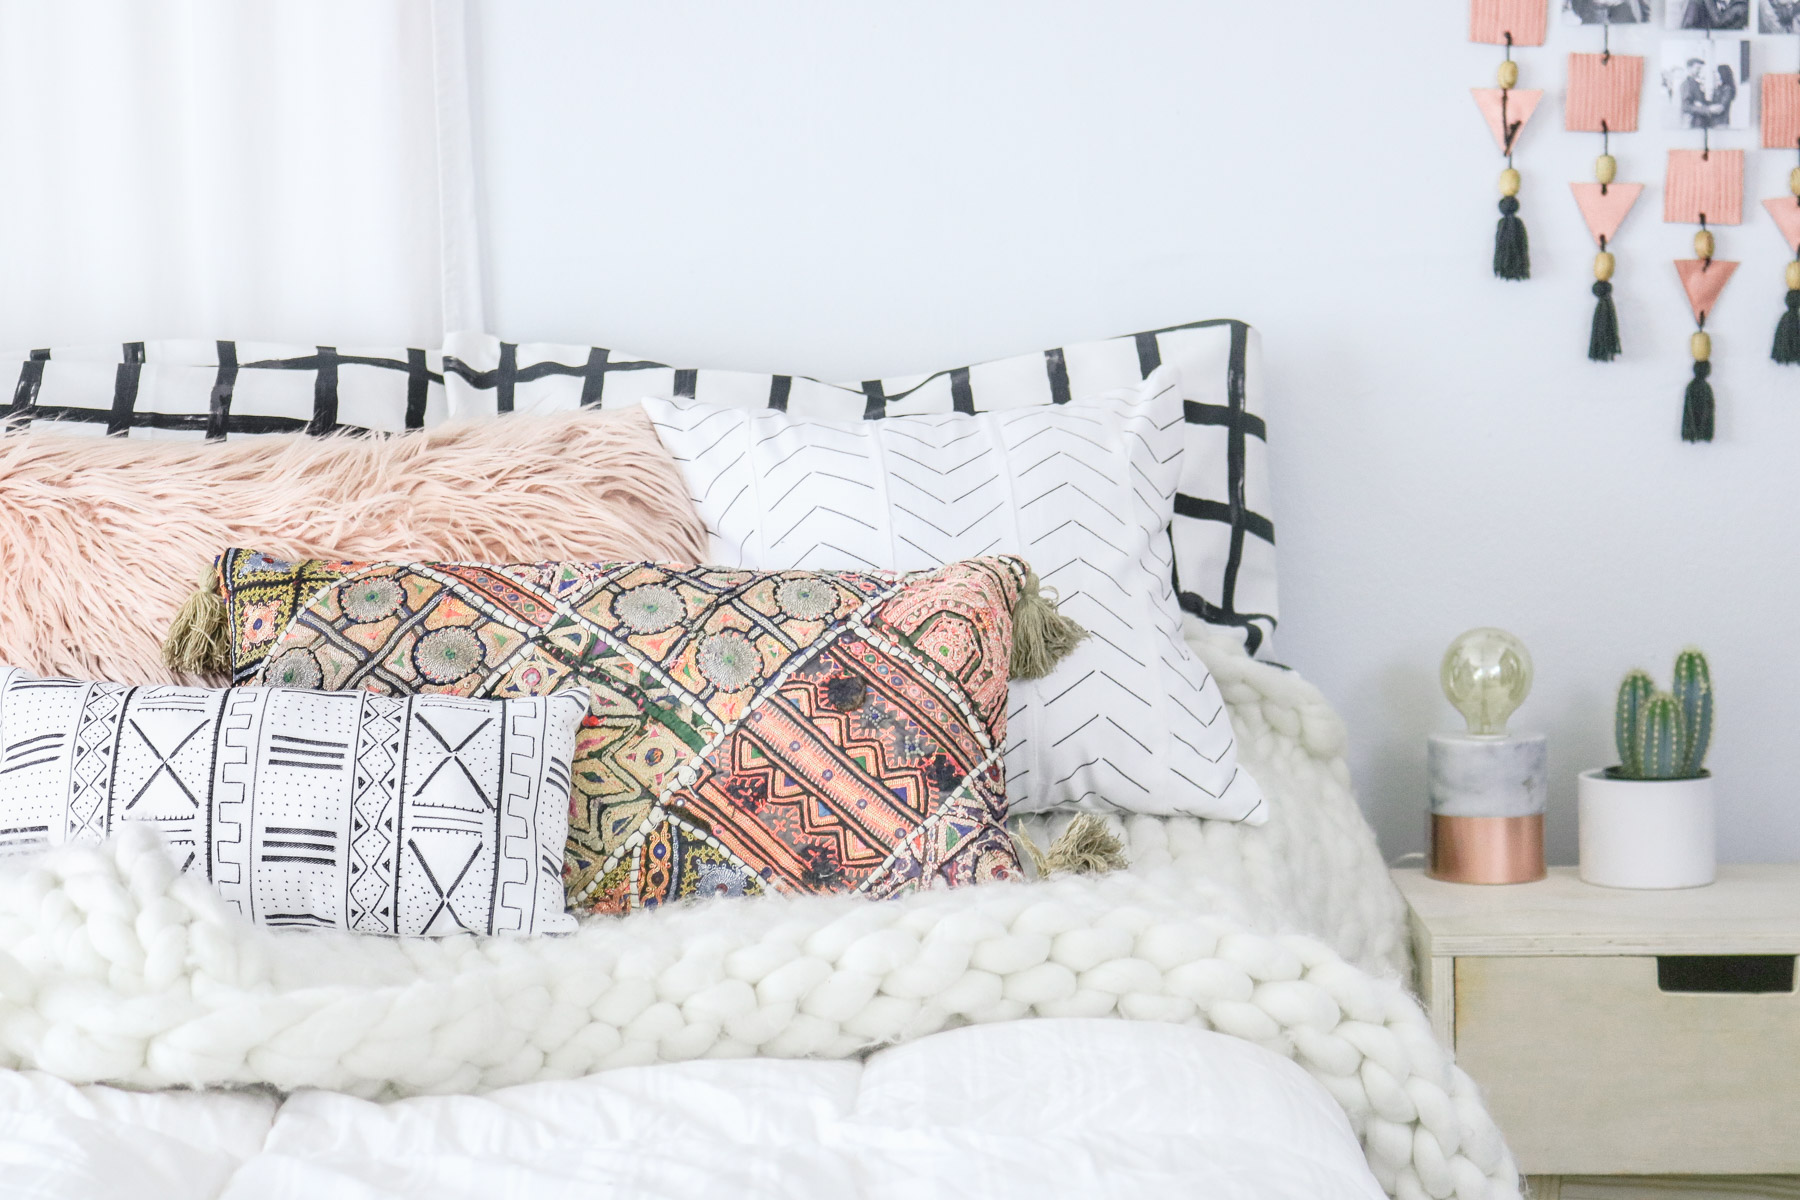
So far I’m really liking them although hubby isn’t used to the new addition. Our bed usually never had pretty pillows on display. It might take some time getting used to😊. 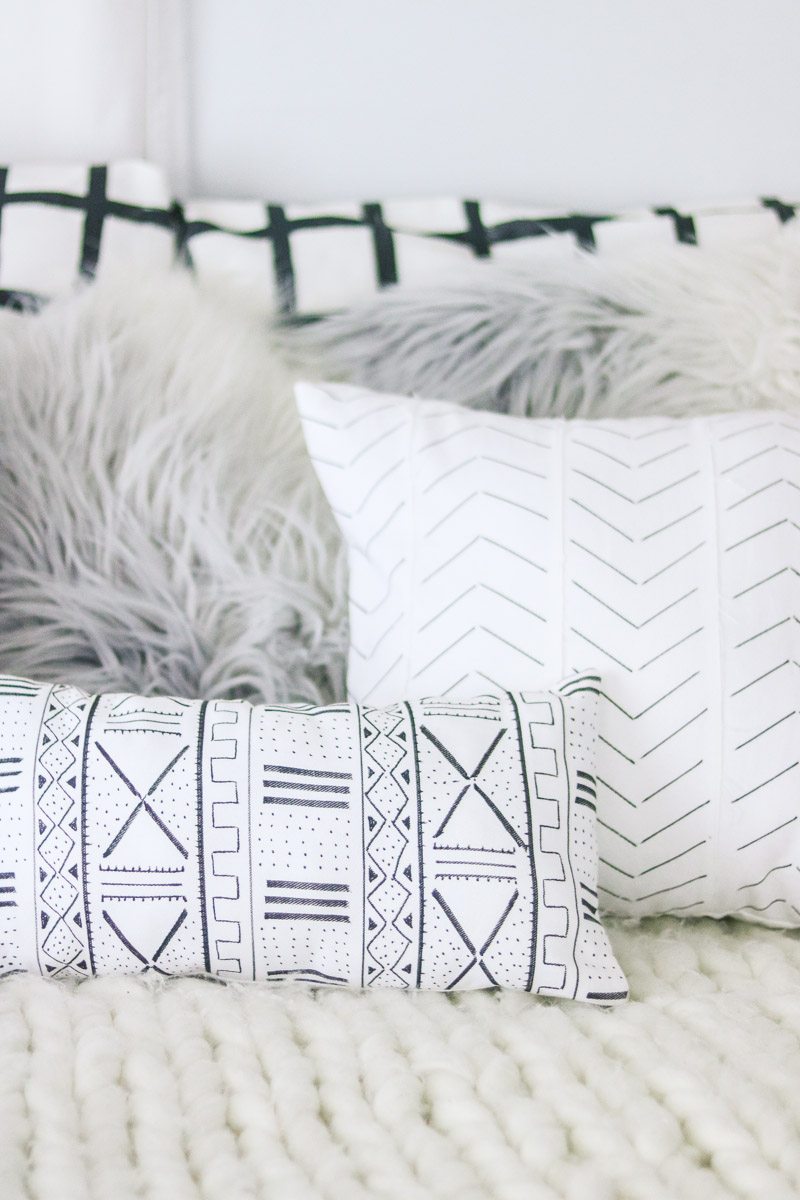 Here’s a snippet of these lovely pillows next to my new nightstand.
I only deconstructed the fabric and made strips on the bigger pillow and I can definitely see a huge difference. The smaller pillow has a cleaner finish since I made it from a solid piece of fabric and I gotta say I do like the rustic look of the bigger pillow. The strips make it look much more authentic.

Can you believe how crisp those lines look. 👀 I can’t LOL😂 I was thinking the lines would bleed more. Maybe I was expecting that because of my last experience with a sharpie on fabric. Have you ever tried a plain sharpie on fabric?
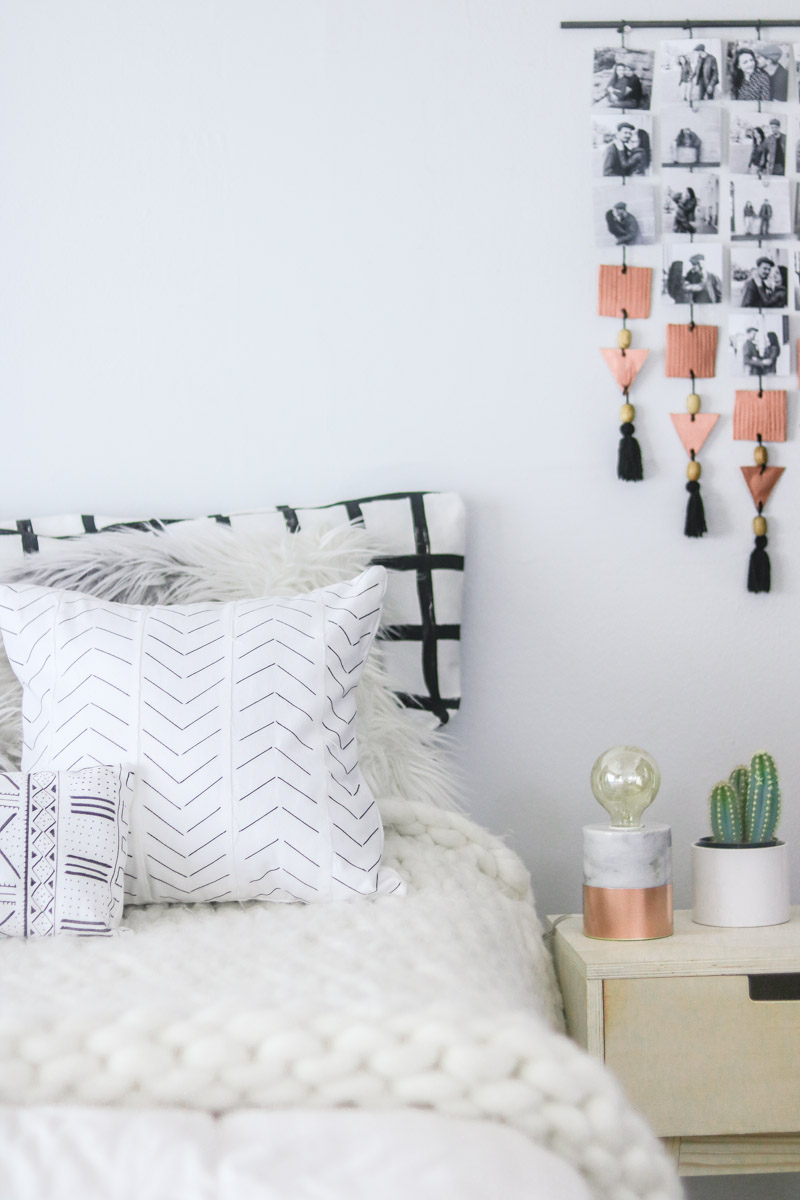
If you’re wondering where I got that super duper cute little table lamp.., It’s from world market. Oh and here’s the tutorial for the picture display above my nightstand. If you’ve missed it. I made it last year. 😁👉 DIY Photo Display

And that’s it for this weeks DIY. I hope this was helpful and inspiring. Thank you so much for tuning in and taking the time out to comment. I’m so happy to have you onboard and your support means the world to me! Happy crafting! I’ll see ya next week! 🤗🤗
these pillows look so good and so easy! i am going to try this as soon as dig out my sewing machine. ha. great tutorial lily. good job
YOU ARE TOO SWEET Angela! 😀 😀 Glad you liked them. 😀 😀 YES surprisingly they’re super easy to make and very budget friendly. I can’t believe they cost so much in stores. I’m glad I found a way to make them I’ve wanted some for sssso long. I can’t wait to see pillows your send me photos when you’re done 😀 😀 I’m about to run to the store and buy stuff to try and make a faux cacti. HAHA weird idea but, I’m hoping I can get it to look at least somewhat like a cacti LOL (fingers crossed) They’re so expensive. I think pottery barn sells theirs for $299. If I can make one for $20 that would be a steal. If fail HAHA maybe I’ll have the guts to post it. What about you what have you been up to?
These look lovely, especially like how you made sewn together strips for the larger one. I like how you come up with affordable options. I have collected a few pieces of mudcloth made in Africa, it’s pretty fascinating how it is made there. That’s probably why it is so expensive in stores here.
Thank you Terry! 🙂 WOW that’s awesome! YES I agree it’s pretty amazing how it made and it’s always so pretty!
You did such a great job. Love the patterns on the pillows ❤️
Thank you so much Mira! 😀 😀 I am ssso happy to hear you loved them! I did not expect the marker to work so good. It was ssso easy to work with. This was a fun DIY! 😀 😀