Handmade Easter Eggs
As years go by trends change from one extreme to another. What may have been weird a year ago is totally normal right now! That’s said not just for beauty and fashion but, Easter eggs as well. I’m pretty sure I’ll look back at these Easter eggs a few years from now and wonder what the heck I was thinking when I made them and until that moment comes I’m going to enjoy them because, I kind of like them. A lot! 😀 😀
If you’re already asking that question.., 🙁 Then I’m sorry to disappoint you but, before you go I’ll let you in on a little secret. The future is bright because there’s more to come and you might just love the next ones! YEP! I plan on posting another DIY this week featuring my mini gilded Easter eggs. The collection will mimic colors of hunters green, peaches and retro plaid. WOW! That felt weird to write! HAHA What a weird combo. NOPE! I don’t blame you if your imagination just failed you. You’ll just have to trust me on this one! (click here to view the tutorial )
Anyways I could go on all day about my mile long list of DIYS but, I’m sure you wouldn’t mind getting on with this tutorial.
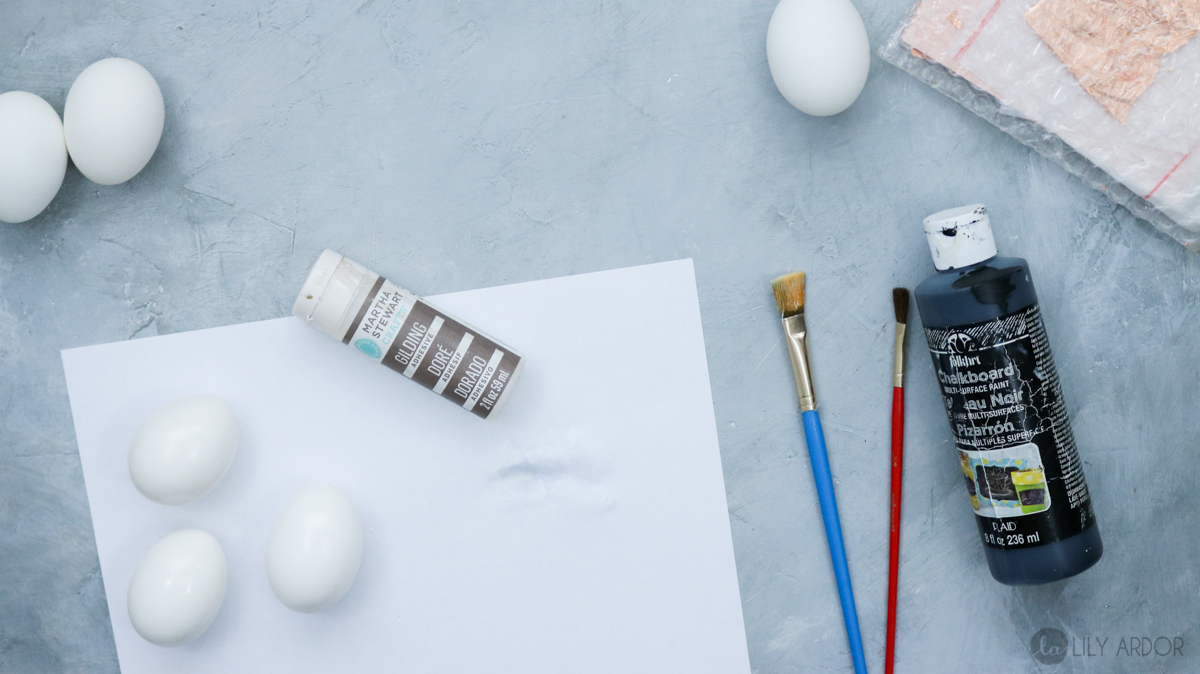
What you’ll Need
- Eggs (hard boiled, plastic or blown out.. I used hard boiled)
- Gold leaf (or copper leaf) (I purchased mine on amazon 100 sheets for $6. Doesn’t get better then that. OH and yes free shipping. I’ll add a link below.)
- Gilding Adhesive
- Brushes
- Eggshells
- Hot Glue
- Black paint (Choose whichever color you want your eggs)
- Easter 😀 😀
Here’s the video
Gilded Easter Eggs
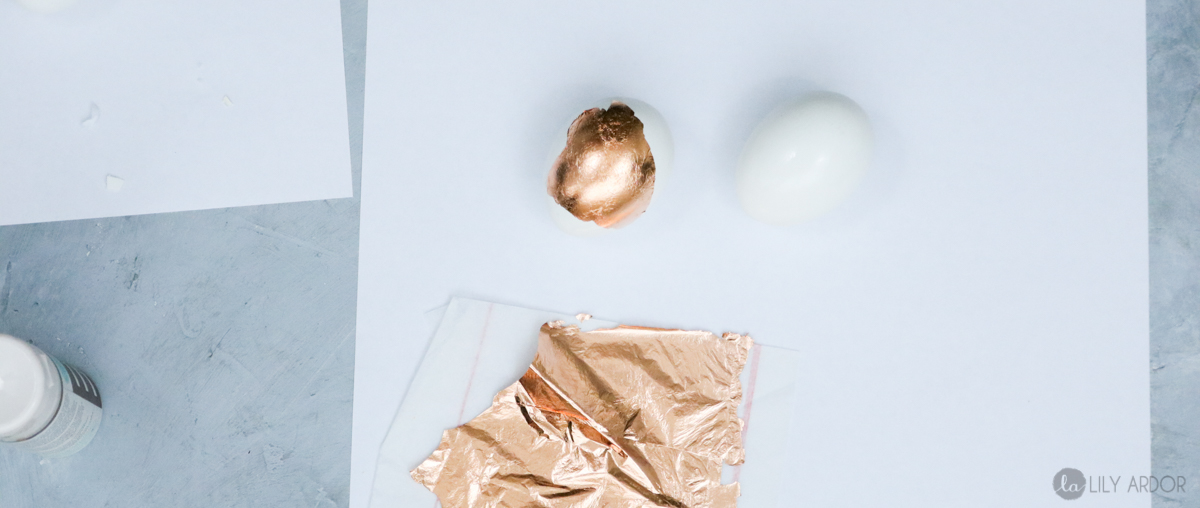
There are so many options with gilded eggs. I’m always asked if they sell different sheens of gold leaf. I’m glad to say they do! I’ve seen it in Silver, gold, and copper. (I added affiliate links for you below) To answer all your questions I’ll go ahead and say that you probably can’t substitute the gilding adhesive with elmers glue. Why? Because gilding adhesive dries to a tacky finish allowing the gold leaf to adhere correctly where as regular school glue dries completely. I’ve never tried elmer’s glue but, you can try it. Let me know how it goes. 😀 😀
To make your gilded eggs apply your gilding adhesive onto your eggs. Then let it set for about 10-15 minutes. Don’t worry about it over drying. It will never dry completely. It turns clear and stays tacky until you apply gold leaf over it. Once your eggs are ready apply your gold leaf and rub off any excess gold leaf with a brush. Preferably and hard bristle brush!
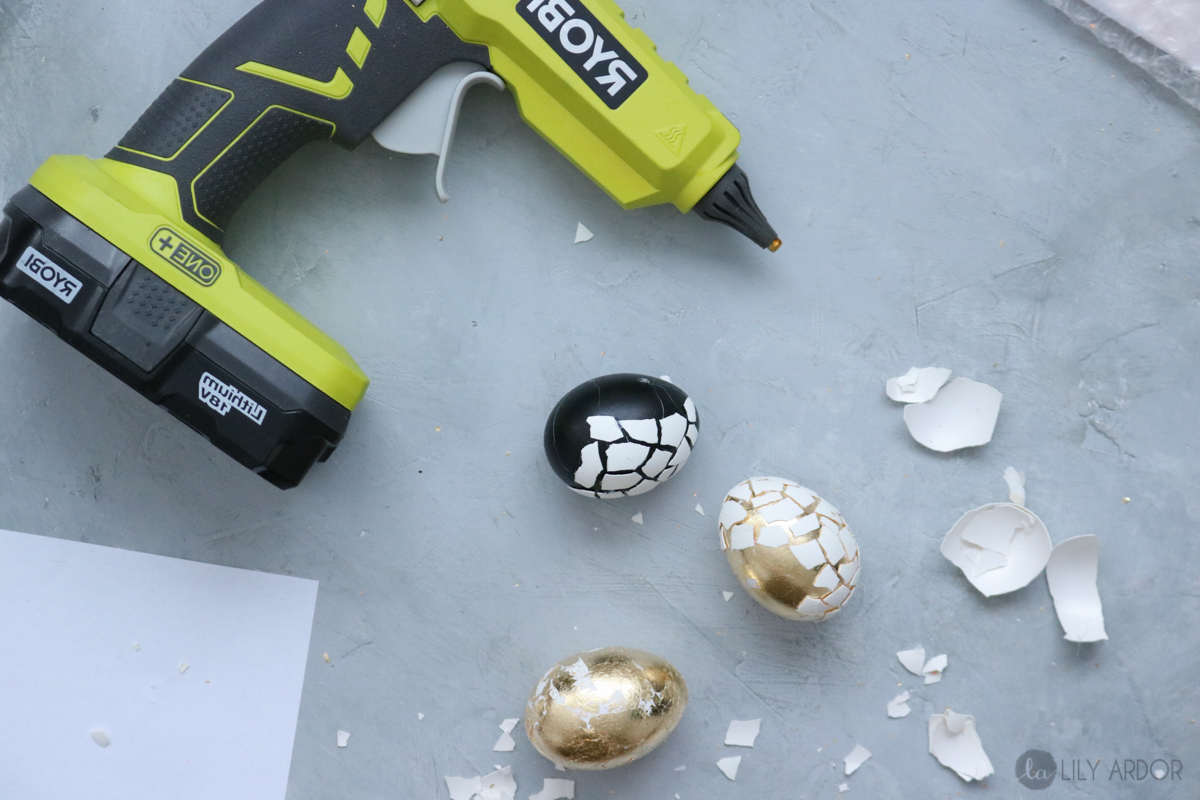
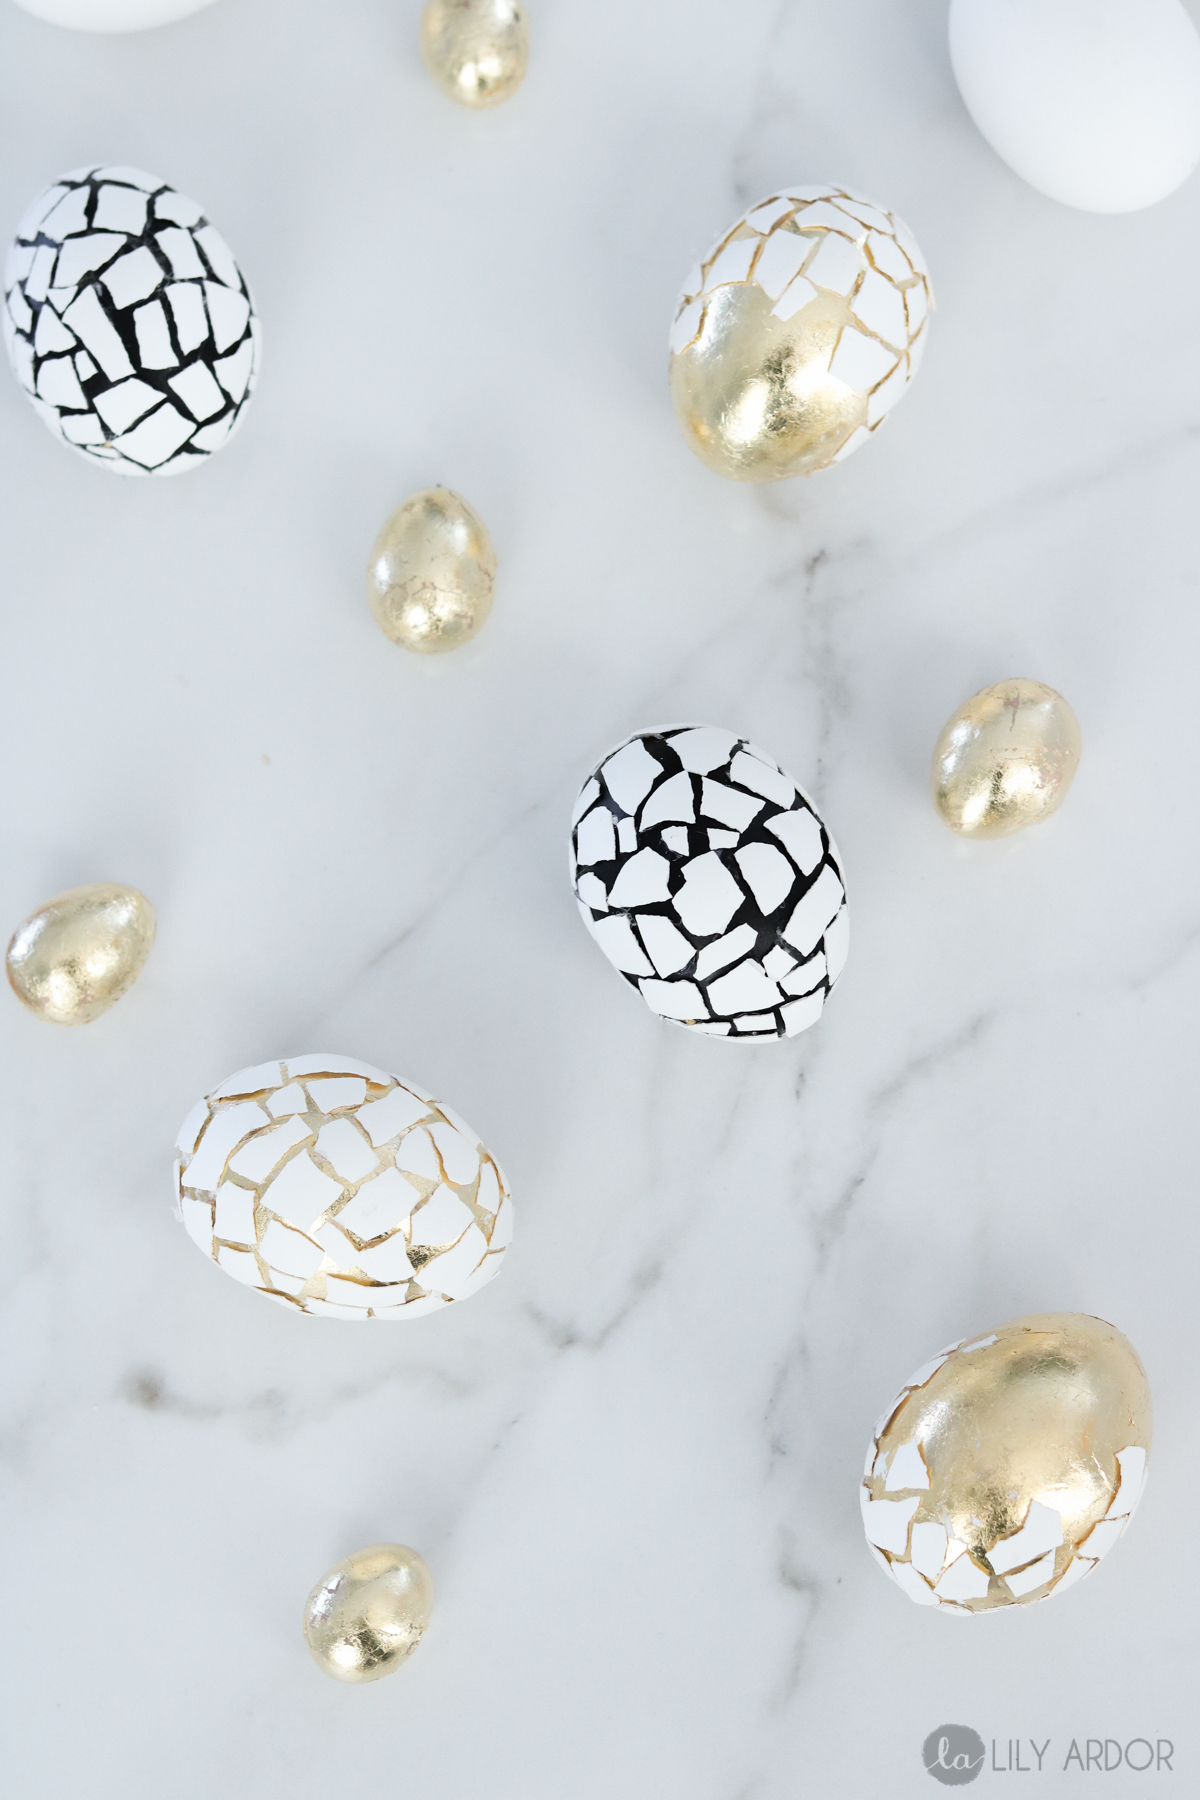
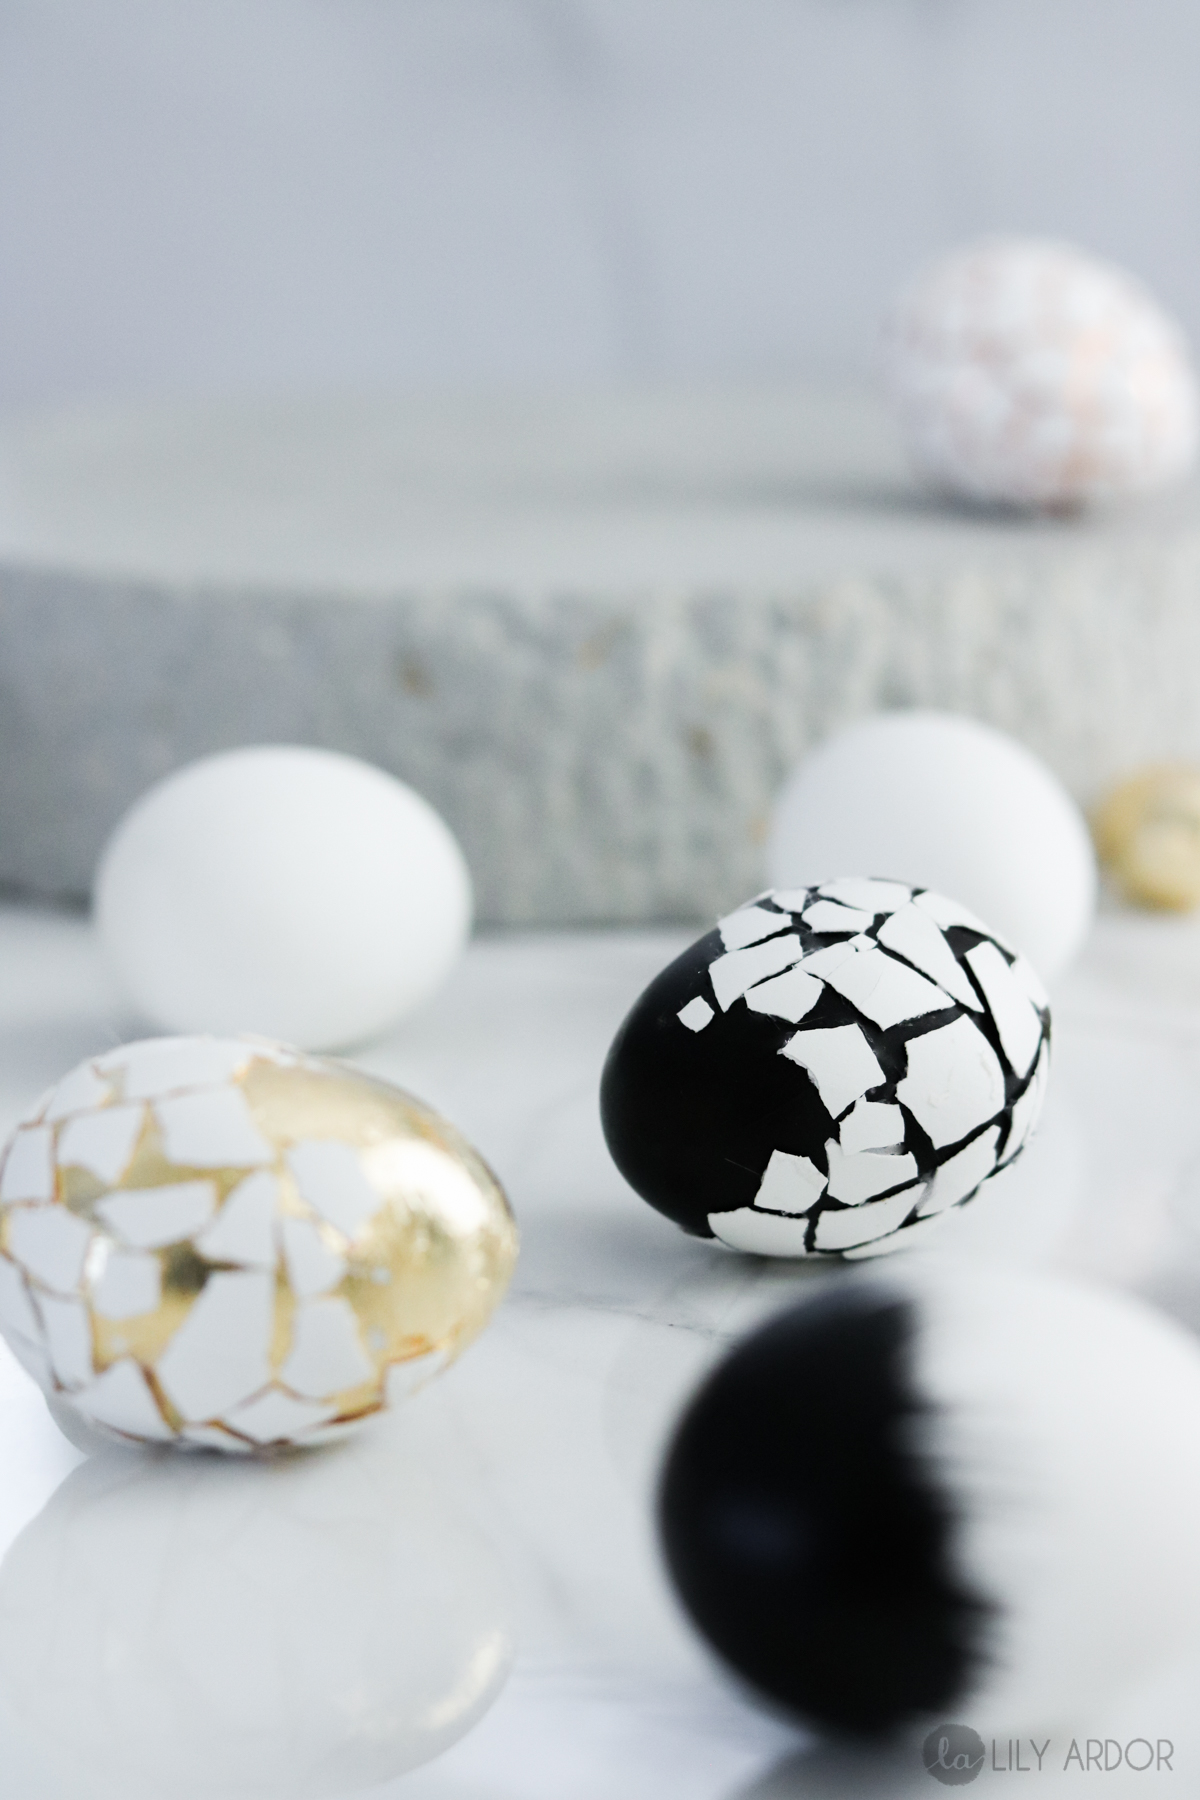
Crackled DIY Easter Eggs
Ok I’ll be honest these aren’t exactly easy to make. It’s a pretty simple technique but it’s definitely time consuming. About an hour in I was only half way through my first egg. Probably best to do while binge watching netflix. It wasn’t so bad after the first egg. Once I got a technique down it was a lot easier. Or maybe I just went on auto pilot! HAHA Don’t overthink it. It doesn’t have to be perfect! 😀 They look like cute little dinosaur eggs and when combined with other eggs you can make them look chic or masculine. 😀
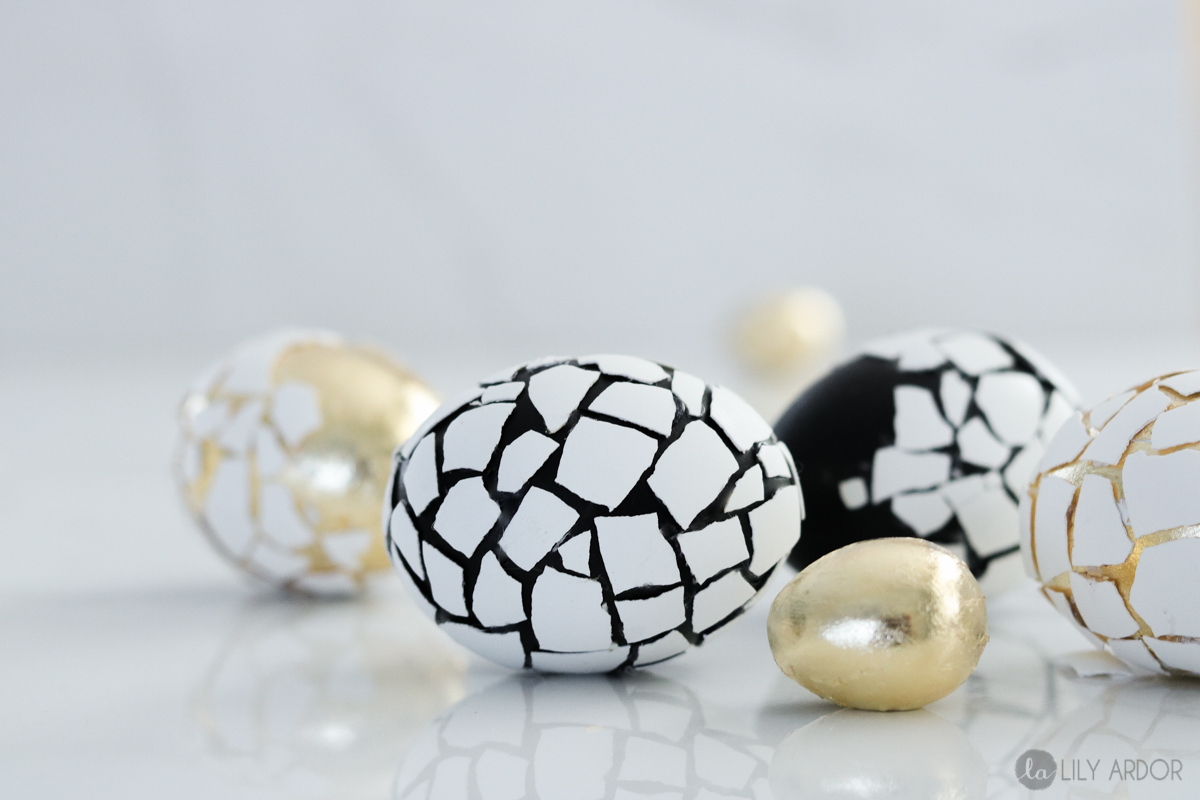
Black eggs
For my black eggs I used some black acrylic paint and applied two coats. It was a pretty messy process and definitely helps if you have a stand of some sort.
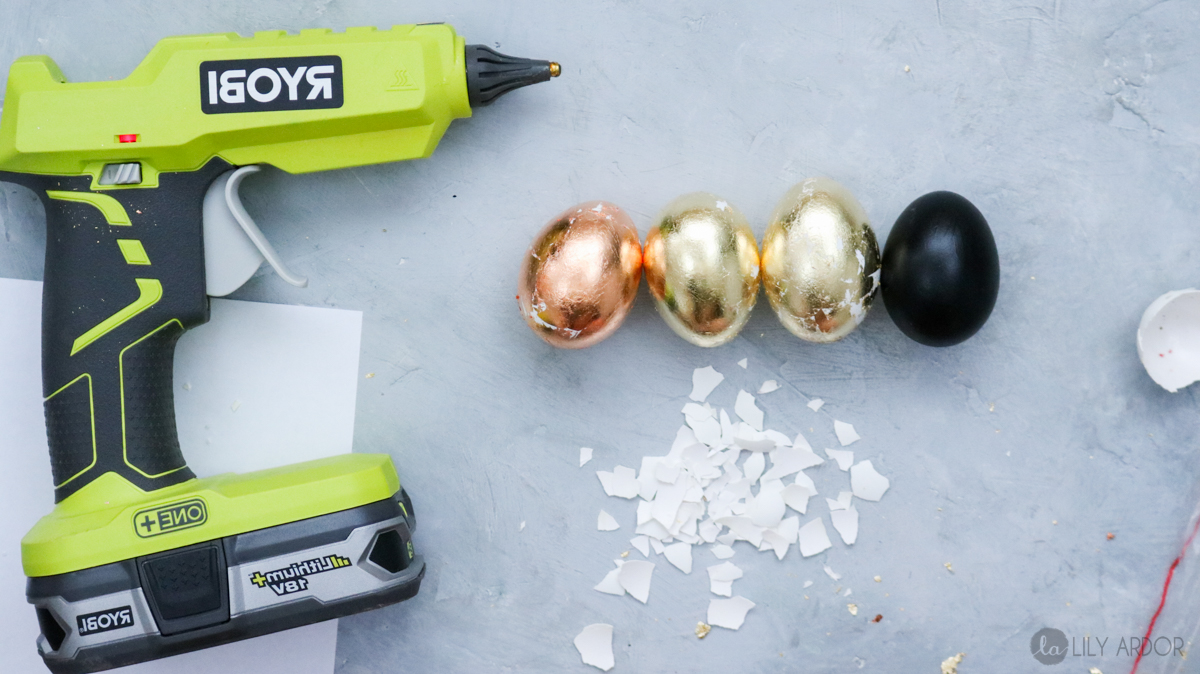
As you can see in the photo above one egg is copper. For some reason I wasn’t a big fan of the copper. I felt like it was giving off a lot of red and not so much metallic when I applied the crackle effect on top. Sadly I didn’t like it so much I didn’t even take a completed photo. Sorry. 🙁
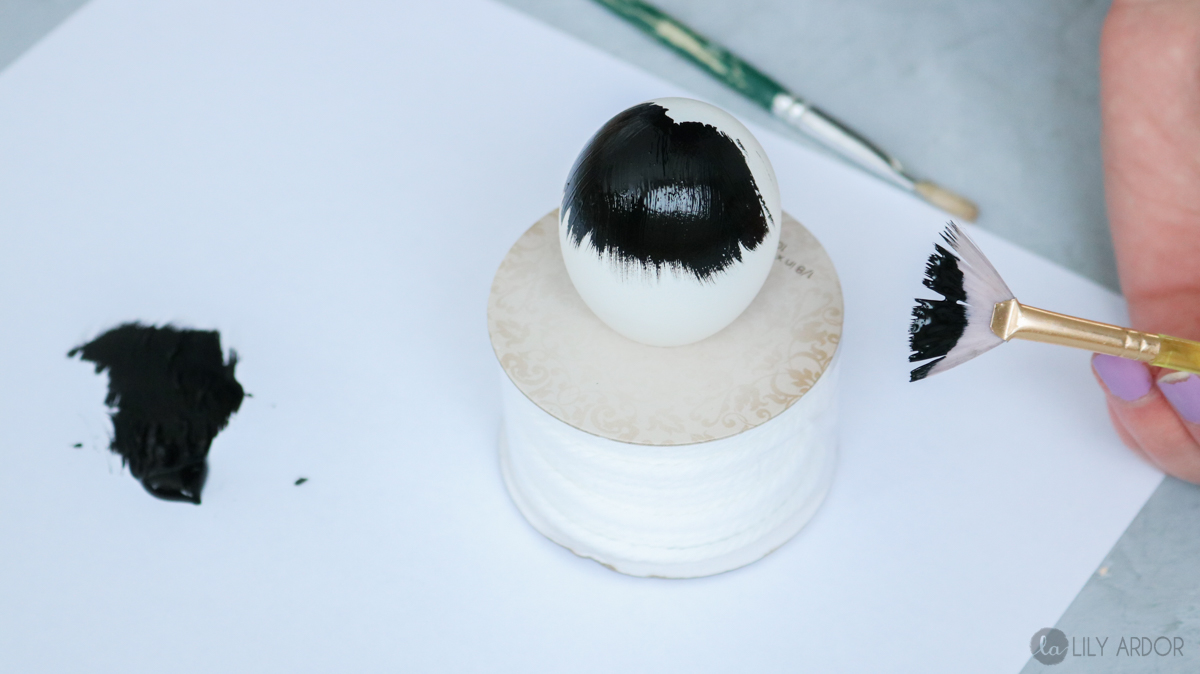
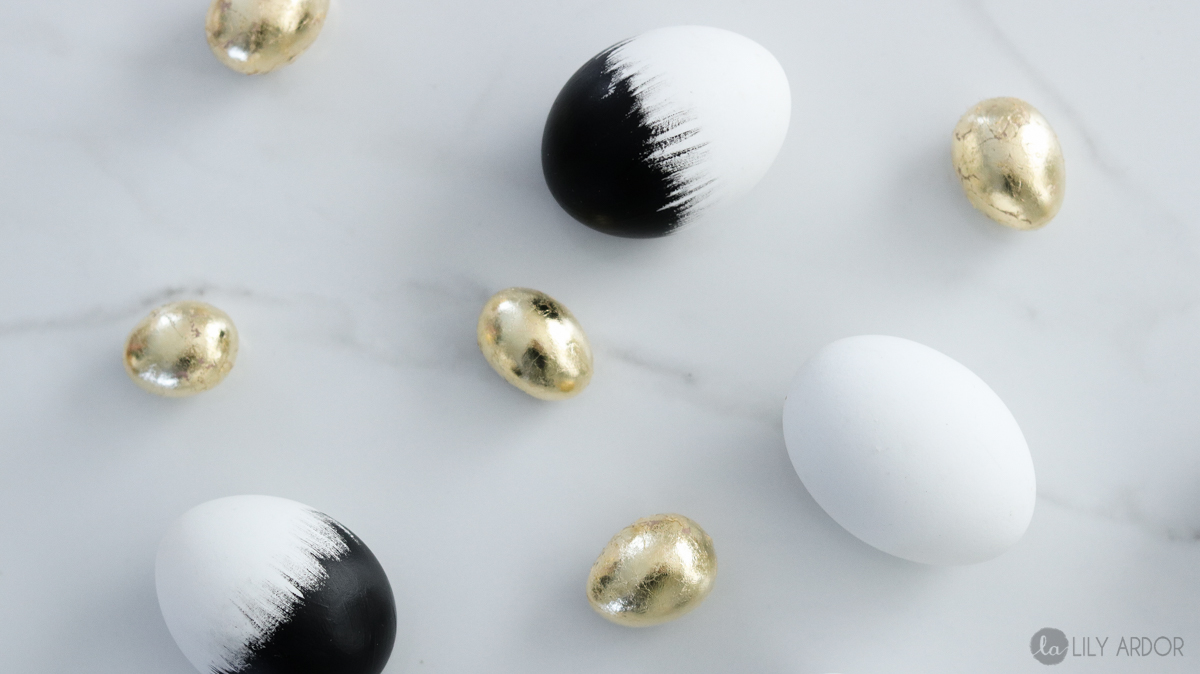
Brushed Eggs
I felt like these eggs had the maximum statement with minimal effort. They turned out way to cute! Even though they are super simple I like these the most because, it’s not something you’d expect! It’s like a modern take on ombre! 😀 I used a soft bristle fan brush with some black acrylic paint. You can hold the eggs in your hand or let it stand on something while painting.
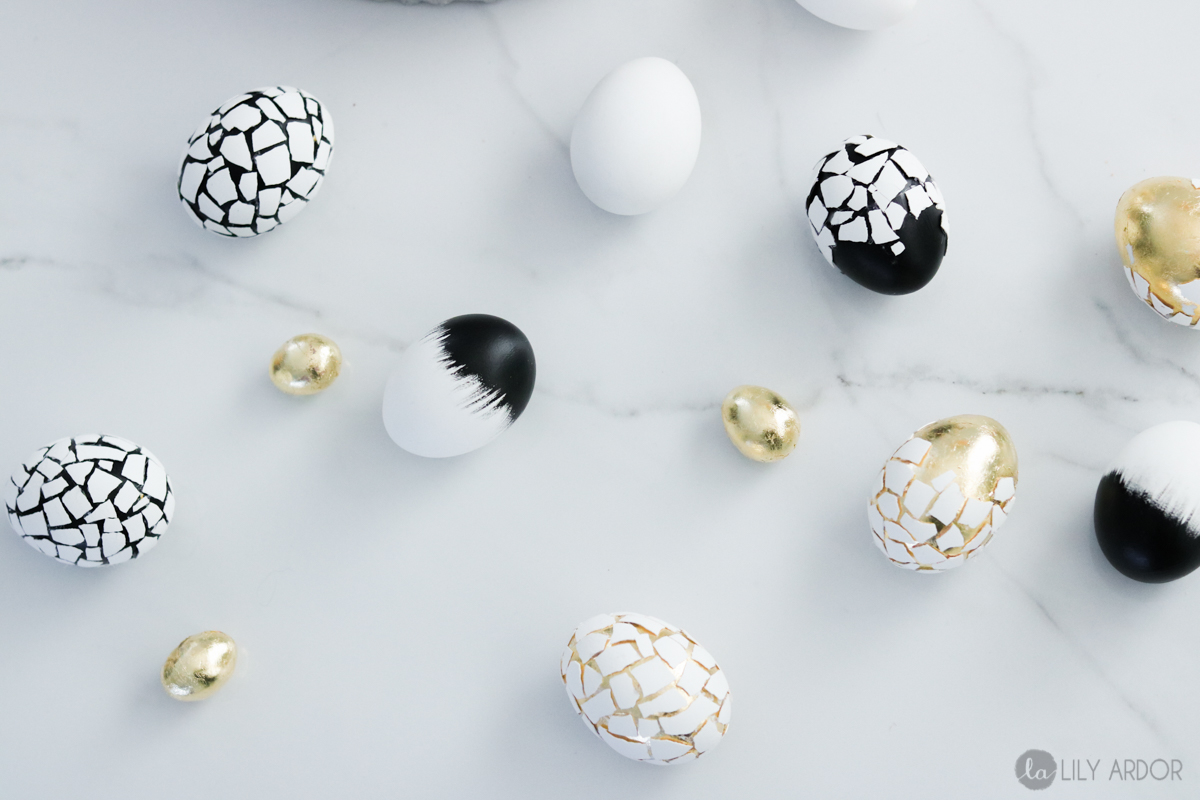
And that’s it for this collection. Pretty and Modern! I’ll be honest the crackle eggs on their own weren’t really winning me over! It wasn’t until I brought in the mini gold eggs that I started liking them…
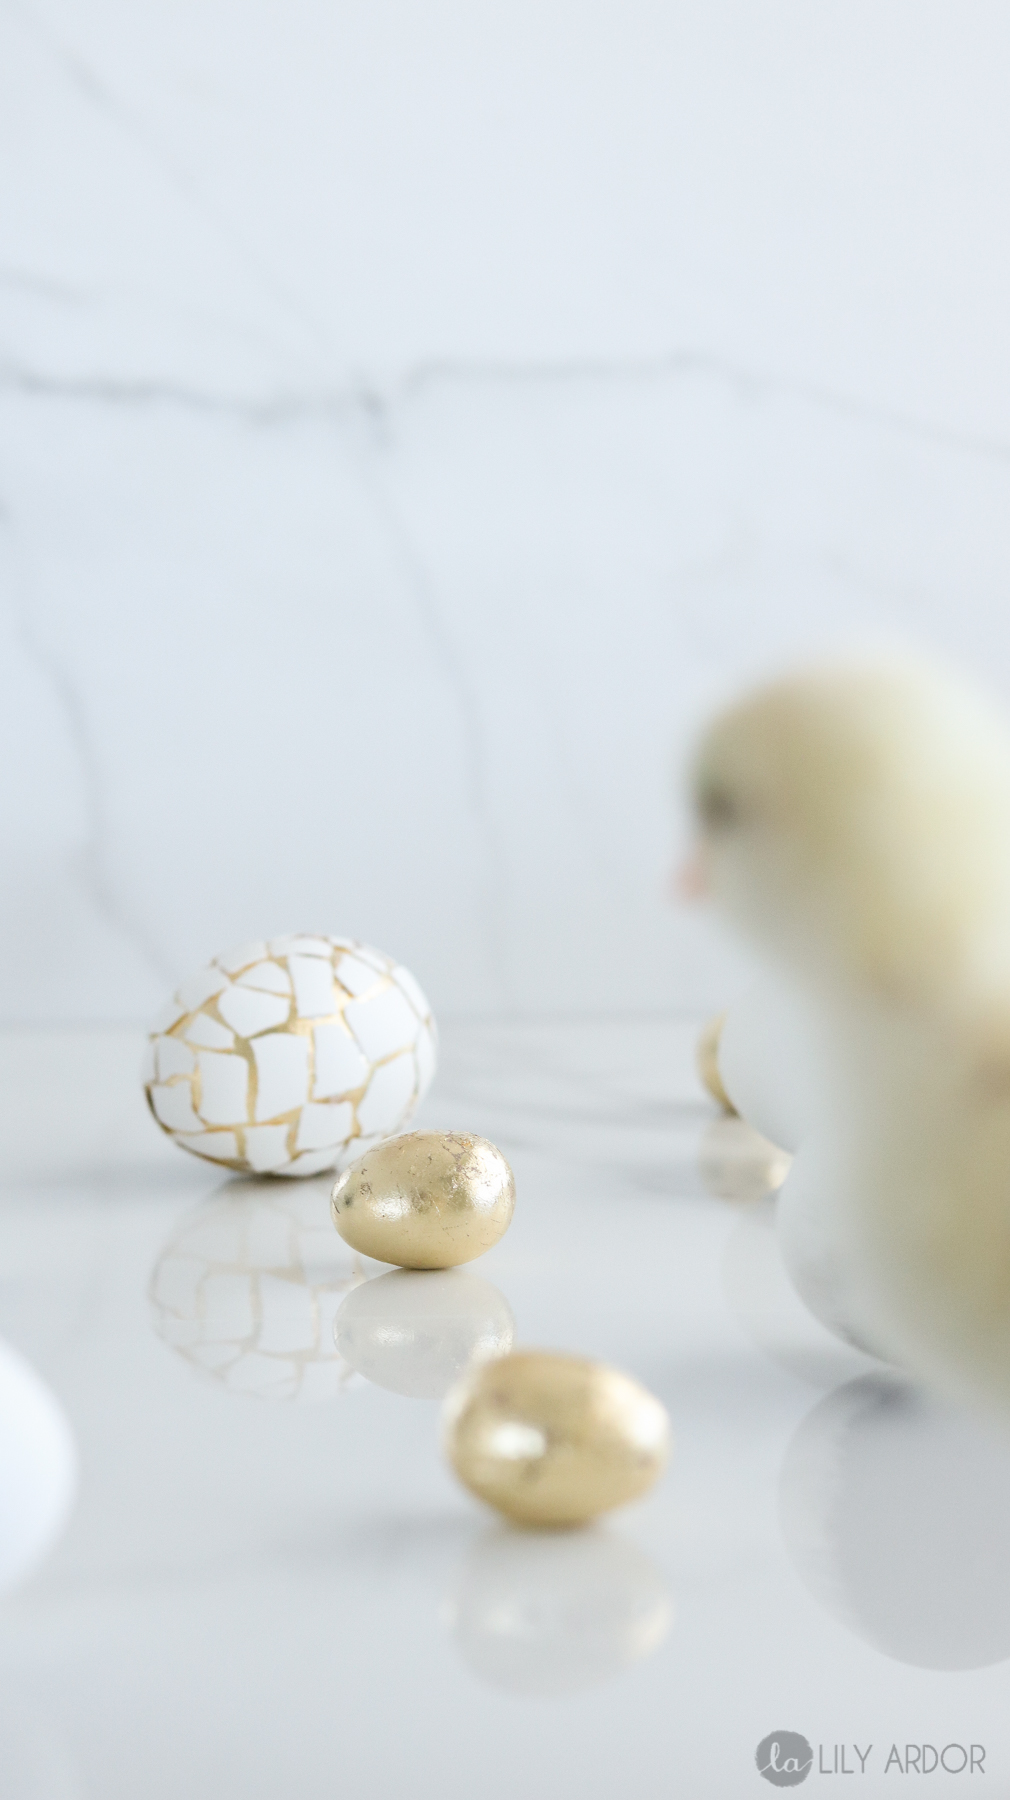
Here’s some cuteness overload for YA! Yep we have new wittle pets! I was so tempted to stick my cat in the photo… to bad she’s a big girl now and won’t fit in the photo with these tiny eggs!
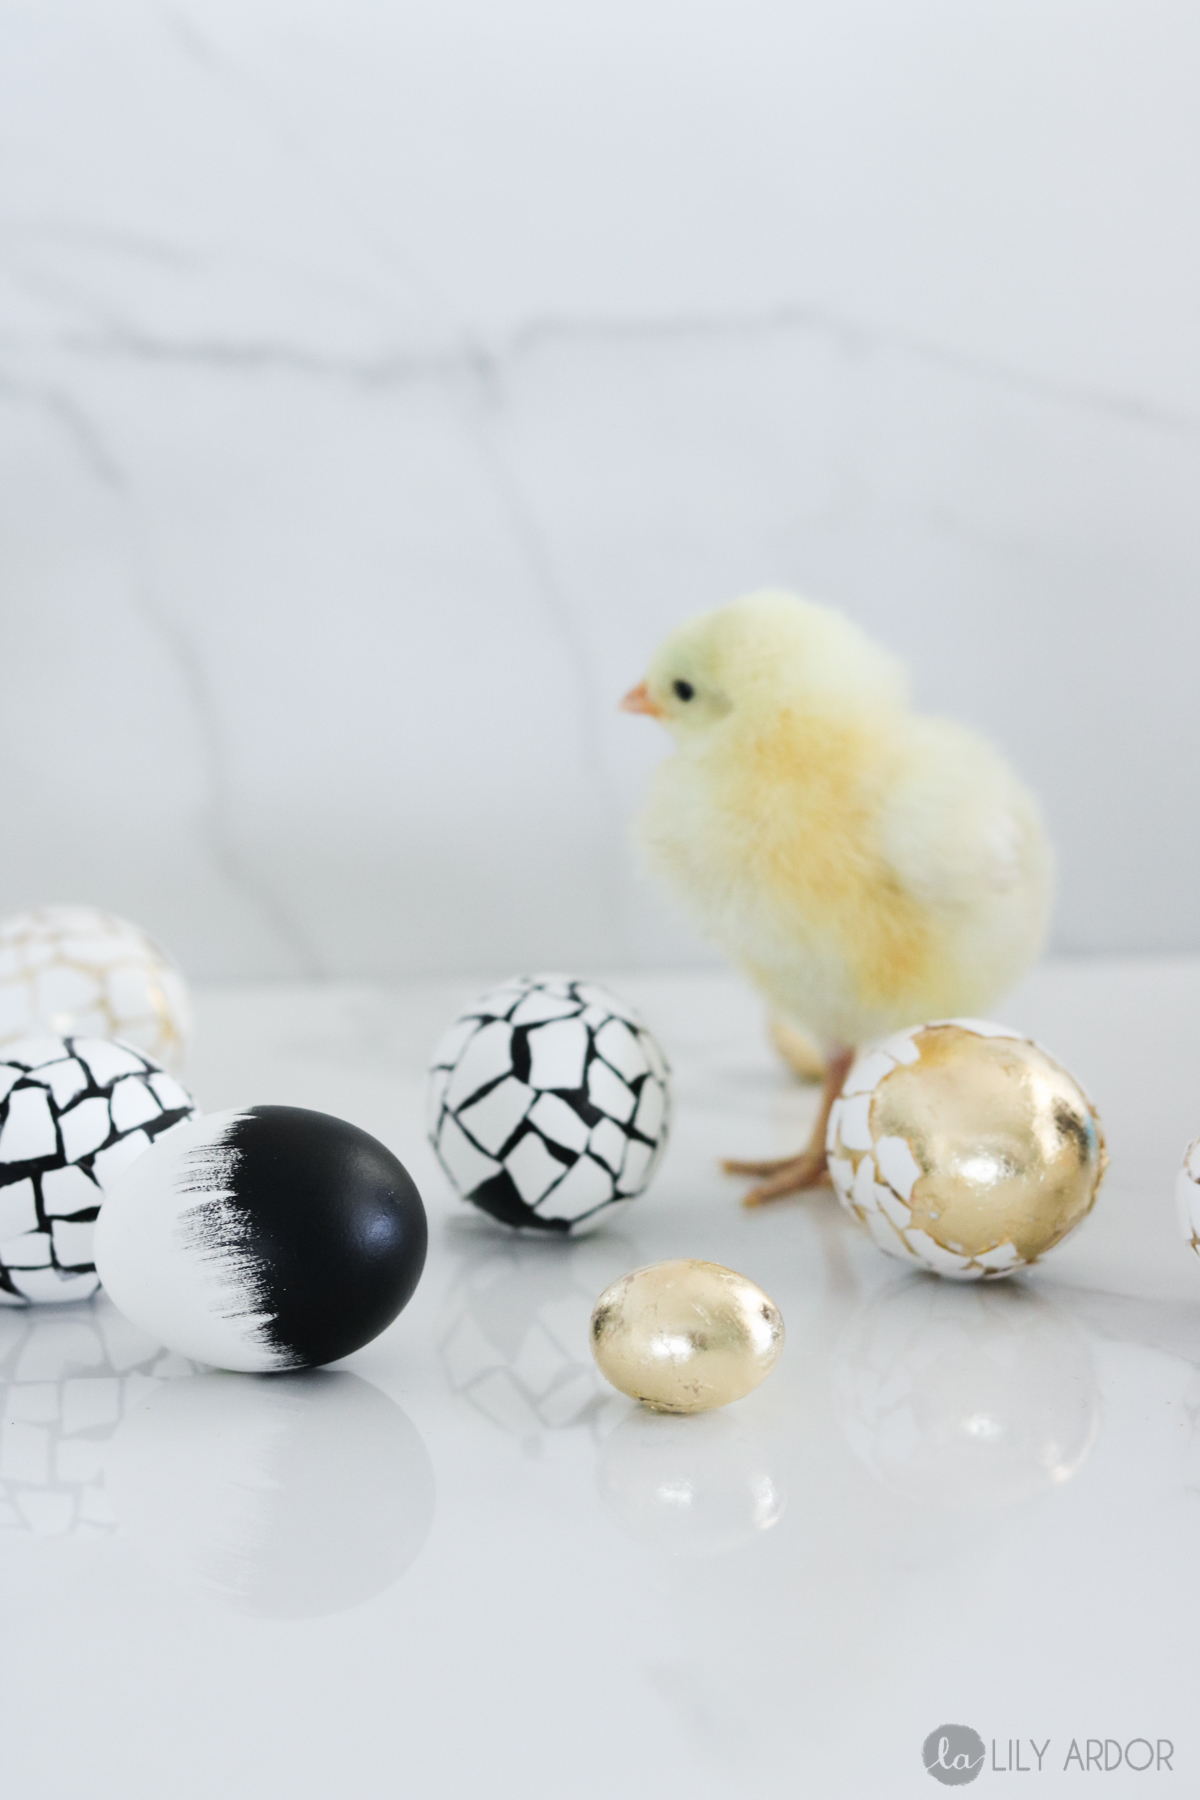
Here’s another cute shot of this fluffy goodness! 
Totally off topic but, here’s what the great outdoors looked like the day of this DIY. We’ve been having some late Christmas weather. Caught the boys having a snow ball fight! They sure enjoyed it! 
One thing I wanted to point out is, if you’re doing a darker egg underneath the crackle effect the hot glue seems to be more visible. Especially the strings from the hot glue. If you can think of another glue instead of hotglue give it a try. My biggest struggle was keeping the glue strings at bay!
These gold beauties were much easier to manage the glue strings on. Maybe because they aren’t as noticeable. I dunno! 😀 They looks cute! 😀 😀
Here’s what those half brushed beauties look like. Loving the simplicity!
And to finish this photo series off here’s a shot of them all together. What do you think? Let me know in the comments. Oh and if my website isn’t letting you comment let me know (under contact me page) It’s been a thing lately! I’m trying to decide on whether I should do a facebook comment feature at the bottom instead. Just don’t know how many of you have facebook. Lots of thinking! HAHA Help me decide!
That’s it for this simple easter egg diy. Talk soon. NEXT UP: Mini gold Easter eggs for 99 cents! 😀 😀
Here are some affiliate links for the products I used to make this project. (If you purchase anything from my affiliate link I might get a small commission. However this DOES NOT result in any additional charges to you. For more info read my disclosure policy)