Easter Eggs on Trial
Today I’m going to change things up a bit and share some fails. I don’t usually do this and honestly I’m so used to sharing the good side with you guys that I forget there is a bad side to every DIY. These easter eggs weren’t all that pretty at first. It took a little adjusting to get to where they’re at right now!
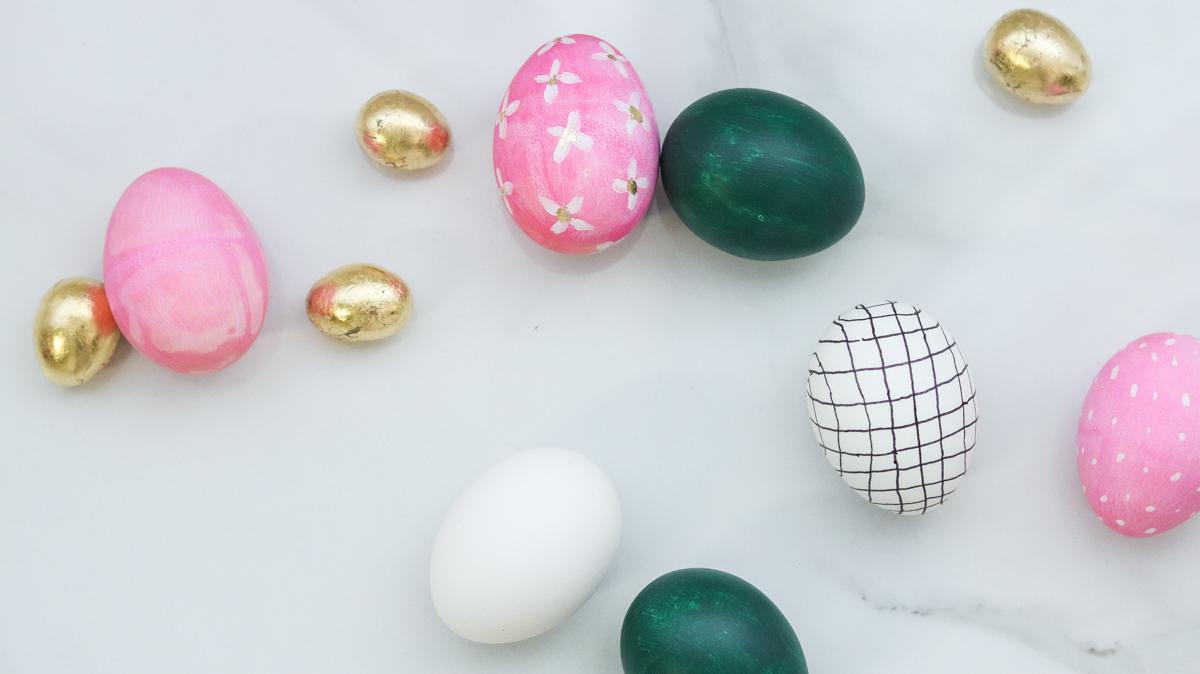
A few weeks ago I promised you guys I’d be sharing a DIY on how I made my mini easter eggs for 99 cents. By the way thank you so much for your awesome feedback everyone. I am truly humbled by your response. 😀 I didn’t want to share the same photos for my mini eggs as the previous DIY so I decide to make a whole new collection for this mini egg tutorial. FUN RIGHT?!! Originally I had this idea in mind, to bring in a pop of color while still keeping it safe. HAHA What a bad combo. I know that Easter eggs are supposed to be fun and exciting but I wanted to do something unusual. The colors I had in mind were hunters green, gold and pastel hot pink.
Not the pink shown in the photo below but, honestly at first I was happy with this pink. It wasn’t until I put it next to my green that I realized it looked horrible. It’s a good pink on it’s own but, it doesn’t bring out the best in the green.
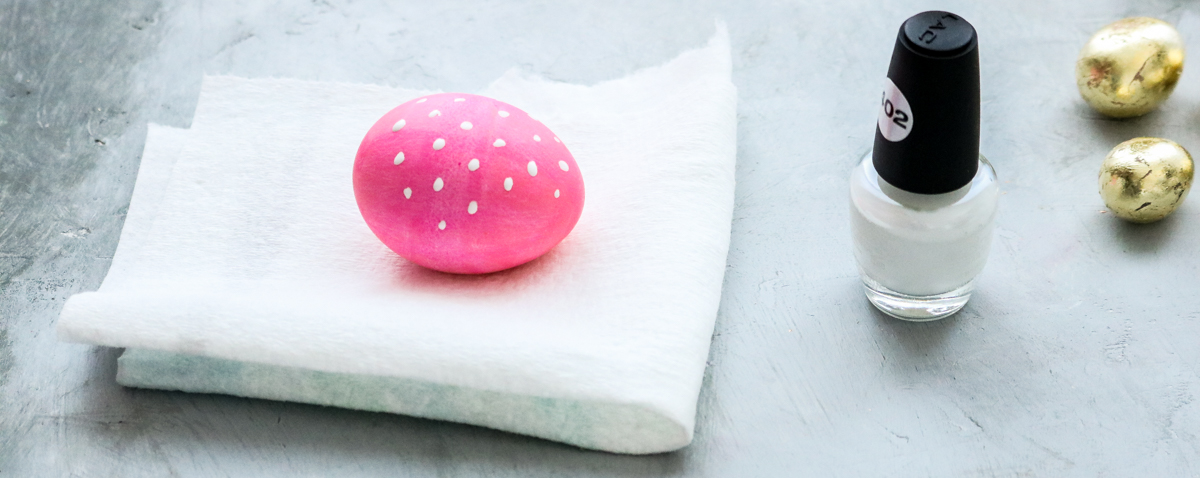
The two colors don’t go well together at all. HAHA Still subconsciously thinking everything will ok. I even tried adding polka dots and flowers to the pink eggs thinking it might look cuter in some way!! WHAT WAS I THINKING! Nope not at all cute! My pastel pink was way to pink!
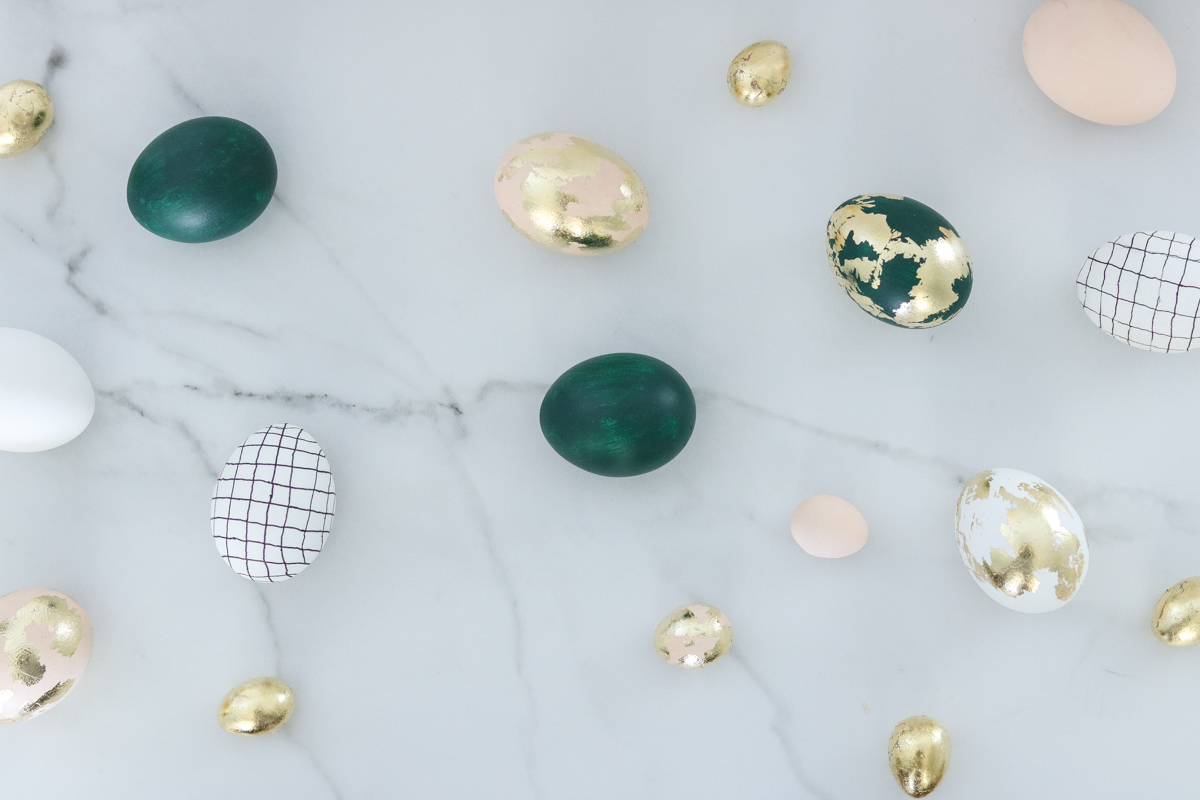
YES! I slept on it and when I woke up the next day I knew the pink couldn’t be fixed. Sadly 6 pink eggs were a fail but, in spite of them these peach babies came to light! 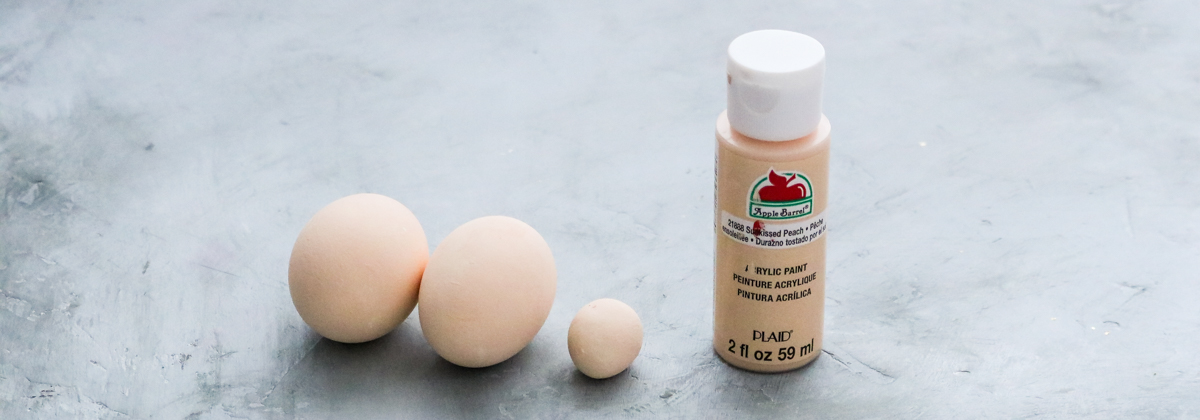
Well then, now that I’ve updated you on my colorful challenge we can move onto the good stuff!
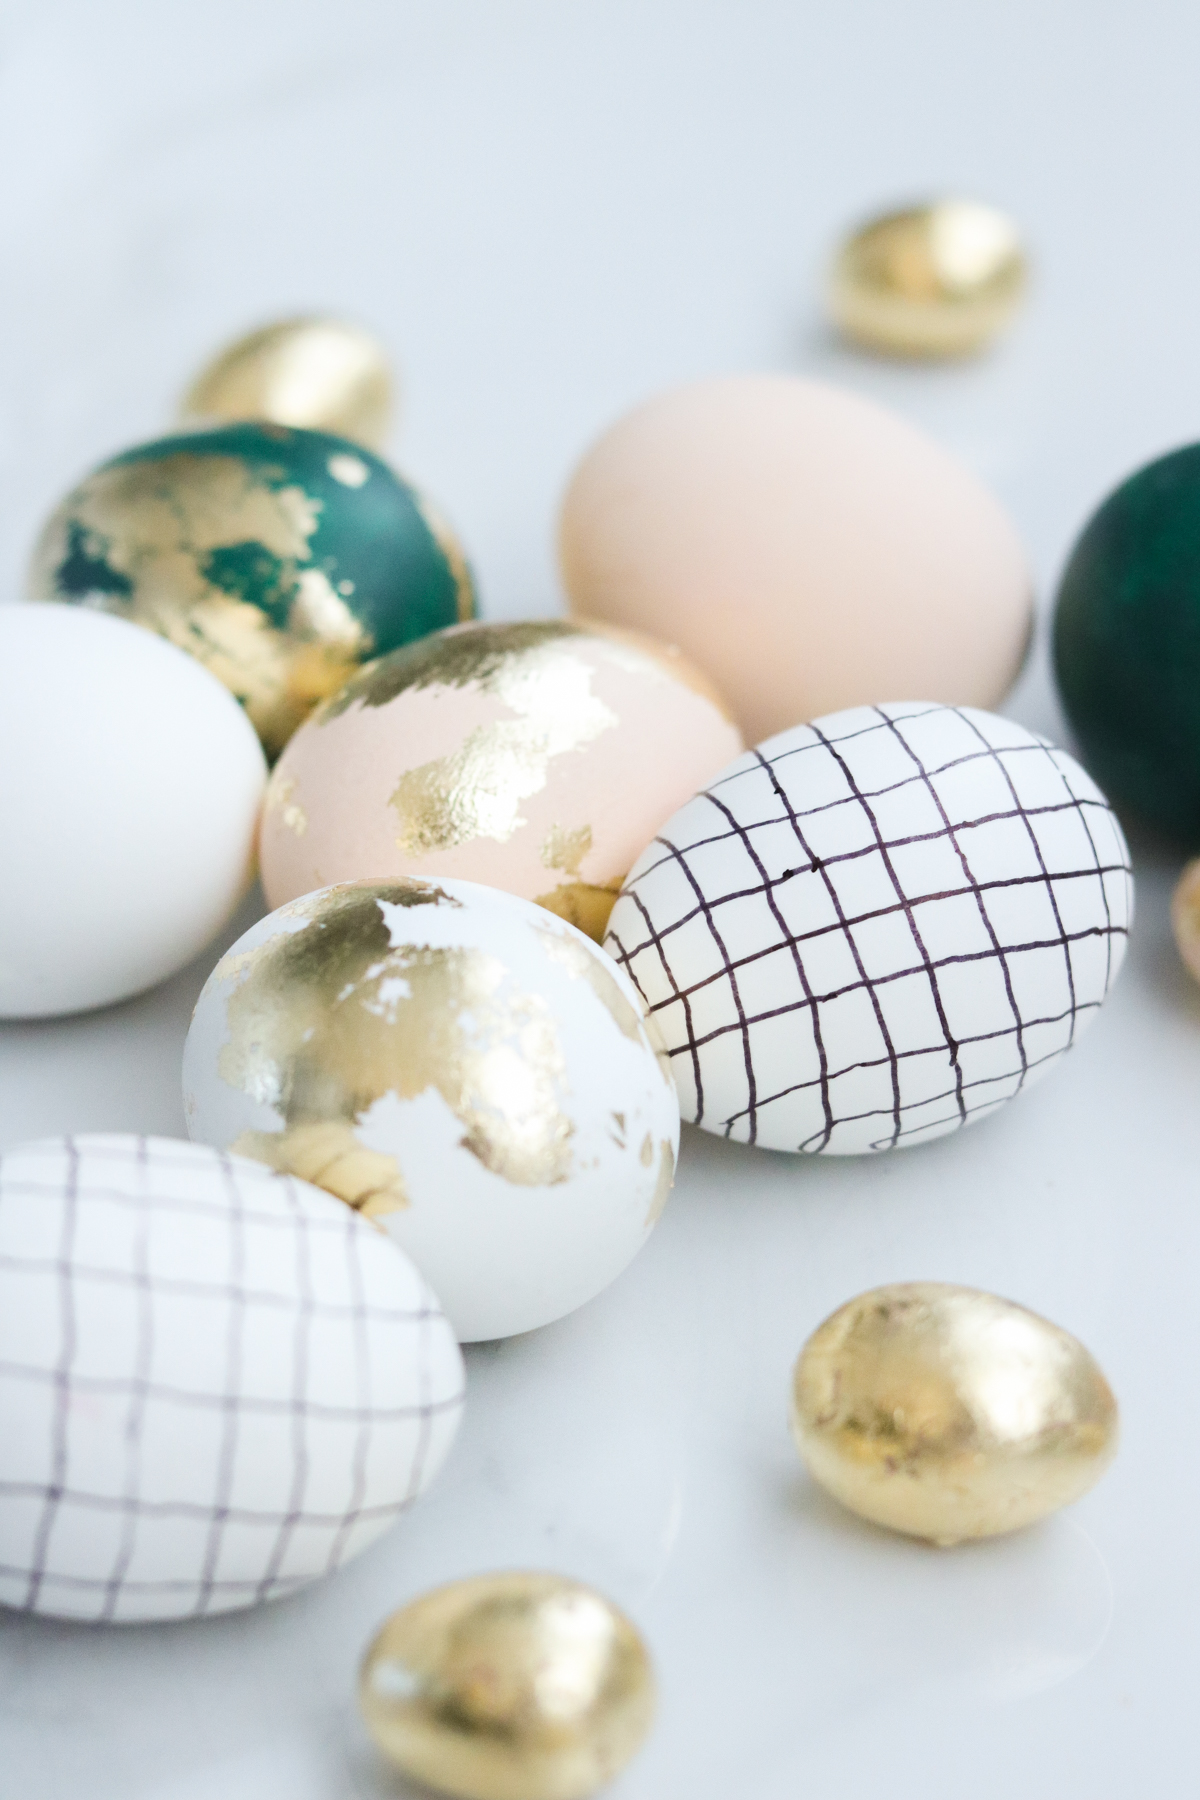
In this post I’ll actually be showing you three ways to decorate your Easter eggs so grab a nice hot cup of joe kick back and relax! 😀
Enjoy this Video 😀
#1 Mini Easter Eggs
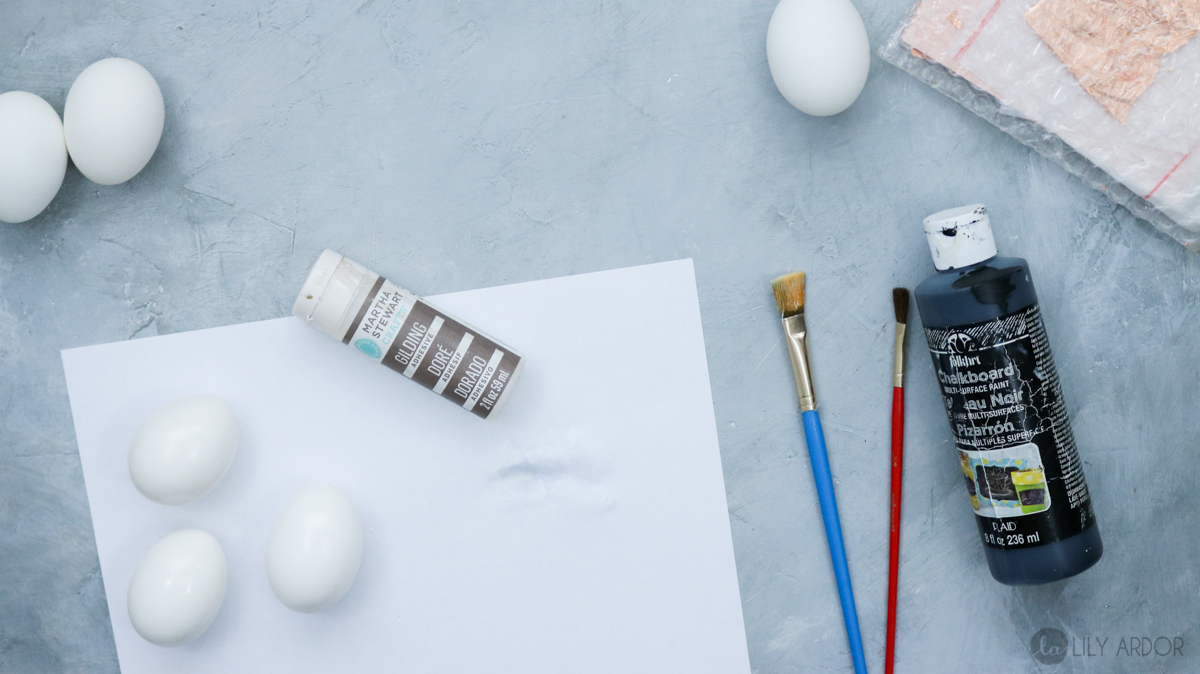
What you’ll need
- Oven baked Clay
- Gold leaf
- Gilding Adhesive
- Brushes
- Baking pan
- Oven
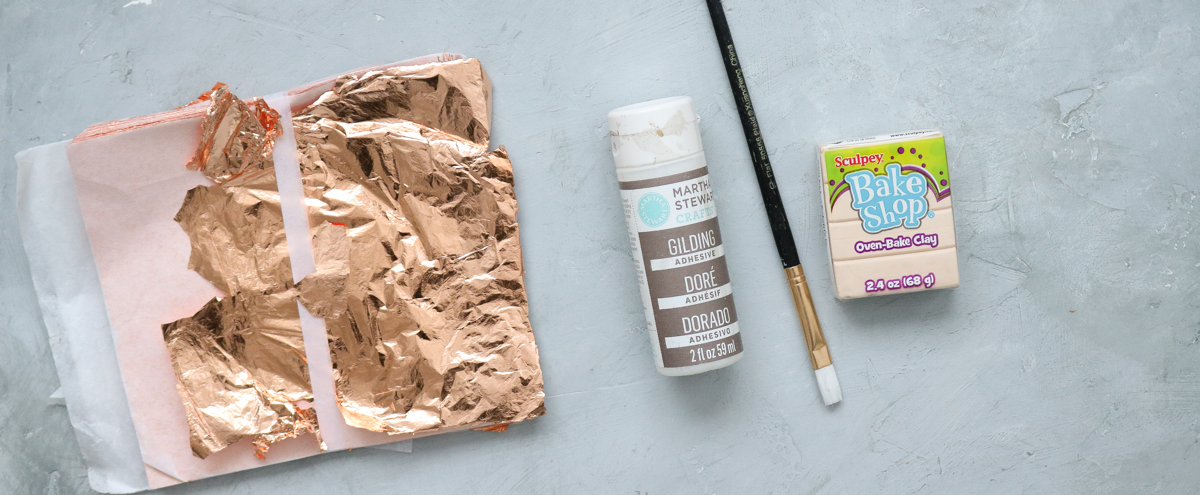
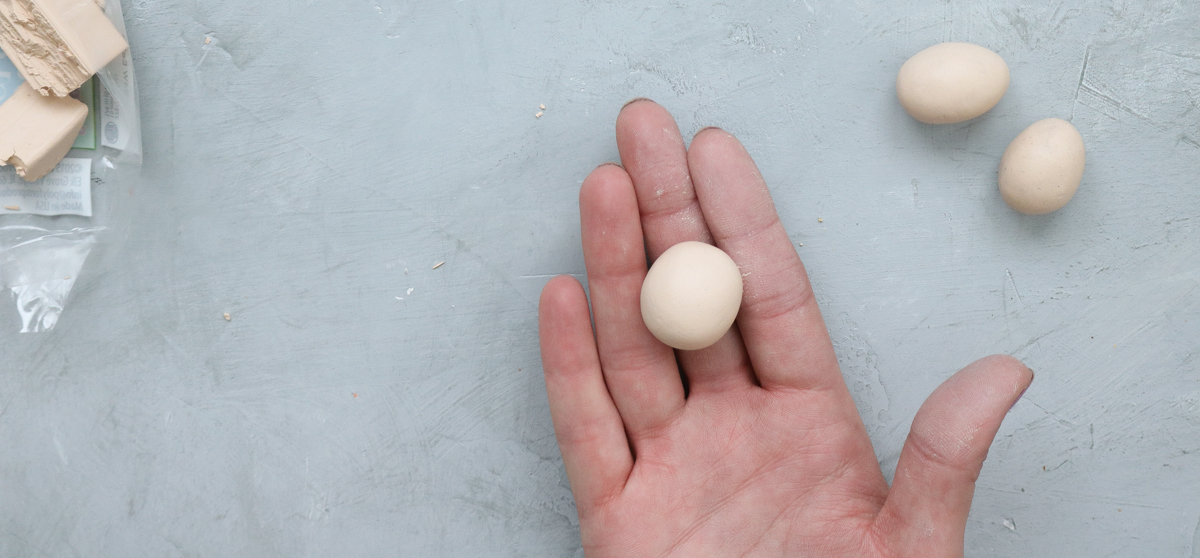
Did I mention these are super easy to make!! To begin start by rolling a piece of clay into a ball. (btw here’s where I get my goldleaf. $6 for 100 sheets – Best deal I’ve found so far! )
Then gently pinch one side of the ball creating an egg shape.
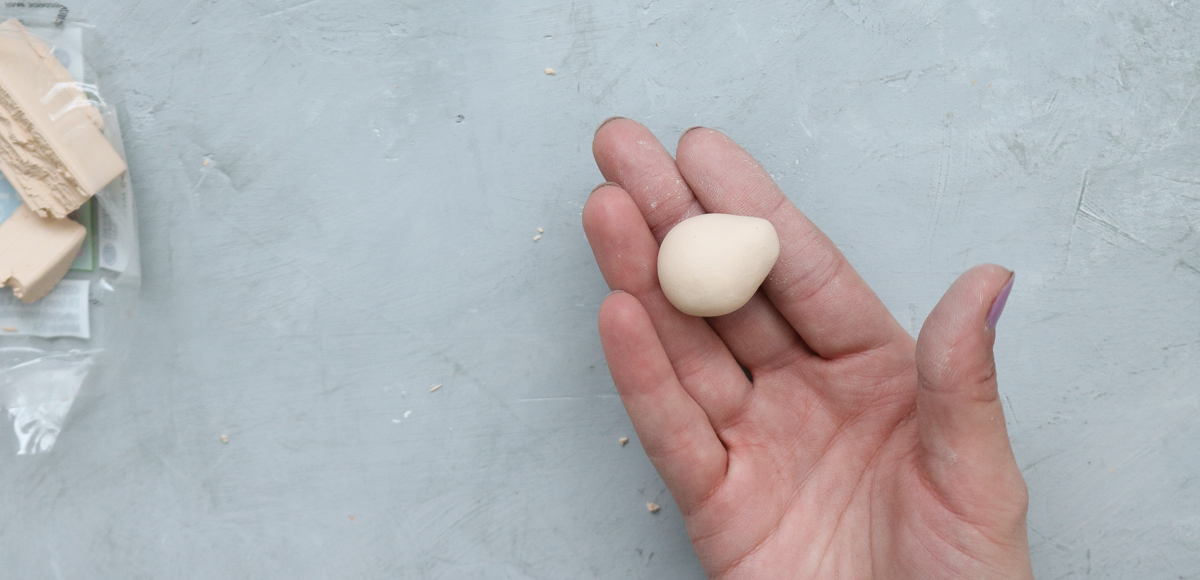
Following that gently shape it off with your fingers.

And to seal the deal pop them in the oven as instructed on the packaging. ( I baked mine for a bit more)
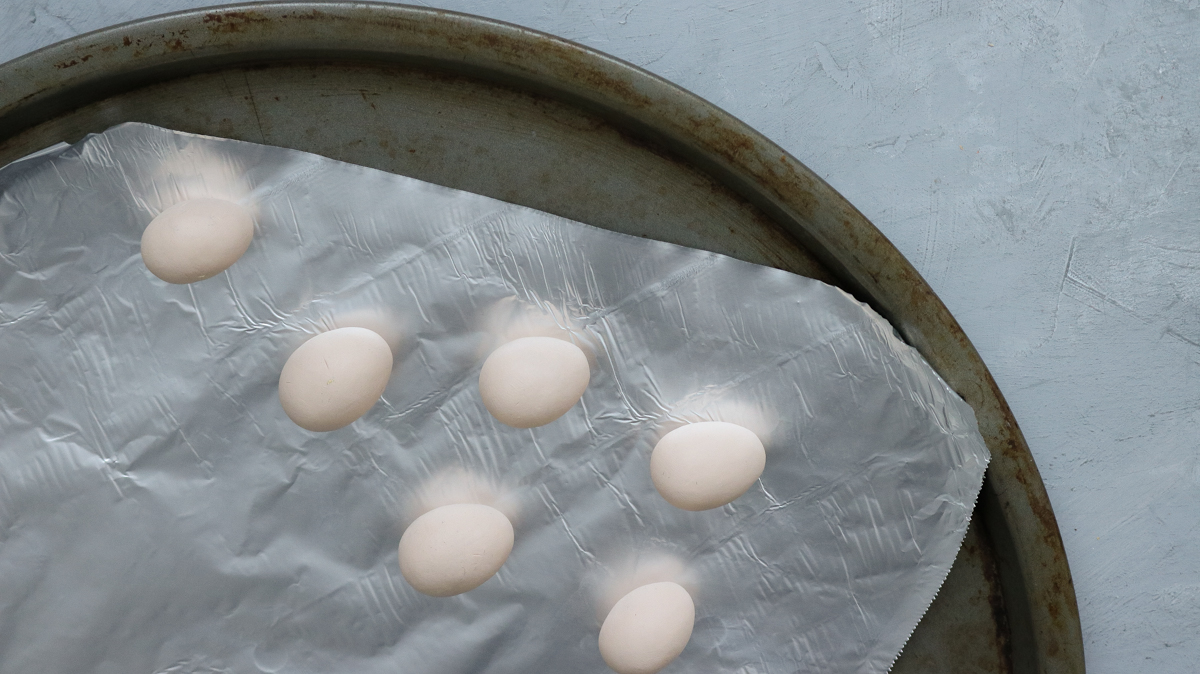
Don’t worry about the burnt bottom you can either paint the eggs , or gold leaf them. (don’t forget to watch my video, it shows how to gold leaf)

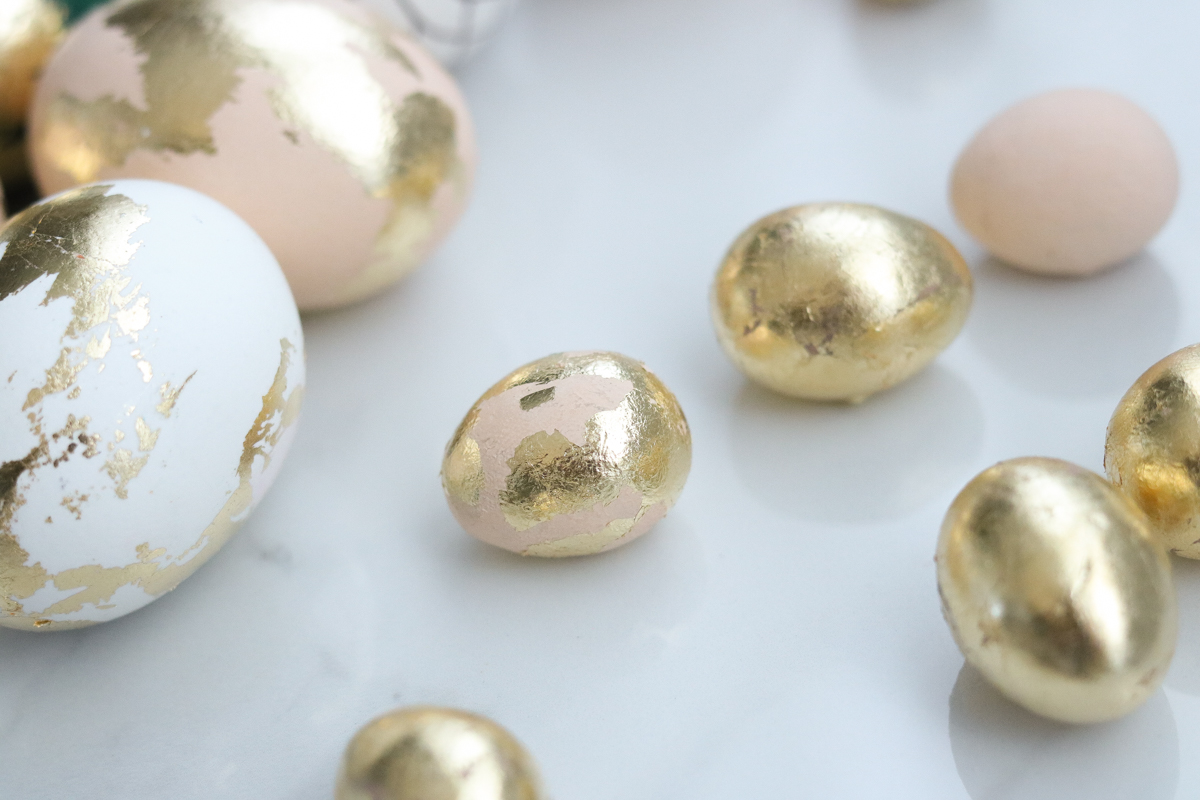
Here’s how cute they look!
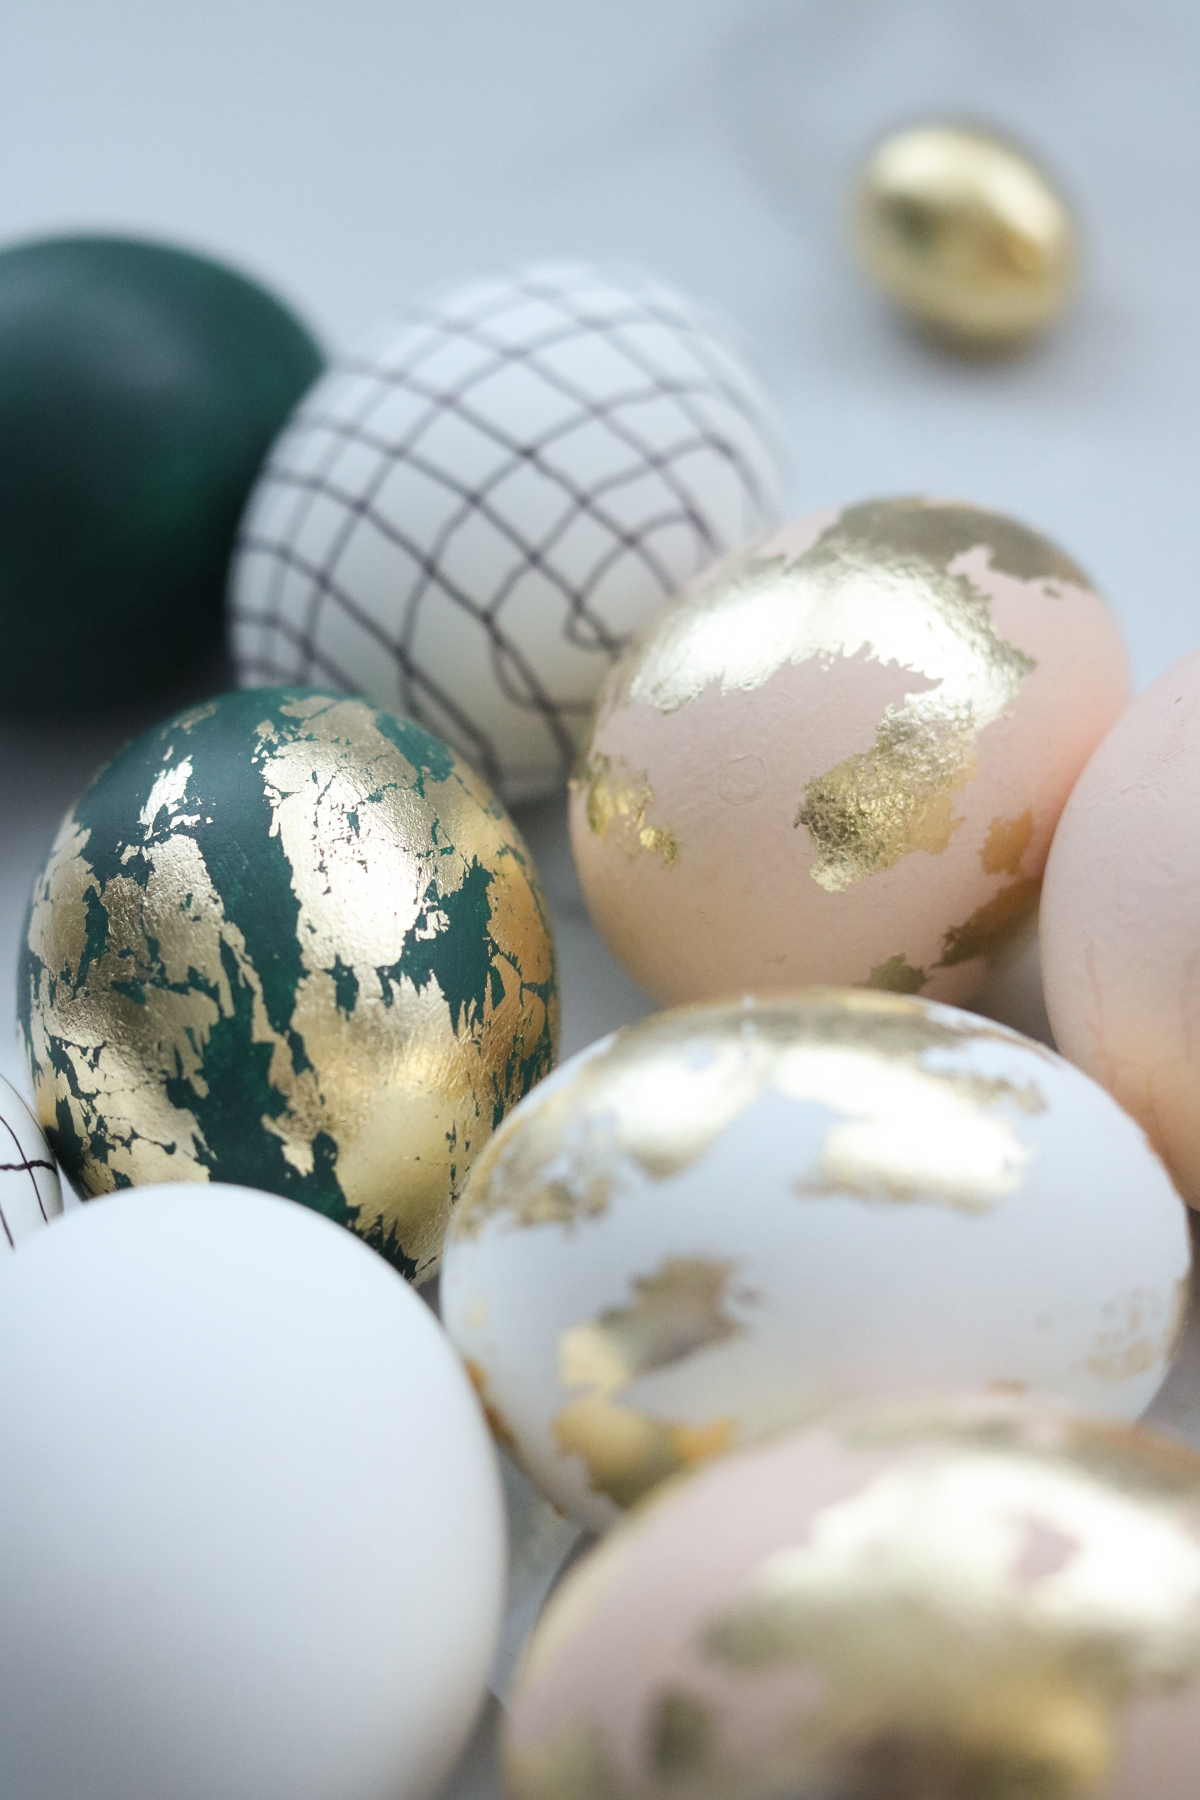
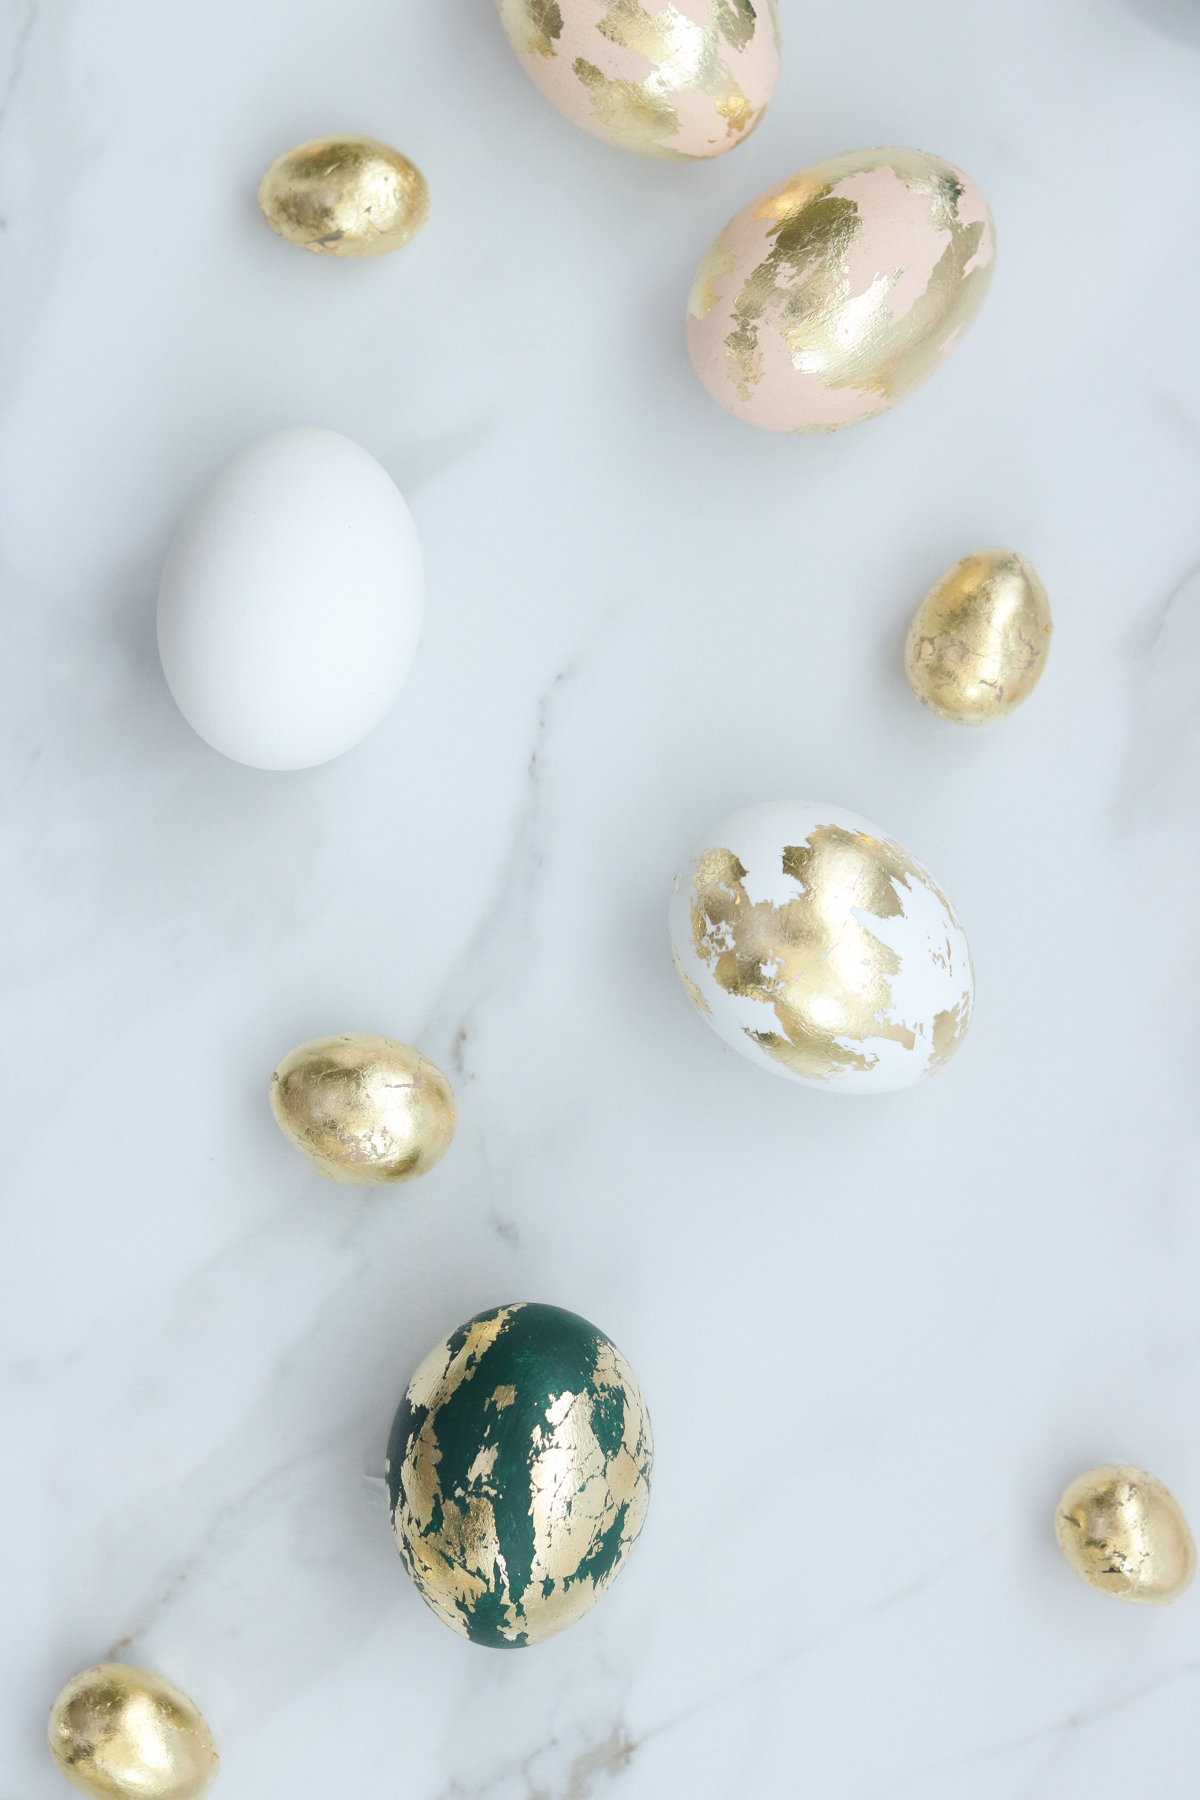
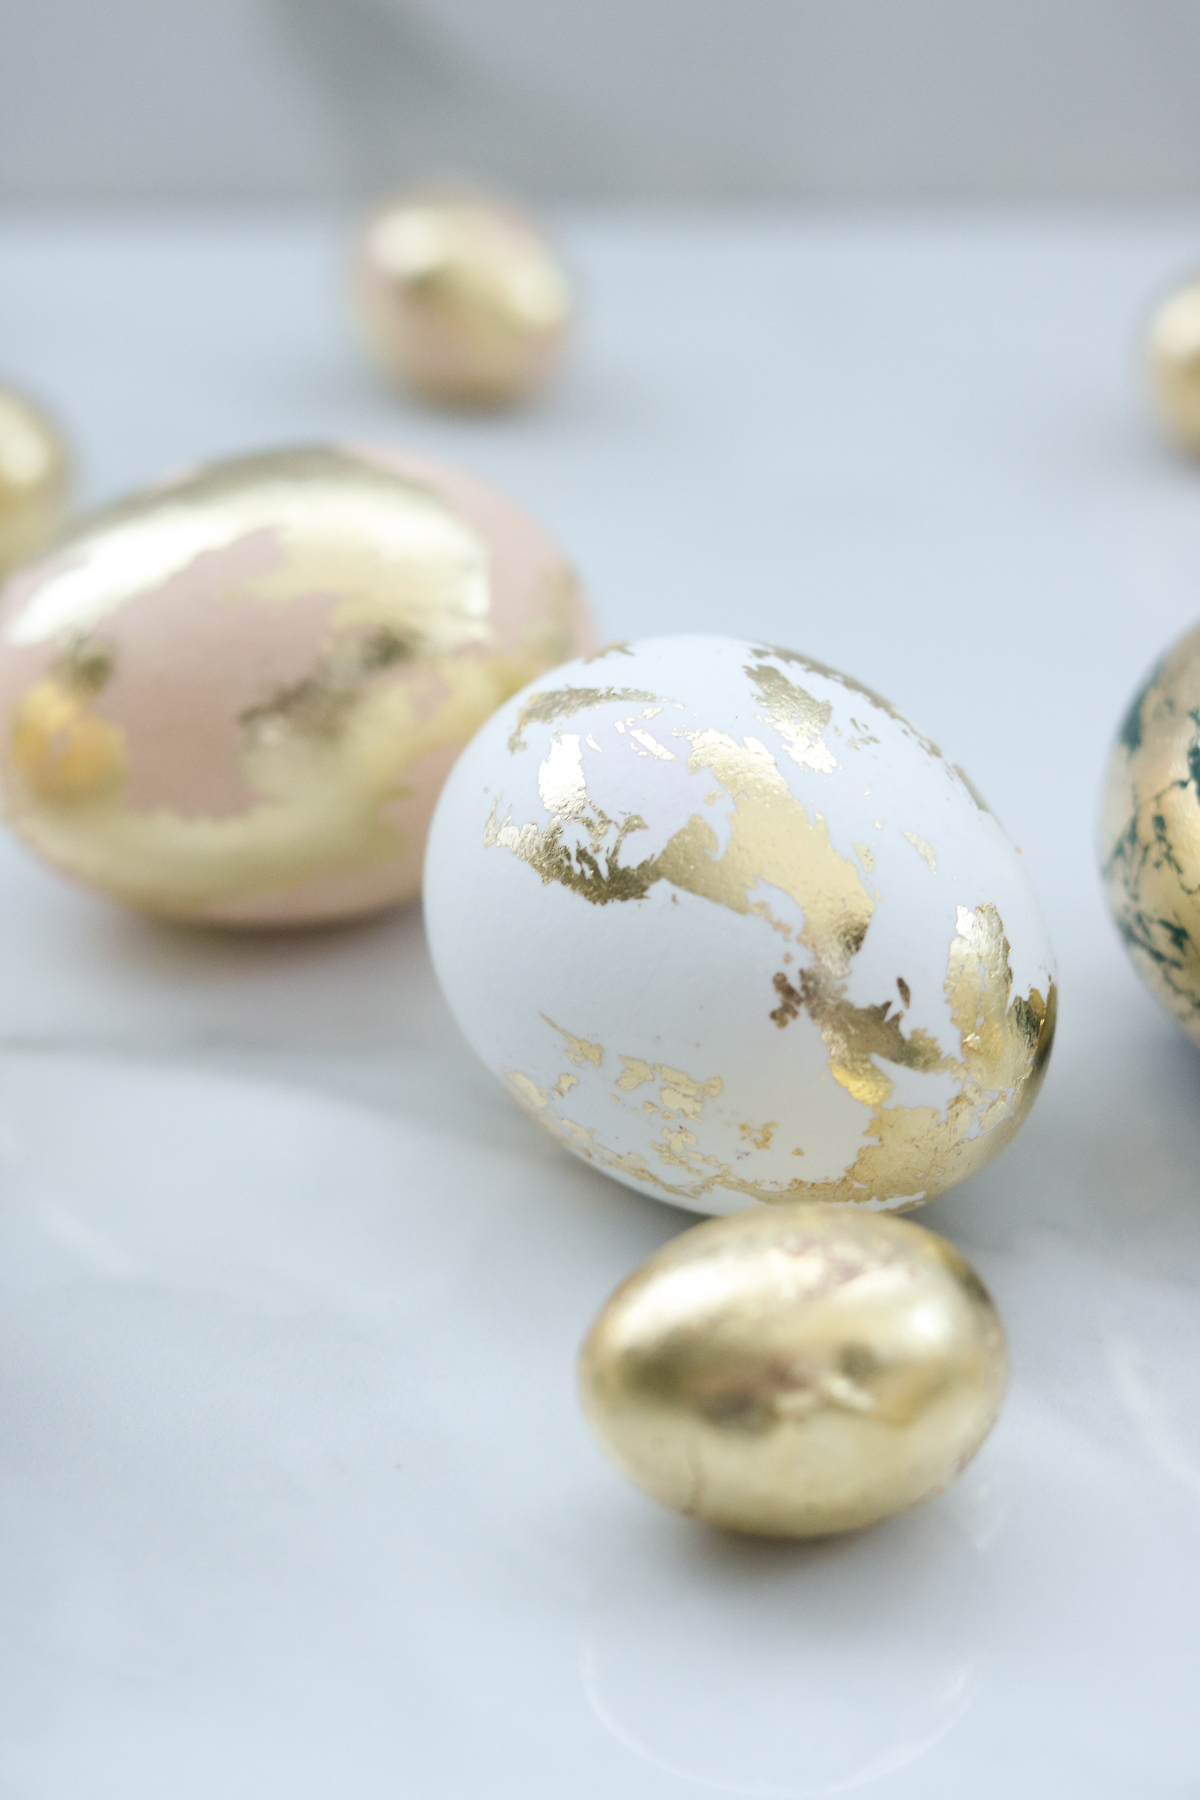
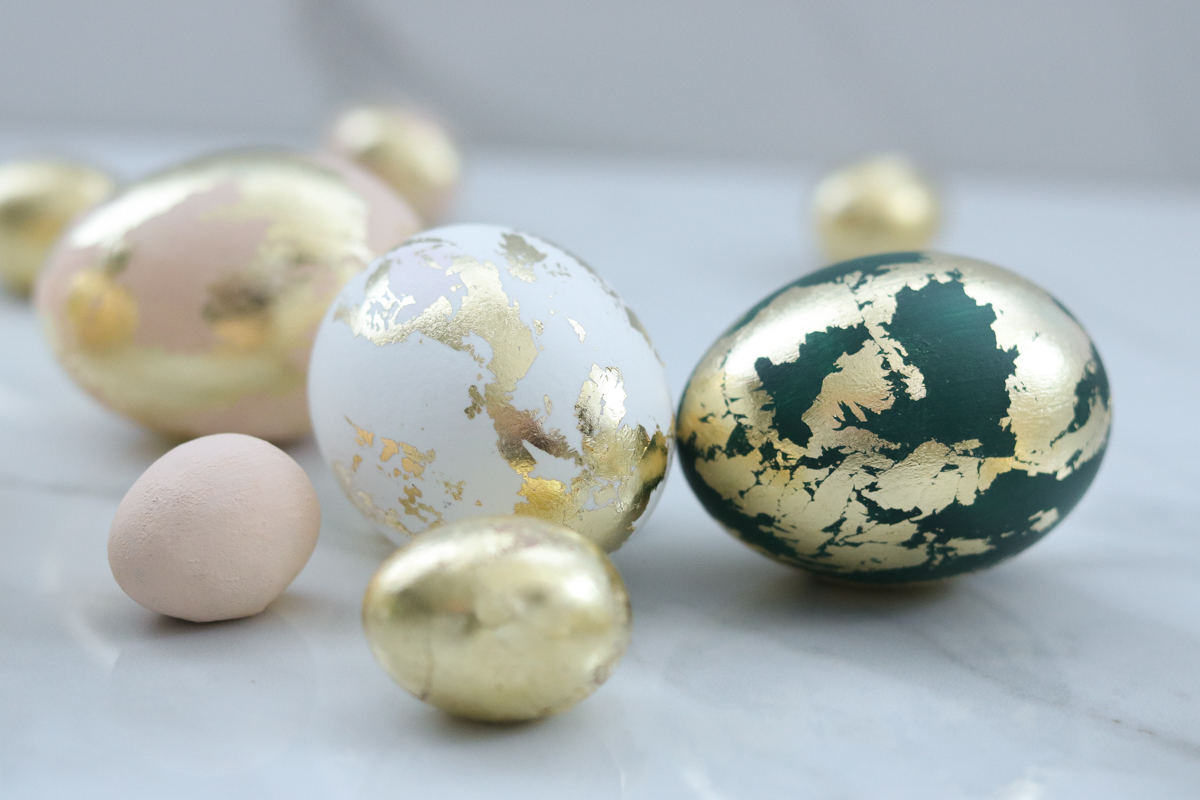
#2 Rustic Gold Leaf Easter Eggs
I always use the martha stweard gilding adhesbe (pictured below) to apply my gold leaf.
You can either paint your egg a solid color or do this technique on plain white eggs. This is super easy and the effect is sso cool! Use a hard bristle brush to apply blotches of gilding adhesive onto your egg. Let it set for 5 minutes. Then apply your gold leaf. Following that use a dry hard bristle brush to remove any excess gold leaf and you should have a pretty rustic gold leaf effect.

I love that effect!
#3 Retro Easter Eggs
First off I’m sorry if these eggs don’t look retro to you. I don’t know why this plaid always makes me think of retro that’s why they were named that! 😀 To make these eggs you’ll only need a sharpie. You can do this effect on colored eggs or on plain white like I did. I started off by making a line across the center of the egg and continued making lines at an even distance apart until I got to the sides.
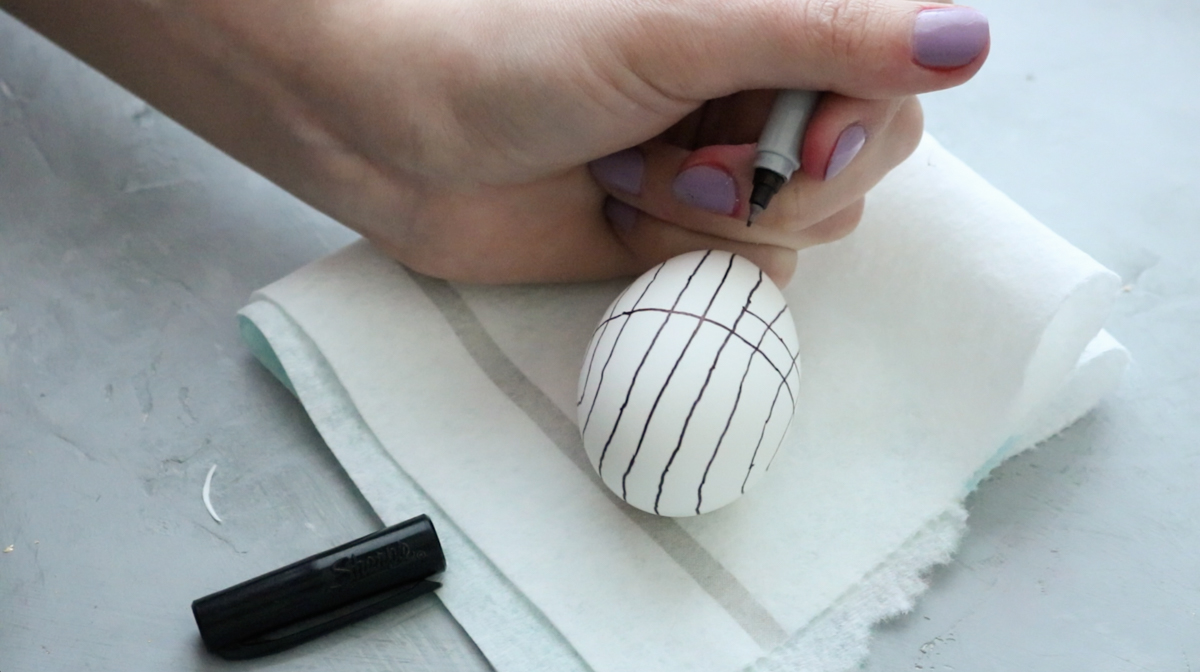
Once you get to the side it’ll turn into an oblong circle. Then simply repeat the steps going in the opposite direction. That’s it! 😀 😀
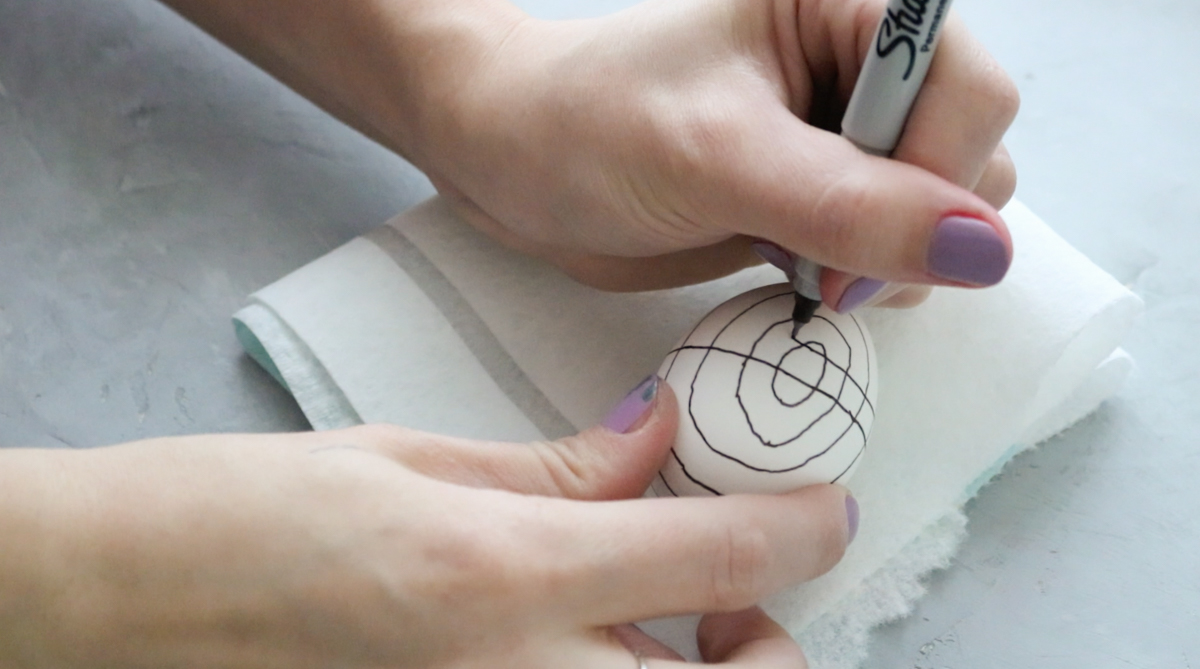
This is what it looks like done! 😀 Sorry my hand isn’t the steadiest but, the concept is their.
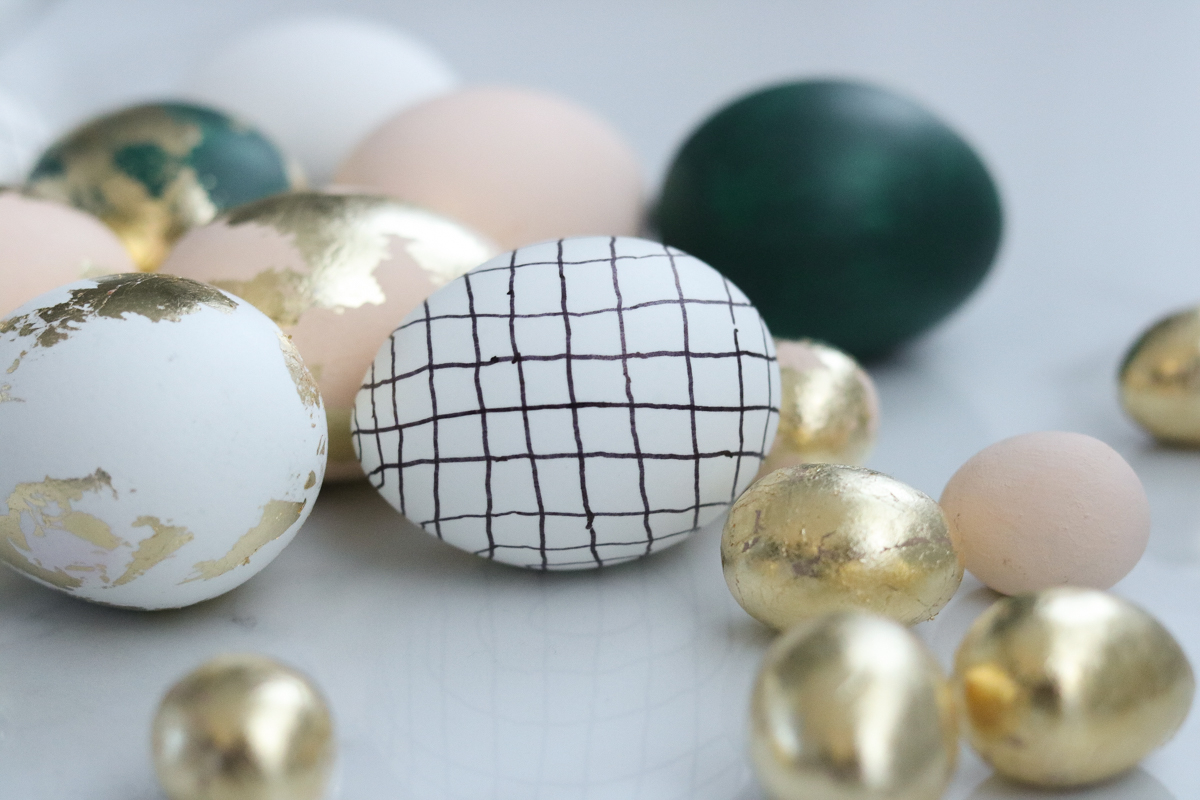
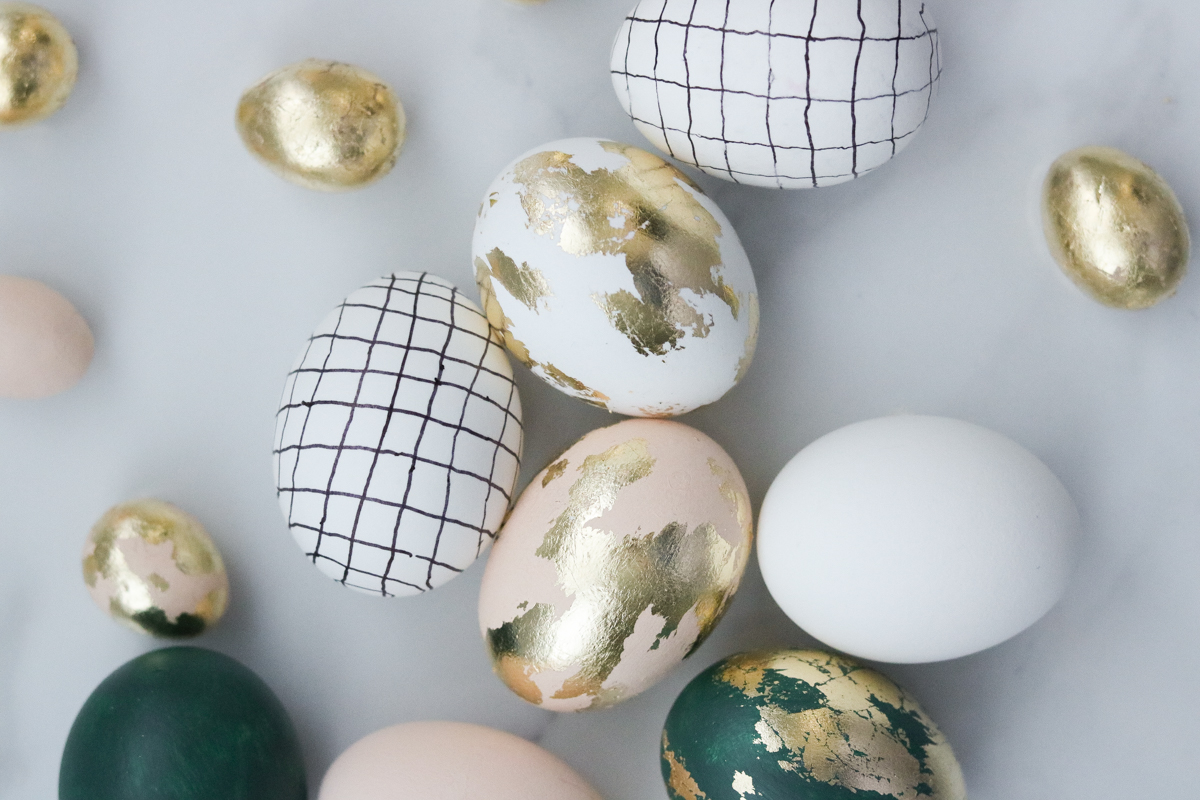
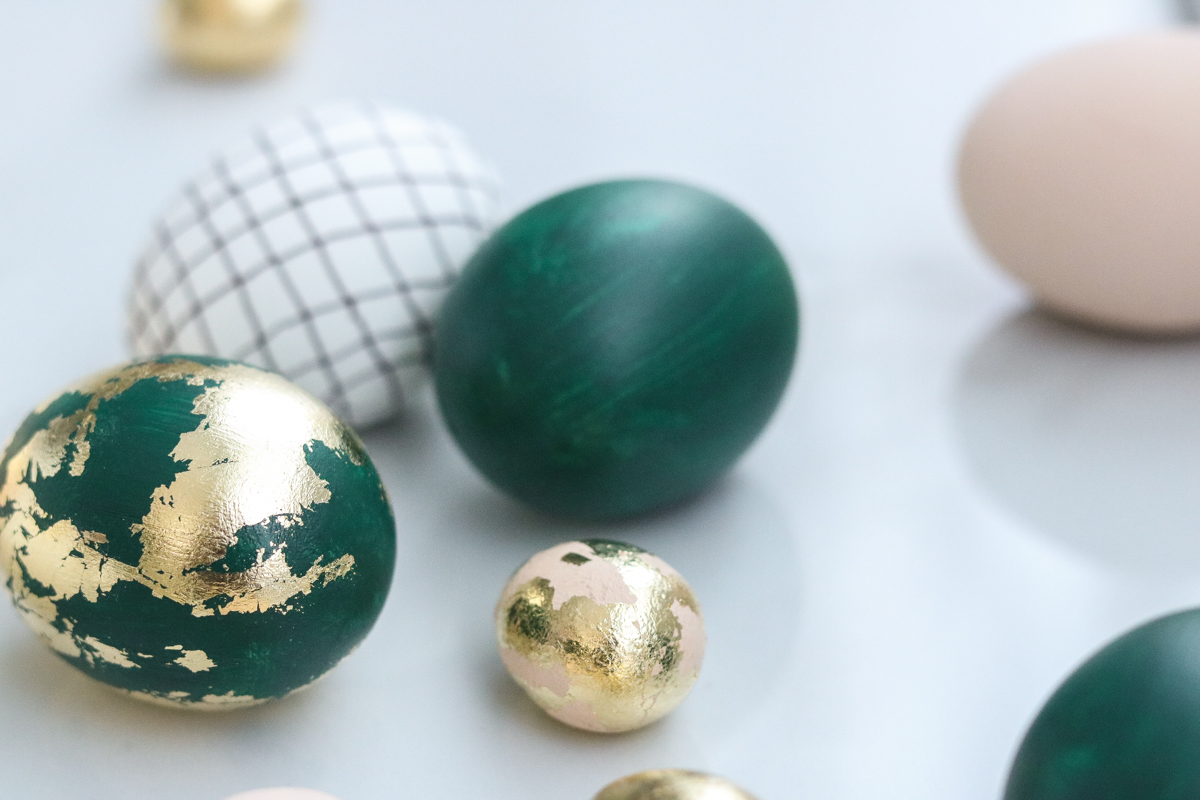
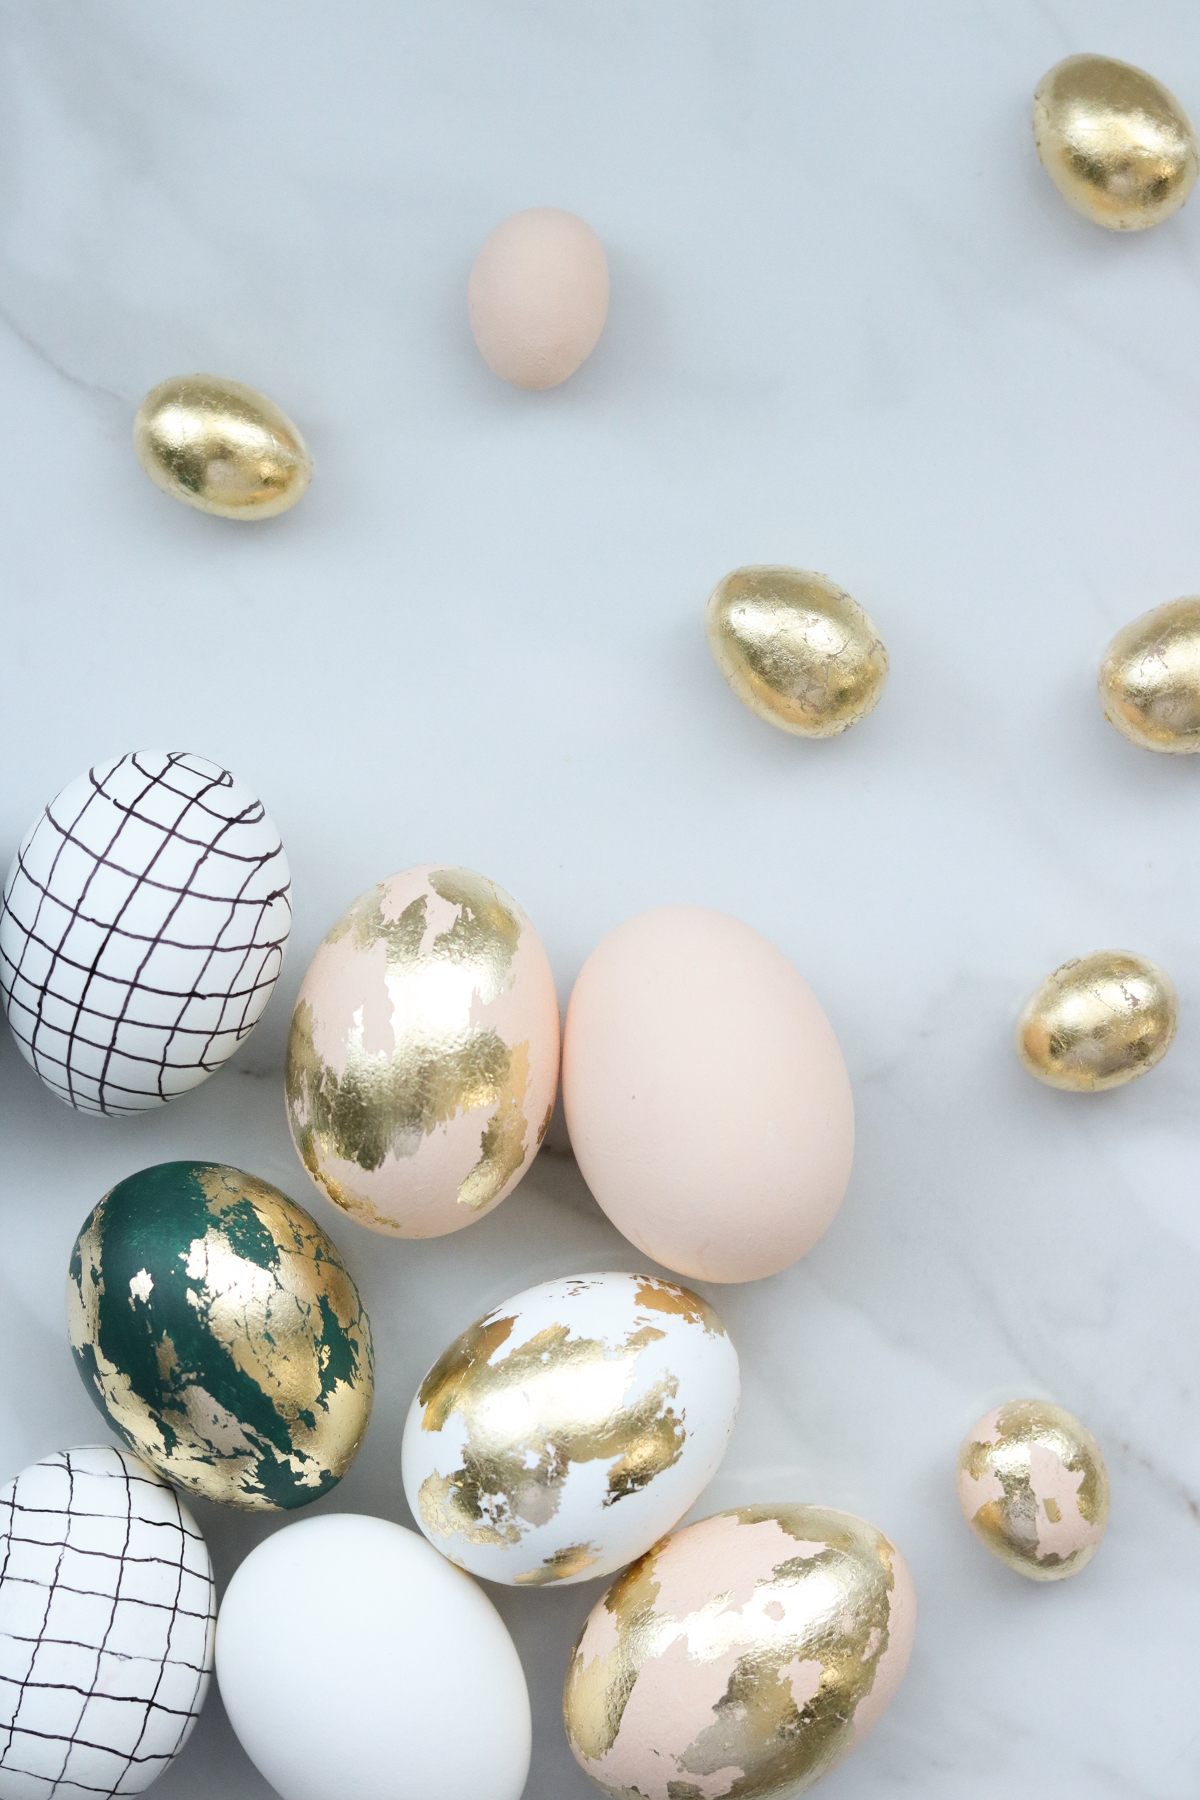
I love this combo of colors. It’s so elegant!
That’s a wrap for this tutorial. I hope you enjoyed it and got some cute ideas! 😀 😀
Impressive and creative thoughts. Thanks for sharing with us.
Hi Lily. Stylish and elegant final result! Impressed as always with the easy tutorials and beautiful ideas! Thank you. Will be trying the gold leaf decorating on cement eggs this weekend.
Thank you so much Charlotte 😀 Happy to hear you liked them 🙂 OOH that sounds fun.
I have returned to this post several times over the years. Your eggs are so beautiful!! Do you remember what brand and shade of green you used? I know you said hunter green but even that has multiple variations. Thank you for your tutorial!
thank you so much. I don’t remember sorry.