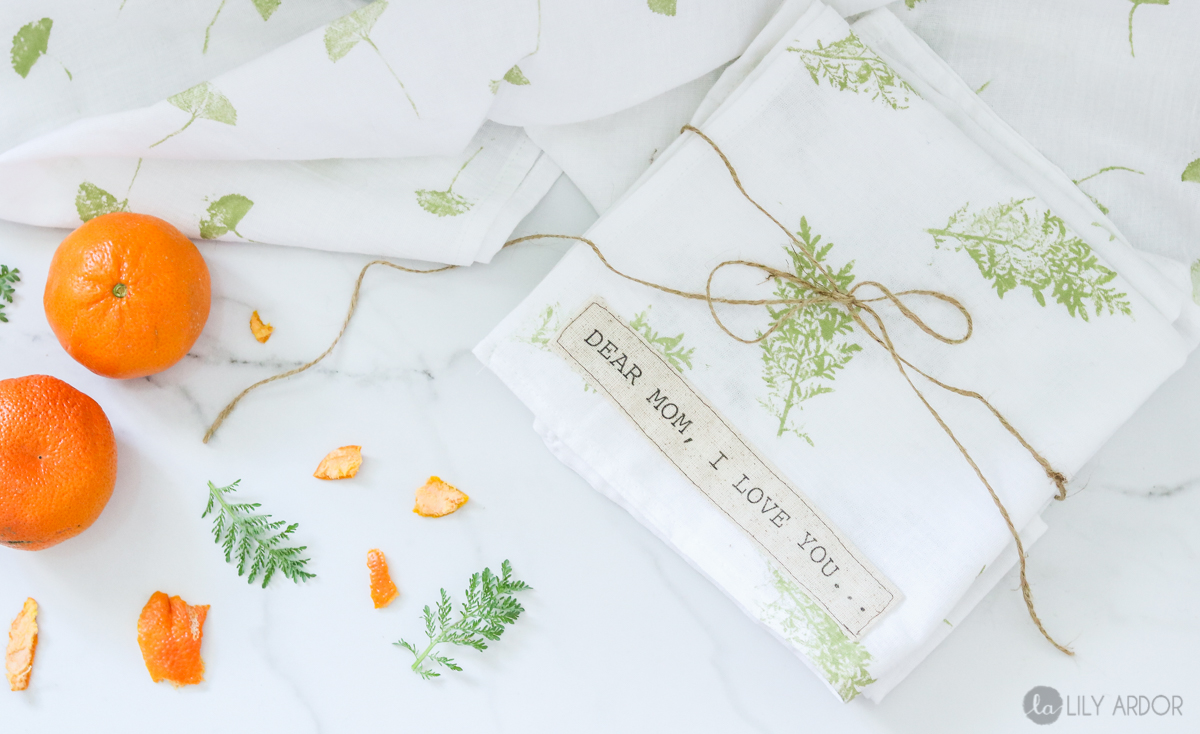
Personalized Mother’s day gift
Mother’s day is a month away. HOW exciting!! I’ve been working on a few gifts for my mom that I would love to share with you.
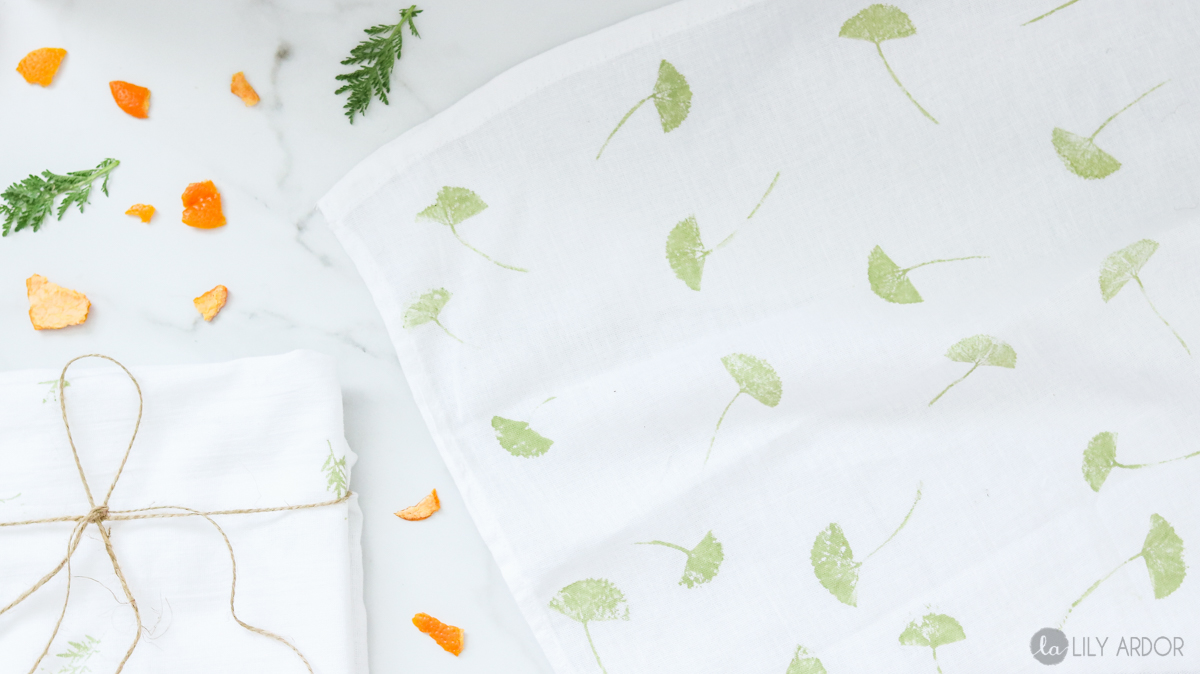
I’ve always wanted to try printing on fabric with leaves so I decided to make some printed hand towels for my mom. I’ll be honest the first towel was a bit of a mess. It looked like blobs of mess. To fix it I decided to simplify it and use a single leaf for each towel to create a pattern.
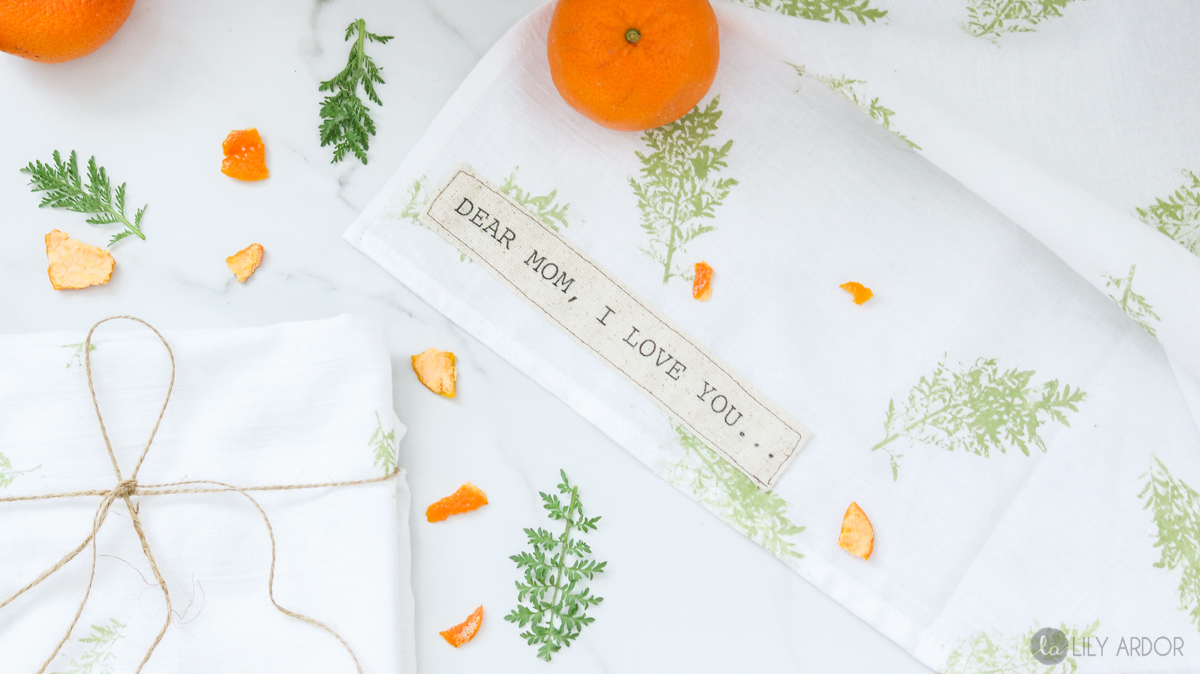
Once I was done with the towels I really wanted to personalize them and I was breaking my head over it for a good day. Then finally after digging through some fabric I decided to print a quote on it. Yes I attempted writing a quote on the towel with a sharpie. Unfortunately that was a fail because the marker bled into the cotton towel fabric and looked messy. I wish I could print the quote directly onto the towel but, these hand towels are to big to fit into my printer.
I’ll be showing you how to print on fabric with leaves and how to make custom quotes on fabric!!
Okay Let’s do this!
What you’ll need to print with leaves
- foam brush
- cotton hand towel
- leaves
- brush
- acrylic paint (which ever colors you choose)
- mixing containers
- scrap paper
- fabric medium
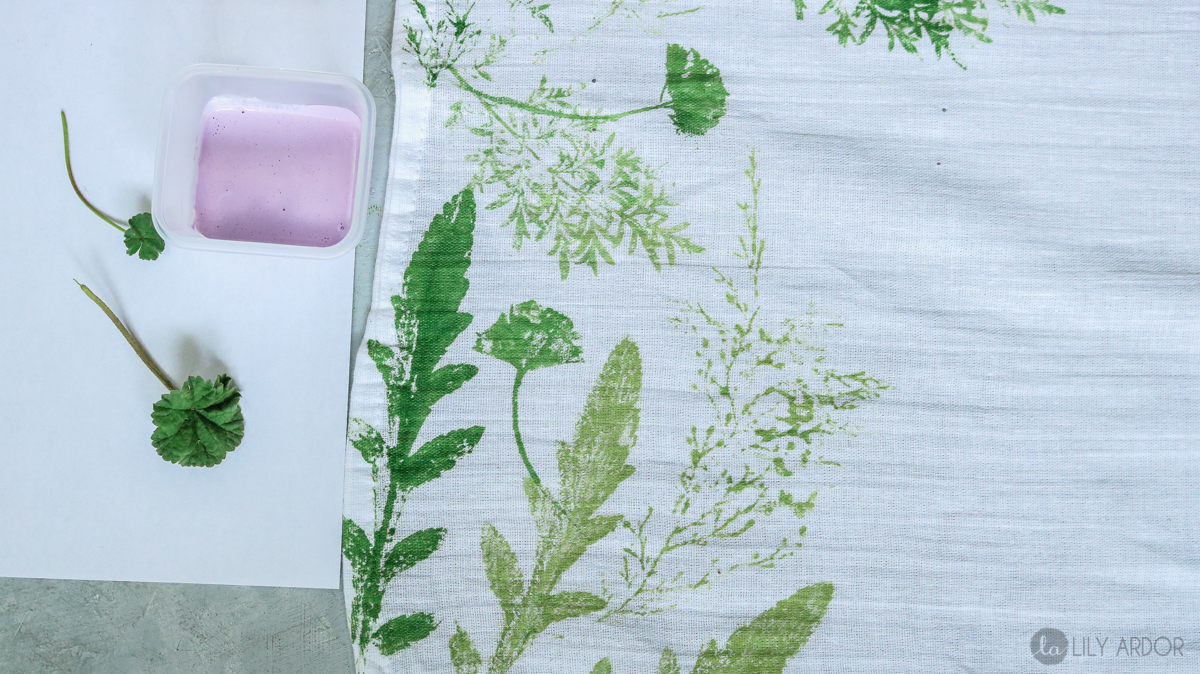
This process is pretty self explanatory. To make your fabric paint you’ll need to mix 2 part fabric medium to 1 part paint. (or follow instructions on the back of bottle)

Use your foam brush and dab your paint mixture all over one side of your leaf.
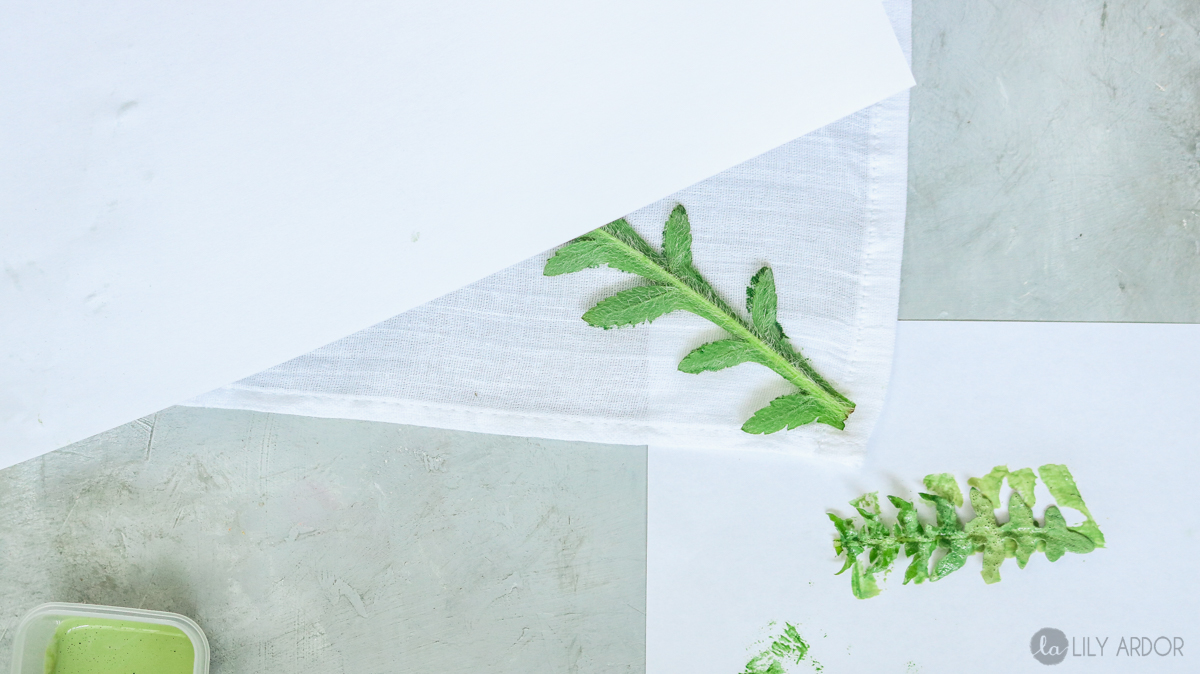
Then flip your leaf painted side down and use a piece of paper to pat the paint into your fabric!
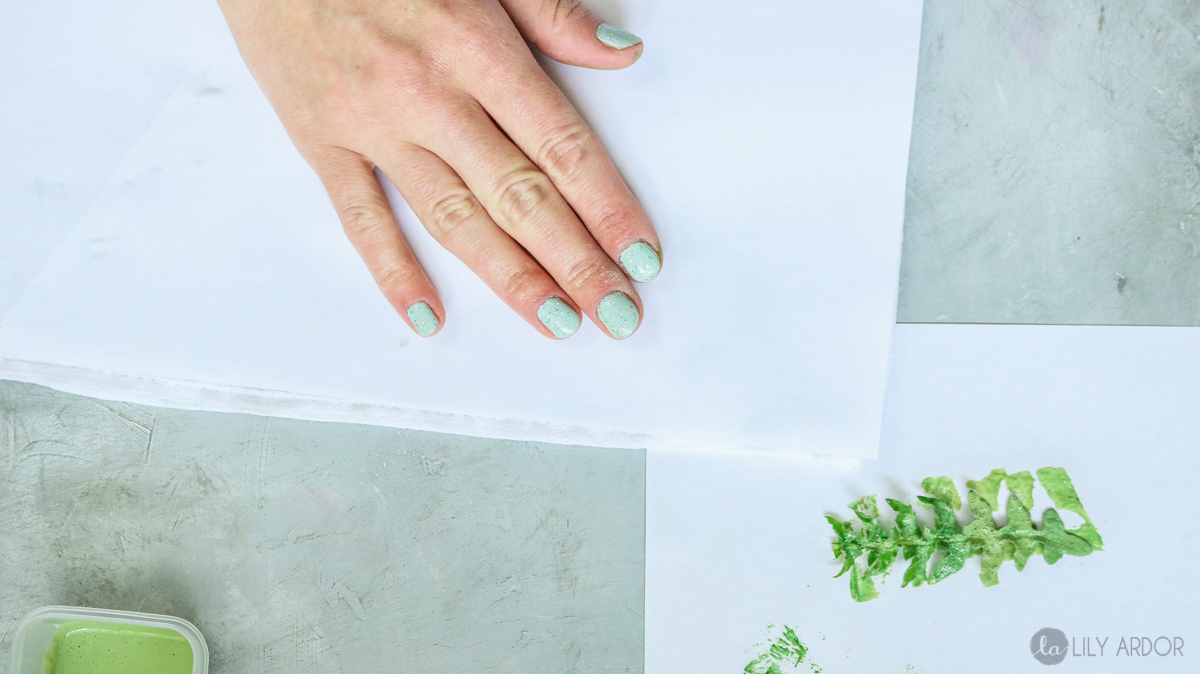
Following that remove your leaf and your should have a printed leaf stamp!
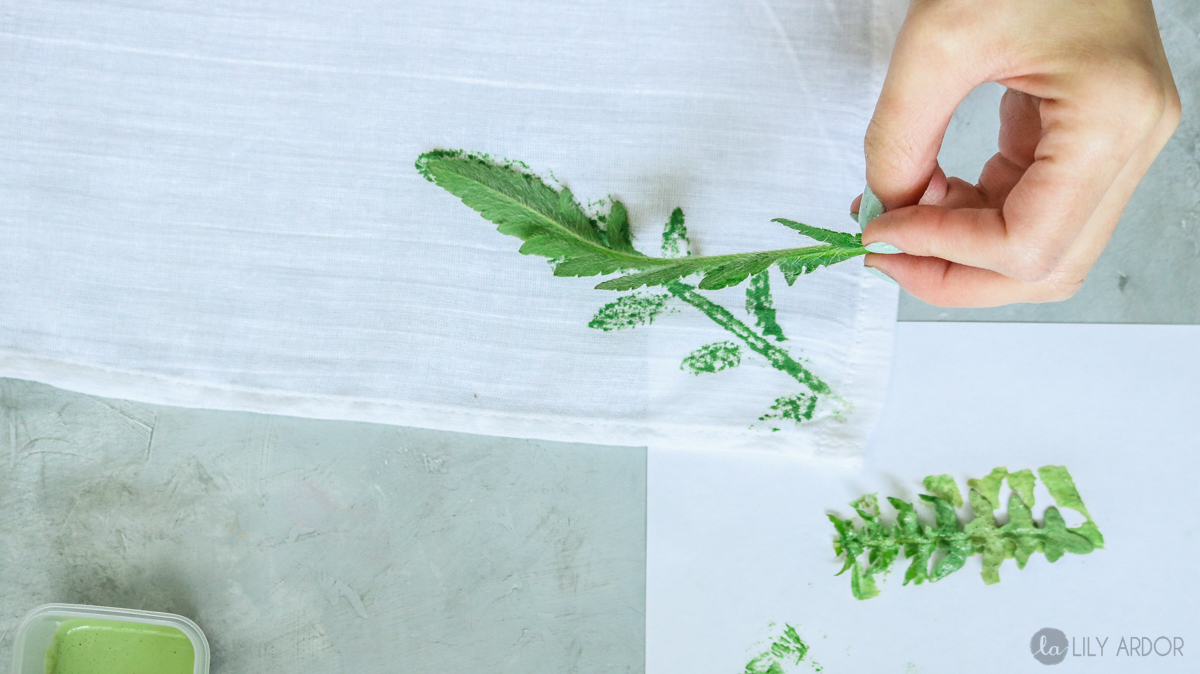
Here’s what the first towel looked like. I sure had fun testing out all the leaves. Make sure and have an extra towel for practice. 😀 😀
What you’ll need to make fabric paper
- fabric
- Printer (I used an older printer)
- freezer paper
- sewing machine
- iron
To begin cut your fabric out at 8×10. Just like printer paper.
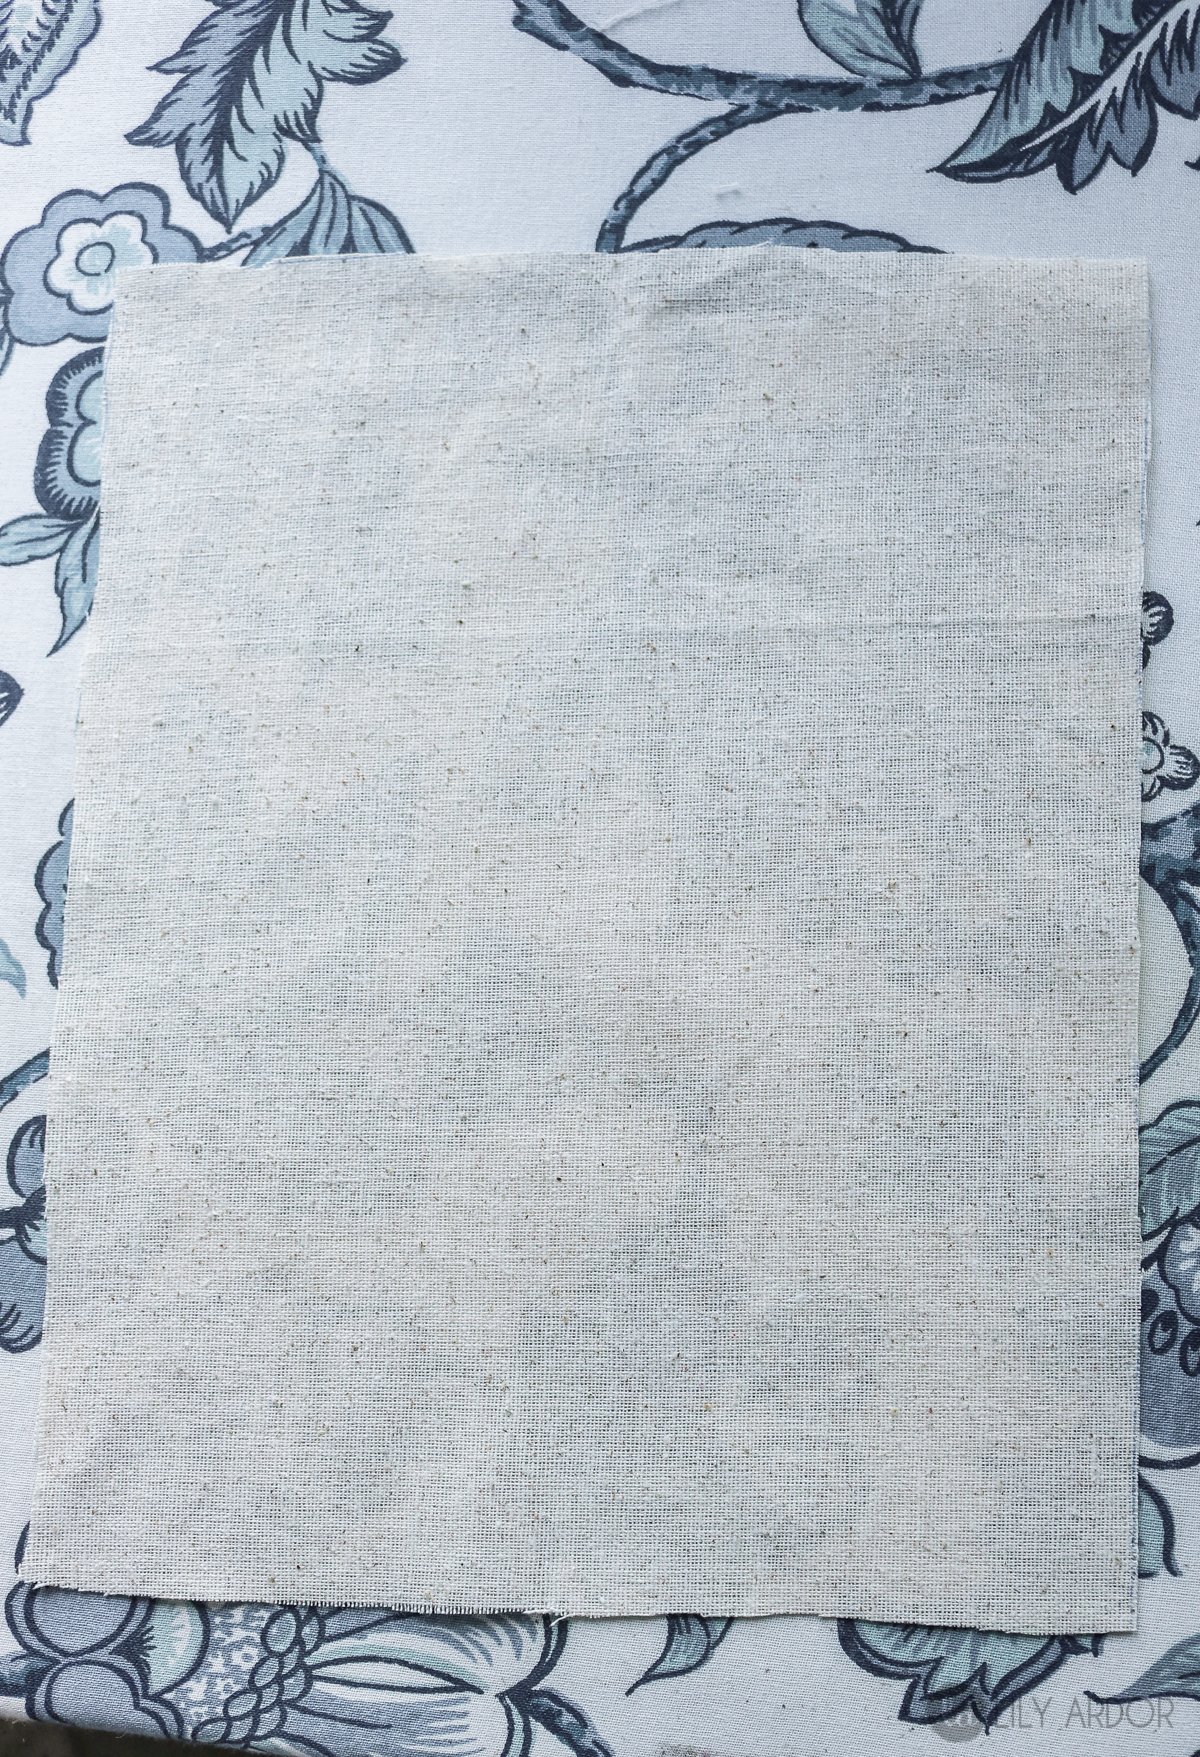
Following cut your freezer paper down to size as well and iron it onto your fabric. Freezer paper should be shiny side towards the fabric when ironing that’s what will attach it. CAUTION: Make sure your edges are glued to the freezer paper well or else it might jam in your printer. It’s ok if the freezer paper doesn’t attach smoothly. Some bubbles are acceptable. If your over iron the freezer paper it will stop sticking to the fabric so be careful. 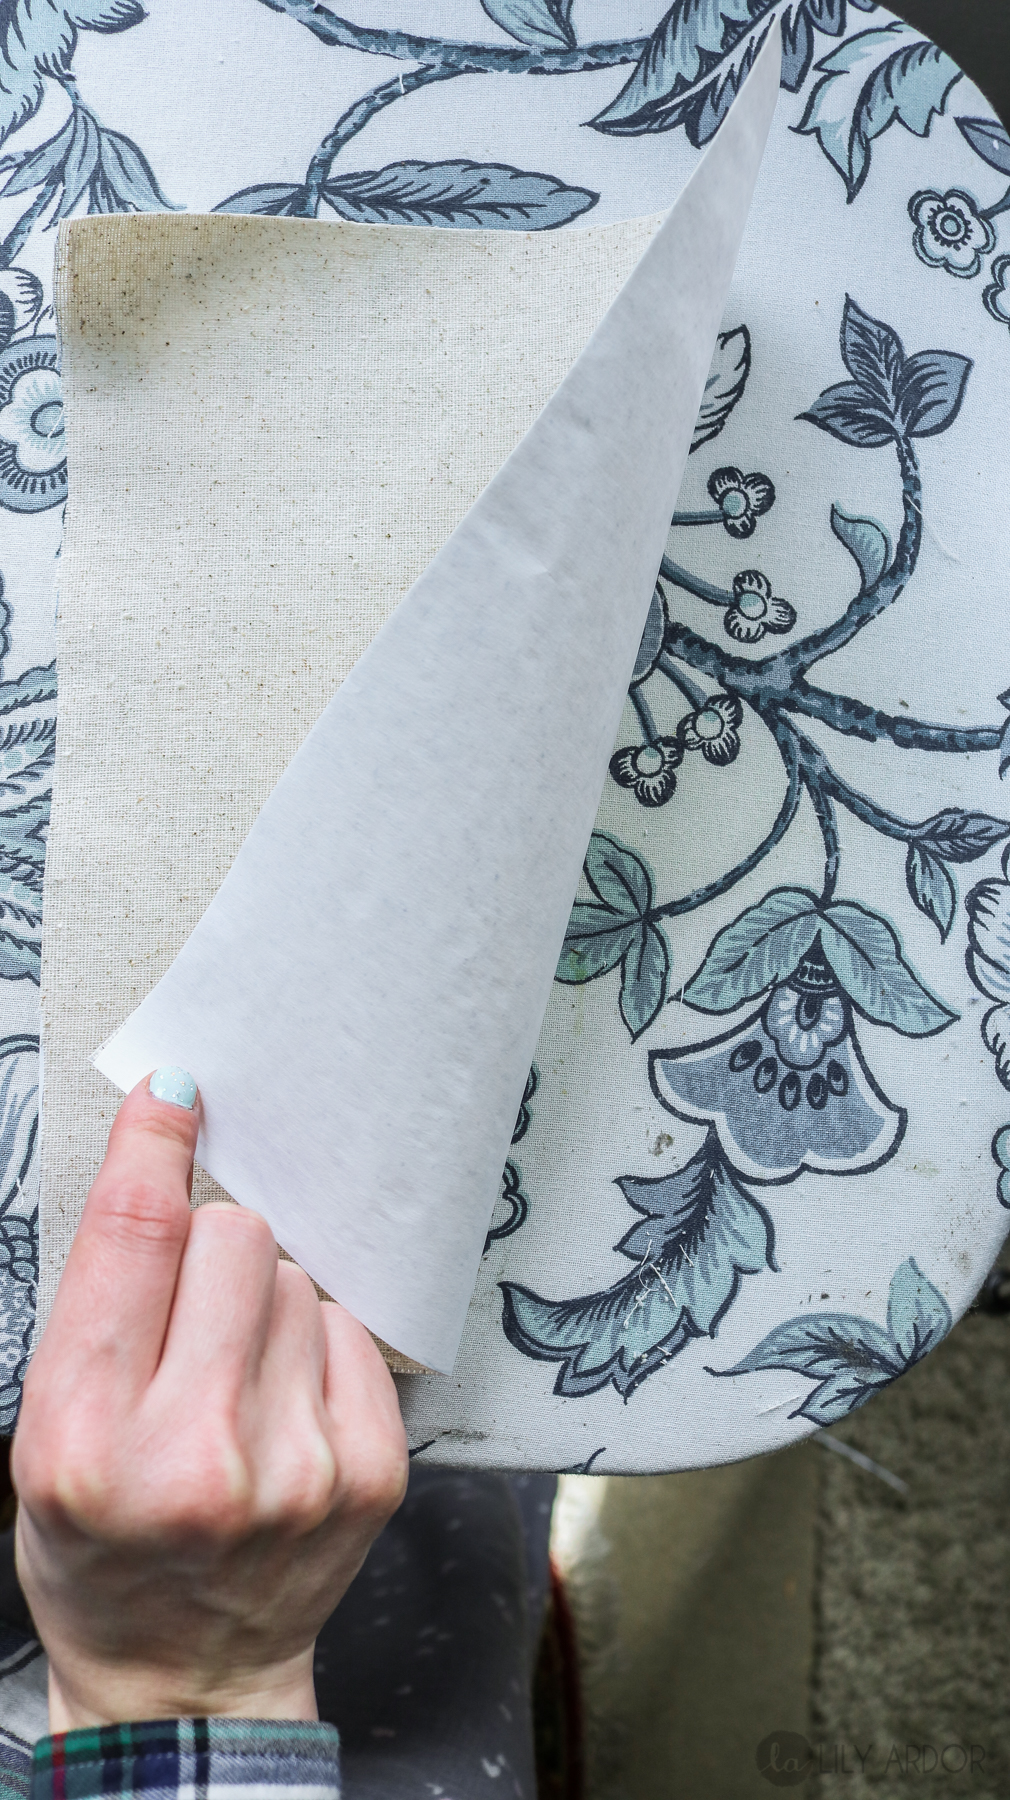
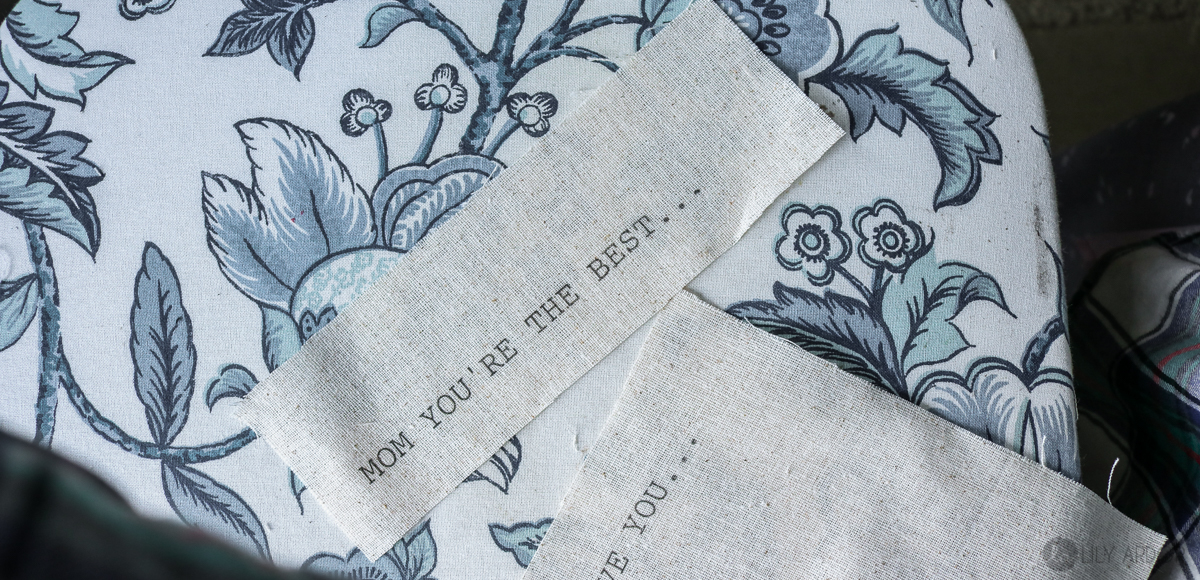
To print make sure you lay your fabric in your printer tray the right way so your words aren’t printed on the freezer paper side. Once printed simply remove the fabric from the freezer paper. 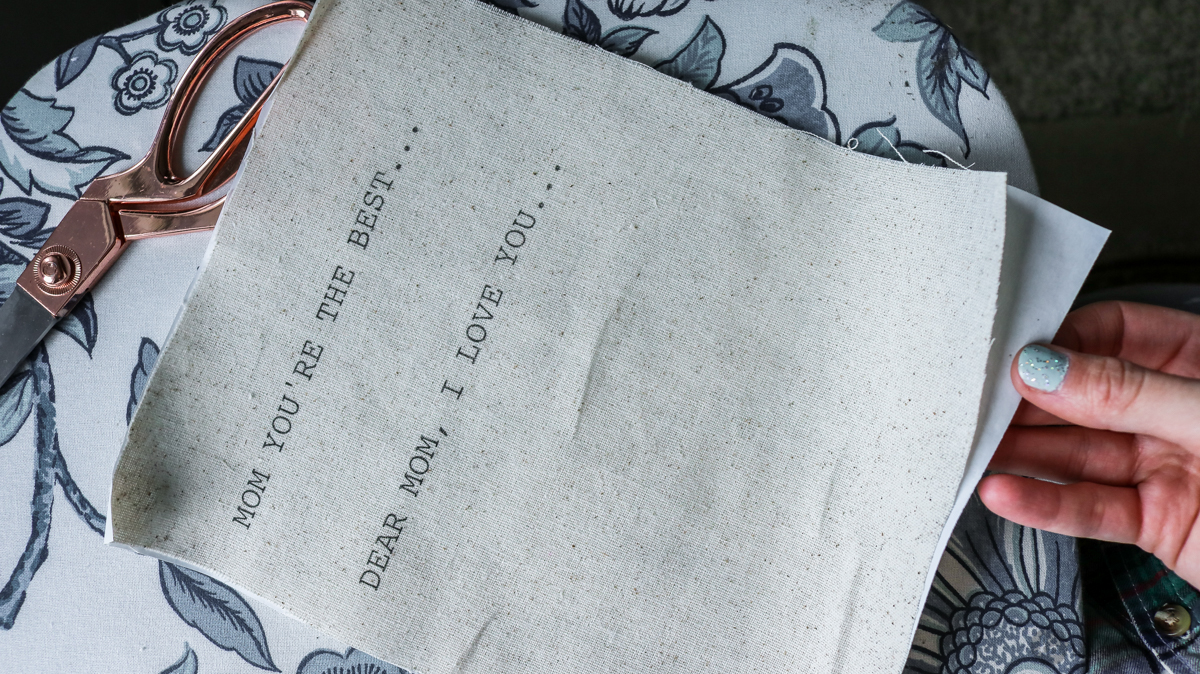
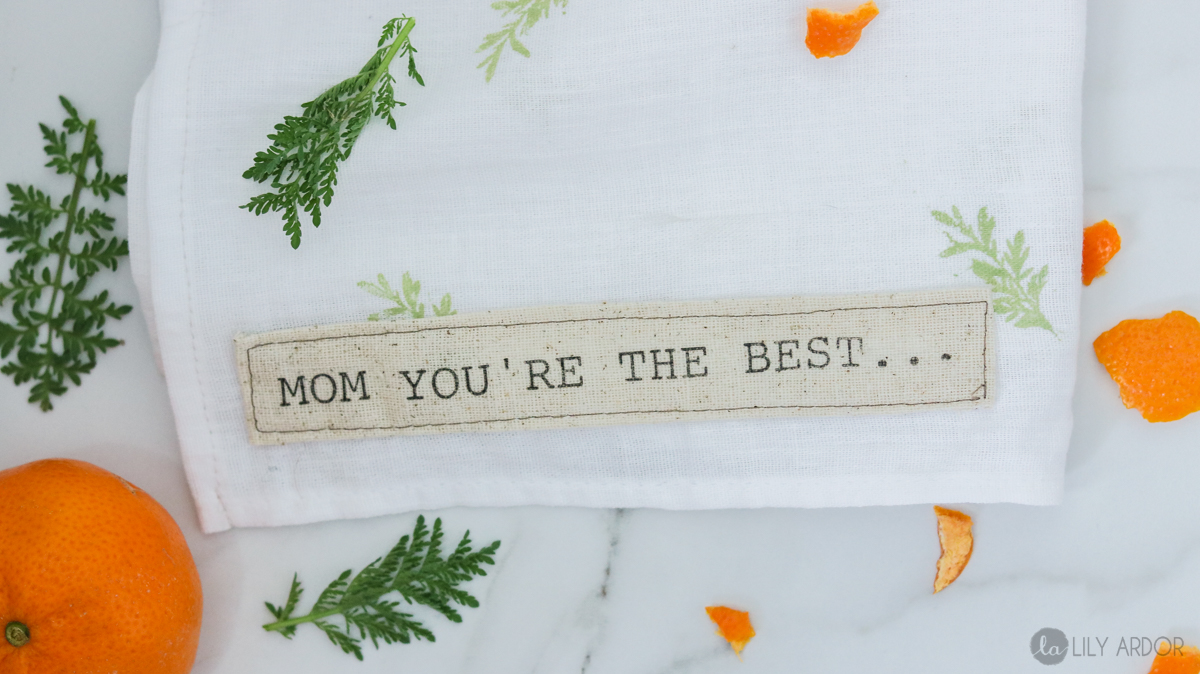
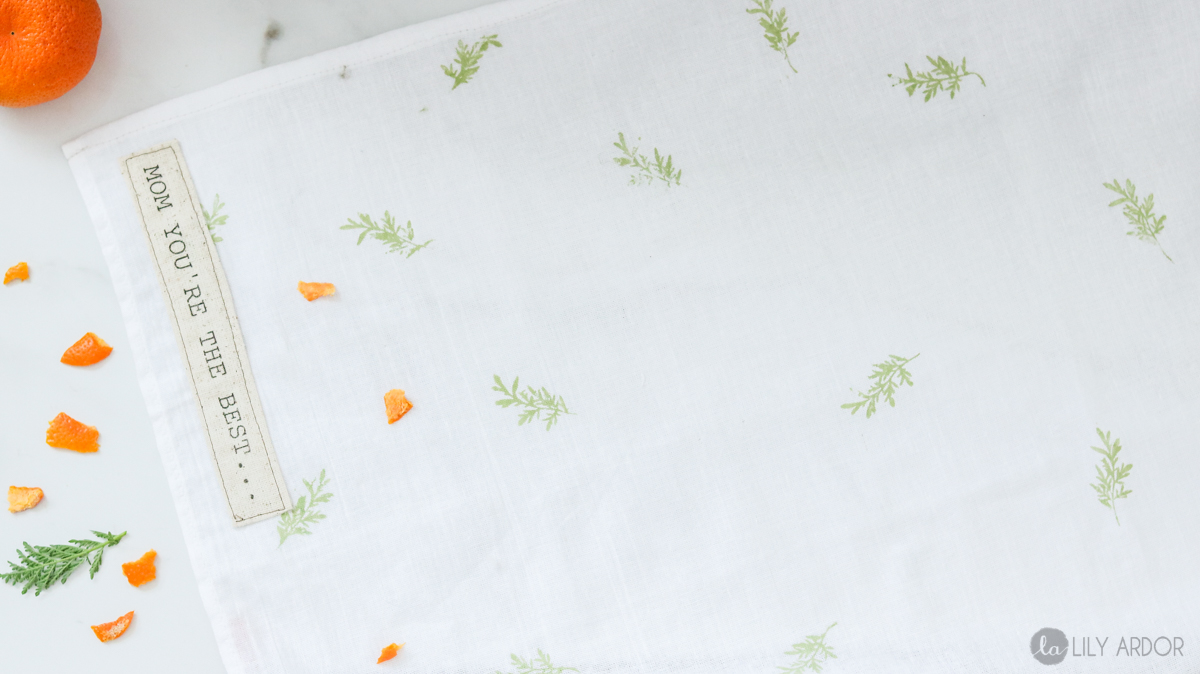
Then cut your quotes out leaving room on both side to fold in.
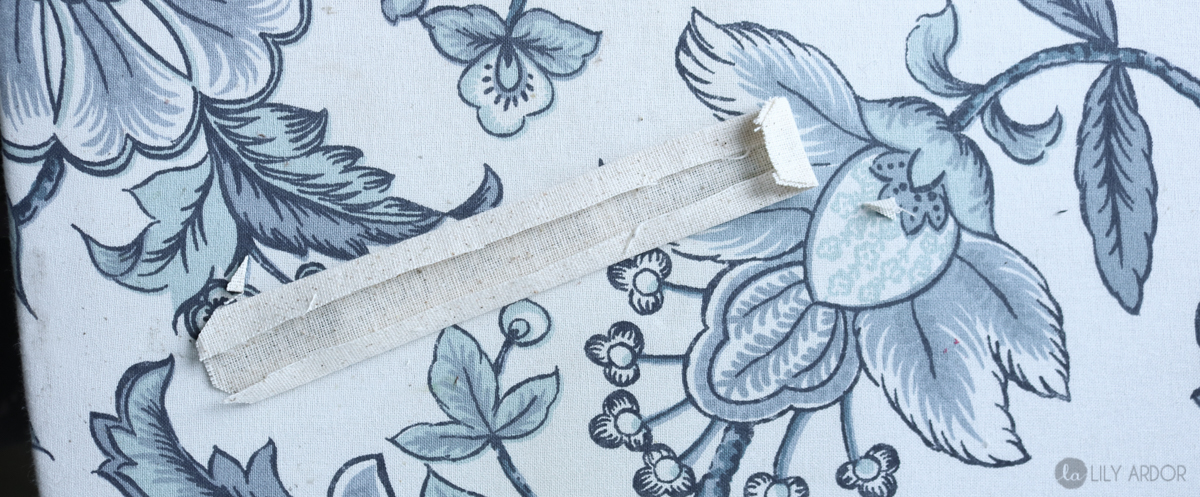
Neatly iron in both sides keeping it even. 
Then use your scissors to slightly cut off the corners. This will help the edges fold in easier and not bulge.
To help secure it while you’re sewing you can either use pins or some fabric tape. 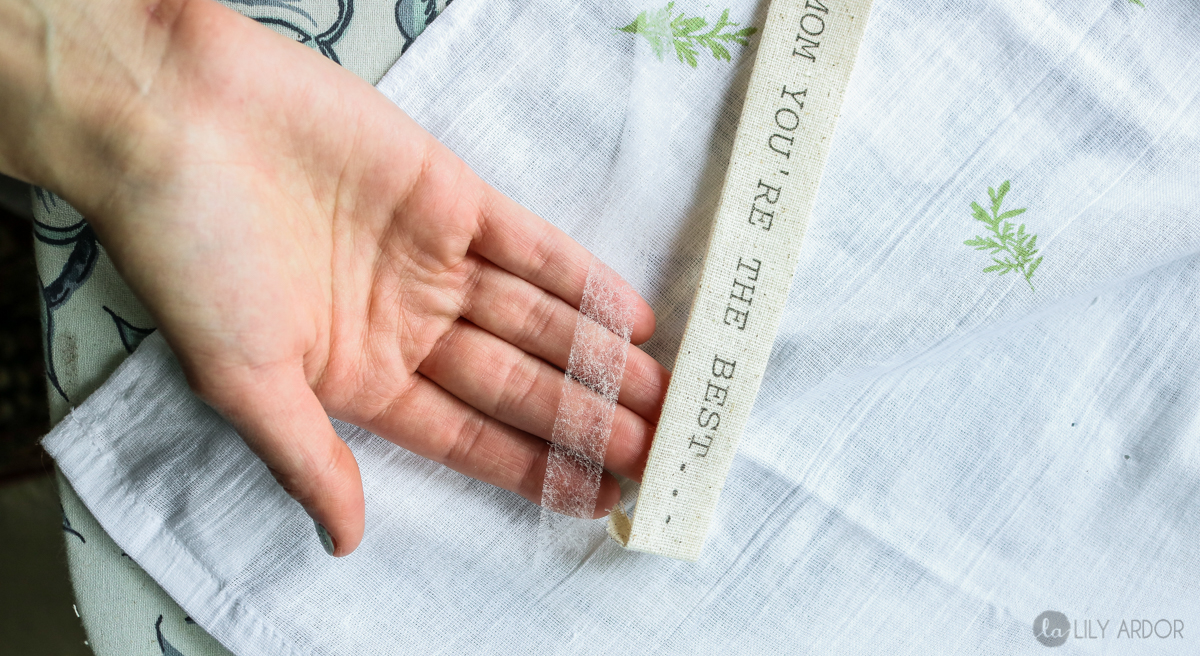
Then just give it a stitch to finish it off.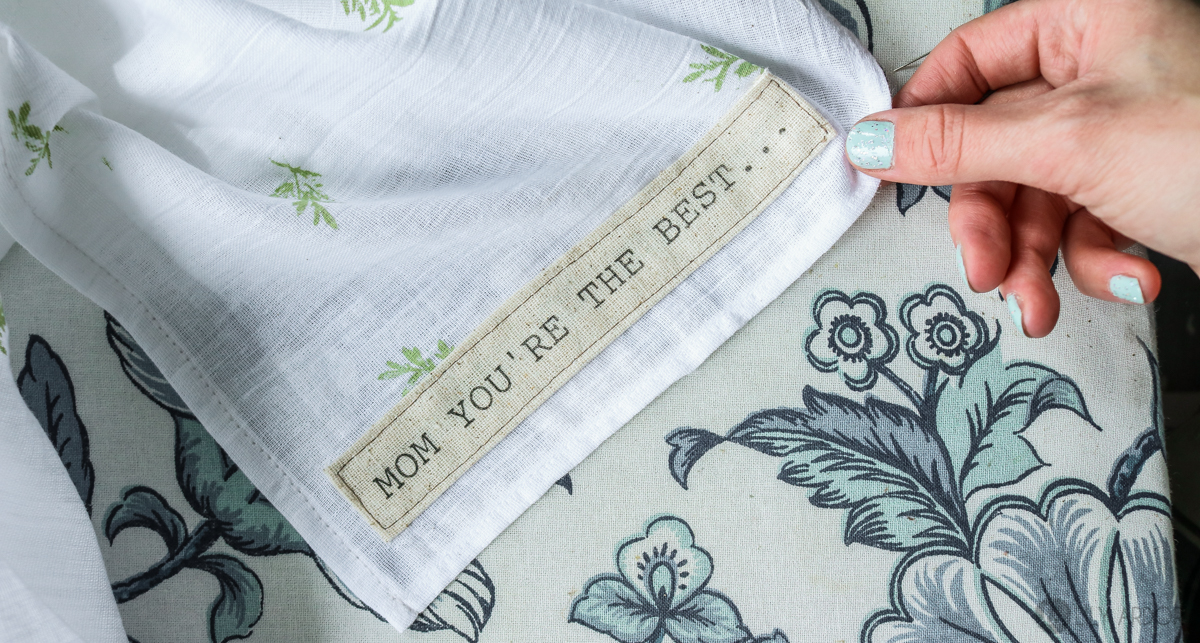
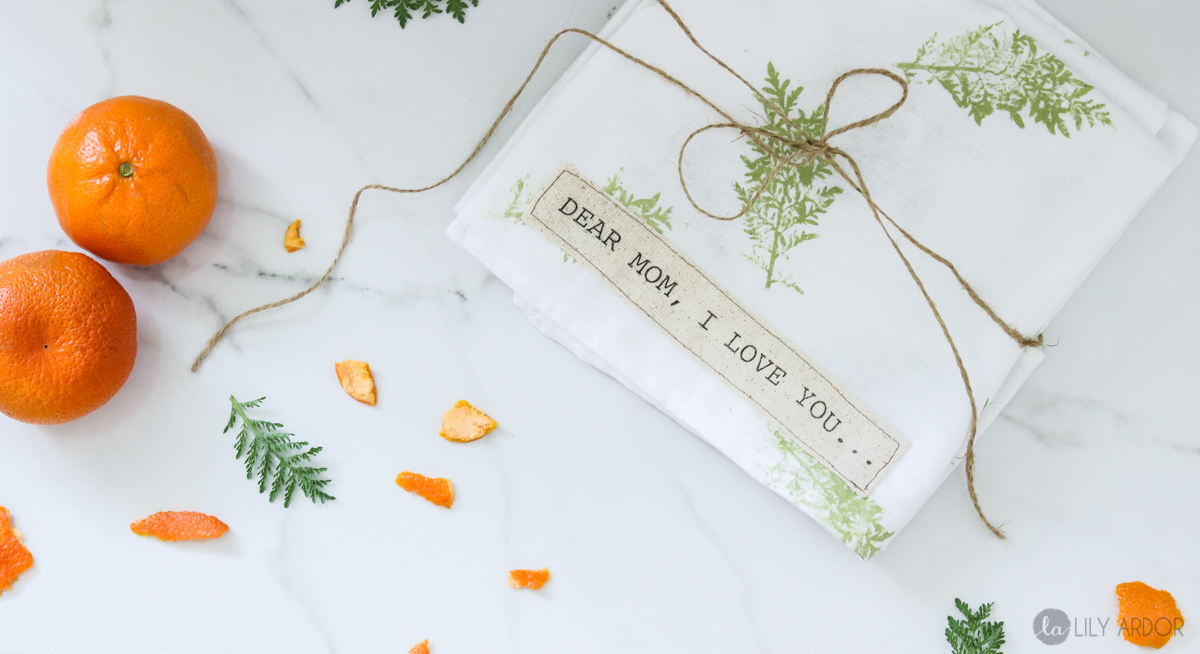
Aren’t these the cutest! 😀 😀
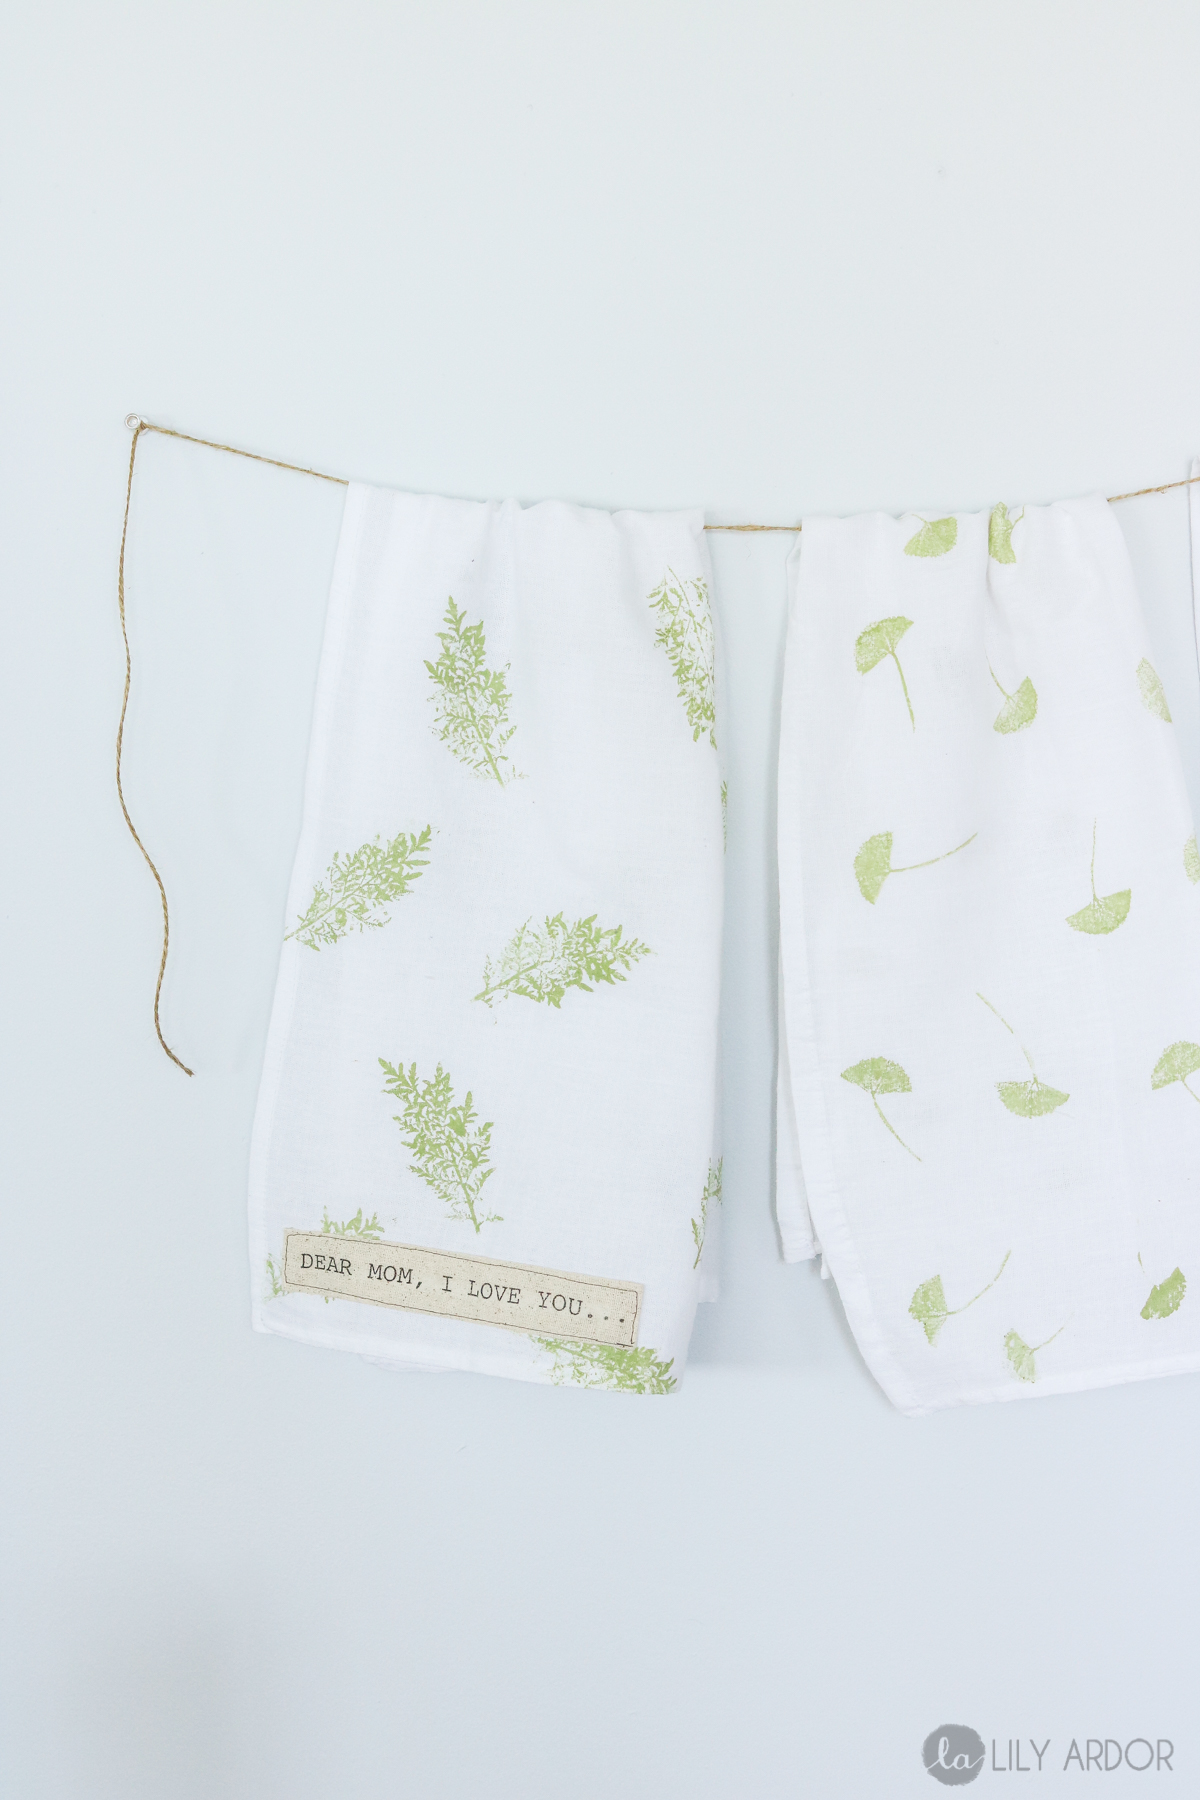
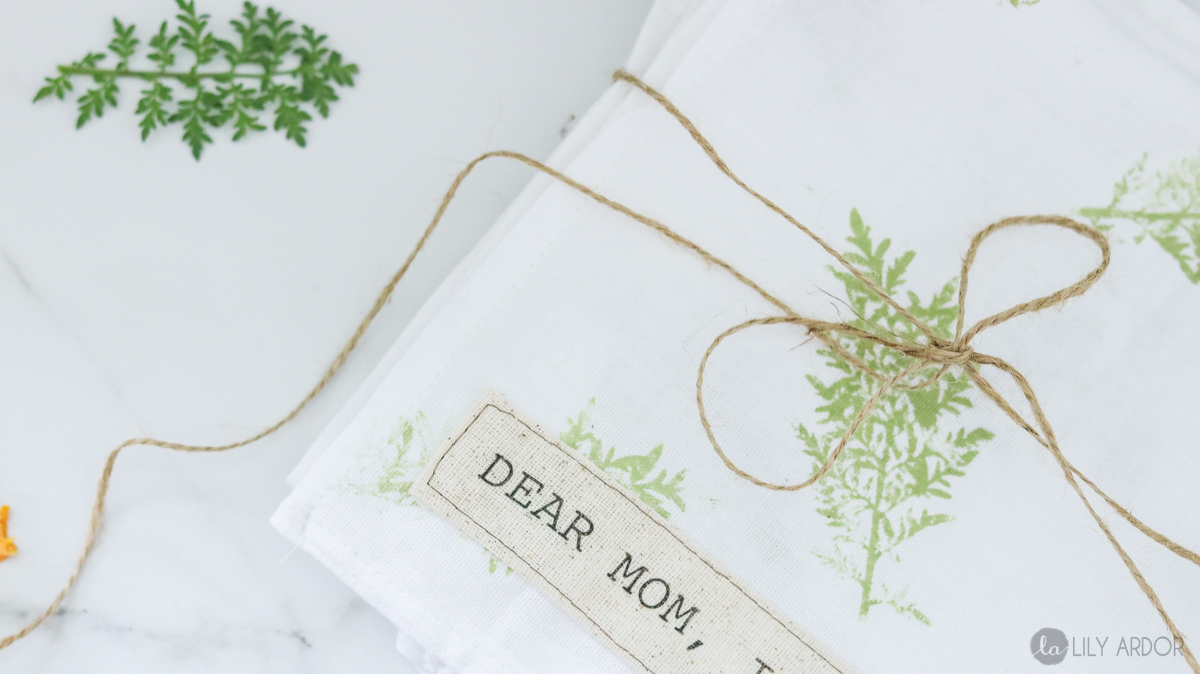
 I made a set of three matching ones!
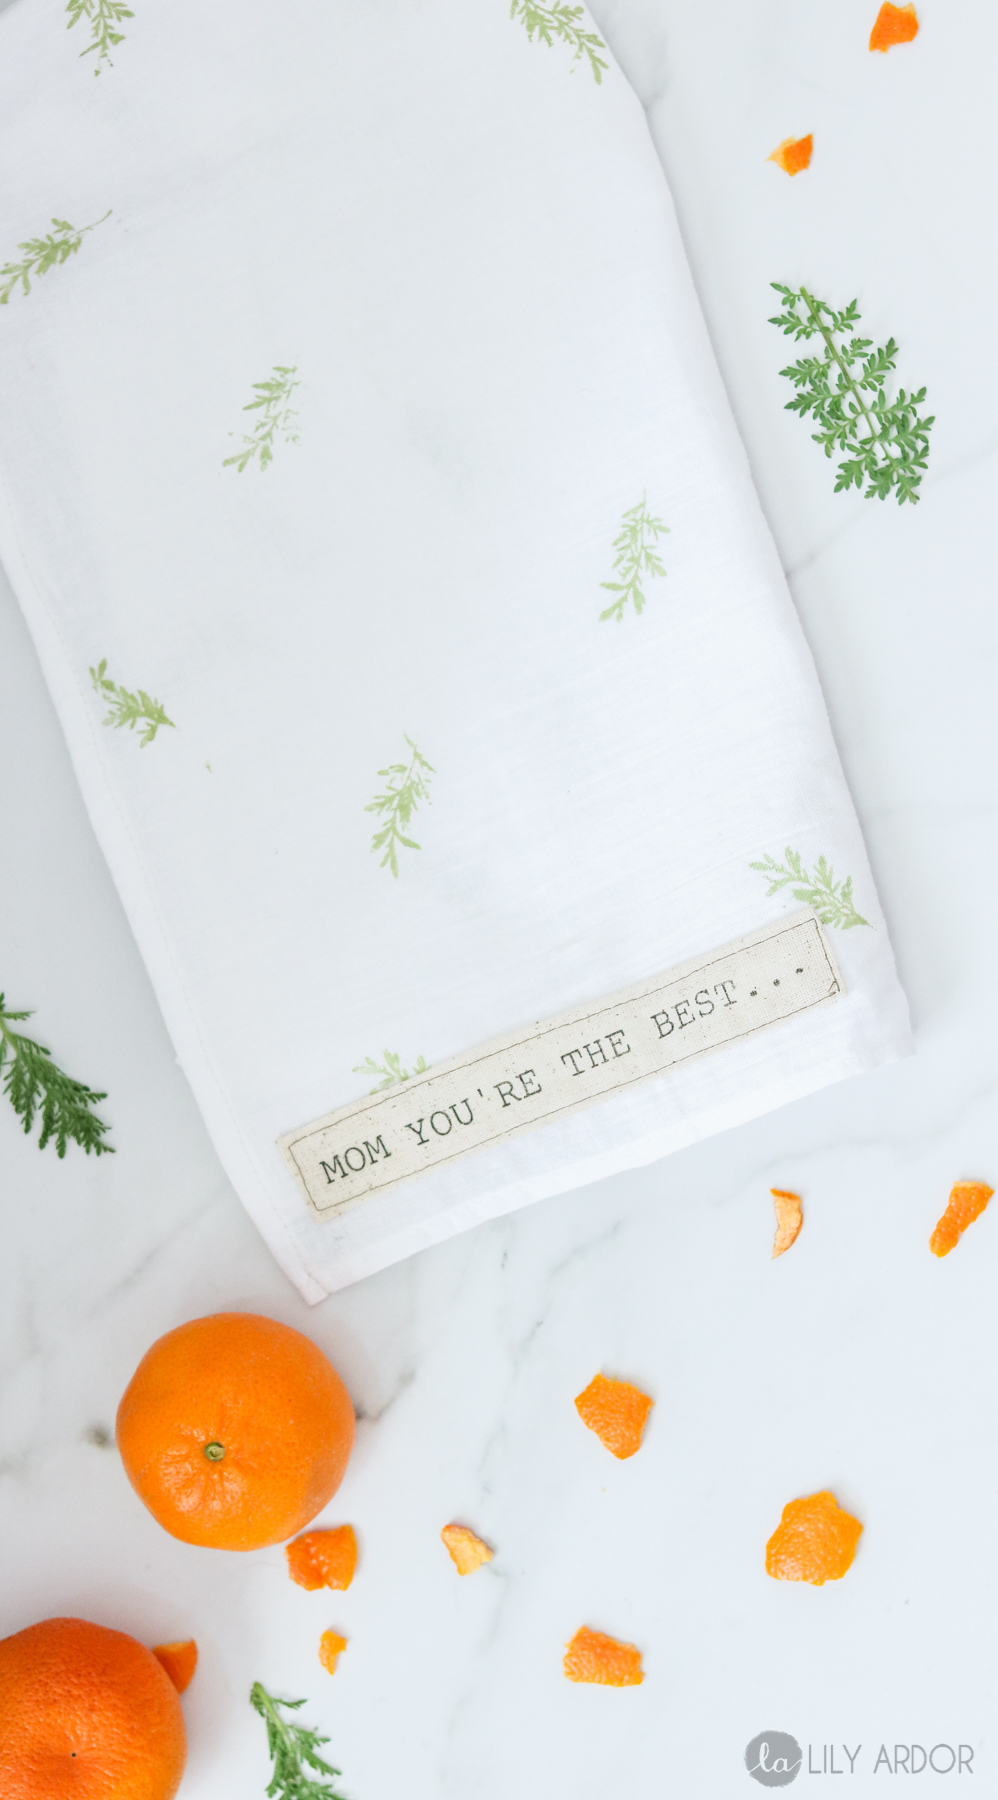
These Mother’s Day Hand Towels are so gorgeous, what a beautiful gift to give to your mama! Loving & pinning it! =D
Awe thank you 😀 😀 So glad you loved them 😀
I’ve been looking for a way to dry my flowers that will keep the color in them and stumbled across your Mother’s Day DIY. Can’t wait to try it!!!
I enjoyed reading the blog about your life. It’s interesting, entertaining and so cute 🙂. There is a photo of you and your family that I love, with flowers around the bottom in the foreground of the photo. Can you tell me how you did this please?
Thanks for getting me inspired to craft again.
AWE I’m so glad you came across my blog Jo, makes my day to hear you enjoyed it. AWWWWE YAY I’m so happy to hear it’s interesting and entertaining and cute. 🙂 😀 😀 Oh yes I love the flower drying trick. It’s one of my favorite DIYS to date. 😀 😀 hmmm. I’m not sure I know what photo you’re talking about. What page is it on? Is it just me and the little guy on it or the whole family?
What size towel did you use? I’m making them with my grandbabies to give to their mothers on Sunday 💕 I love them!
This is the first time I’ve responded to anyone…
I’m not sure. It’s been a while and I never got to measure them. I know they were approximately 10″ by 14″ inches probably. AWWWE how cute! You’re so thoughtful. I’m so sorry for the late response. 🙁