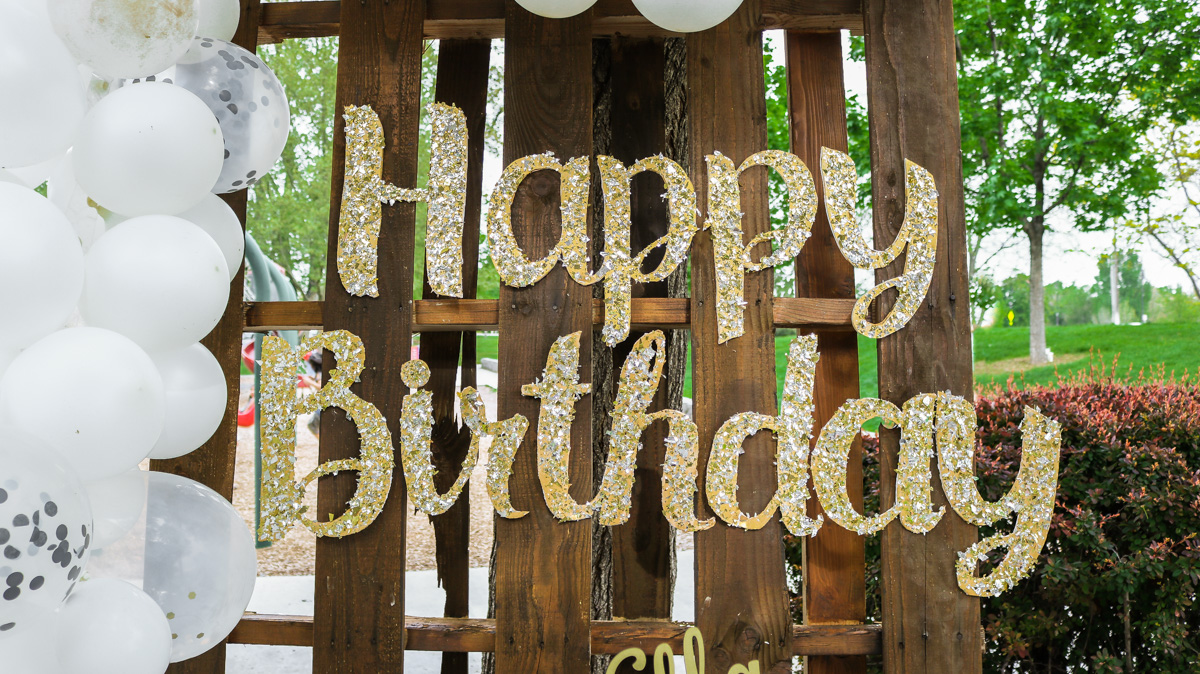
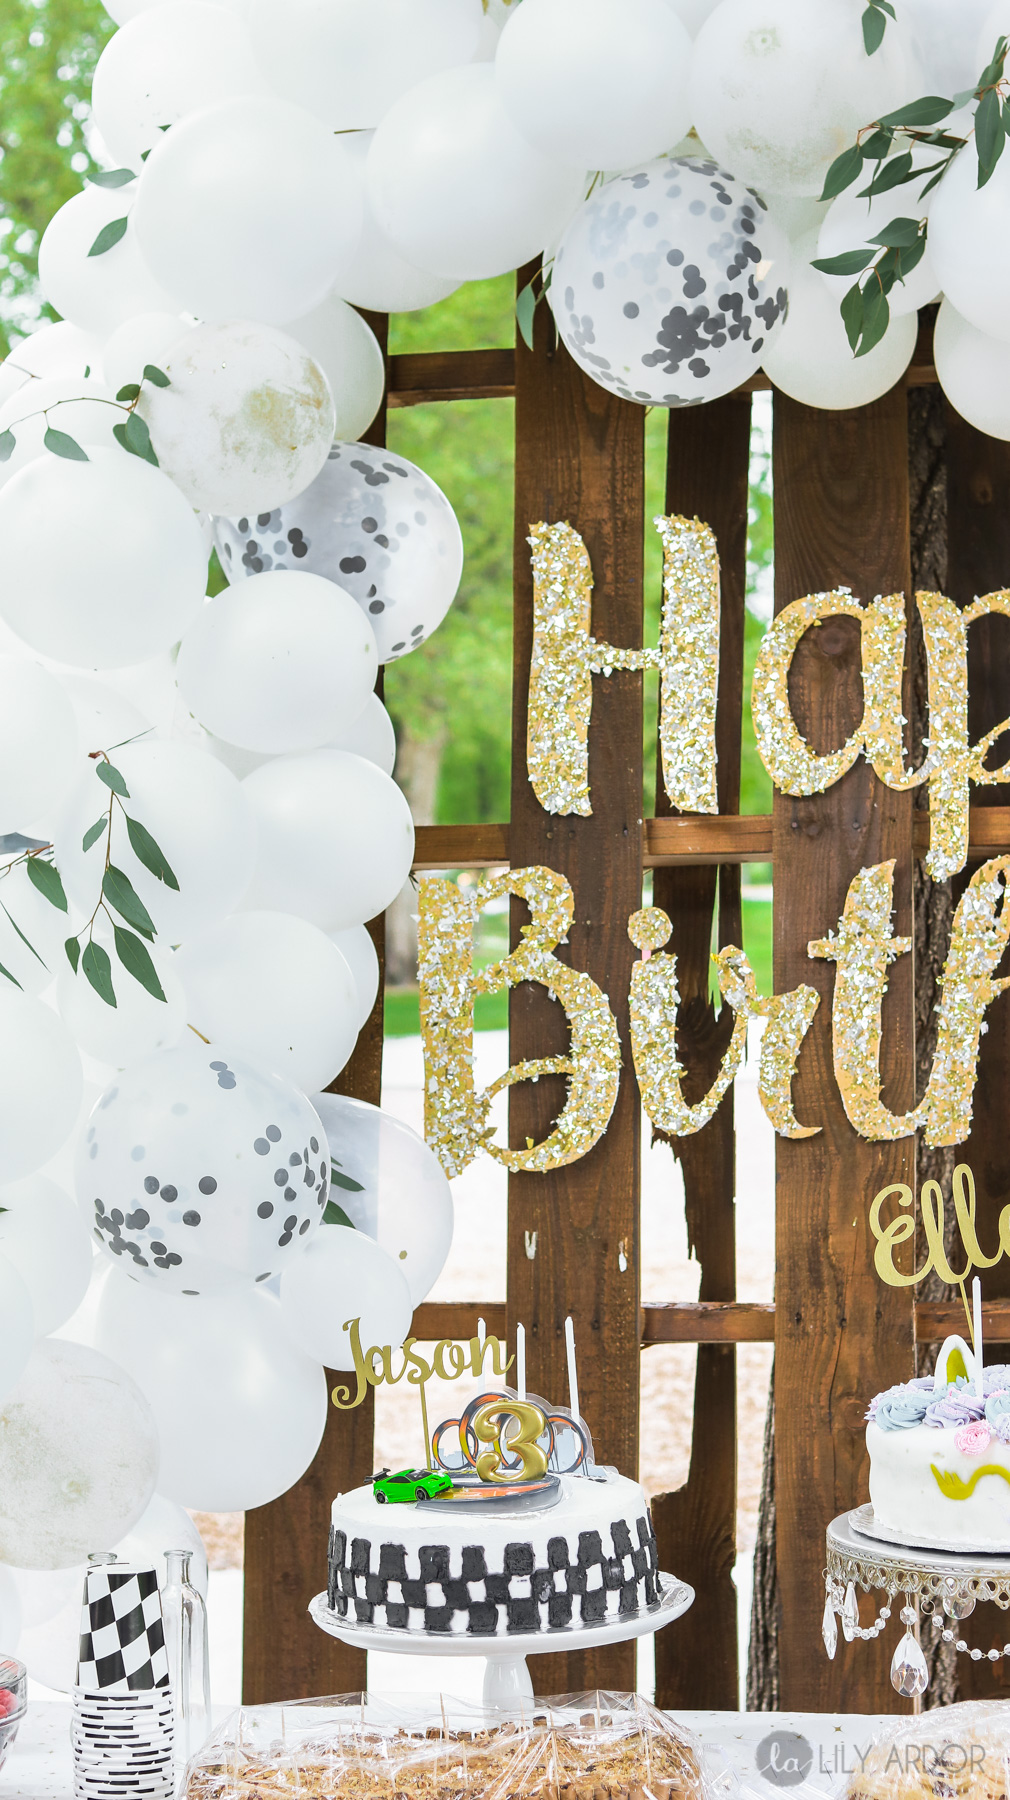
Easy Happy Birthday Sign
Ok , the reason I love this Birthday Sign DIY is because you can use this technique for virtually any party. For example if you’re hosting a baby shower this sign could be made to say Oh baby or Oh boy instead. That’s actually what I did for the last baby shower I decorated. The possibilities with this are endless.
You can make this Birthday Sign one of two ways. I decided to show you the harder way to do it since tracing is pretty self explanatory. Plus the harder method is super easy to customize.
#1 You can either print your letters big, than cut them out and trace onto the foam board or, #2 if you want to personalize it even more you can free hand. I’ll be showing you how to free hand.
🤔Ok if you’re thinking this is super hard to do. Trust me it’s not😉. Anyone can do this! You don’t need to be a sketch artist to do this! I’ll show you how easy it is. Although this DIY could get a bit time consuming it is totally worth all the effort because you can reuse it!! YAY! I love DIYs that could be used more than once.
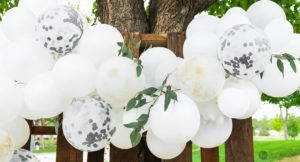
This is a two part party decor DIY! For the second part Click here to learn how to make a balloon arch!
this post contains affiliate links* ( visit my disclosure policy for more info)
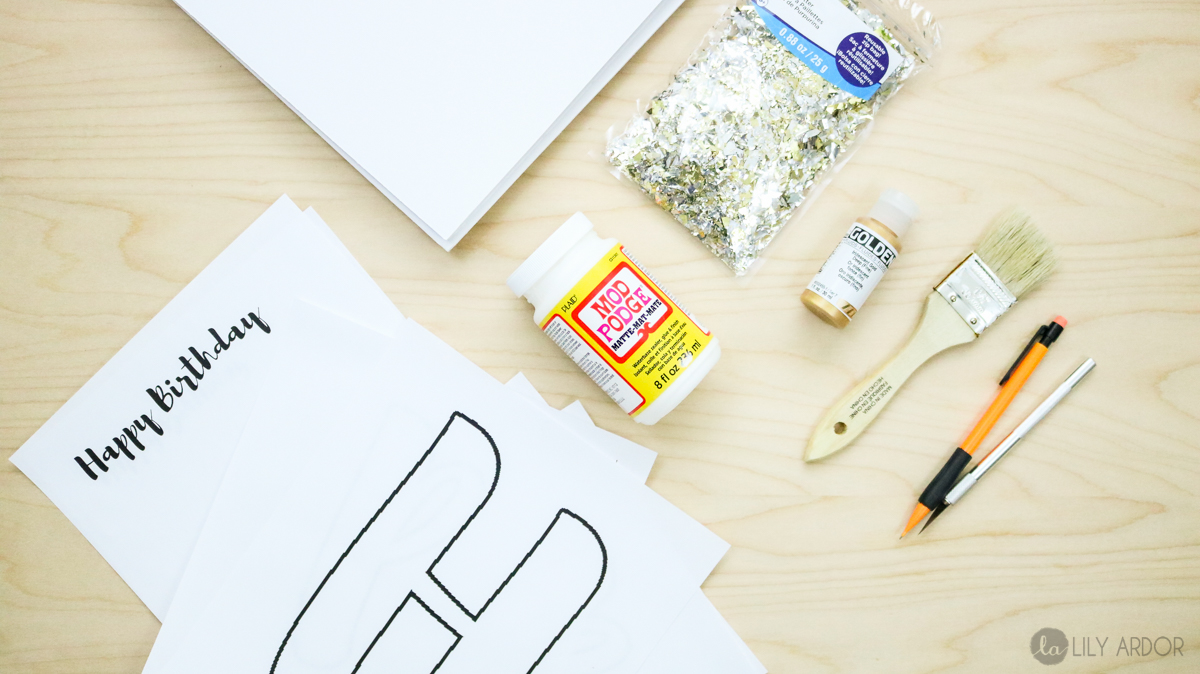
What you’ll need
- 2-3 Foams Boards (I used two)
- Brushes
- Mod Podge
- Pencil
- Exacto knife
- Printable (letters printed)
- confetti flakes ( here’s some I found on amazon- https://amzn.to/2LiXbIr )
Step 1
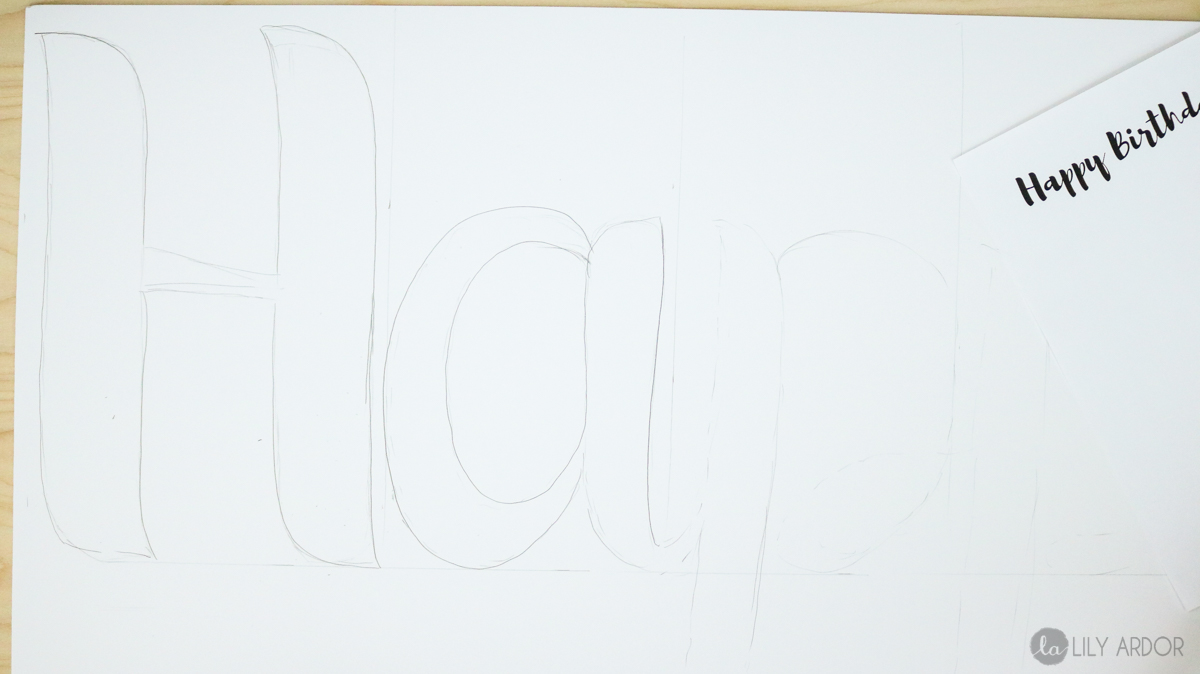
To begin whatever look you’re going for with this sign you will need a similar font or lettering for reference. You can pull up a font on your phone or computer. I simply printed my font on a piece of paper. Following that start by marking the height and width for each letter on your poster board. My height was marked at 12″ and my width for each letter was 6″.

Step 2
Once you have your approximate measurement for each letter, start by lightly sketching the shape of each letter while looking at your printable for reference. Once you have your shape fill your letters in with a solid line. The secret to getting your lettering perfect is making sure your sizing is uniform. That’s pretty much it! If your letters are all about the same size they should look great. Remember if you’re not going for anything specific with your letters you can print and trace your lettering from a font you like. I was thinking this might be helpful if you ever need to sketch something very specific.
Step 3
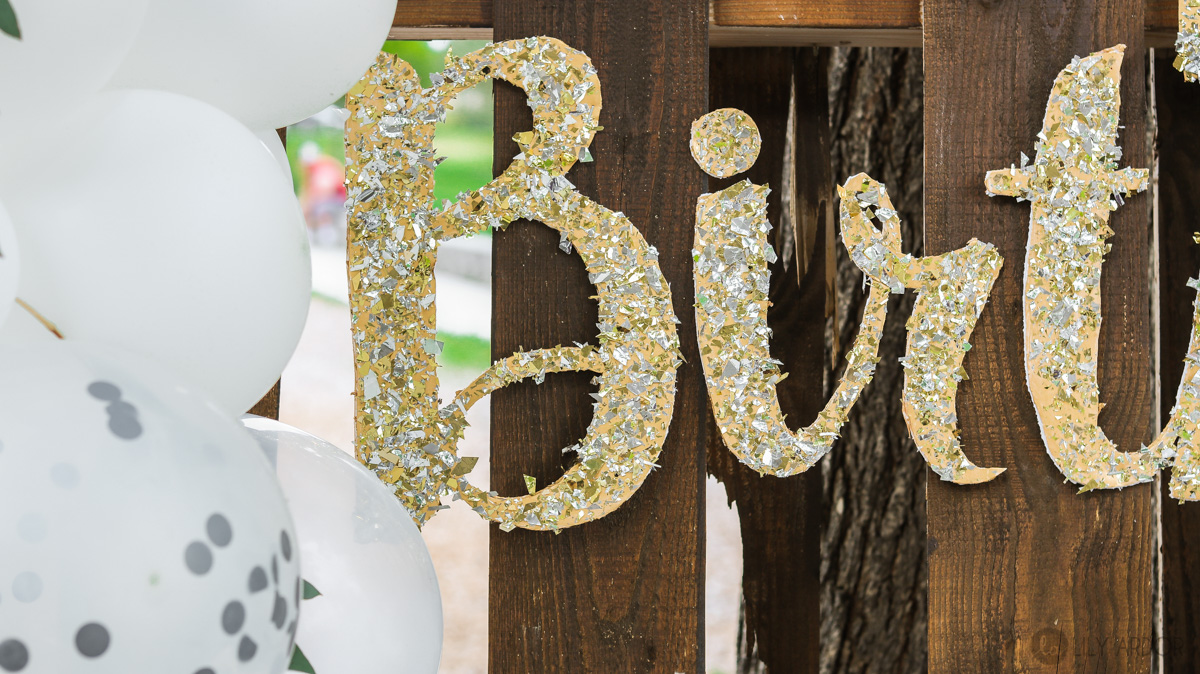
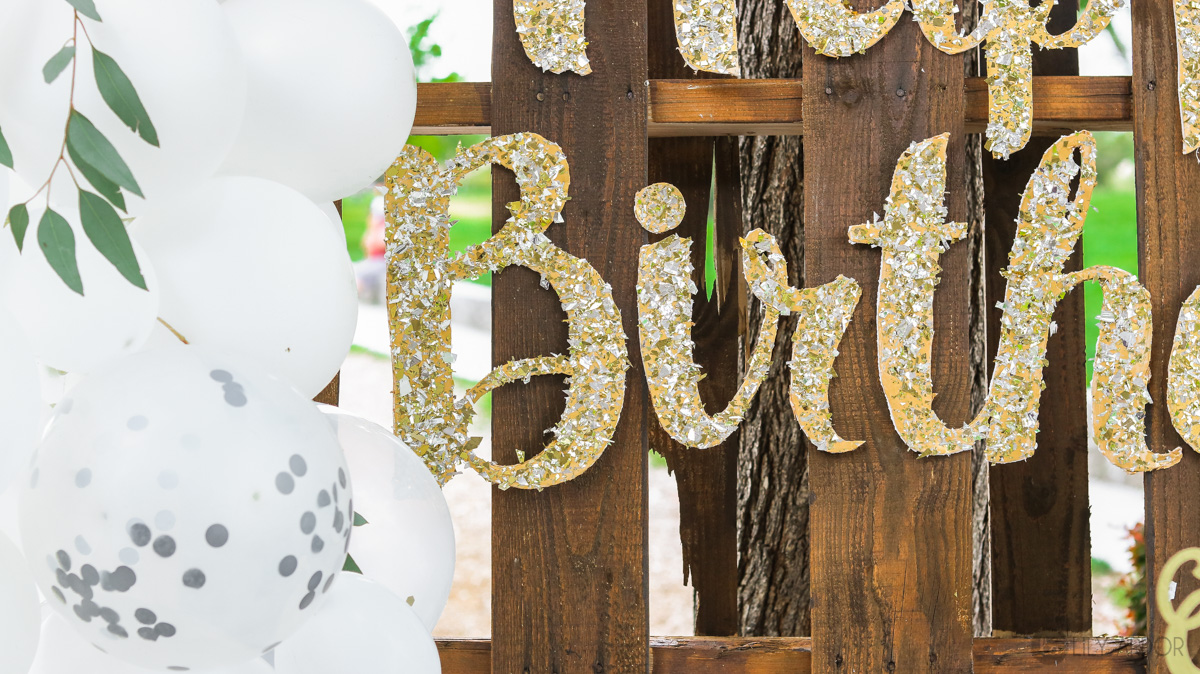
Once you have your letters sketched use your exacto knife to cut each letter out. This works best if you have a softer surface underneath your foam board like carpet for example.
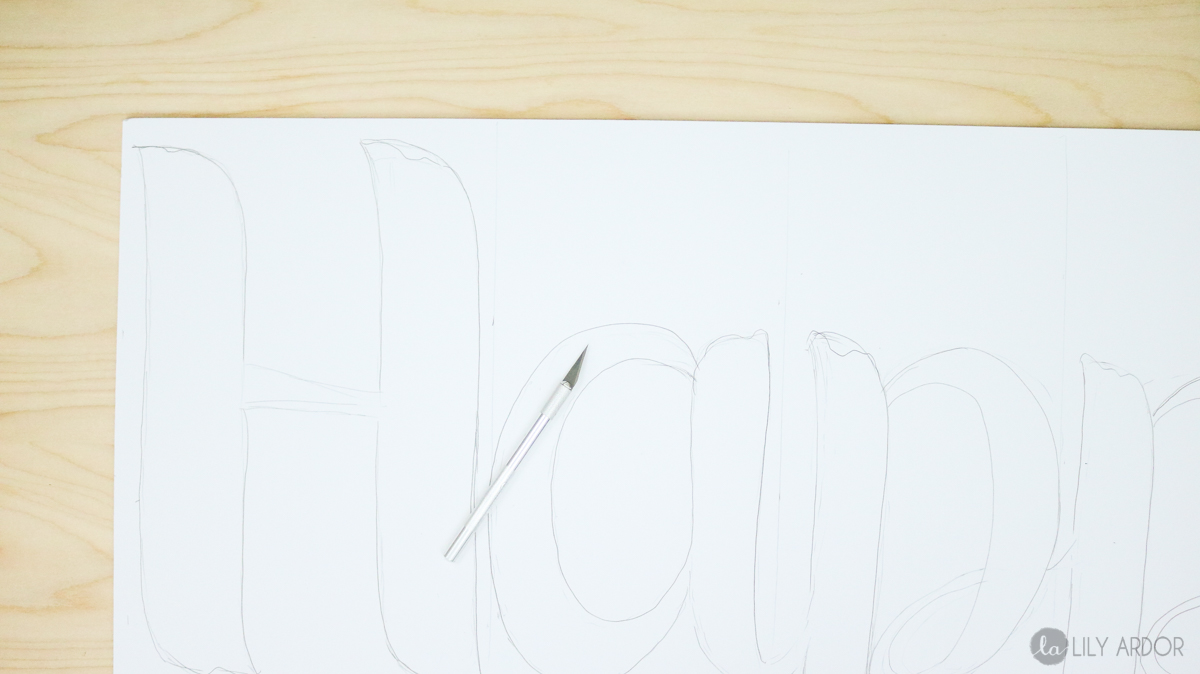
Don’t worry about your edges being rough. They won’t be as visible once you apply your glitter or paint. 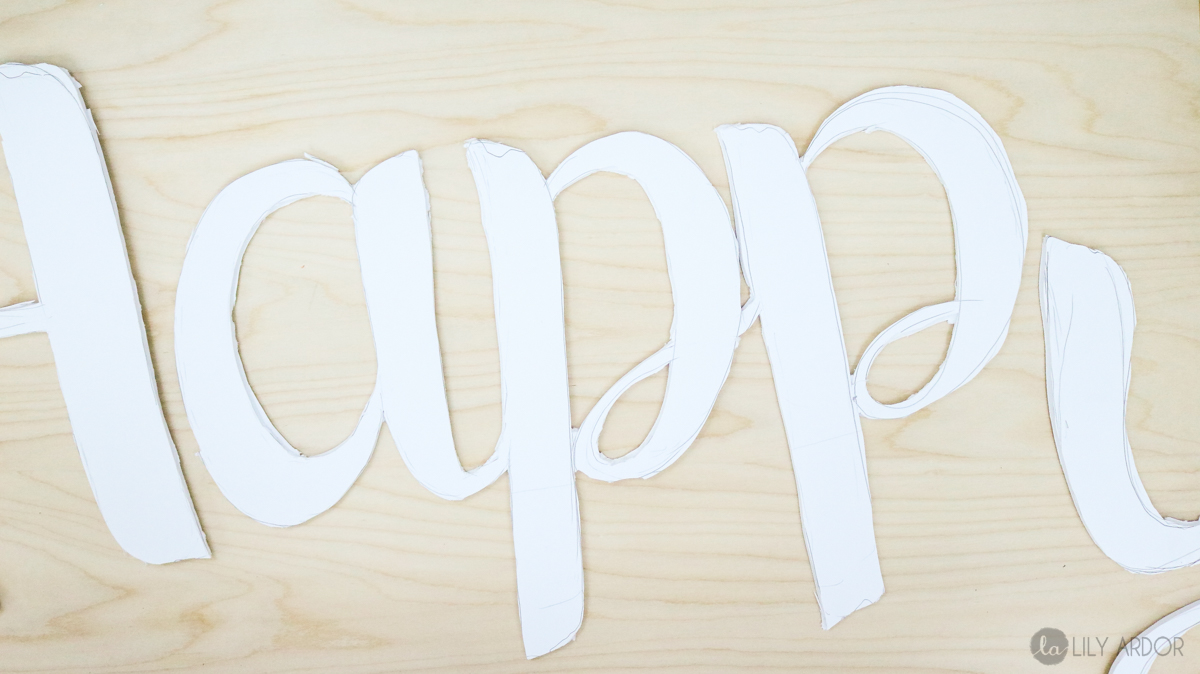
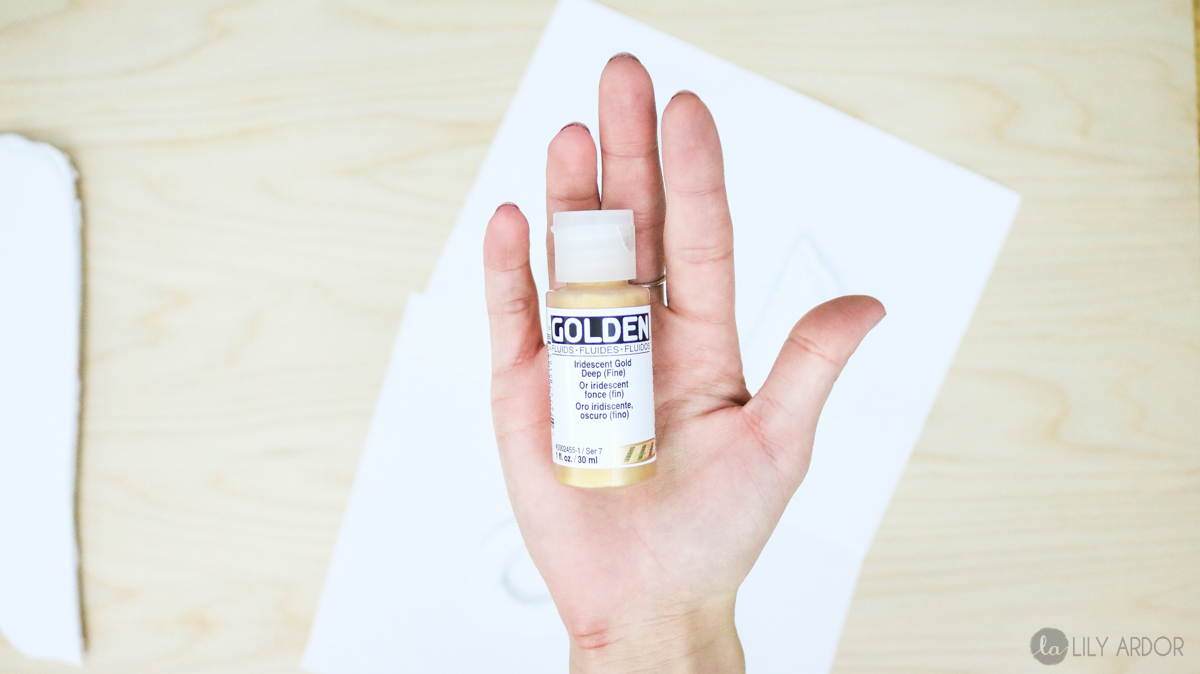
Step 4
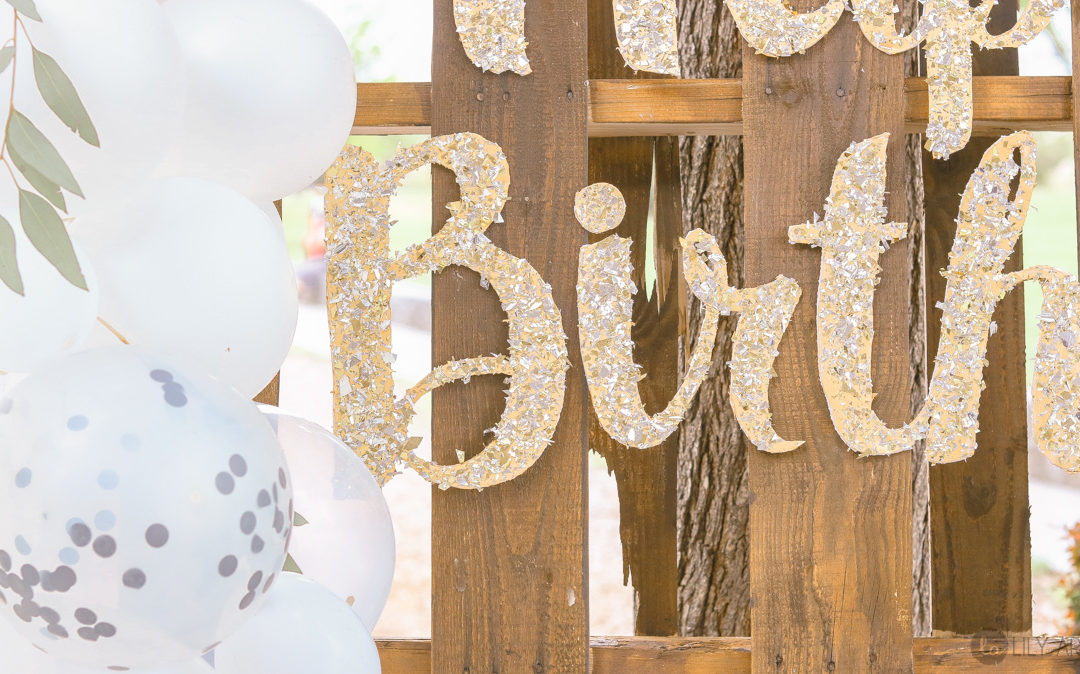
Then apply your choice of paint. I used gold since the birthday party theme was white, gold, and black.
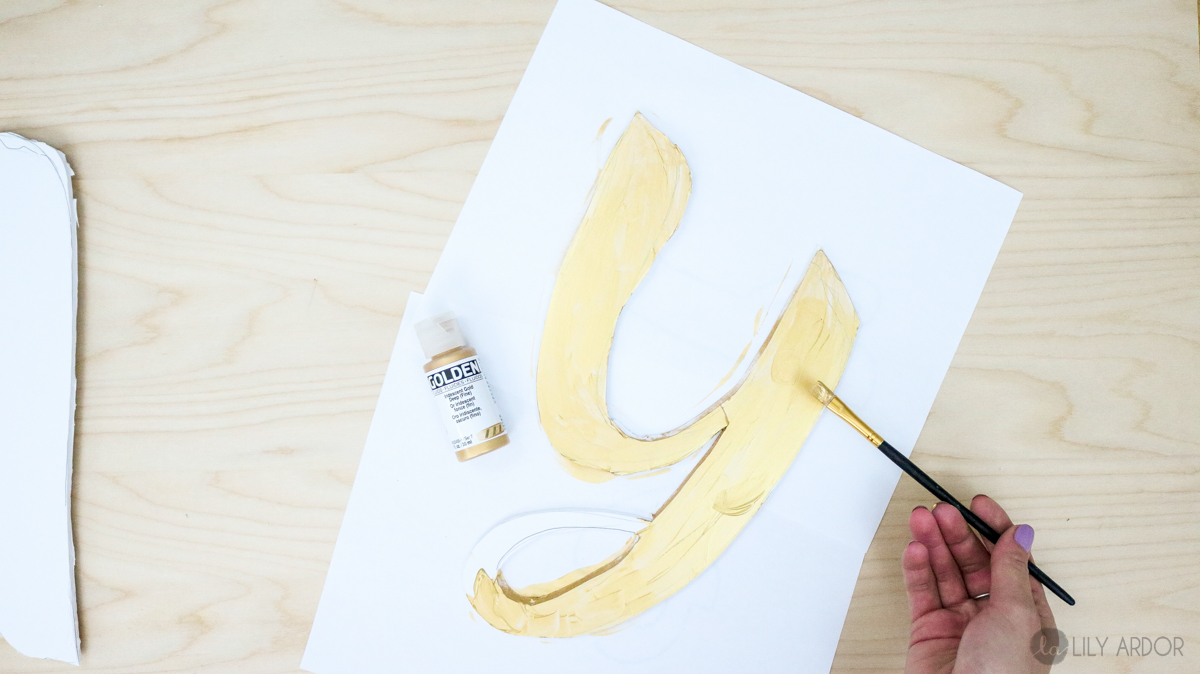
This is my favorite gold paint of all time!! It’s kind of pricey but AMAZING!! I’ve tried every gold paint in the Michaels craft store and this is the only one I keep coming back to. It’s worth every penny because it has a true gold color. Not that nasty brassy color you get with cheap gold paint.
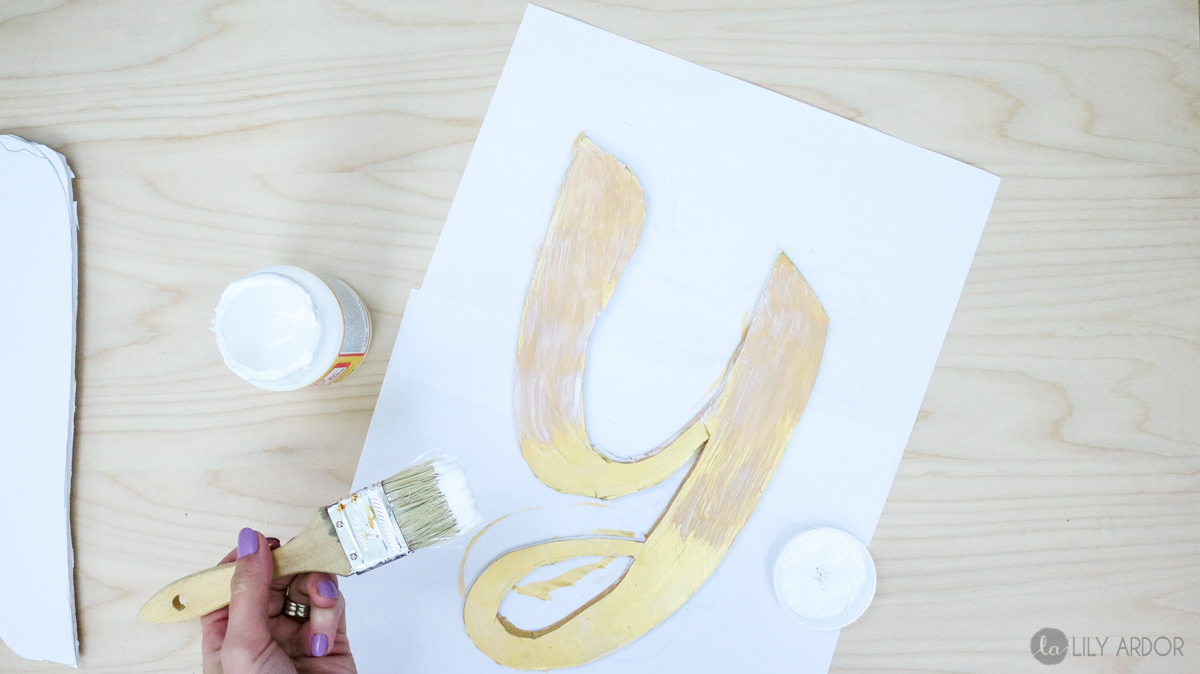
Step 5 – Optional Finishing Touches on your Happy Birthday Sign
Then to finish off your letters apply some mod podge and sprinkle with glitter. If you’re wondering where I got my glitter…, I got it from Michaels Craft Store. That’s it!
Here’s a quick video of how I put it together!
See you can’t really see the rough edges! 😍😃
I love this glitter. It’s different and looks sssso cool!
That’s it for this custom Happy Birthday sign. I hope this inspired you. Happy Crafting! 😊
I think you’ll love this Balloon Arch DIY! (SPOILER ALERT IT’S SUPER EASY – I used tape and a hole punch)
Absolutely darling! Excellent instructions too. Don’t you just love foam core boards? And so cheap, gotta love dollar stores. Thanks for sharing! Looks like it was a fun birthday bash. Love the balloons too.
Awe thank you Naomie. I’m glad to hear the instructions are good. Always love to hear feedback like that. I was a bit worried about these party DIYS I’ve never done tutorials when I’m in a rush like that! LOL. I was scared I’d have no instructions at all 😀 . Oh man yes I love foam boards. I always use them. Can’t beat dollar store prices. HAHA yes they had a blast. LOL I think the highlight was fighting for the pinata, since it was a double party and we had two pinatas eventually they had to let only the little ones hit it because the older ones would steal all the candy. 😀 Kids will be kids!
Hello I LOVE your ideas! This is just beautiful. I was wondering how you attached it to the pallet surface? Thanks so much! Keep up the amazing work!!
Awe thank you Lindsey 😀 😀 So happy your loving them. I just used some push pins that I stuck through the tape and attached it to the pallet that way. 🙂
Gorgeous! Just wonder what font you used for your Happy Birthday sign?
It’s called brusher font. You can google it.
Ended up going with another font.
But thank you for replying.
Oh ok 😀
I love the glitter you used. Can you share the brand name? I can’t find anything similar to it on Amazon. Thanks very much.
Hi Lilian, I’m not sure what brand I used. It’s been a while. I did find it on amazon though. They’re actually called confetti flakes. I had no idea. Took some searching but figured it out. Here’s an amazon link- https://amzn.to/2LiXbIr . They have different colors you can choose from.