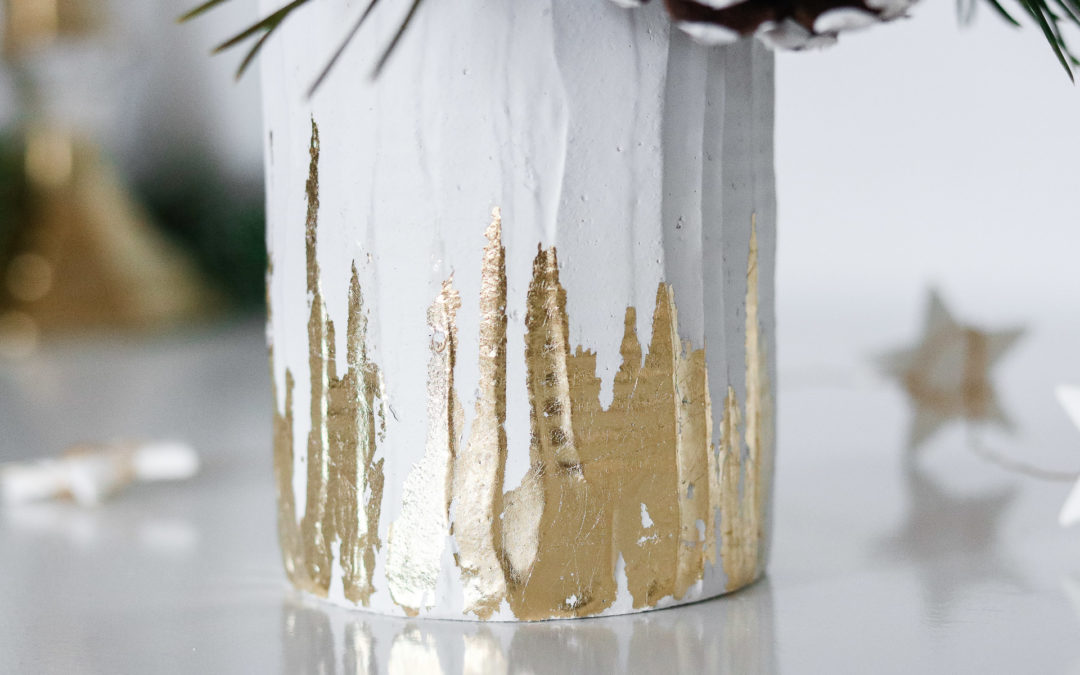
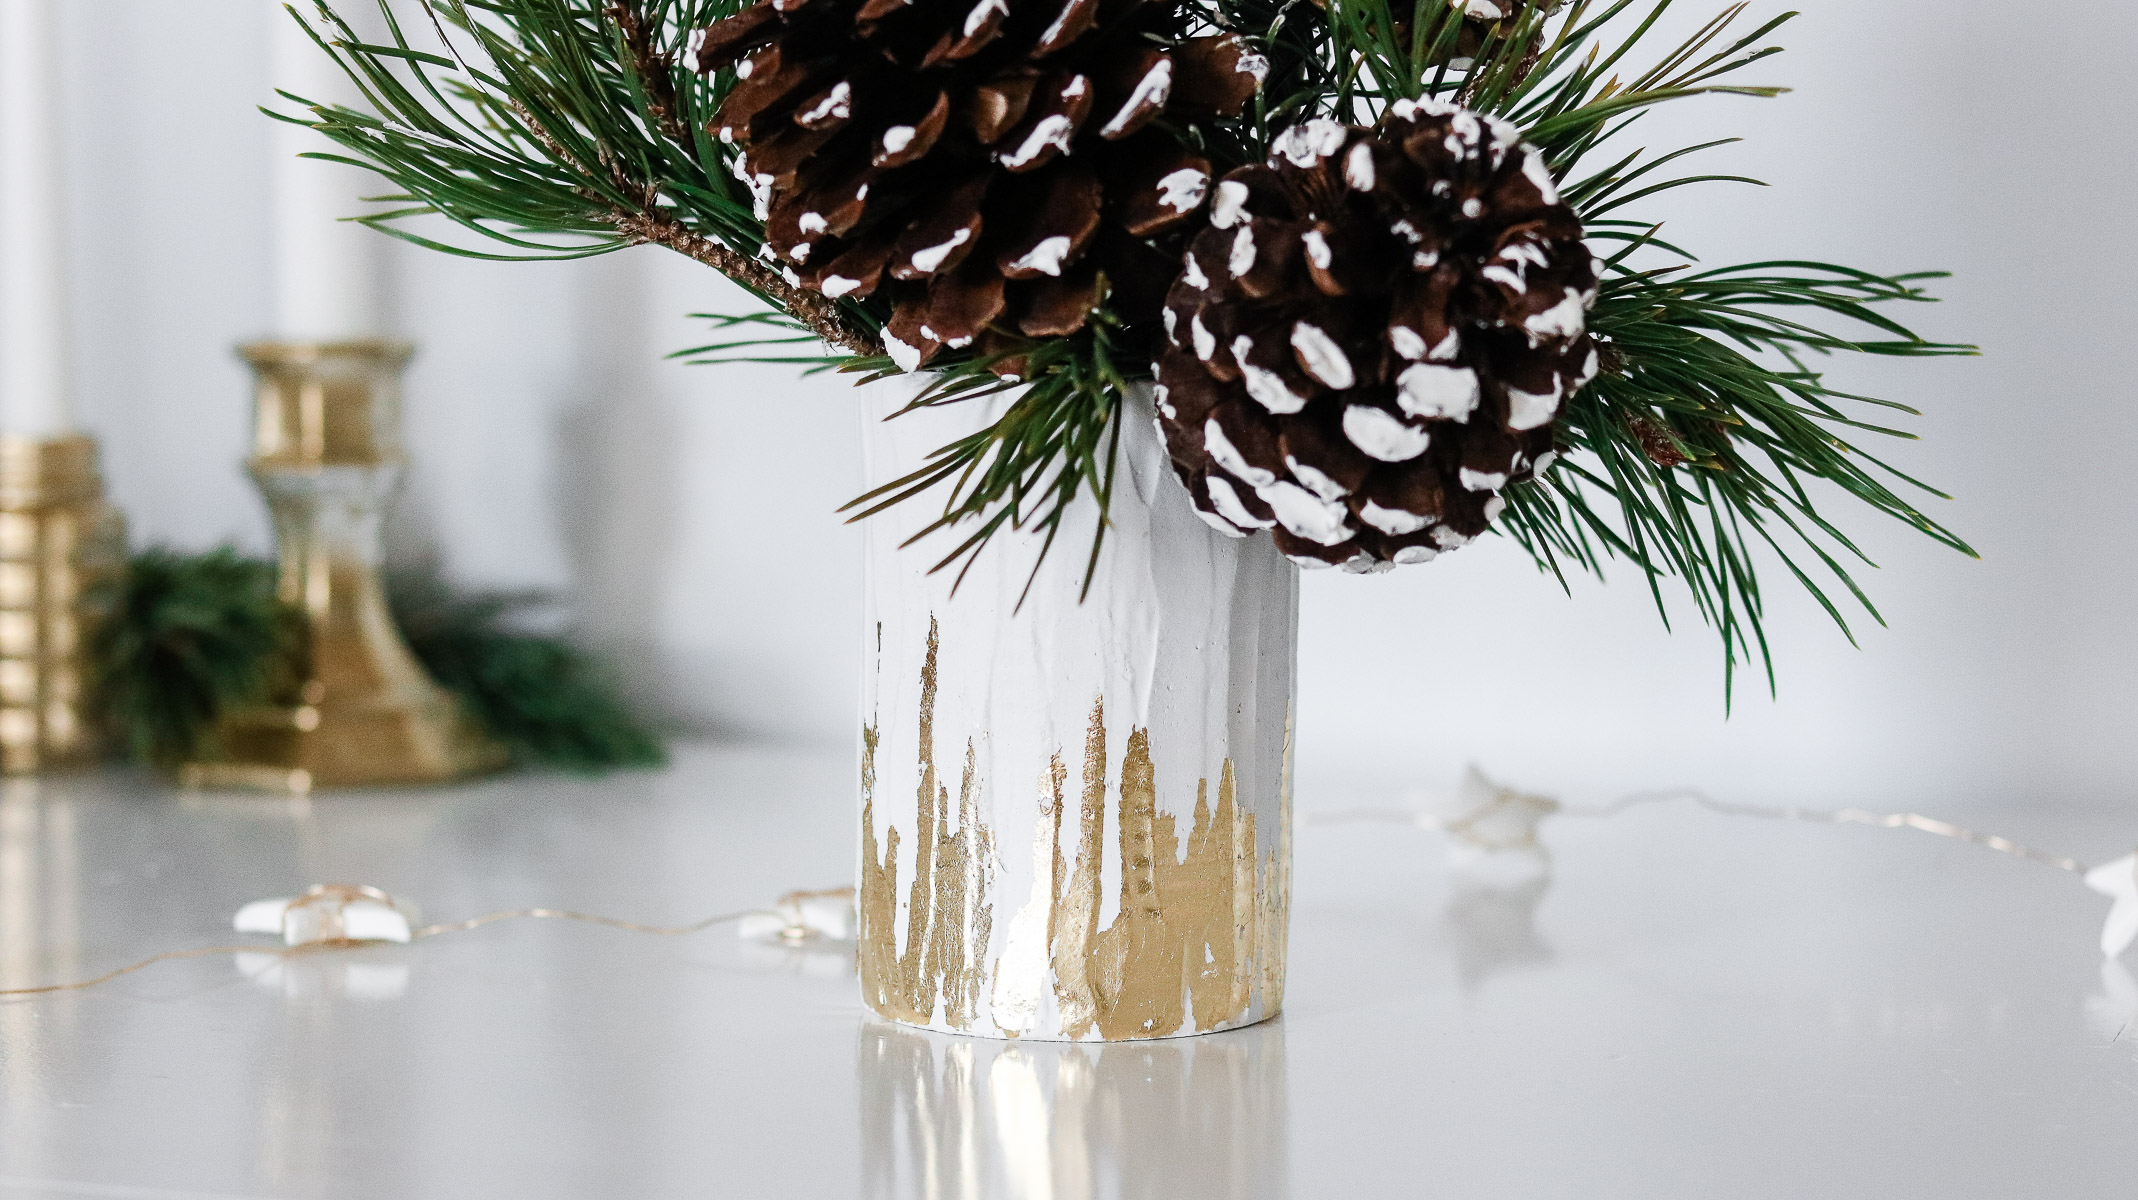
DIY Gold Leaf Tin Can Vase
As promised, here’s my last tin can upcycle of the year. I’ve actually always wanted to try applying plaster to a tin but, thought it would be a flop. Plaster is a very versatile medium and sticks to virtually anything. I love that you could go from creating a statue to creating simple texture on art.
There are a few things to be cautious of. As amazing as it is you need to be super careful while working with it. Mostly because it is virtually impossible to remove once it sets and It has a fast setting time. You wouldn’t want something like this getting stuck in your drain. (note: do not wash any left overs down your drain 🙈)
Since plaster is such a versatile product you can apply it to ssso many surfaces. Wood, metal, canvas, paper, plastic. (these are all I’ve tried that were successful) If you have an old vase or bucket you can use this technique to freshen it up. Or maybe even try giving the plaster some texture with a fork. I wanna try that next 😬 !
TIME NEEDED: About 20 Minutes + drying times
You will need to let your plaster set preferably overnight. Other than that creating this vase should take under 20 minutes.
TOTAL COST: $16
So your cost will really depend on what you already have on hand. I actually had all my supplies on hand. 😀👏👏
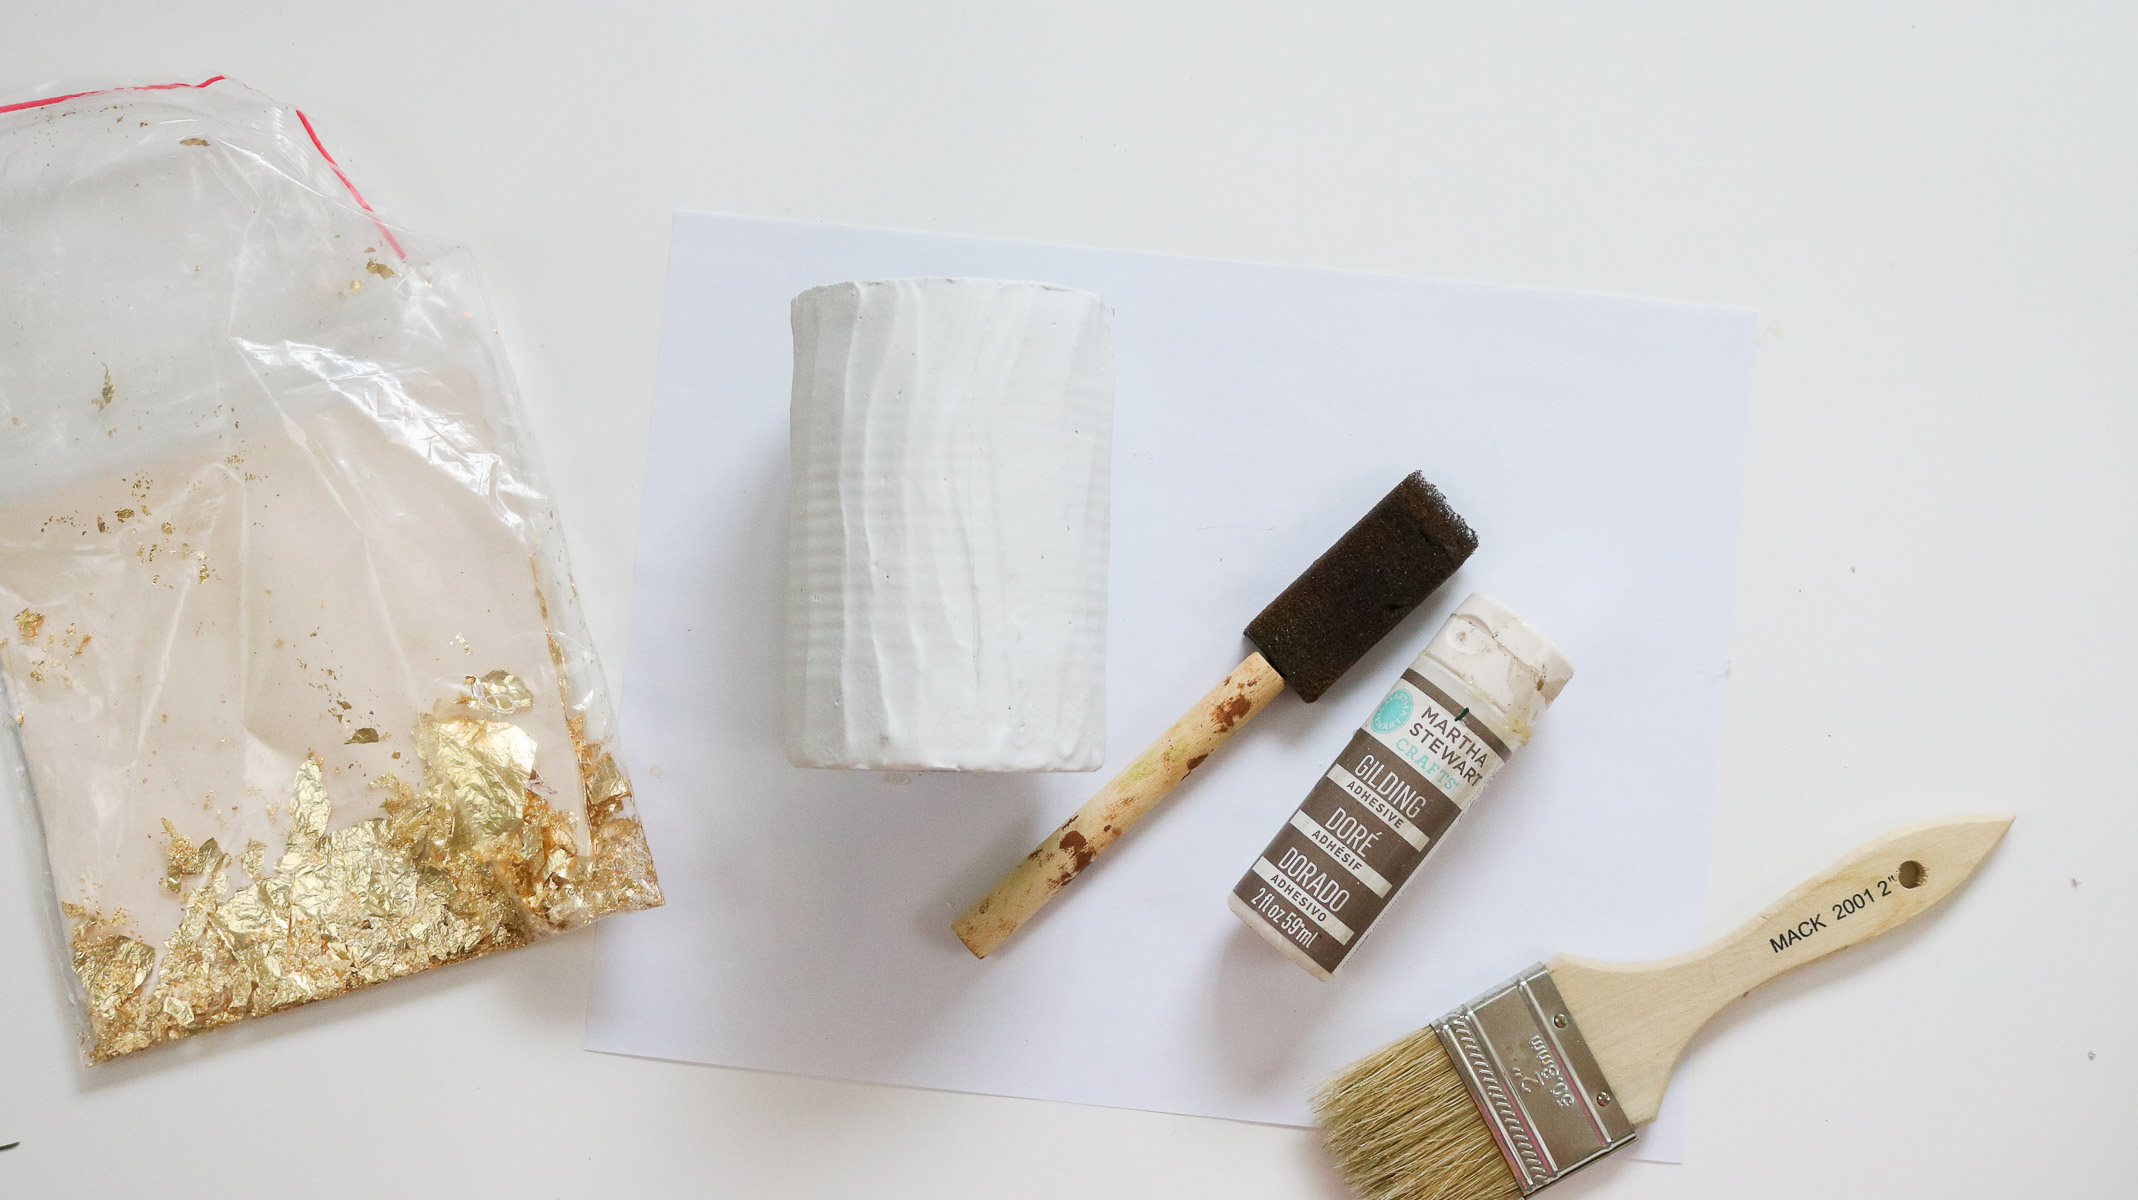
SUPPLIES:
( I’ve added * affiliate links if you want to purchase all your supplies online. You can read my disclosure policy here for more info. )
- gold leaf (Best deal I’ve found anywhere. 100 sheets for $6.99 ! Purchased from them multiple times and loved it! )
- gilding adhesive ( to attach your gold leaf – I’ve heard school glue works too however it might not give the same effect. Gilding adhesive dries tacky which makes the perfect surface for gold leaf to stick to. )
- tin can
- sand paper
- mixing supplies (disposable is preferable)
- water
- brush
- plaster of paris
optional: modeling paste for pine cones.
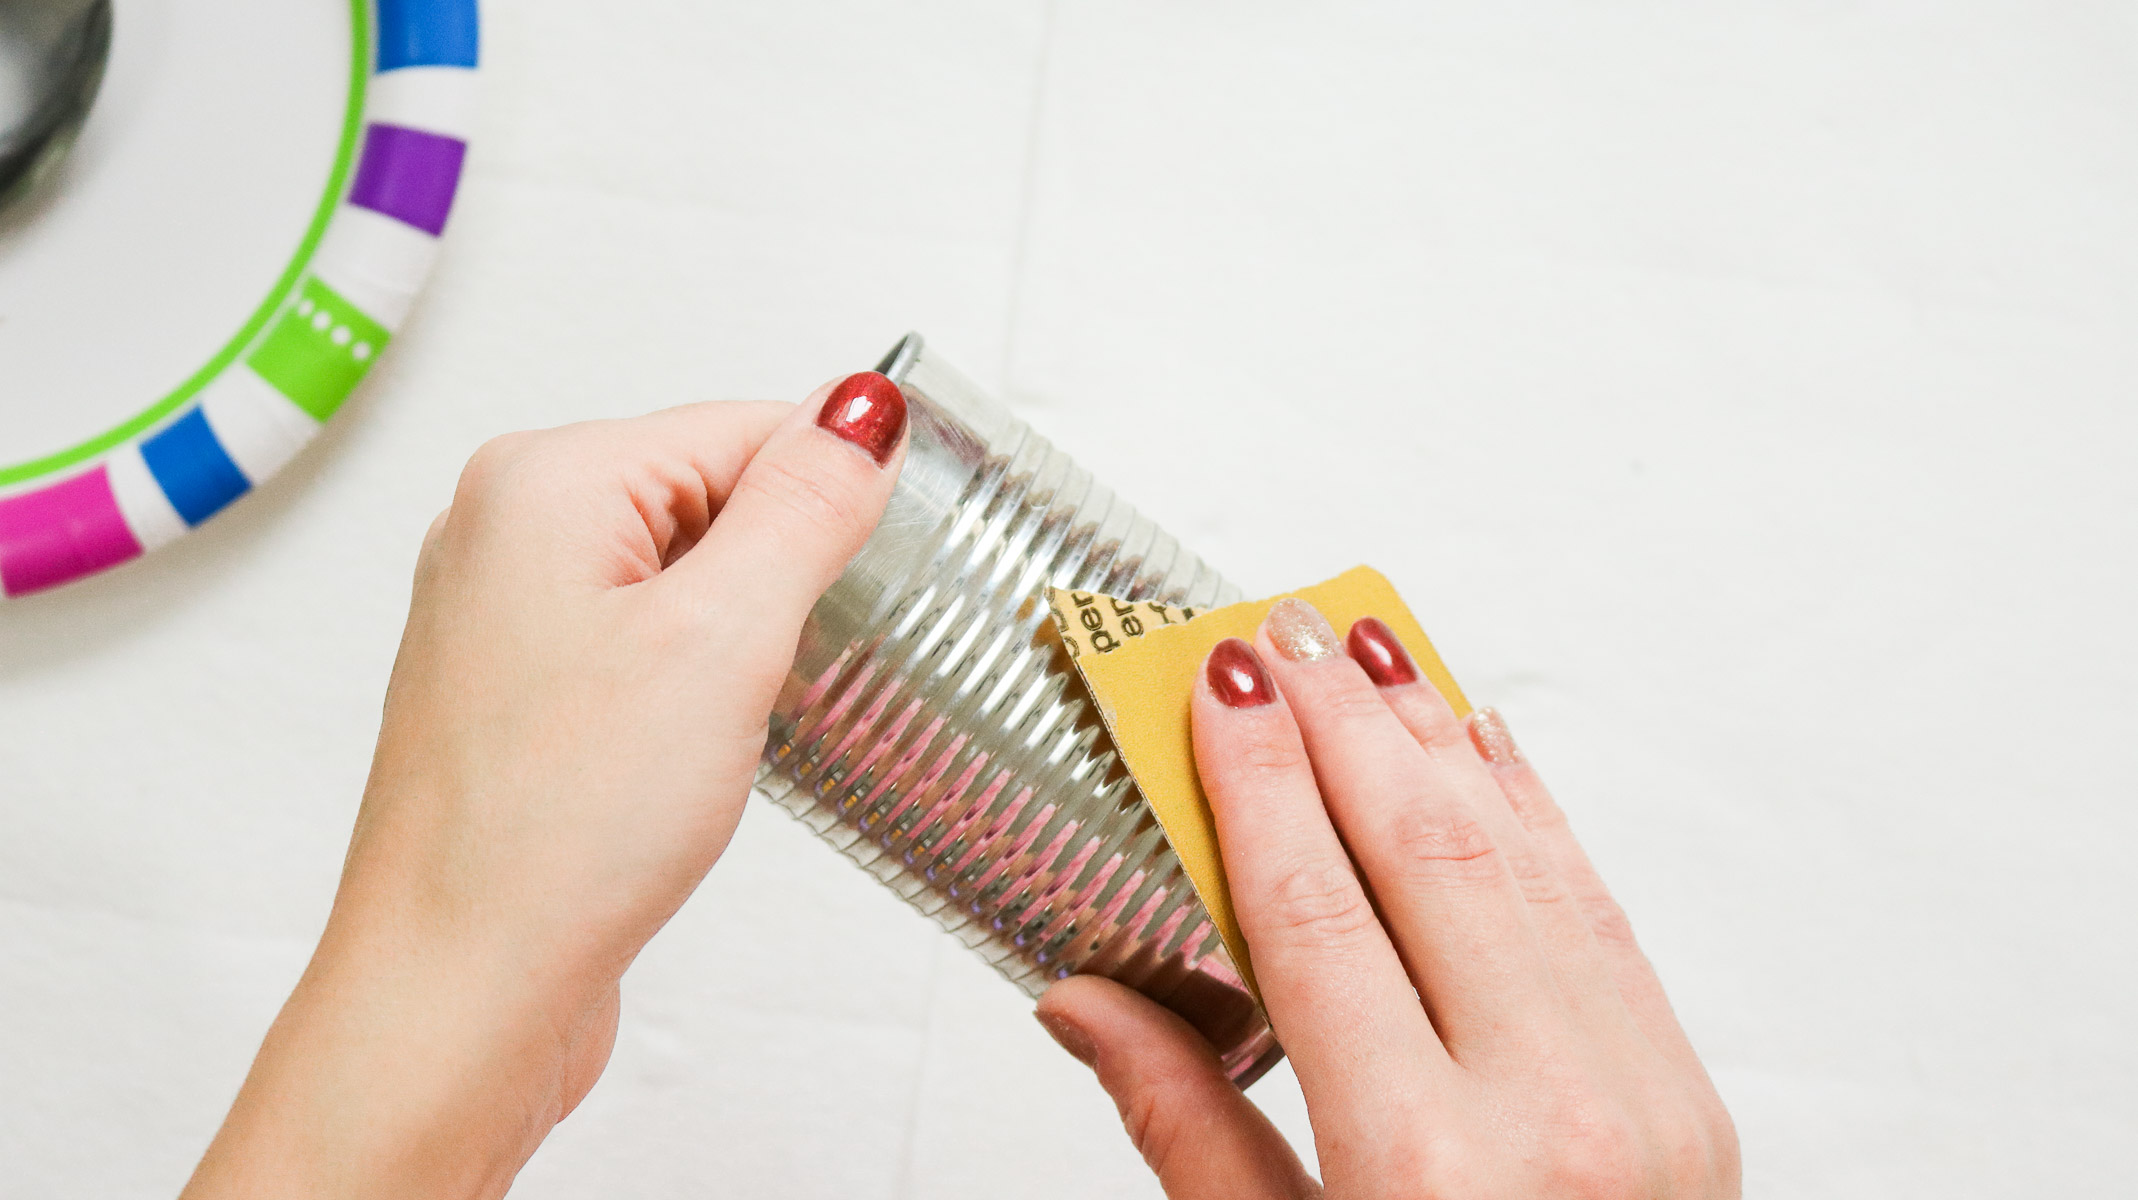
How to apply your plaster!
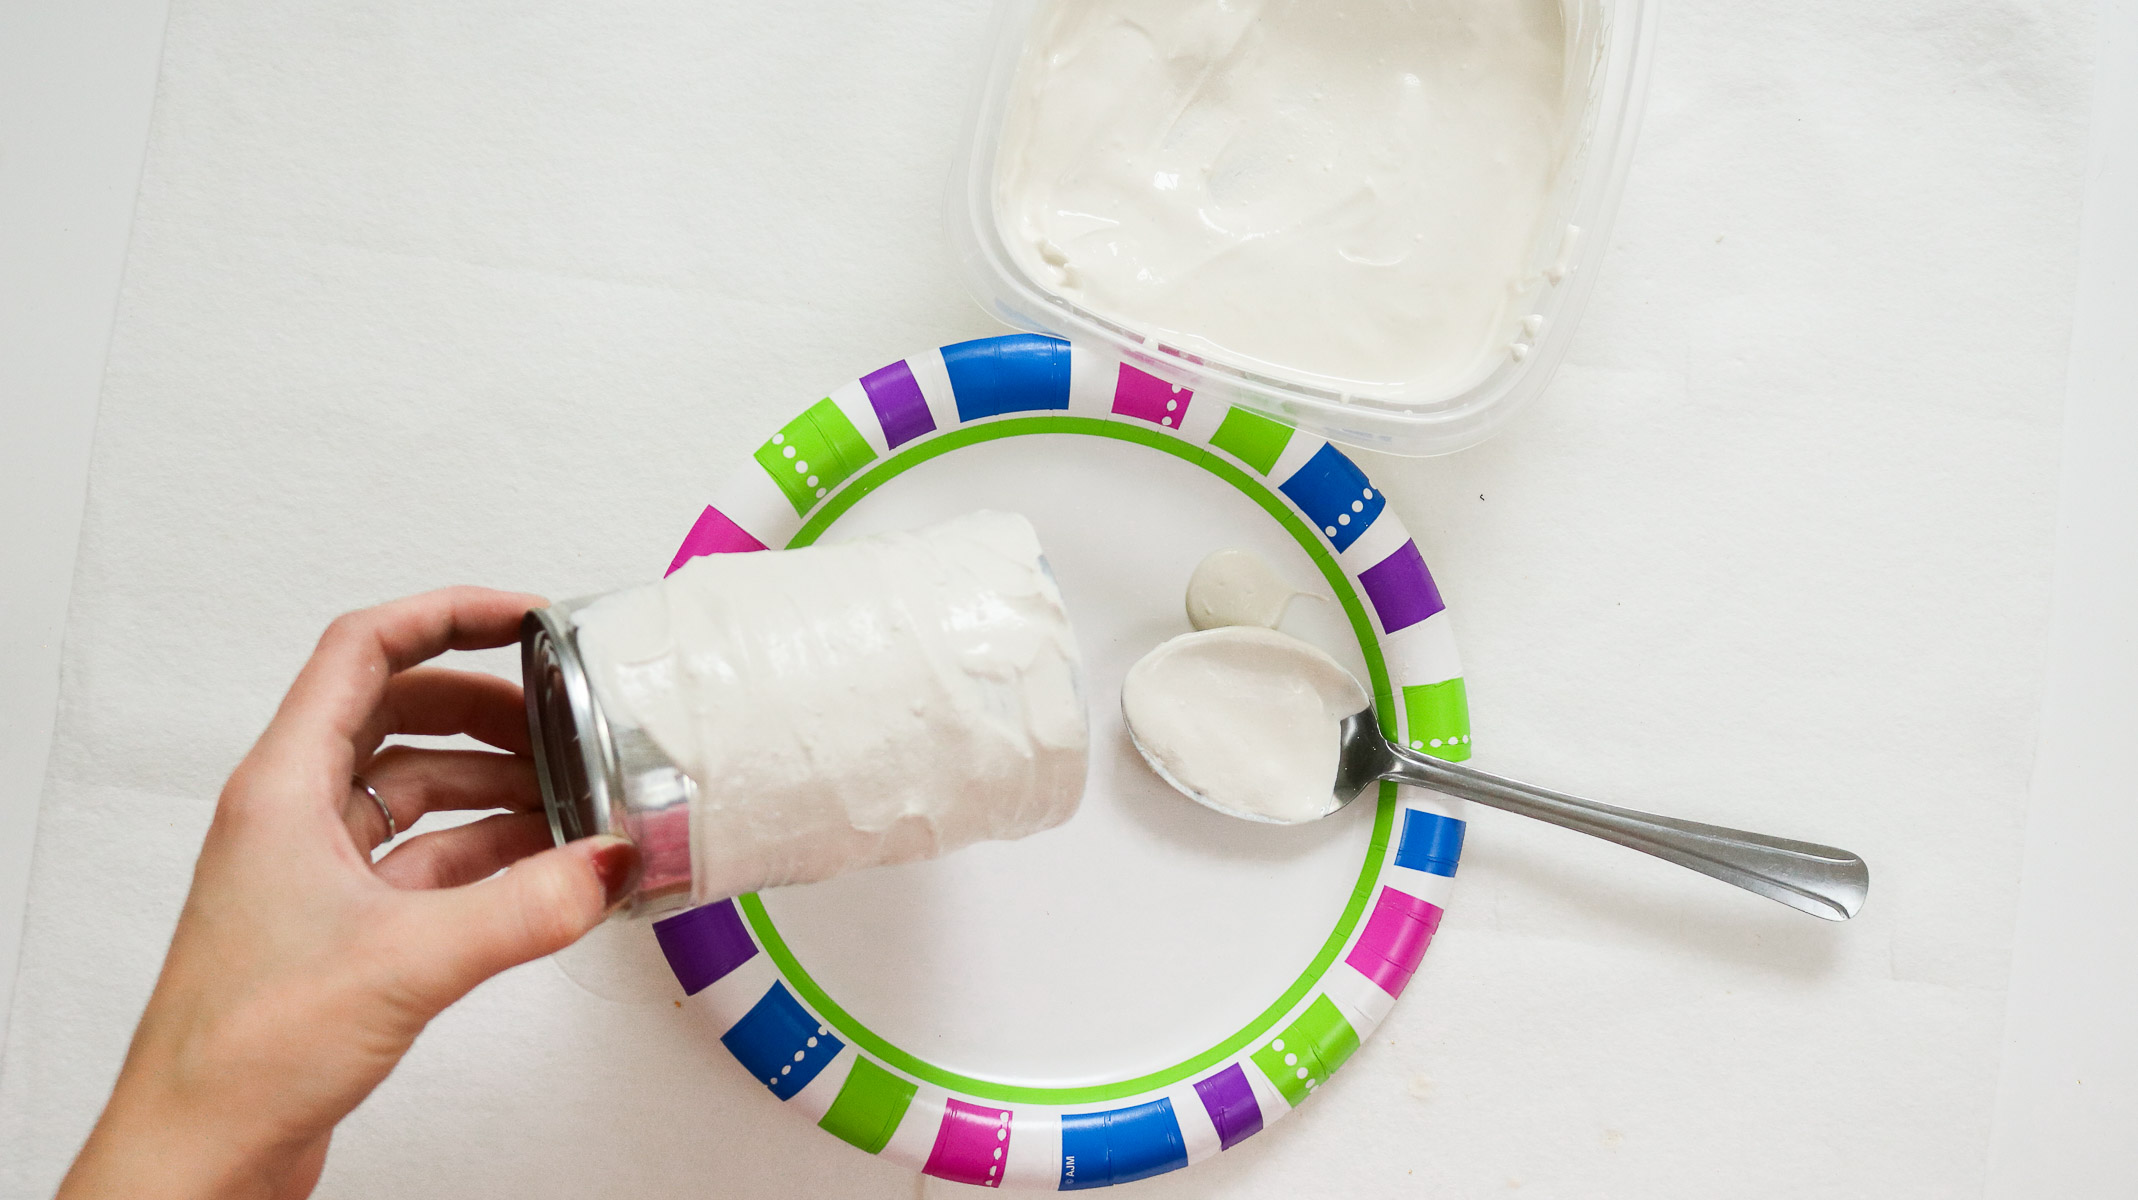
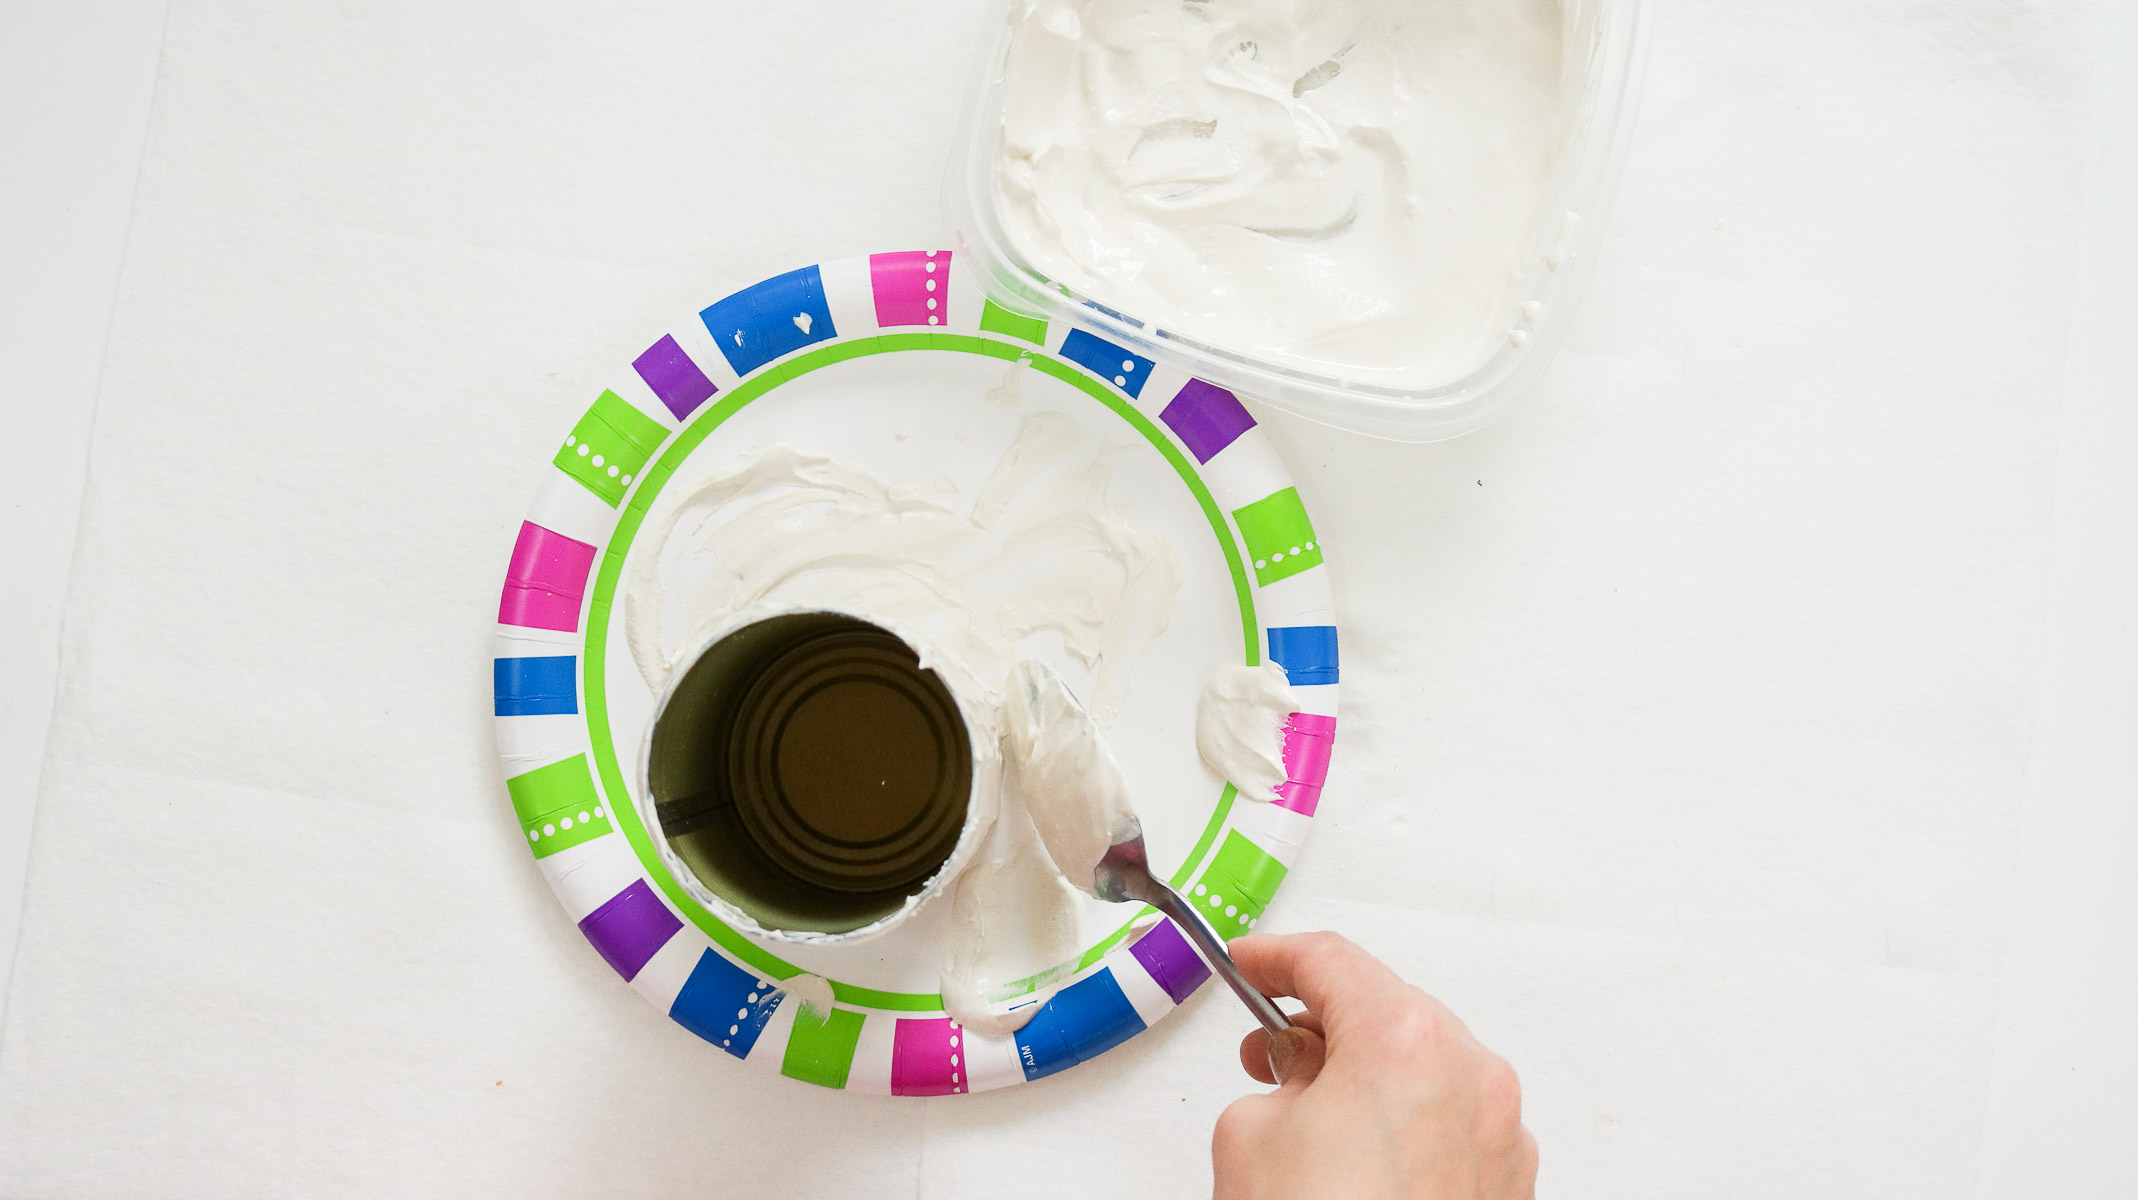
Start by lightly sanding down your tin can. Then mix a batch of plaster. I did about 1/3 cup of COLD water and kept adding plaster until I had a pudding like consistency. Following that apply an even coat of plaster to your tin can using your spoon. Than set your tin can upright and create lines on the plaster with your spoon. Your plaster will have about a 10 minute work time. Then I let mine set overnight or give it at least 4 hours before applying your gold leaf. You want all the moisture completely gone from the plaster.
(NOTE: If you plan on washing your mixing supplies you will need to rinse them outside. You don’t want this stuff going down your drain at all)

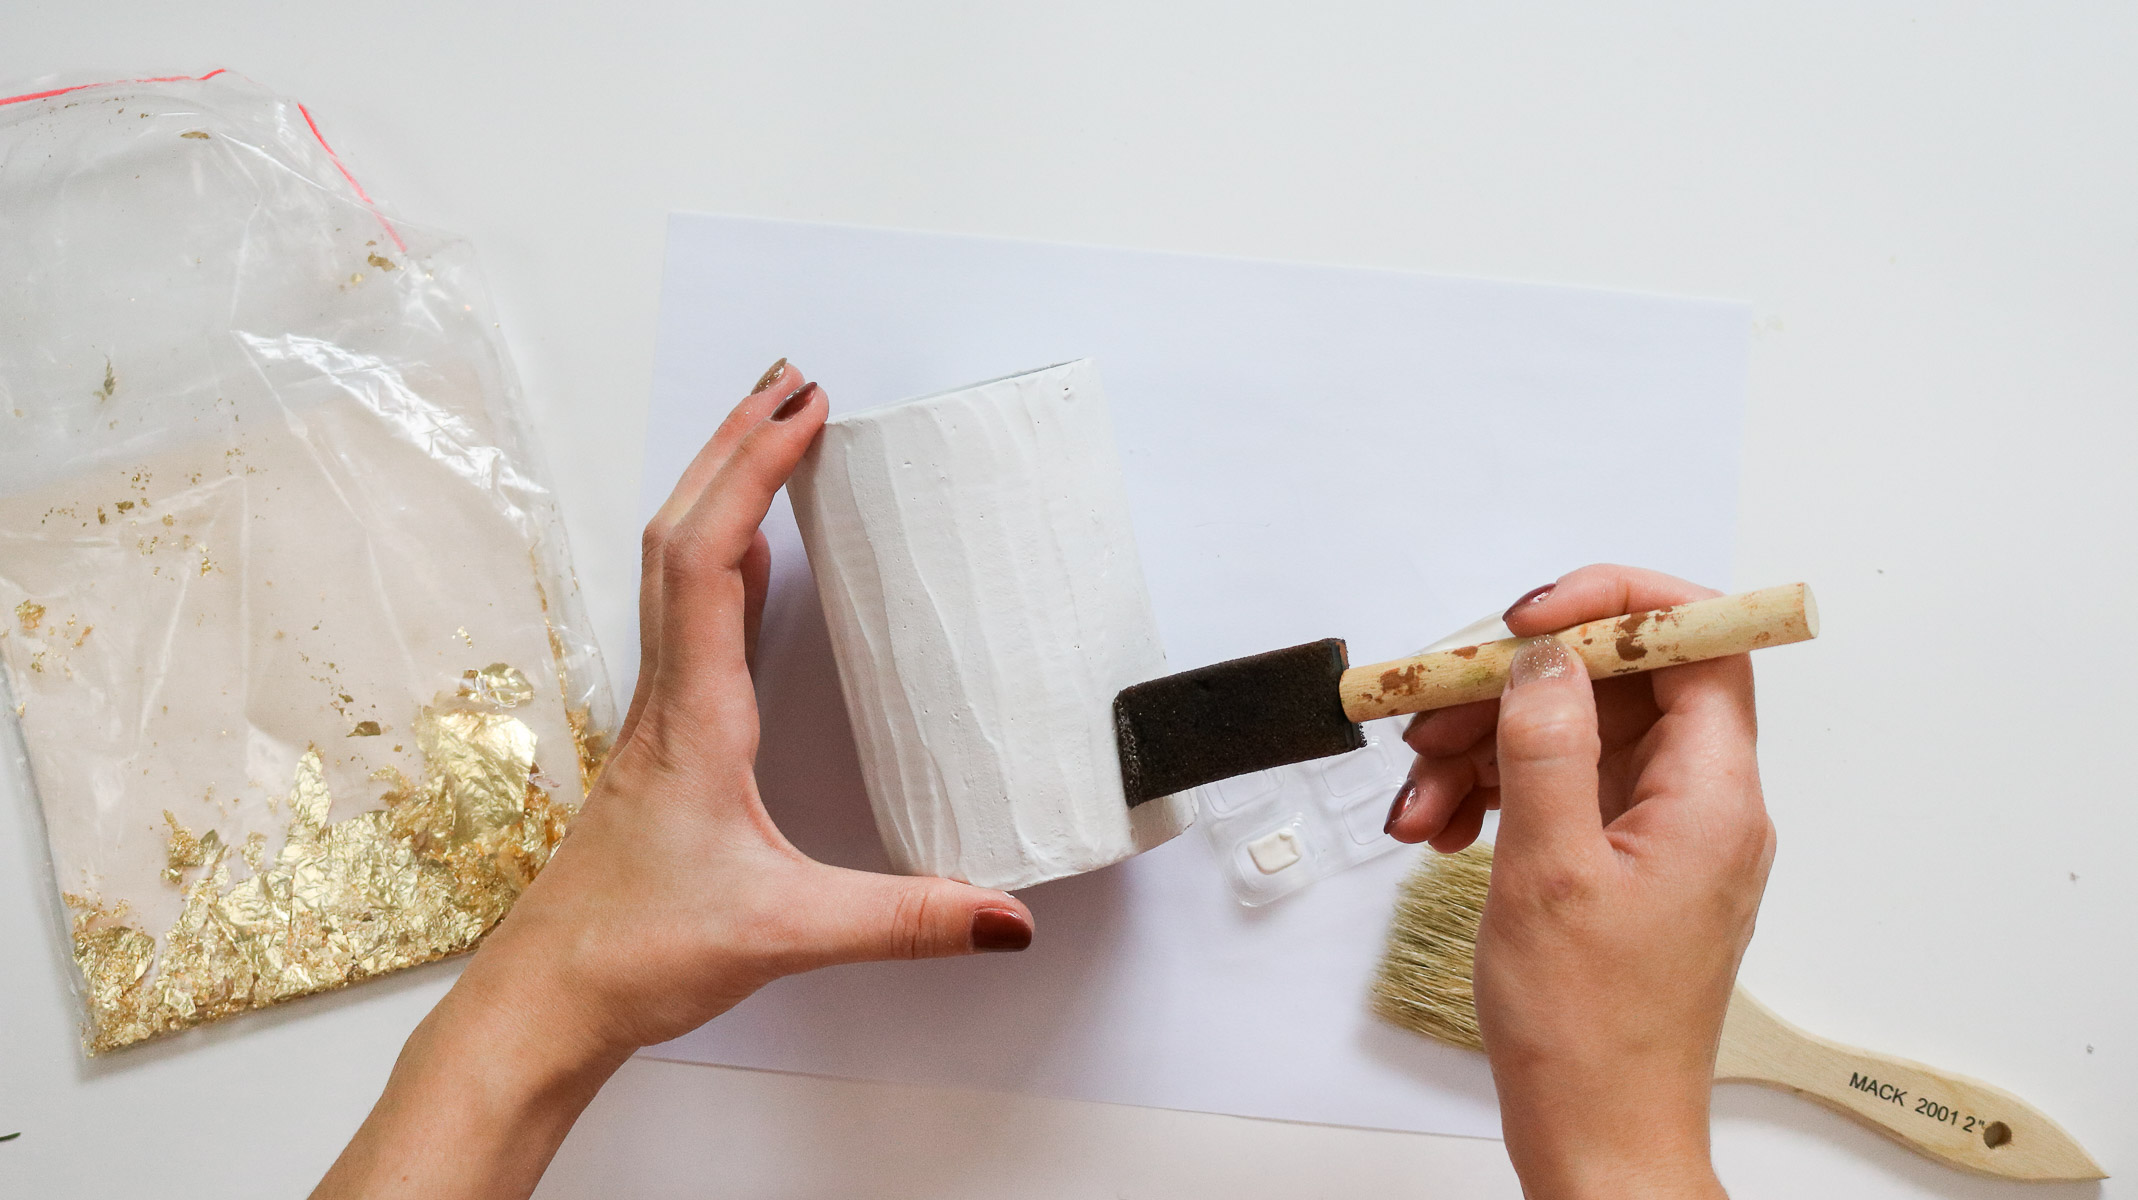
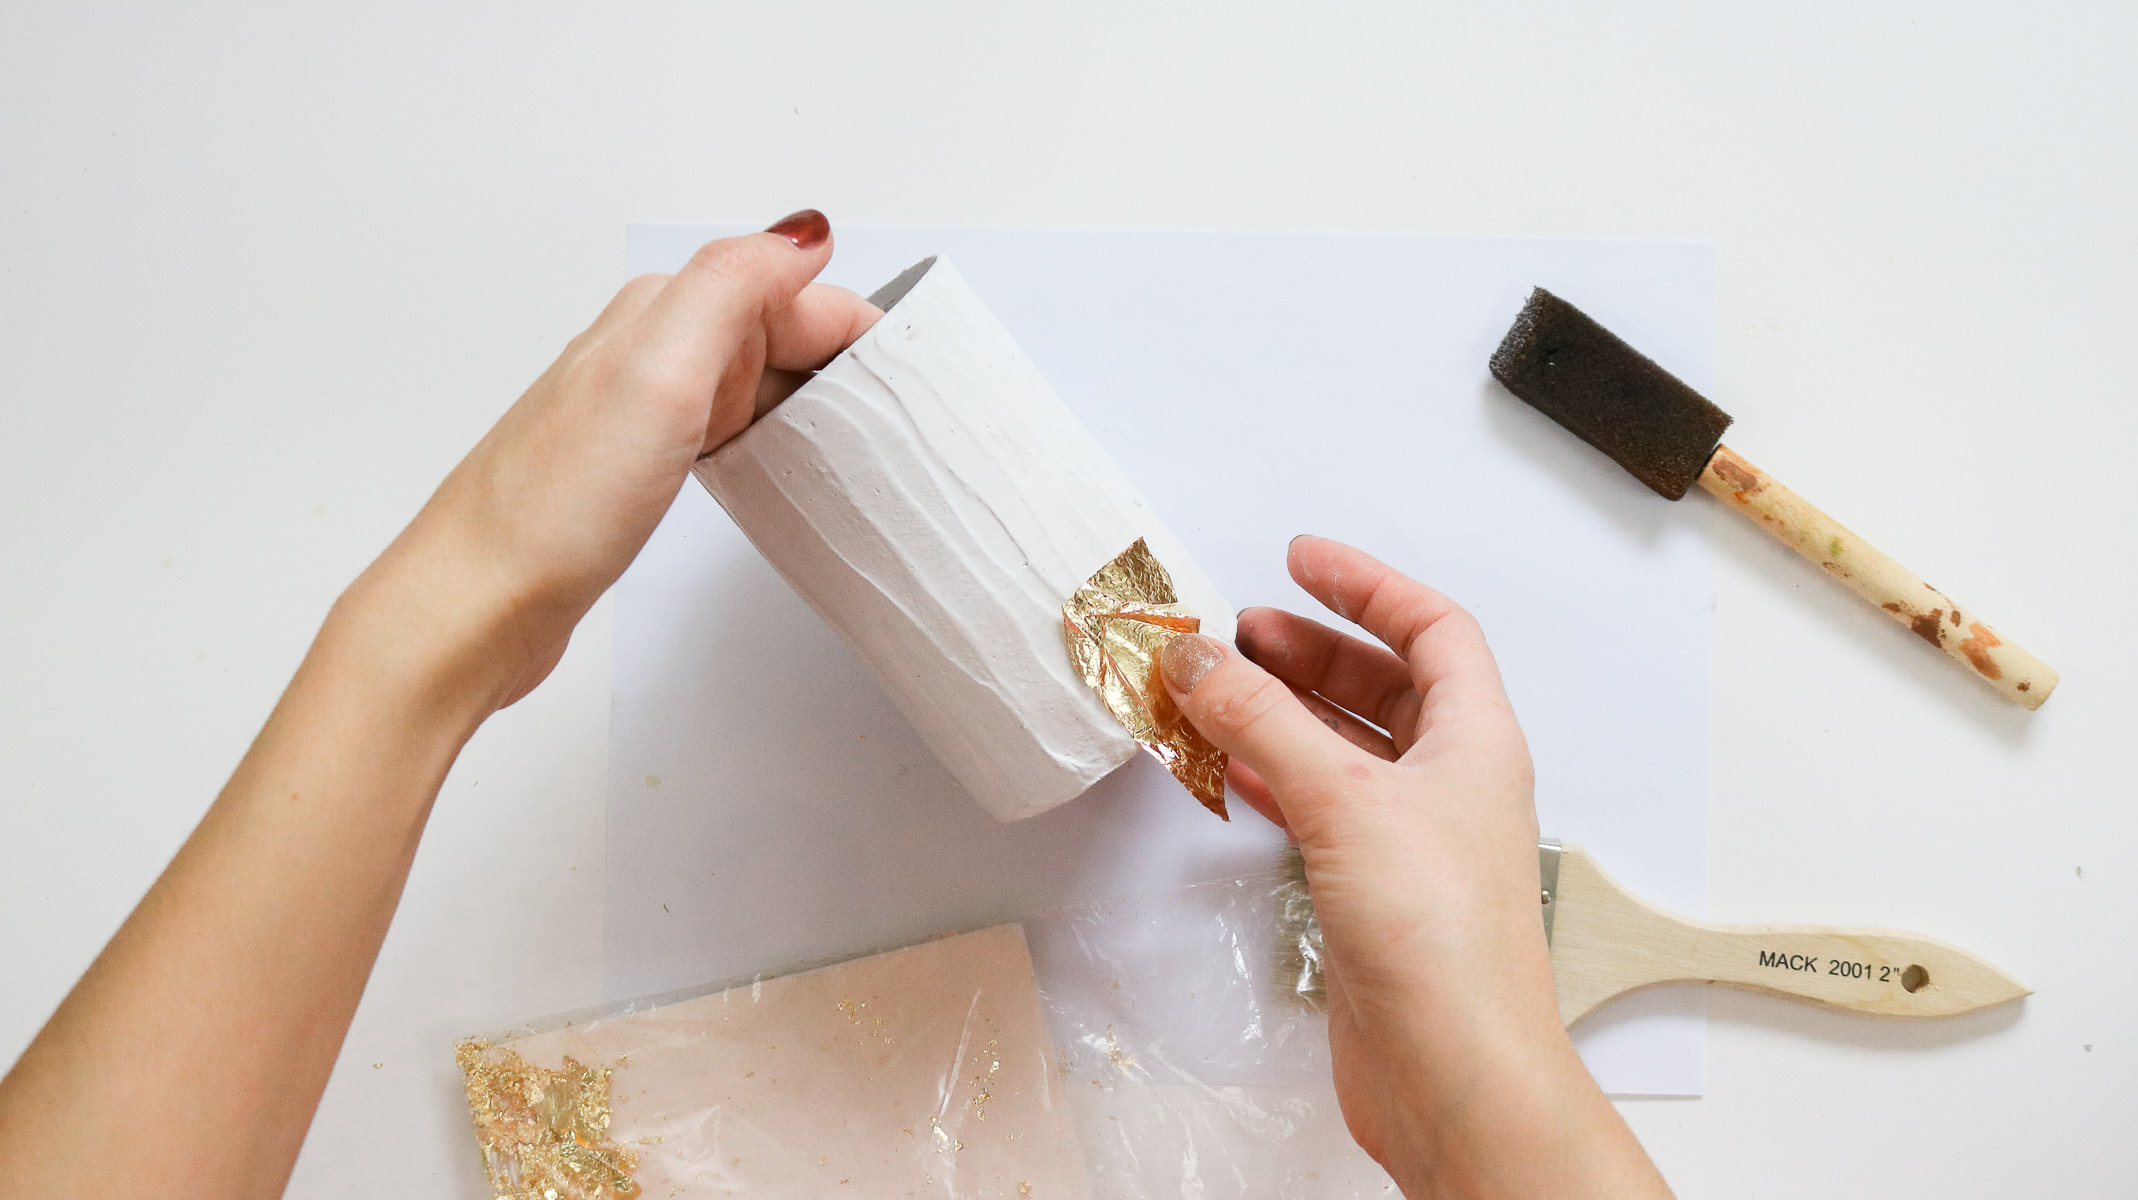
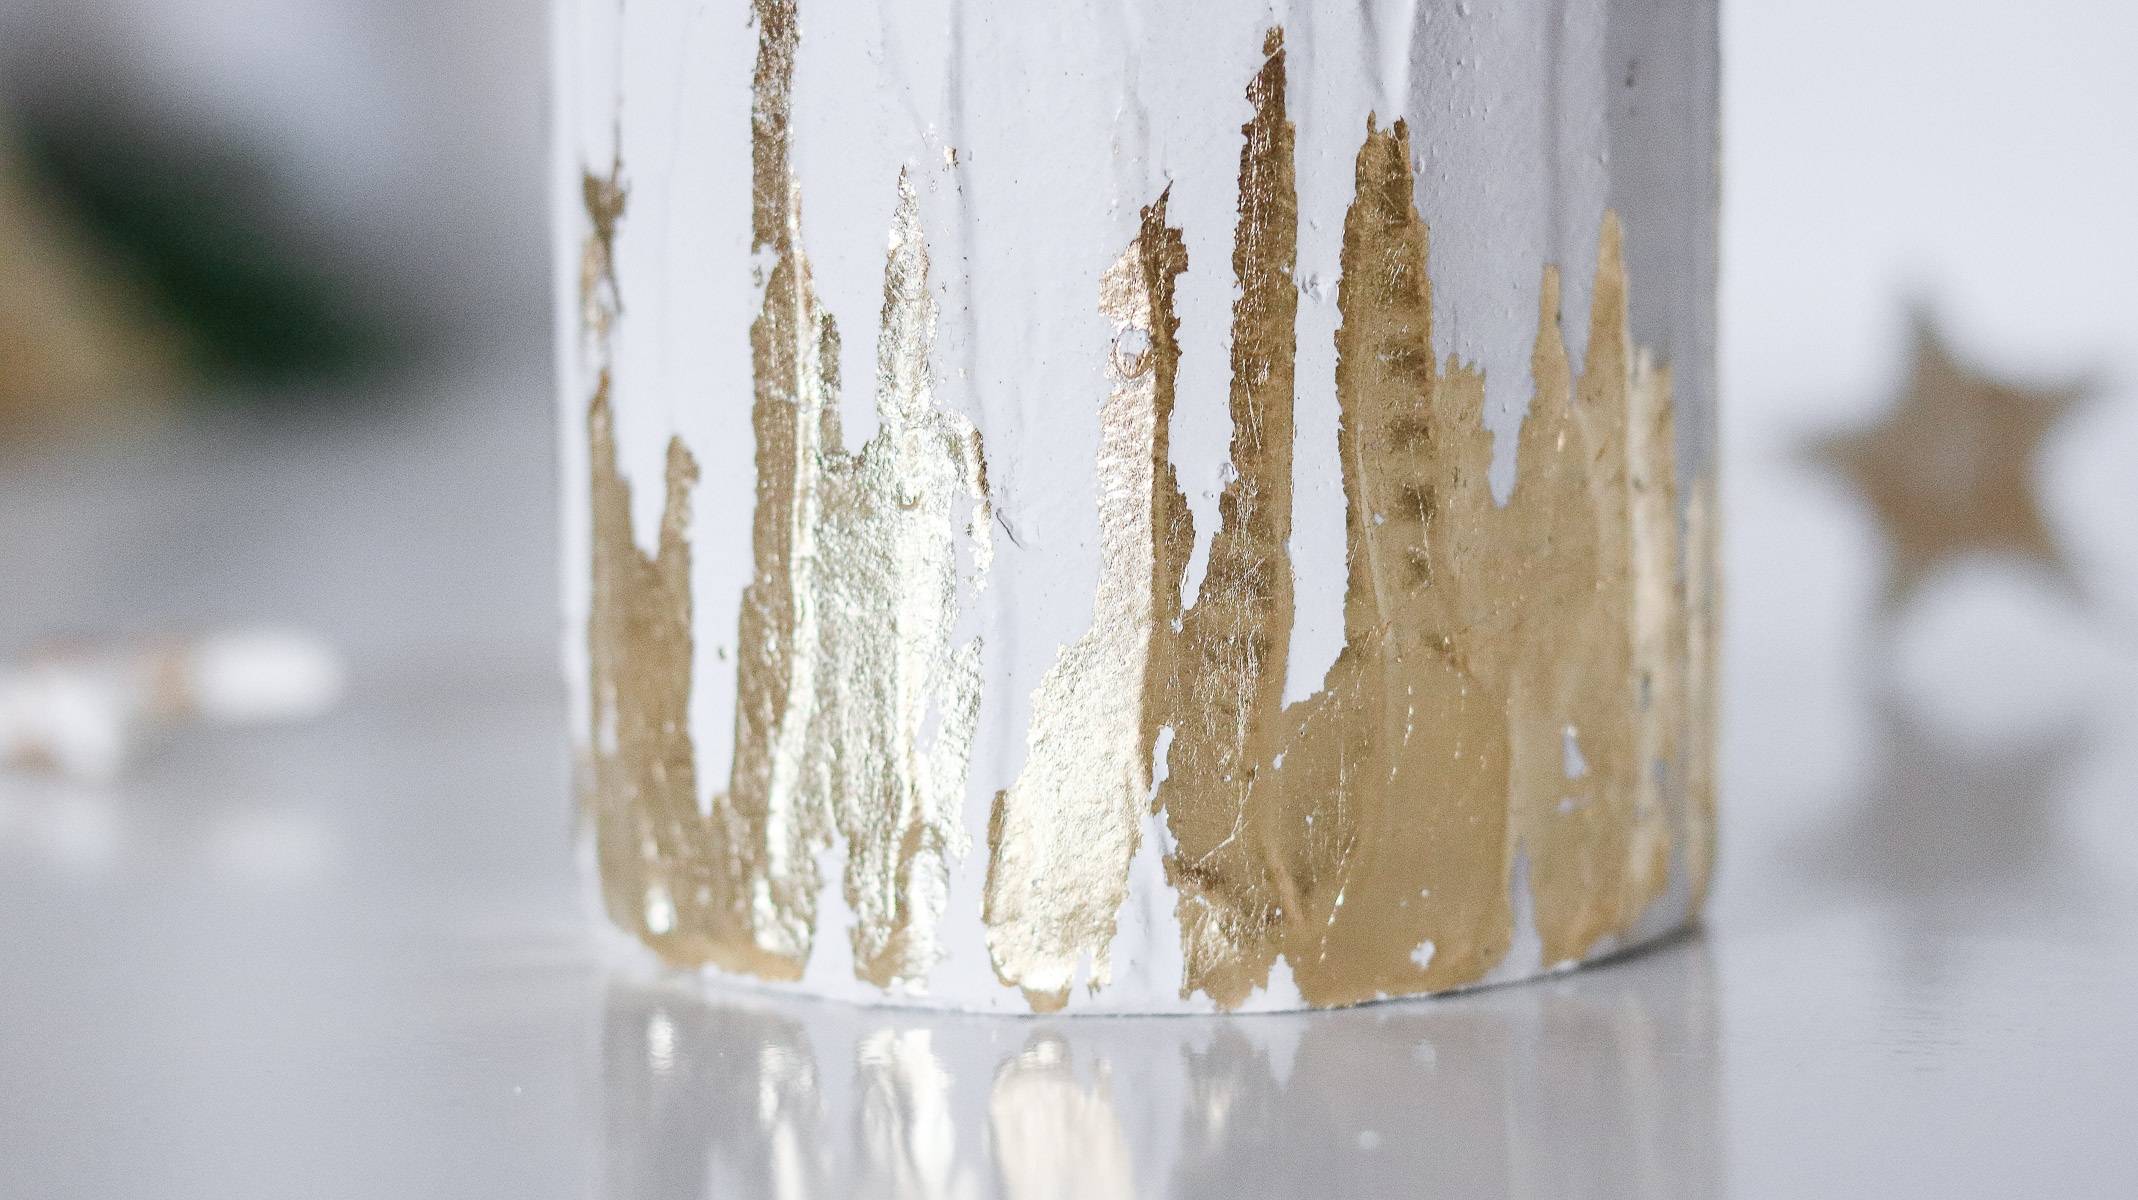
Applying your Gold Leaf!
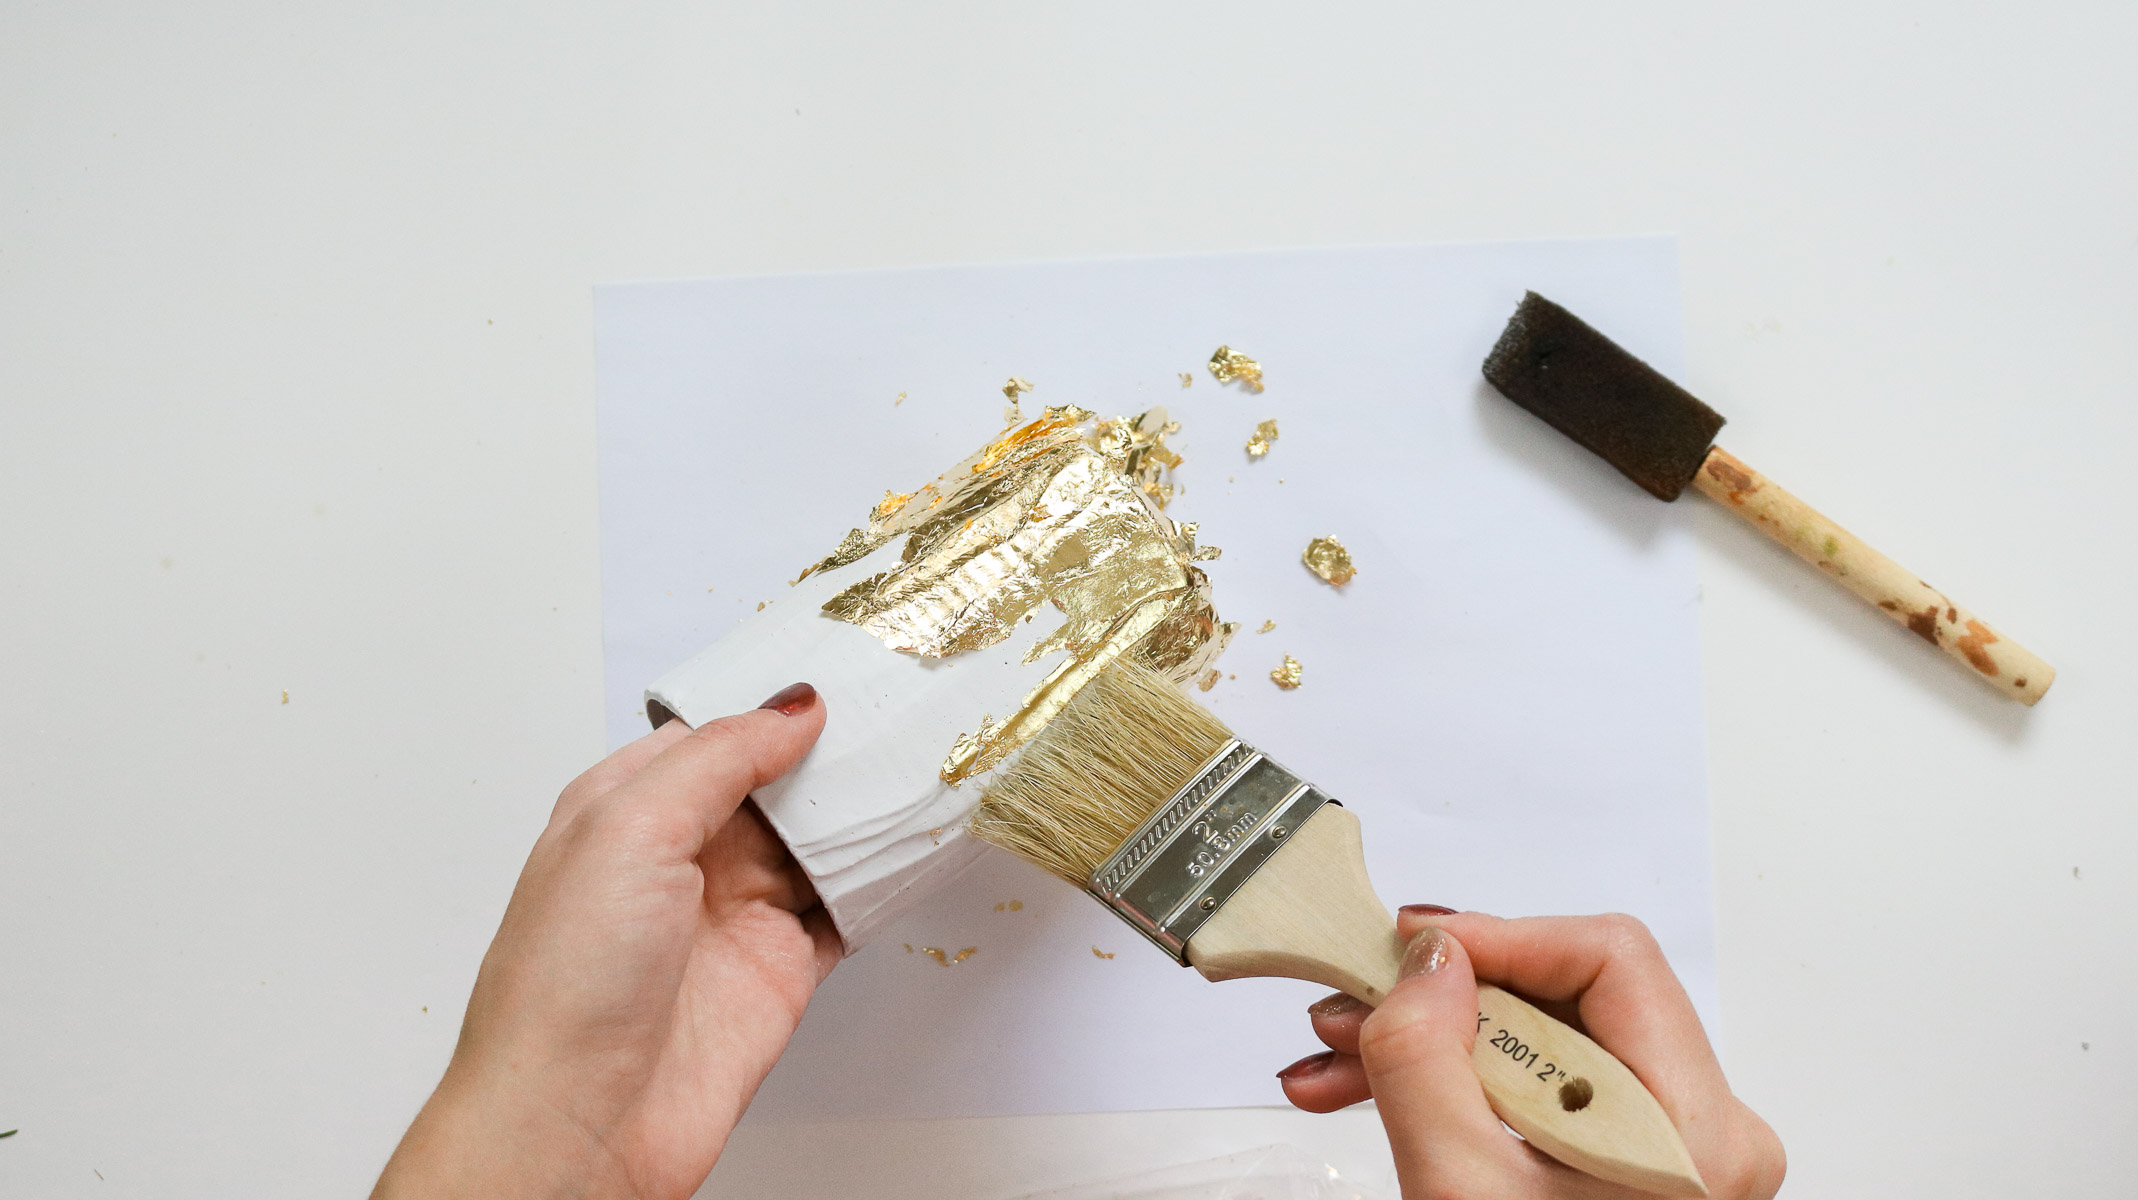
Once your plaster is completely dry use a brush to apply your gilding adhesive. I simply did little bursts from the bottom going all around the vase. It should take about 10 minutes for your gilding adhesive to set. It’ll turn clear once it’s set. Than apply your gold leaf and brush off any excess. Note: you can also use a heat gun or blow dryer to set your gilding adhesive quicker. I buy my my gilding adhesive at Michaels in the Martha Stewart section.
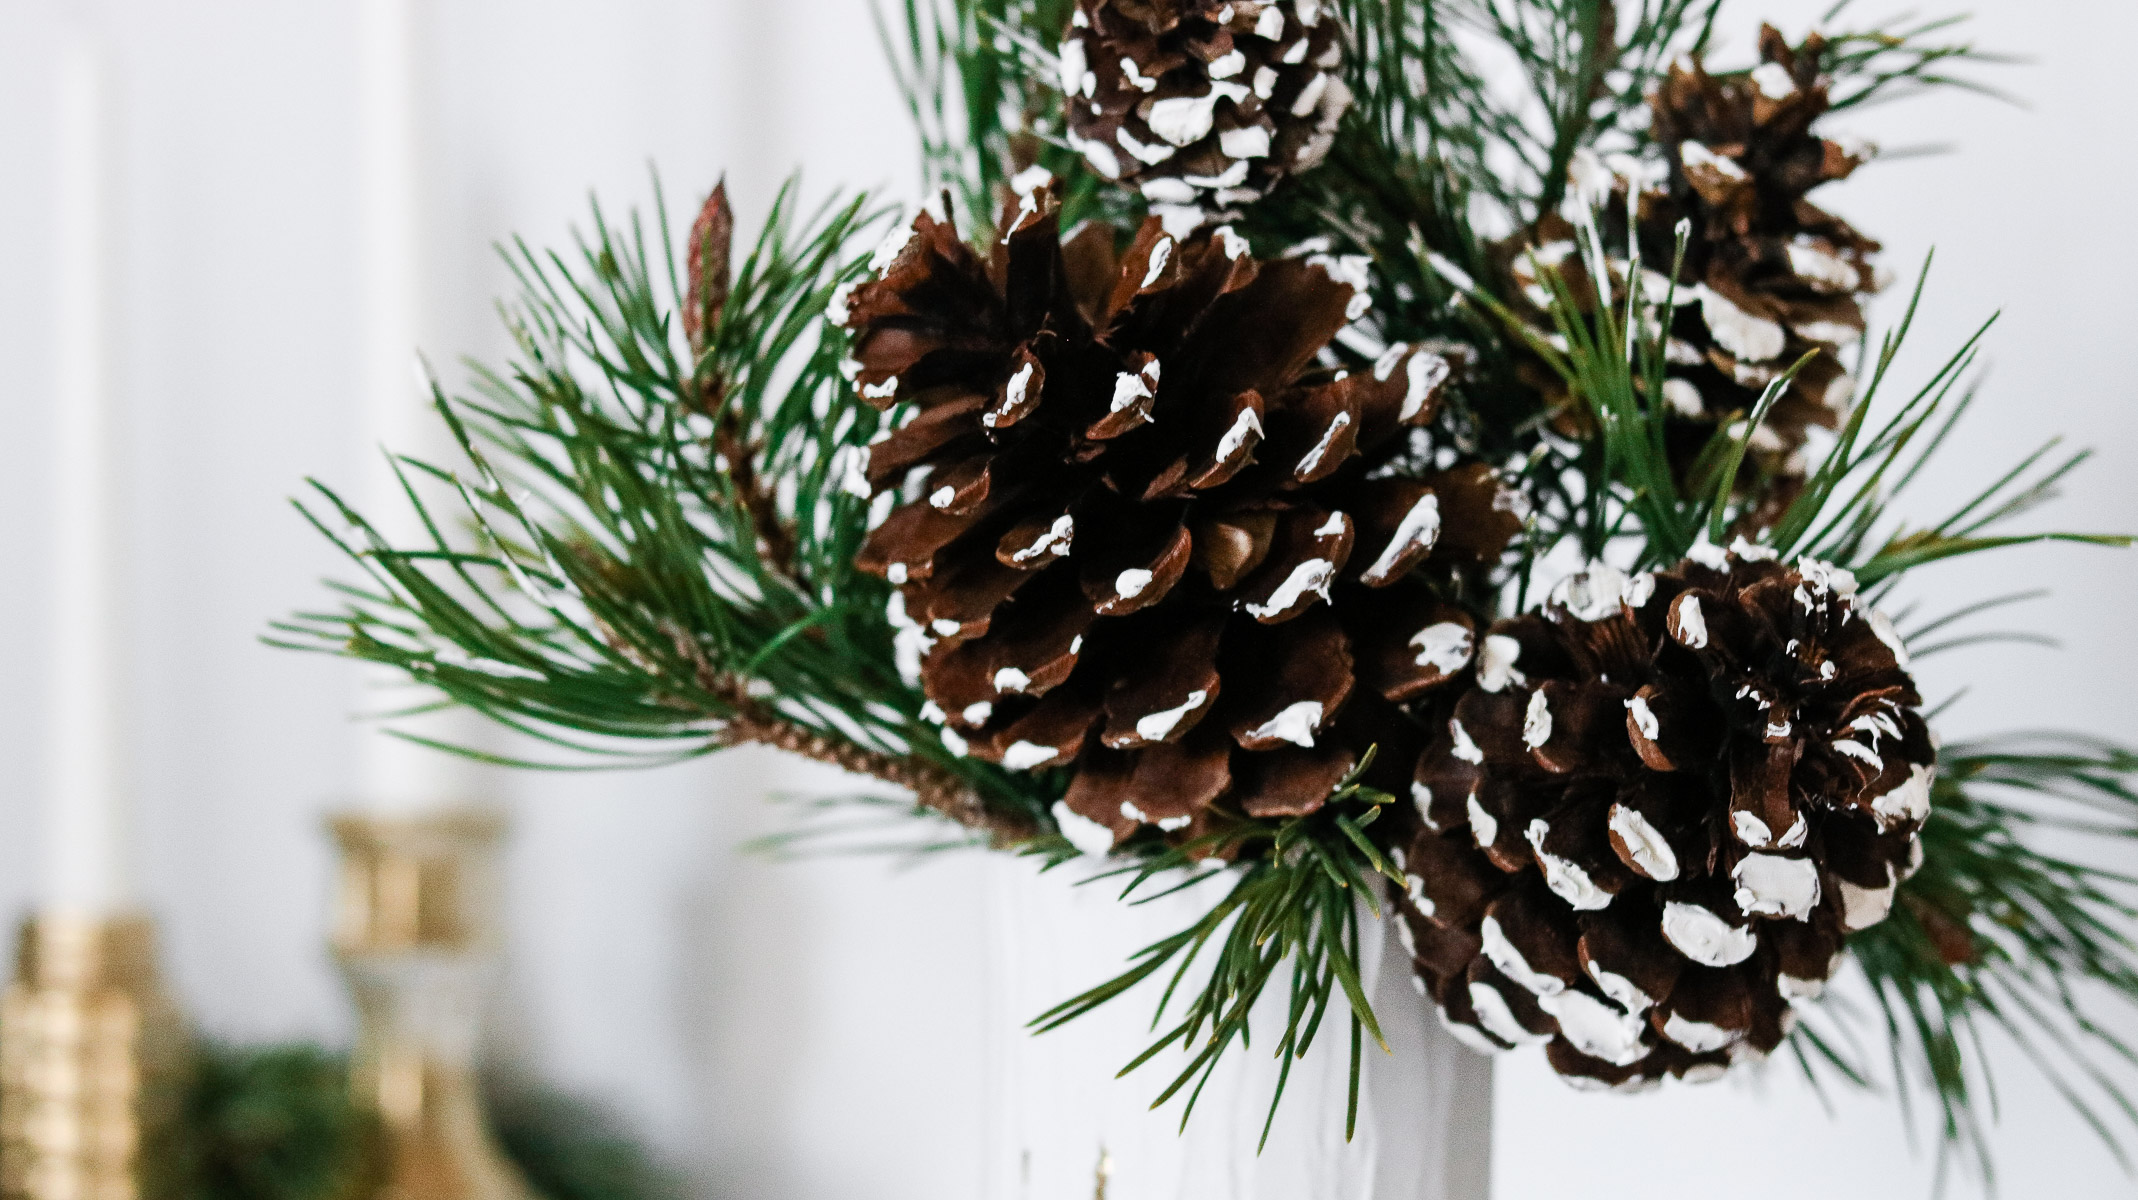
Here it is! 😀 I frosted my pine cones with some modeling paste. I literally just dipped a butter knife in the paste and dabbed it onto the pine cones.
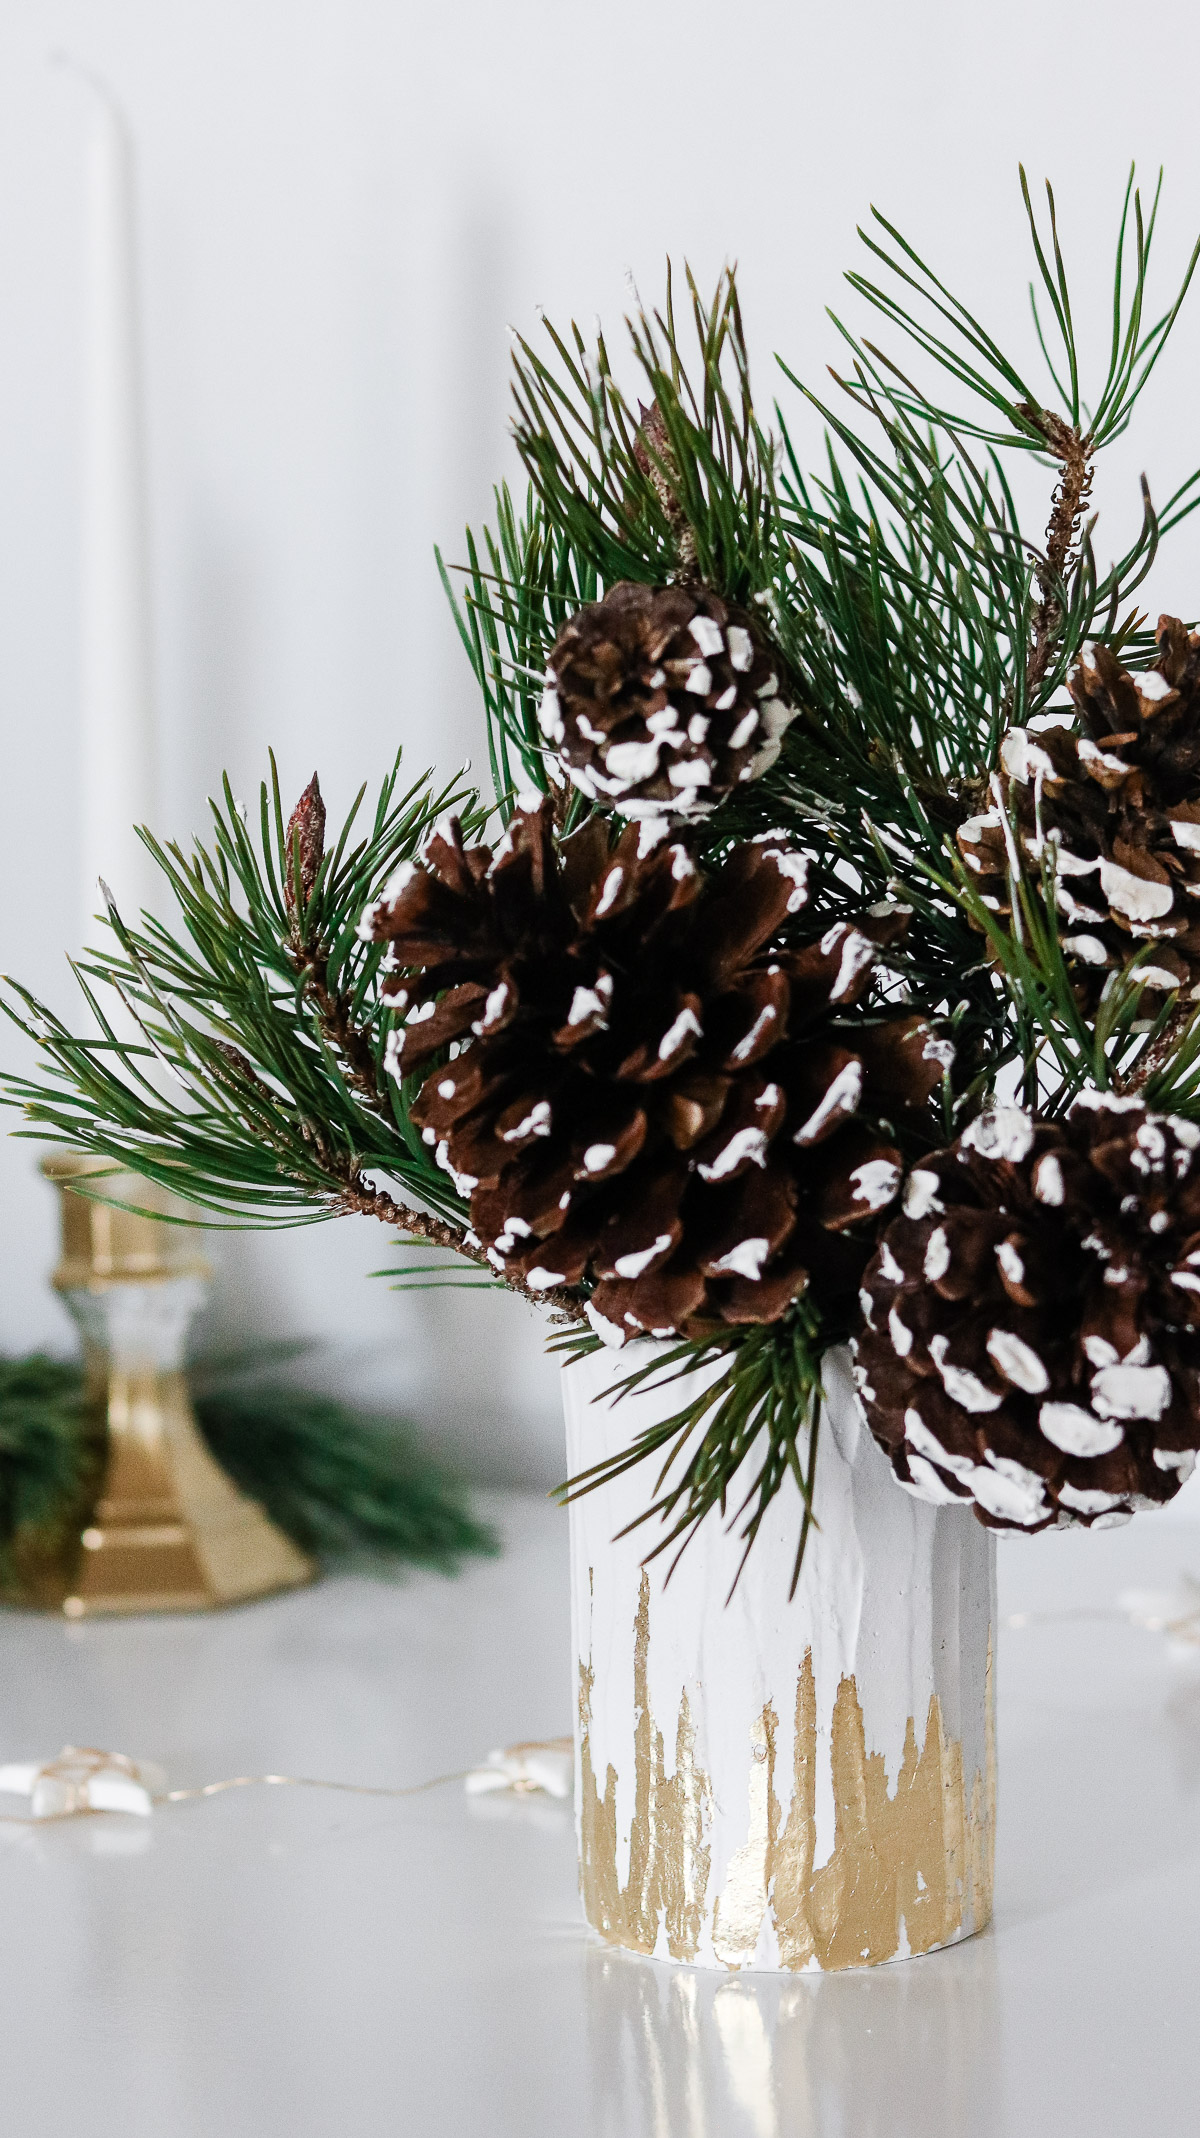
Not going to lie I’m totally obsessing over these pine cones! I usually avoid big pine cones because I feel like they will look too bulky. These look lovely though!
Quick Video Version
That’s it for this tin can up-cycle! Thank you for your amazing support! This year has been incredible with so much growth and so many new people that have joined me. 😀 I appreciate each and every one of you and I can’t wait to share this exciting DIY journey with you. Thank you for all your kind words, genius tips, and encouragement. I look forward to getting to know you more in this coming year!
XO,
Lily-