
A plaid sign that can be used for two seasons 😁!
I’ve been loving the plaid trend! Every time Fall and Christmas roll around they always put out the cutest plaid decor. Buffalo plaid is a classic and for this project I couldn’t help but use it however, I did have my eye on a deep forest green buffalo plaid that would of a been a great option as well. I hope this these double sided fall and Christmas sign inspires you to bring some plaid decor into your home!
TIME NEEDED:
It’s a pretty quick process however the drying takes some time. Attaching the fabric only take about 25-30 minutes.
Total Cost: $26 each side or $52 total
So the total cost for this project was around $50. Keep in mind this is because it’s double sided. If I was to only do one side it would be about half the price. The frame was the priciest part of this project ( $17.99). If you can find one at the thrift store you could probably get it done for cheaper.
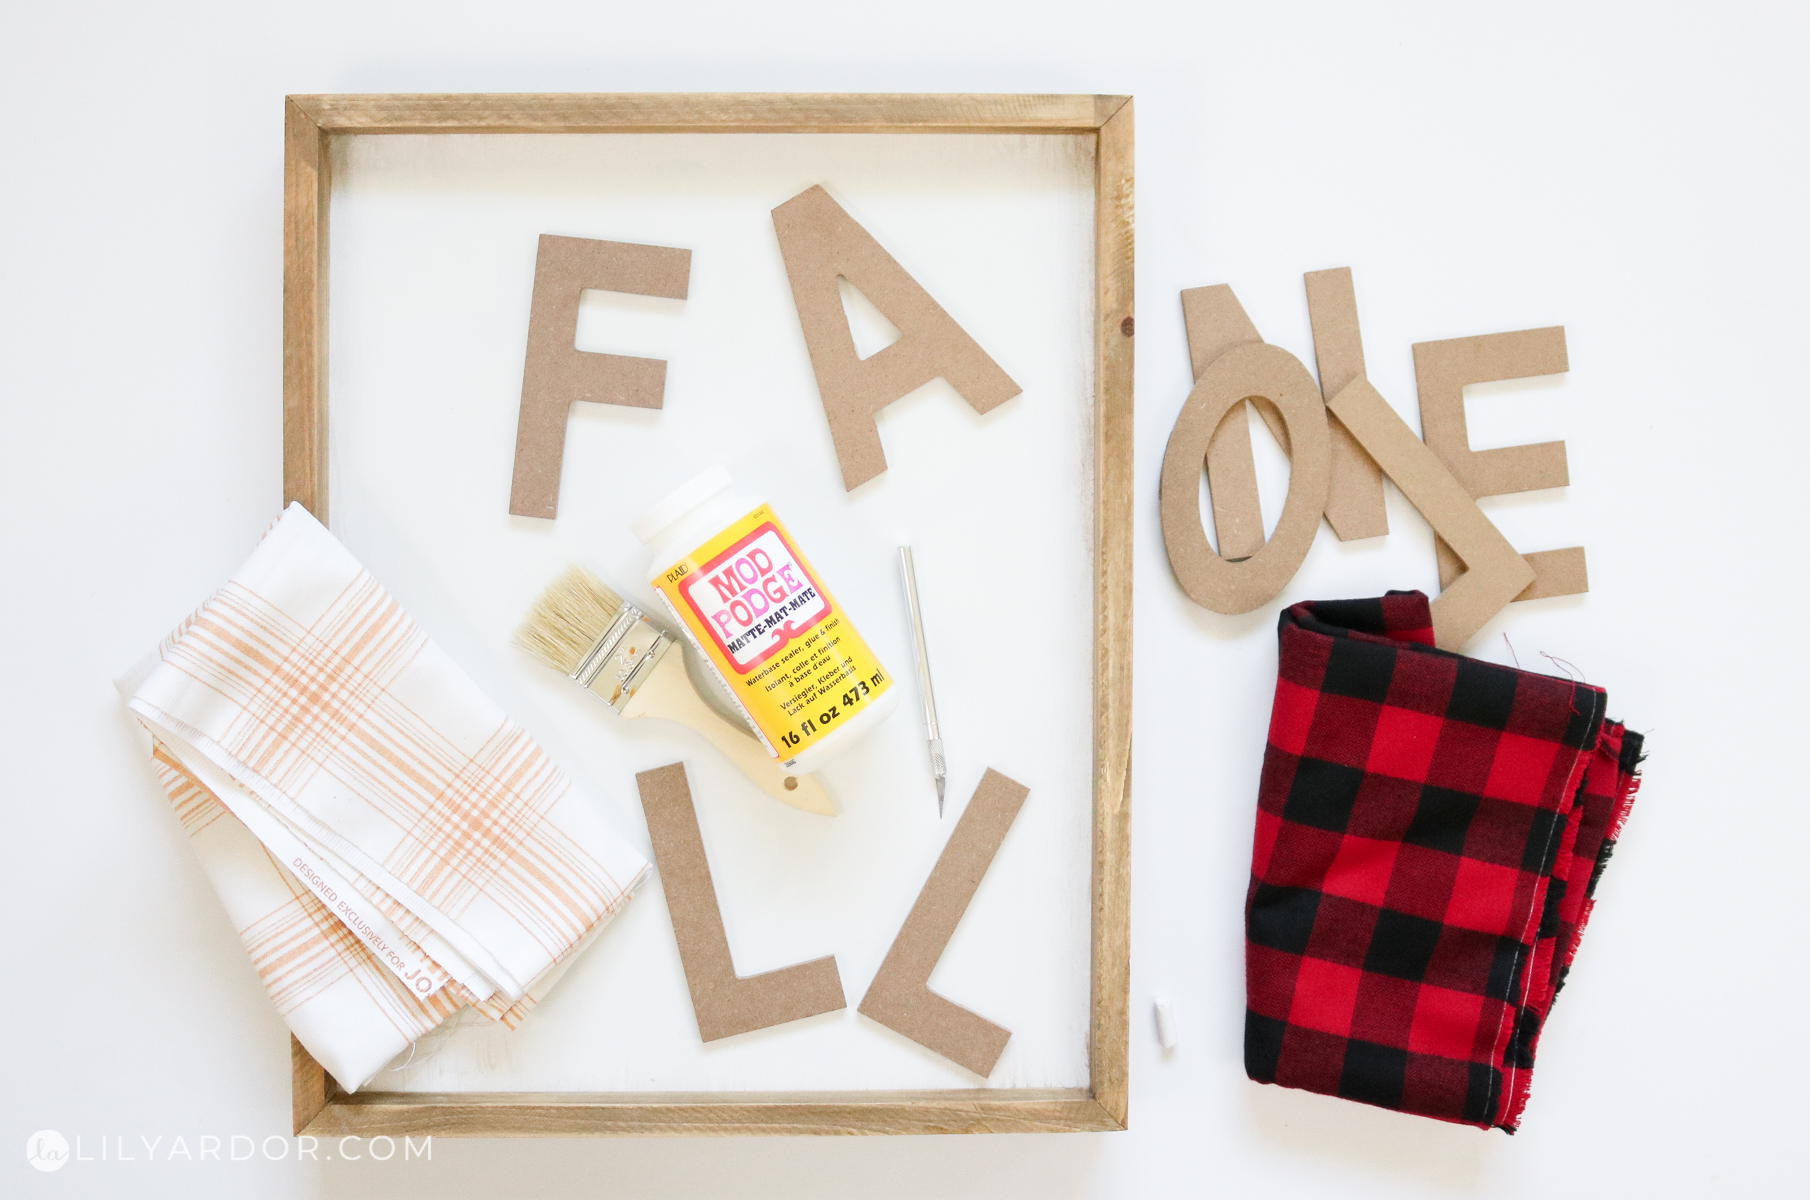
Supplies:
- MDF or wood Letters ( you can get some online here – https://amzn.to/2XIv0YT ) ( mine measured about 5 3/4″ inches in height. I got them at michaels)
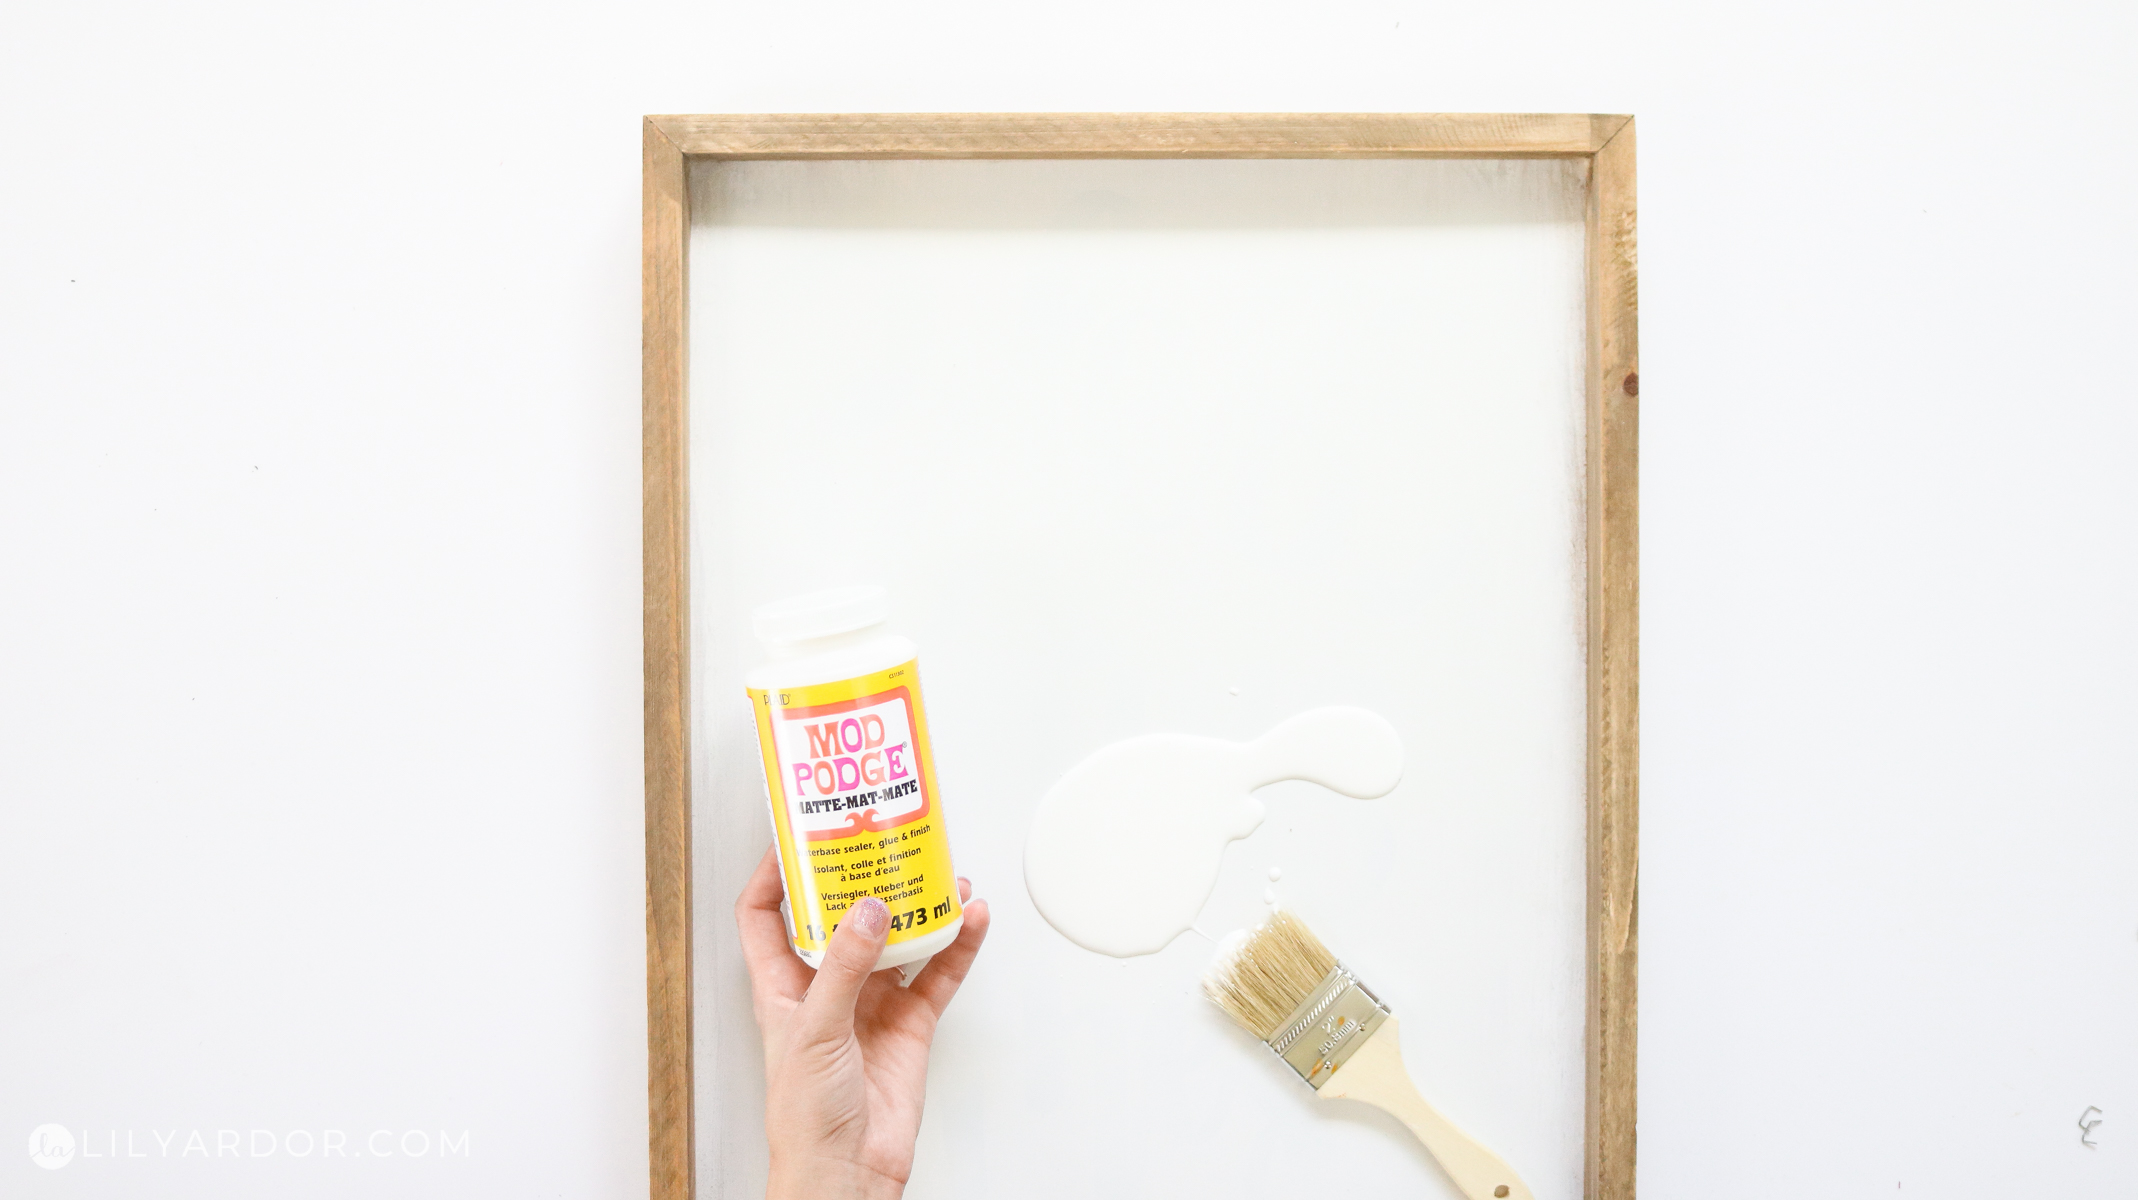
- Mod Podge ( doesn’t matter if it’s matte, glossy or satin)
- Brush
- Two plaid fabrics ( each 3/4 of a yard. I purchased a yard and had some leftover) ( amazon sells some here – https://amzn.to/2OE3J5J )
- Exacto knife or a razor blade
- Scissors
- Chalk
- Wood Frame 20″x16″( Here’s the one I used from hobby lobby )
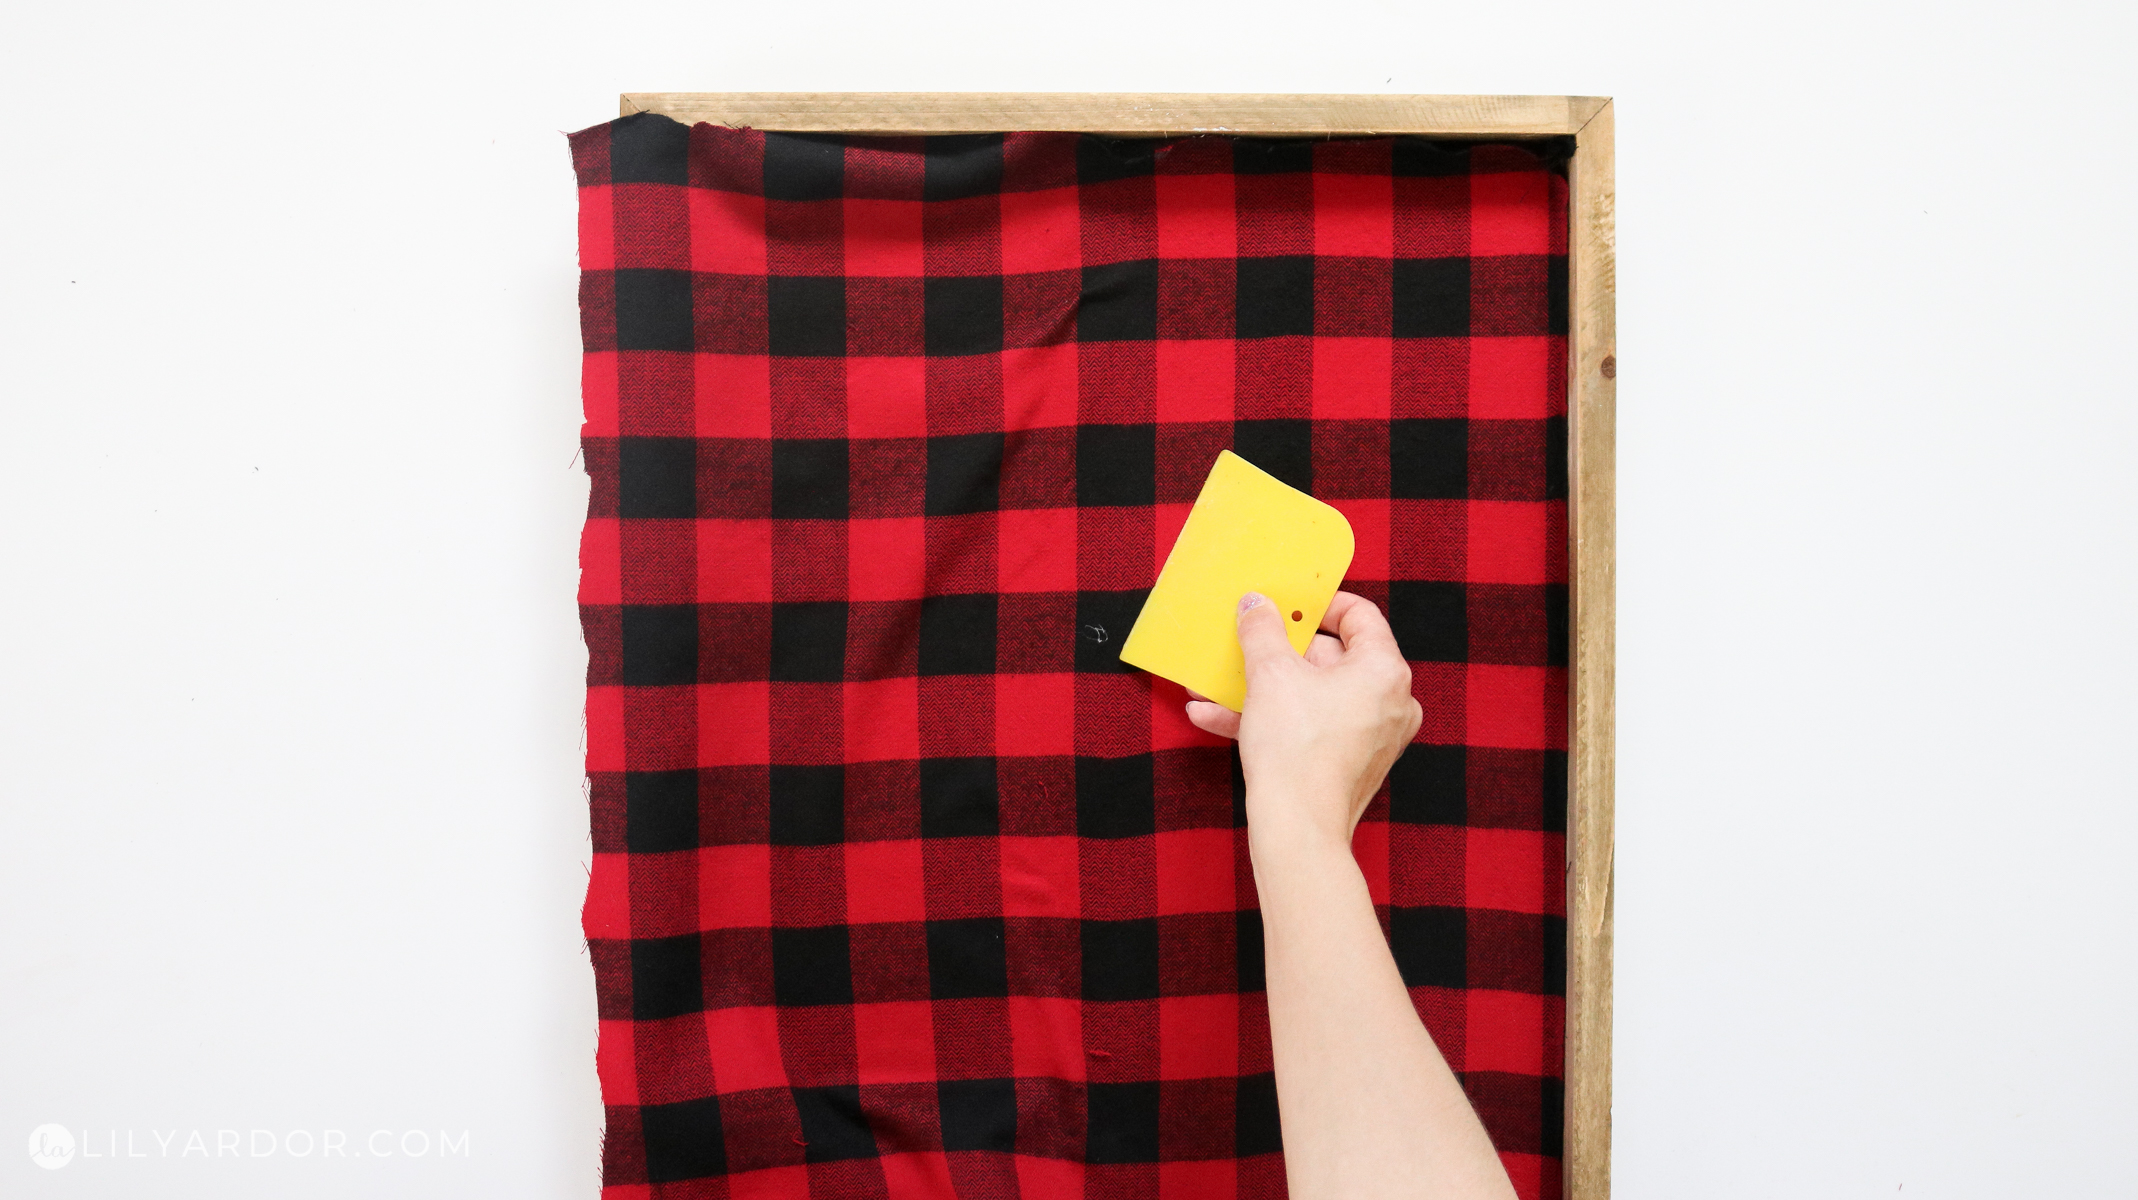
- plastic spreader
Picking the Correct Frame for a double sided plaid sign!
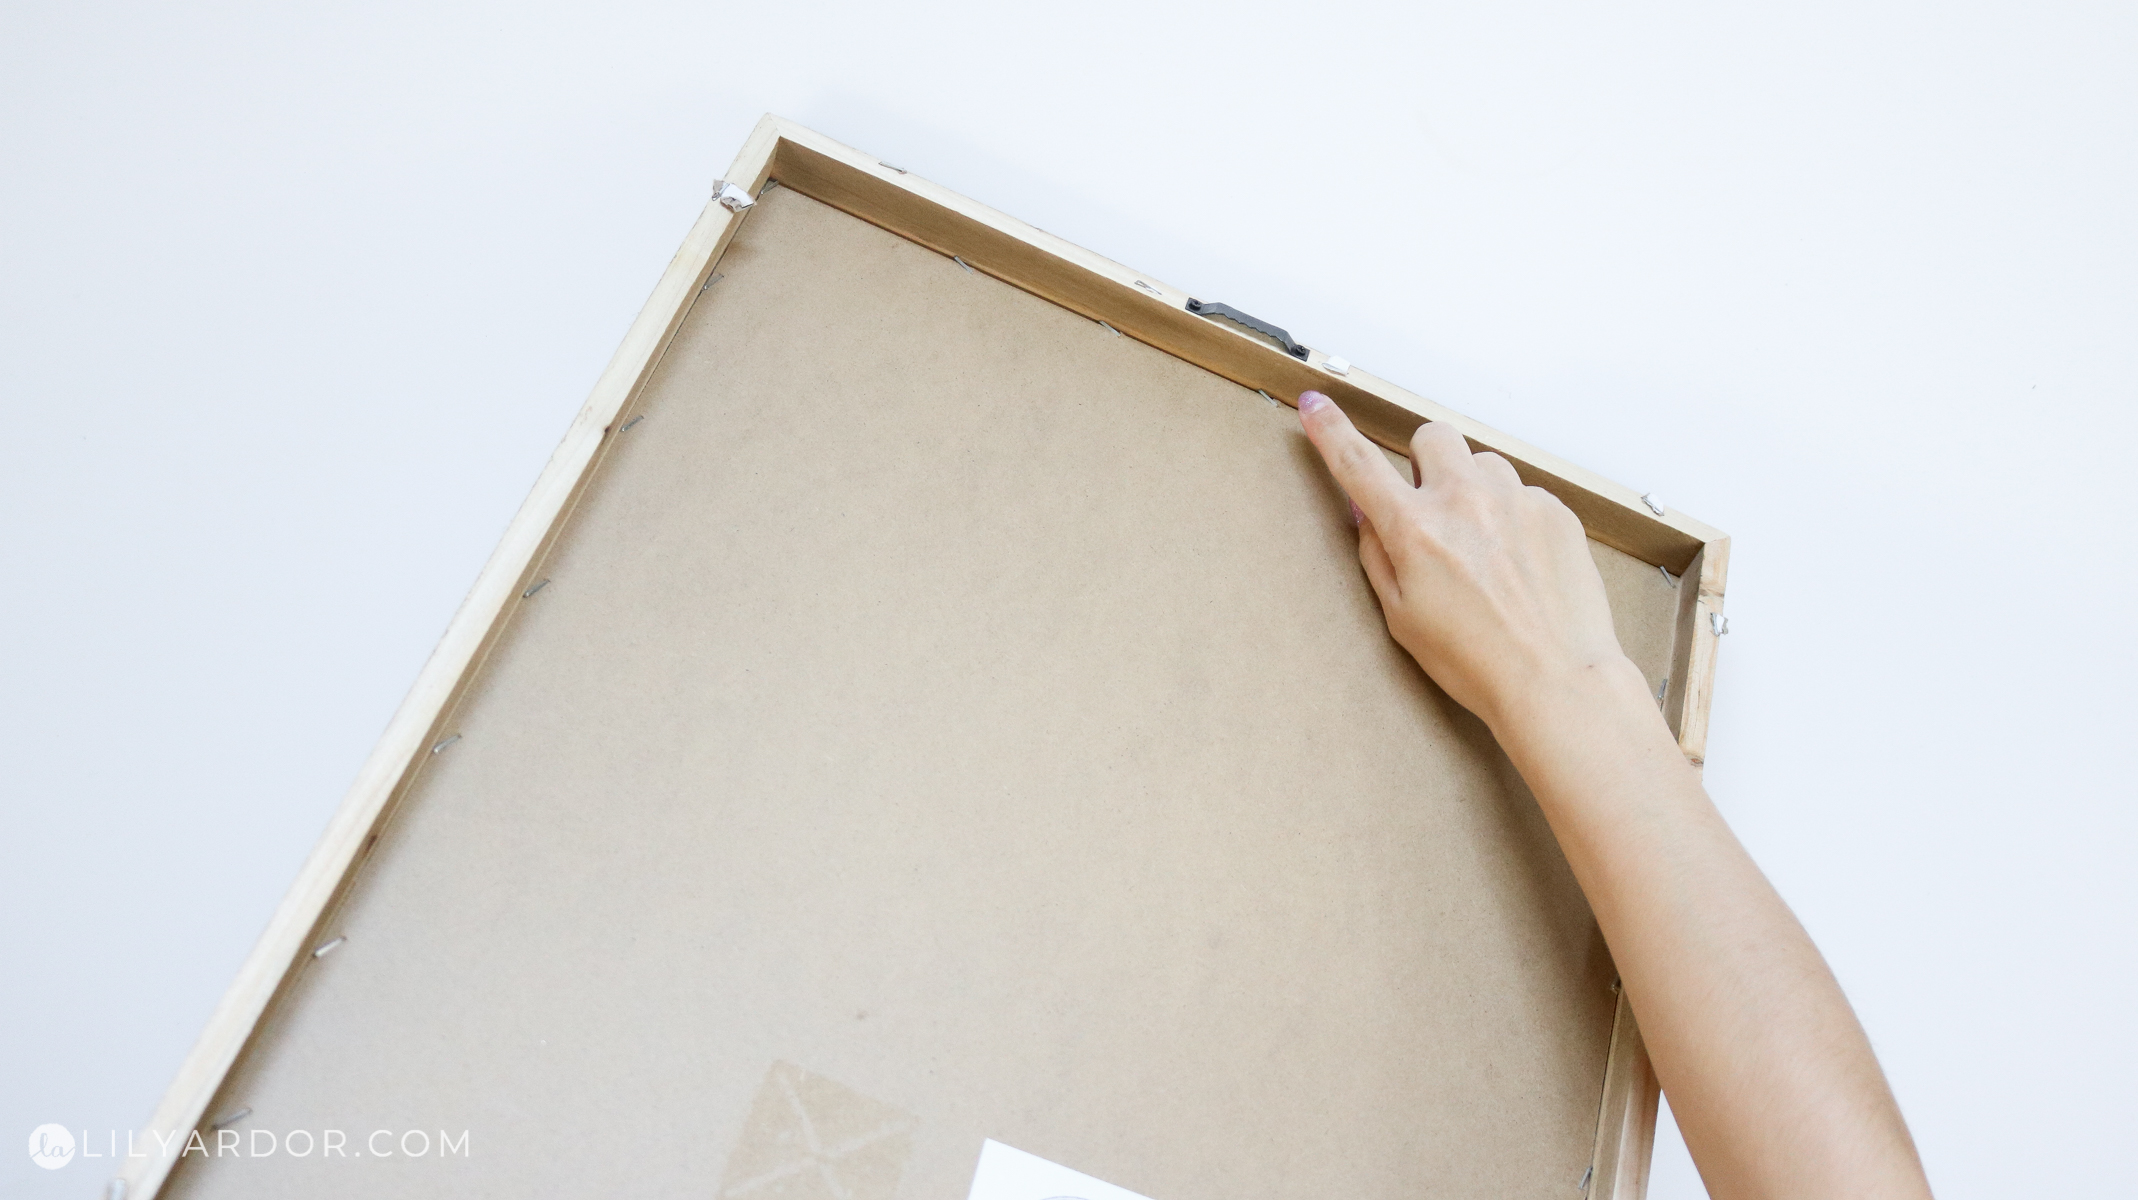
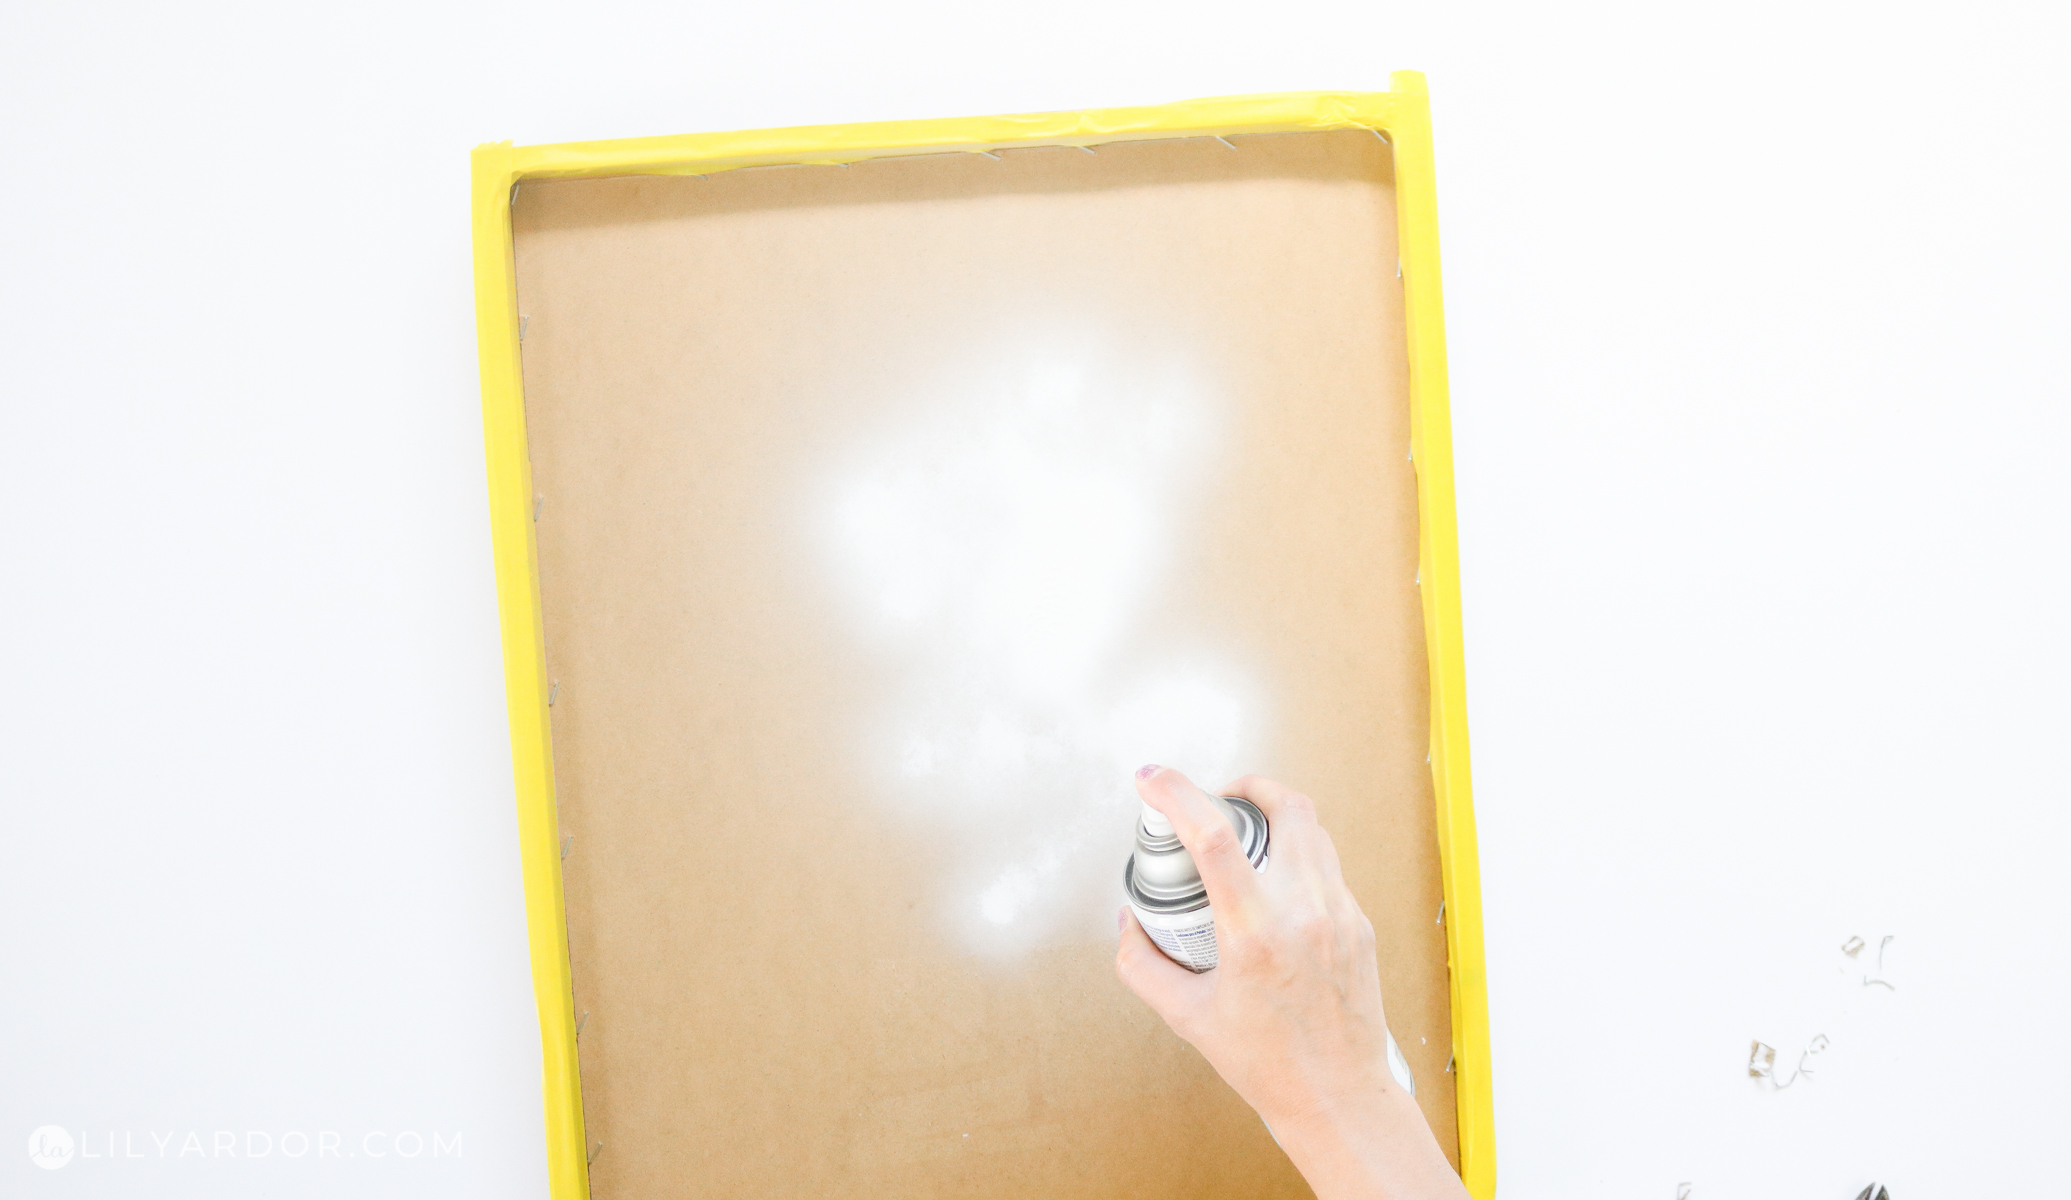
There’s a few key features I looked out for when picking this frame. I knew I needed edges of the frame to look similar on both sides so I went with something simple. This sign had some writing on it that I ended up spray painting over. Since this sign wasn’t meant to be double sided it had a few staples in the back of the frame. I went ahead and removed them and because I planned on using the back side for the fall sign I ended up taping off the frame and spray painting the whole back side white. I did this because the white fabric was a bit see through.
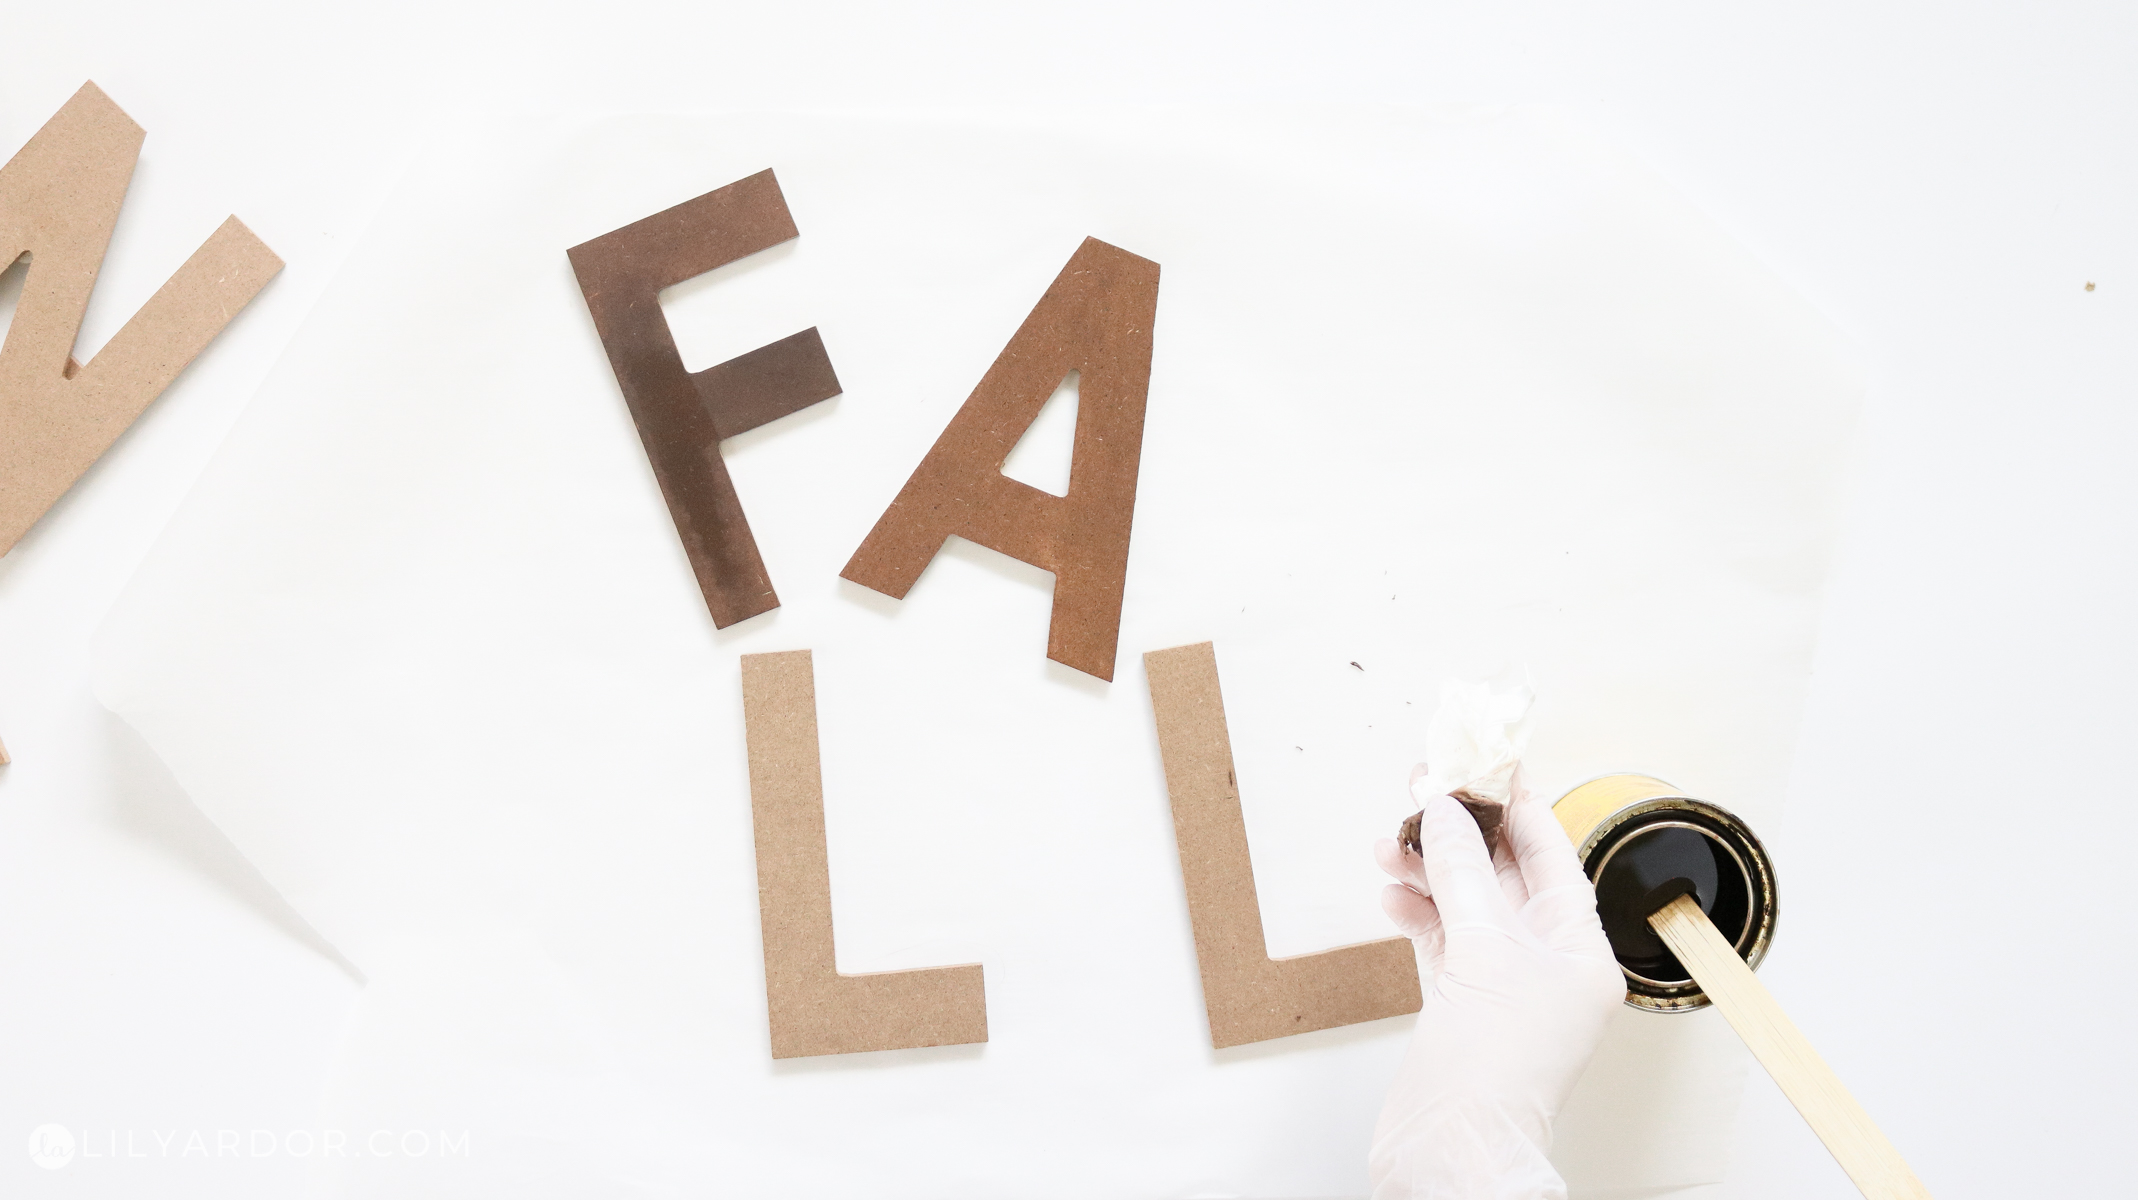
Prepping Letters!
I got my mdf letters at michaels. They also had a few wood options but, these were the perfect size and style so I went with these. For my fall letters I decided to stain them. I used some minwax stain in the shade special walnut. For my noel letters I just spray painted them white.
Attaching your fabric to make the plaid sign!
I lay my sign over the frame and traced it with some chalk. Then I cut out my fabric and applied an even layer of mod podge inside the frame.

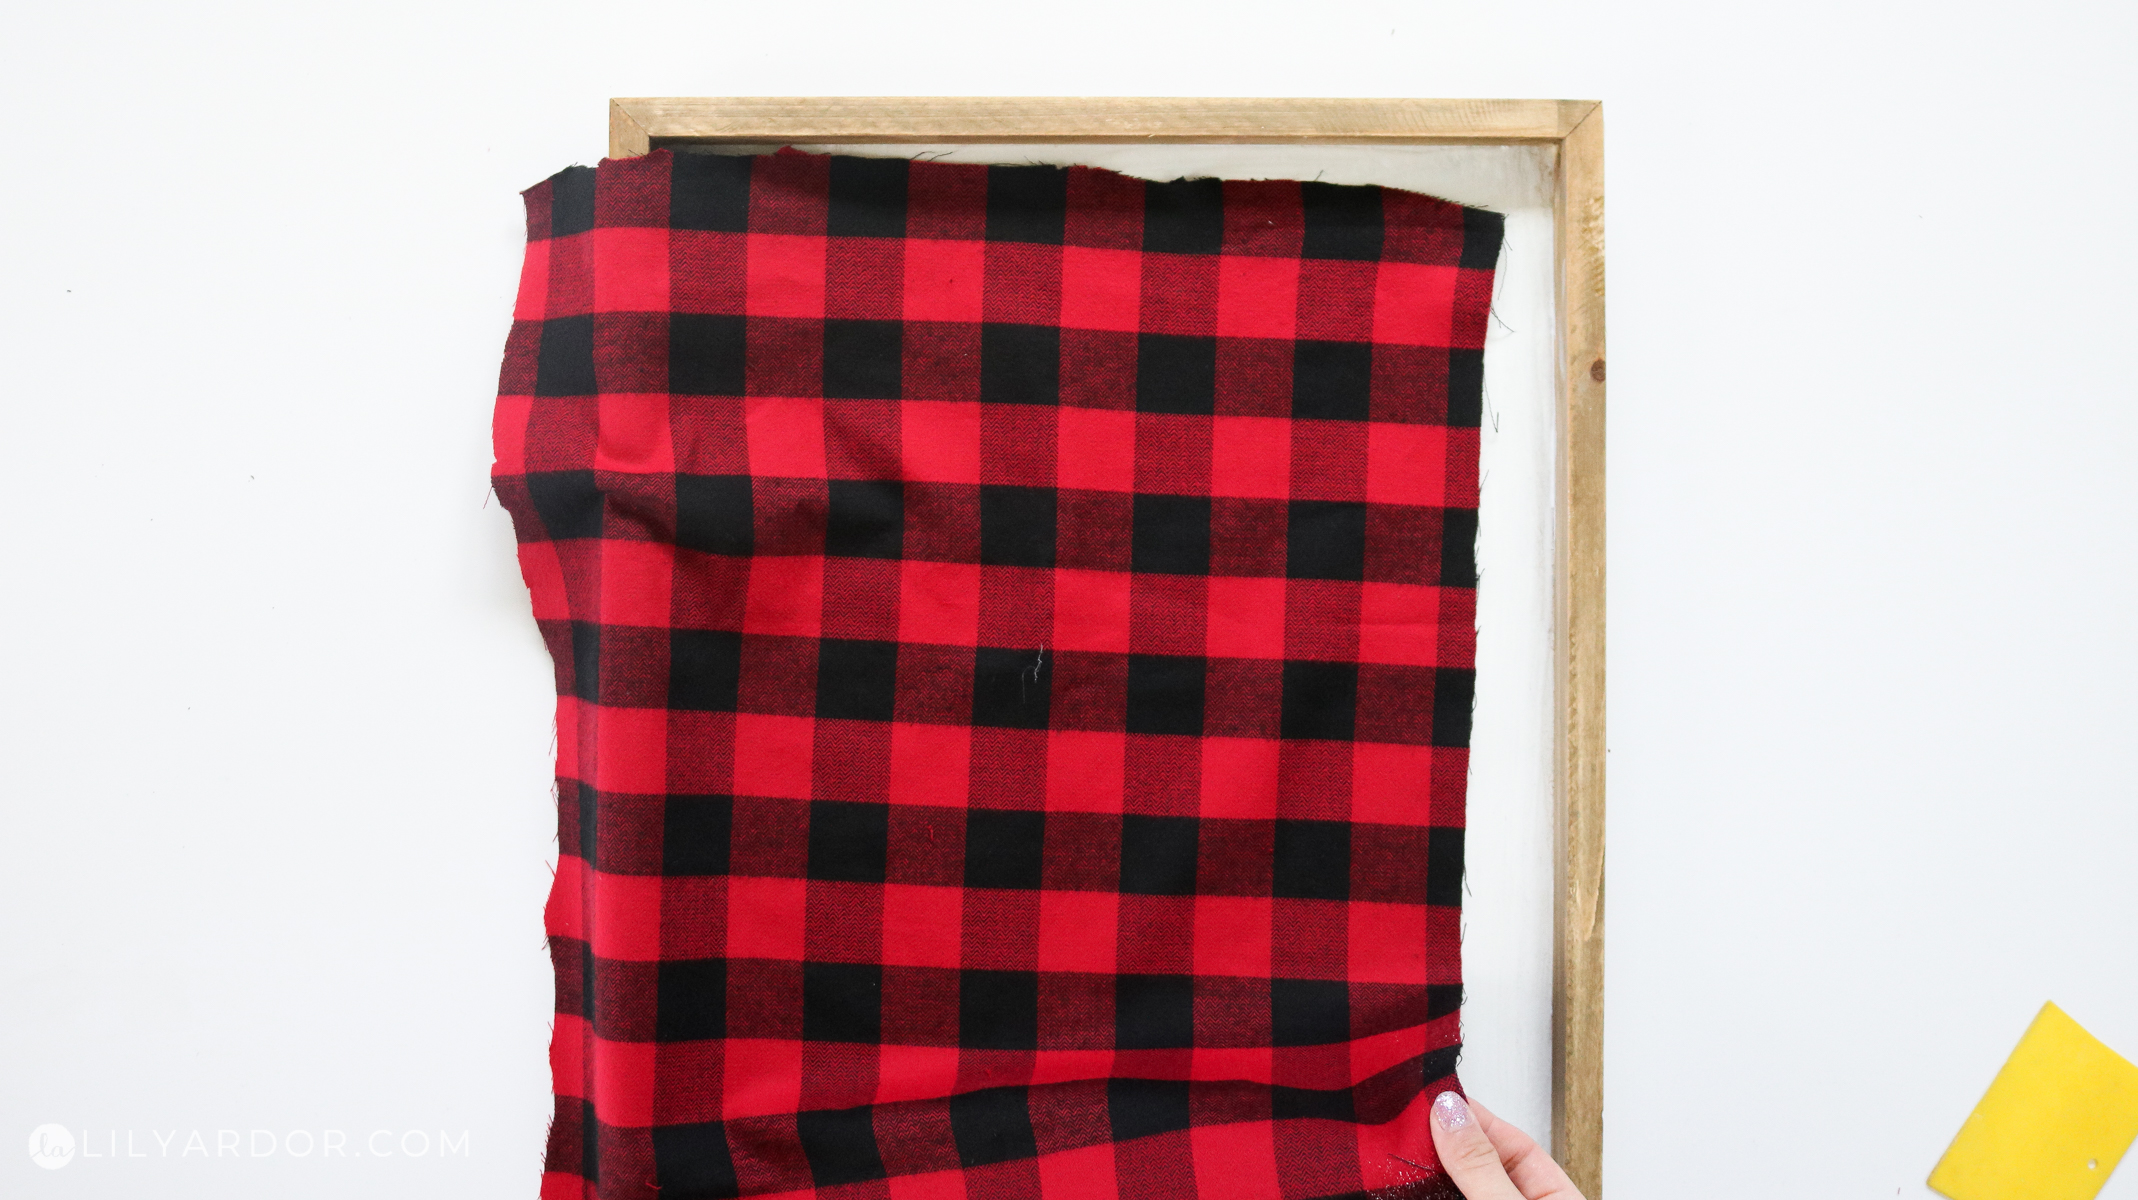
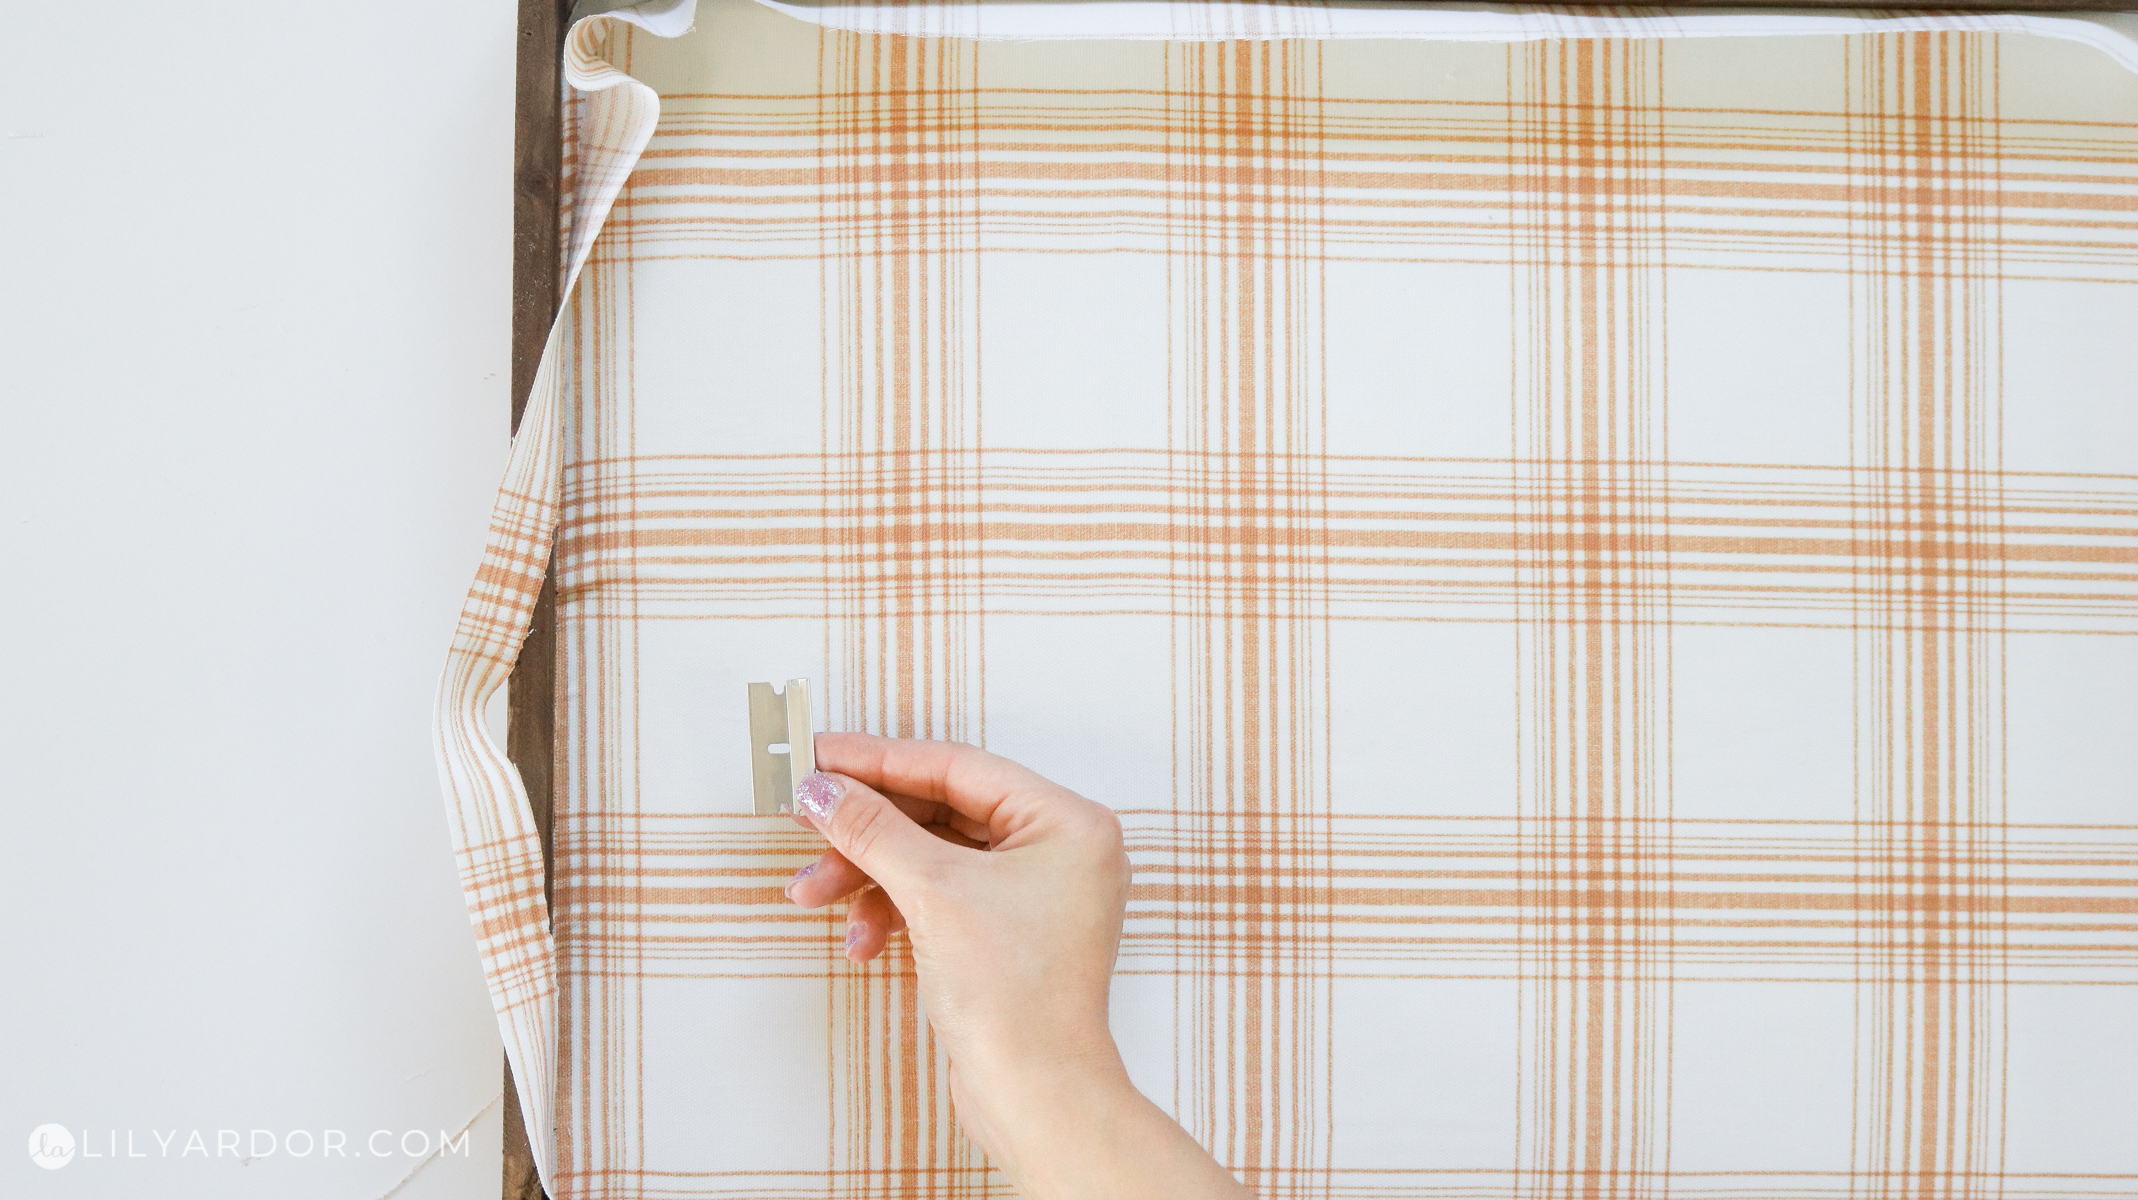
Next I gently lay my fabric over the frame. You don’t need to line up the edges of the fabric inside the frame because it’ll get cut off with the razor anyways. I used my spreader to gently work my way from one end to the other removing bubbles and smoothing the fabric into place. The reason I didn’t cut the fabric perfectly to fit inside the frame before attaching it is because once it gets wet from the mod podge it’ll stretch a bit and shift anyway.
Now cut any excess fabric off with an exacto knife or a razor blade. I found the a razor blade worked a bit better because, it was sharper. 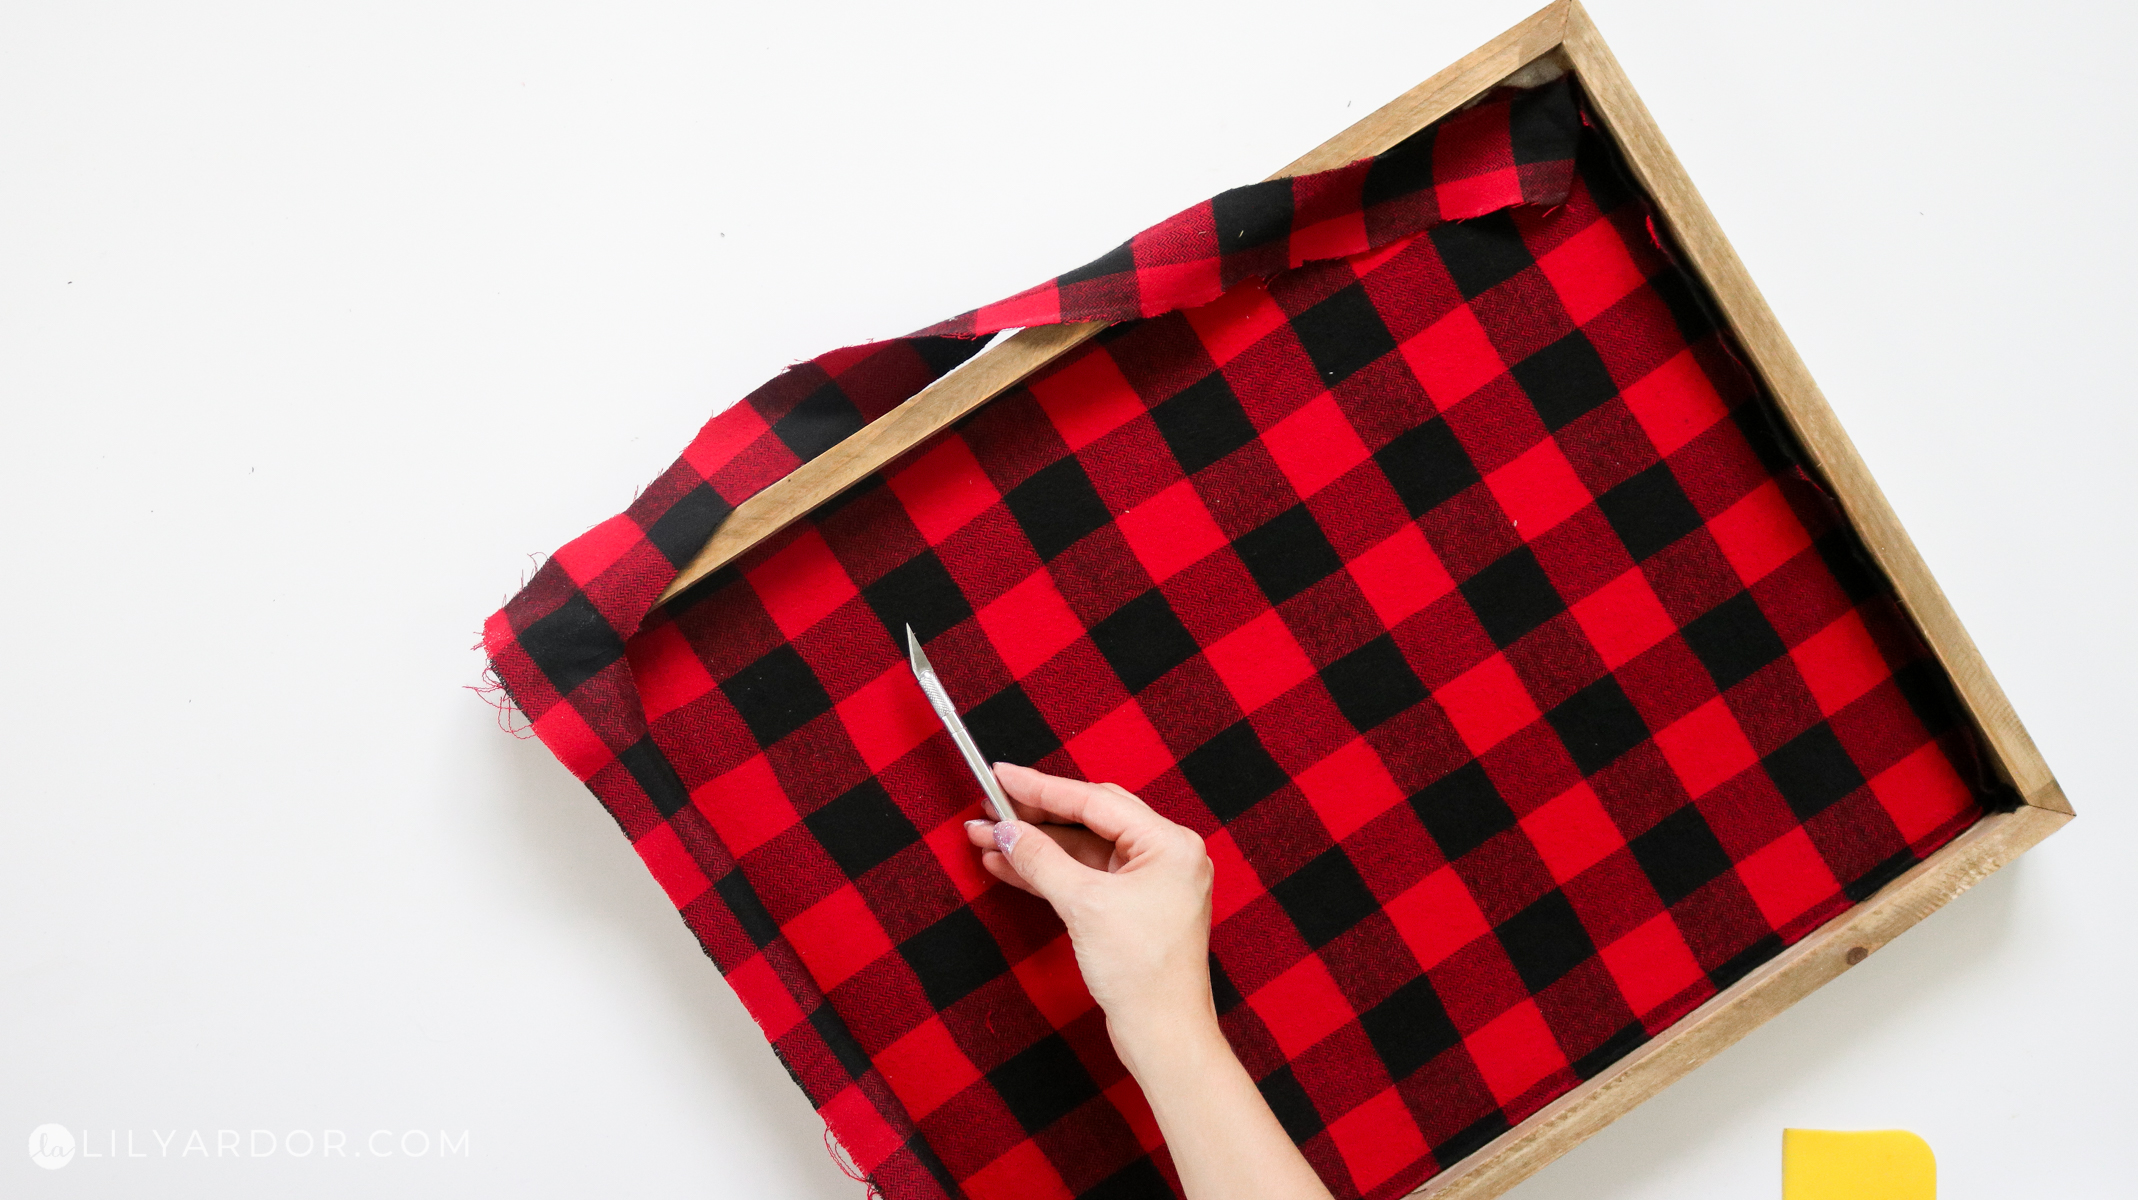
The corners were a bit harder to get into so I pulled the fabric up a bit and cut it with some scissors. 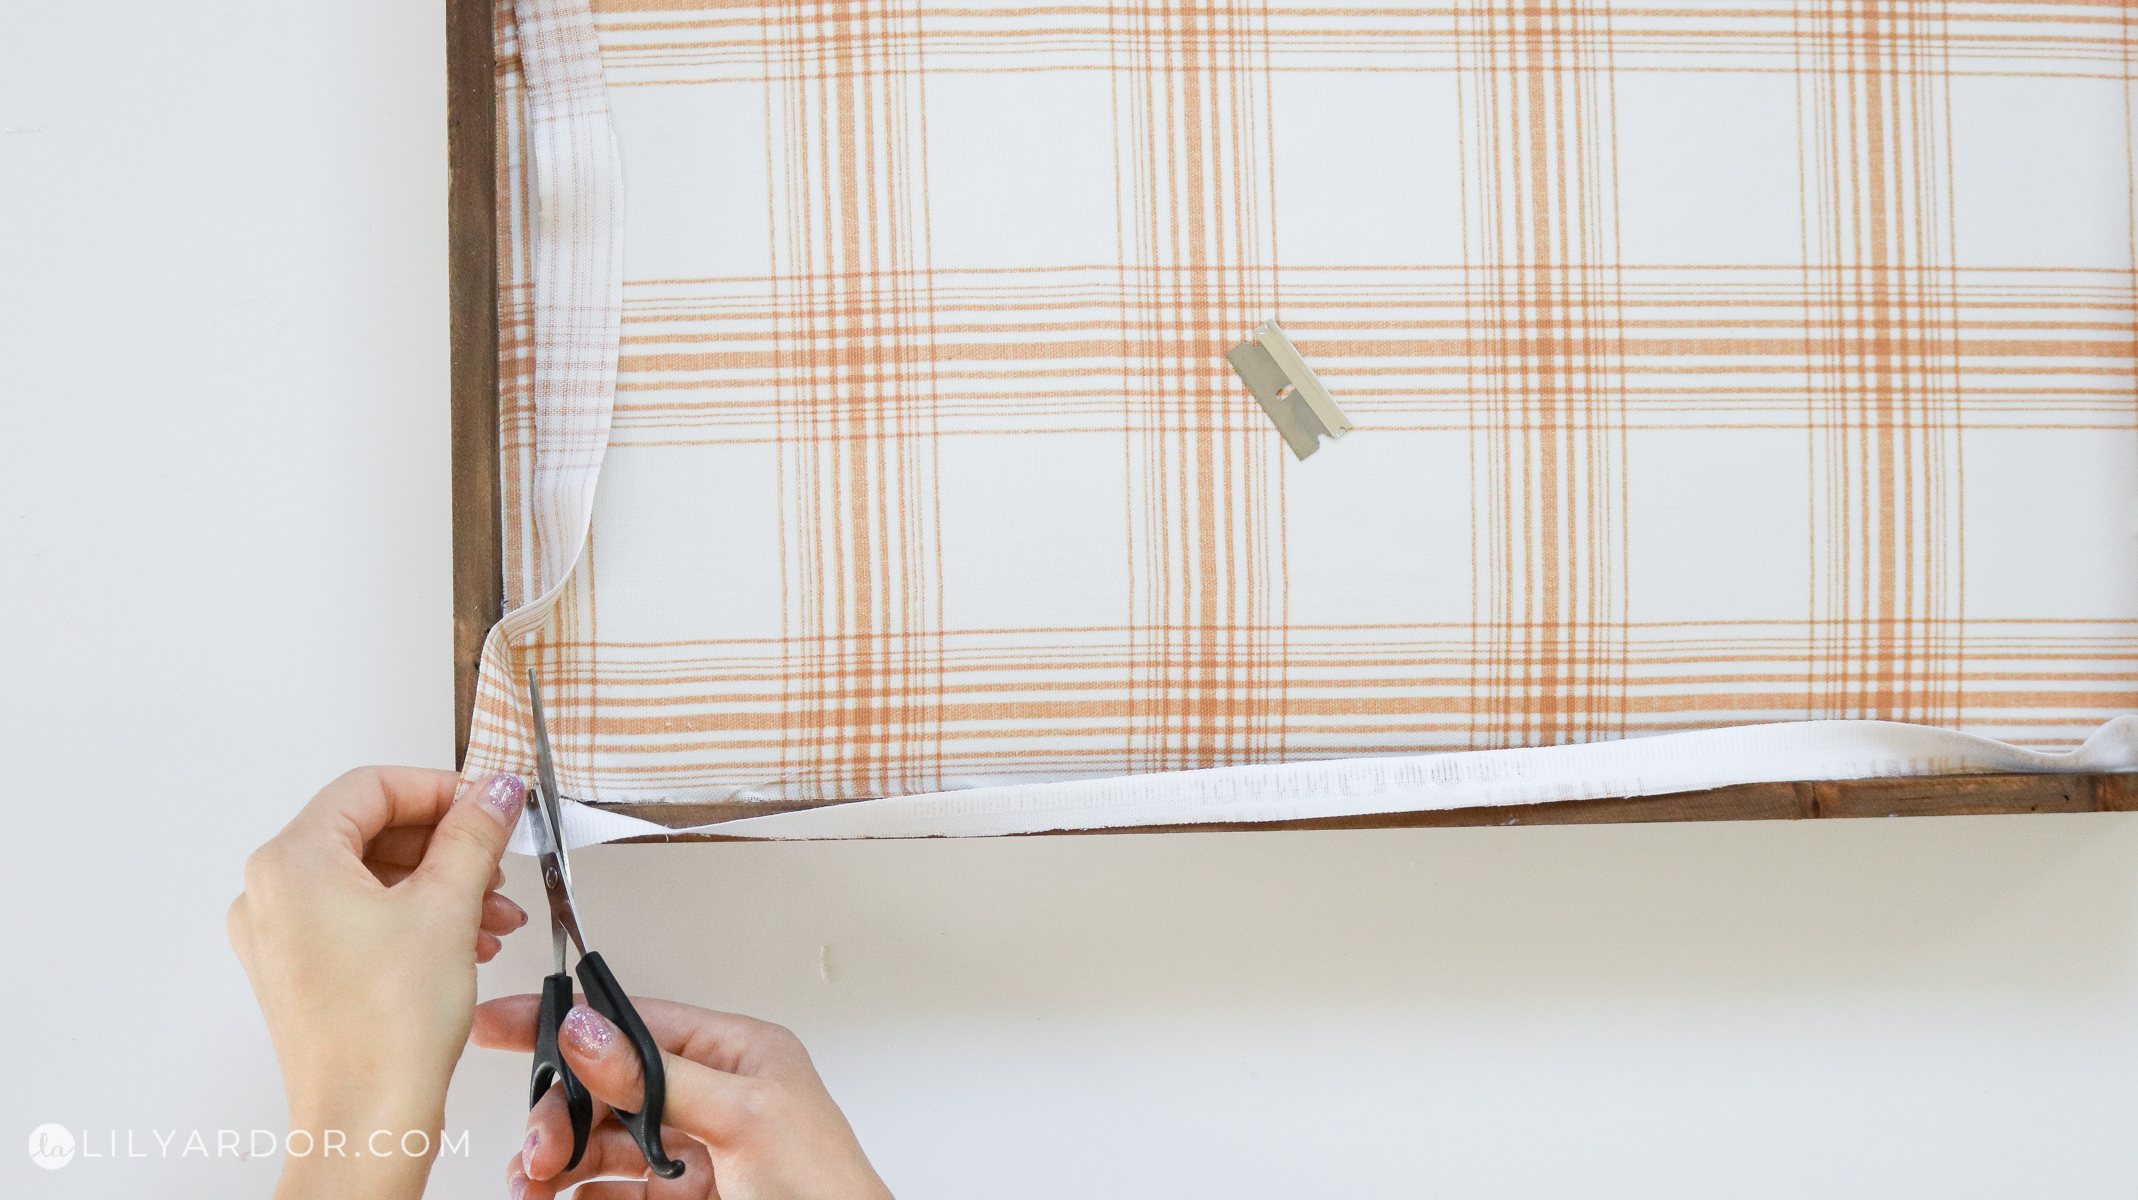
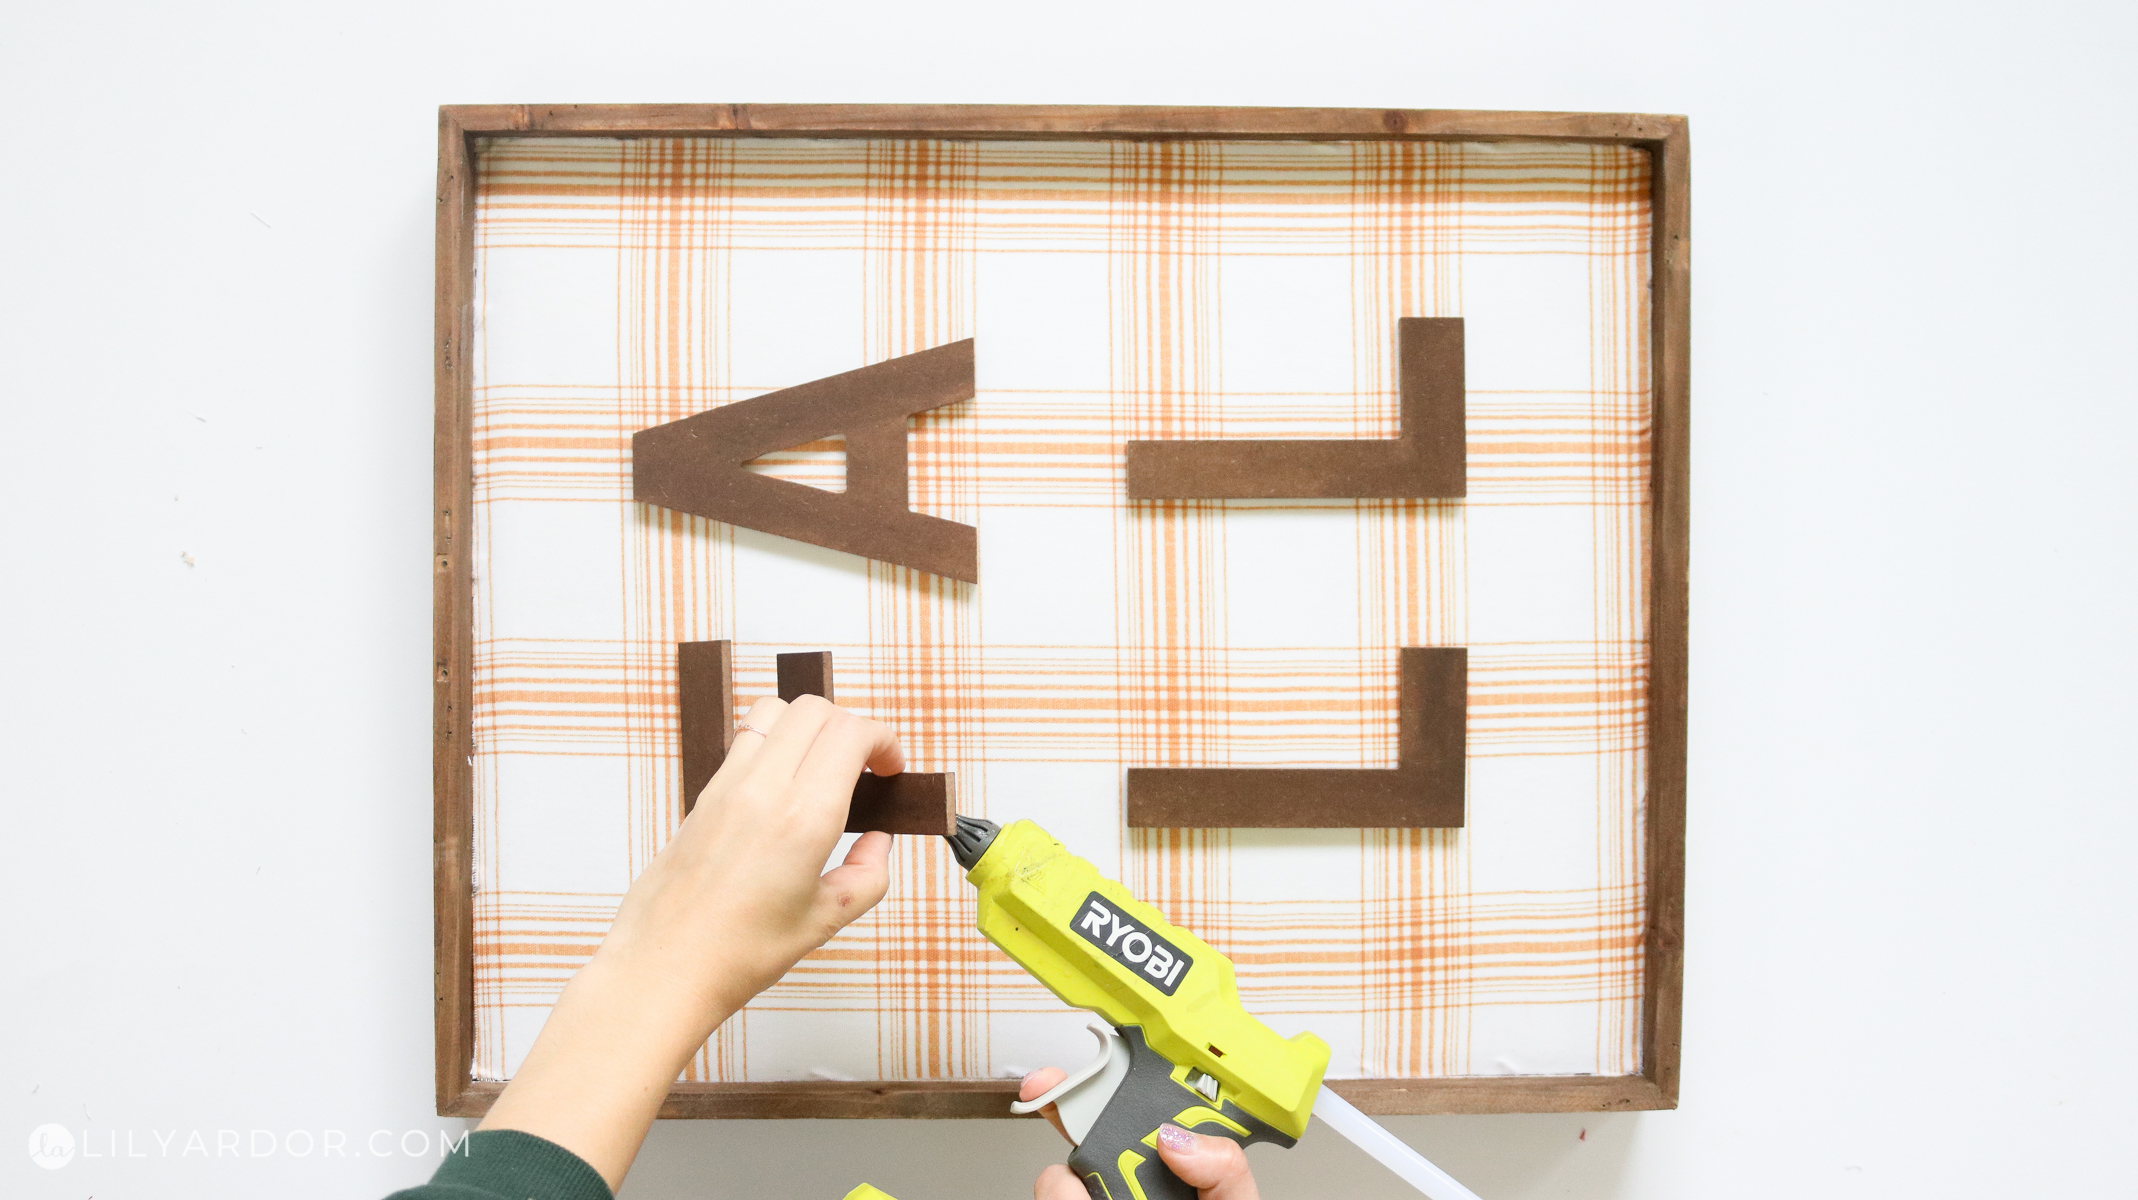
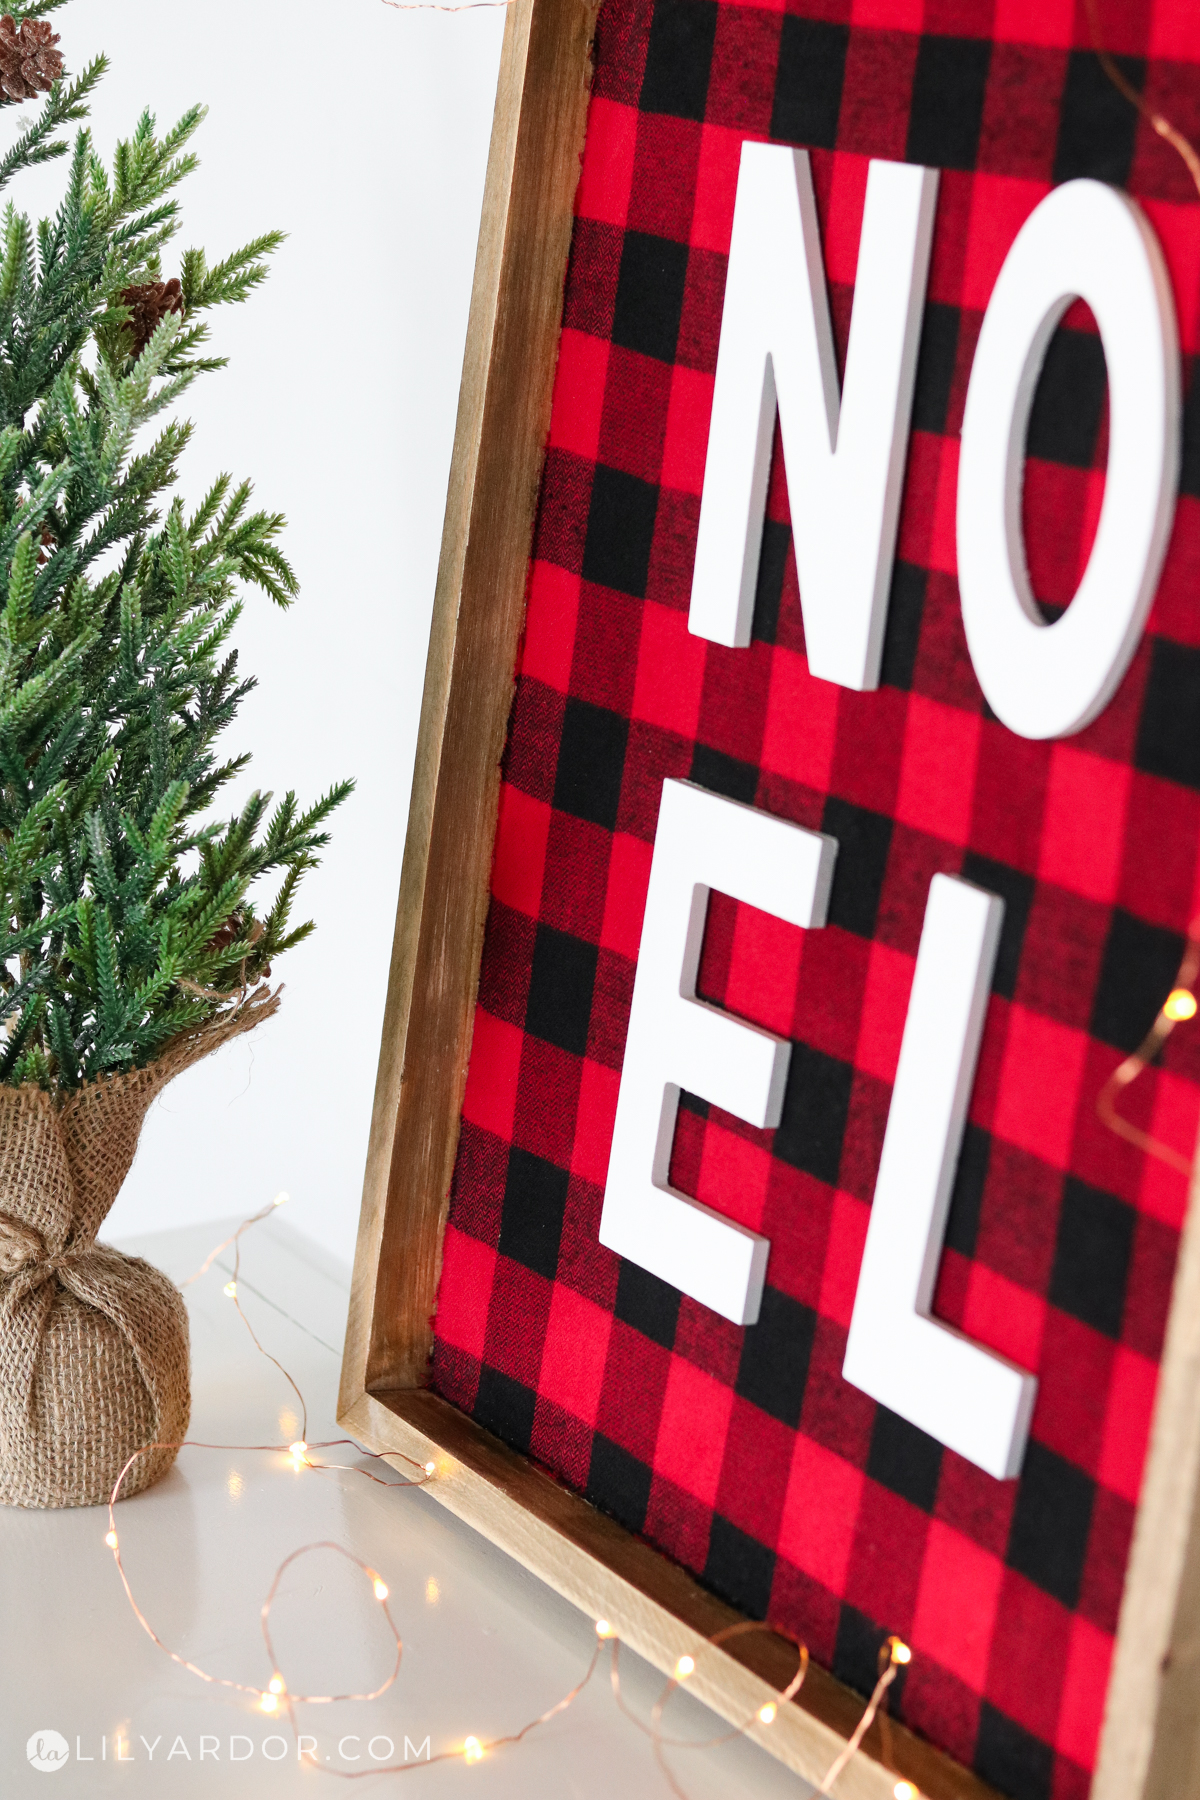
Okay all that’s left to do is hot glue the letters on!! You can apply a coat of mod podge on top of your fabric for better protection be adding your letter. It dries clear and in most cases doesn’t change the look of your fabric. My white fabric dried great however I tried it on the red and even though it dried clear it looked messy. I would probably avoid applying a layer on darker fabric.
Video For The Double sided Plaid Sign
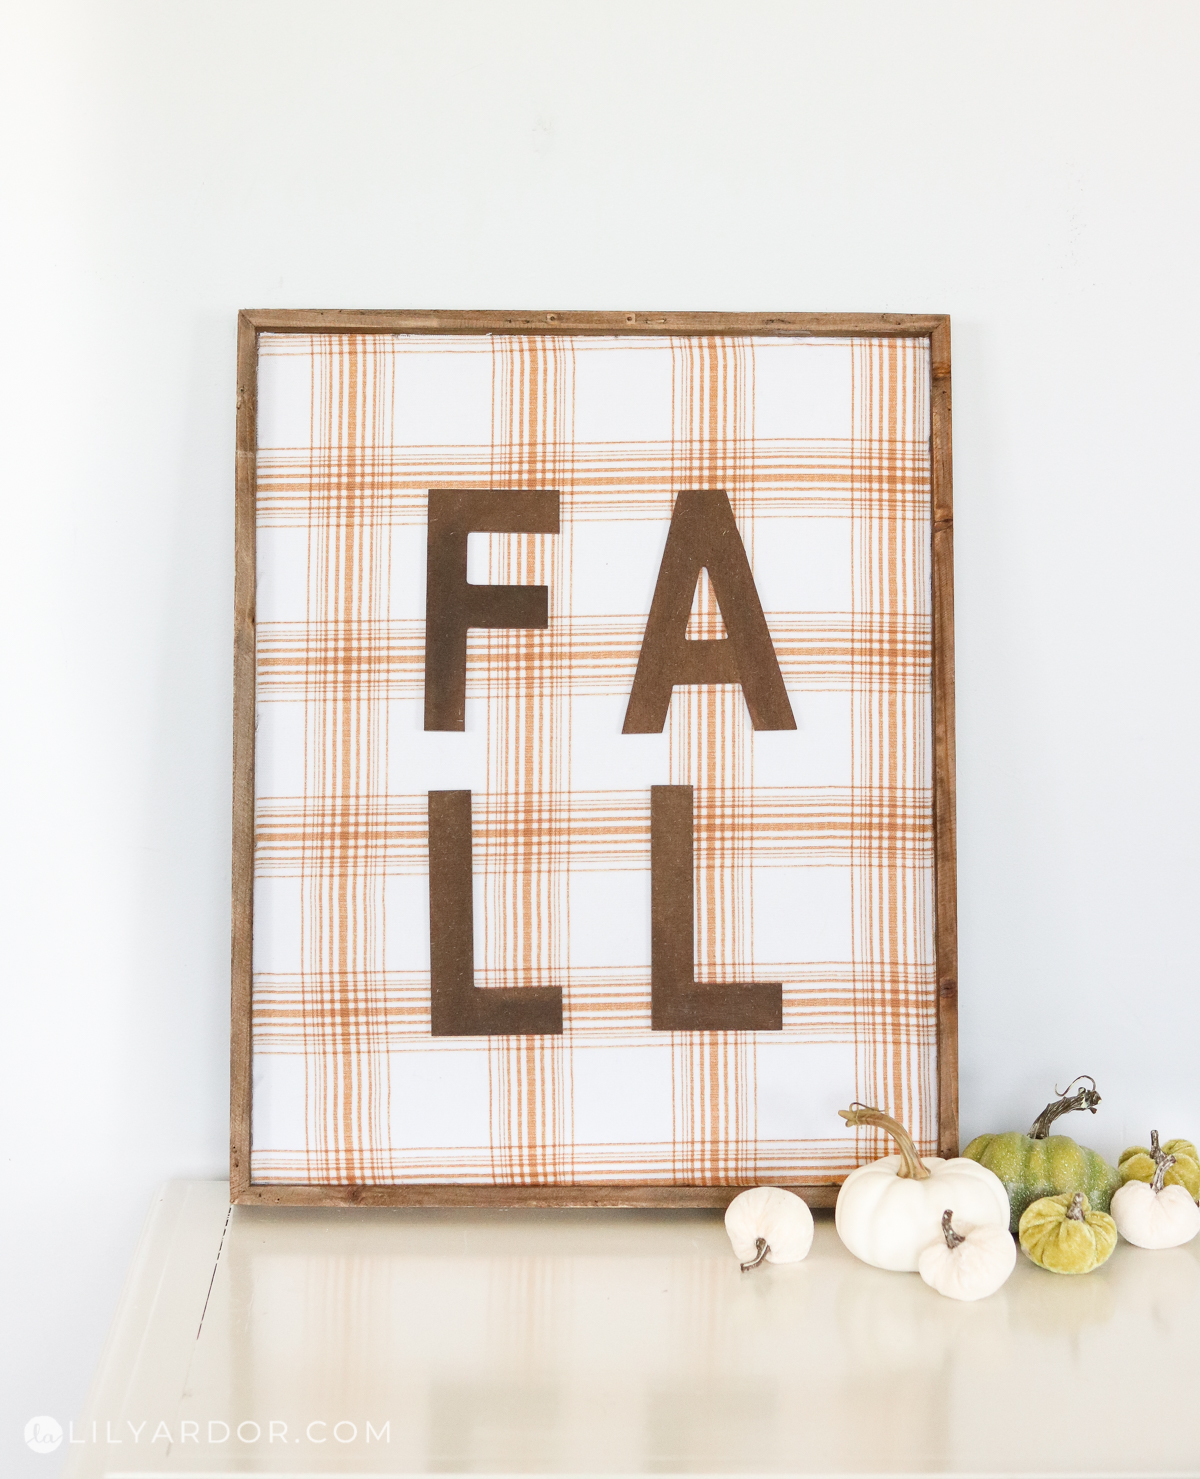
Here they are!! I think they’d look lovely on a mantel or hung on a wall! I love those plaids!!

This little Christmas tree is ssso cute! I picked it up at hobby lobby for $7. 😍
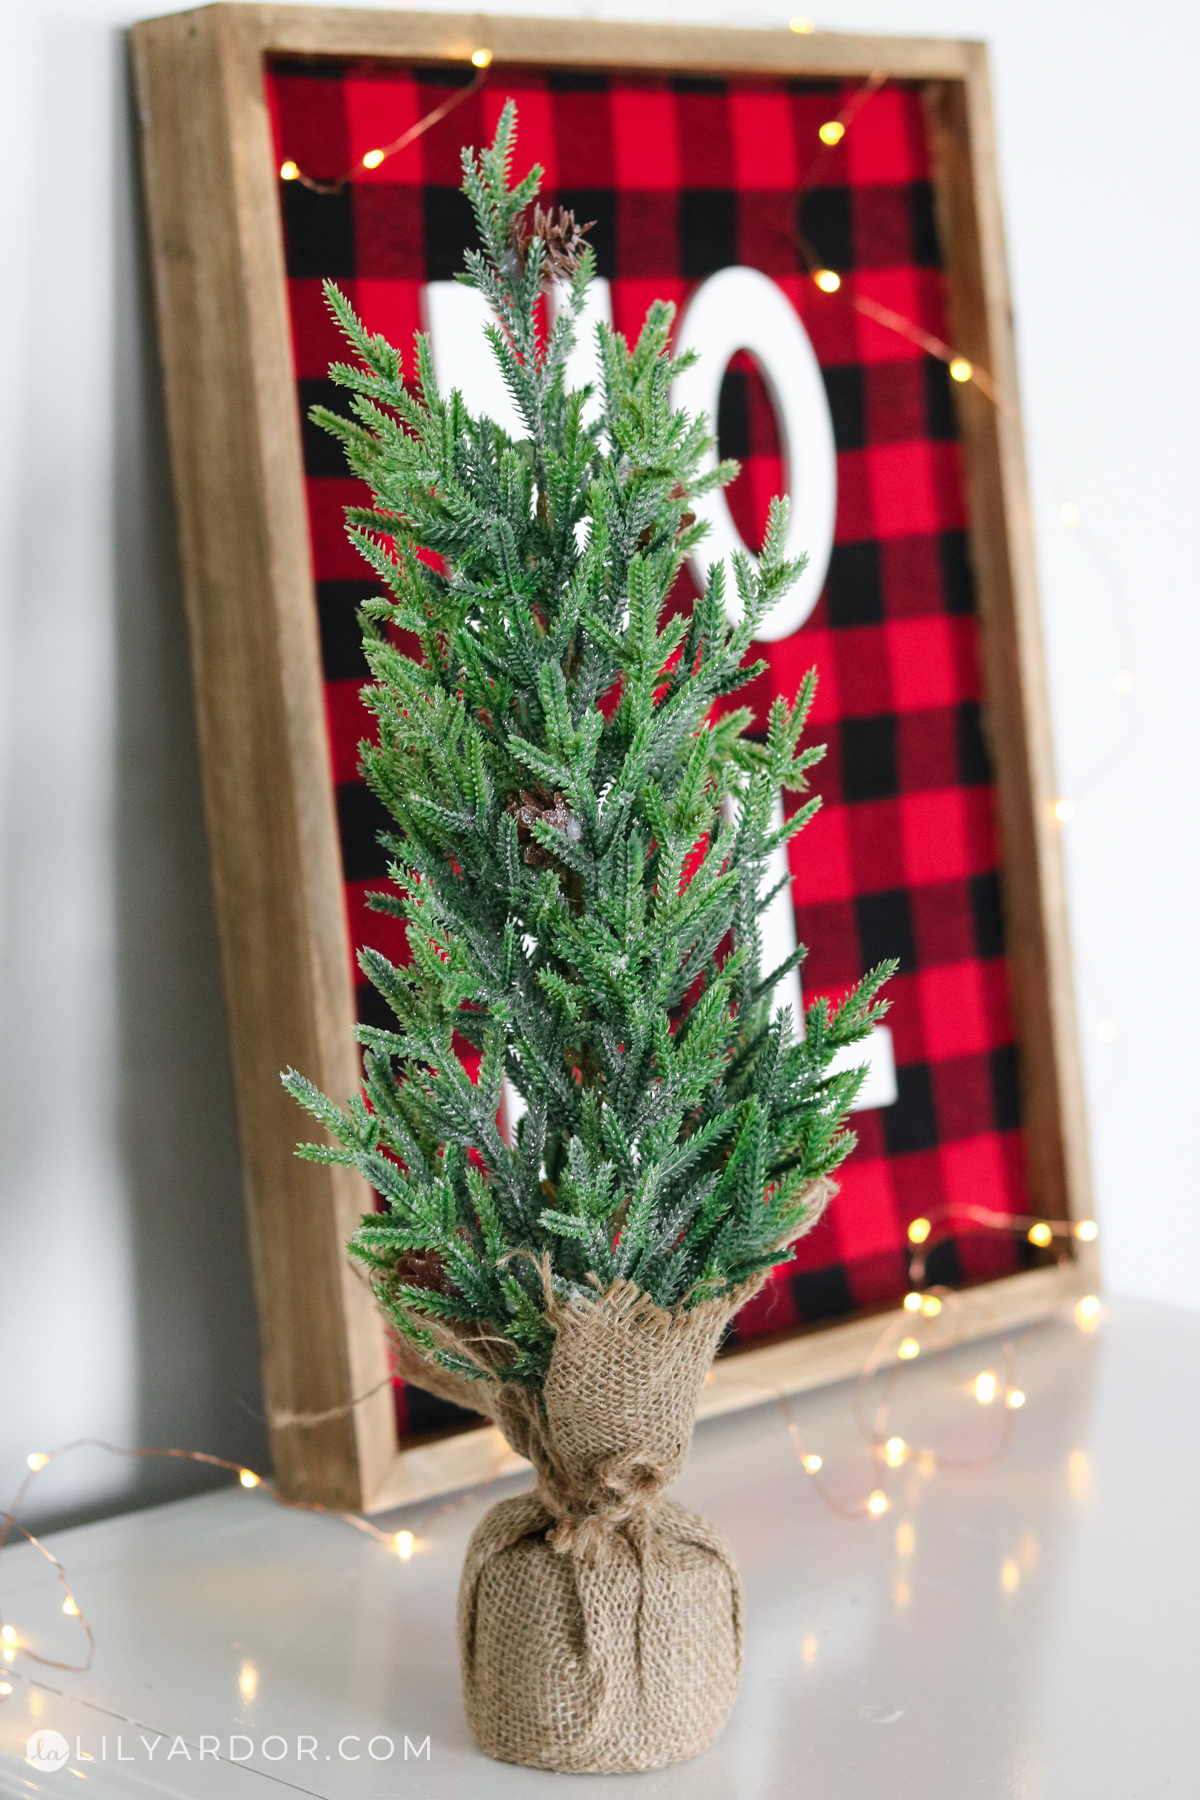
You can see a bit of fraying on the edges but I wasn’t too worried about it. You can’t really see it unless you look really close.
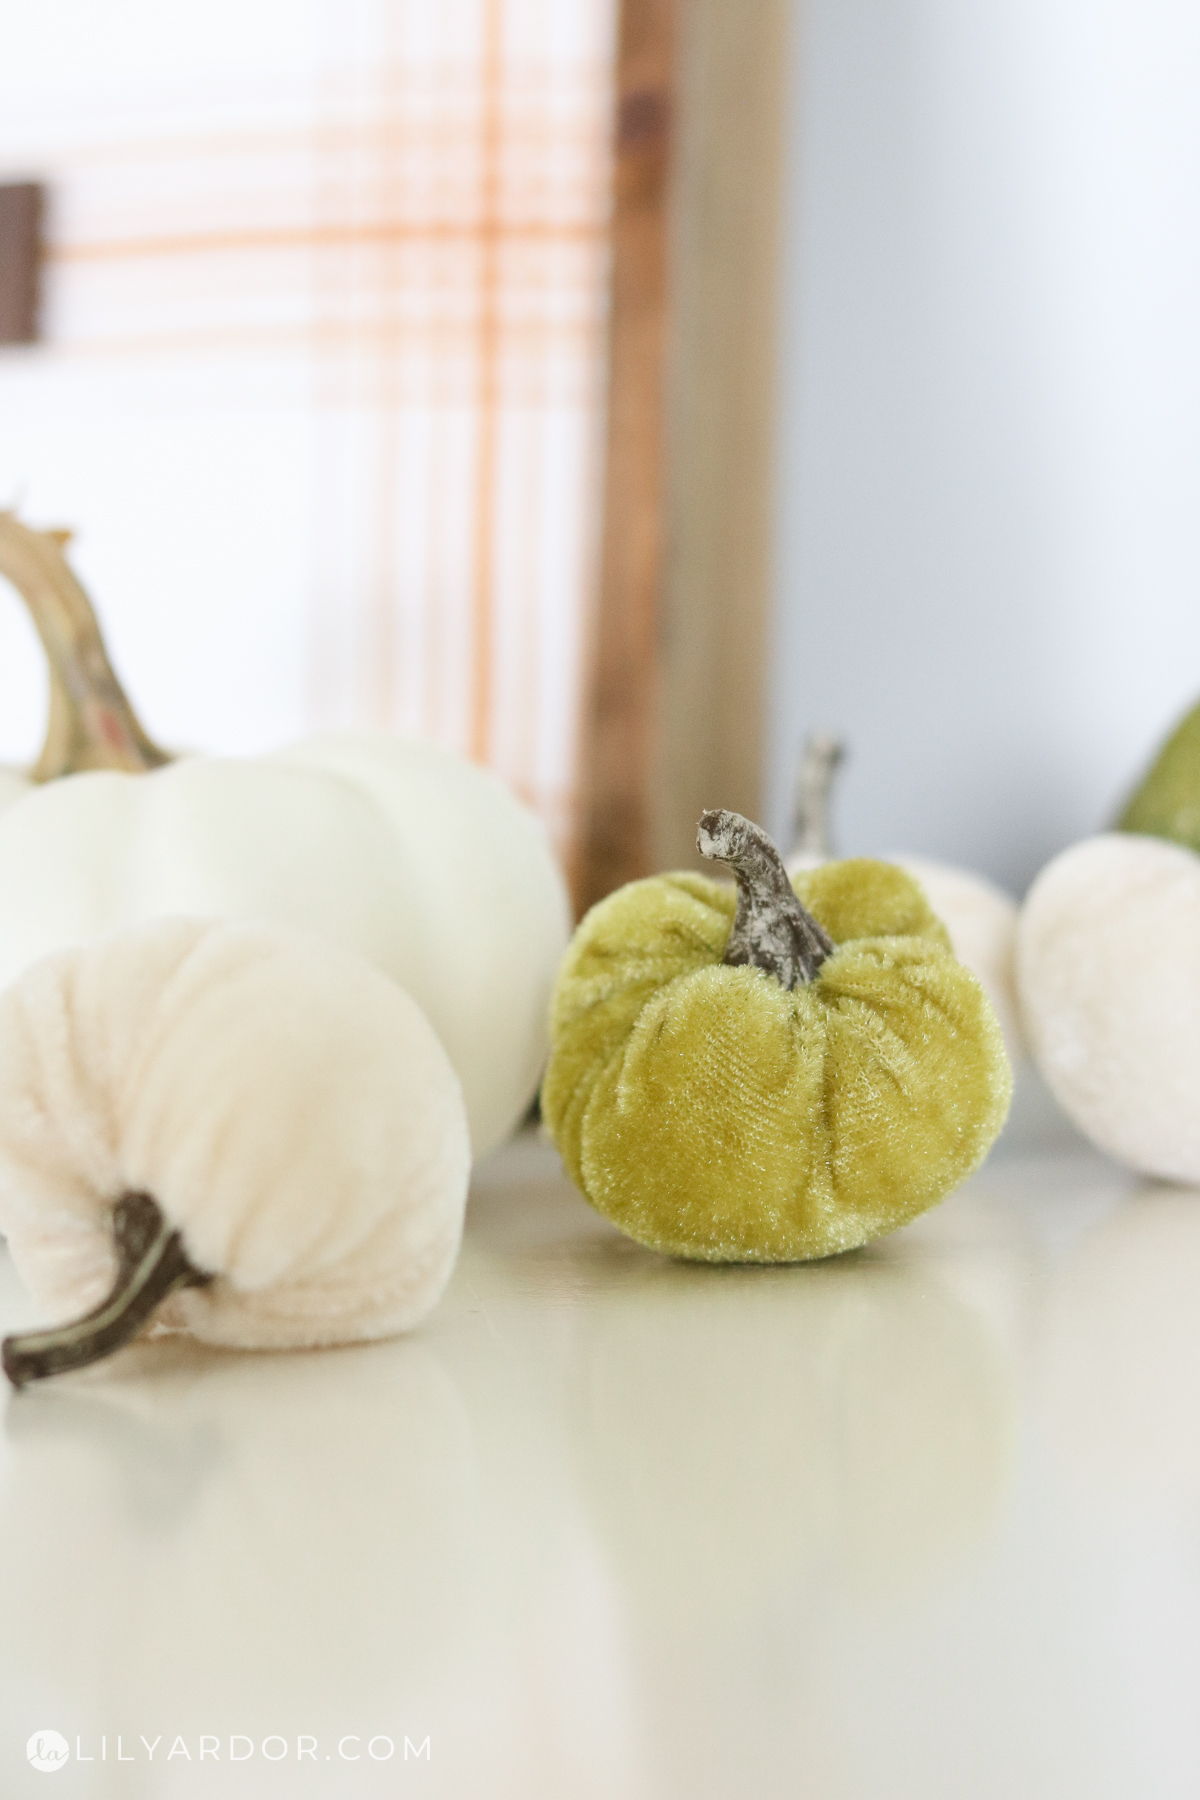
Oh my gosh these little velvet pumpkins are adorable!! I had a few left from my plaid wreath 🙂 !
That’s it! I hope this plaid sign inspires you to make your own reversible fall and Christmas sign! You can do one that says love, or one that says home.
Thank you for tuning it! Thank you for all your support and kindness!
Here’s a super cute wreath you can make from dried oranges – https://www.lilyardor.com/fall-christmas-citrus-wreath/
I’ll see you all next time, bye 😀
x,
Lily-