
Back to the basics Simple Fall Wreath
Hi crafty humans, I hope you all had a fun week! I’m pretty sure your schedule is super busy and the last thing you’d want to do is add more hard work to your weekend. That’s why, I am ssso excited to bring you some quick & easy DIYs to brighten up your home!
I’m sure you’ve probably noticed I recently missed a few weeks of DIYS and I’m not going to lie I felt a little overwhelmed with life. You know when you get creators block? Well I’ve been having the opposite. LOL I have so many ideas I want to share them all but don’t have time!
2 Weeks ago we went on a road trip. We’ve only been to the beach once with the family and decided it would be nice to go again. Oleg was begging to go to legoland too so, made his wish come true. It was about a 14 hour trip (one way) but OH MAN we had a blast. Family road trips are my favorite. 😬It’s the one time we aren’t around electronics and I get to talk face to face. LOL Great way to communicate!

Here’s a Quick video version of this DIY
TIME NEEDED:
This wreath can take you anywhere from 30 min to one hour to complete. It took me about 45 minutes to complete but I was being super picky and kept coming back in to fix it.
Total Cost: around $28
(price may very. Depending on what you already have at home and what sales Joanns has) 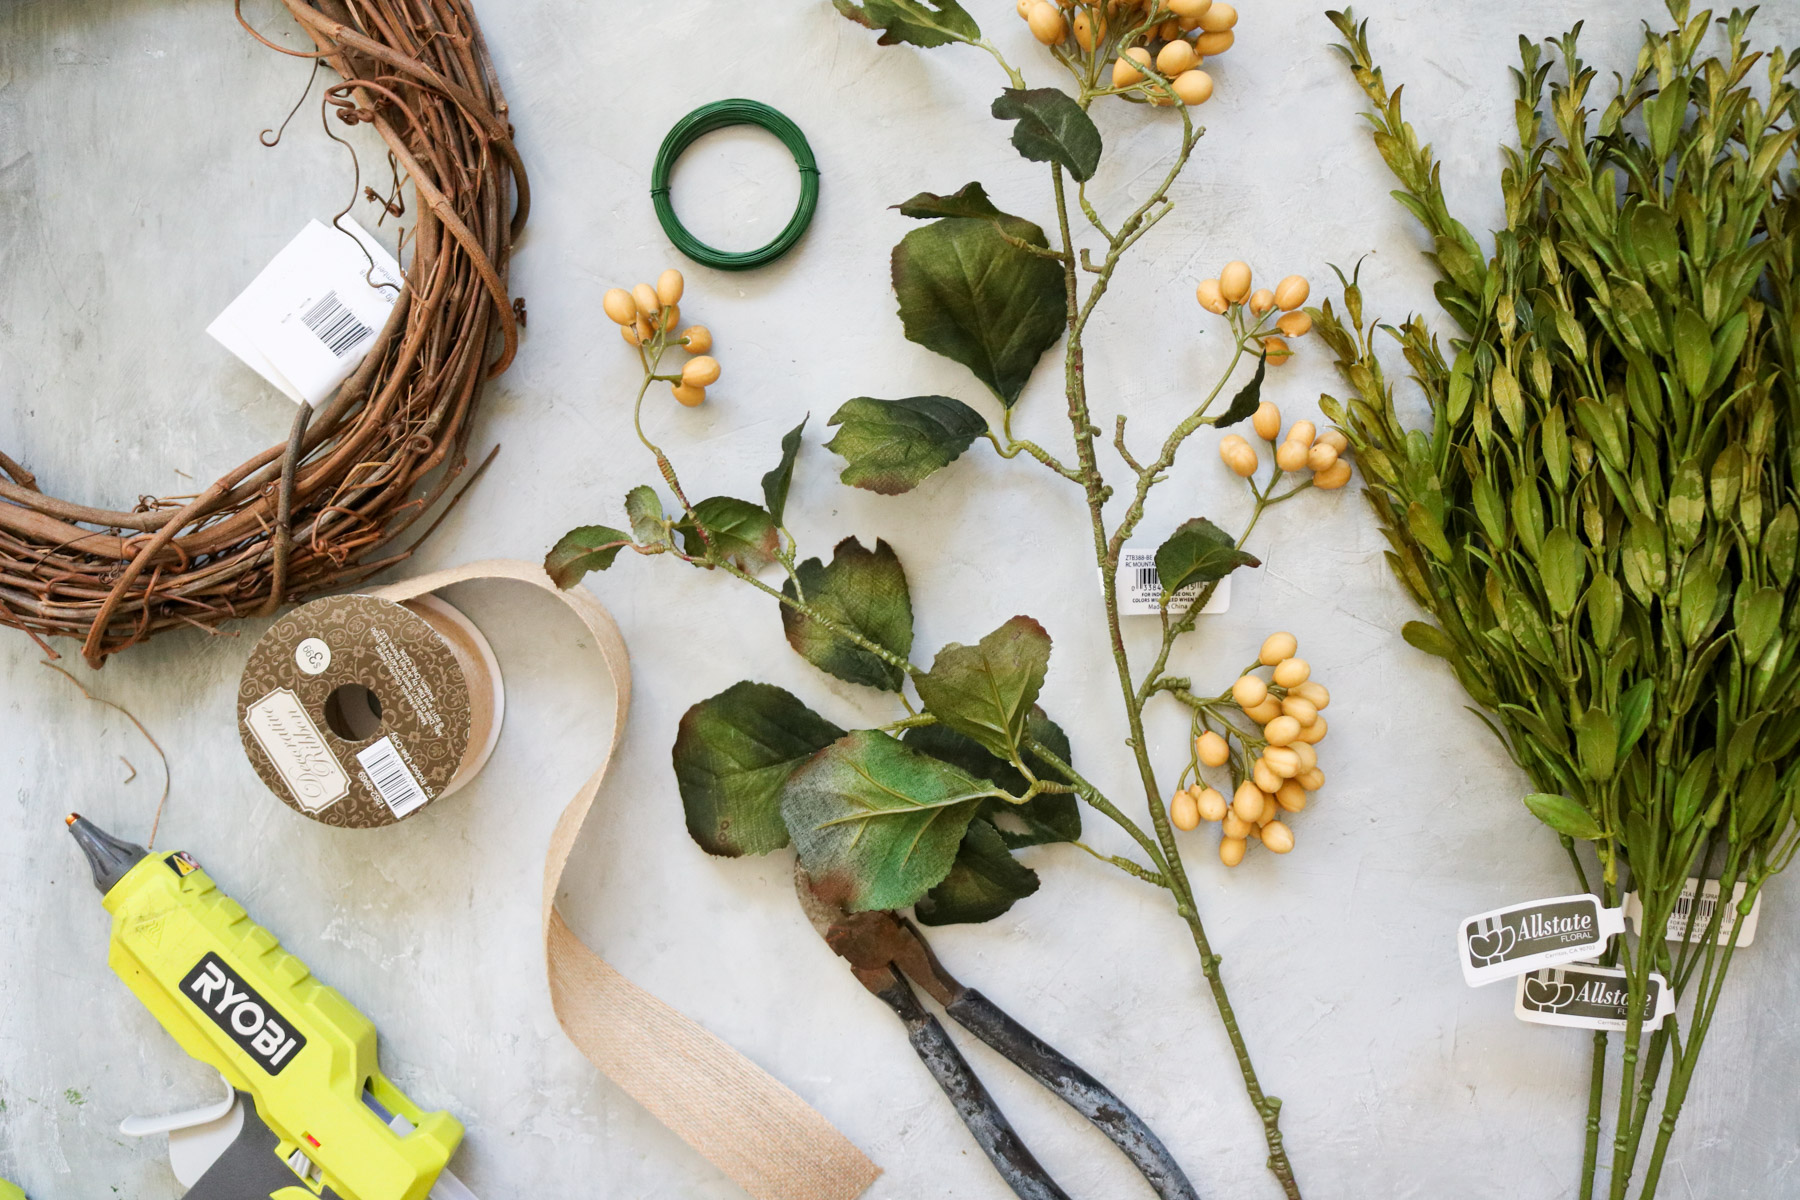
Supplies
- Tea Leaf (greenery)
- Berries ( Joann’s doesn’t carry them anymore but they’re called “RC MOUNTAIN BERRY SPRAY”
- Floral Wire (this could also be purchased at the dollar store)
- Burlap ribbon
- 12″ Grapevine Wreath
- Hot Glue
- Wire cutters
Couldn’t find the exact wreath greenery and berries I used but here’s some similar ones on amazon I found! Hope this helps.
GET MY FAVORITE GLUE GUN below ! It’s pricey but definitely worth it. I’ve used it so much! Also makes for a perfect Christmas gift.
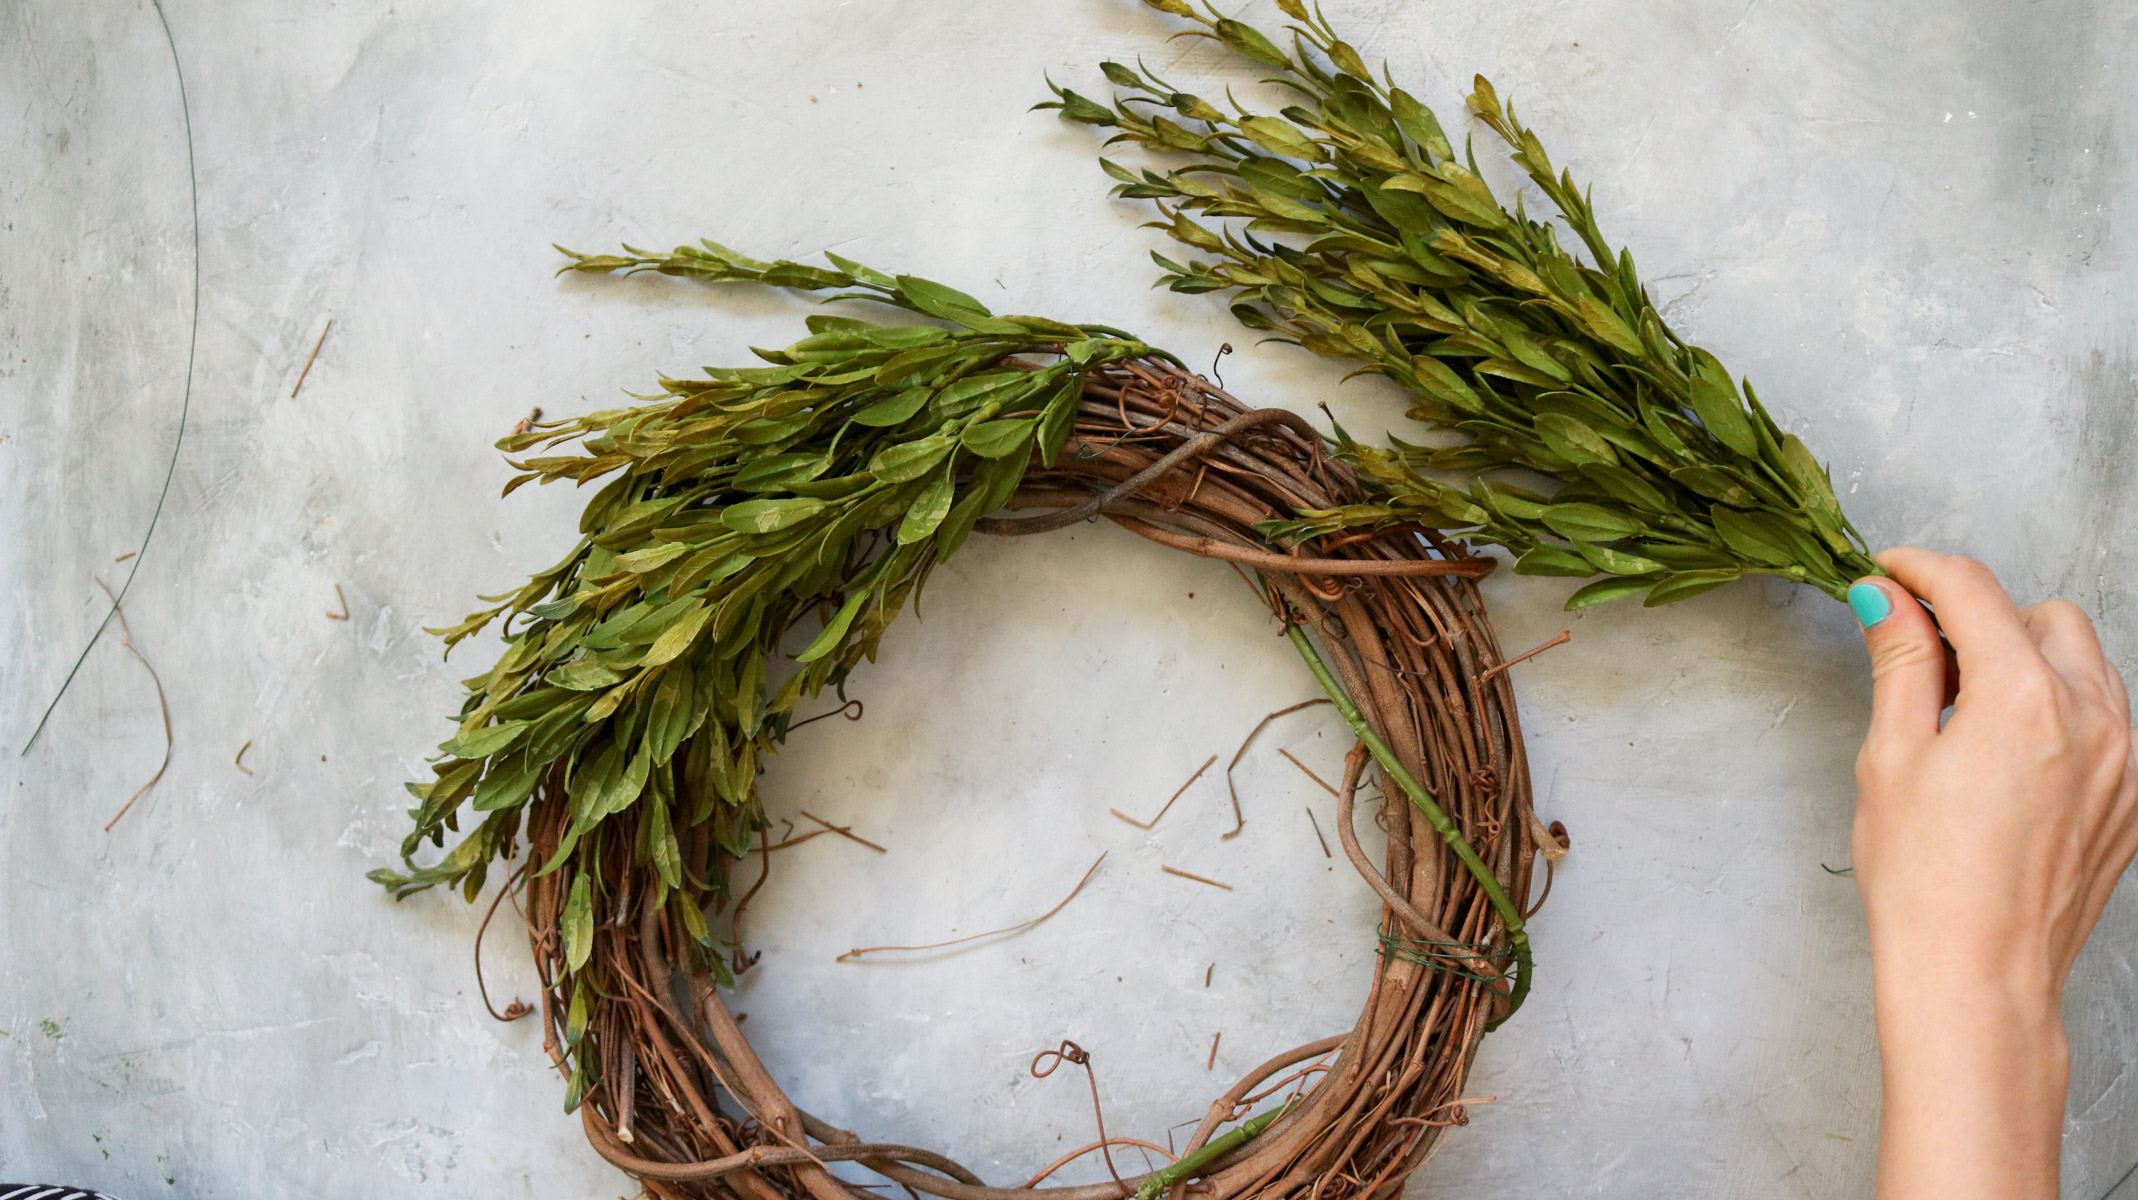
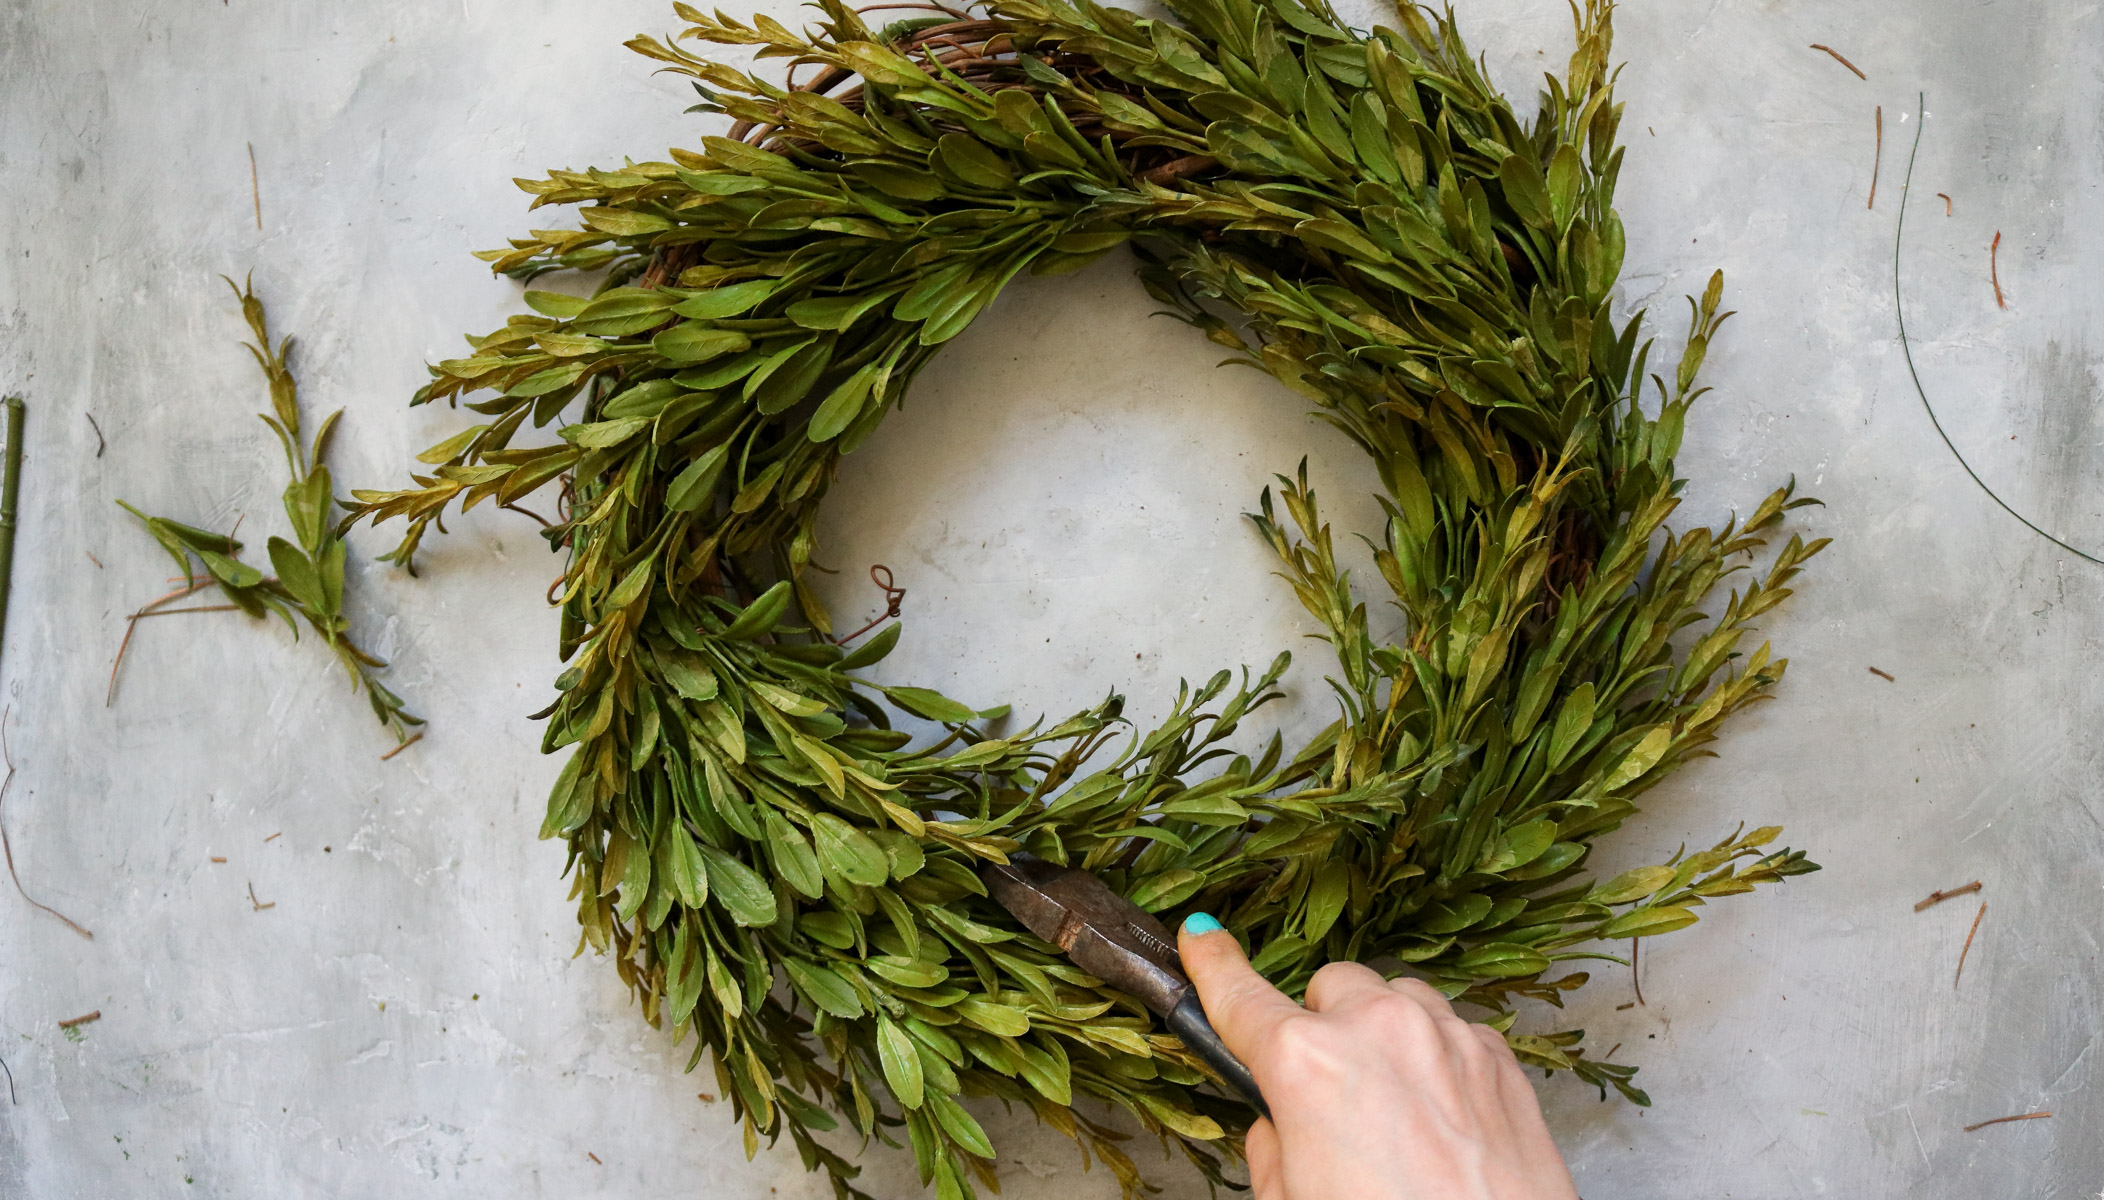
Adding Greenery to your wreath.
- For this step I simply wrapped the tea leaves around the wreath without shortening the stem.
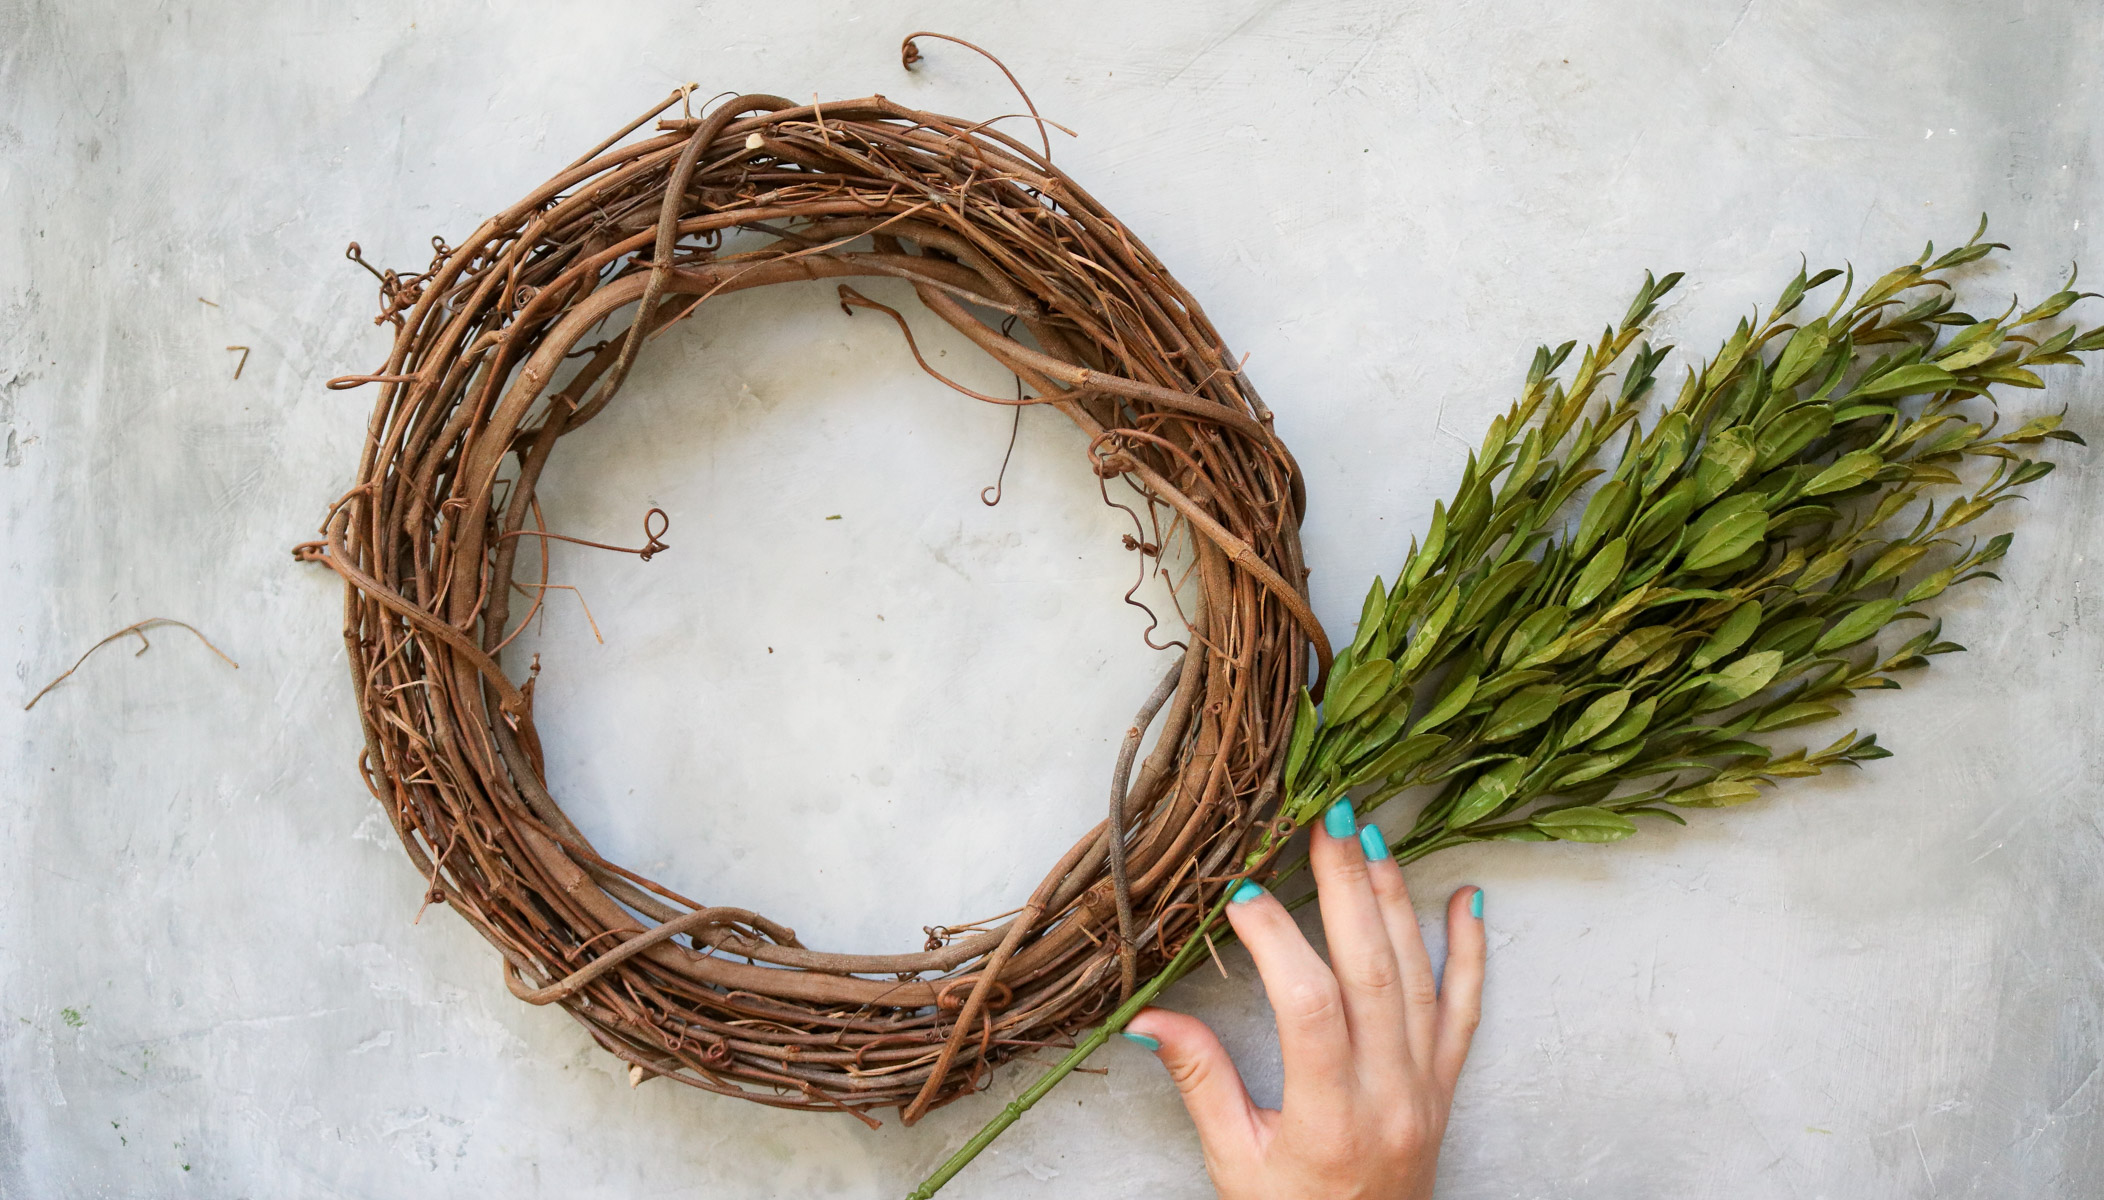
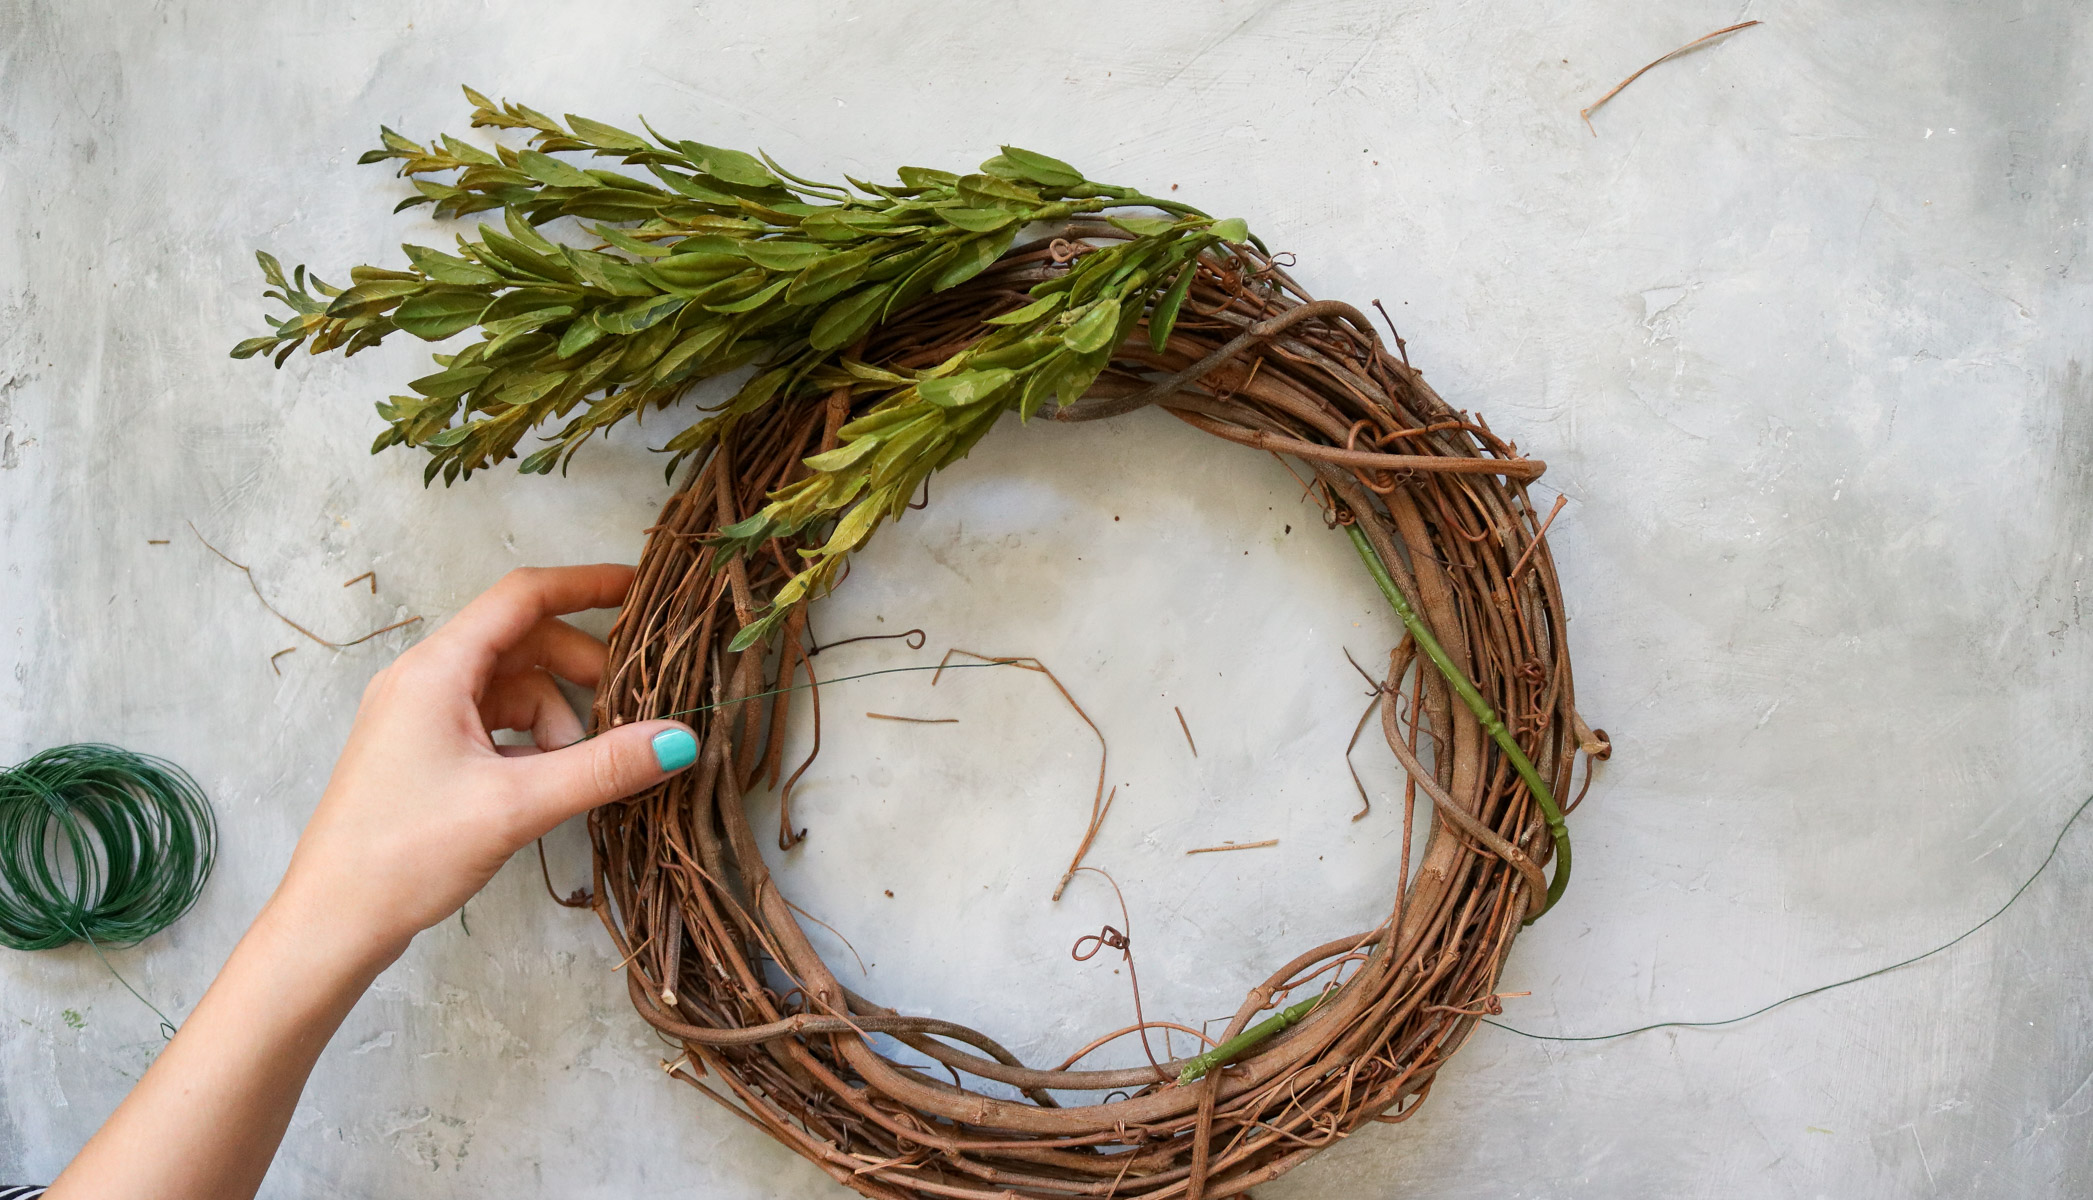
- I made sure to secure the plastic stems with some floral wire and kept going around the wreath following the same steps.
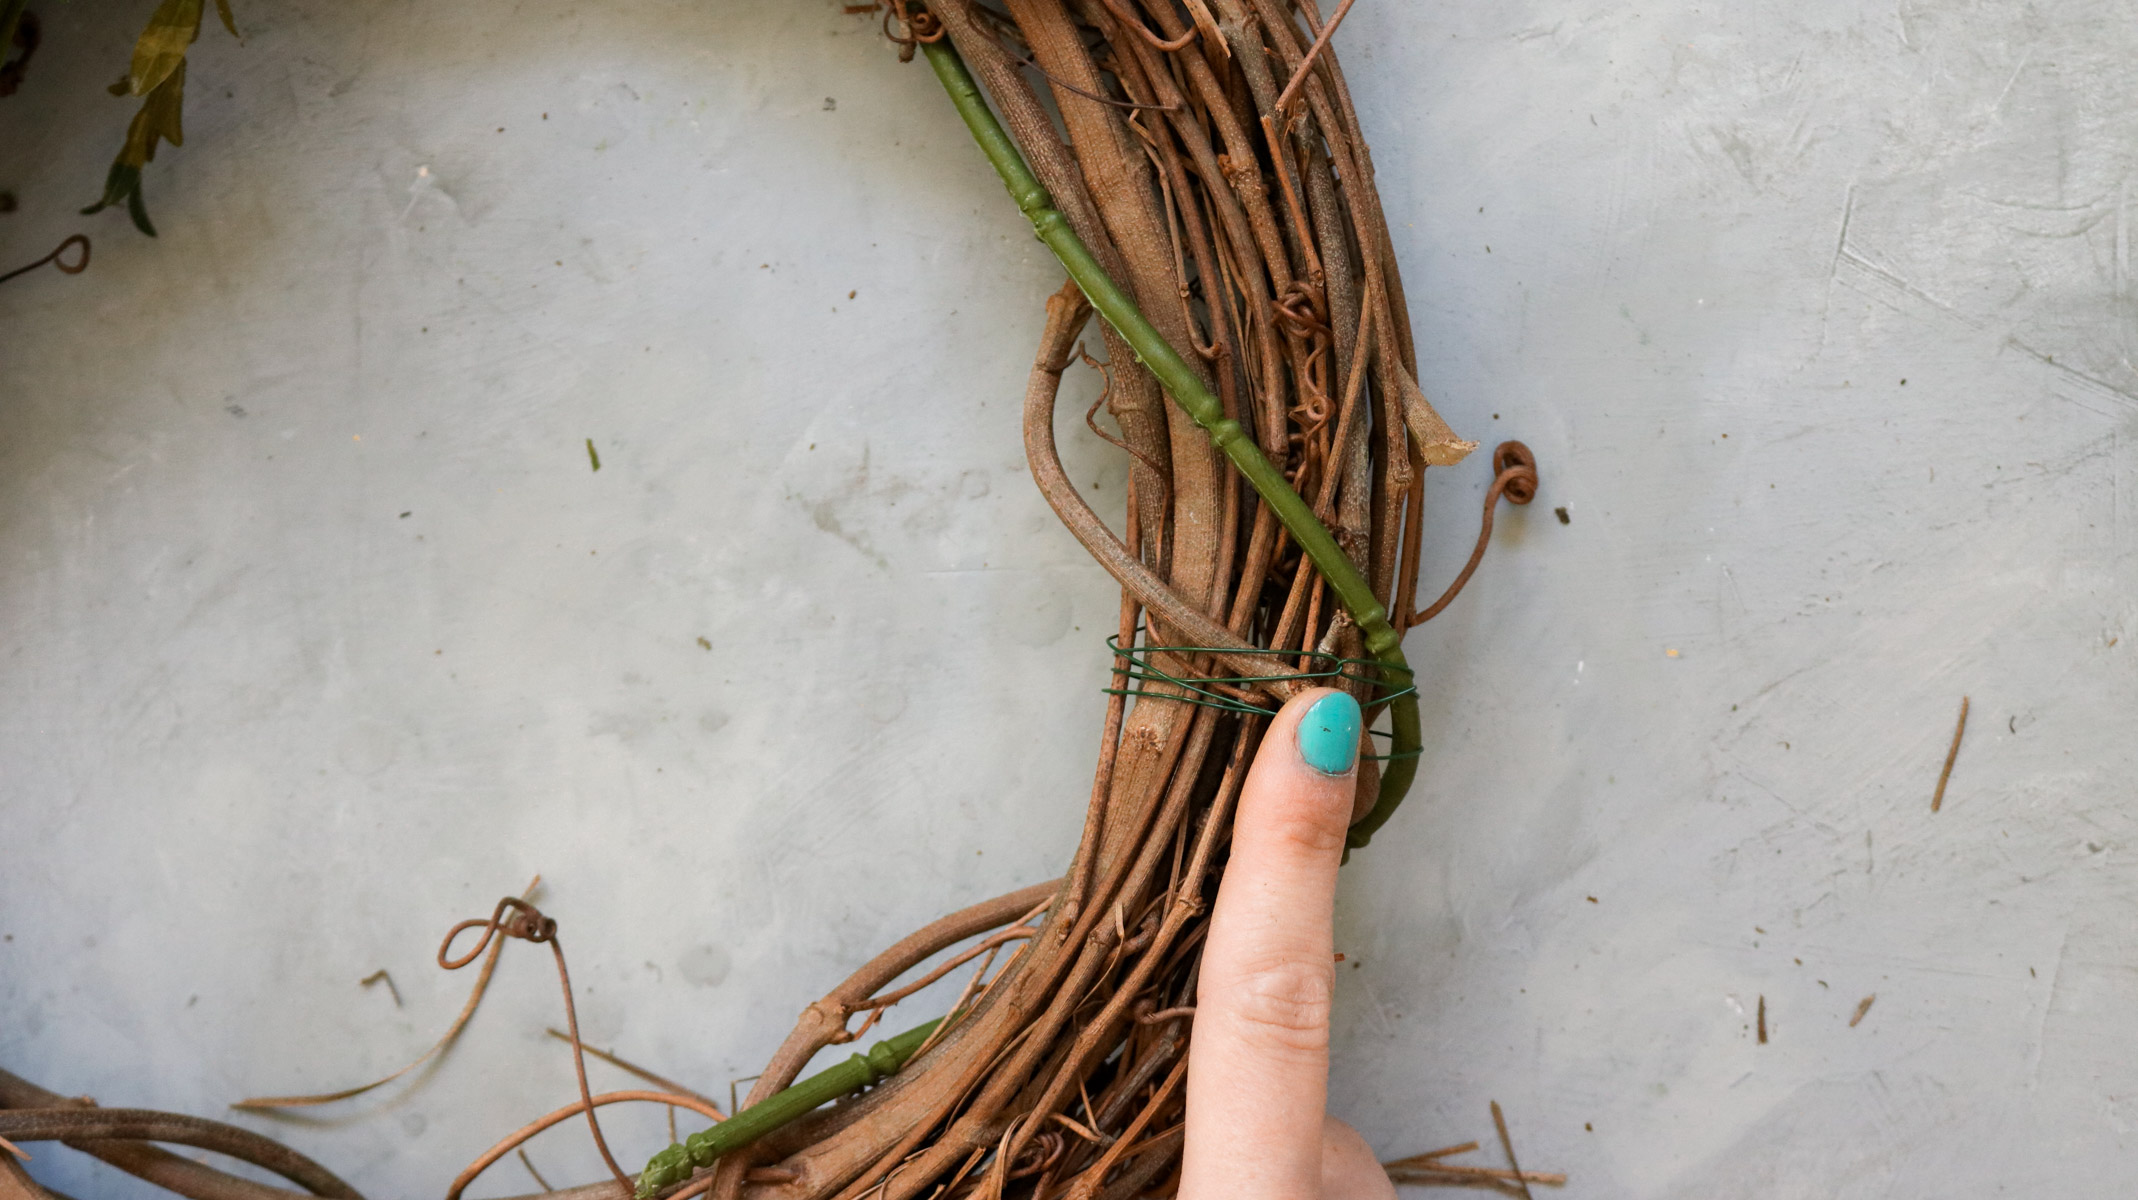
 Here’s what the wreath looked like midway. I also secured some of the sprigs that were really sticking out with a smaller piece of wire.
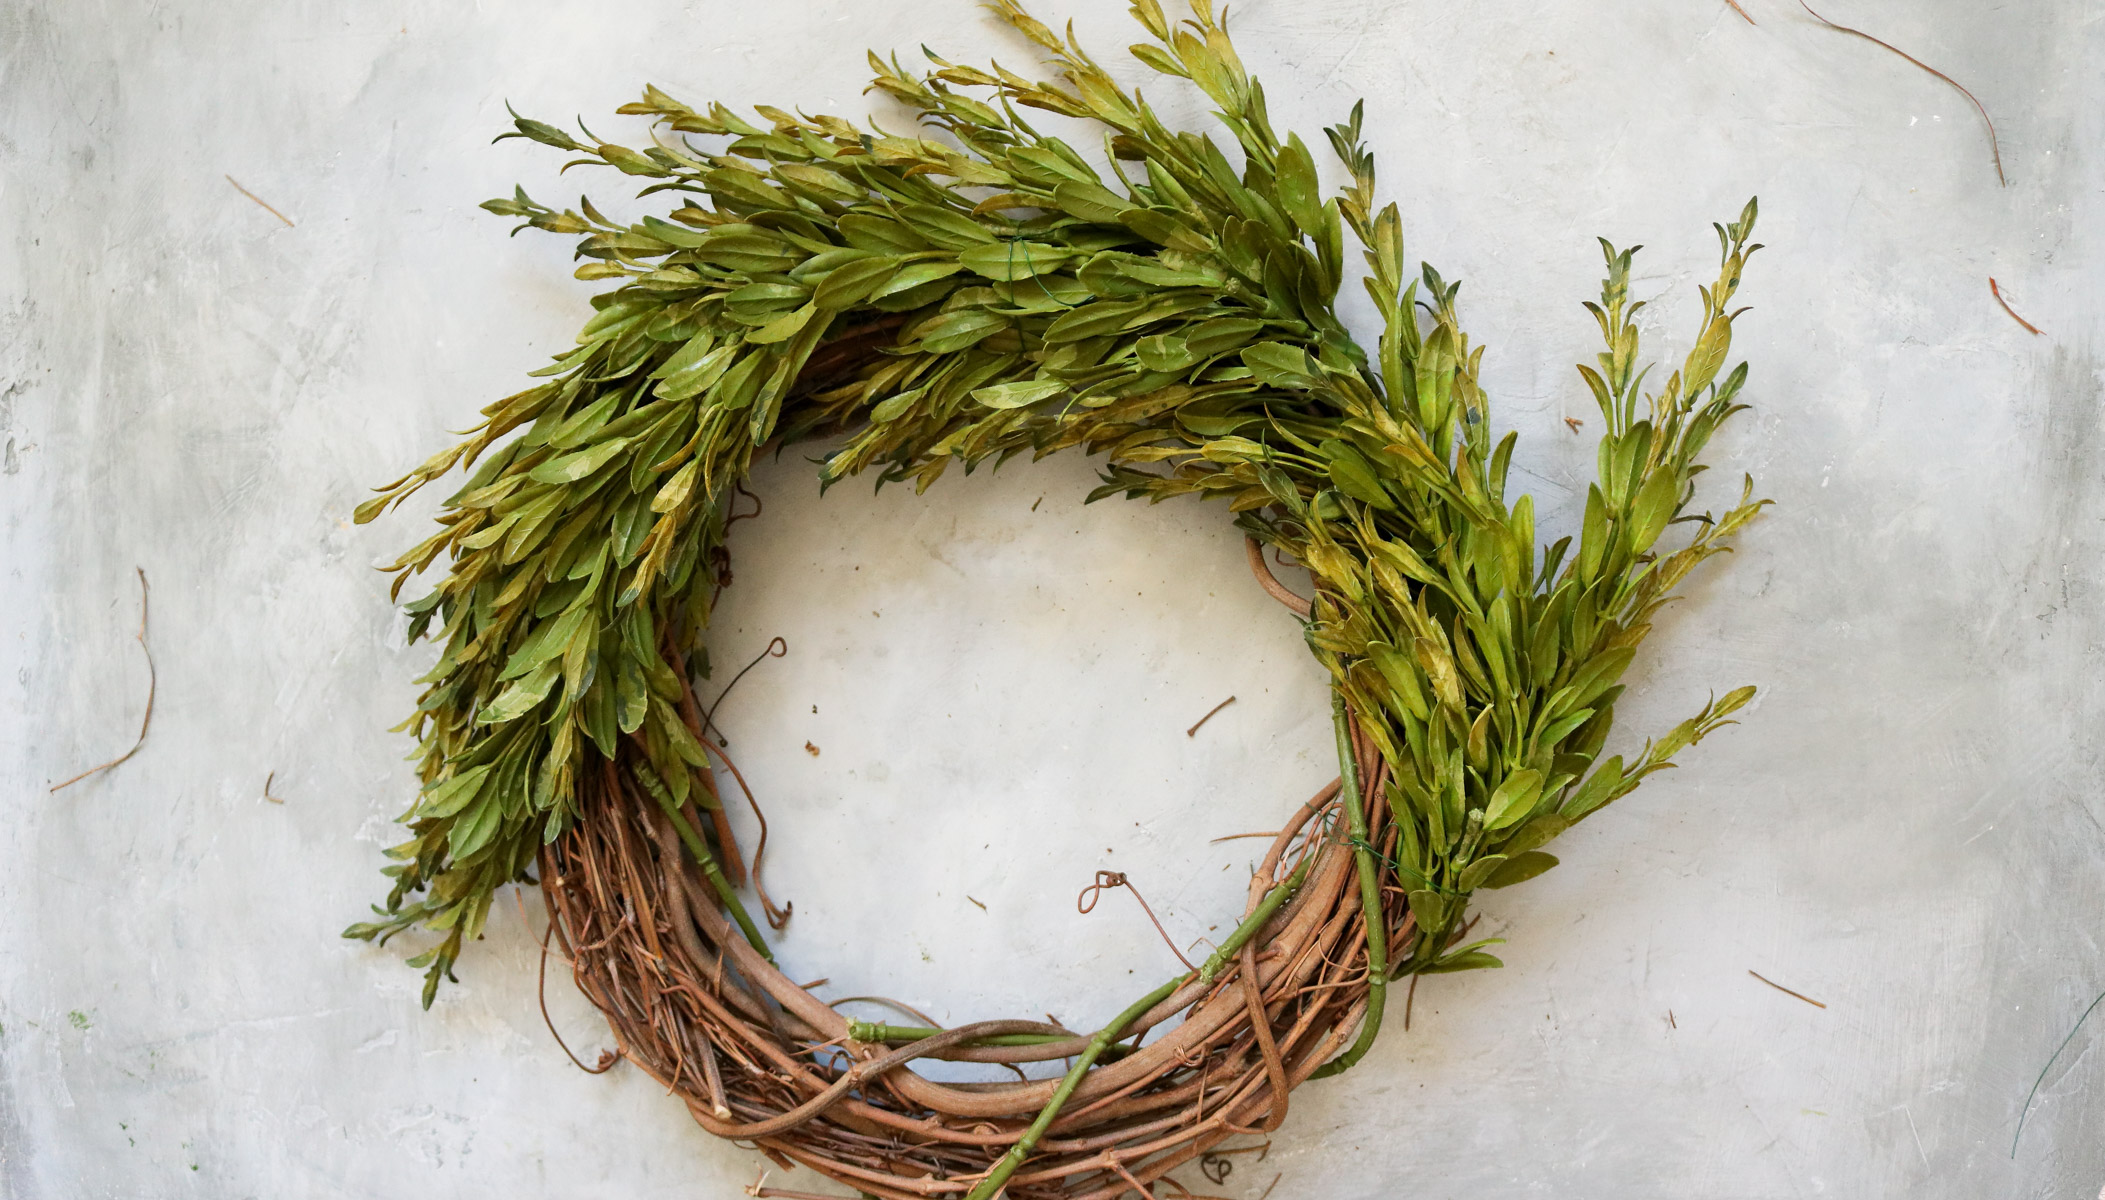
- Once I got to the last two bushes of leaves it was a bit harder to wrap around the wreath since there wasn’t much room left on the wreath so I shortened the stem a bit.
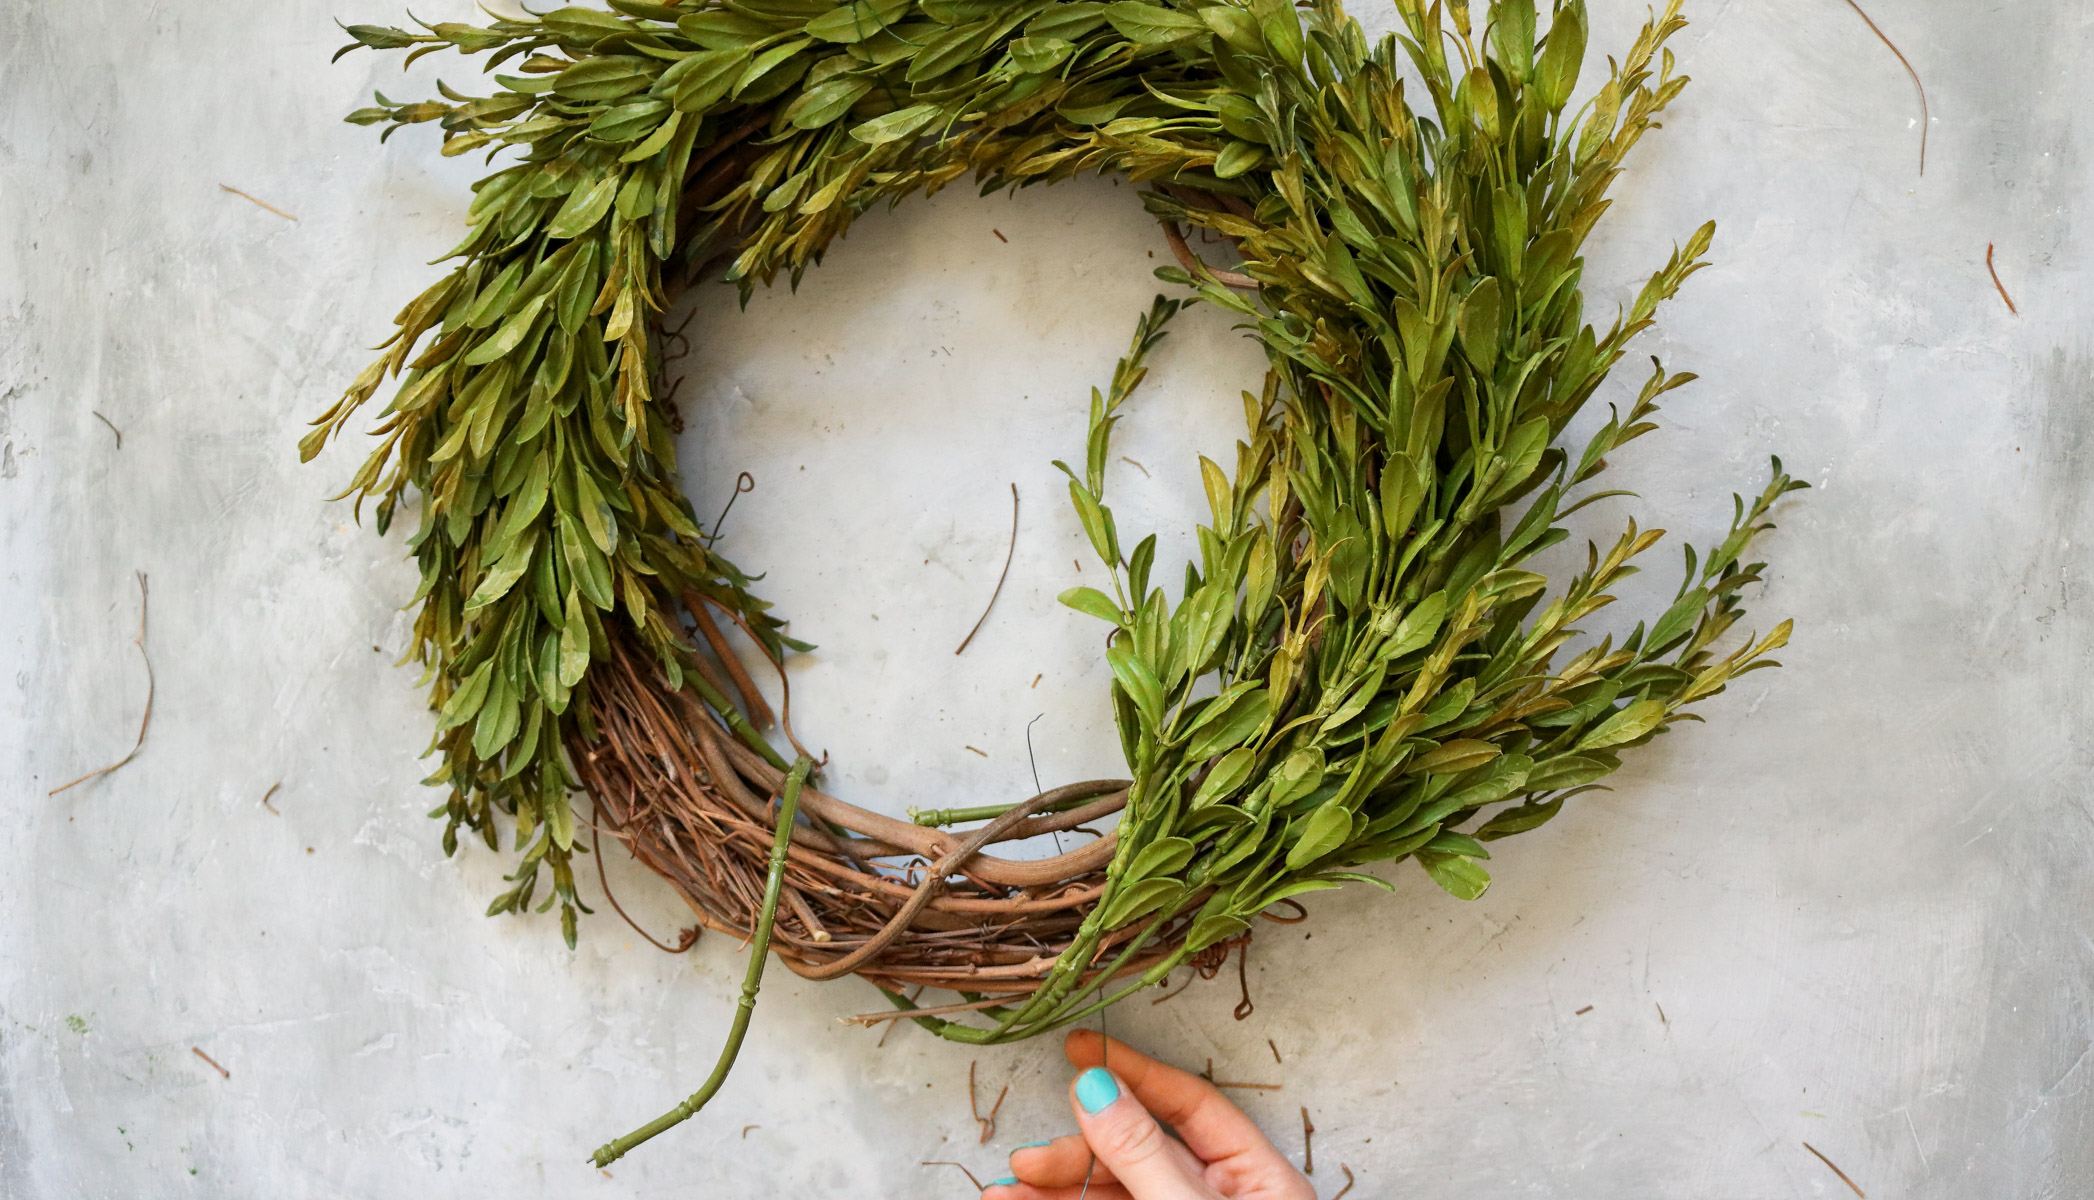
- Okay at this point there should be stems sticking out pretty unevenly. Use your wire cutters to trim off the sprigs that stick out too much and use your hot glue to secure them into spots that need more greenery.
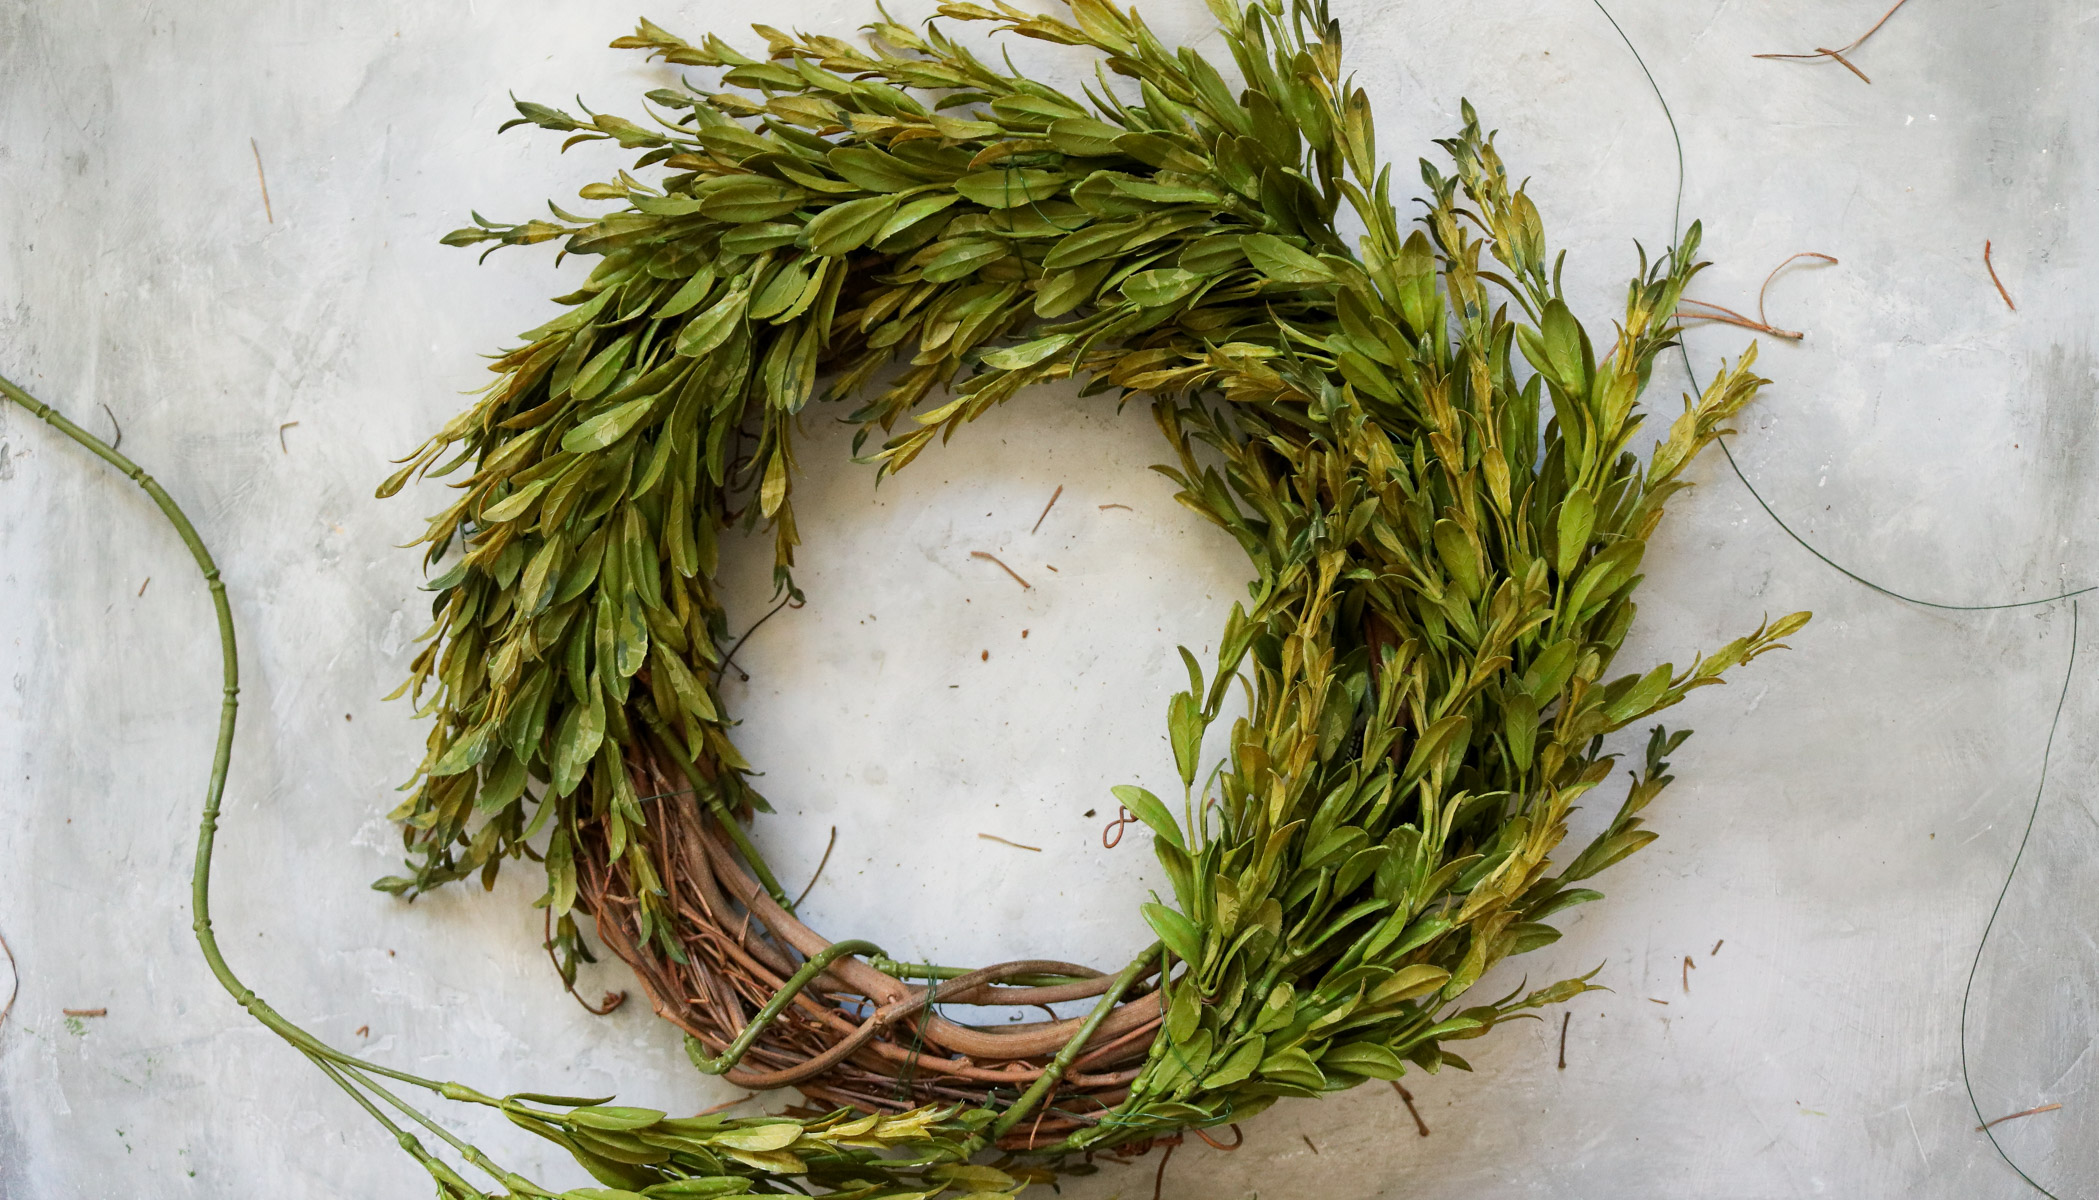
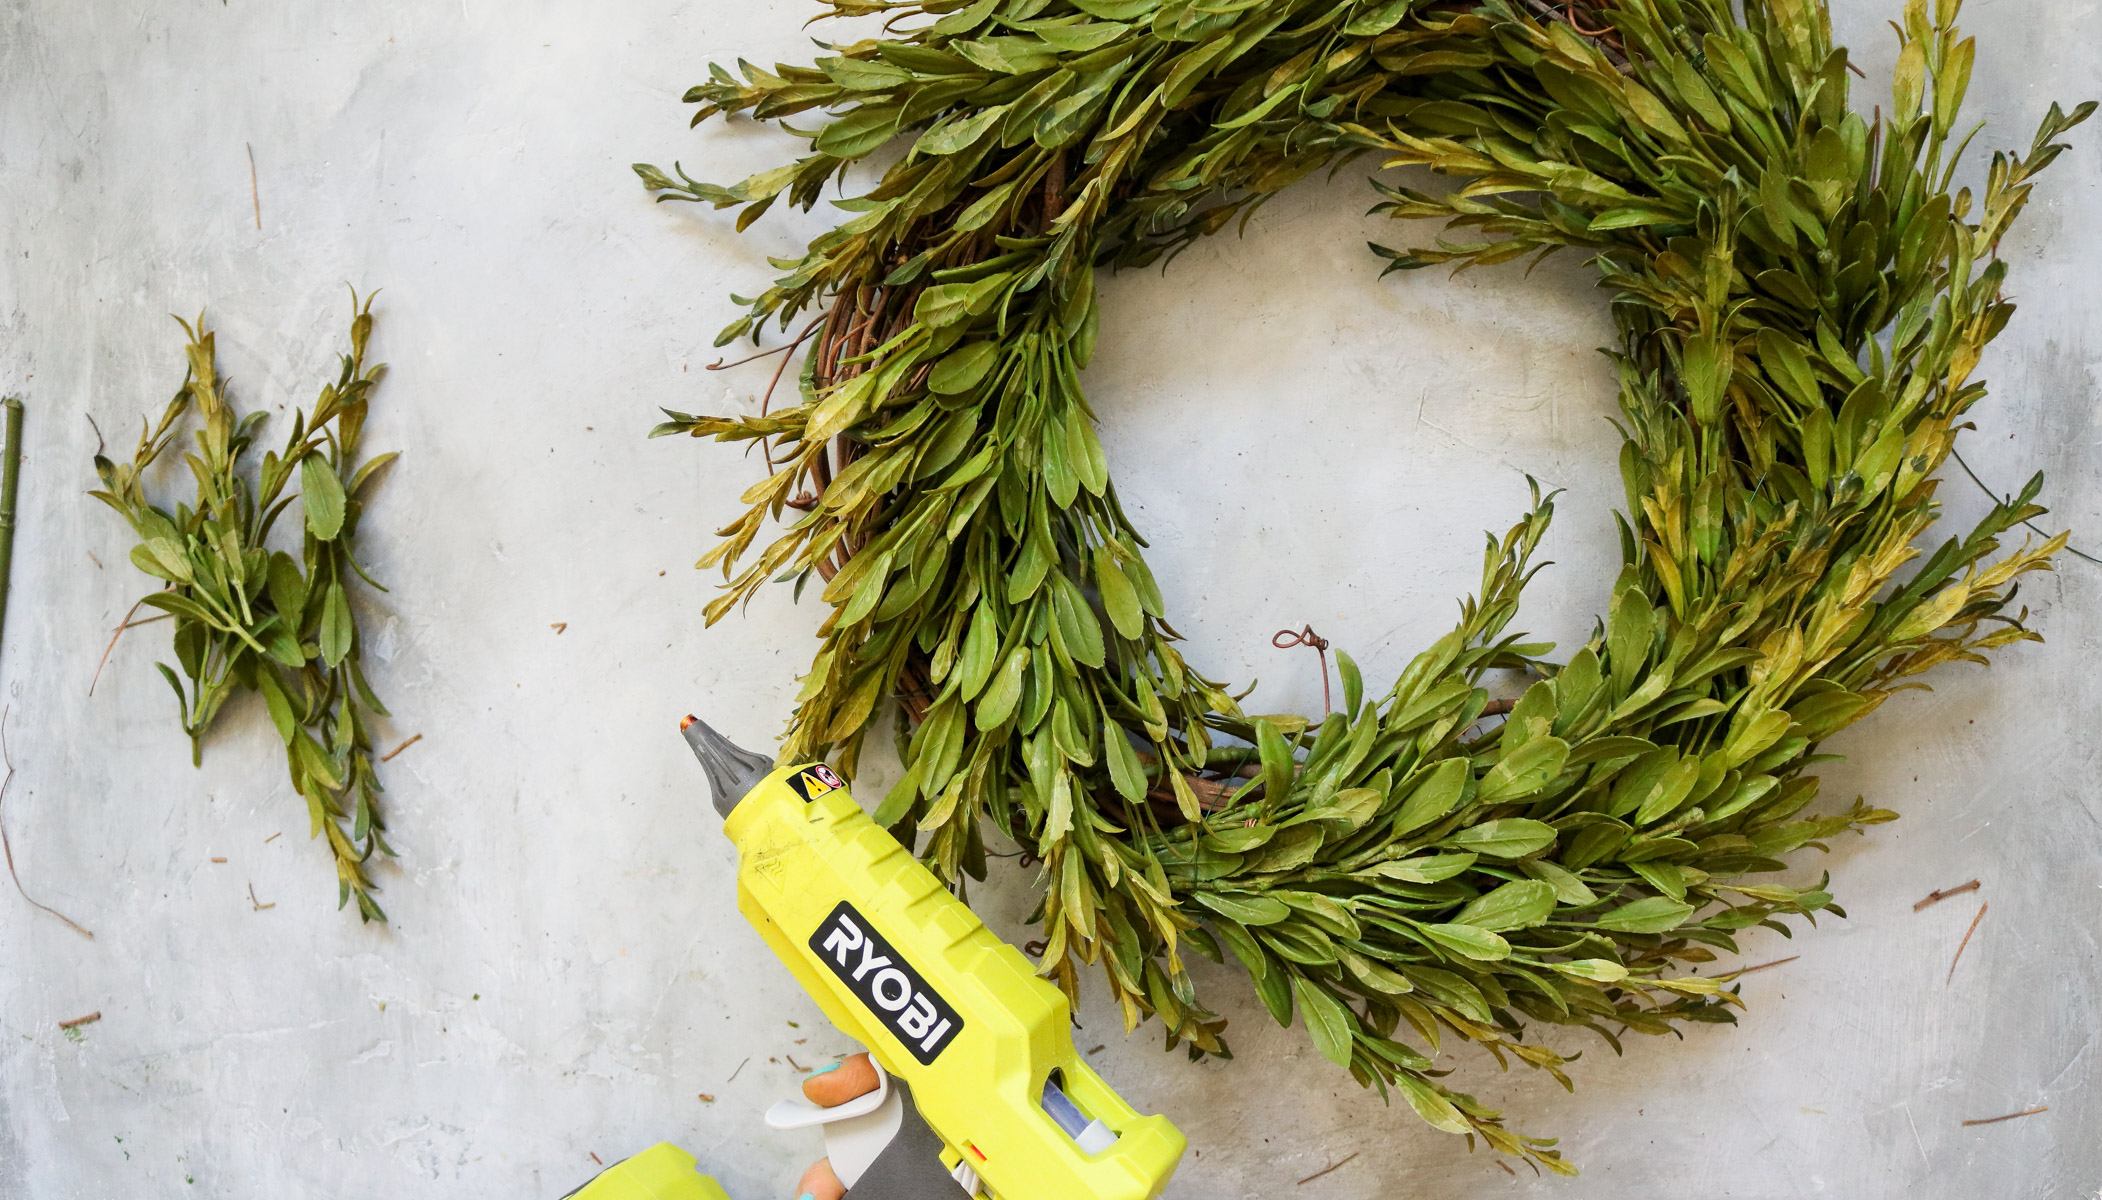 You can leave your wreath simply green or add berries/flowers. I was already in love with the wreath at this point and almost didn’t add the berries but, I figured I’d give them a try anyway.
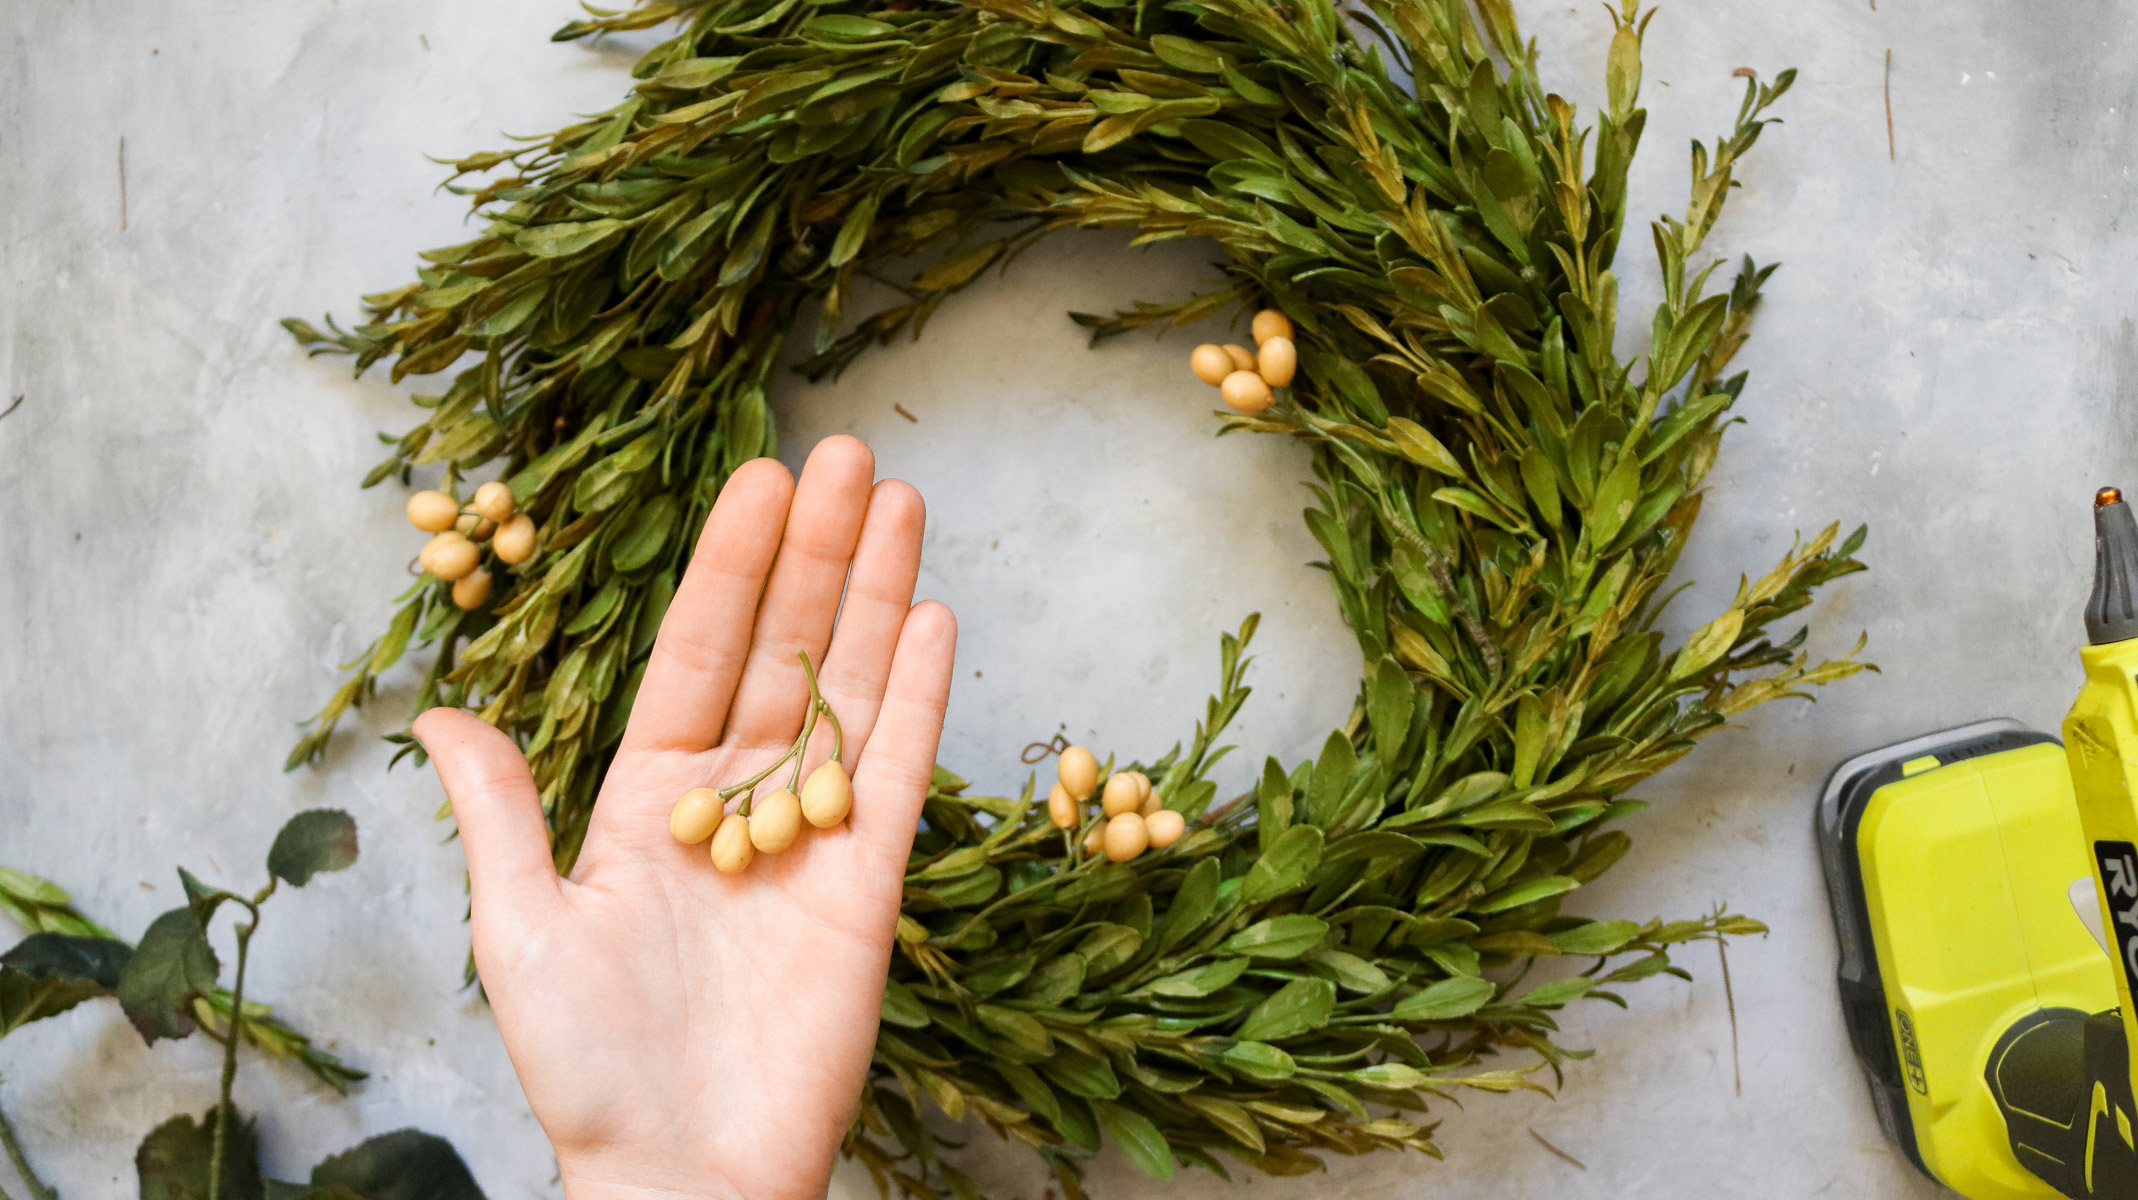
Adding Berries to your fall wreath!
5. I started off by adding 3 bigger chunks of berries with hot glue ( leaving little stems on the berries). Than I tried to stick to 2-4 berries to fill the rest of the wreath. 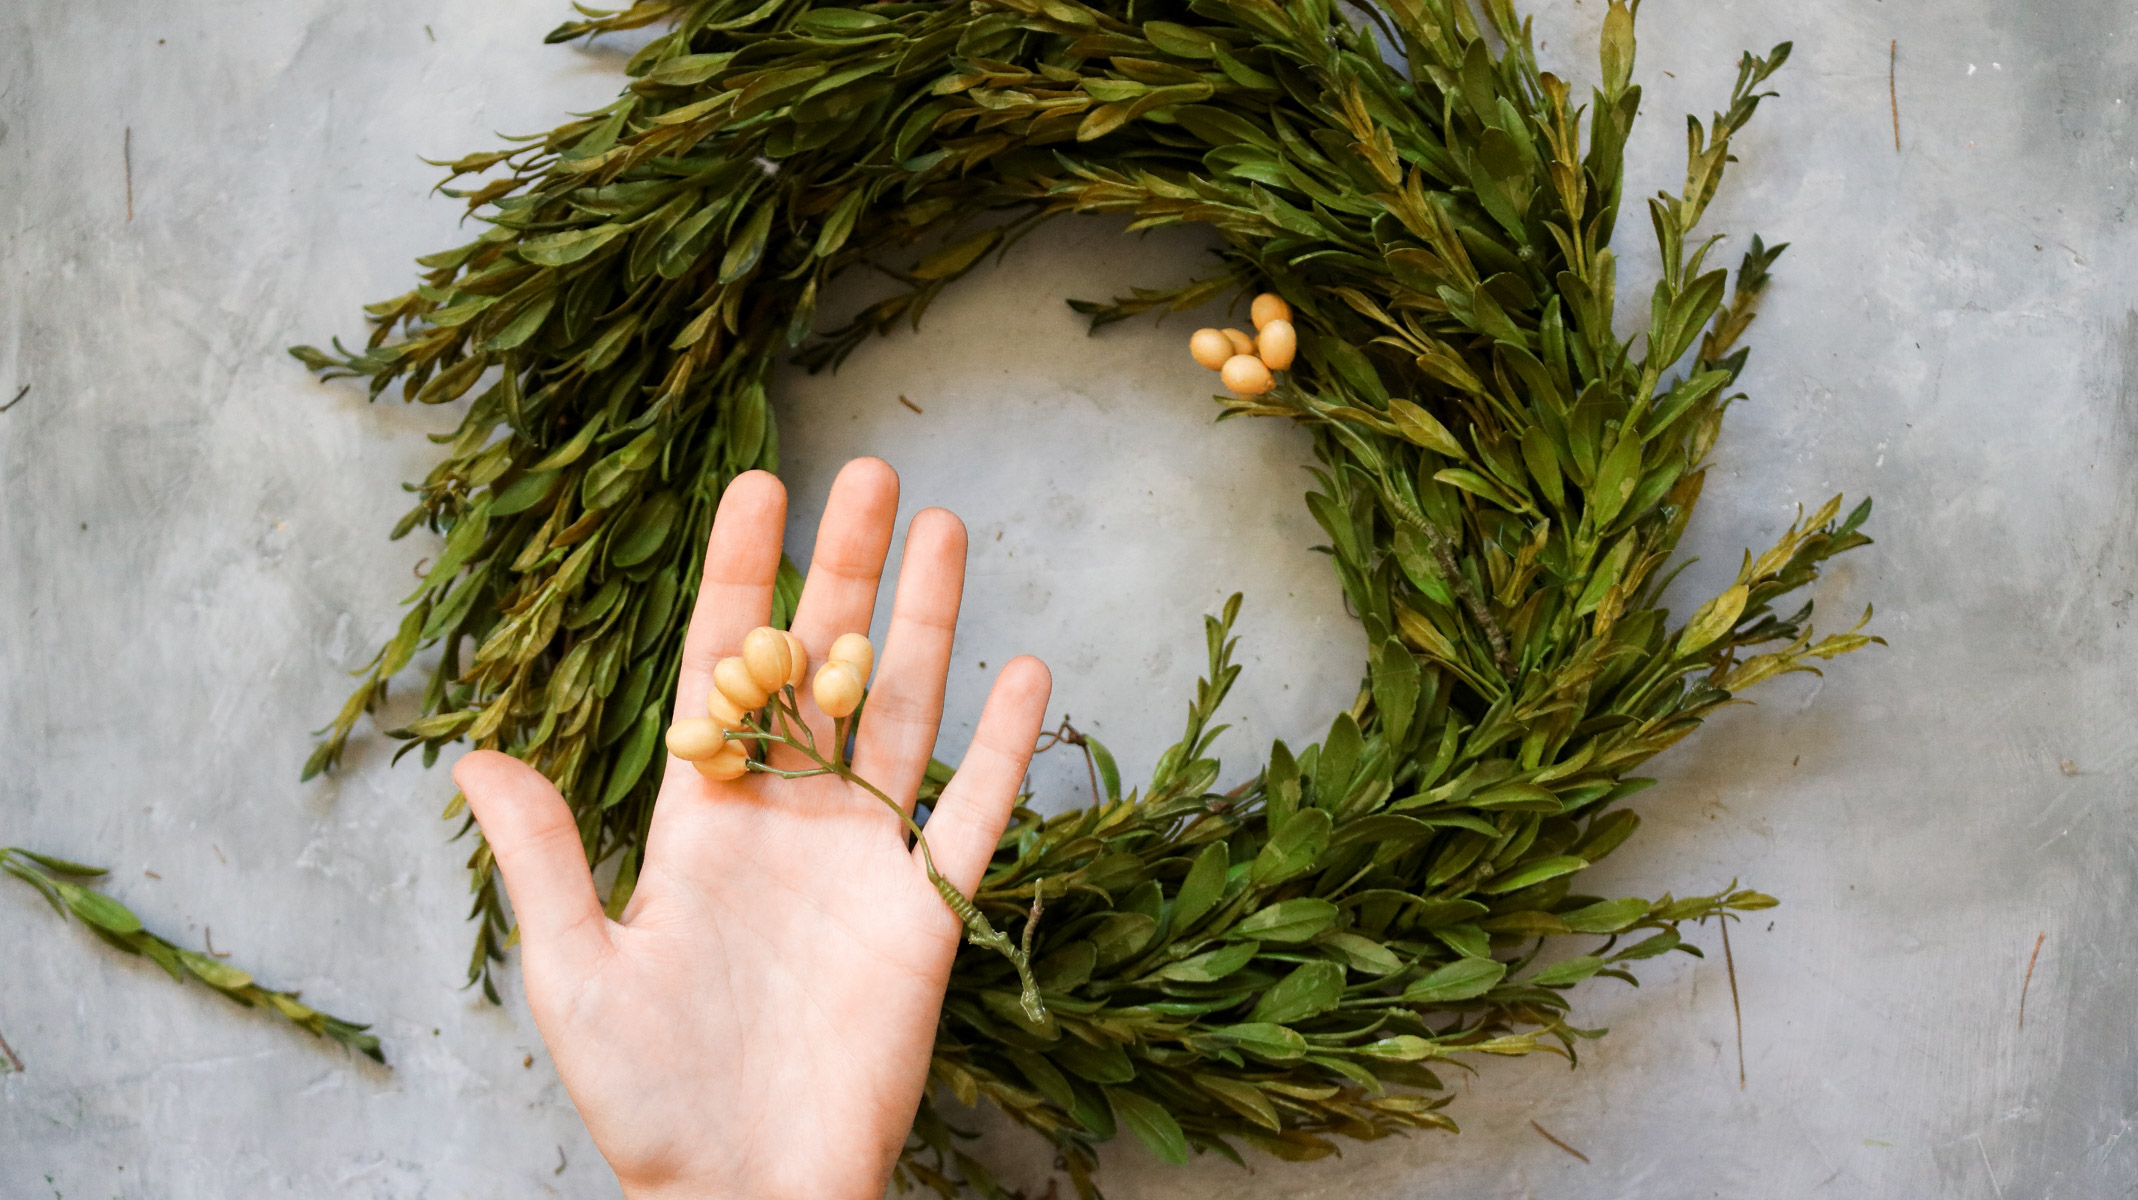
 Okay and finally add some burlap ribbon and that’s it. You can also tie a bow if you’d like. I wanted to keep it simple plus I figured a bow might clash with the berries.
 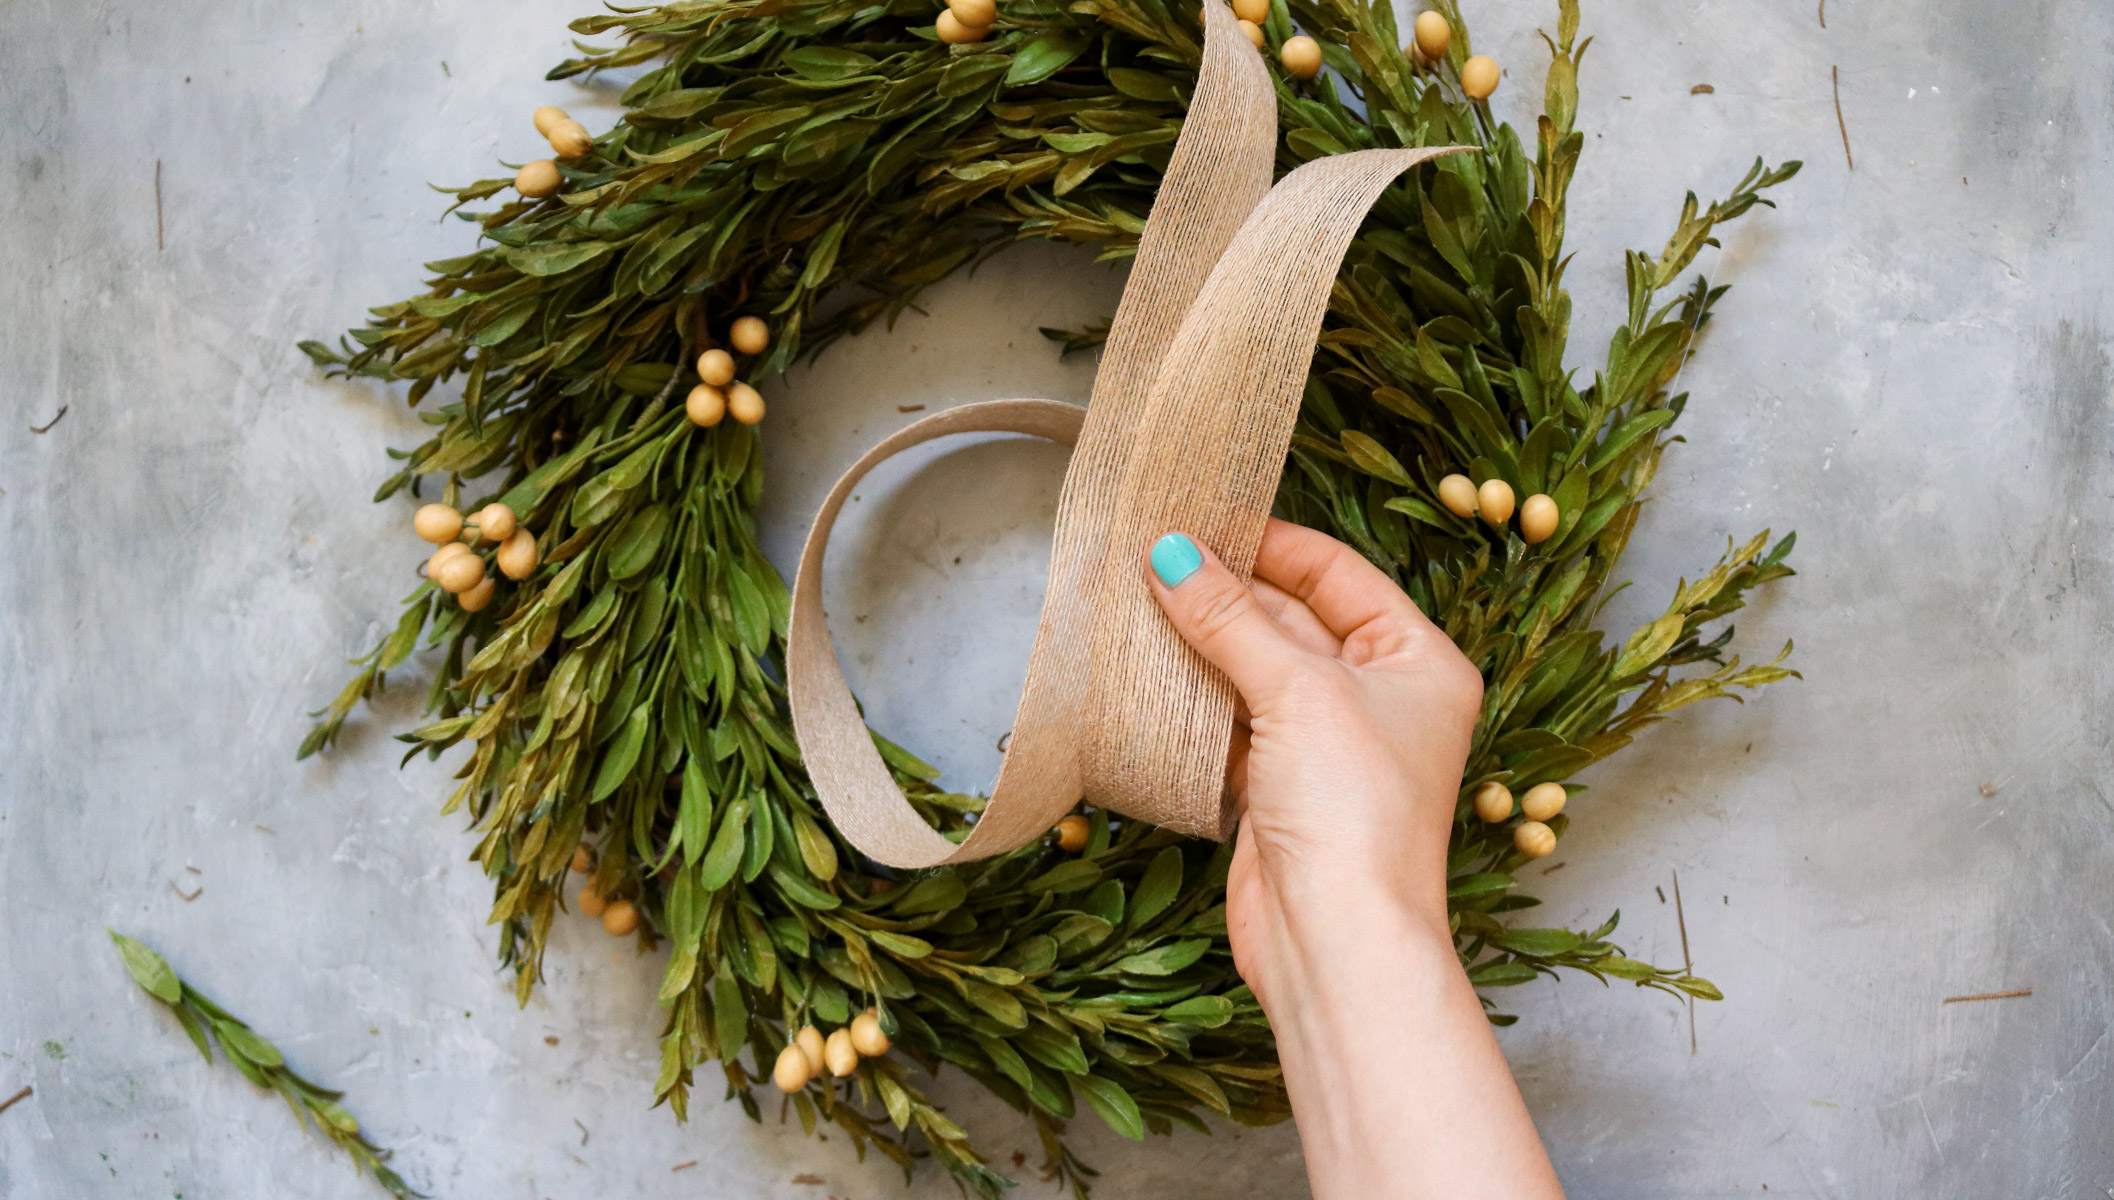 That’s it. I hope you love it as much as I do! 😁
 These tea leaves are amazing though! I love the rustic texture they have!
 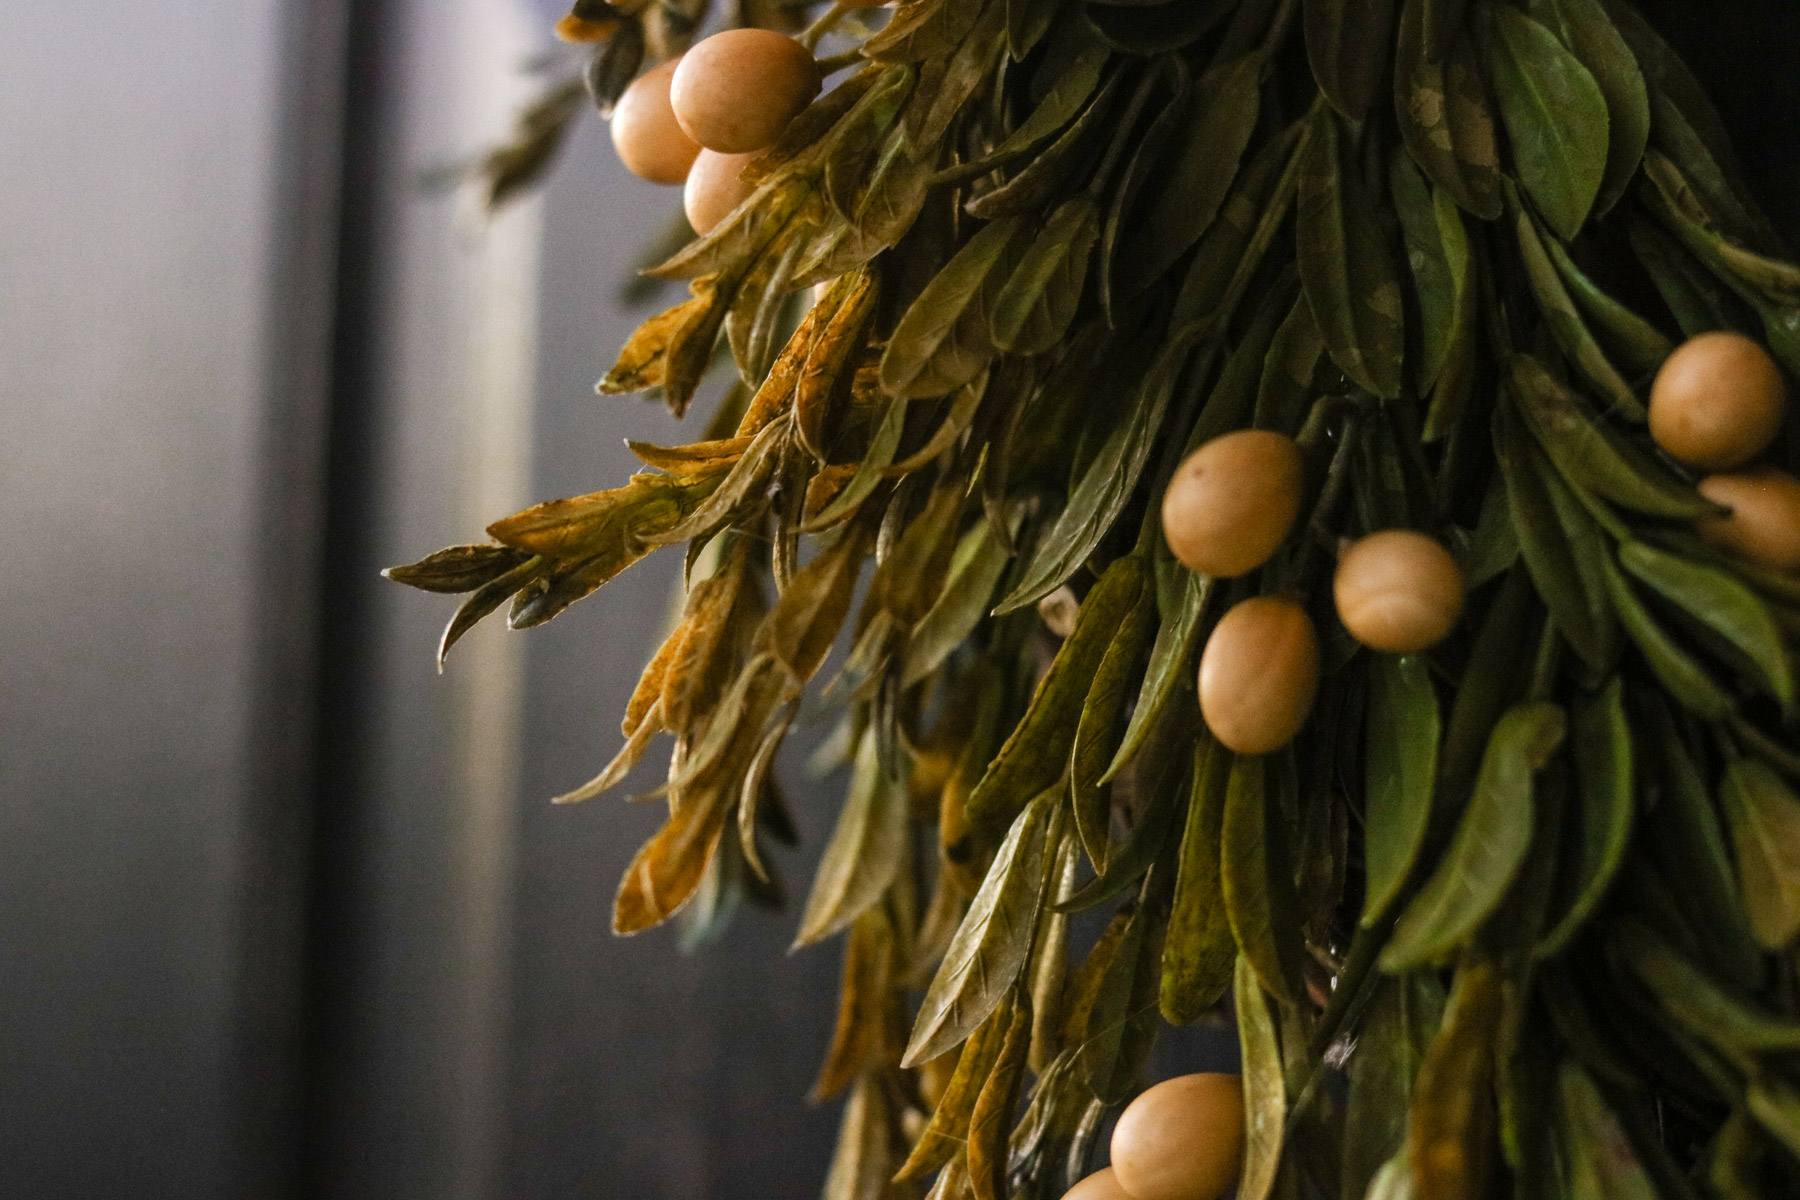 Here’s a quick view of the side. You can still see a bit of the beautiful grapevine.
 And a final pic of my new wreath in the sunset! 😍🙂
  Happy Crafting! I hope your having an amazing weekend!
You are awesome!!!!!
Awe thank you so much Linda 🙂
Lovely idea and you made it look so easy. Now I know what to do for Christmas!
Thank you so much Carly. I am so happy you liked it. 😀 😀 😀 OH Yeh maybe with red berries for Christmas and a cute bow.
This is gorgeous! May I ask, did you use four stems/bunches of the tea leaf greens for the wreath? Thank you!
Thank you Shelly. I actually used 5 bunches. Sorry I totally forgot to mention that.
Add me to your list. Love your posts!c
What a great project! How did you hang this wreath? Thank you!
Thank you Anne. I wrapped a ribbon around it and attached the ribbon to the top of the door with a metal flat tac.