The De-clutter Continues
Why hello there😊, what have you been up to? I was hoping things would slow down after Christmas. Sadly they didn’t for me! This month flew by so quick and I can’t believe it’s almost February. Last week I shared a few sneak peeks with you (newsletter subscribers) of how my 30 day organizing challenge is going. This month has been full of ups and downs and I can’t say this challenge has been an easy one but, I’m happy to finally see the light at the end of the tunnel 😁👏👏!. I’ve checked off the bathroom, kitchen, craft room and office yesterday.
Today I started organizing my bedroom and I realized I have over 3 trash bags of clothes to donate. I should mention I clean out my closet every 4-6 months which involves a few grocery bags of donations. I was super surprised to fill a whole 3 thirty gallon bags. To be honest, I think the fact that my bedroom is one of the last on my list to organize is probably a good idea. At this point I feel like this challenge is taking ssso😣 long I just want everything out 😆👌LOL that’s probably how I ended up filling those three trash bags in the first place. I’ve been so tempted to share the whole organizing process as I go that way maybe you can join in too. However I don’t think I’d be able to handle editing footage in between while half the house is upside down 😫! Anywho, if you’re not subscribed to my newsletter you can sign up down below. I’ll be sure to send exclusive sneak peeks of the progress!
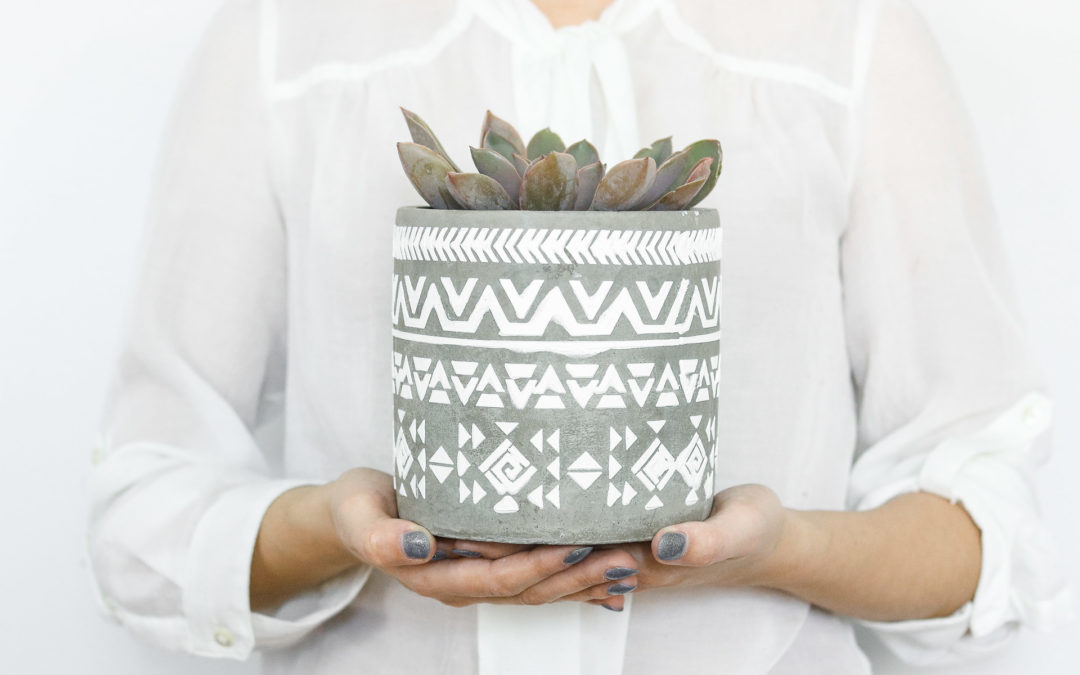
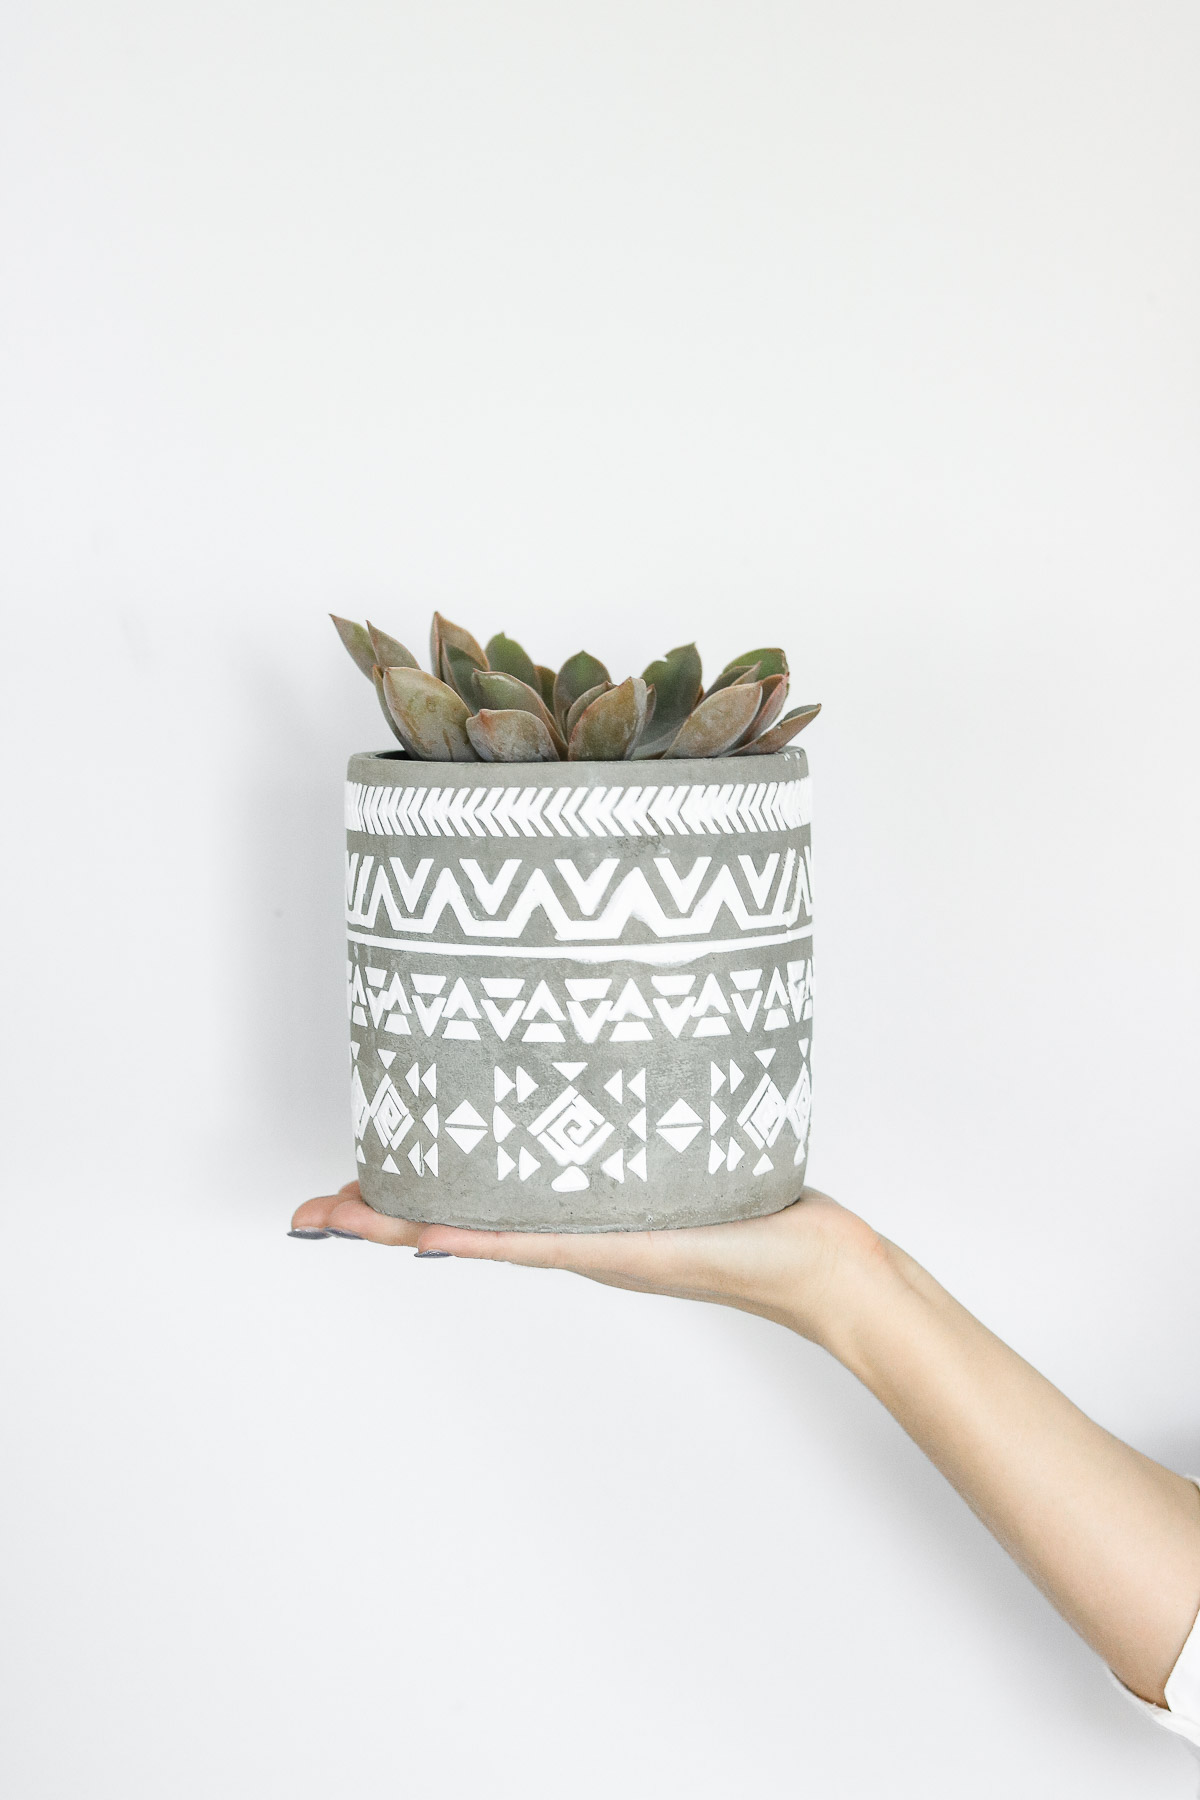
Even though this month has been super busy around the house for me I want to share a simple 3D stenciling technique. I’ve seen something very similar on a dresser before although I’m not sure if they purchased it like that or if it was stenciled. I mention this because I can’t wait to try this technique on furniture. YEP! You heard me right! You can use this DIY on multiple surfaces. Doors, dressers, desks etc… Isn’t that awesome?!
Plus it’s super duper easy to do!
TIME NEEDED:
About 10 minutes
COST: Around $11
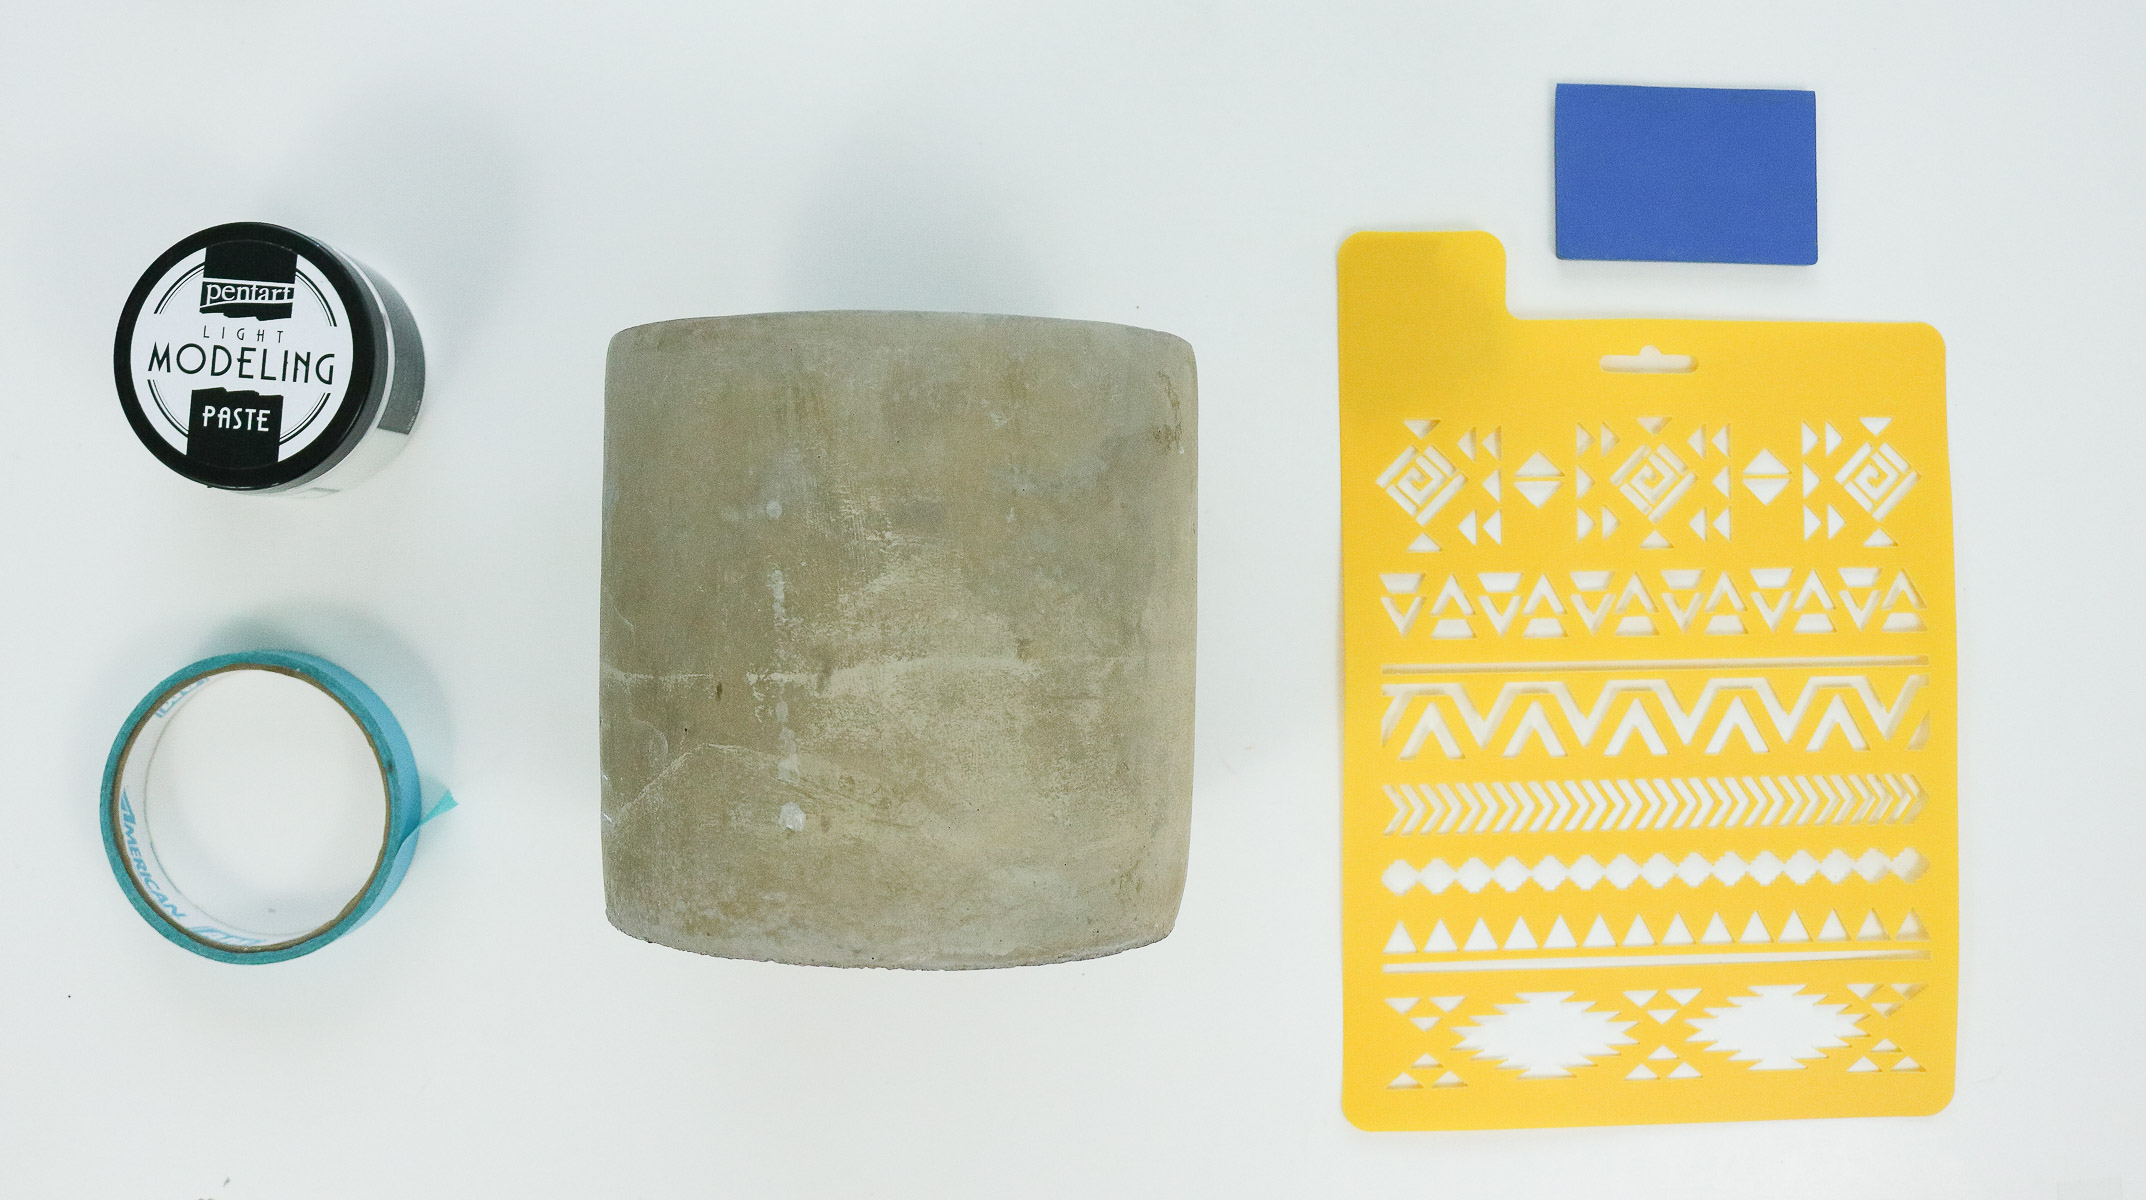
Supplies :
- Modeling Paste
- Your surface ( planter, dresser desk etc.. The flatter the surface the better. It’s harder to get a clean look on a rounded surface like this planter)
- stencil ( I got my stencil at hobbylobby)
- A Spreader
- Tape
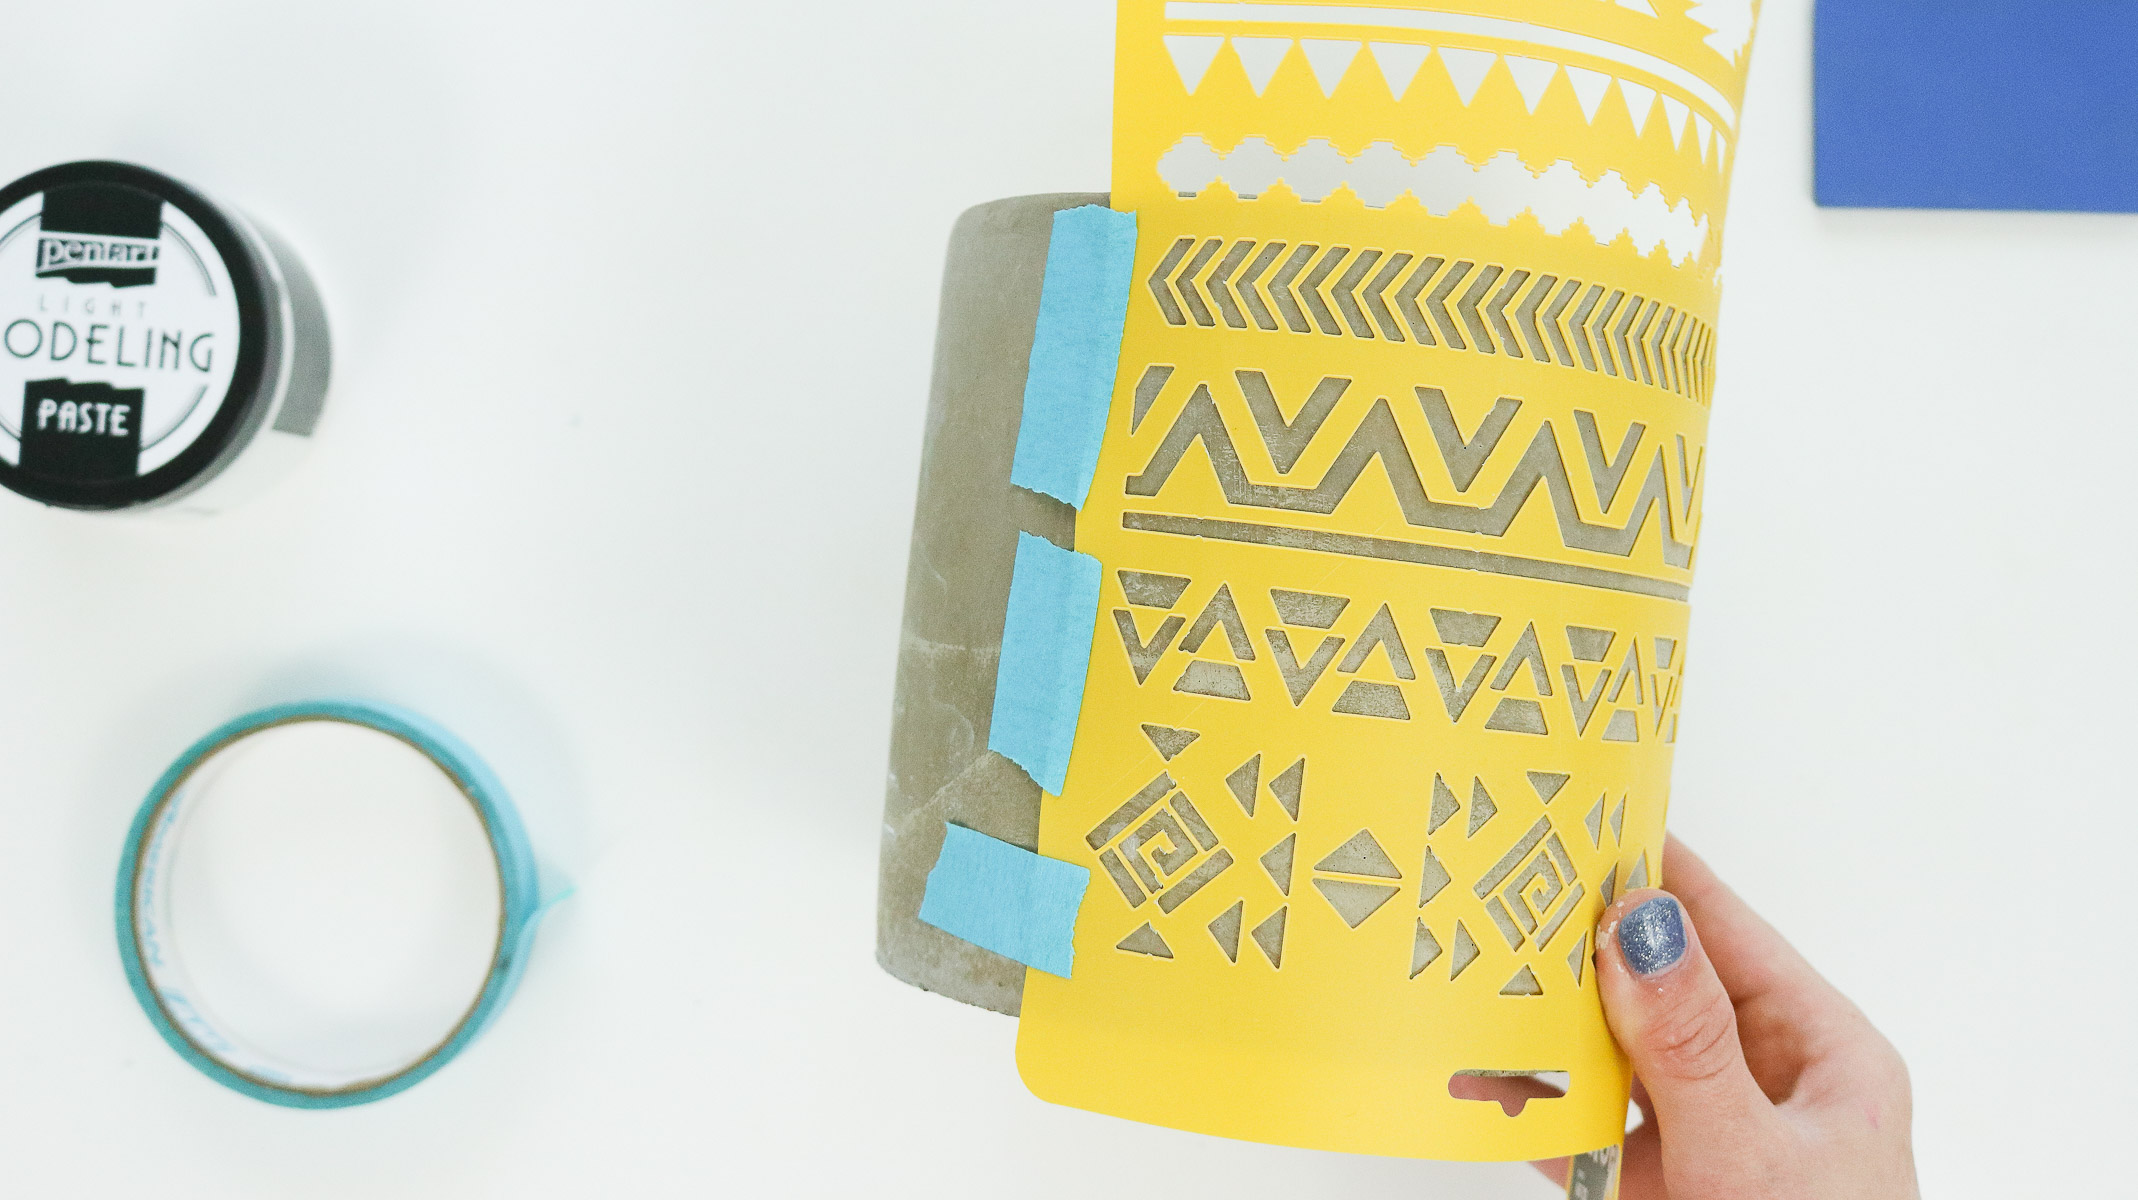
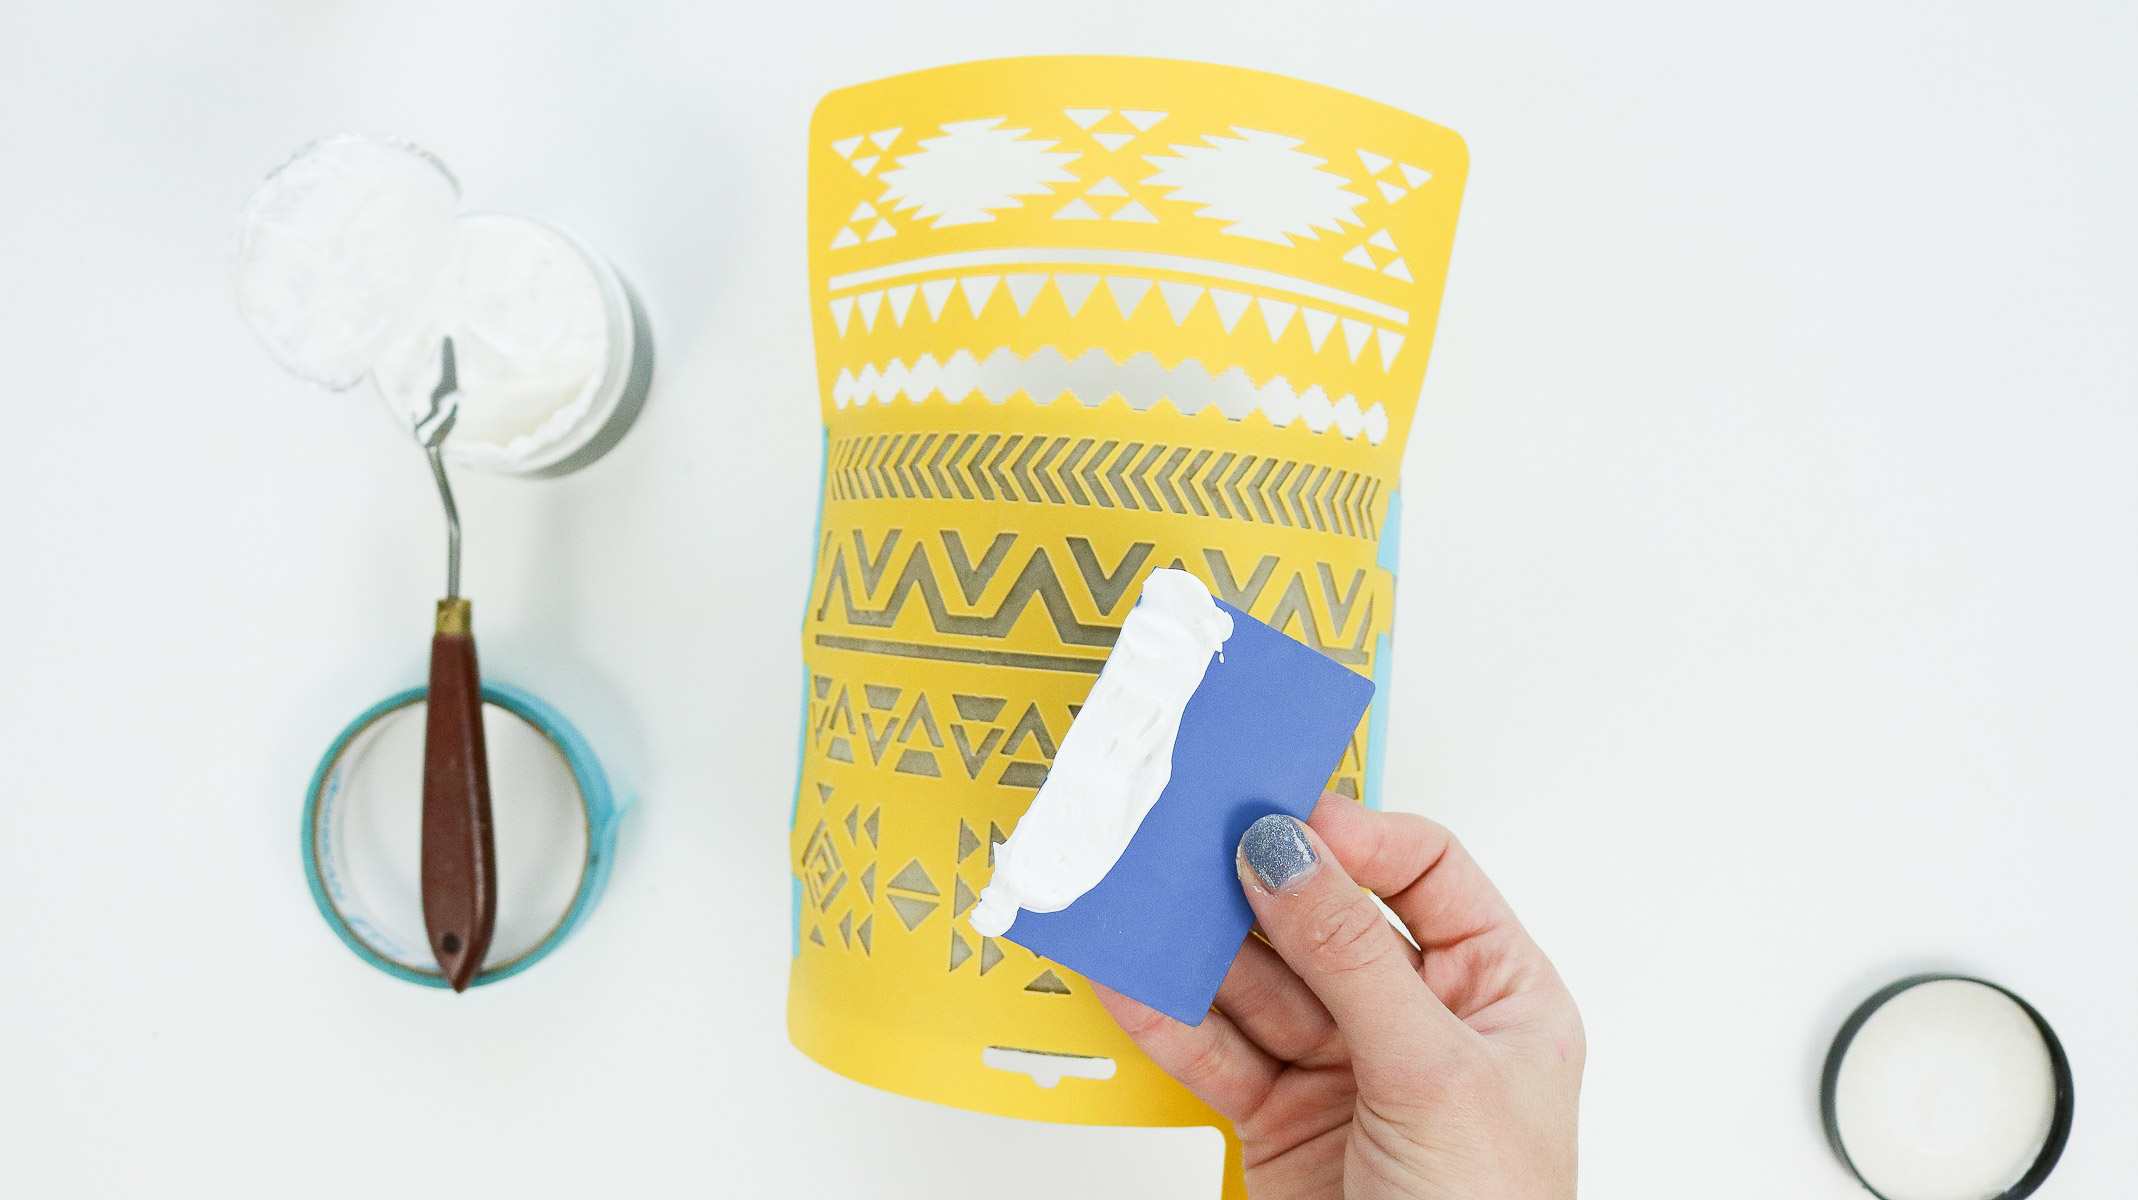
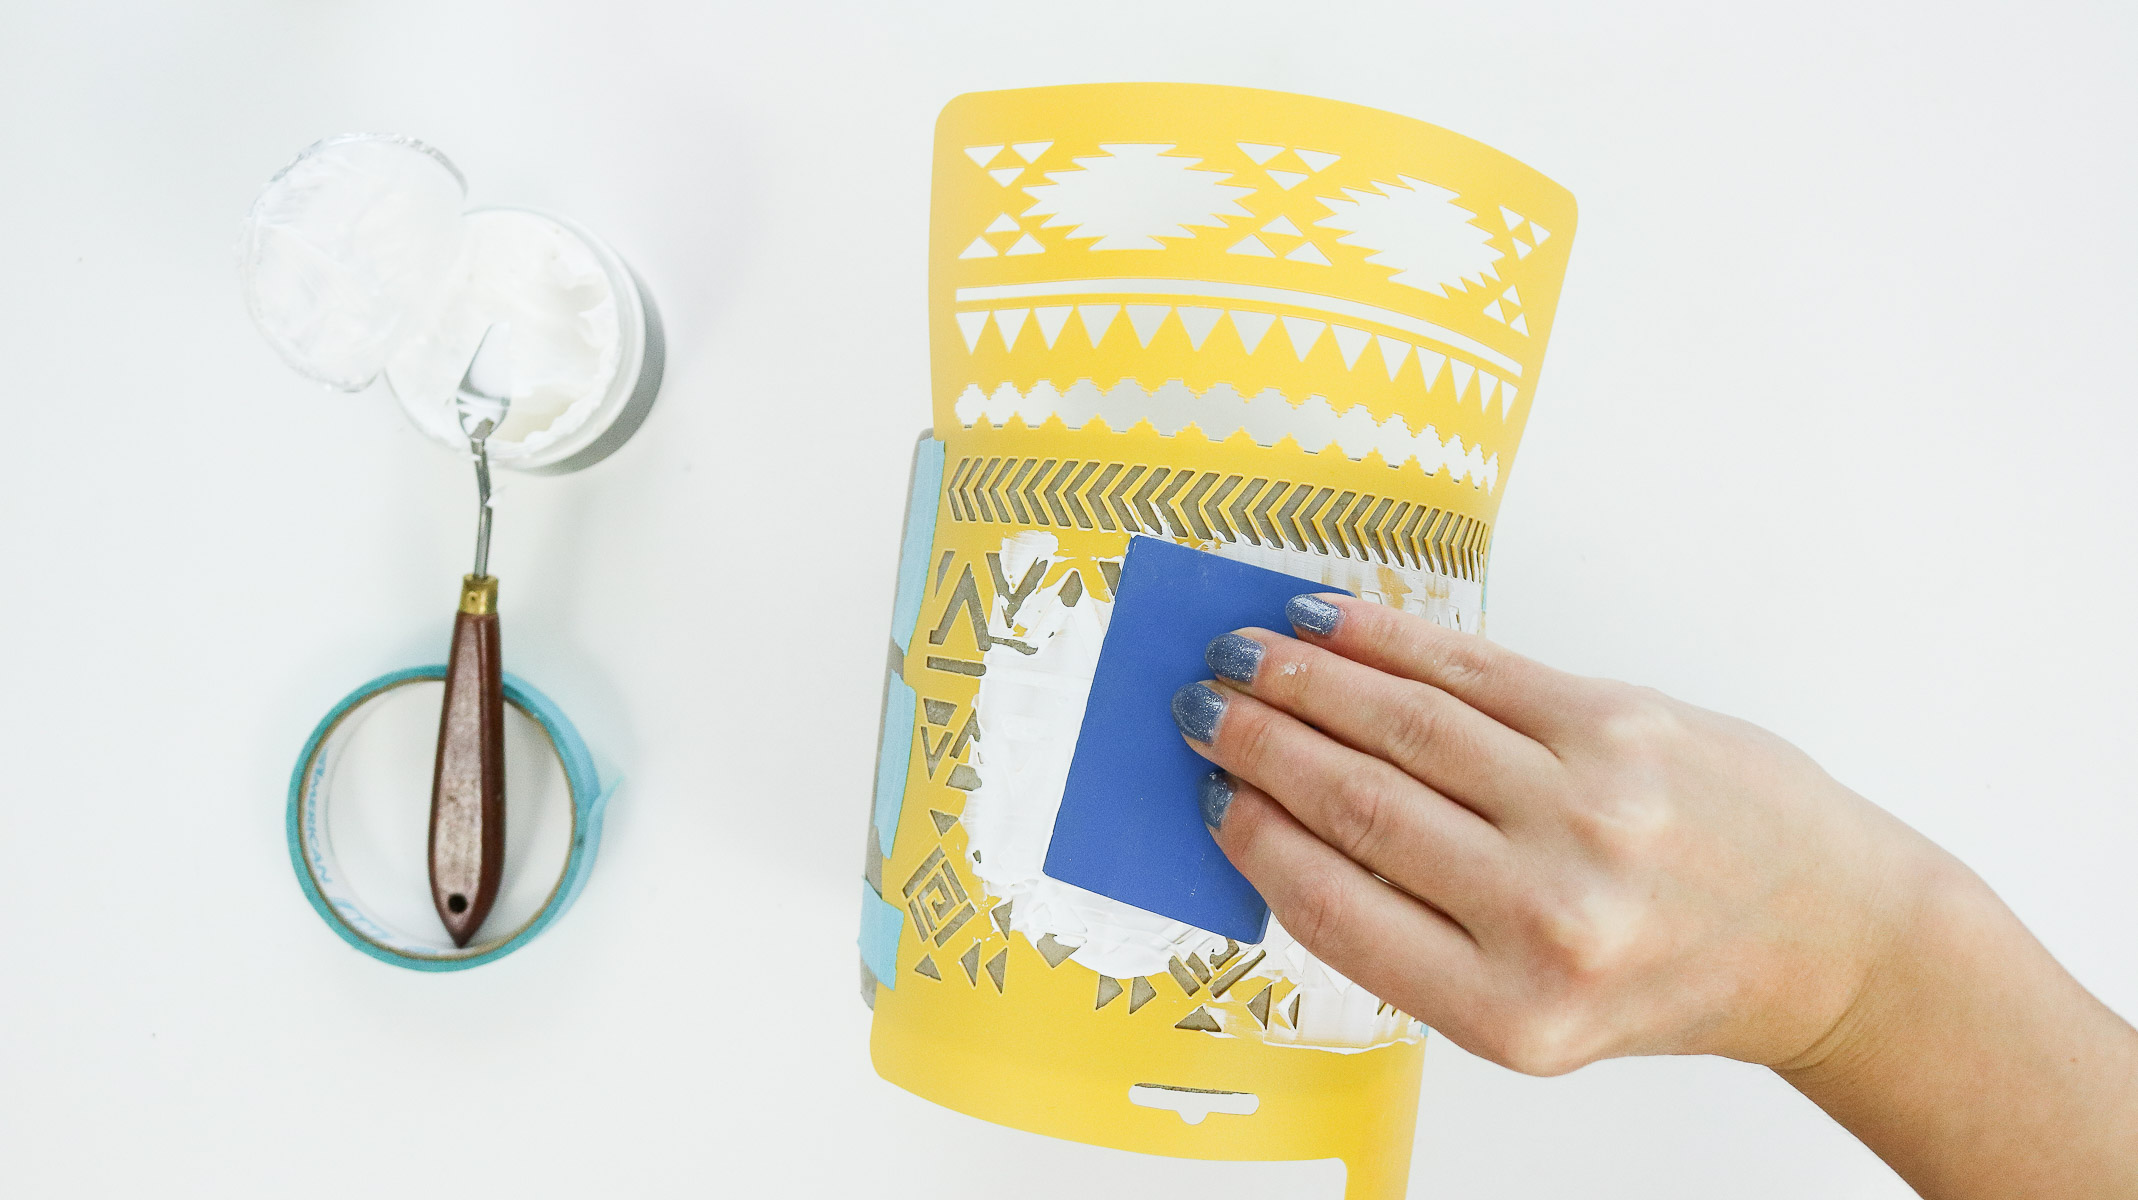
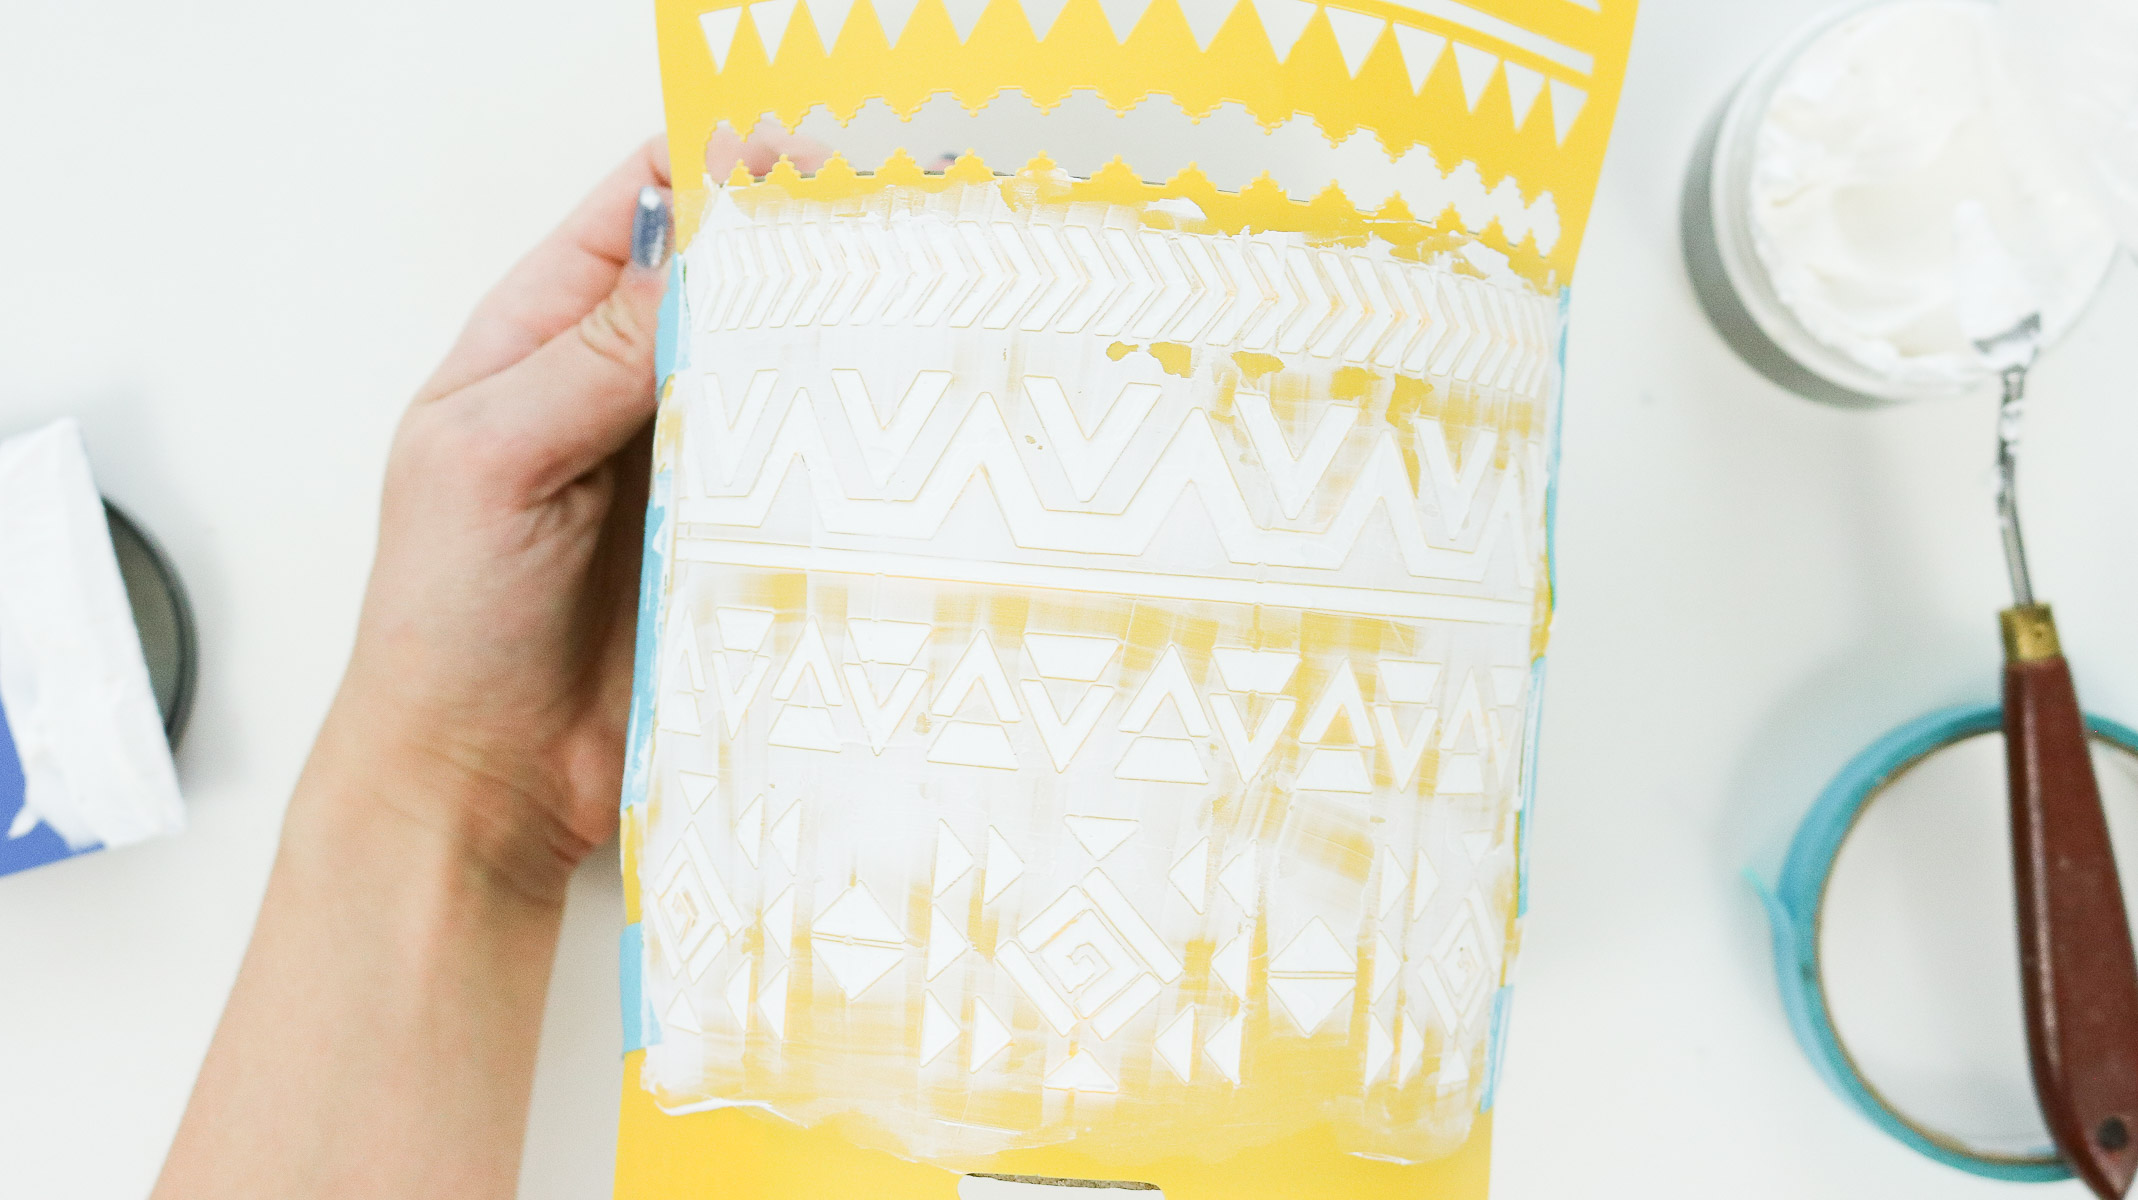
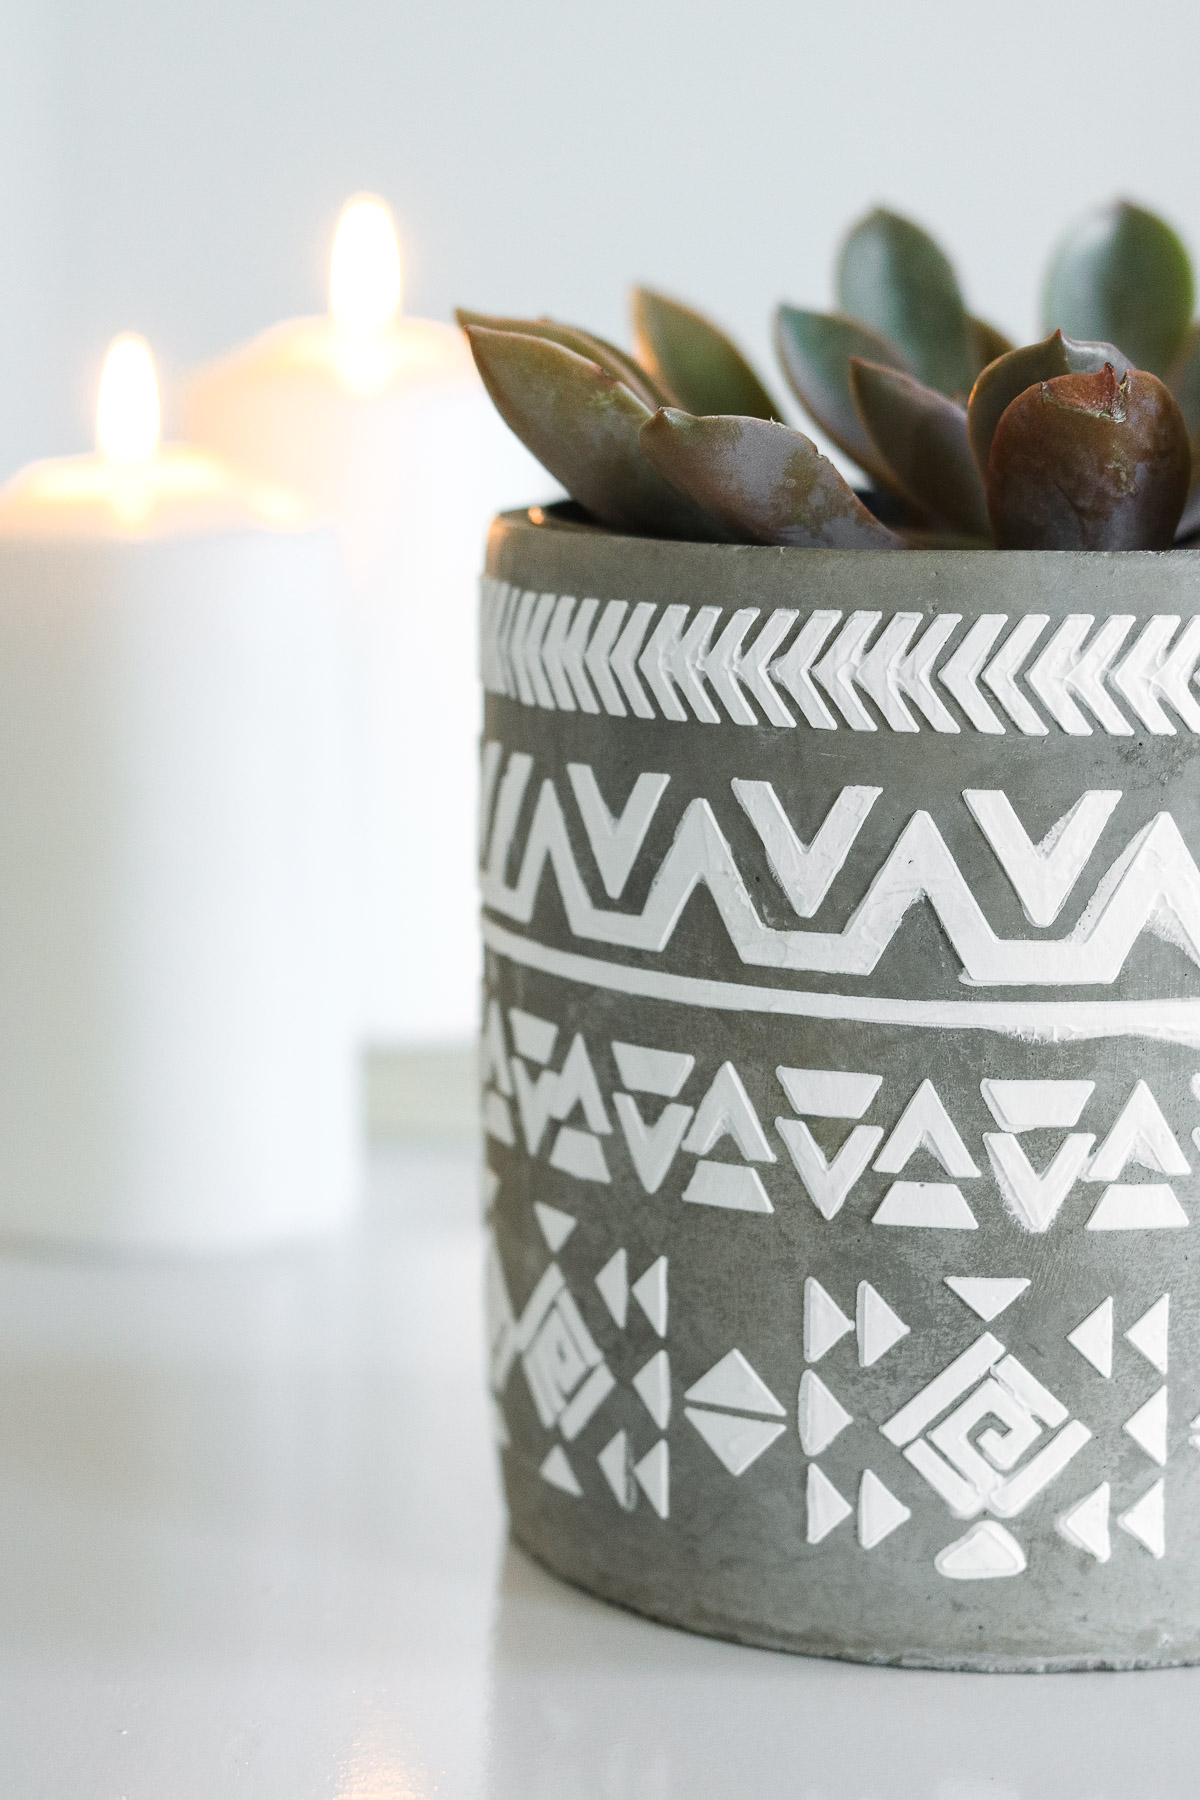
The instructions for this are pretty basic. Make sure your surface is clean before you start. Tape the edges of your stencil to your planter. Make sure not to tape over your stencil. Following that apply and even amount onto your spreader and apply it over your stencil. Remove any excess paste to get an even finish. Once you’re done applying the paste over the whole stencil gently remove your tape and peel off the stencil. Voila you should have an awesome 3D pattern! PRETTY COOL! RIGHT! Let it dry and you can also paint over it or maybe even apply some metallic finish. My modeling paste took about 20 minutes to dry.
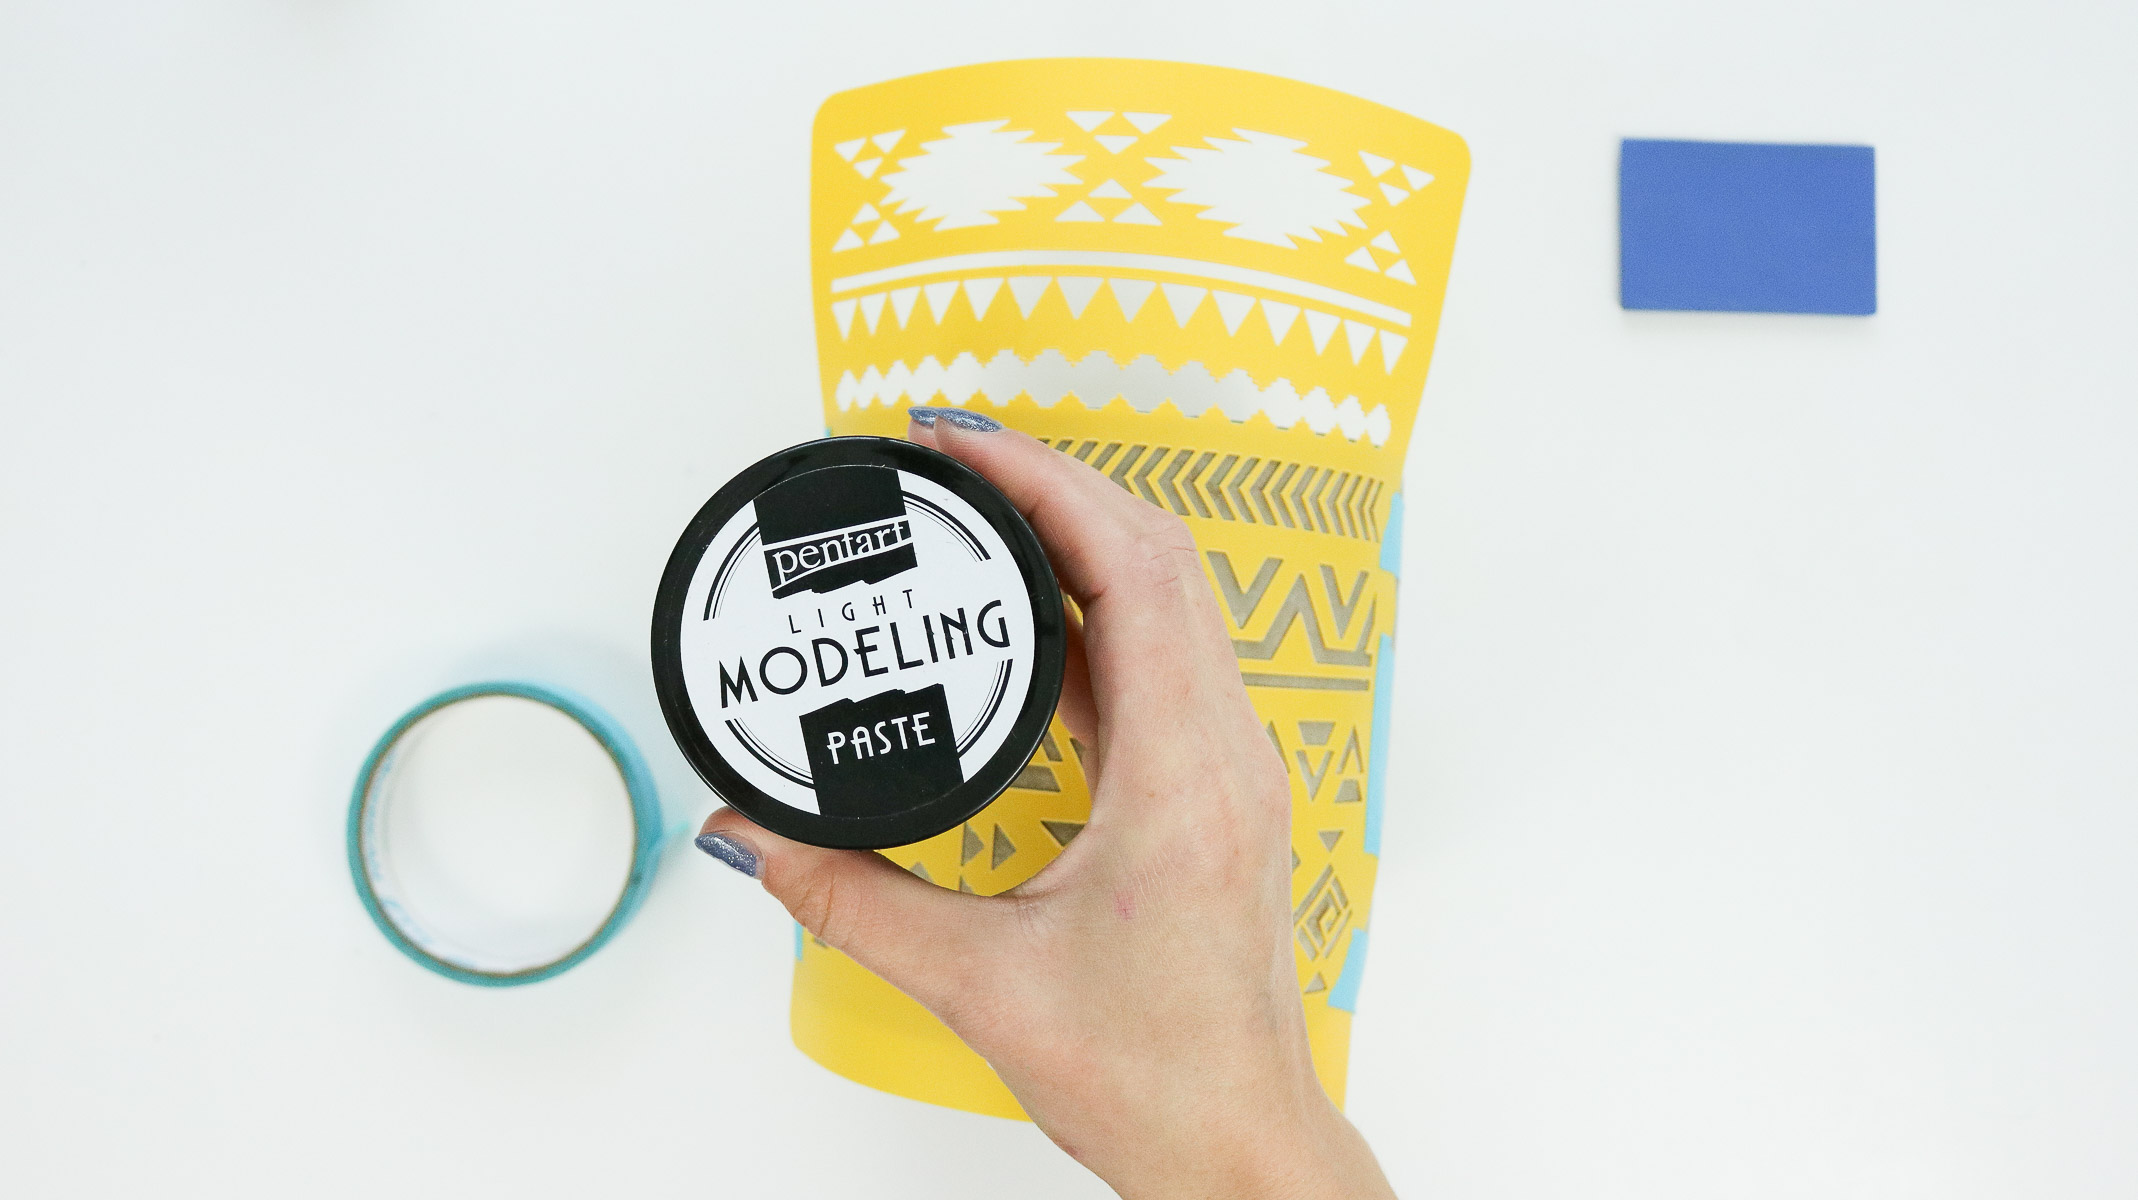
Here’s the modeling paste I went with. You can buy this one at pentart.com or michaels and Joanns carry some as well. Its in the arts section. Any brand should do the same.
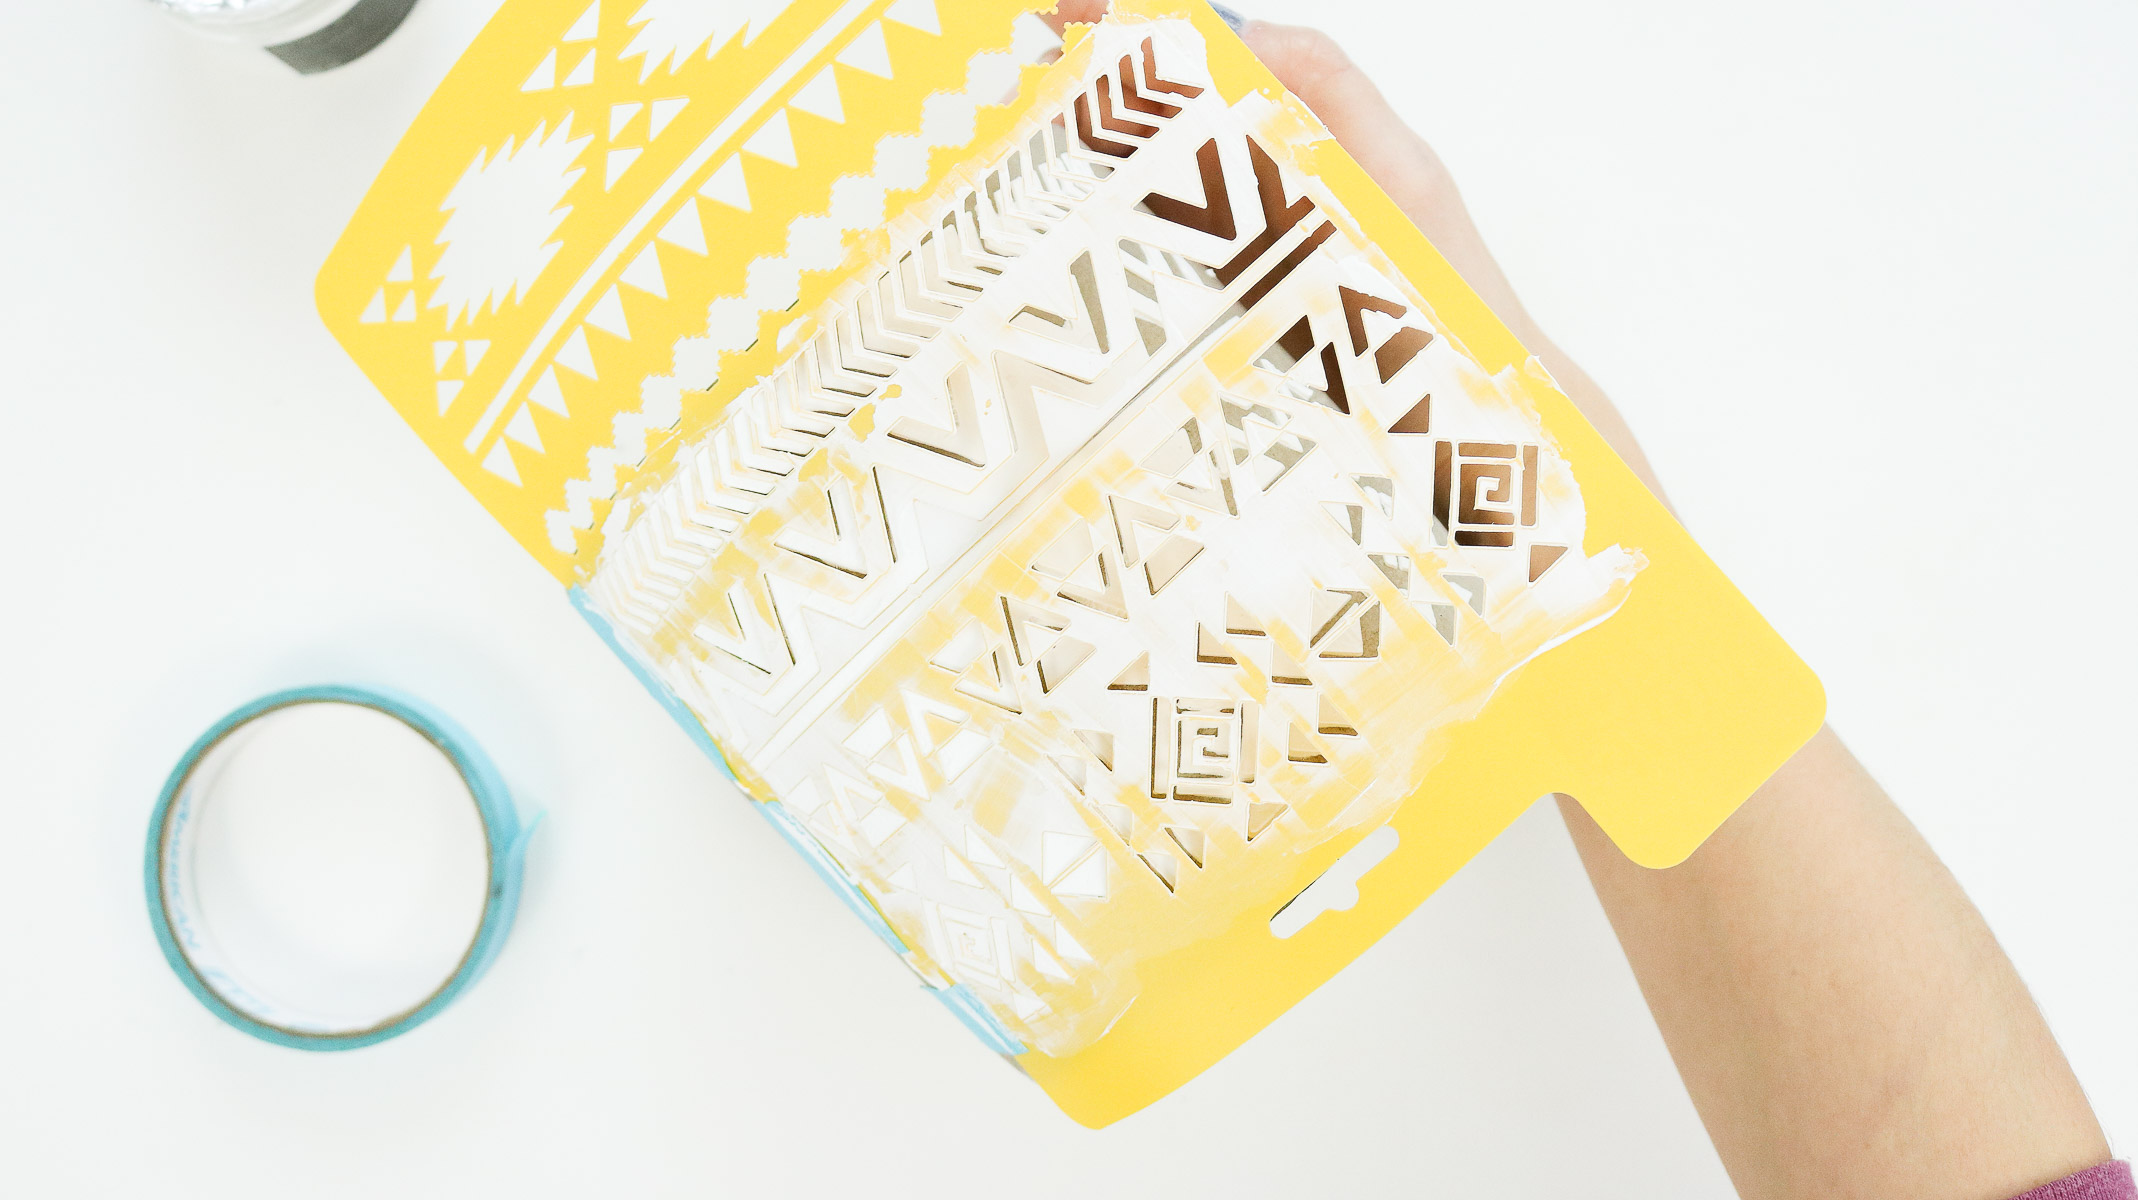
Isn’t it lovely?! It’s so simple and CUTE!! Would you try this? What would you try it on?
I hope you have a blessed week! PS. For those of you wondering when I’m finally going to start posting my Organization challenge I plan to start posting everything next week. So stay tuned! 😀 Lots of goodies coming to your inbox.
xo,
Lily
Hi Lily, WOW ! I love this technique !! I was looking for something unique for my bedroom walls and i think this is it !! Can’t wait to try it, now next BIG decision is picking out a stencil !!
Your bedroom reminds me of mine….I haven’t cleaned out my closets since we bought the house over 3 yrs ago !! I’m afraid of what I’ll find in there, lol !
Thanks for always producing great, interesting diys for us to try. Fyi, would love to see some of ur organizational videos ( u don’t have to edit it, do u ?) Seems like way too much work, haha. Have a great day !
OOOOH on walls this would be awesome!!! Oh man picking a stencil is sssso hard for me. I couldn’t pick a stencil for my kitchen years back when I was doing it and ended up actually making my own. They sell the stencil plastic at crafts store and I cut my shape out with a heat gun. It was pretty easy. Oh gosh I don’t know why but this whole clean out has been super overwhelming. Like the perfecting just doesn’t stop it goes on for days. I find myself going back and trying to rearrange things LOL I need to stop! AWWWE, 😀 this comment made my day. I was actually debating on whether I should do more of the organizing videos. Not really sure what folks thought about it. HAHA I wish I could get away without editing! AND YES it takes forever to edit! I feel like I’m way too weird without editing and say ummmm way too much and pause sometimes for way to long. LOL So to make the videos quick and straight to the point I edit. Maybe one day I’ll feel comfortable enough not to edit. 😀 😀 Thank you for taking the time out to leave a message 😀 😀 and I hope you’re having an amazing weekend and feeling well 😀
Cans used with nail polish and what exactly did you do dont see tutorial on that one
Is this the one you’re referring to? https://www.lilyardor.com/herb-wall-planter/
This is such a great idea Lily! I’ve been looking for a more realistic DIY for a bone inlay look side table. I never really liked the typical paint stencilled versions I’ve seen. Definitely excited about this one! Thanks for sharing!
WOW Lauren so I had no idea that’s what it was called. I didn’t even know bone inlay existed. That’s probably what I saw a while back and was wanting to recreate something similar. How cool. Yes I like the raised stencil vs the flat painted ones. I’m excited for your night stand! 😀 😀
Hello I seen a Picture that you may with Egg shells and I was wondering what kind of egg shells did you use.
Thanks
Kim
I think you’re referring to this one. https://www.lilyardor.com/3d-diy-wall-art/ I used regular egg shells. Let me know if you have anymore questions.
Hi love this . Where can I buy these items Stencil’s & modelling paste and paint . I live in Southern Ireland 🇮🇪 Also can you give any ideas I could use for jam jars . I have lots just can’t bring myself to get rid of them and would love to do something crafty with them. Love your posts Pauline
Hi Pauline, It’s so nice to meet you. Weird I’m having a hard time finding the exact modeling paste online. Wonder if it’s be discontinued. I know that most modeling pastes are very similar. You can find so many on amazon just by searching modeling pasts. https://amzn.to/2F8NMDi . Not sure if they ship to ireland or if there’s amazon there. OOH jars, it’s been a while since I’ve done a project with jars. I have a lot too that I would hate to throw away. A few years back I made a fairy lantern using a jar – https://www.lilyardor.com/diy-fairy-lantern-night-light/ . You can also maybe do a cute centerpiece with a row of jars and add flowers in there and they can go into a long box that doesn’t cover them all the way. I’ve seen them painted into ombre colors and it looks so cute! You can also maybe do a herb wall for your kitchen using the jars. Add gilding on them and make cute votives? Hope this is helpful. 🙂
Thank you, so happy to hear you love my work 🙂 appreciate it 😀
Best wishes,
Lily