
Super Easy Media Shelf
Hello and Happy Spring! Is it too early to say that! I’m just so over winter😑. I figured if keep saying it maybe spring will come faster! HAHA 😅😂
Okay so, I know I’m a bit behind on sharing what I’ve been up to lately. I’ve made quite a few DIY’s last week that I wasn’t able to finish editing and share yet. I plan to share it all this week. I swear I try to be on track as much as possible and time just gets the best of me.
I did not plan to make this media shelf at all. It was kind of a last minute DIY I came up with last week because I was so sick of having all my dvds on the floor in the corner behind my door. I’m not going to lie this shelf makes that corner look so clean! I wasn’t expecting it to look that clean! Oh and best of all this DIY only took me about 20 minutes to put together.
Time Needed:
About 10-20 minutes to assemble. If you choose to paint it drying time might add a bit more.
Cost: $8
This shelf cost me about $8. I only bought the wood and strong ties. I already had the paint on hand.
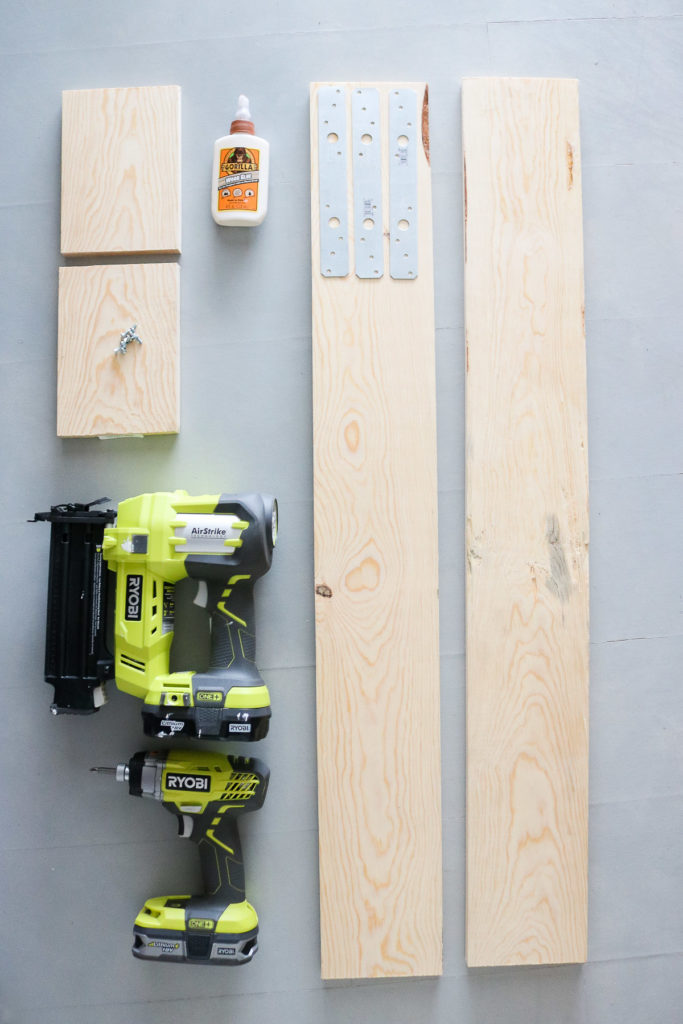
Supplies:
1 6″x8′ piece of wood ( I purchased mine at homedepot) (scroll down for dimensions)
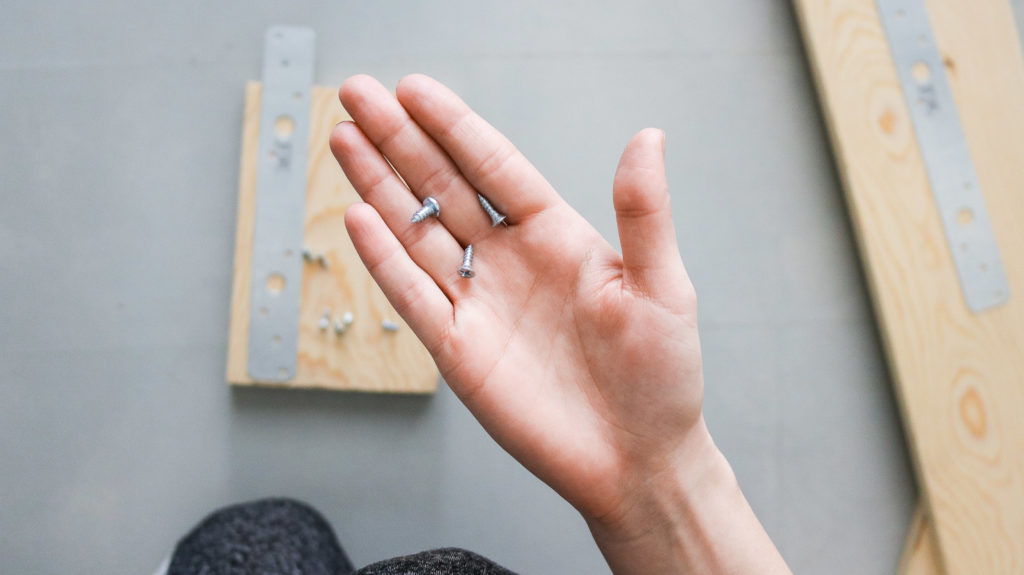
Small Screws to attach strong ties
Bigger nails or screws to assemble the wood unless you choose to use a brad nailer like I did
2 – 9″ in length strong ties
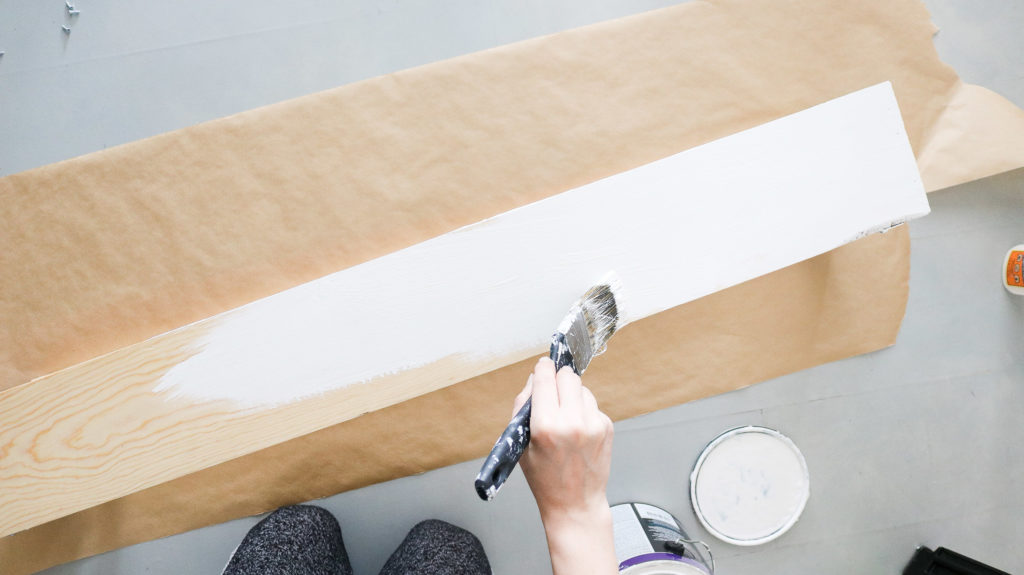
Paint
( Brad Nailer or Drill )
Dimensions for your Media Shelf:
To save time you can actually get your 6″x8′ cut down to size at homedepot.
- For your top and bottom pieces you’ll need 2x pieces of 7 and 3/4 inches.
- For both sides of your shelf you’ll need 2x pieces of 40 and 1/4 inches.
These dimensions should use up the full 6″x8′ board.
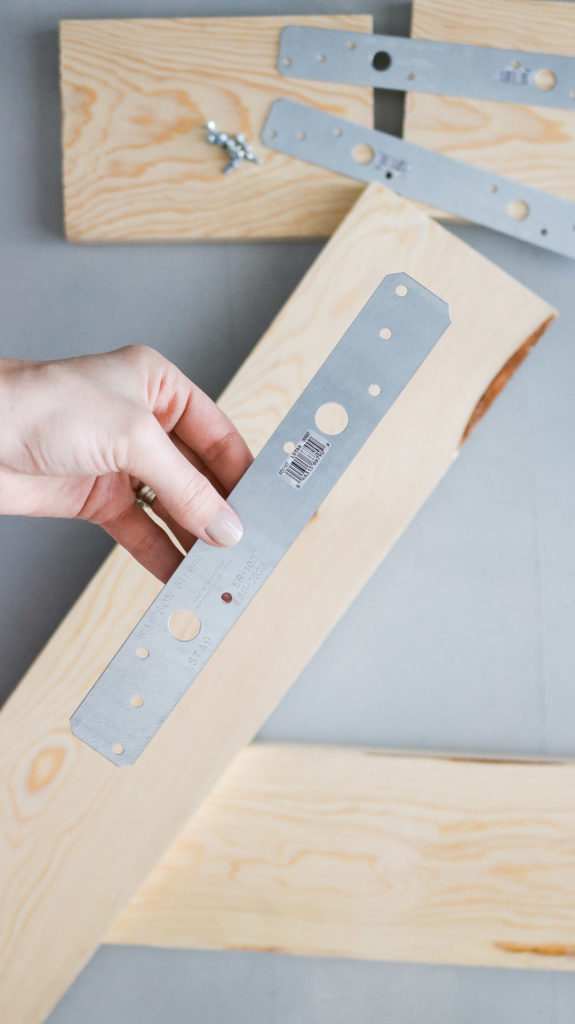
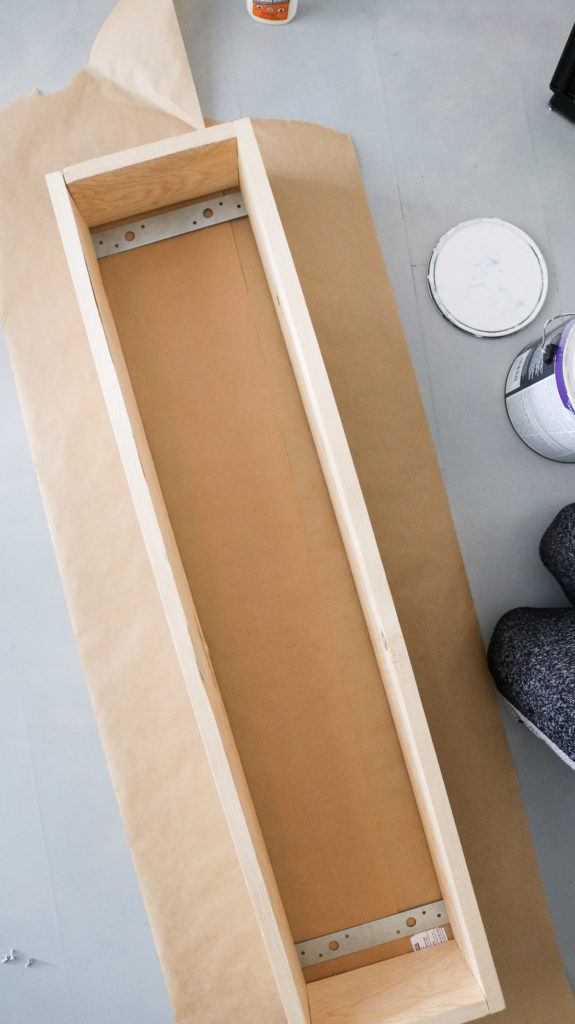
Here’s a close up on the strong ties and small screws I used.
Instructions: Assembling your Media Shelf
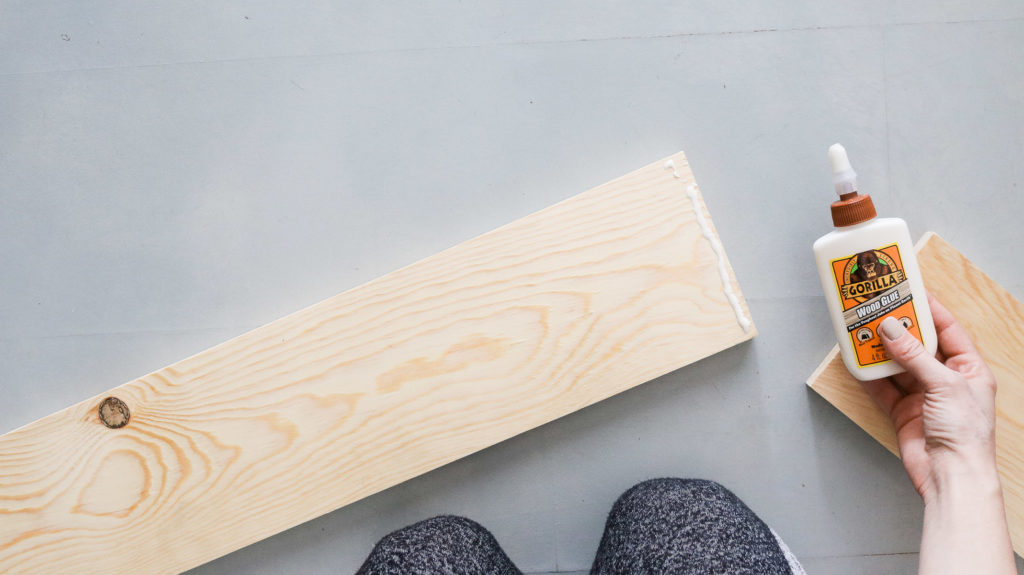
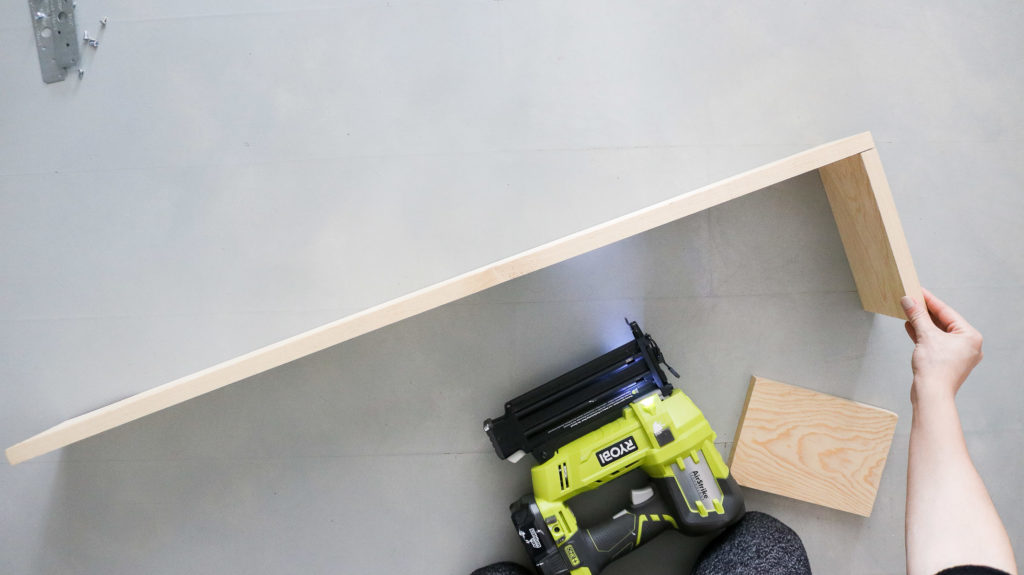
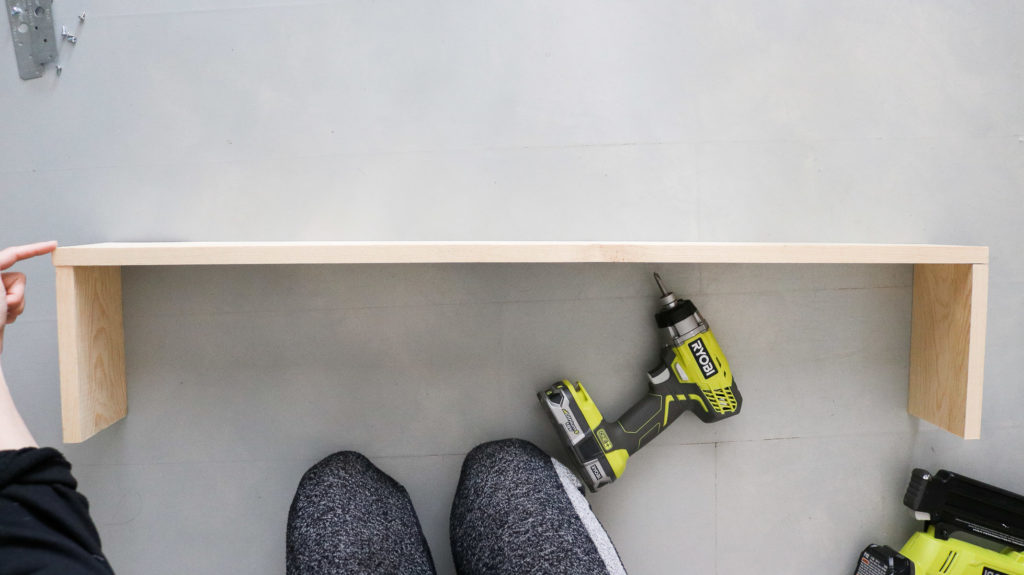
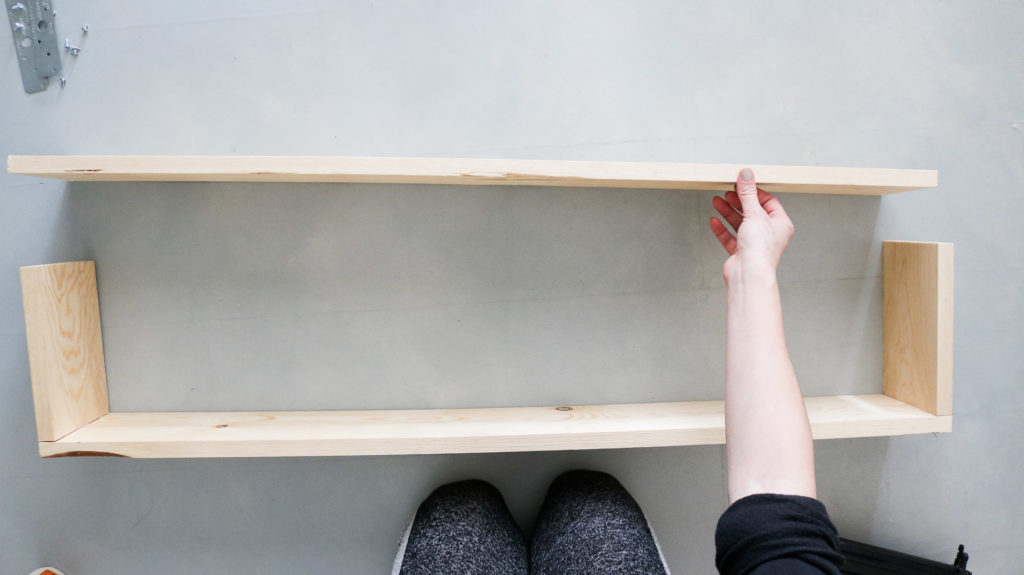
The photos pretty much say it all. First attach your small 7 3/4″ pieces of wood to one 40 1/4″ piece of wood. I used some wood glue and a brad nailer to attach mine. If you choose to use screws make sure you pre-drill your holes so your wood doesn’t crack. ( keep in mind this is the cheapest common wood from home depot and cracks fairly easy) Once you have both 7 3/4″ pieces attached next attach the other 40 1/4″ piece of wood to the other side. EASY PEASY! RIGHT?!

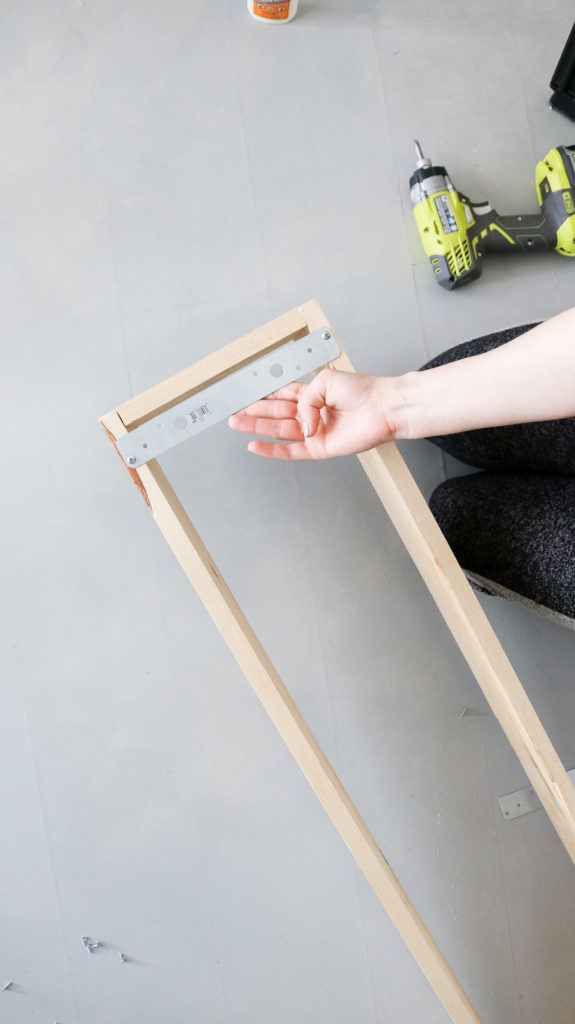
Attach Strong Ties:
I used two strong ties and attached one at the top and one at the bottom. I know these are visible but they don’t really bug me since this shelf is behind my door. If you want something less visible you can have a home depot associate cut a thin piece of ply wood to attach to the back of your shelf. If you paint the plywood part to match your wall it will literally look like it’s floating. Than you can use picture frame hardware to attach it to your wall. (I’ve added some affiliate links below) If you plan to display something heavier than dvds I would recommend using stronger hardware to attach it to the wall with.
A Quick Video Version
Here’s the setup I had before..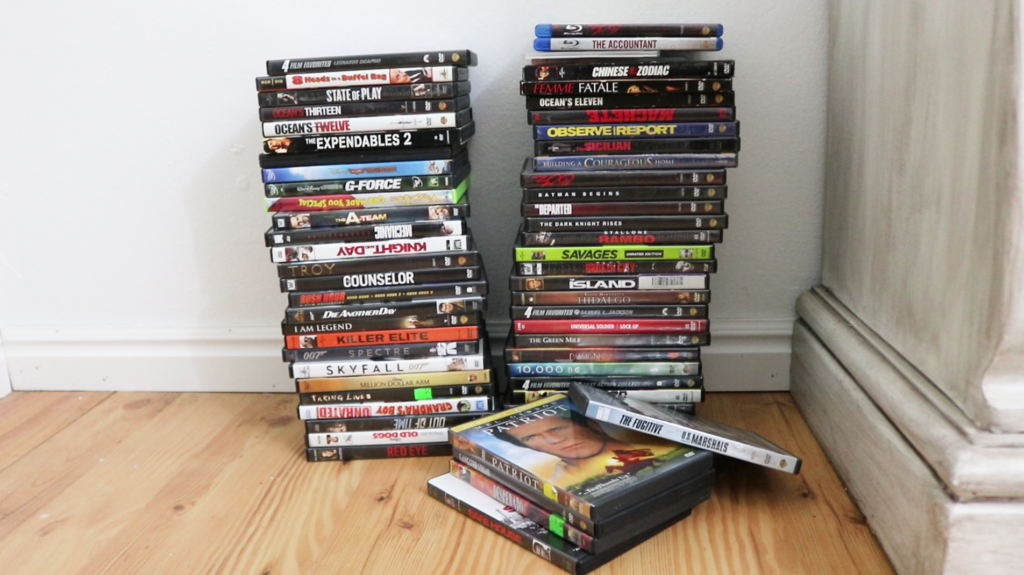
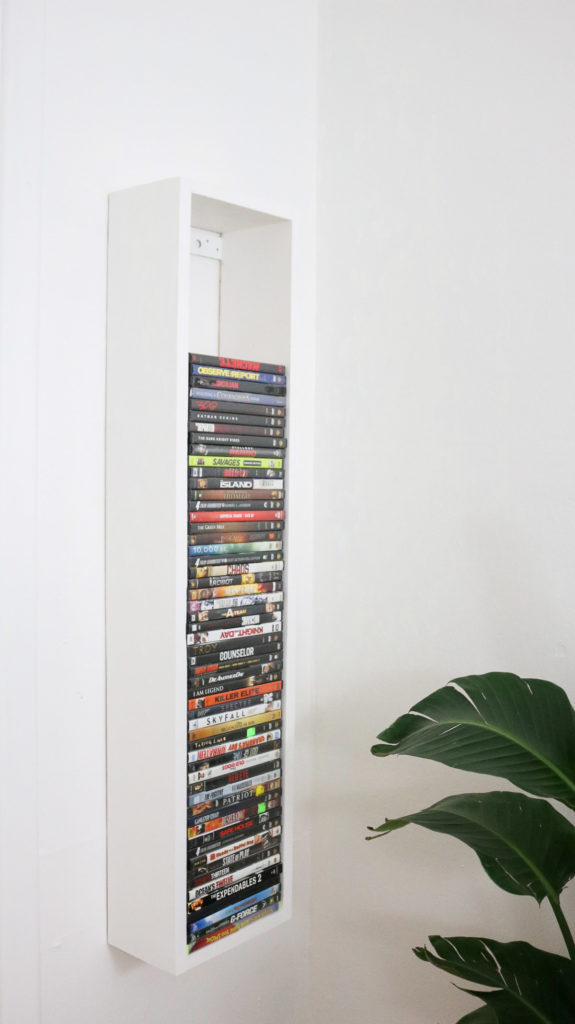
And here’s how it looks after! 😀 I’m loving the clean look of this shelf!
Thanks for stopping by! I hope this inspired you to make your own easy media shelf. You can also use this as a floating bookshelf if you hang it horizontally just keeping in mind that your hardware might need to be stronger for a bookshelf. DVD’s are lightweight and don’t take much however books can get pretty heavy and you wouldn’t want it falling off your wall!
See you next time!
Your Friend,
Lily-
Nice DIY ! Simple and easy 🙂 The fact that it is a vertical floating shelf gives to this storage furniture a nice modern look ! That’s also ideal if you lack space and want to save floor space. Thanks for sharing !
Thank you. I love the vertical version as well. Yes for sure. I love that’s its off the ground. 🙂 SO much neater!
I love this! I’m in desperate need of this project so I’m off to buy wood on Mon! Thank you.
OOOH how exciting! Let me know how it goes! Thank you so glad you loved it! 😀
Sorry do you mean 6 feet by 8 feet it looks like it said 6 inches? My husband likes this look said I could do it.
Yes 6 inches in width by 8 feet in length 🙂 YAY! Happy to that!
Can you clarify the wood dimensions 7 3/4 by what I need length and width also the 40 1/4 by what?
It’s 7 3/4 inches for the width and 40 1/4 inches for the height. 🙂
How many regular DVD’s will it hold?
I think around 60. I have 55 in mine at the moment there’s still room for about 5-6 more.