Leather beginnings
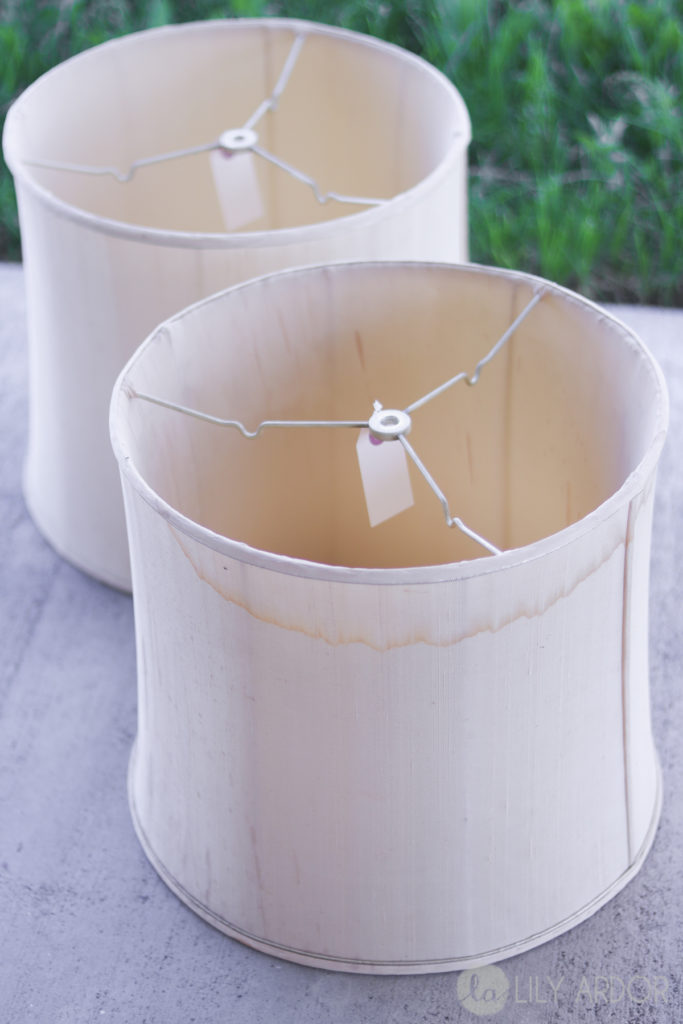
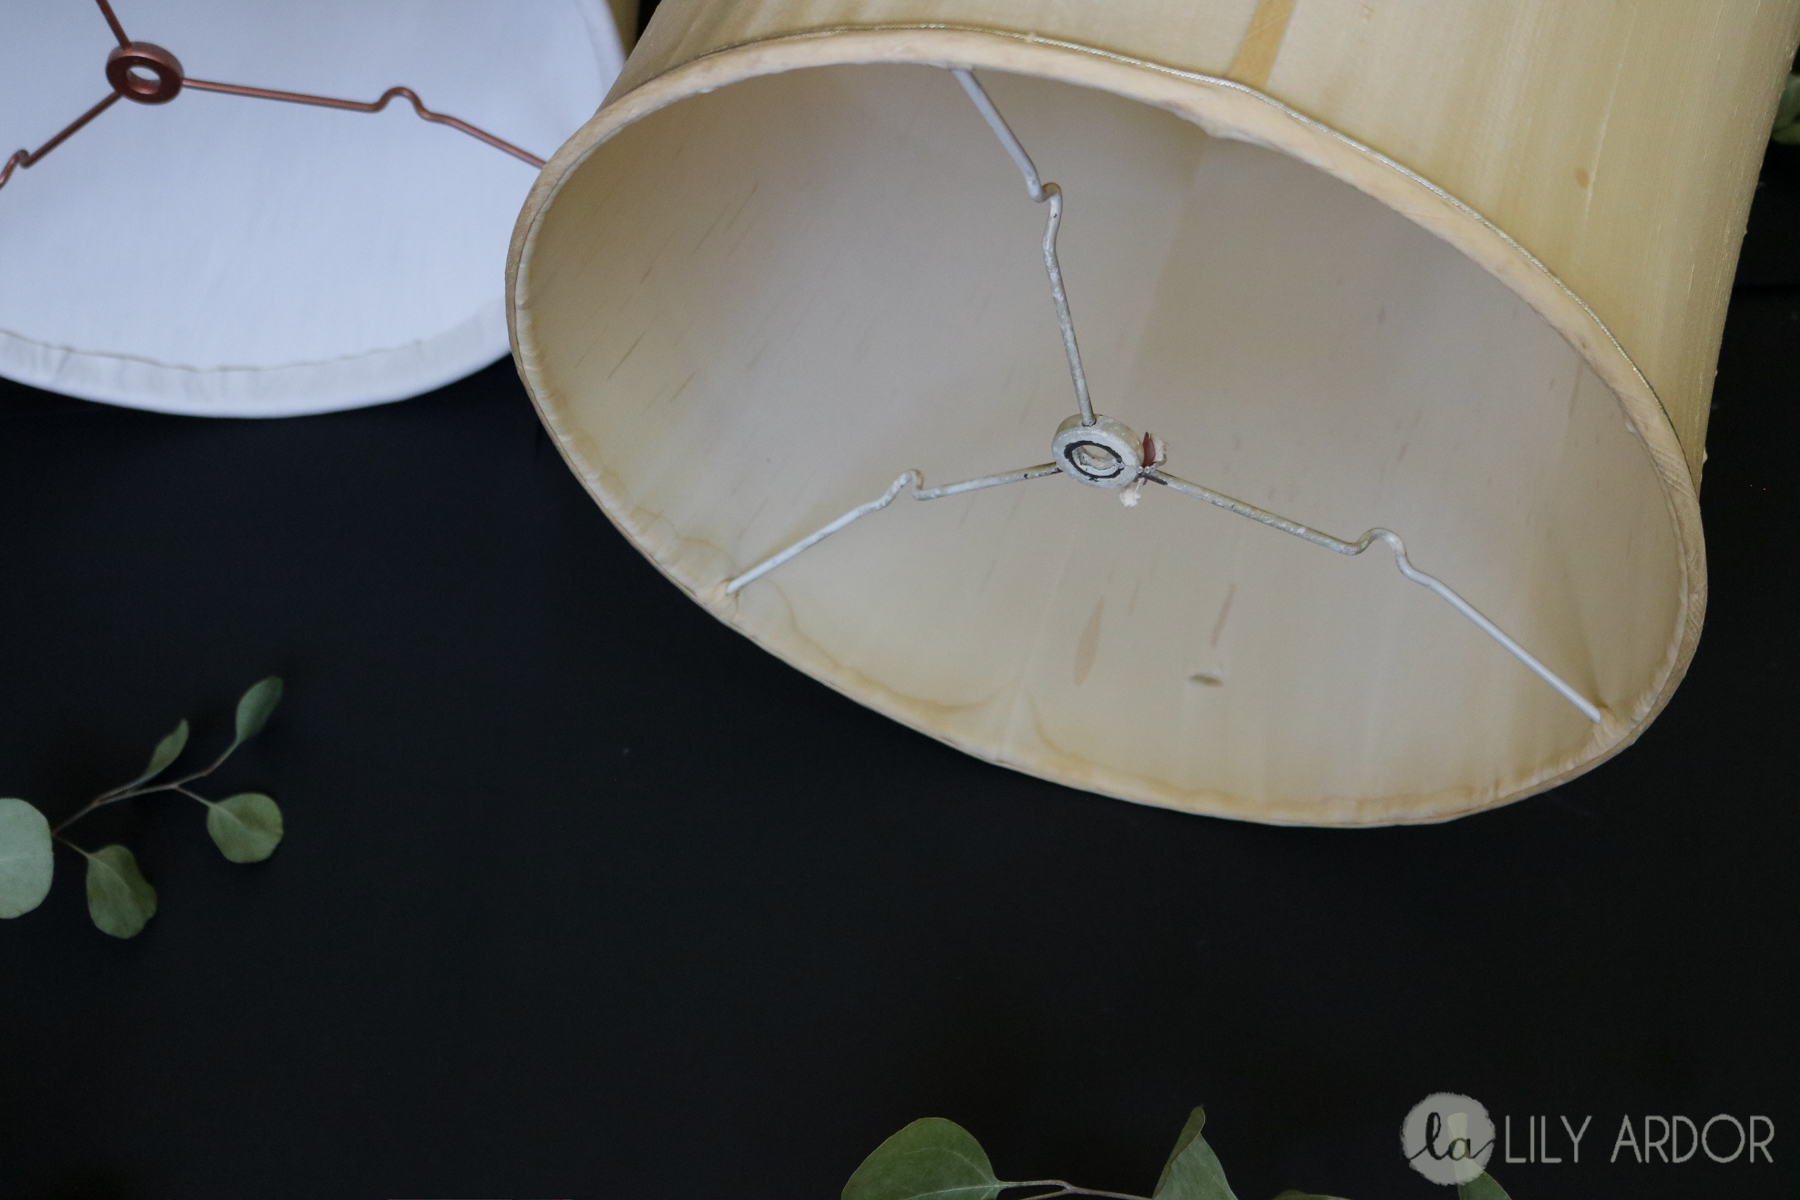
I’m in love with all things leather.. Oh except for that shiny fake leather stuff. Not a big fan of shiny things. I don’t own a lot of leather decor because it usually runs on the pricer side but, while we’re on the subject of leather things I can’t help but drool over my new leather lampshade. How I acquired this wonderful lampshade you might ask?! Well you see.. a few weeks ago I set out on a plan to make two floor lamps. I knew I wanted them on the bigger side. So to start things off I went off on a hunt for the perfect lampshades and to my surprise they were all overpriced and on the smaller side. So on one of my glorious trips to the thrift store I found a duo of these two lampshades that seemed awesome at the time. Upon my arrival home I realized how really disgusting and dirty they were. That’s when I decided to hose them off, and OHH Boy were those things dirty. Well then now that the disinfecting is all done lets move on to the recovering.

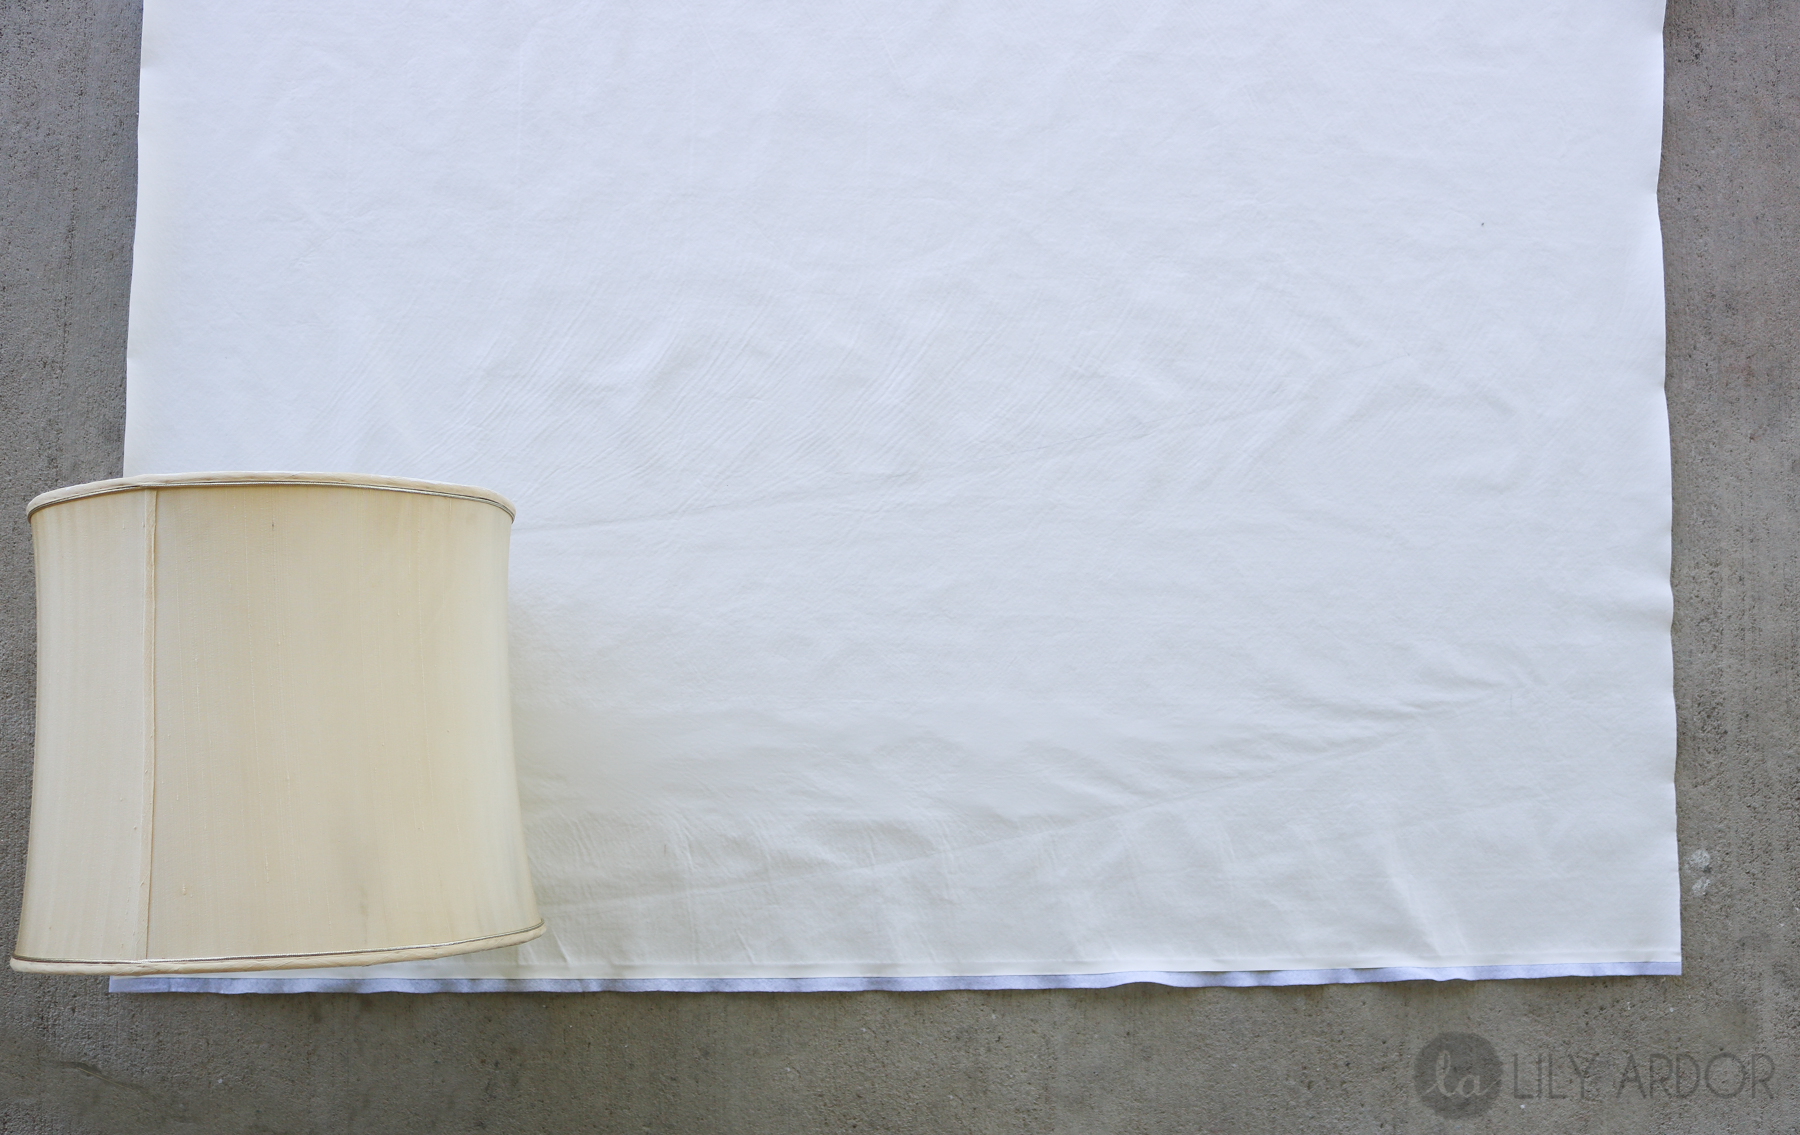
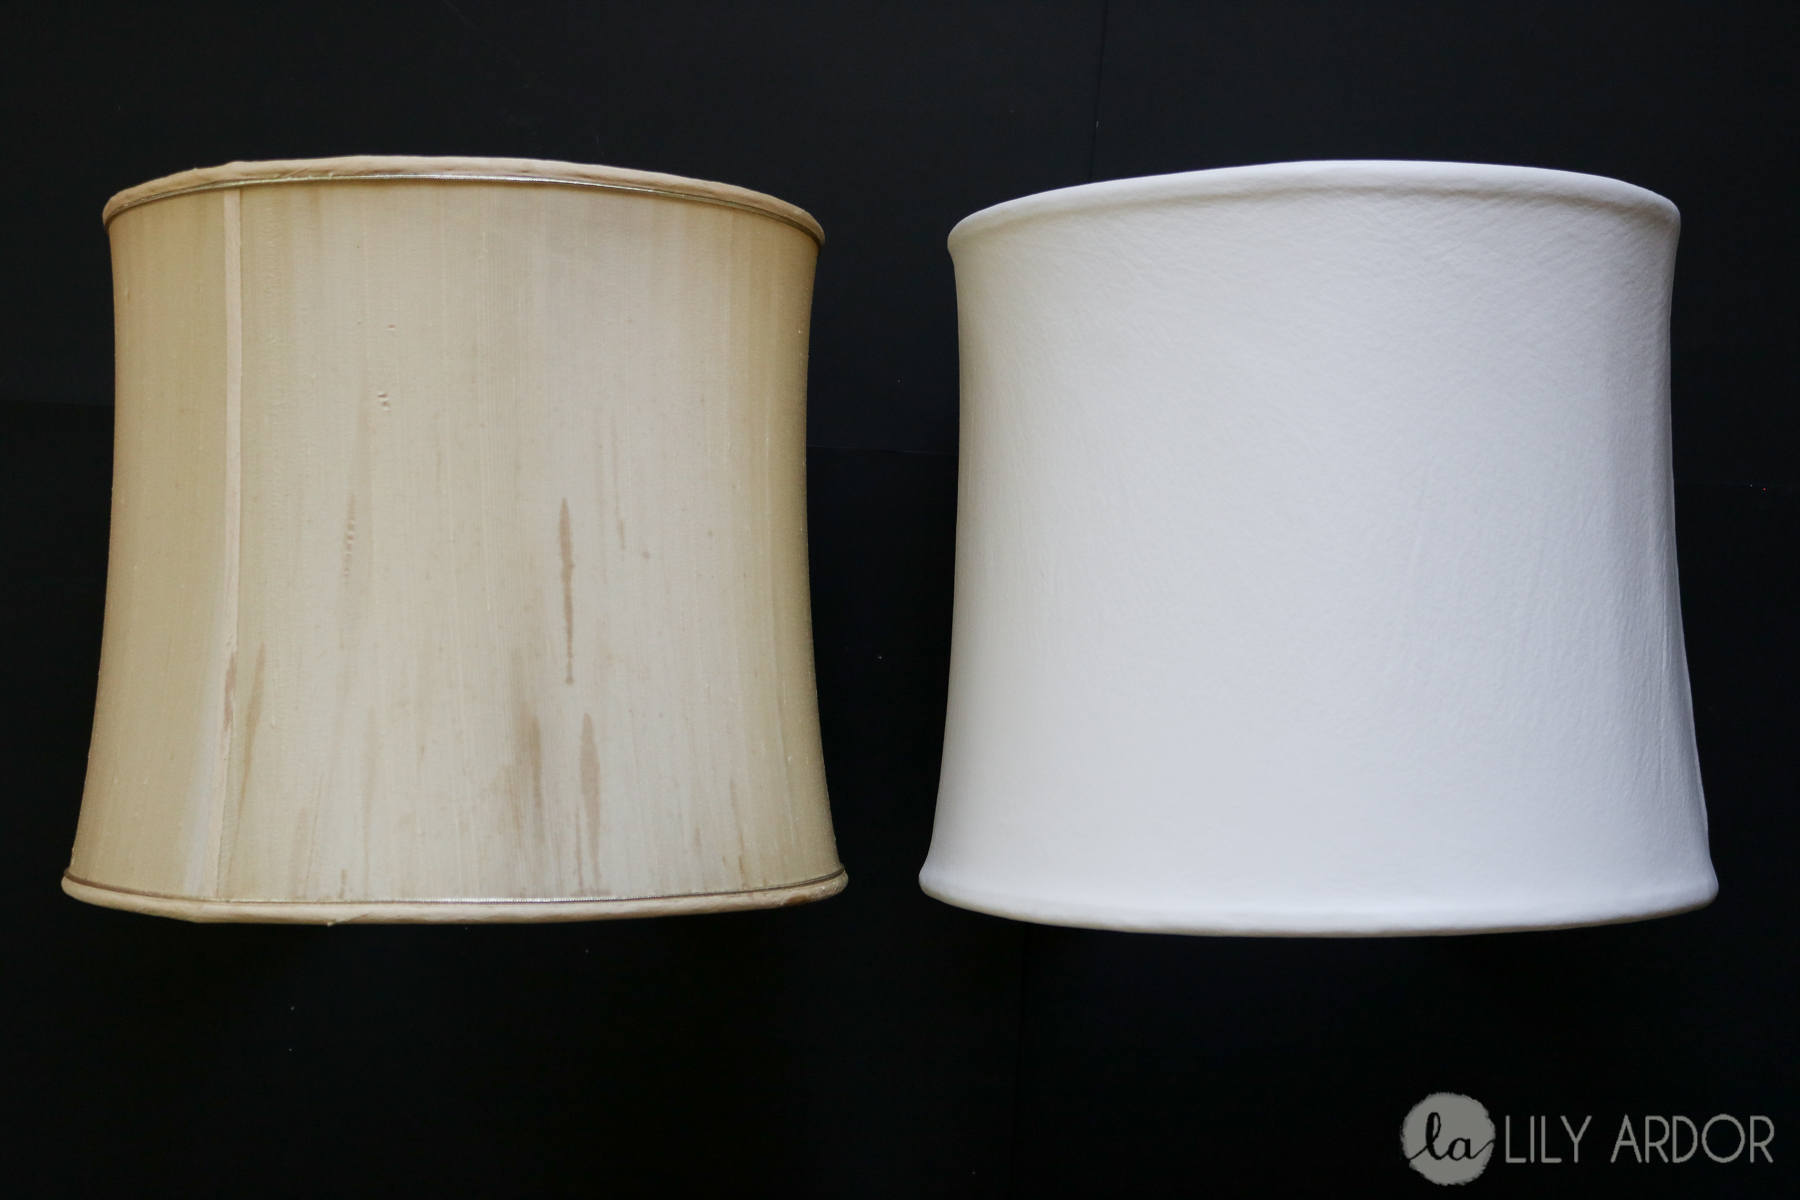
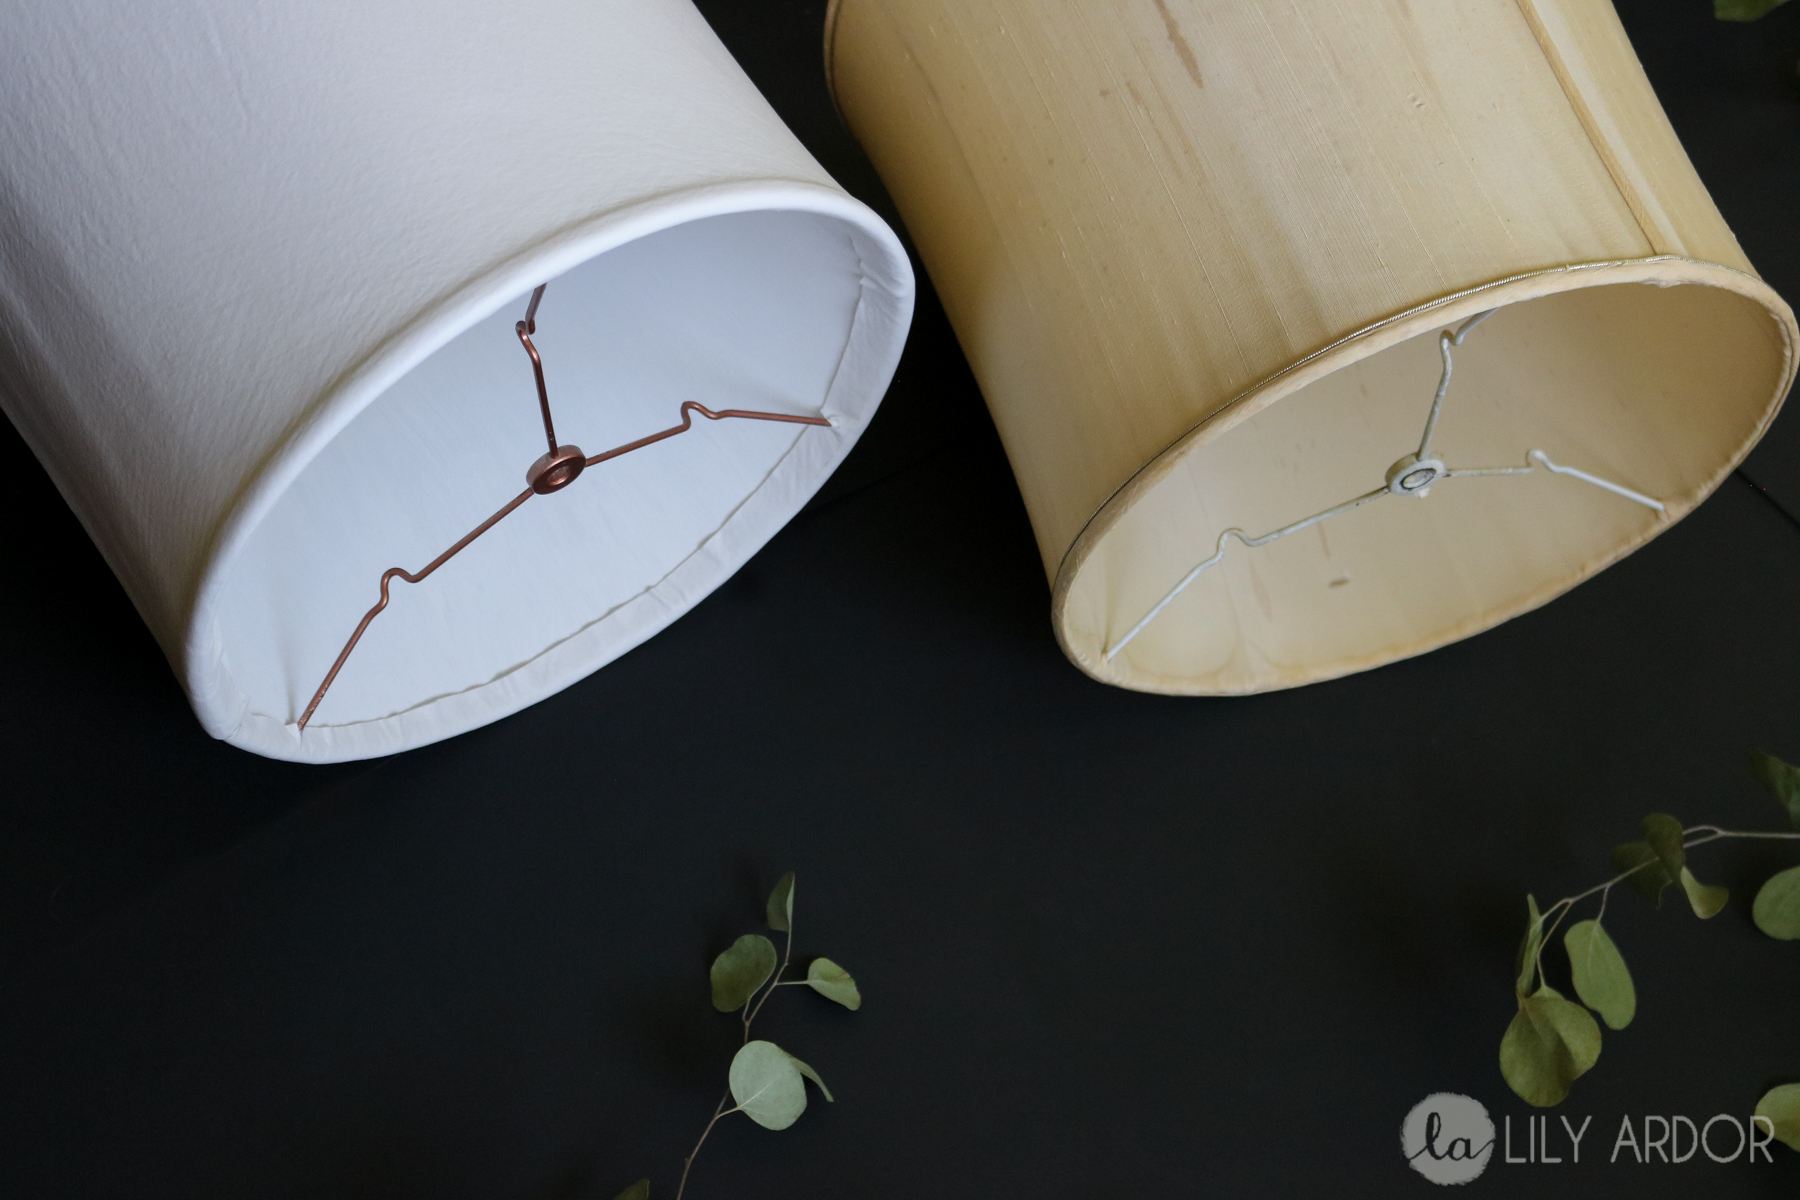
Before..
Easy Peasy
Believe it or not this project is a lot easier then it looks. No need to overthink.. You’ll have a brand new lampshade in six easy steps. I got carried away at first overthinking all sorts of things but Thank God for my seamstress abilities..I used some of my patterning skills and had this baby done in no time.
What you’ll need
- 1.5 yards of white vinyl
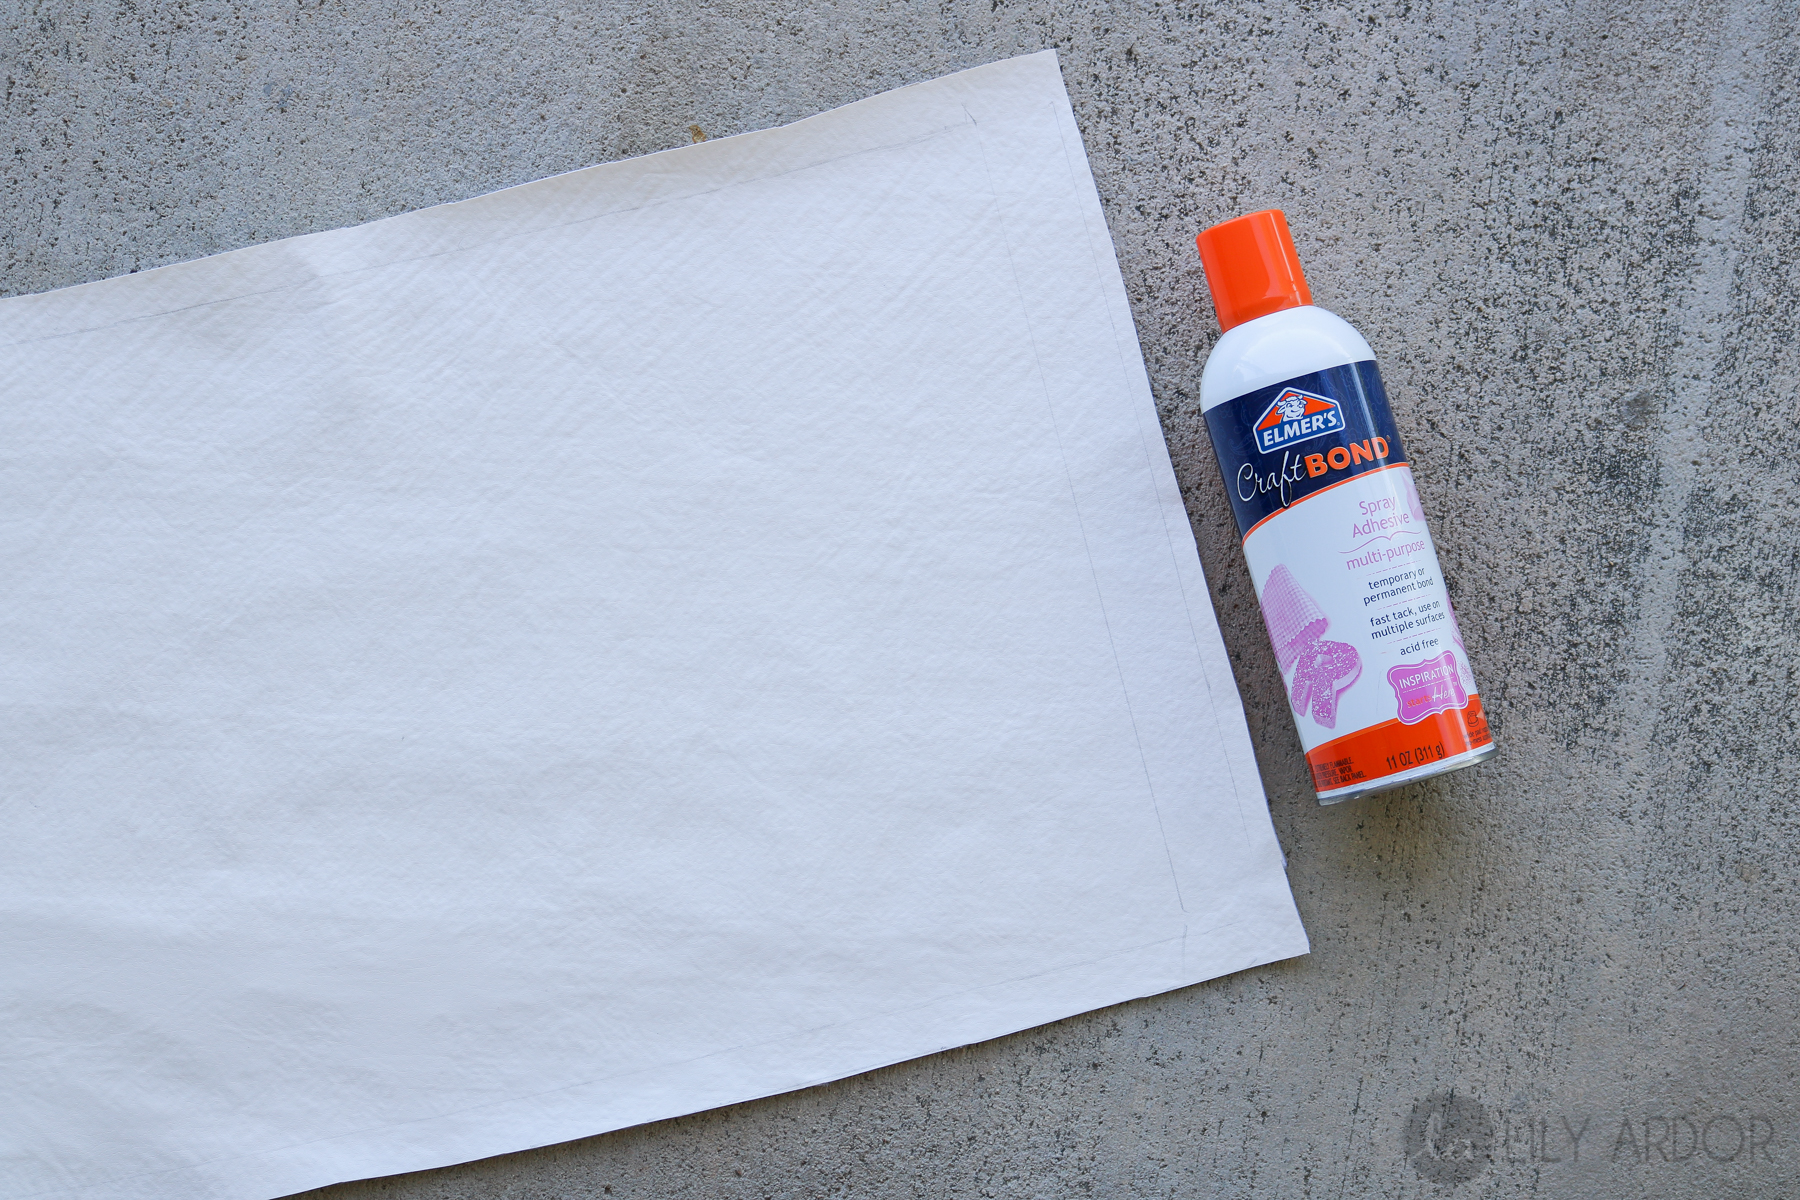
- Elmers Craft Bond (spray adhesive)
- scissors
- Fabric paint (multi-purpose craft paint will work)
- Brush
- Spray paint
- Masking tape and paper
- Ruler/ pencil
COST:
(your cost may very I had a few items on hand)
- Lampshades $4
- Vinyl fabric $10
- Paint $2.80
- Lamp Harp $10
- Spray adhesive $6
Total cost $32.80 = $16.40 each (that’s a steal 😀 )
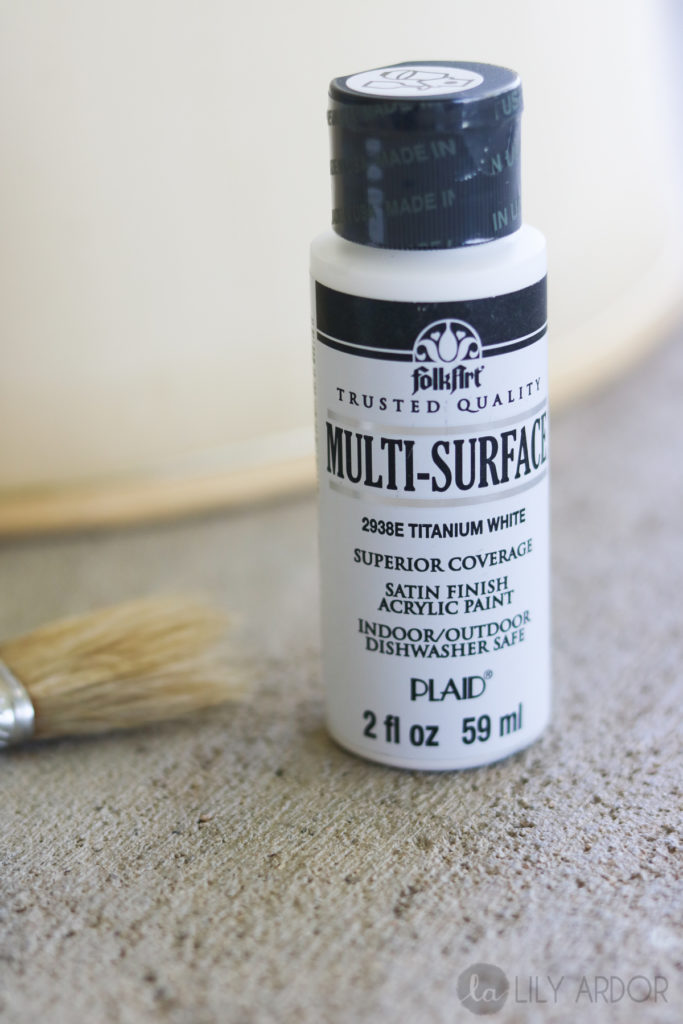
Step 1
For my paint I used this multi purpose paint I purchased at Walmart.. The coverage is awesome.. I have never used a paint this opaque.
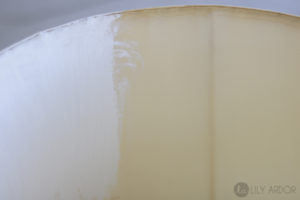
Look at that coverage with just one coat!!! I did two coats just in case. (on the inside of the lampshade)
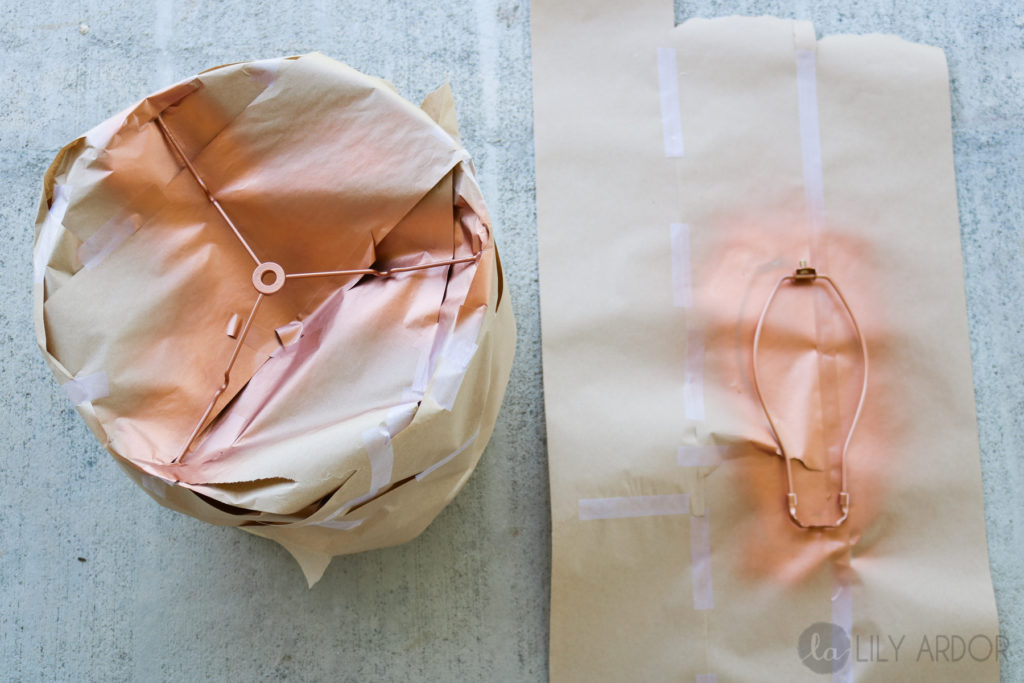
Step 2
Then I messily (hehe) masked the lampshade or shall I say covered a little and spray painted all the metal with my one and only copper spray paint. (by the way I purchased the lampshade harp at homedepot)
Step 3
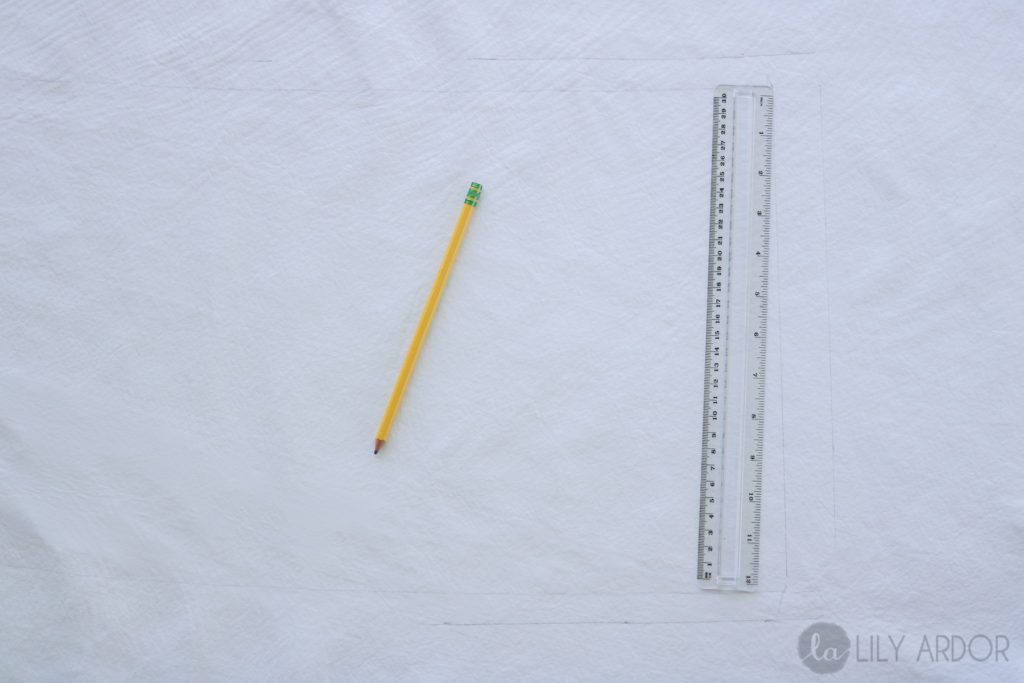
Following that lay out your fabric on a flat surface and trace the top and bottom as you roll the lampshade. This should create a somewhat curved line. I like to start at one seam and end at the same seam.. This helps perfect the pattern so you don’t cut it to long. OK..Unless your lampshade is a perfect cylinder DO DO NOT cut a straight line measuring the height of your lampshade. Their needs to be a curve in your pattern to eliminate puckering when you’ll be tucking in your edges.
Oh and don’t forget to mark where you started and ended at the same seam on both the top and bottom of your pattern. I drew a little X. Then I connected these X’s . You’ll need to add 1 inch on one of the ends for a fold and 1/2″ while cutting all around the pattern. You can eyeball this or mark it all around.
Step 4
Once you have it all cut out. Spray your adhesive evenly on the back side. Beware if you get over-spray on anything it is almost impossible to get out. This stuff is super strong and even stained my concrete. 🙁
Step 5
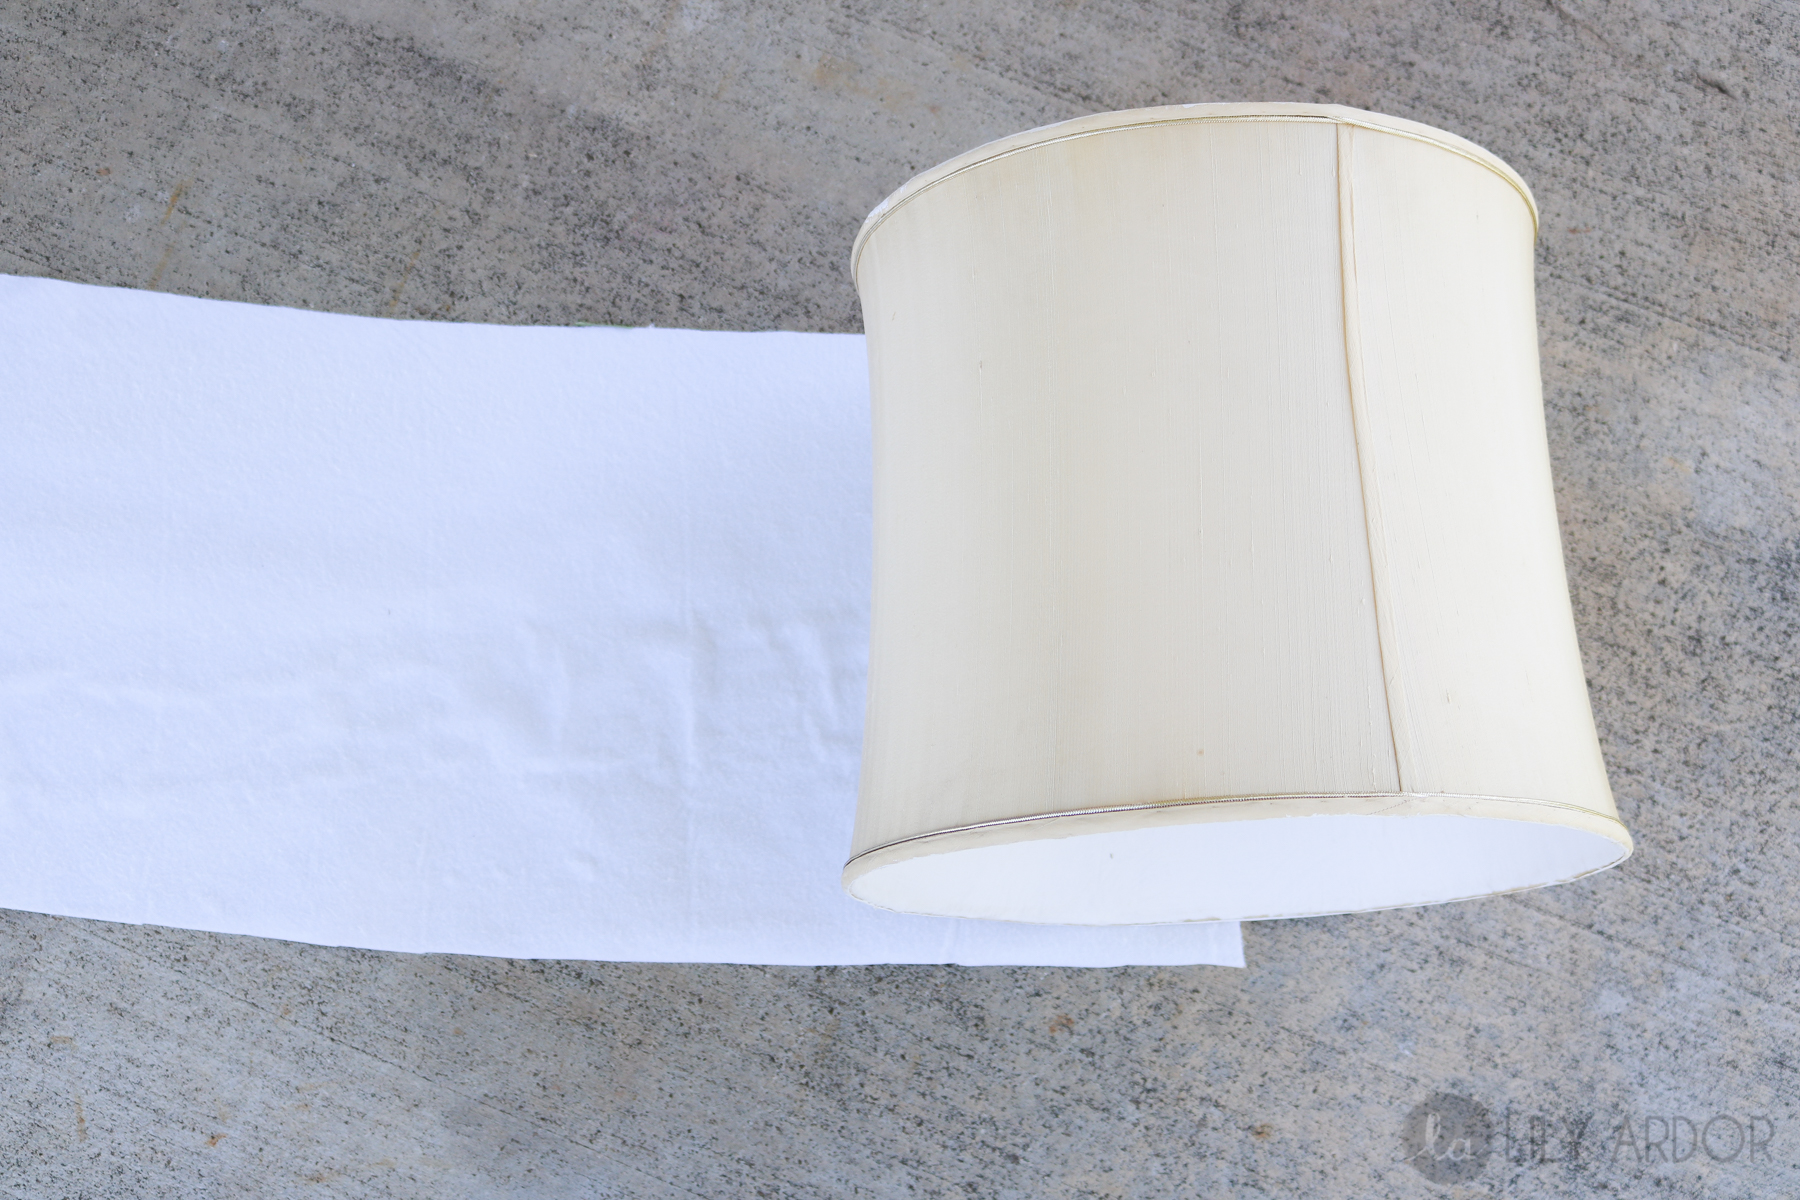
After spraying it all down I folded one end like shown below.

Step 6
Then I slowly started rolling from the side without the fold and smoothing it out. I did about 3″ at a time. This is the hardest part but is totally doable. Don’t forget to tuck in your edges.
DONE.. Well what do you guys think?
Pretty dramatic difference ehhh?
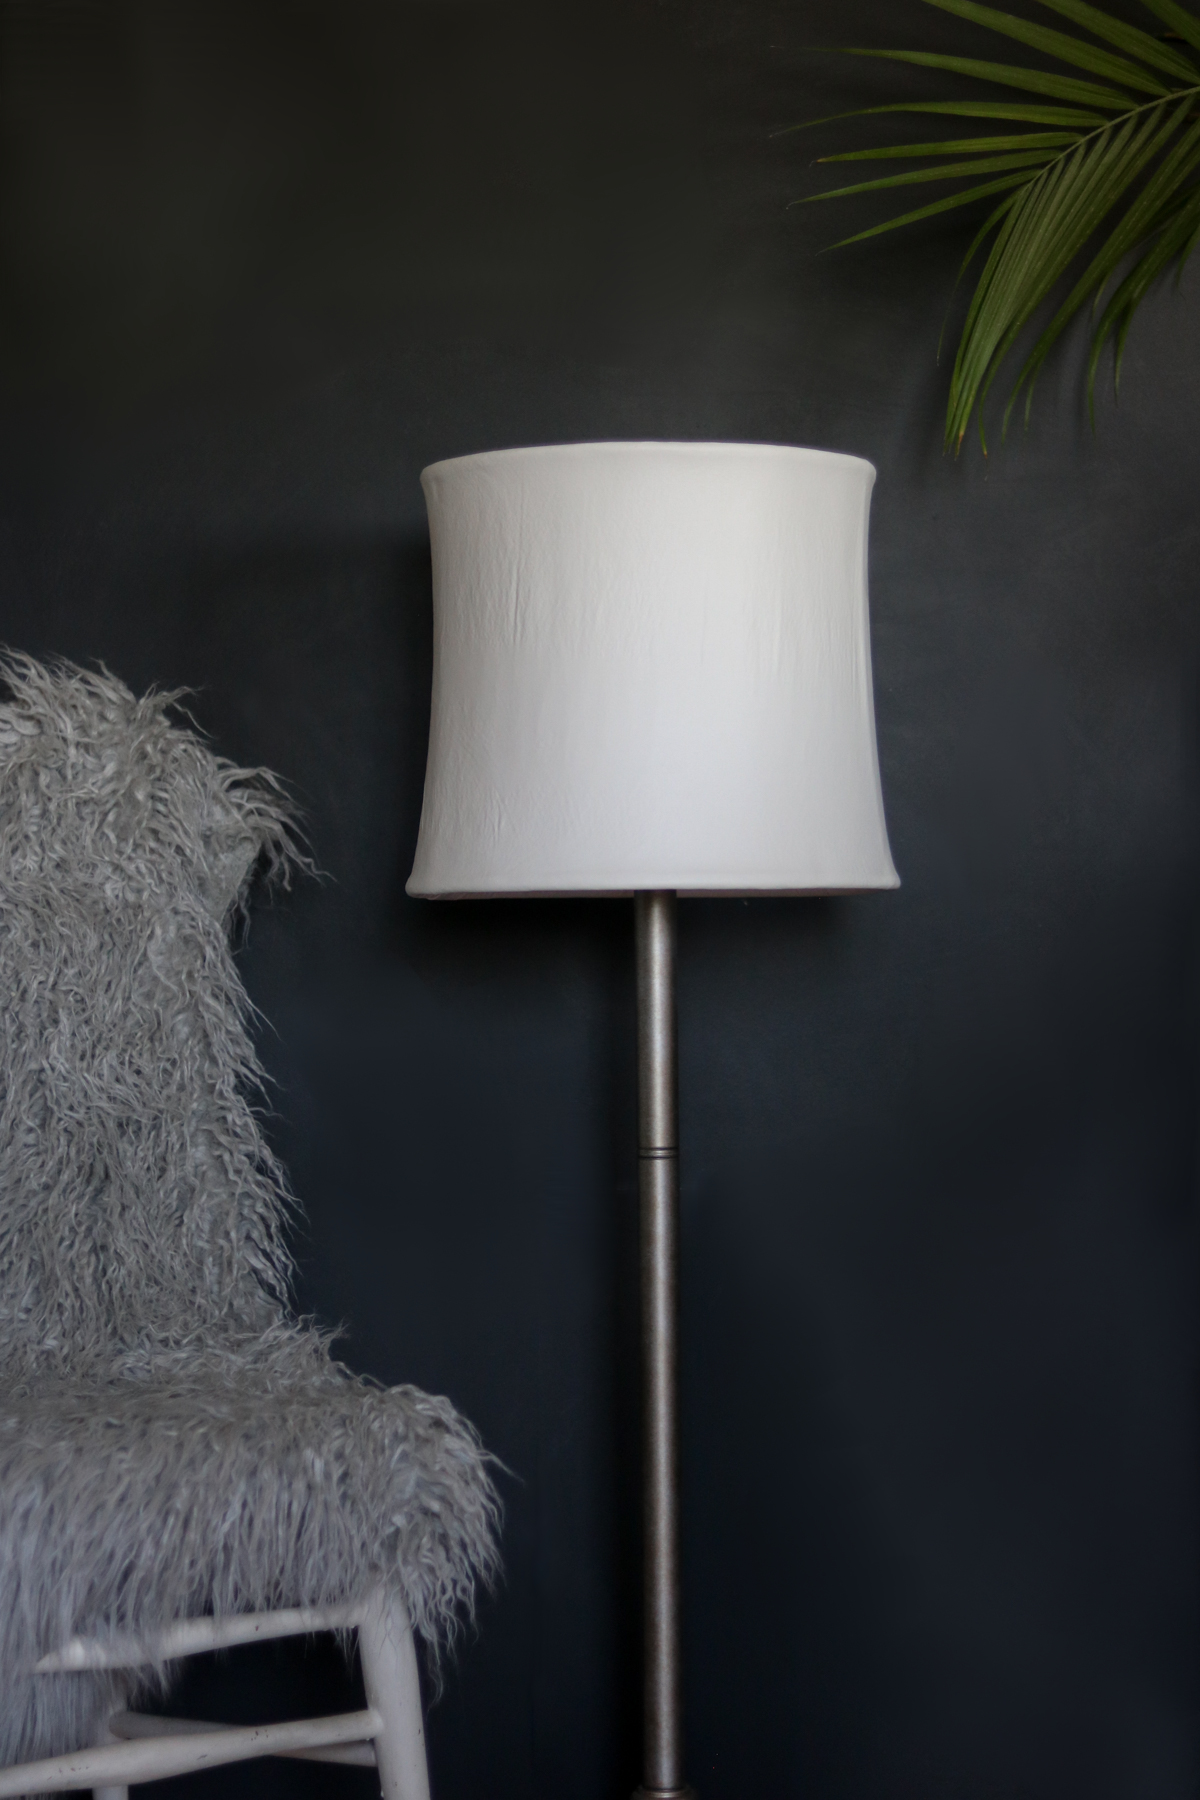
I love they way the copper looks on the new one.. Definitely better then the old one.
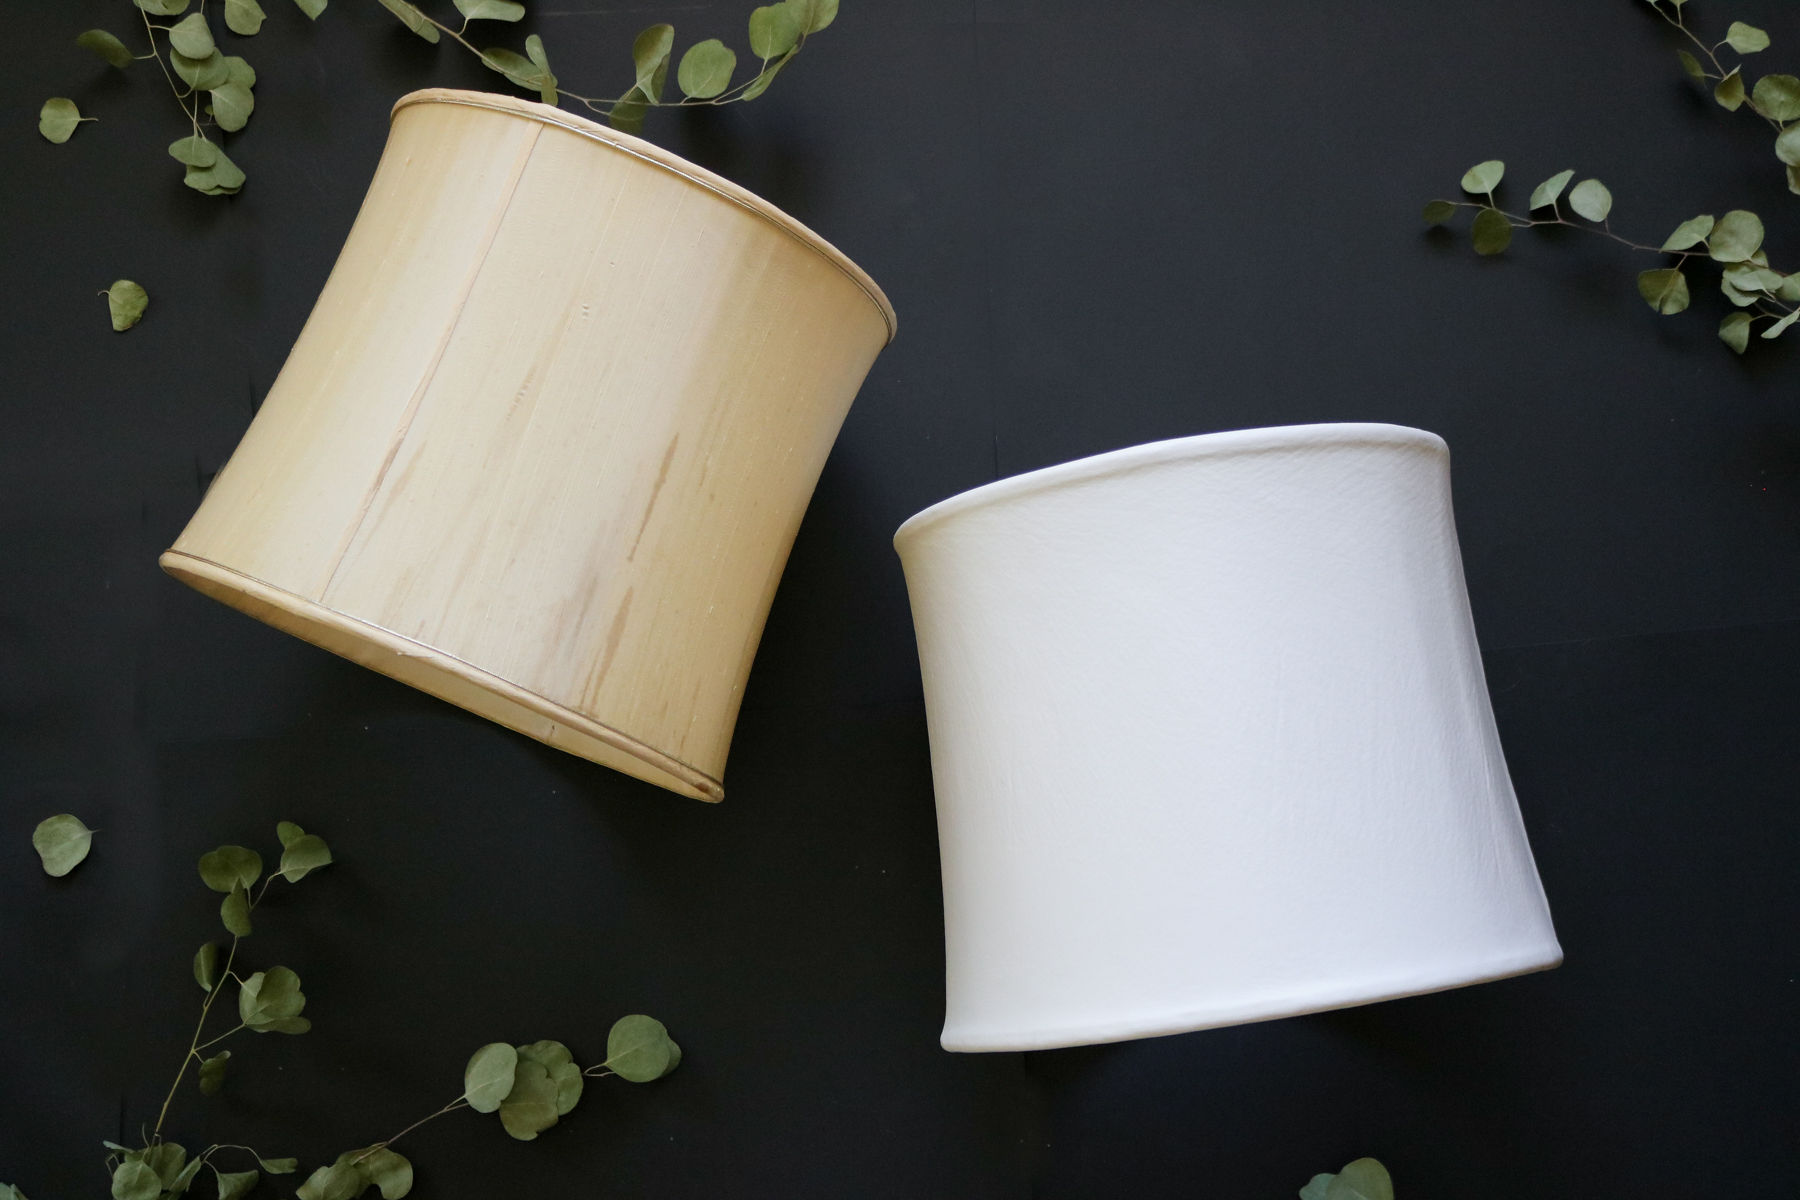
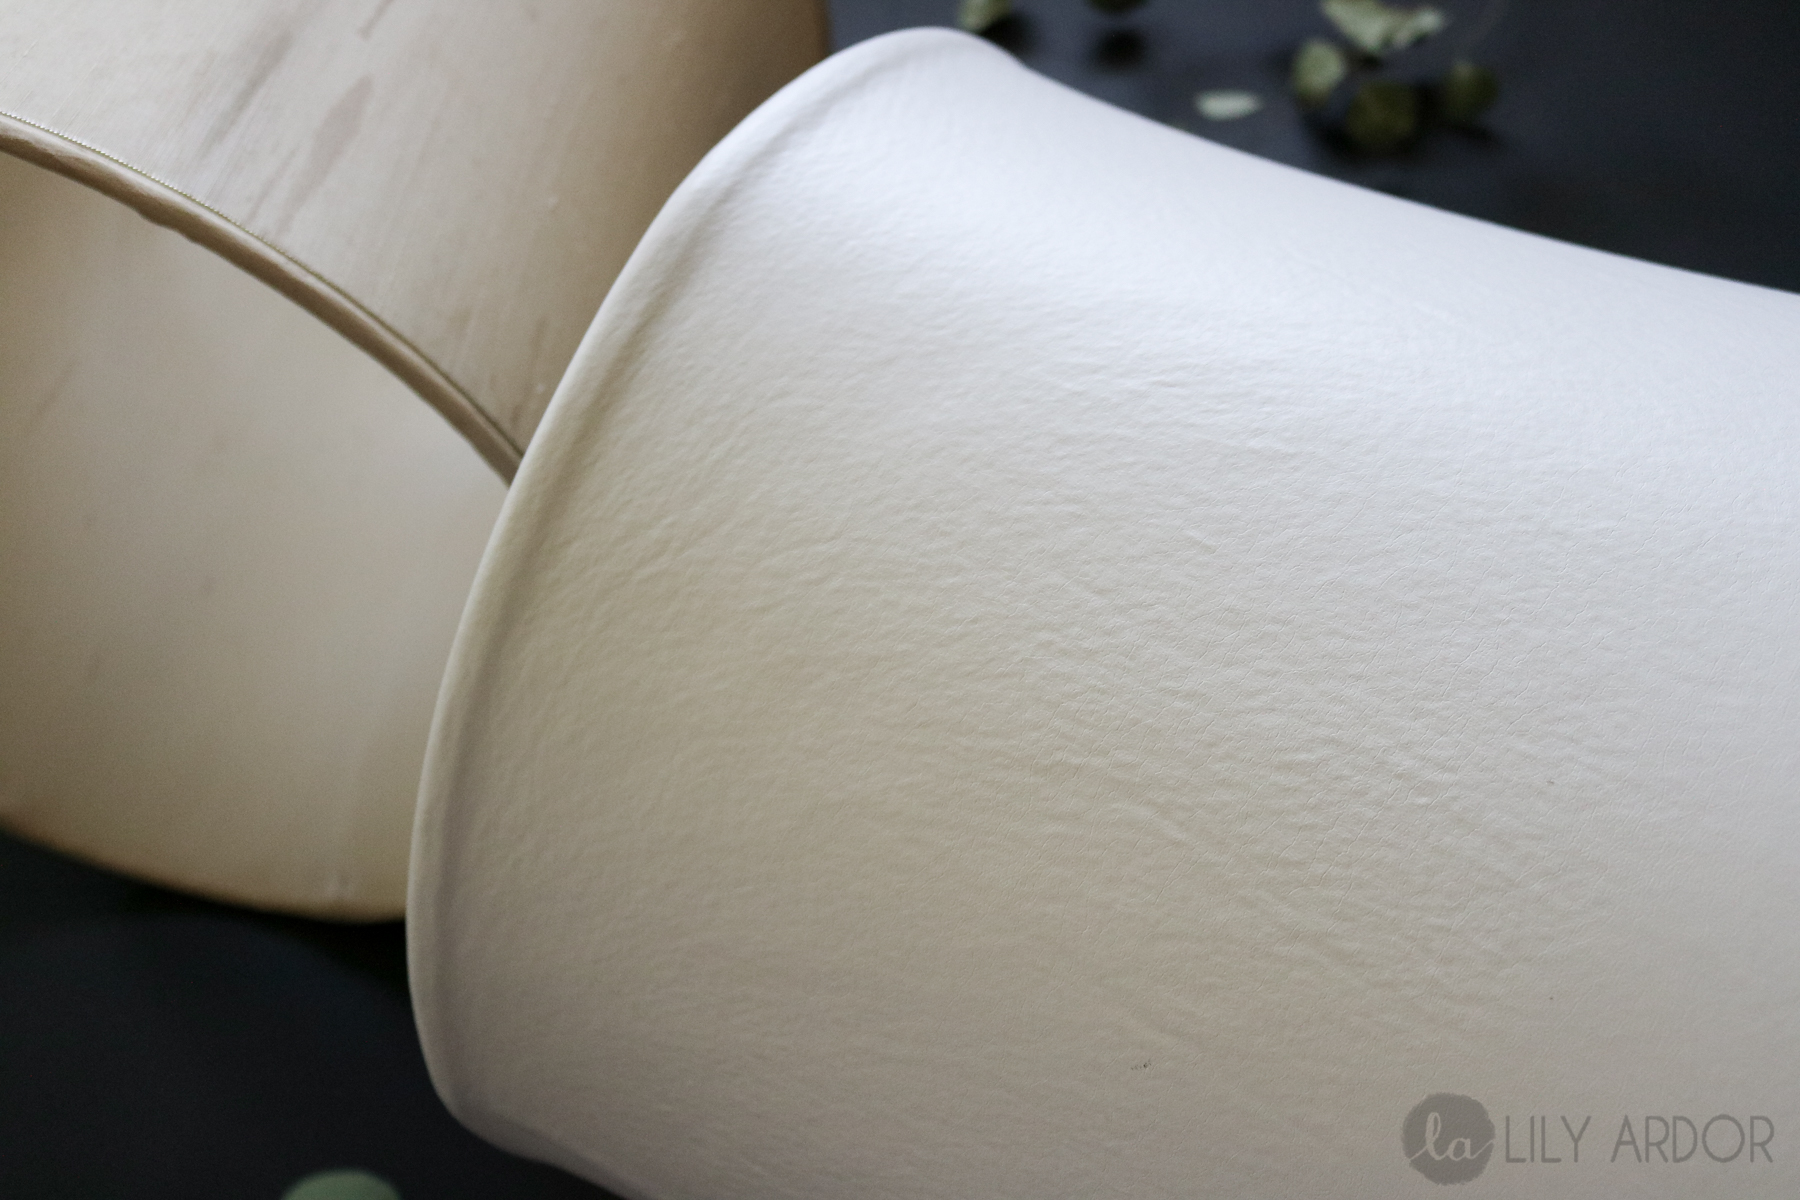
Look at that texture on the leather.. OH wait that’s not leather.. It’s vinyl. It sure looks like leather doesn’t it? 😀
That’s it for today my lovely craftoholics. Thanks for joining me. To share your DIY lampshade creations don’t forget to #lilyardor on Instagram. 😀
OH OH Don’t forget to check back on the update for part 2 of this project..DIY WOOD FLOOR LAMP . 😀 😀 😀