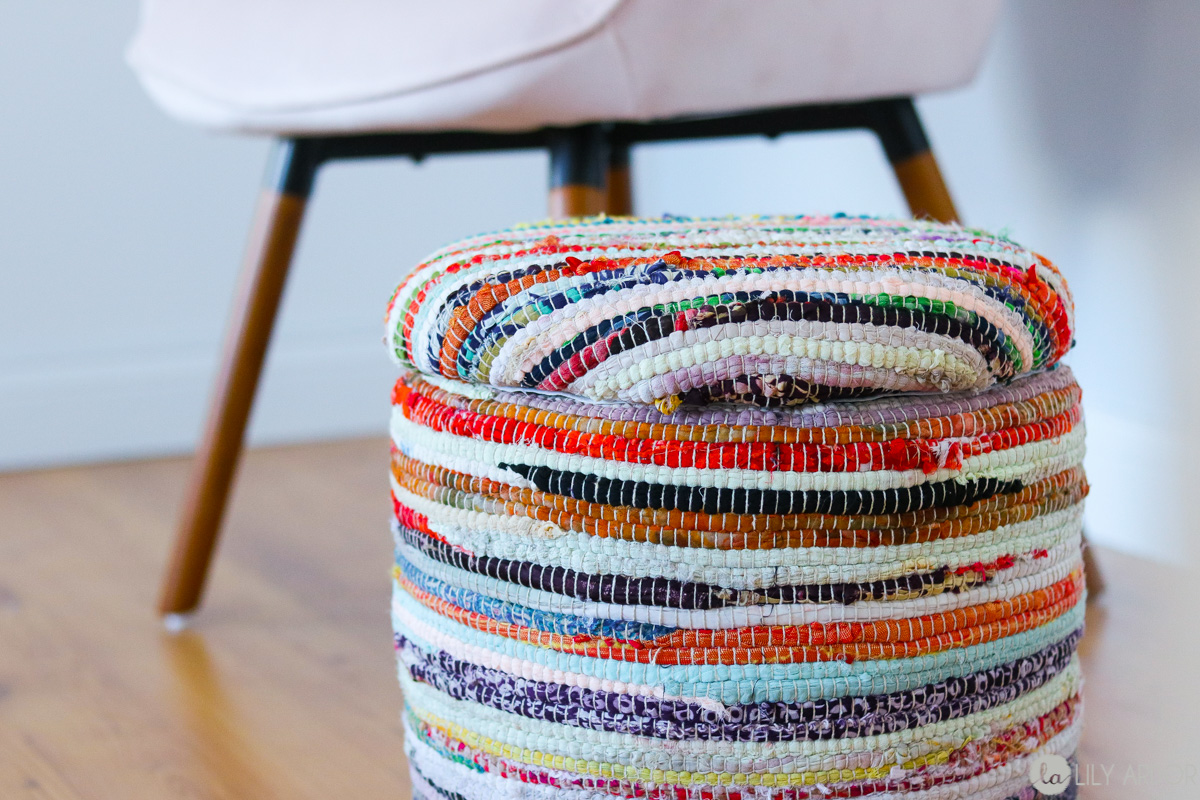
Easy Storage Ottoman
With so many ottoman ideas out there, I fell in love with this bucket up-cycle idea. Although I had to go out and buy a bucket specifically for this footstool I’d say it still ended up being a pretty good deal. I think I’m a little too excited for this DIY footstool because, I can’t wait to see those Lego’s stored in it instead of on the coffee table. 😀 Plus to my surprise this little thing is A LOT sturdier then it looks. It functions as a chair as well. How cool is that!? A storage/footstool/chair!!! Pretty COOL!!
I was hunting for the perfect fabric for at least a few weeks and, I finally came across a few rugs at hobby lobby that fit my idea of adding texture to this footstool. For some reason I couldn’t find a fabric that made me smile! 🙂 On the subject of BUCKETS!! Gosh did I look at a handful before deciding on this pink one! I must be very indecisive or maybe I just think things through a little too much! 😀 😀 HAHA Either way this pink one was perfect. I didn’t want to use a regular 5 gallon paint bucket because, with the padded lid on it it would look too tall. Other than I I think those were the two hardest things to decide on for this project. Oh and to my surprise the rugs width was perfect to wrap around this bucket, which is ssso COOL because that saves a ton of time!
What You’ll Need
- Heavy duty hot glue
- chalk (to mark)
- scissors
- round wood circle (needs to be 1/2 bigger then the top of your bucket so it doesn’t fall through. )
- 3.5 gallon bucket ( here’s where I got the bucket. )
- yard stick
- Heavy duty stapler
- batting (purchased in Joanns 2 yards should be enough) I purchased a queen size package and it was way to much.
- 3 yards of the cheapest felt fabric (* Unless your bucket doesn’t taper towards the bottom then you’ll only need 1-2 yards to add softness)
- 1″ foam sheet (purchased at Joanns)
- Rag rug (here’s where I got the rug. It was on sale at hobby lobby for $15. You can also use their coupon by simply googling)
Here’s a quick video. Scroll down for photo instructions.
Before I begin, those of you that absolutely hate videos are in luck today!!! I finally remembered to photograph each step while video taping! YEY! (Lame right… how could I forget?! PS. 90% of the time I’m having so much fun watching the process I get carried away LOL! SORRY! )
Let’s make this cute Footstool!!
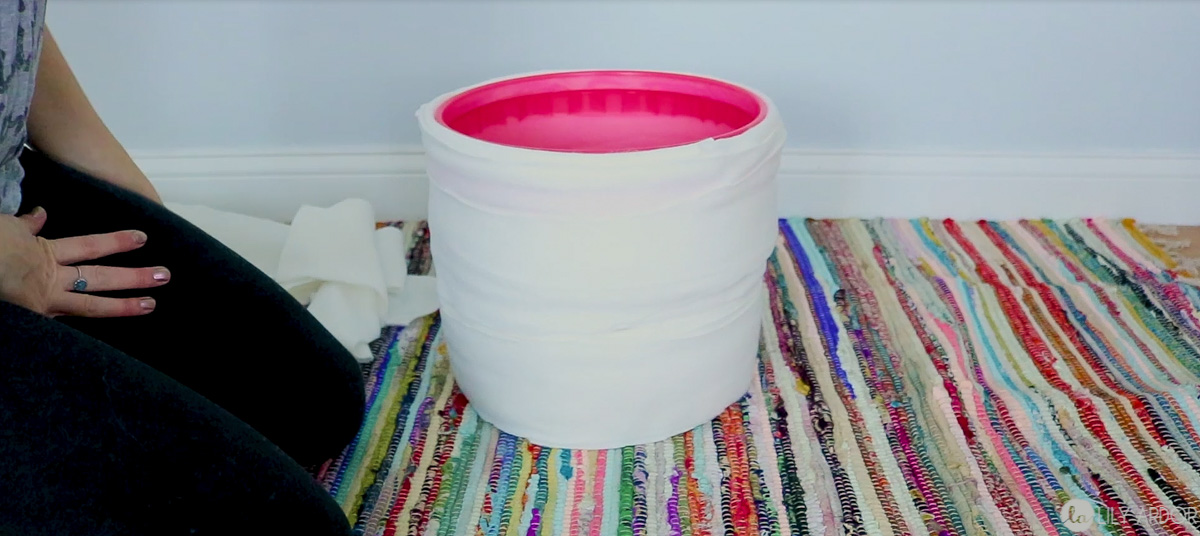
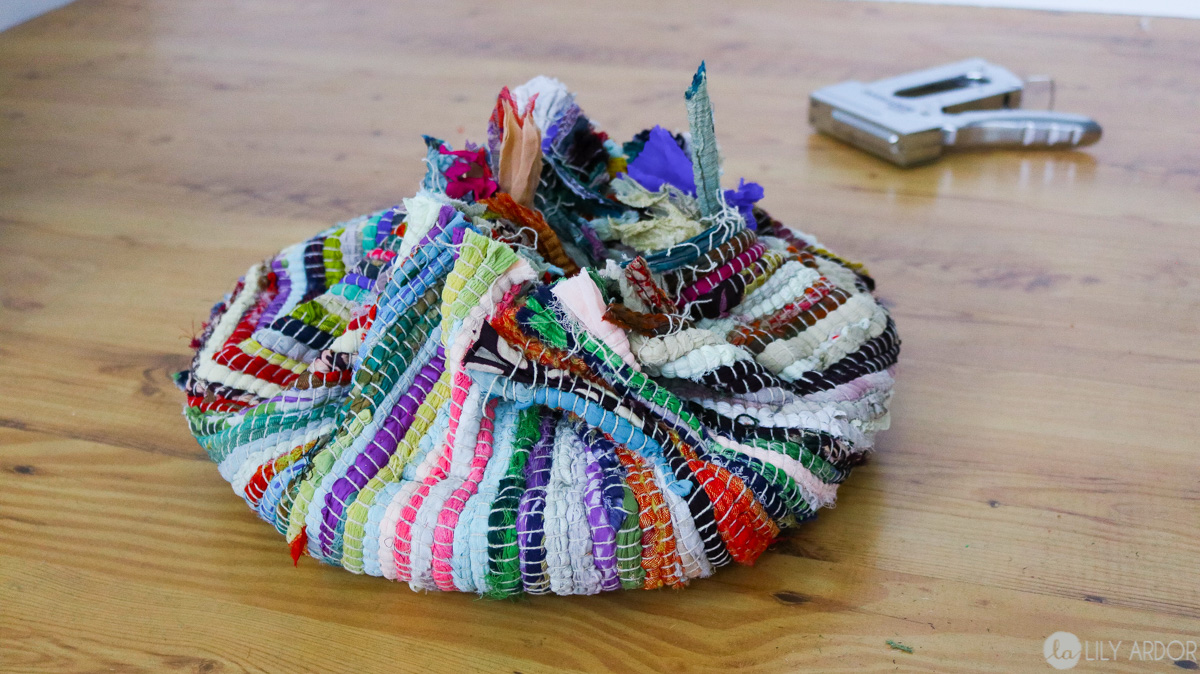
To begin you’ll need to cut your felt into 4″ width strips.
Then wrap the strips around your bucket starting from the bottom and working your way up. I used my glue gun to secure the pieces to the bucket. Why you need to do this? My bucket is tapered in on the bottom and to avoid an odd shaped footstool I had to shape out the bucket with fabric to make it as even as possible. Therefore more fabric was needed on the bottom and I went lighter and lighter on the fabric as I worked my way up the bucket. It’s easier then it sounds! For some reason this sounds so complicating! LOL (watch the video it’ll simply this step) BTW photo below shows how the bucket should look after being shaped.
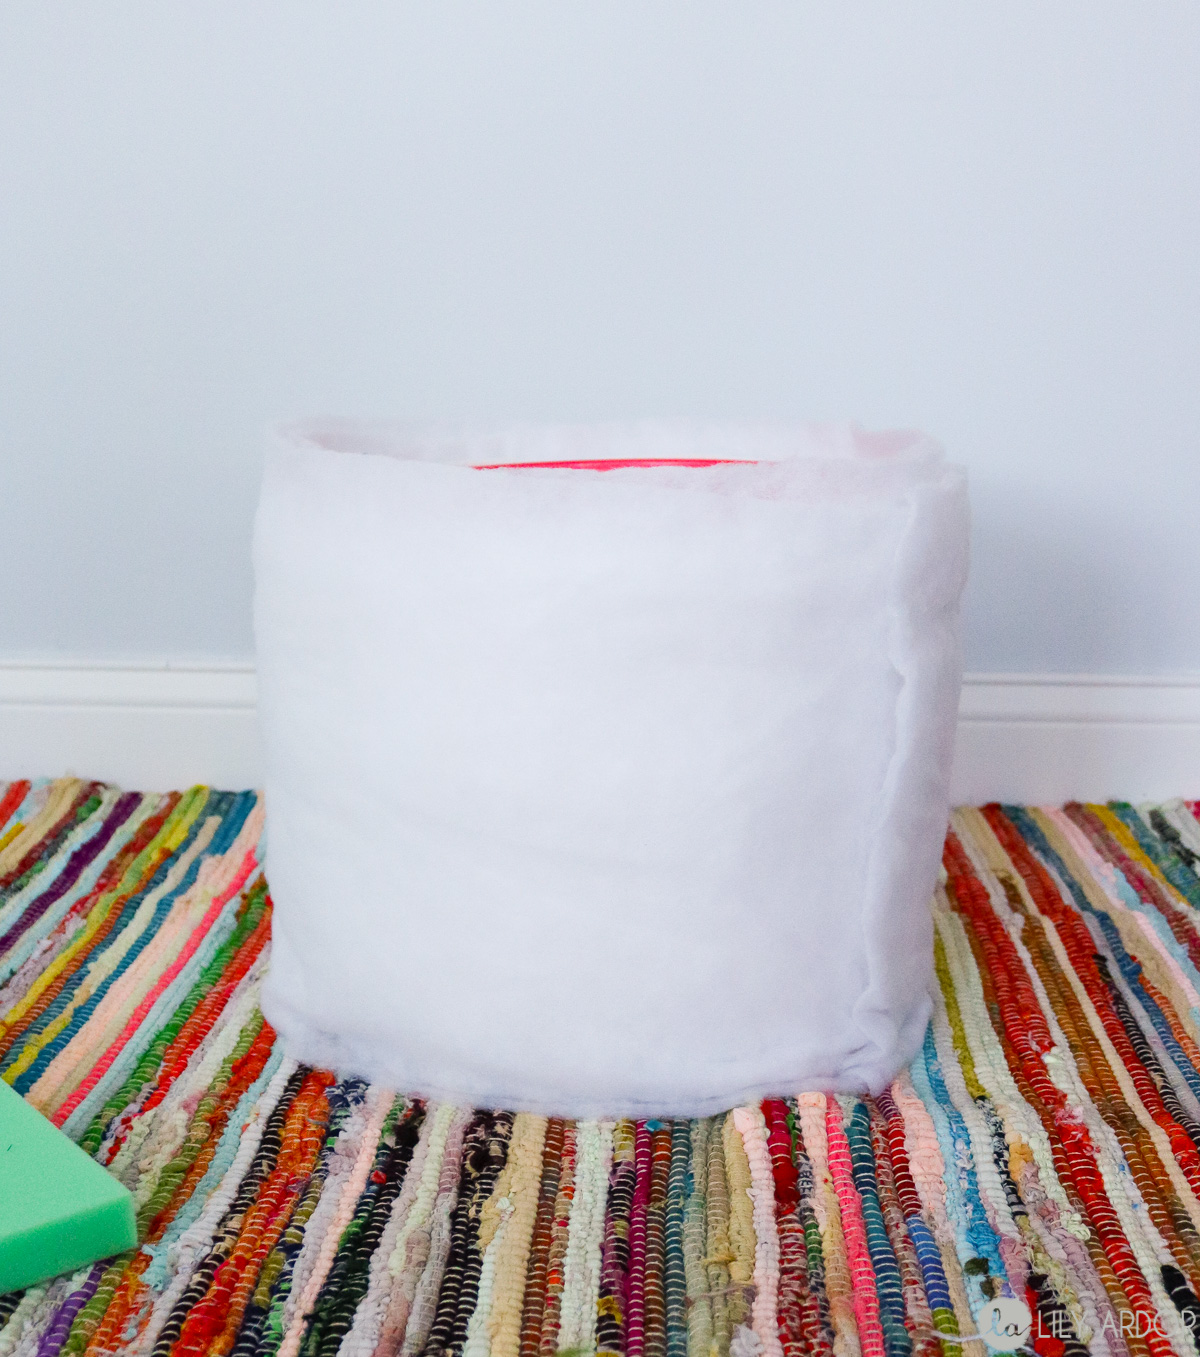
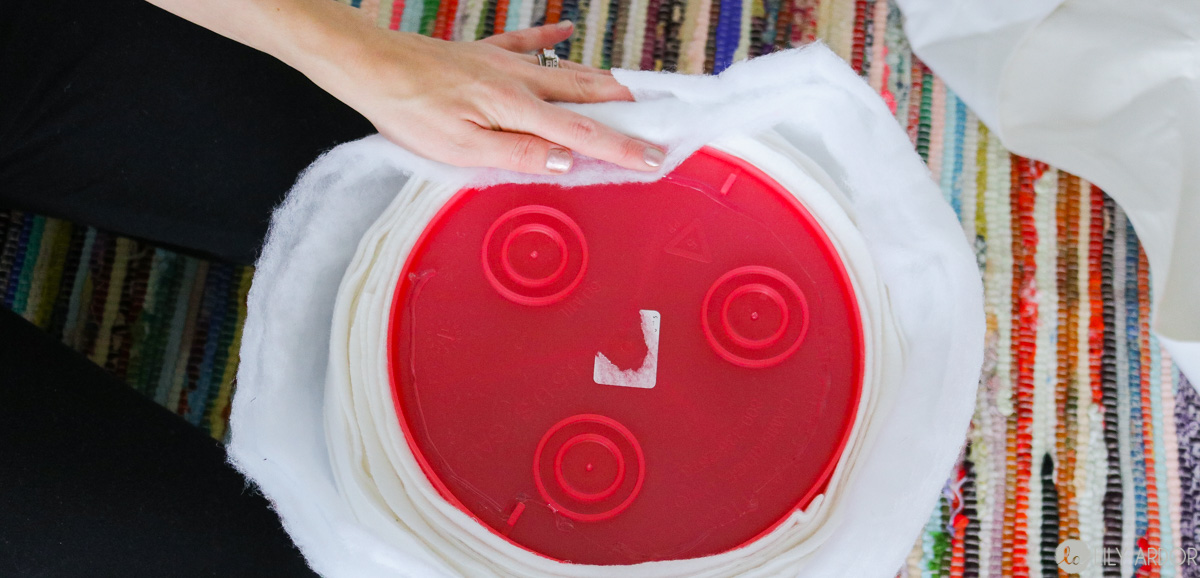
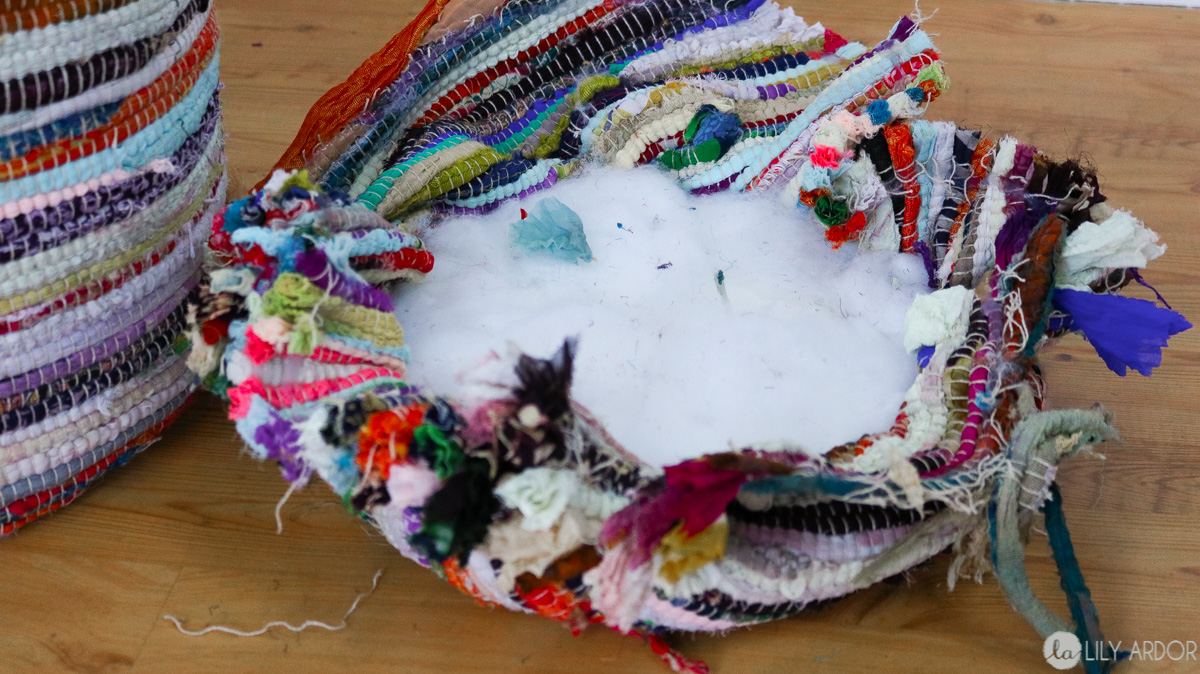
More Padding…
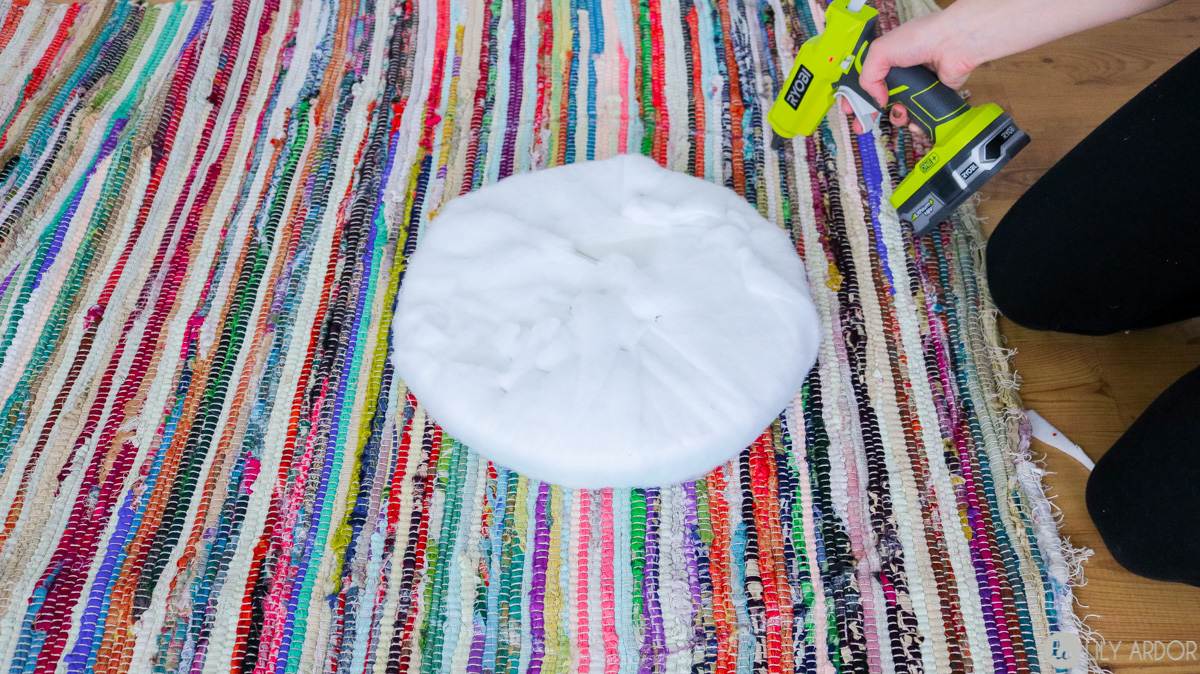
Following that add a double layer of batting for additional padding. I used my glue gun to secure it as well.
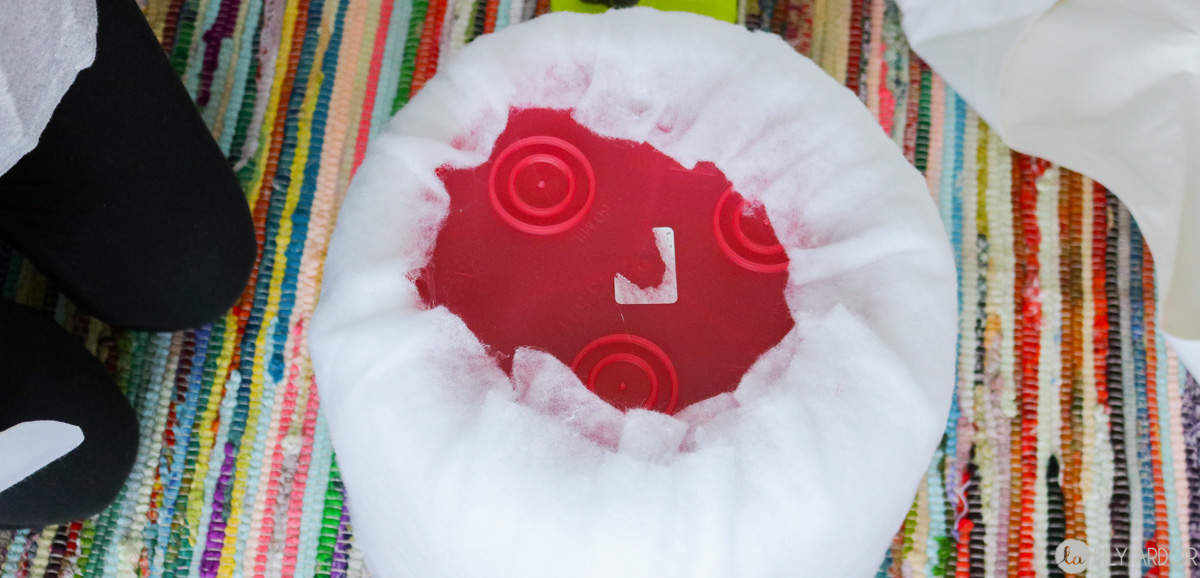
Then flip your bucket upside down and hotglue all your raw edges to the bottom of your bucket.
Just like this. It doesn’t have to be perfect because it will be covered. (Don’t use your stapler. The plastic is too thin and they will stick through the other side)
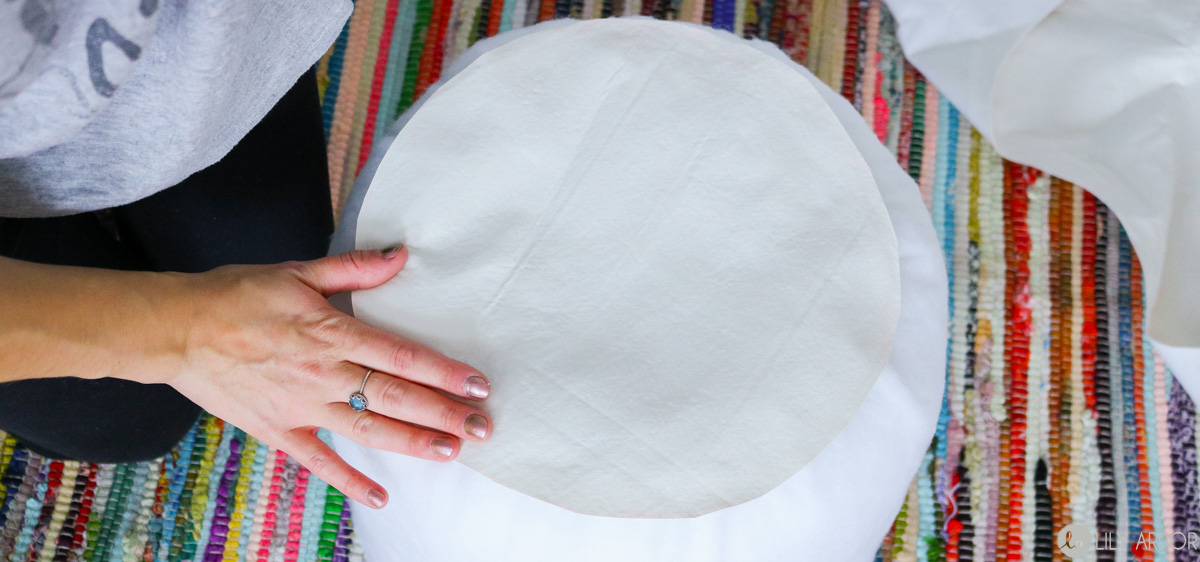
Following that cut out a piece of round fabric to secure over the bottom. Use hot glue for this as well. (you can use felt or some faux leather. That’s what I used, that way it could be wiped clean)
Upholstery with a rug
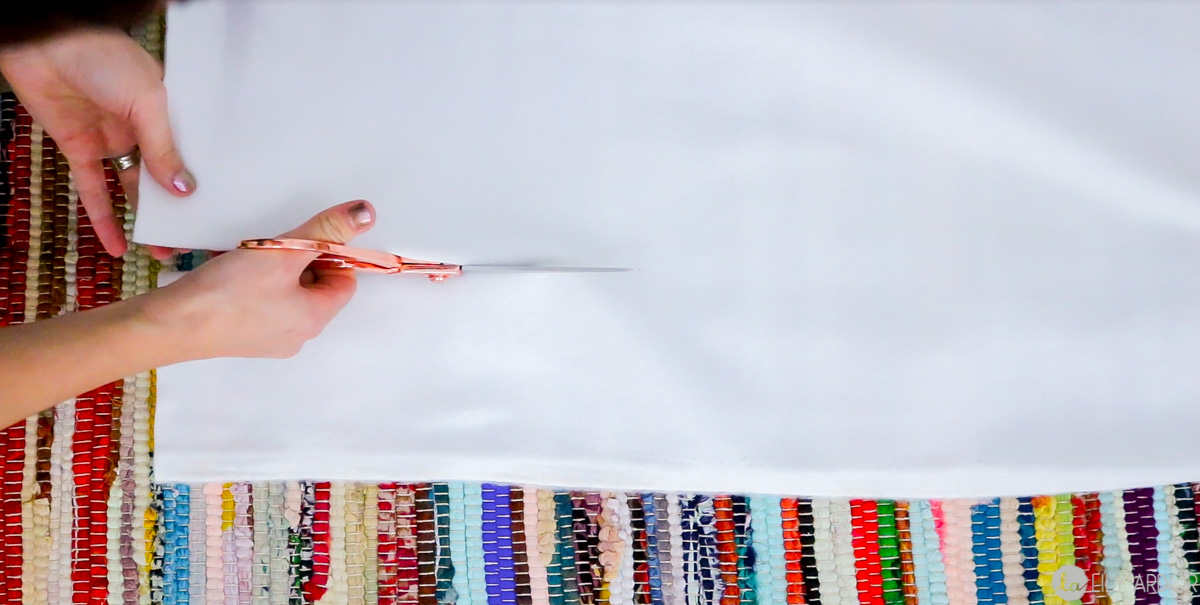
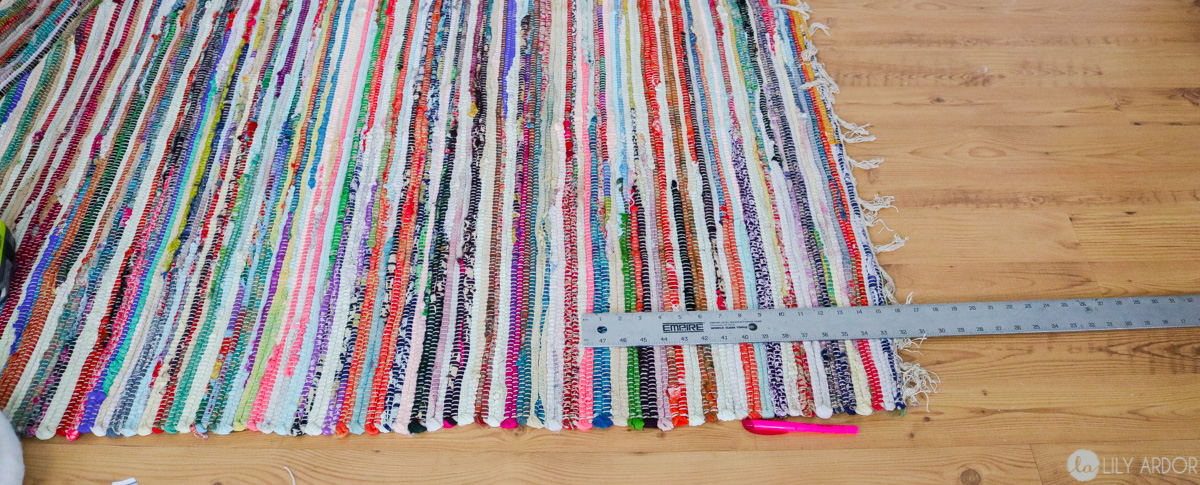
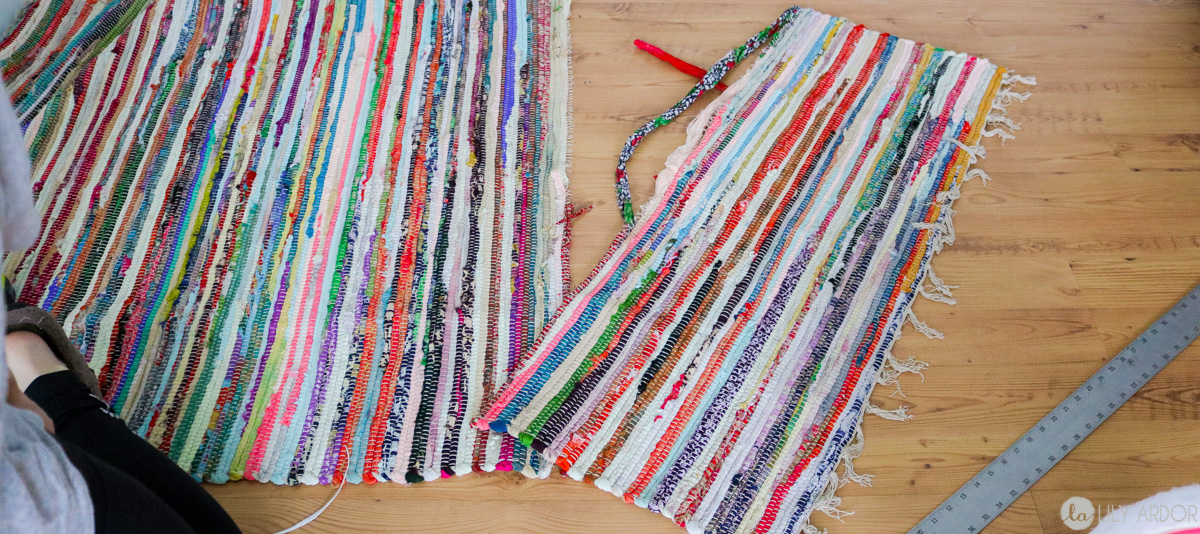
Before cutting your rug measure the height of your bucket and add at least 3 inches to the height. My bucket was 13″ so I cut my fabric at 16″ .
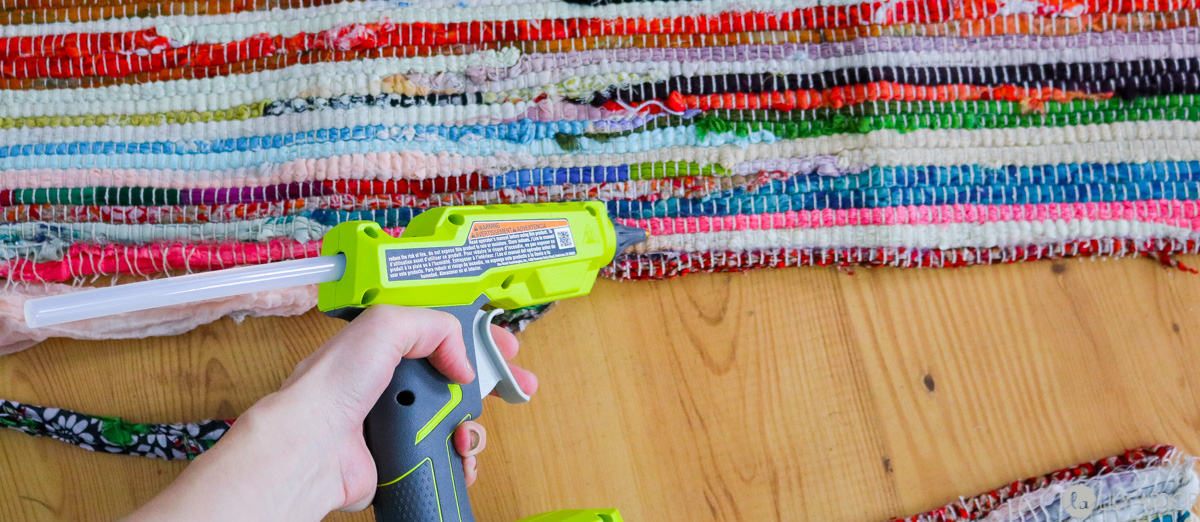
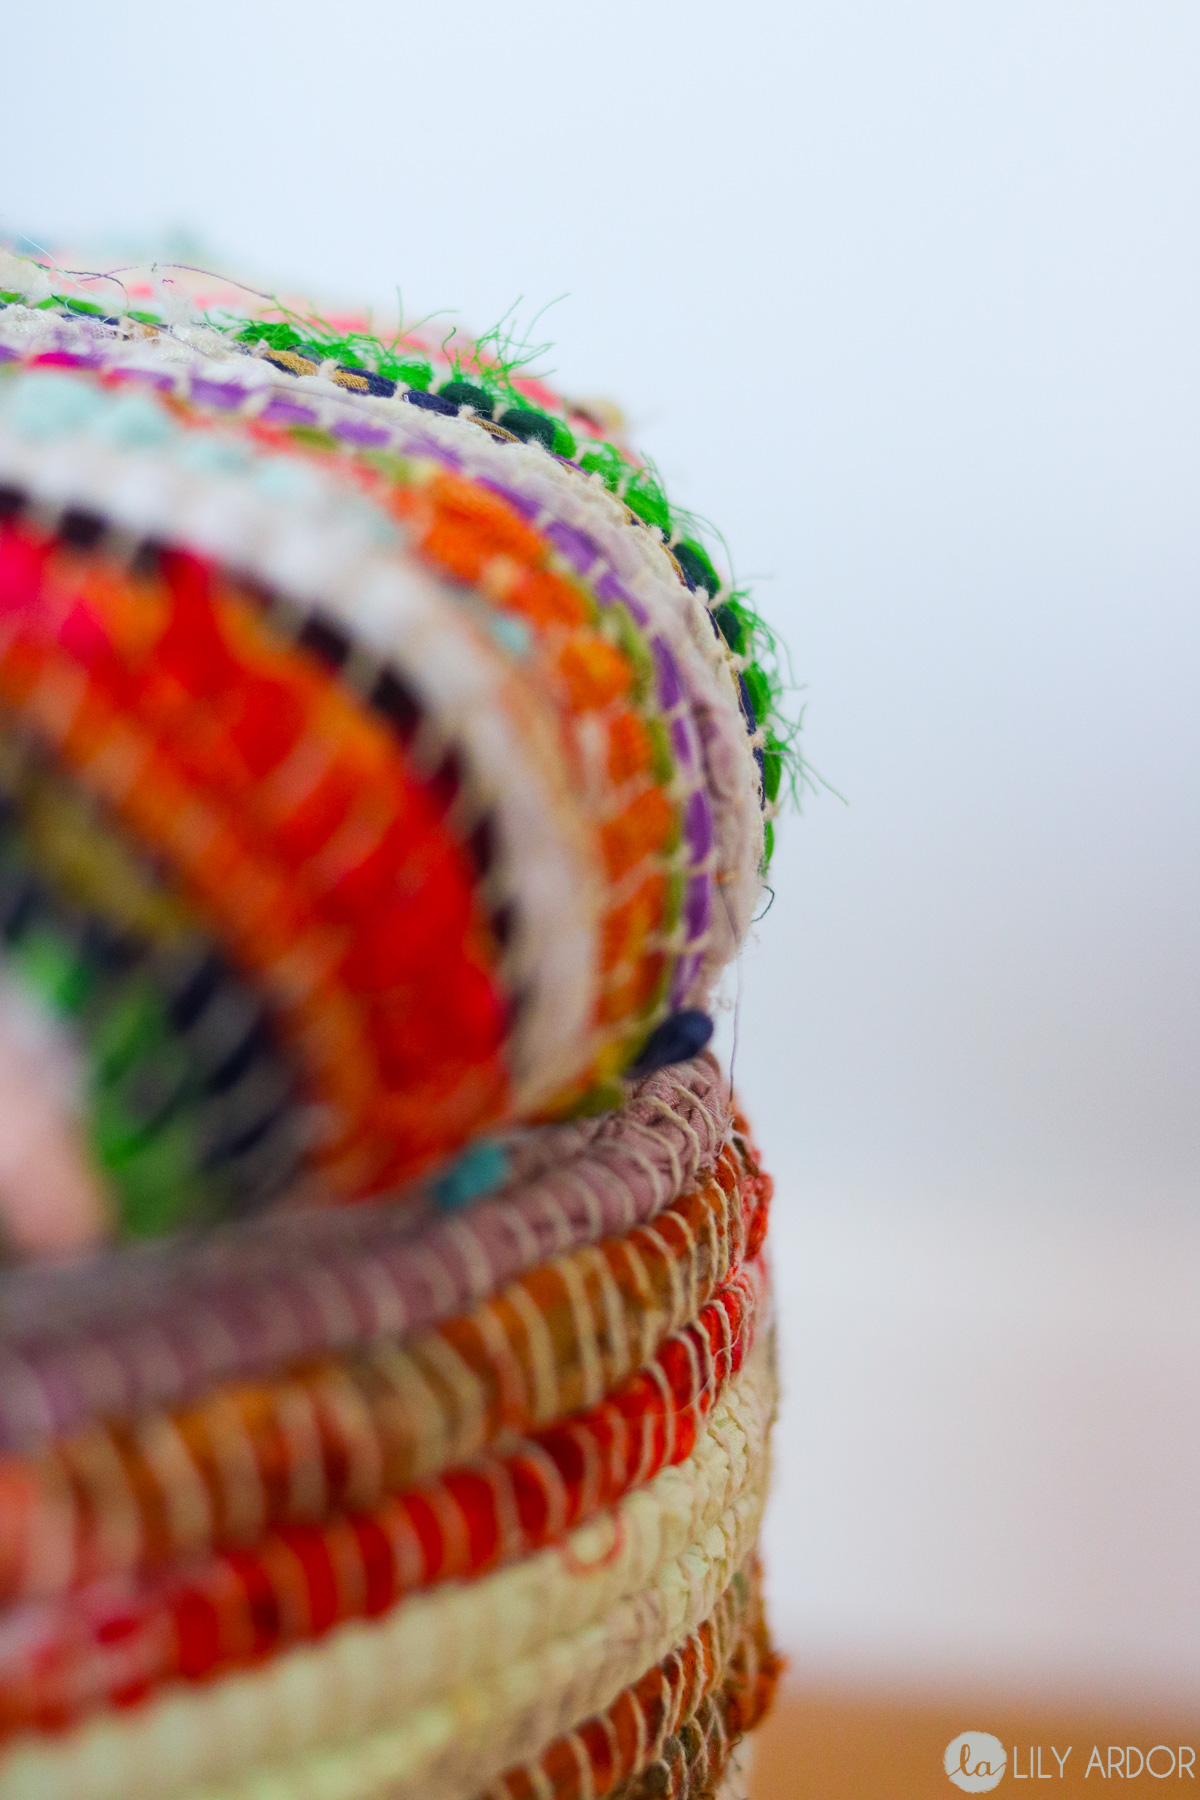
If your working with a rag rug like I was then it should fray like crazy at this point. Don’t freak out. IT’S OK!! This is where your glue gun comes in handy.
Since I didn’t cut the bottom of the rug I didn’t have to glue it but the area that was cut needed to be secured. I carefully used my glue gun to go over the 2nd to last row where I cut. This made sure that edges wouldn’t keep fraying while I’m working with it.
Making ends meet…
Following that I took my cut piece of rug and wrapped it around my padded bucket. I used a needle and thread to sew the edges together. I used a bigger needle and quadrupled my thread. Doubling it will work just as good too. I made sure to make it super tight in some cases even overlapping the fabric to get it tight enough. I wouldn’t recommend using hot glue for this step since this requires a lot of pressure and probably wouldn’t hold up well. 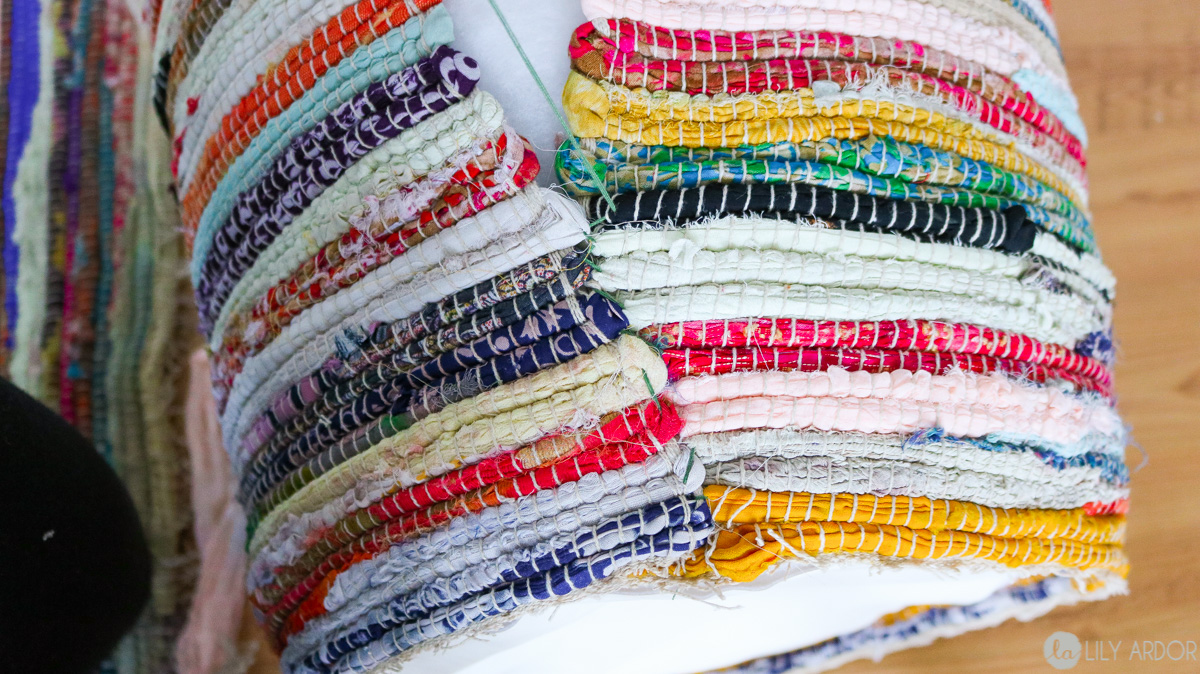
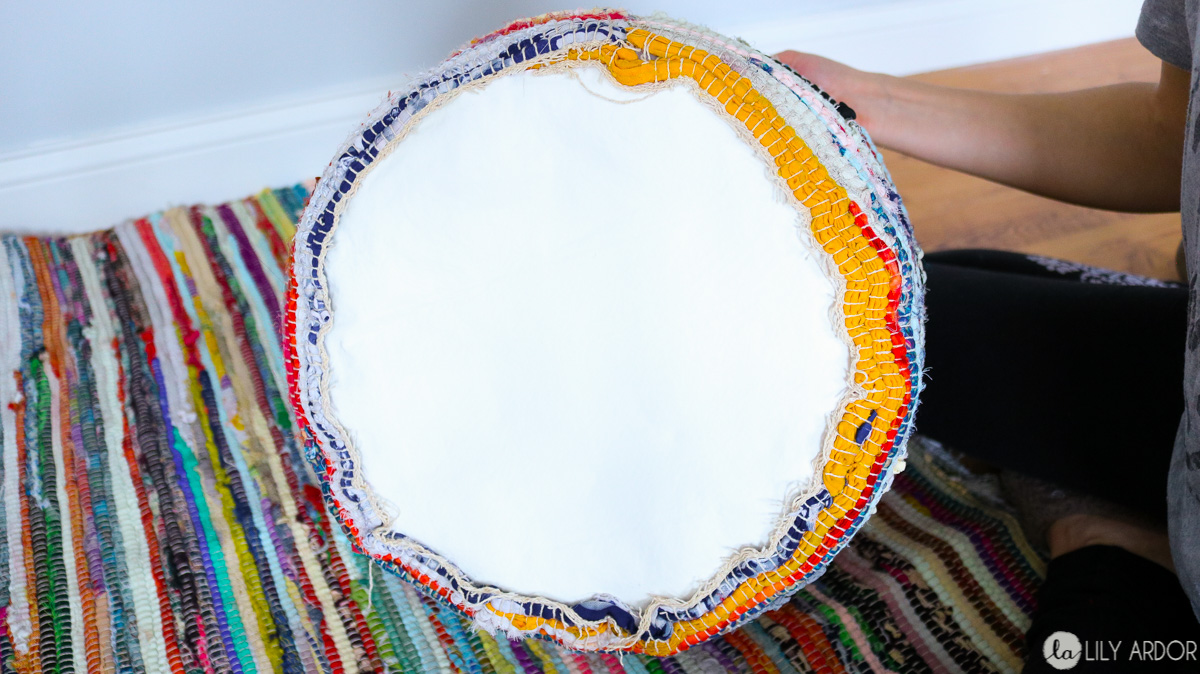
To clean up the bottom of your bucket glue all your rug edges down to your bucket for a cleaner look. As you can see I used the uncut rugs side for the bottom of the bucket.
This is what the bottom of your bucket should look like when finished.
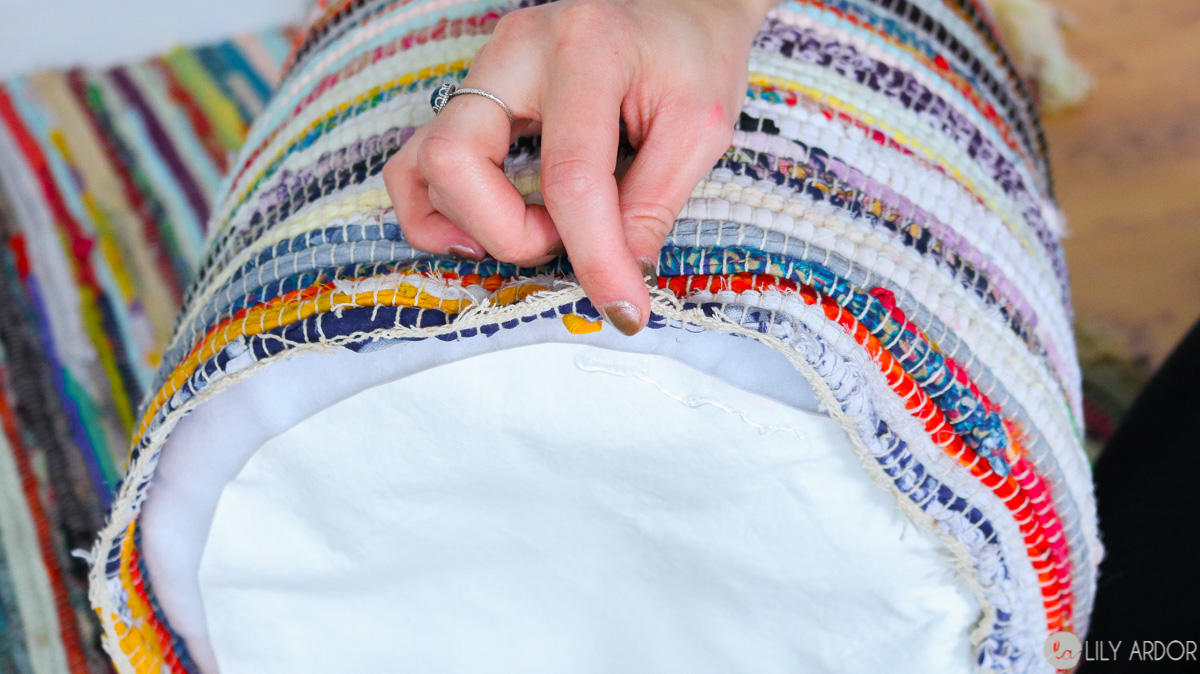
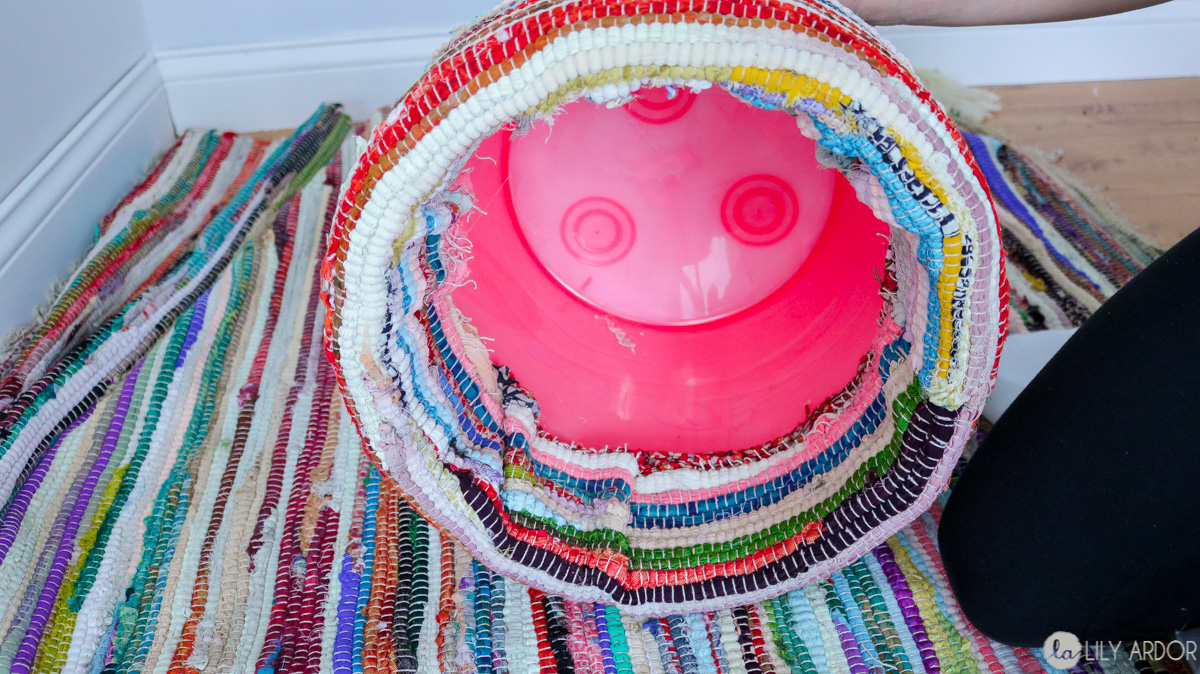
Then take your frayed edges that are sticking out at the top of your bucket and fold them inside.

Use hot glue to secure them. As you can see there’s still visible folds and that’s okay because we’ll cover it with fabric.
I used a long piece of felt fabric to glue over the raw edges. YES, I ran out of fabric! Originally I was planning on covering the whole inside but, I don’t mind the pink. 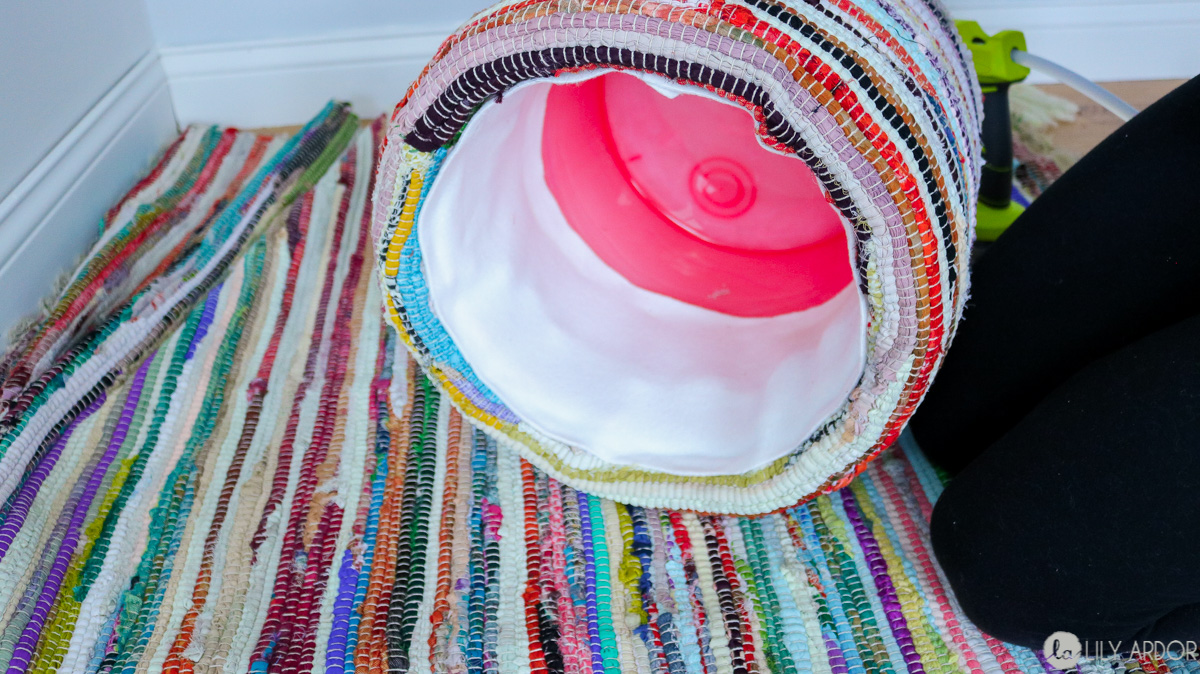
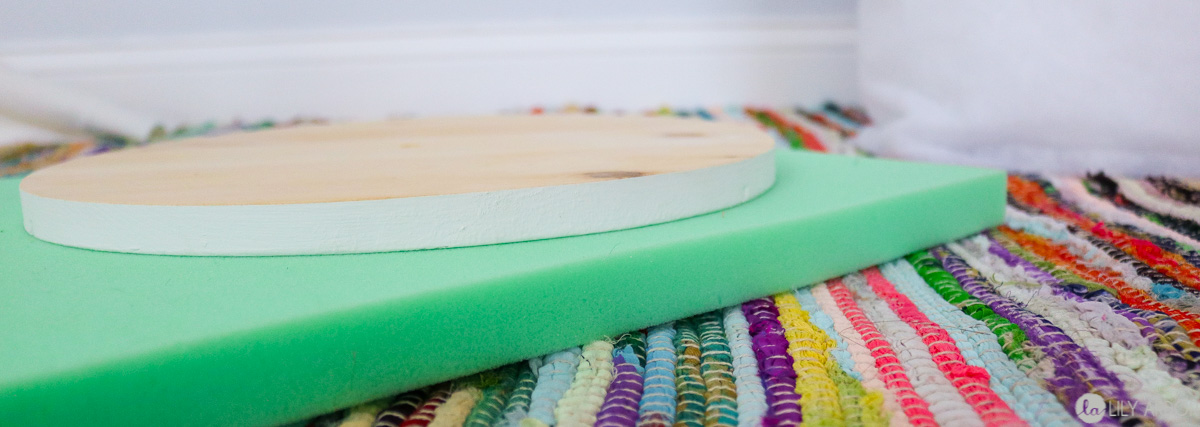
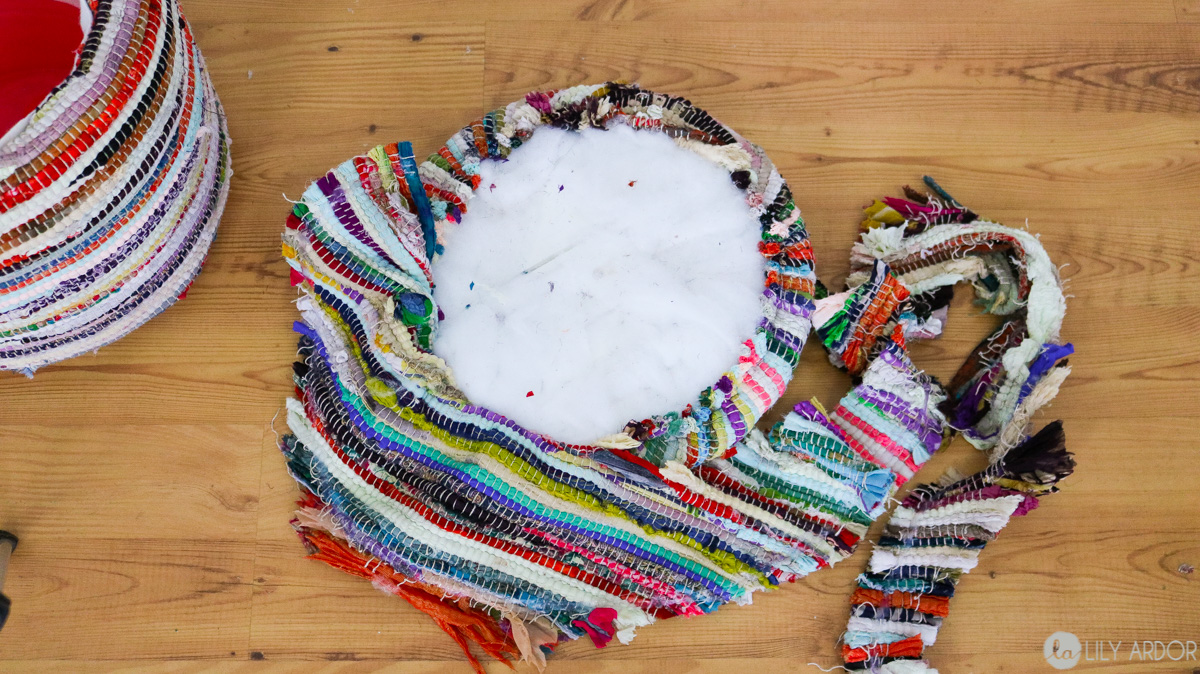
Making the Lid
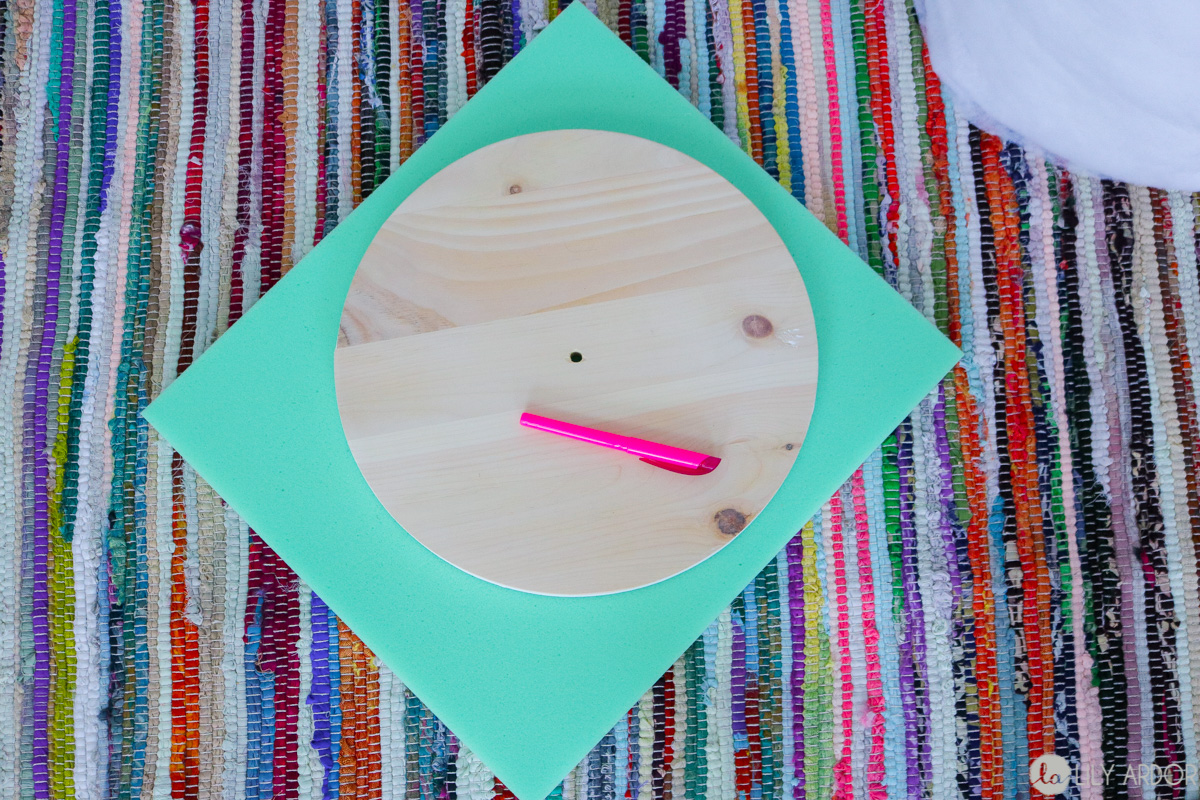
Here’s an idea of what my wood and foam sheet looked like. I believe my foam is about 1″ and the wood was 3/4 “.
To begin making your lid use a marker to trace the wood circle.
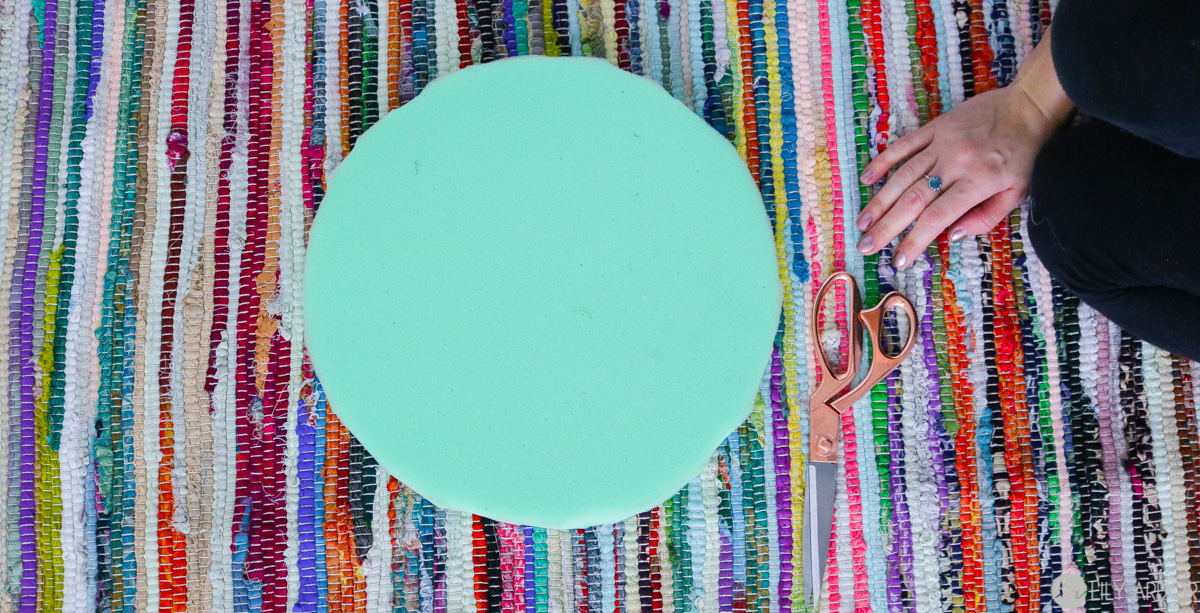
Then use scissors to cut it out and attach the foam to your wood with some hot glue.

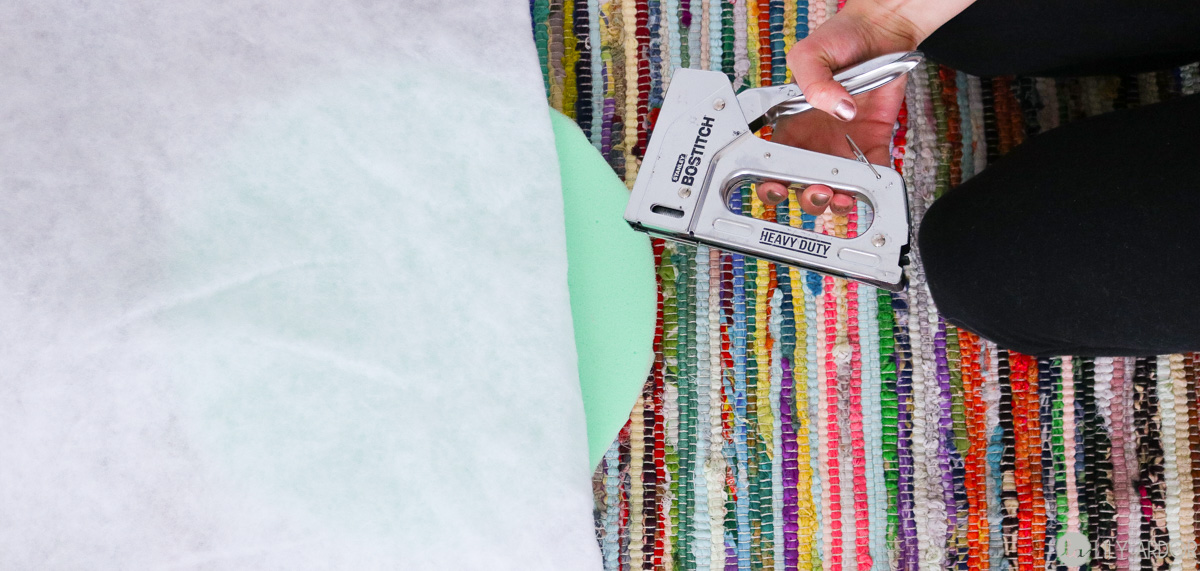
Following that attach your batting with a stapler.

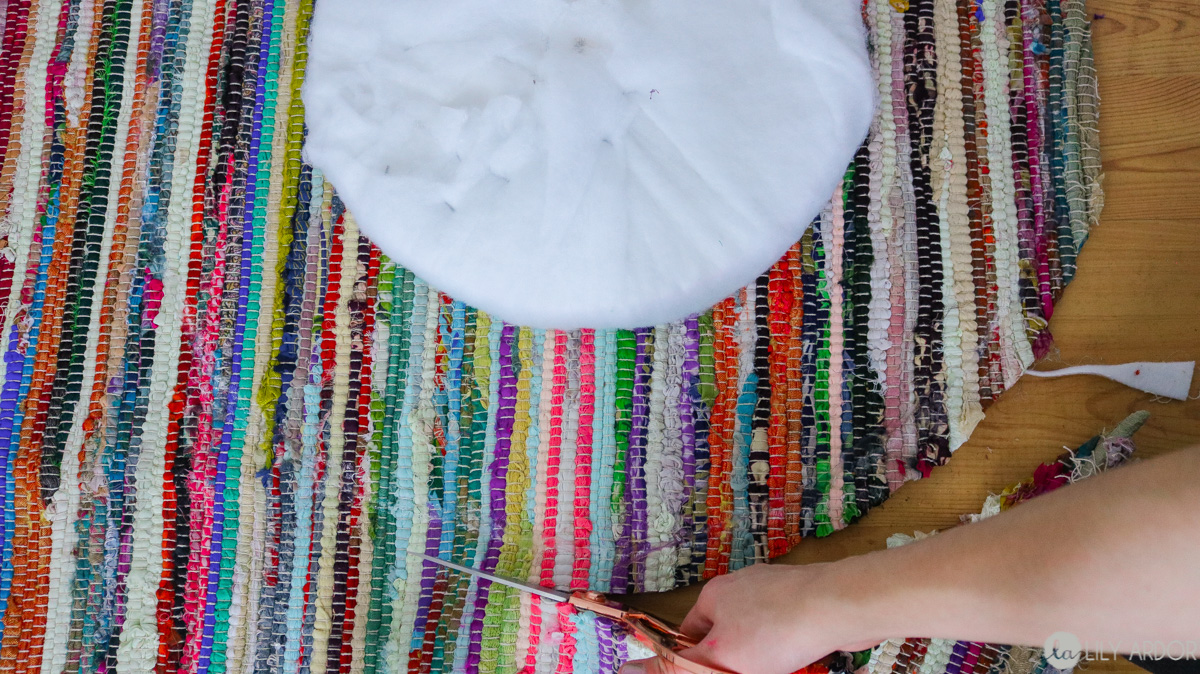
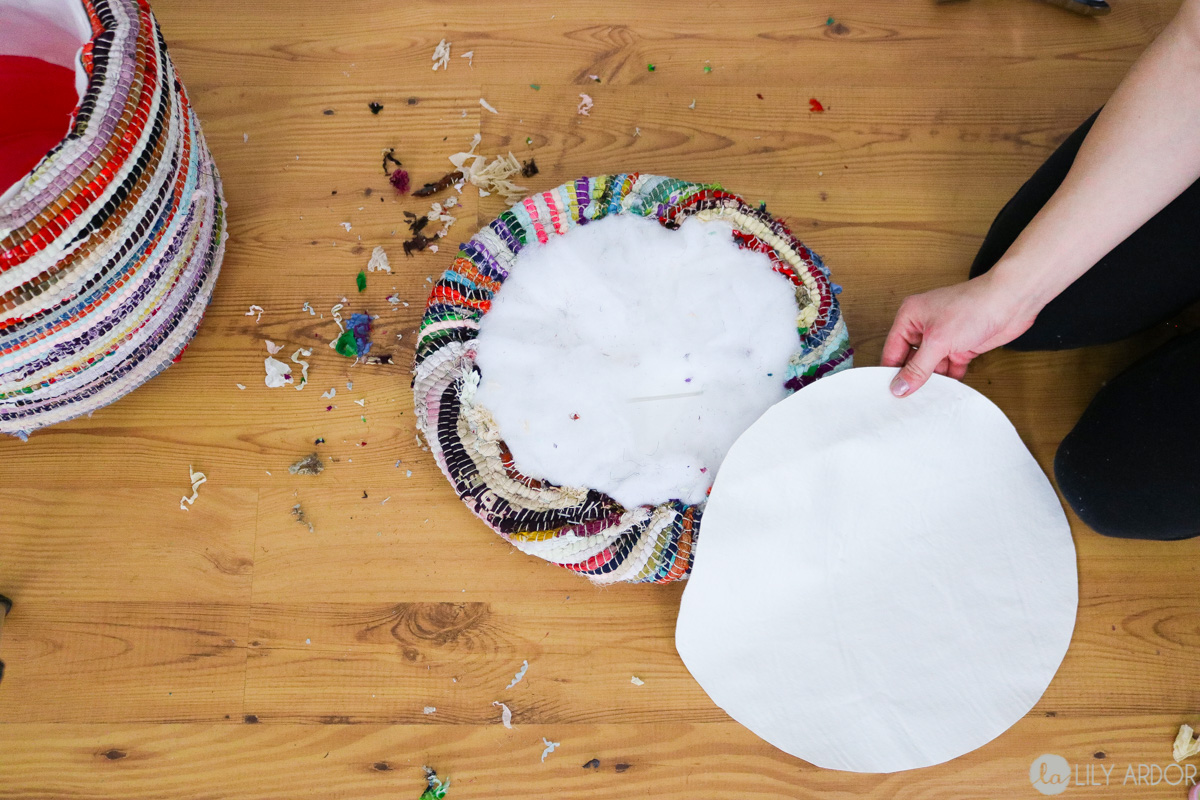
Covering Your Lid
Lay your padded lid on top of your fabric and sketch an approximate circle about 5″ bigger. Then use your glue gun and go right over where you sketched. This will eliminate it from fraying when cutting.
 When cutting avoid cutting to close to the glue. I gave it about an inch.
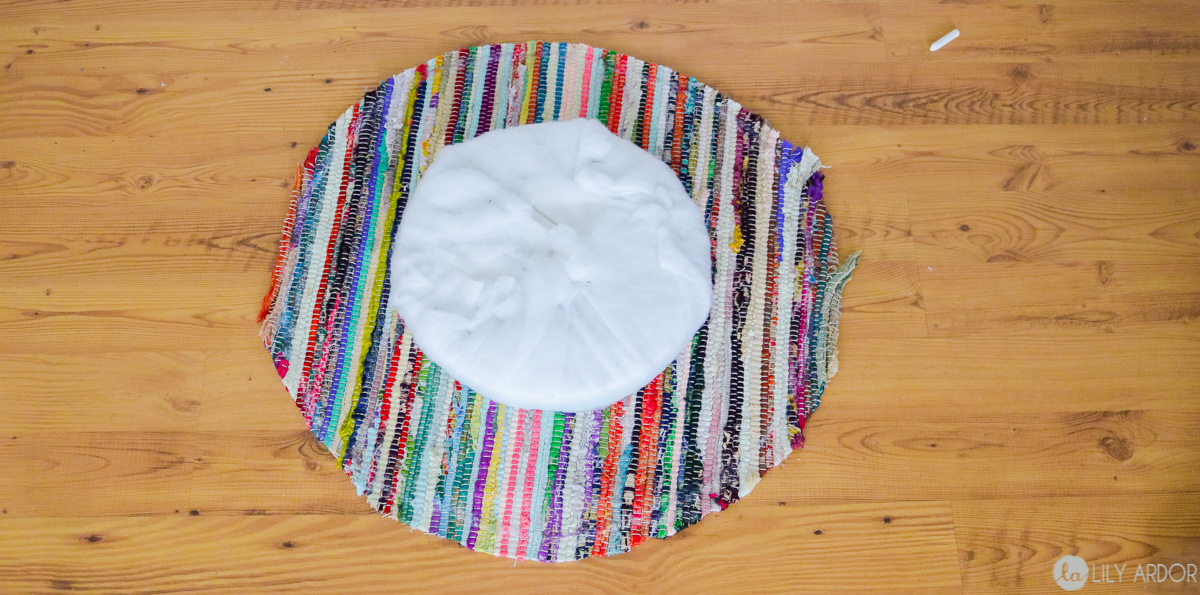
 This is what it should look like before you begin stapling.
Tricky Part…
Okay here’s where it gets kind of tricky. At least for me it was since this was my first time doing this.
For this step staple as little as possible because you’ll be removing them after. Go ahead staple your fabric tightening it as much as possible and keeping your staples away from the edges.
Once you have a somewhat tight fit now you can go around all the edges and staple your staples in a row tightening in some spots if needed as you go.

Then remove your staples from the center and unfold your fabric.
Cut off all the excess fabric.
And secure a fabric circle on top with some hot glue. I used faux suede for this as well. I also stapled any edges sticking out to make the surface even flatter before attaching my circle.
That’s it!
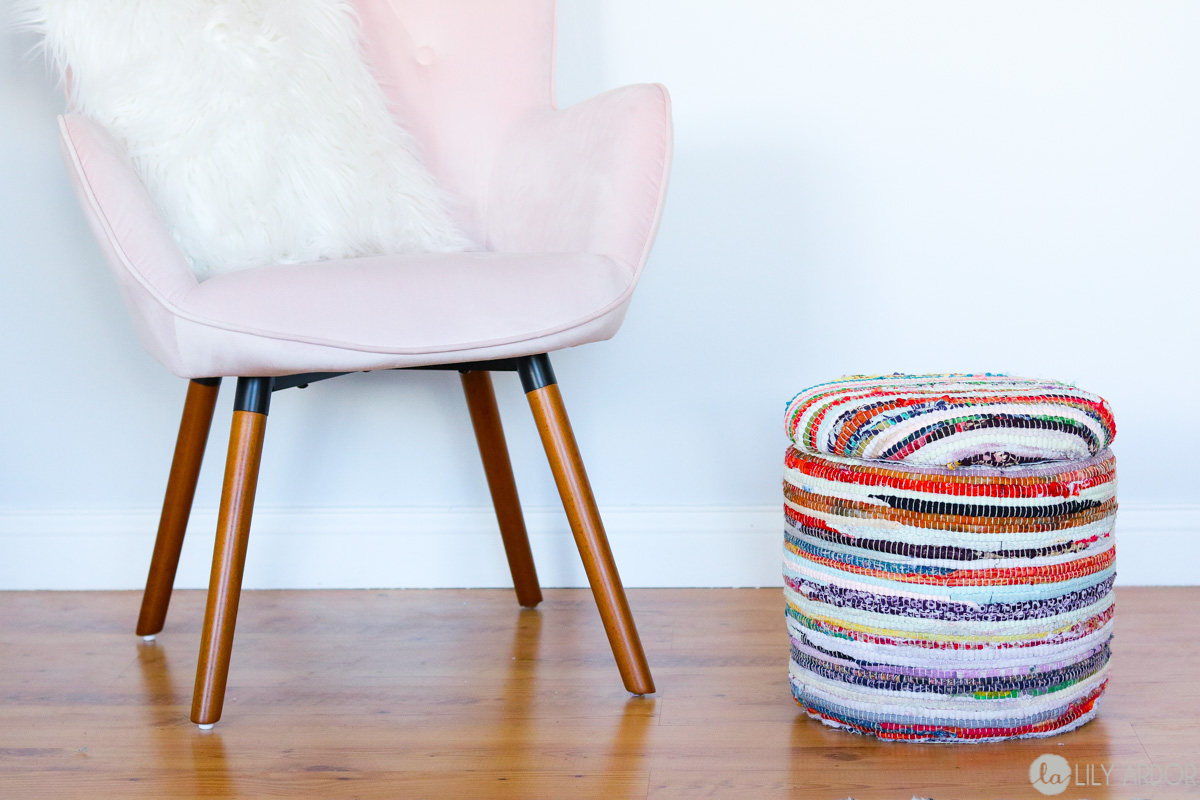
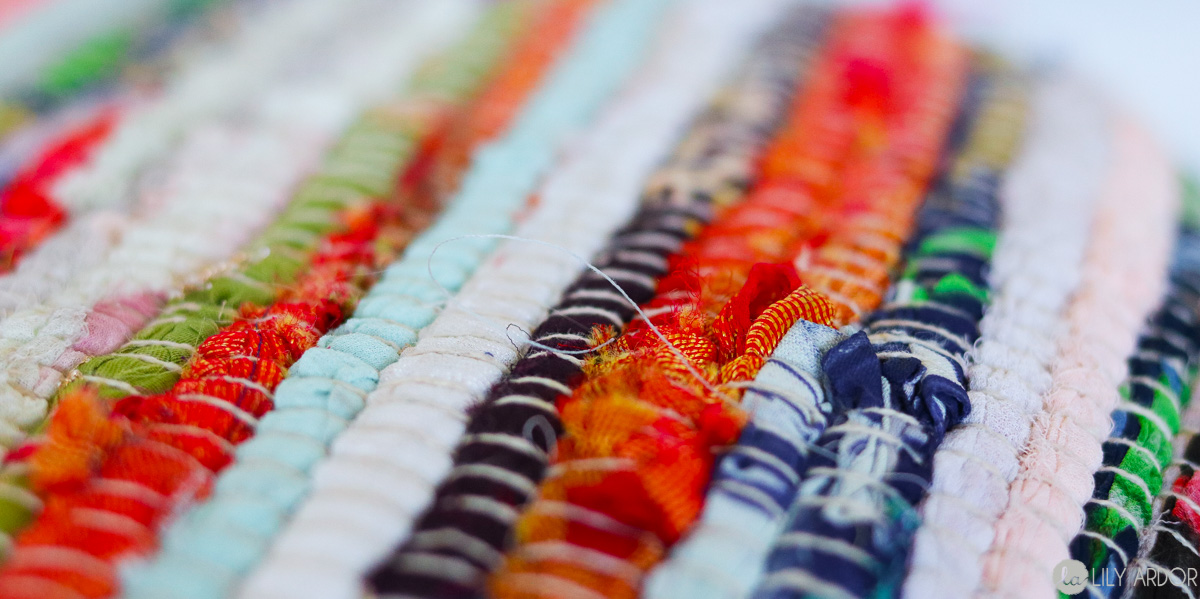
The texture on this footstool is too cool! I’m so glad I didn’t go with regular fabric.
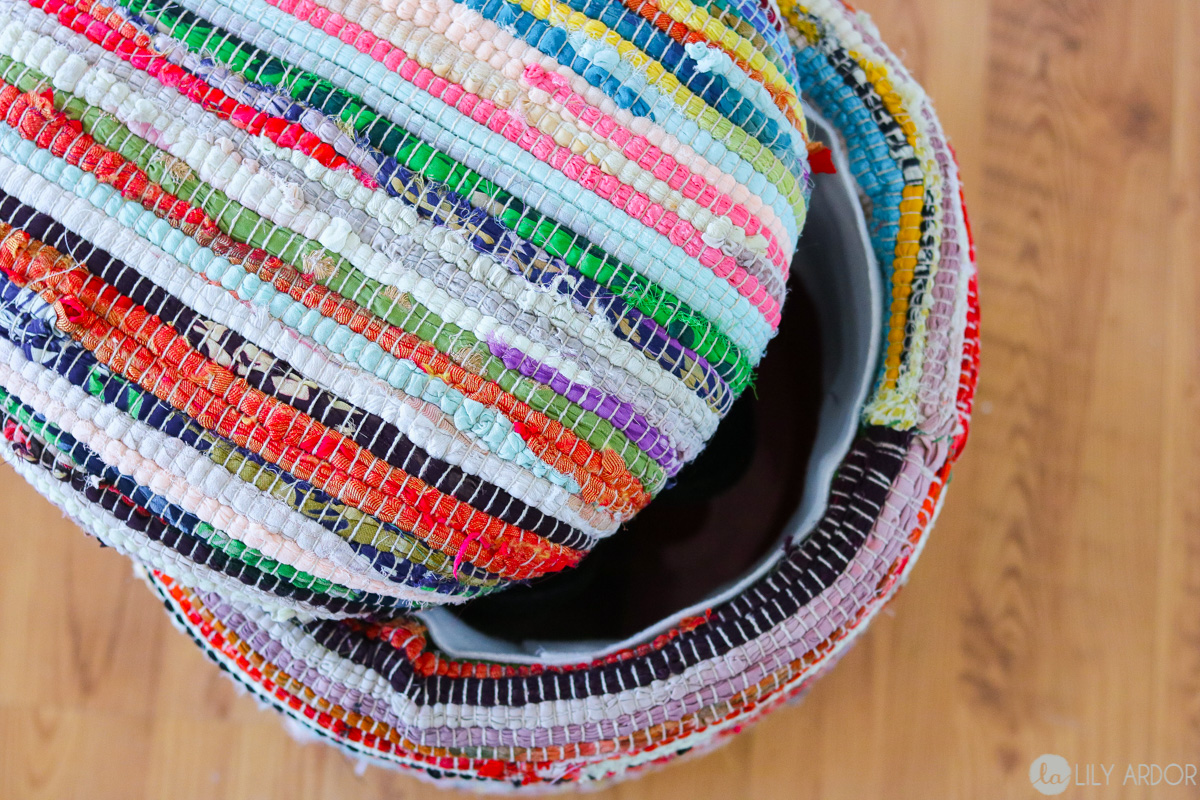
I say YES to storage like this! 😀 😀
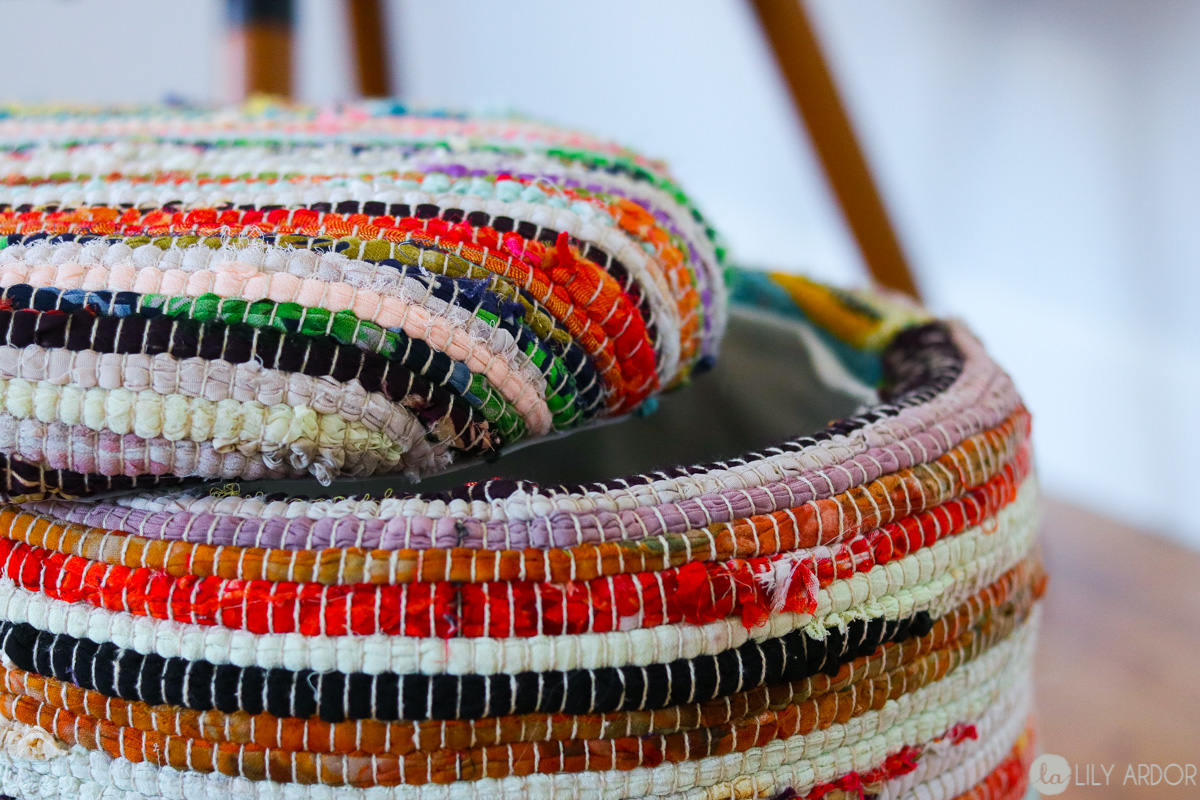
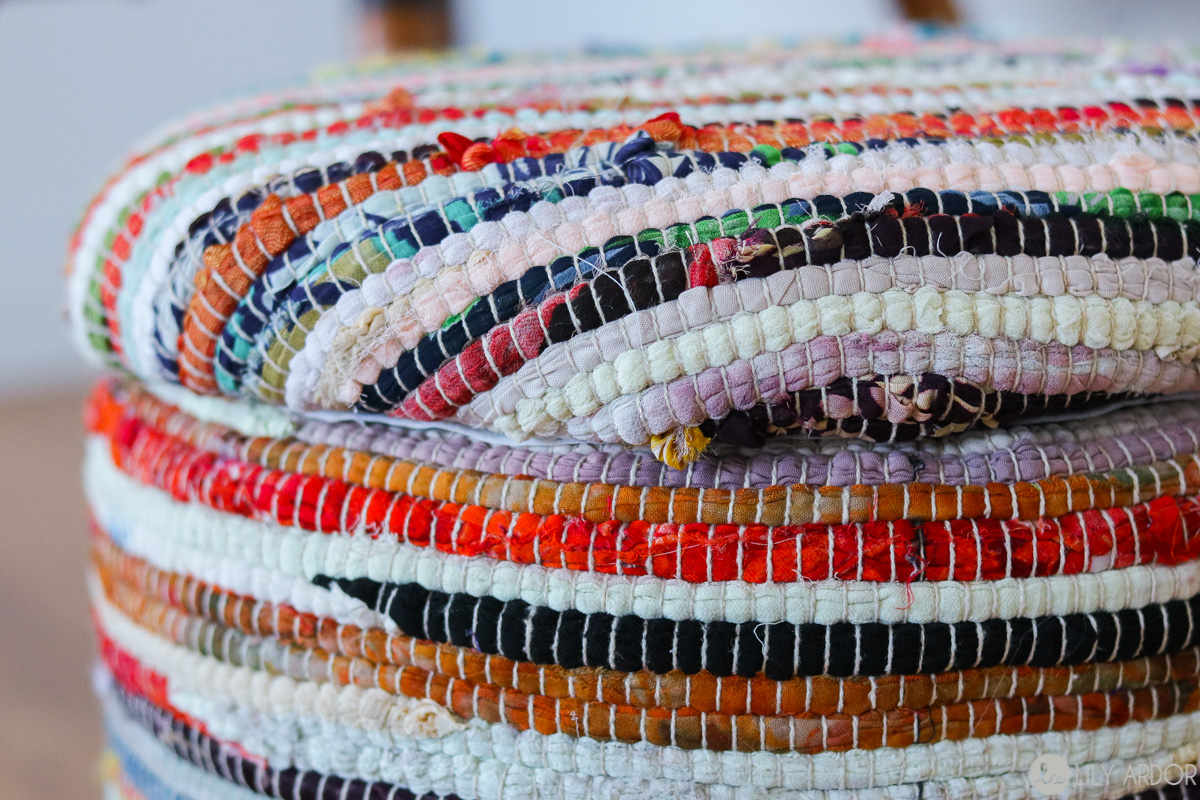
Here’s what that stitch in the back looks like. 😀 😀 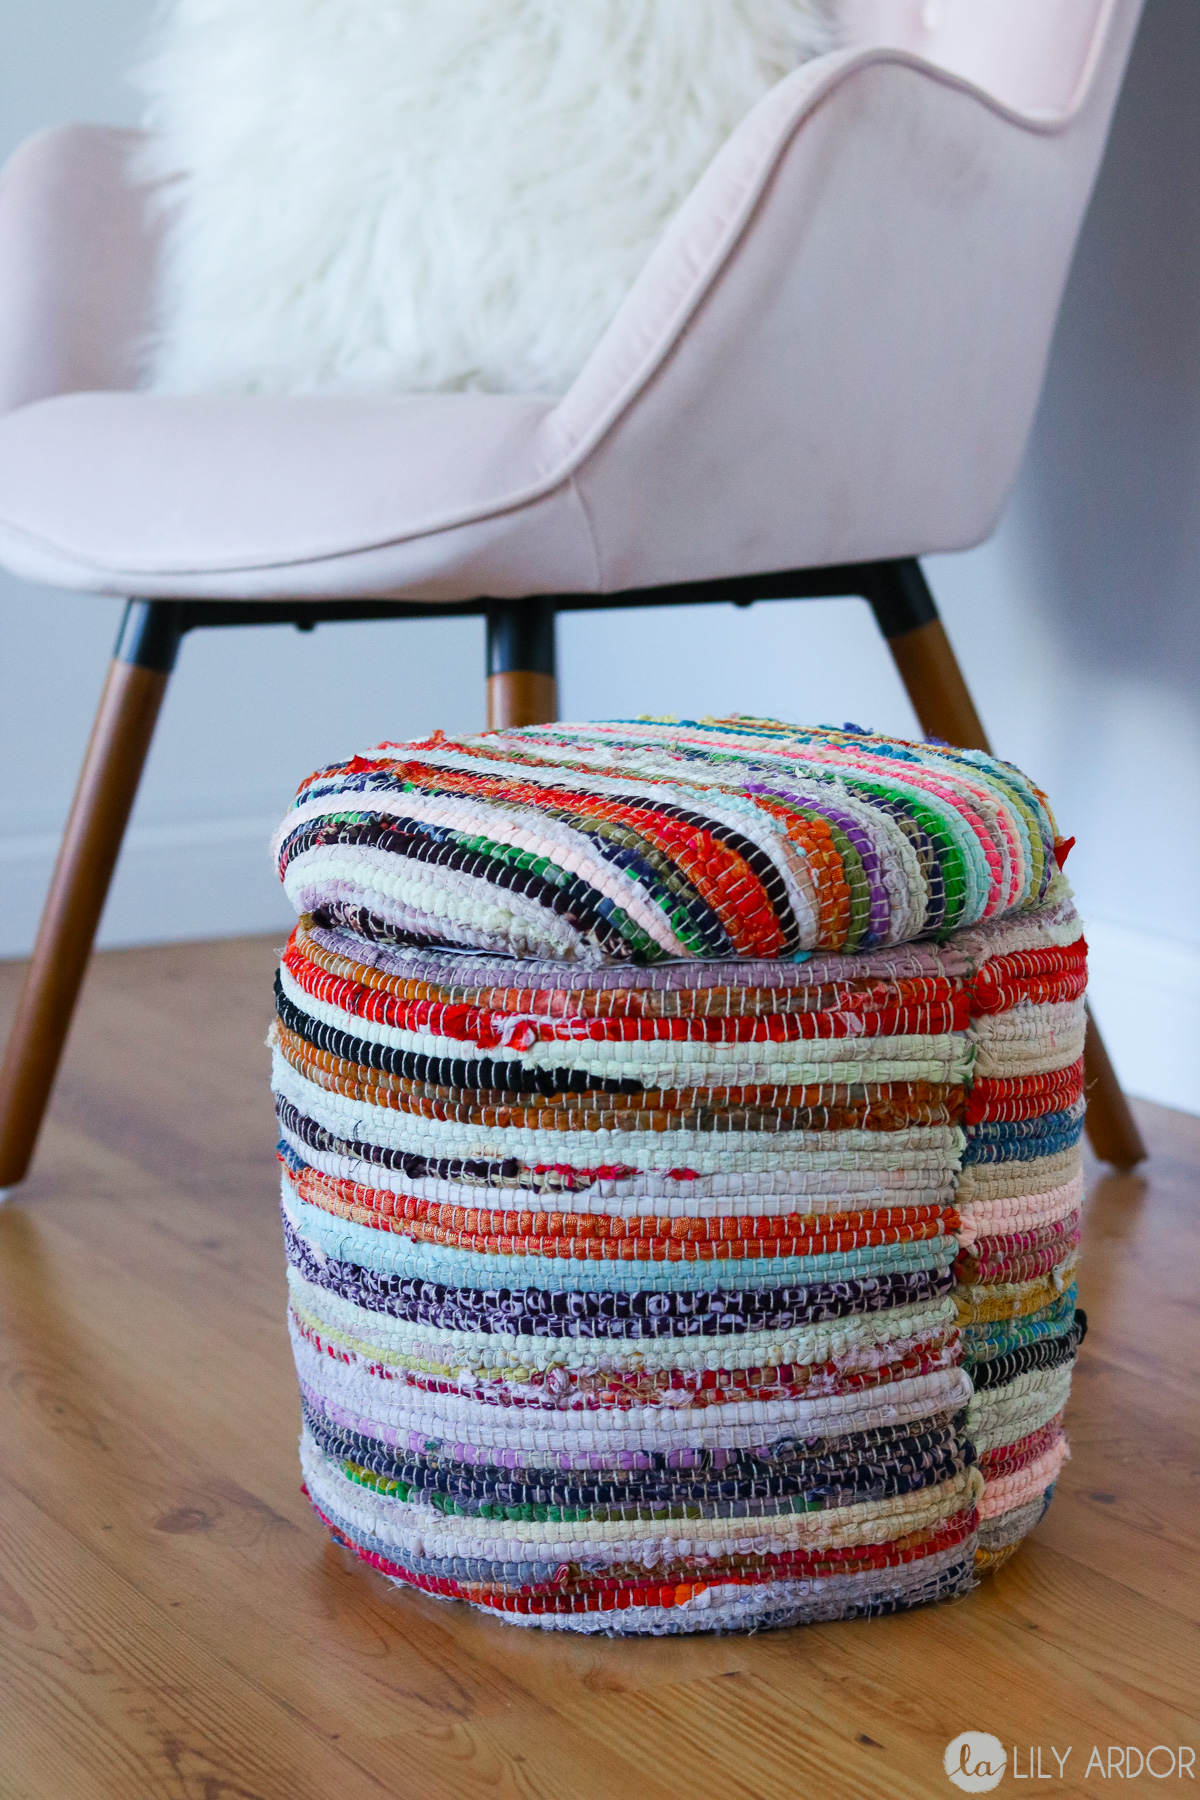
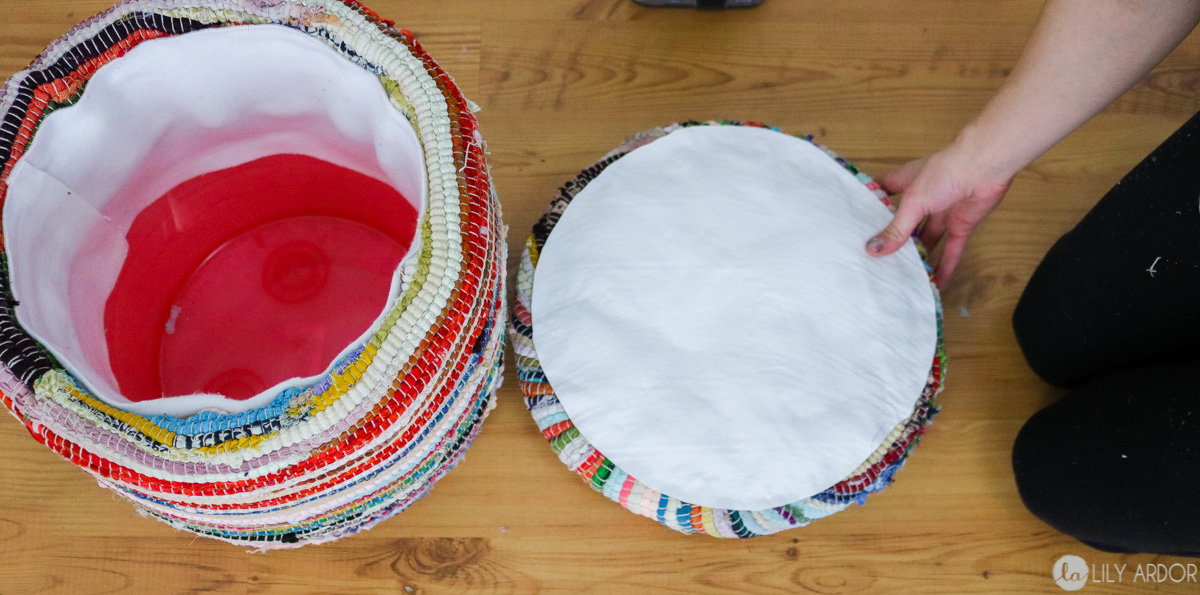
Honestly you can’t really tell there’s a removable lid. 😀 😀 Oh wait I can, cuz I made it!! HAHA 😀 😀
How cute is this chair I came across at hobby lobby. I was super surprised! I know hobby lobby sells home decor but, I didn’t realize they sold furniture pieces that are this big.
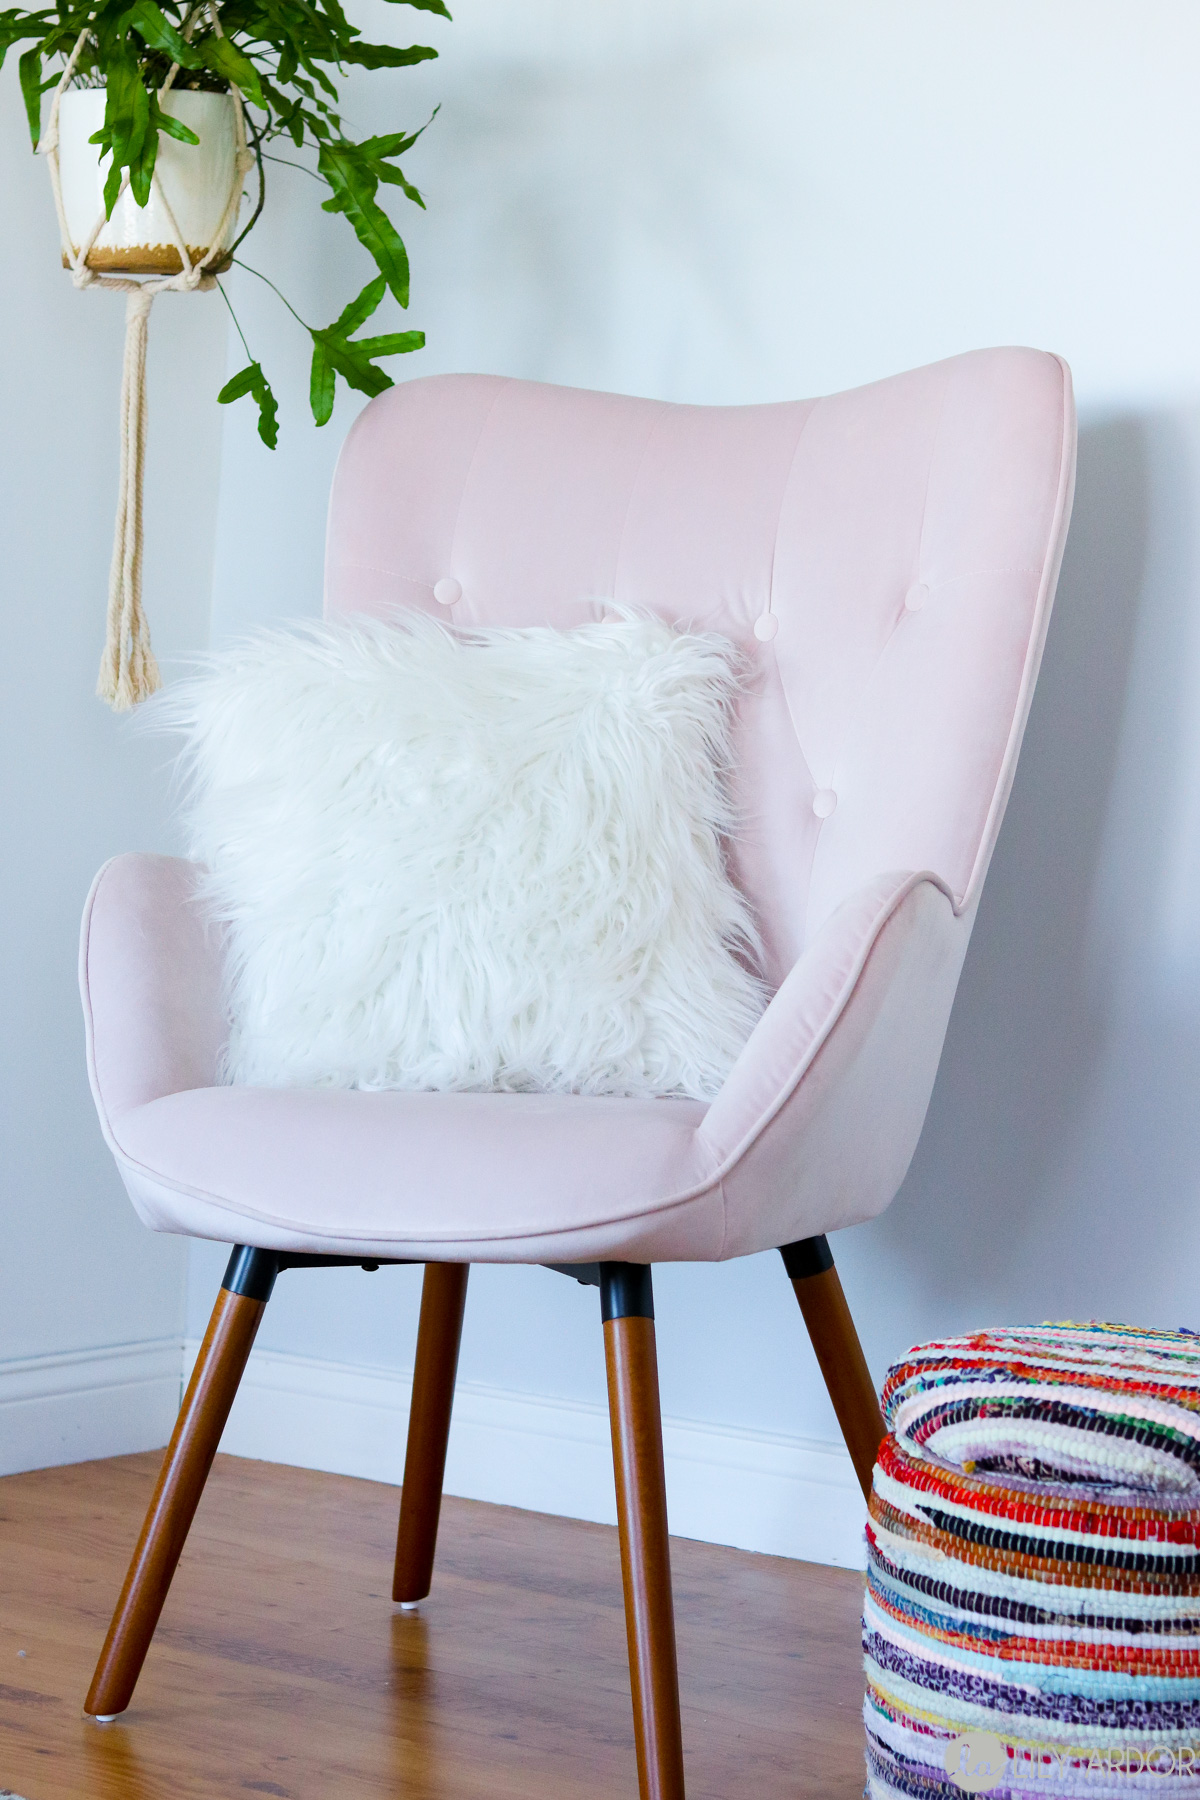
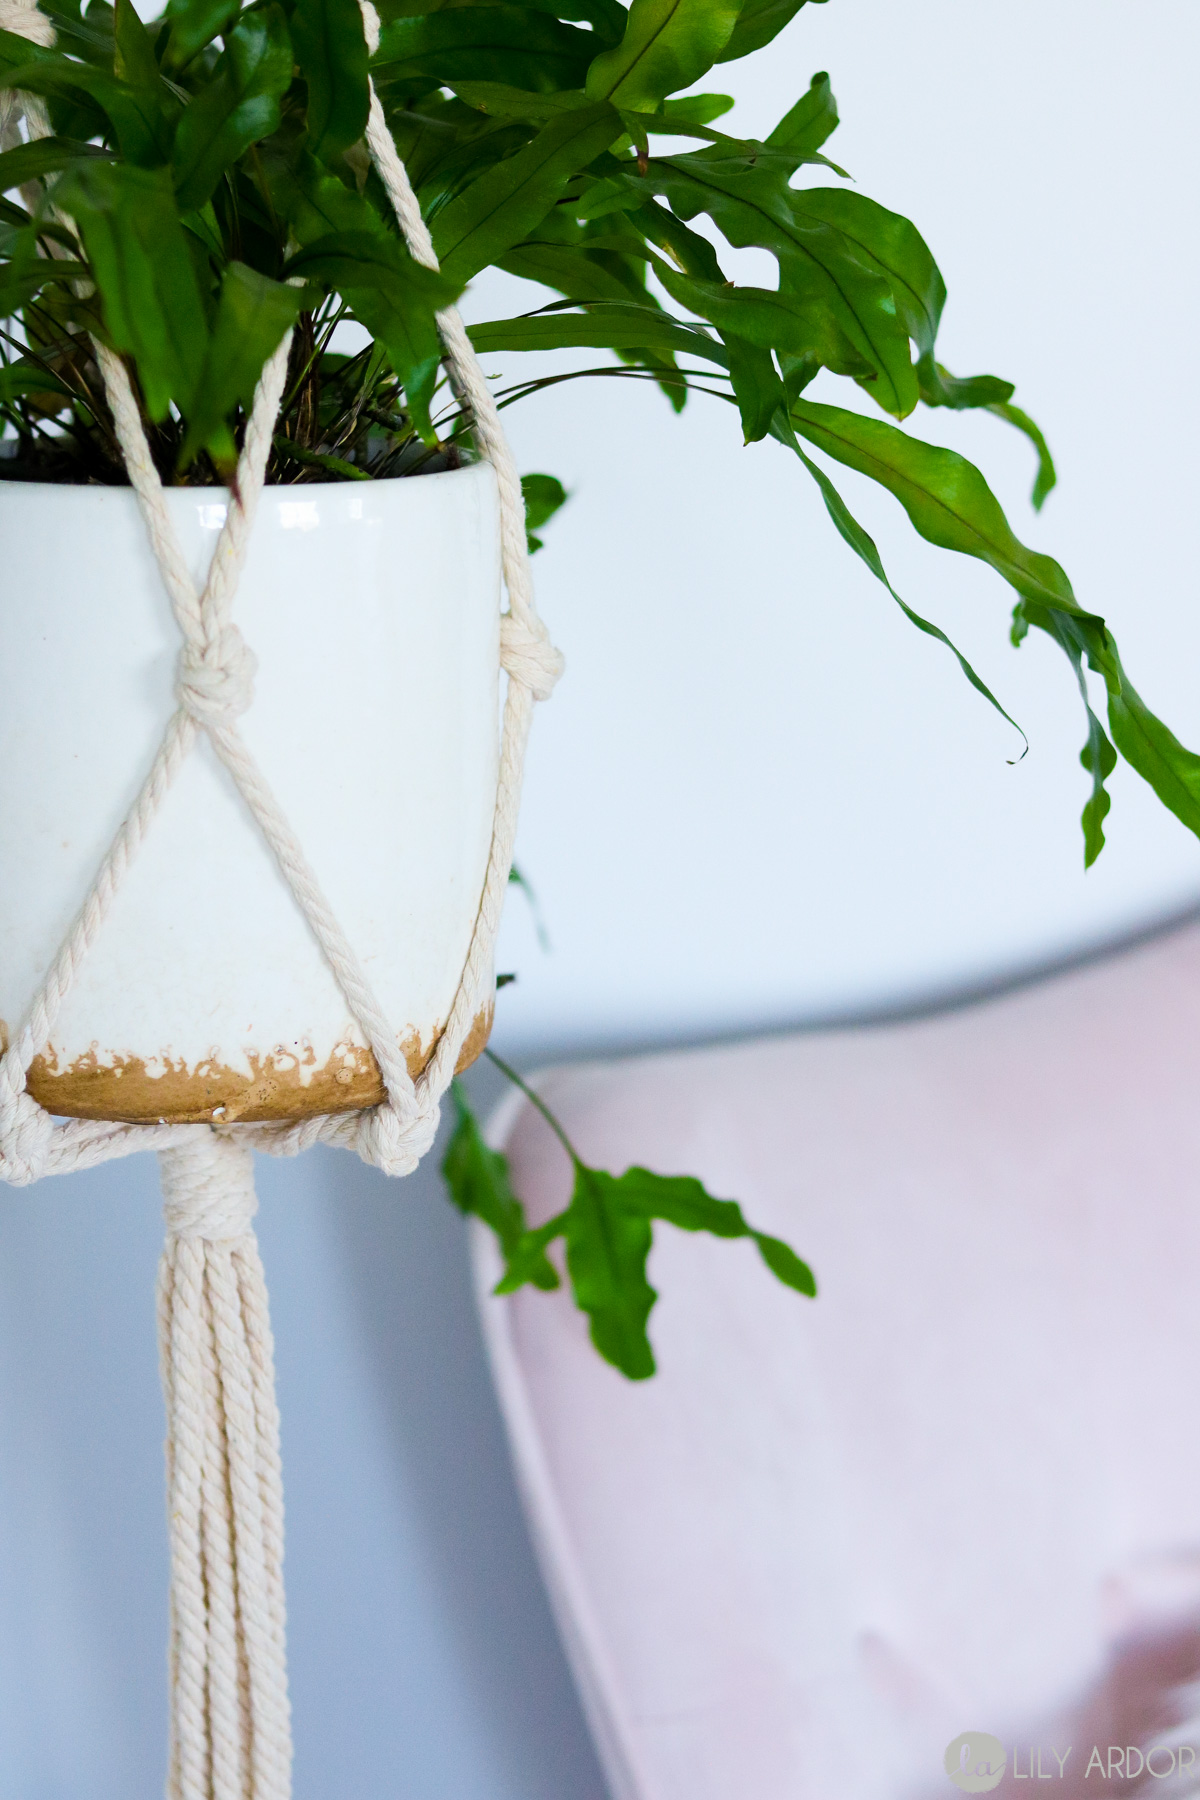
And I couldn’t say no to this Macrame plant hanger. For $3 it’s a steal. 😀 😀
Well then, that’s it’s for this DIY footstool ottoman. What do you think? Yes to the rag rug or will you be using fabric instead?
Here are some affiliate links for similar products used to make this project. (If you purchase anything from my affiliate link I might get a small commission. However this DOES NOT result in any additional charges to you. For more info read my disclosure policy)
So cute Lily, great tutorial too. Once again you’ve and created something useful and cute at the same time. Definitely Pinning and sharing.
Awe thank you Diena so glad you liked it.
As soon as I saw this project I knew I was going to make some because my house is a storage nightmare. But also because I have cats and I buy their litter in big square buckets. I always save them because you never know when you may need one and now I do know thanks for the tip.
perfect idea for xmas, Thank you
I have already purchased material. will follow this page and anticipate starting christmas presents this weekend.
YAY!! How exciting! Thanks for tuning in 🙂 Happy Crafting
perfect christmas idea Thank you
I sure am gonna make this footstool tomorrow,by Gods grace.
YAY! 🙂 so glad you liked it 🙂
I purchased my rugs for this idea but wasn’t sure how to begin. Your directions are wonderful! Thanks for sharing this cute and functional project.
No problem Happy to hear it was helpful.