Make your home feel more like a home you love with these easy to make DIY Throw Pillows. With the Cricut Explore Air, you can cut out any design and fabric of your choice for a one-of-a-kind pillow cover that is completely custom! Follow along in this tutorial as I show you exactly how to make pillows with Cricut
How to Make DIY Throw Pillows with Cricut
I love being able to make my own pillows. It is so easy with the help of the Cricut machine and some fabric from my local craft store. I got started by designing out each pillow and really was wanting to achieve the Bohemian look.
I just love how easy it is to make pillows with Cricut and how awesome they turned out to be. Follow along as I show you exactly how to make pillows with Cricut in this video.
Supplies Needed for DIY Throw Pillows:
- Fabric
- Rit Dye
- Heat n Bond
- Scissors
- Cricut
- Cricut Mat
- Fringe trim
- Sewing Machine
Steps to making DIY Throw Pillows with Cricut
1 – First, since I was going for a specific Bohemian look I wanted a specific color but couldn’t find it at the fabric store so I settled for making my own colored fabric. If you are wanting exactly the colors I used follow the steps below to change your fabric color!
To make brown fabric color:
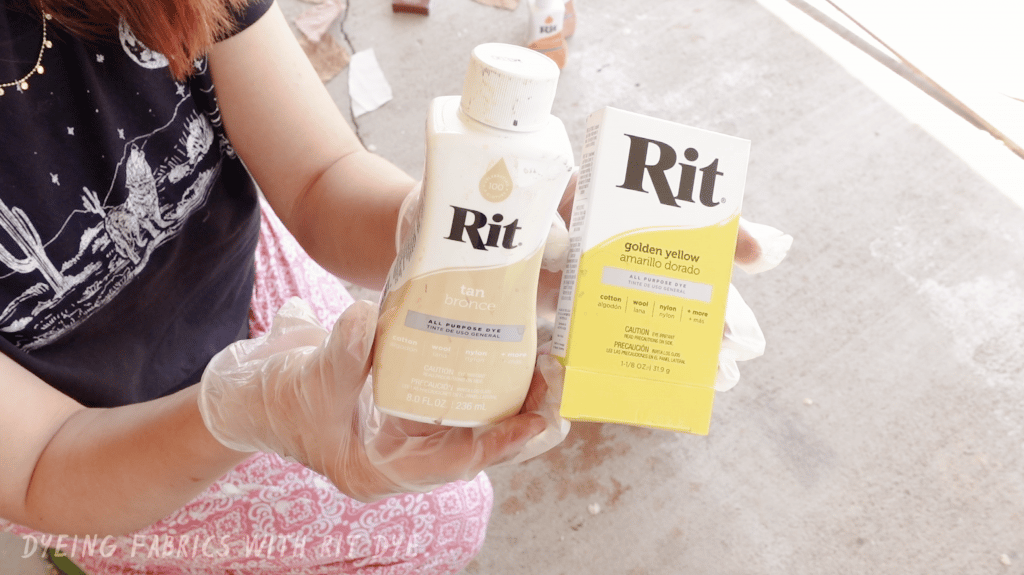
- Rit Tan
- Rit Golden Yellow
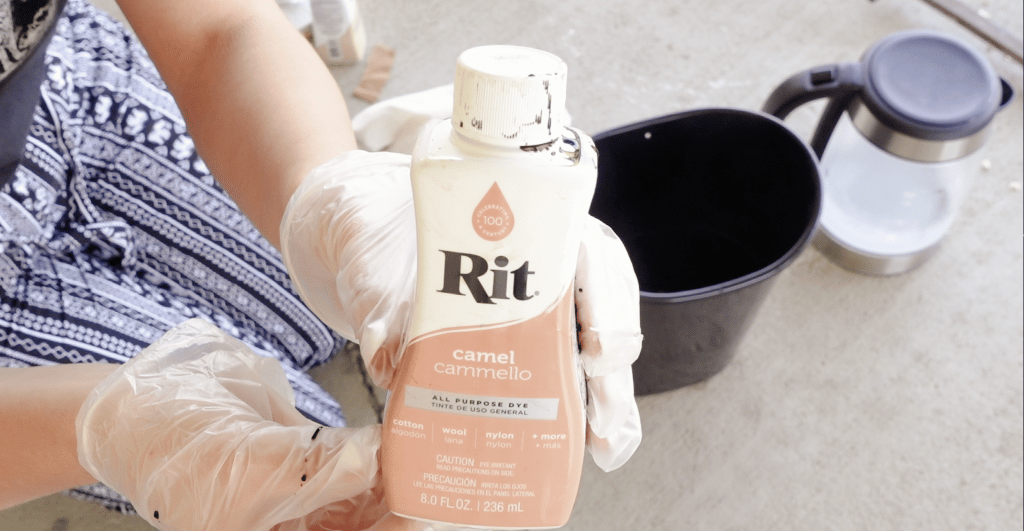
- Rit Camel
- Rit Coco Brown
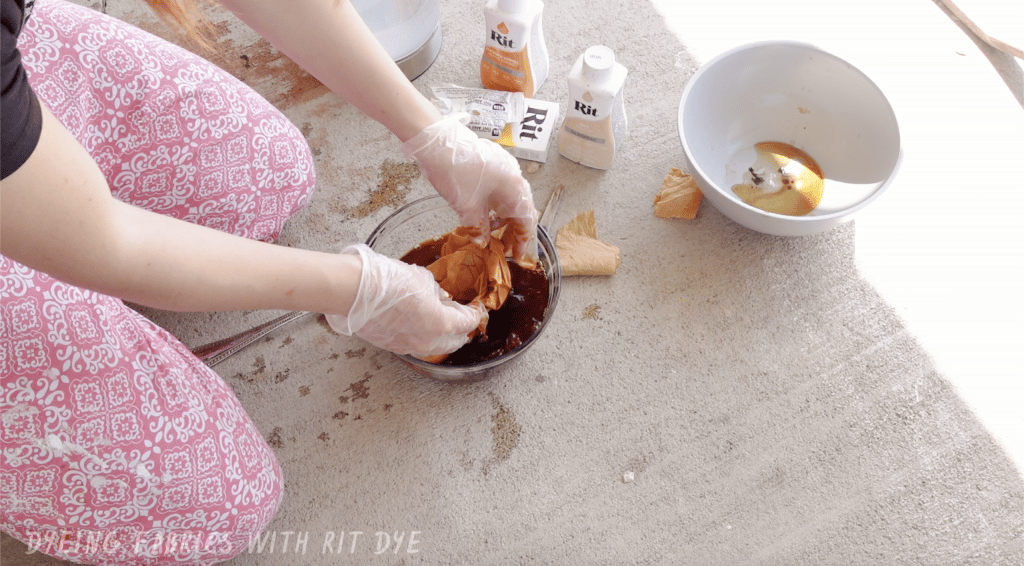
Add to the hot tub of water and mix it. Dip your fabric piece in the mixture for about 20 minutes. If you are wanting a deeper color rinse it with water and then dry your fabric and redip it in the dye.
To make mustard fabric color:
- Rit tan
- Rit Golden yellow
Add these dye colors to a tub of water and mix them together. To obtain the color I was wanting I only placed my fabric into this mixture for 5 minutes.
2 – Now that my fabric is the color I was wanting I am now ready to start making my DIY throw pillows with the Cricut. Before you start make sure though you have allowed your fabric time to dry before. If you are new to the Cricut machine you may want to watch my video on Cricut Explore Air 2 for Beginners.
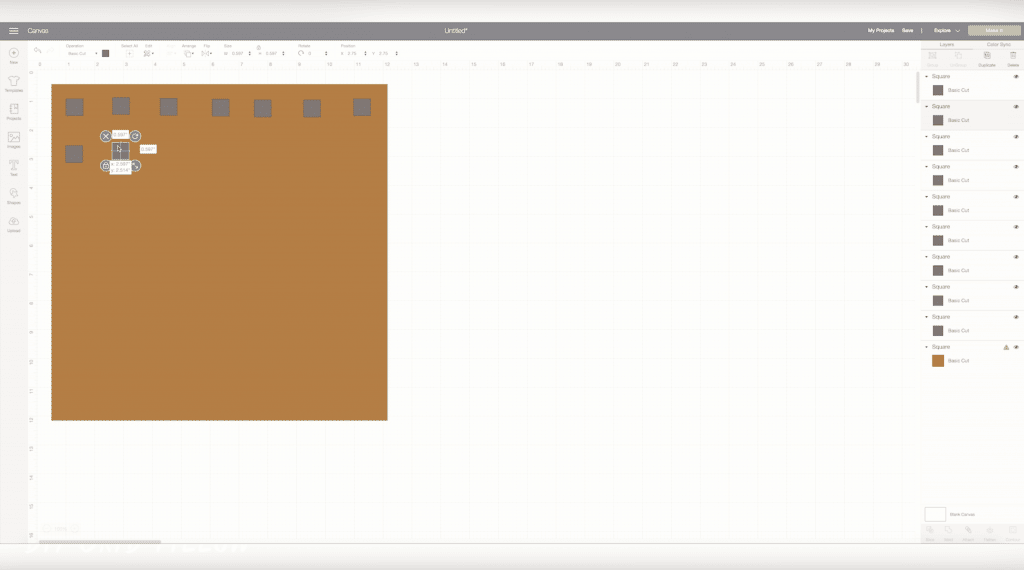
3 – Using the Cricut design space I designed the grid pattern using the square shape by making a large square first then dropped a smaller square in that square. Repeating adding as many rows and columns as I wanted. If you are interested in using the design I already created you can grab that here.
4 – Once you have your design completed and know exactly what size your large square will be go ahead and mark and measure your fabric and cut out. Mine measured at 11 x 11 inches.
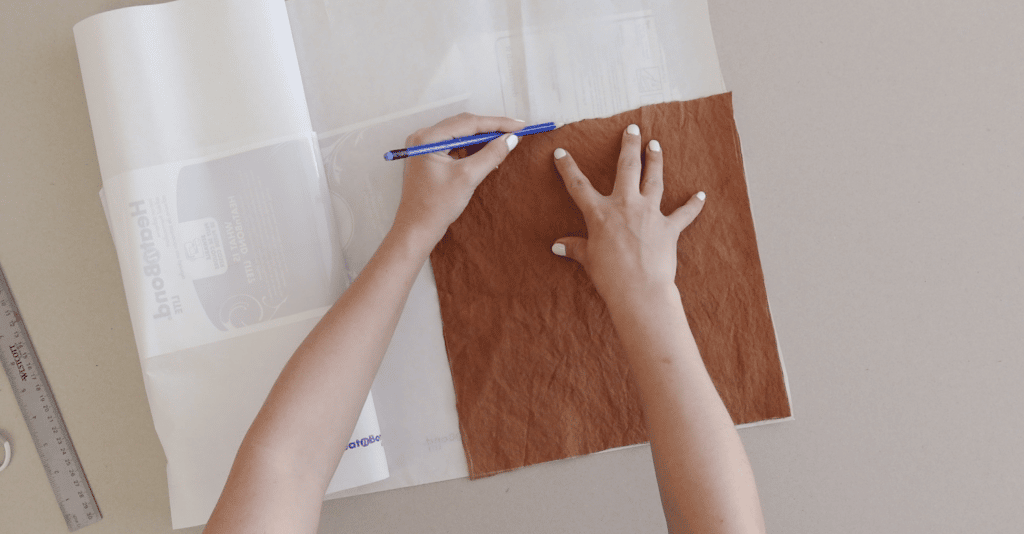
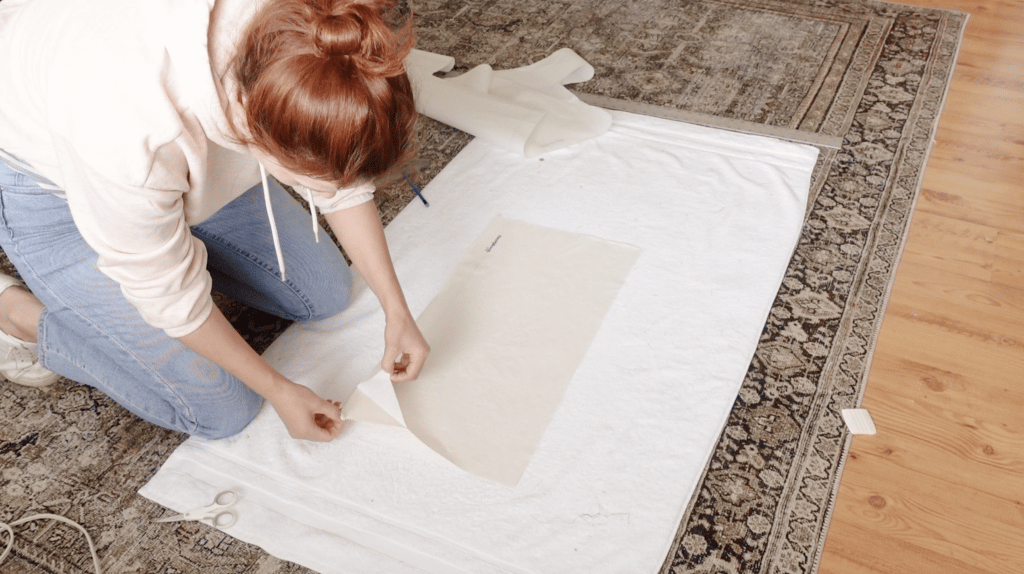
5 – Since I am using a Cricut Explore Air 2 machine I need to bond the fabric first before cutting. I used some Heat n Bond. You will see that this stuff looks like paper and on one side it has a texture. This texture is actually the bonded glue. This is the side you want towards the fabric. Lay your heat n bond onto the fabric and trace the outline so you can cut it to size and apply it to the fabric.
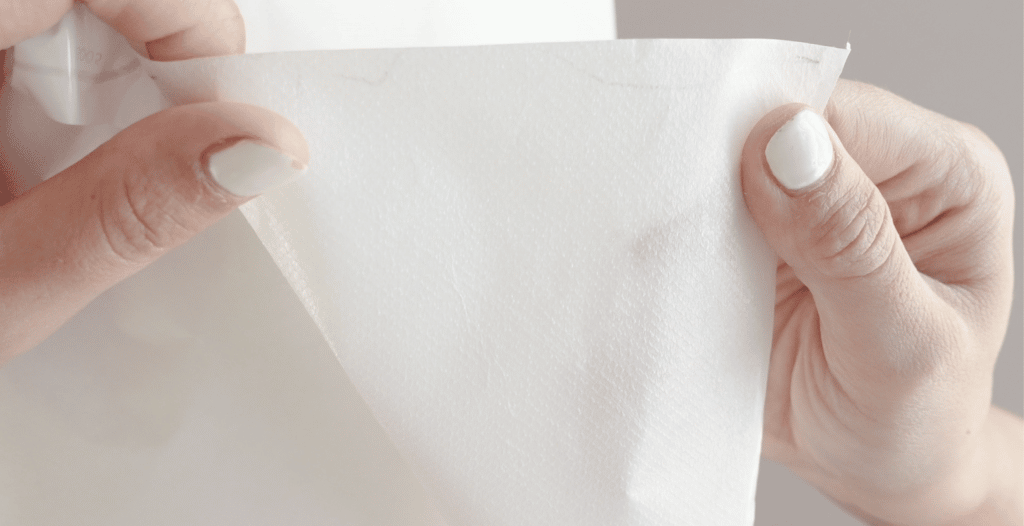
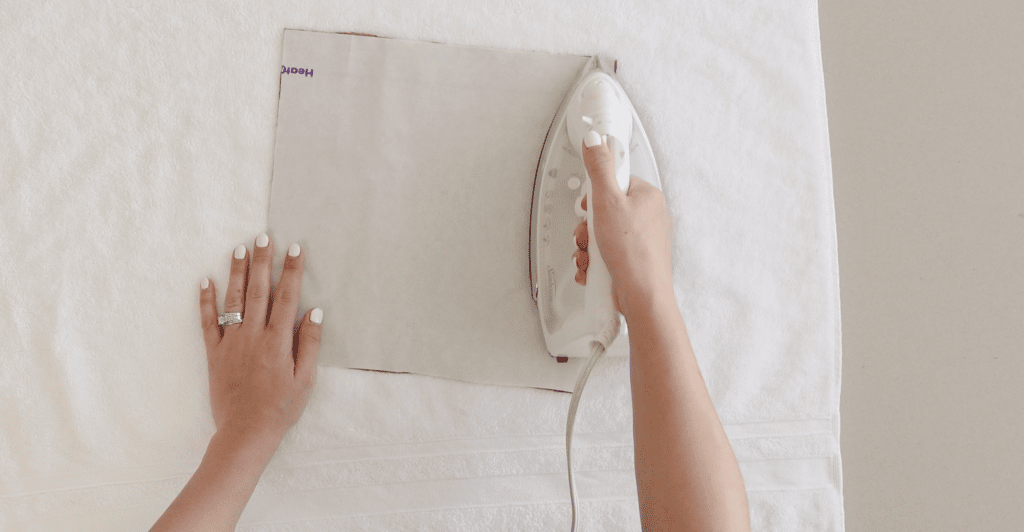
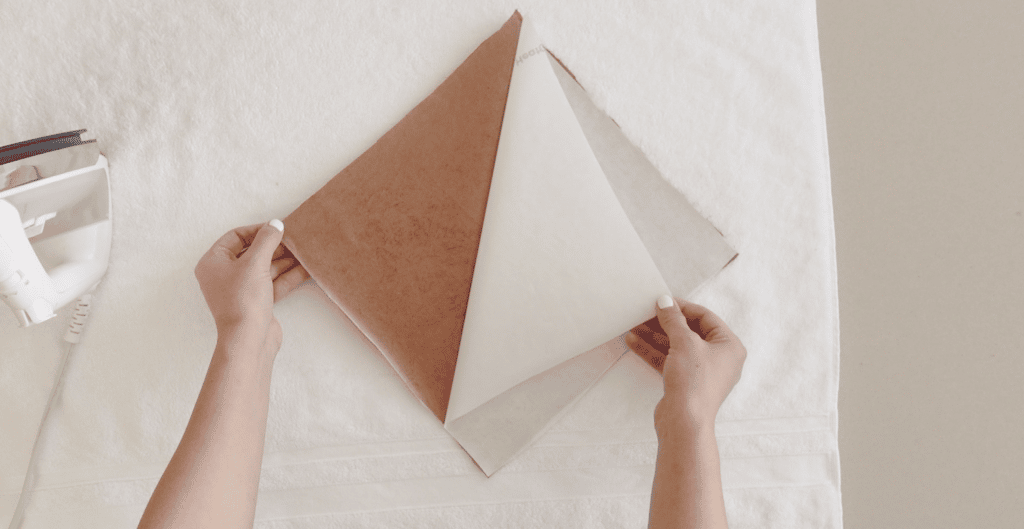
6 – Now lay the heat n bond texture side down on the fabric and iron it. You will want to make sure you distribute the heat evenly for about 15 seconds. Allow it to sit for about 5 seconds before pulling the paper and you will be left with the shiny surface left on the fabric.
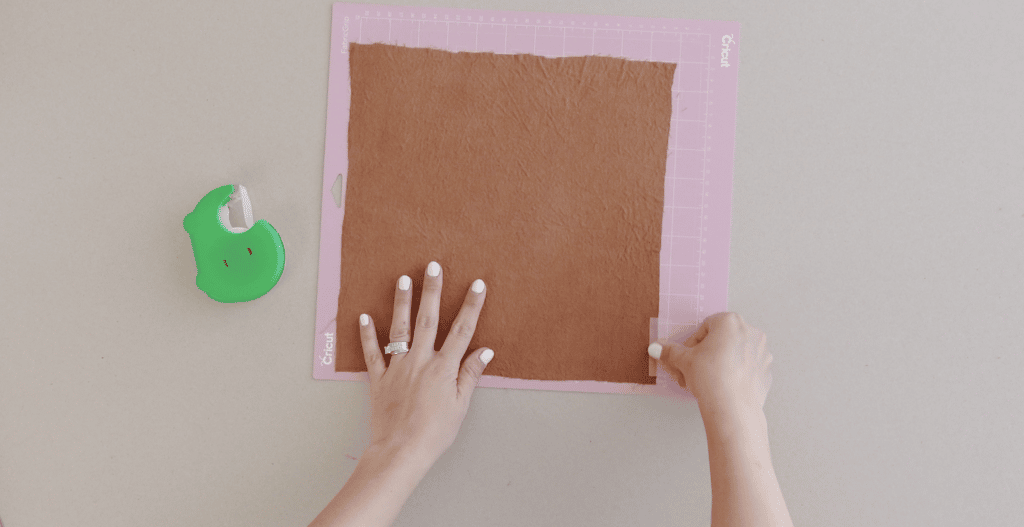
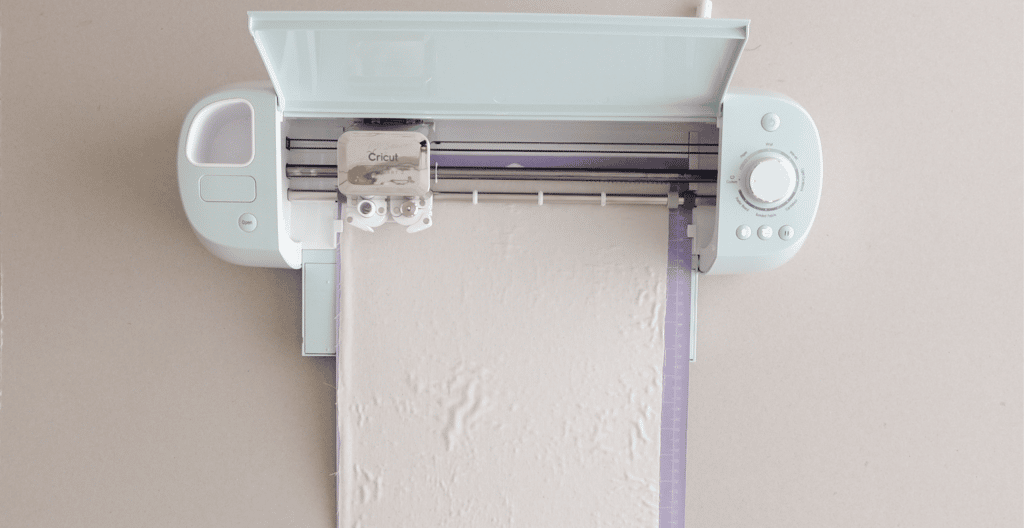
7 – Now secure your fabric square to your fabric grip mat. I secured the edges with some tape to help secure the piece of fabric to the mat.
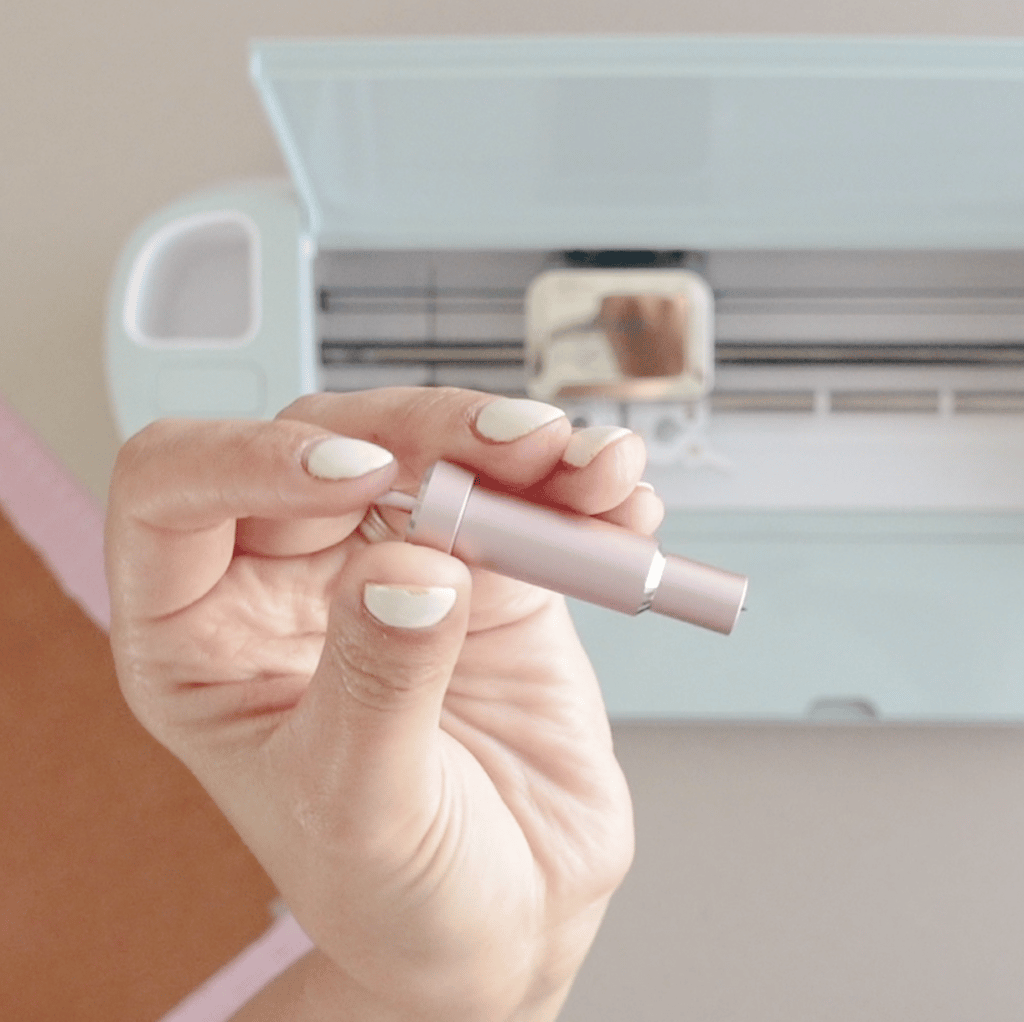
8 – Switch your Cricut blade to the bonded fabric one before cutting
9 – Choose the option bonded polyester before cutting the design
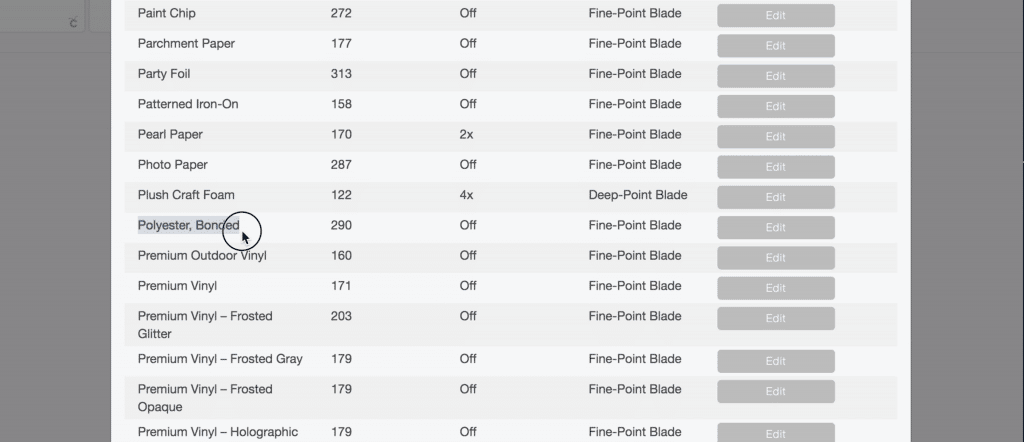
10 – Set pressure to 290 and select the option more before cutting
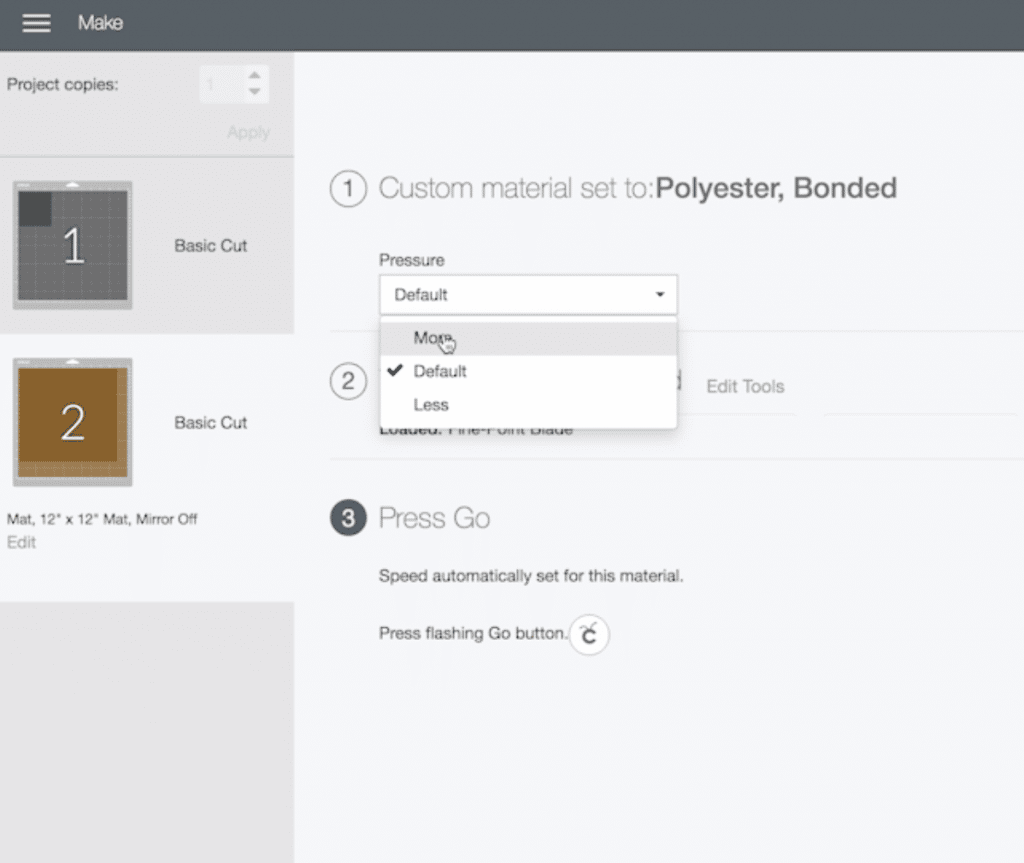
11 – Now that your settings are set you can click cut and let the machine do its job!
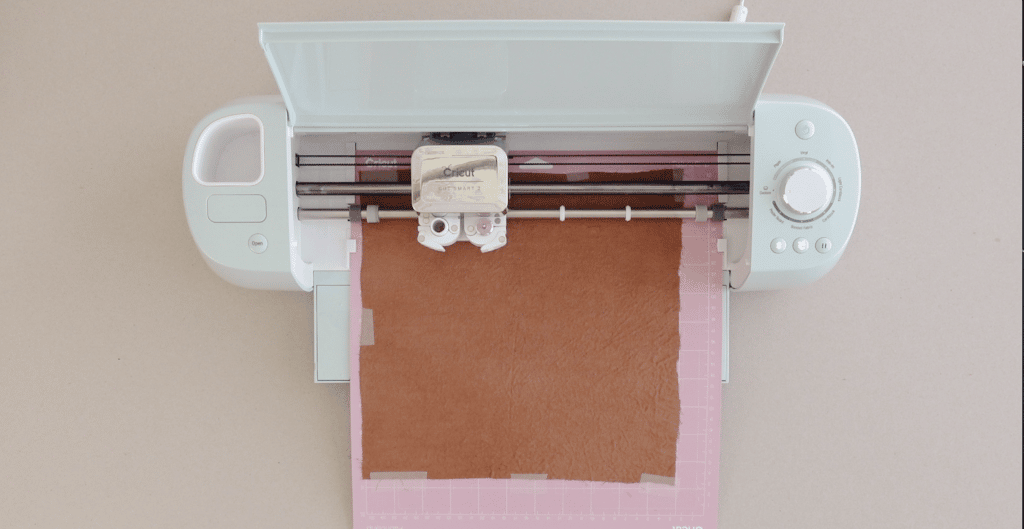
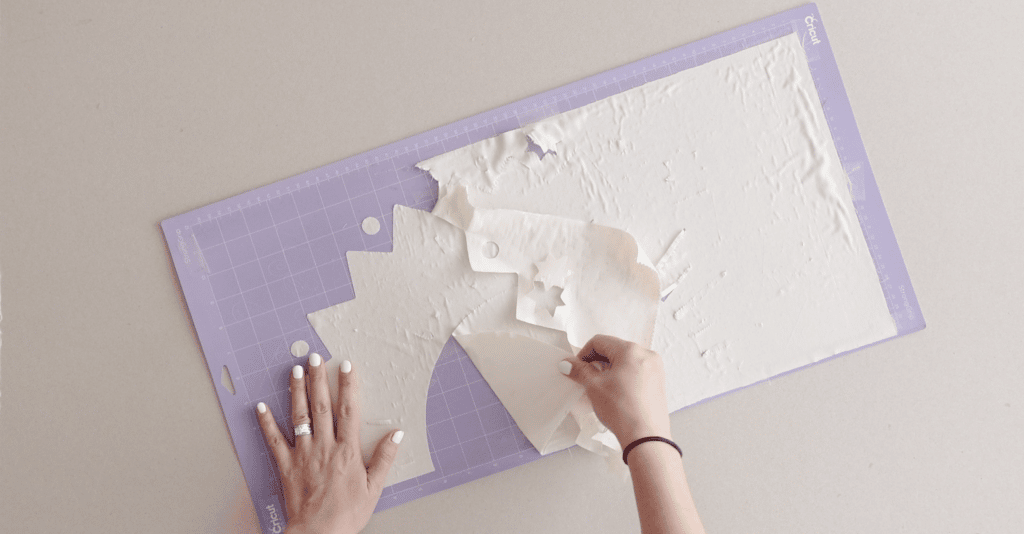
12 – I suggest pulling your fabric away to the side from the mat vs pulling it away from the top. This helps the bonded glue stay on the fabric.
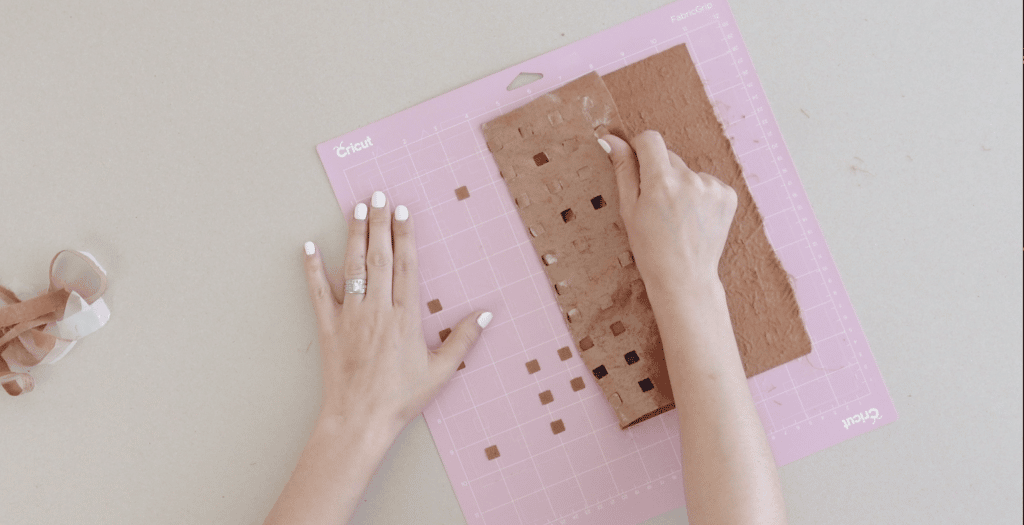
13 – You may notice that some of the little squares did not come off so just give them a little pull or you can cut the connecting point with scissors. The sharper your blade is the cleaner your cut will be.
14 – You will need to cut 6 squares total for this pillow sham.
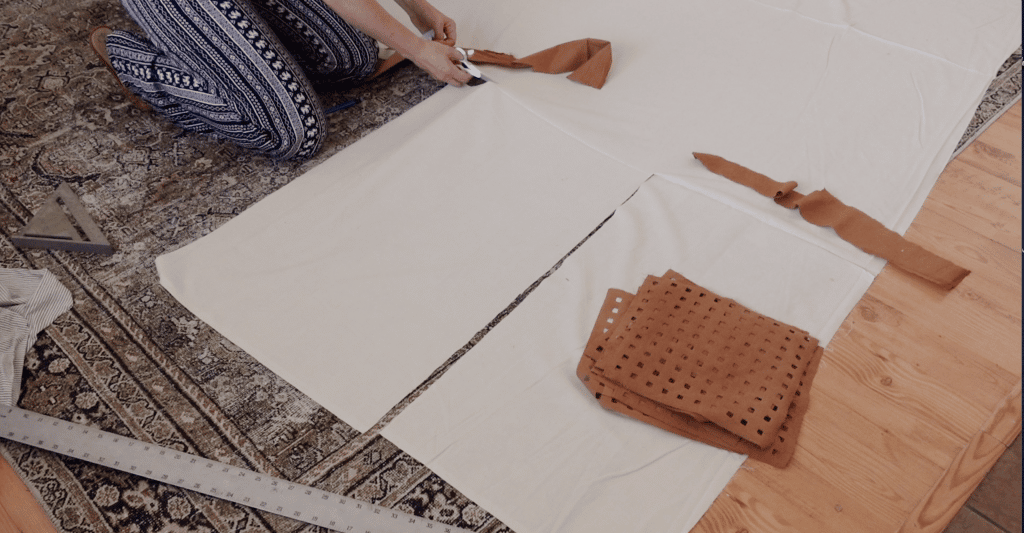
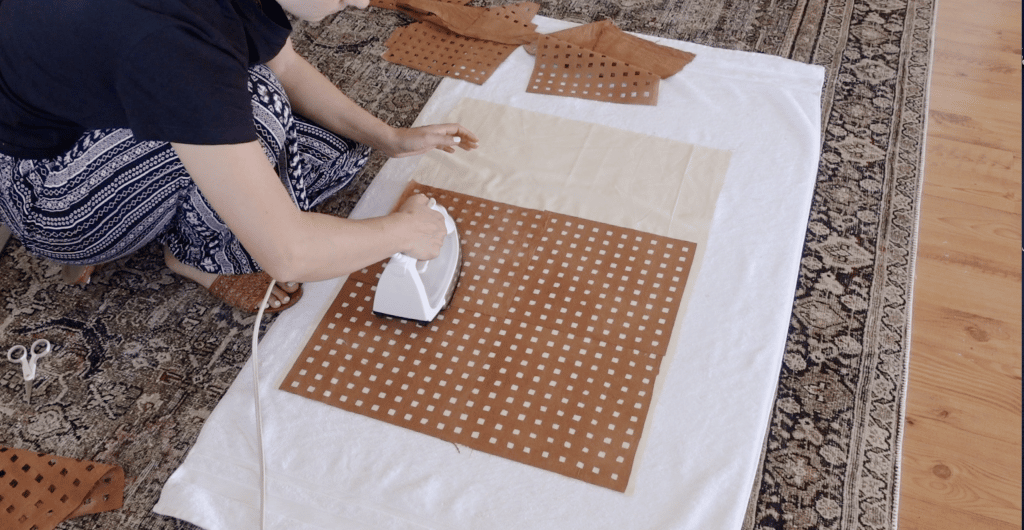
15 – Now cut your fabric for the front of the pillow sham. I cut mine to measure 21 inches by 30 inches.
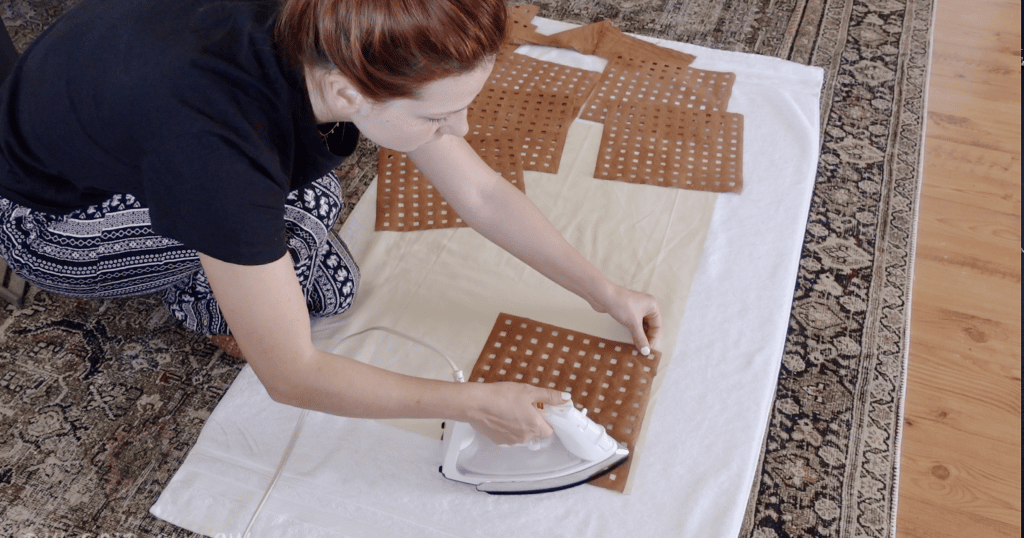
16 – Then using an iron, iron on each square to the fabric. Lining them up edge to edge.
17 – I now just straight-stitched the pieces additionally. This ensures they stay on while washing. Now time to add the back of the pillowcase.

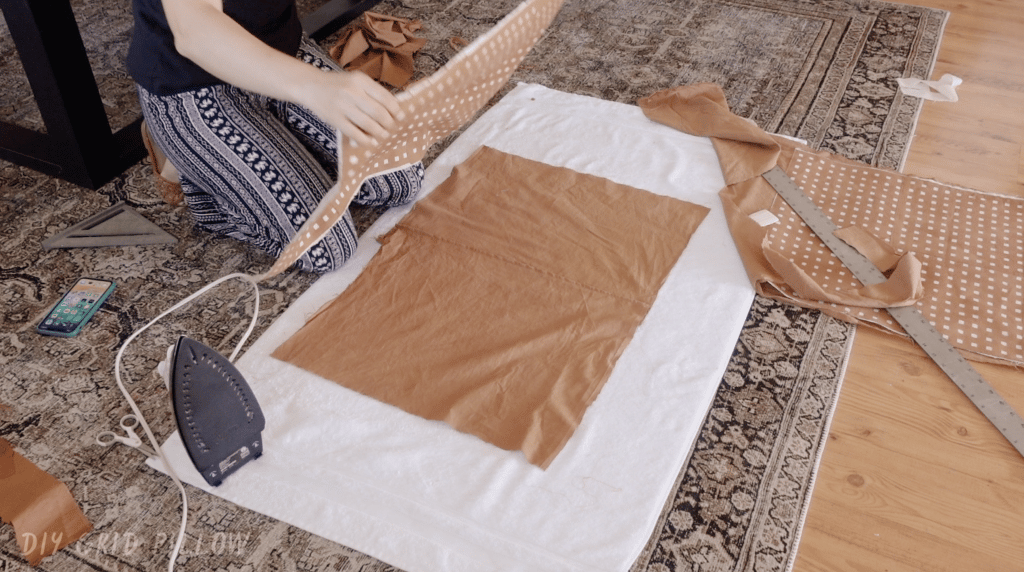
18 – For the back of the pillowcase, I actually cut the fabric a little bit longer measuring about 36 inches in length. Then I folded it in half and cut it. You will need to use some pins and pin it to the front of the pillow shams and then stitch it all together leaving an opening to stuff your pillow in.
19 – Once you stuff your pillow in sew up the last sem and there you go! You now have some amazing DIY throw pillows.
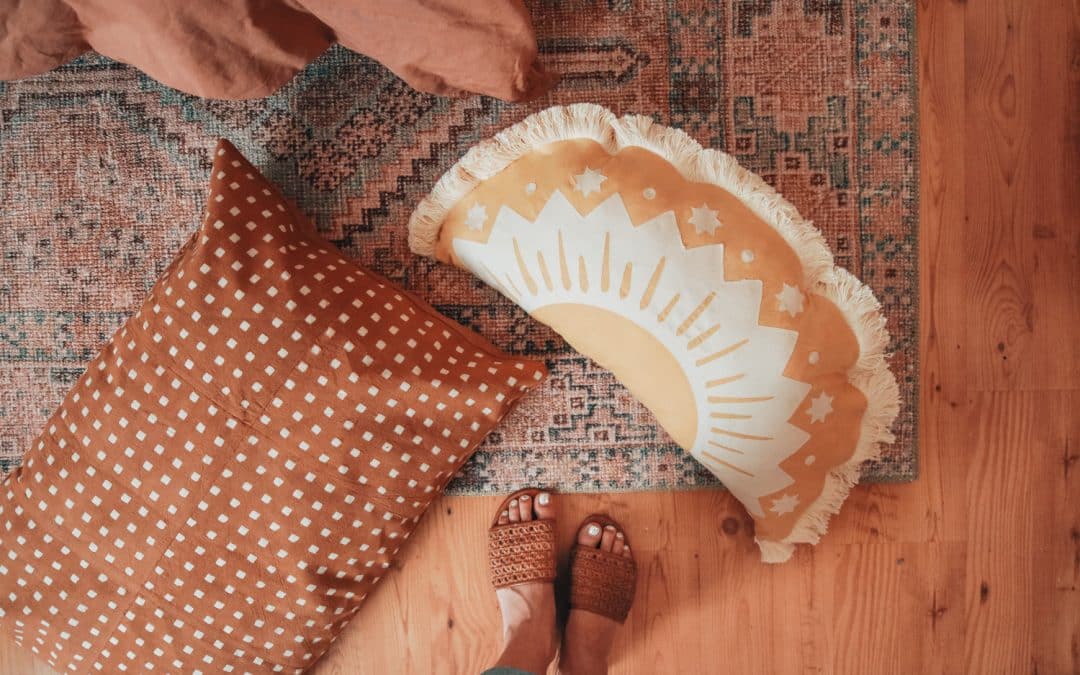
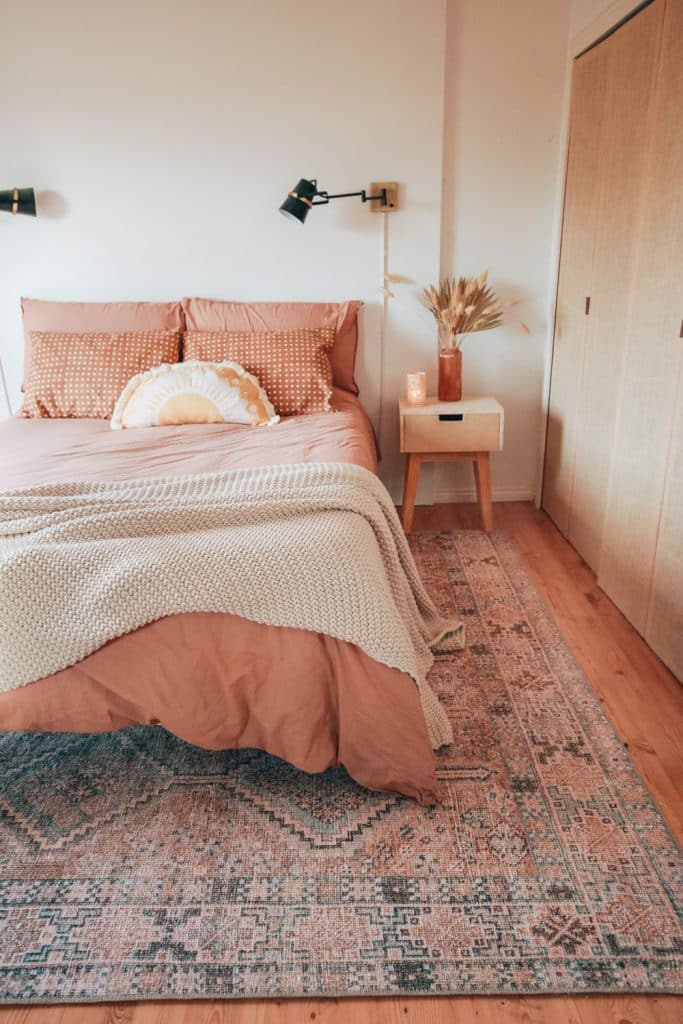
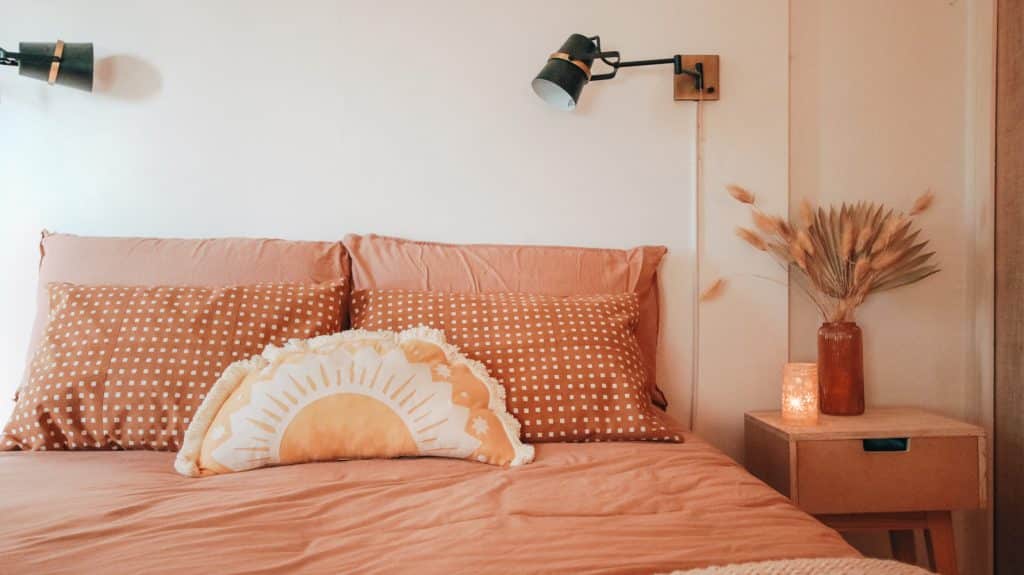
The grid pattern is so unique and fun! I think it matches the sun pillow perfectly. I do wish maybe the brown dye was a bit light to match the bedding more.
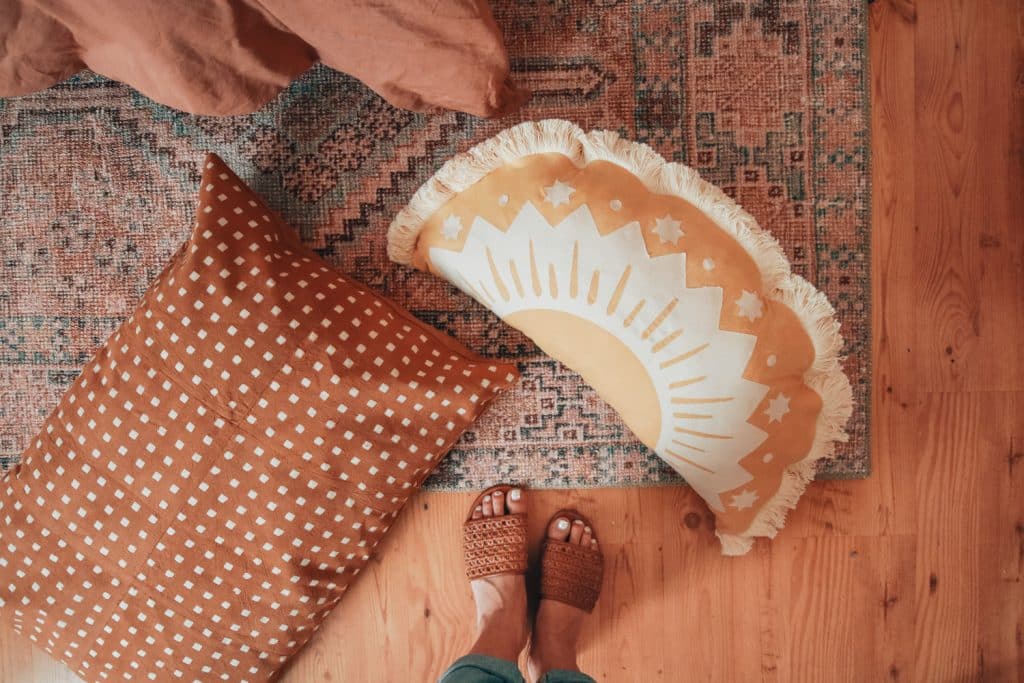
How to make a half shaped moon throw pillow with Cricut
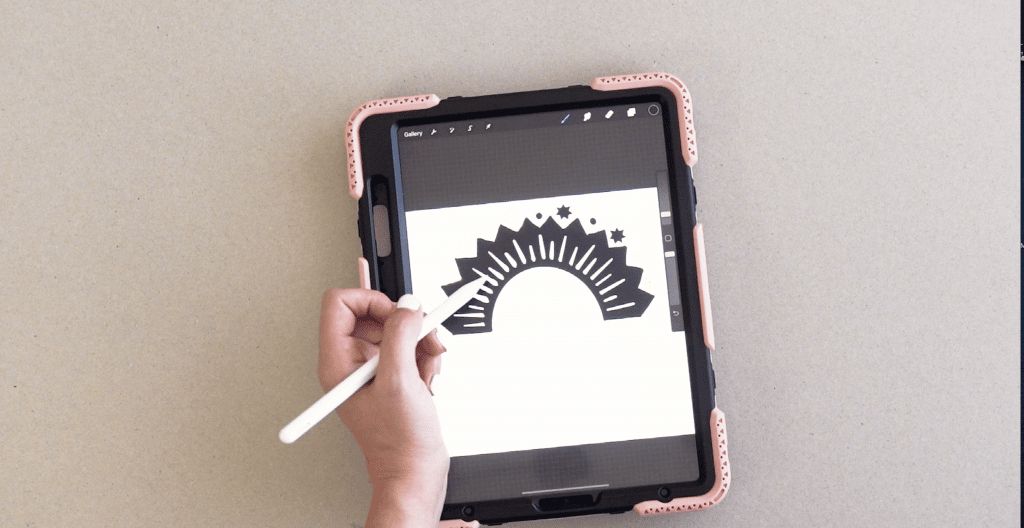
1- To make the second pillow I used the same DIY techniques as above except I didn’t find any design I liked on the Cricut design space so I drew my own in Procreate on the Ipad.
- – Upload your design or choose one in the design space.
3- Using your largest mat adhere your fabric that has had the heat and bond added to it and get ready to cut.
4 – Set your cut settings to bonded fabric and let Cricut do all the hard work.
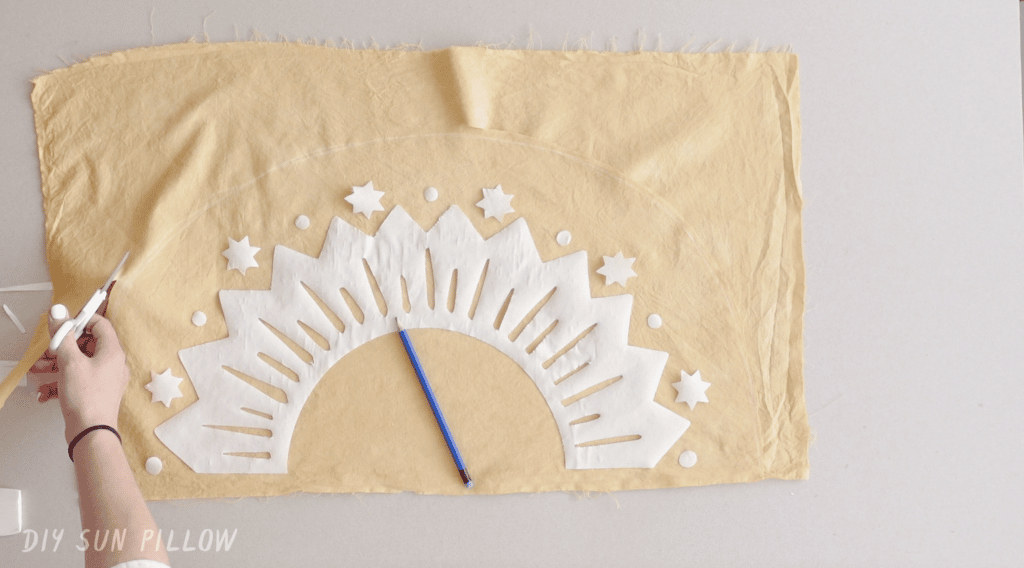
5 – Pull your design off your mat and lay it on top of your yellow fabric
6 – Trace the outline you wish your pillow to be and cut the fabric where you drew your outline. This is how I got the half-moon shape.
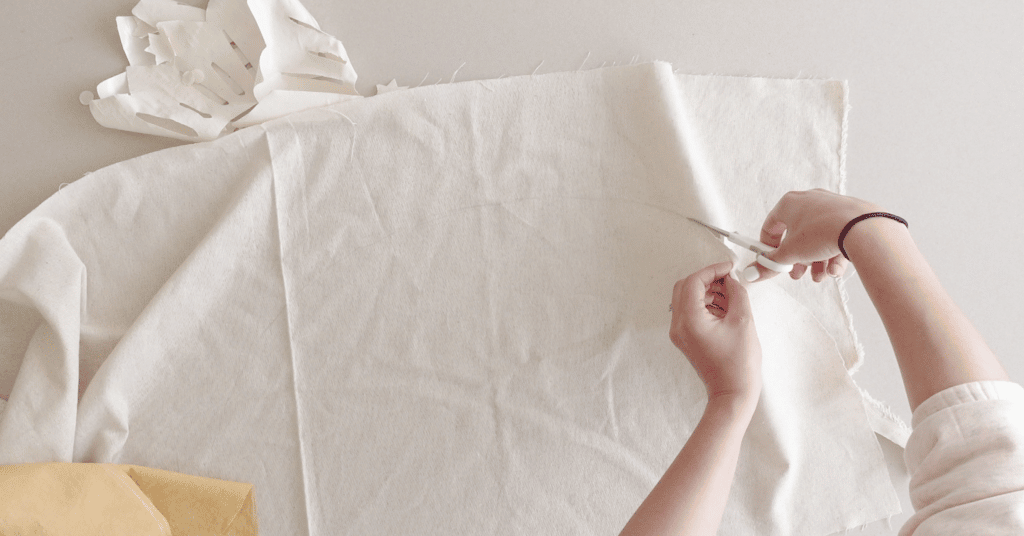
7 – Next cut a piece of white fabric to match the backing.
8 – Now it is time to iron on all your design pieces to your yellow fabric as well as top stitch them on. This may take a bit of time but trust me it will be worth it! 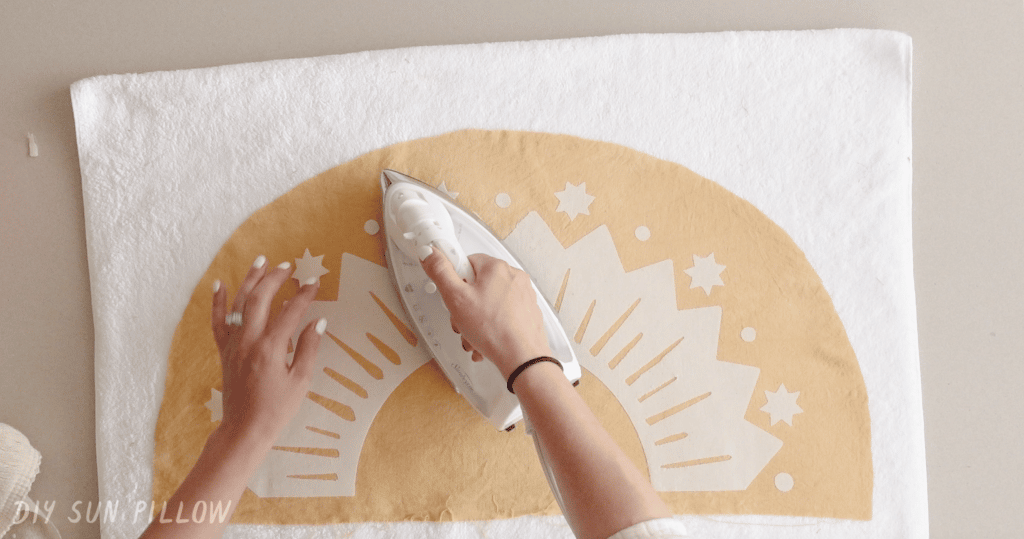
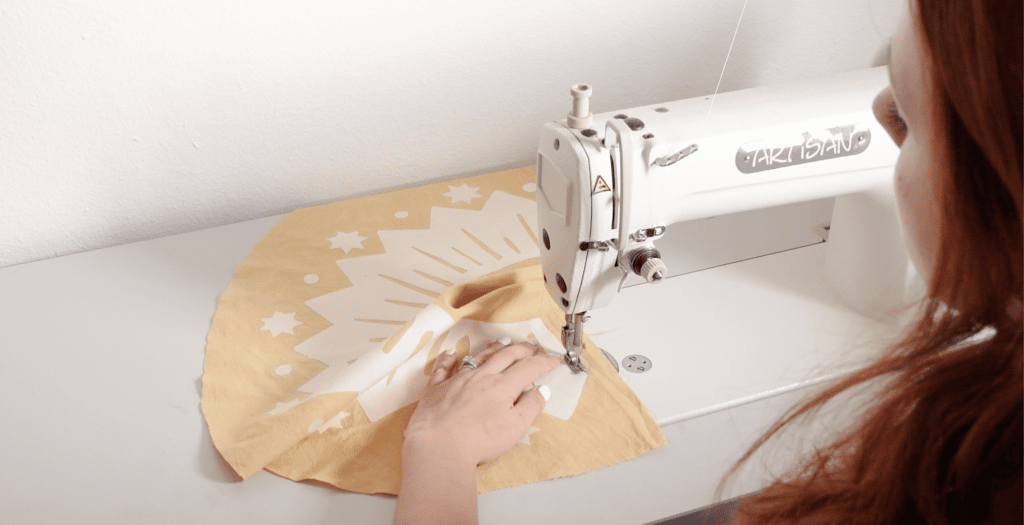
9 – Using your sewing machine attach some fringe trim to the back of your fabric. Now secure both the front and the back piece of your fabric together.
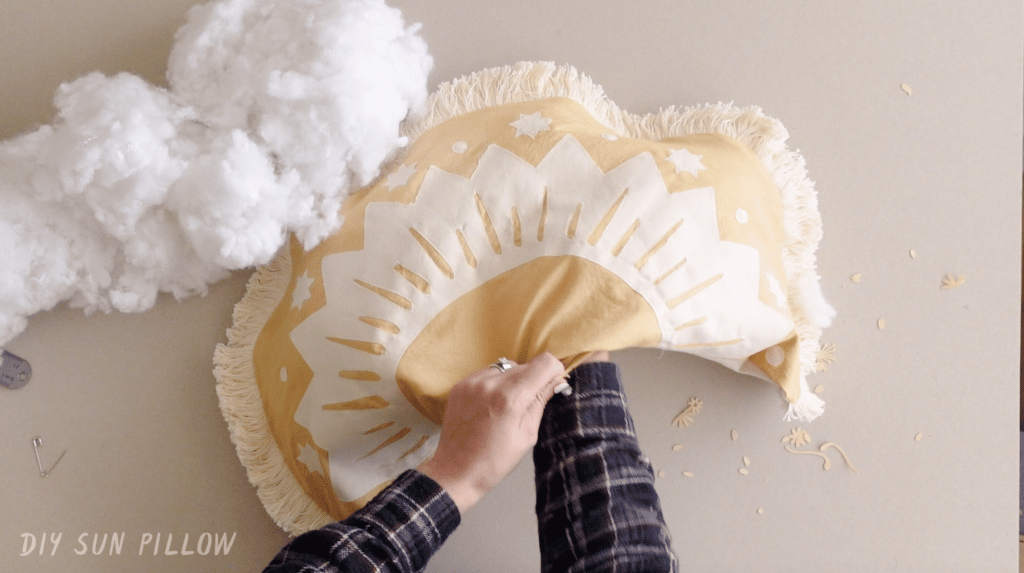
- Leave a small 4-inch piece of fabric unsewed so you can stuff your pillow. Once it is stuffed close the gap and your pillow is ready to use. Now you have an awesome pillow to add to your new bedroom decor.
I love how simple and cute this pillow turned it! If I saw this at anthropolgie I would totally buy it.
How to clean your Cricut mat after using bondage glue
I get asked a lot how do you clean your Cricut mat. It really is simple. All you have to do is run your mat under some hot water and use a little bit of dish soap. Once you have it nice and soapy and wet use an old credit card to scrape off the gunk left on the mat. Once you have scraped all of the leftover bondage just rinse again and stand it up to dry. You will find that it is just as sticky as before once it is nice and dry.
That’s all for today! I hope you like these DIY pillows.