
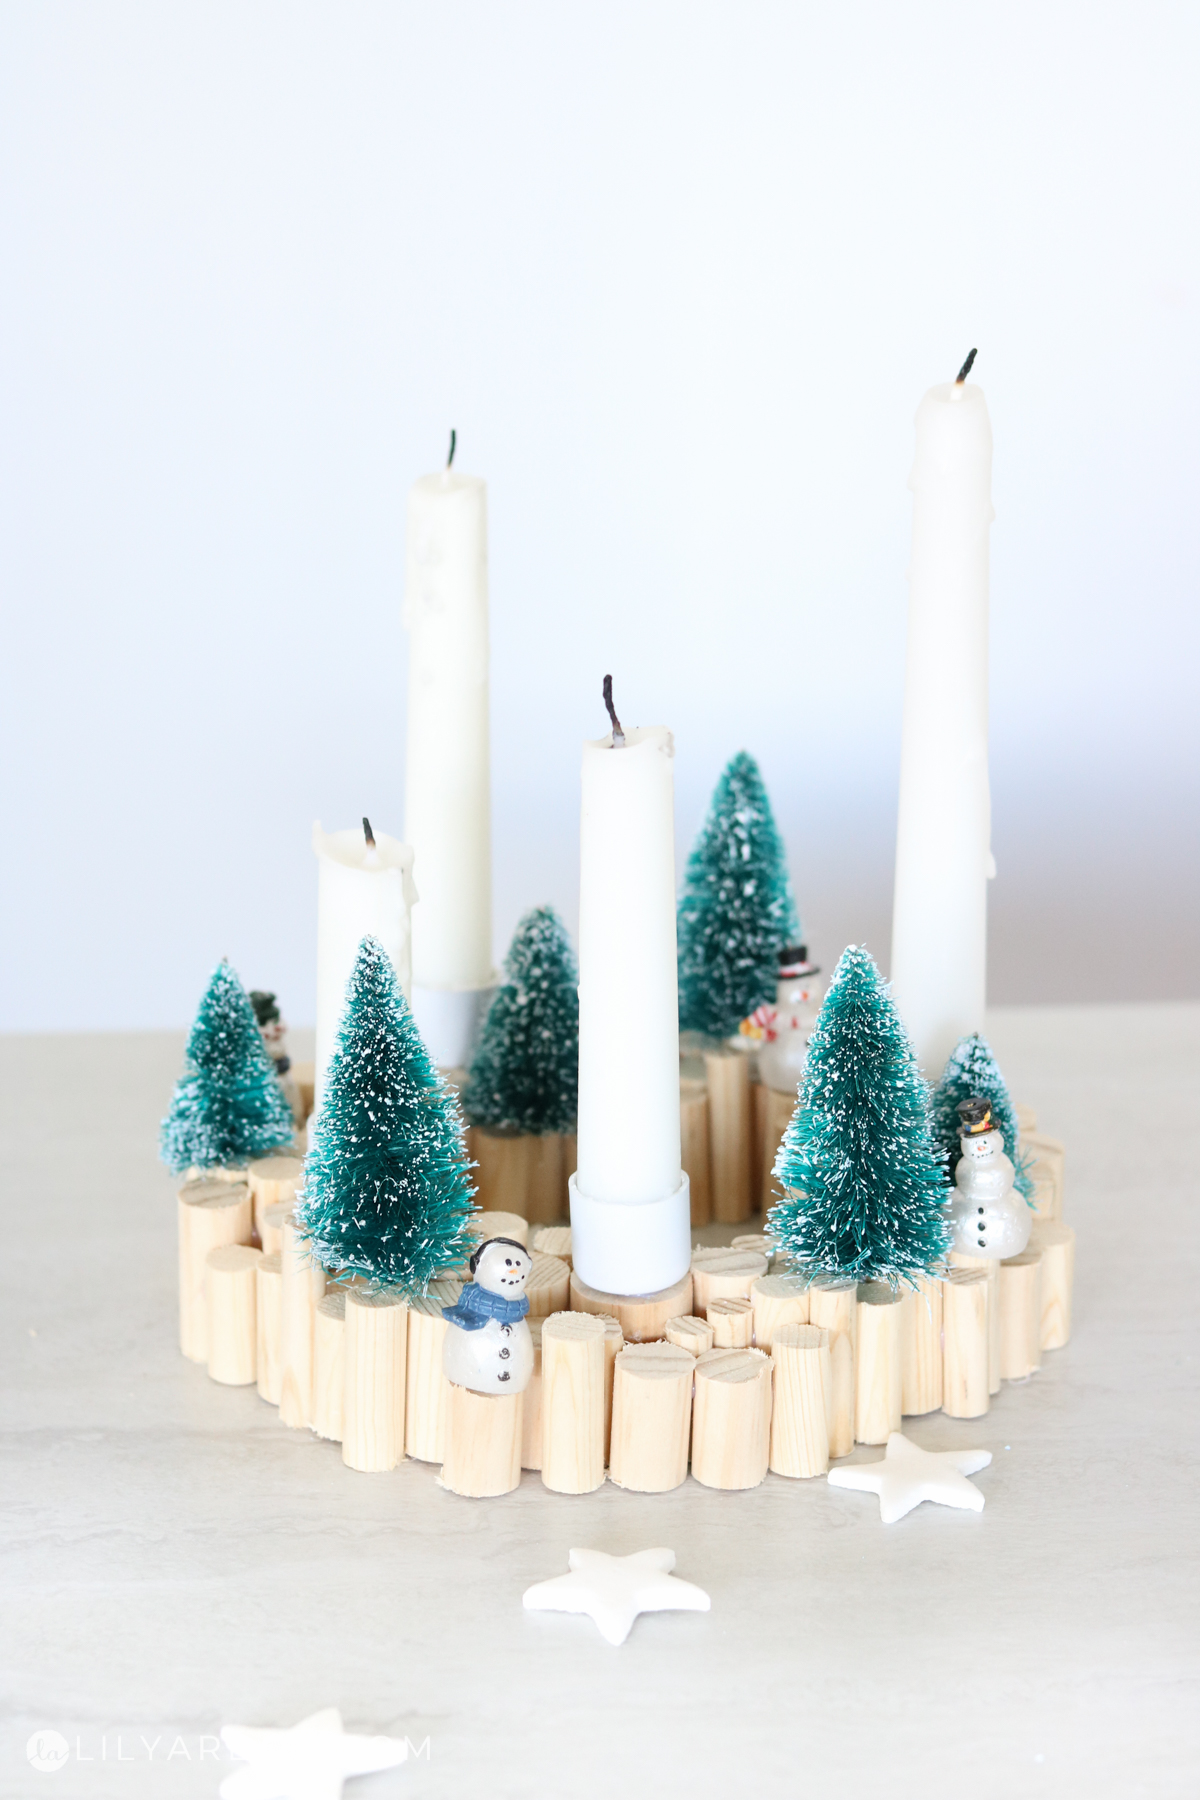
A DIY wood candle holder that can also be used as a wreath! 😍
If you were to ask me 5 years ago what decor style I prefer? Hands down I would have to say shabby chic. It’s been a while since I fancied anything shabby chic and have noticed the older I get the simpler I love things to be. Decorating with wood has become one of my favorite ways to add a homey feel to my decor. It neutral and gives the perfect amount of texture.
I was inspired by a photo I came across on pinterest for this wood candle holder. It was similar to this wreath but, a star shape. The girl that made it is named Rebecca. She’s also a DIY blogger and her style is amazing! You can find her tutorial here – https://sinnenrausch.at/2017/12/adventskranz-selbermachen-mal-anders/ . Note it is all in german and I couldn’t understand a word it says but, her photography is amazing!
TIME NEEDED :
About an 1 hour and 20 minutes.
Total Cost:
About $25. The majority of this cost is the wood dowels. If you choose to go with less dowels it’ll cost less. I got 5 dowels all different thicknesses and only ended up using about 1/3 of all the dowels.
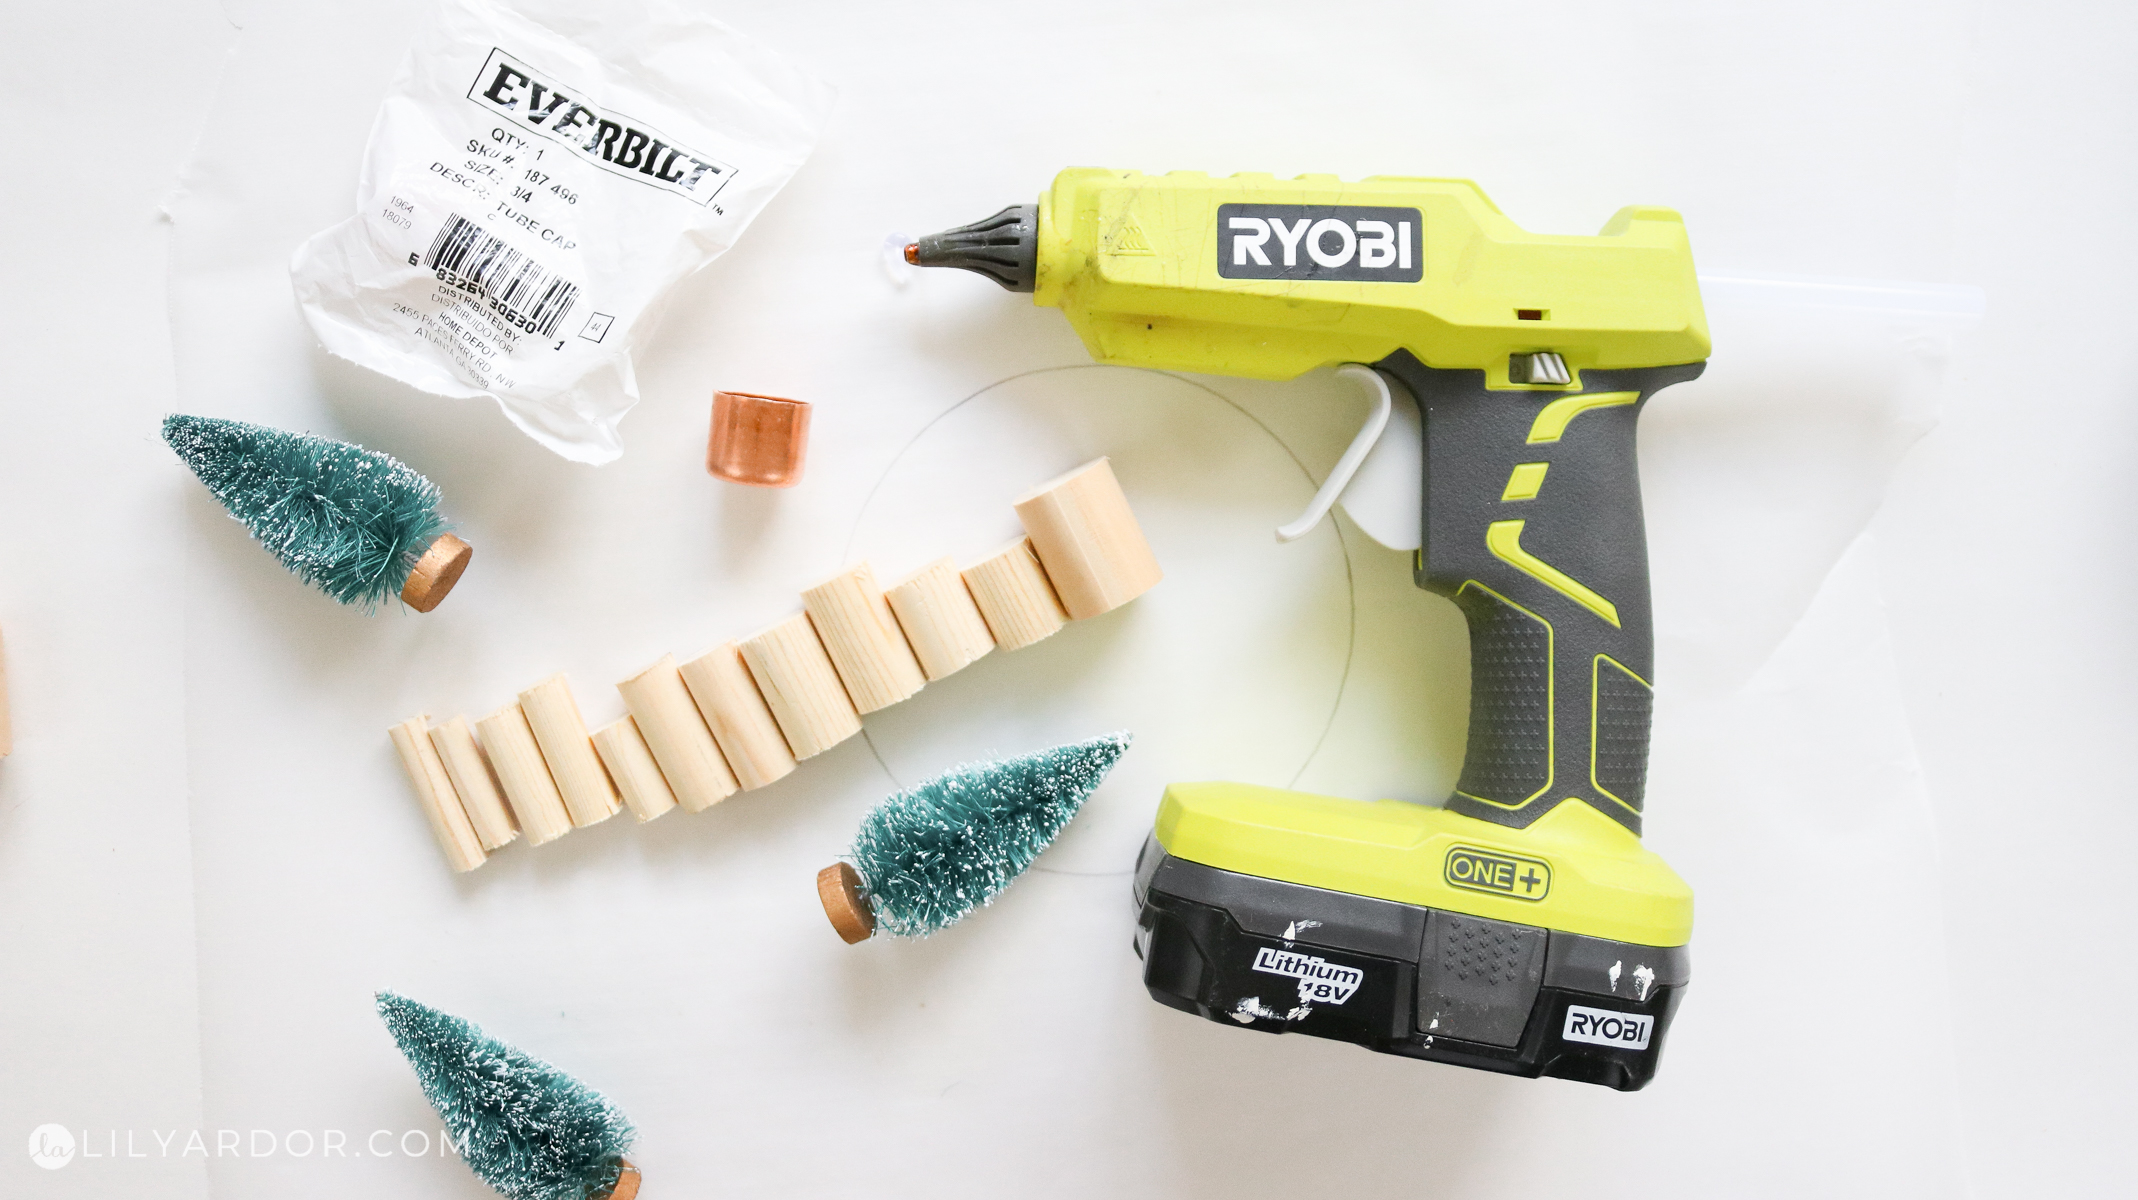
Supplies:
- Different thickness dowels – I used 5 different thicknesses
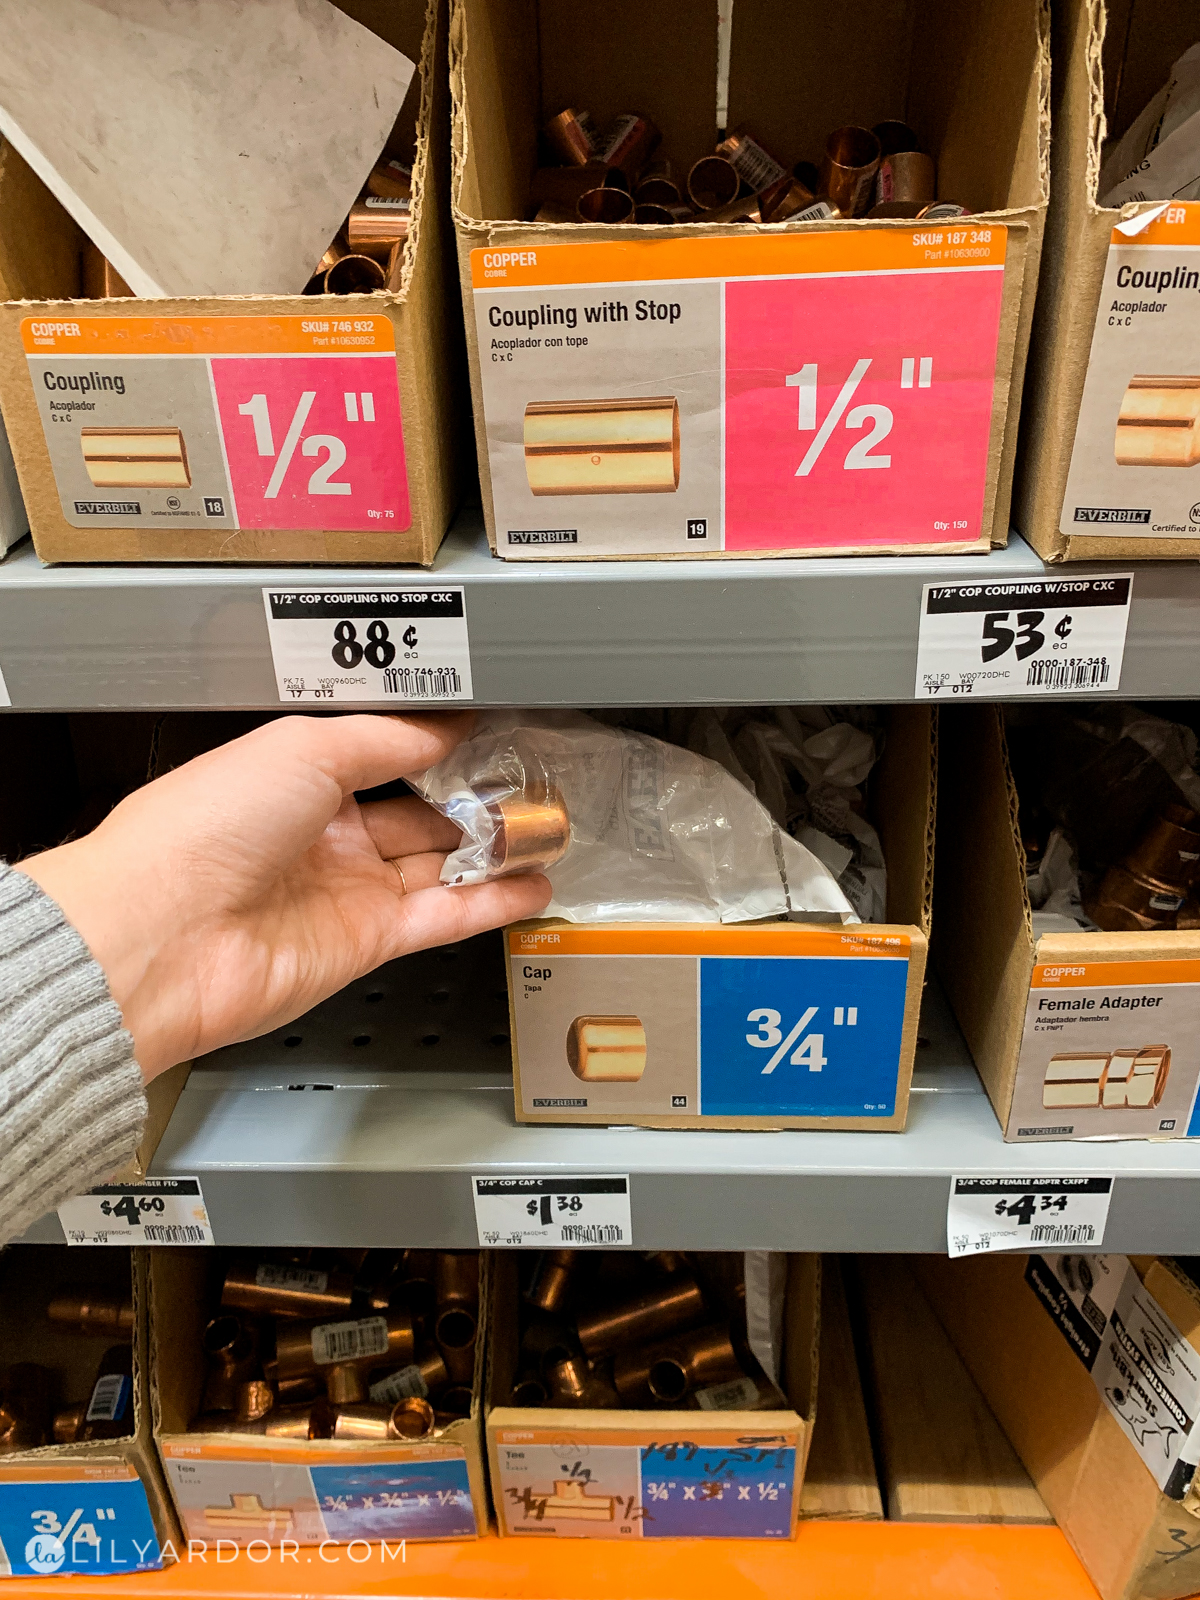
- 4 X- 3/4 inch copper tube caps (sold at the hardware store in the plumping aisle)
- Hot glue
- mini Christmas trees (I got mine in the doll house section)
- spray paint optional
- Miter saw ( or hand saw)
- marker and round object
- paper
Making your wooden wreath candle holder!
You will need to first cut your wooden dowels to size. I cut all of mine with a miter saw making sure they were all between 1 and 1 1/2 inches in height. They don’t all have to be the same it’s actually better to have them different sizes. I started by placing parchment paper on a flat surface and traced a round object ( duck tape) with a marker. This will be the approximate size of the wreath. You’ll know how much dowels to cut once you start displaying them in a circle. It really depends on how thick you want your wreath as well.

Than I went ahead and arranged the dowels starting with my thickest dowel first using the circle sketch as a template.
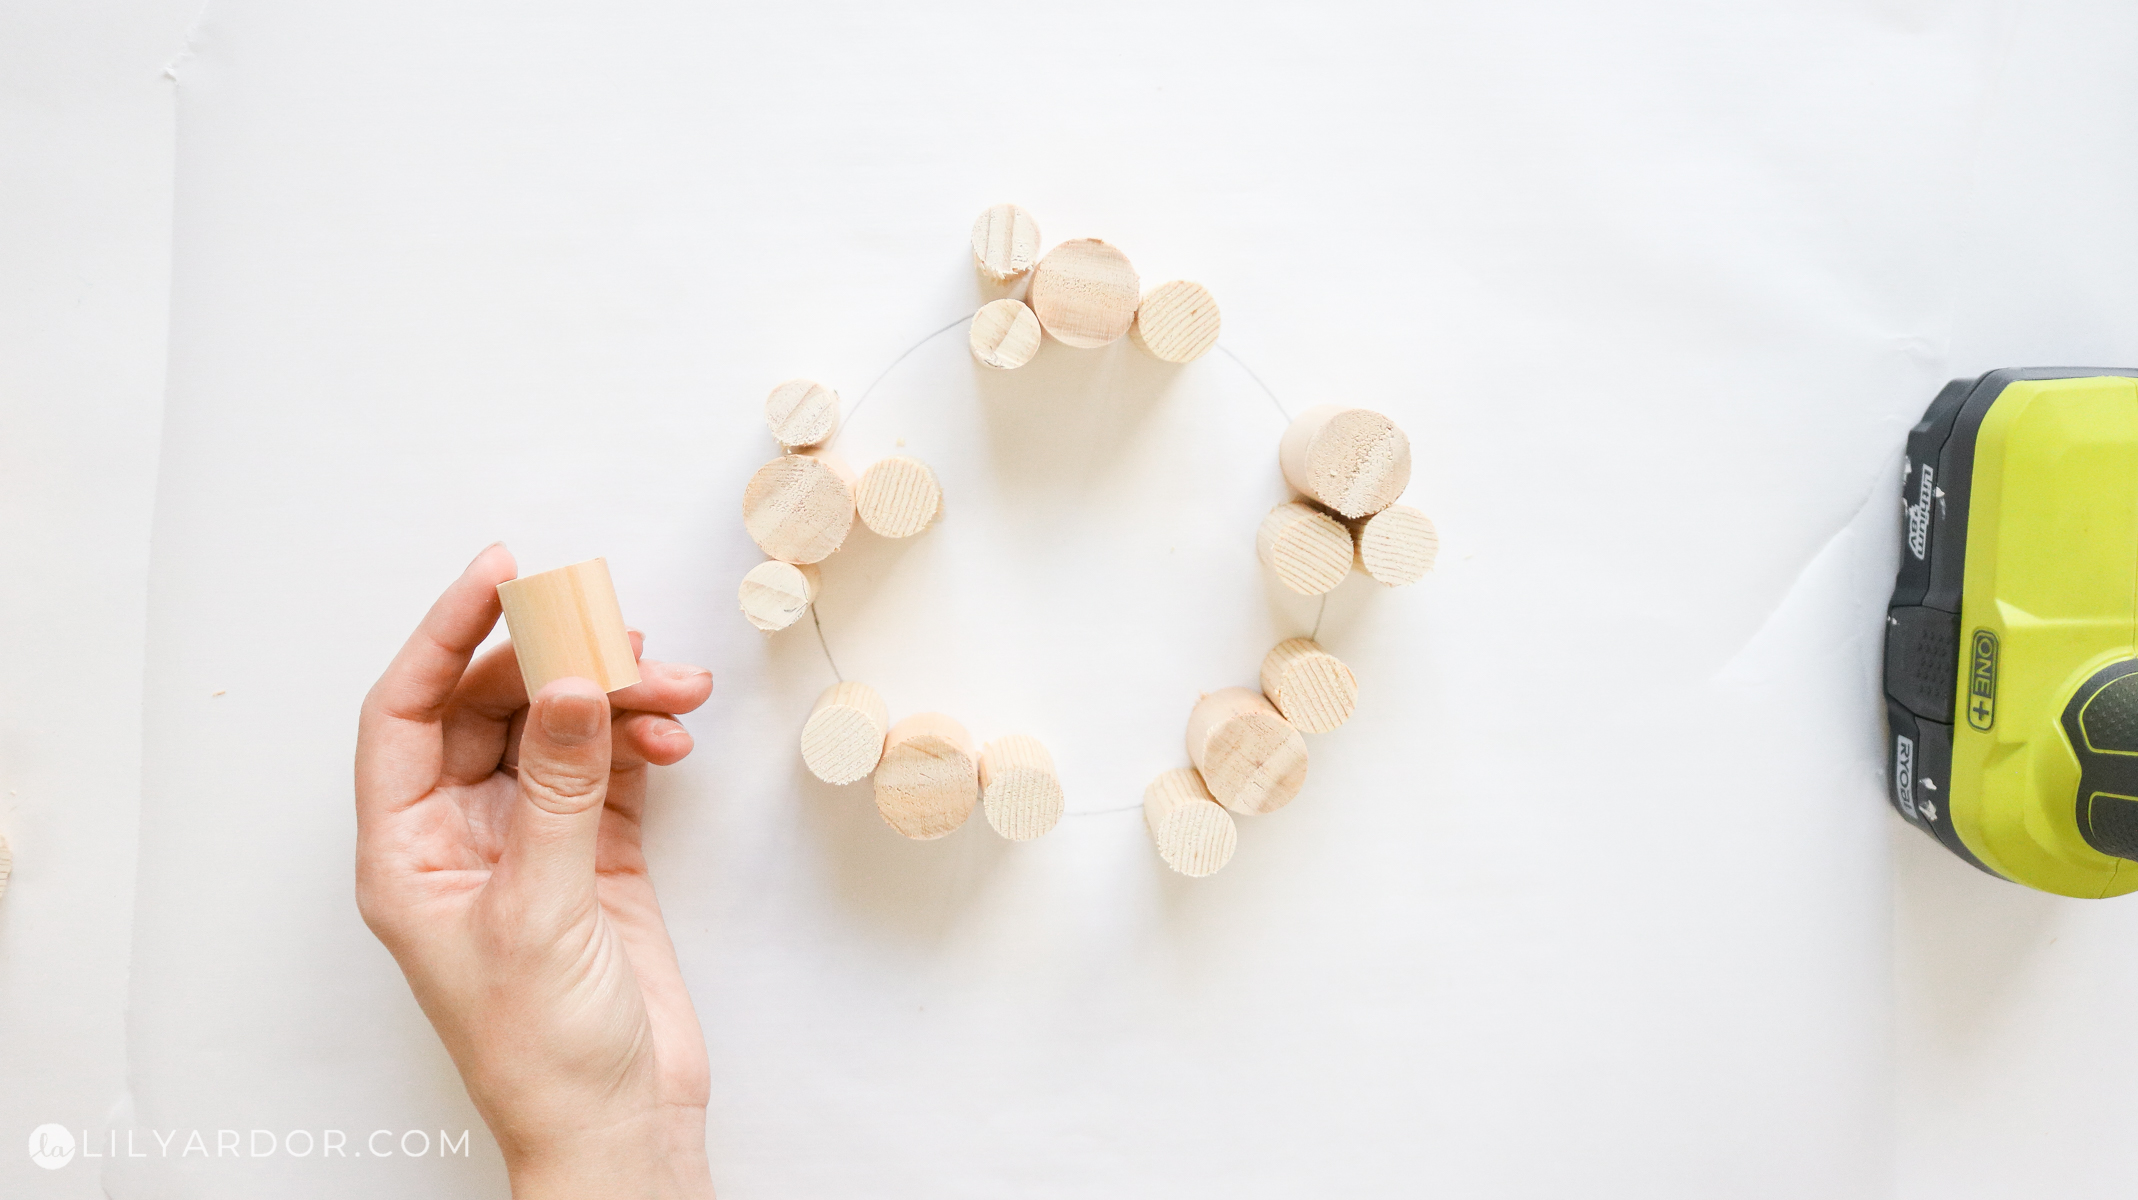
I made sure to arrange all the wood pieces with different heights next to one another. 
The skinny dowels came in very handy for all the edges.
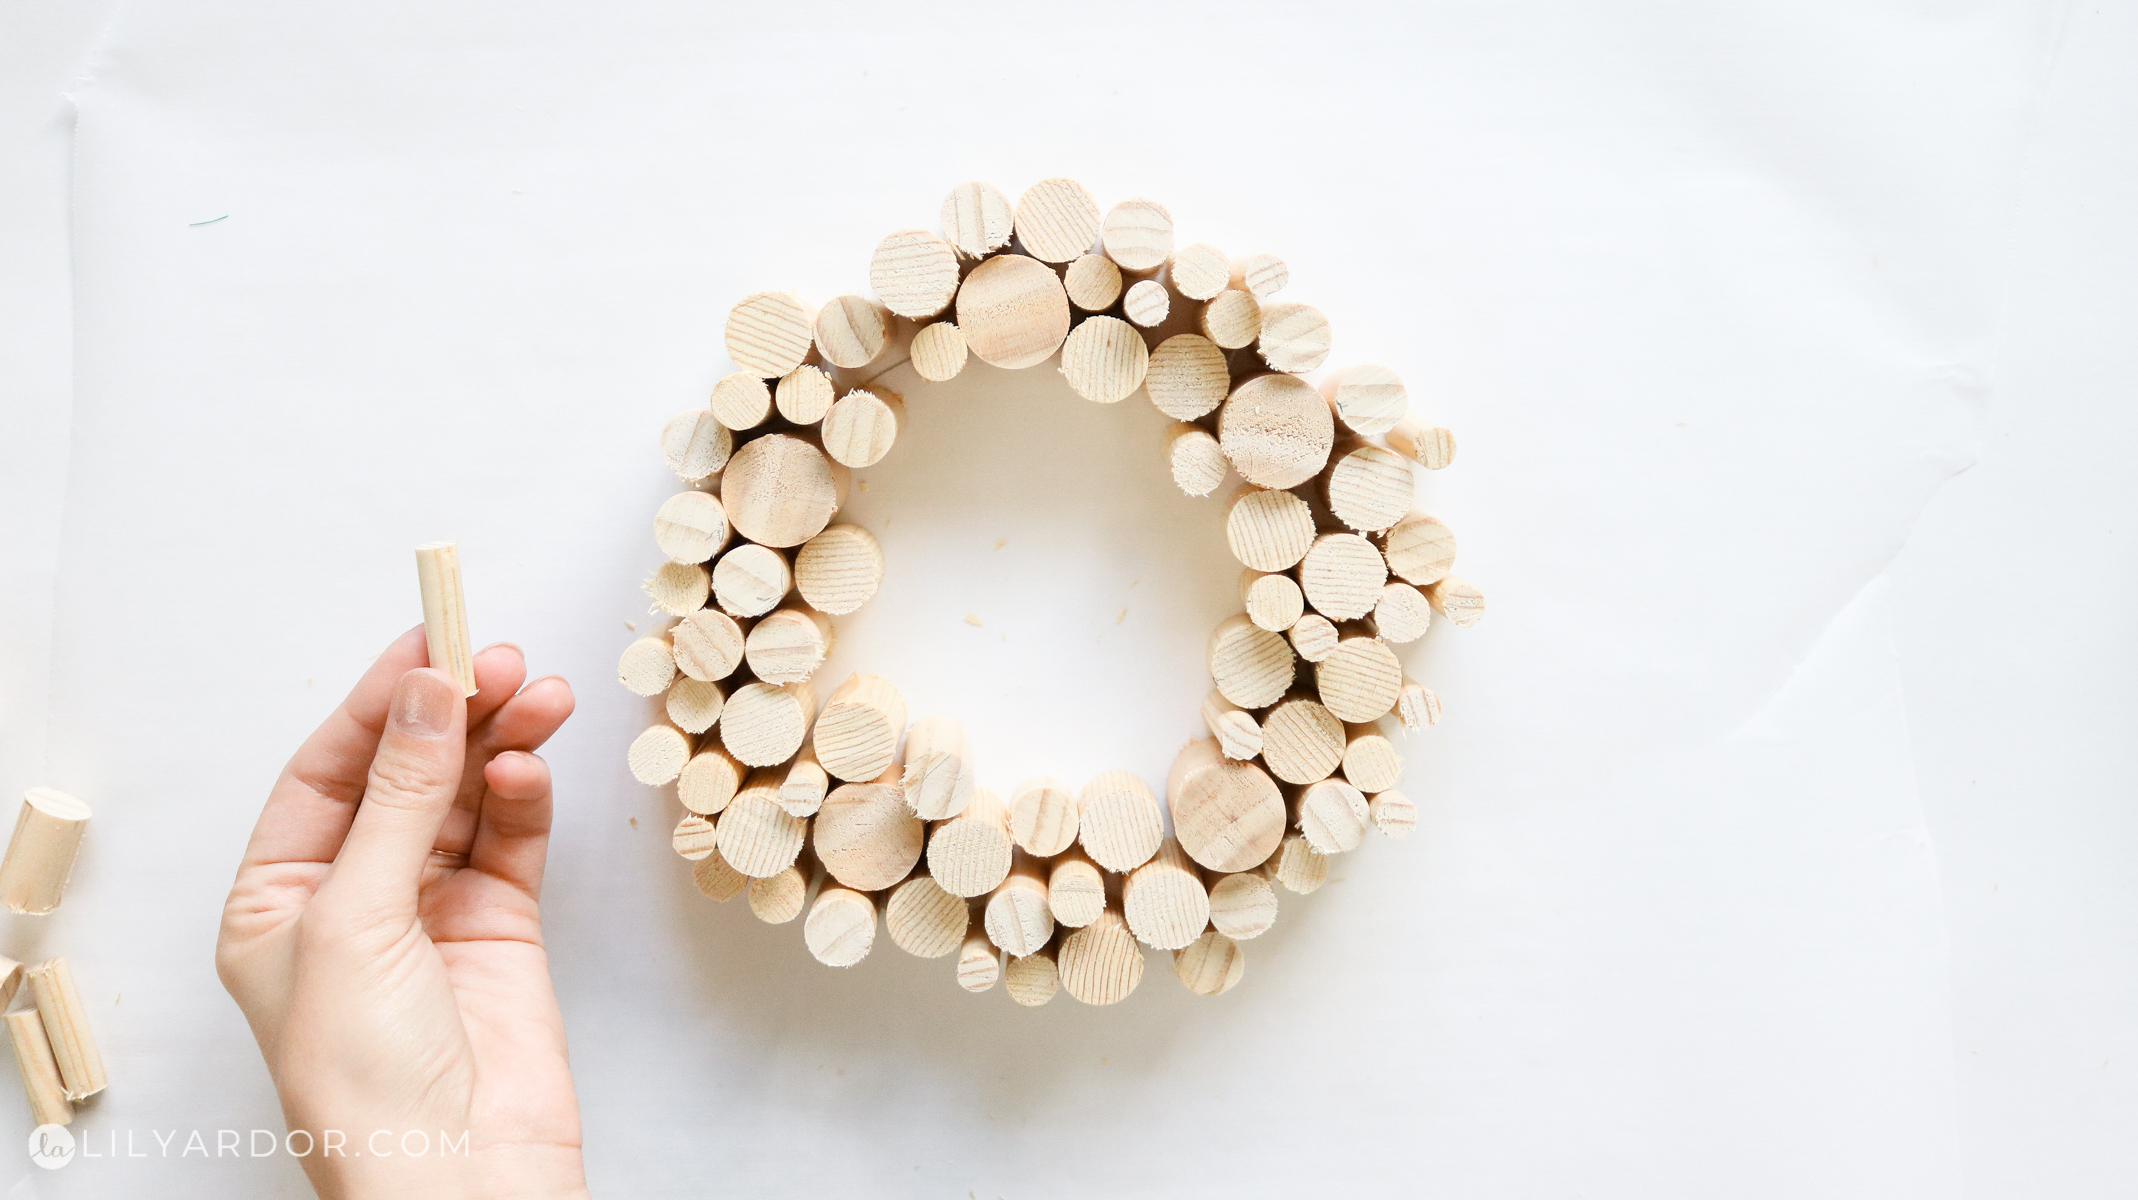
Securing all your wood pieces!
To secure all the pieces I added hot glue to the sides and attached them to each other.
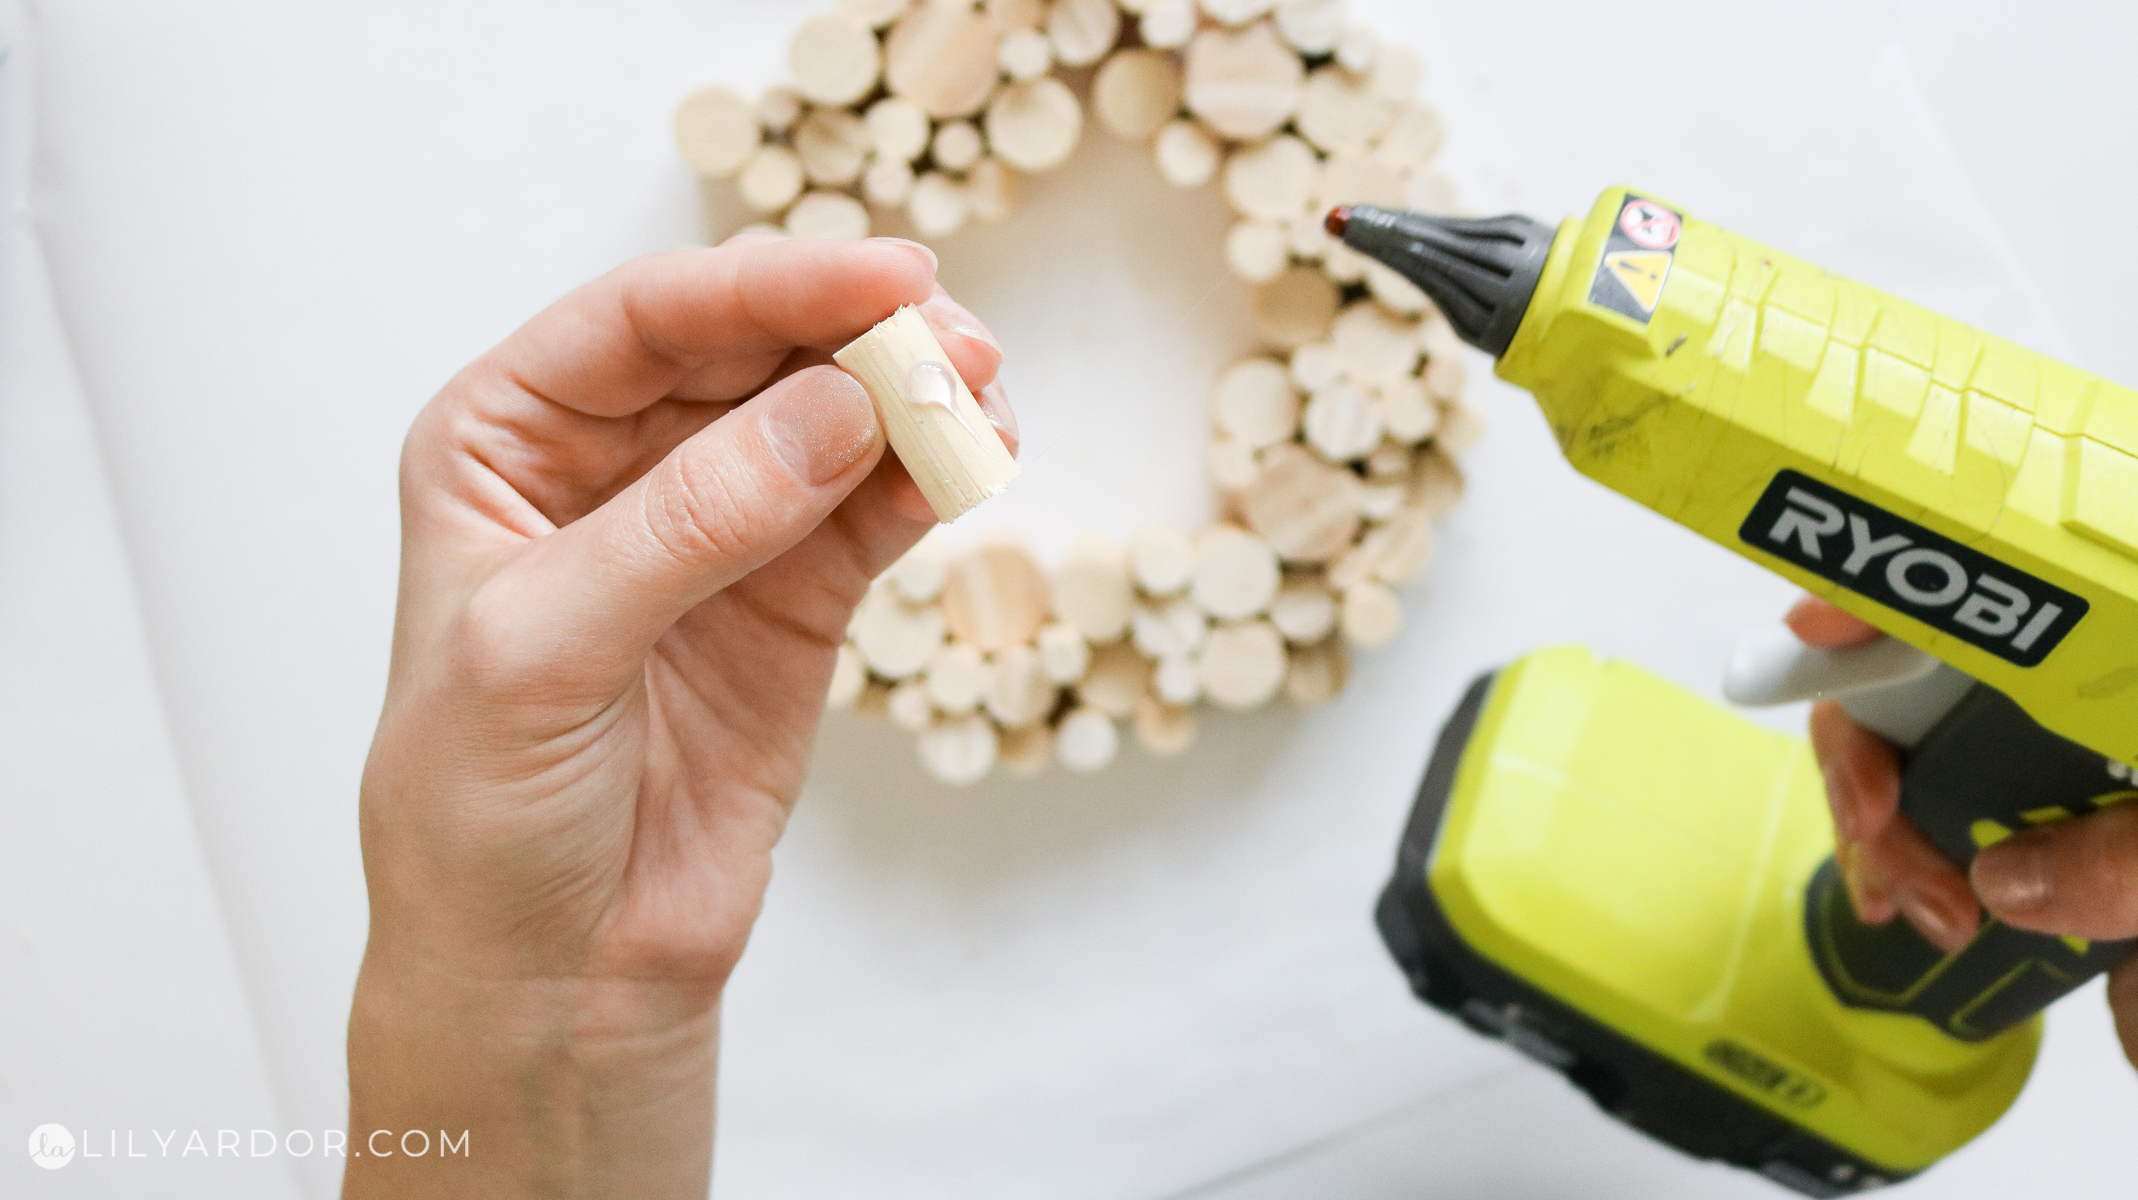
The wreath shape shifted a bit while doing this but, it overall it still looked good. Once I was all done with the wreath I added some skinny dowels on the edges to even out the shape. You can also cut out a piece cardboard shaped like your wreath to use as the base and glue the wood to the cardboard. I didn’t want any cardboard visible on the sides so I chose to glue the wood pieces to each other.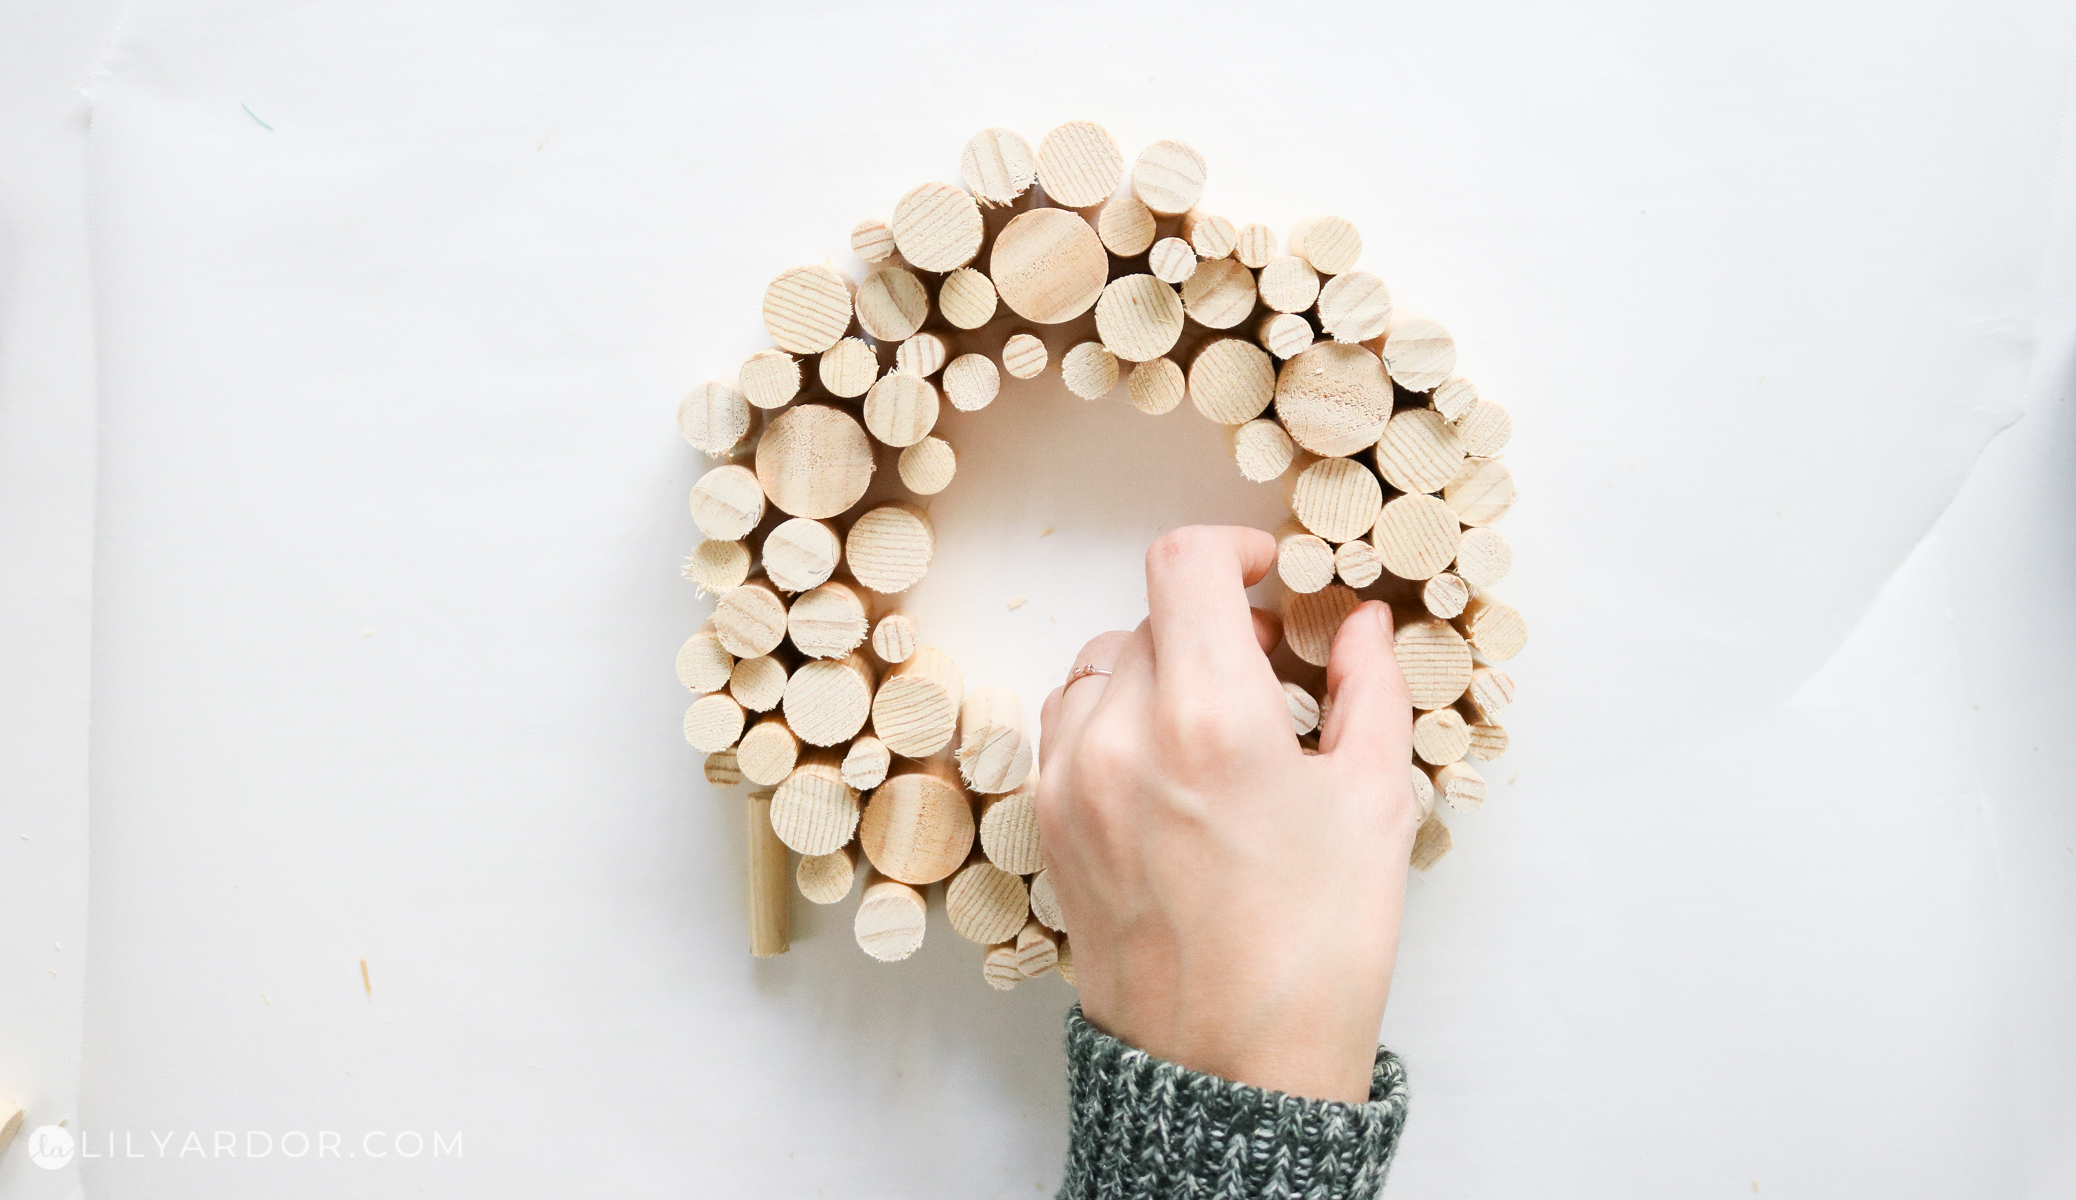
Finishing touches on the candle holder!
Once you’re done with your wreath you can leave it as is or add some cute trees and candles like I did. I think this would look so cute on a door with a bow as well. I got my mini Christmas trees at hobby lobby in the mini house supplies section. They had a wood bottom that I removed and glued them between the dowels.
Adding caps for candles!
I loved the idea of making this a candle holder. If you’ve seen my latest DIY I talked about these copper tube caps I found at homedepot a few years back. They’re sold in the plumbing section and work perfect to hold candles.
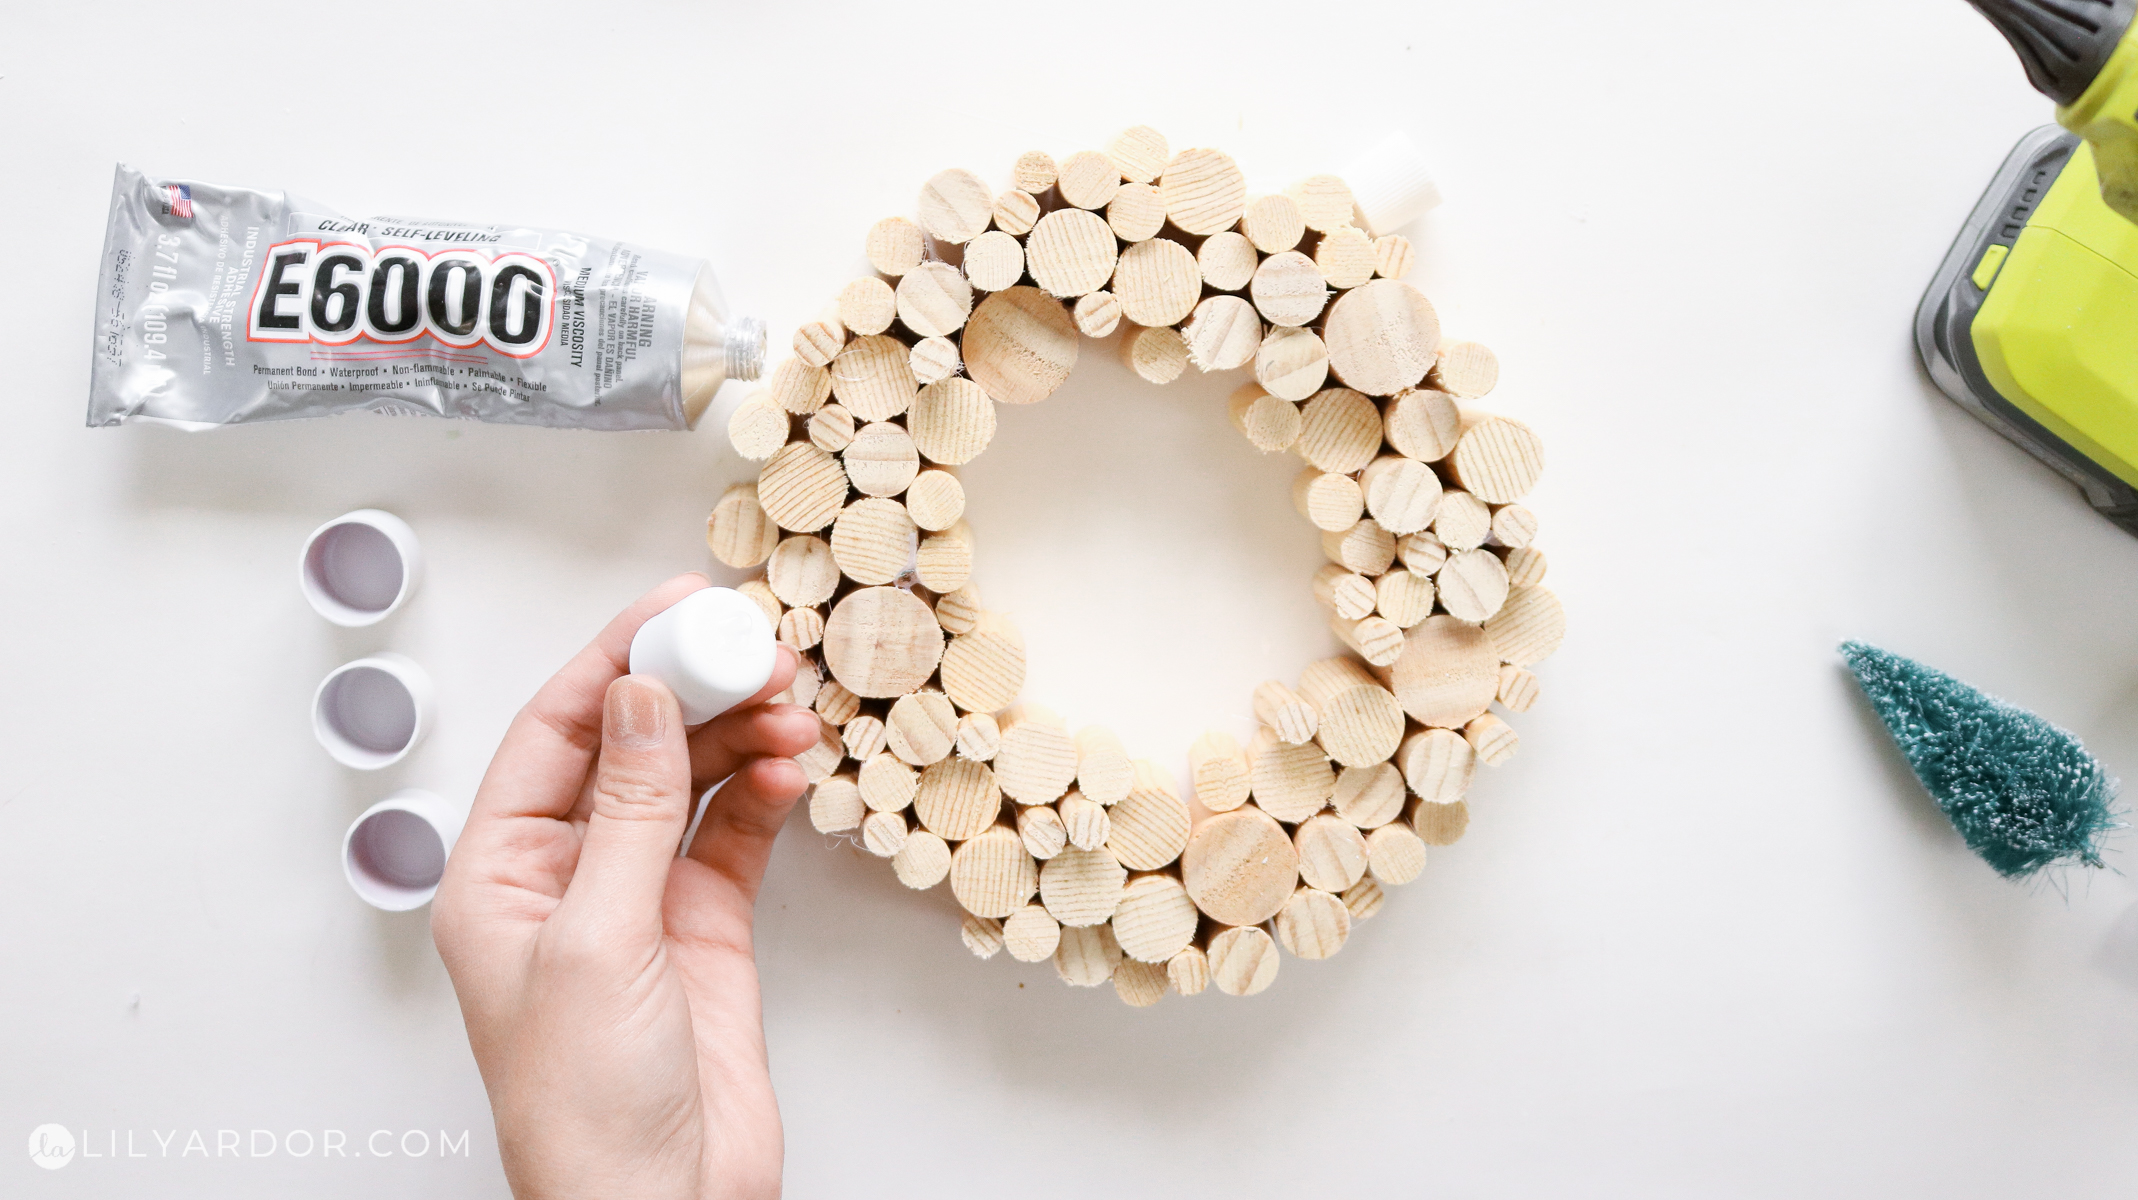
Since they only came in the color copper I spray painted them white and attached them to the thickest dowel with some E6000 glue. Another thing to keep in mind is buying at least one dowel that is thick enough for these caps if you plan on adding them. I attached 4 metal tube caps to the thickest dowels.
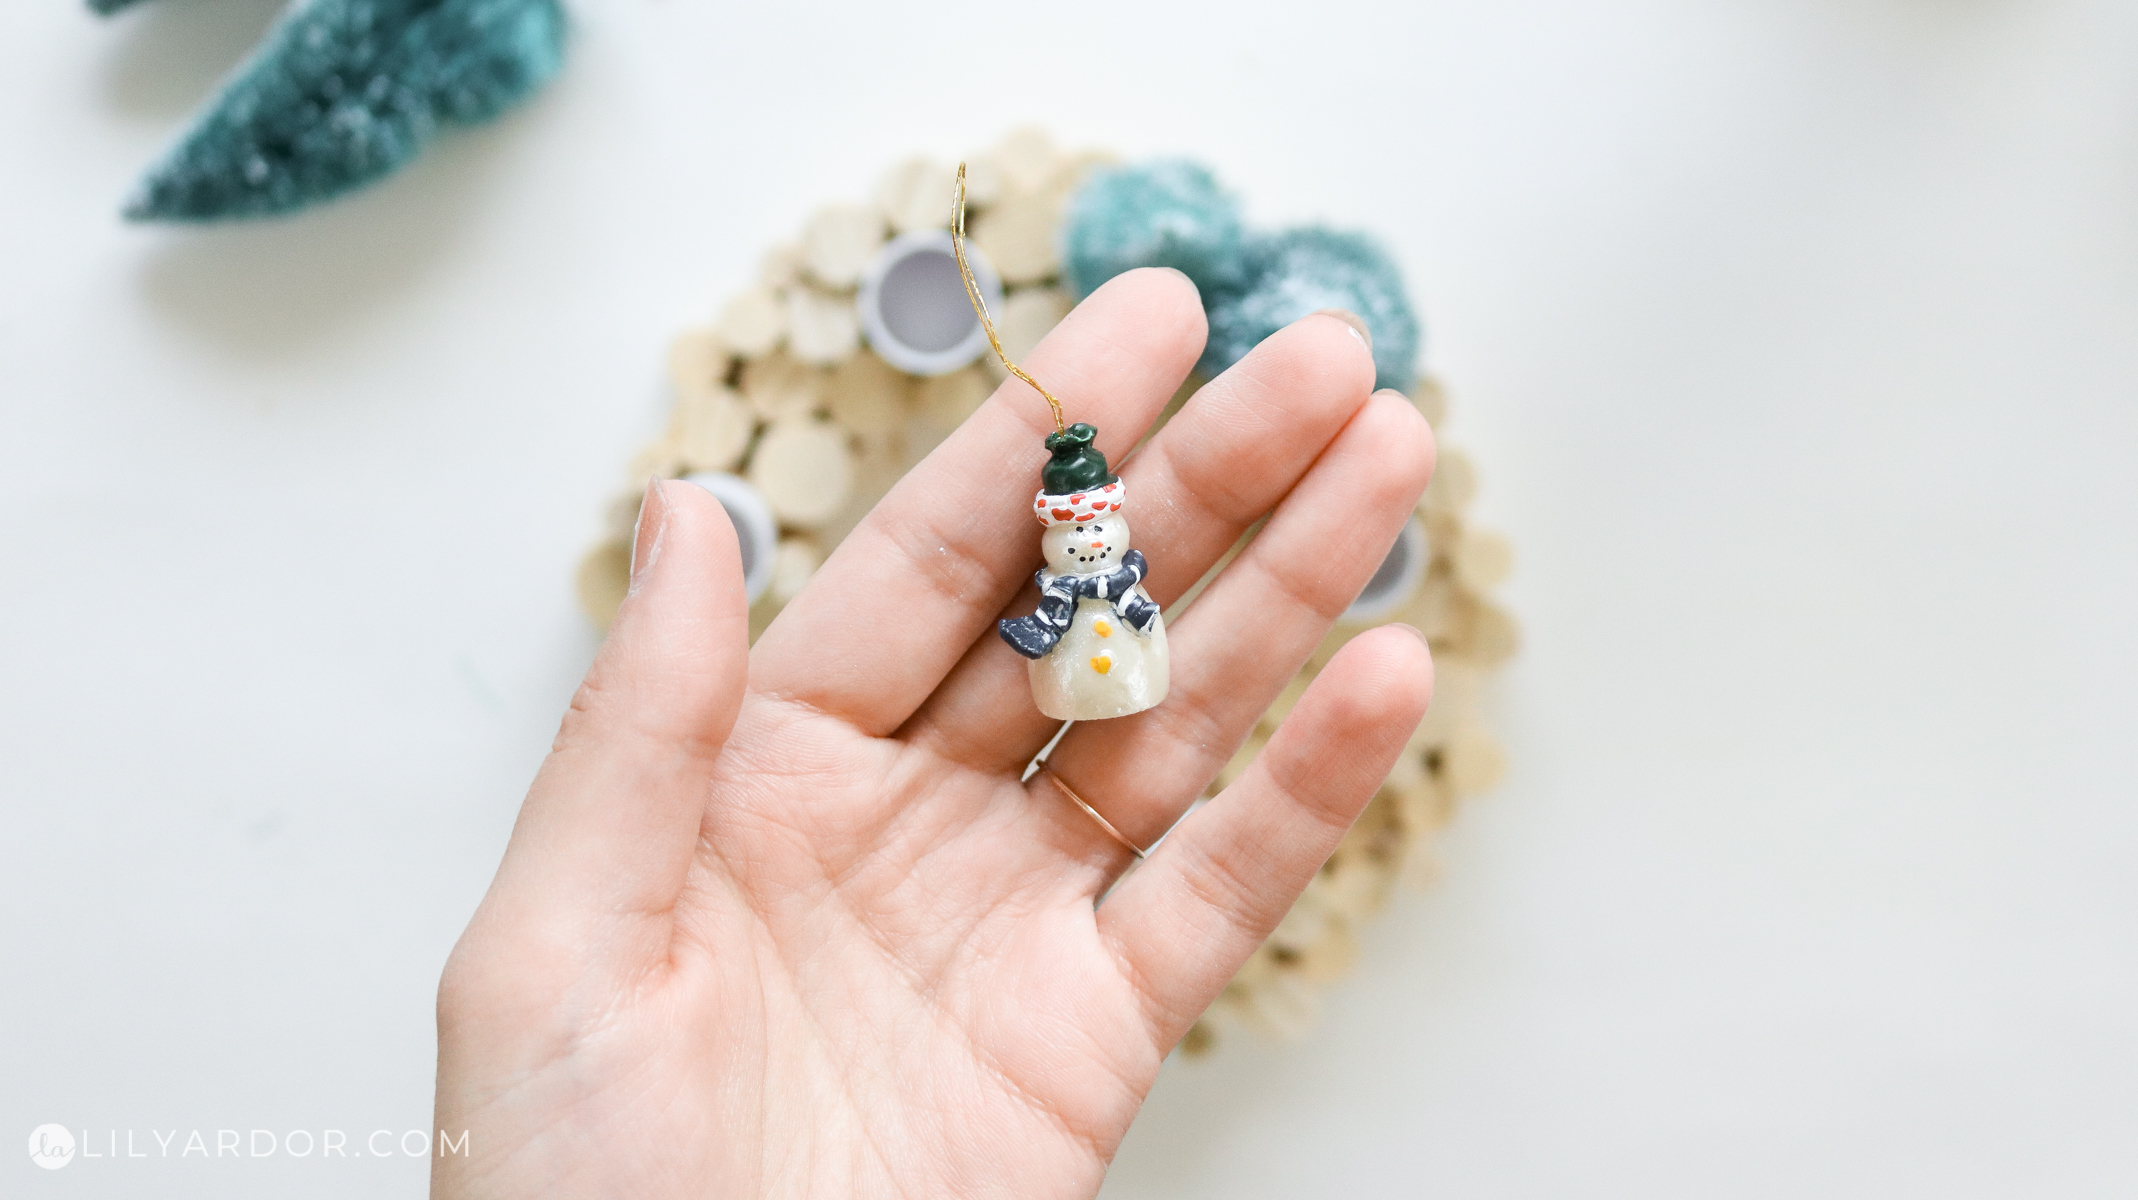
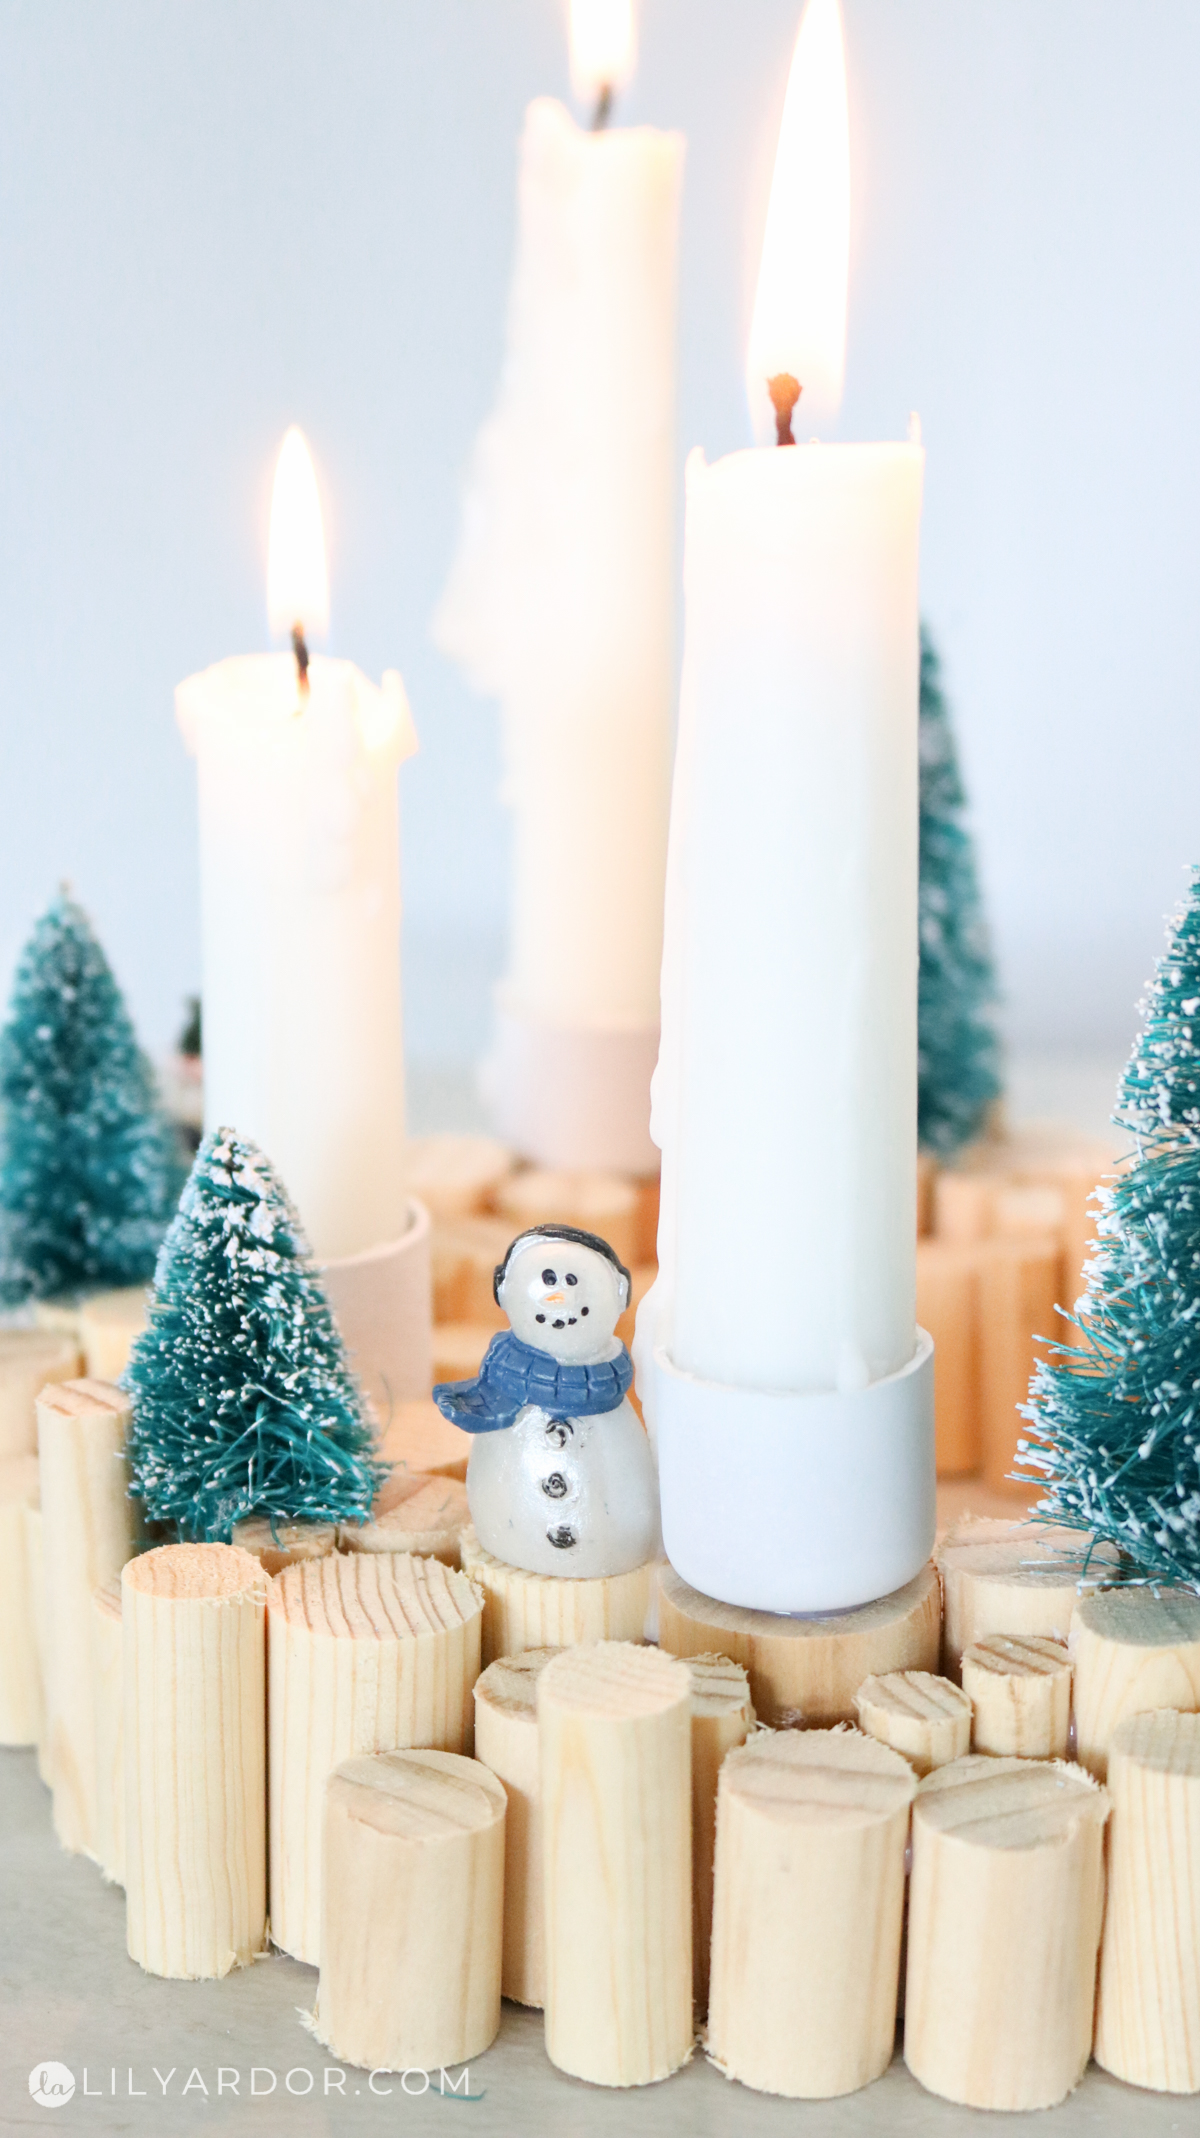
Snowman’s are my weakness! I got these mini ones from Hobby Lobby in there mini Christmas ornaments section. They had a loop that I ended up removing before adding them to my wood candle holder.
Here’s a quick video tutorial
That’s it! OMG the snowman’s are too stinkin cute😍😁!
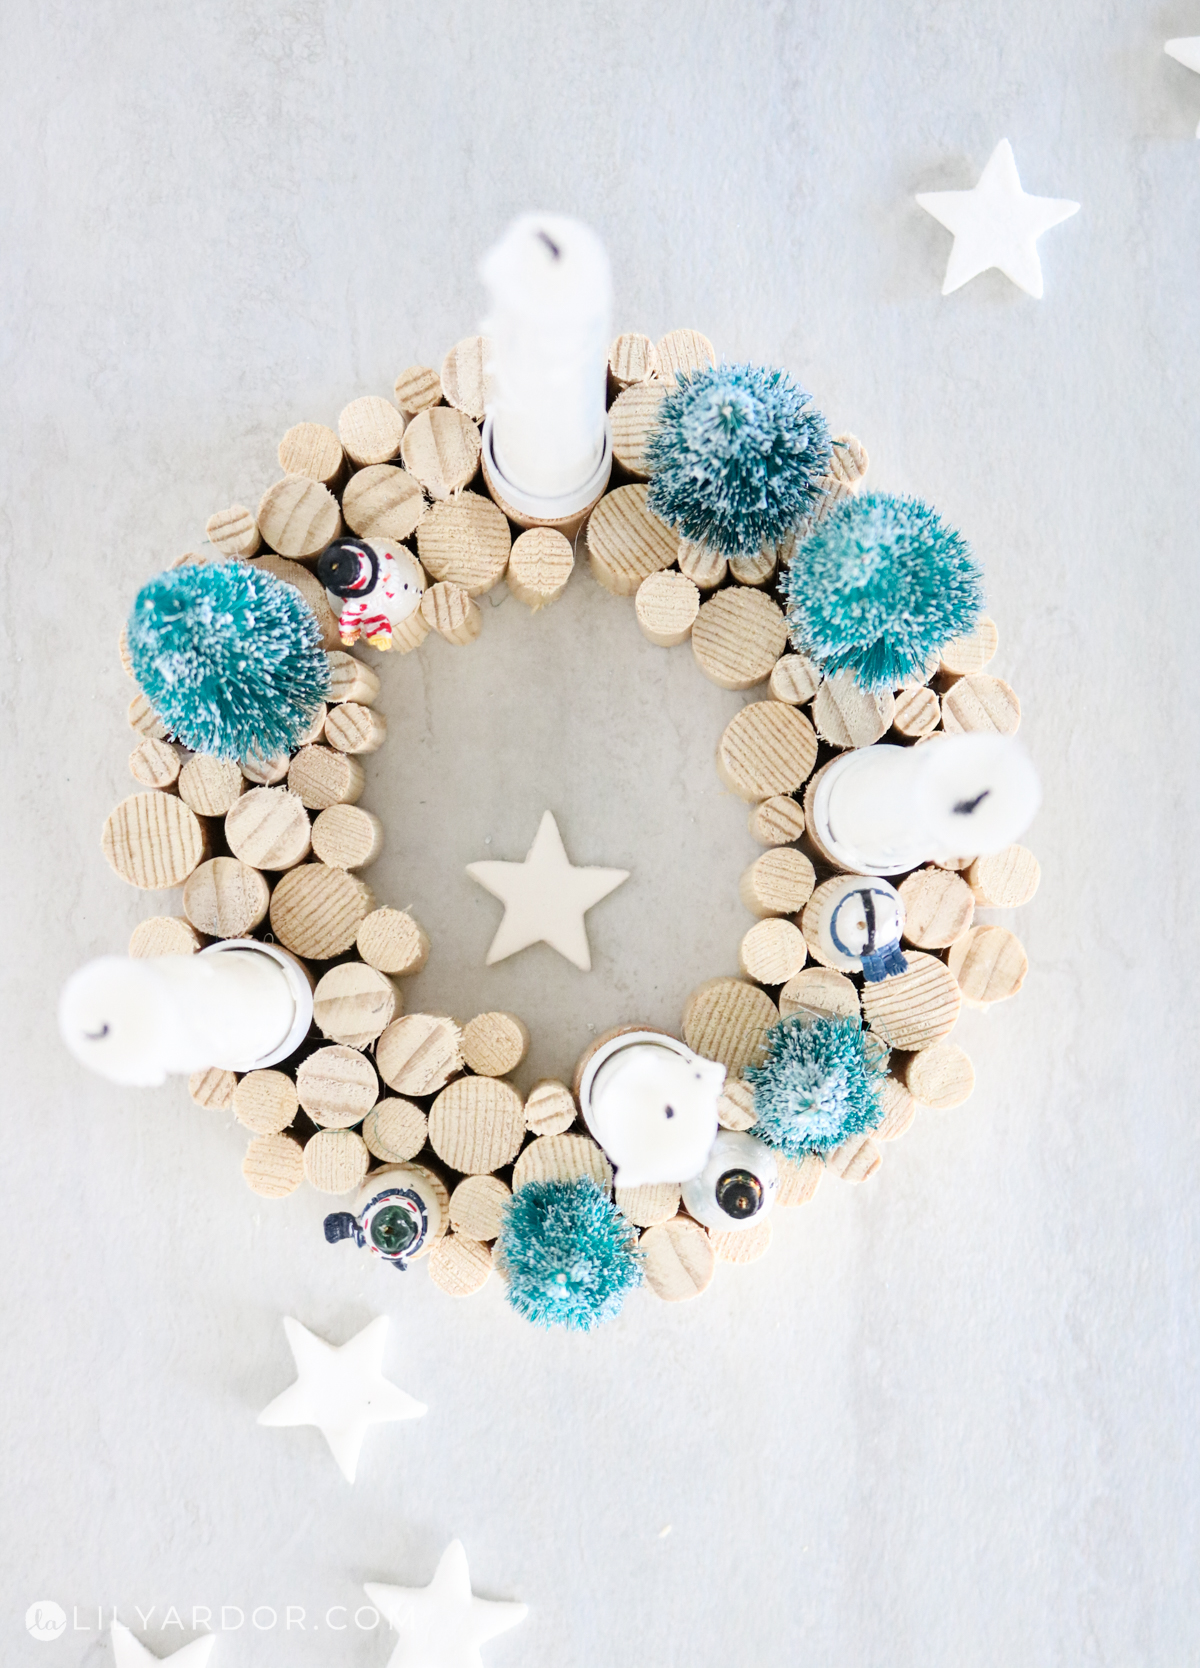

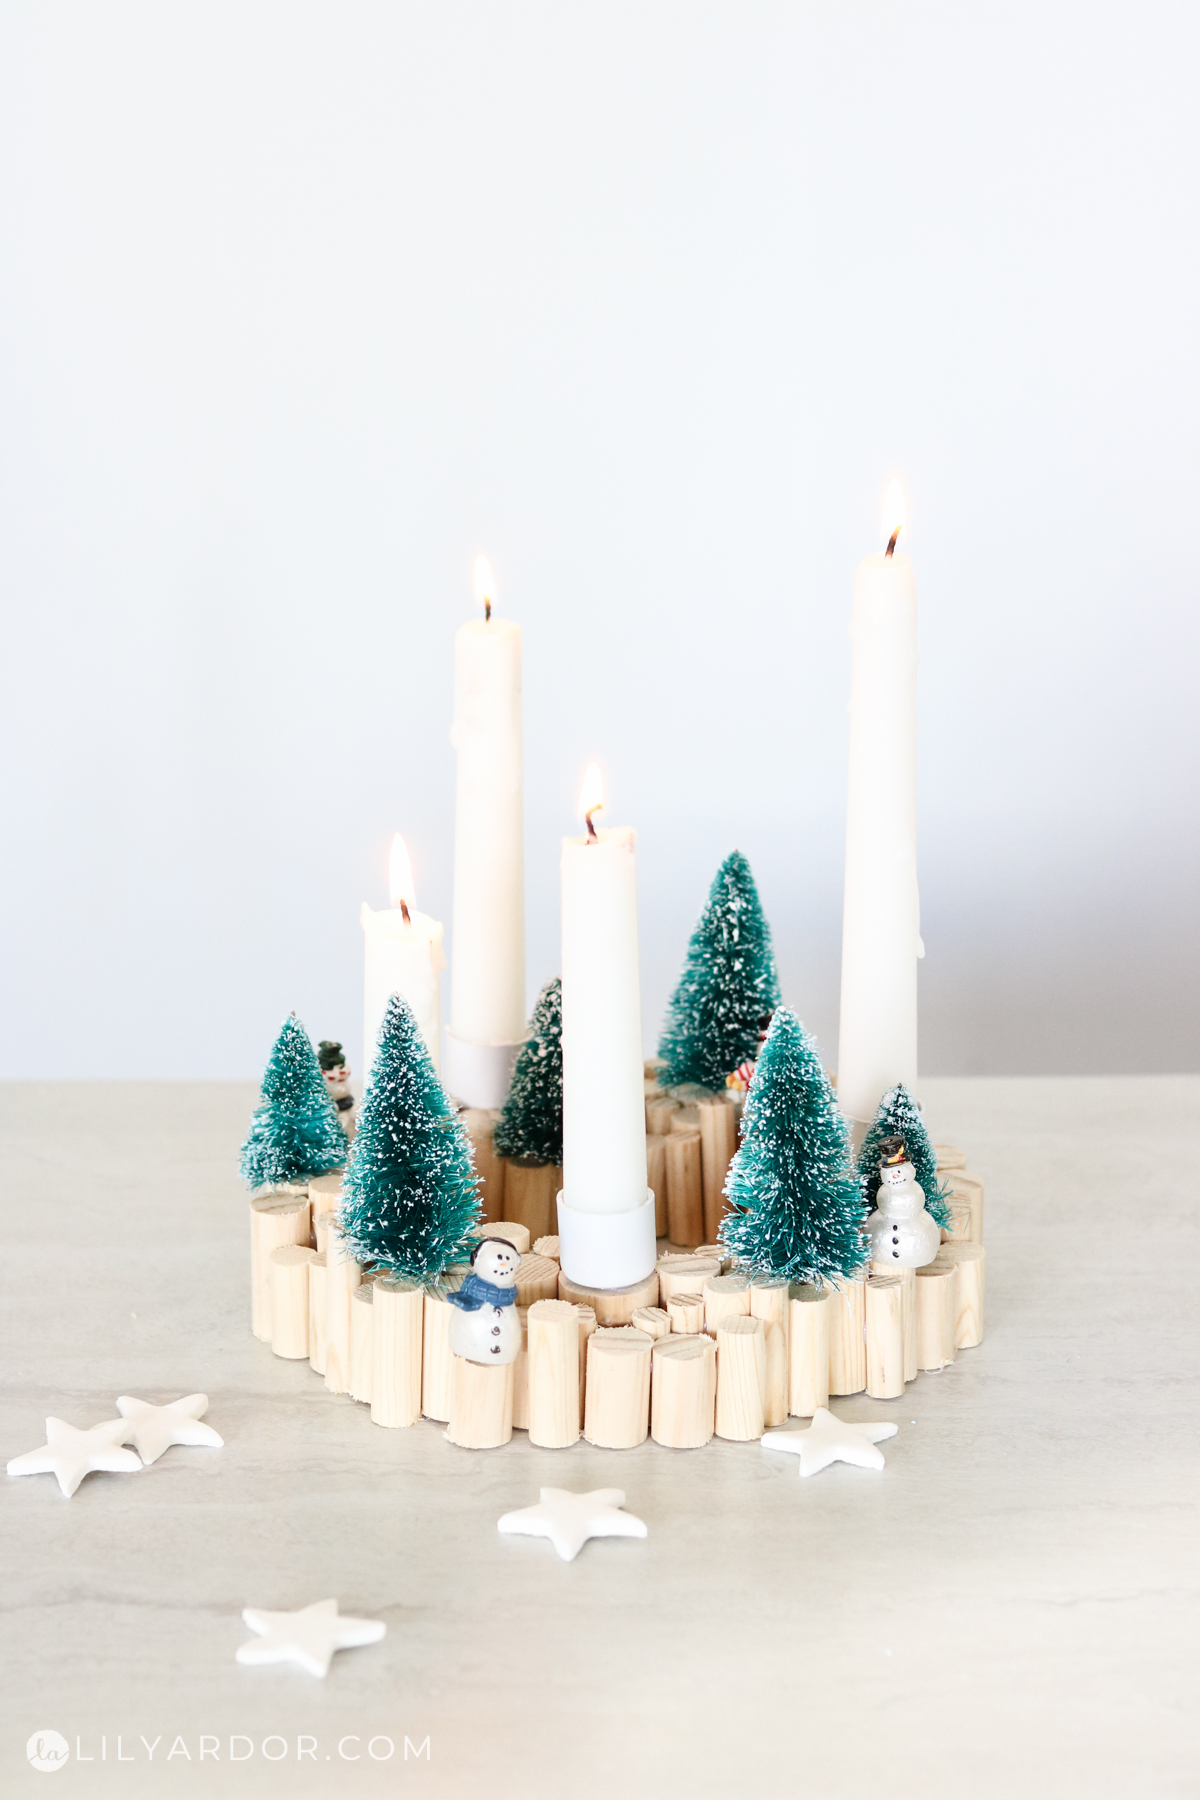
How it looks with all the candles lit! My hubby says a tall pillar candle would look cute in the center. I love that idea !! Wish I would of thought of it earlier so I could snap some photos with one! 🙂
A close up on this cute little snowman 😀
That’s all for this wood candle holder. I LOVE how cute it looks. 🙁 also wish I would of sanded the edges clean on the the wood pieces. They do look a bit rough. Any who thanks for tuning in! I’ll see you all next time.
For all of my Christmas DIYs visit this page – https://www.lilyardor.com/Tutorials/diy-index/christmas/
Lily-
Woaaaaa… This looks amazing. So happy I found it. And I already have everything I need to do it. This will be perfect for this Christmas. Thank you for sharing. I’ll jump over on YouTube as well to subscribe 🙂
Hi Anrdreea!! YAY! that’s awesome! Glad to hear you liked it! Welcome to my blog and youtube channel 😀 😀