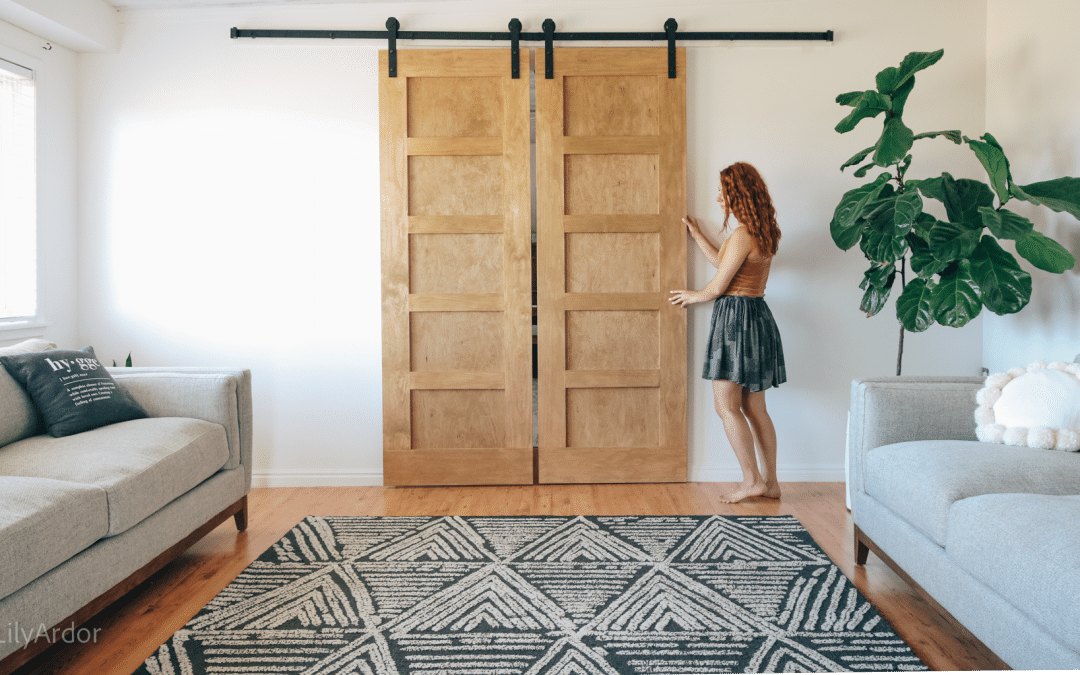
Hi everyone I’m finally back with our DIY barn doors. Does anyone remember me sharing about us working on our living room renovation? It’s been a couple of months since we started and I’m super happy to see it finally start to come together.
Okay, even though we had finished the wall a while back I was a little bit scared to take on the DIY barn doors on my own. I’m usually pretty quick to jump on new DIYs but, this one had me on a halt because of how much money we put into the hardware and supplies for the doors. It was a little but over our budget and I really didn’t want to messup. So I ended up waiting for Tony to free up a bit because, I know the chances of me messing up with him are pretty slim.
-
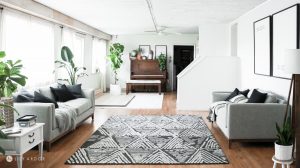
- before the wall
-
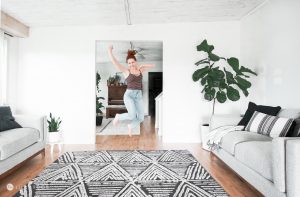
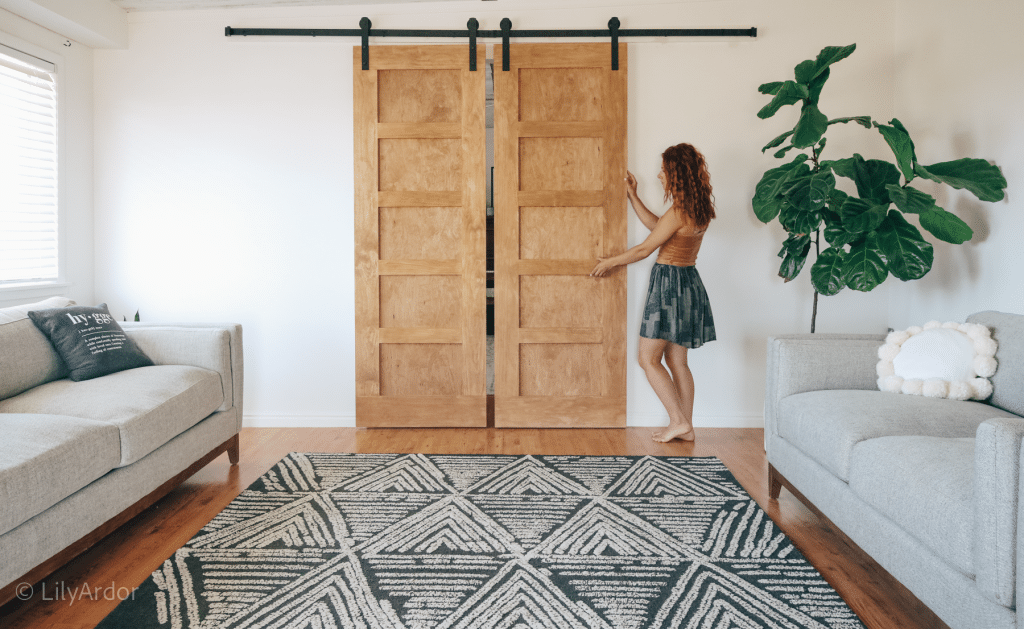
- after (ps: yes our ceiling slants up. )
Time Needed:
This was actually a pleasant surprise. Usually with bigger projects like this I end up spending the whole week trying to finish them. These barn doors only took us two days to complete and hang up. We could of probably had them finished in one day but we ran into some issues with the hardware.
Total Cost:
As mentioned before this came as a bit of a shocker to me. Who knew 9 pieces of wood could cost so much. We payed a little over $200 for all the wood and supplies. I guess when you think about it it’s actually a really good deal. After walking into home depot originally and considering purchasing barn doors we found that they averaged $400 a piece. That would mean we would need to spend around $800 for two doors. CRAZY right! So I like to think of this DIY as a great investment ☺️!
Money saving tip:
If you plan on painting your doors you can buy the cheaper pine and save a lot of money that way. We actually got the prime pine which was way more pricier because we had planned to stain it.
* this post contains affiliate links for more info visit my disclosure policy
Supplies :
wood: We bought prime pine
1x – 1″x4″x6ft
6x – 1″x4″x8ft
1x- 1″x6″8ft
1x – birch plywood or to match your pine
- stain ( here’s the stain I used – https://amzn.to/38s8EAd )
- screws
- small nails
- Hardware ( I got mine on amazon for under $100 and we loved it – https://amzn.to/3e0F2ej . We got the 10 ft hardware. It’s super durable and glides smoothly. All the local hardware stores wanted around $200 for the hardware )
Tools needed:
- Miter saw or circular saw
- Kreg Jig ( here’s the kreg jig I used – https://amzn.to/3f2HJxj )
- Small clamps
- Drill – https://amzn.to/2C6idZs
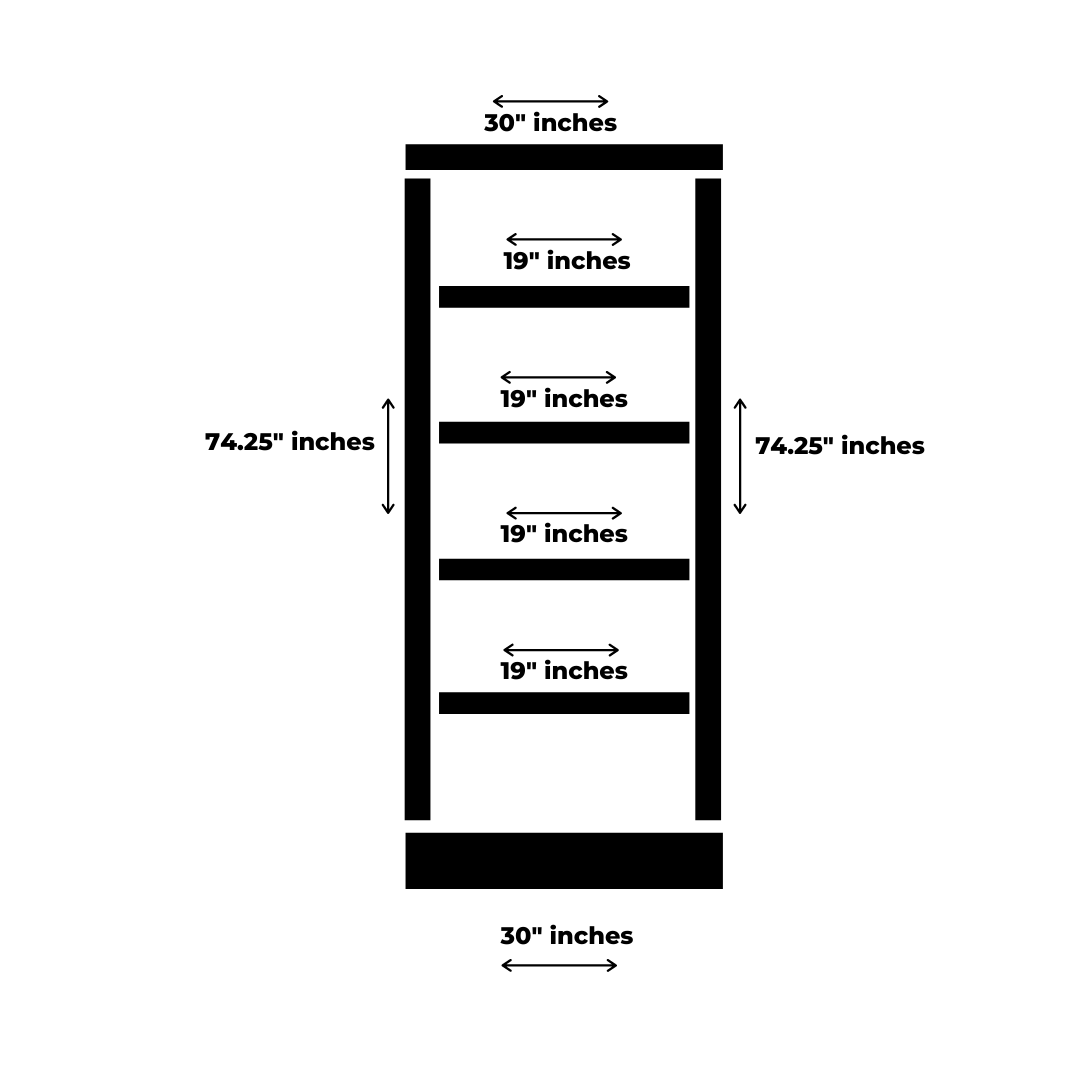
Plans for our DIY barn doors
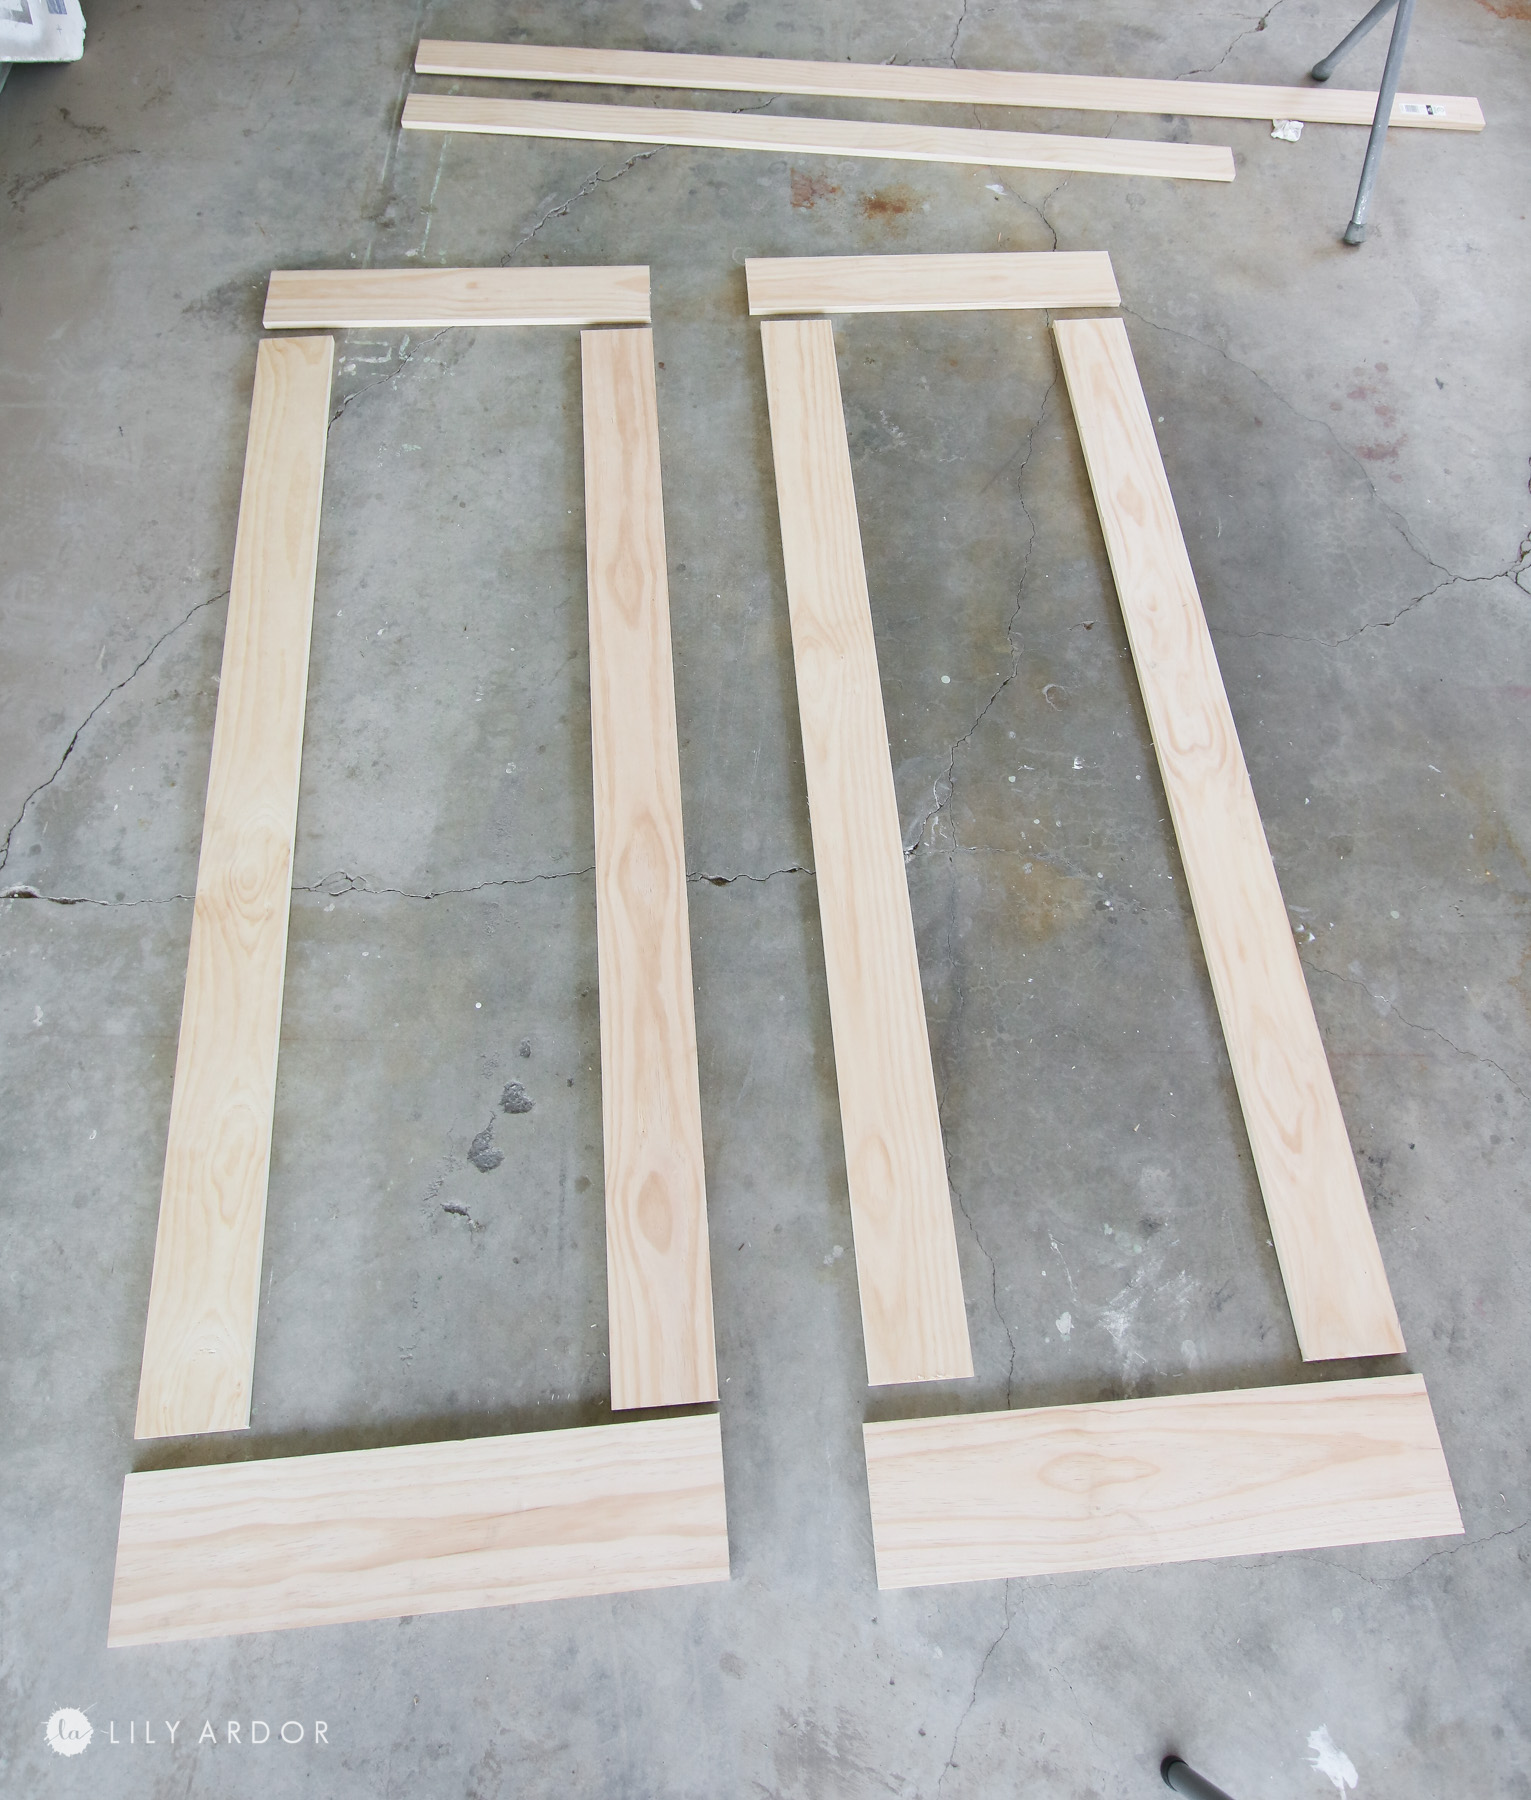
Let’s talk about our door opening. So our door opening is about 55 inches wide. We went ahead and made the doors 60 inches in width. Meaning, they were 30 inches each and 60″ together when closed shut. This gave each door enough room to overlap the door opening by a few inches on both sides. I added plans for the door below. You will need to adjust accordingly if you plan to make your own.
How we made our Barn Doors!
We first started off by cutting out all the pieces for the top, bottom and sides of each door. ( Here’s a video version of the DIY – https://youtu.be/VXSoVyBkayY )
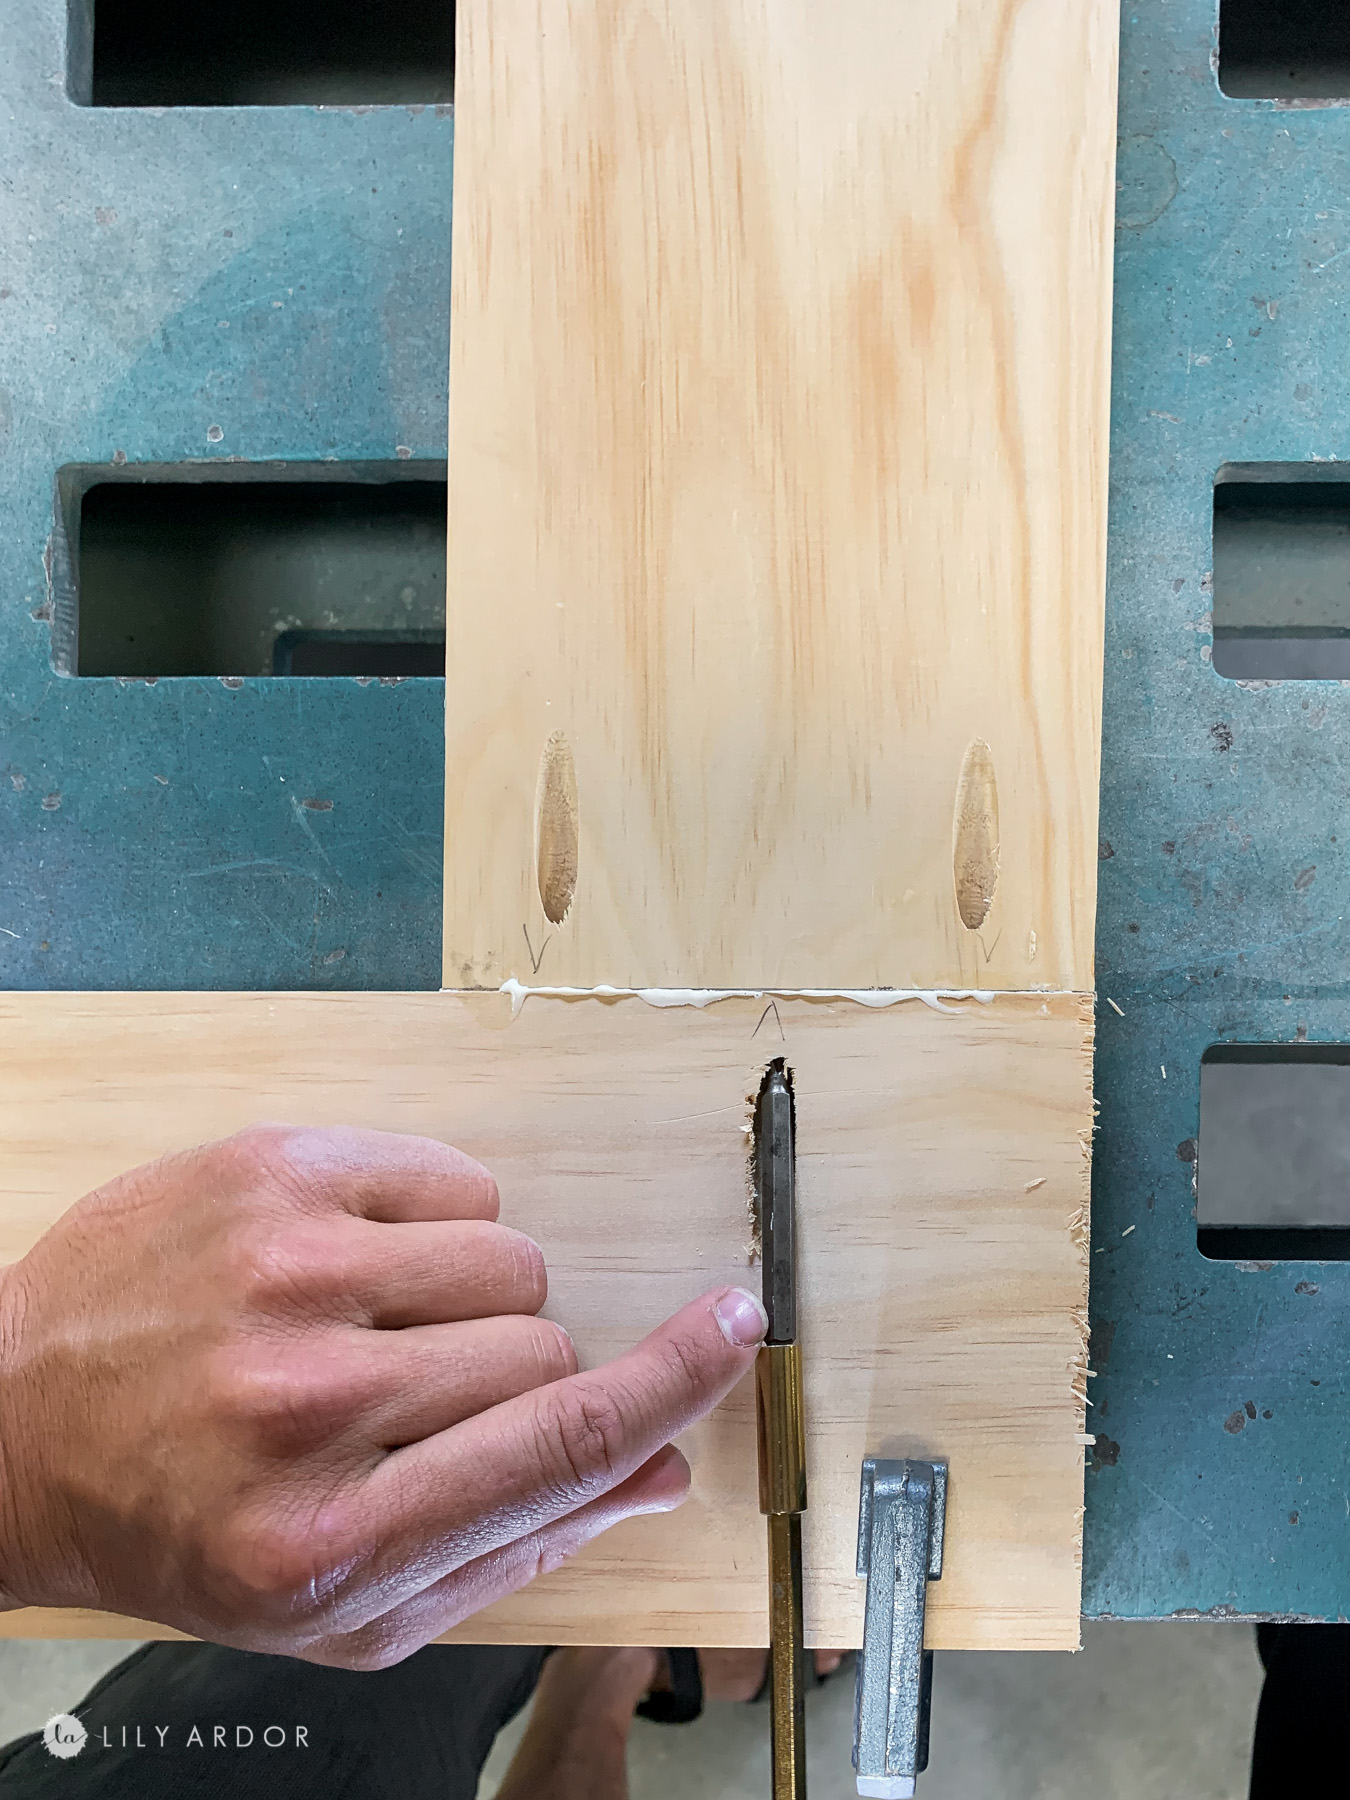
To assemble all the pieces together we pre-drilled angled holes on the backs of each piece of wood. We used a kreg jig to make the angled holes. Check out the video here to see how we did this – https://youtu.be/VXSoVyBkayY. We than lay out all the pieces on a flat and solid surface. Tony’s frame machine came in real handy.
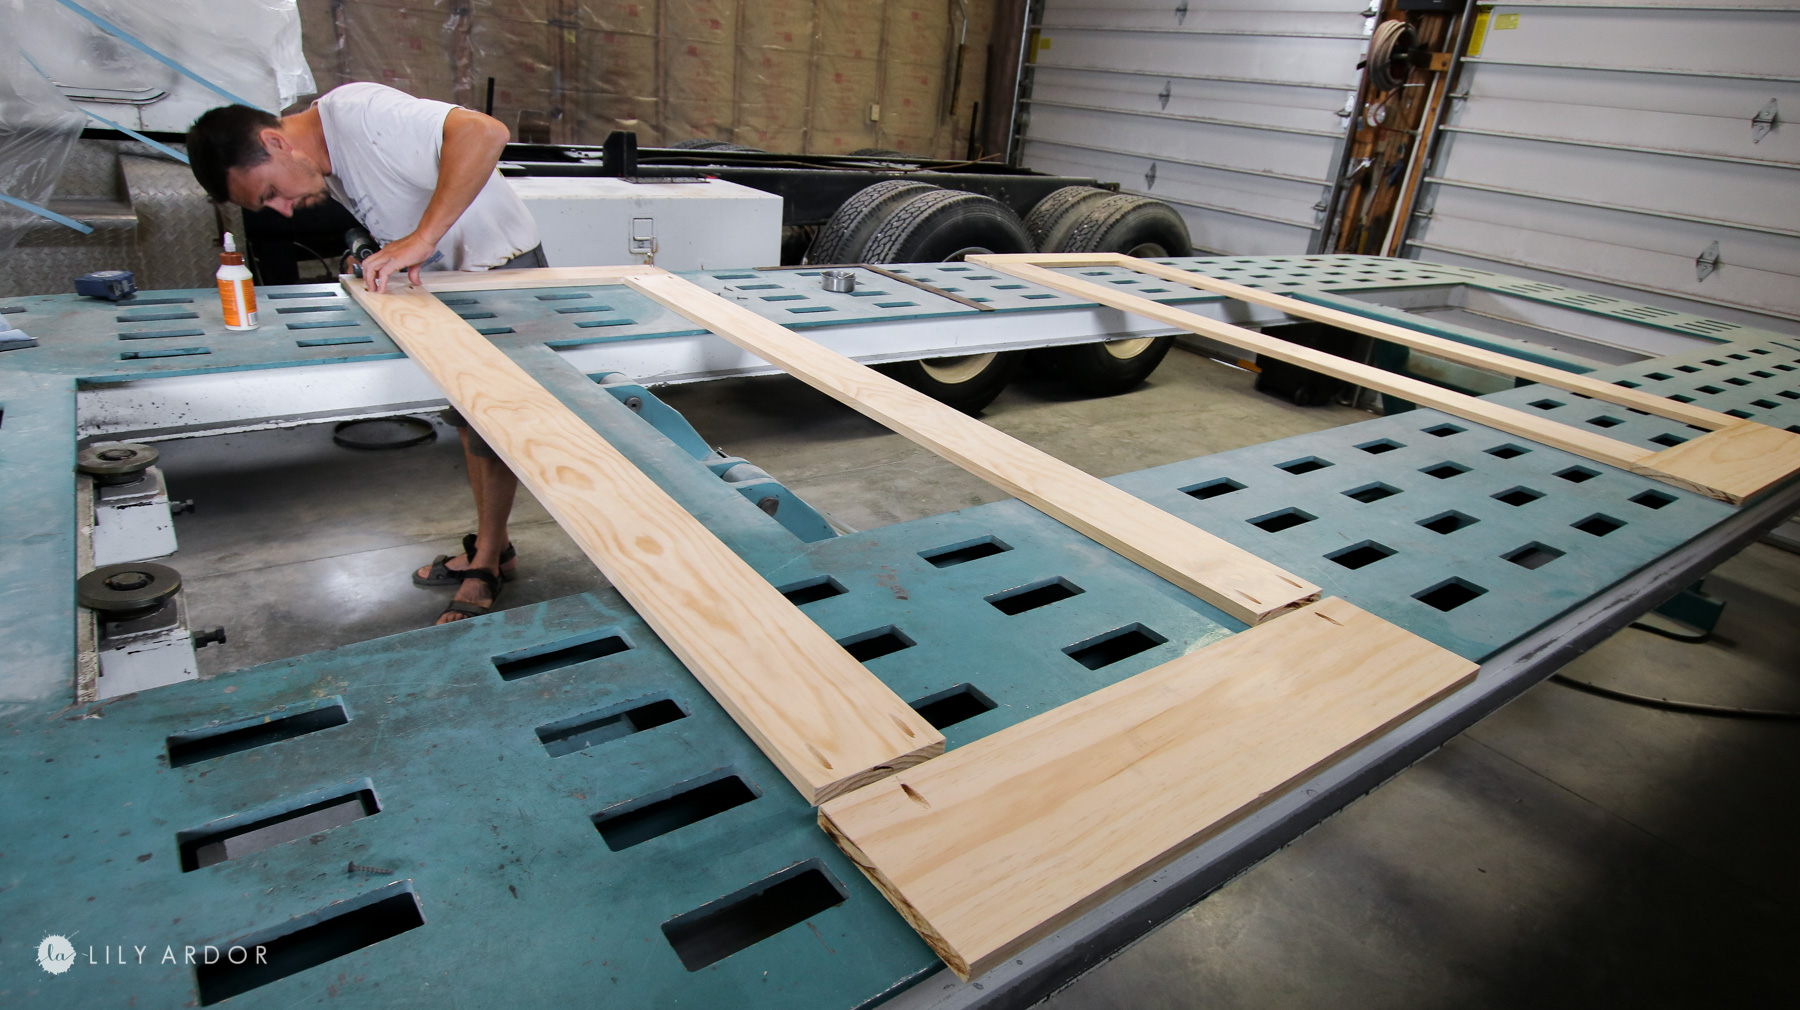
Tony clamped one side of the wood to the frame machine. This helped so much when securing it with screws.
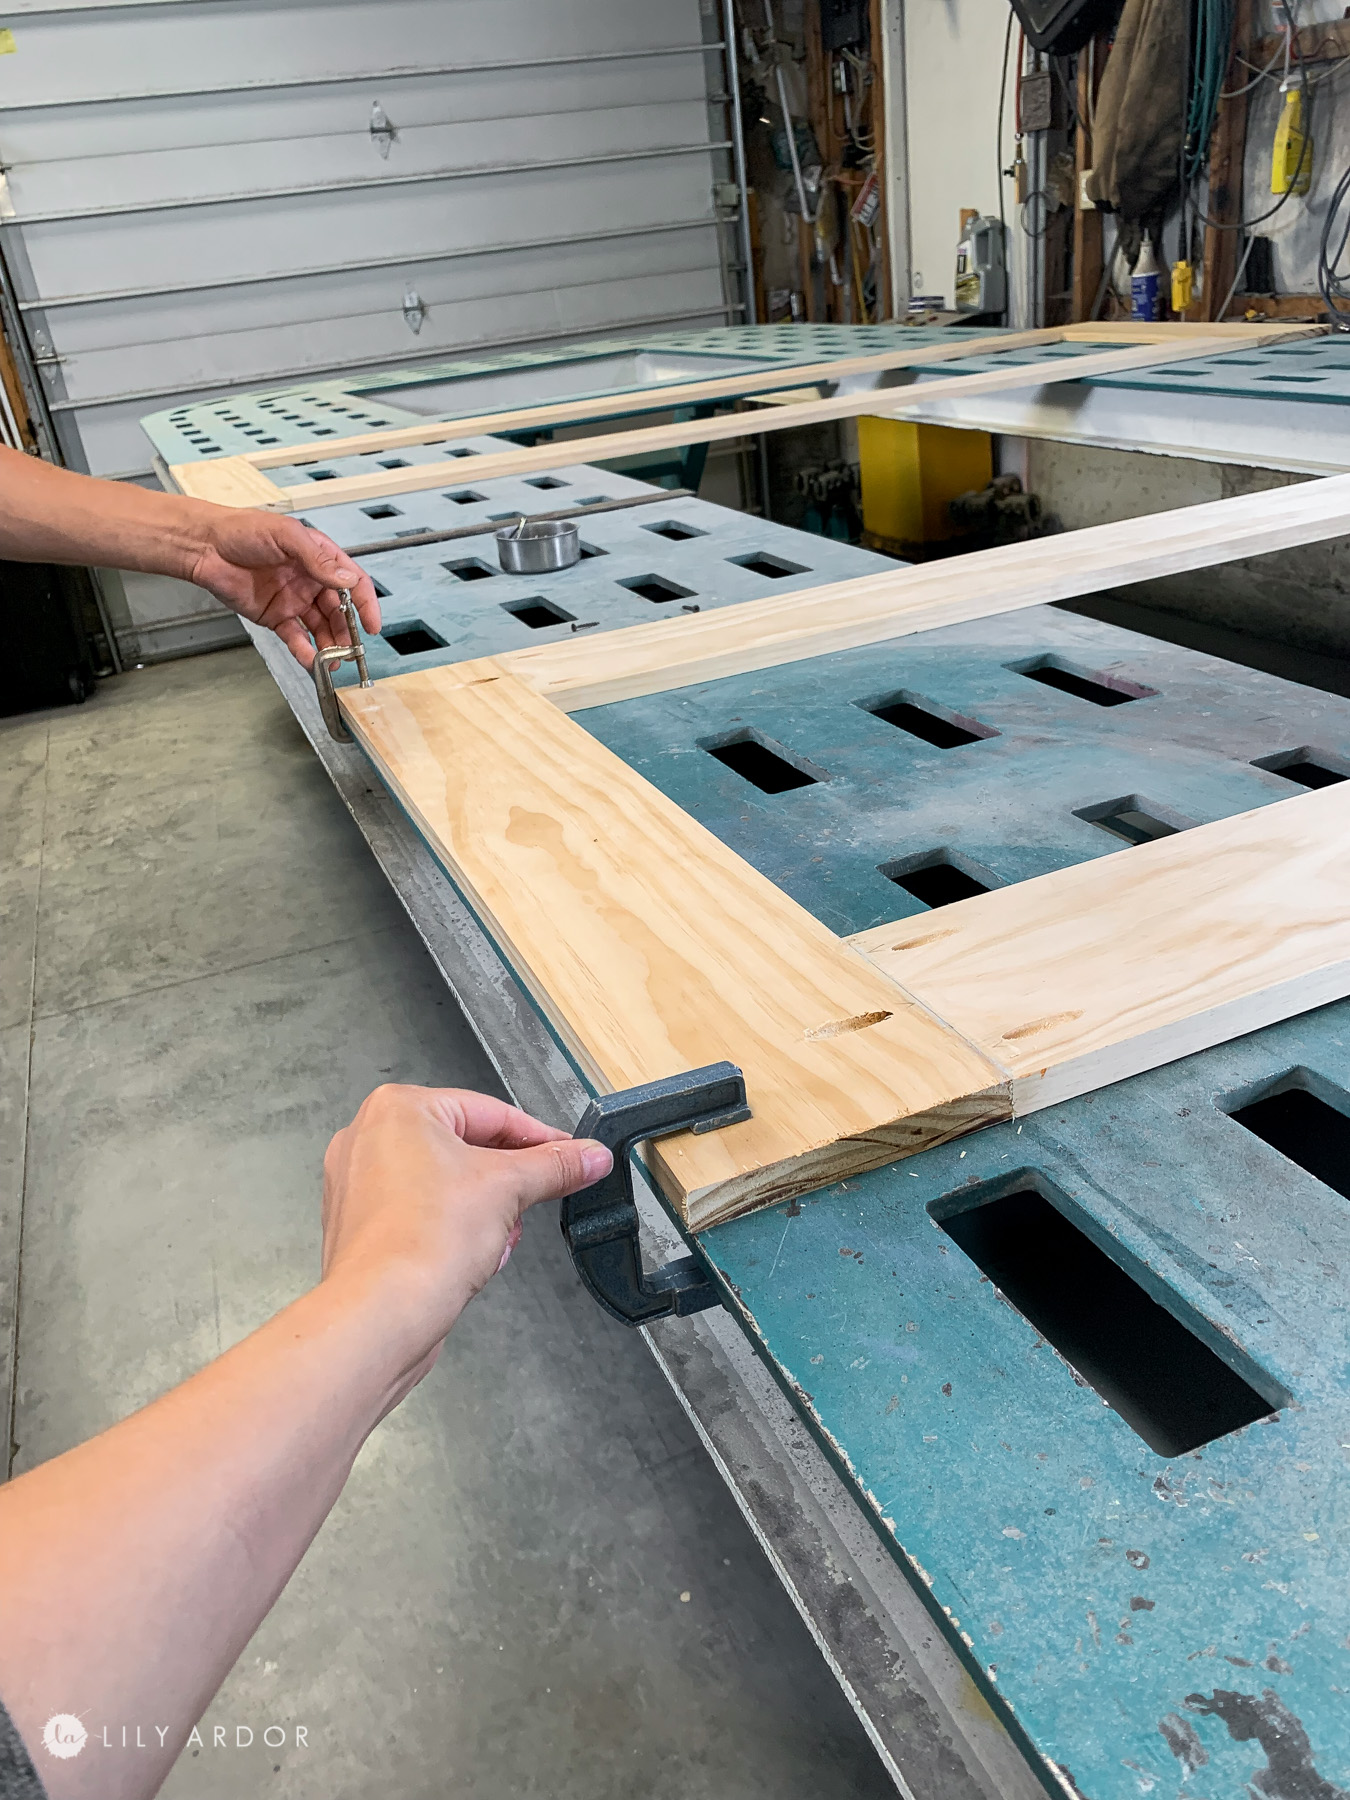
We than applied wood glue and screwed the pieces together. We didn’t remove the clamps until all 4 pieces were secured together.
After that we removed it and cut out all the insert pieces.
TIP: Measure and cut each piece of wood individually for this. Even though 19″ inches for all of them would of worked fine some areas were tighter or looser so we had to cut them to size.
We also secured all the insert pieces with a kreg jig and some glue and screws. 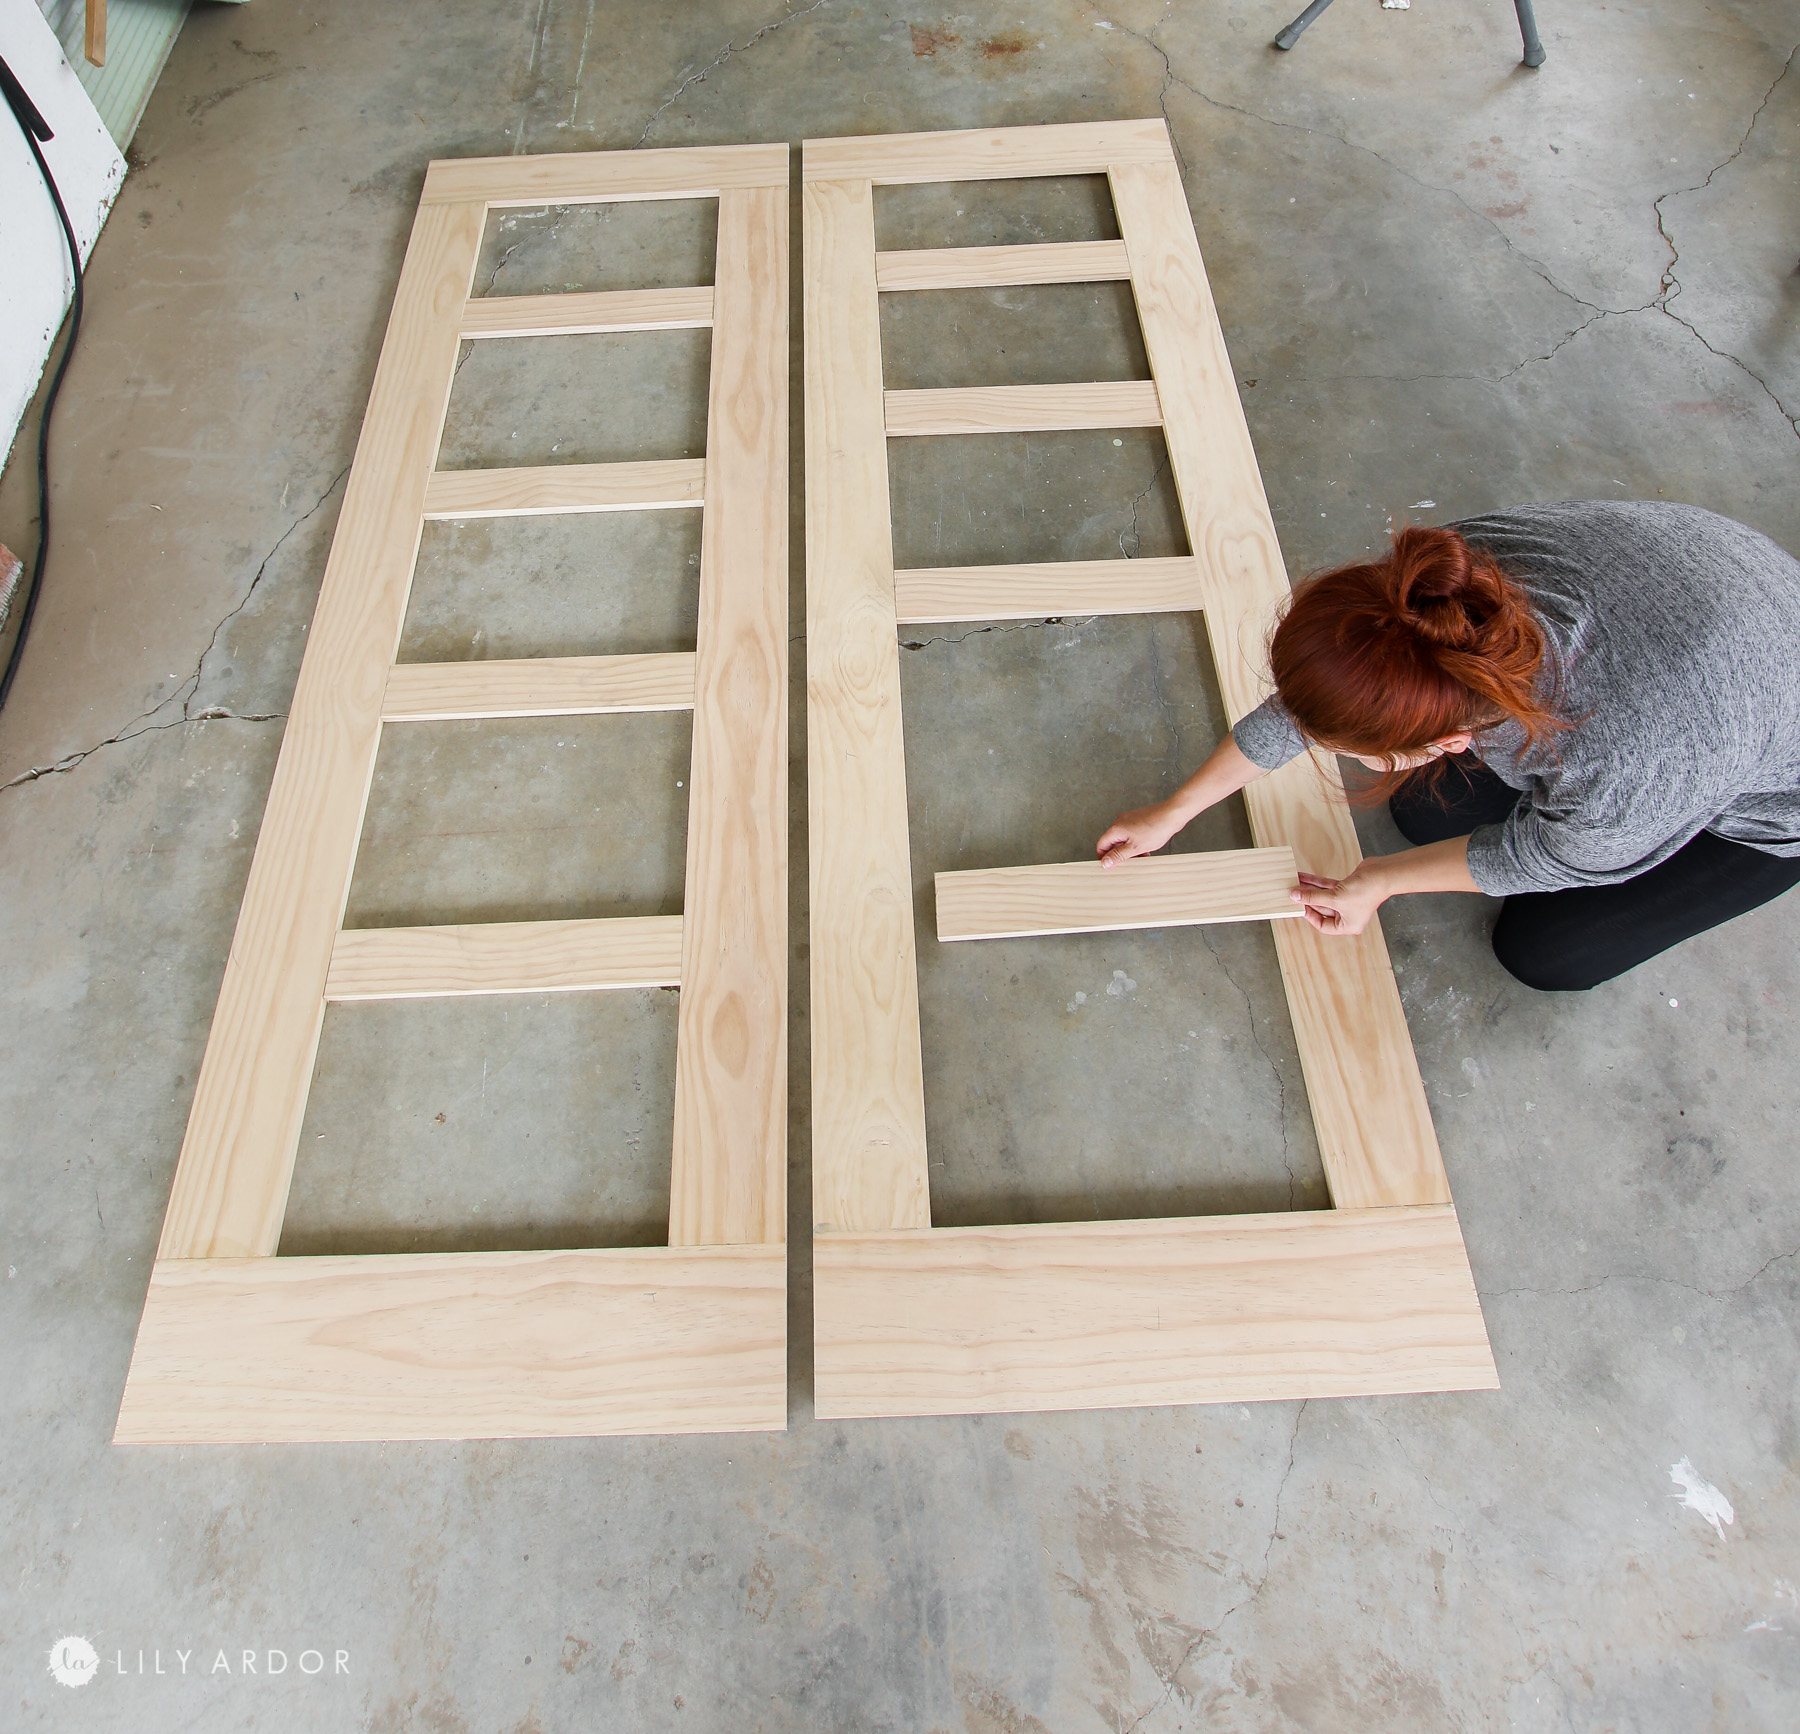
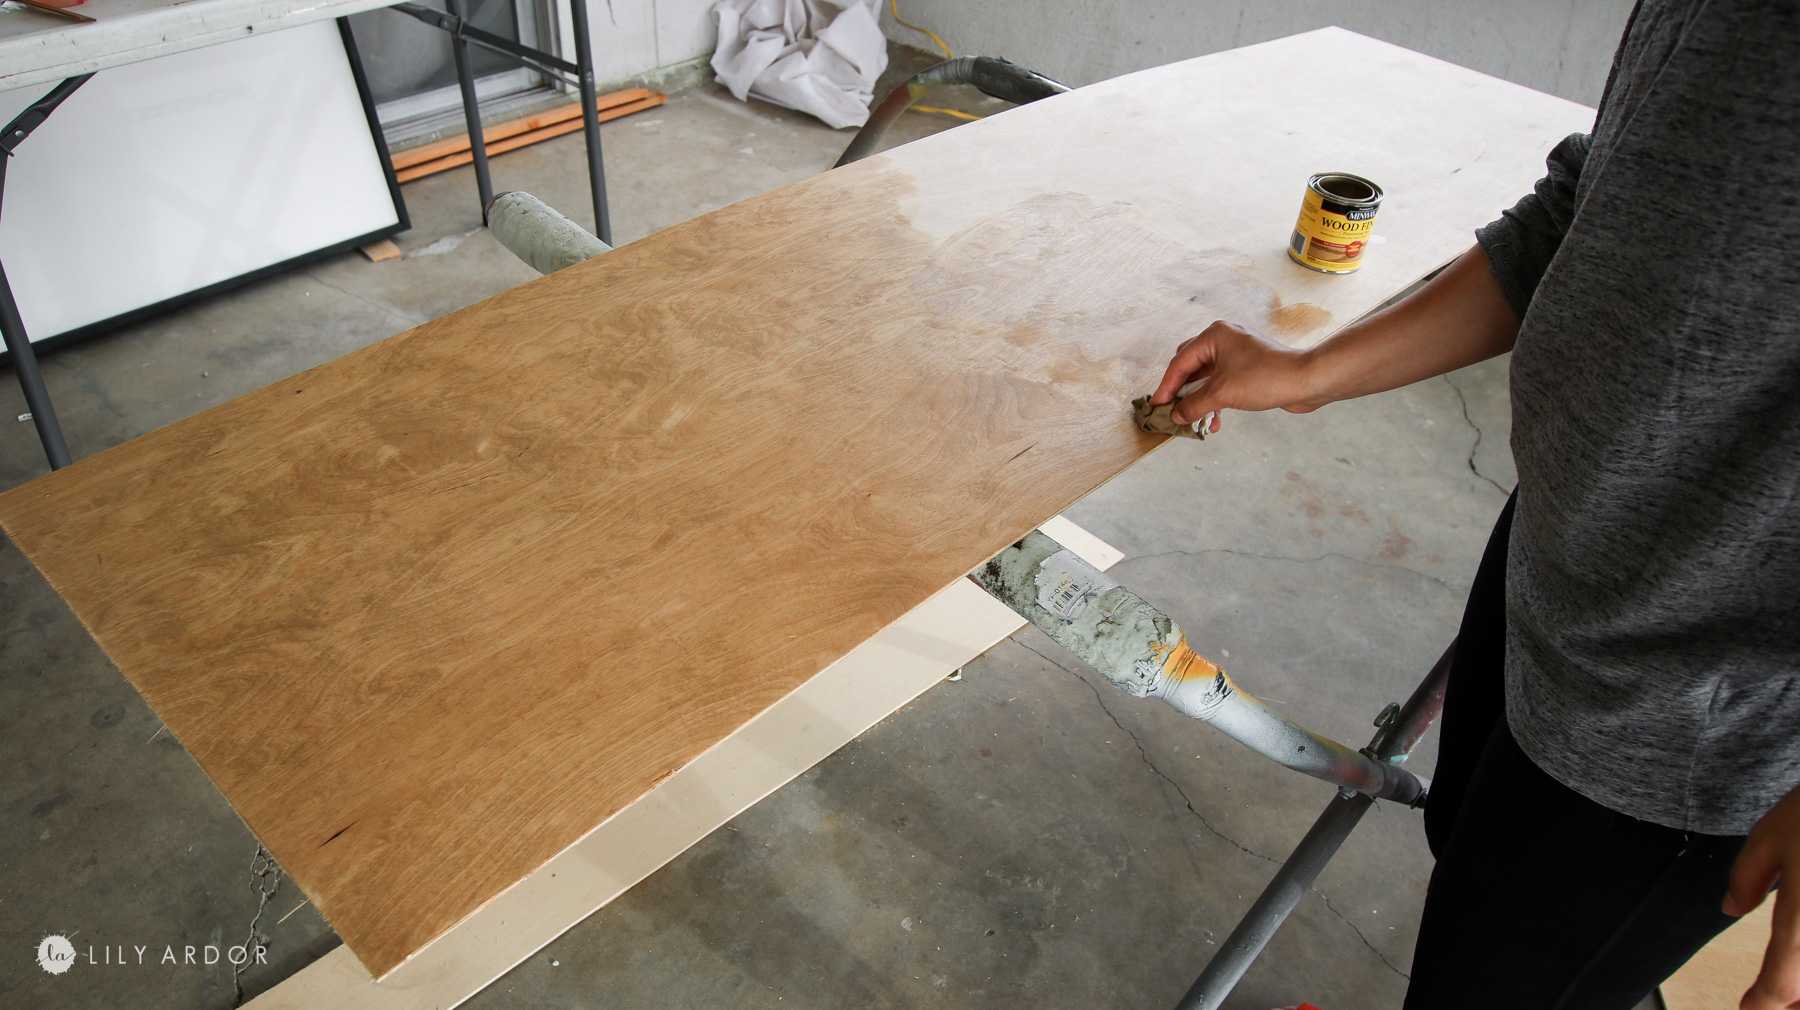
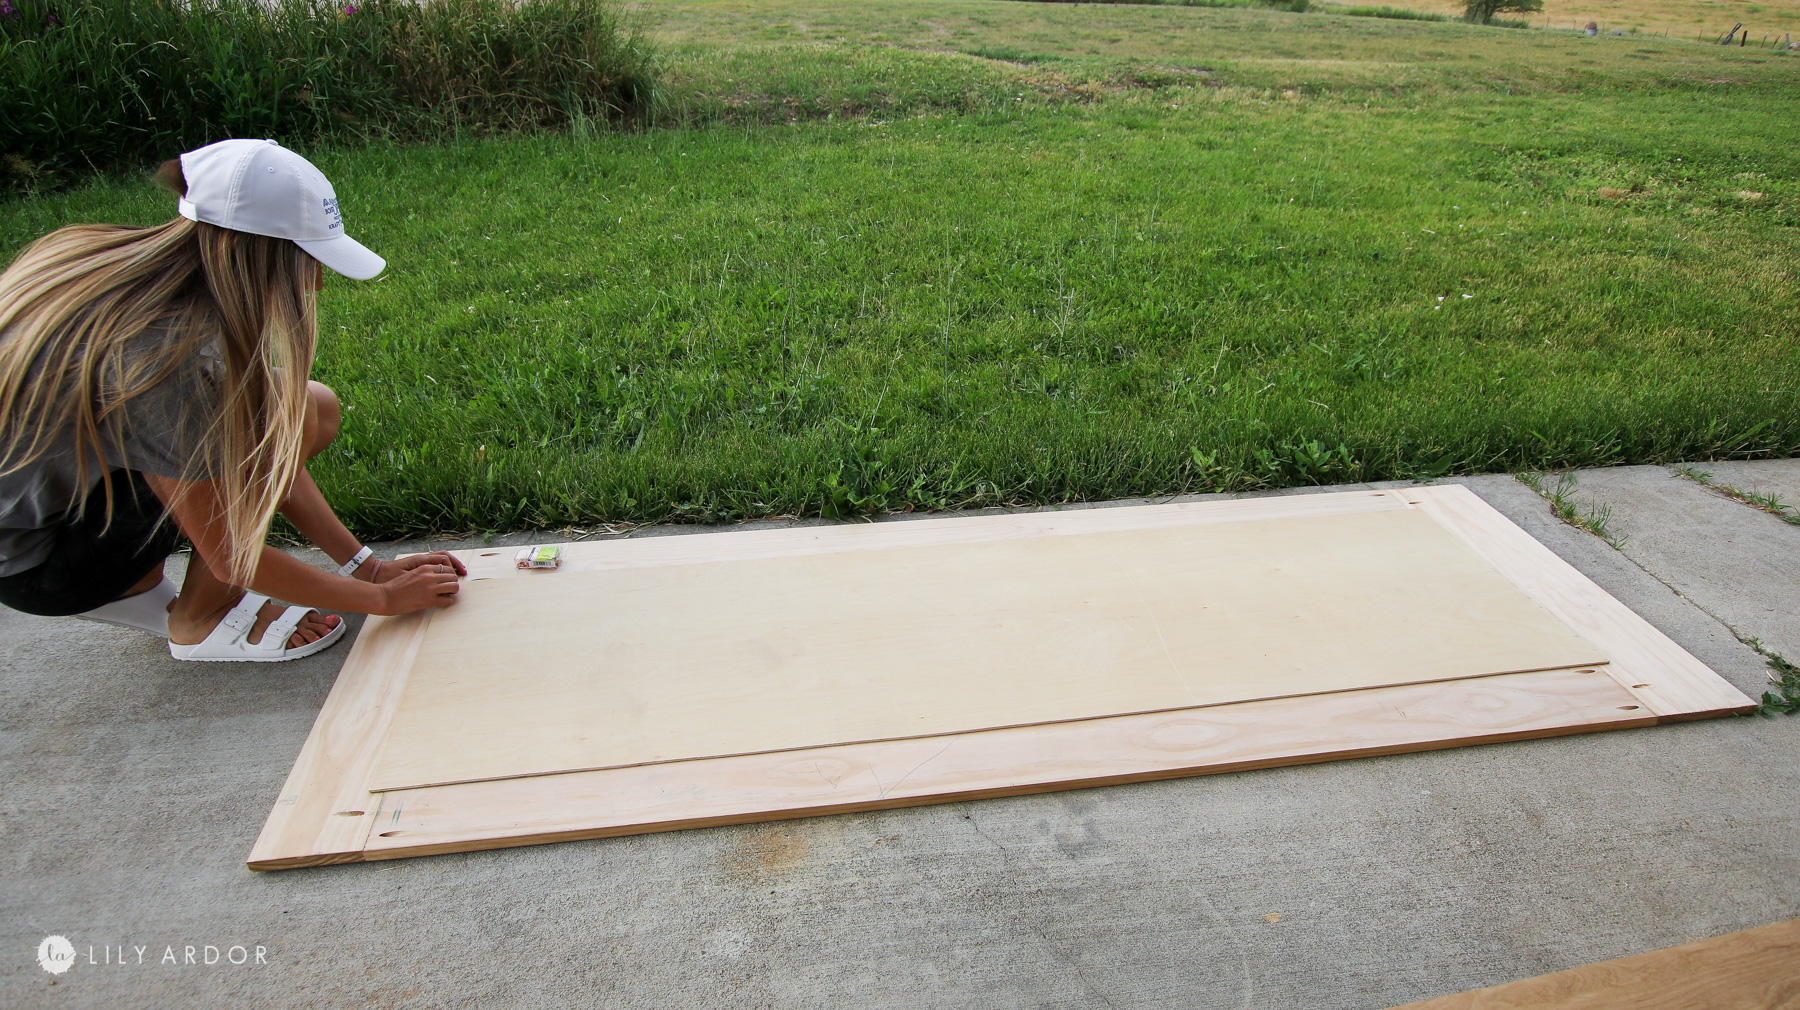
Next Tony cut the plywood to size. We only cut it big enough to cover the hole it doesn’t have to cover the whole back of the door. I stained the panel and the door frames separate before securing them together with some small nails on the back. Here’s the stain I used – https://amzn.to/2AtR81R
A quick Video of the DIY wall and barn doors 🙂
That’s it! These were super easy to make. Not at all what I expected! Isn’t it funny how it works the DIYs you’re scared of most end up being the easiest 😅!
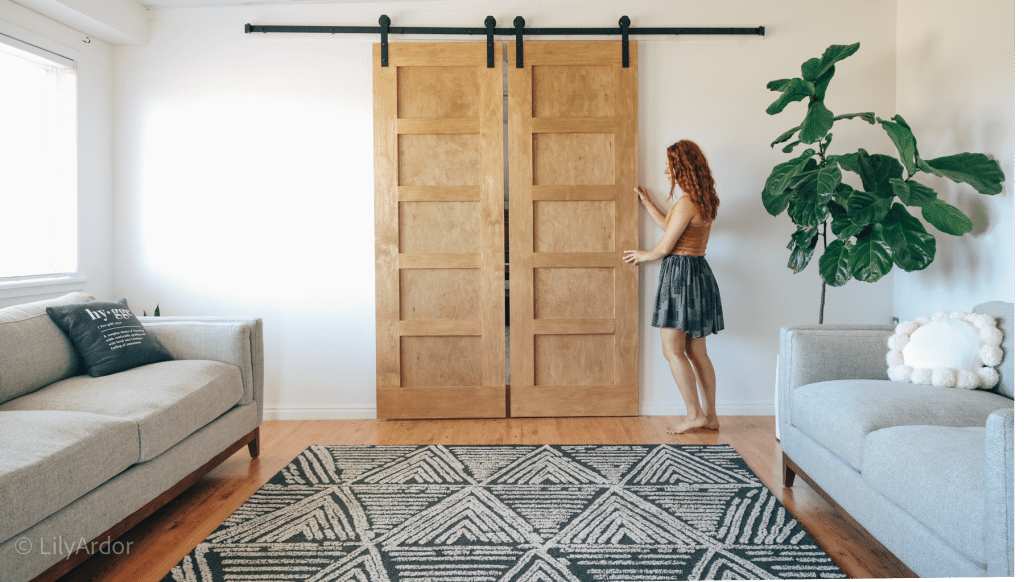
I’m so in love with how they turned out and I’m glad we went with a simple style I can’t wait to decorate the rest of the living room . The wood grain look much better then we expected!
![]()
Here’s a pin ( photo below) for you to add to your Pinterest board. You can add this to your home improvement board 😃 or diy decor board. Click on the photo to pin!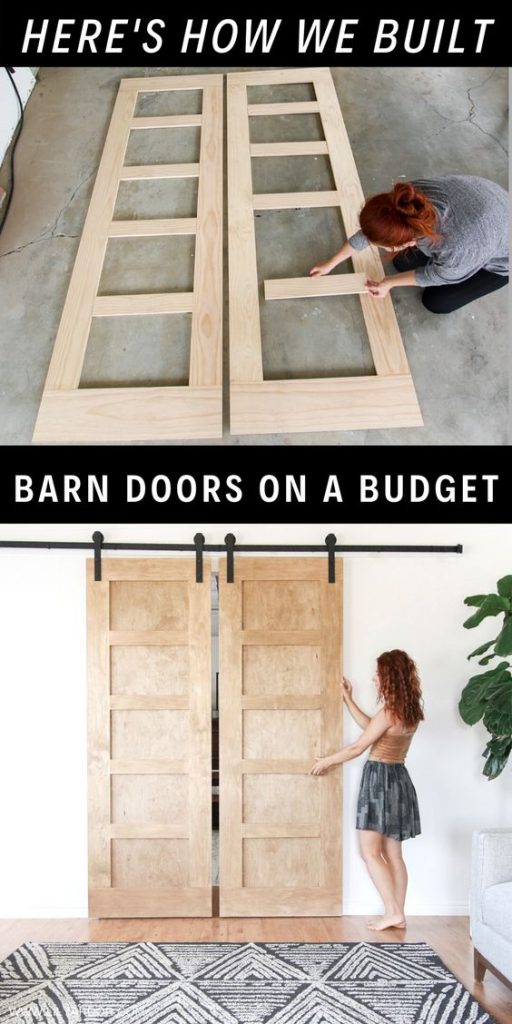
Happy Independence day everyone! I hope you’re doing well and staying strong 🙂 I’ll see you next time,
Best Wishes,
Lily
Very nice. You did an awesome job and I really enjoyed watching this video. The finished product is perfect!
Thank you so much Wendy 🙂
Absolutely beautifully done, love them!
Thank you 🙂
Hi, love the look of ur doors. Can i know if the back of the doors r just the flat stained panel or u trimed the outside edges?
I cut down the panel on the back. It’s a panel that’s smaller than the door all around.
Fantastic result. I love everything about this door. You nailed it, and saved lot of $$$. I love that too. I also want to thank you for always posting videos, because sometimes it’s hard to get the full picture of certain Diy’s.
You’re so welcome Ivory! It’s definitely hard to do both photos and videos but, I’m a visual person and totally understand what you mean. Sometimes I need to see in detail to understand and only a video can do that. 🙂 So happy to hear you loved it! Thank you 😀
You can add a panel that covers the whole door in the back for a more finished look. The birch panels on my doors are a bit smaller all around. IT still looks really good. 😀
The thickness of wood was about 3/4 inches thickness the birch plywood was about under 1/4 inches in thickness. We use this hardware – https://amzn.to/3e0F2ej
Beautiful! really considering this as we don’t have a door, just a net so hoping I can pull this through!
We love these doors!! You GOT THIS!
Love the doors… beautiful job. ..I’m going to use your layout to make doors for wardrobe found in Ikea’s “as-is” section. I haven’t been able to find doors that fit. This is going to work and will be my first big wood project. Thanks for the inspiration .
Thank you so much Lisa 😀 Oh man I wish we had idea here! I all there as is section! Sounds like such a fun project. YAY!! You got this! Glad to hear this was inspiring.
This is such a great tutorial! I love the look of these barn doors. They turned out so beautiful. This is the perfect idea for my new bedroom. Once I make these doors and do some hardwood floor refinishing I am going to have the cutest room in all of Ann Arbor!
YAY! so happy to hear you loved this idea!
You did such a good job! I am in love with how these turned out! I am dying to recreate these in my home here in Ames. I am doing some wood floor refinishing this month and then this project is next on my list! Thanks for all the great tips, I can’t wait to give this a try!
What is final size of each door? 27×84 or 30×84? Thanks
This is so beautiful.
I’m going to try this for our closet if possible.
I think these would look perfect on a closet!
Great post! What did you do on the back of the door? just leave it with the plywood or replicate the design on both sides?
I left the plywood and stained it to match.