Flower Art | Mother’s day gift DIY
Personalized Flower Art
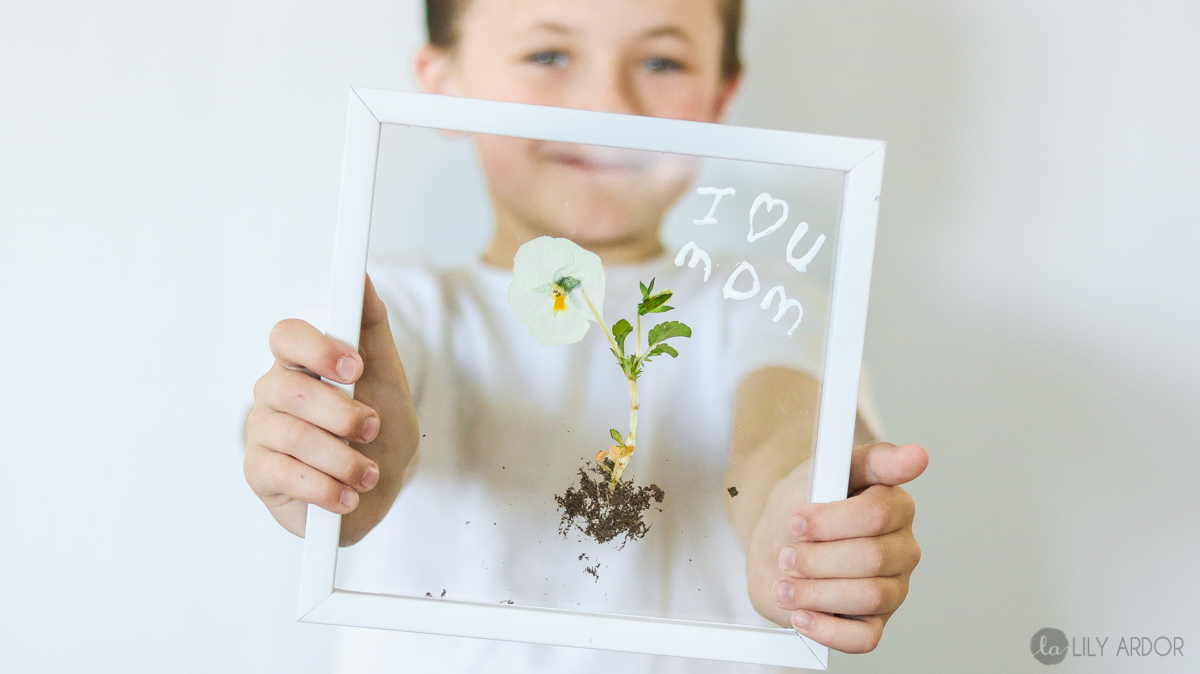
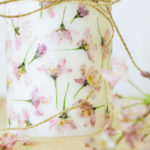
I love any flower art that reveals the roots. It’s so cool and unusual! I remember the first time I saw art with revealed roots was some botanical hand drawings drawn by my uncle. Man😍, I thought it was the coolest thing ever!! I dreamt of drawing as good as he did some day! You know…, I never got around to trying it but, I’m not taking it off my list of things to try. So, a few days ago I posted my pressed flower art. This is pretty much the same concept except for we kept the roots in the flower. I love how personalized this one is. We used a white sharpie to add a personal message. How cute is that😃😃!! Best part about this gift is, I bought my frames at the dollar store. This gift ended up costing me under $5. It doesn’t get better than that. 😁👌 (PS. this is only 1 of 5 mother’s day gifts we made)
What you’ll need
- flowers with roots (could be a cute weed)
- two frames (the frames will need to be thick enough to stand on a desk if that’s what you want) You need two frames because, we’ll be sandwiching the flower in between two pieces of glass to create this flower art. We’ll only be using one frame and the glass from the other.
- Hot glue
- Two firebricks
- paper towels or cotton fabric scraps
- Microwave
Before we jump in here’s more Mother’s day DIYS you’ll love… 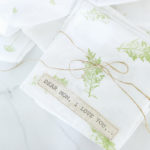


Putting your flower art together
Okay so this is super easy to make. The photos pretty much say it all but, I’ll fill you in on the details anyways. Here’s what my frames look liked. As you can see they were a bit on the thicker side which makes them perfect to stand on a desk or hang on the wall. I purchased my flower at homedepot. Sorry I have no idea what kind of flowers those are. They cost around $3. To begin I scraped off all my words carefully with a razor blade. ( this will only work if the words are added on top the glass. If they’ve been etched into the glass it won’t work) 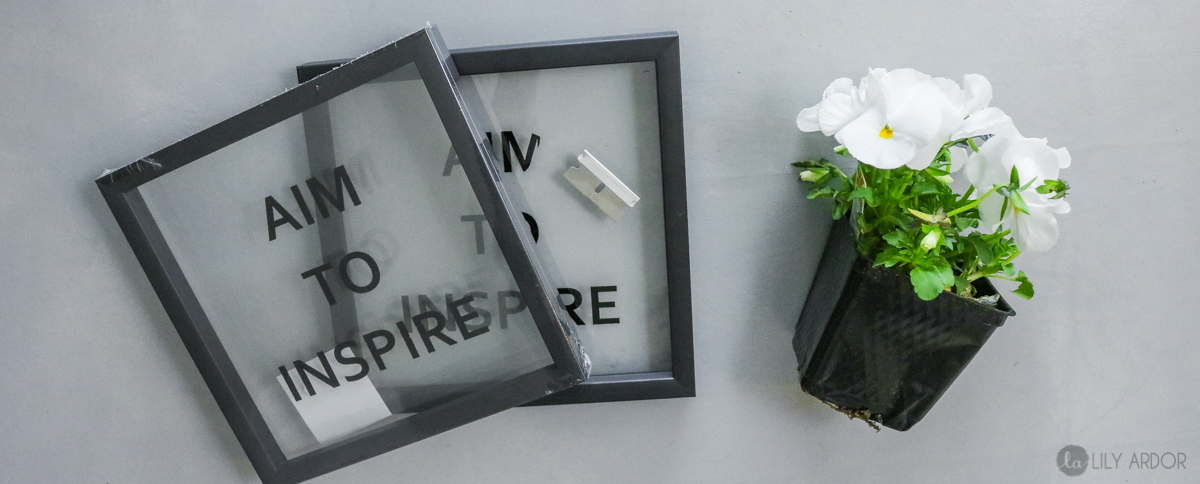 Since I needed one piece of glass without the frame I tried to remove the glass from one of the frames by heating up the glue . It looked like the glass was hot glued to the frame (hotglue usually turns soft if heated) but, turns out it wasn’t hot glue so that didn’t work. Then I tried using a razor blade to cut the glass out but, that got dangerous pretty quick😬.
 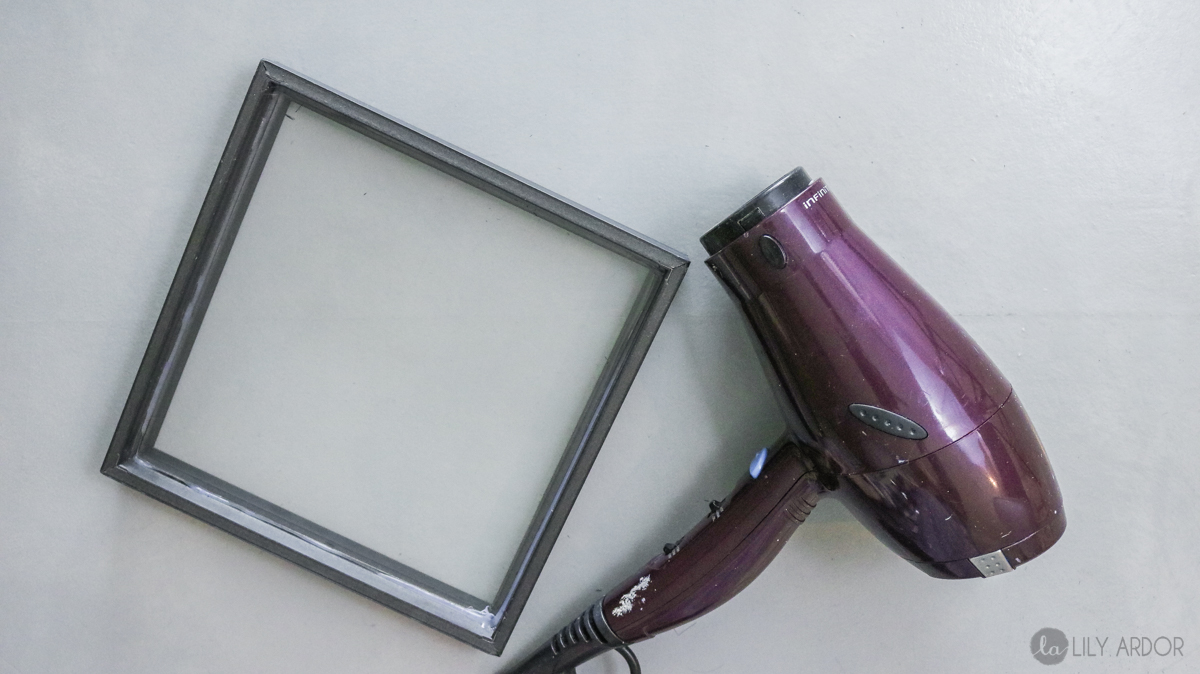 So my final attempt was to break the frame apart which worked like a charm. 👏👏😁 Dollar store frames are apparently made out of some sort of foam and it came apart super easily without breaking the glass.
 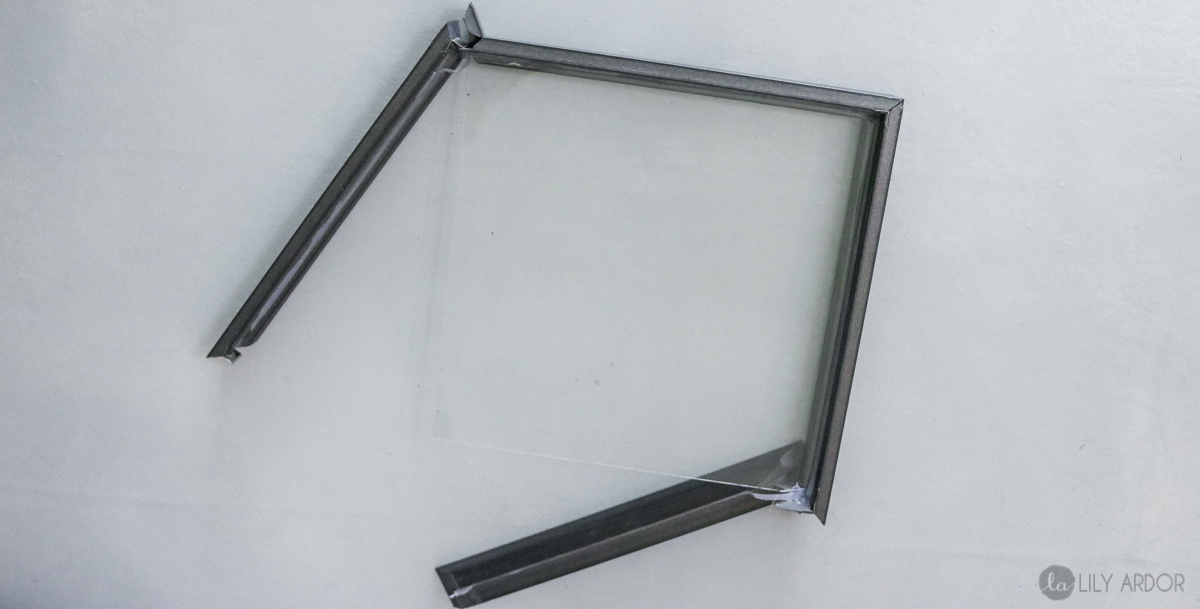 This step is optional but, after that I masked off and gave my other frame a few coats of white paint. I wasn’t really feeling the black.
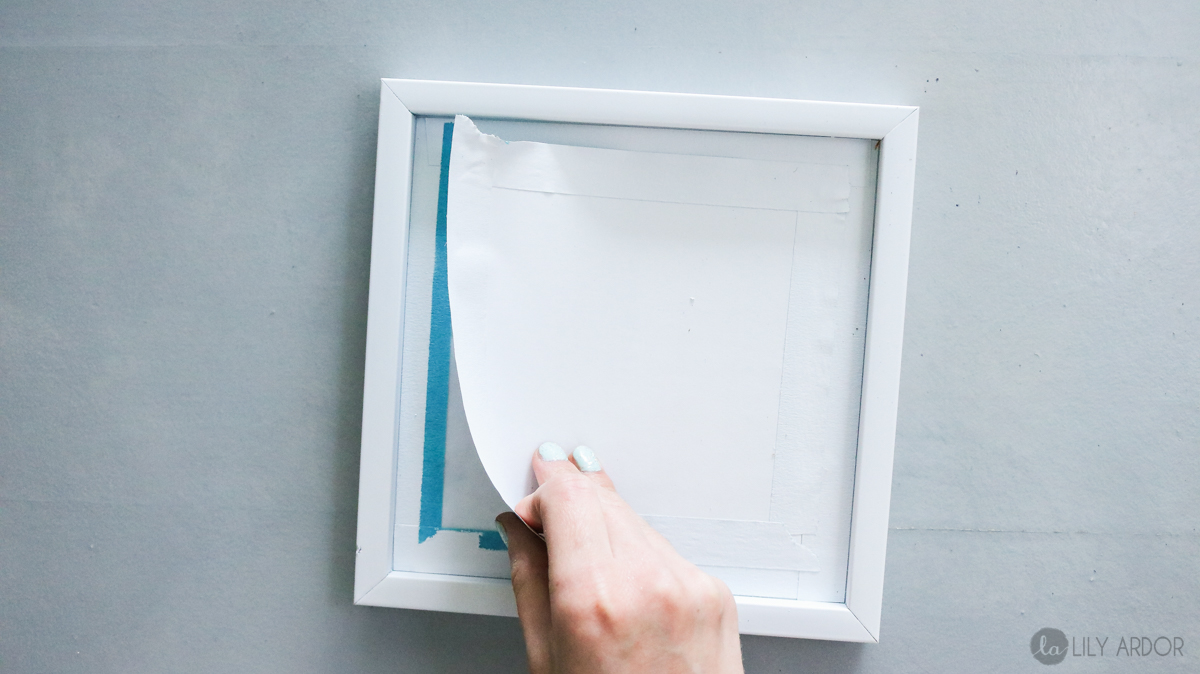
Prepping your Flower
Okay for the flower I gently pulled it out with the roots and to dry it I used my microwave method. 
Drying your flower
You can view my full in depth tutorial here for the microwave drying method but, here’s some tips you’ll need for this flower. The idea behind this method is to dry your flower in the microwave sandwiched between two pieces of fabric and some firebricks. To begin I carefully lay my flower on a brick and fabric. Originally I tried drying the flower with the roots but, the flower kept getting ripples while drying because, the soil wouldn’t flatten out enough and there was room for the flower to curl up between the bricks while drying. So, I had to pull another flower with roots and give it a go. This time around I removed the roots and dried the flower alone. 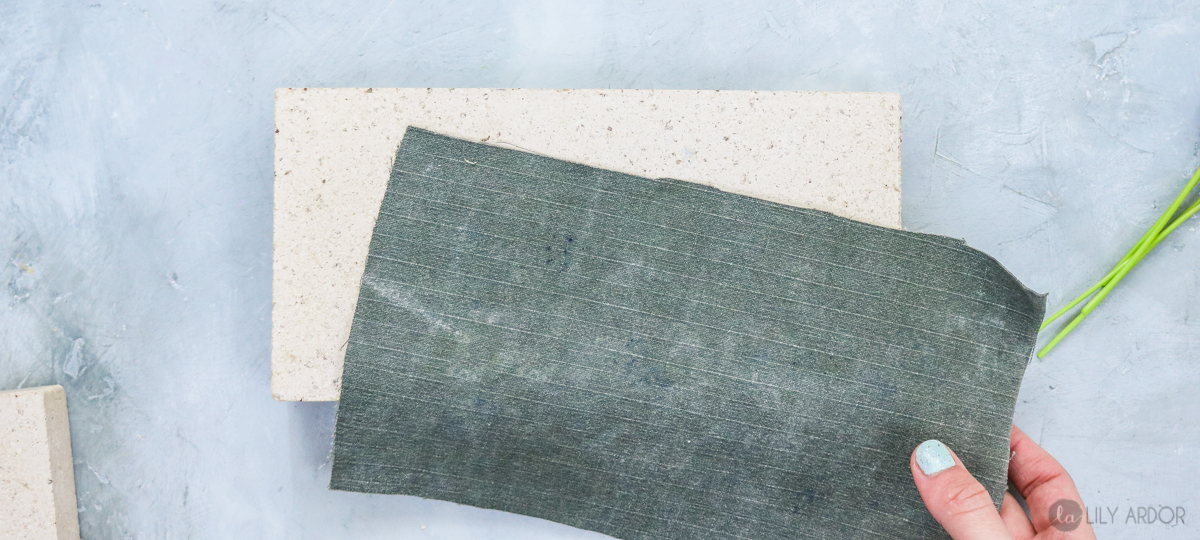
How long to Microwave White flowers | Tips you don’t wanna miss!!
So pressing your flowers in the microwave is a great way to preserve color. However white flowers can be tricky. Here’s two things you need to keep in mind while using this method. #1 Don’t ever push down on your bricks before sticking them in the microwave. This will not help flatten it out but, instead will break your flower. The flower will flatten out on it’s own. #2 White flowers tend to burn super quick. I love that this method preserves the white color so beautifully but, only if done correctly. Depending on the size of the flower I usually microwave it between 1-3 minutes in the microwave. At least 30 seconds of that time is without the top brick. However since white flowers brown so quick I did the pulse heating method where I only microwaved for 1 minute straight then removed the top brick, left the top fabric and kept microwaving and checking every 10 seconds. Once your flower is completely stiff that’s when you know it’s ready.
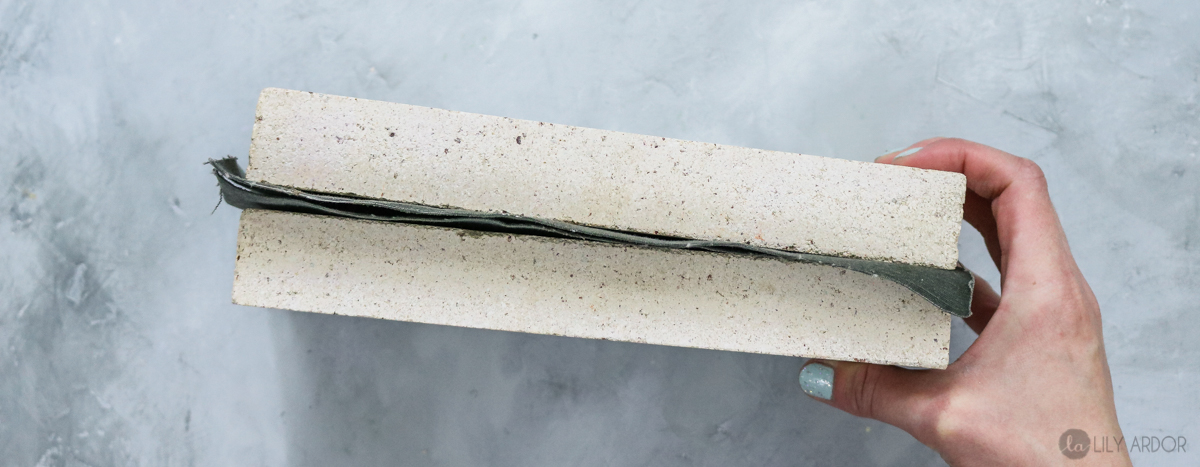
Here’s what your layers should look like before going in the microwave. Two bricks on both sides with two scraps of fabric… and your flower in between.
Finishing touches on your flower art
Okay once your flower is dry. Display it in your frame and add a pinch of dirt with roots to make it look like you’ve ripped the flower out with the roots. 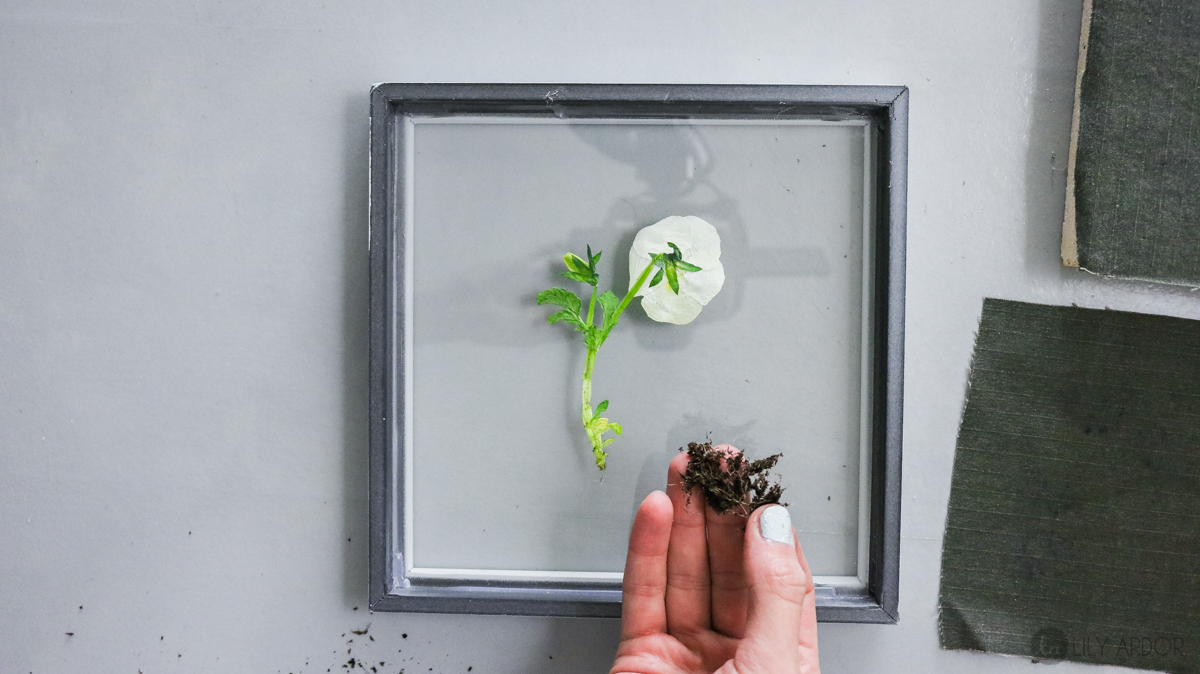 I sprinkled some dirt around the roots as well.
  Than add the other piece of glass and use some hotglue and a brick to secure it. (note: you might see the glass fog up a bit from the moist soil. Don’t worry it goes away after a few hours. )
 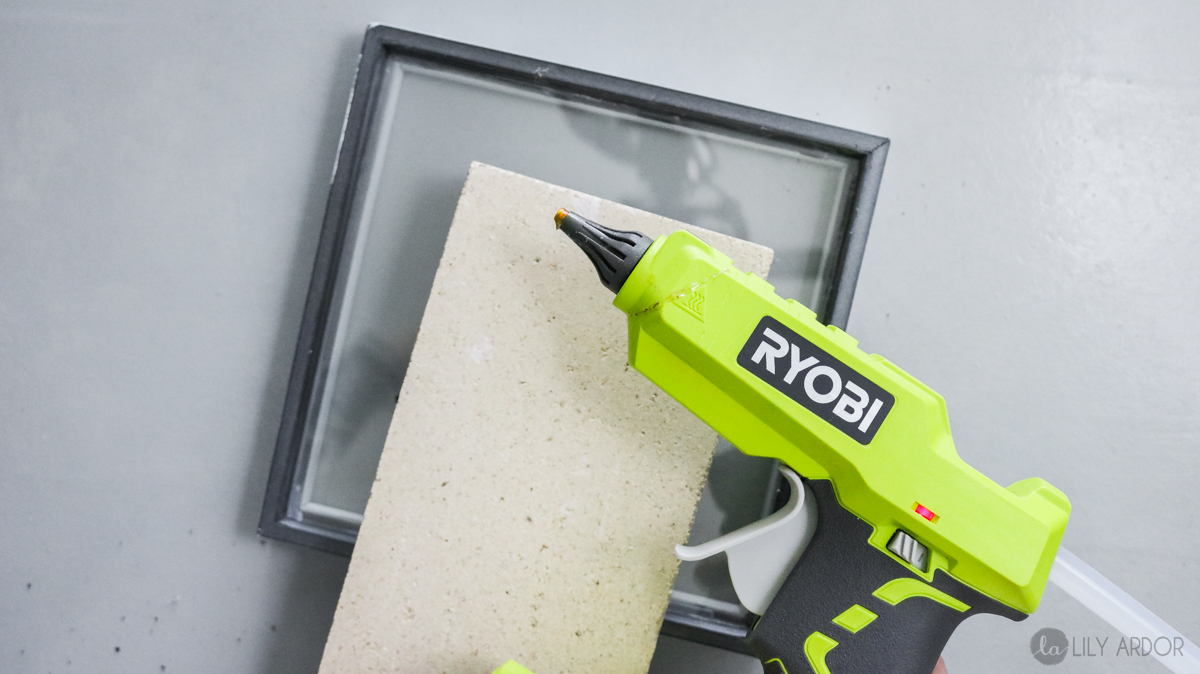 And that’s it!!! Pretty easy right? I love this idea the possibilities are endless!! 😍😍😃 We used a white pen to write a personal message.
 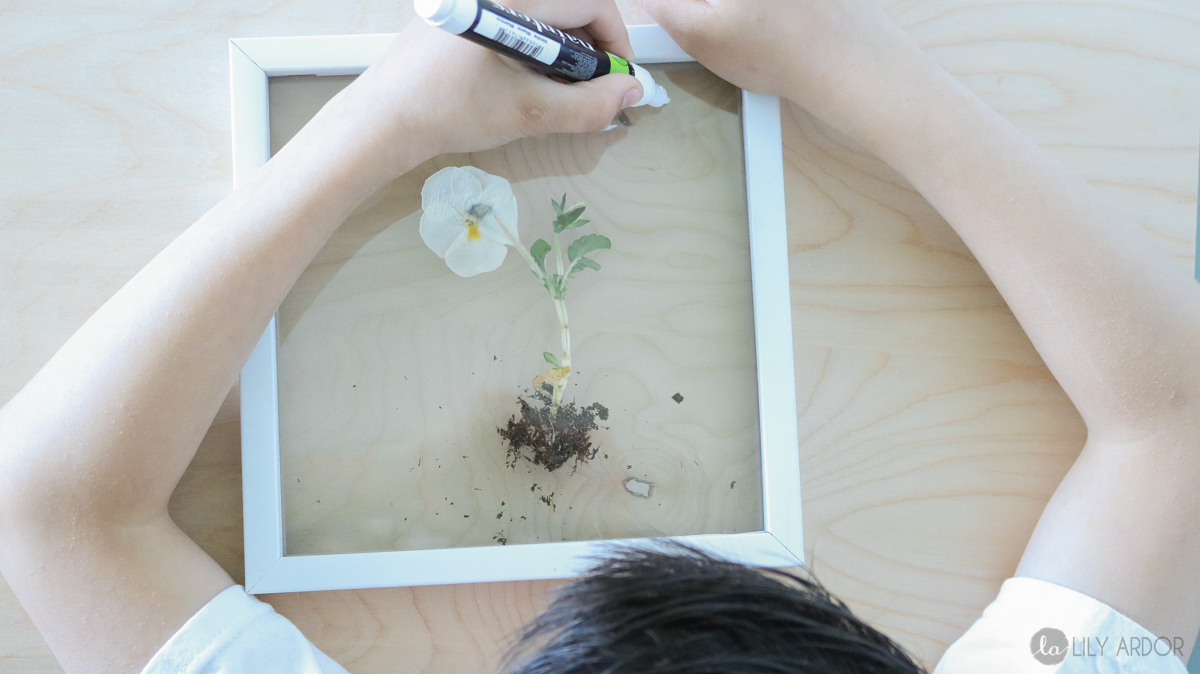 How cute is that! 😊
 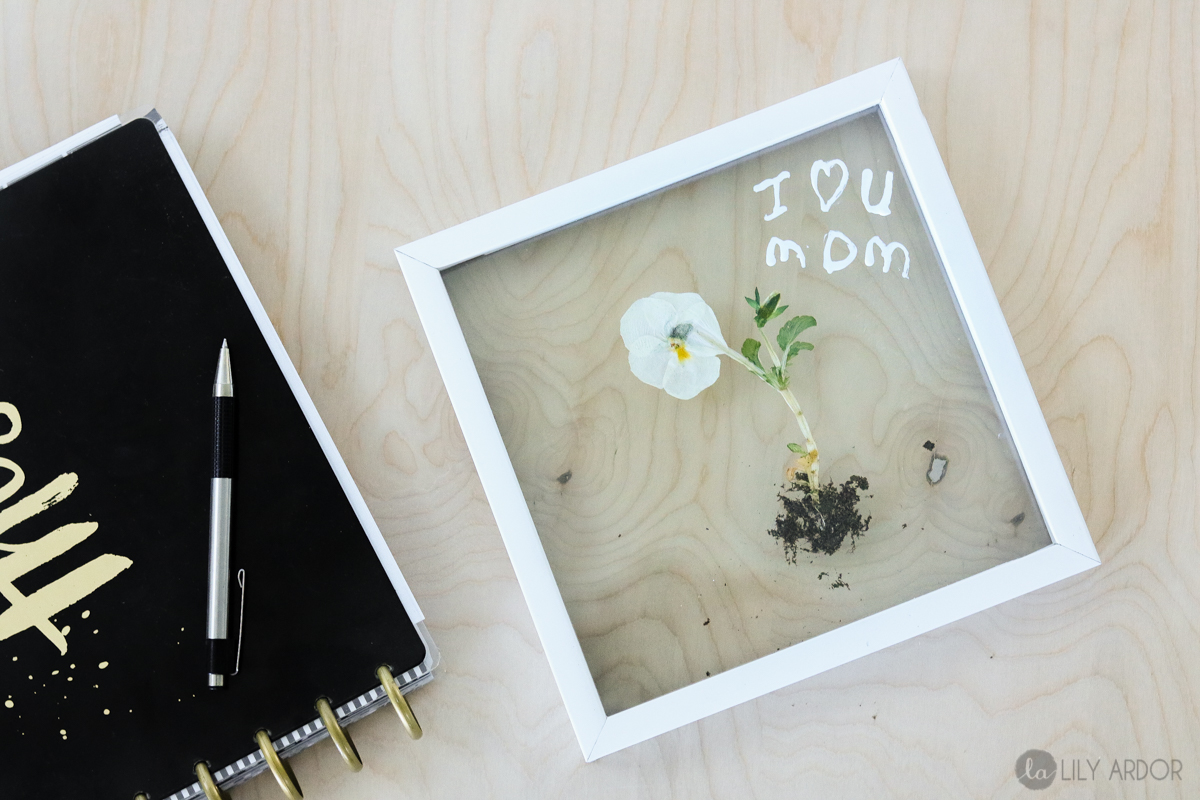 Simple but ssso unique!
 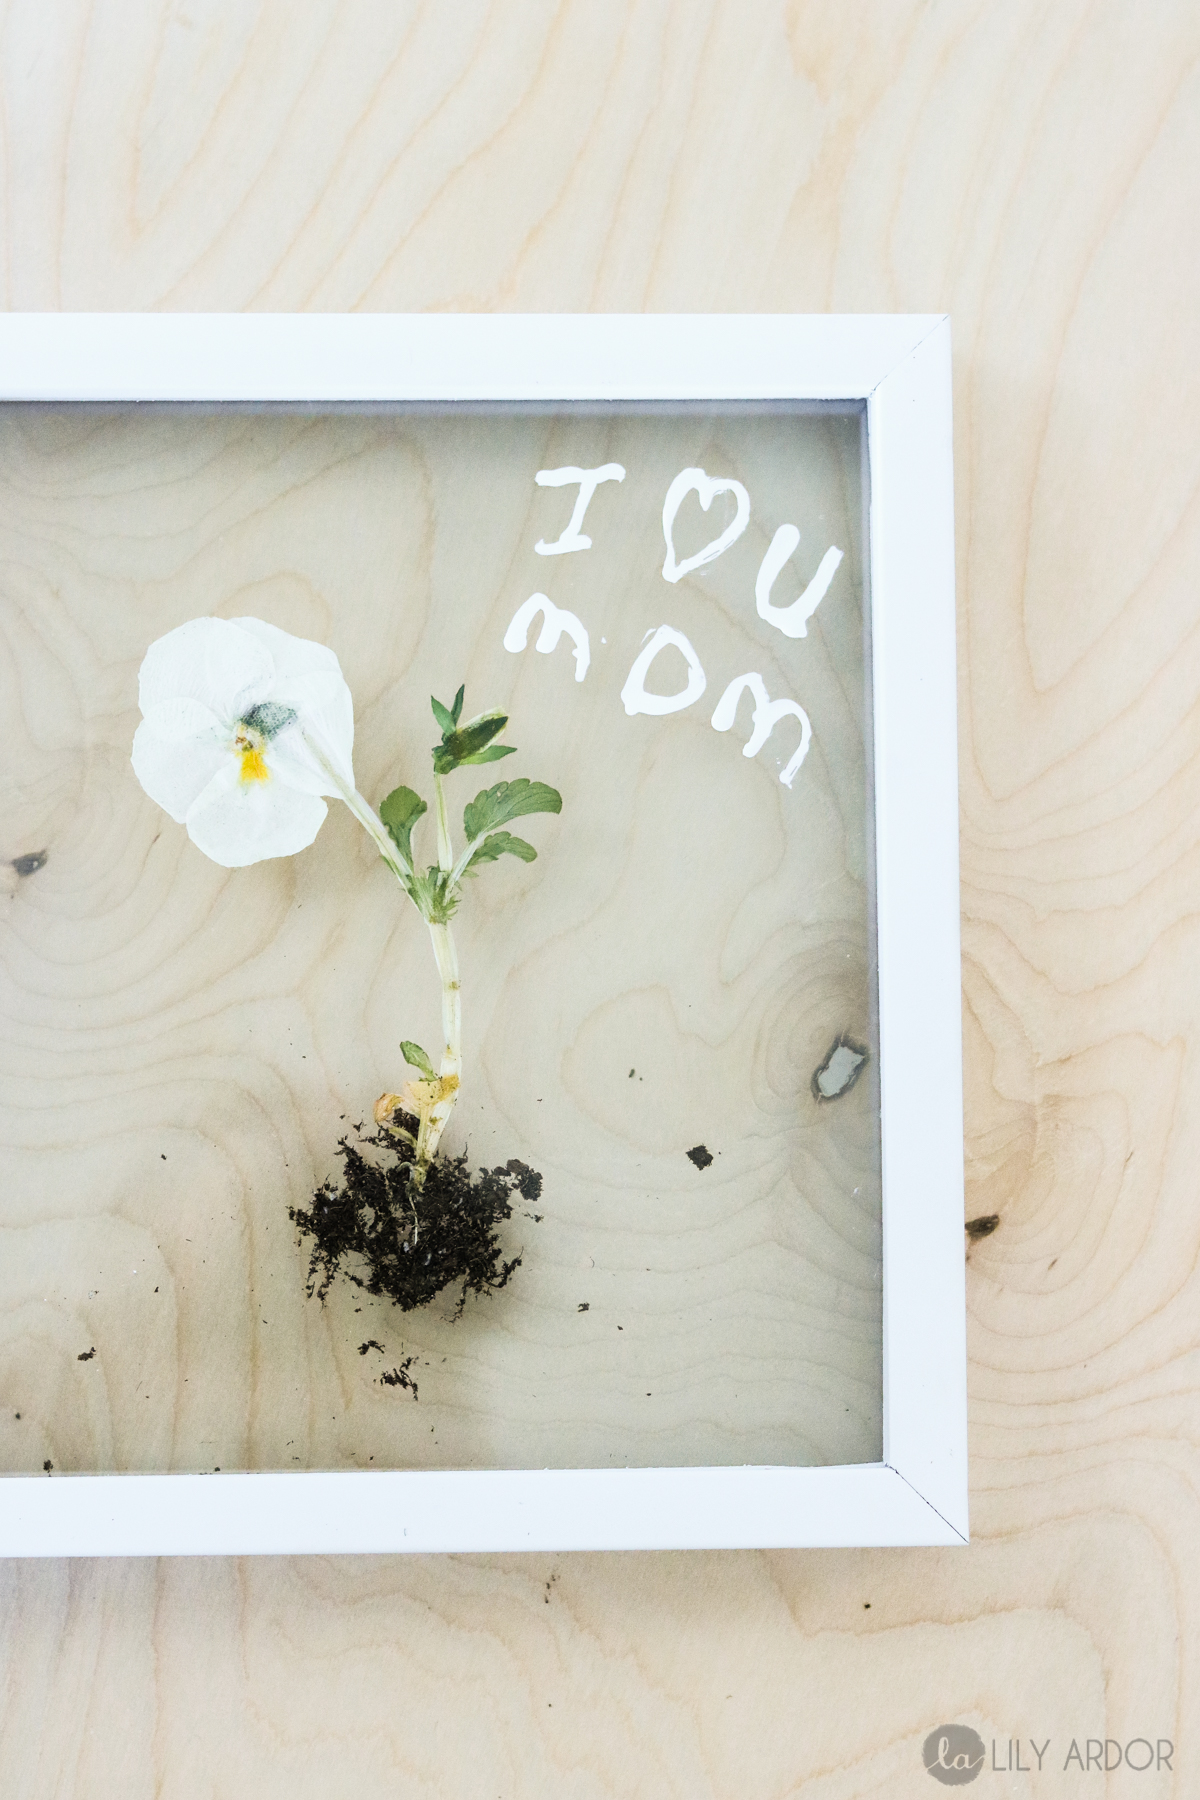 I hope this inspired you to create your own flower art ! Happy Mother’s day! All you mama’s are the BEST and the world couldn’t do without you! Have a great day because, YOU DESERVE IT! Some more Mother’s day gift DIYS…


No Results Found
The page you requested could not be found. Try refining your search, or use the navigation above to locate the post.