
Star Garland + Easy Homemade Air Clay Recipe
Easy Star Garland DIY
Hi everyone, Christmastime is here and over at our house crafting is in full bloom. This week I got a chance to work on some tin can home decor projects that I can’t wait to share with you. Today I’ll be sharing this star garland DIY that I made for my Christmas tree. I actually worked on this star garland a few weeks ago and finally got around to posting it on the blog.
Okay so the recipe for this dough includes only three ingredients and is sssso fun to work with! It’s almost like fluffy slime but doughy. 😀 It’s so easy to make and you probably already have these ingredients in your kitchen. AWESOME! RIGHT!
OTHER RELATED DIYS YOU’LL LOVE:
- DIY WOOD STARS
- DIY CHRISTMAS TREE FROM PALLETS
- GRAB SOME TINS CAN TO MAKE CHUNKY KNIT PLANTERS!
- 12 WAYS TO UPCYCLE OLD CHRISTMAS ORNAMENTS!
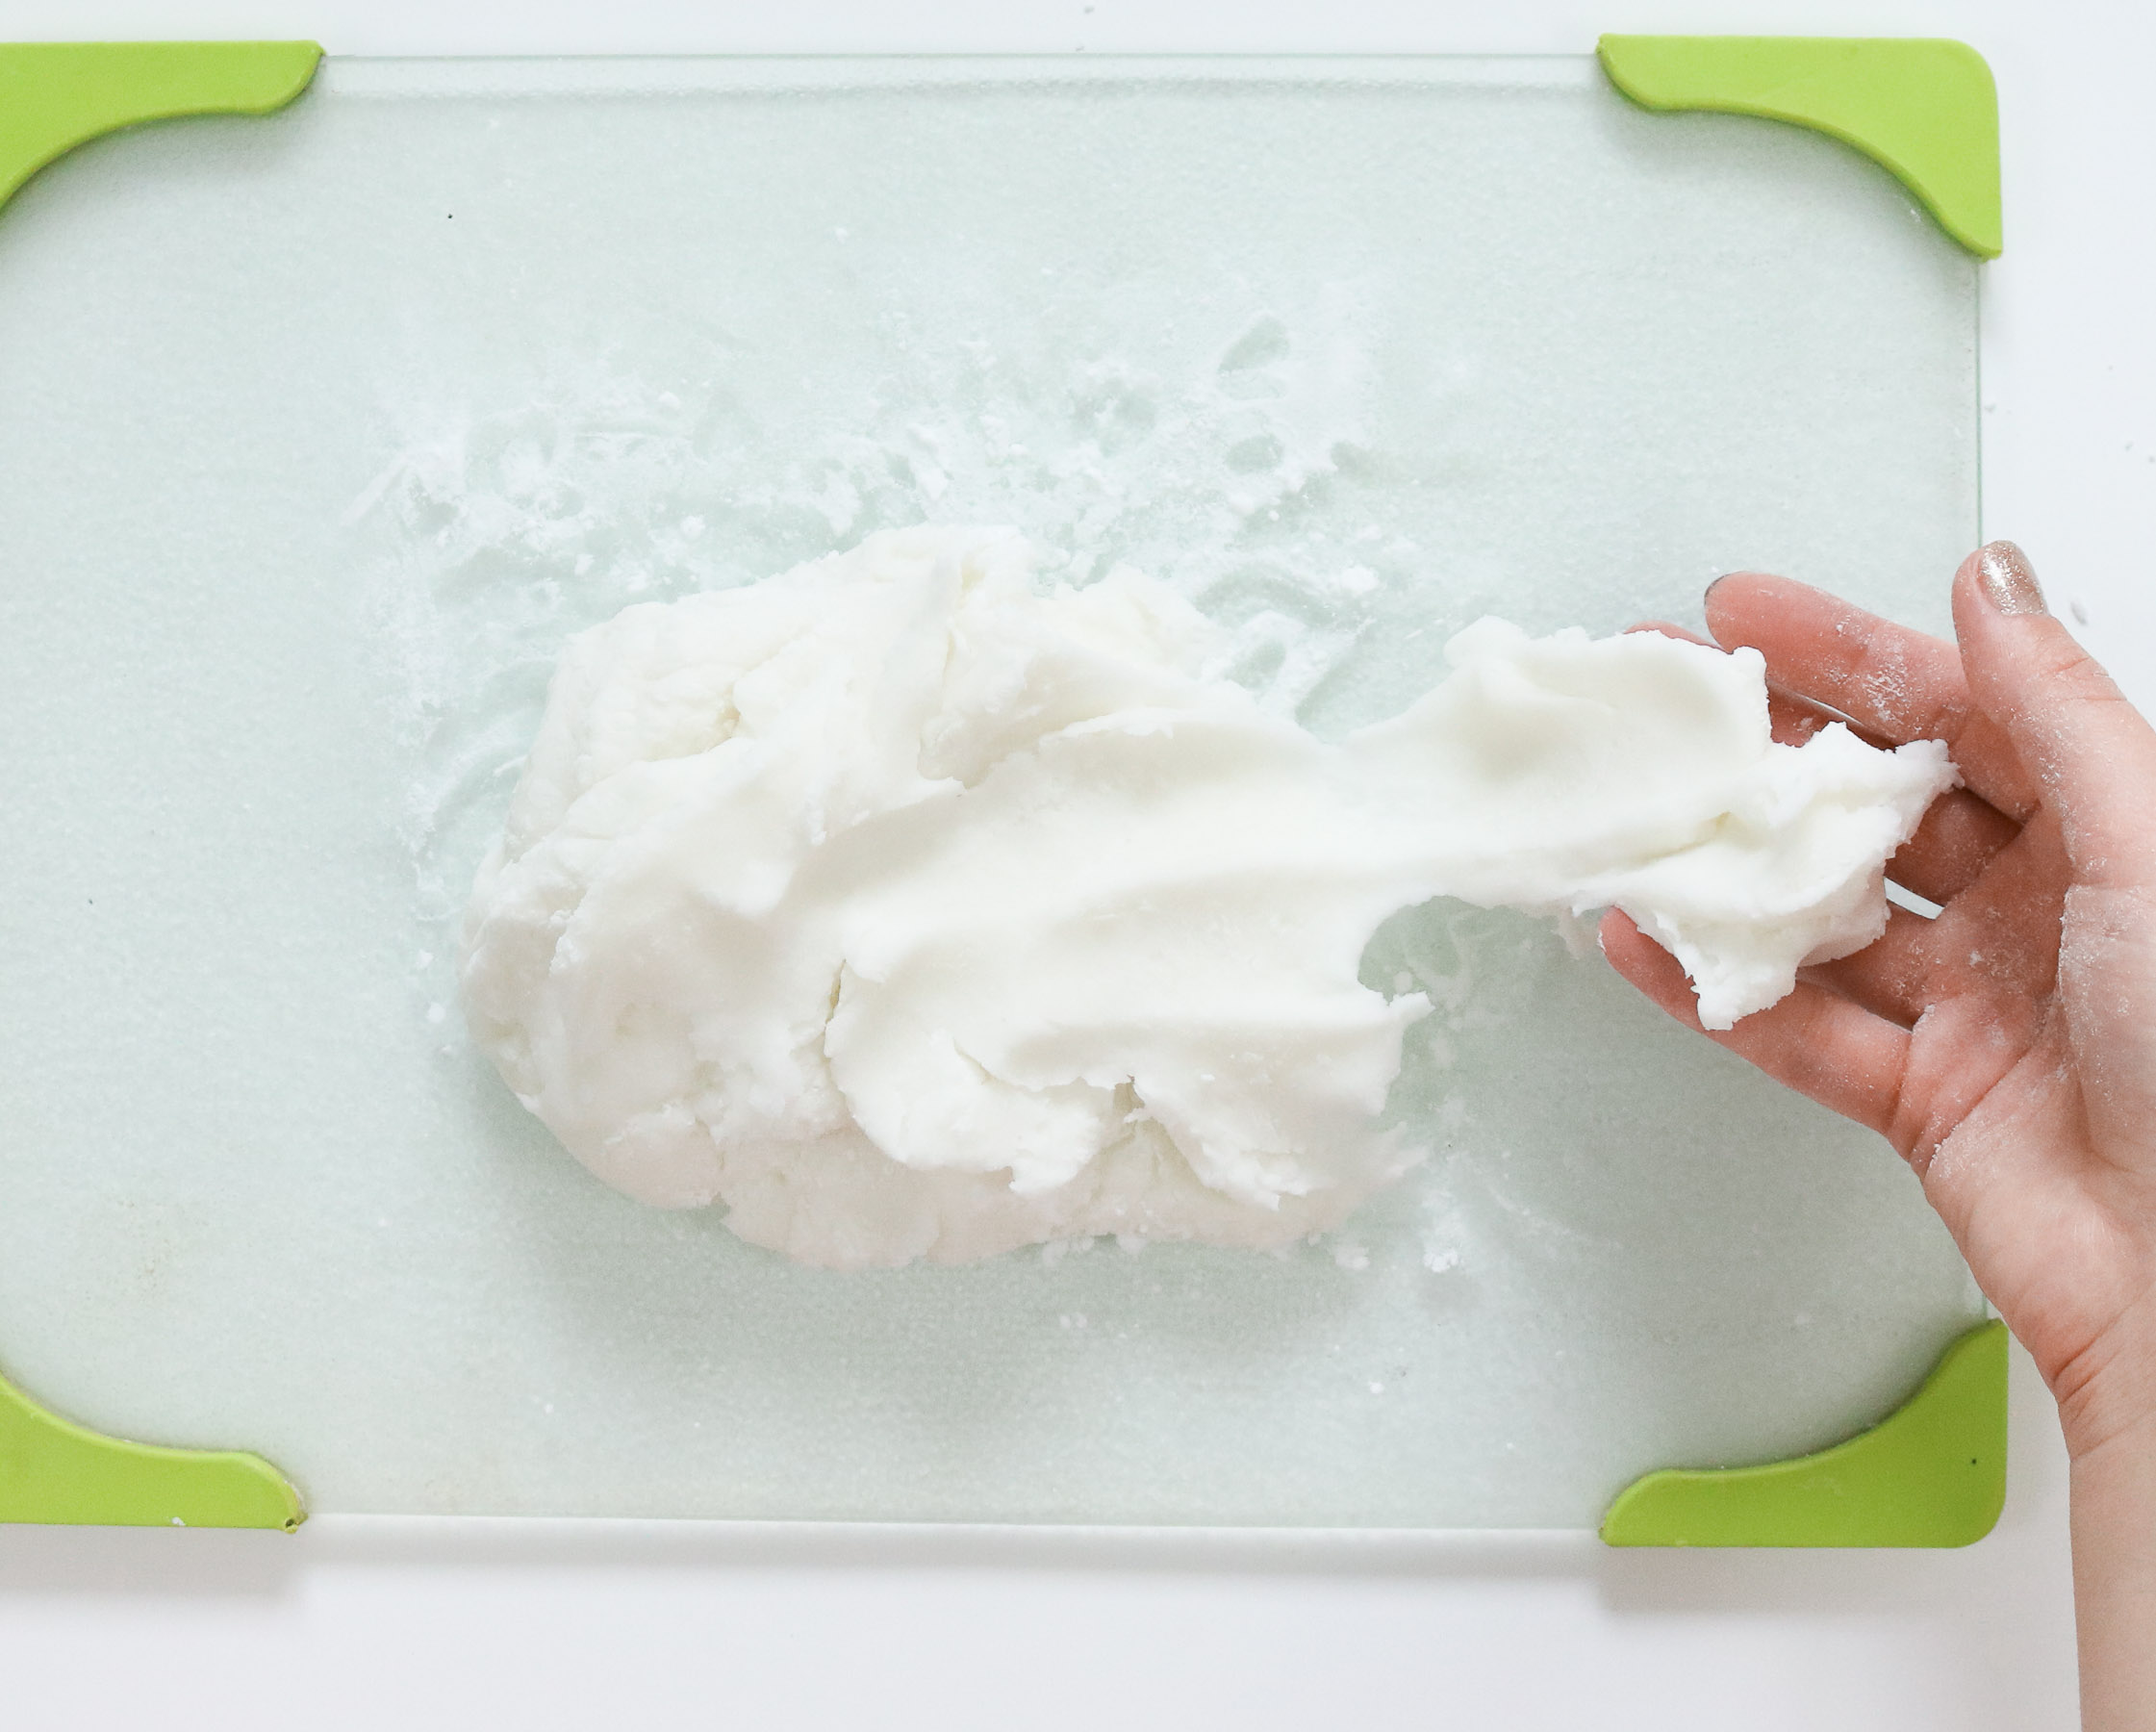
Store bought Clay SUCKS!
A little more about why I am totally obsessed with this DIY air clay. So originally when decided to make my own star garland, I planned on using store bought modeling clay or air clay. However when I brought it home and tried to work with it I found it was ssssso hard to work with. I couldn’t roll it out flat. Plus I would need to paint the stars white after. I figured that was too much work so I opted out for some homemade salt dough. (photo below) However after trying the salt dough I wasn’t happy with the texture of the stars. LOL Call me picky I just couldn’t get over the texture! It really bugged me. What I had in mind was smooth with crisp edges and salt dough wasn’t living up to it. So I finally remembered using this baking soda dough recipe I had tried years ago for some 3D flower I made. It’s already white and super soft and easy to work with! WINNER! Gotta give props to google. I found this recipe on google years ago and glad I remembered about it.

Quick video Version
TIME NEEDED: About 20 minutes without drying times.
Depending on how long you make your garland it can take longer to make.
TOTAL COST: $3-$10
I actually had everything for this project on hand except for the cook star cookie cutter! 😀
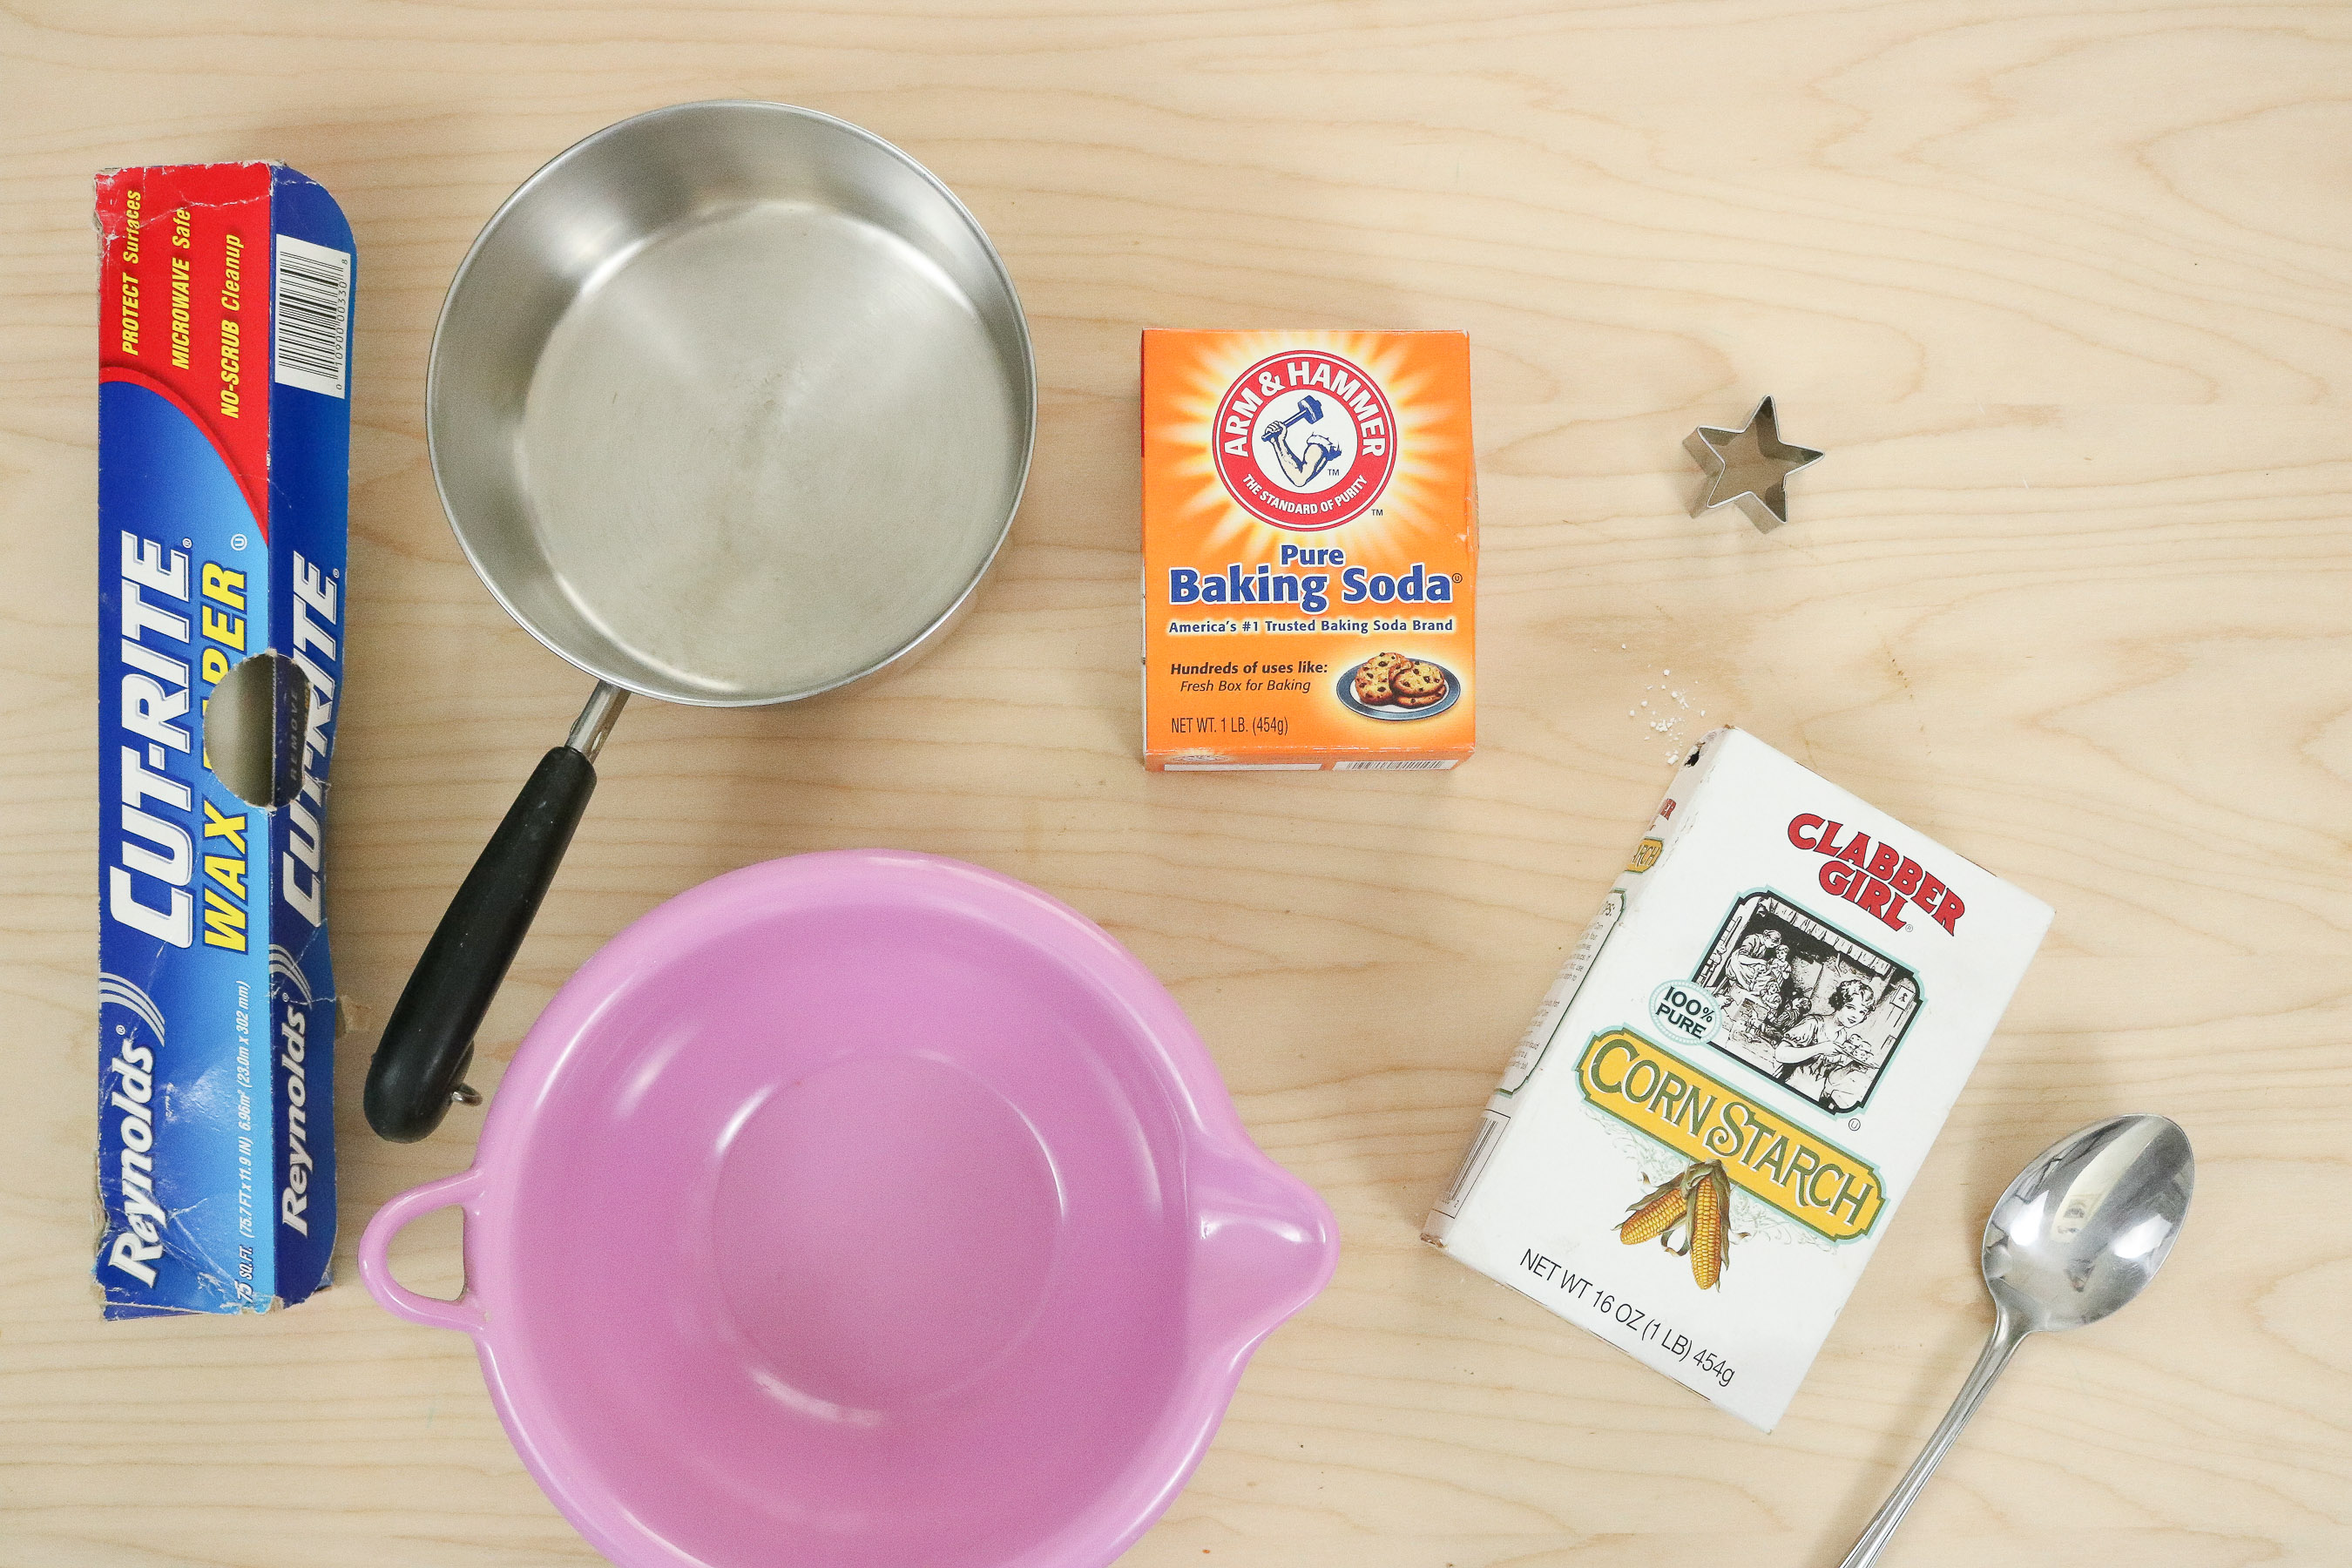
Supply List:
( I’ve added * affiliate links if you want to purchase all your supplies online. You can read my disclosure policy here for more info. )
- bowl
- flat surface (optional wax paper to lay the stars on)
- Corn starch
- Small cooking pot ( stove)
- Spoon
- Baking soda
- Star Cookie Cutter
- Thin Wire or Twine ( The linked wire is not the exact wire I used. I purchased mine at Michaels craft store in the wreath making section)
Recipe:
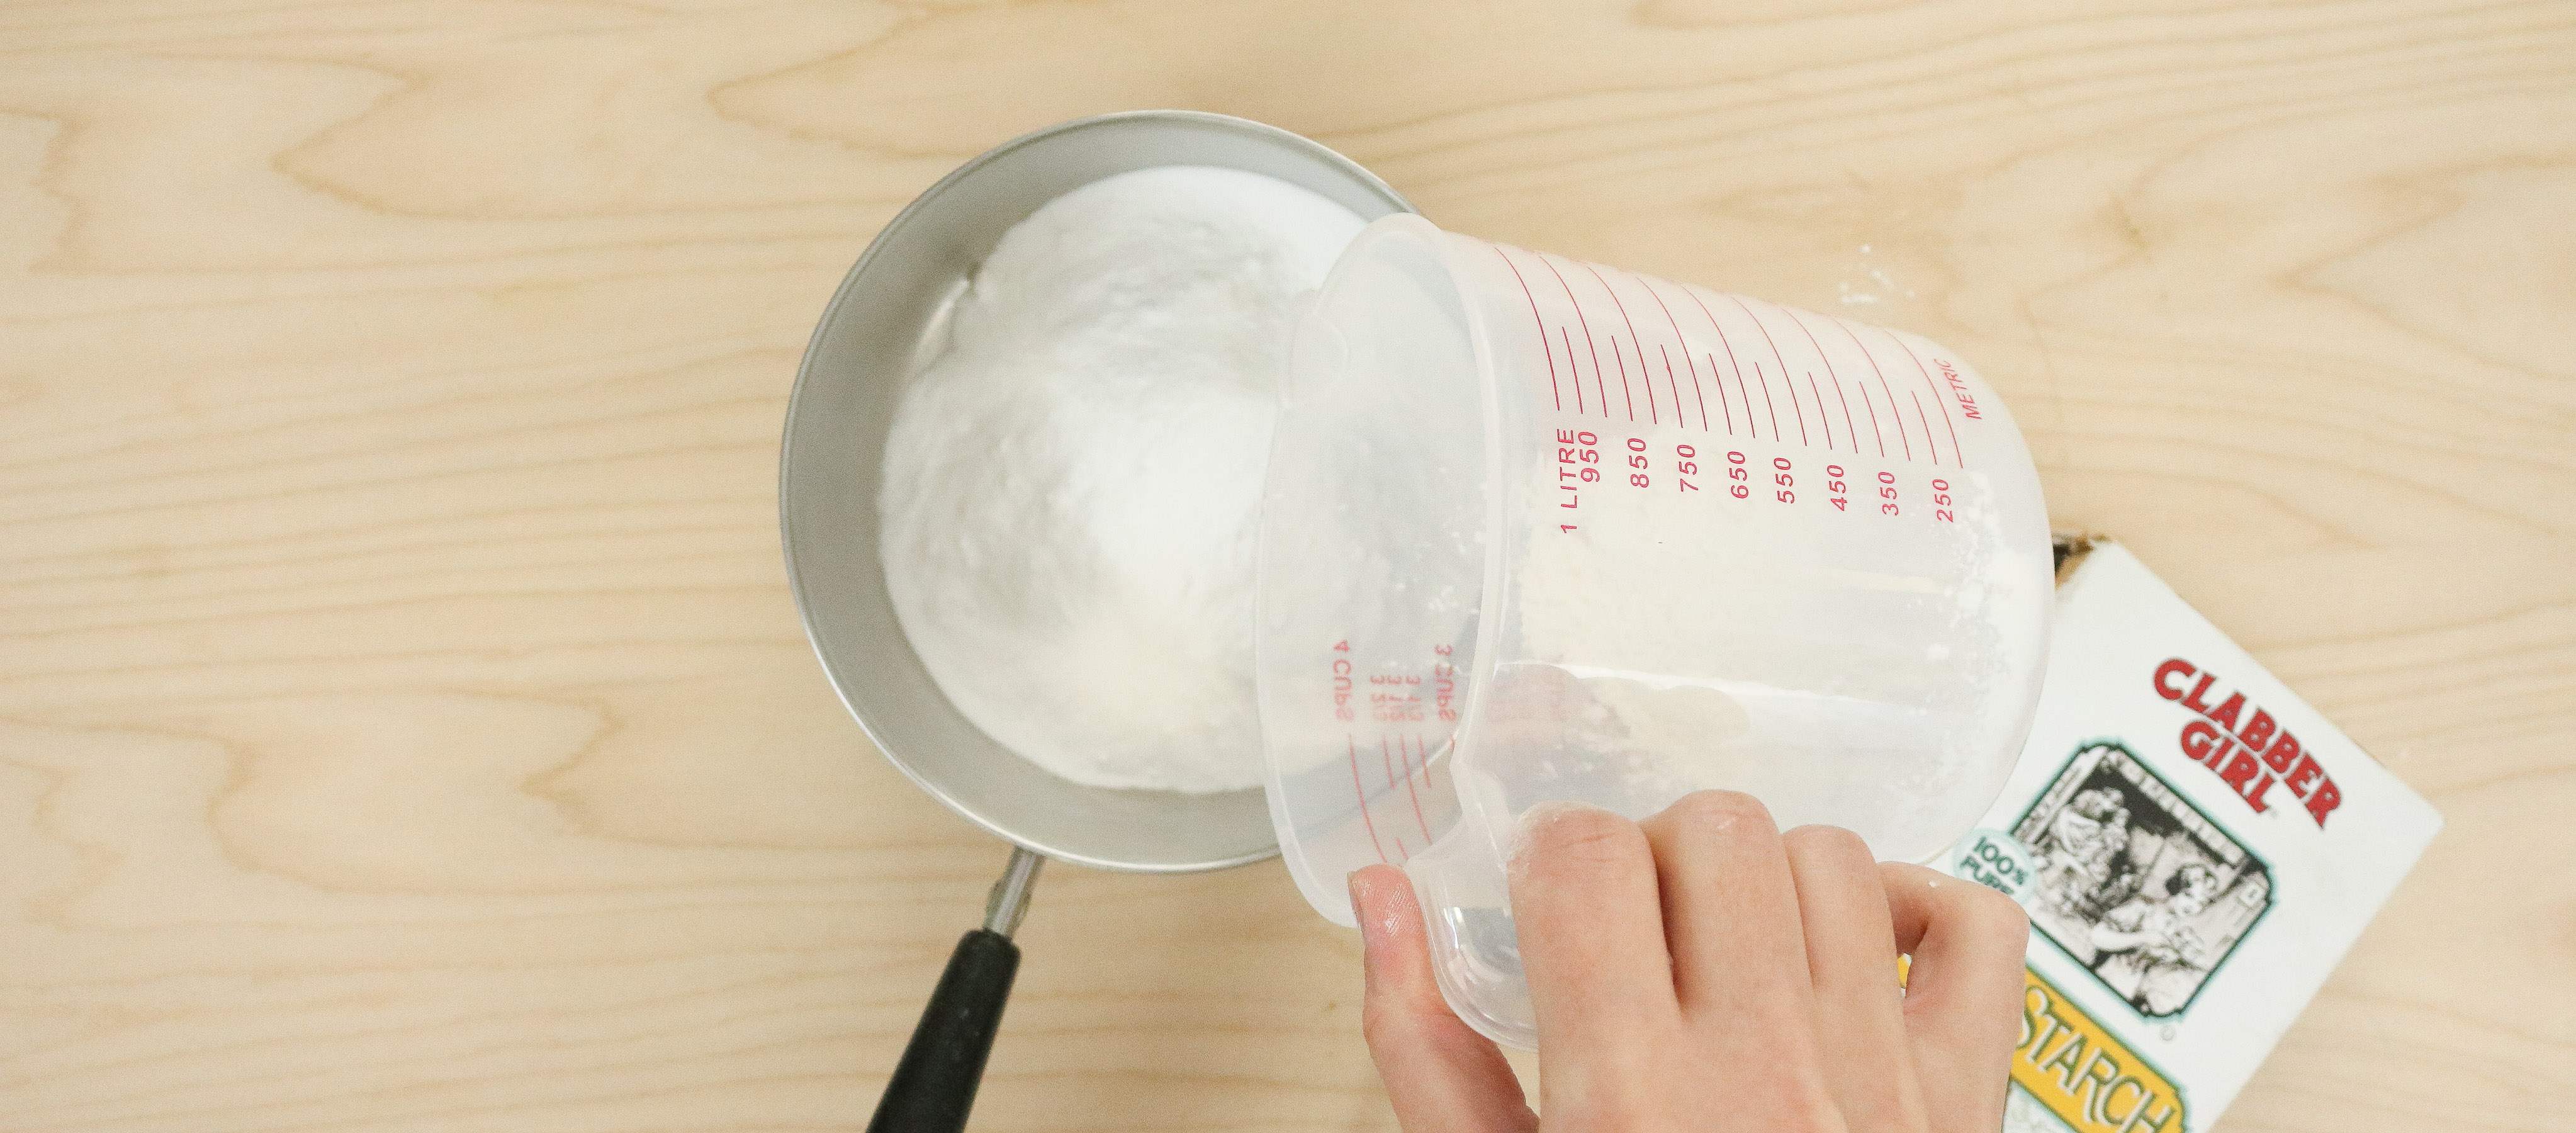
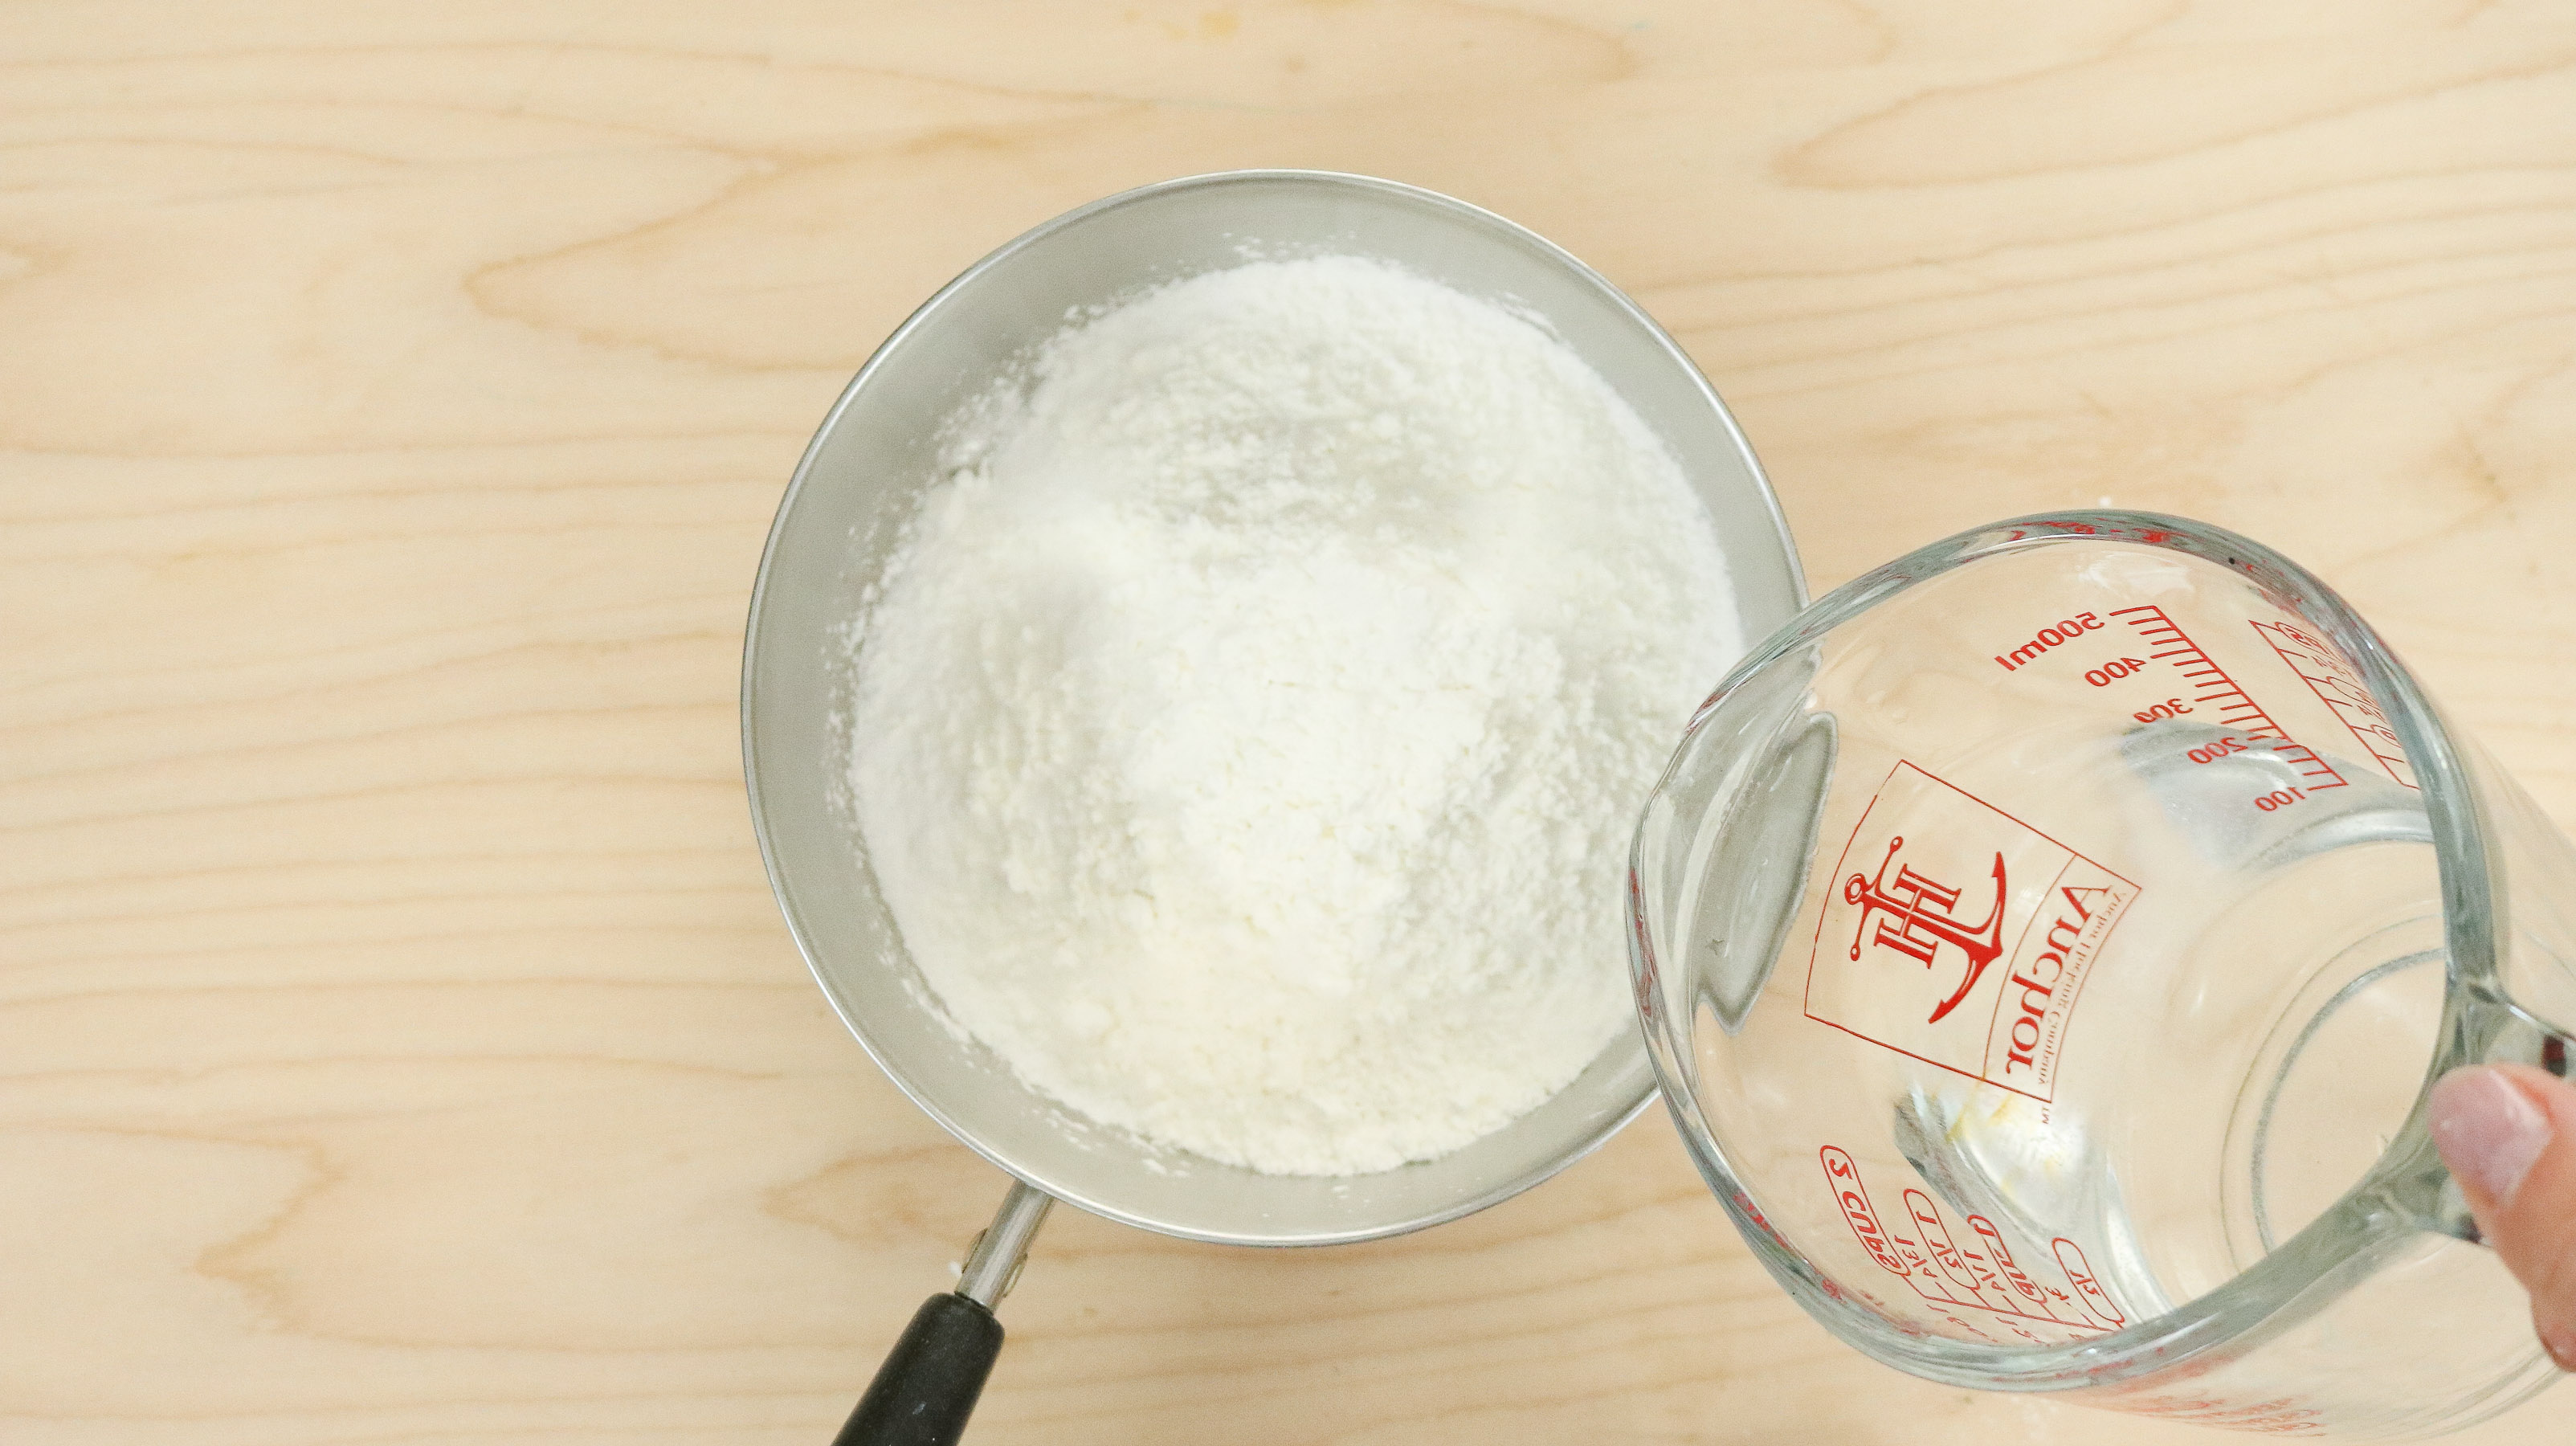
- 1 cup Baking Soda
- 1/4 cup cornstarch
- 3/4 cup water
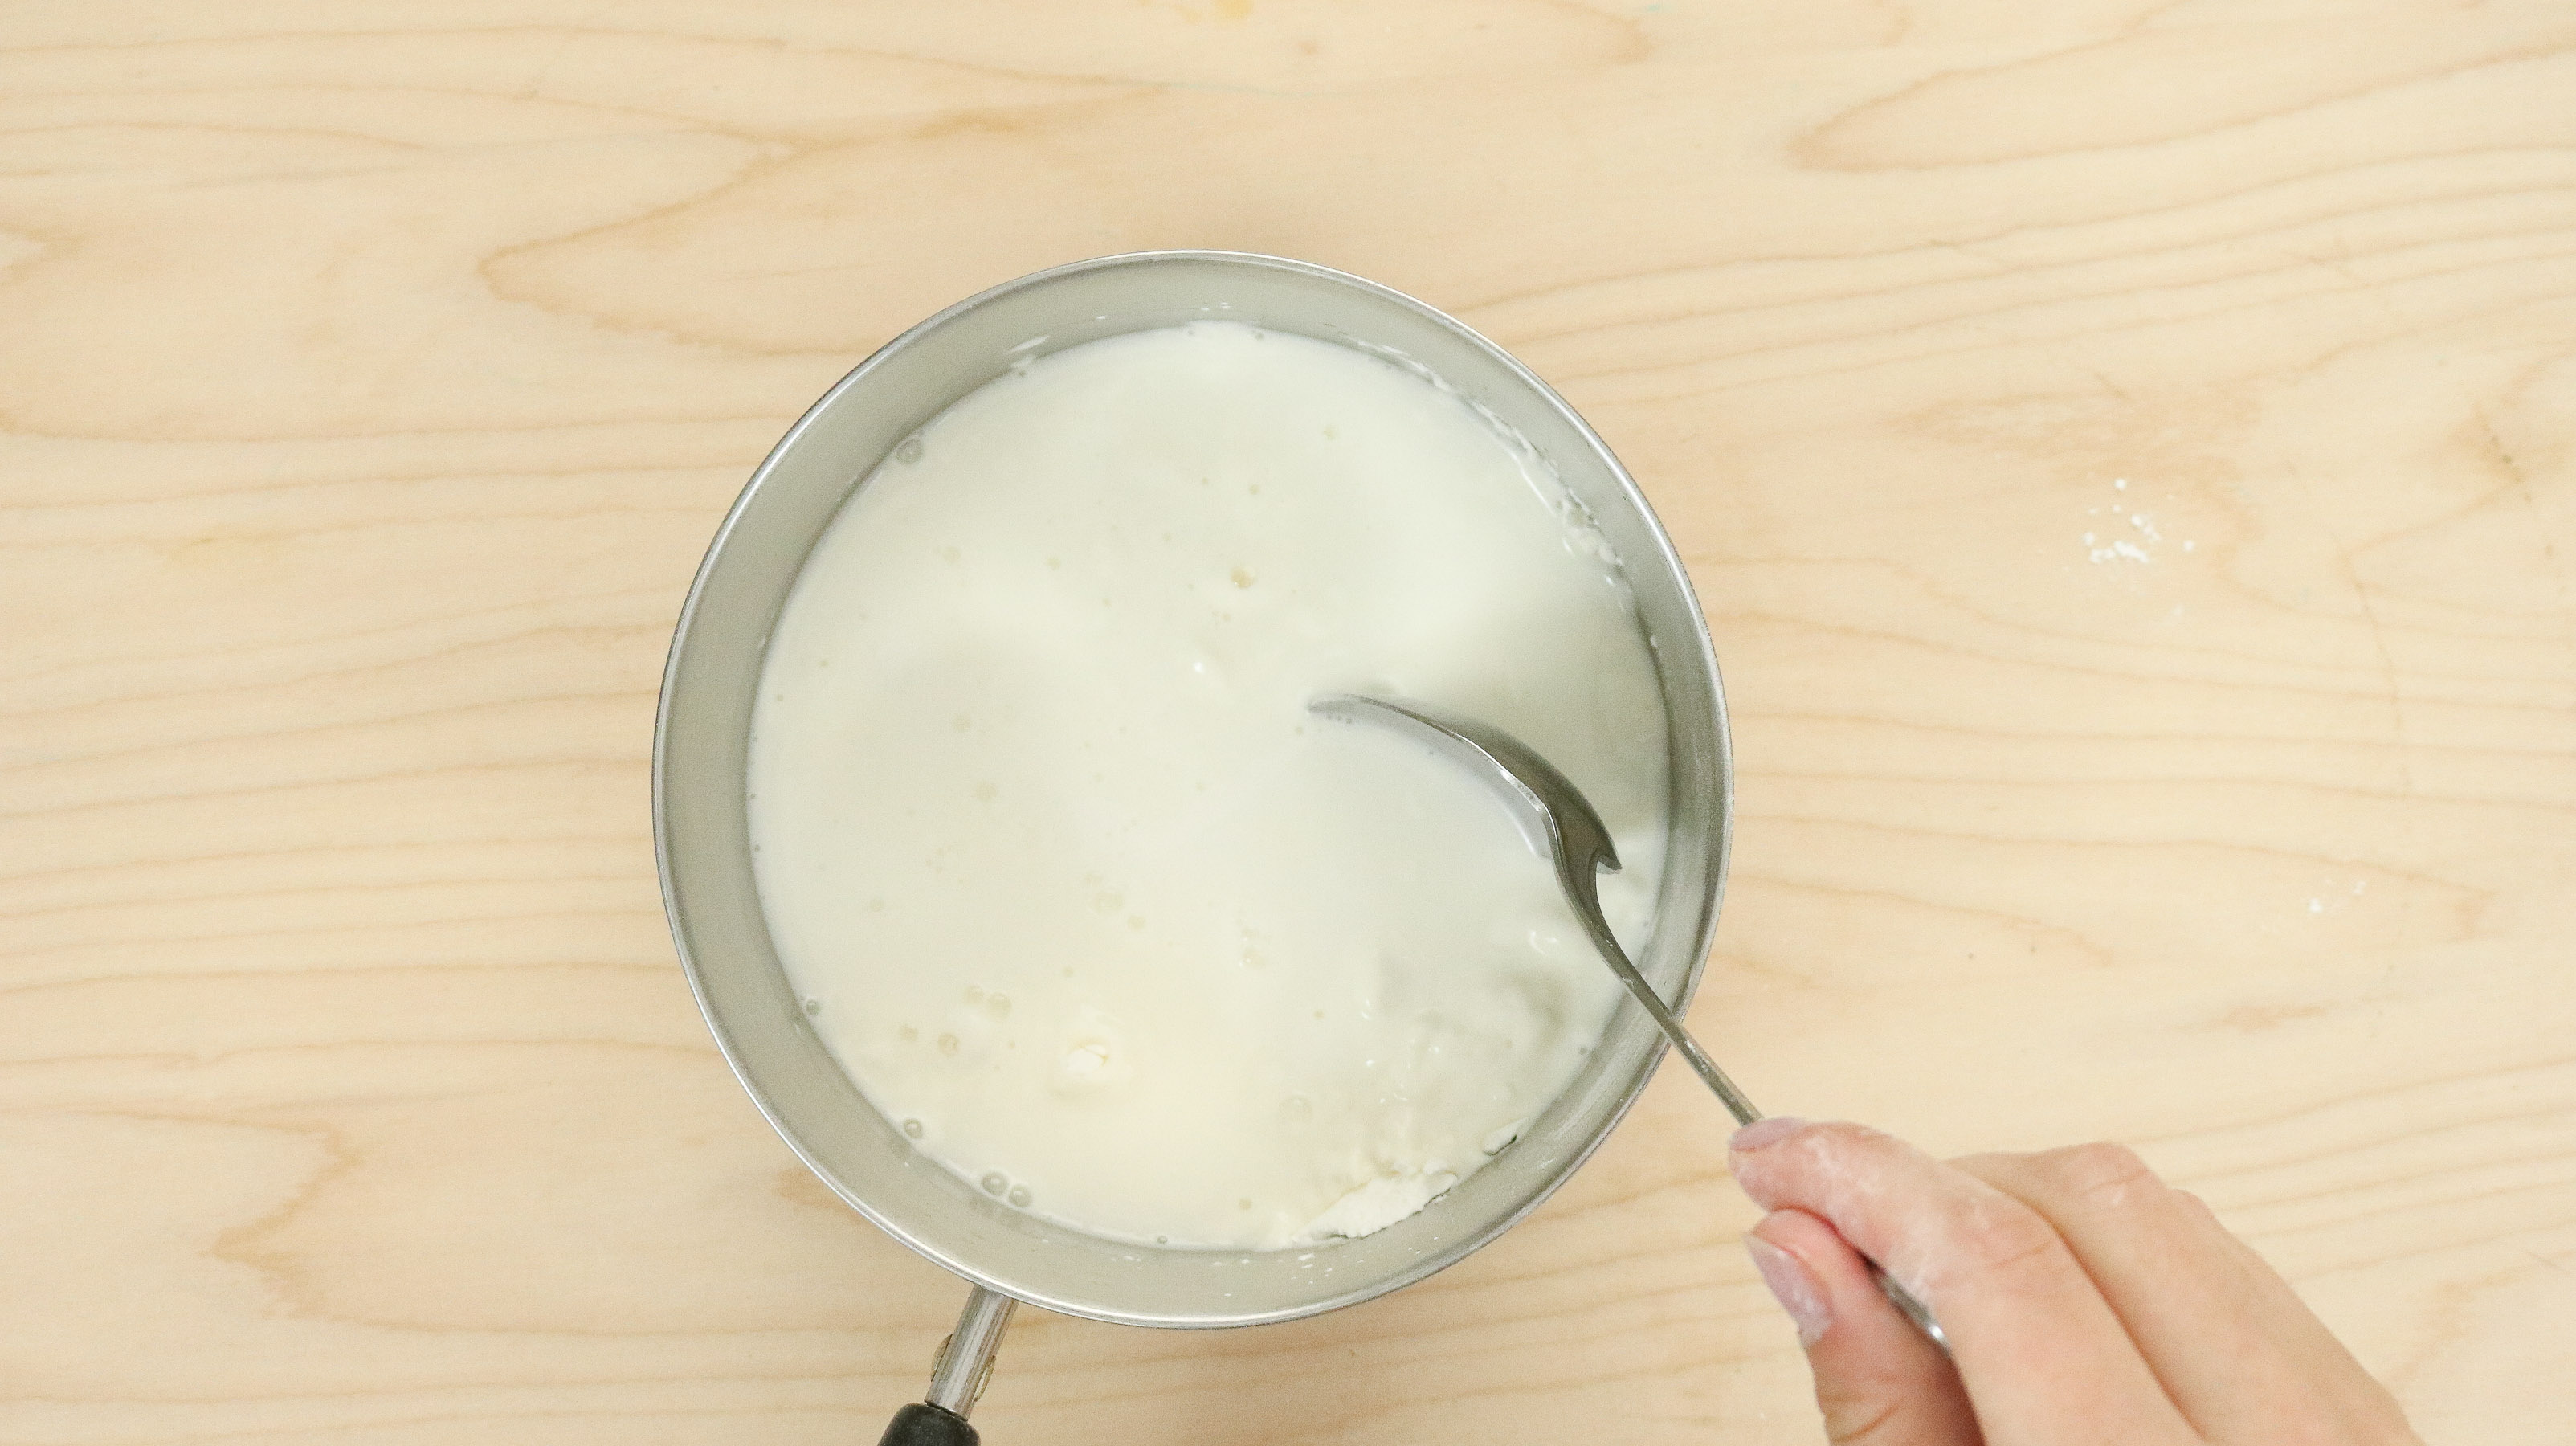
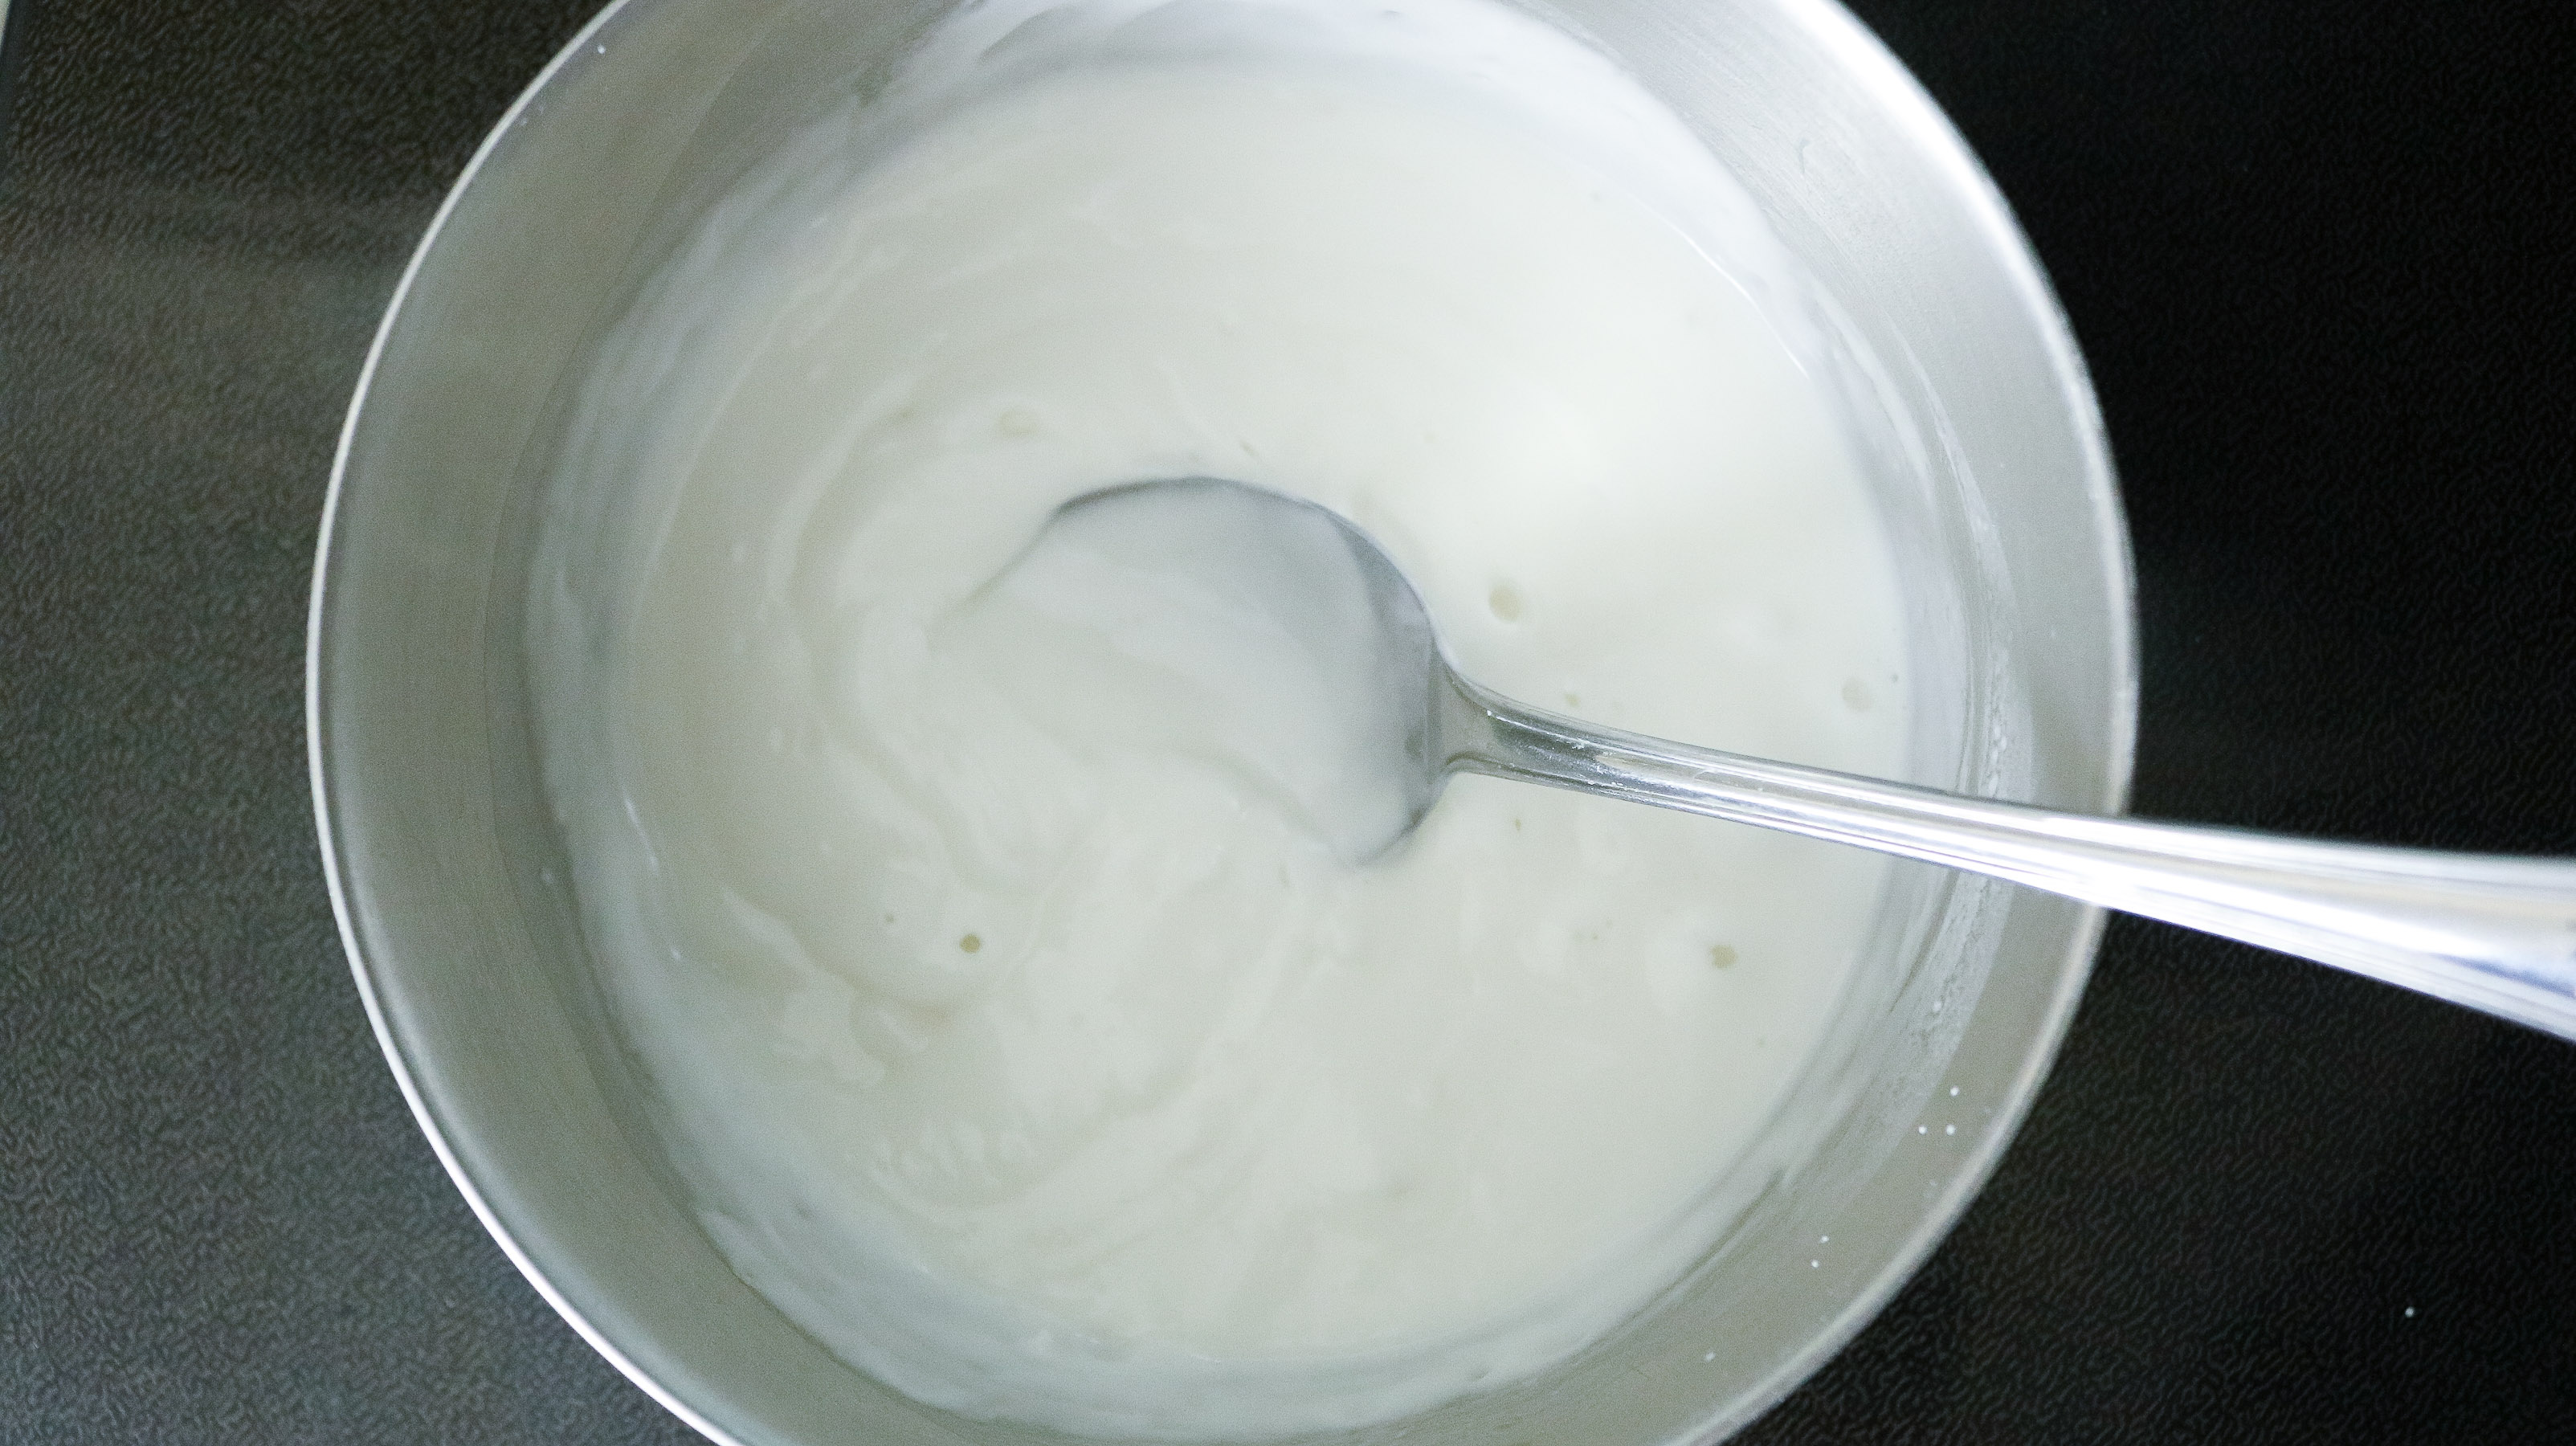
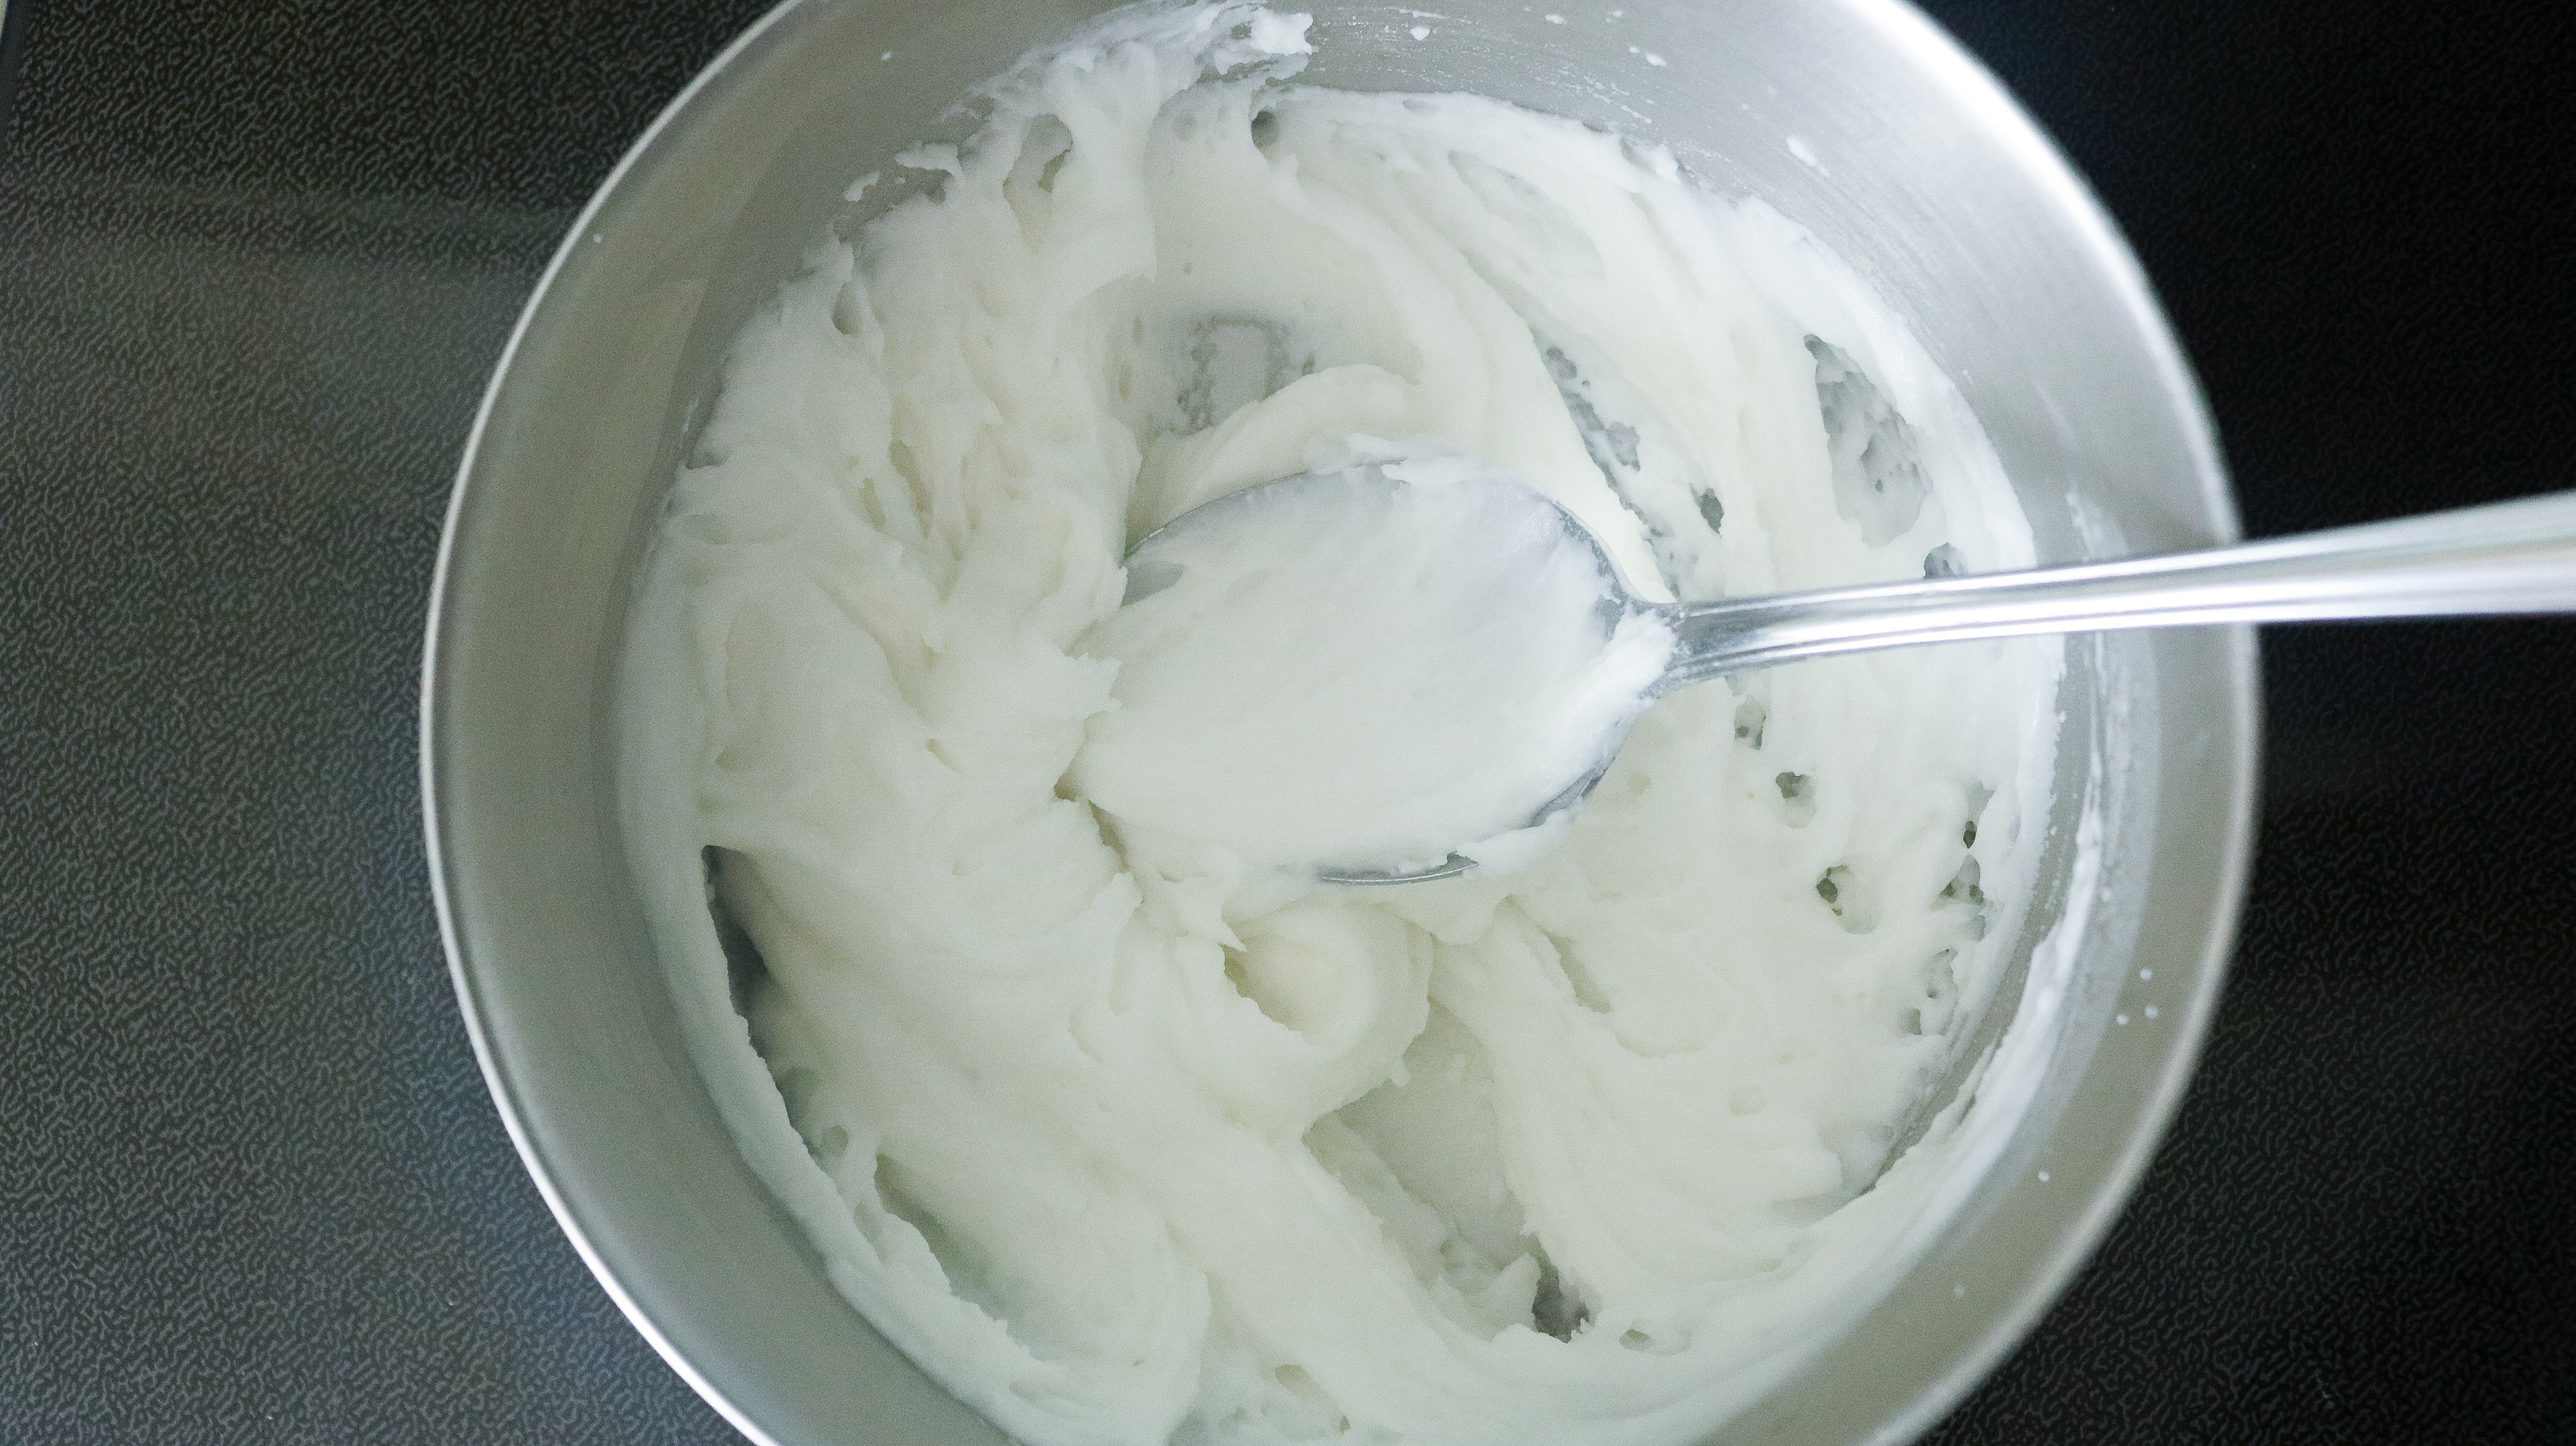
Yep that’s it! Combine the ingredients and stir, than you just need to set it on your stove top bring it to boil while stirring consistently. Once you see it bubbling turn it down to about medium and keep stirring until the mixture turns thick and is too hard to mix. This should take about 5-6 minutes. Remove and let it cool in a bowl. Cover it with some saran wrap while you’re working on your stars because it dries pretty quick.
CLICK ON ANY PHOTO TO ADD TO YOUR PINTEREST BOARD!
OTHER RELATED DIYS YOU’LL LOVE:
- TURN OLD TIRES INTO GIANT ORNAMENTS FOR YOUR FRONT YARD!
- HOW TO DRY ORANGES + MAKE A WREATH!
- RECYCLE YOUR TIN CANS FOR THIS CHRISTMAS CENTERPIECE!
- DIY GIANT CHUNKY KNIT WREATH!
- DIY NORDIC WOOD CHRISTMAS ORNAMENTS!

If your clay is too sticky add some baking soda to it. 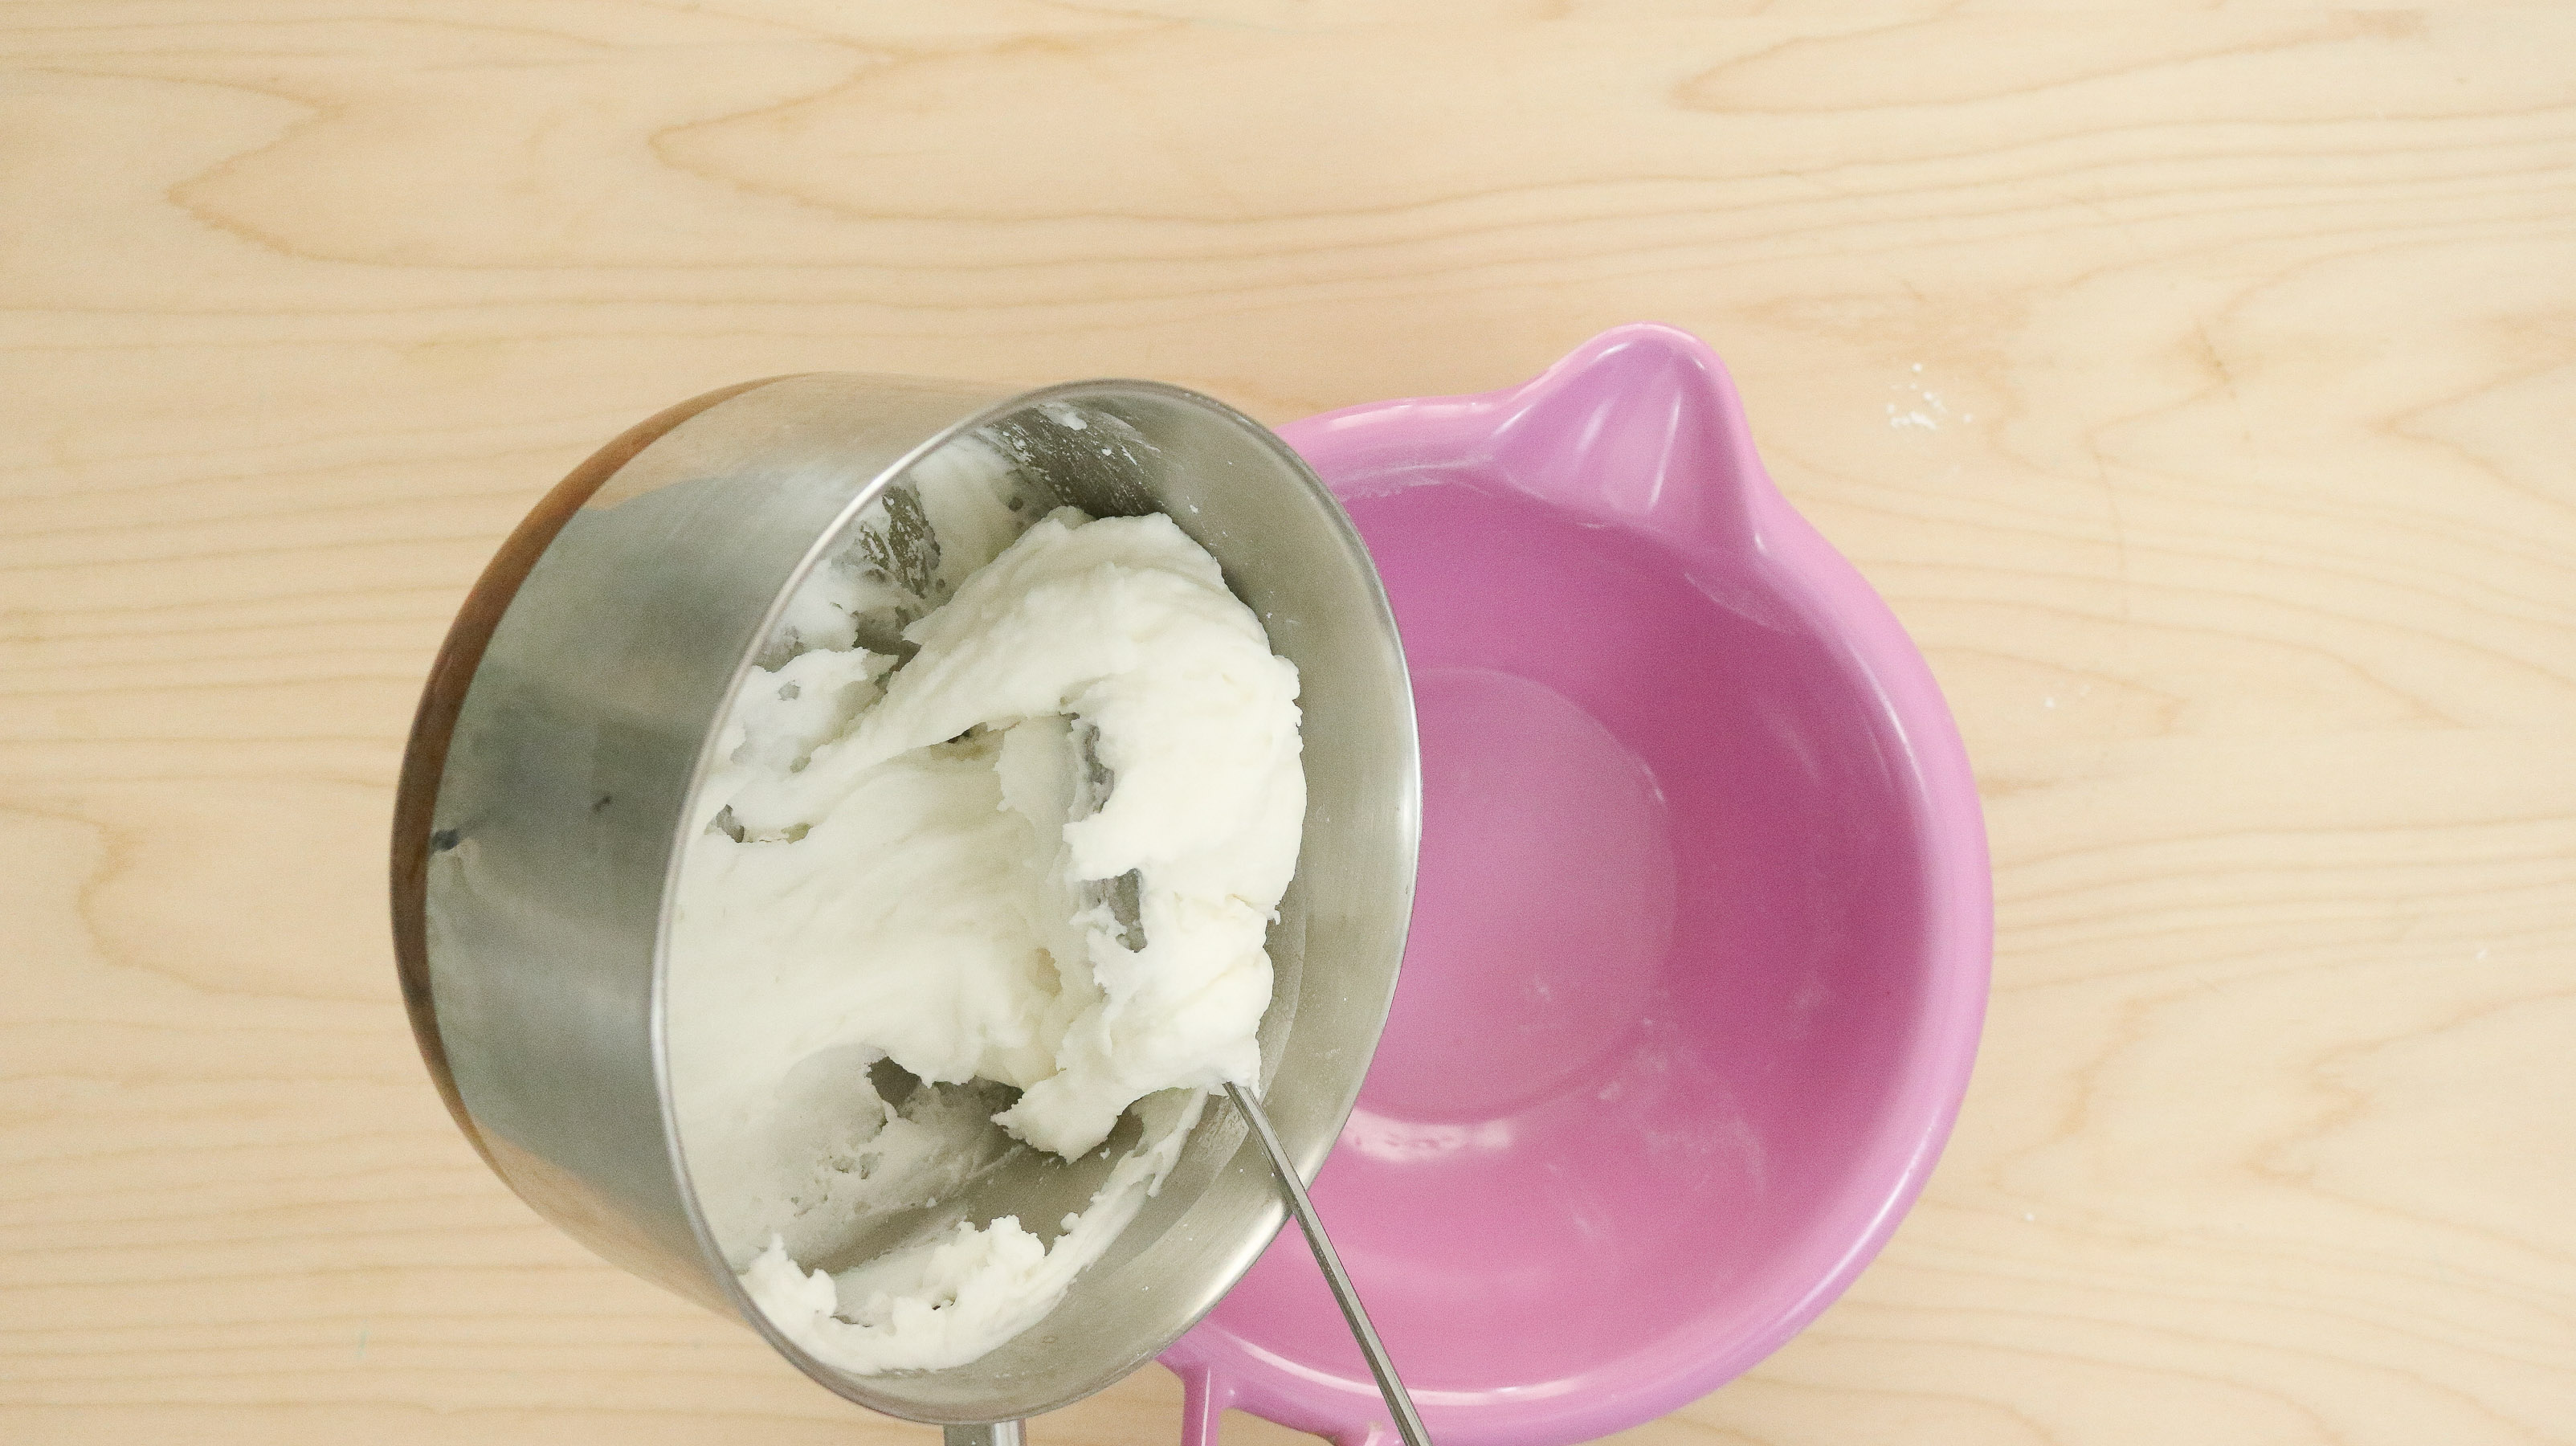
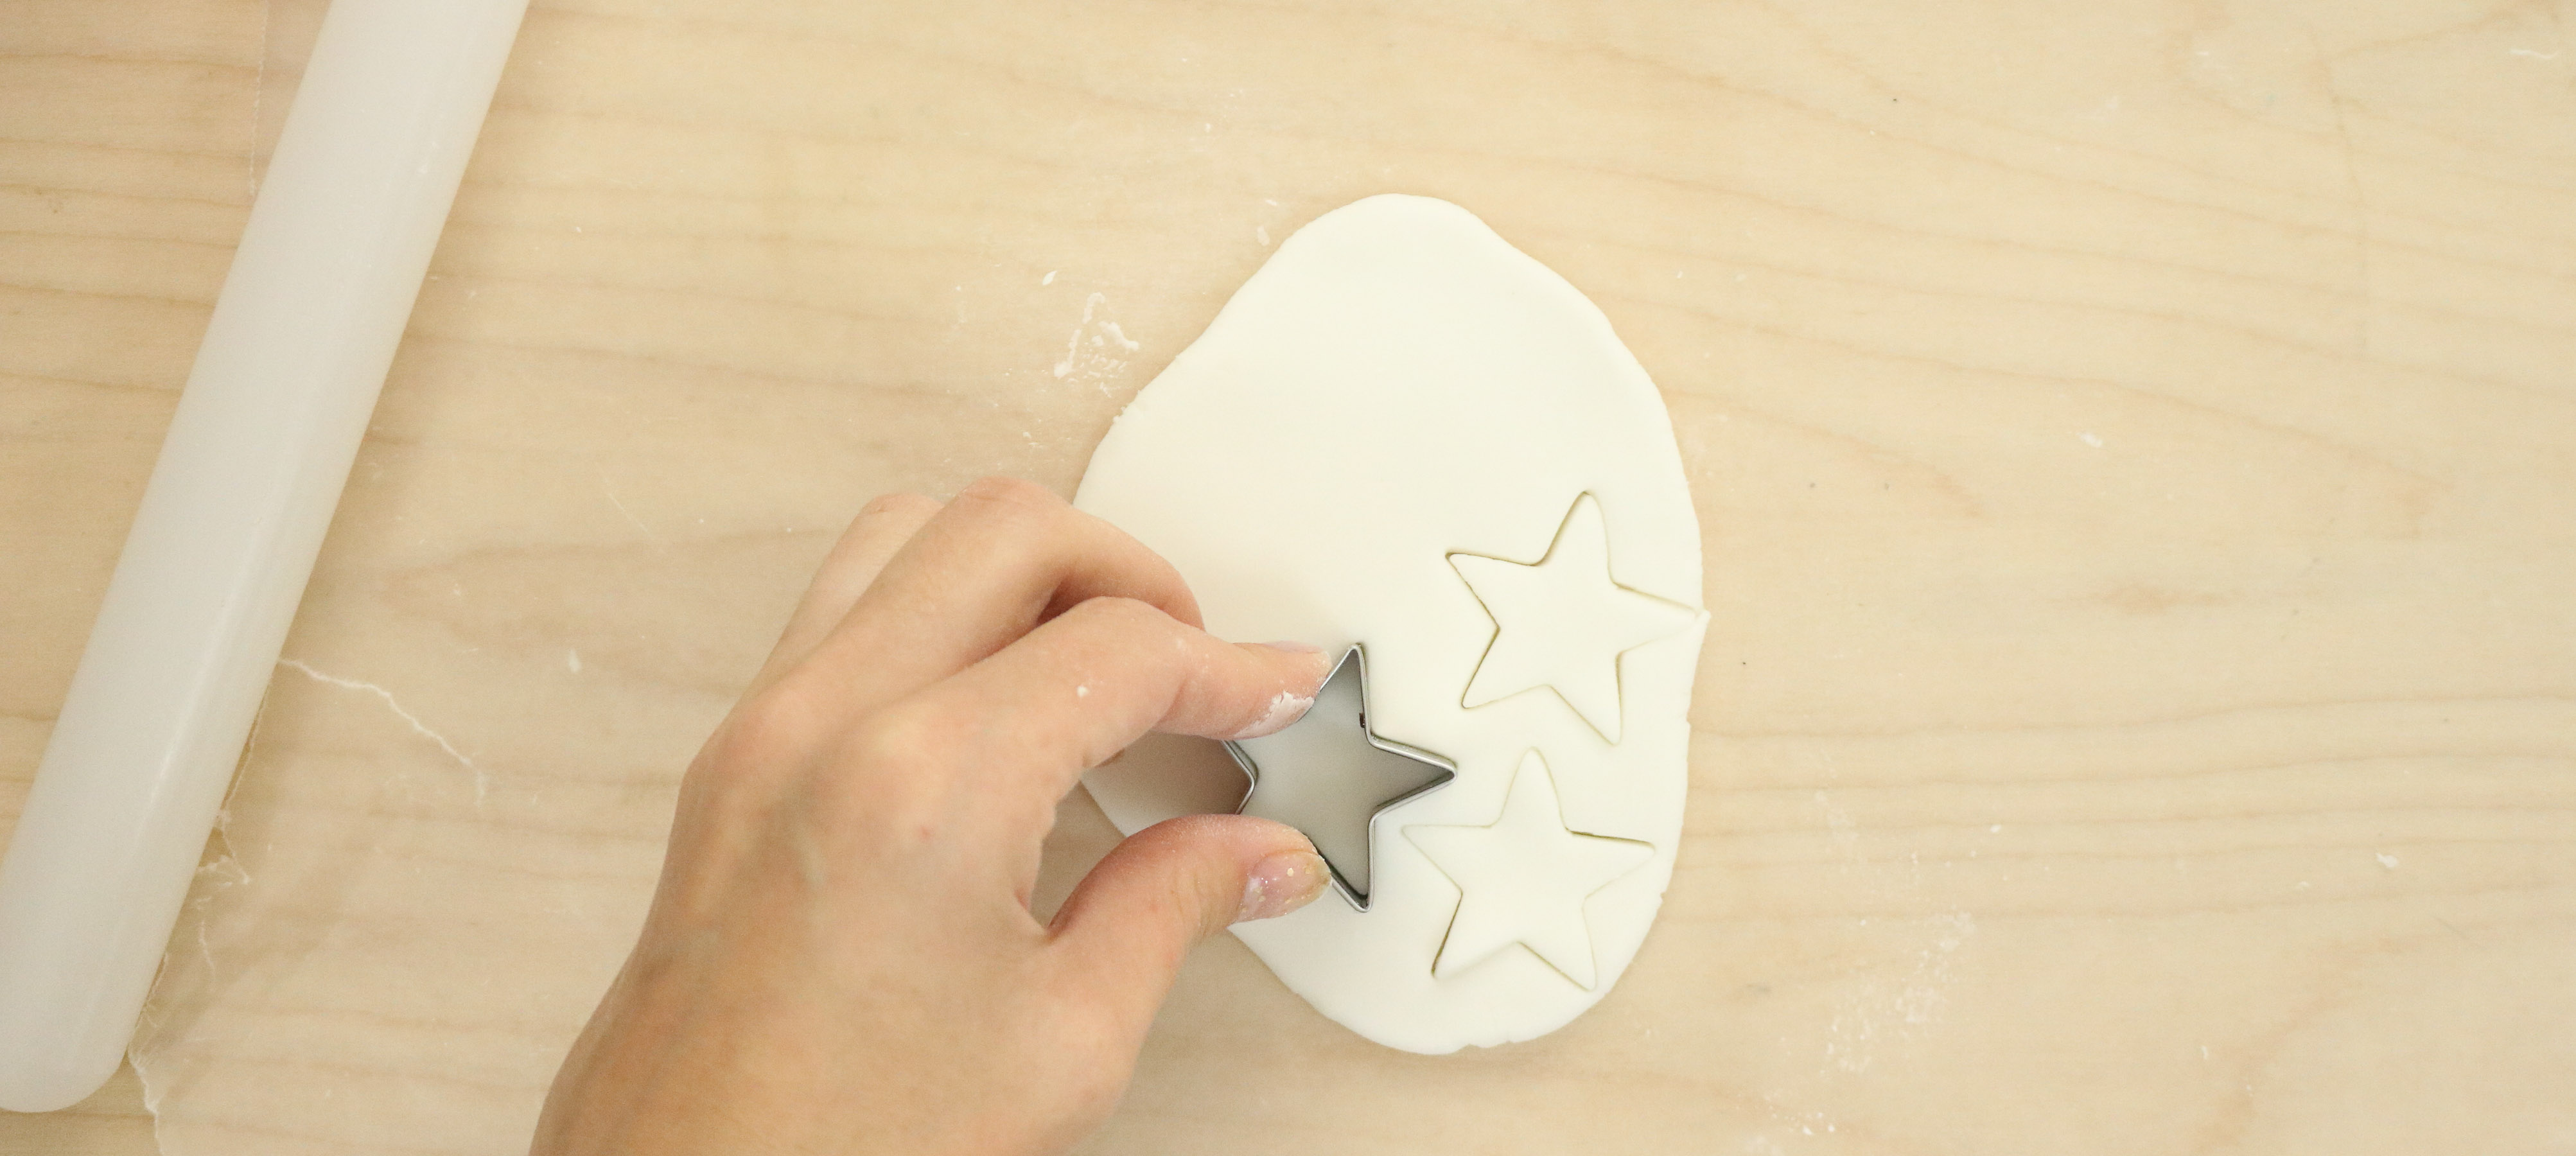
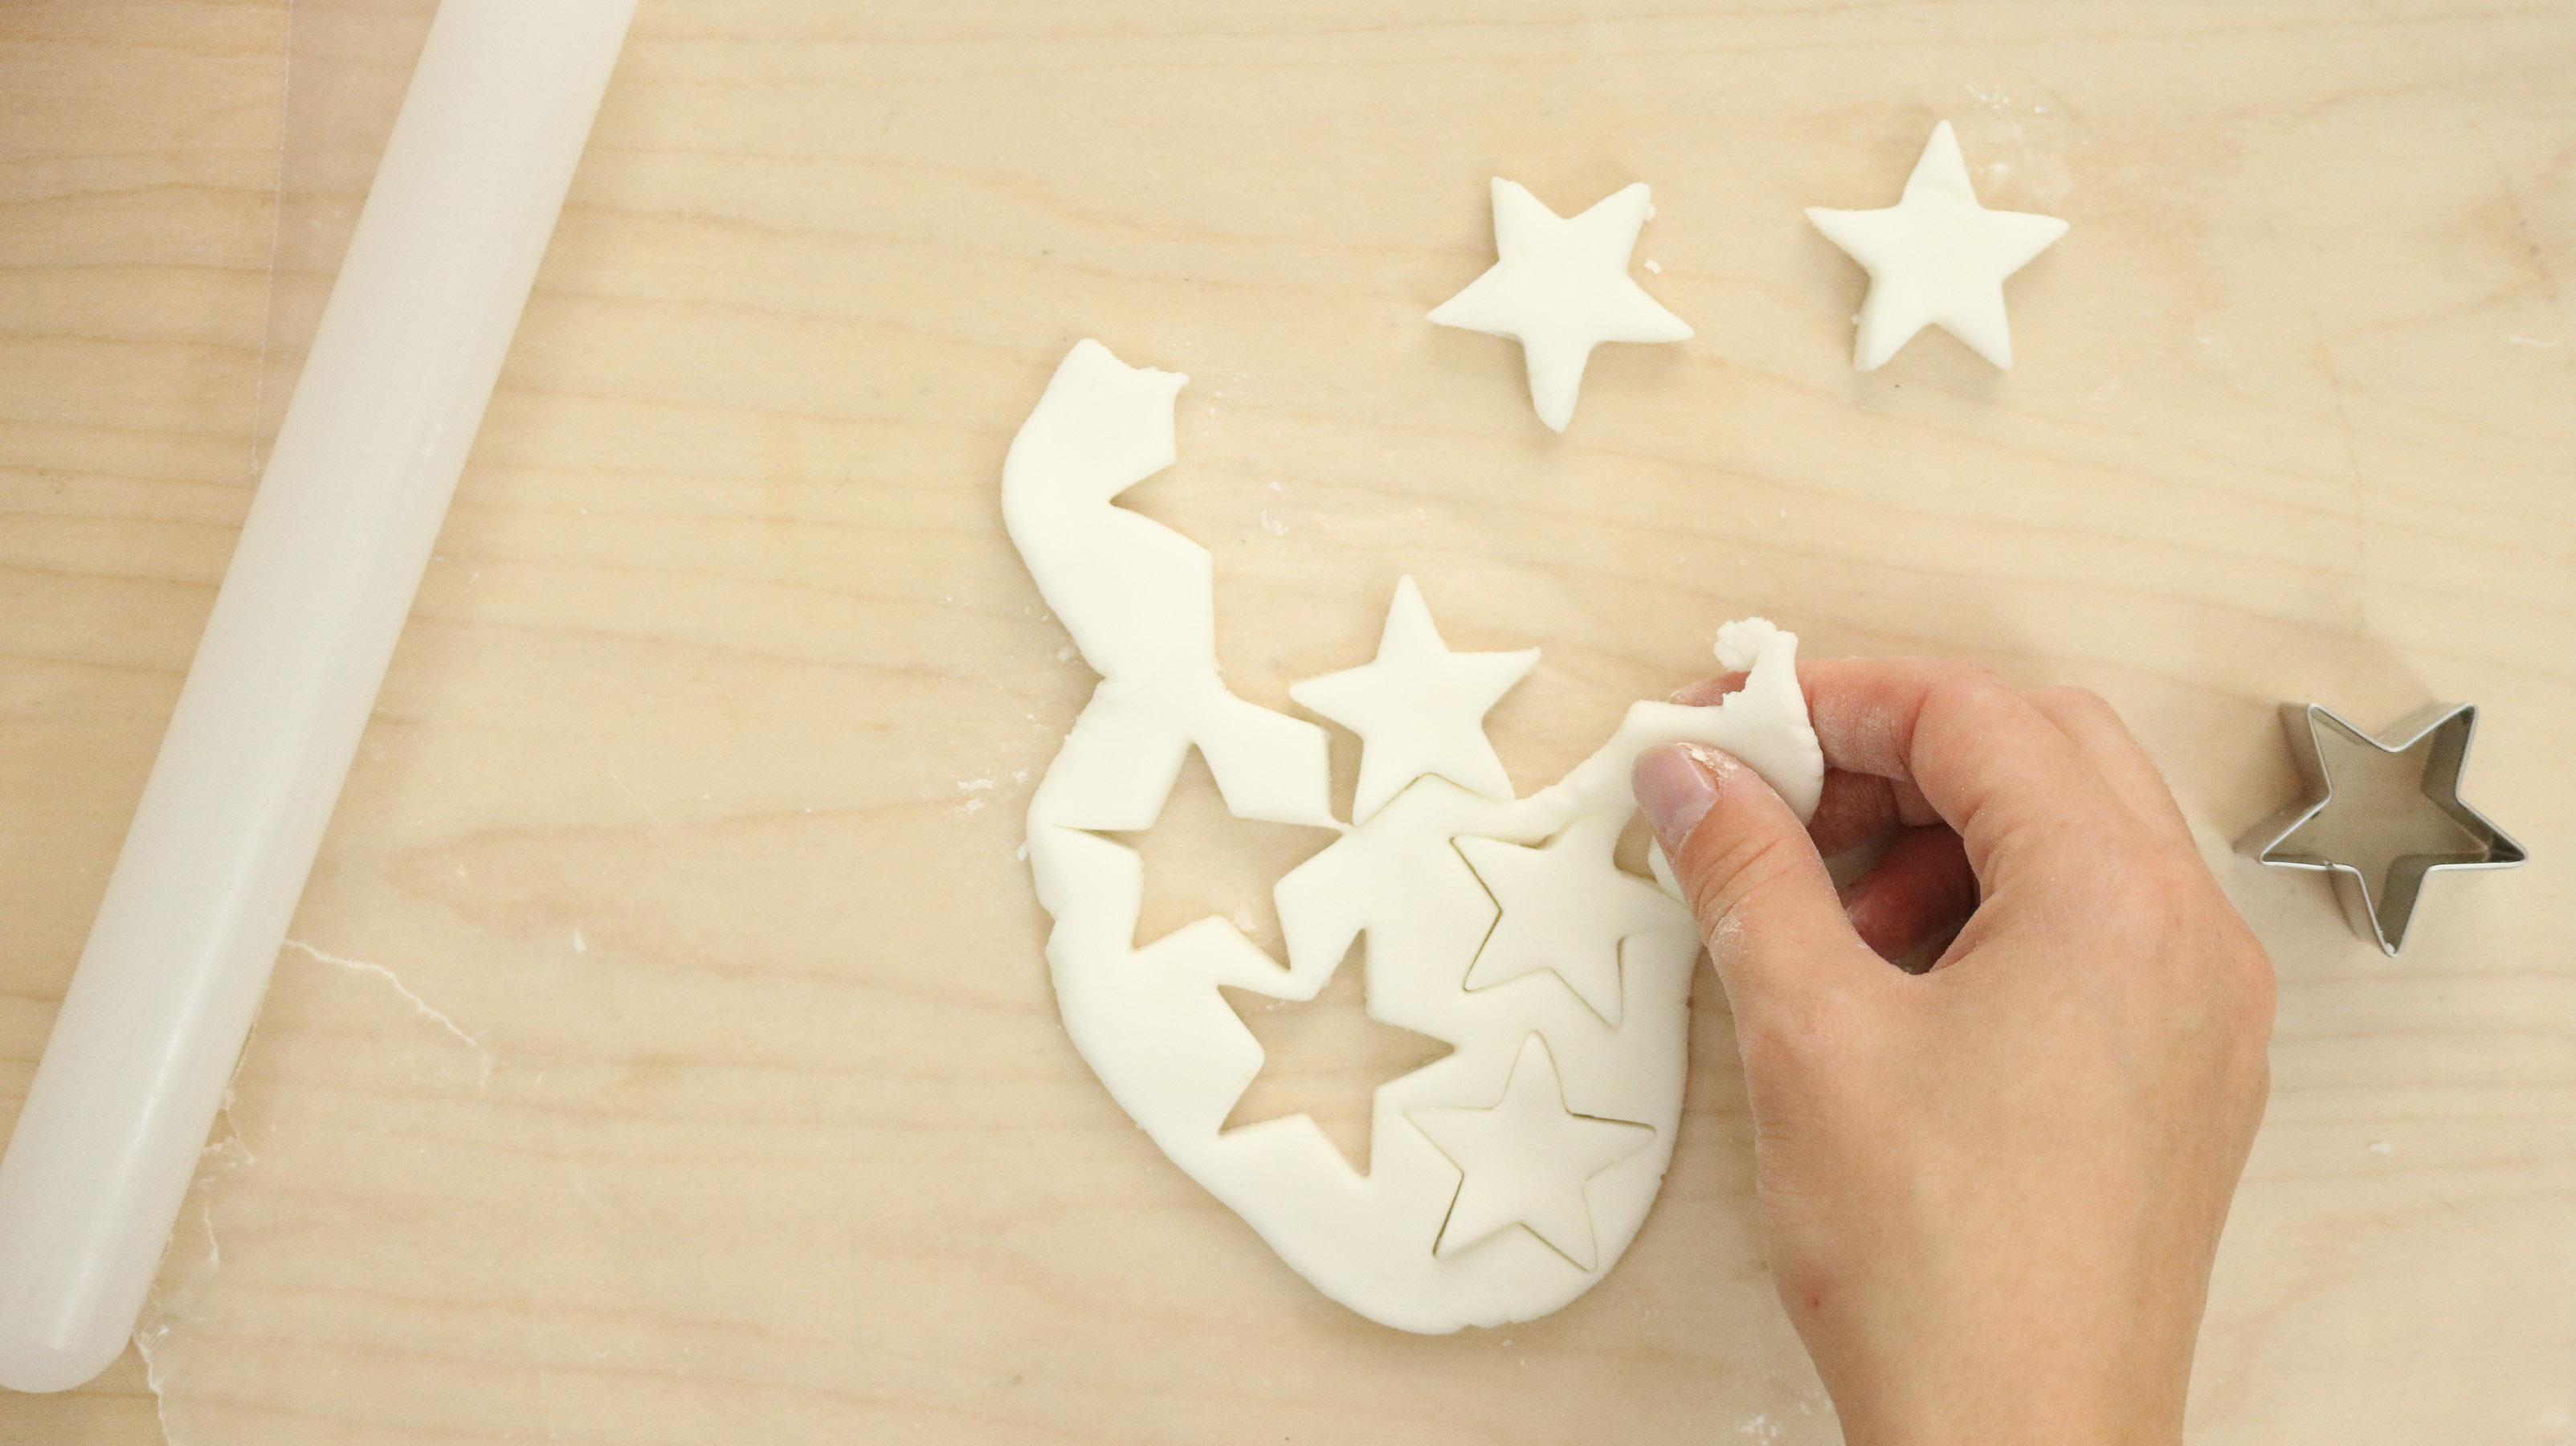
Star Garland DIY – Making your stars
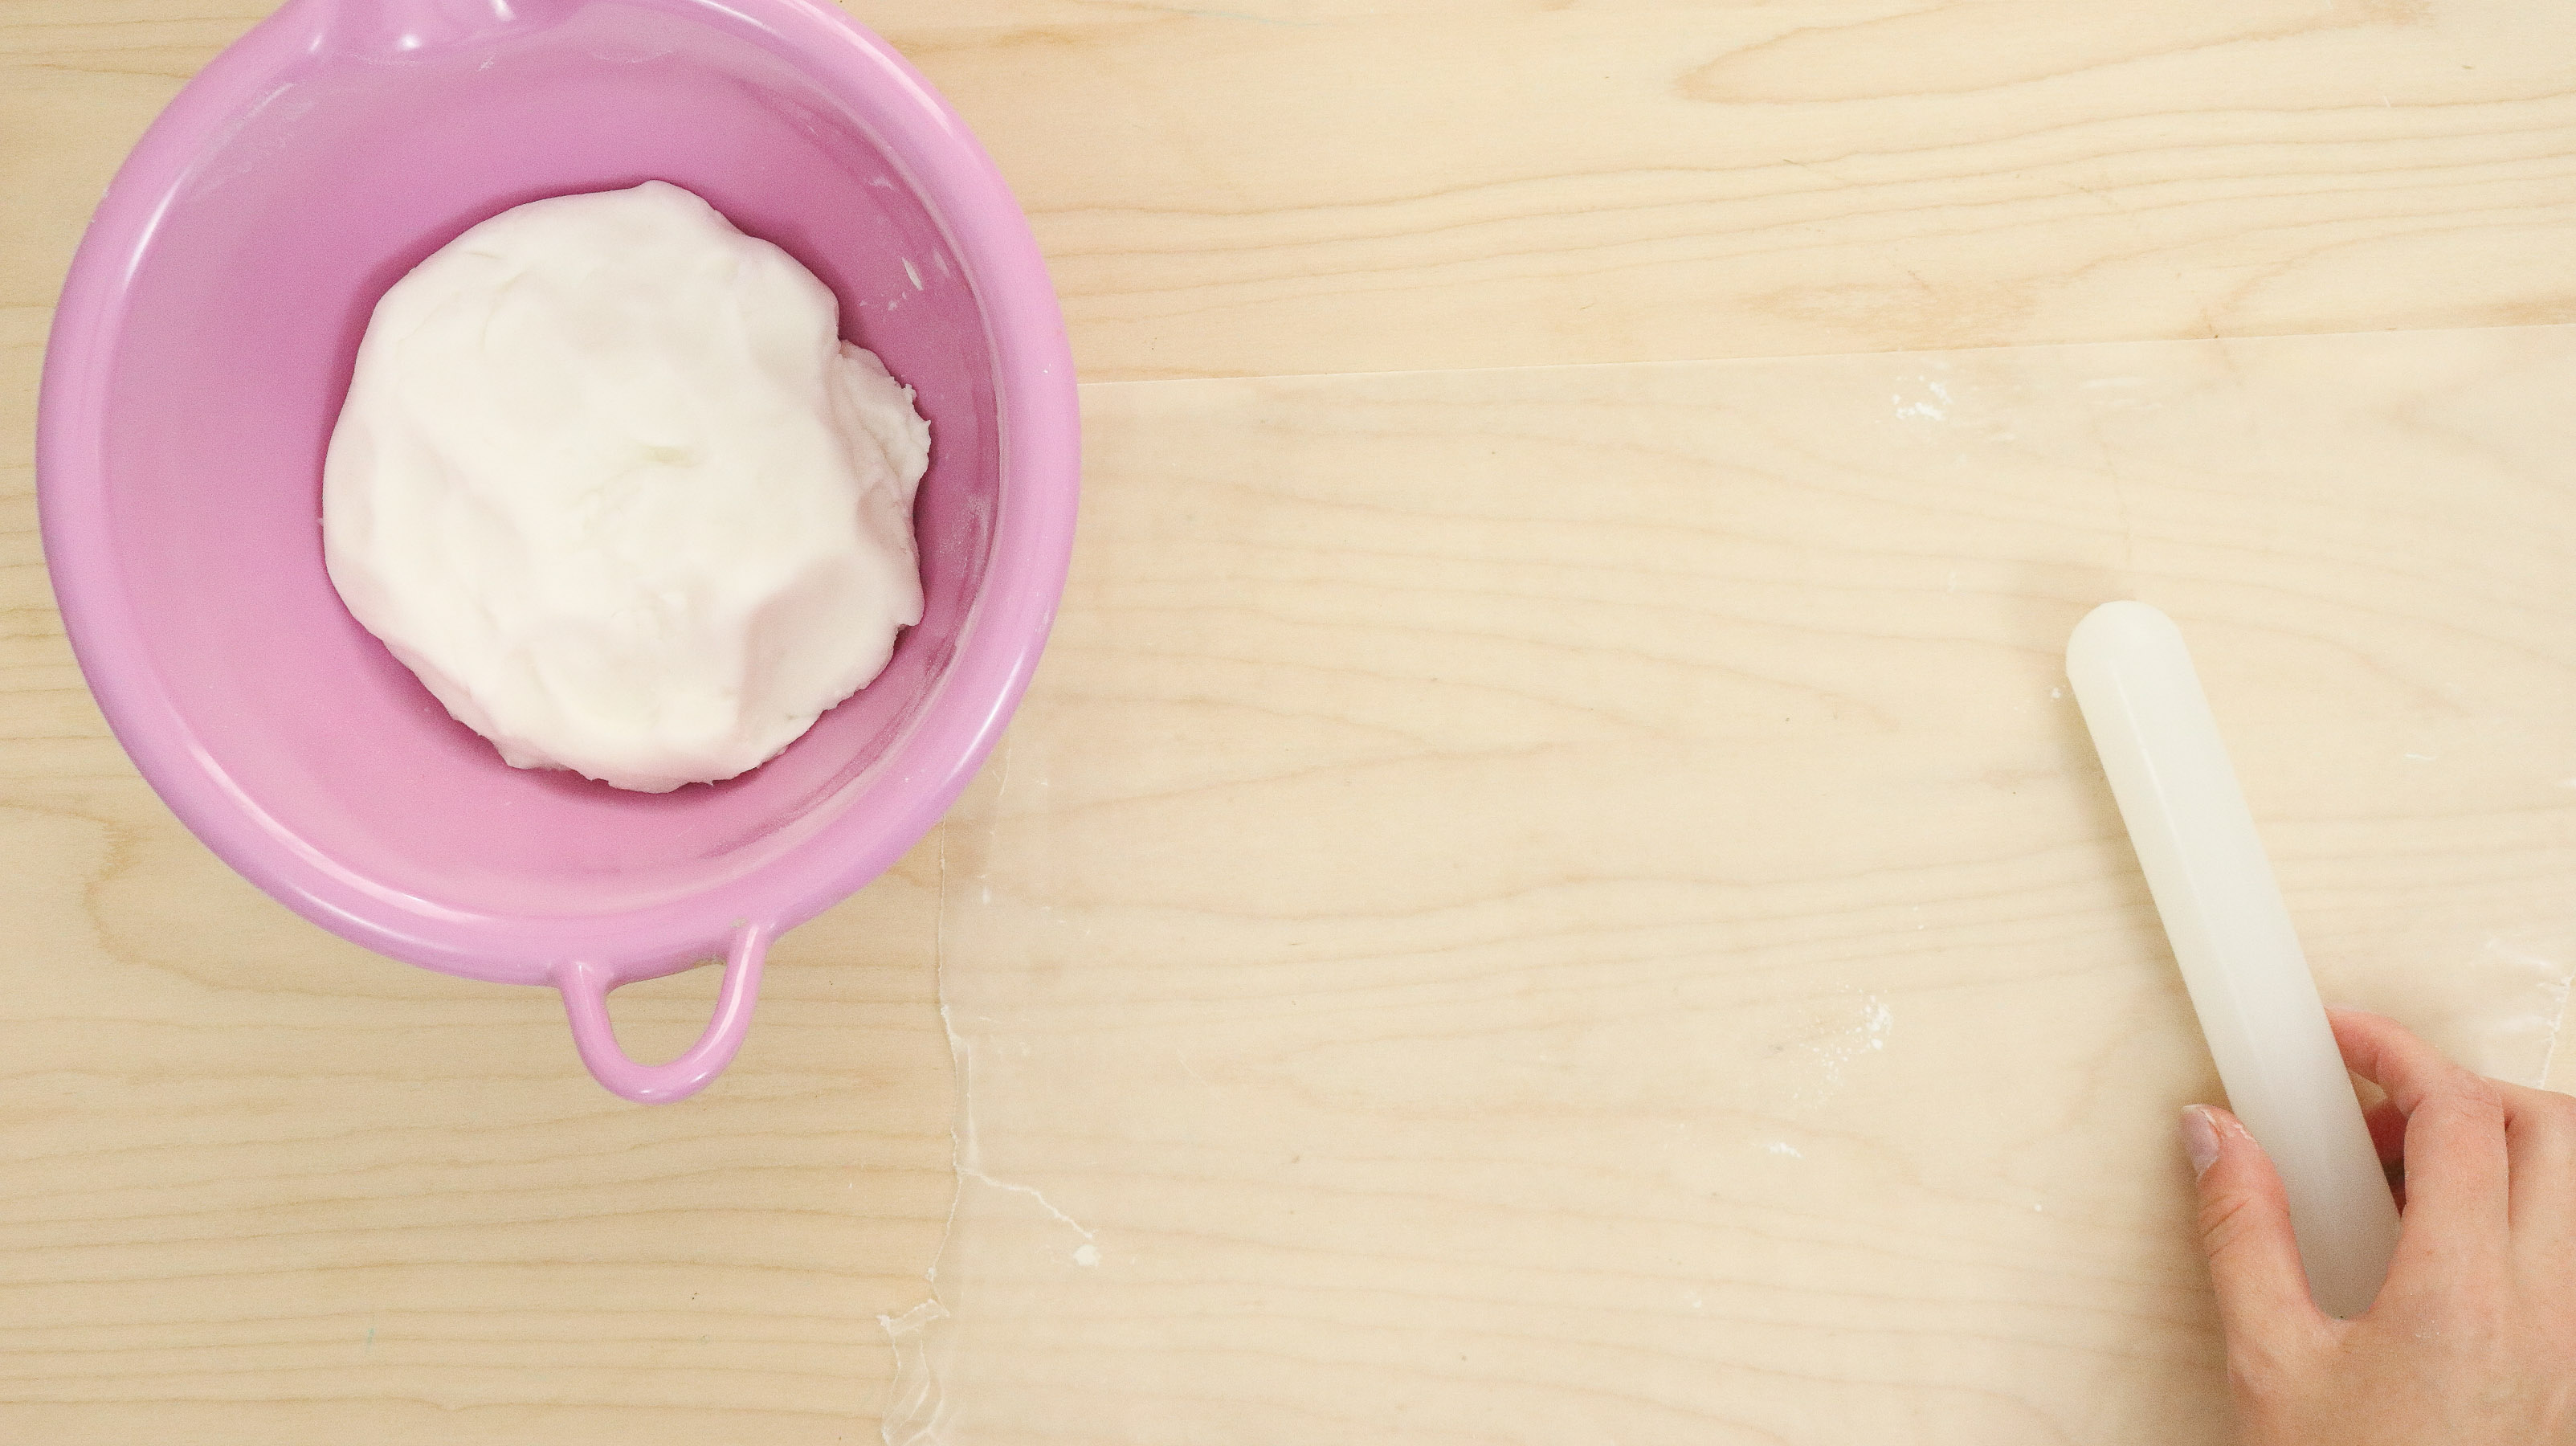
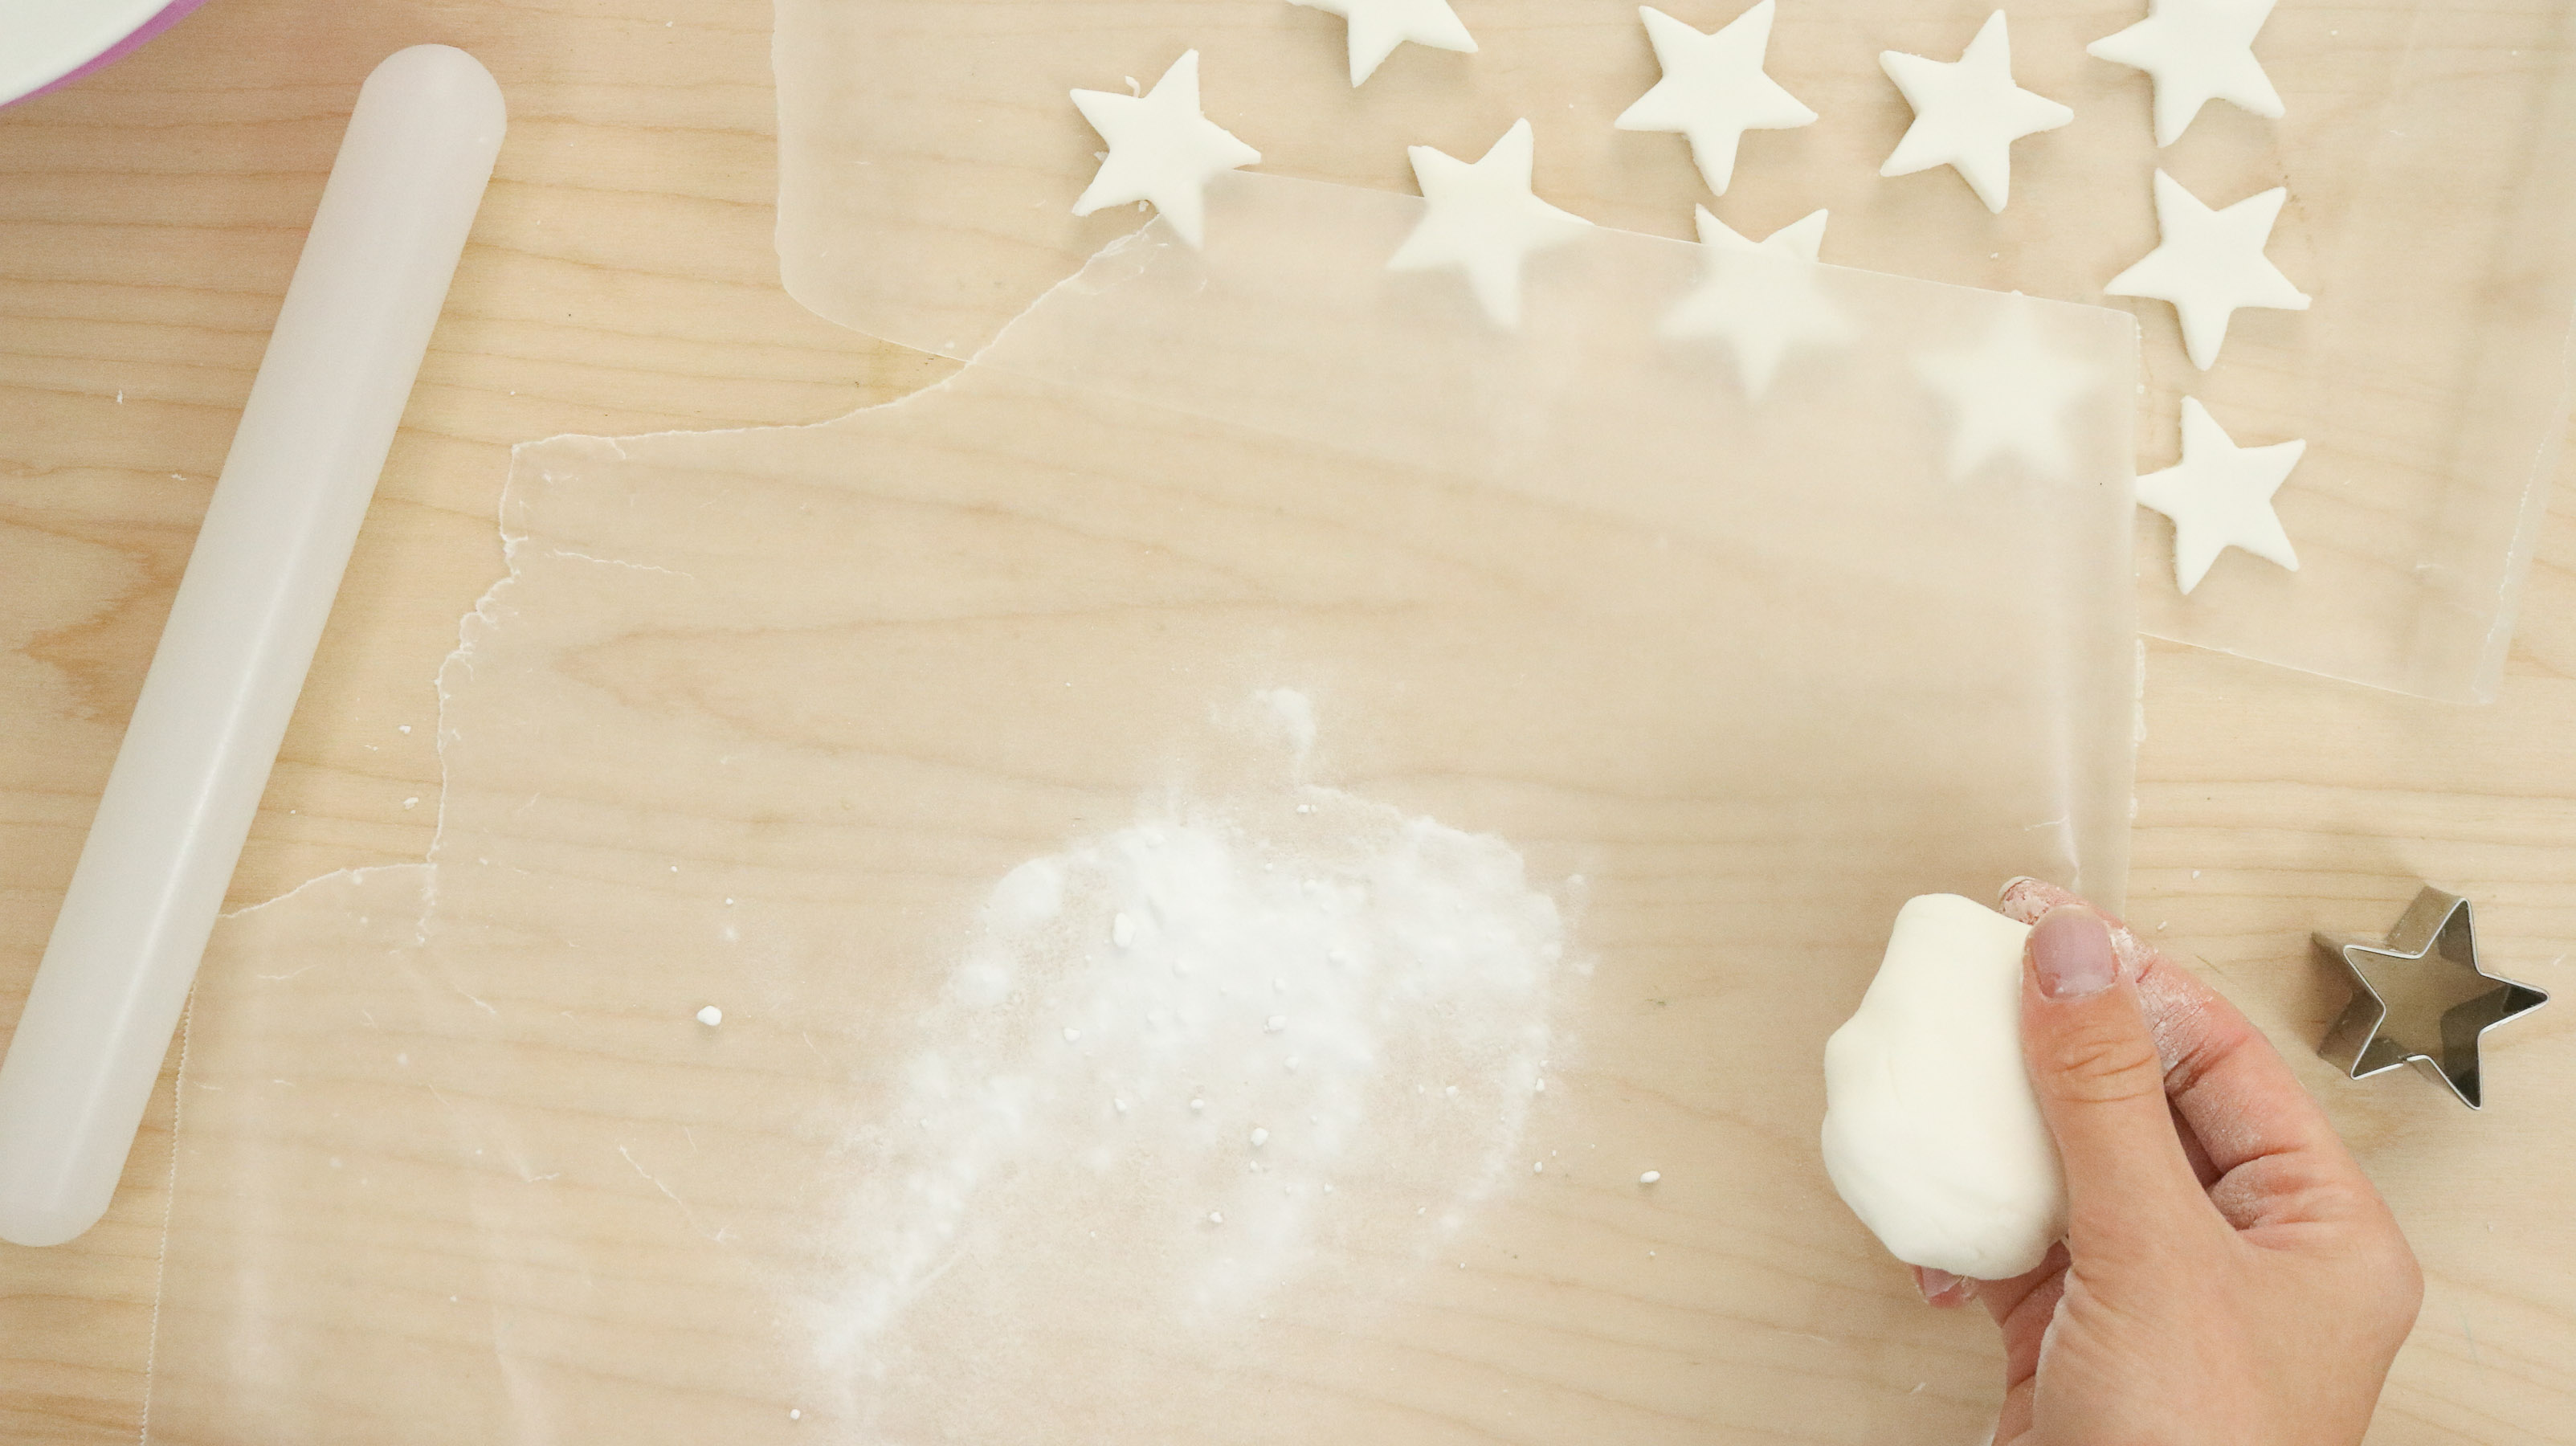
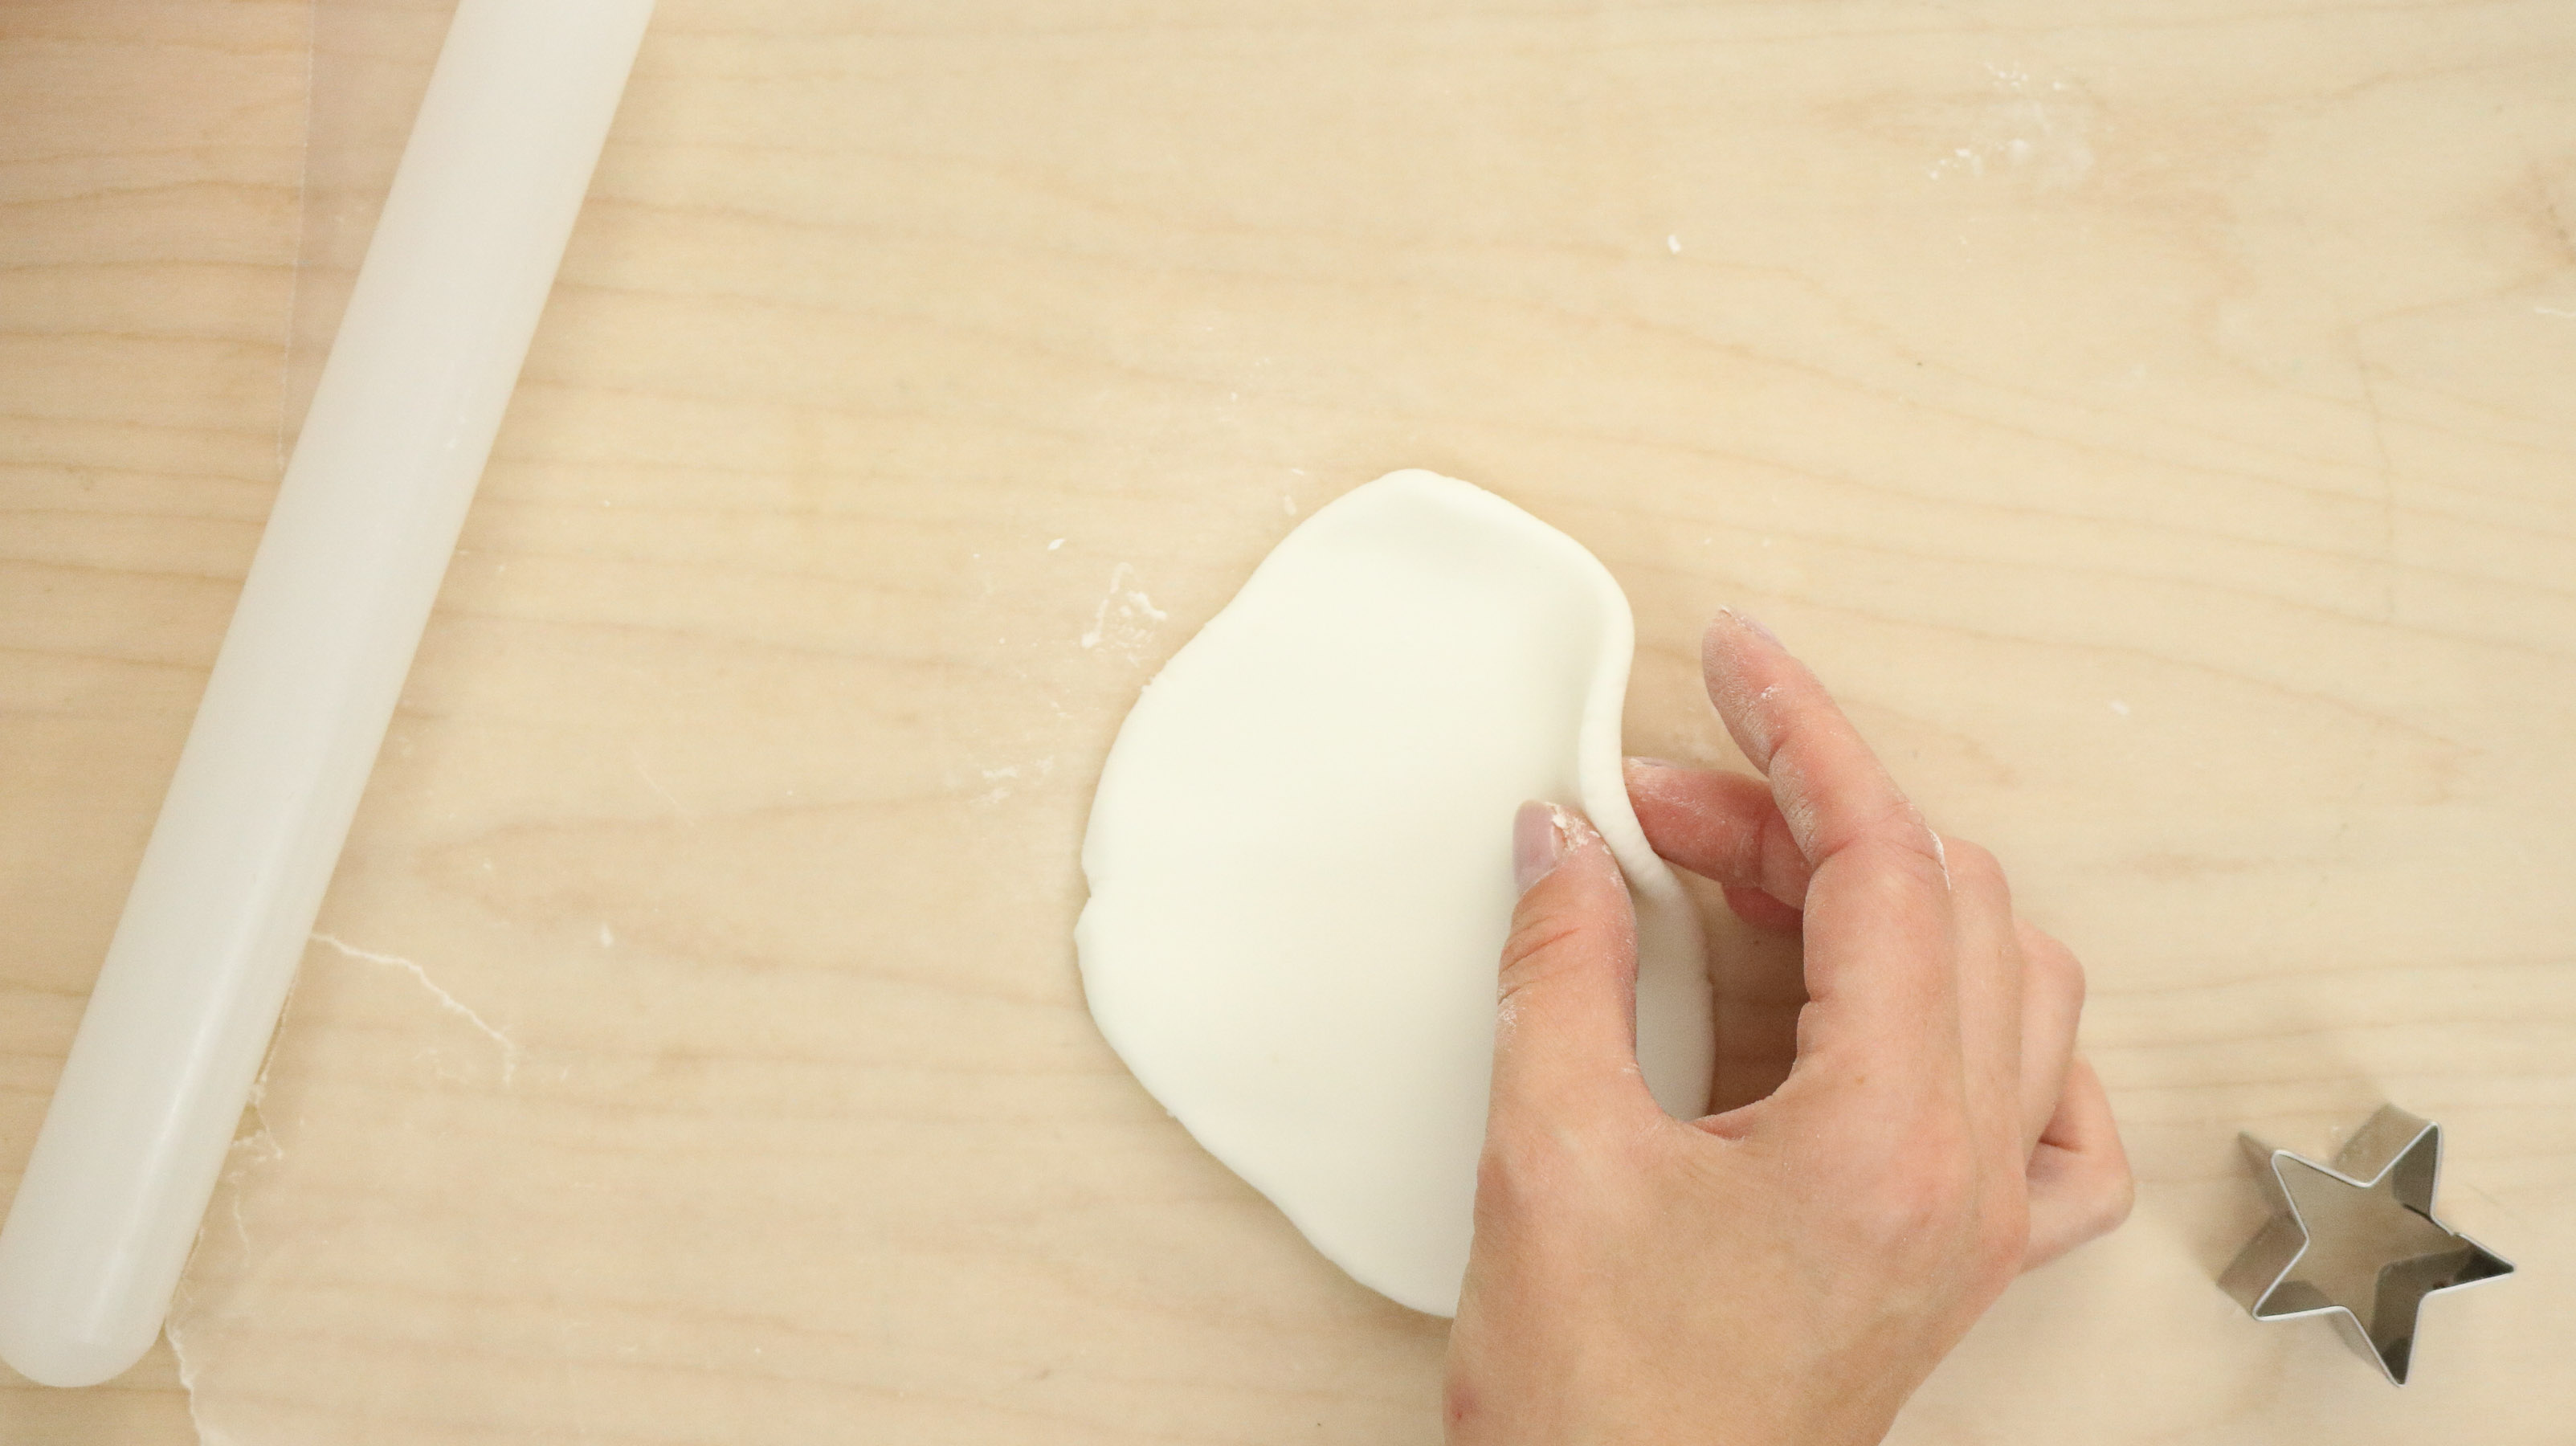
To make your stars flour your surface with baking soda before rolling out your clay. Than lay a ball of clay on top and roll it out. Try and keep the thickness of it pretty consistent. Use your star cookie cutter to make your stars. They should pop right out.
TIP: If your stars are really sticky and are hard to remove from your flat clay you’ll need to add more baking soda to it.
OTHER RELATED DIYS YOU’LL LOVE:
- STAR CANDLE HOLDERS – Perfect for a whimsical tablescape!
- SATCHEL WALL PLANTERS– Perfect to freshen up your summer plants!
- TIN CANS INTO – Chunky Knit Planters – Transform those old tin cans into these beauties!
- MACRAME PHOTO DISPLAY – Make Memories with this wall display!
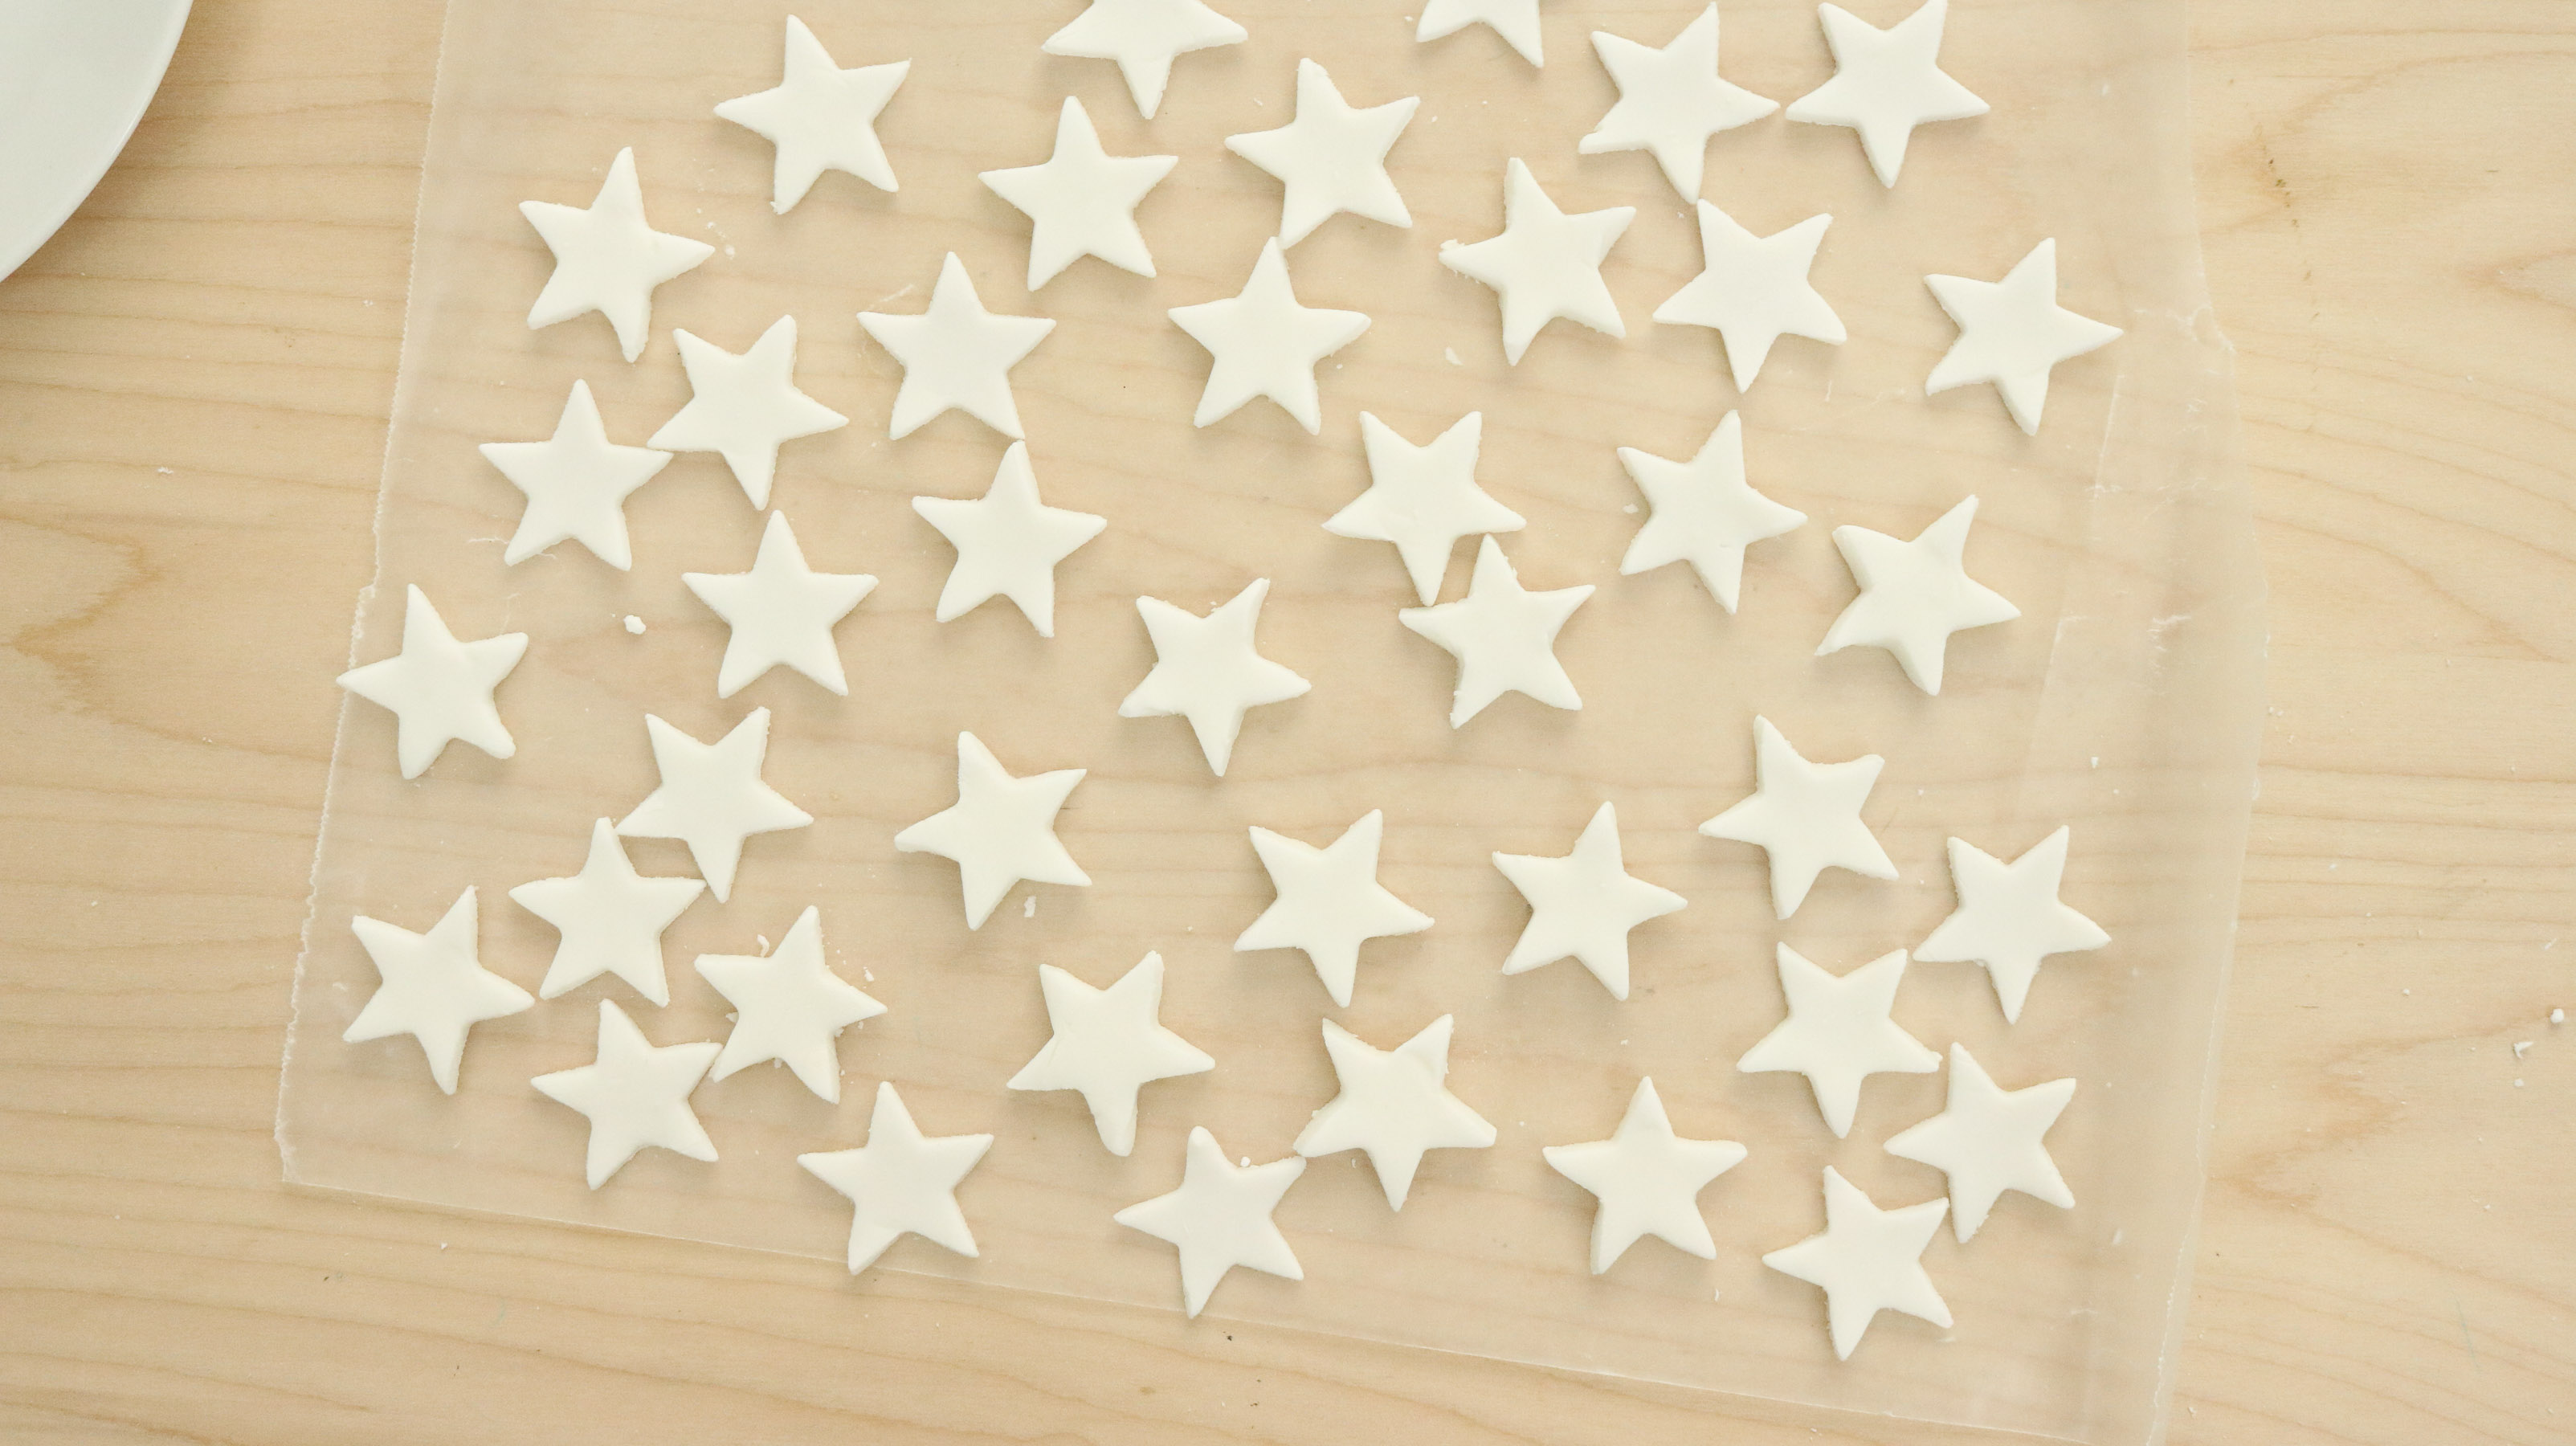
BAKE OR AIR DRY: Options!
TIP : Okay so before we bake or let your stars air dry make sure and flour the surface beneath them really good with some baking soda. If you don’t it may result in your stars cracking.
If you choose to bake your stars you can do so by baking them at 170 for 2 hours. Don’t turn your oven any hotter than that as you don’t want to burn your stars or create air bubbles.
To air dry your stars you can simply leave them on a floured surface overnight and flip them in the morning and let the other side set as well.
NOTE: I found the baked stars to be a lot more durable.
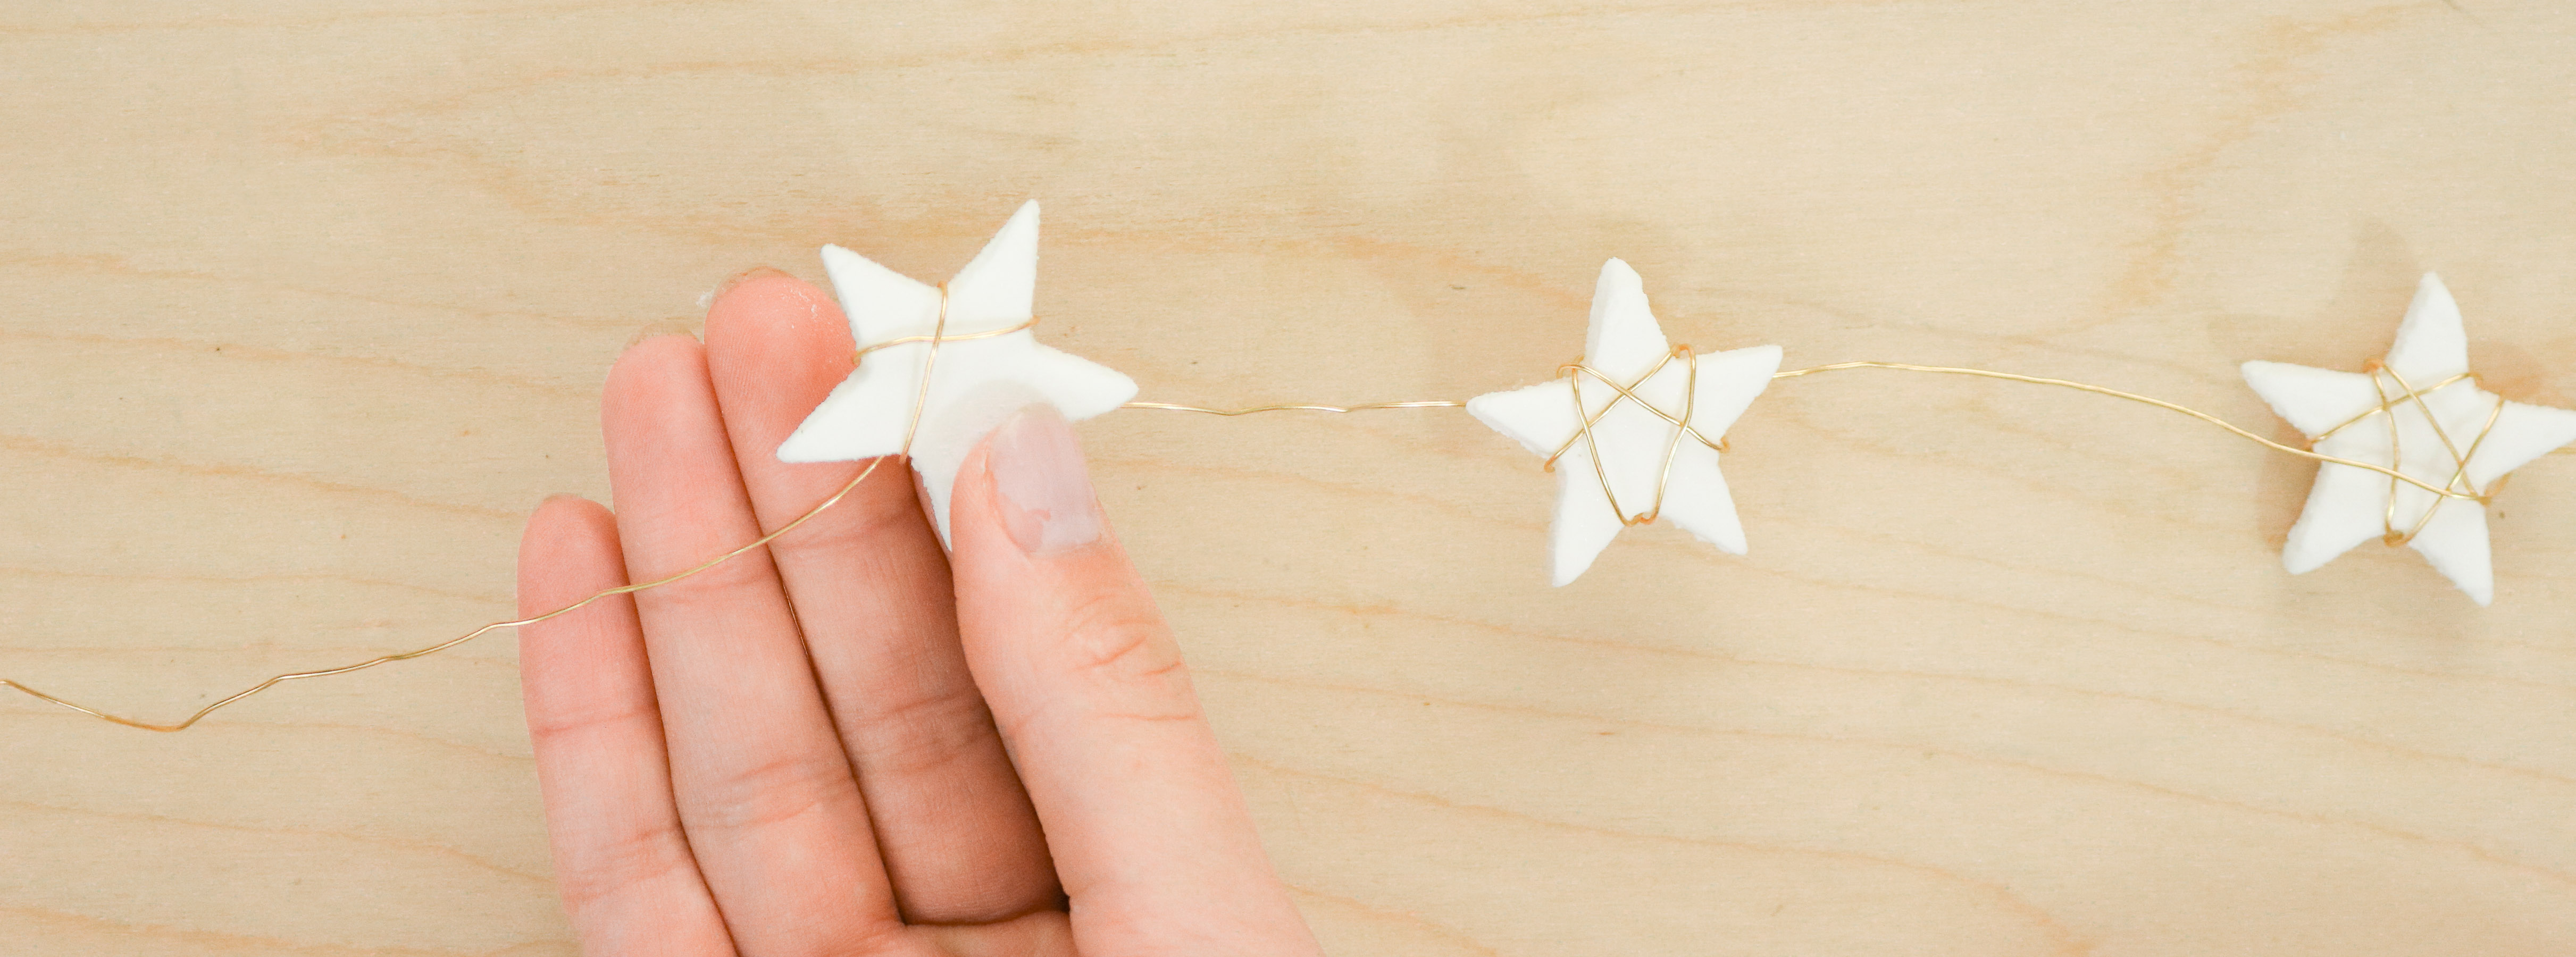
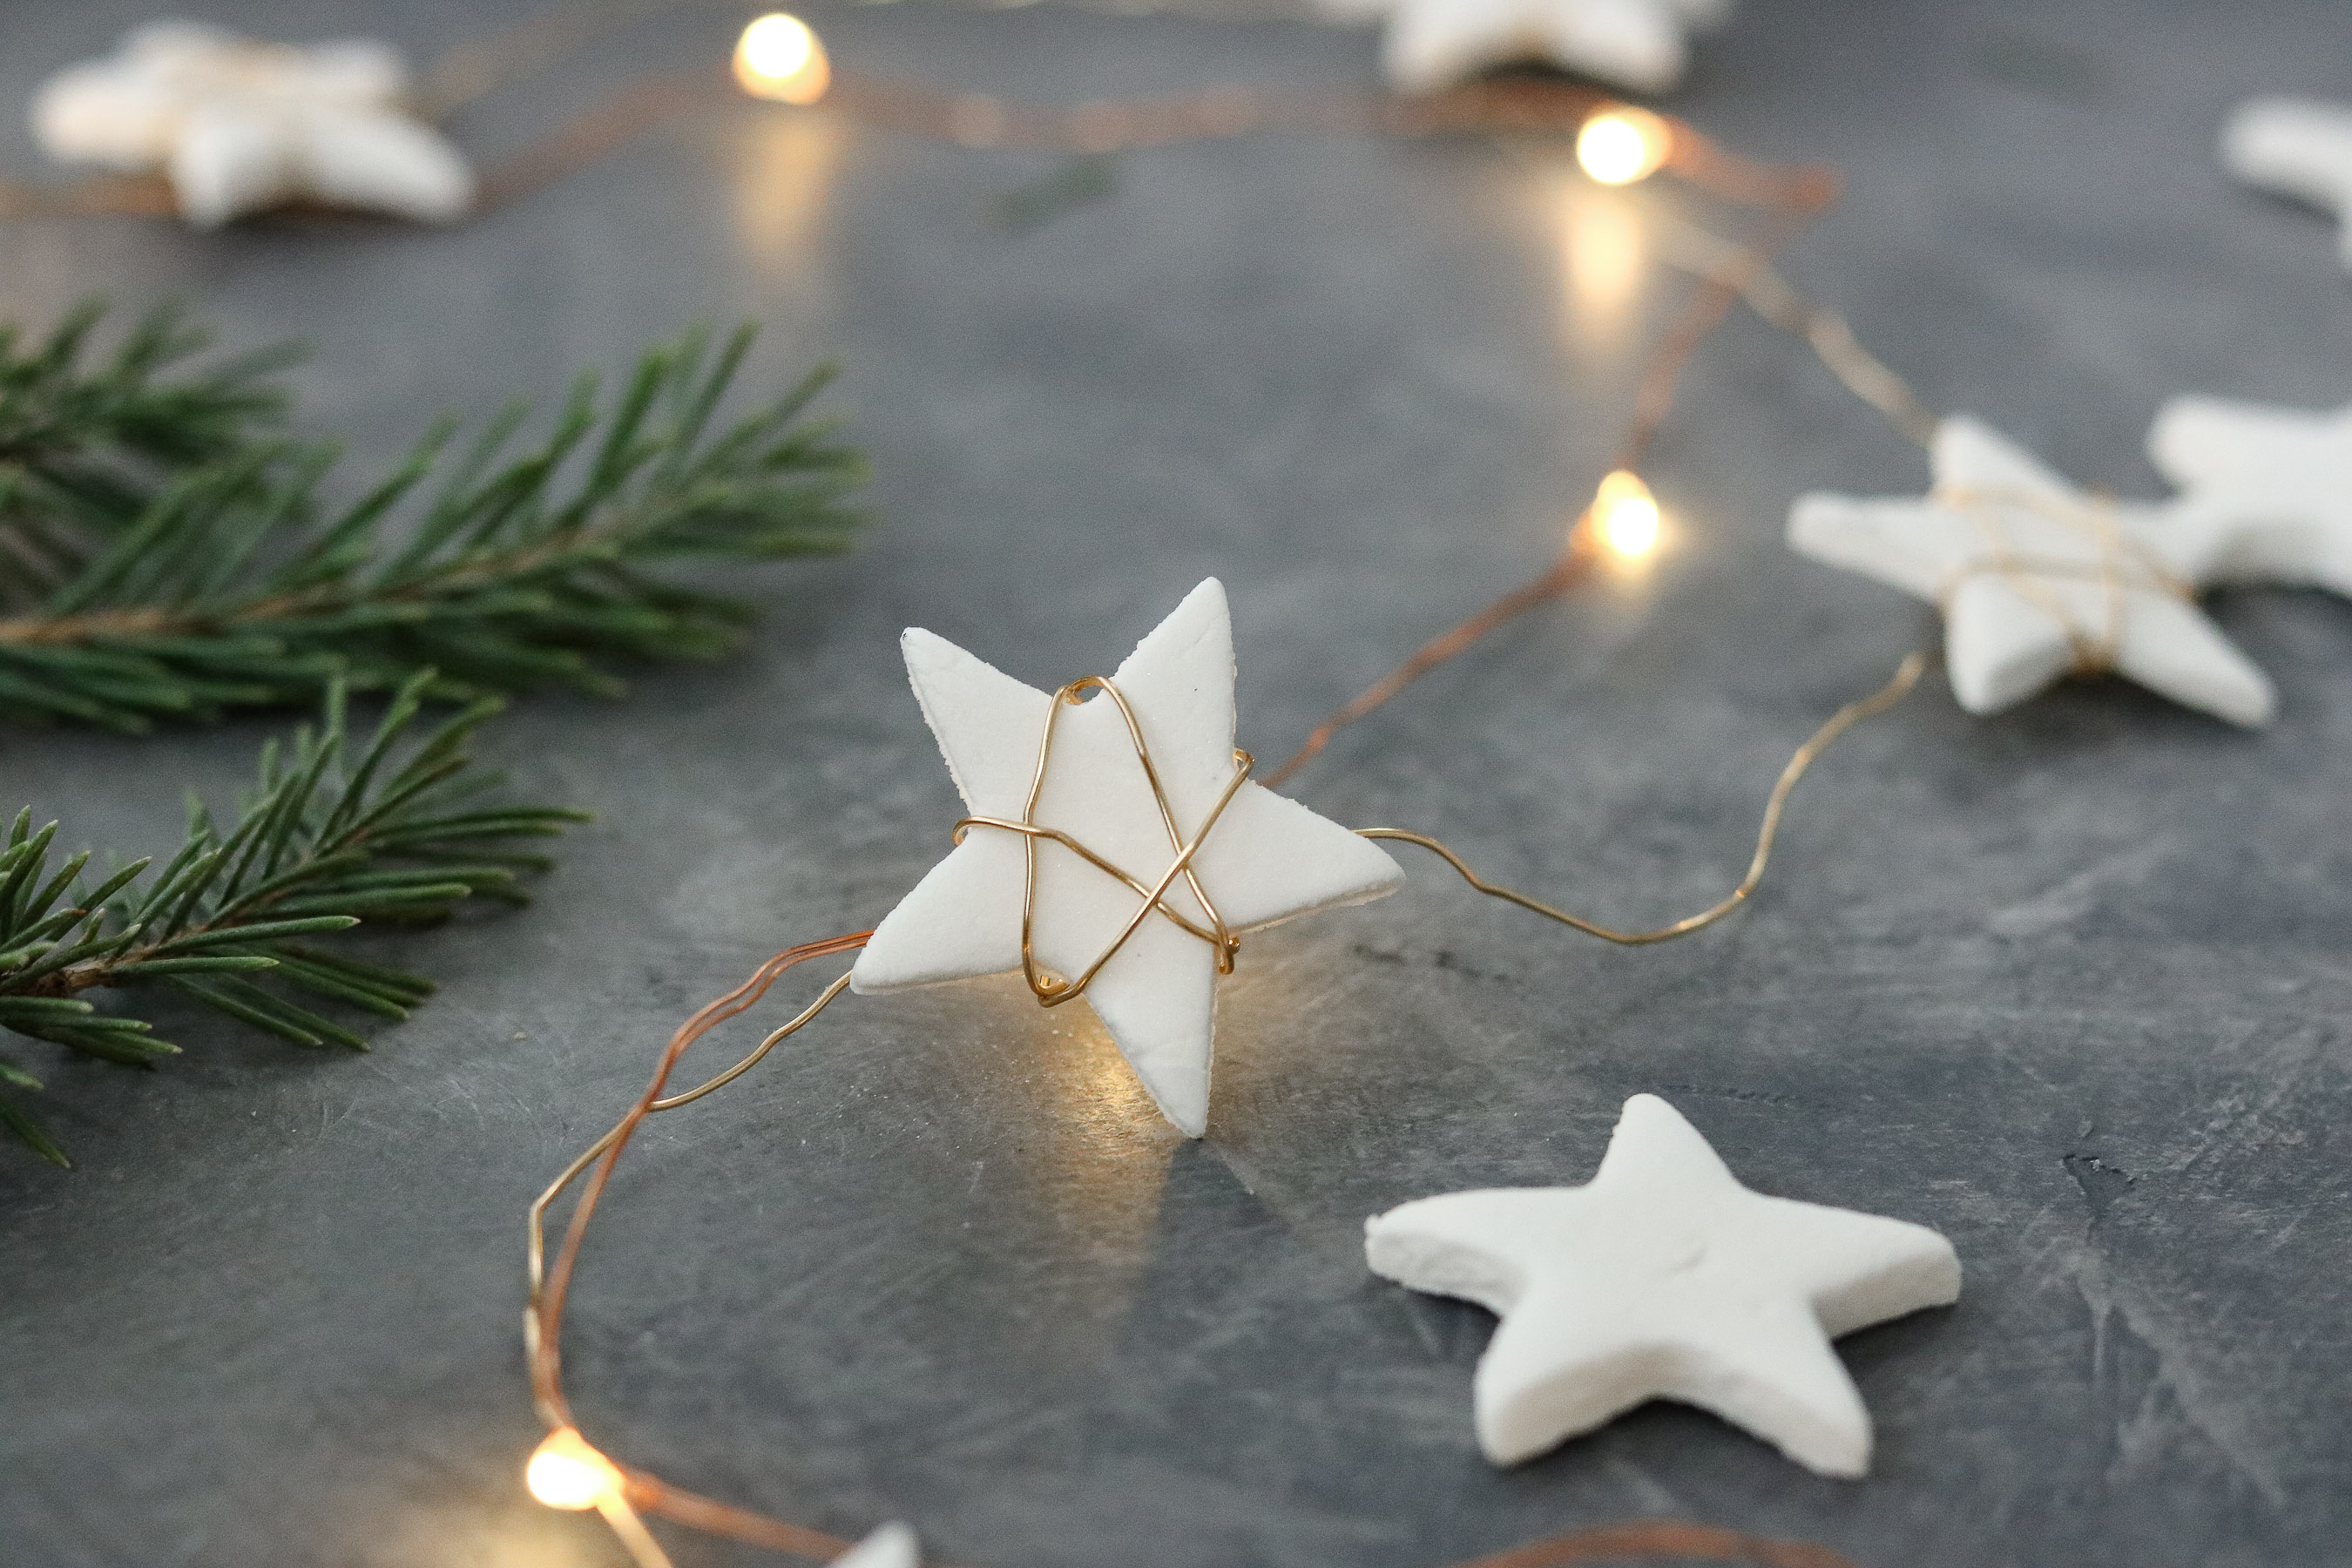
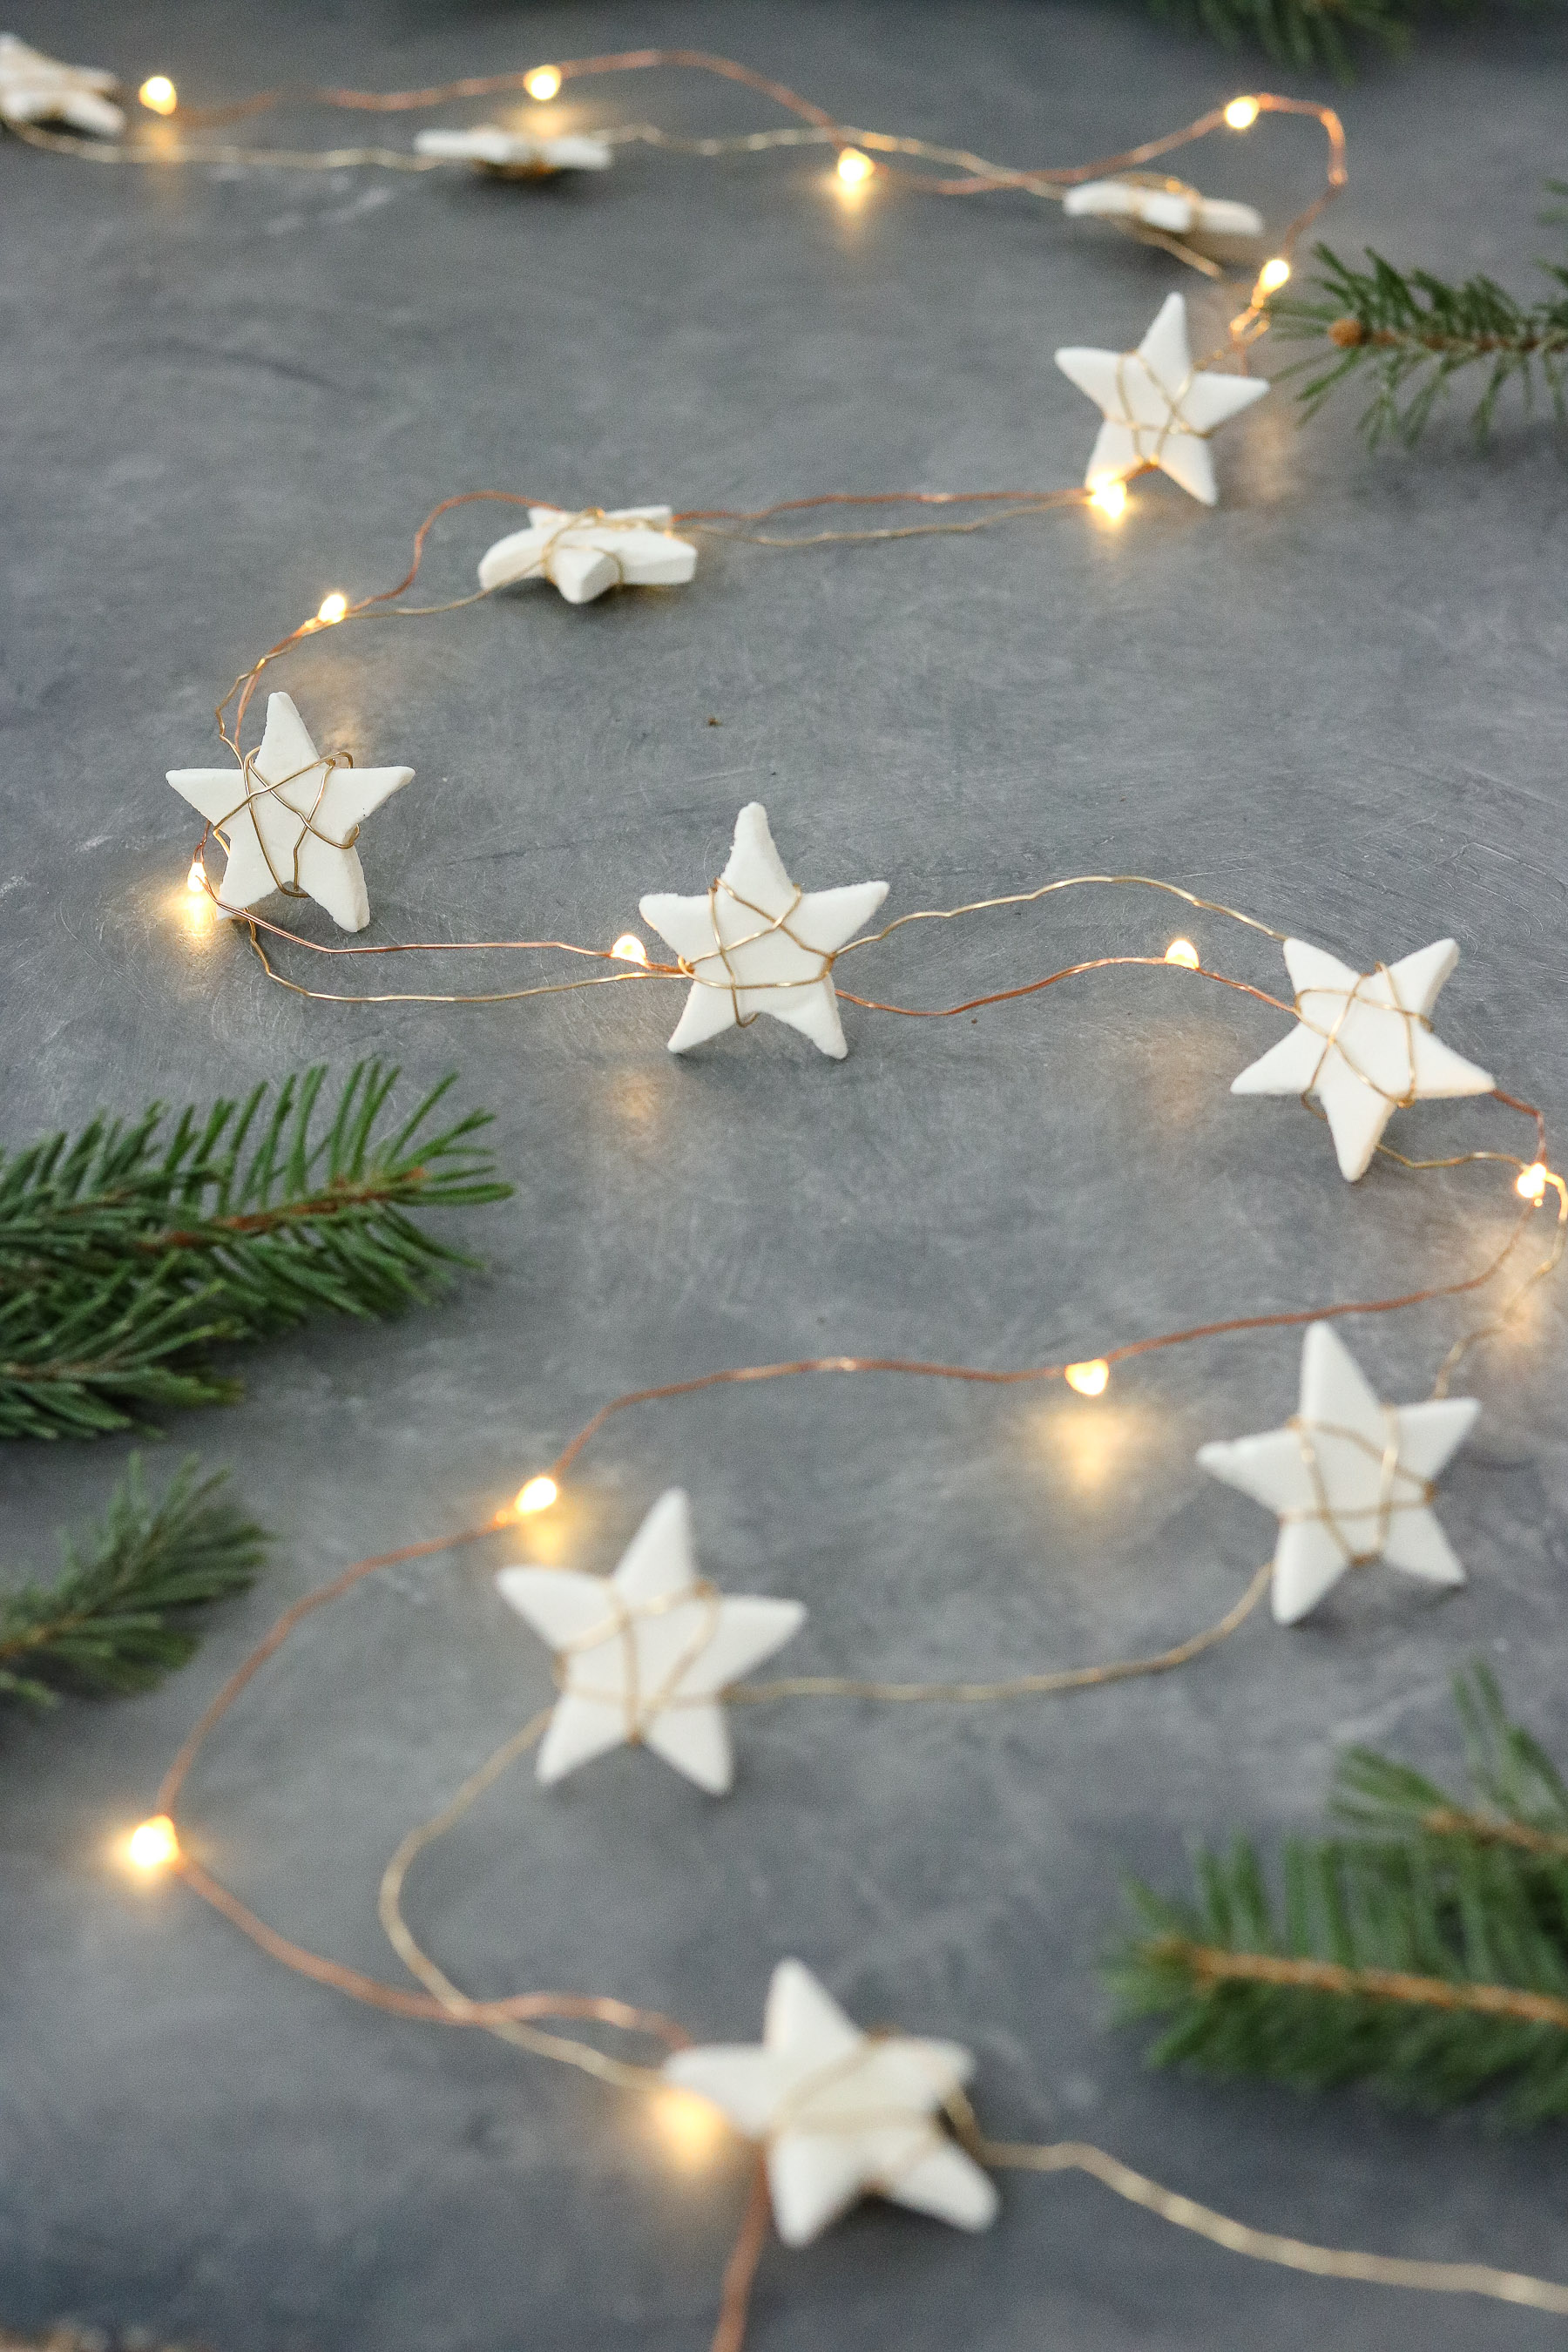
TWO Garland options!
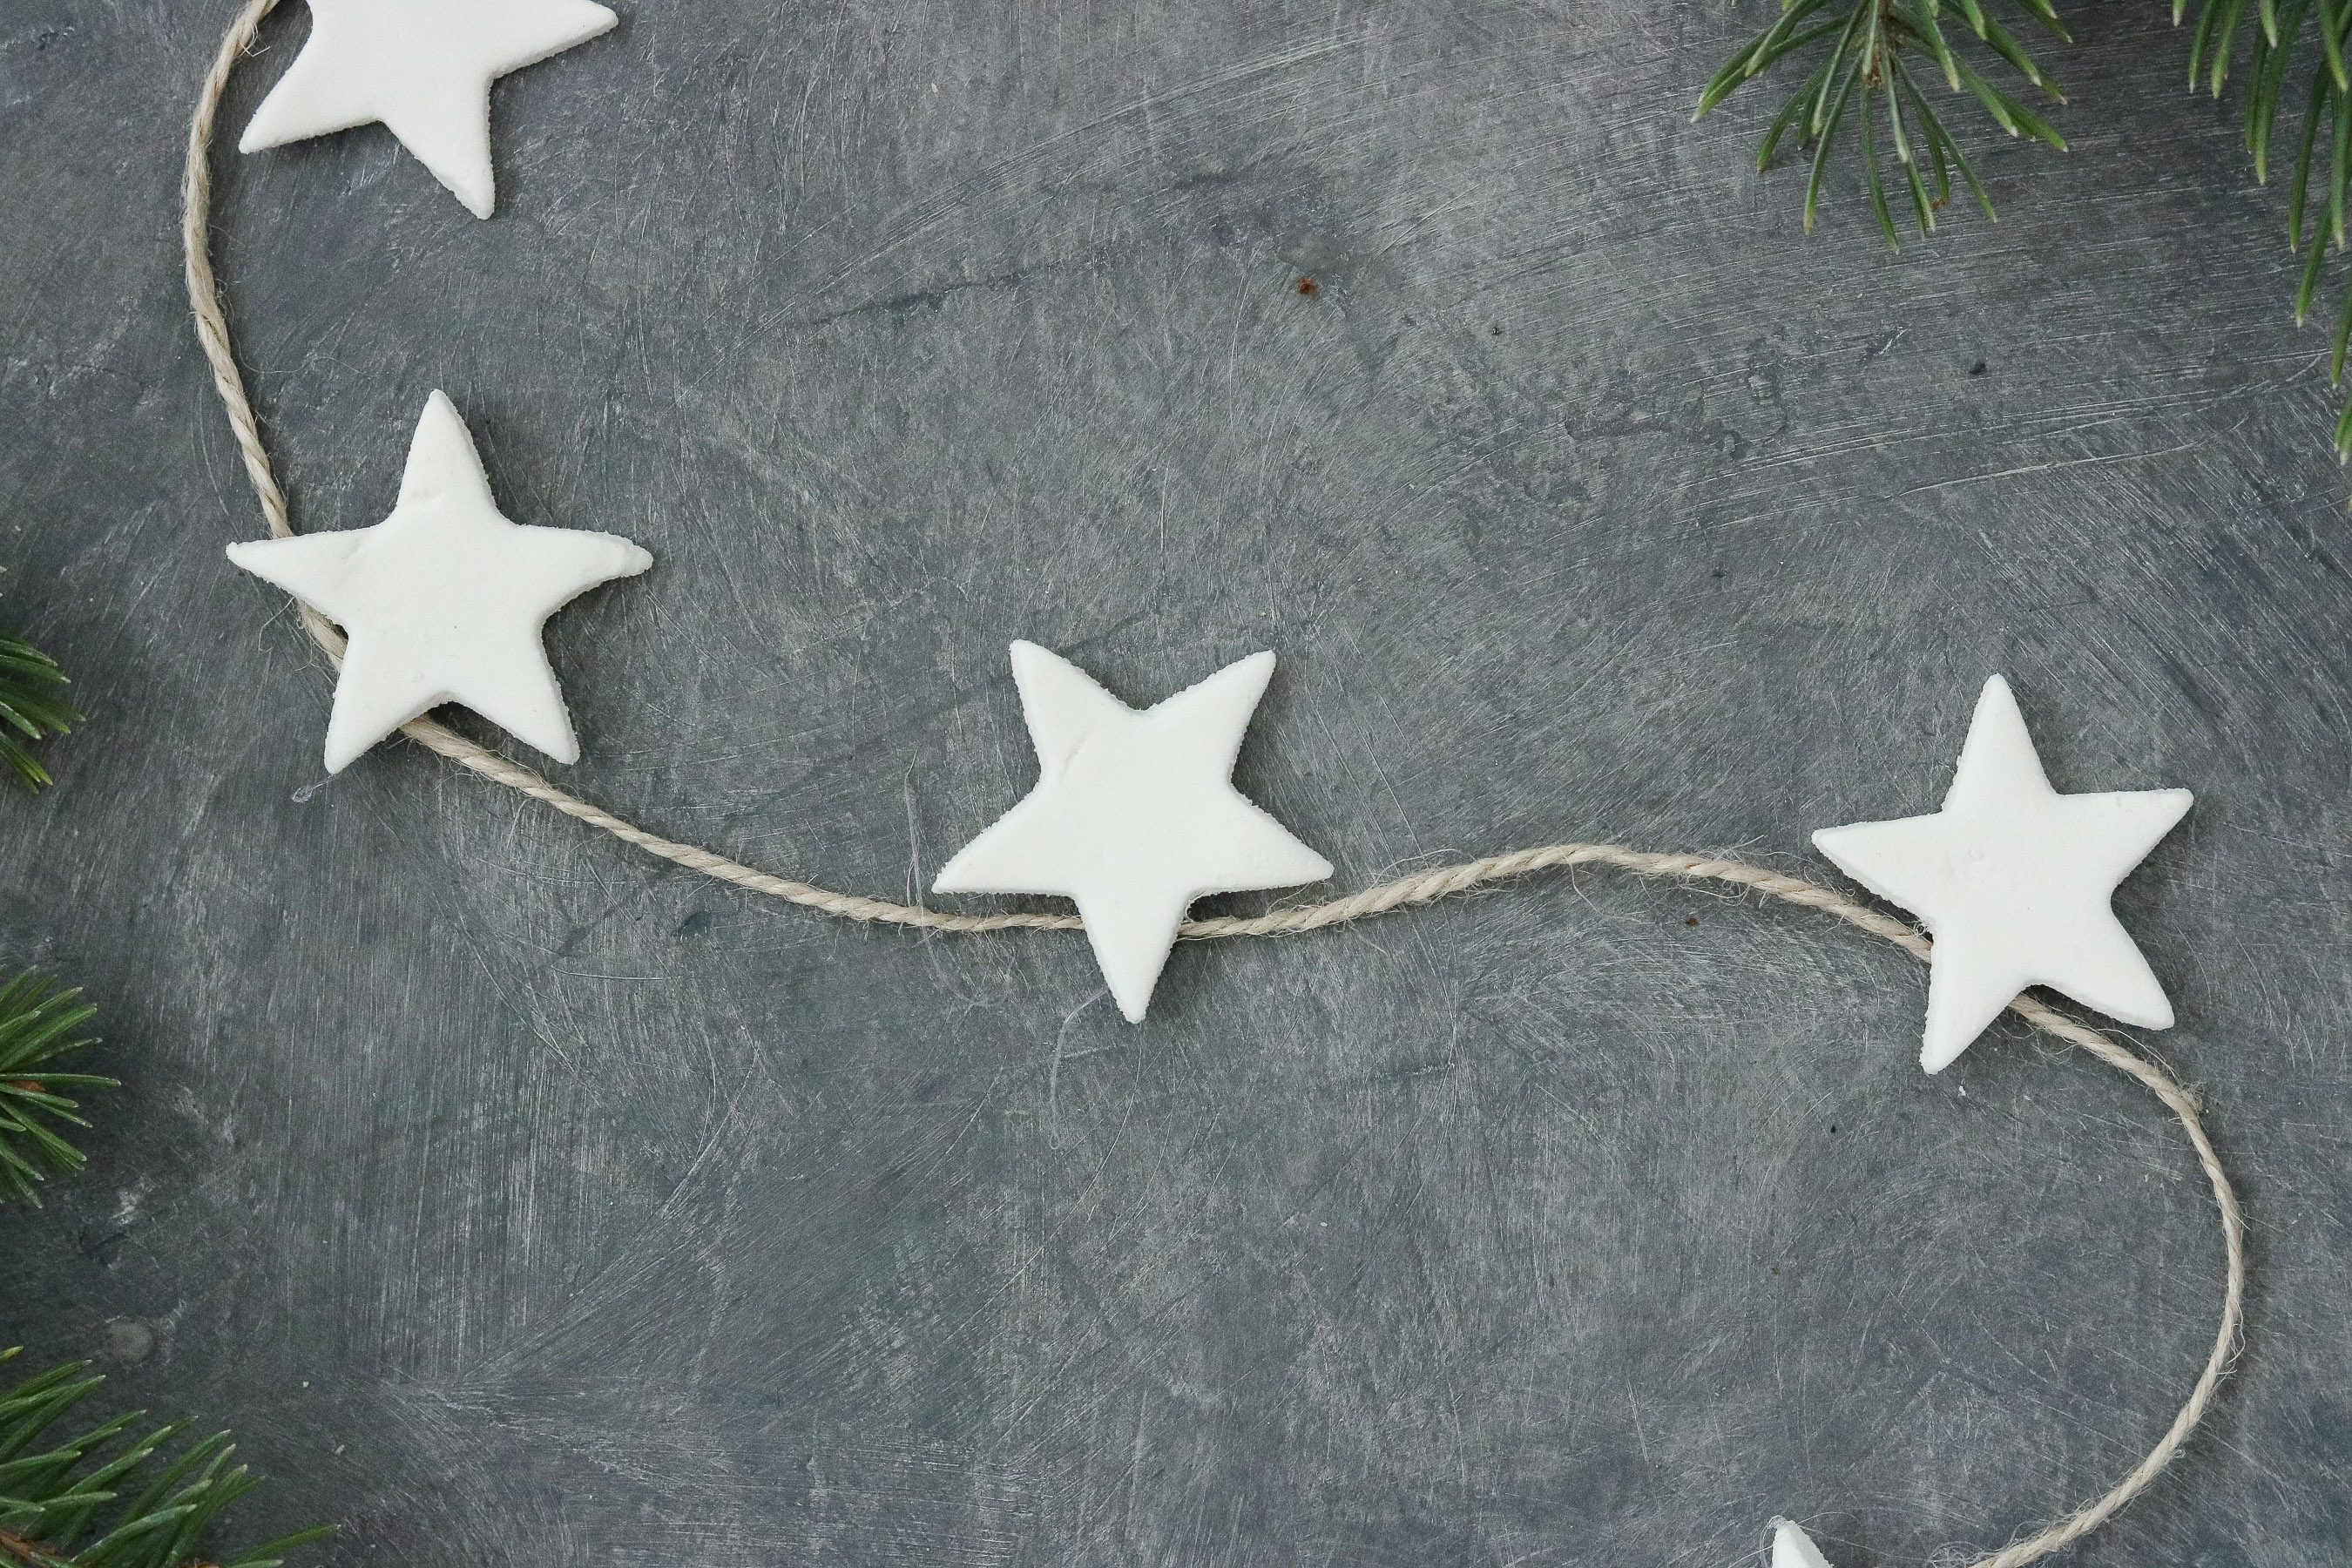
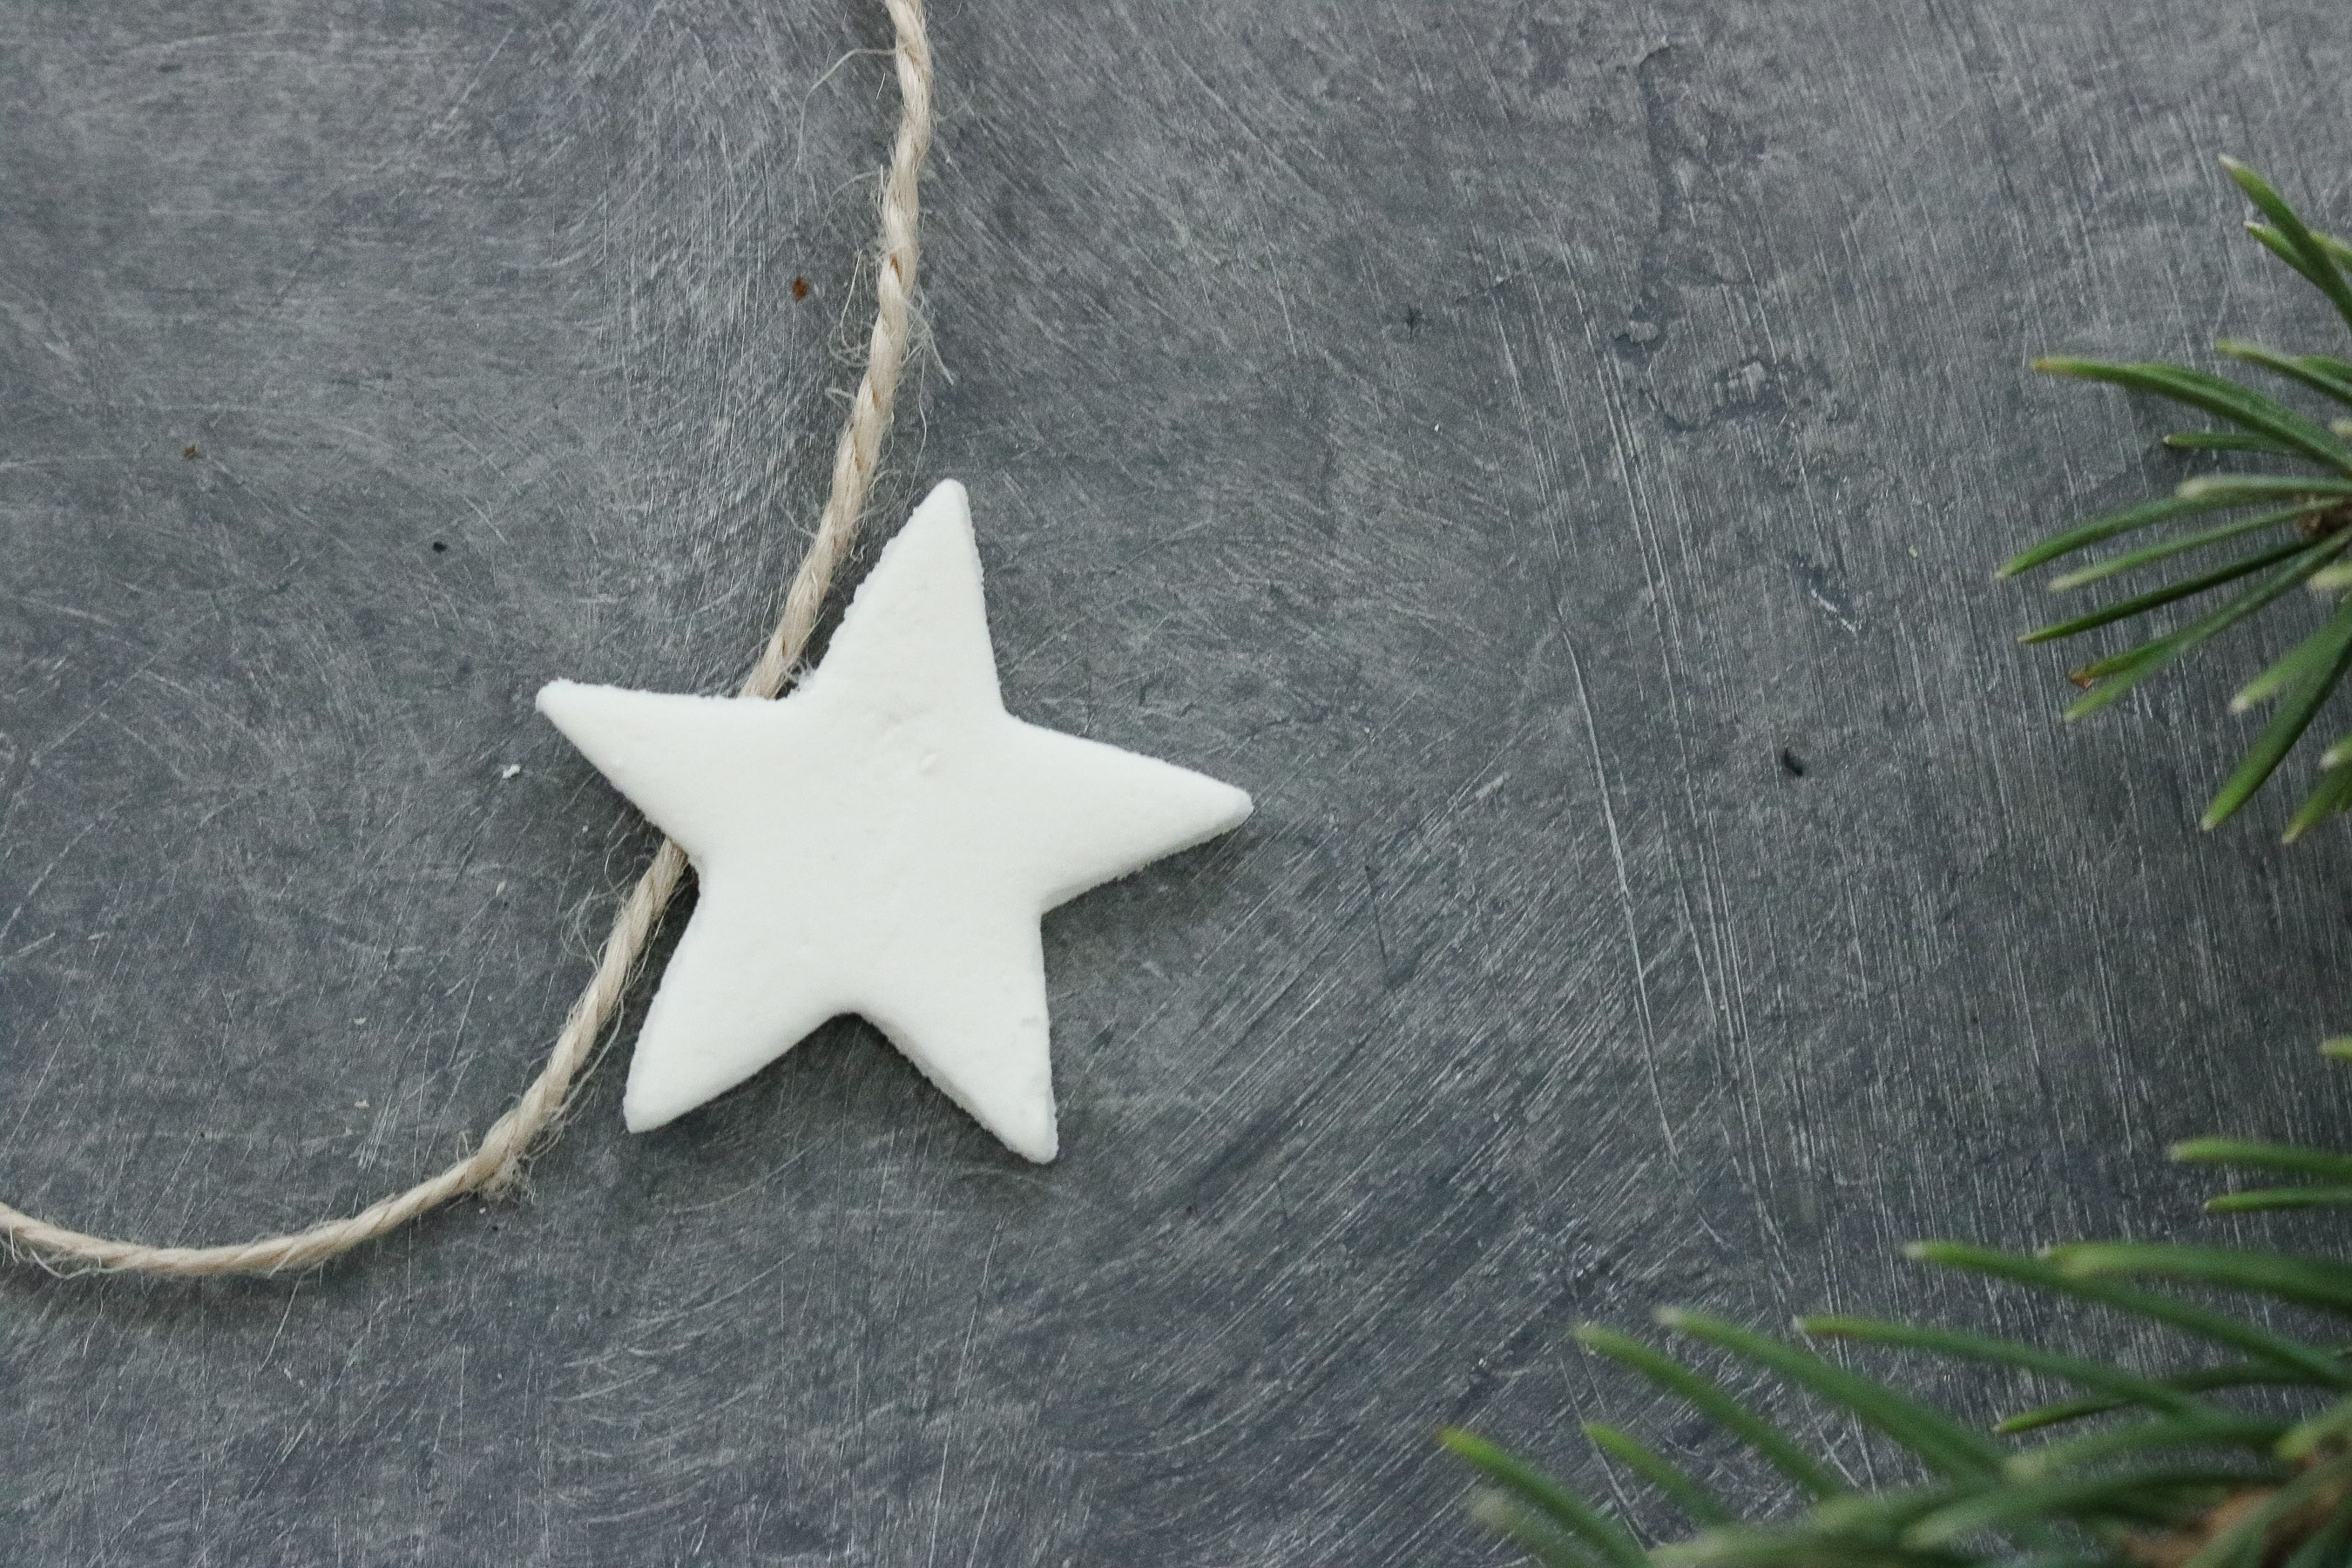
I planned on making a twine garland originally however I stumbled on this wired garland idea after a few failed attempts with the twine. (blonde moment I figured out how to make the twine garland work later) LOL. I was glueing my stars wrong and there were flopping all over the place.
Anywho, you can do either or however, if you plan on doing the twine garland make sure and glue the twine to the tops of your stars. (not in the middle… lesson learned!) For the wire garland use some super flexible wire and wrap it around your stars leaving gaps in between to create the garland.

Here’s how the twine garland looks like on the back side.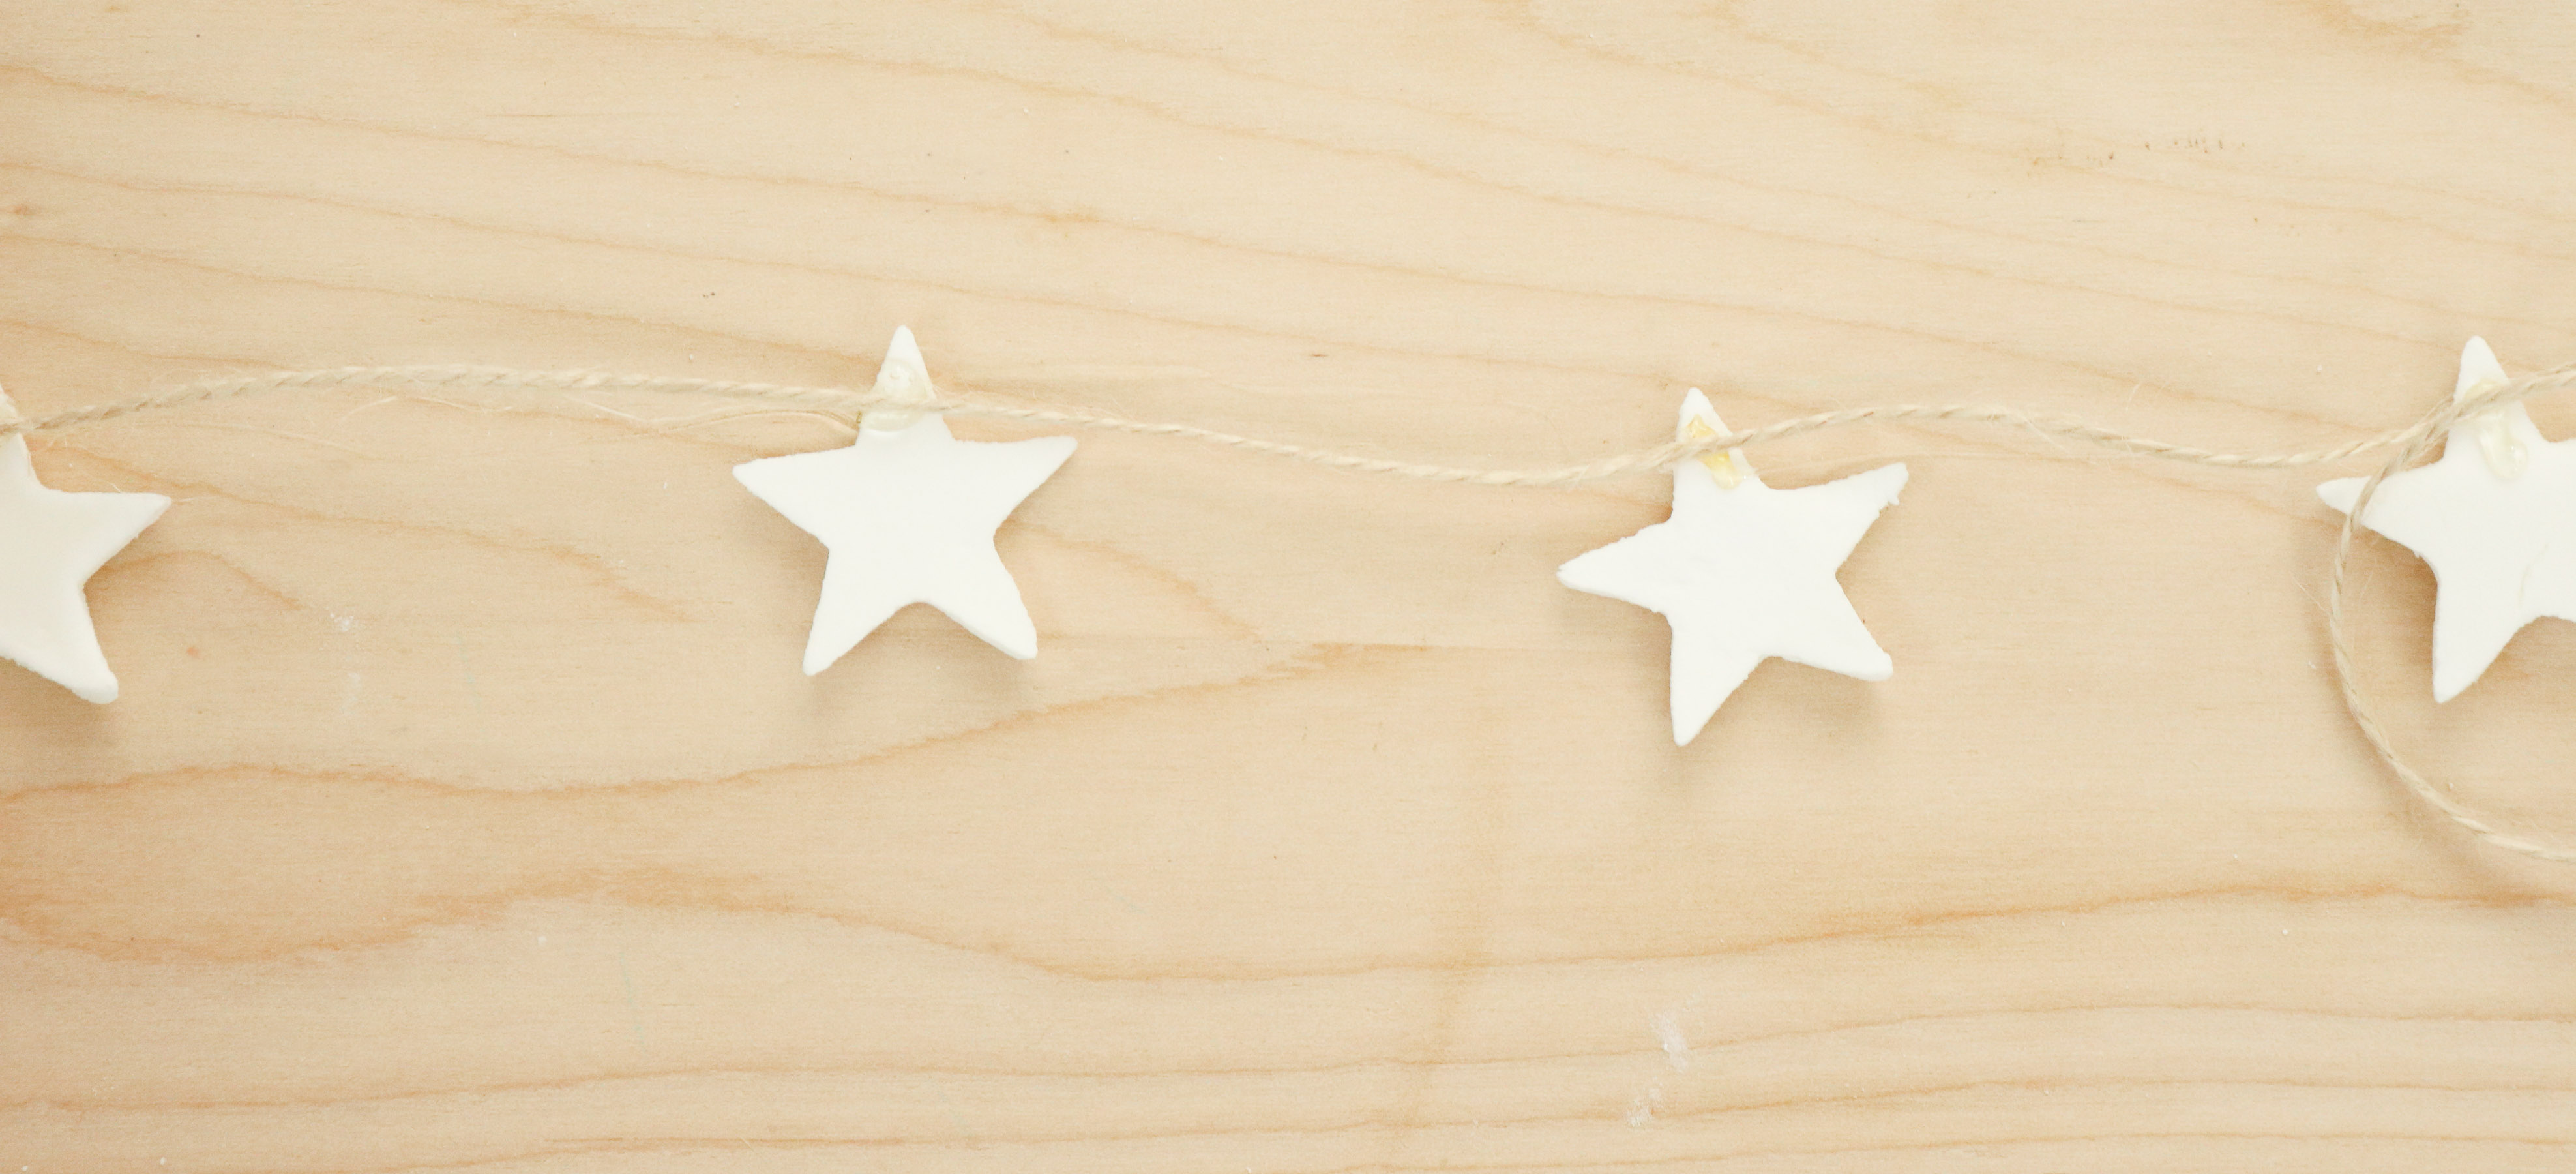
That’s it!
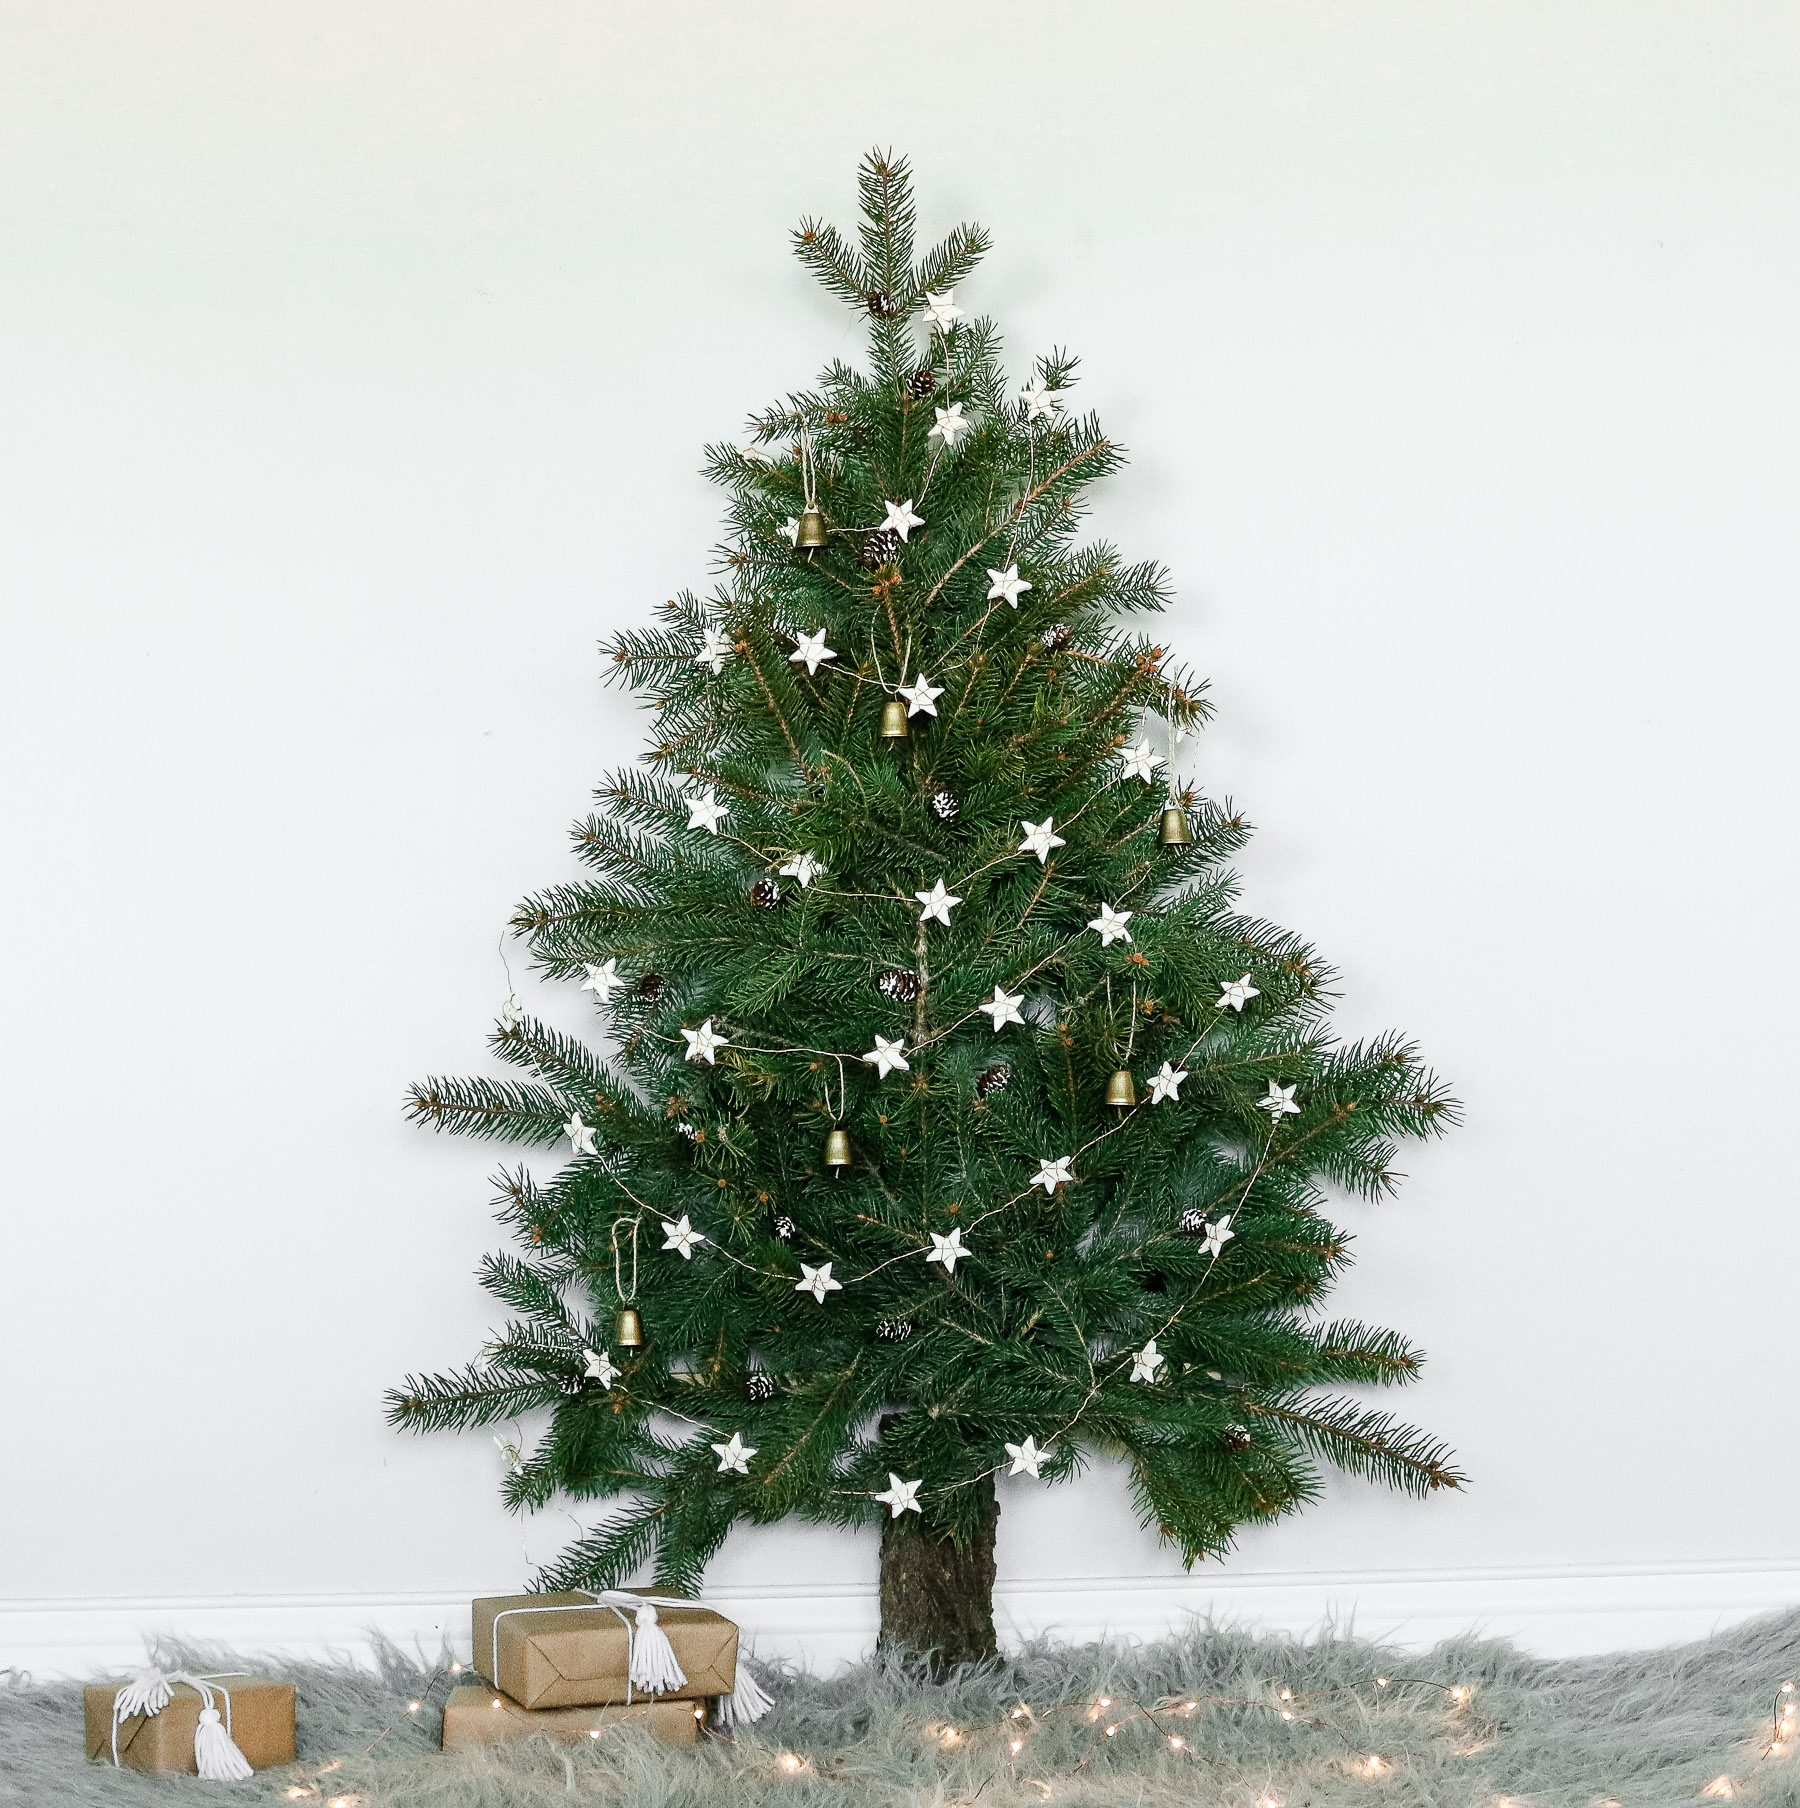
How cute is this tiny Christmas tree. I love a minimalist tree. I dunno why but lately I’m feeling the clean decor look. LOL SO Clean I haven’t put up my Christmas tree yet🙈! Less is more they say! 😅 We’ll see how long that lasts with the little one. He loves Christmas! We’ll be 5 months away and he’s already making Christmas plans. LOL. Anyways. Thanks so much for tuning in. I’ll drop in a few more close ups down below. I hope you found this DIY helpful ooooh before I forget. You can use the clay recipe for ssso many things! We already made hand prints and I hope to make more soon to share with you guys. It can be used as playdough (add food coloring) ornaments etc.
CLICK ON ANY PHOTO TO ADD TO YOUR PINTEREST BOARD!
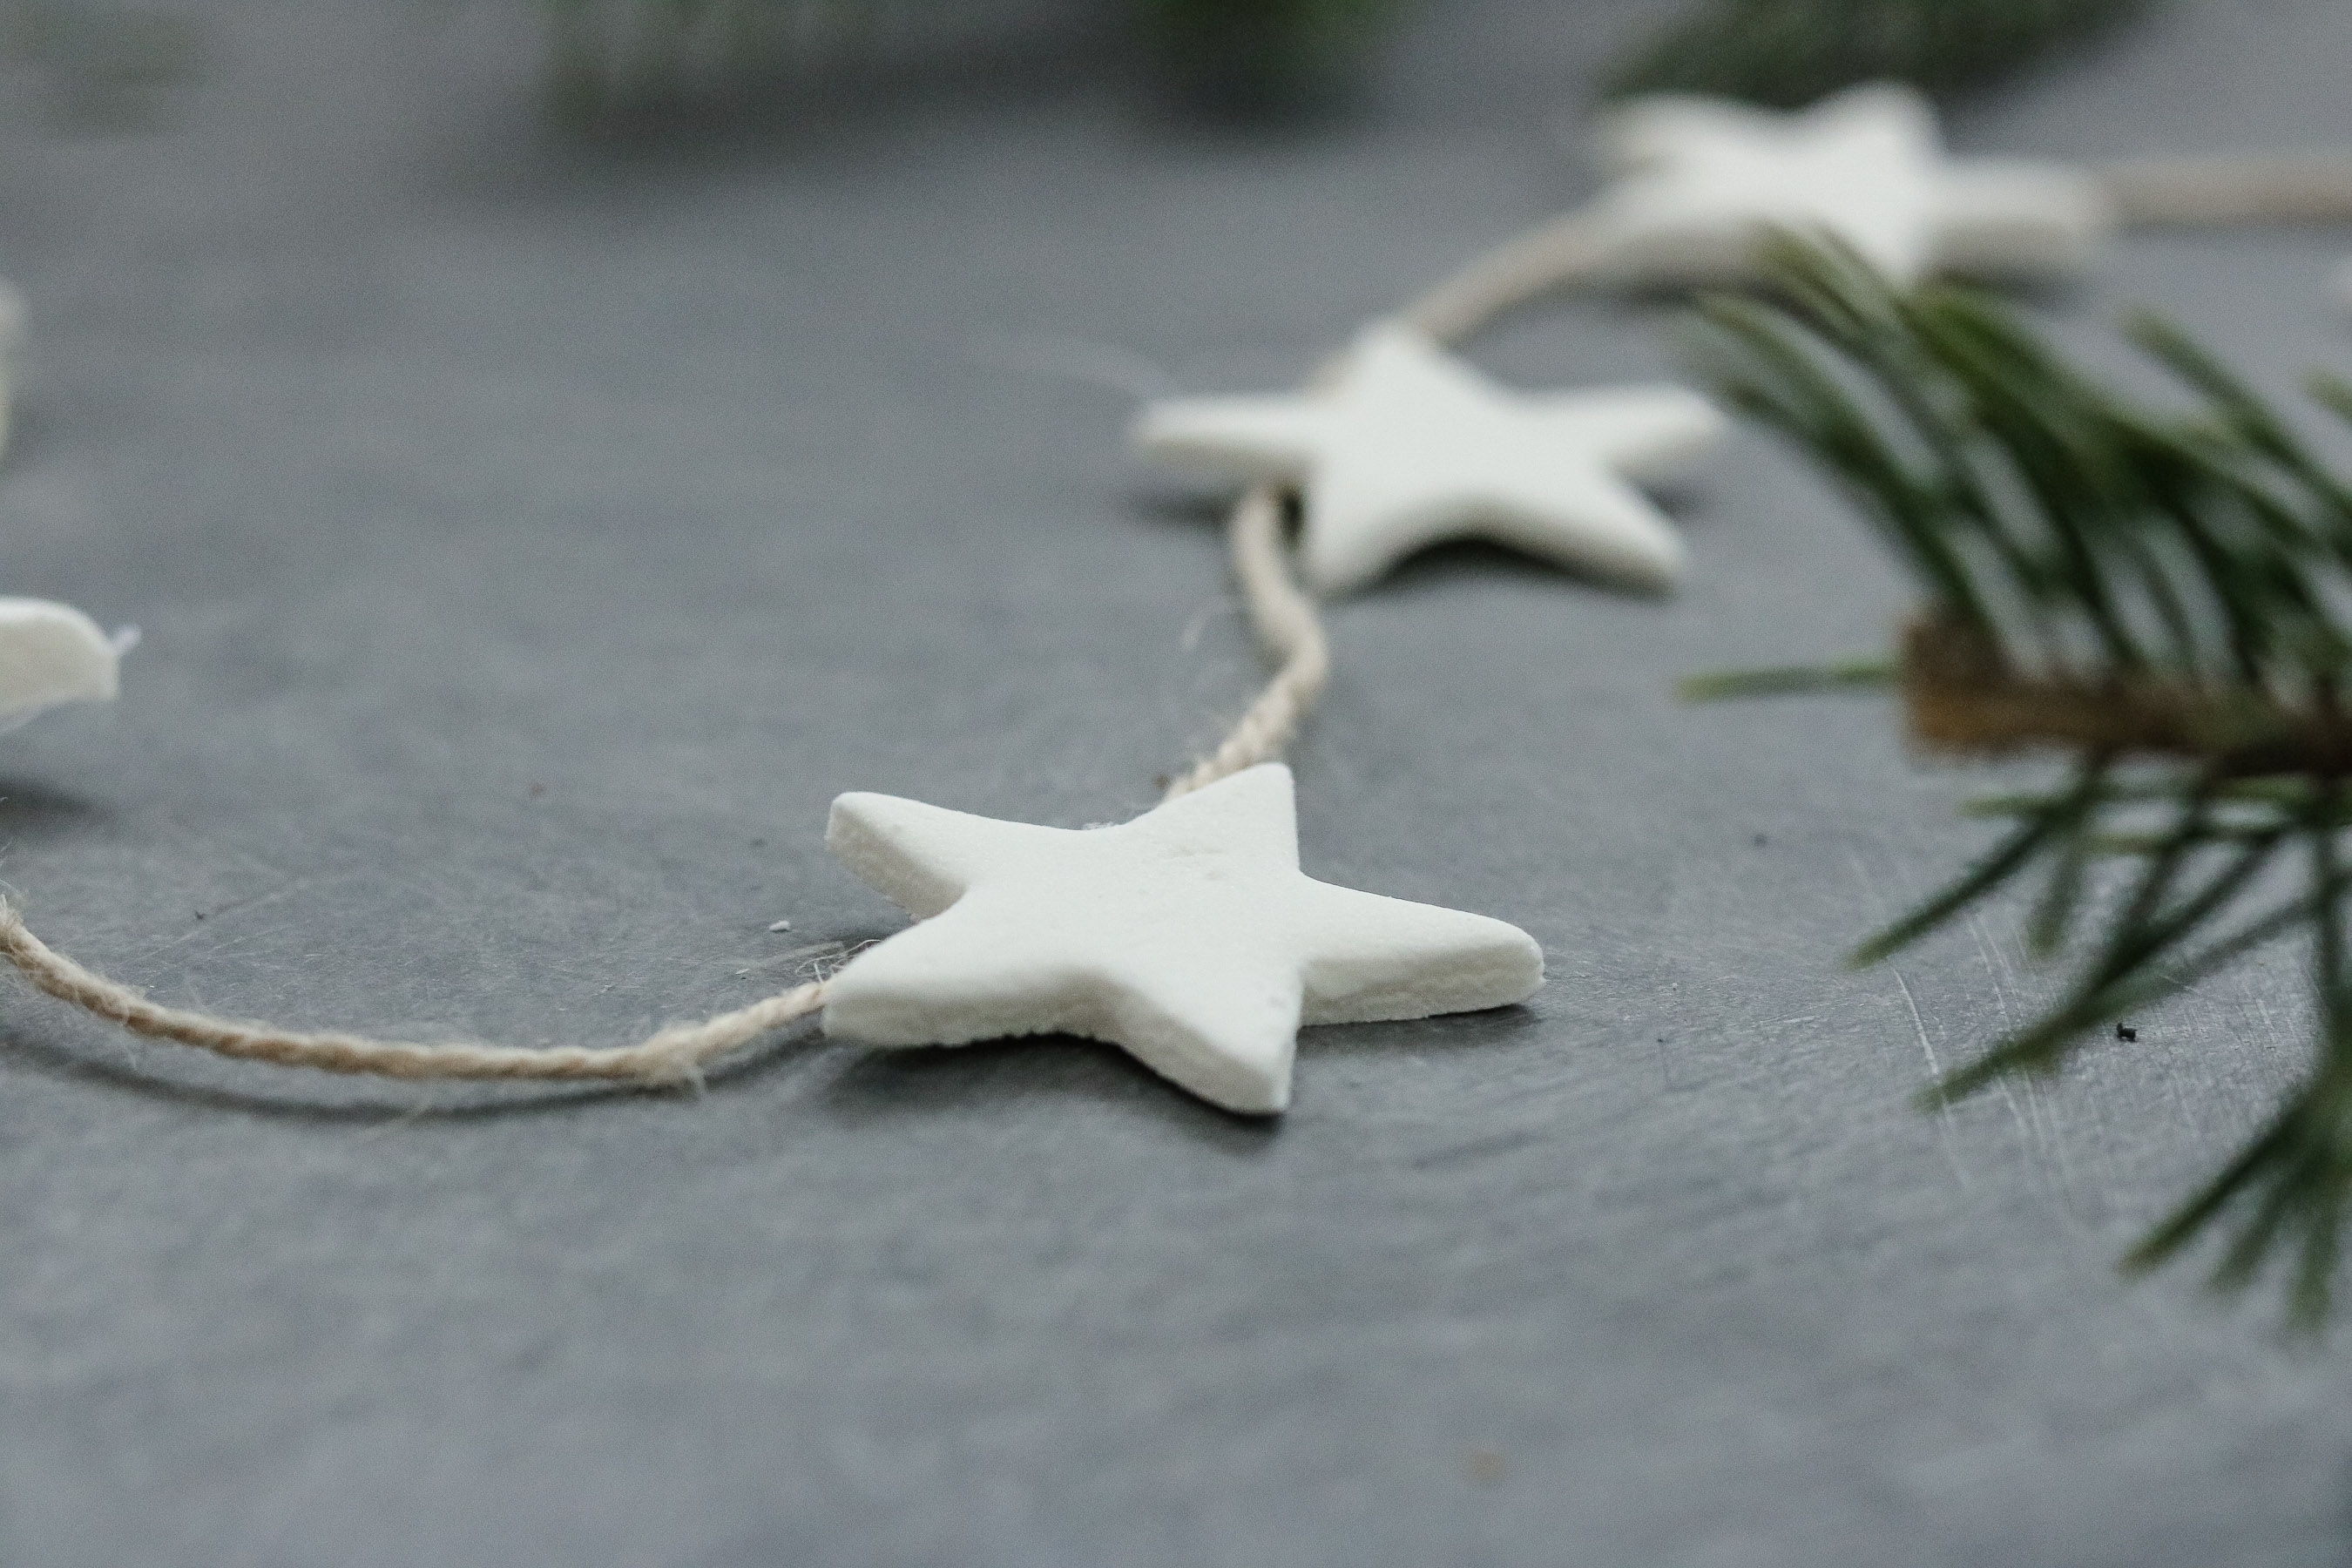
Look at that smooth texture though! Just what was going for. ⬇
OTHER RELATED DIYS YOU’LL LOVE:
- DIY WOOD STARS
- DIY CHRISTMAS TREE FROM PALLETS
- GRAB SOME TINS CAN TO MAKE CHUNKY KNIT PLANTERS!
- 12 WAYS TO UPCYCLE OLD CHRISTMAS ORNAMENTS!
Before I go just curious to know. Do you like the twine or the wire more? I couldn’t decide I keep going back and forth. I like the twine because it’s simple but, the fairy lights are so festive and match Christmas more.
Okay than. Happy Crafting I hope your having a great weekend and I hope to see you next week! 😀
Here’s a pin for you to add to your Pinterest board for later. You can add this to your fall decor board or DIY decor board. (photo below)
CLICK ON PHOTO TO PIN!!

No Results Found
The page you requested could not be found. Try refining your search, or use the navigation above to locate the post.