
How To Refinish Furniture Without Stripping it!
Hi everyone I’m so excited to share this quick and easy furniture makeover with you today.
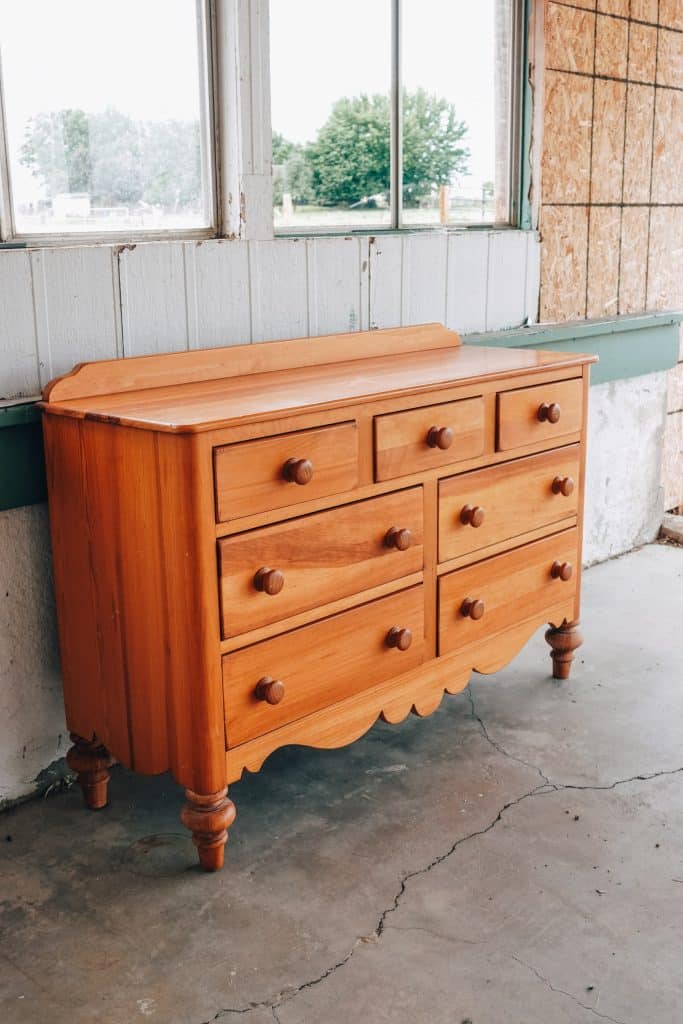
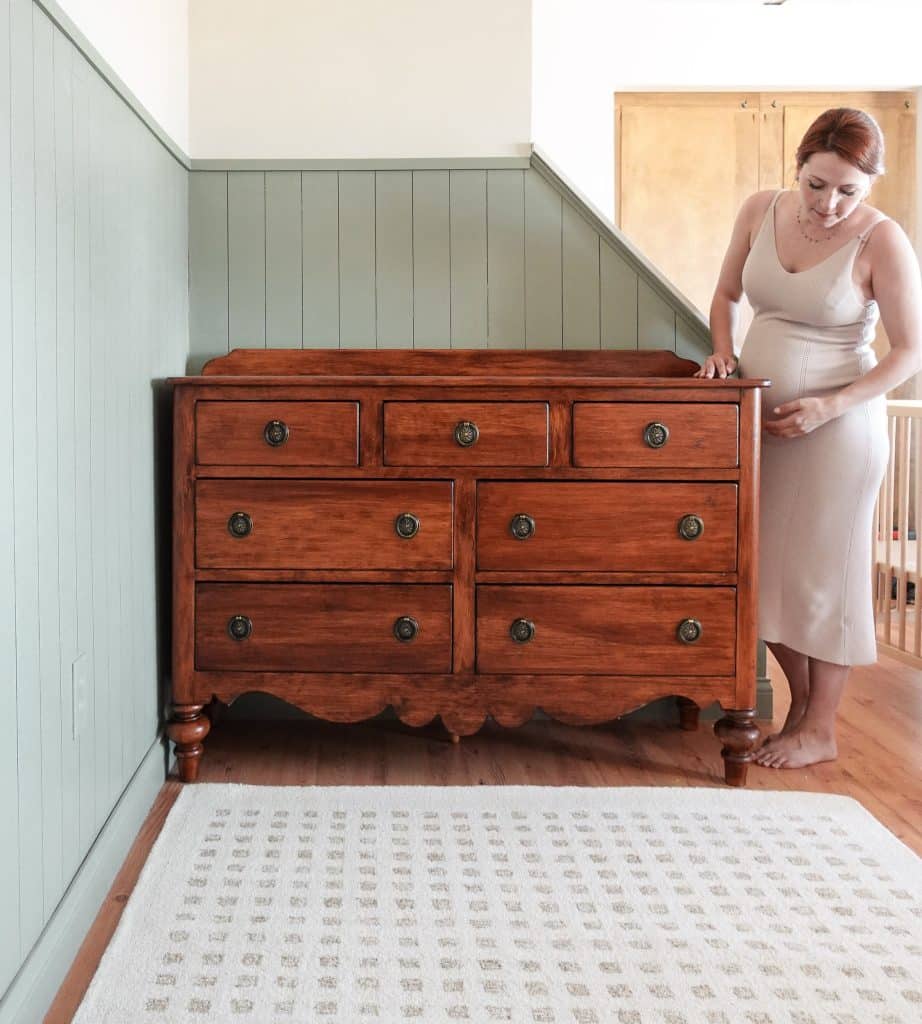
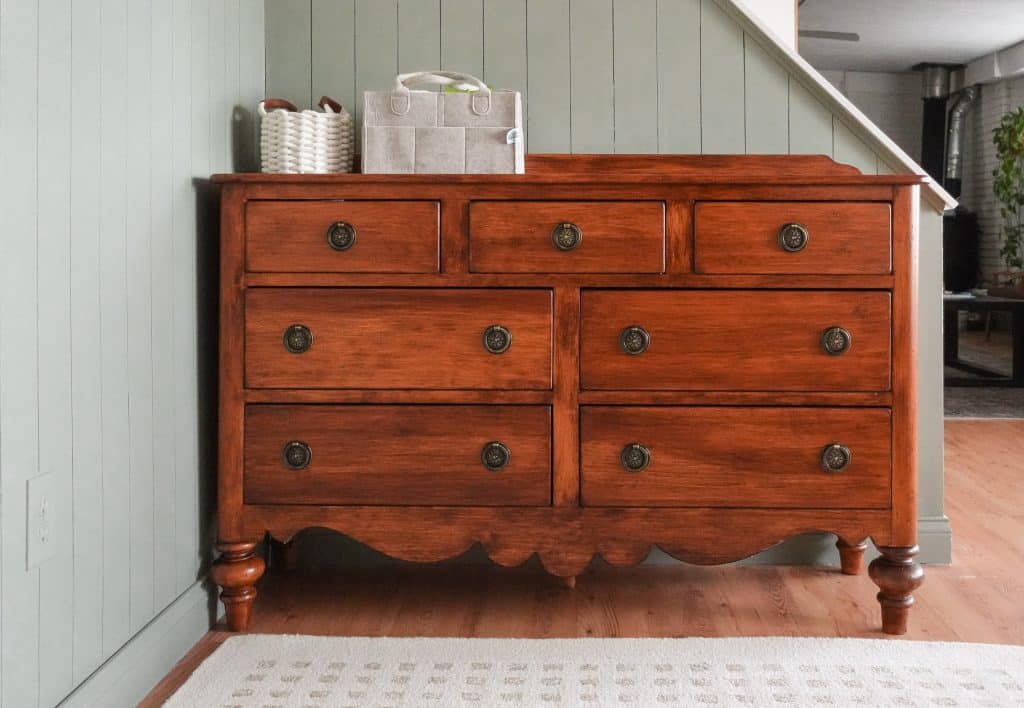
We got this dresser off of craiglist for $120. I love the structure and bones but knew right away I couldn’t make the color work with our home decor.
![]()
As many of you know were expecting a baby in September. I wanted to try and avoid using any toxic chemicals to strip it so I knew this had to be done without stripping.
Time Needed:
This only took me about 2-3 hours to refinish. If you include the drying times I gave it a few days to let the gel stain set.
Supplies :
- aged oak gel stain
- special walnut oil stain
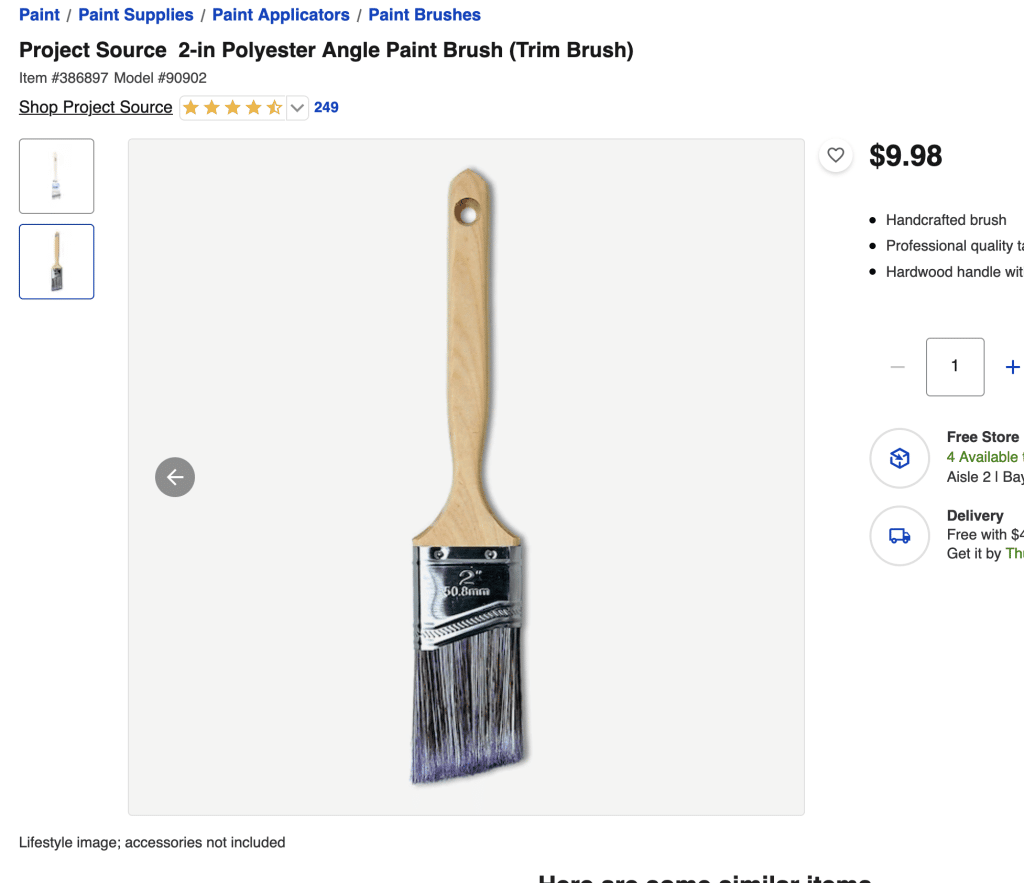
- project source 2″ angled brush
- cheap bristle brush
- new knobs
optional: aged effect
- hammer
- rocks, metal chain, screw
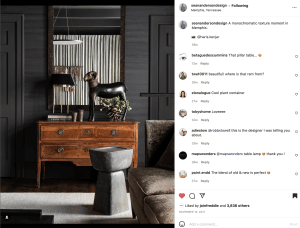
INSPIRATION:
If you’re not familiar with sean andersons designs I follow him on instagram and he is one of my favorites for home decor inspo. You can find him on instagram @seanandersondesigns.

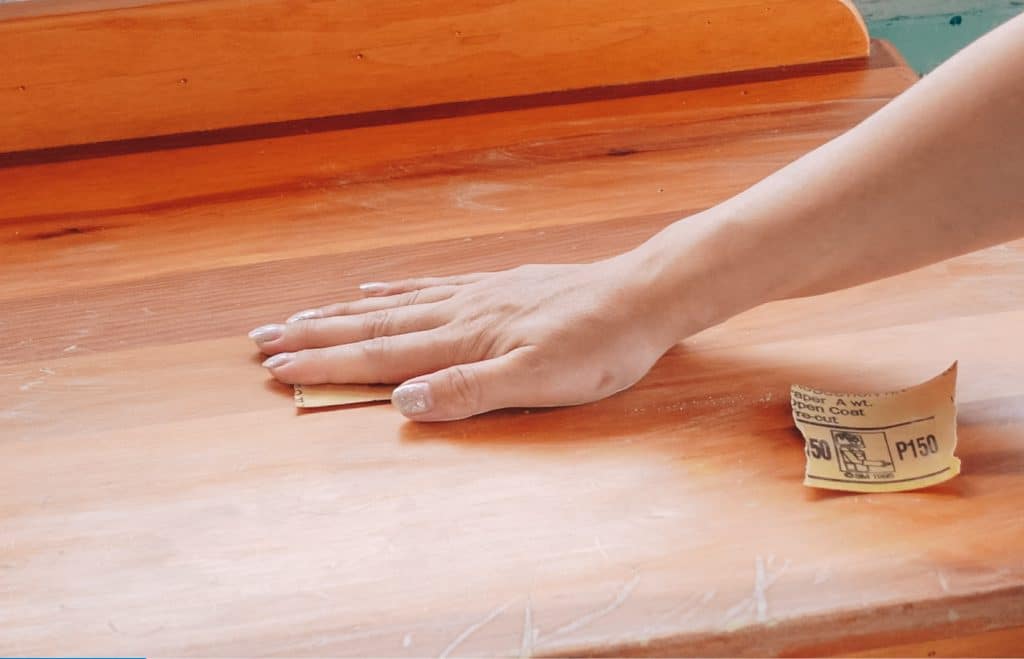
Prepping In 10 Minutes!
This is probably not required but I decided to do it just to be on the safe side. I started off by giving the whole dresser a light sand. This does not remove the shine or glossiness at all. It just roughens up the surface in preparation for the gel stain. It only took me about 10-15 minutes to do. Don’t worry about it still being shiny once you’re done. This step also helps remove any grime and built up if there is any.
Giving it an aged look!
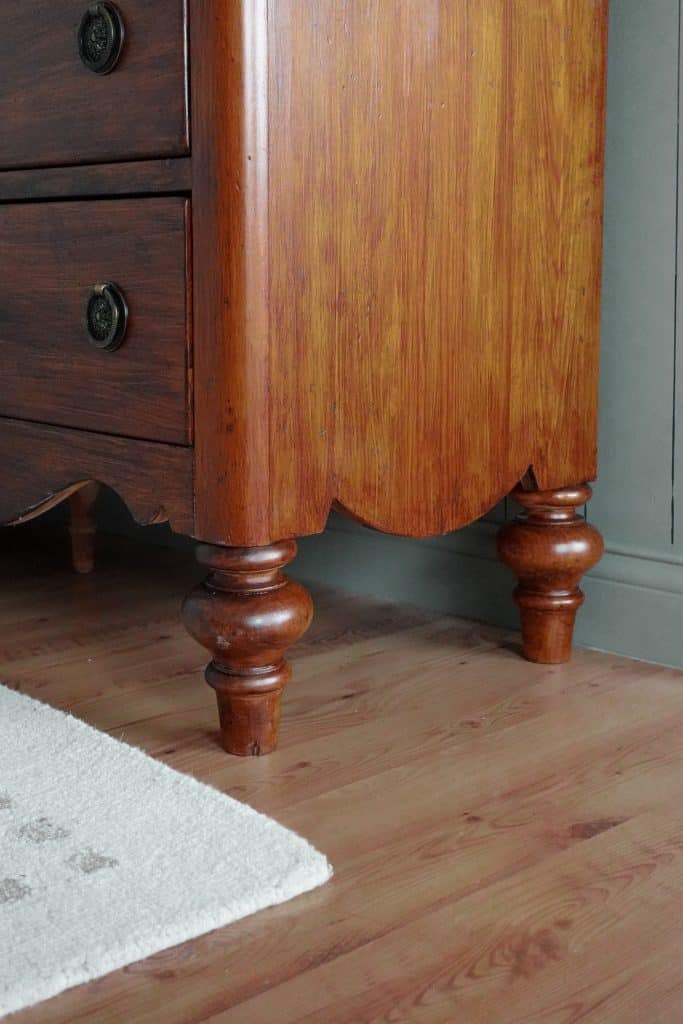
I probably had the most fun with this! Before staining it I decided since I wanted it to look more rustic giving it a few more dings and scratches might be a good idea. I pulled out my hammer a metal chain some small rocks and a screw to get all kinds of nicks on it.
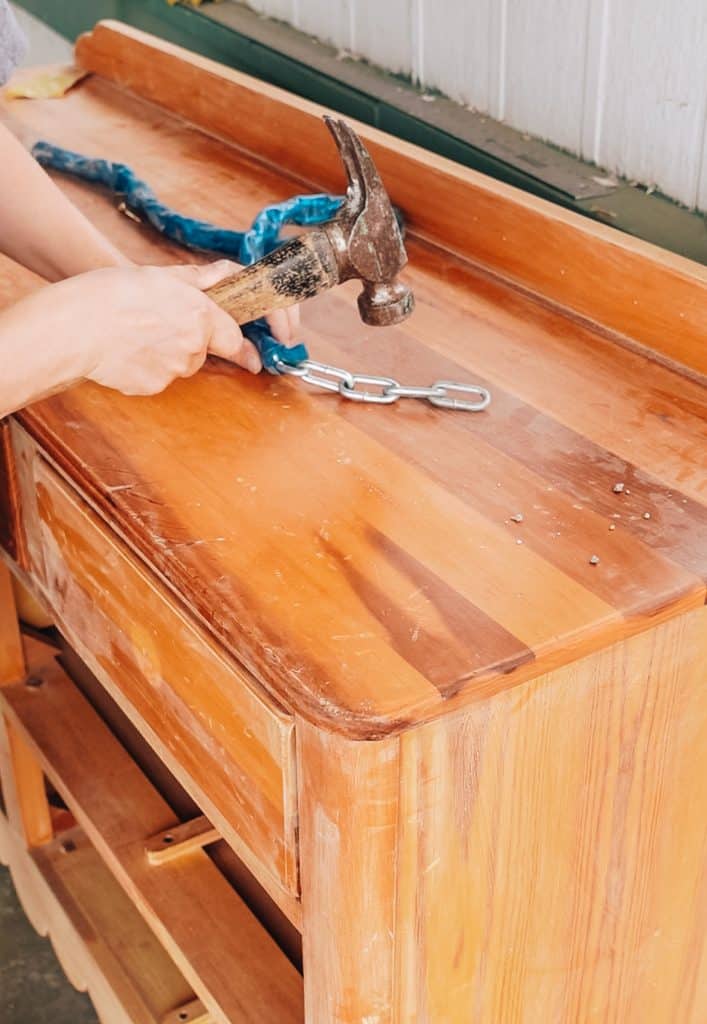
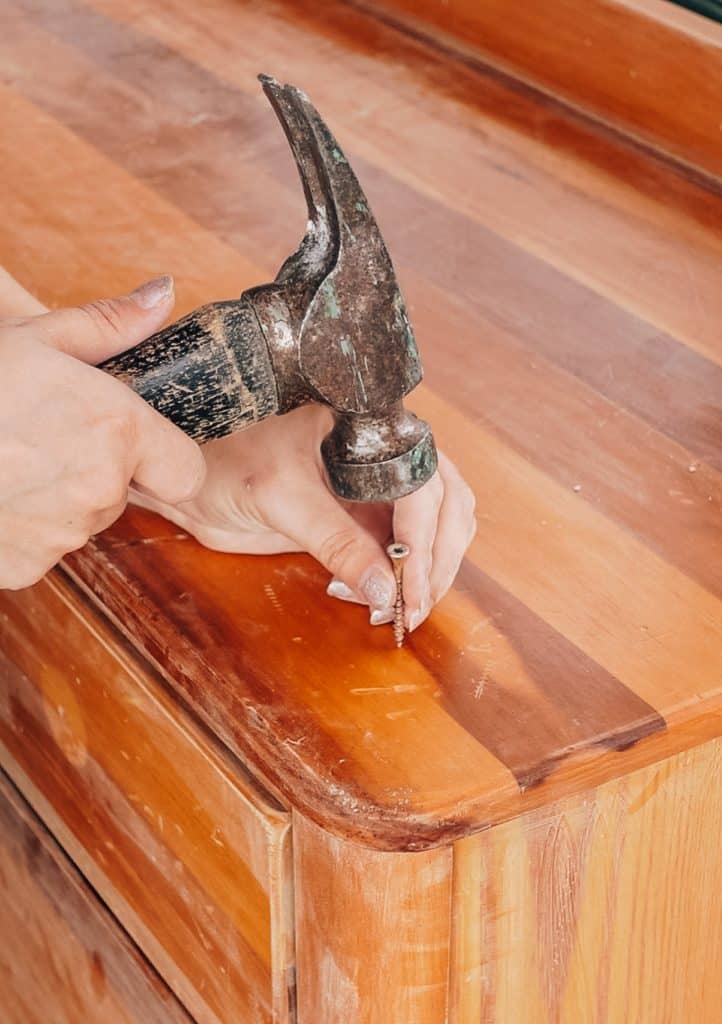
My favorite effect was done by lay the screw down and hitting it again the wood to get these patterned little lines.
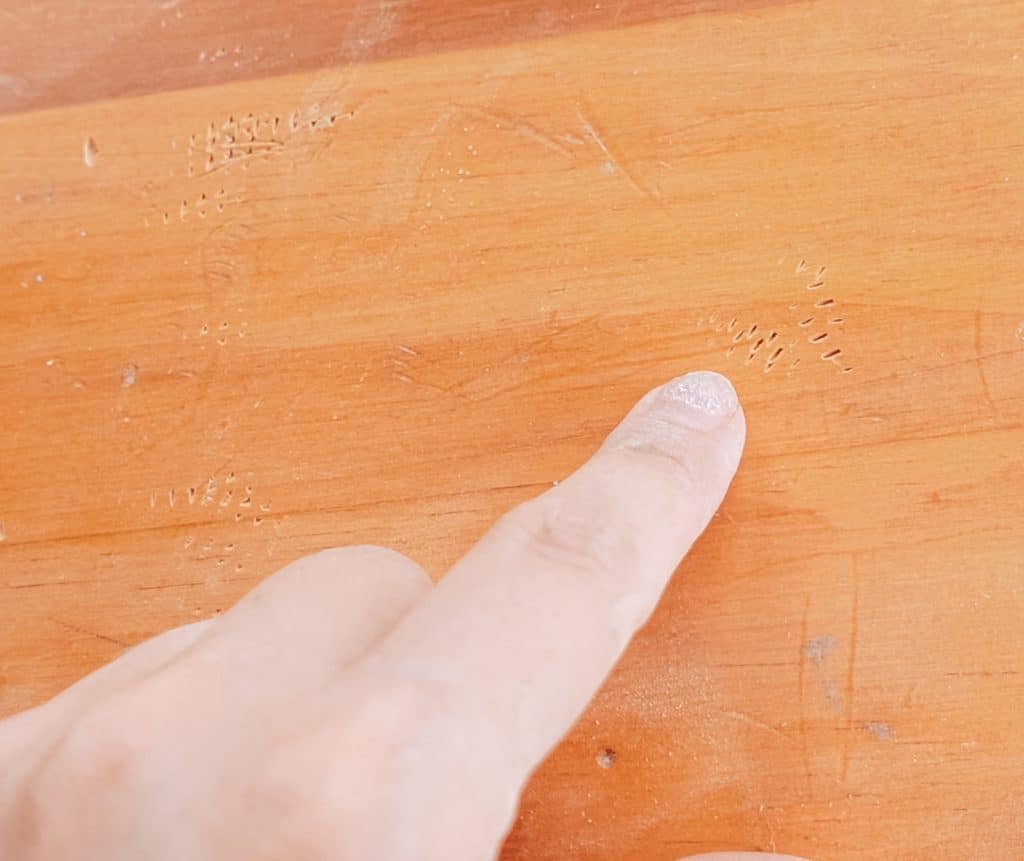
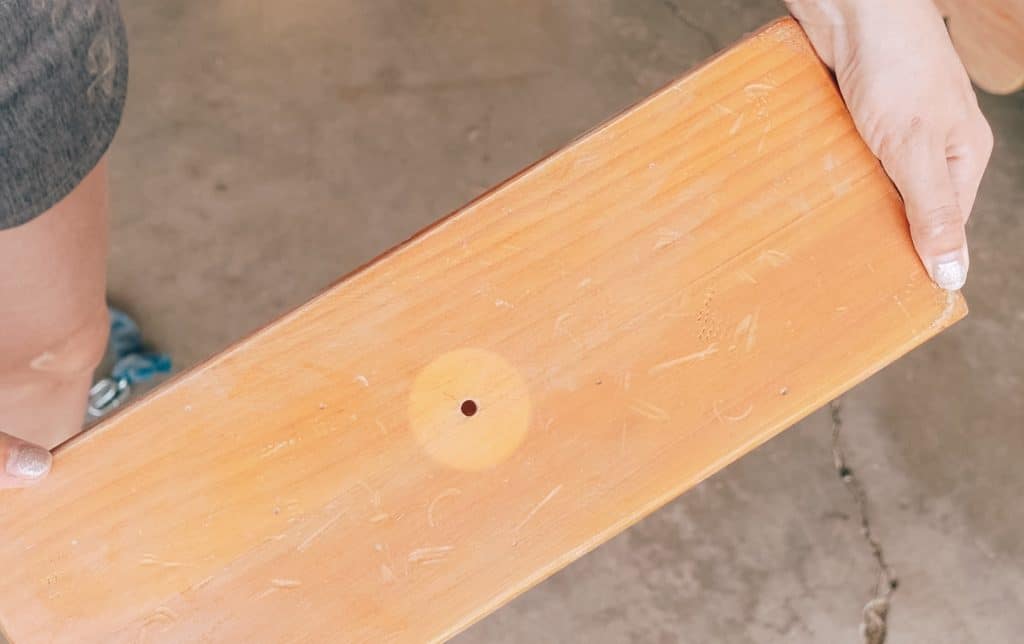
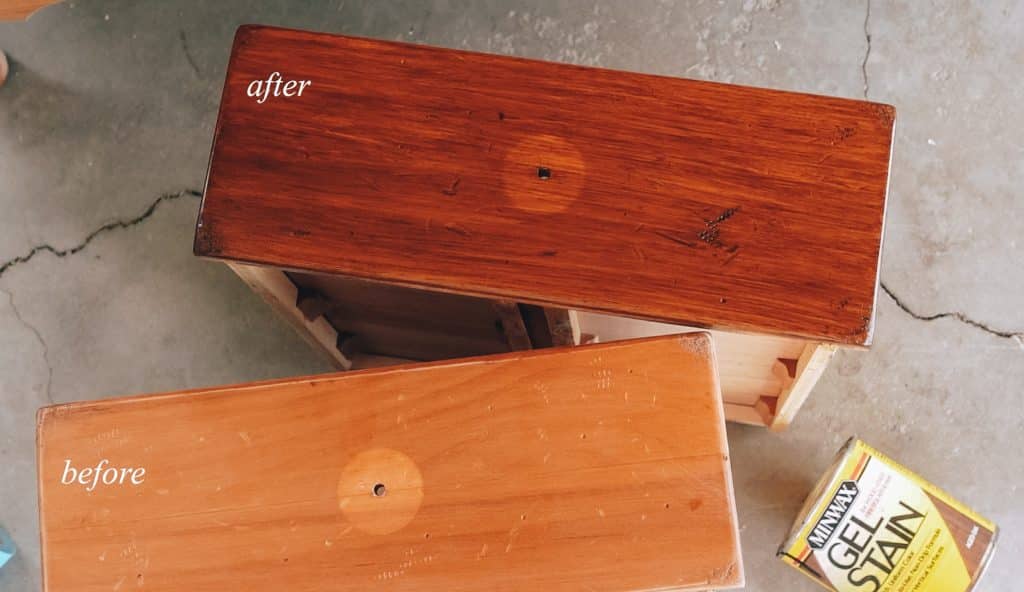
Here’s a better look at what the finished nicks and scratches looked like before staining. I did this to the whole dresser. In my opinion the more the merrier if you want that aged look on your furniture.
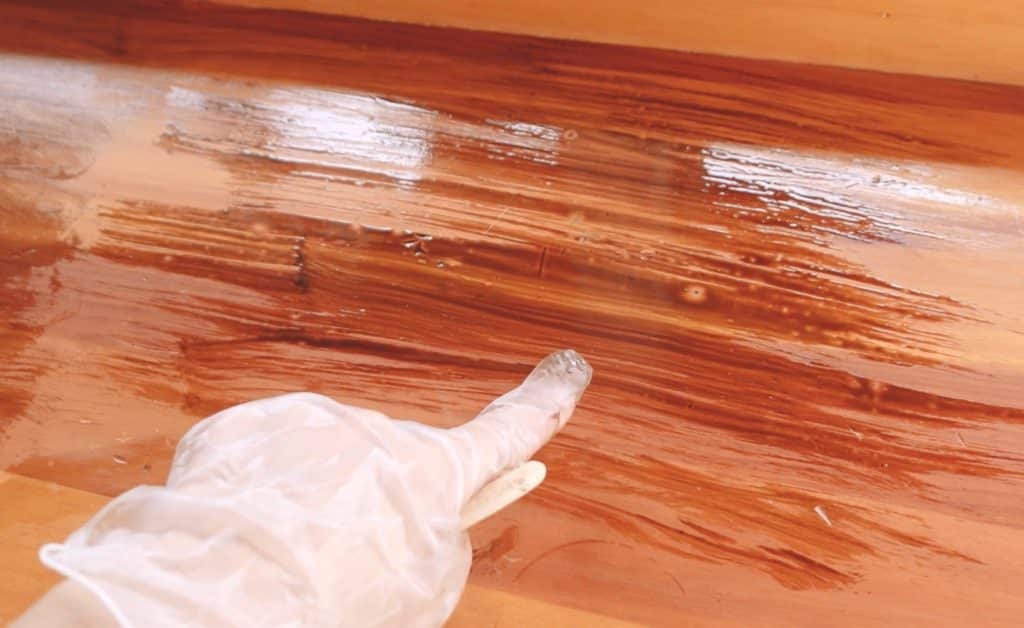
WHY won’t my STAIN go on correctly??
After experimenting a few different way of applying the stain I learned that this works both when you use both stains the oil based and the gel stain.
This photo below is showing the oil stain alone and as you can see it bubbles and separates and doesn’t exactly adhere at finely at all.
I also learned that these cheap brushes work best for applying your stain.
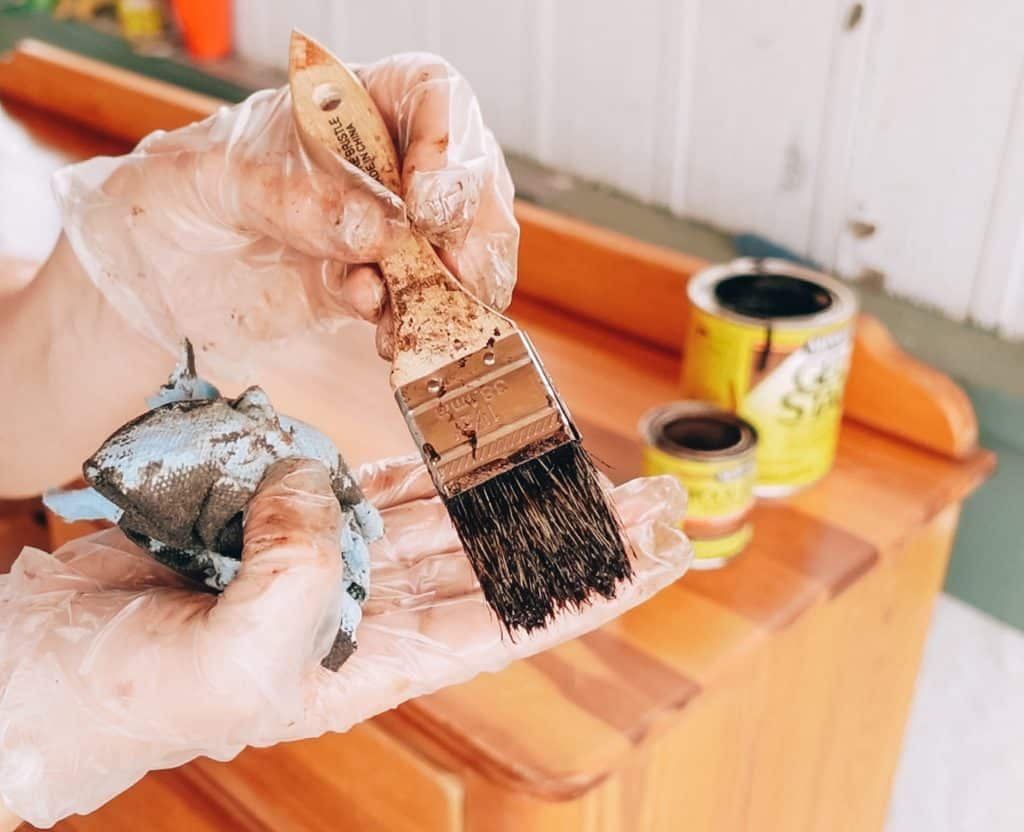
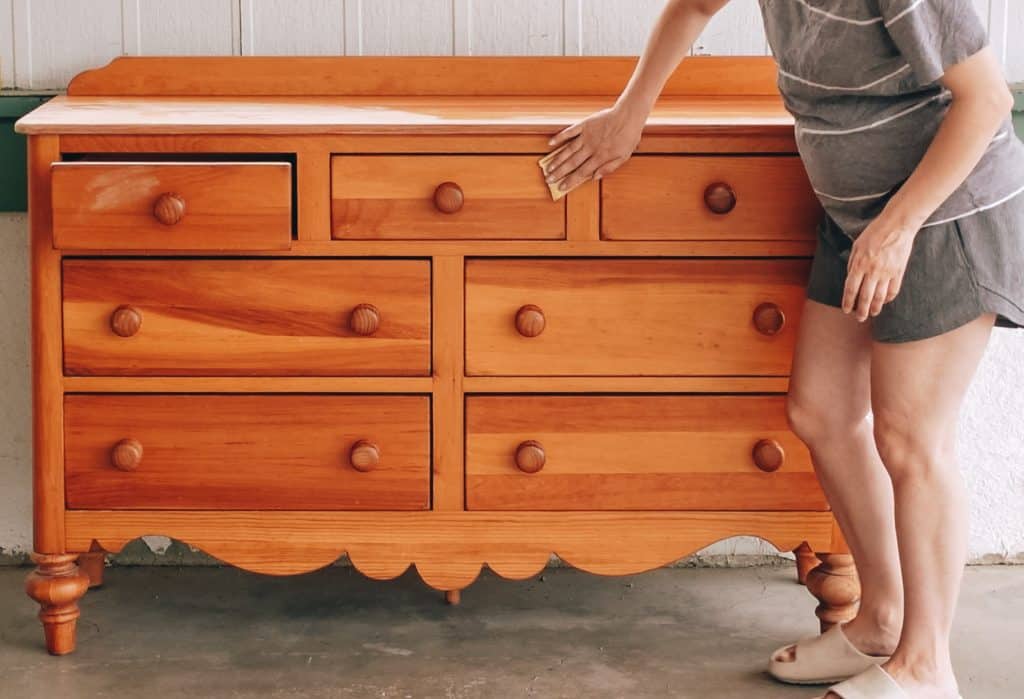
Step 1: Apply the oil stain!
First I applied the oil stain and wiped most of it off with a paper towel. This step is needed to created a nice oiled surface for the gel stain. I tried doing this by applying just the gel stain and learned that it doesn’t go on real smooth and goes on too tacky if the surface isn’t oiled.
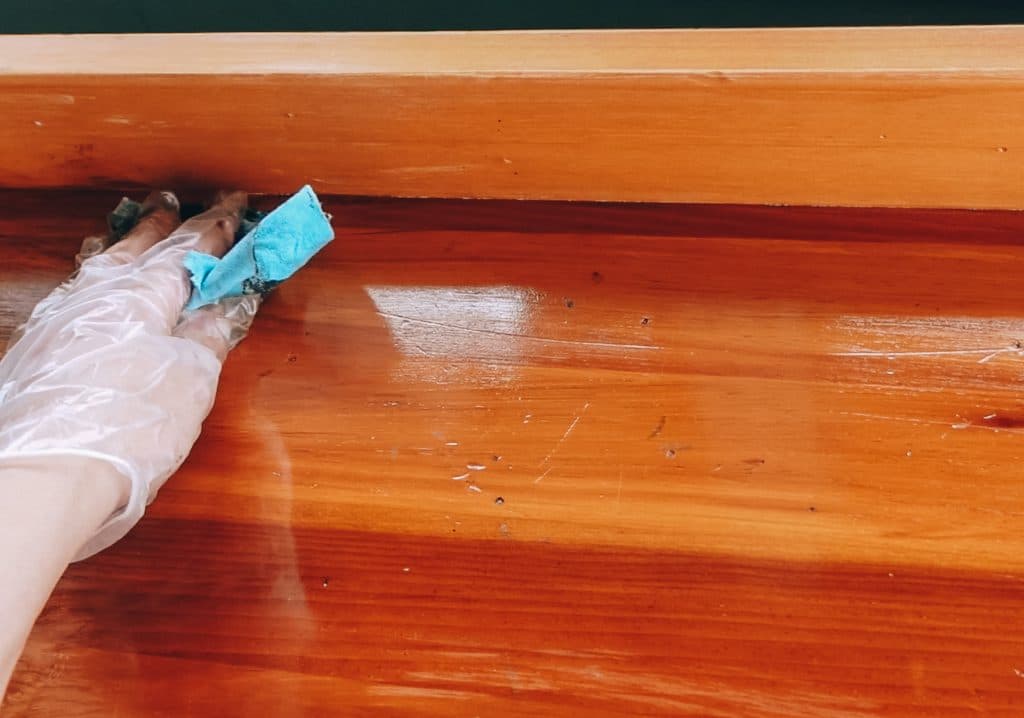
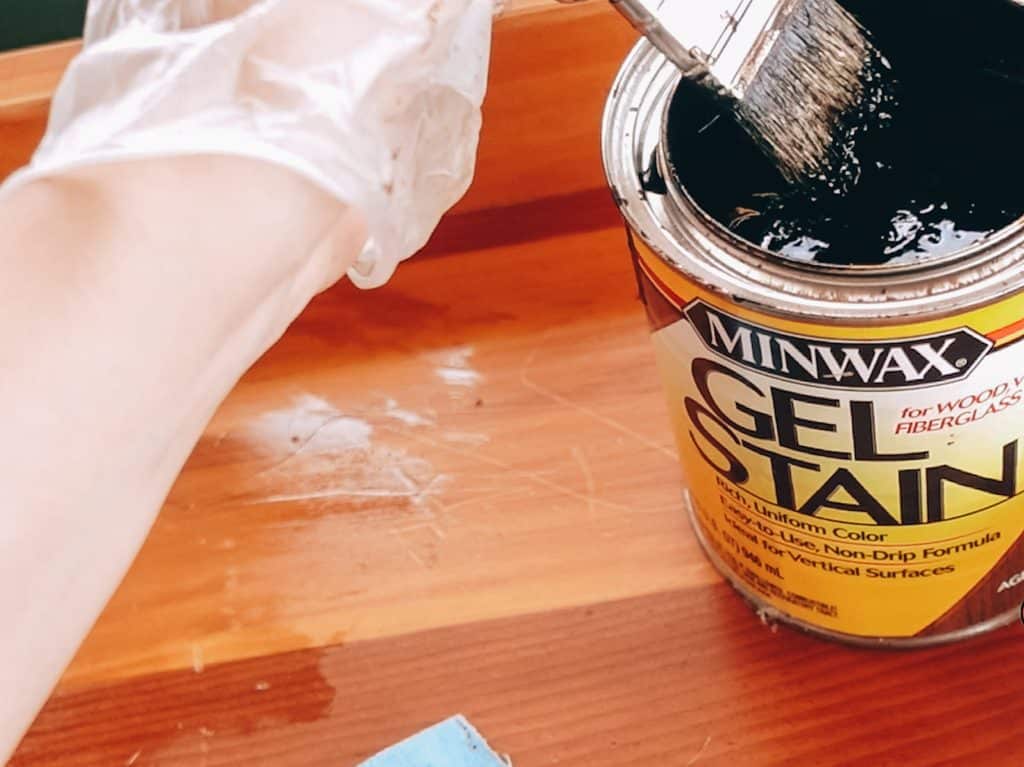
Step 2:Applying the gel stain!
The whole trick to this technique is achieving the correct tackiness with the gel stain. It will first apply on smooth because you have a oily base and as you keep brushing it will become tacky after which you’ll notice a cool wood effect. That’s when you stop and move onto the next section. I worked in 3 foot sections. Keep in mind a little bit of gel stain goes a long way. You want it to be see through when applying it.
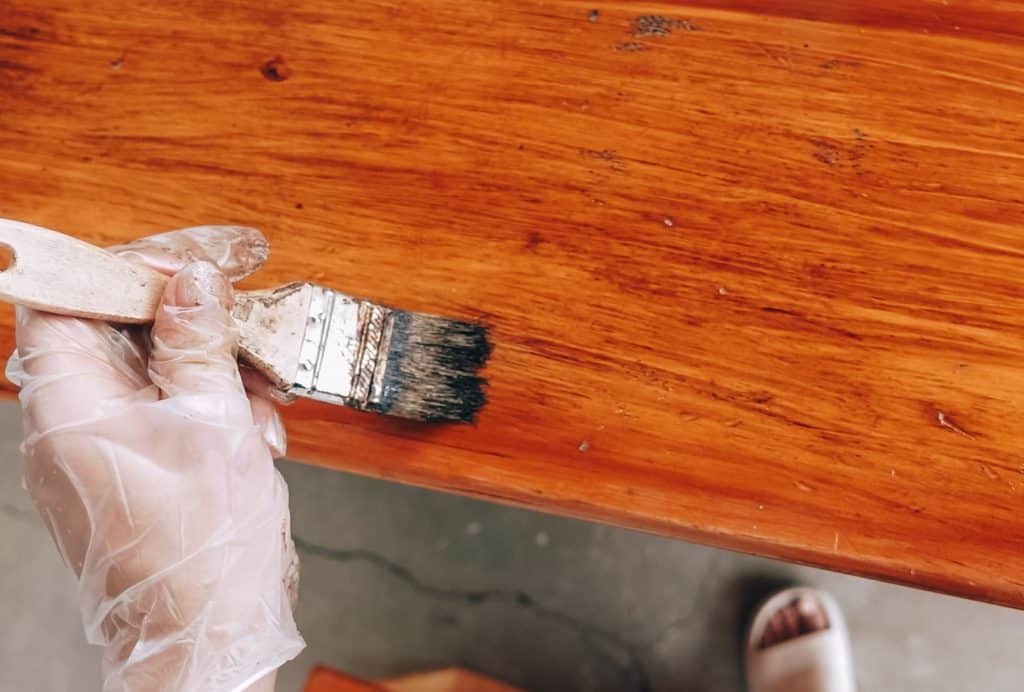
If you’ve applied too much gel stain simply use a paper towel to remove some of the gel stain the keep brushing back and fourth in the direction of the wood grain to achieve that wood effect.
TIP: always apply in the direction of the wood grain.
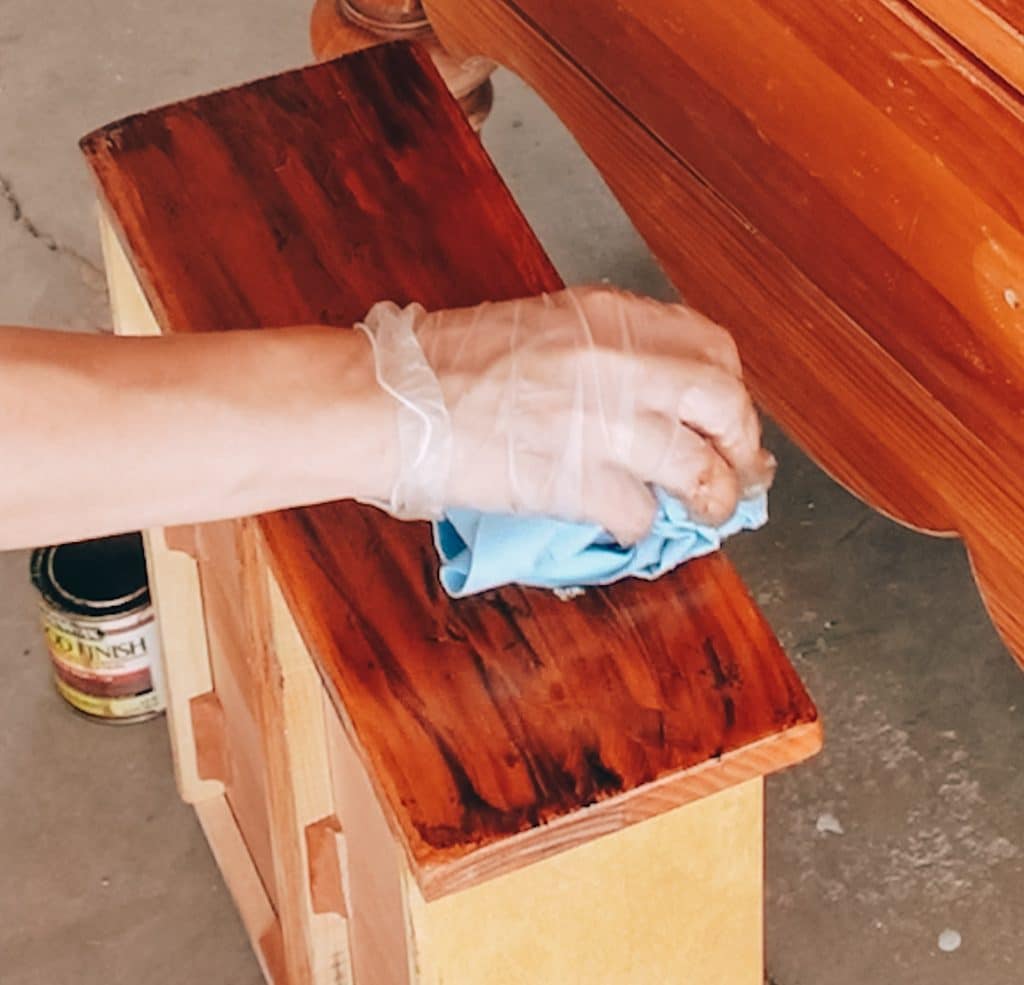
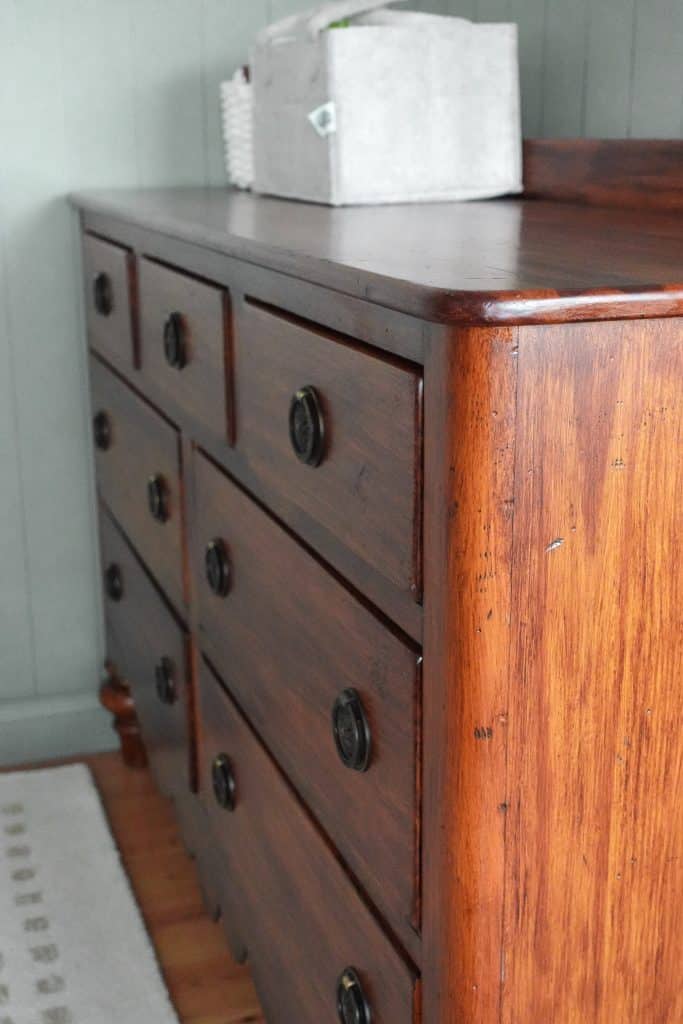
Here’s a great example of the before and after stained wood effect. I love how all the scratches and nicks pop out after the stain is applied.
Finishing the furniture piece
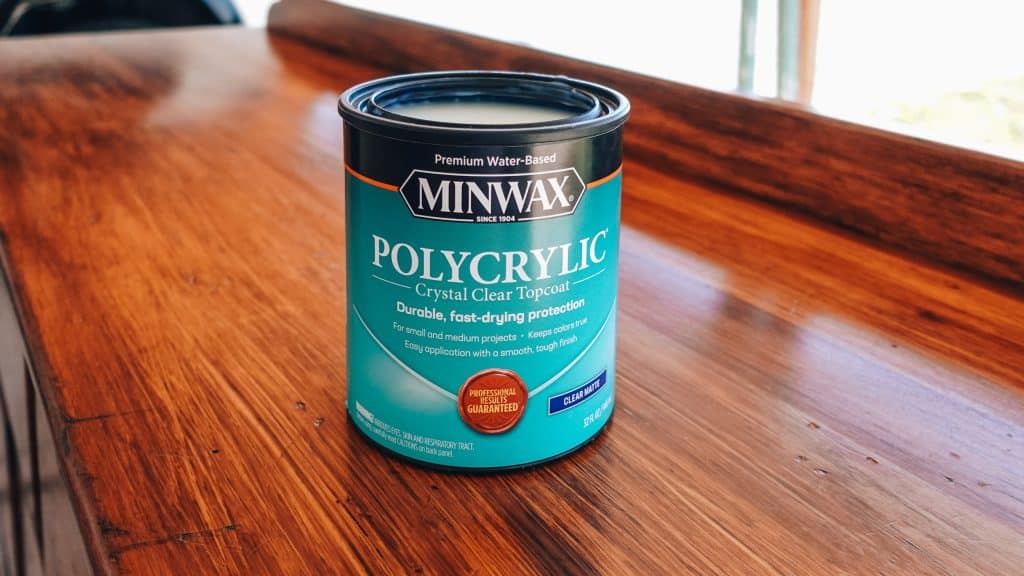
Some of my favorite products of all time for refinishing furniture is the 2″ angled project source brush from lowes and the minwax polycrylic matte finish. The combination of these two have proven to give such amazing results it looks as if you’ve sprayed the clear finish on.
The color on this dresser is so much better then I was expecting. That saturate orange is gone instead I was able to achieve a beautiful deep chestnut color.
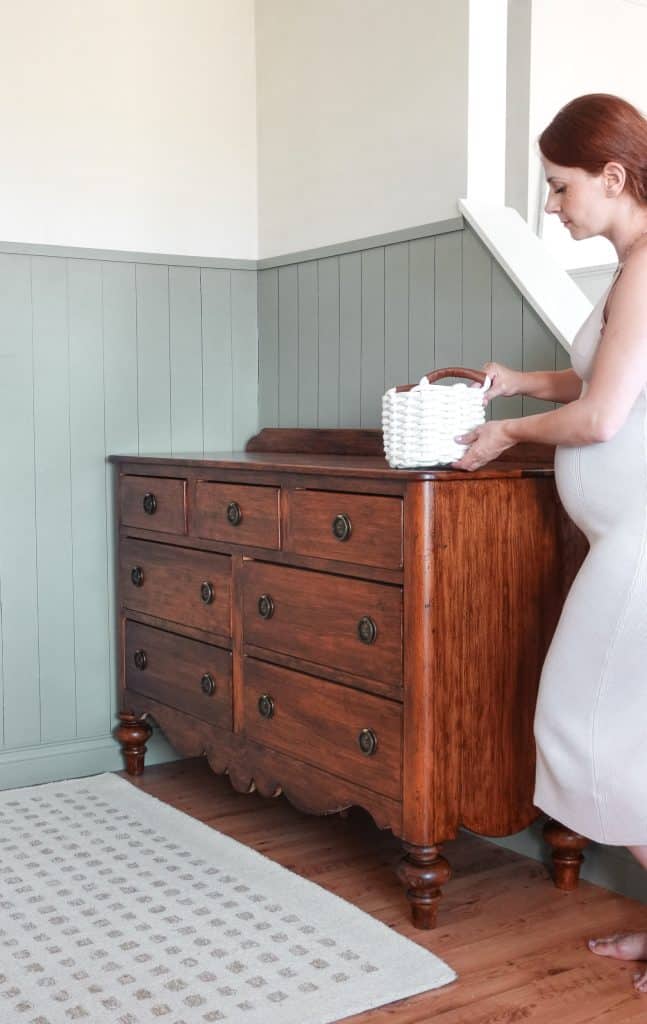
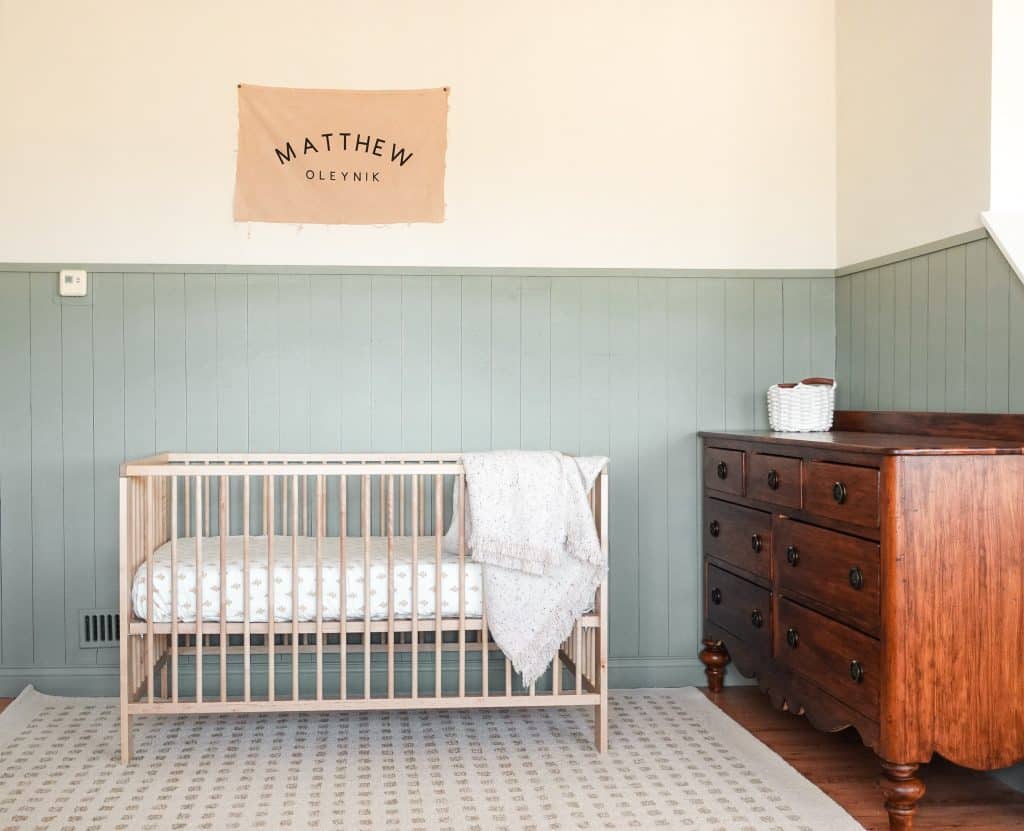
Here’s the dresser in the baby nursery. There’s still a few finishing touches I want to add to it but that’s pretty much it. I’m so happy with how it’s come together.
Just look at the shine on the table top! It looks so smooth.
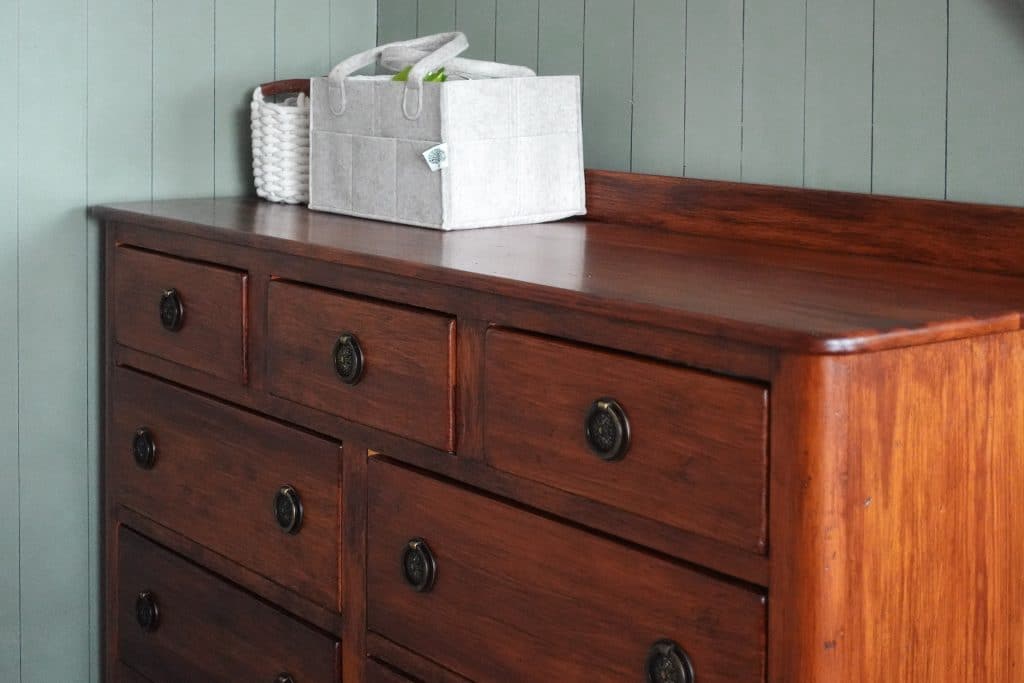
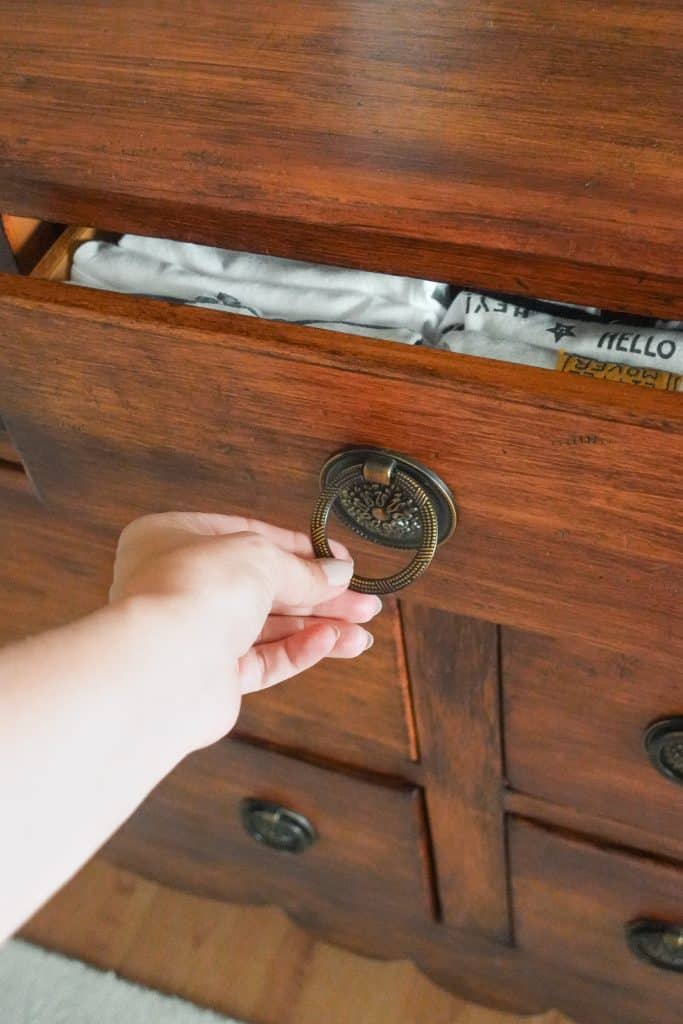
Even though these vintage knobs were a bit pricey I can’t image the dresser without them. I think they were definitely worth the investment.
That’s all for this easy furniture makeover! I hope you find this tutorial helpful.
SHOP THE PRODUCTS:
I’ll see you all next time.
best wishes ,
Lily
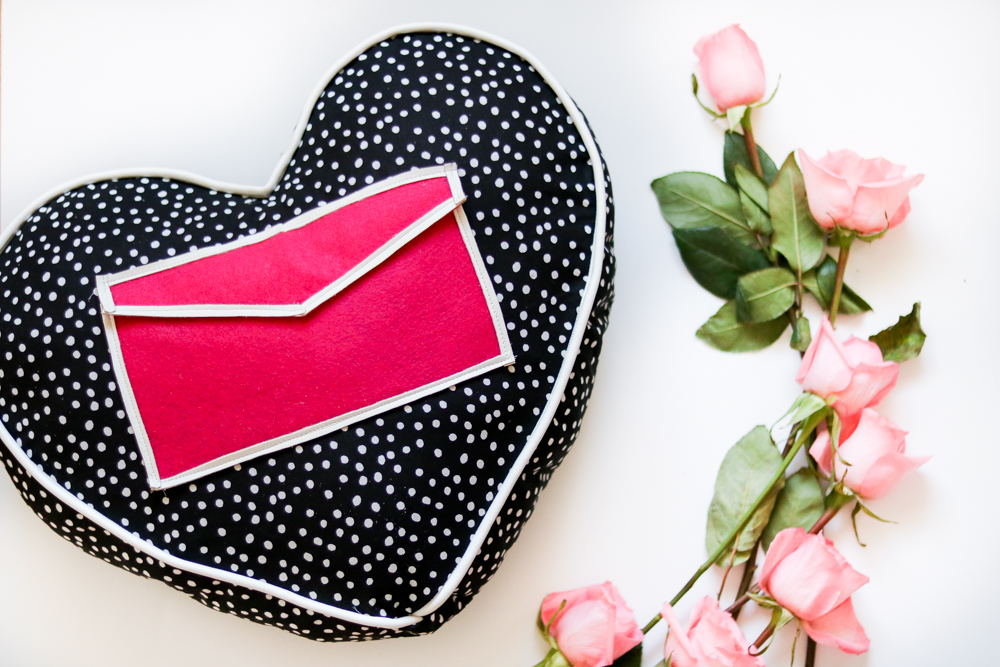
Couples Therapy Pillow
Sweetheart Pillow Oh my gosh. I've always wanted a different shaped pillow to add to my collection of throw pillows. For the longest time I've wanted to make letter pillows to represent our initials but I never got around to it. Maybe some day I still might. :D...
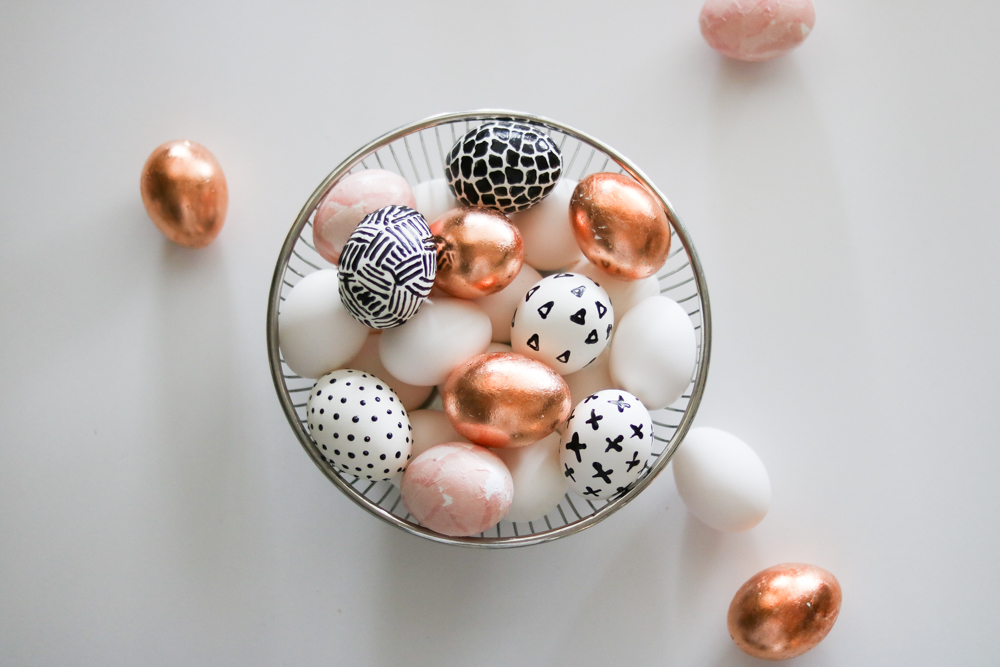
Easter Egg Diy
Easter Vibes I'm sure we aren't the only family that has the good old painting the eggs tradition. This is probably the highlight of all crafts for your little ones. Our little guy loves painting eggs. While using food coloring and markers is fun we decided to give...

DIY Wallet for your little guy
The Struggle Is Real Every mother out there knows that taking your little ones to the grocery store isn't always the best idea. Especially if it's walmart where there's toys. 😀 I can't say our little guy gets to bad. He is pretty good at knowing that we can't buy the...
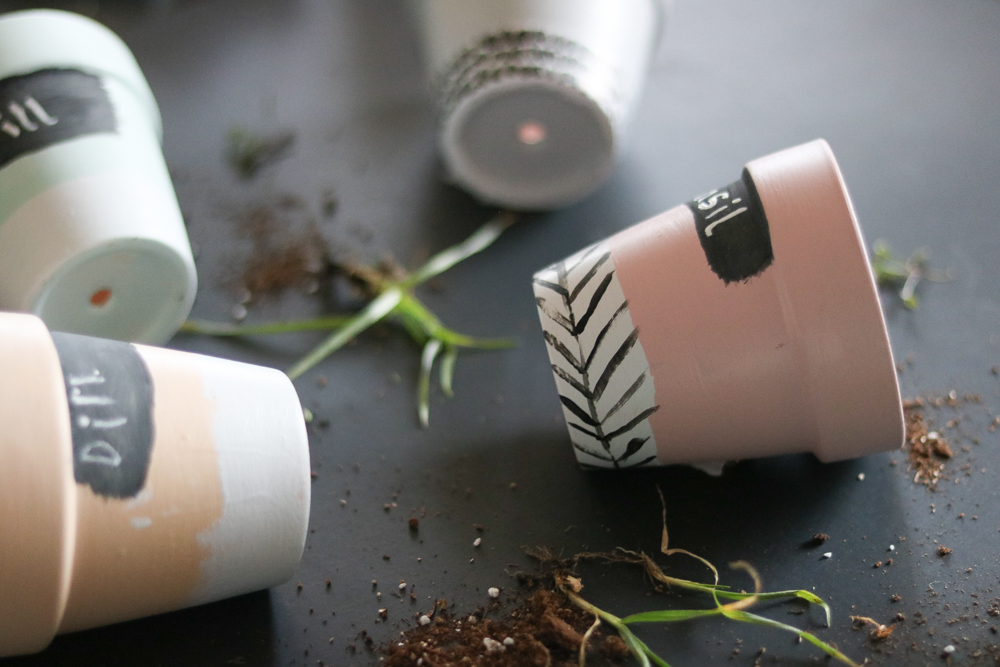
DIY Chalk Label Planters
Spring Is In The Air So every year I have this spring fever thing!!?. Right after the snow melts and the first wave of heat hits I become GARDEN OBSESSED. I'm assuming I'm probably not the only one making a trip to home depot every other day 😉 I have been buying...
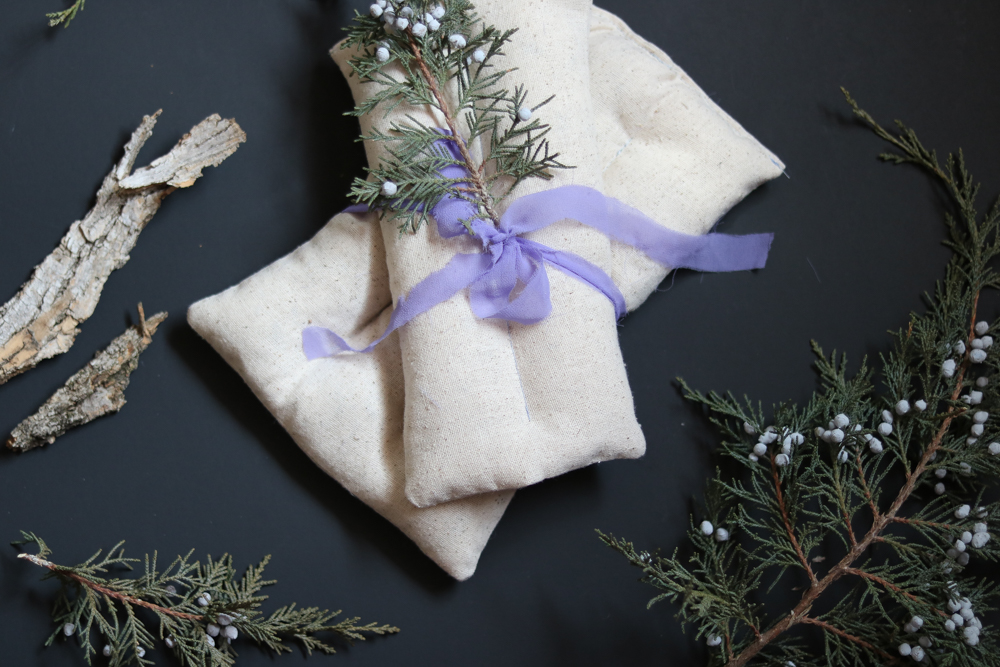
Lavender Infused Diy Rice bag
Much Needed Therapy These rice bags are the bomb. Not just for the cold winter months to use as heat-packs but I've also seen them used as ice-packs and aromatherapy. How awesome is that a 3 in one DIY. SWEET!!! I remember these rice bags from when we were kids. I...
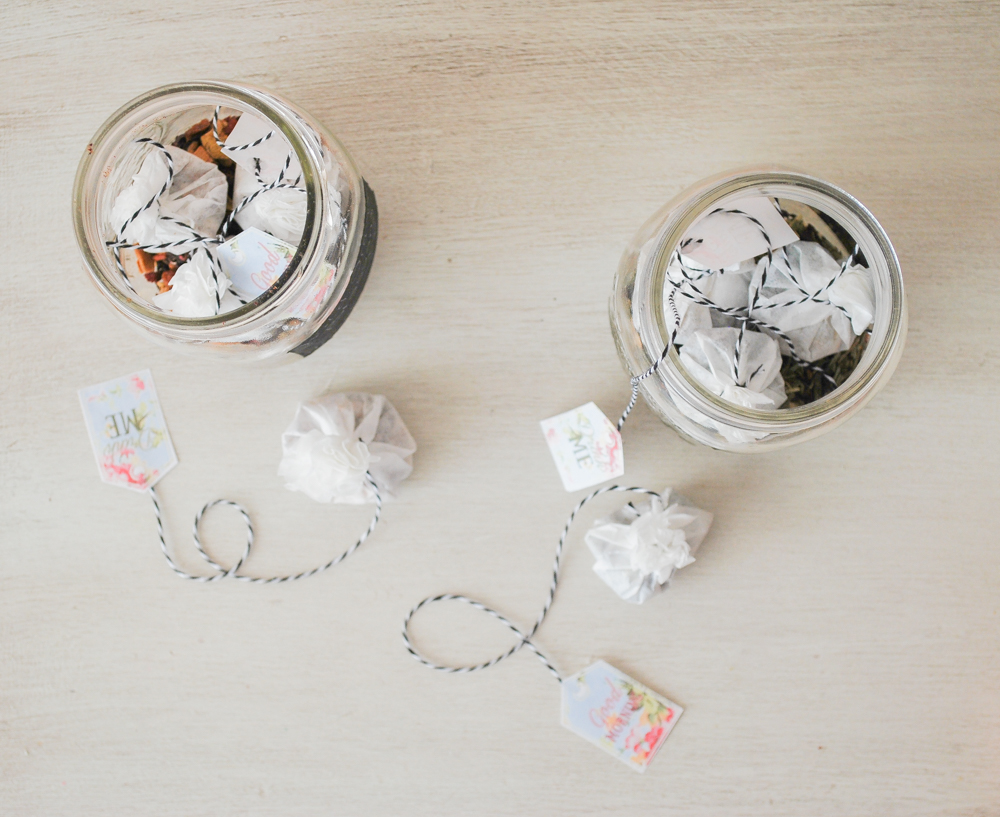
Homemade Tea Bags
The LOVE of TEA!!! You either LOVE it or you don't? I'm a 3 jugs a day kind of girl. Winter always seems so long. My house stays pretty warm but for some weird reason I am always freezing. HAHA! I take a look out the window and that's enough to keep me cold for a...
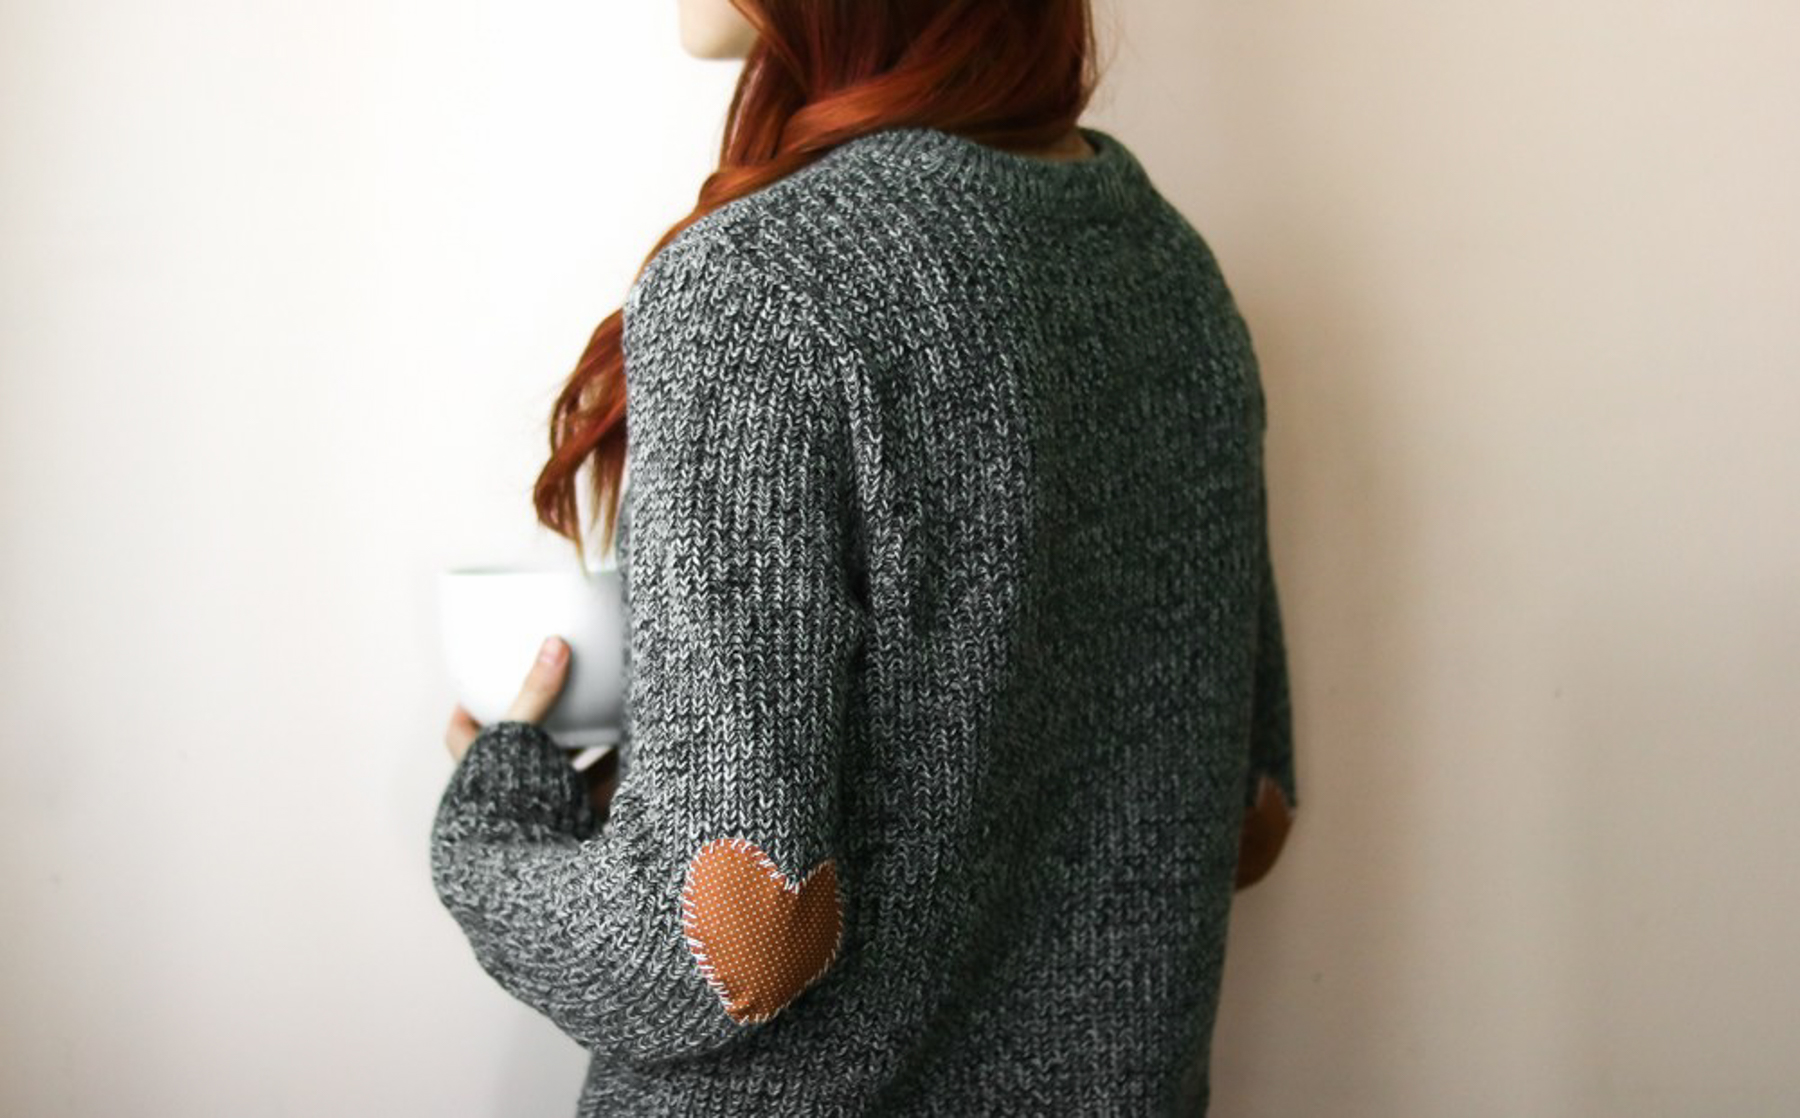
Diy Patches
HEART Elbow Patches... The more I surf pinterest the more I realize elbow patches are all the rage. I love that classic look with a rustic vibe. Buttoned up white cotton blouse with a fitted sweater and suede elbow patches. I absolutely LOVE sweaters. If you haven't...

Olaplex review at home Before and After
CODE RED!!!!DAMAGED HAIR.. If you haven't looked into olaplex then, YOU SHOULD!! For the past two years I have been struggling with hair damage from dying my hair every 3-4 weeks. I've dreamt of having auburn hair for a long time and once I made the change I couldn't...