Homemade Mothers day gift
Thoughtful Memories
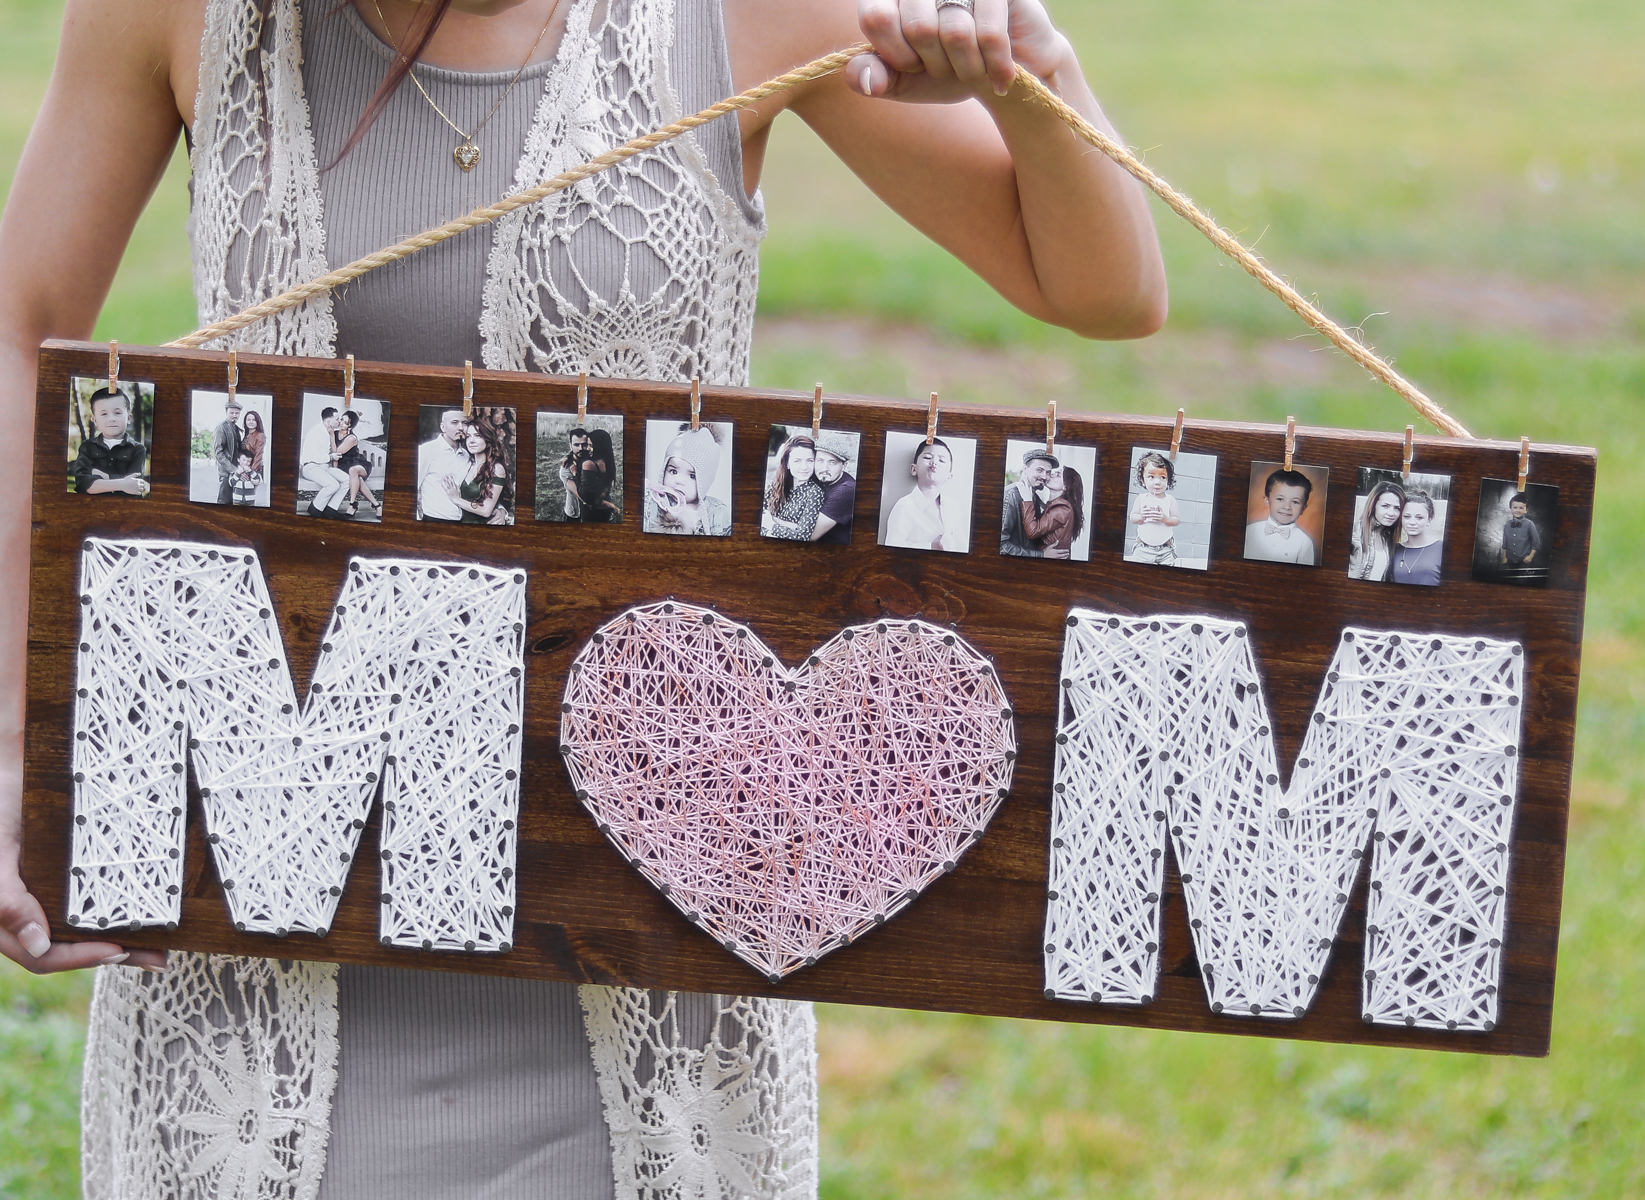
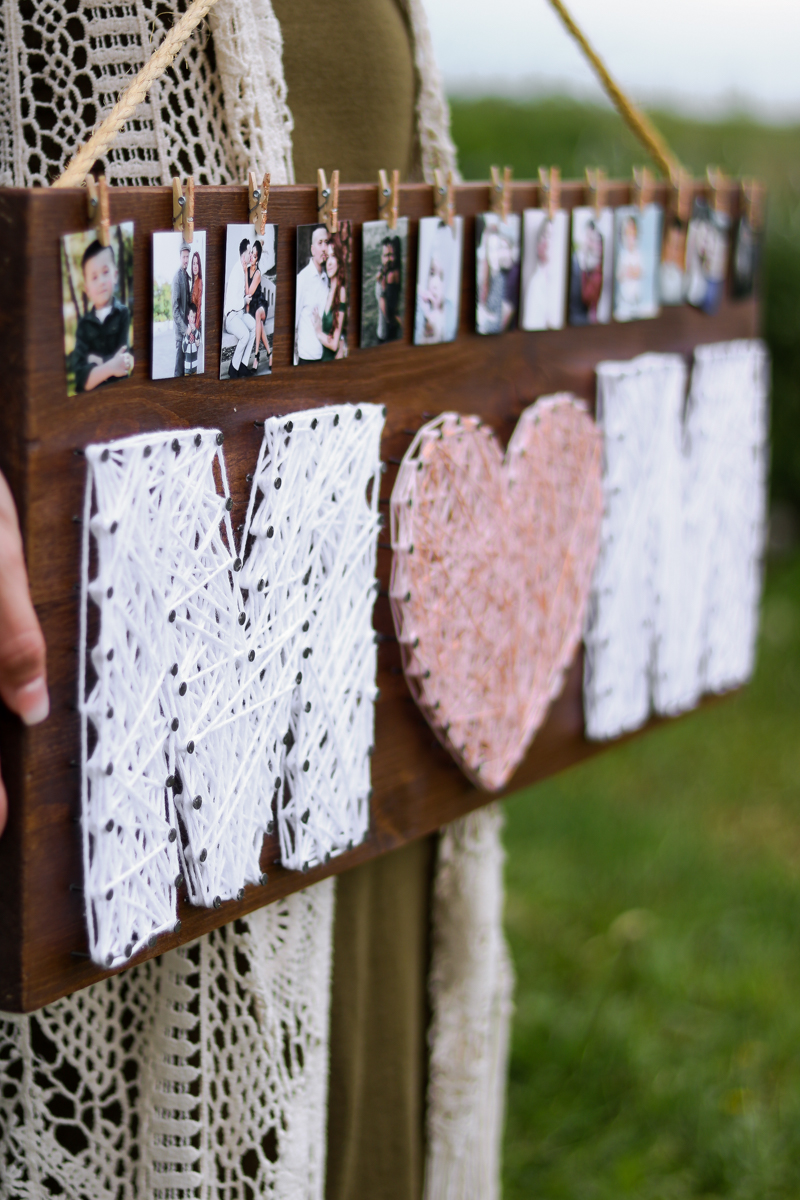
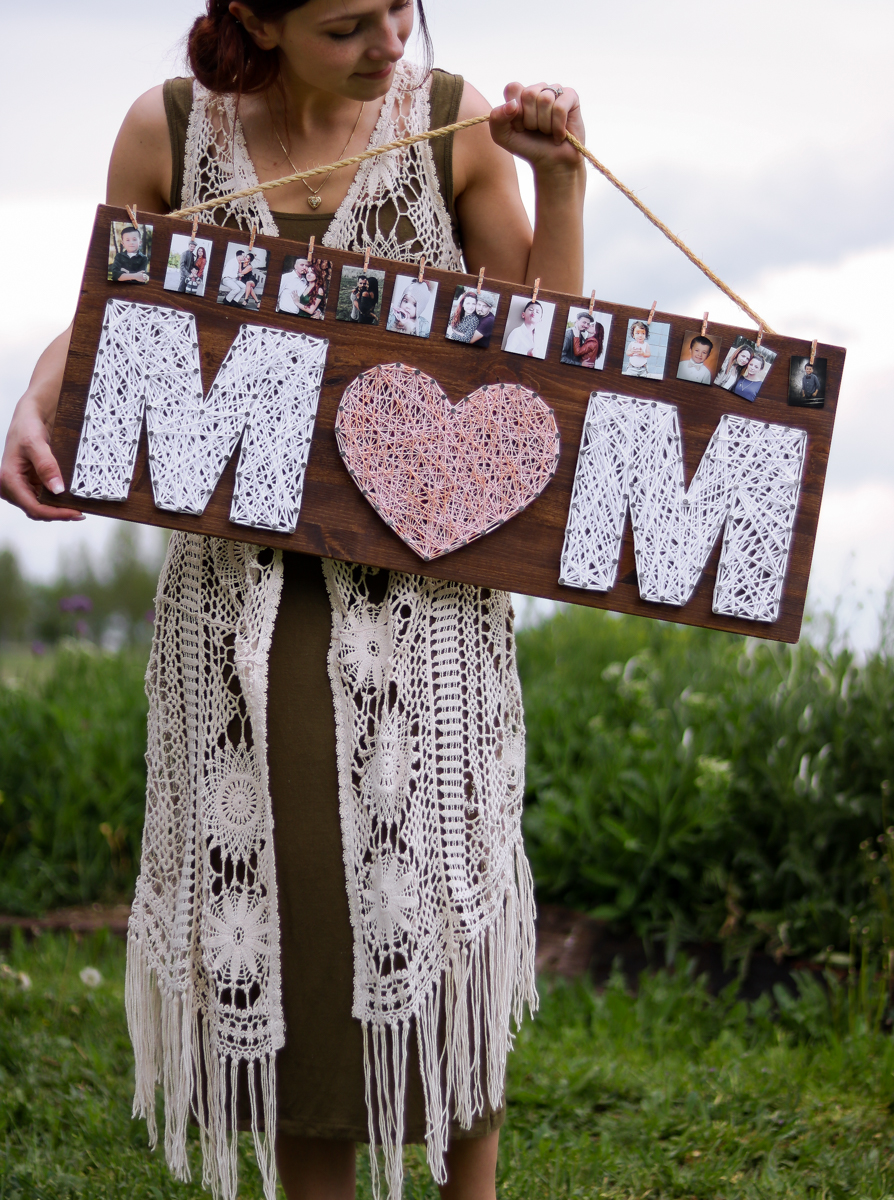
This homemade mother’s day gift will make your mom smile. Growing up I had 5 siblings and come to think of it I thought it would be an awesome idea to make a gift from all of us dedicated to our loving and caring mom. 😀 😀 I’m sure I’m not the only one on the hunt to find the best meaningful mother’s day gift. The idea behind this gift is to have the heart represent the love for our mom and the row of pictures will be featuring all of us kids. All in hopes that this precious piece of artwork will last for years to come. 😀
Don’t be fooled this nail art is a lot more fun then it looks and it’s a speedy process. This project doesn’t require much attention to detail. You’ll be done in no time.. 😀 😀 😀 I got pretty good at nailing those nails.. I could probably whip another one out in half the time.😃
That’s it 👏 this post may contain affiliate links*
You can use the printables below. Right click to save to your computer. Than you can print them.

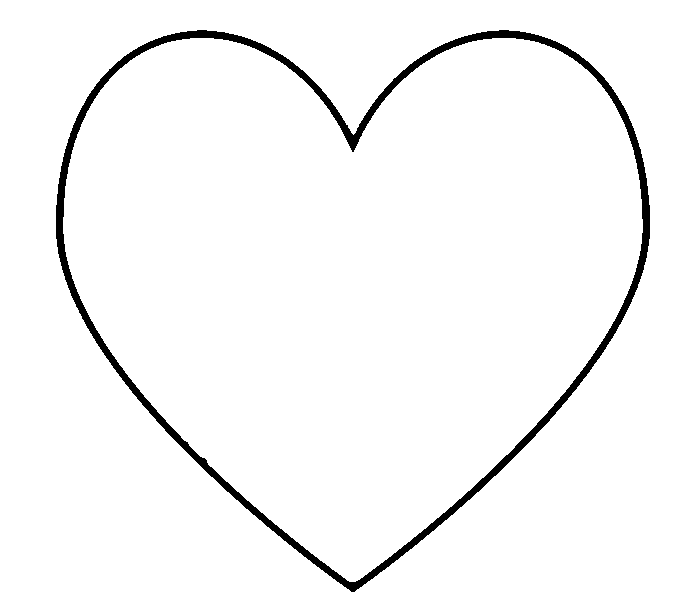
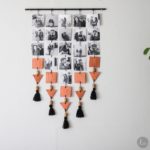
If you want to make a cactus inspired gift (photo below) you can get the template here

What you’ll need
- scissors
- wallet prints
- yarn
- wood ( measuring 30″ by 12″ and 3/4 inches in thickness)
- paint or stain
- Nails (measuring 1 1/4 inches length.. make sure they have big heads for the thread to go around) I purchased mine at home depot in the construction nails area. (not the small craft nails)
- mini clothespins (I purchased mine at the $1 store after the ones from Michaels fell apart.. the cheaper ones from the dollar store were way stronger..weird!!)
- hammer
- Concrete floor or Metal for under the wood
optional—>
- copper leaf and gilding
- rope
Let’s Do This !!
Ok so I will start off by saying you will NOT be cutting the top and bottom off the printable.. This is how you will know if your attaching the letters on straight..Only cut off the sides. Example: Like the first letter M is showing on the left. 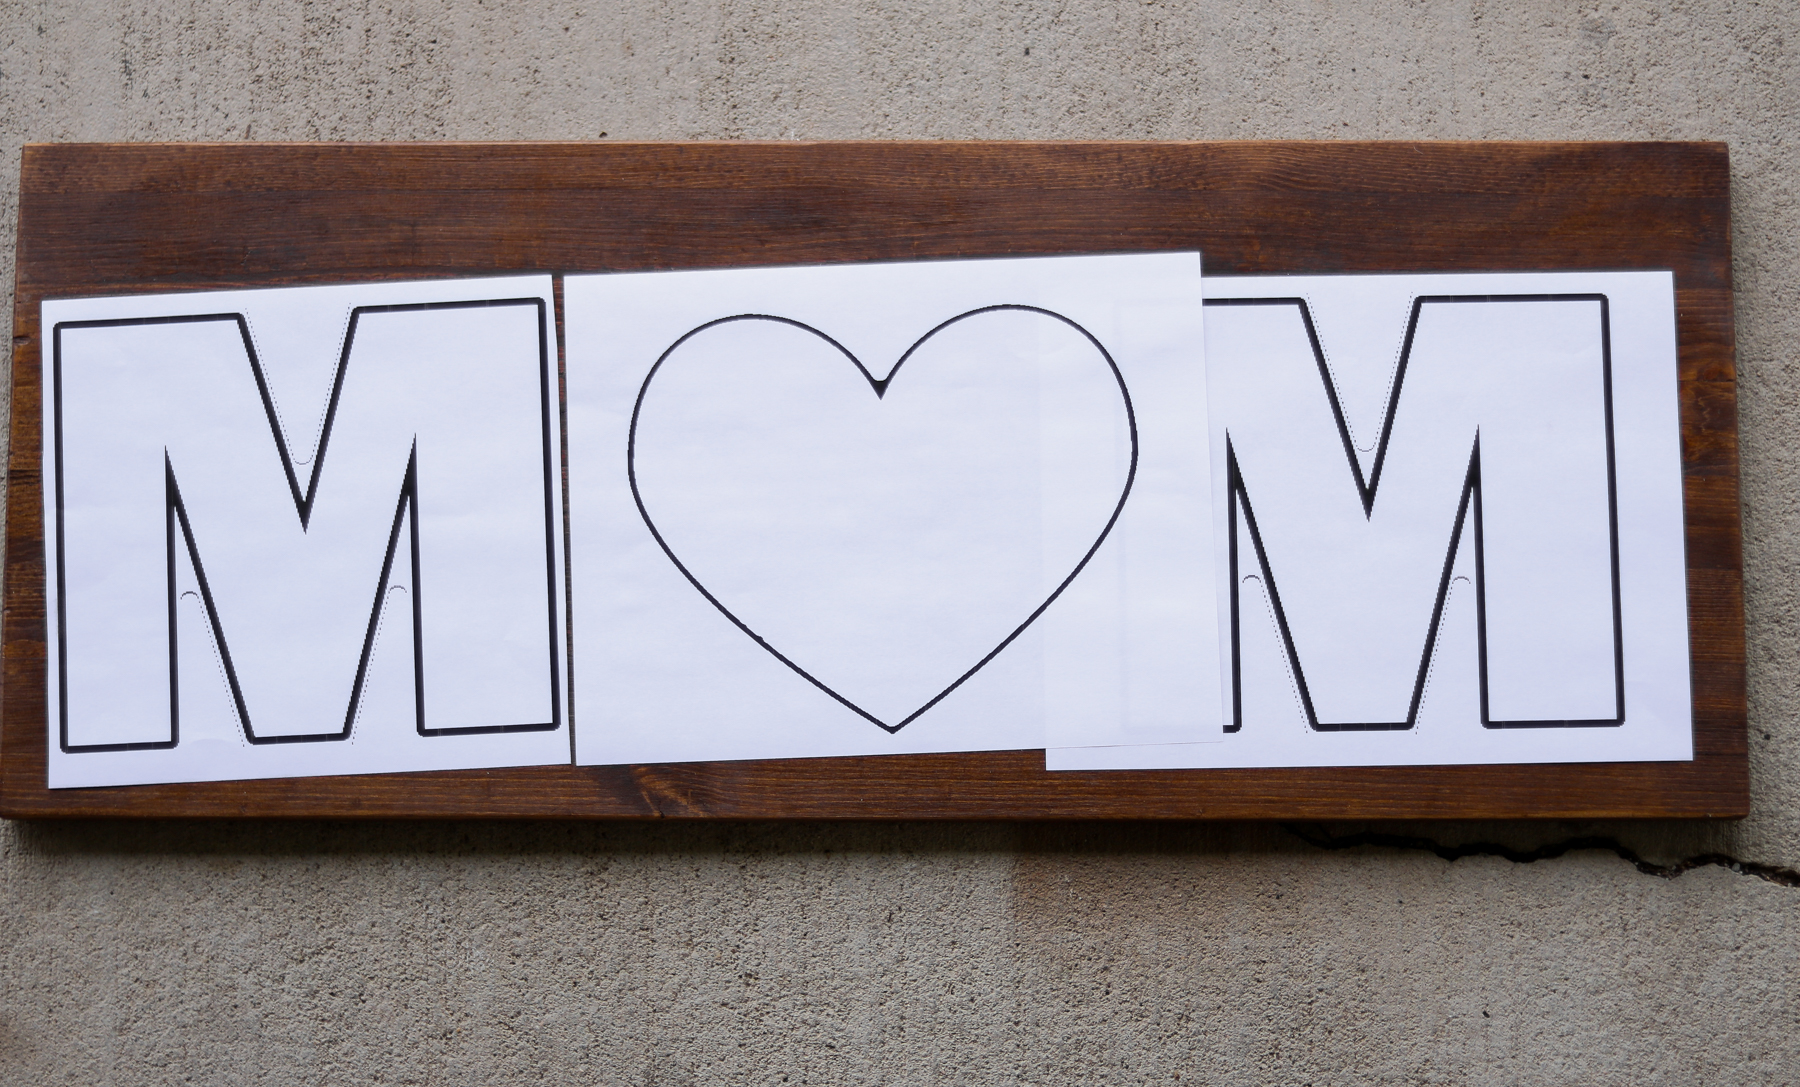
I stained my wood board in the color “special walnut”. You can choose to paint or stain yours. If you stain it don’t forget to clear coat with something so you don’t get the stain all over your thread. If painted, it’s a one step deal. Without measuring how far off I wanted the letters from the bottom I simply lined the paper with the wood and measured the gaps in between the letters to make sure they are even. Then I taped them off and started nailing in.

 My first letter.. 😀 😀 all done. Don’t forget to start from the center of the heart and work your way around.. Just like drawing one 😀 😀
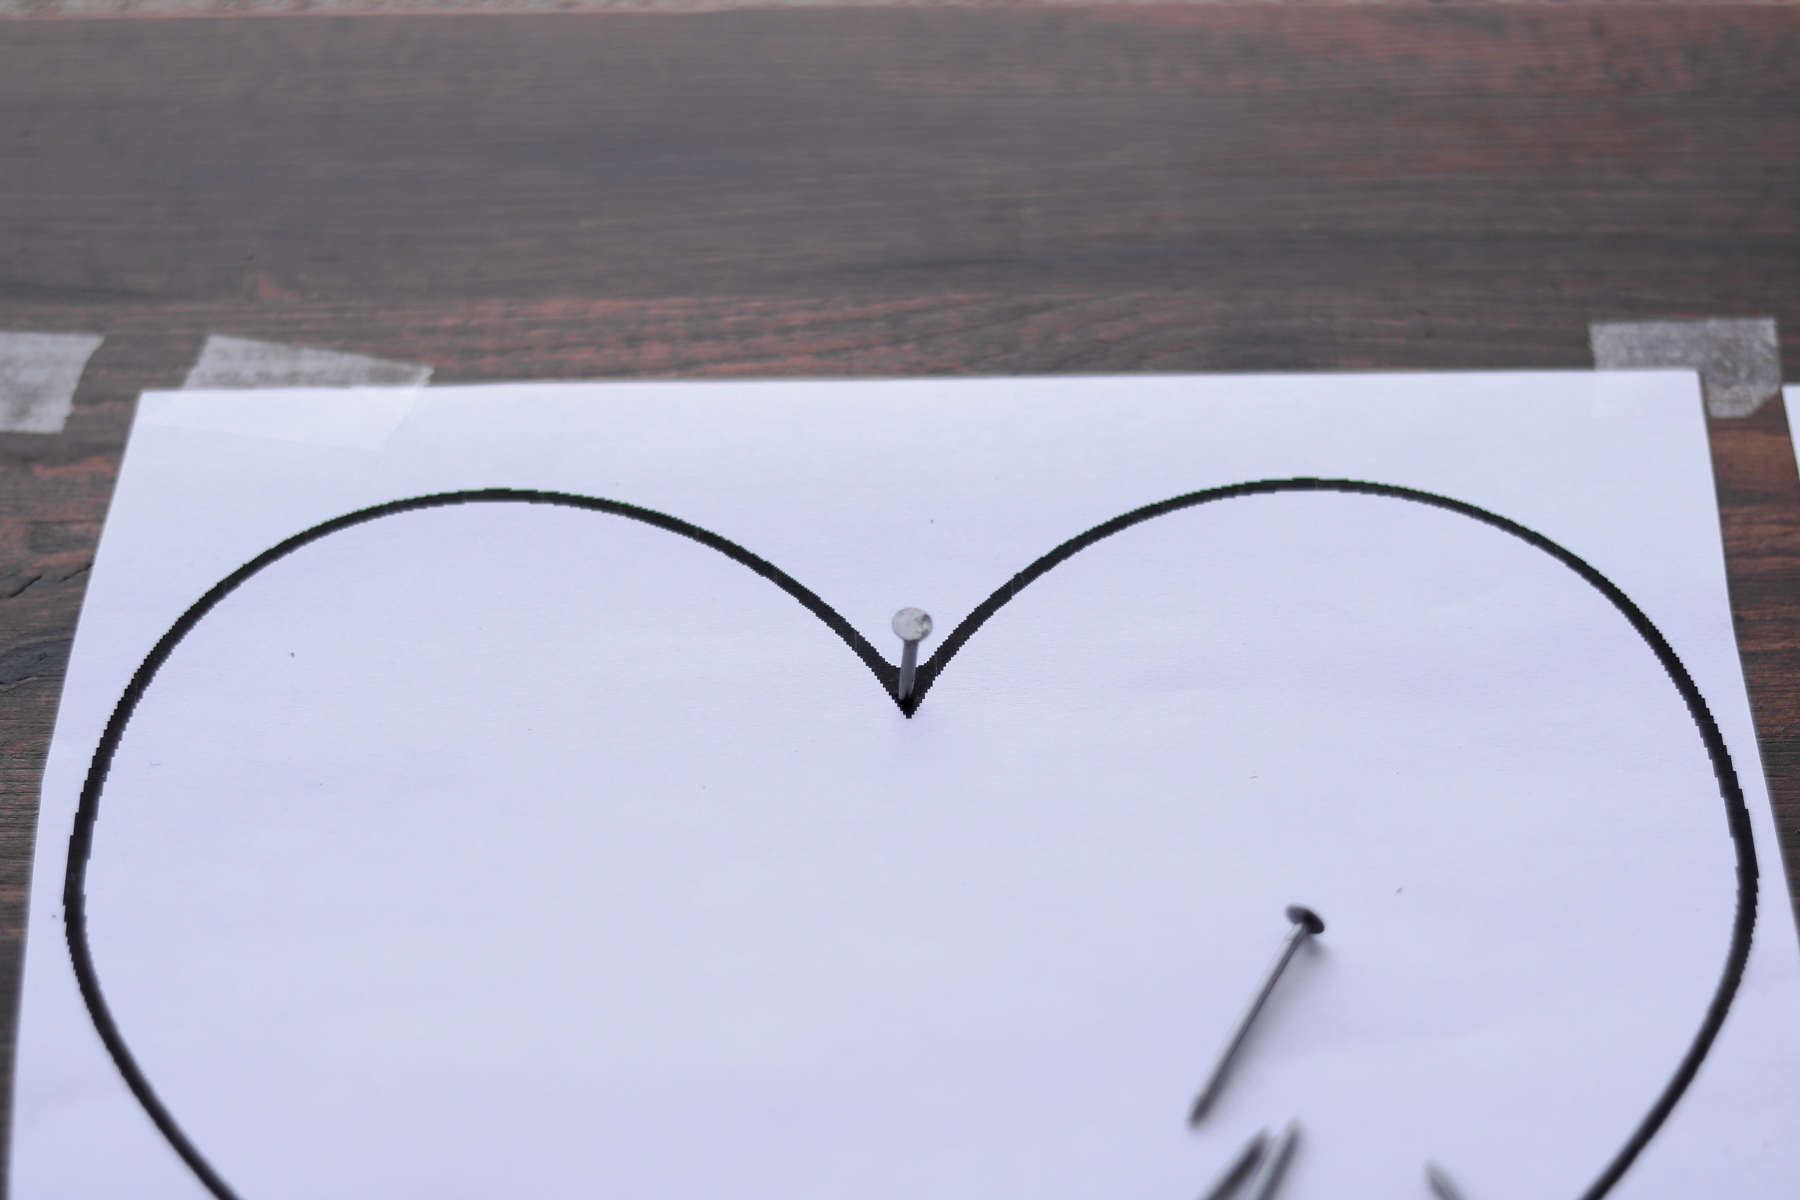 Here’s a snippet of my mini clothespins.. Gosh it was like dominos.. They wouldn’t hold still. I had to prop them up with mini rocks. hehe. I decided to copper leaf them to match my pink rose gold heart. 😀
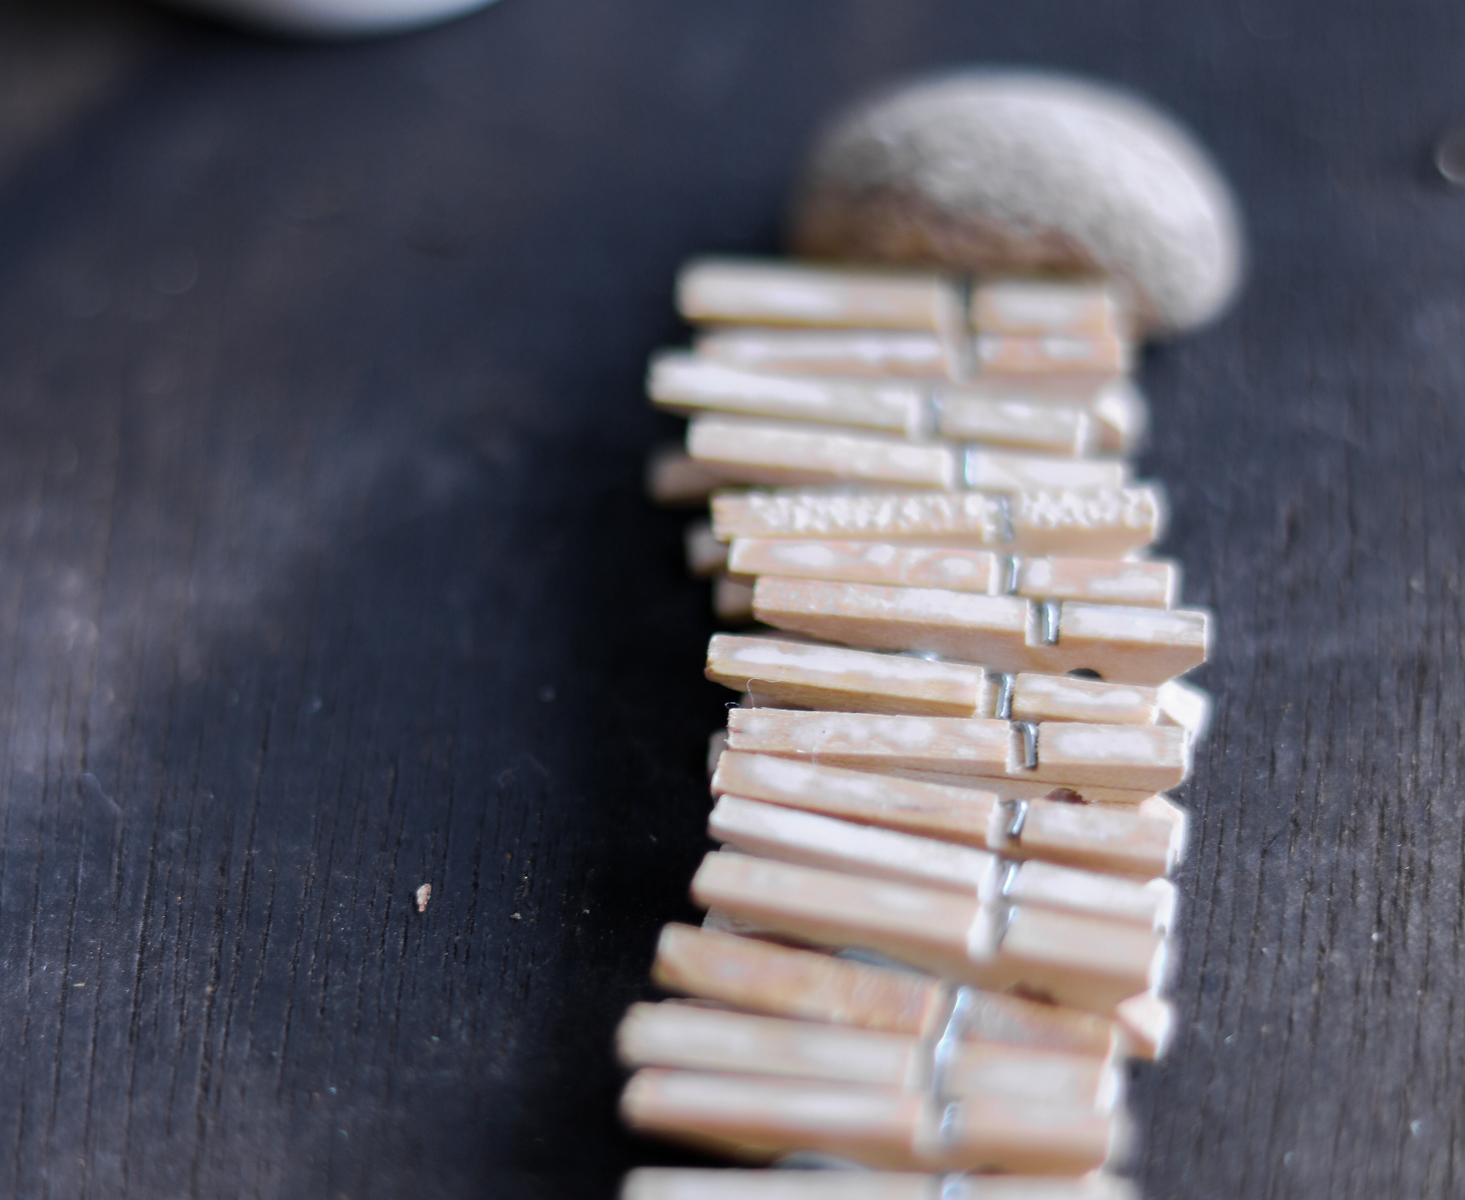 If you’re freaking out about adding the yarn to your nails. Don’t overthink it. It’s a lot easier than it seems. All I’m going to say is don’t stick to a very specific pattern. Keep it as messy as possible, it fills in bald spots more that way and looks overall even when finished. I made a similar gift this year with a video instructions. If you want to see what I meant when I said messy check out the video below. (I did a total of five gift DIYS in this video. The string art gift starts at 5:00 minutes.)
Threading
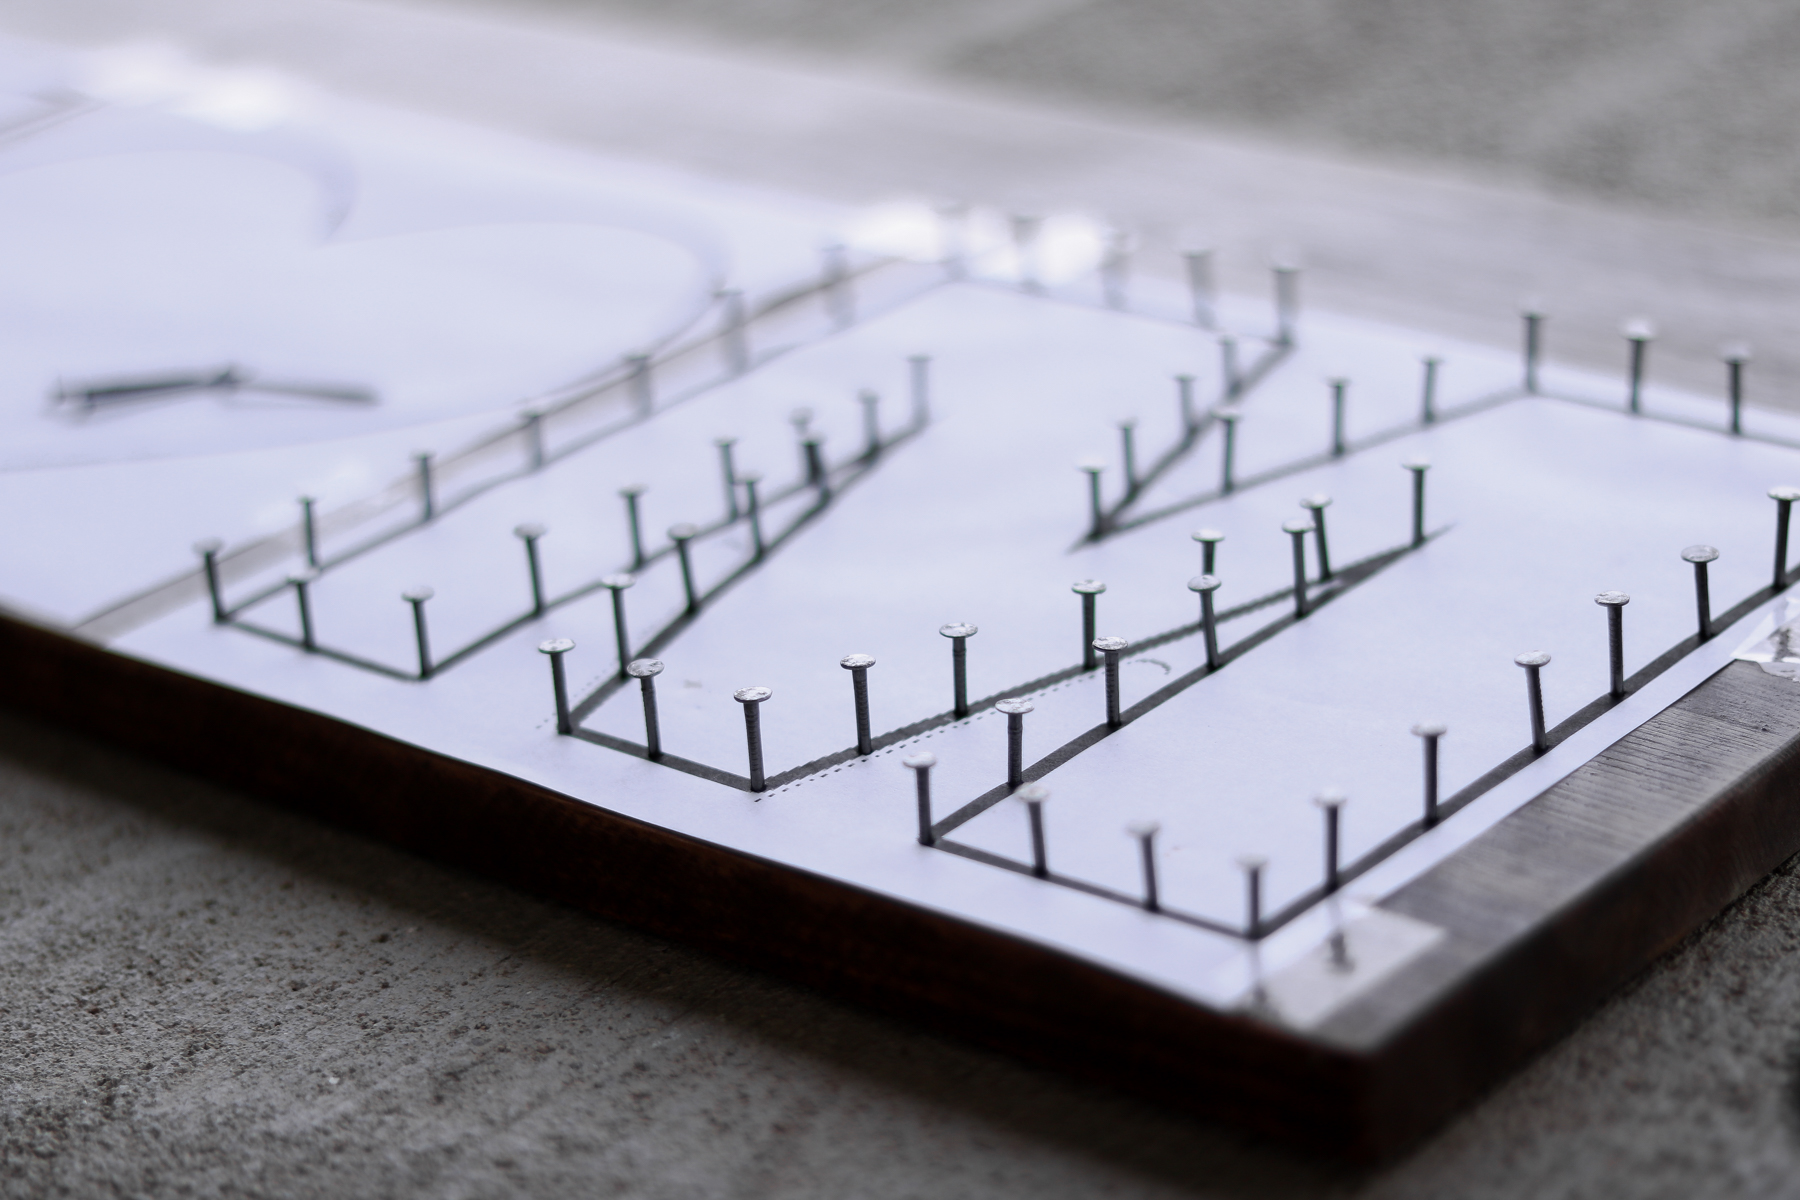
To start threading your letters simply tie a knot at one end and start outlining the whole letter before you start getting all messy. 😀 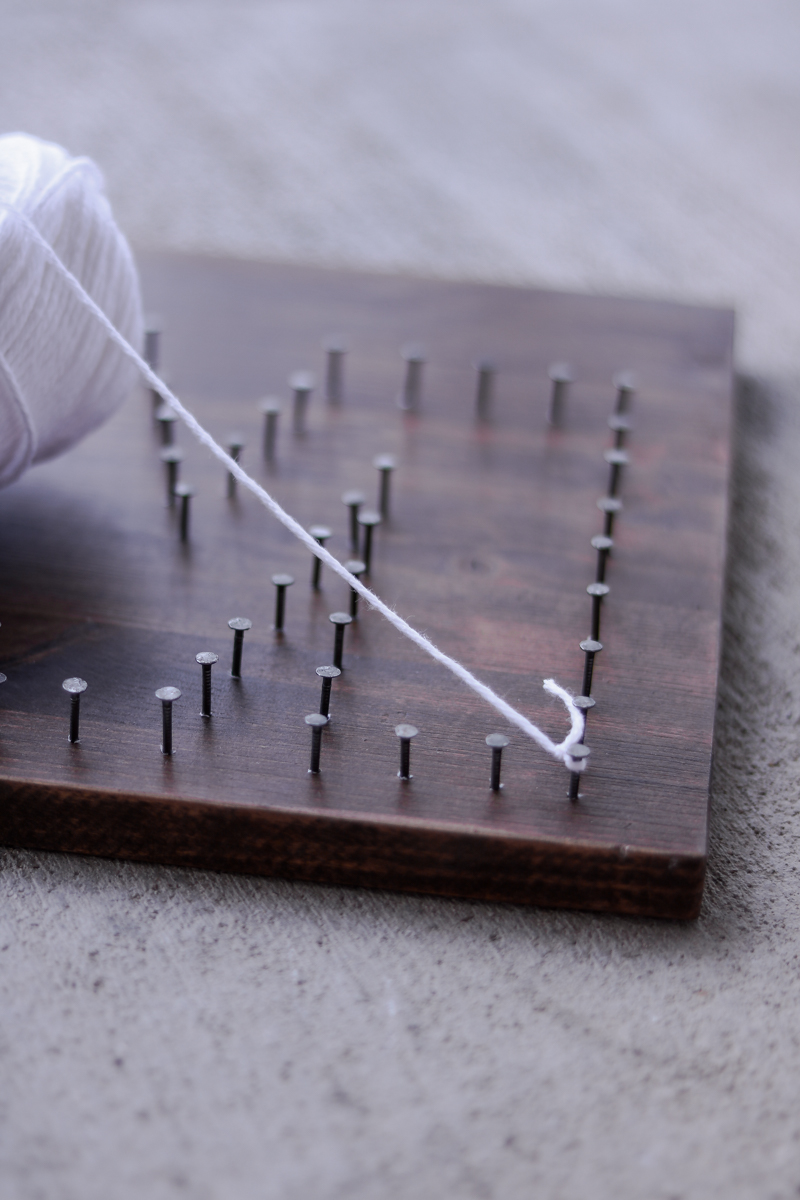 Connecting the DOTS. 😀
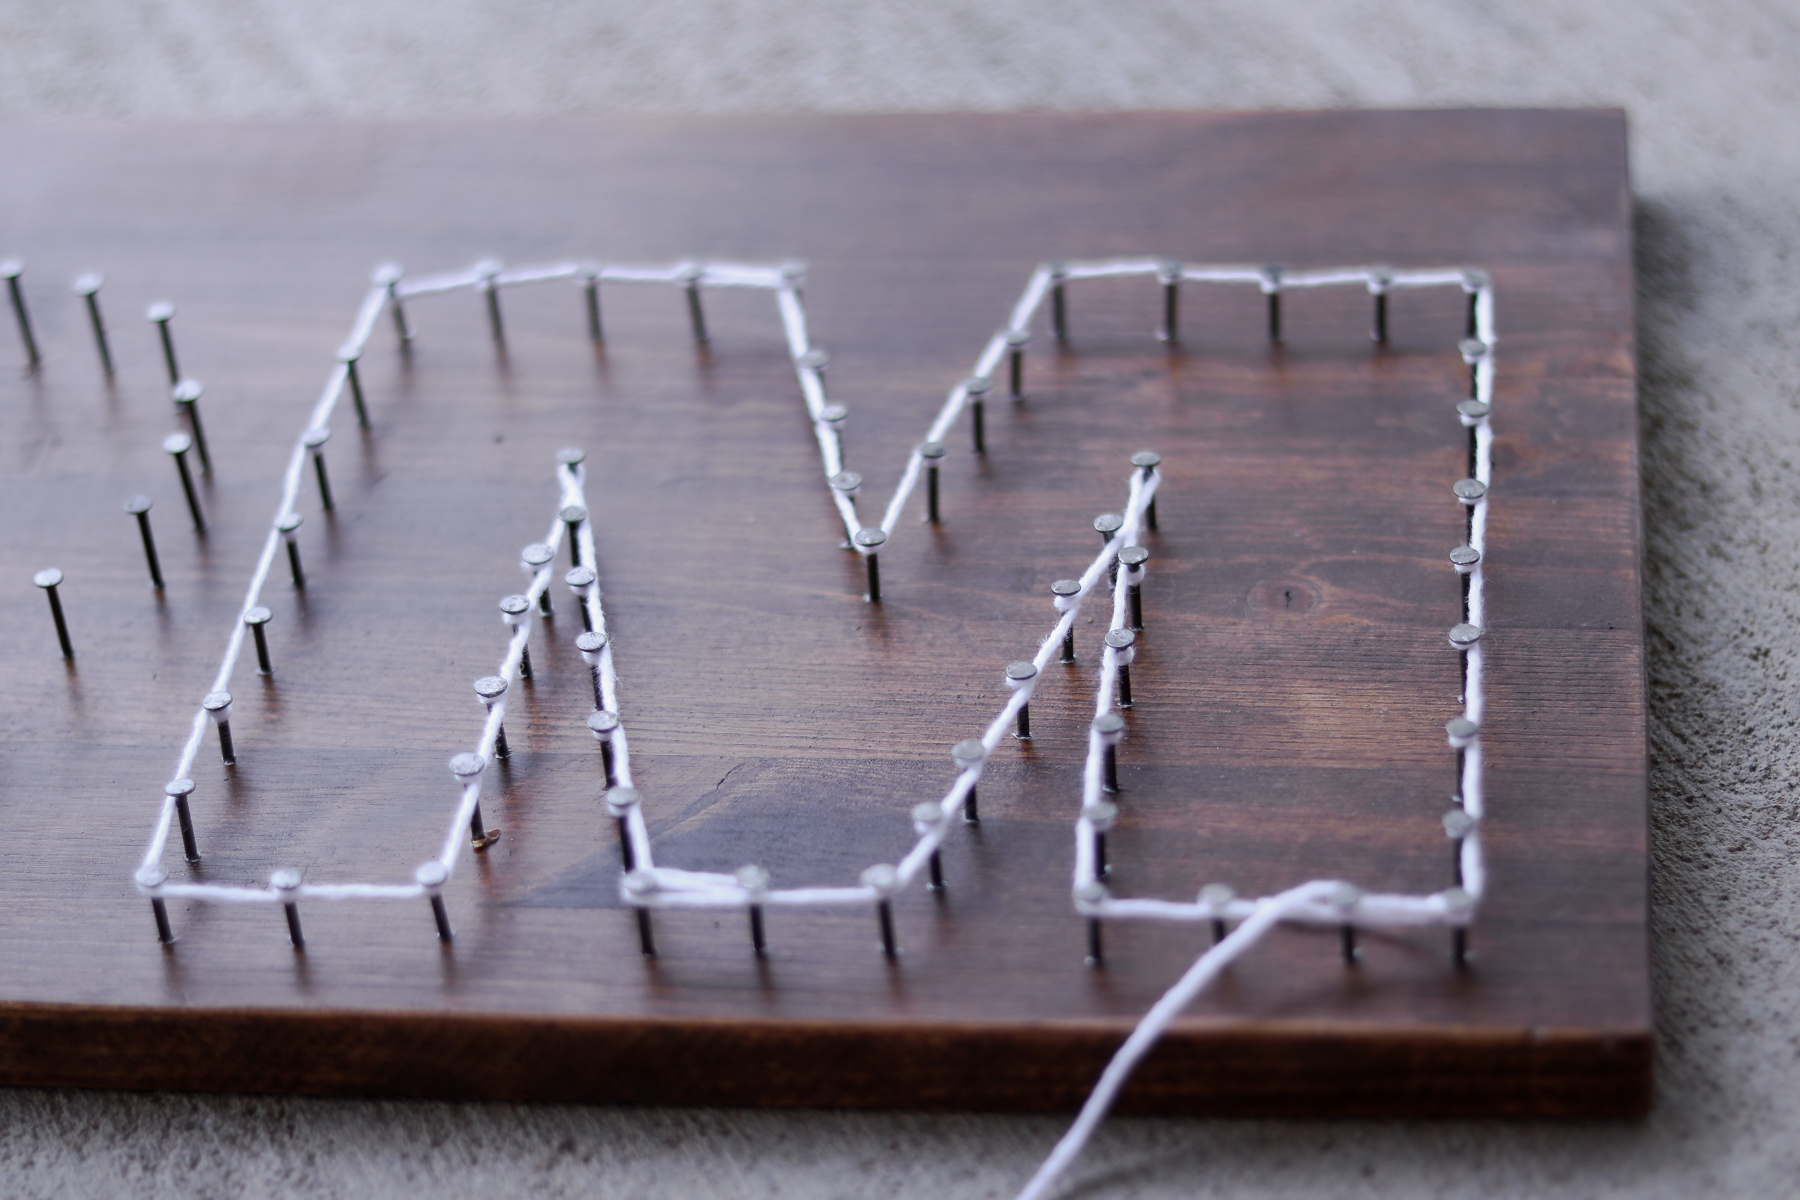 I did different directions and then went all messy towards the end filling in uneven gaps.
 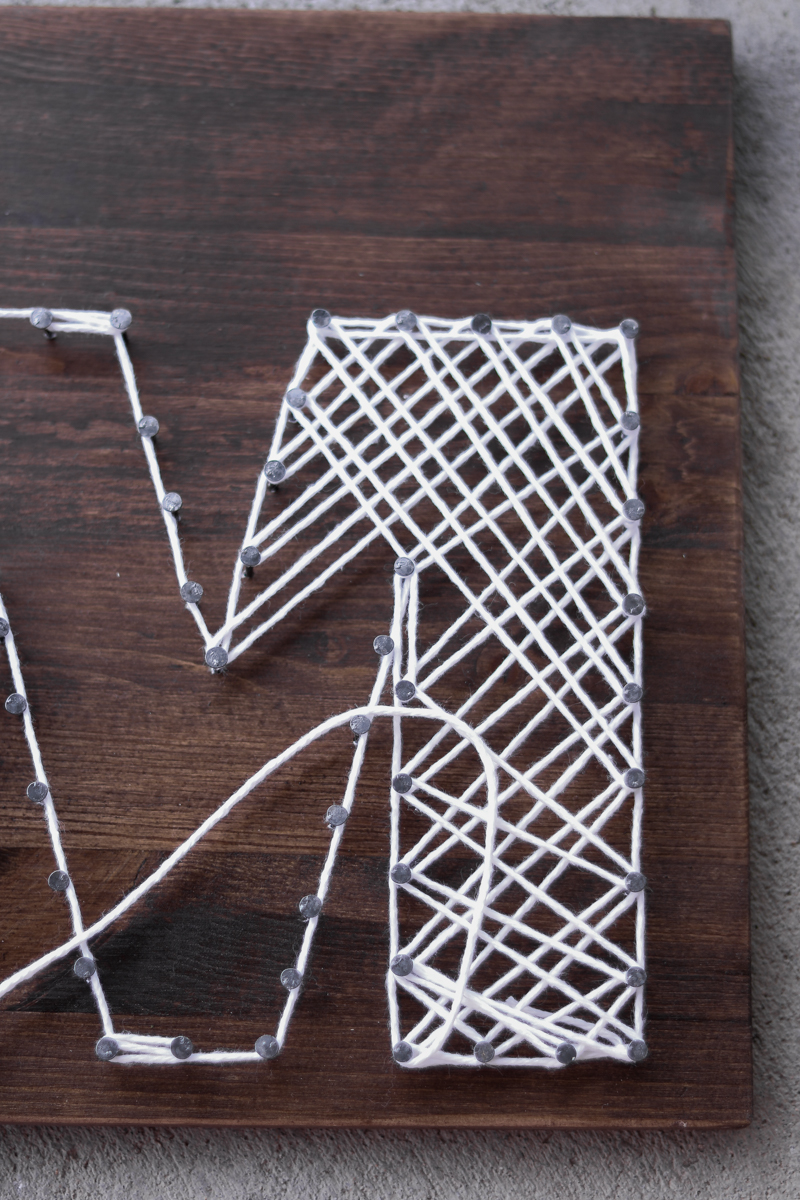 To finish of your threading simply tie a few knots around the nail heads and cut the remaining yarn off.
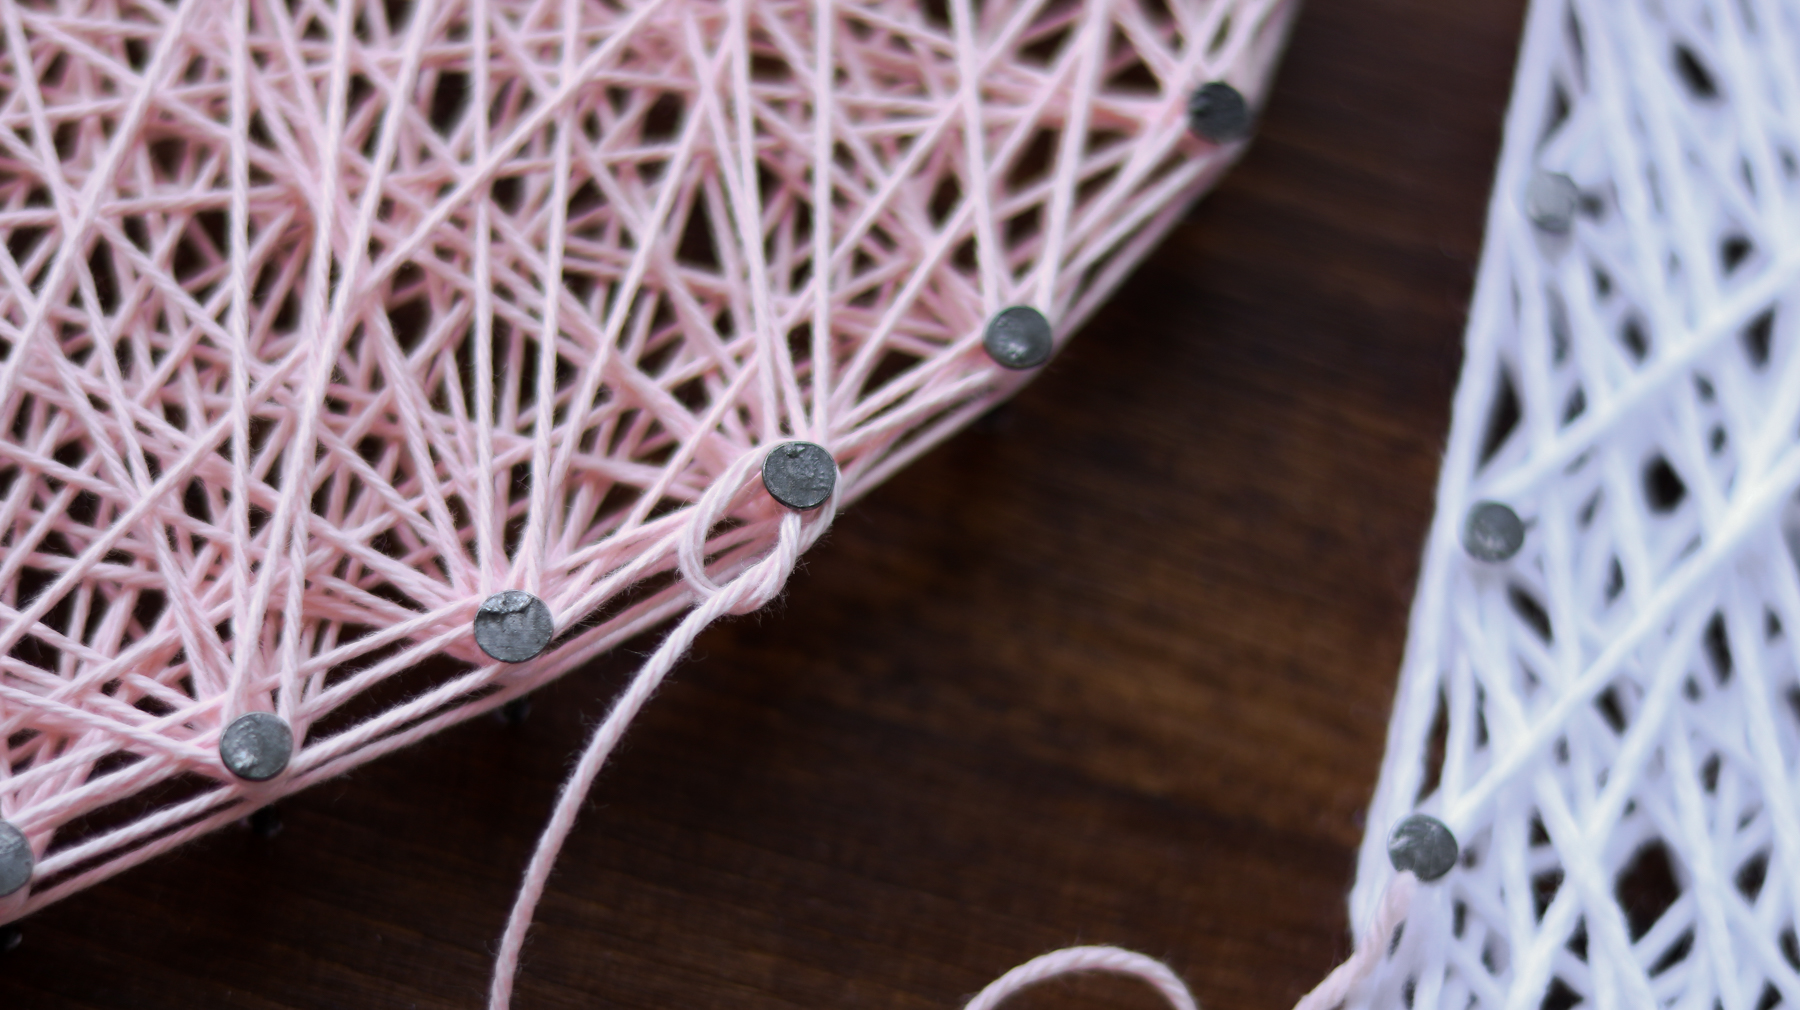
Adding A little Special Something…
Ok so this is totally optional but I decided to add a little more bling and make this heart extra special by copper leafing it to make it rose gold. I dabbed on the gilding adhesive (more on this product below) and left it to dry for 15 minutes before applying the copper leafing to it. 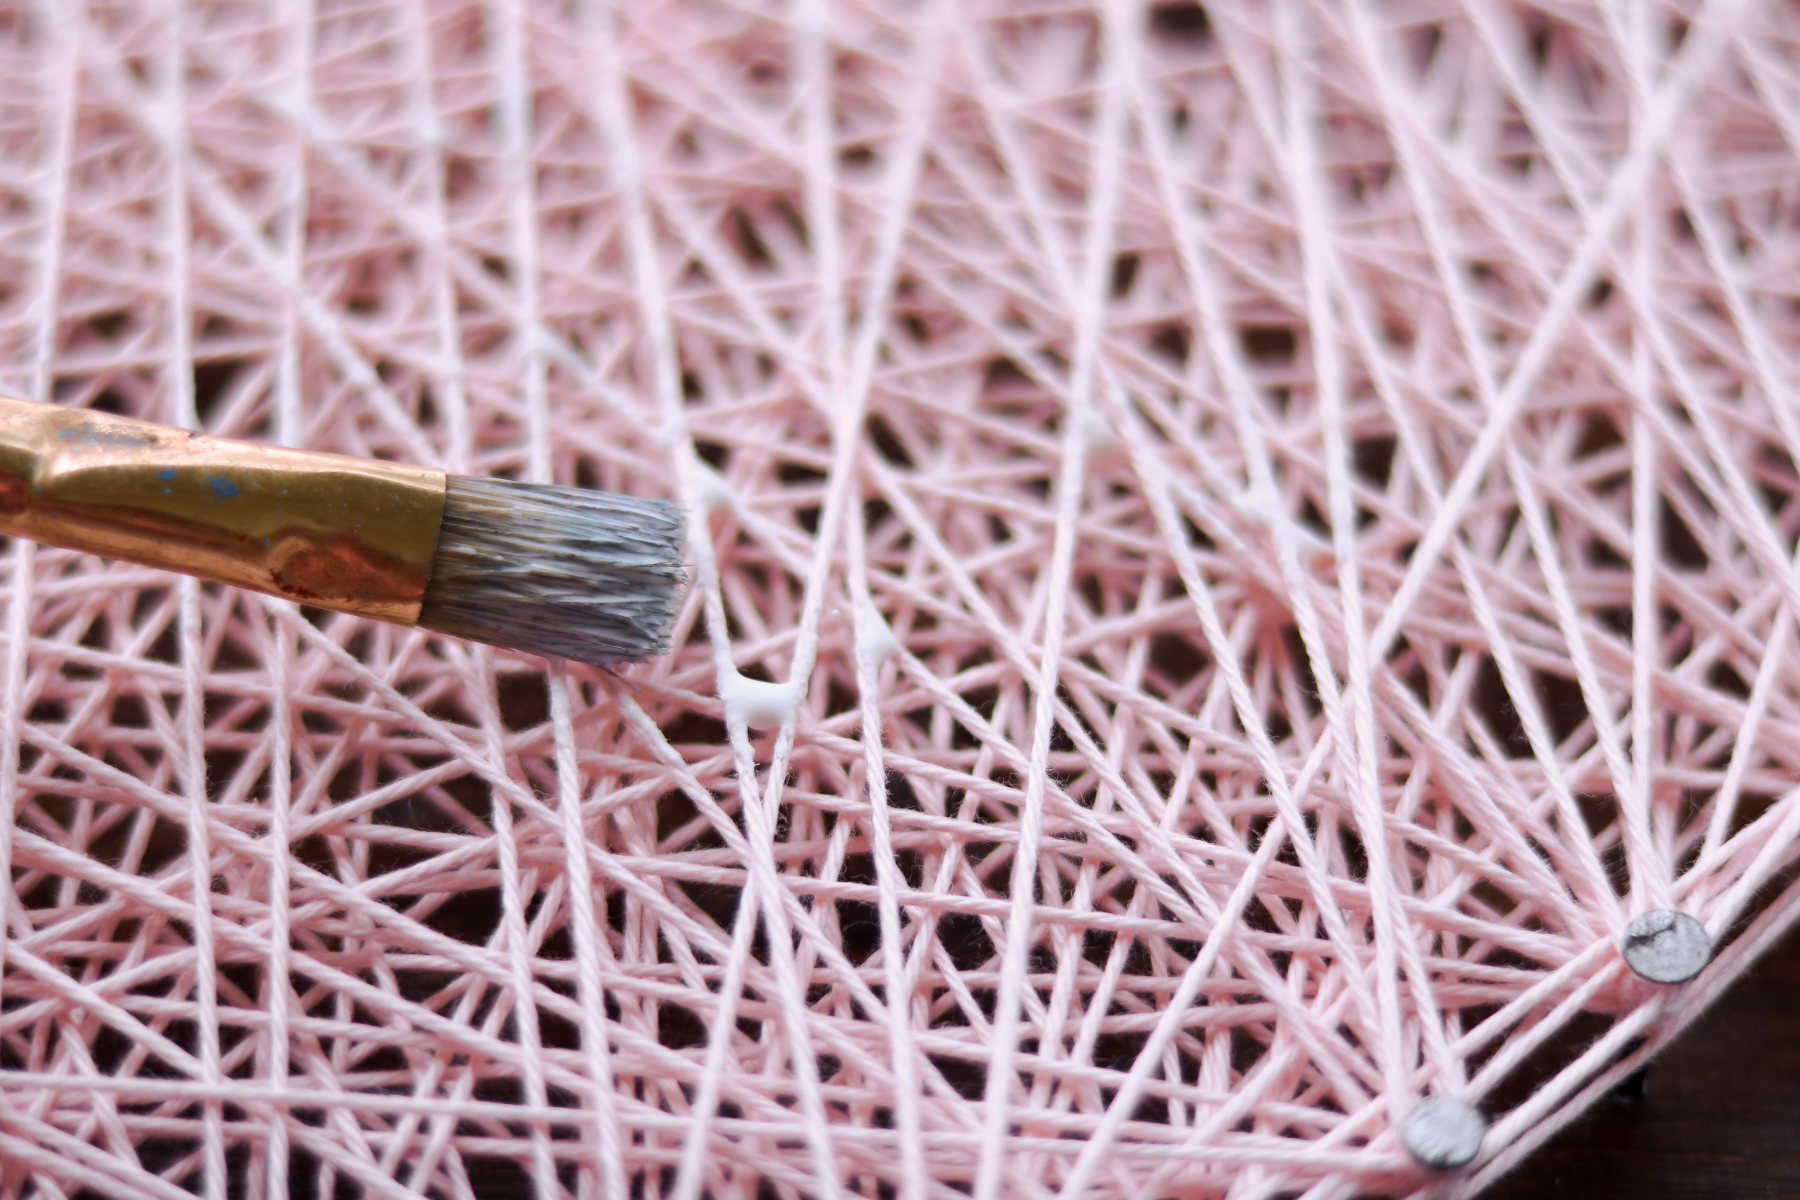 Here’s where I got the copper leaf and gilding adhesive. I learned that hard way that amazon has the best deals on gilding adhesive. Craft stores sell 25 sheets for $10 vs amazon sells it at 100 sheets for $6. Cant’ beat that! Been buying on Amazon for a while now. I’ve been asking if you can glue the copper leaf on with elmers glue and honestly I don’t know because I’ve never tried. If you did comment below I’d love to know how it went. How is this gilding adhesive different? It doesn’t dry to a completely dry finish like elmers glue does. It dries to a tacky finish which helps the gold leaf adhere better.
Ahhhh. Leafing on.. Yes at this point I was thinking how on earth I am going to remove all that.. You could leave it like that. 😀 . LOL. I used a bristle brush to get the process going and then once a bunch of it was stuck in the yarn I blew it out with my husbands air blower. You can also use a vacuum to do this. 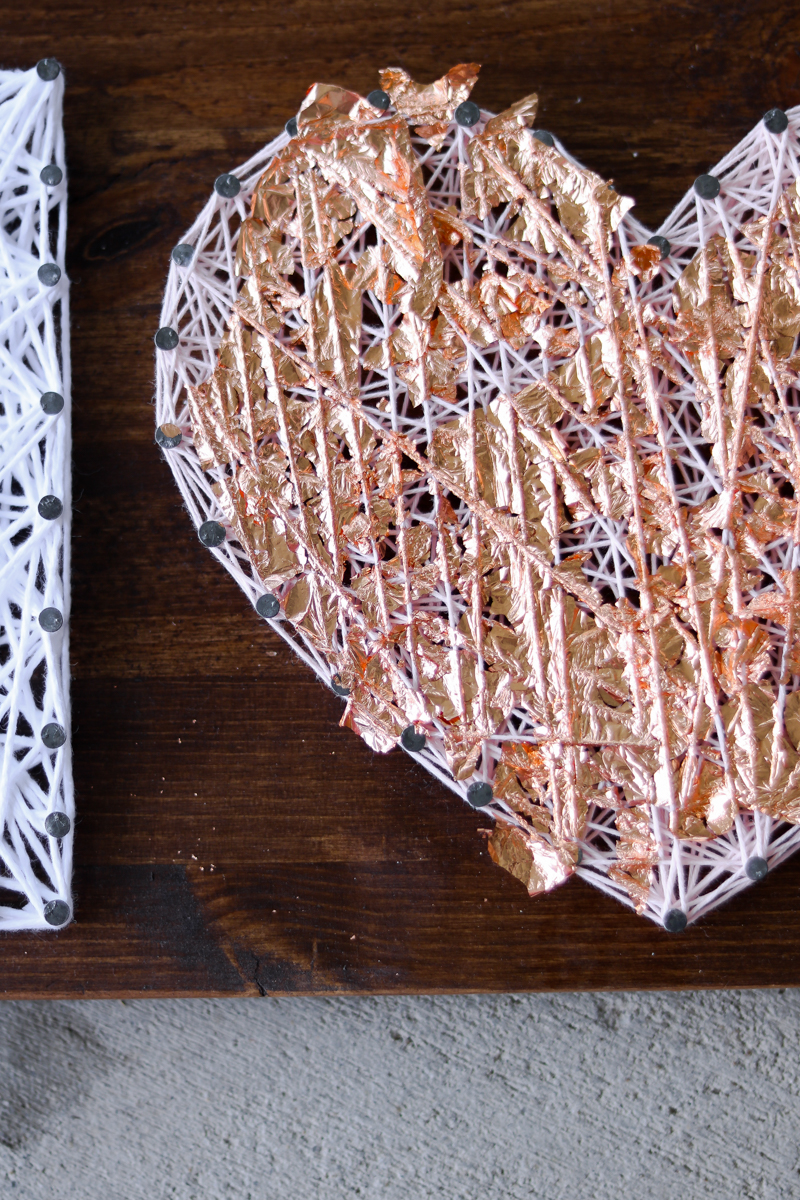 I lay out all the photos to see how close I needed to glue the clothes pins. Remember if your photos are to big you can always cut them to size. That’s what I did with mine. For some reason the wallet prints at Walgreens were huge so, I cut mine down a bit. I ended up fitting 13 pictures and glued my pins measuring 2 1/4 inches apart.
 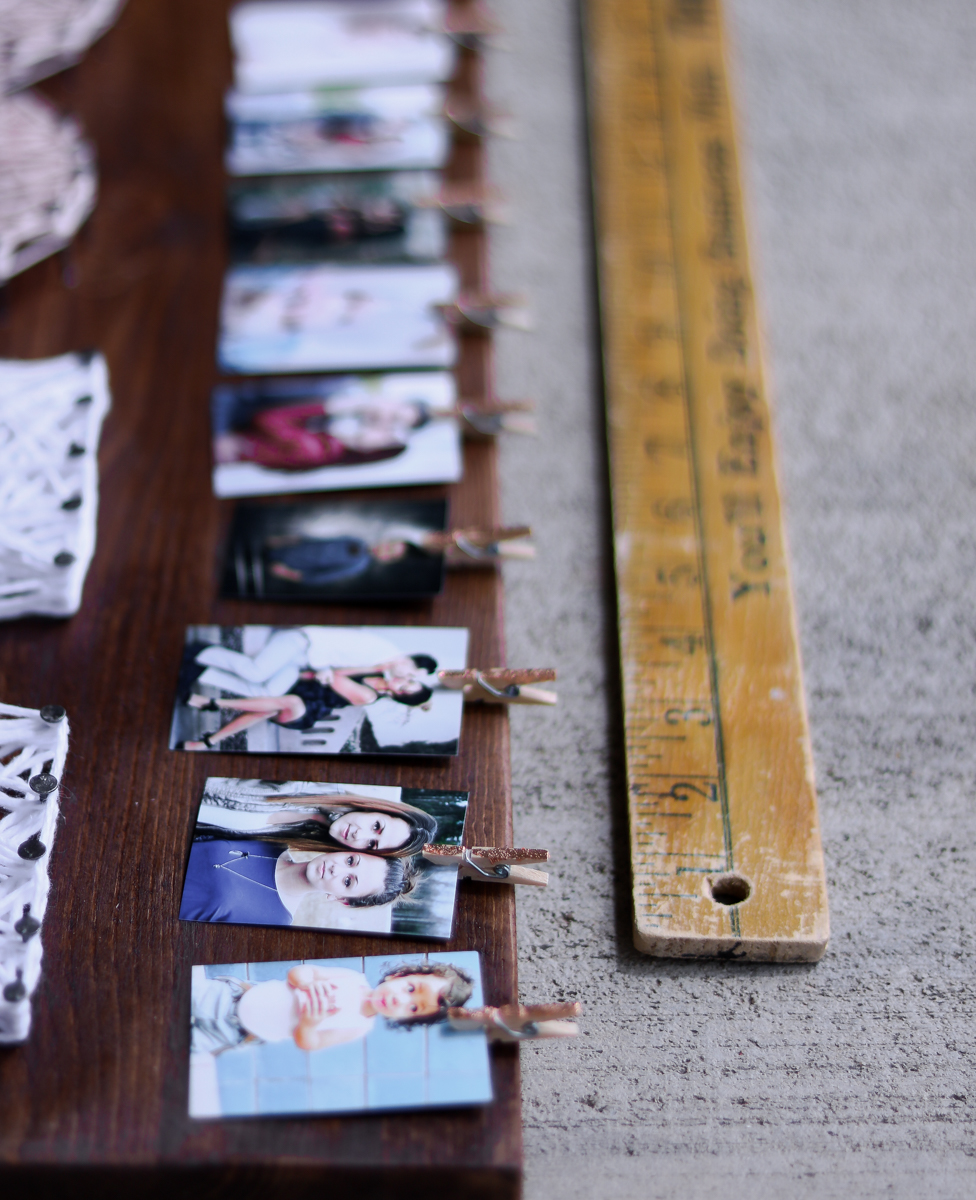 To seal the deal I used my E6000 glue. And that’s it 😀 😀 .
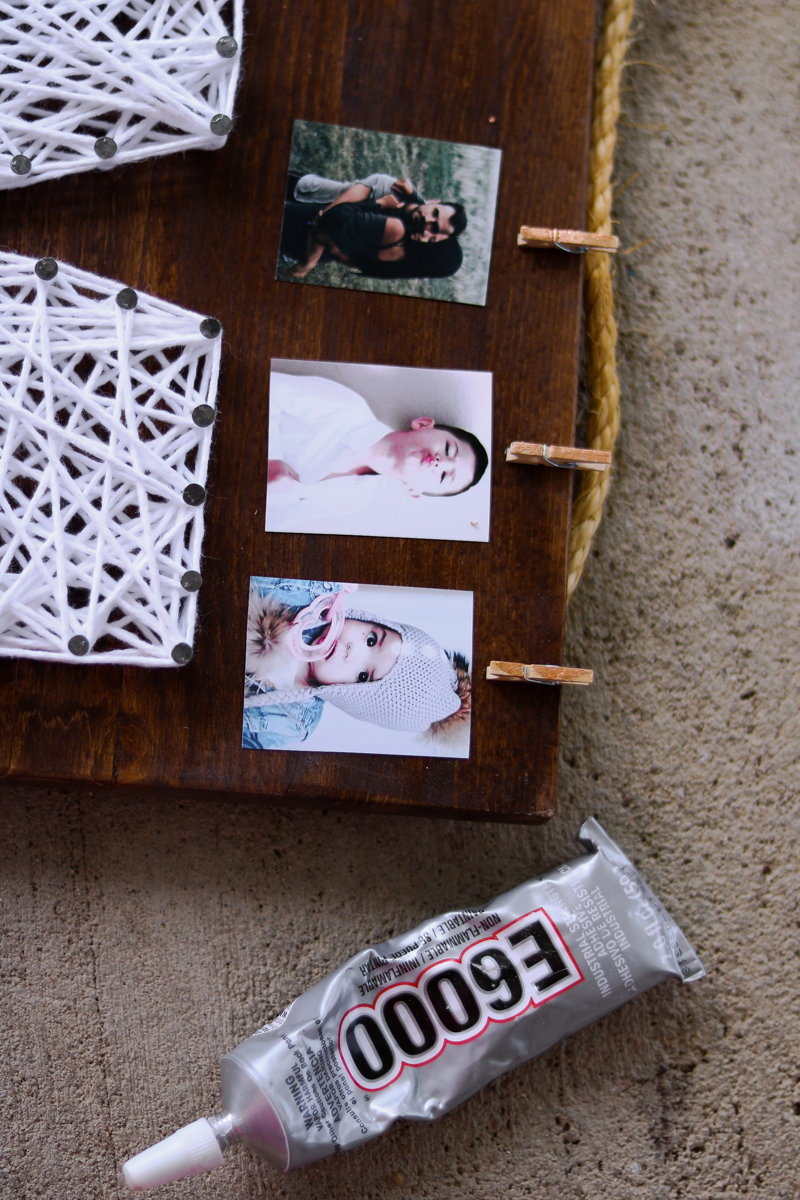 Oh wait almost forgot.. If your attaching rope. This would be the time to staple it in. 😀 Now that’s it.
 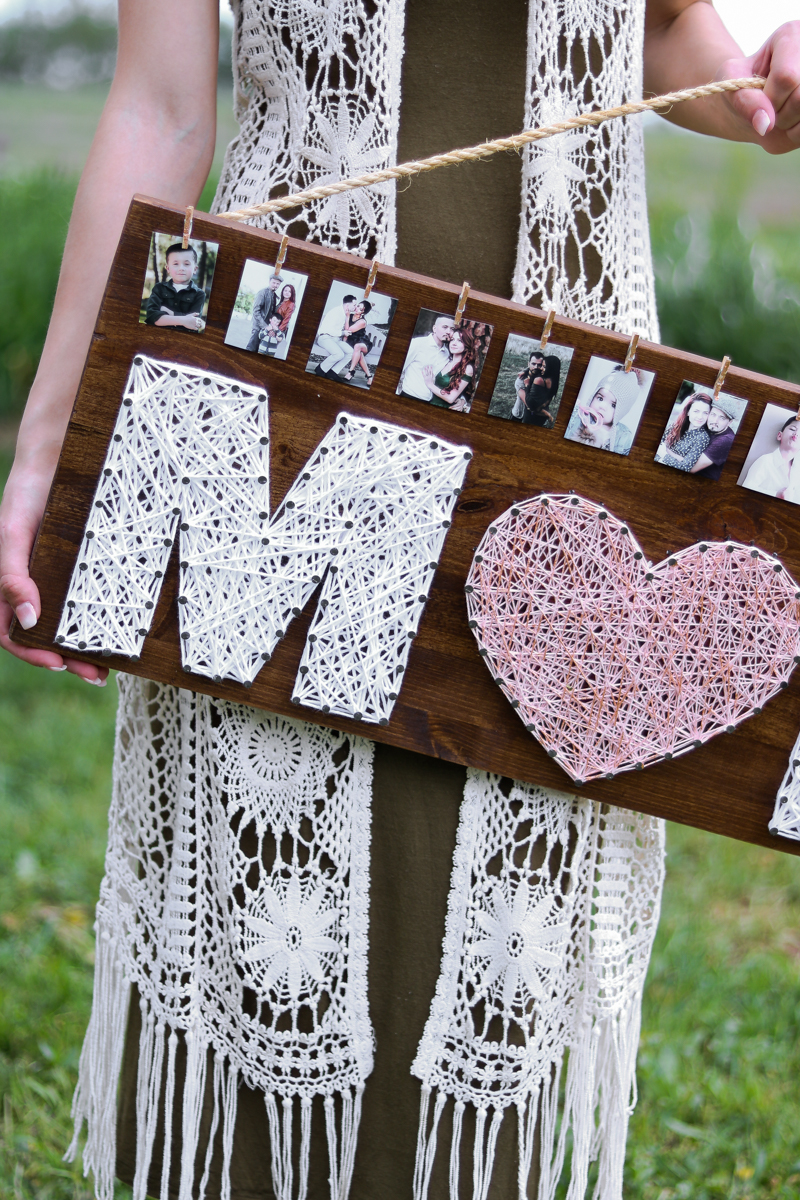 All of us kids are featured on top of that rose gold heart (with a few grand-kids here and there 😀 ) What do you think? Special Enough? I think she’ll love it.. (fingers crossed.)
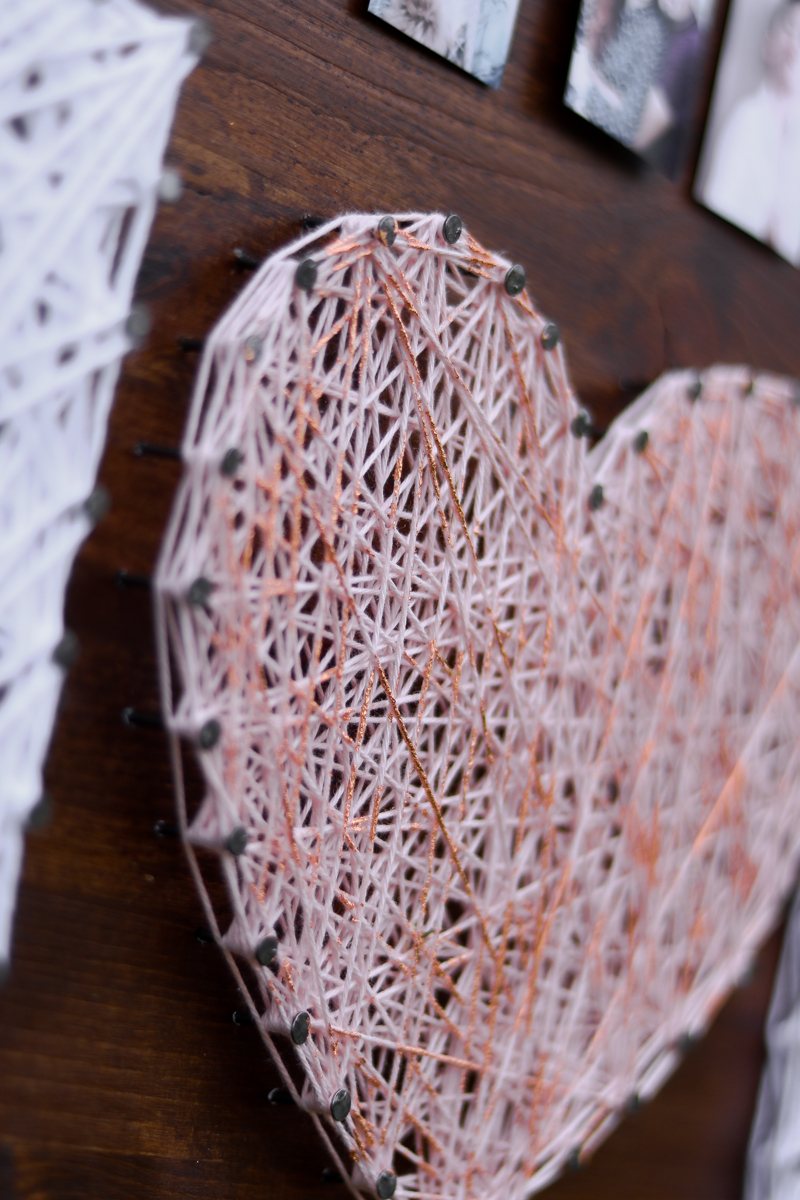
 So many of you ask me where I got my crochet vest. I purchased it online at shopko.com a few years ago. Here are some similar ones. *affiliate links., read more
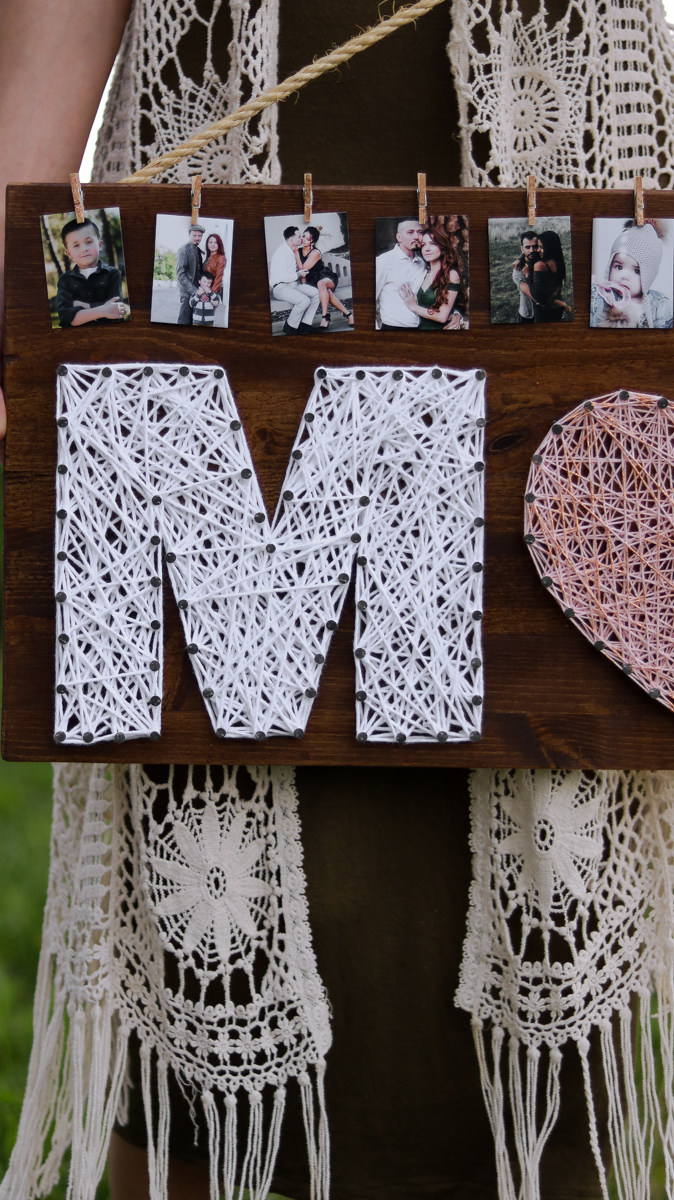
 Thanks for joining me my lovely craftoholics. Until next time 😀 😀 😀 If you make one for your lovely Mother don’t forget to tag me on Instagram. I would love to see it. (PS. I HAVE A ROUND UP OF 5 Mother’s day DIYS COMING UP IN 2 WEEKS STAY TUNED) . Here are some affiliate links for the products I used to make this project. (If you purchase anything from my affiliate link I might get a small commission. However this DOES NOT result in any additional charges to you. For more info read my disclosure policy) Here’s a cute family photo display tutorial you might like. CLICK HERE
LOOKING TO KEEP TODDLERS BUSY WHILE YOU CRAFT! Try these printables!
15 Toddler Printable Activities for Rainy Days and Quiet Mornings
🐞 Tired of “I’m Bored”? Try This Montessori-Inspired Nature Busy Book
No Results Found
The page you requested could not be found. Try refining your search, or use the navigation above to locate the post.