HOW TO BURN PICTURES IN WOOD
Hi Everyone,
Today we’ll be burning some designs in wood with a heat gun. No wood burning tools required besides the heat gun.
This is actually called a chemical wood burn and is so quick and easy to do!
Here’s what you’ll need:
- 1 tbs of ammonium chloride
- 8 tsp of thick it
- 1/2 cup of hot water
- heat gun
- transfer tape
- vinyl
- cutting board
tools:
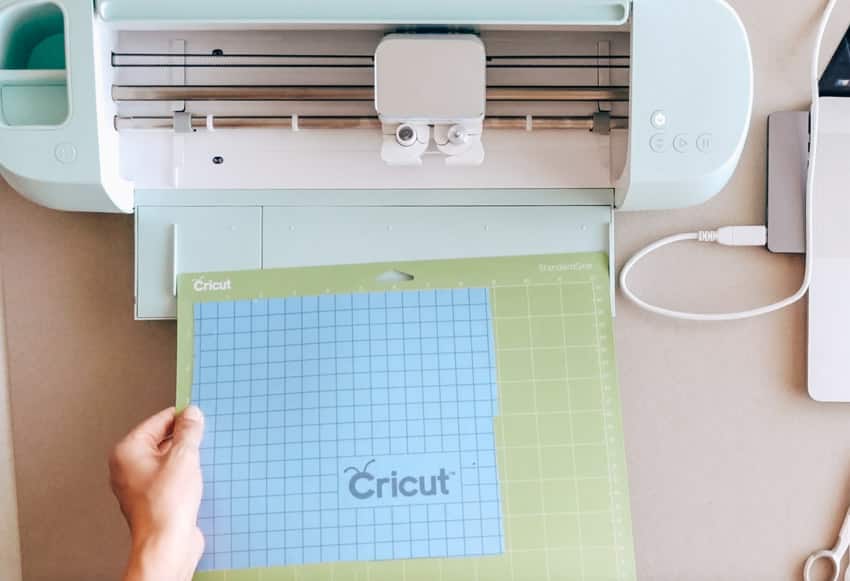
cricut machine or any machine to cut your designs out of vinyl.
Let’s get started! HOW TO BURN PICTURES ON WOOD IN MINUTES !
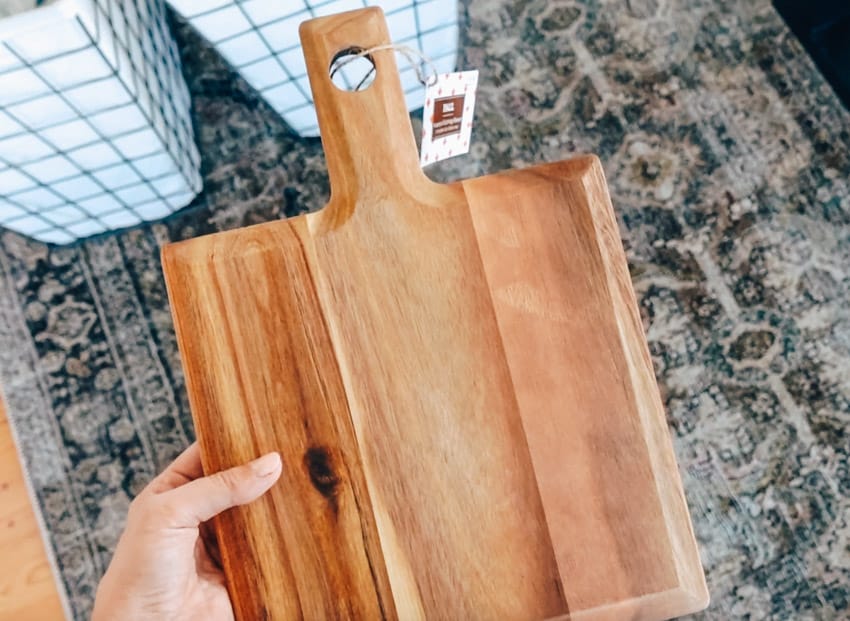
I found some cute cutting boards at hobby lobby. You can burn designs on almost any wood surface as long as it’s raw. It can’t have any stain on it or sealers.
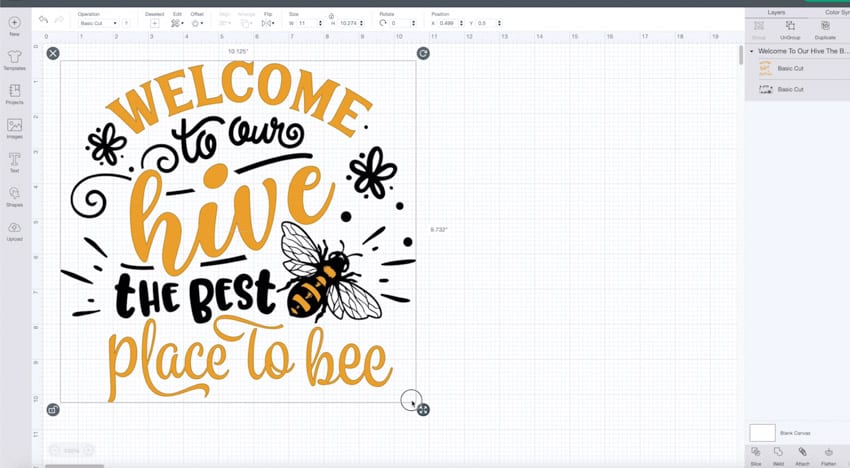
Prepping the Design for wood!
I found my design on cricut design space. And got it cut on some stencil vinyl. This was mistake #1 because this vinyl doesn’t have the best adhesion. If I were to re-do this I would definitely use permanent vinyl or something similar.
Once my design was cut I weeded it.
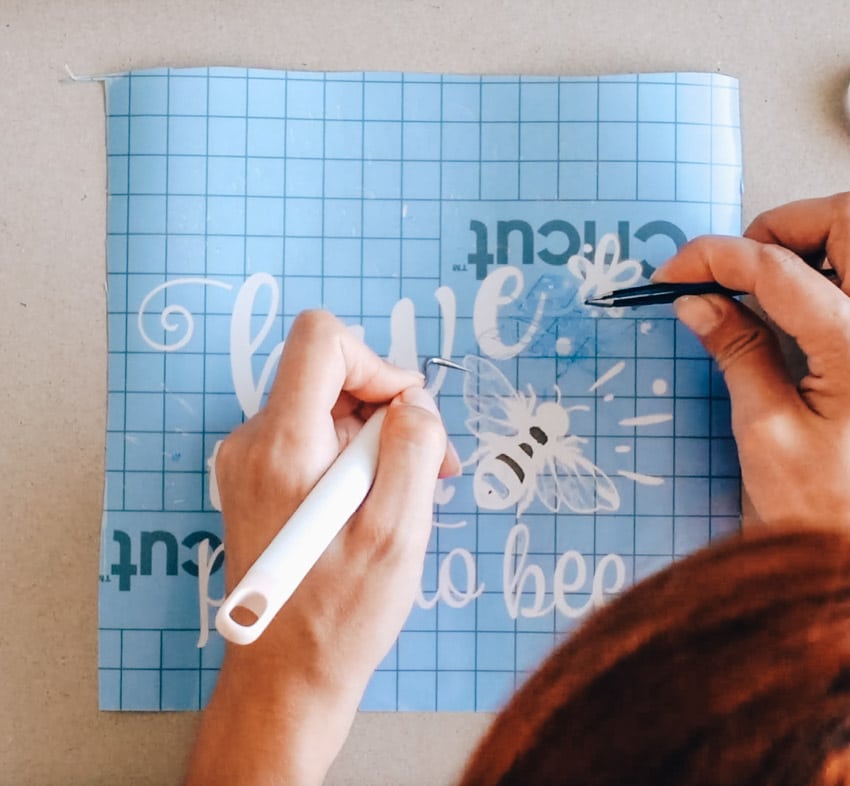
Okay next I applied some transfer tape to the top of my design. Make sure you use heavy duty transfer tape. I had a really hard time with the regular transfer tape not sticking to it the stencil vinyl.
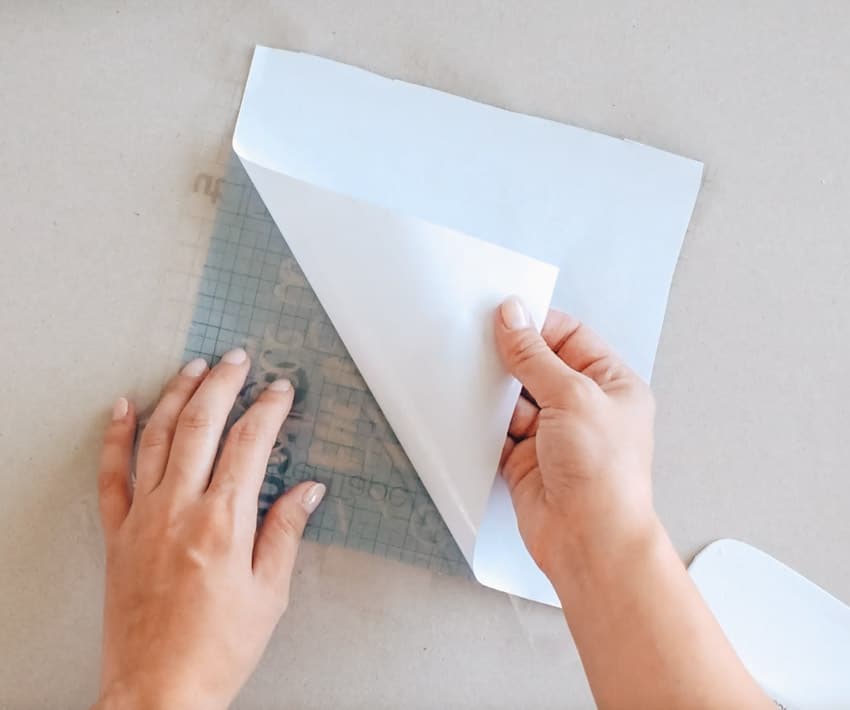
I then flipped my design over and gently pulled away the backing. Be sure to pull off to the side and not up. The works best in my experience. That’s it! You design should now be attached to the transfer tape. Now your design is ready for the wood!
HOW TO BURN THE DESIGN INTO WOOD!
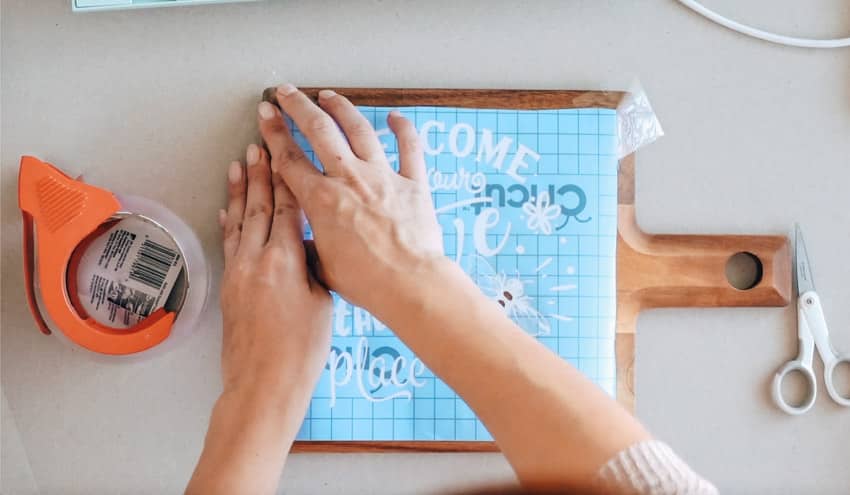
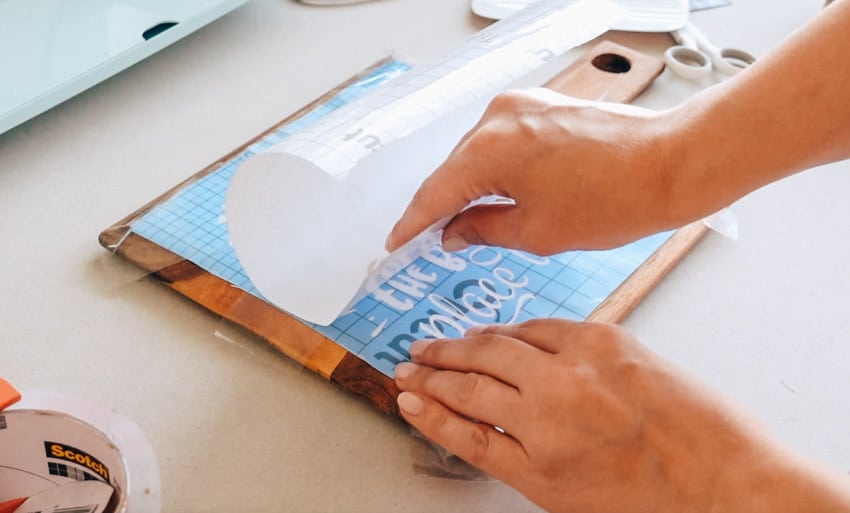
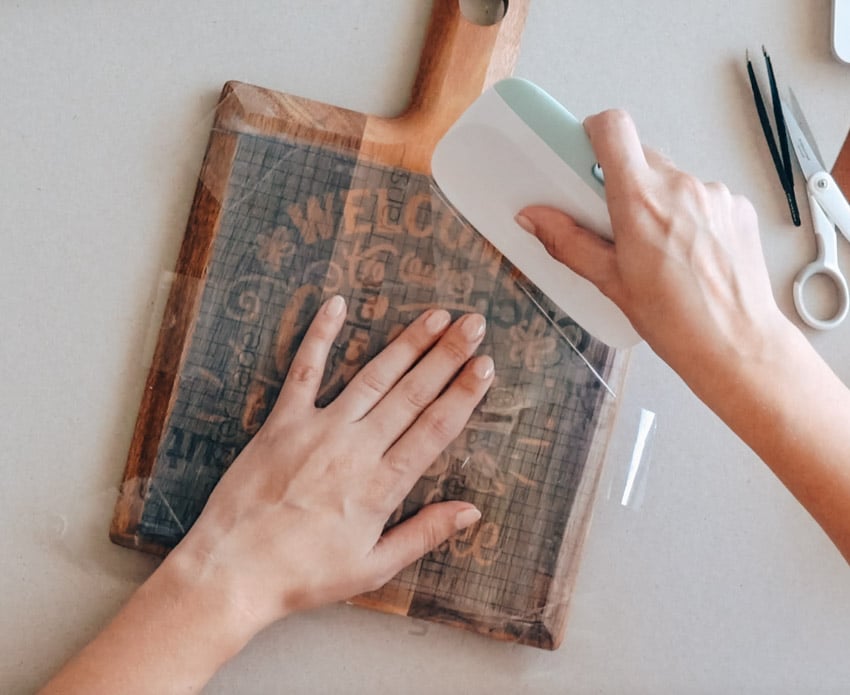
Now let’s add this design to your wood. I flipped my stencil sticky side down and made sure it was really secure. Just like applying a sticker. Then gently start peeling away the transfer tape leaving the design attached to the wood. If this sounds confusing I made a video you can check out here.
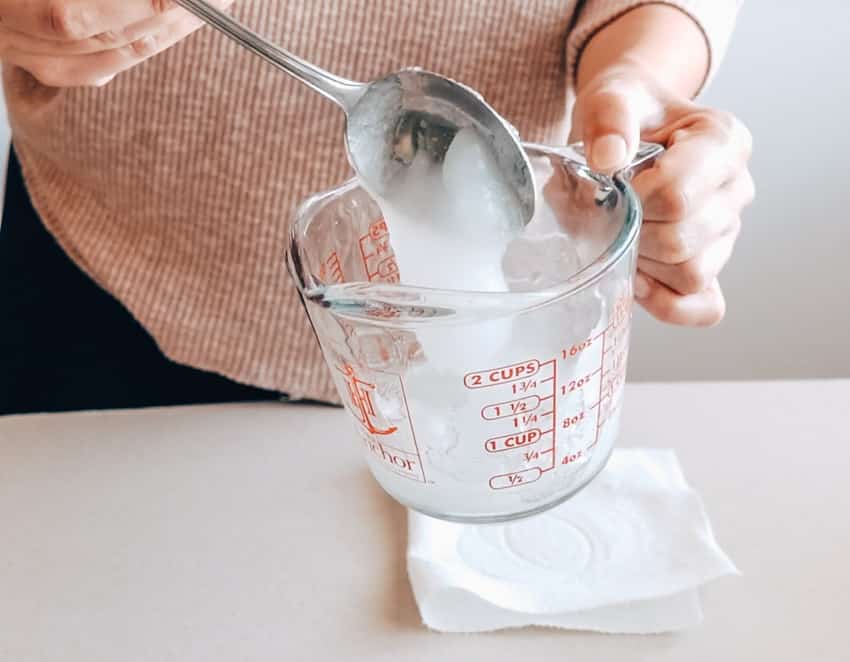
Making the Wood Burning Paste!
Okay now the fun part! You’ll need to combine the ingredients below to make a thick paste. Simply stir it all together with a spoon and within seconds it should thicken into a paste.
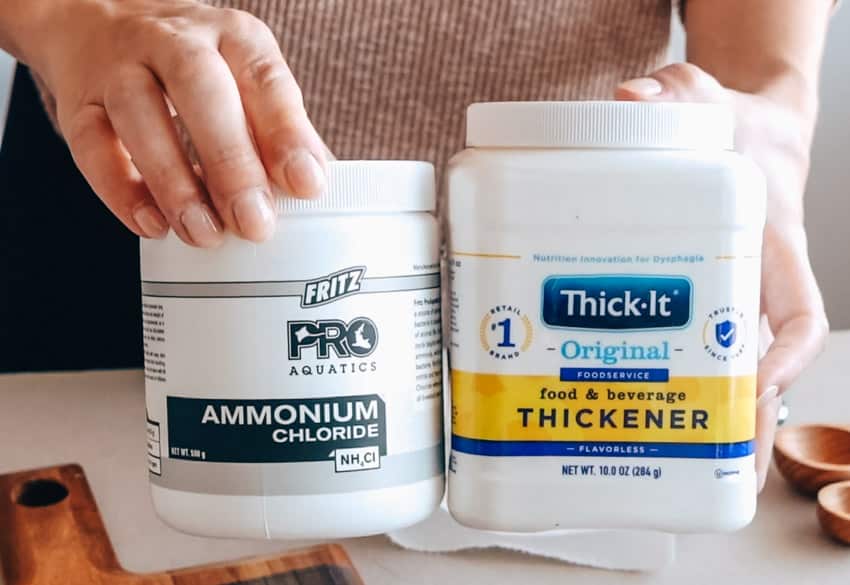
- 1 tbs of ammonium Chloride – https://amzn.to/3Bo3O43
- 8 tsp food thickener – https://amzn.to/3mG9aUd
- 1/2 cup of hot water
I got both my ammonium chloride and thick it on amazon.
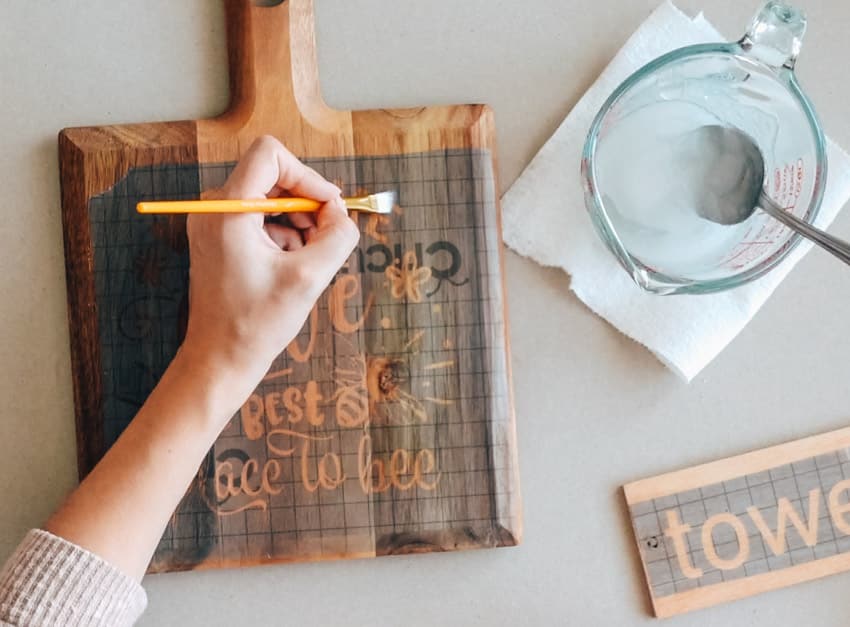
Now apply this paste onto your wood board where the design is. You don’t need to apply a thick layer. Just a nice and even layer.
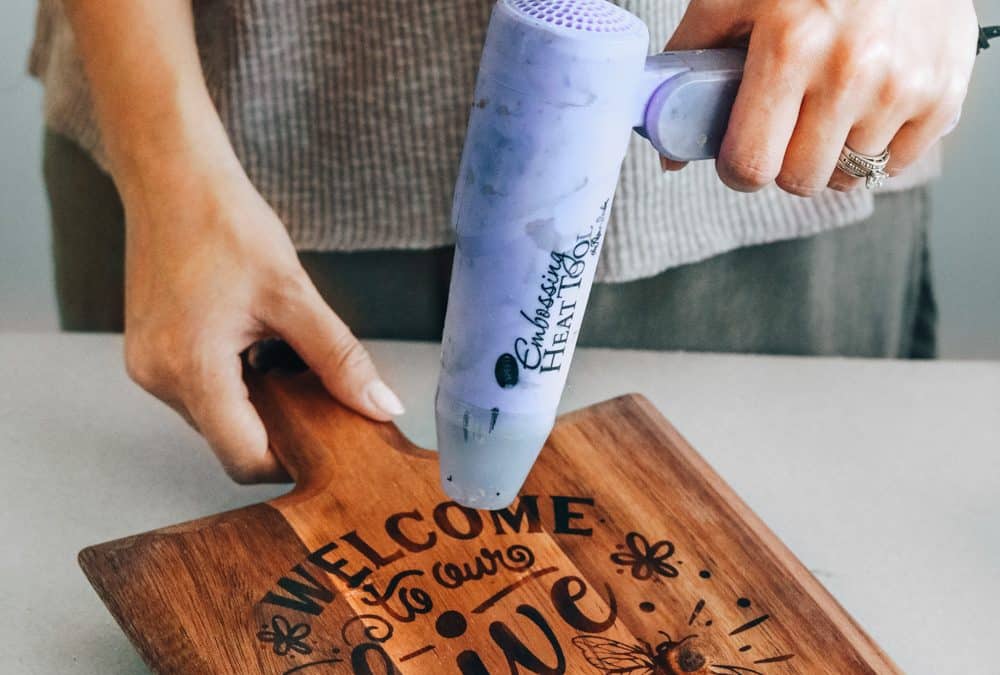
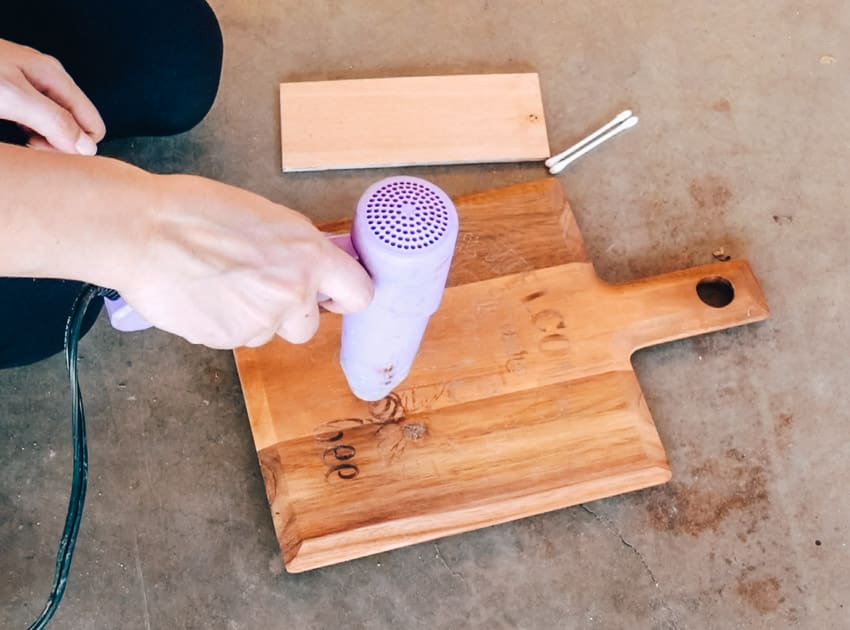
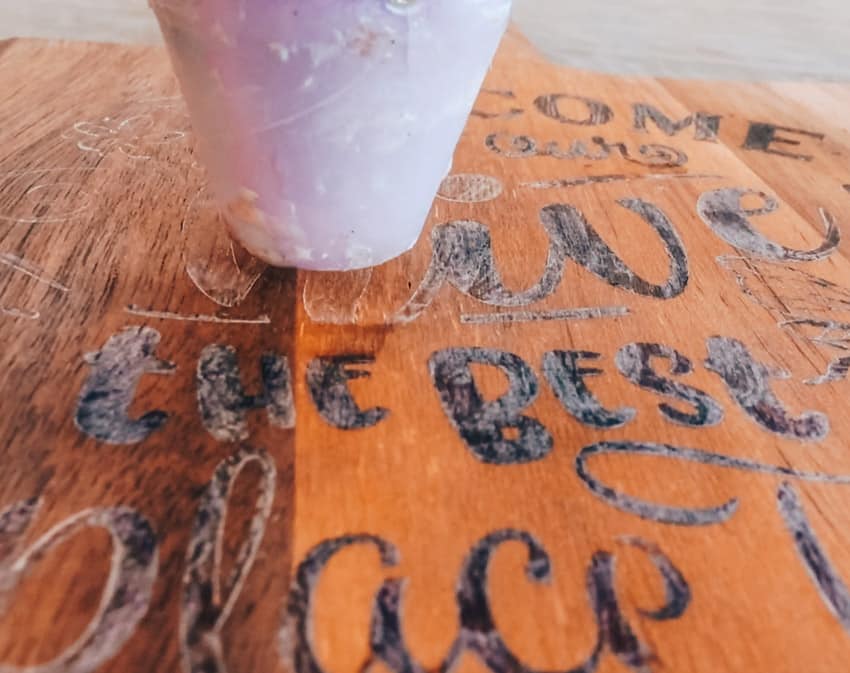
BURNING The design!
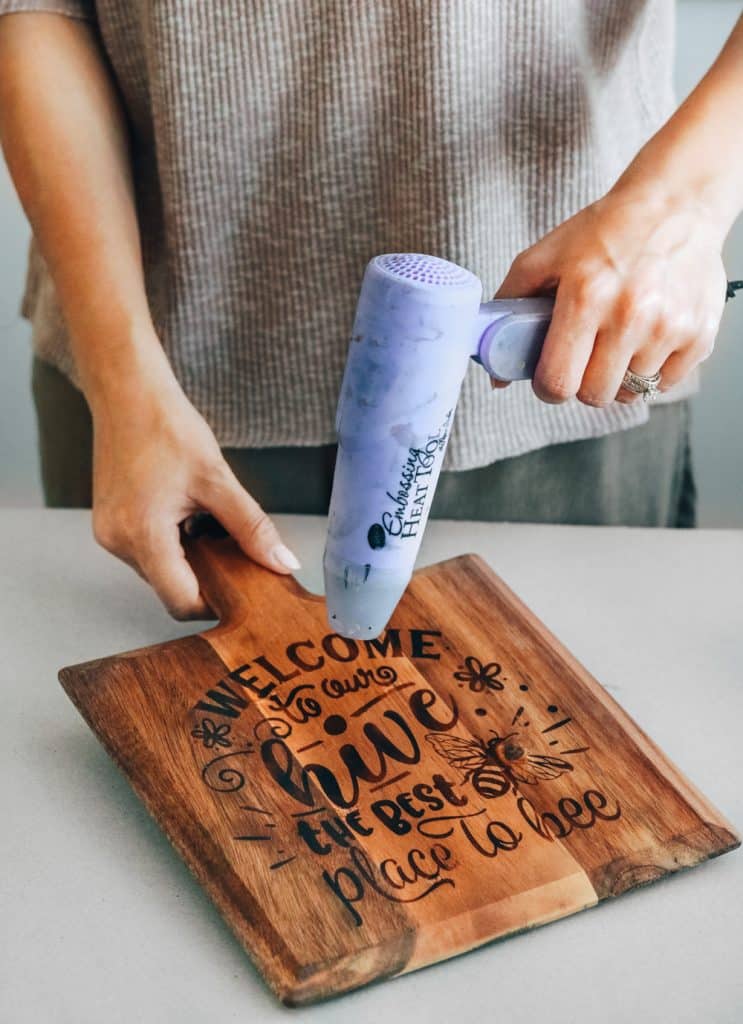
Let your paste dry all the way and remove your stencil vinyl. Then use a heat gun and hold it in place about 1/2 inch away to burn the designs in the wood. Careful don’t hold it too close for too long as it can actually burn dark spots in the wood. Depending on your heat gun this may take longer or faster. I have a cheap embossing heat gun so it took a bit longer.
That’s it! Isn’t it easy! I can’t imagine having to use a wood burner to burn this all out.
Here’s a video version of this DIY
Here’s how it looks! I LOVE IT! Perfect to make custom christmas gifts or birthday gifts!
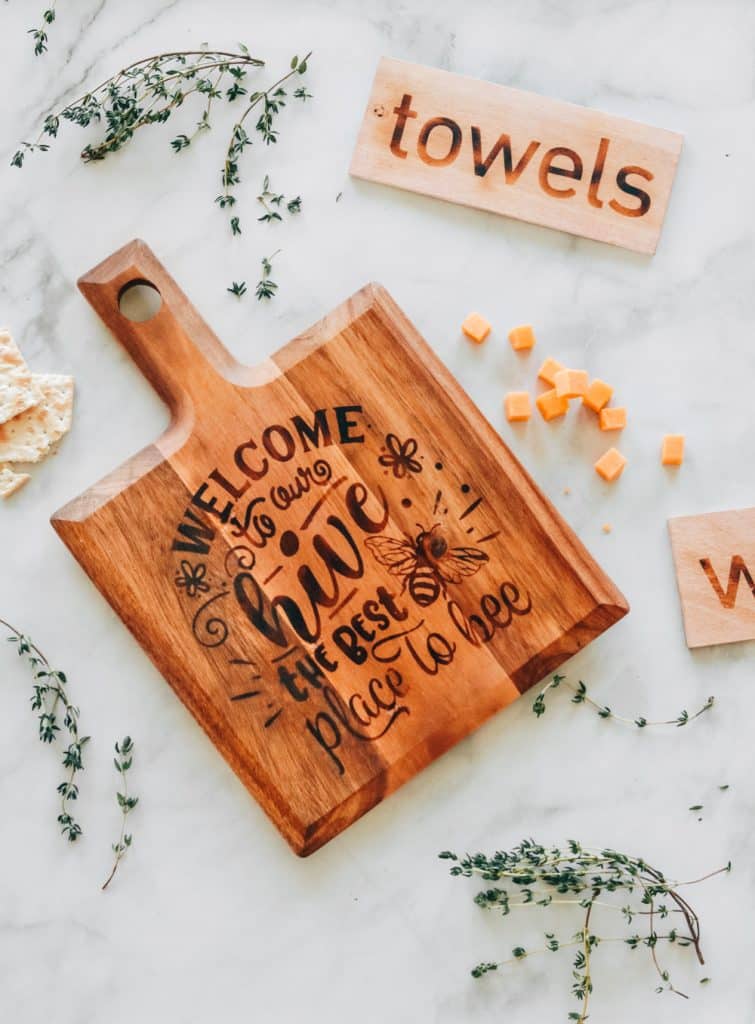
that’s all for today!
LOOKING TO KEEP YOUR TODDLERS BUSY WHILE YOU CREATE?!! TRY THESE
🐞 Tired of “I’m Bored”? Try This Montessori-Inspired Nature Busy Book
Snag These FREE Alphabet Printables – Easy, No-Prep, and Super Fun!
15 Toddler Printable Activities for Rainy Days and Quiet Mornings
xx,
Lily
No Results Found
The page you requested could not be found. Try refining your search, or use the navigation above to locate the post.