Rustic Succulent Decor
Succulents have been all the buzz when it comes to choosing your houseplants. As I’m sure I’ve mentioned before I do not have a green thumb whatsoever and that’s why I’m super excited to share this DIY with you guys. If you’re like me and totally in love with succulents then this is a great home decor project that will stay green for years to come. 😀 No green thumb required.., and no one will ever know it’s not real.
What you’ll need
- masking tape
- Foam board (or heavy duty poster board)
- Hot Glue
- Spray paint (gray, black, copper )
- candle (or wax)
- succulents
- moss
- knife (razor)
- Foam 3/4 thickness (will need to be doubled)
- paper (newspaper)
- plastic bag
Let’s do this
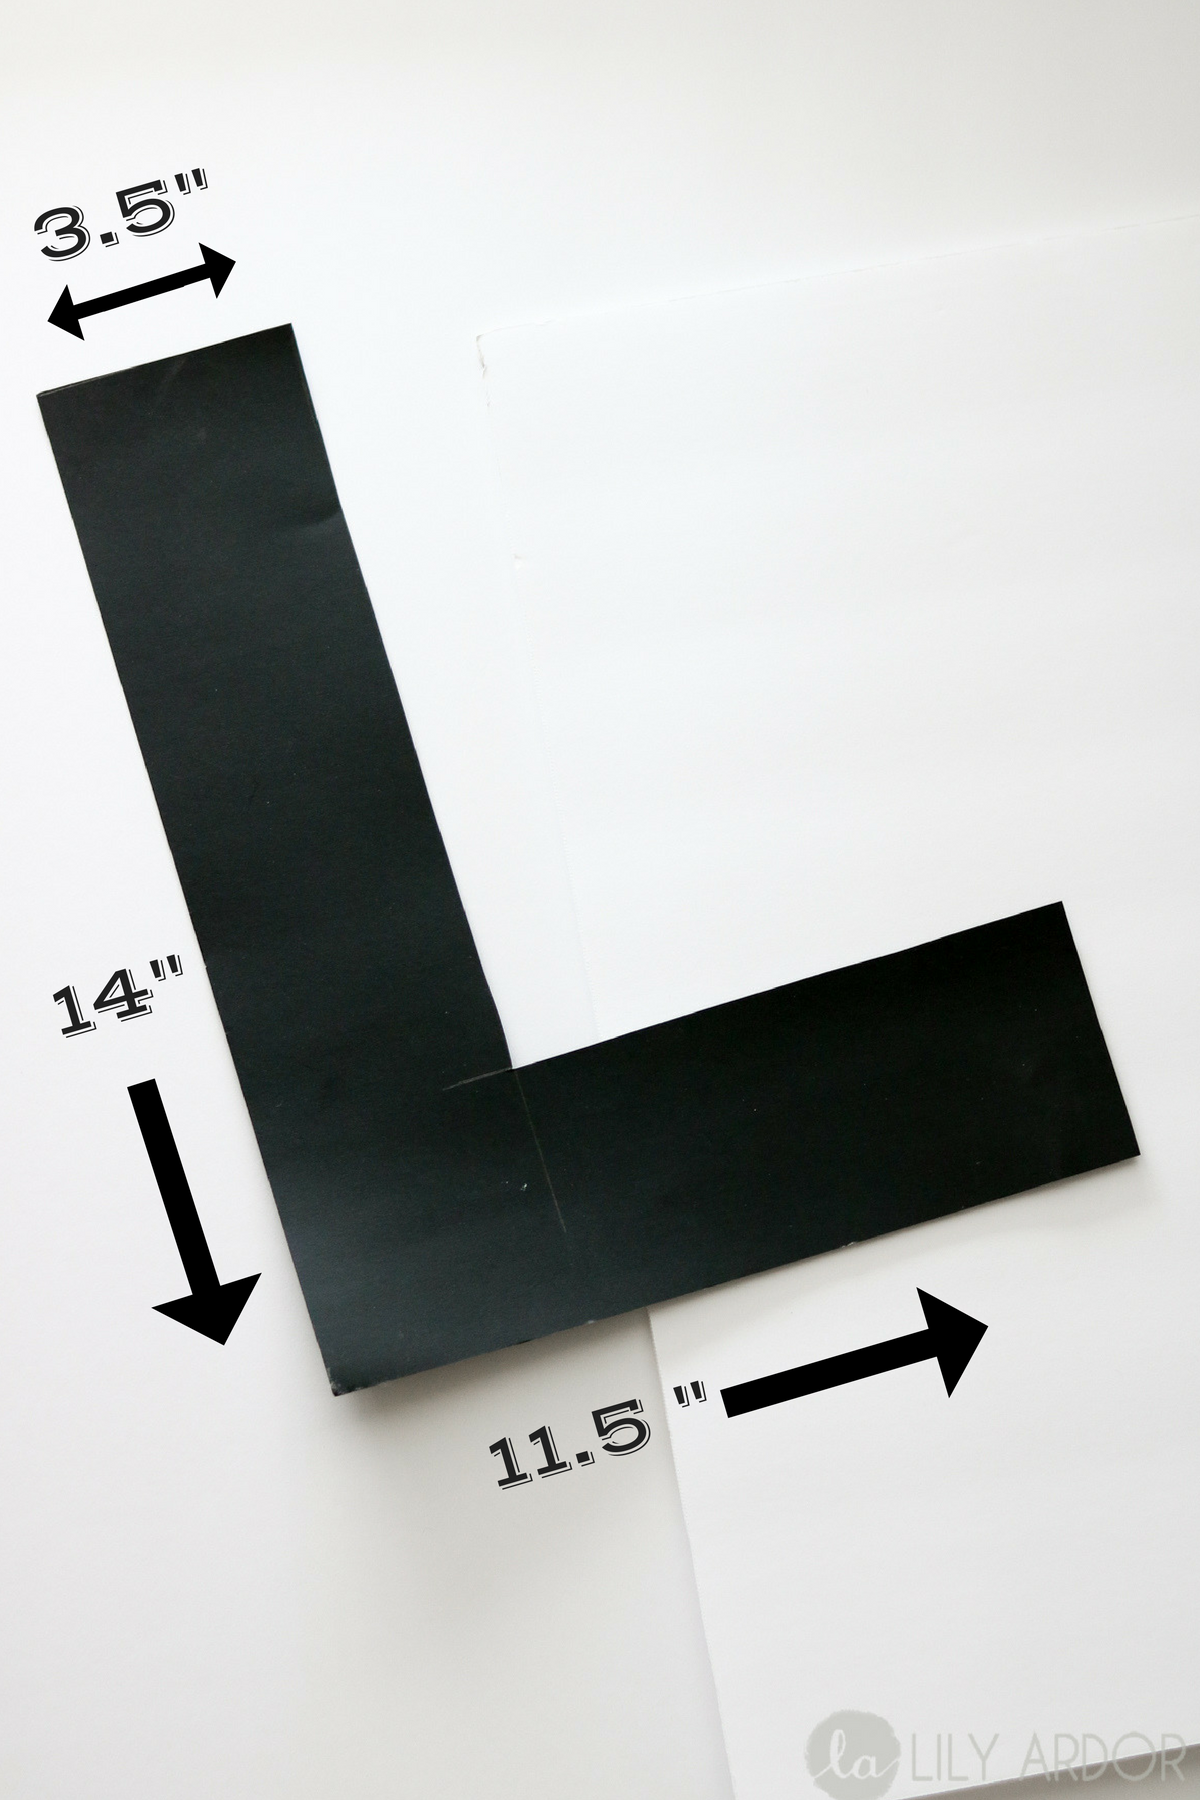
For the first step you’ll need to sketch and cut out the shape of your letter. This is only to use as a pattern. You can also print yours out if needed for this step. I used rulers to make my letter L . (you can see my dimensions in the photo below)
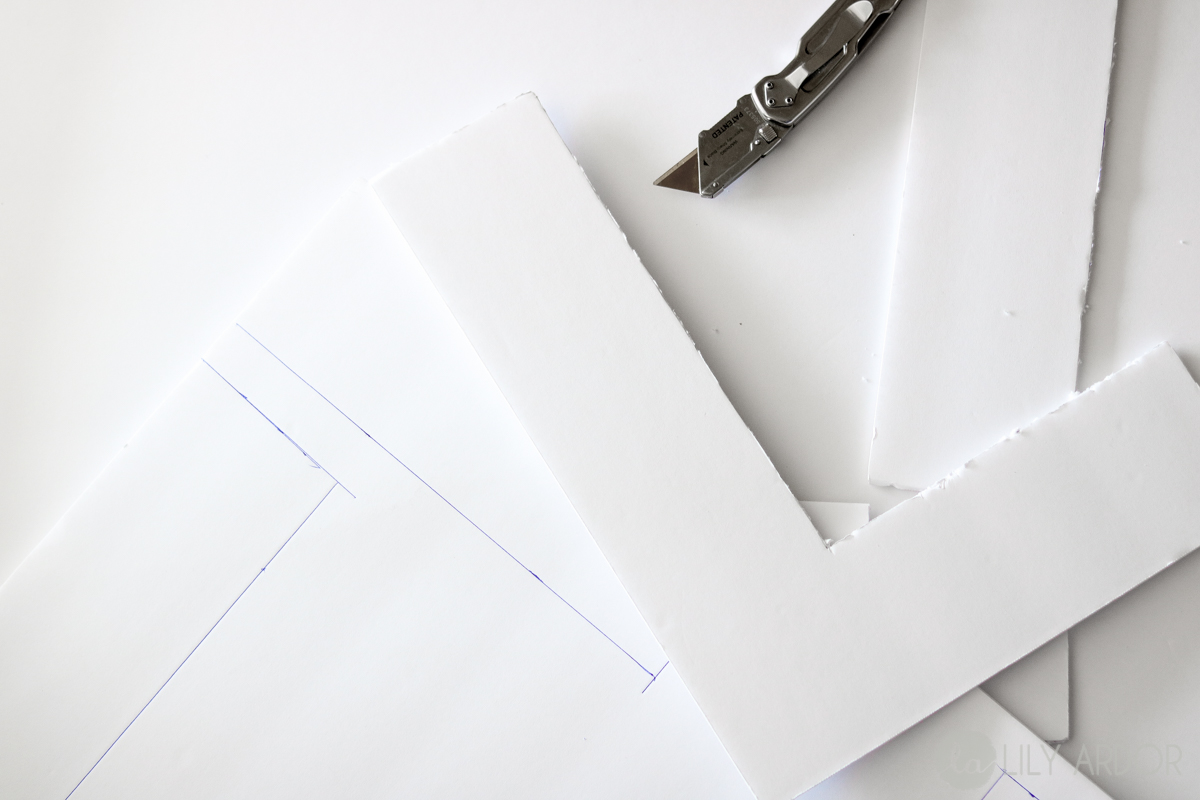
I used foam board to build my letter since the letter L has all straight edges. If you are making a letter with curves like a letter S for example then you will need to use heavy duty poster board to make it 3D. I cut out all my pieces for my letter and it measured 3 inches in height.
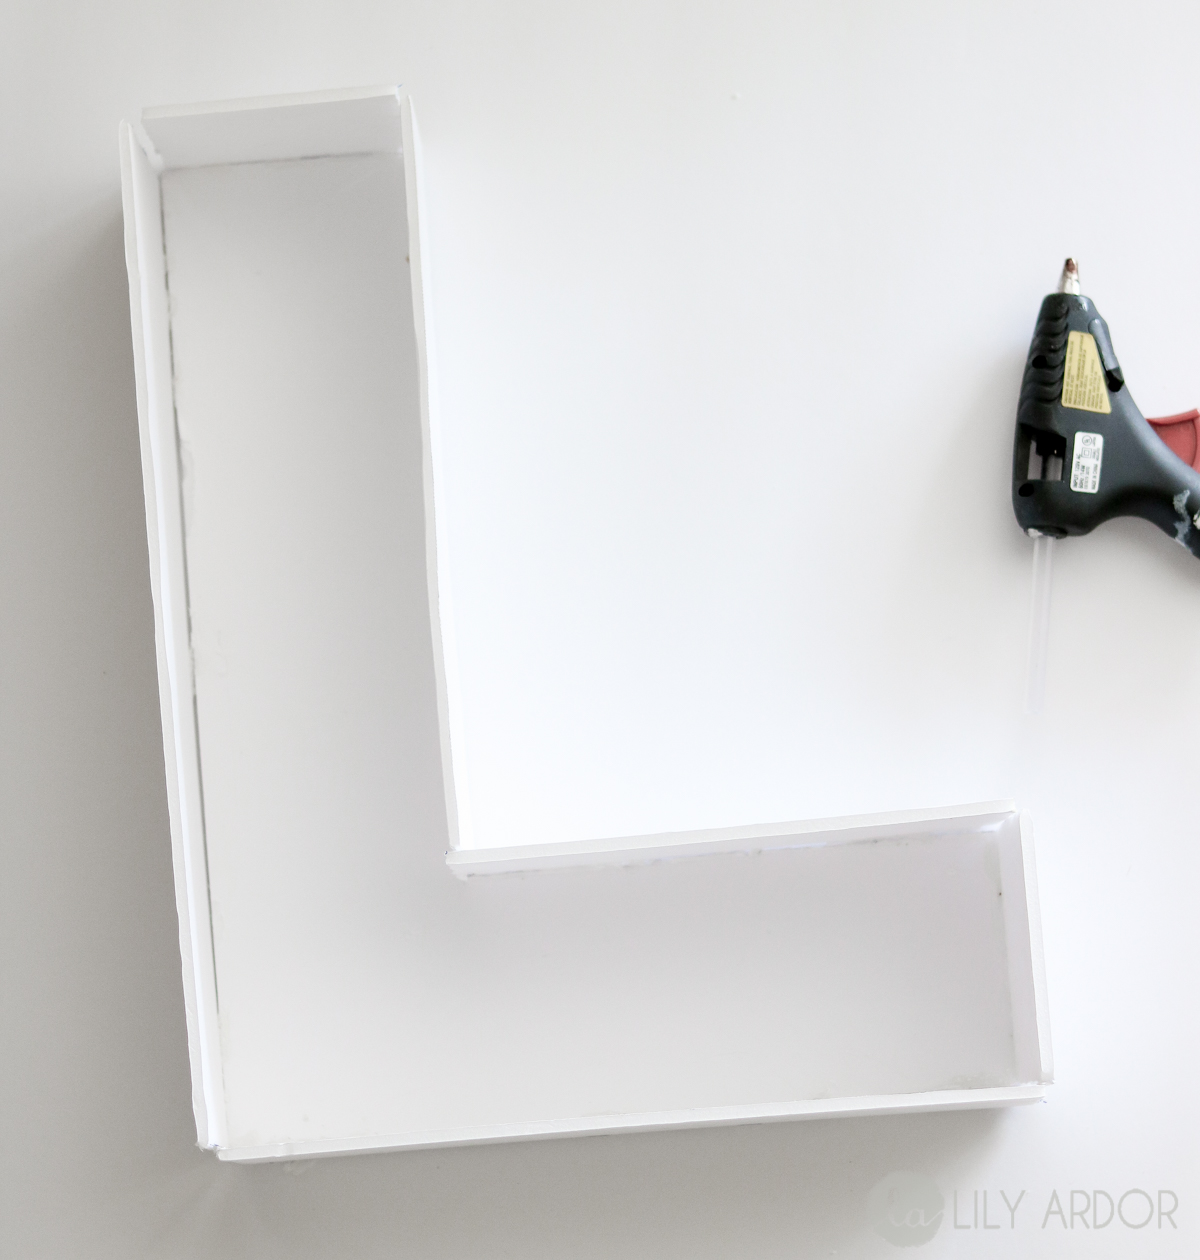
Then I used my handy good ol glue gun to secure the pieces together. This doesn’t need to be perfect and you do not need a lot of glue. Just enough to hold the walls up. 😀
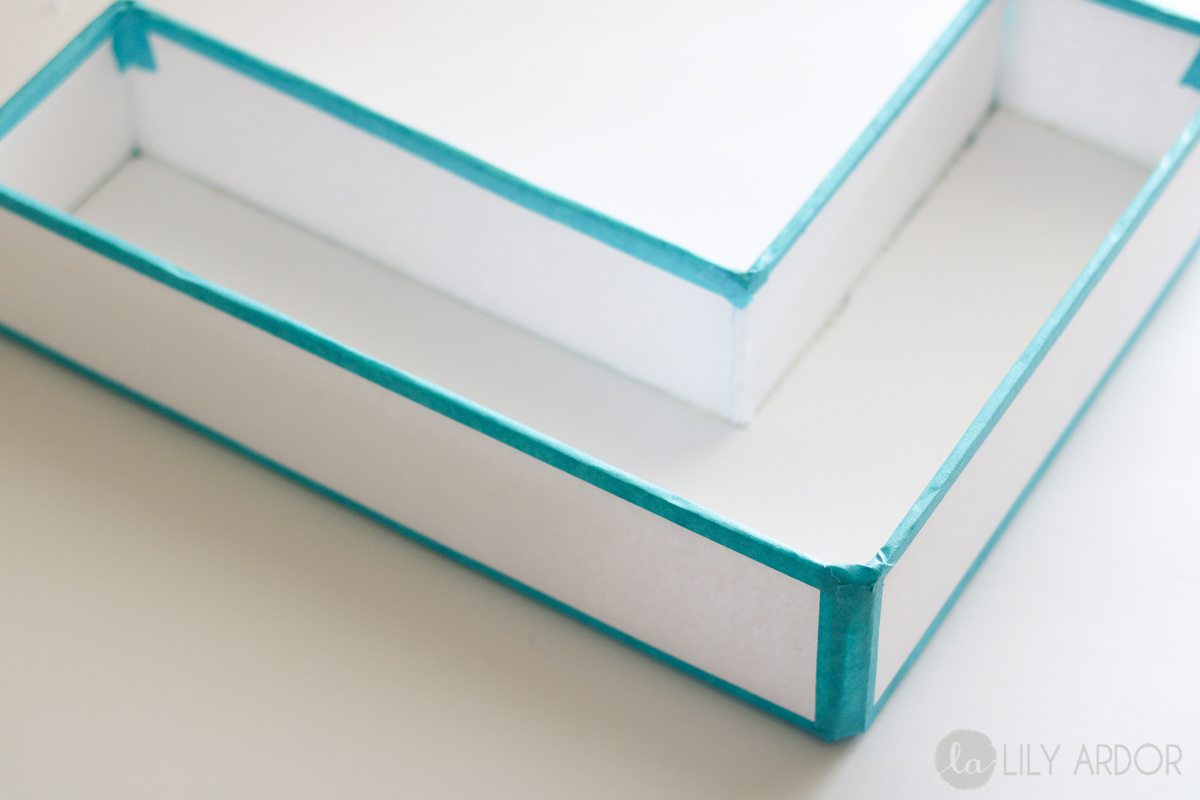
This is where our masking tape comes in handy. You will need to tape all your edges with masking tape to cover the rough edges.
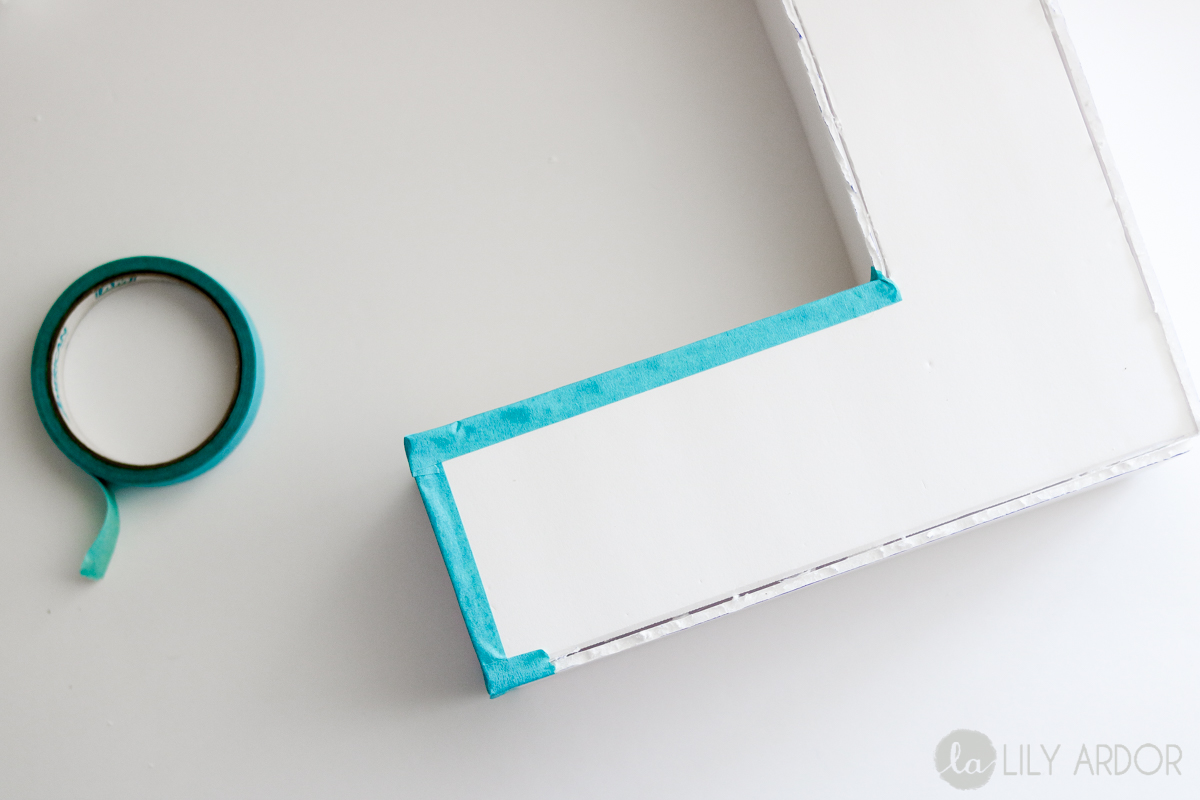
Like this don’t forget the top too. 😀
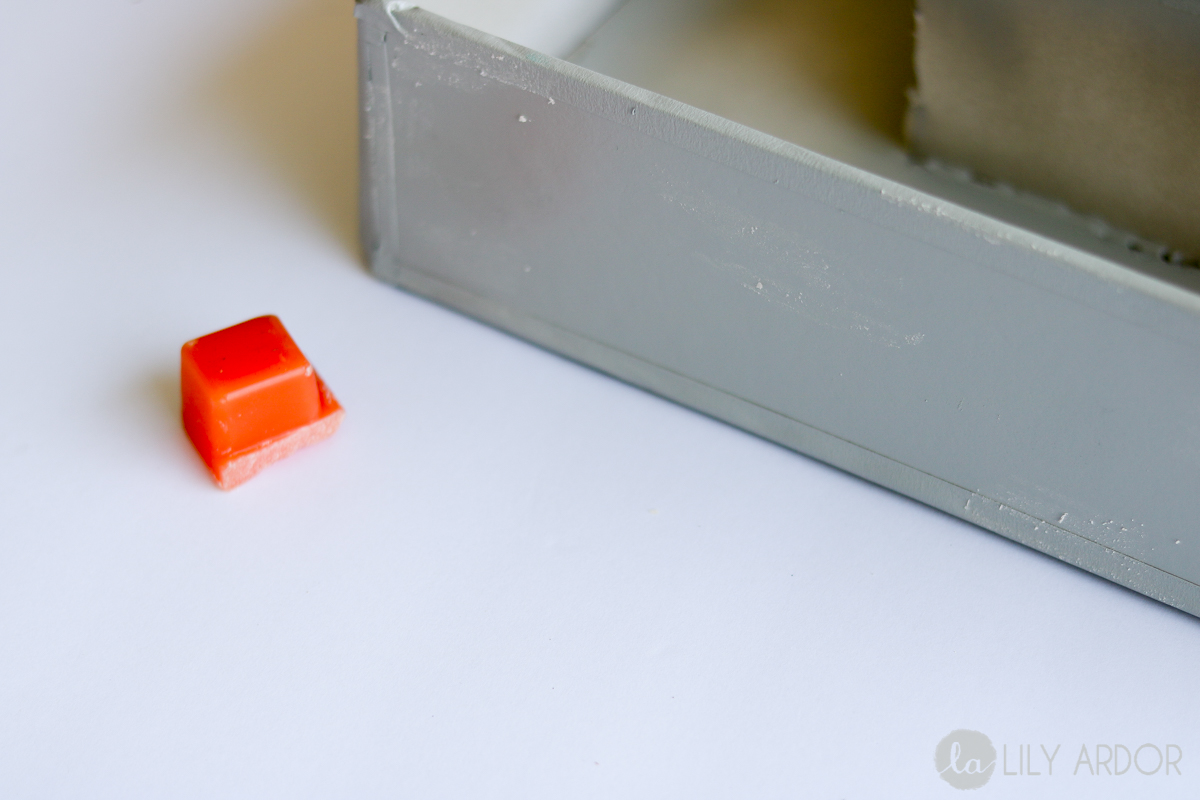
Then you will need to spray paint your letter gray. I used rustuleom “stone gray” in the satin finish. I gave it two coats. This might not work with flat paint so I would recommend to stick with satin finish. (if your doing this technique on something else keep in mind the surface needs to be smooth in order for this to work)

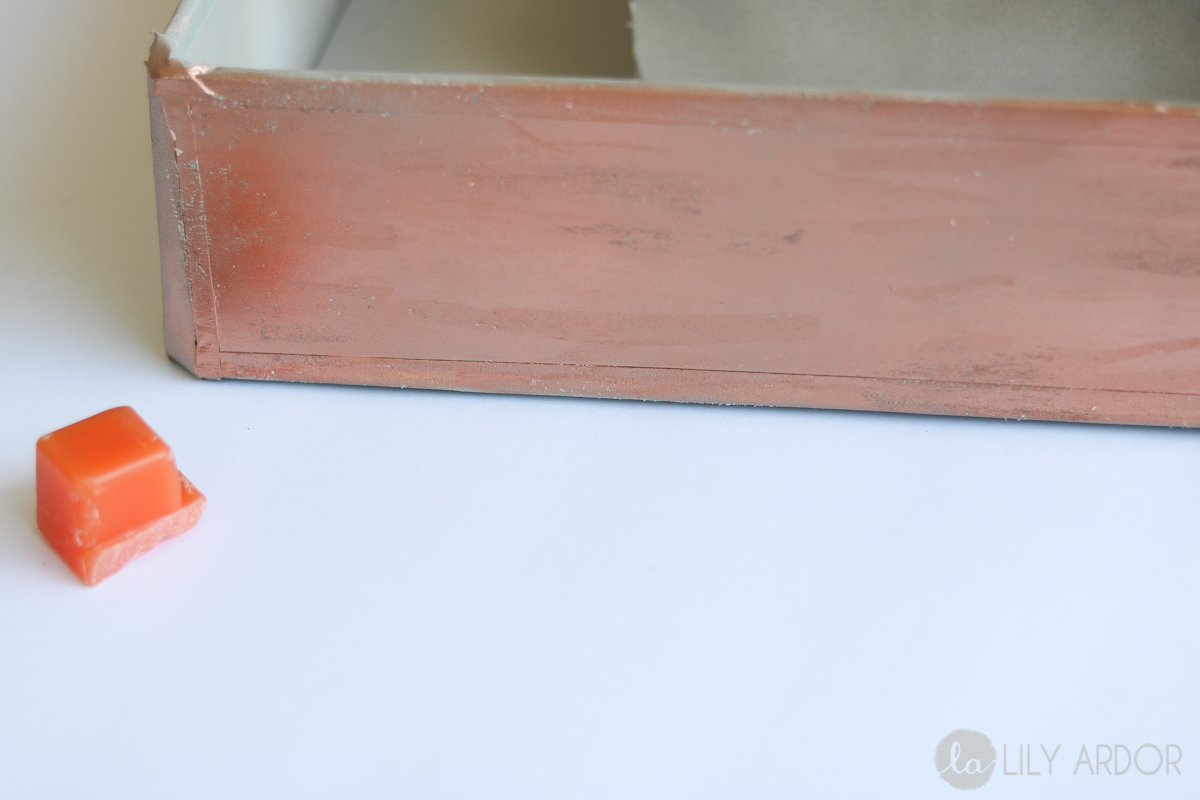
Okay this is where it gets exciting. Take your wax or candle and spot rub it onto the letter focusing around the edges. Just a few spots here and there. I would stick to three spots per side..
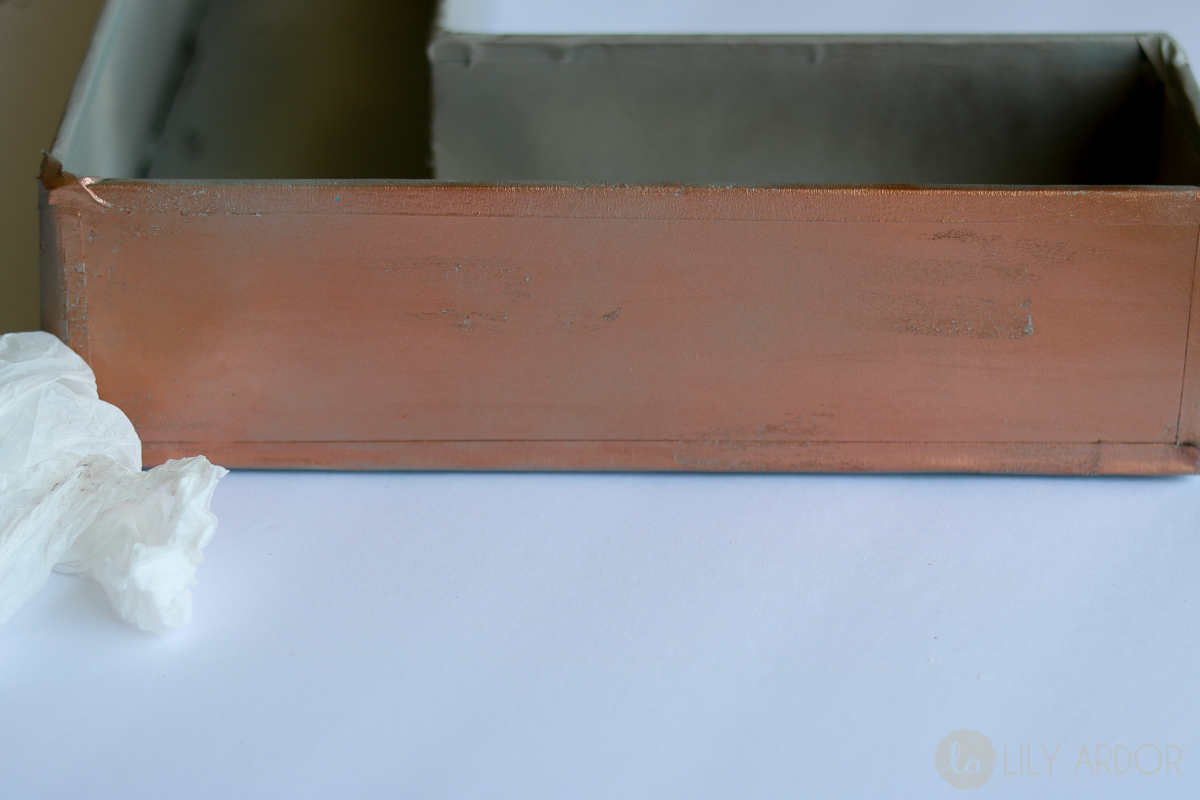
Then your going to take your copper and give it a very light coat.
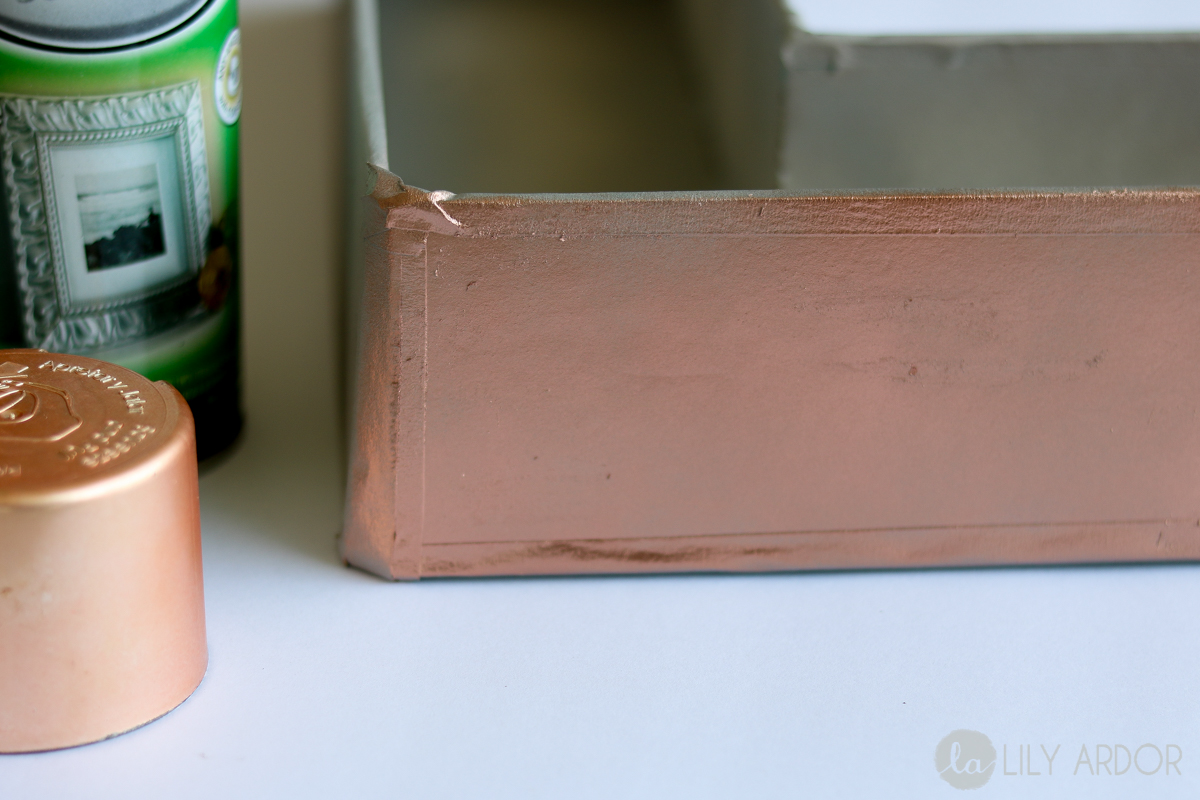
The paint should almost immediately be dry. Then take your recycled grocery bag and rub the surface. Where ever you had applied your wax the paint should slightly come off.
After roughing up the copper you will go ahead and apply your wax once again. This time a little more then before. You can apply a little in the same spots as you did before and all around the edges. Don’t be neat the messier the better and don’t be scared.. I would probably do 4-7 wax spots per side for this step.
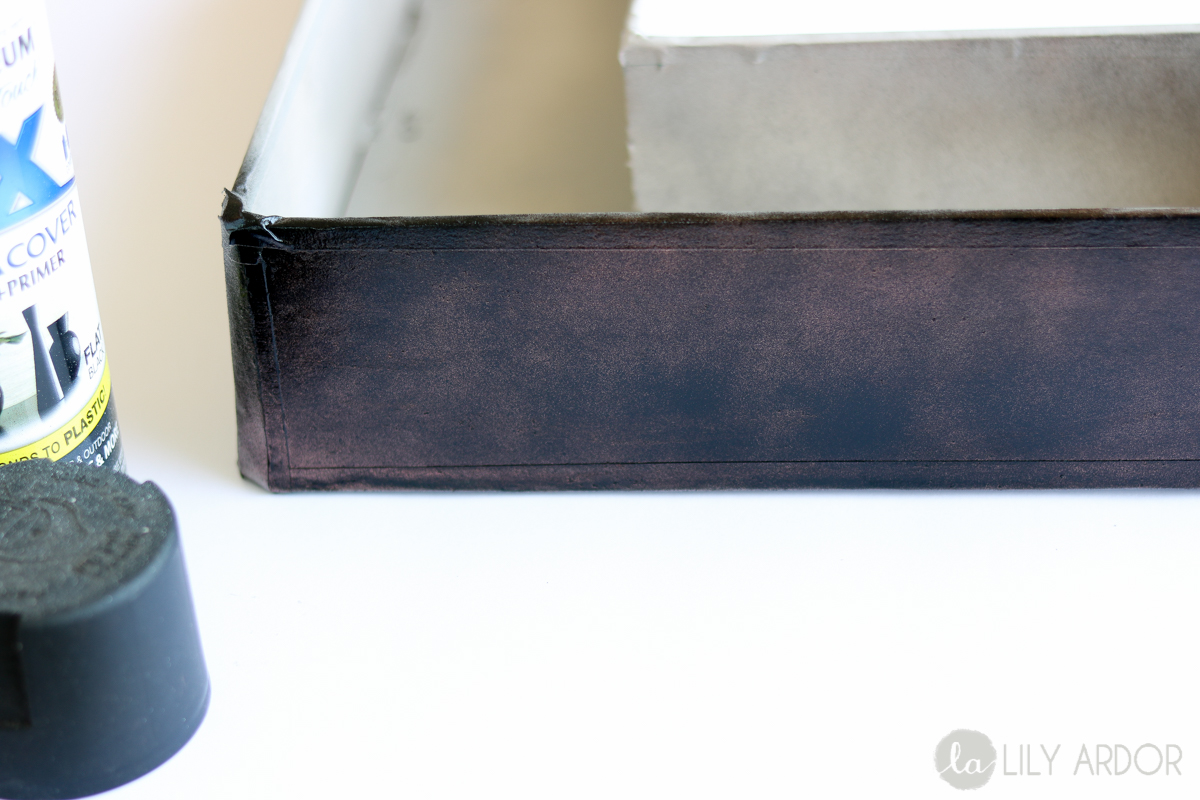
Then give it a thin coat of Black paint.( I used flat black rustoleum) It’s okay if it’s a bit see through. That’s what were aiming for. We are working with thin coats to create texture and contrast. That’s how you’ll achieve that pretty rustic patina.
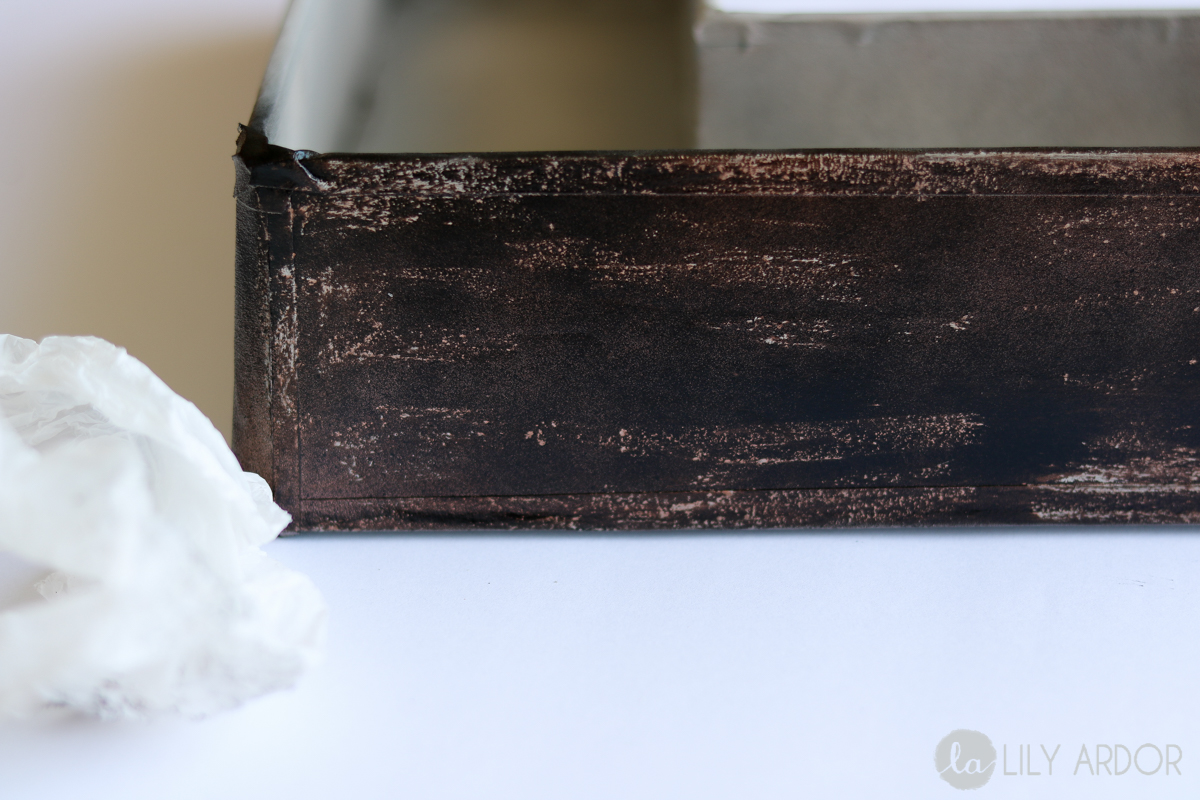
And for this last step. Once again take you recycled grocery bag and dab away the black paint. ( I also did wiping motions) If it’s to wet wait a little. The paint needs to be tacky enough for this to work but not too wet. If you dab your plastic bag and to much is coming off then wait another 30 seconds and try again.
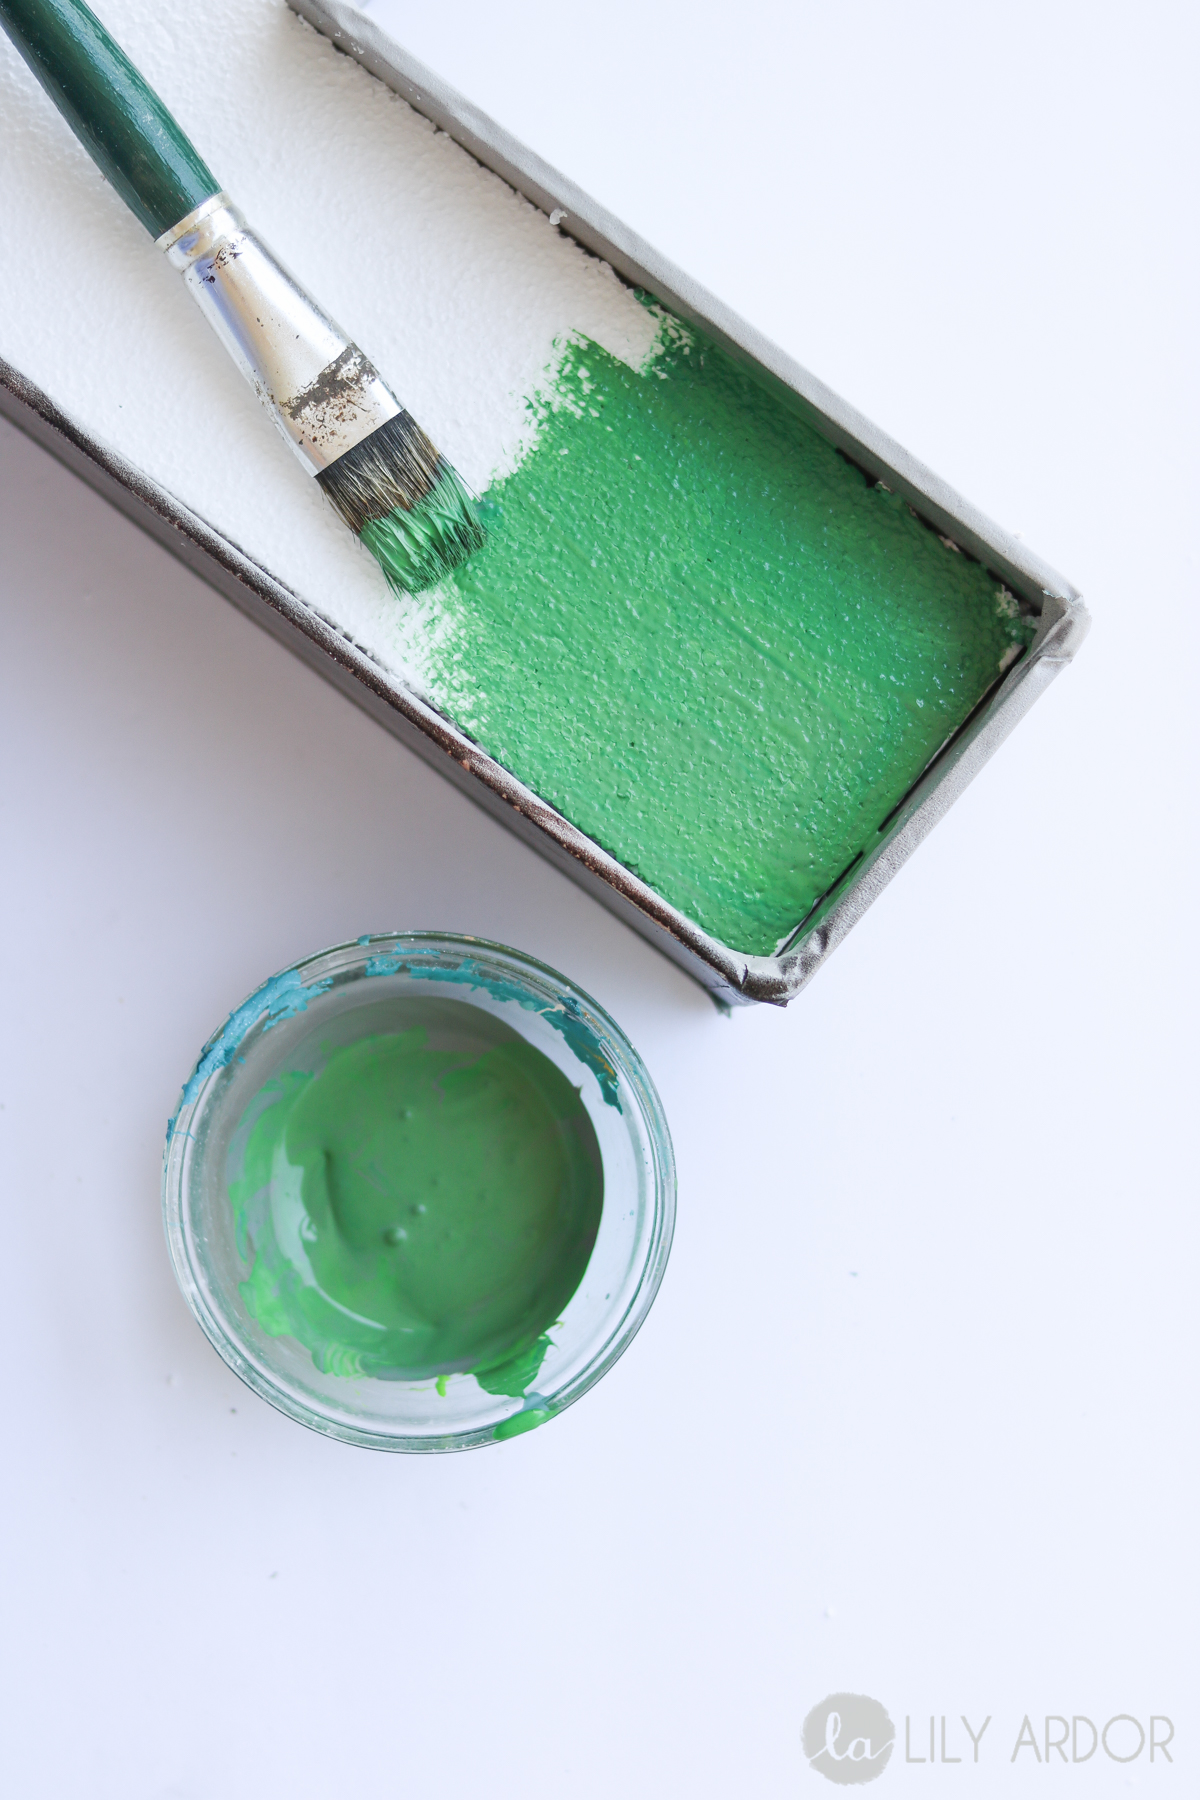
I cut my foam to fit right in and doubled it. The thickness of my foam was 3/4″ each. If you’re not using the same dimensions as I am then make sure the walls of your letter stick out at least 1″ above the foam. Then I painted my foam green.
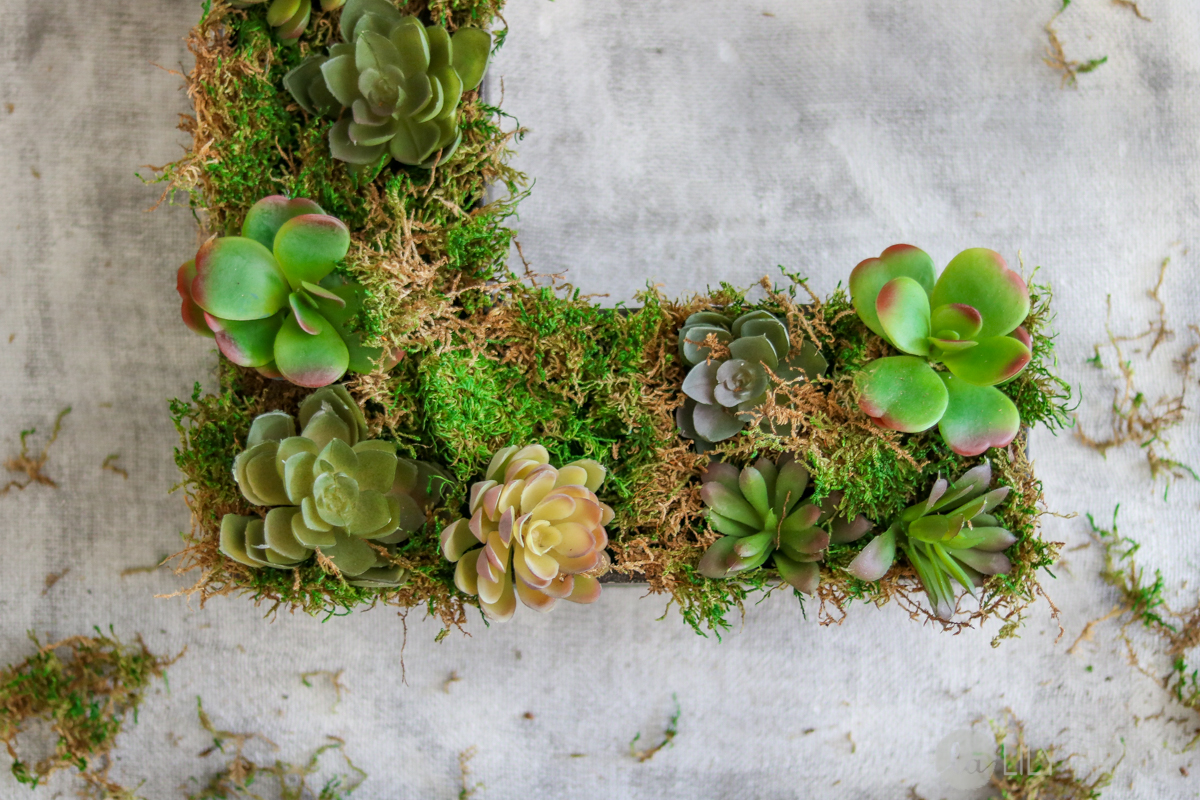
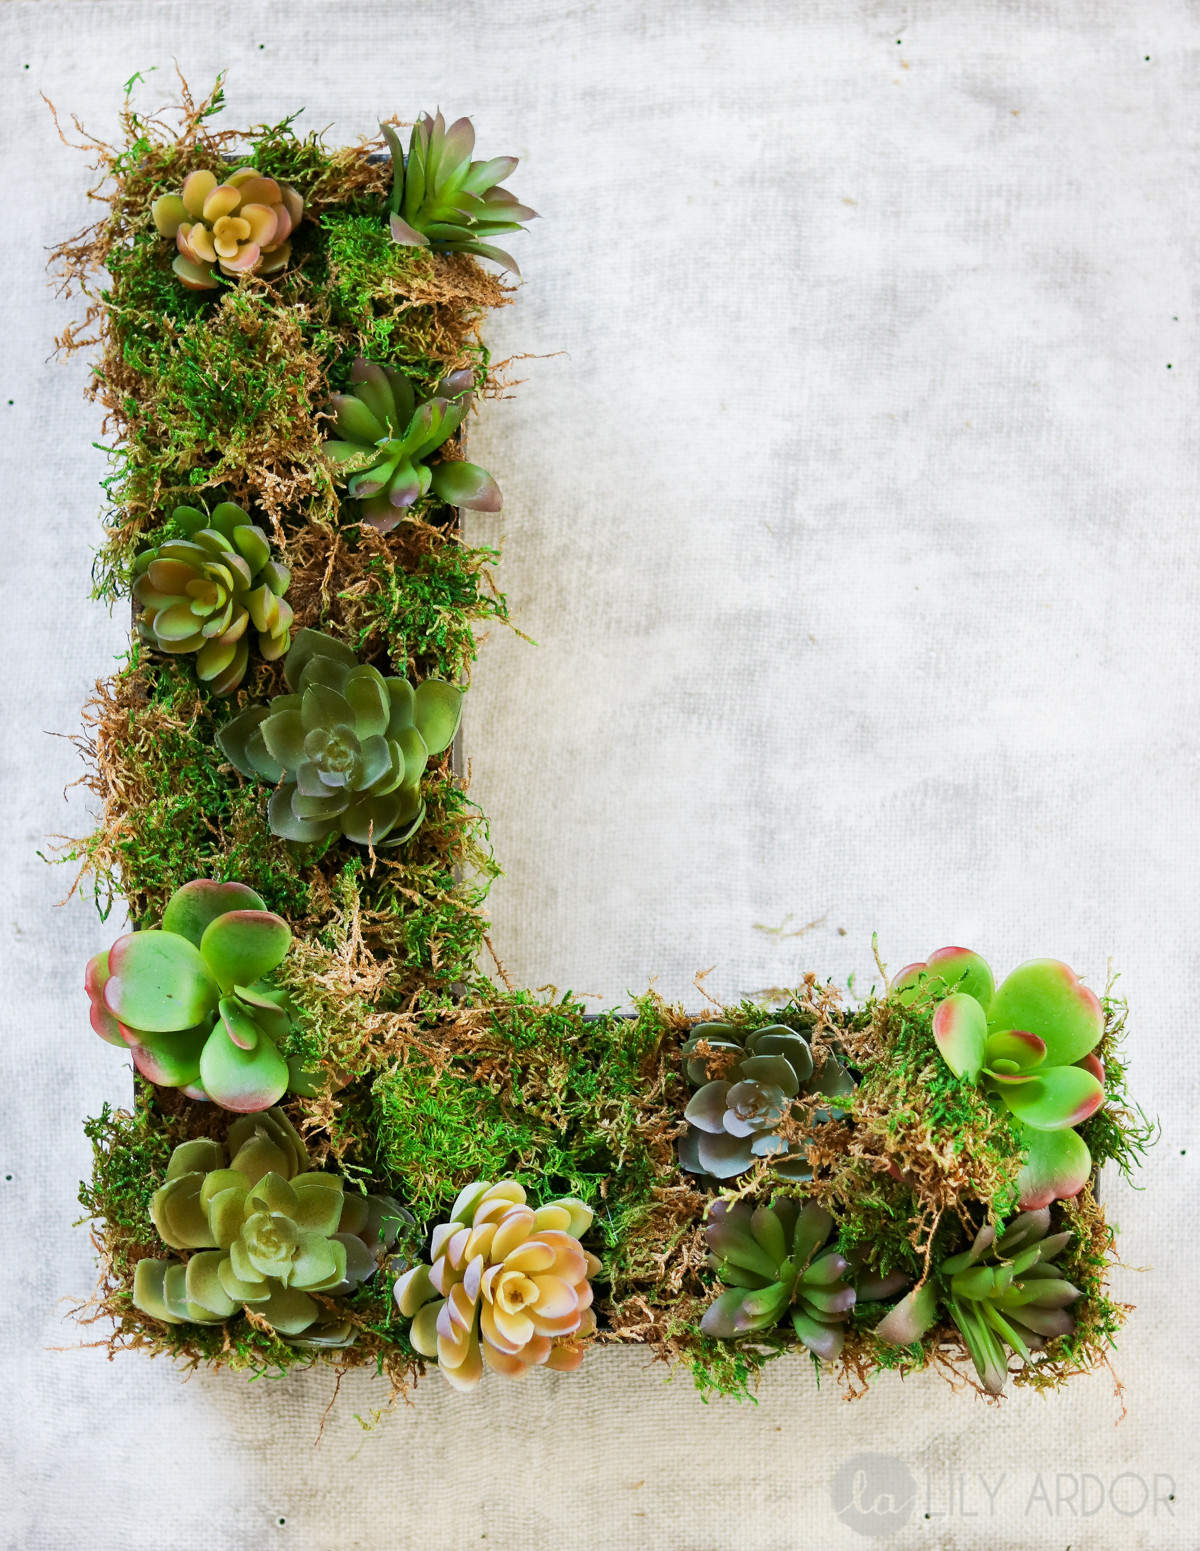
I purchased my succulents and moss at Micheals Crafts Store. I snipped my succulents and arrangement them on my letter first. Then I hot glued the moss into place to fill in the gaps. That’s it. 😀 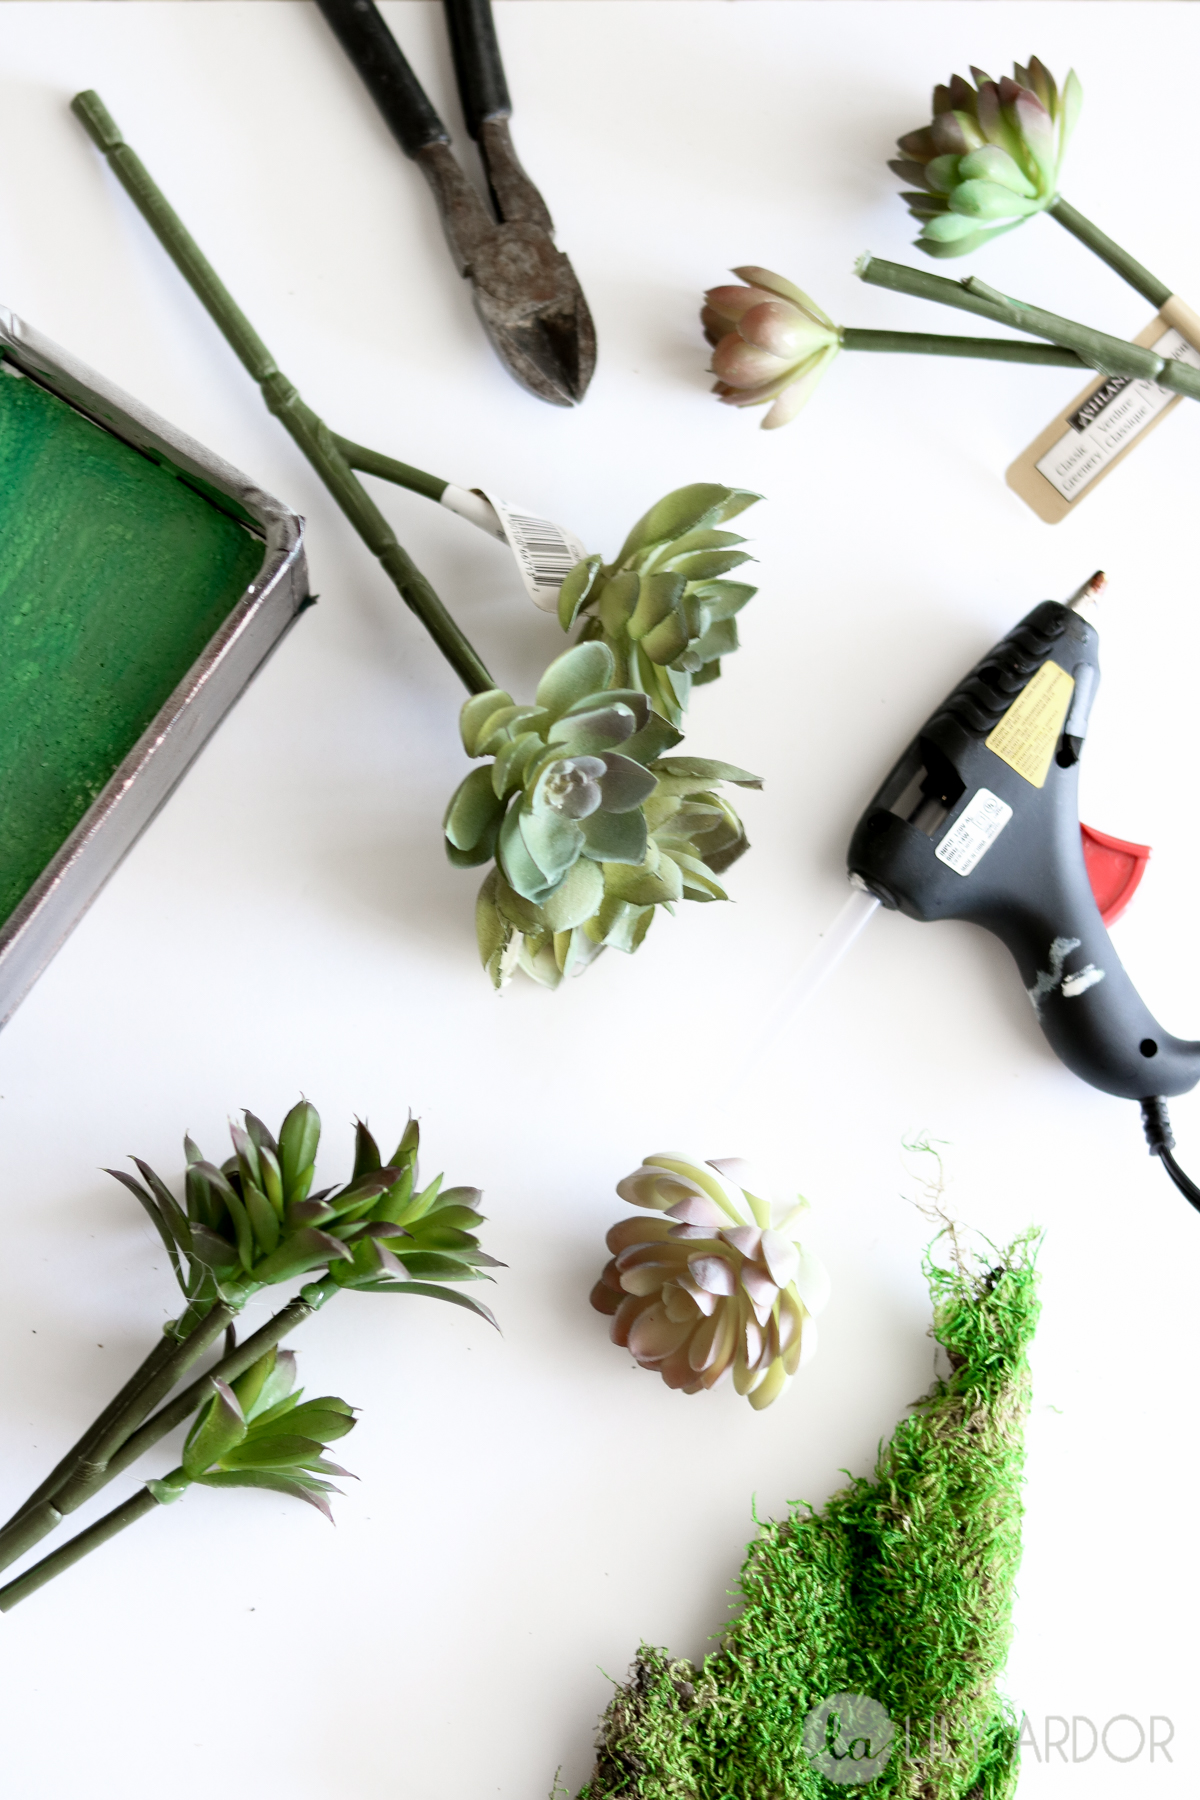 What do you guys think?
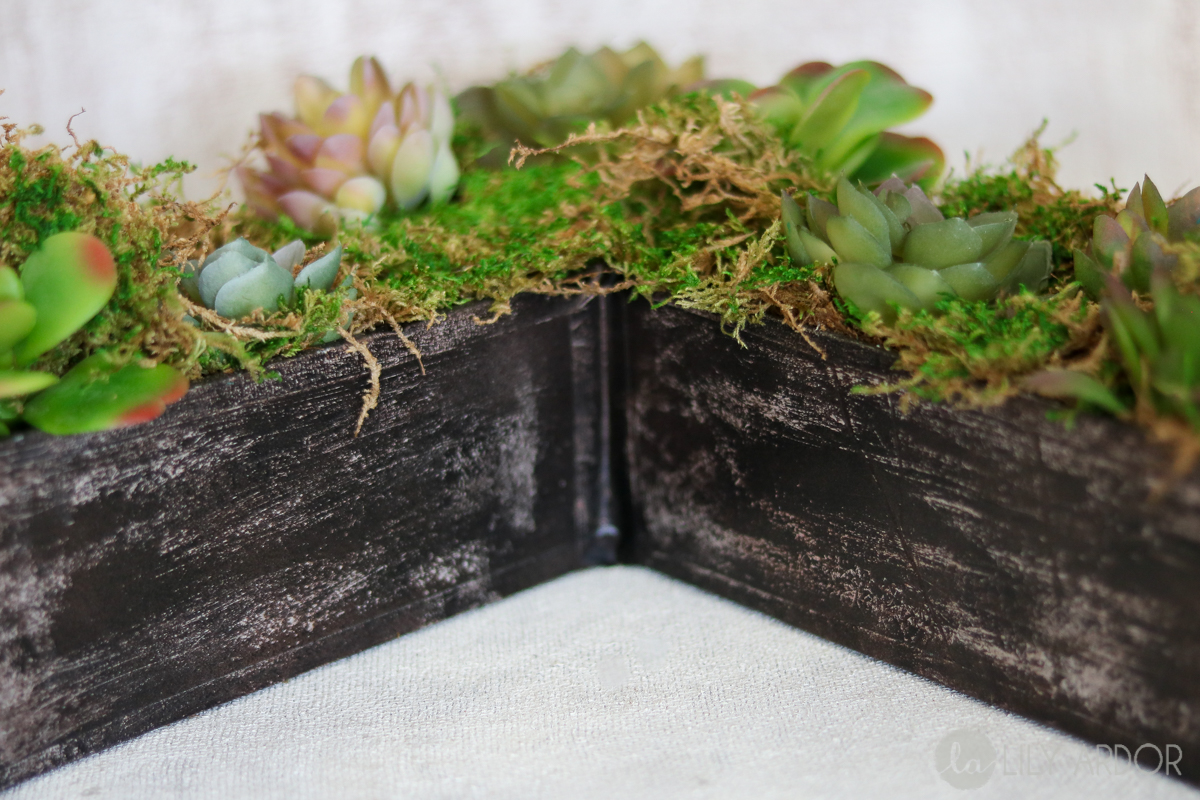
Here’s a close up of the rustic patina 😀
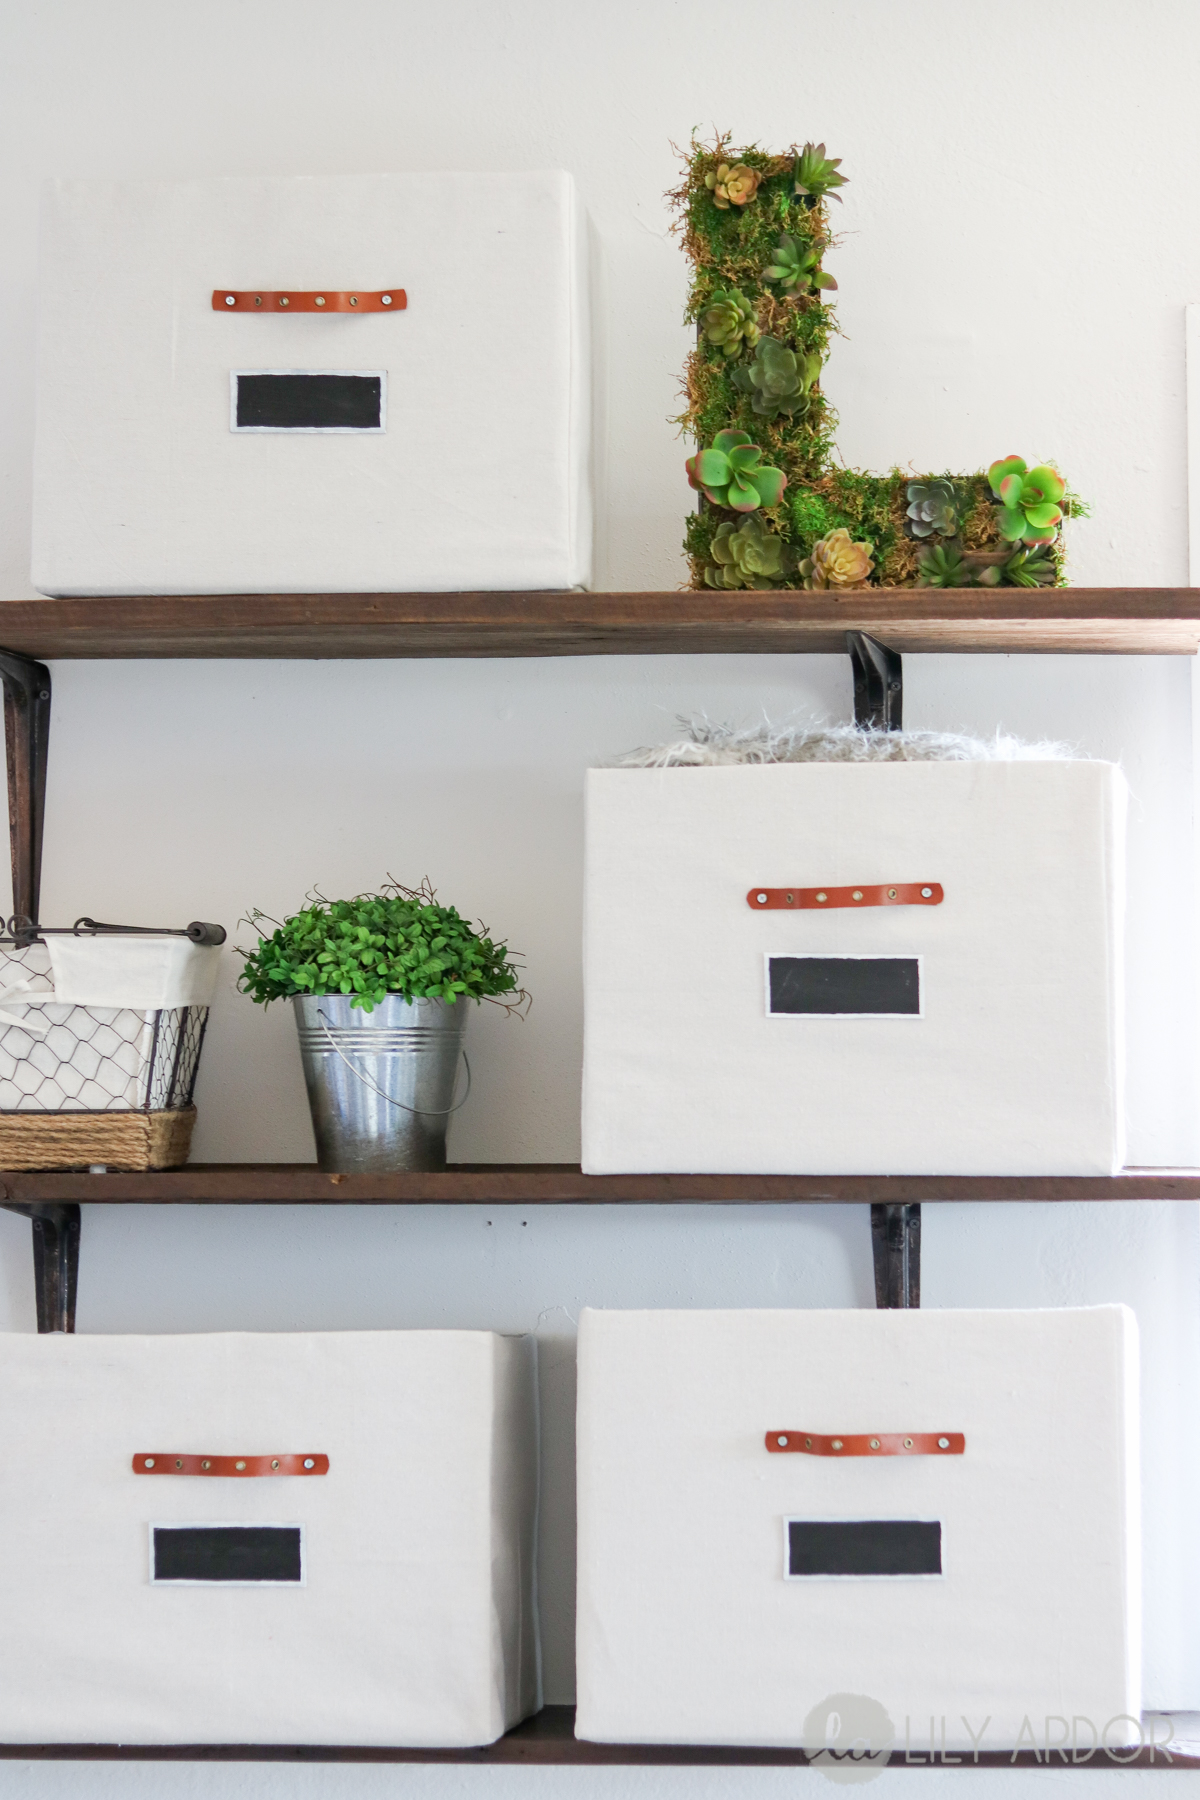
Here it is on my craft shelf. 😀
Here’s a snippet to show you how the tape looks. 😀
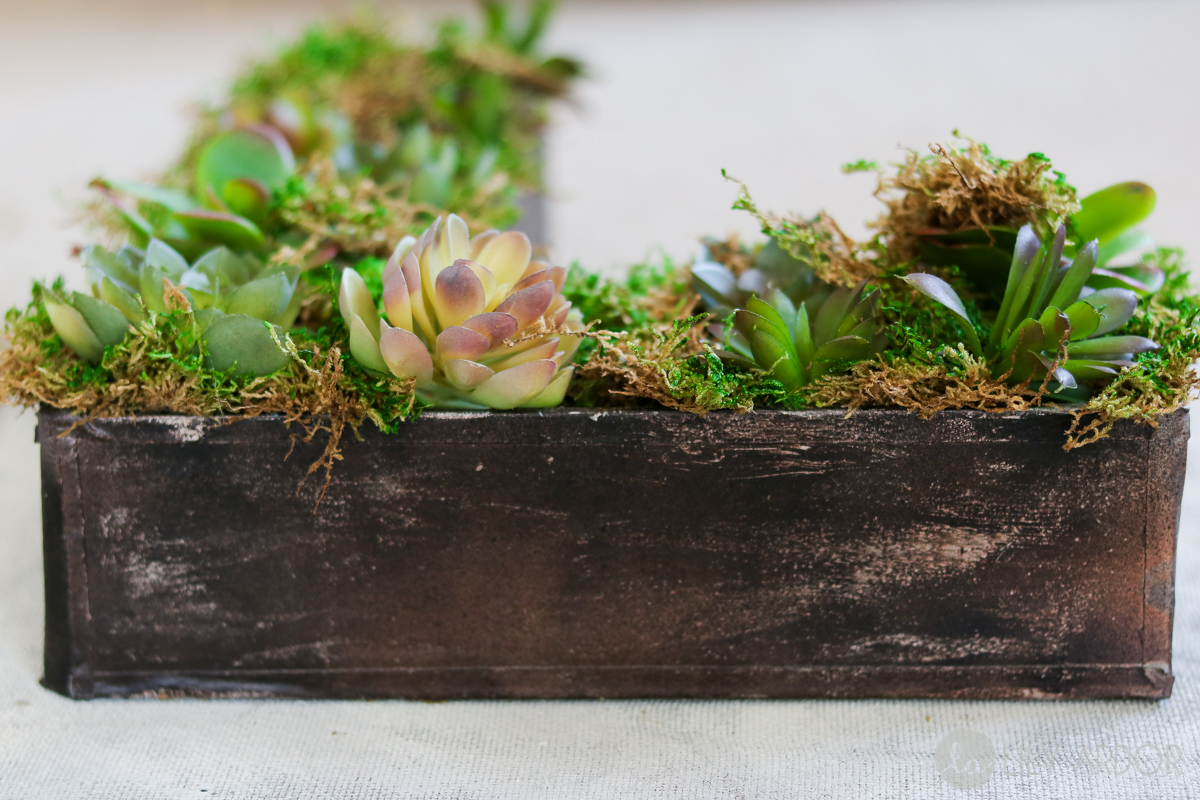
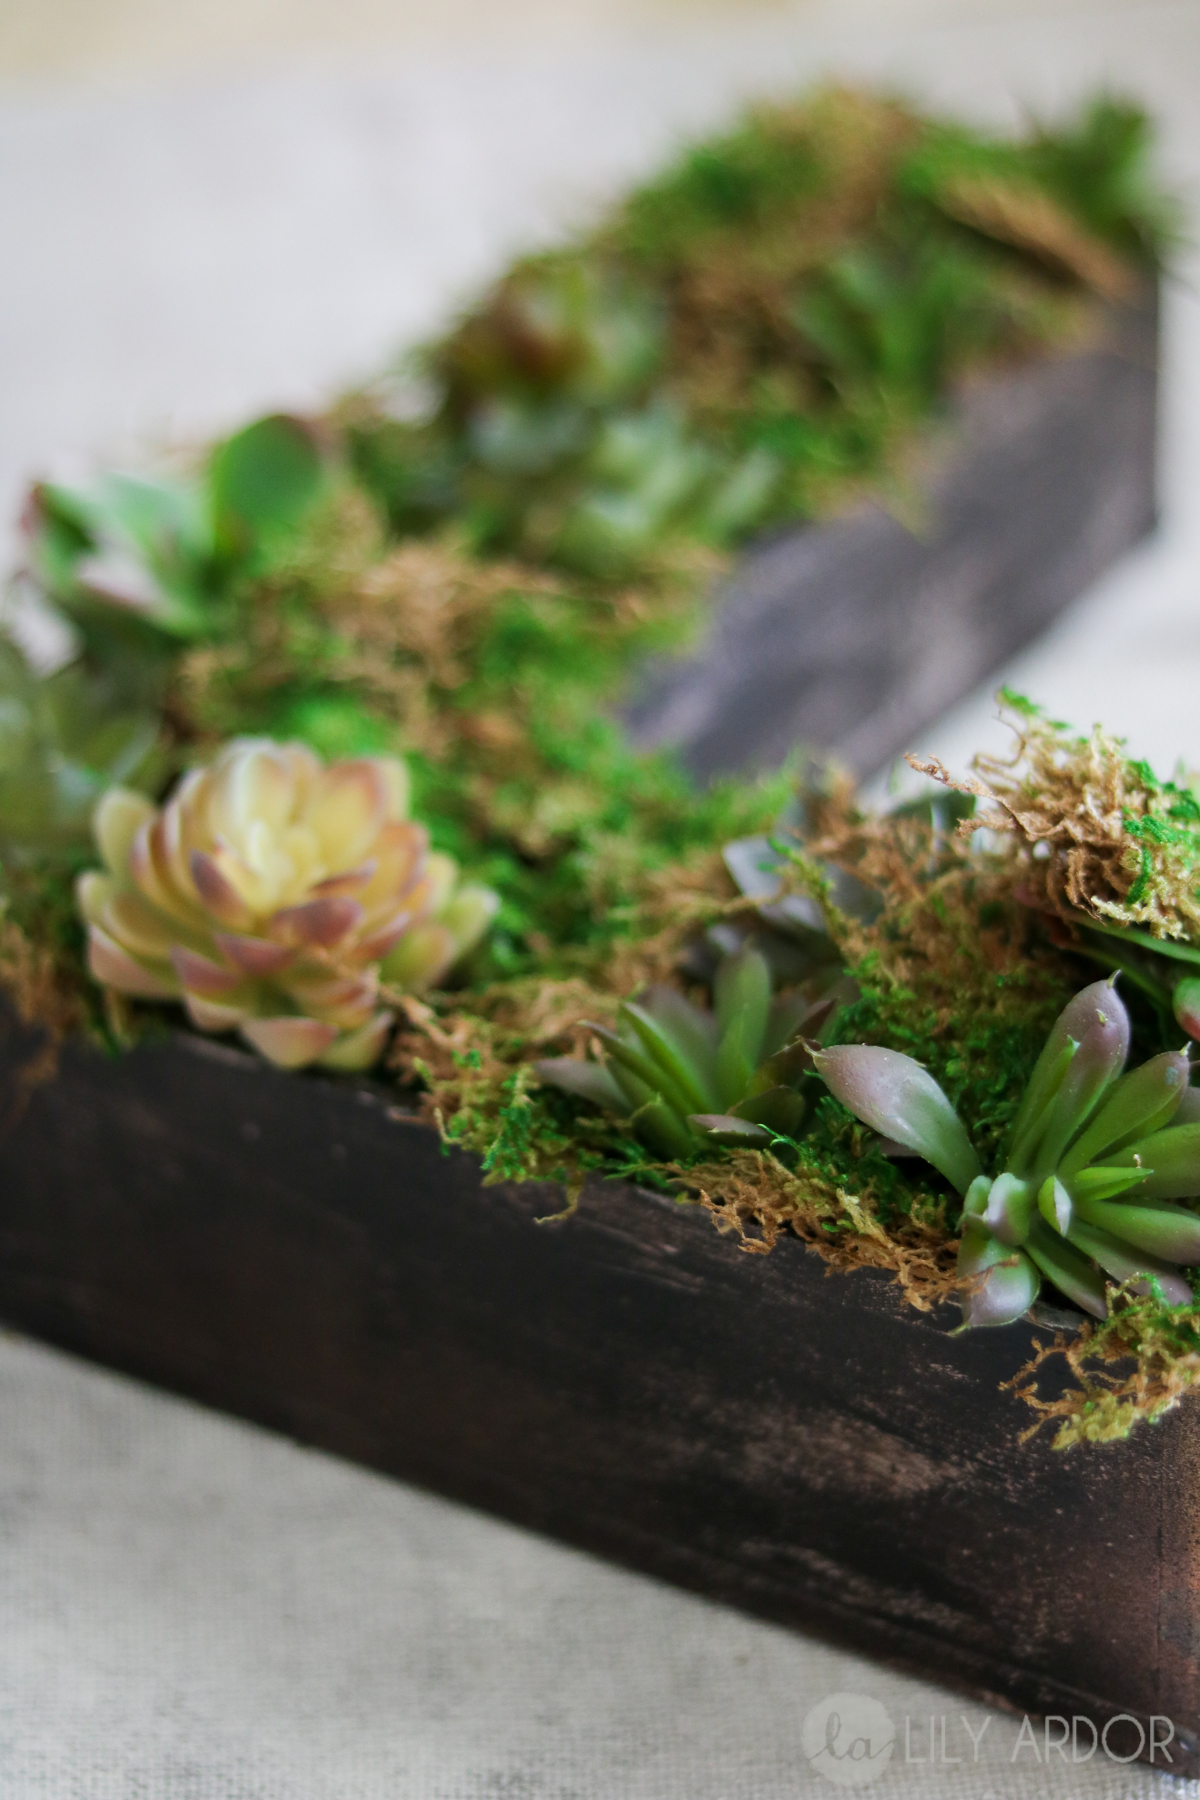
In love with those succulents. 😀
This was definitely a fun project. I love that you can make anything look like rustic metal with this technique. Let me know what you use this technique on.. Thanks for tuning in. 😀
I love that rustic patina finish. So clever! 🙂
Awe Thank you for your kind words. 😀
This looks so good! Thank you for sharing the tutorial, now I’m gonna have to make some letters to my house too, lol
Thank you Sean. I’m glad you liked it. 😀
this turned out fantastic looks so real I love it xx
Thank you Chris! YAY! Happy to hear it looks real! I have no green thumb at all. If they were any more real they’d prob be dead. LOL