Light Up Christmas Tree
This beautiful Christmas art was inspired by my glowing moon DIY. I am so glad this was a highly requested project because, I am in love with how it turned out. To change things up a bit I decided to recycle an old pallet for this DIY because, we live on farmland and have a pile high of those pallets. I figured it’d probably be a good idea to put them to some good use. Hopefully that wasn’t a mistake!! I envisioned somewhat of a rustic feel for this project and hopefully it shows just enough!
When I go craft shopping I like to hit a few crafts stores in one day. It helps me get inspired for my DIYS and I get to see what’s trending. I probably spend more time at crafts stores then the grocery store and mall put together! 😀 On my last trip I zoomed through all the Christmas aisles in Hobby Lobby,Michaels, and TJmaxx. (not a craft store but a favorite) To my surprise I couldn’t find any Christmas tree art or for that matter light up art… Even most of the marquee letters had fake bulbs that didn’t light up!! What kind of treachery is this!! I’m sure I’ve mentioned before I am totally going through a “light everything up phase”. To add to my collection of light up home decor I present to you this ” light up Christmas tree! ” 😀

What You’ll Need (don’t forget to check out my — > video)
- Star Printable (I googled “Bethlehem Star” and used one of the images for my printable)
- Paper
- Pallet (you can usually get these for free or, crafts stores sell wood canvases)
- White Paint / Brushes
- Gold Wire ( or you can use yarn as well)
- Tape
- Chalk / Pen
- Ruler
- Glue gun
- Drill (with a drill bit big enough to fit your Christmas lights)
- Christmas Lights
- Hammer
- Circular saw – if you use a pallet
- Little Nails
I’ve been starting to wonder if my DIY’s are too complicated? Should I simplify them or, are they simple enough? What do you think?
If you already have a wood canvas skip a few paragraphs. 😀
How I aged My wood
- Instant coffee
- Black acrylic paint
- Water
I mixed two spoons of instant coffee with about 1/2 a cup of hot water. Then I used a paper towel to give the wood a good coat. Following that I added a squirt of black paint and mixed it with 1/2 cup of hot water as well. I applied it the same way. Once it dried it looked a little to light so I gave it another coat of the deluded black paint and in the end my wood looked rustic! 😀 YEY! Just what I wanted. I know this isn’t real wood stain and will probably fade eventually. I’ll let you know how it holds up. 😀
How to Make the Wood Canvas
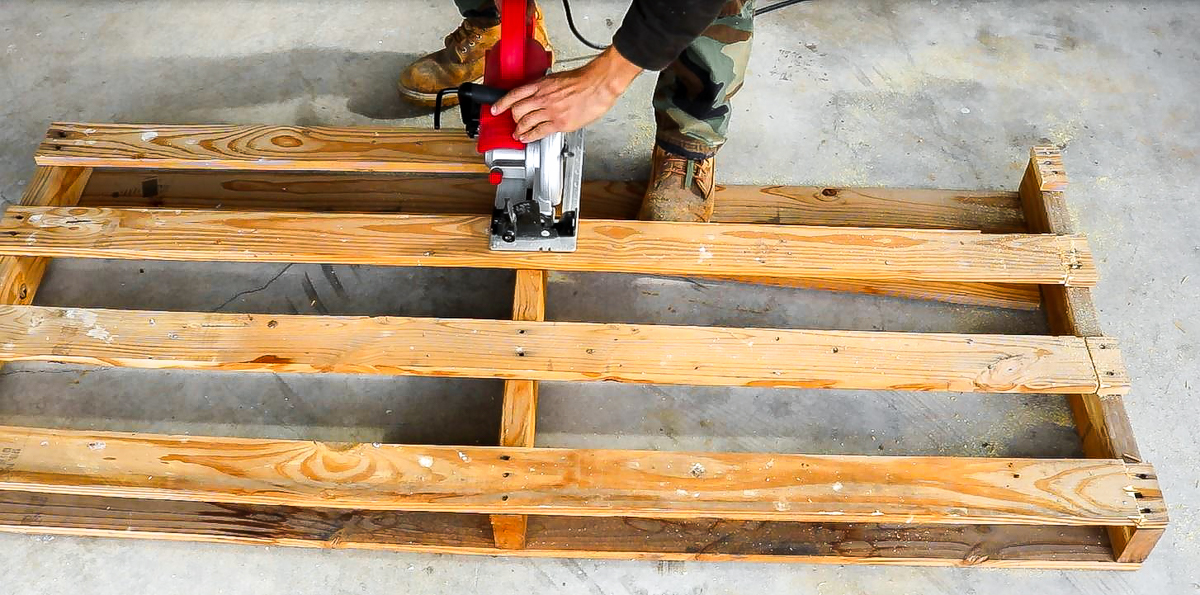
Here’s a snippet of the pallet we recycled. My hubby used a Circular saw to cut the wood down to size.
Following that I started staining my wood with coffee. LOL. Your probably wondering why on earth I used coffee. YOU KNOW!! I really don’t know why! I’ve always wanted to try it. OKAY, If your freaking out over this stain color I totally understand because, I freaked out too! It turned a hideous orange color!!
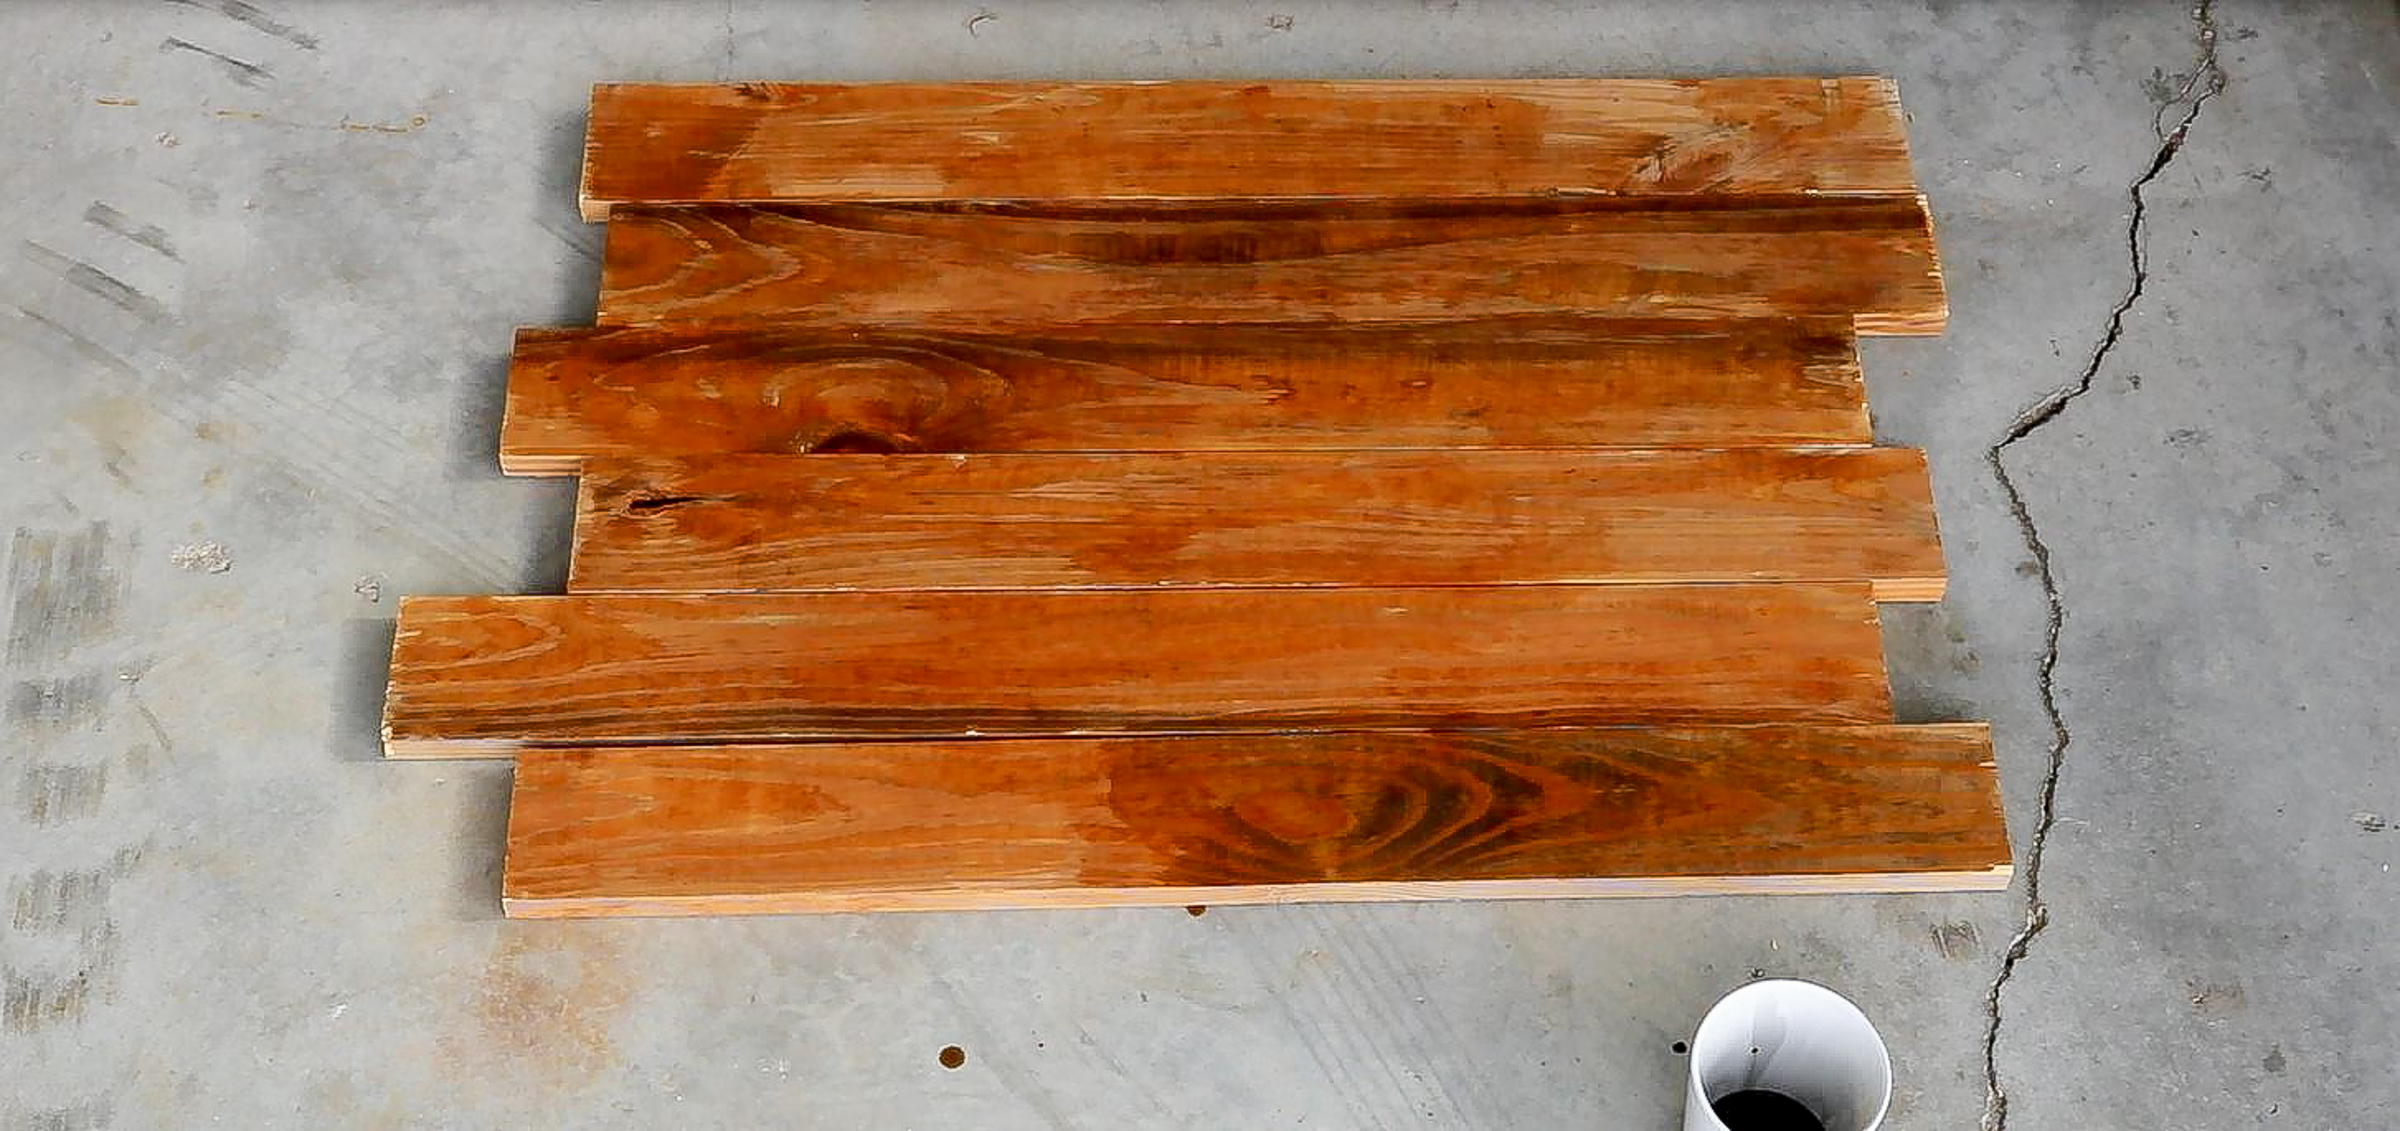
So I added some diluted black on top and it turned and even deeper orange… Awe don’t you just love experimenting! LOL
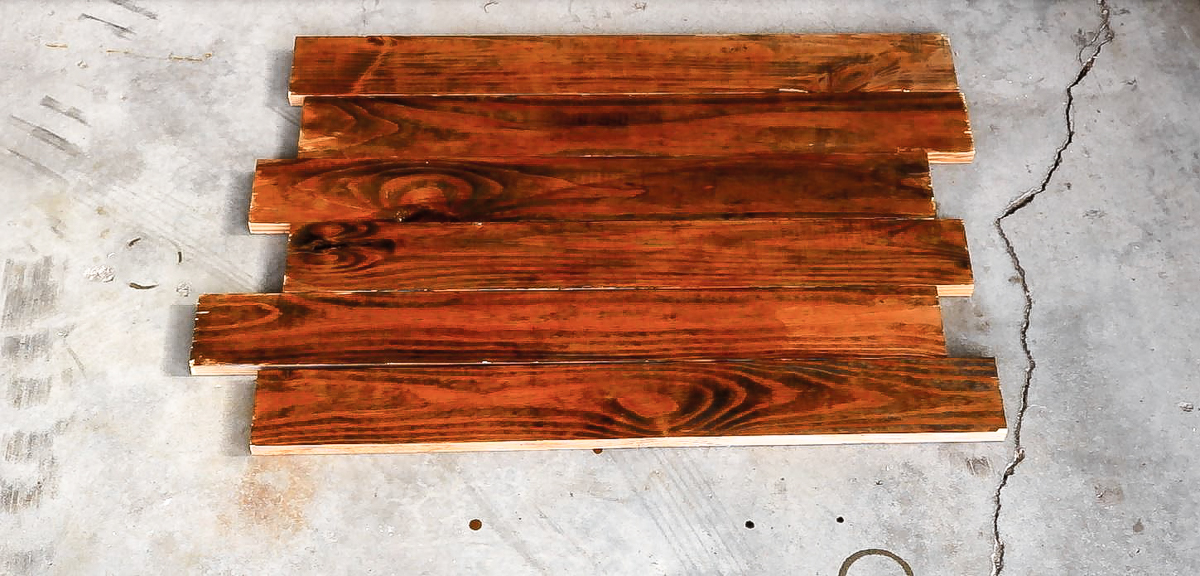
I’m not going to lie, I stepped away for a while. I was hoping it would miraculously change colors and it did!! 😀 When I came back the wood looked like the piece in the very bottom of the photo. Still orange but not as bad! So I gave it another coat of my homemade black stain. 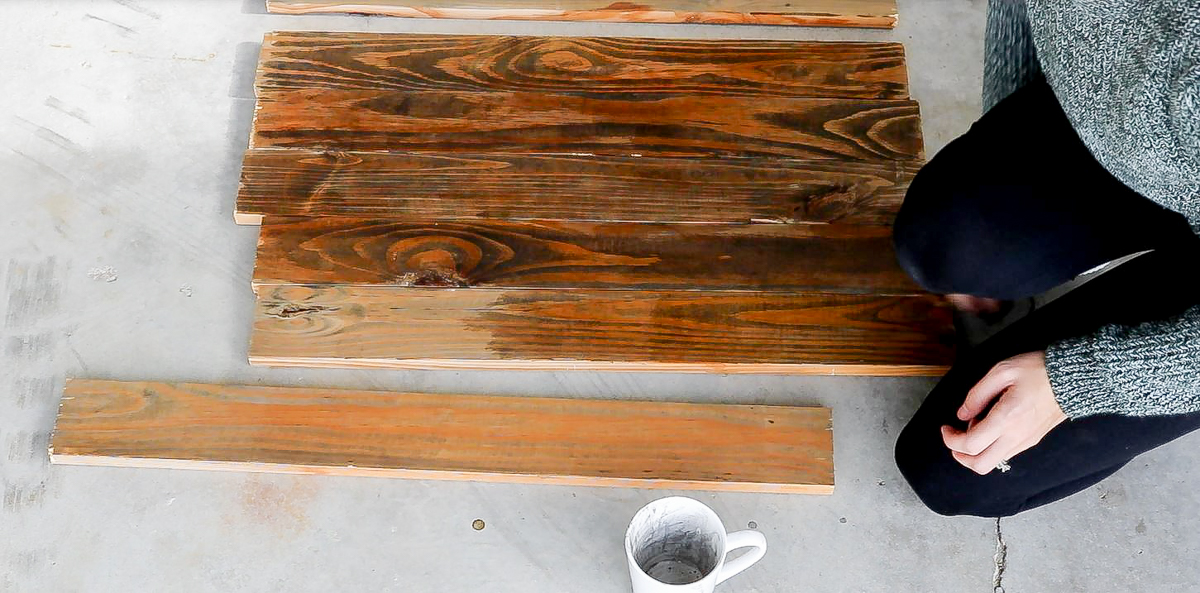
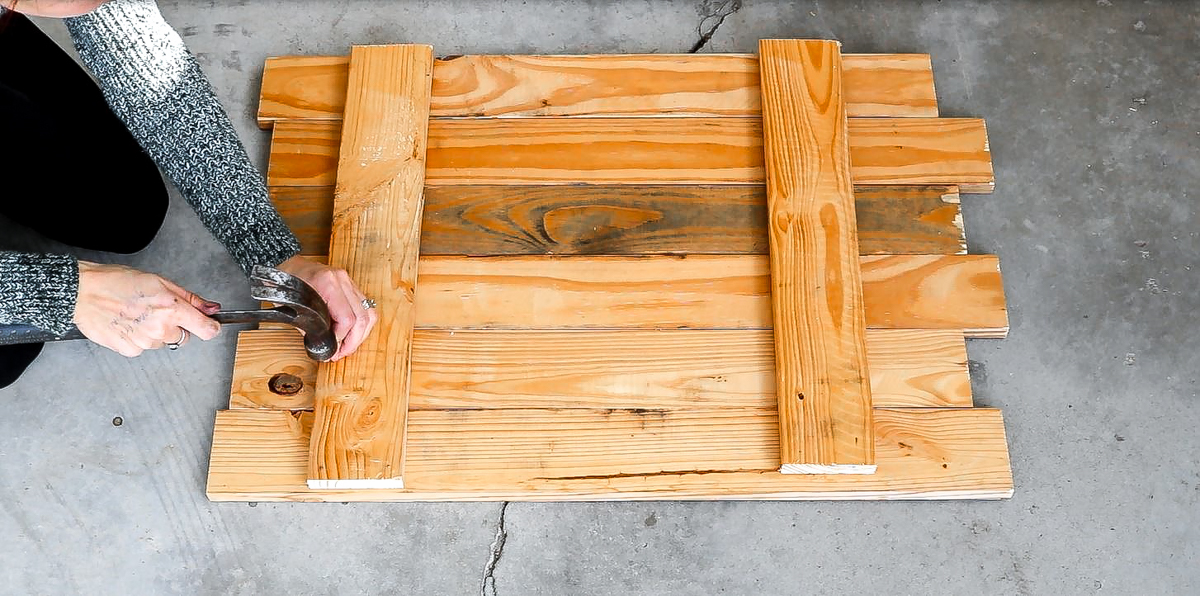
Then I flipped the wood over and lay it out to be offset on the edges. I nailed two beams across the back putting a nail in each panel. (PS. I eventually gave up on the nails and went and got my drill with screws 😀 😀 )
Making the Christmas Tree
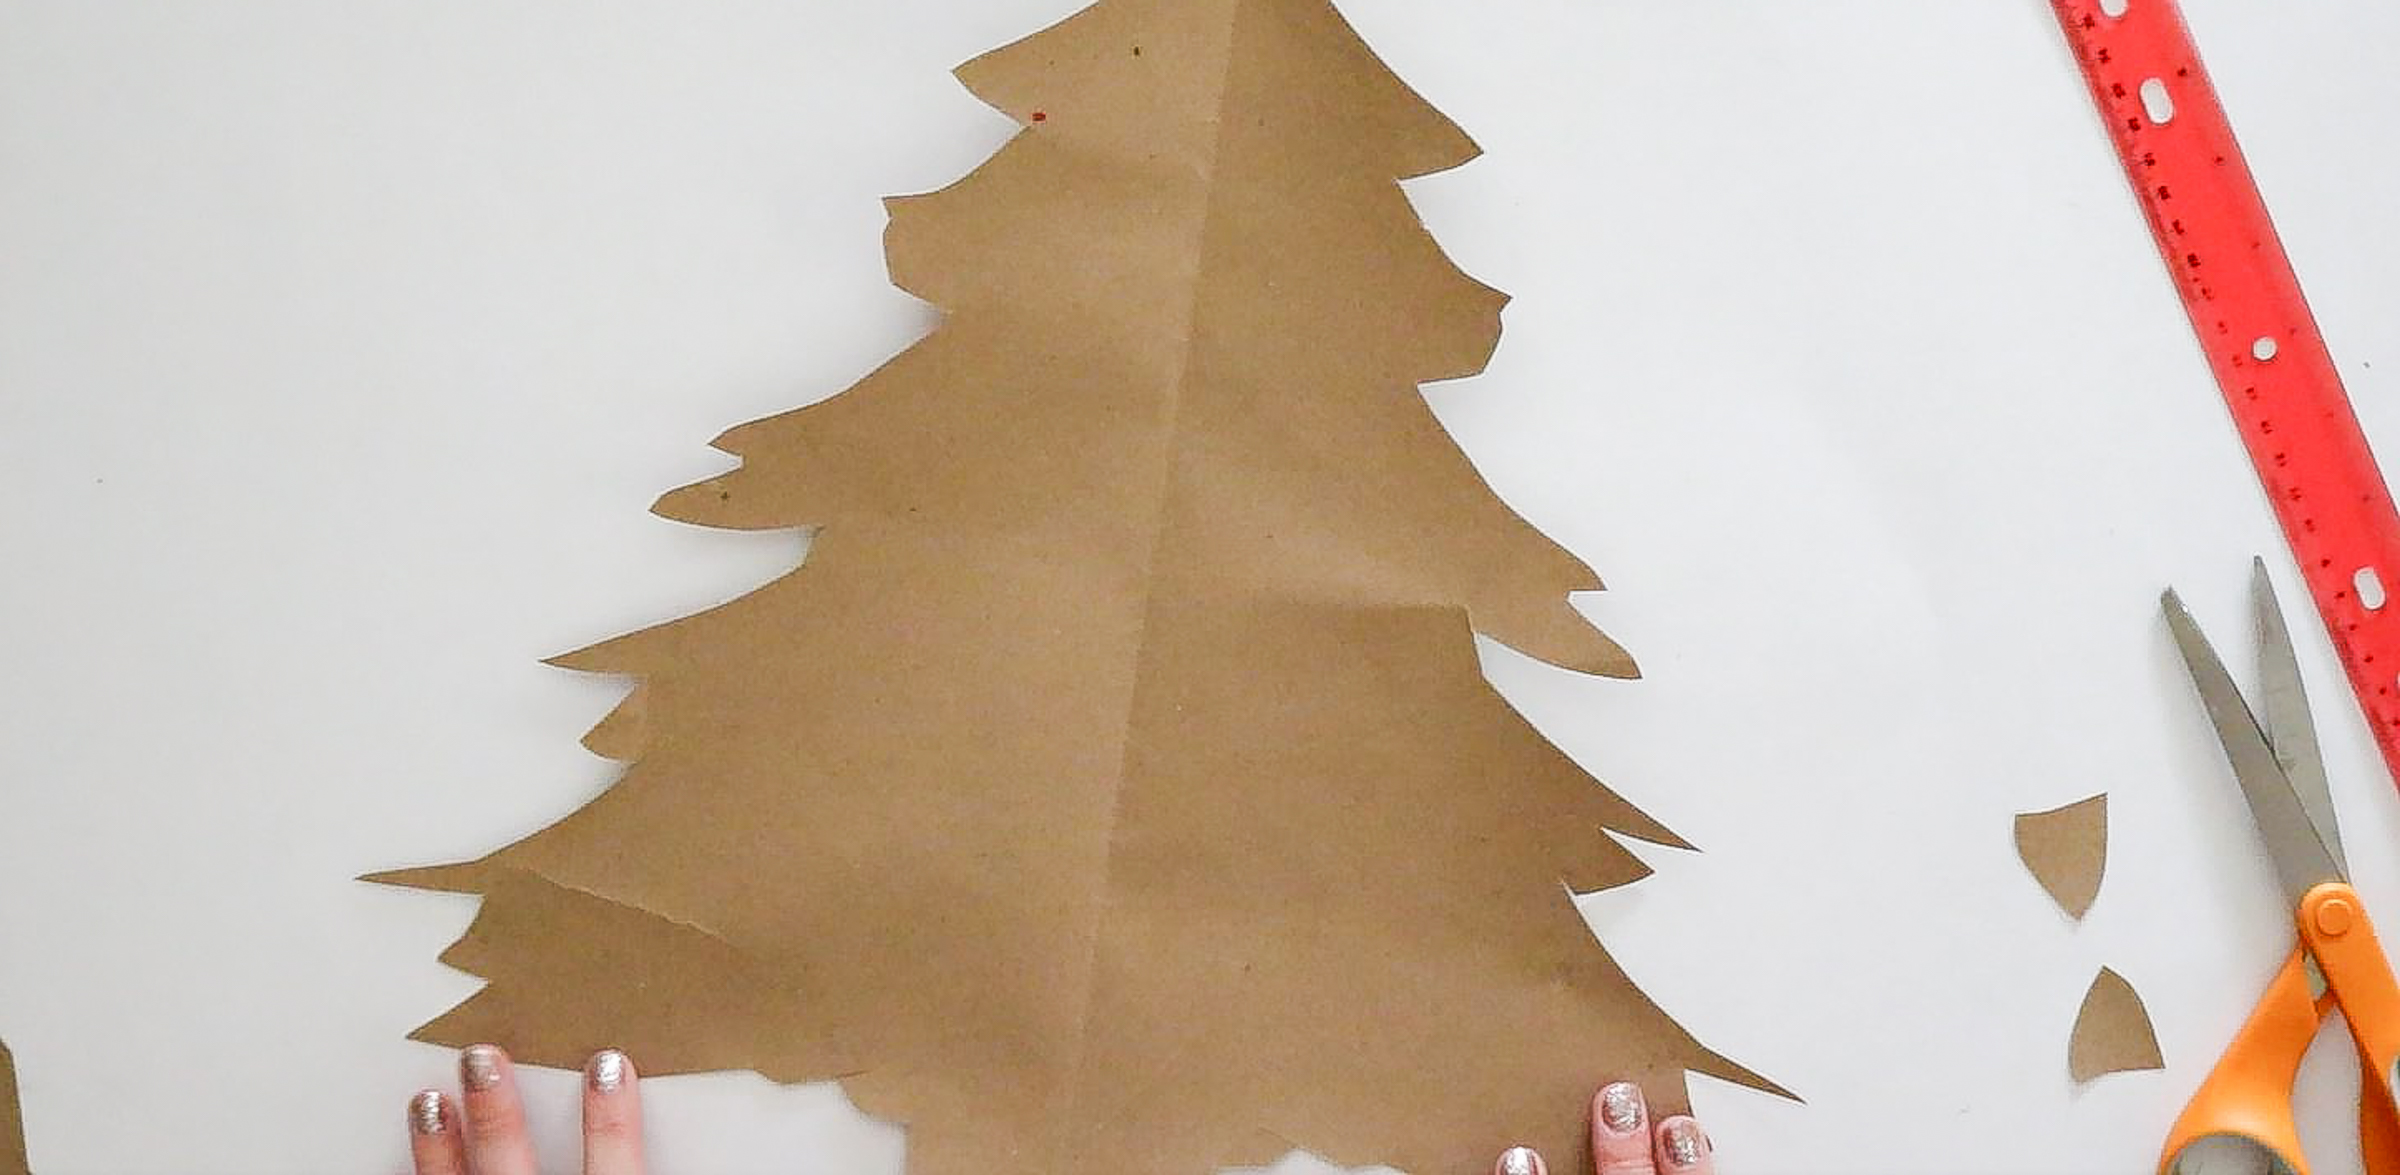
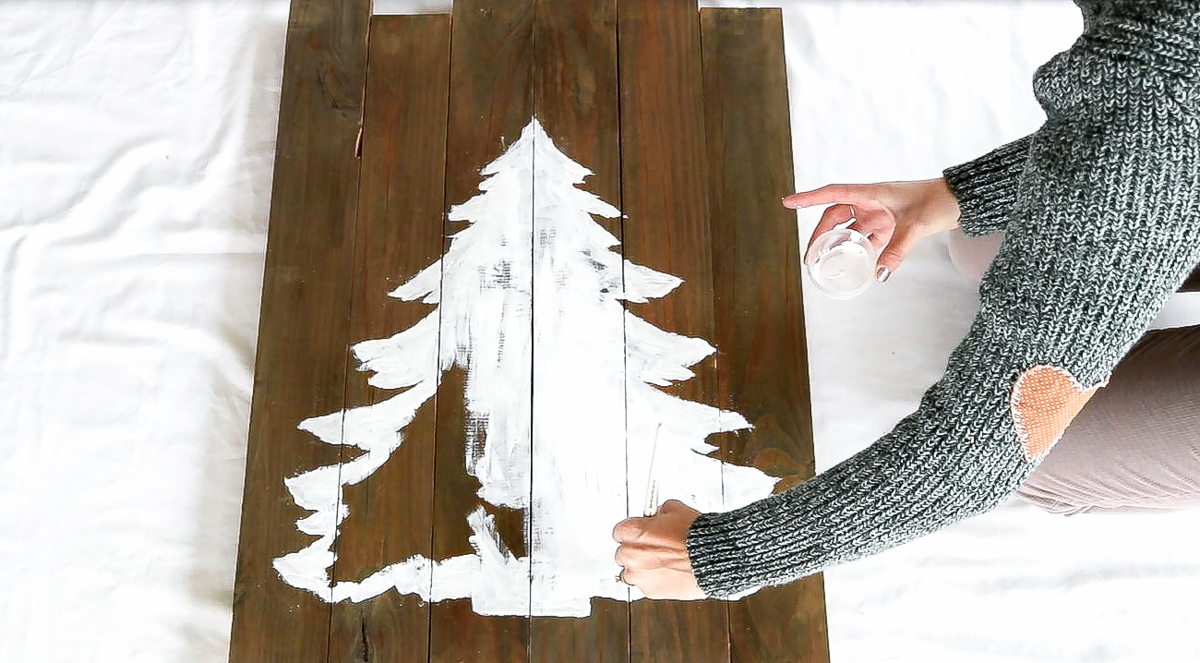
To make my Christmas tree I used a square piece of paper. I measured my wood canvas for approximate sizing. Following that I folded my paper in half and scribbled on half a Christmas tree. You can use your ruler to draw half a triangle before you draw on the branches. It definitely helps! 😀
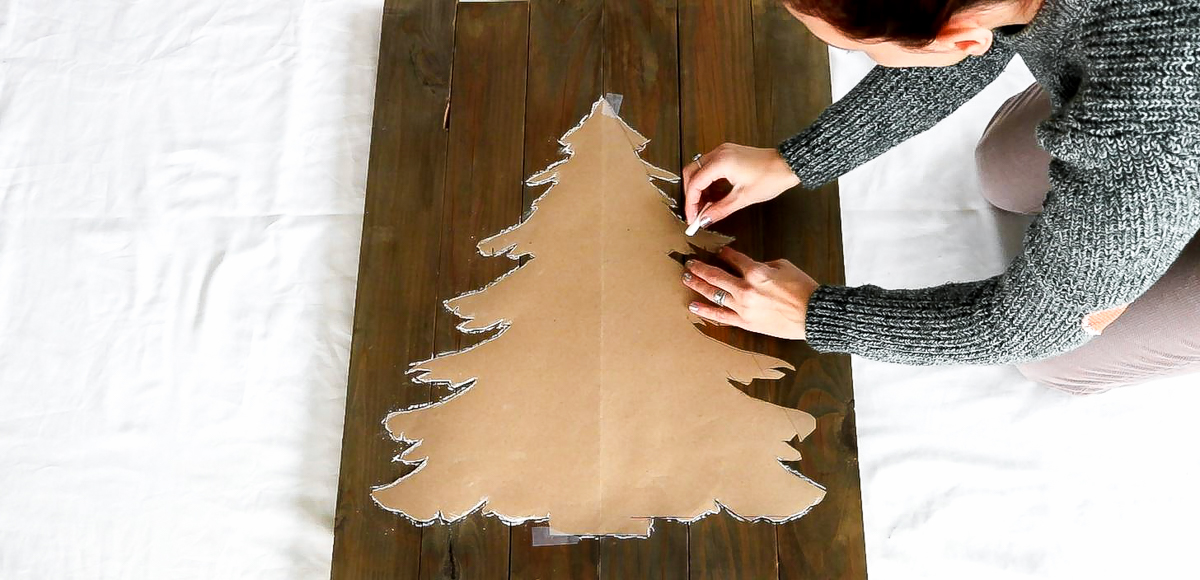
Then I lay it on the wood and traced it with some chalk. ( I don’t know why these photos don’t do the wood justice. It really doesn’t look so bad in real life)
I used my white acrylic paint to fill it in. After giving it one coat I couldn’t decided if I should give it another. It did match the whole rustic feel with it’s blotchy effect so, I left it.
Star in the Making
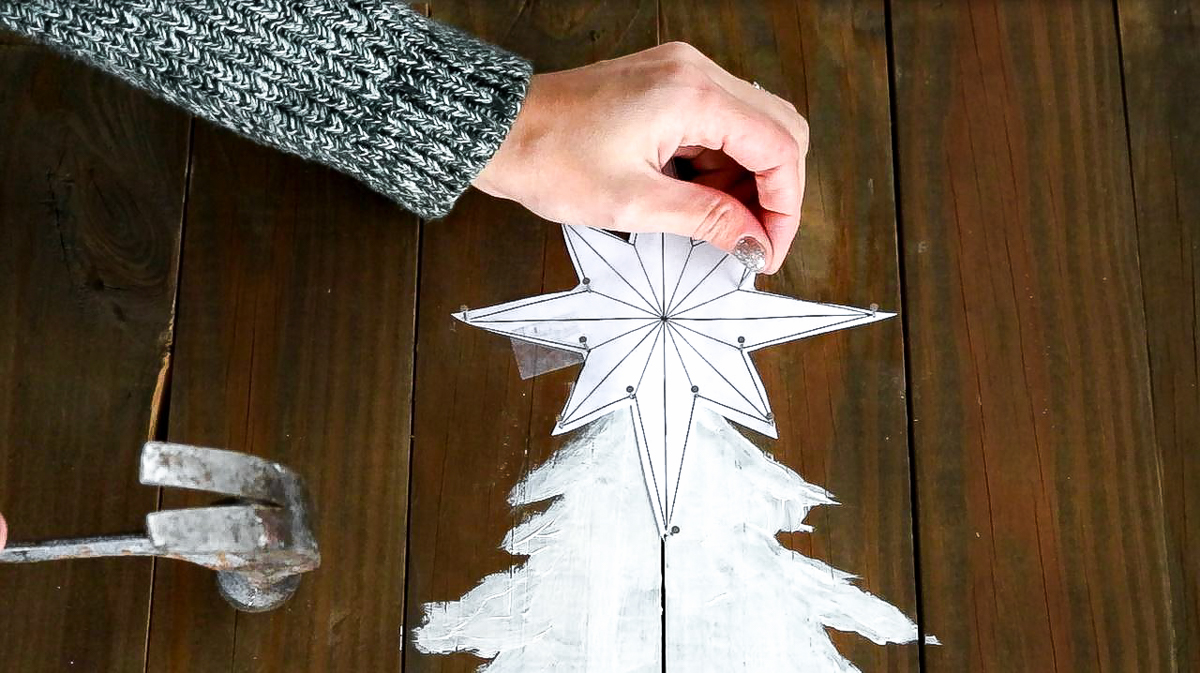
To make my star I messily cut it out and nailed in my tiny nails all along the edges and corners. I then added nails every 1/2 an inch or so and don’t forget the middle. The more nails you have the fuller your star will be. Just don’t flood it with nails you need room for threading. Keep about 1/2″ to 1″ distance between each nail.
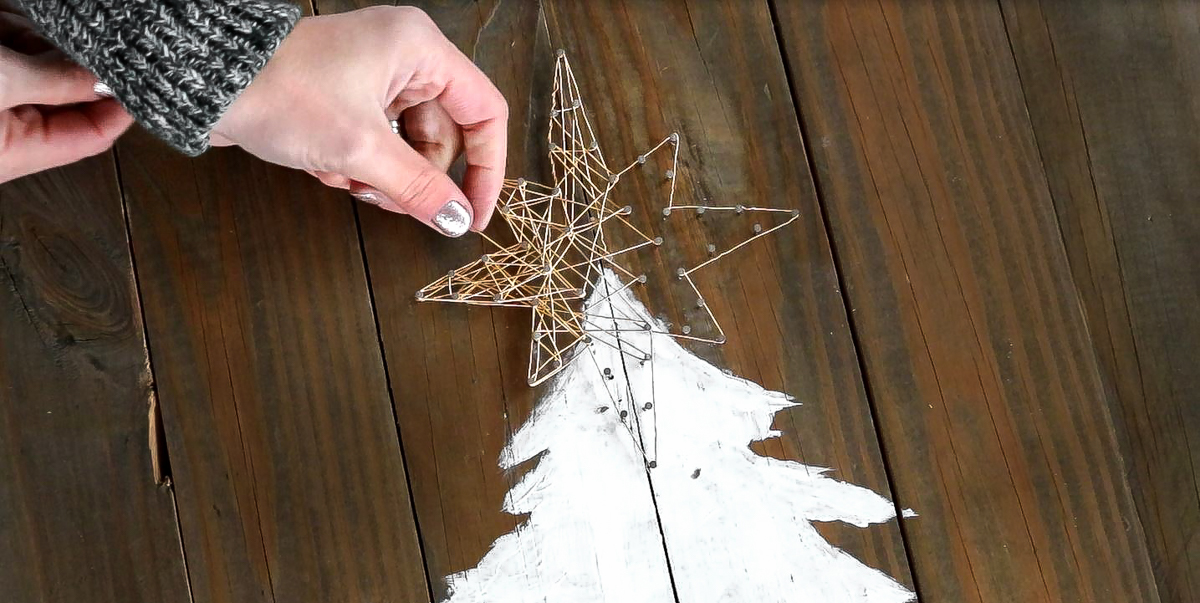
Following all of that , I started by outlining my star with my gold wire before going all crazy on it. It was a bit scary looking at first but the fuller it got the prettier it got! 😀 (make sure you have super bendable wire… Kind of like thick thread, but this holds in place instead of being flimsy like regular thread) I got my wire in the Christmas wreath section at Michaels. They have all sorts of colors!! 😀
Finishing Touches
To add my pom pom banner I attached my wire to a few small nails. Don’t forget to leave room for draping. Then I hot-glued a row of pom poms on top.

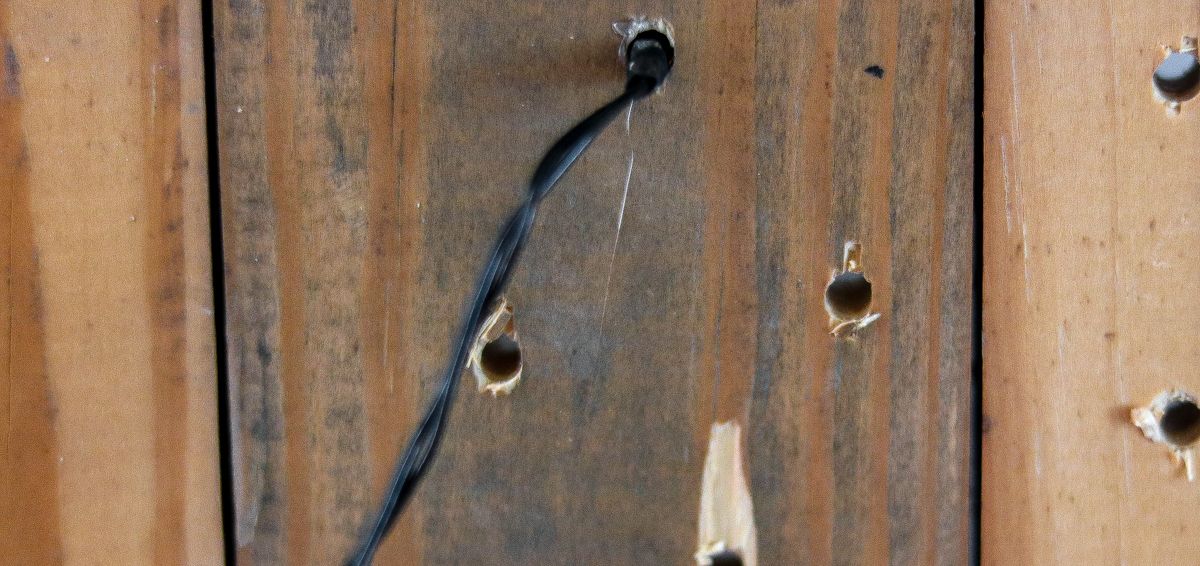
To finish it off drill your holes big enough for your light bulbs to fit. Then add a dab of glue and secure each light bulb into place.
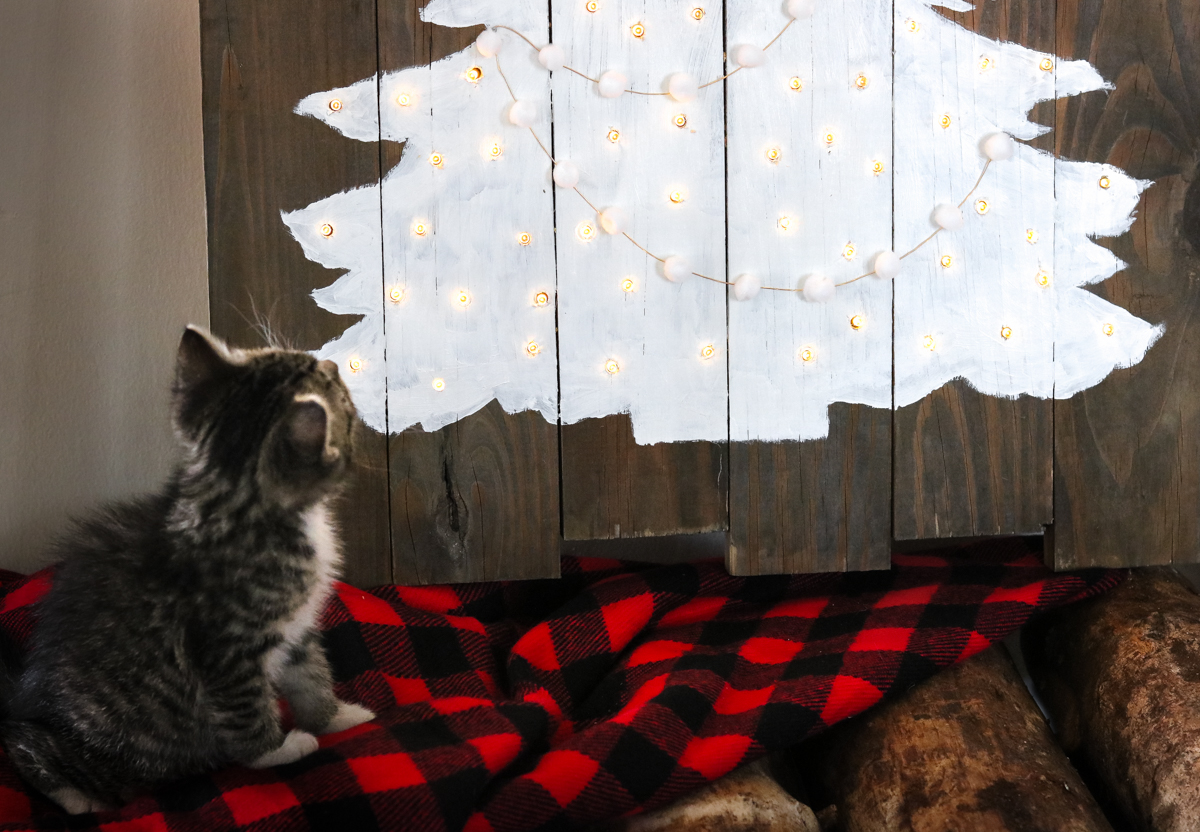
Here it is! Man, I wish you could see it light up in real life! Not even the video does it justice!

Here’s the video! 😀
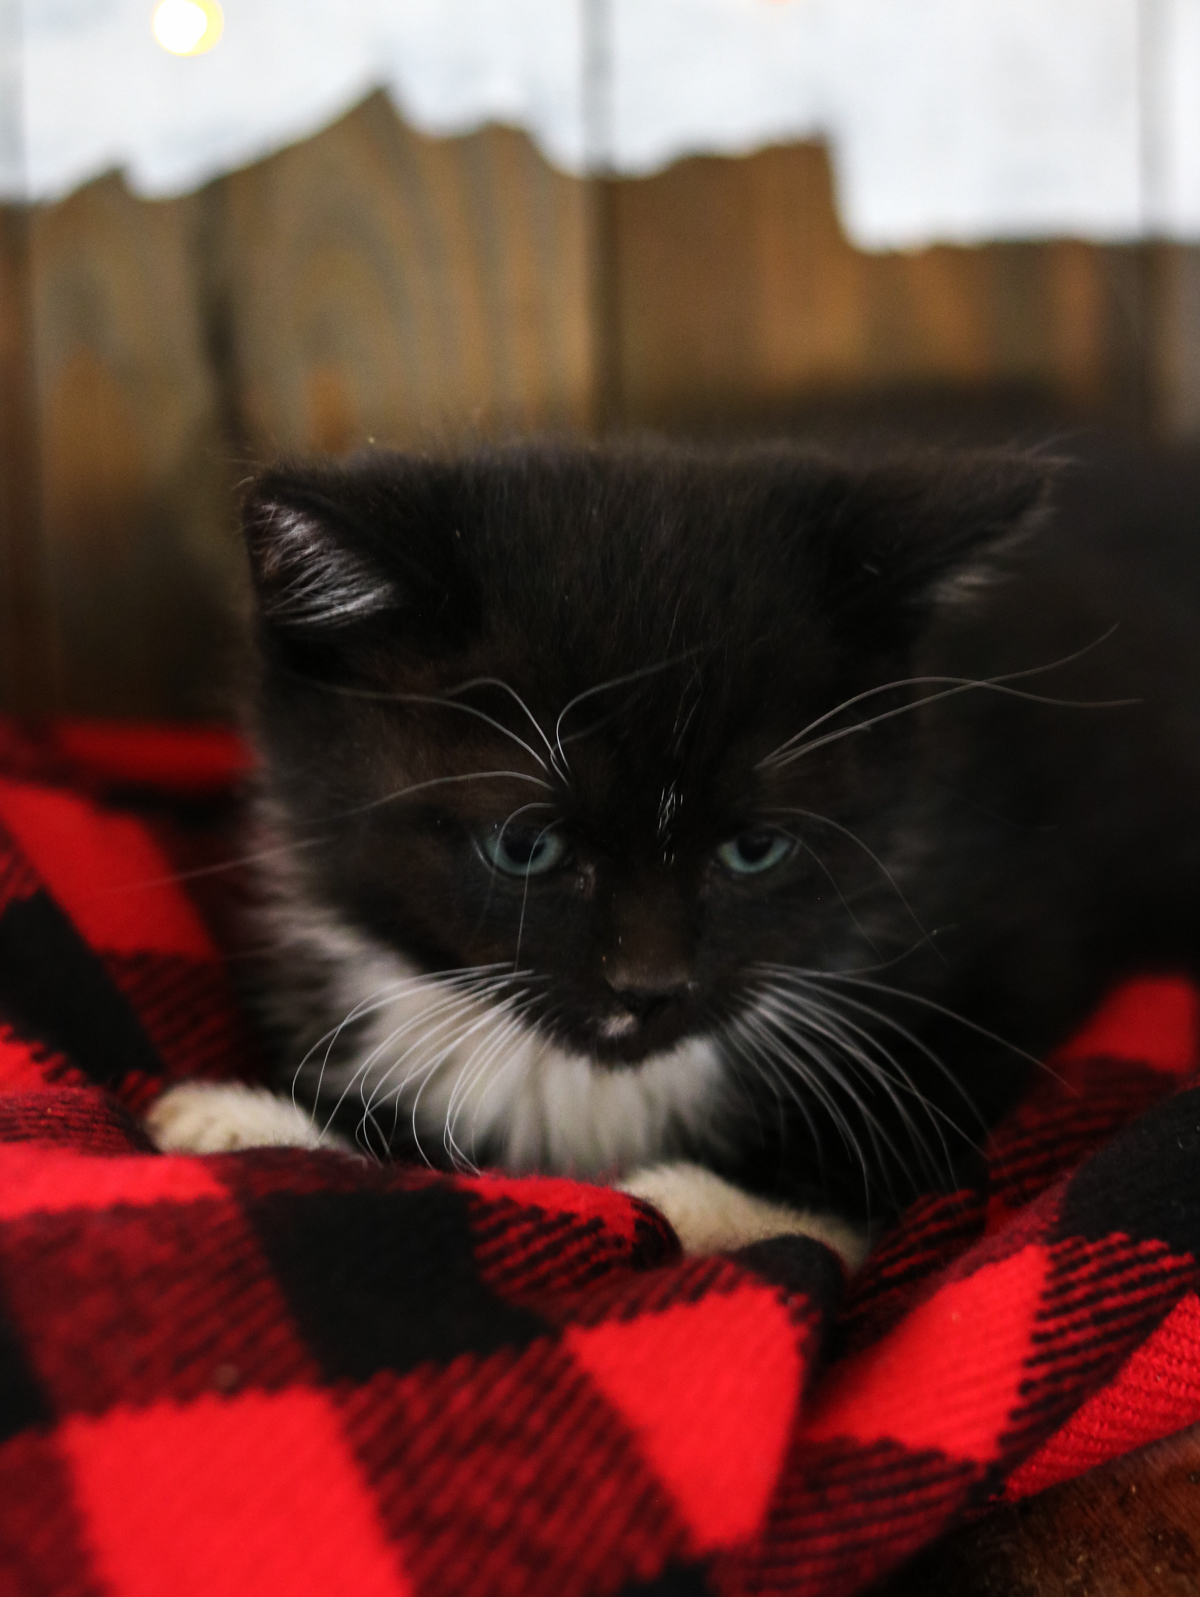
I had the honor of photographing this little princess today. Welcome Rosie to the family. She loves shiny things and naps. 🙂 Oh and by naps I mean right in front of our cozy fireplace. 😀
Boy did we have a warm house today. I woke up in the morning and the fire was perfect for photos but, by the time I got around to the photo-shoot, it went out!! So I started that puppy back up again and had to keep it on high heat for the flames to show! 😀 😀

Cuteness Overload
And here’s Tod! Like always cuddling in anything soft and fuzzy! 😀
Those poms poms are so stinking cute!! 😀 I might have to make a banner like that for my real Christmas tree this year! (PS. Those of you wondering where I got my lights… I got them at Walmart. These ones are battery operated and they’re awesome because, they come with 8 flickering settings. How cool is that! )

Here’s a little side view! 😀 I don’t know why the wood looks green! Does it look green to you?
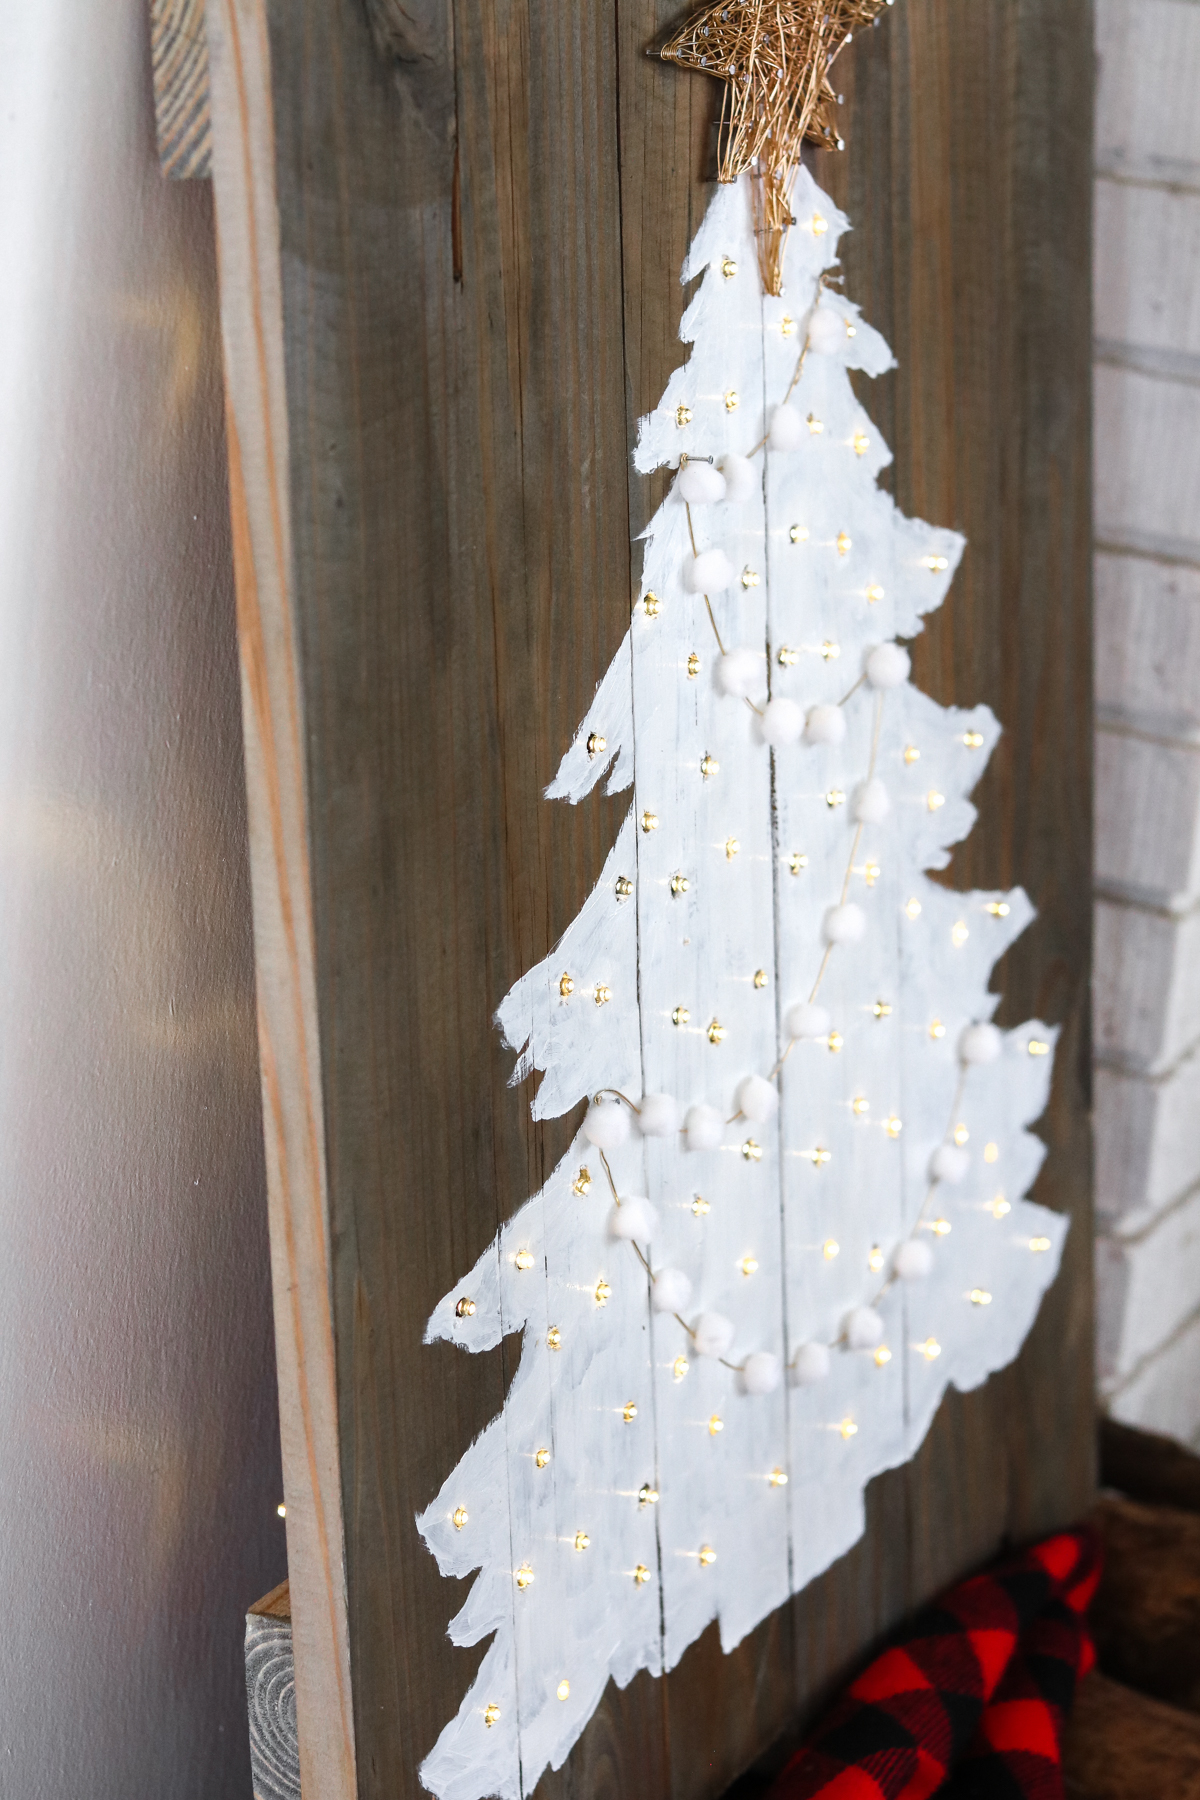
And I present to you the star of the show!! .. (drummer roll) The one and only “Bethlemen Star. ” She’s kinda cute..EHH? 😀 😀 Oh by the way, since this is a close up… What do you think about my choice of only going with one coat of white paint? Too Rustic?

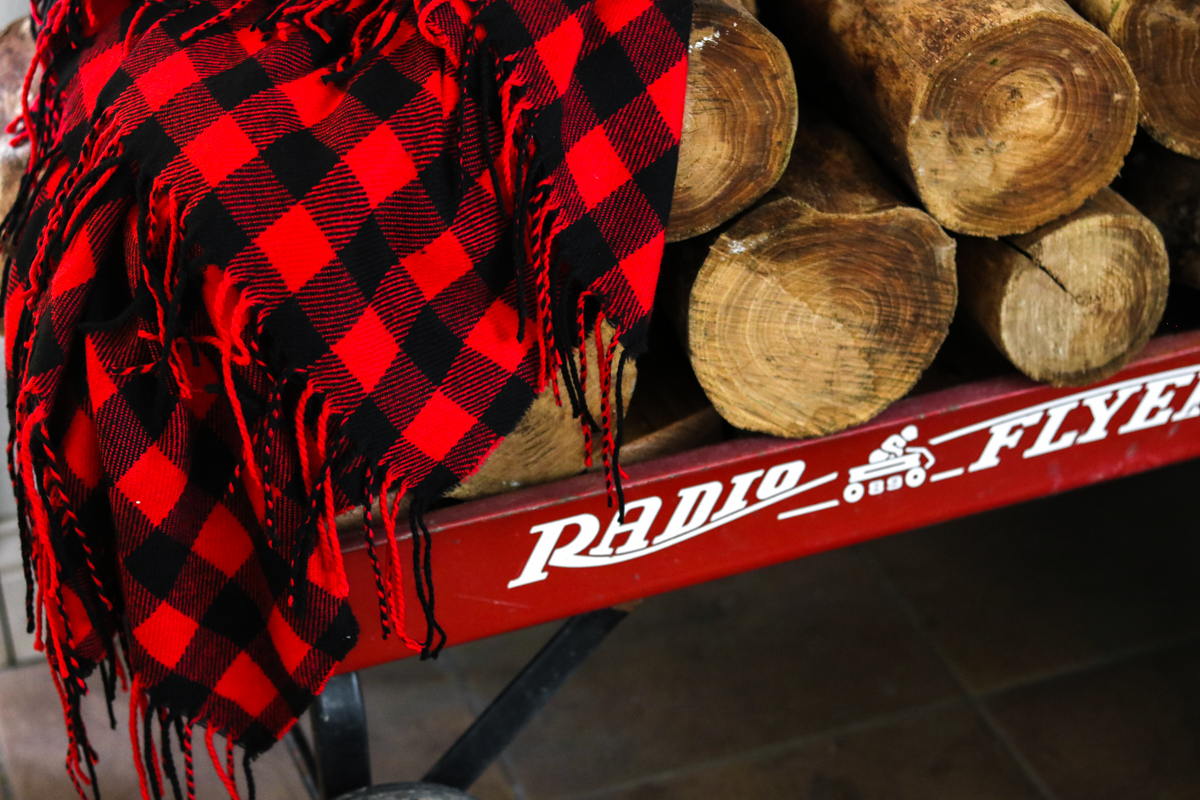
You just can’t go without a buffalo plaid throw during the Christmas season! 😀 My fave throw!
That’s it for today! Can’t wait to see your Christmas trees! 😀 Don’t forget to share!
I LOVE this Tree!! The pom noms and star of Bethlehem added such a beautiful touch! Keep it up, Lily!
Awe thanks girl 😀 😀
Awesome article.
Thank you