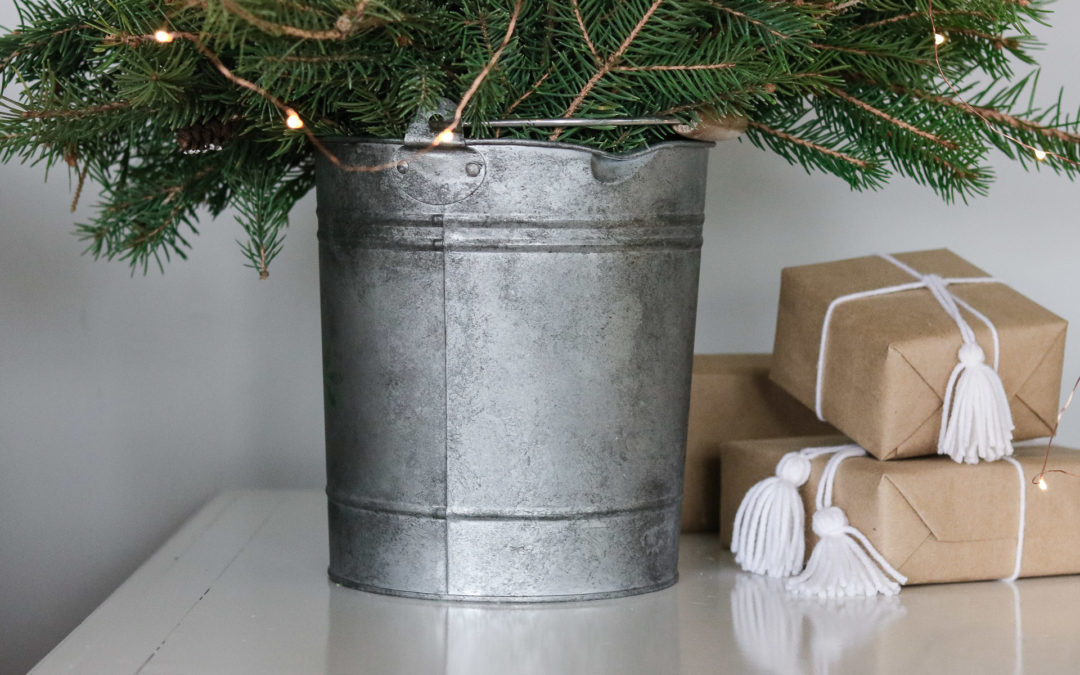
Aged Metal Farmhouse Decor!
I don’t like to overload my house with a lot of rustic pieces however, their are some must haves. Joanna Gaines is a fine example of farmhouse decor. She is one of my favorite home decorators. I’m sure you’ve heard of her.., If not!! AHH WHERE HAVE YOU BEEN 🙈! Check her out she’s amazing! I love the modern farmhouse mix she has to her style. Rustic metal is something that’s stuck to me through all the episodes of fixxer upper. It’s elegant in a natural way and definitely gives you that country farmhouse feel. As much as I’m in love with Scandinavian and minimalist decor I say you can never go wrong with a pinch of farmhouse here and there. 🙂
Quick Video Version
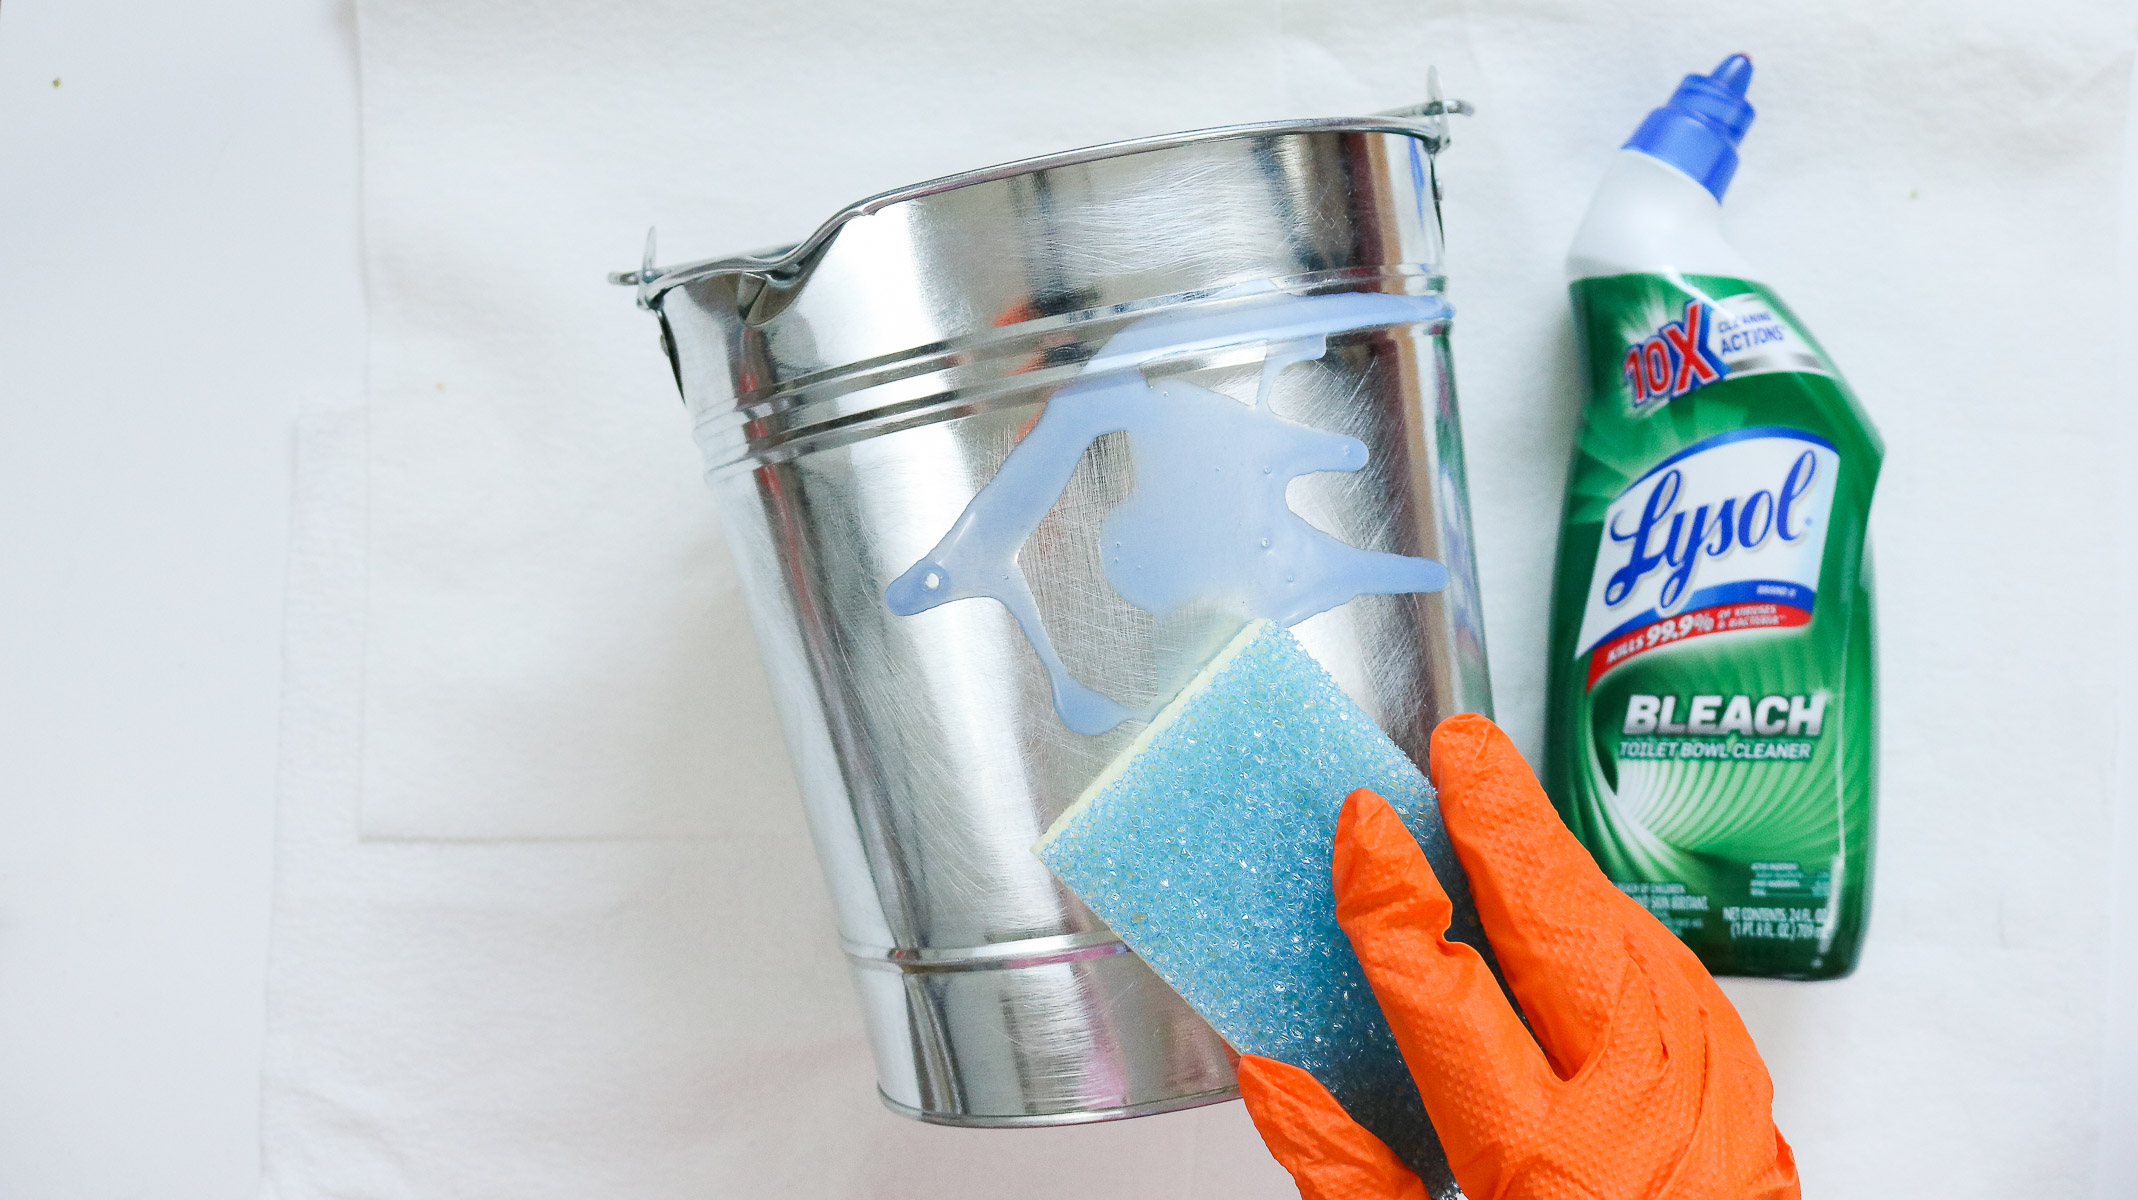
What didn’t work for me! The lysol method!
Originally I planned on aging my bucket the right way! Or should I say actually aging the metal instead of giving it an effect. I did some research and found multiple articles on how to age metal with lysol. I applied my lysol with a sponge generously and let it set for 24 hours. I woke up the next morning to no results at all. There was no aging at all! AT ALL!! 😐 I did more research and found out that the bucket needs to pretty much soak in lysol for this to work and you might even need to touch it up more after the first 24 hours. Oh gosh I had no time for that and I wasn’t even sure if it would work and give me the color I wanted so, I decided to take matters into my own hands😁. I needed the bucket aged ASAP. I couldn’t wait another 2-3 days and keep trying to get the aged effect I want. So, I had some black and silver spray paint at home and decided to play around with it! OMG I couldn’t believe it, the aged metal effect was exactly what I was looking for ! BINGO😁👏!
TIME NEEDED:
About 10-20 minutes depending on the amount of metal you’ll be working on .
TOTAL COST: $8
(This post contains affiliate links* for more info visit my disclosure policy)
Before we jump into this tutorial I want to point out that this is simply a faux effect which makes this a quick process. It is still very durable and is simply an alternative to aging metal if you’re in a rush like I was.
note: If you would like to age your metal you can try soaking it in lysol for 24 hrs. Depending on the metal, your effect may vary in color and texture. (apply lysol (the lysol with bleach) and let it set in a tight bucket or maybe keep it in a garbage bag overnight. I haven’t tried this the right way so I can’t say for sure that it works.)
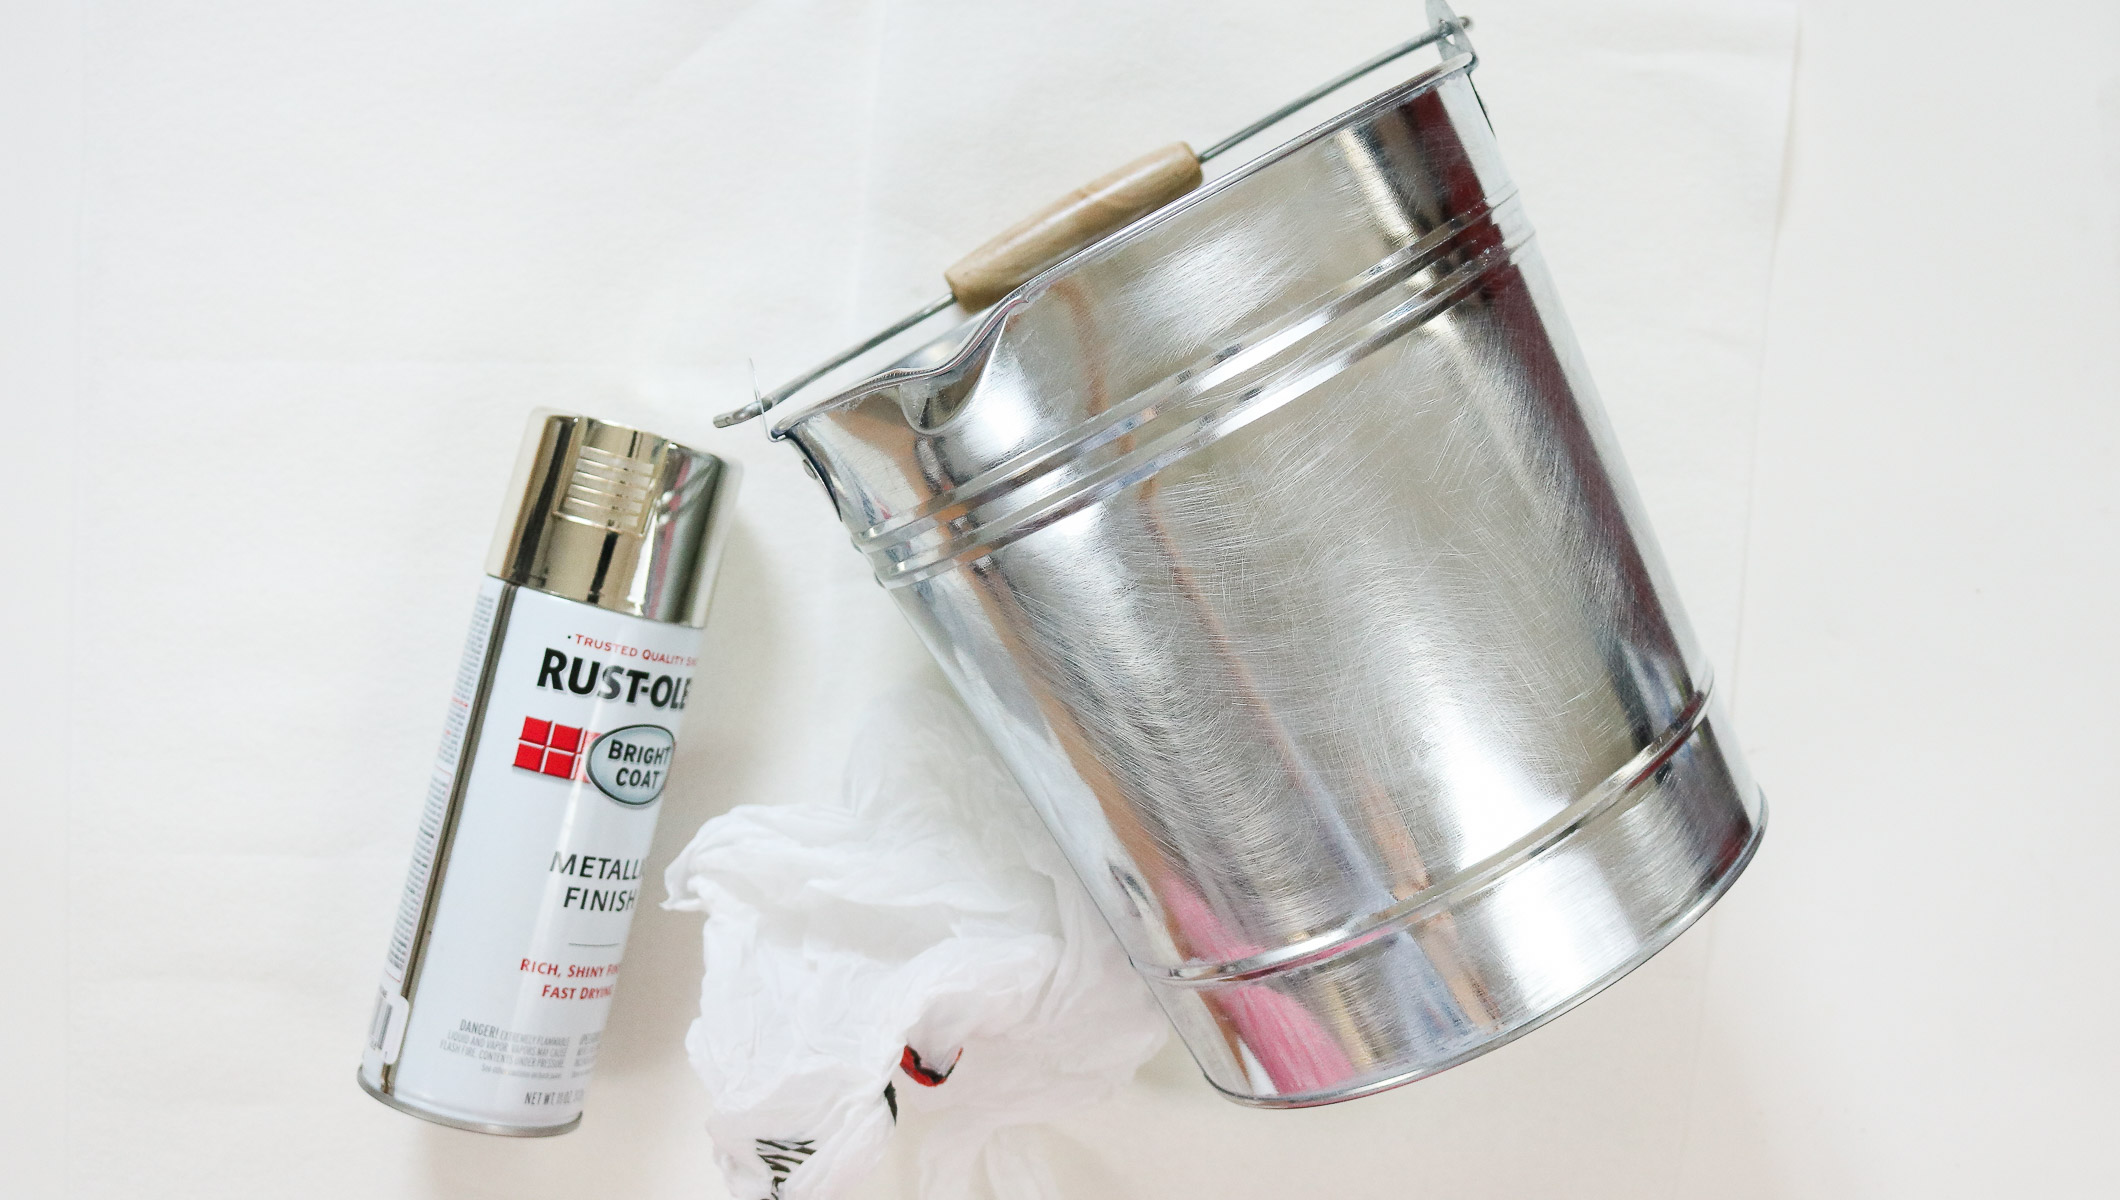
SUPPLY LIST:
- Silver spray paint
- black flat spray paint
- Optional- Matte Varnish
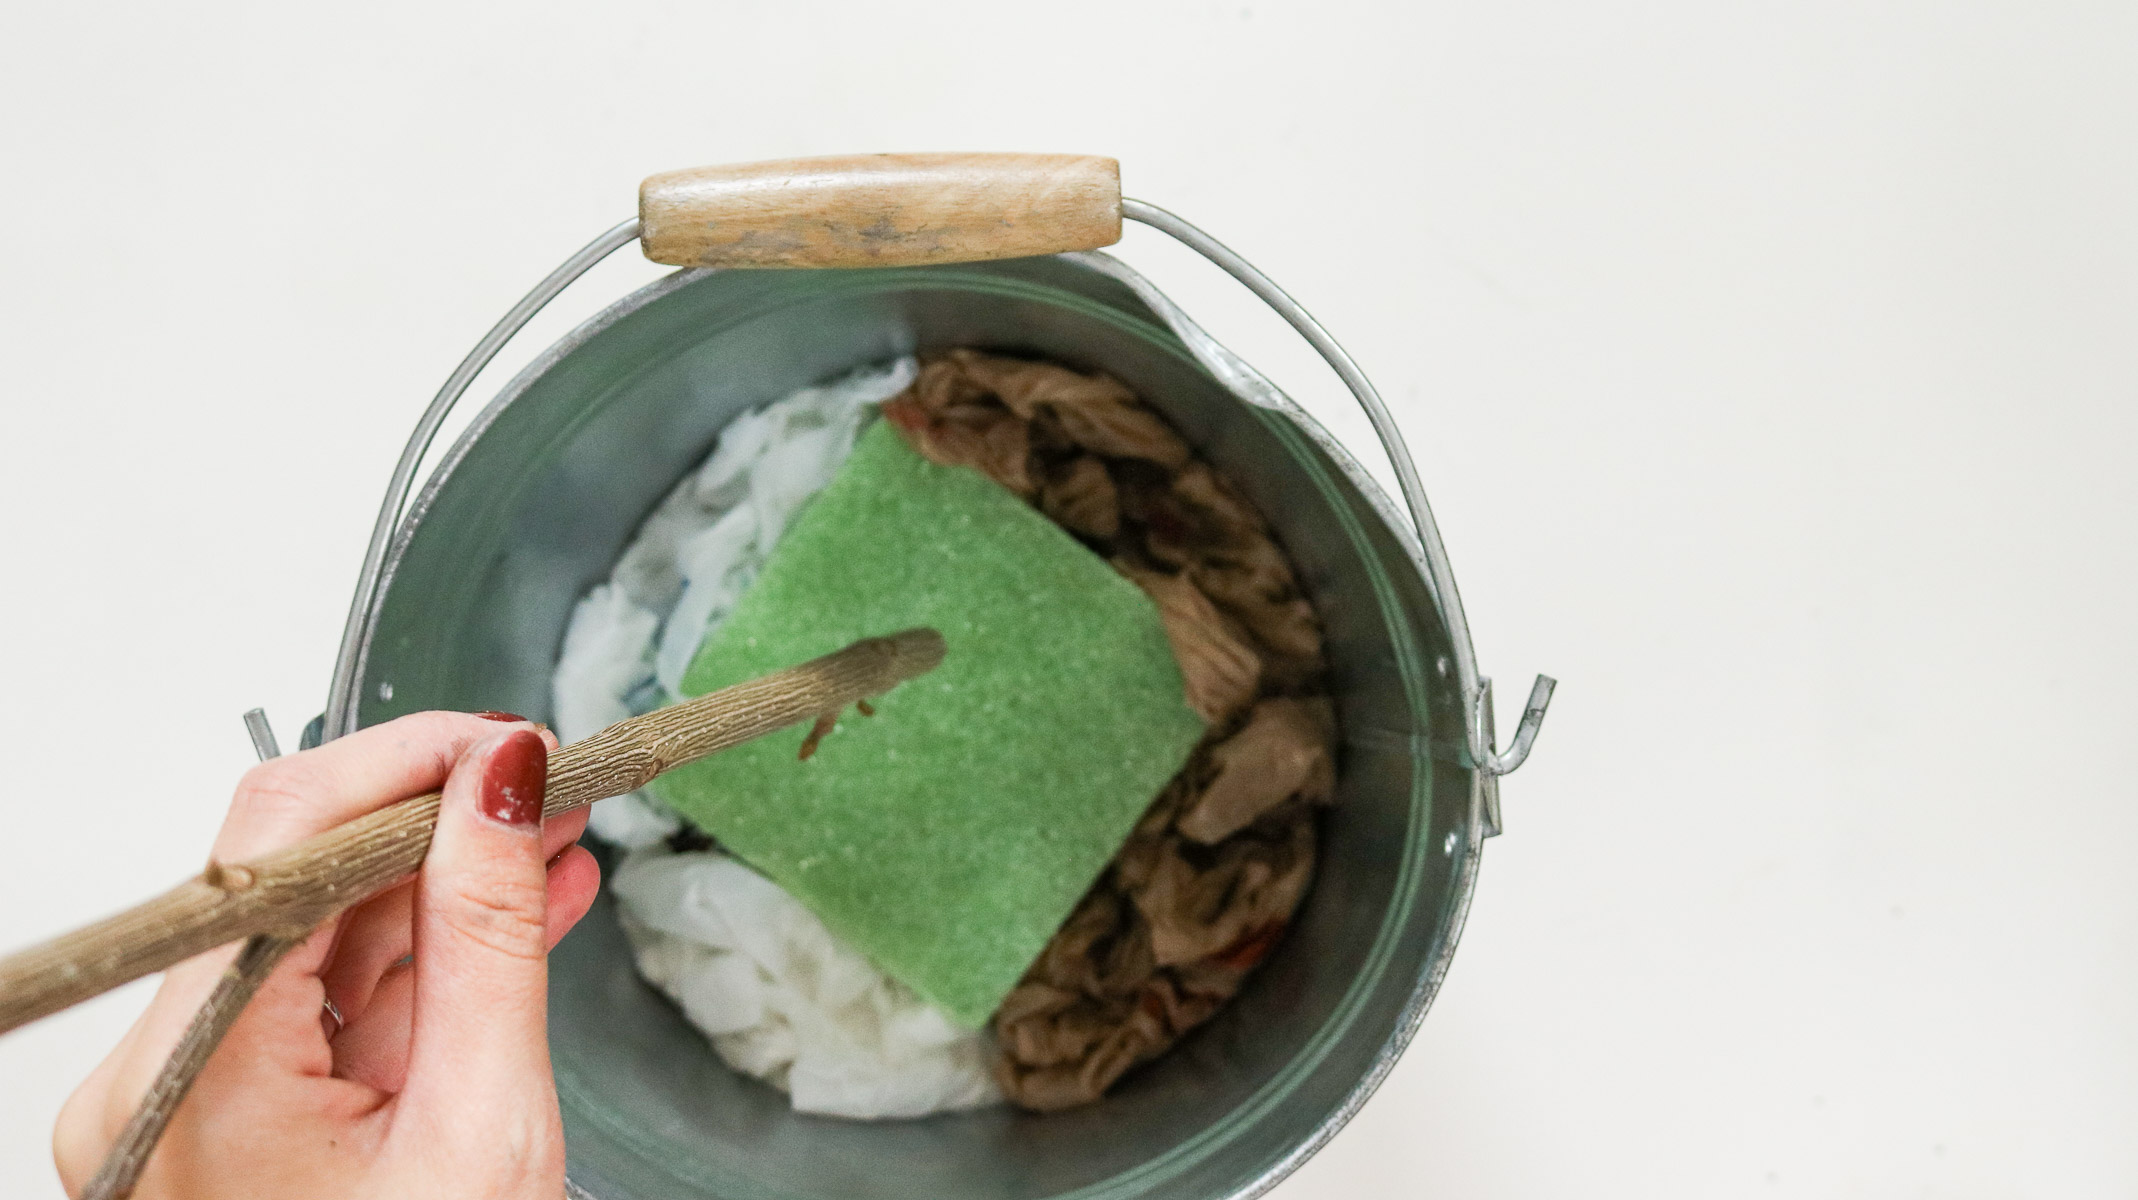
- Recycled grocery bags
- Bucket (your choice of metal)
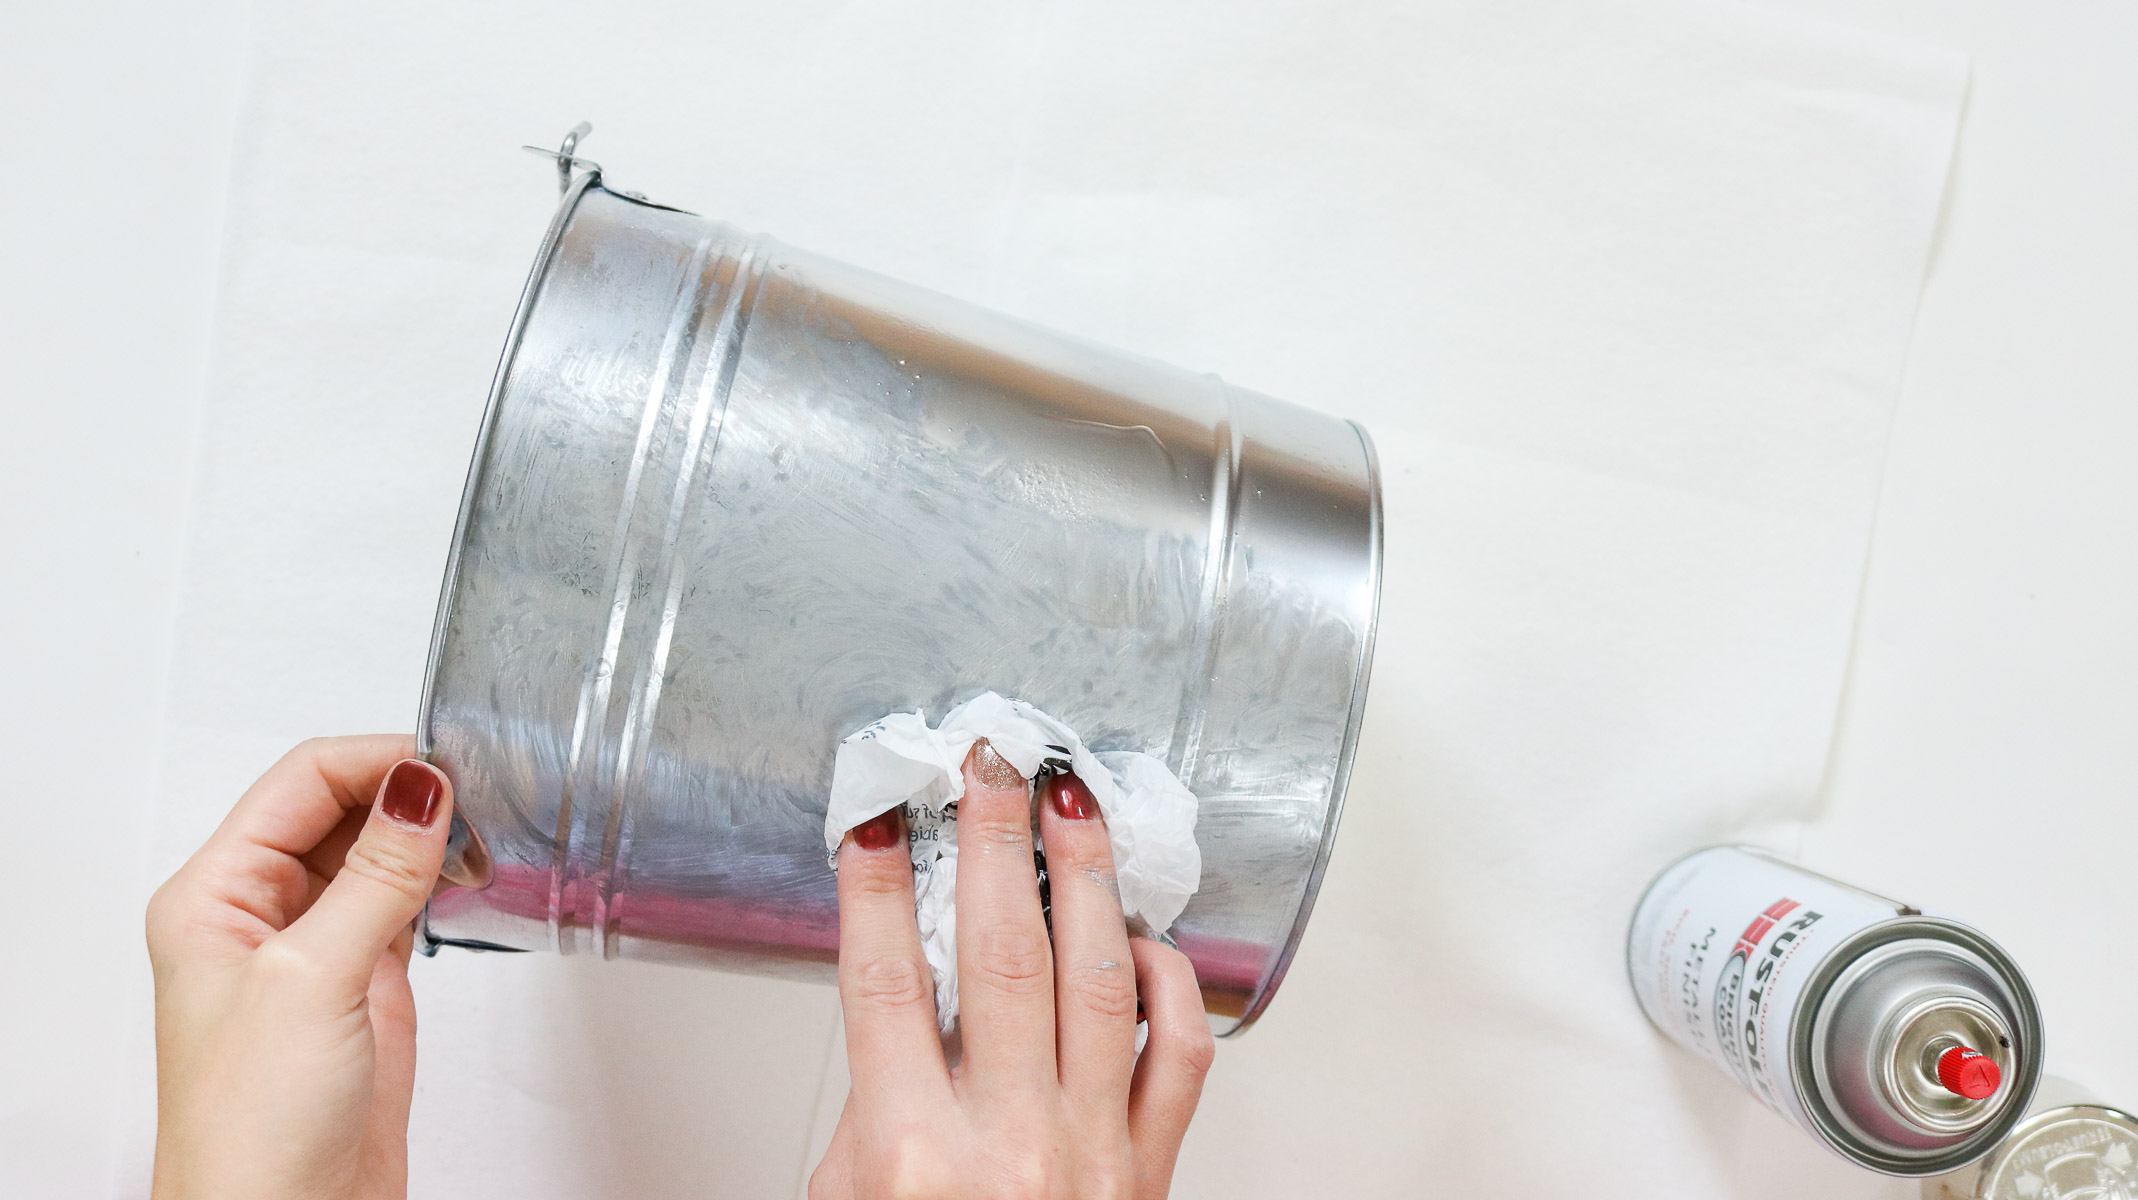
Step One : Creating your base coat!
If you want your spray paint to adhere better to your metal you can sand it slightly. That’s what I did. Following that start by spray painting a section of your bucket with silver spray paint. Take your grocery bag and start rubbing the paint around your bucket. After about 10-20 seconds the paint should start getting tacky. This is when you apply dabbing motions with your bag instead of rubbing. Go around your whole bucket creating this effect with the silver spray paint. It should look pretty rustic at this point. If you’re looking for something subtle you can leave it like that.
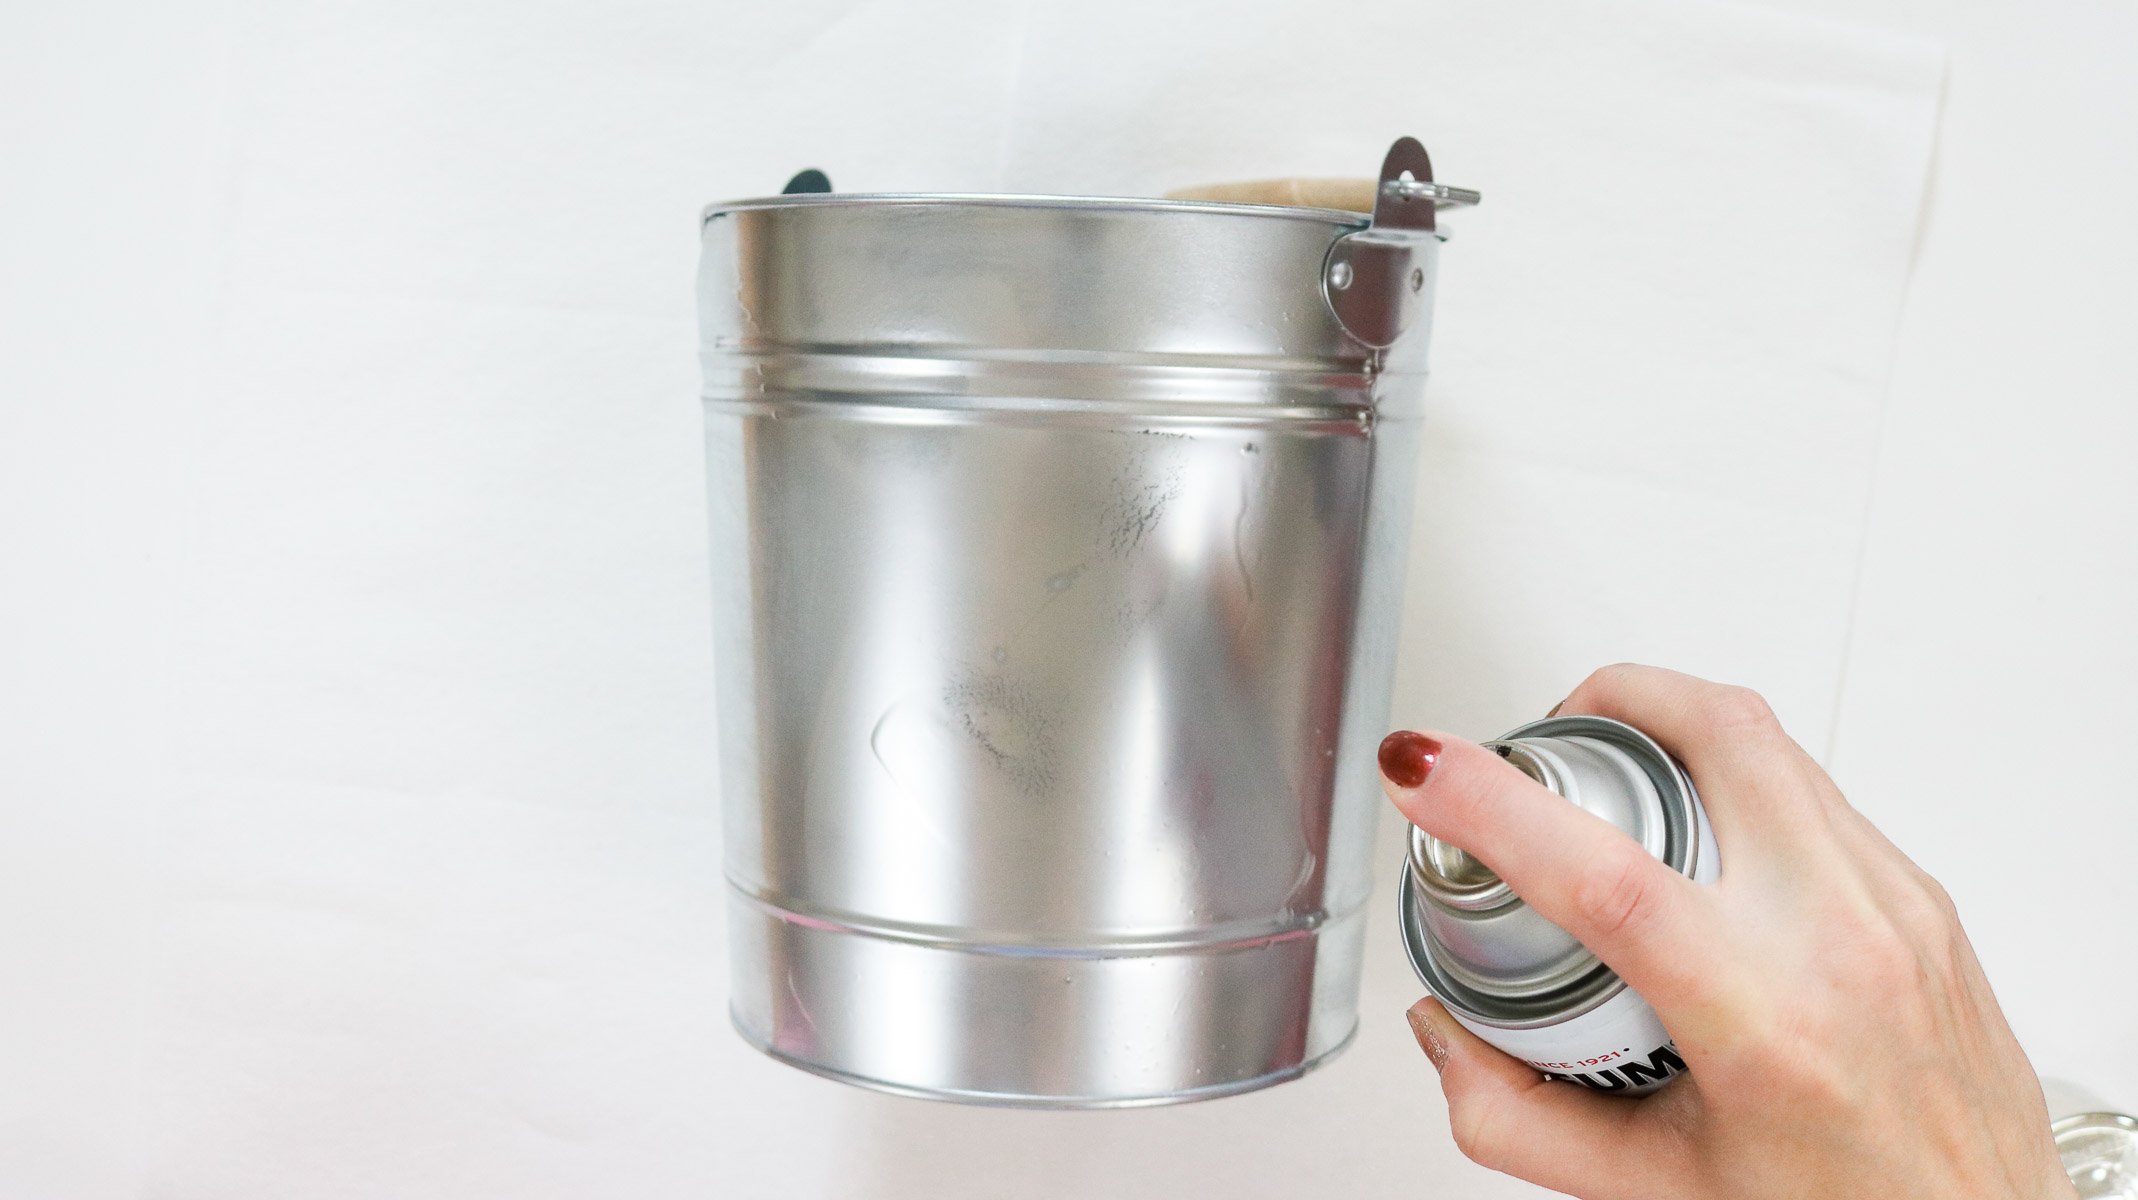
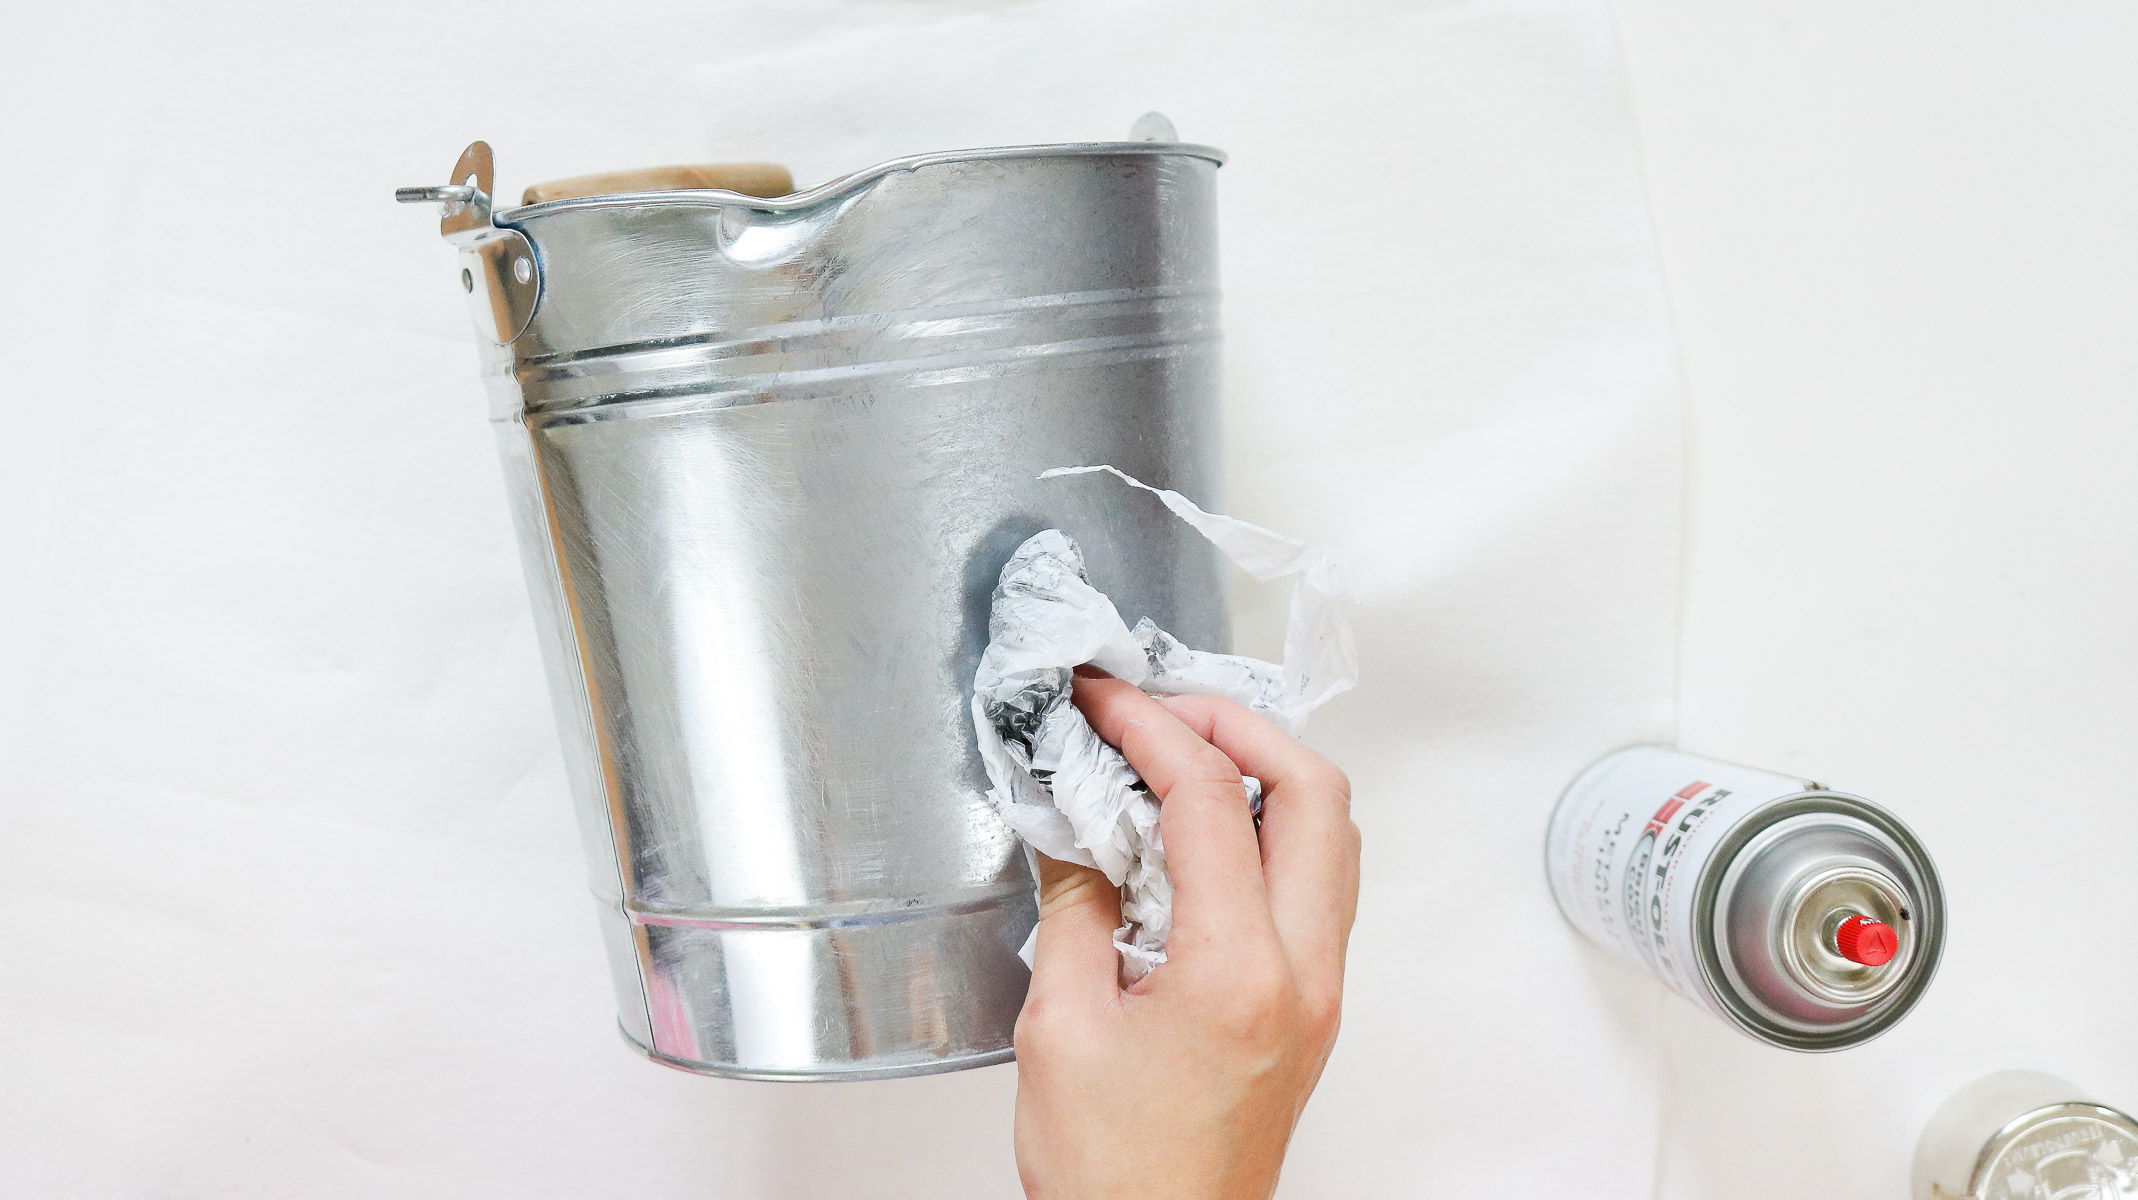
STEP 2: Adding Contrast to your metal!
Okay once your silver is all dry take a clean bag and spray a tiny bit of black paint on your bag. Than apply it to your bucket by rubbing it on first than finishing it of with dabbing motions. If there’s an area you don’t like or added to much black, don’t freak out! Add some more silver paint and repeat the steps.
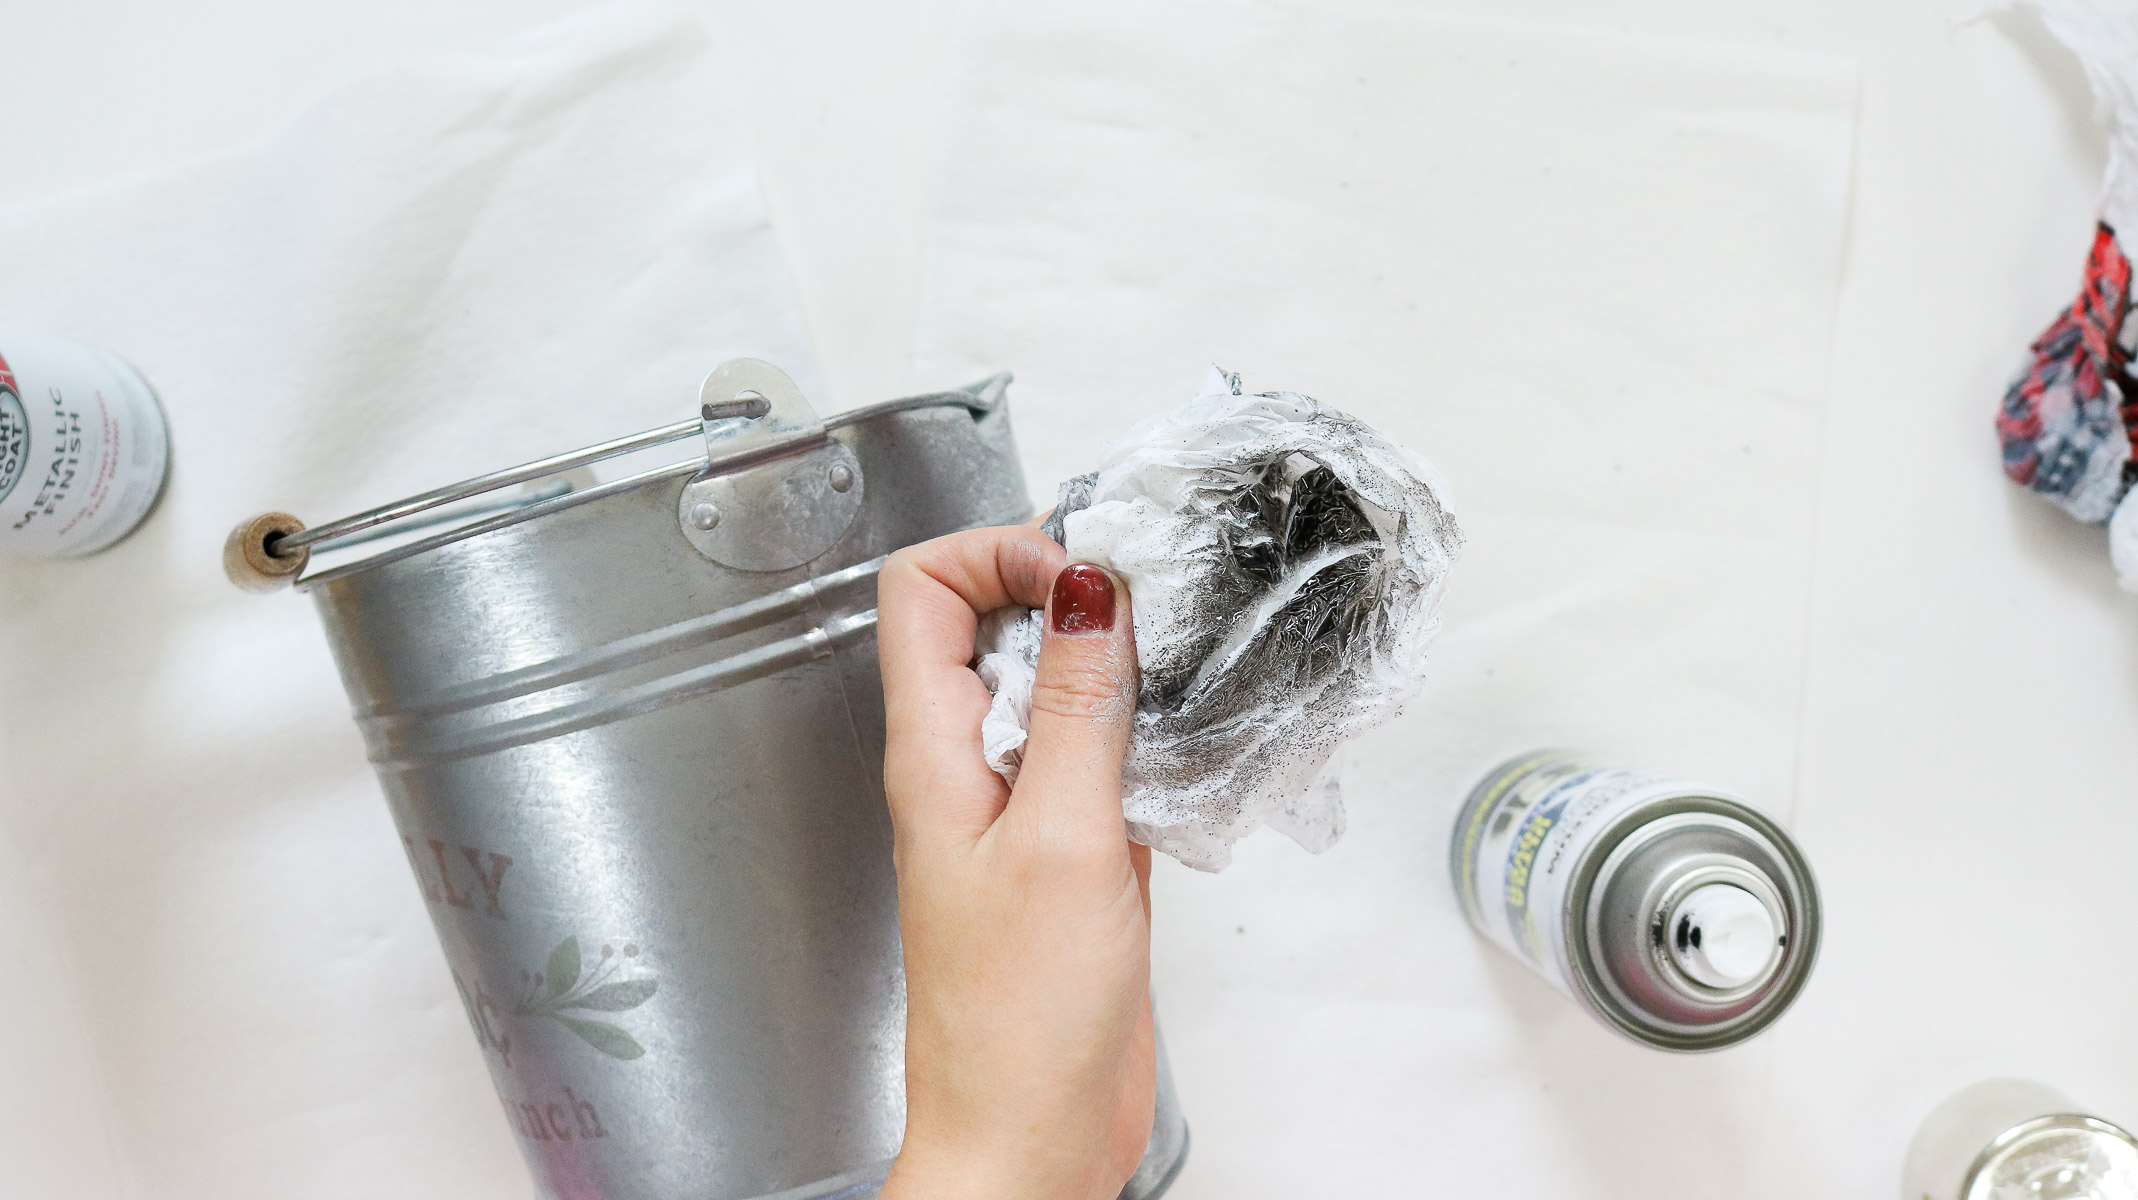
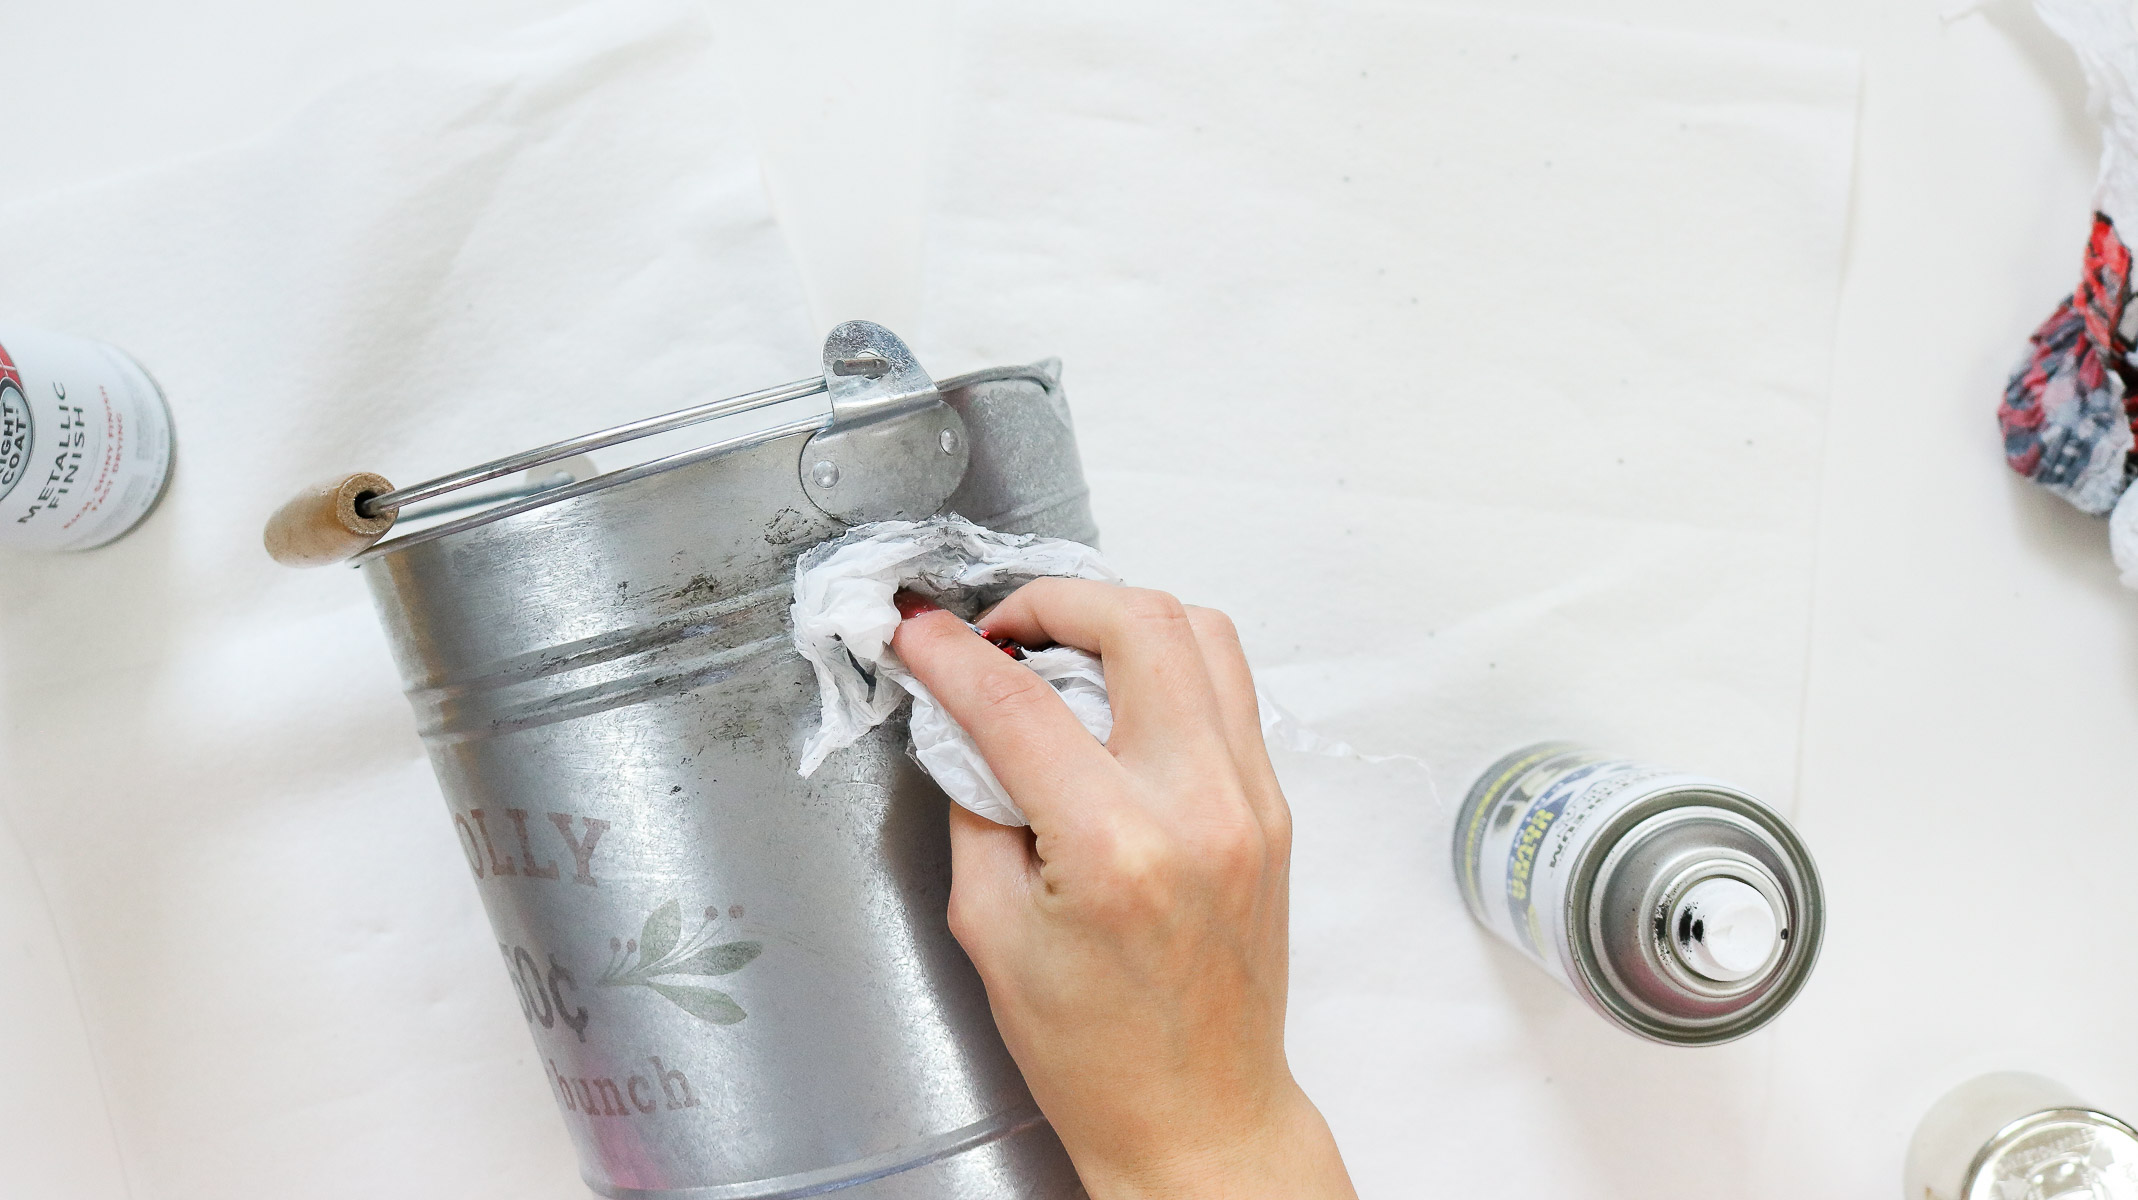
I also added a matte finish to mine because it still seemed a bit too shiny for my taste. 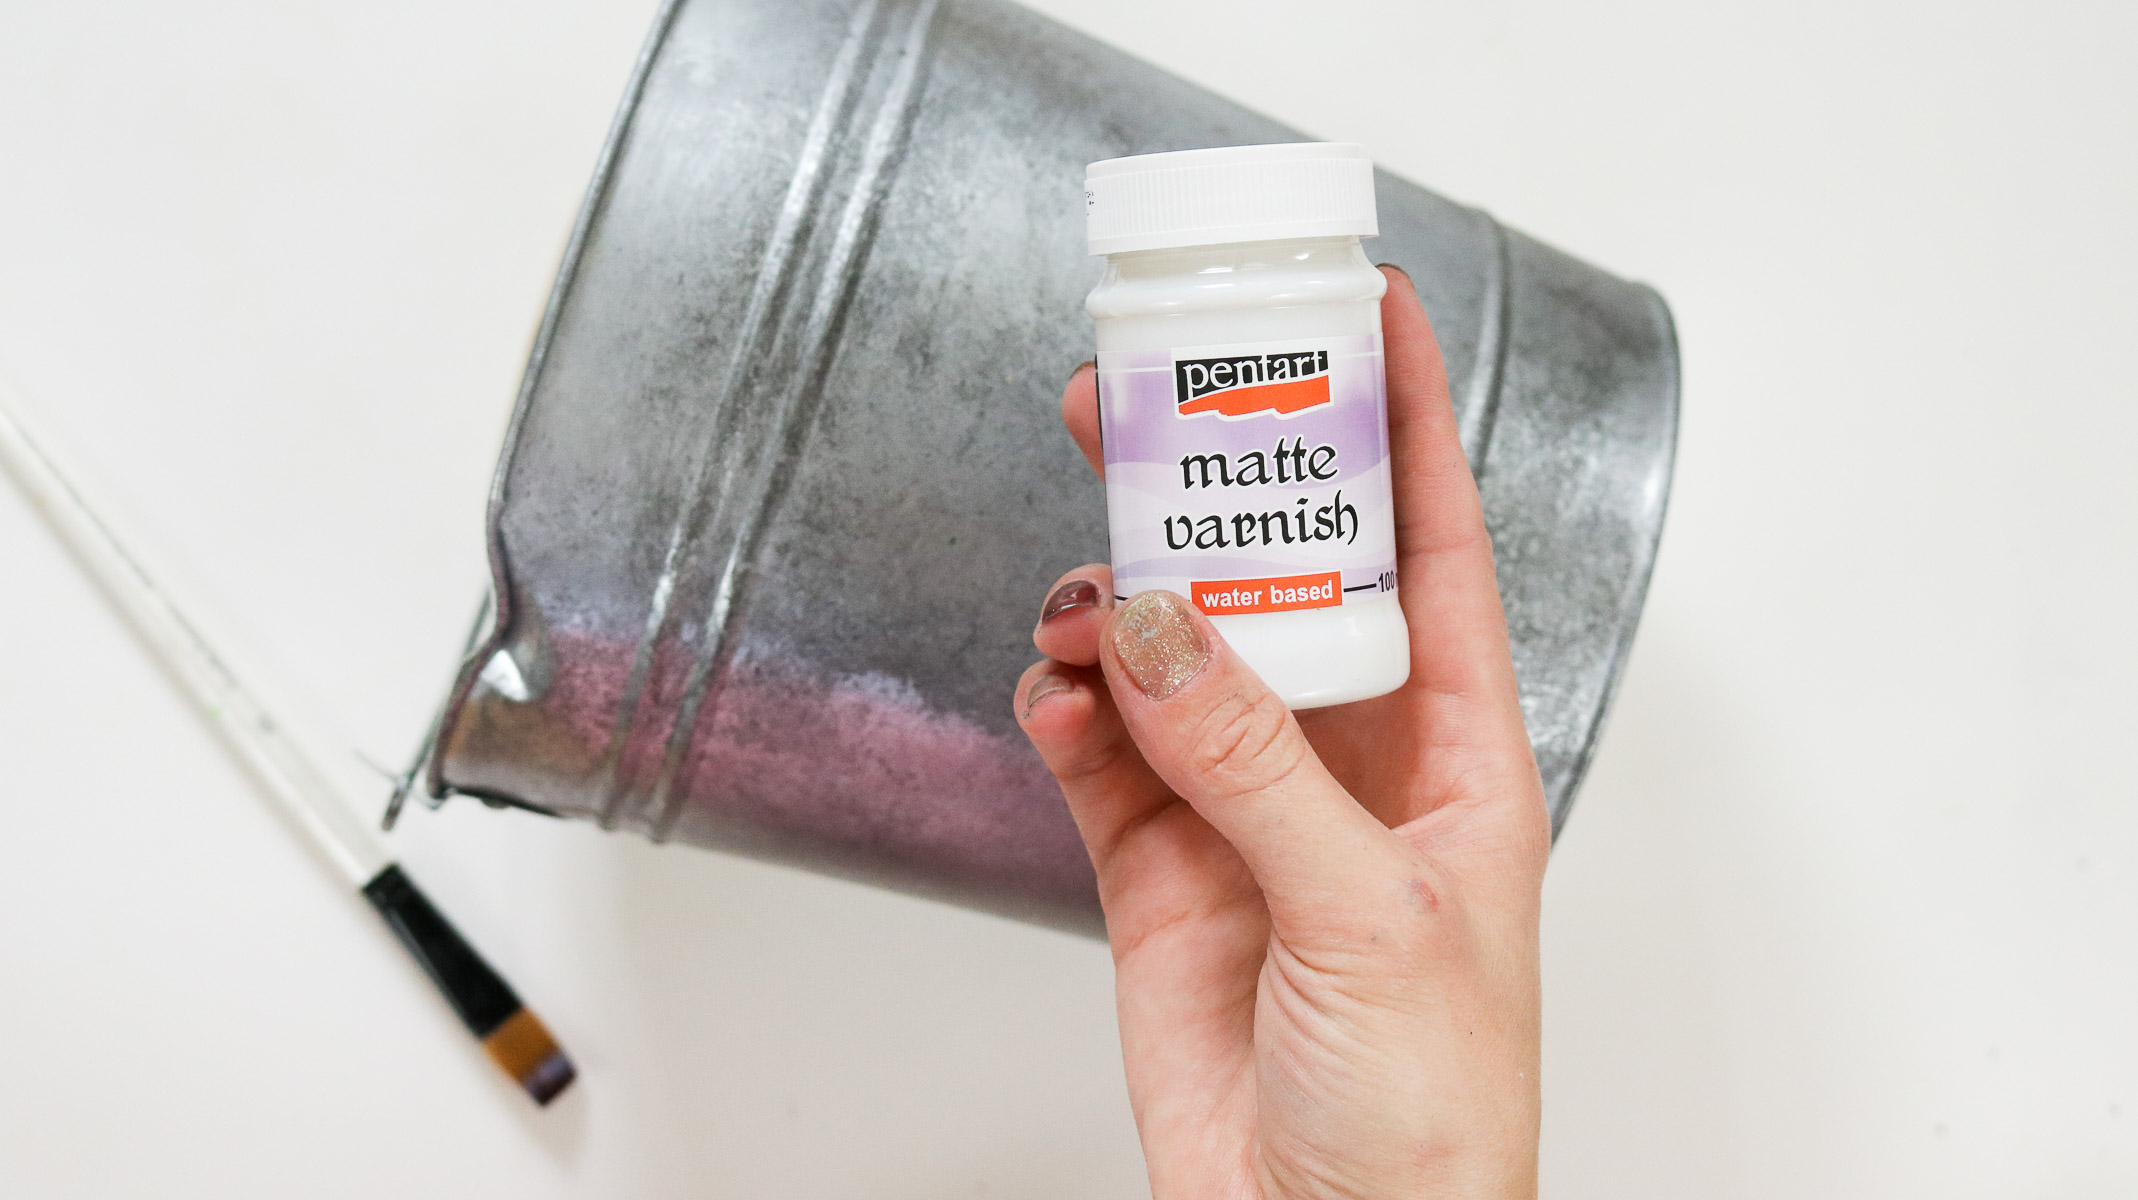
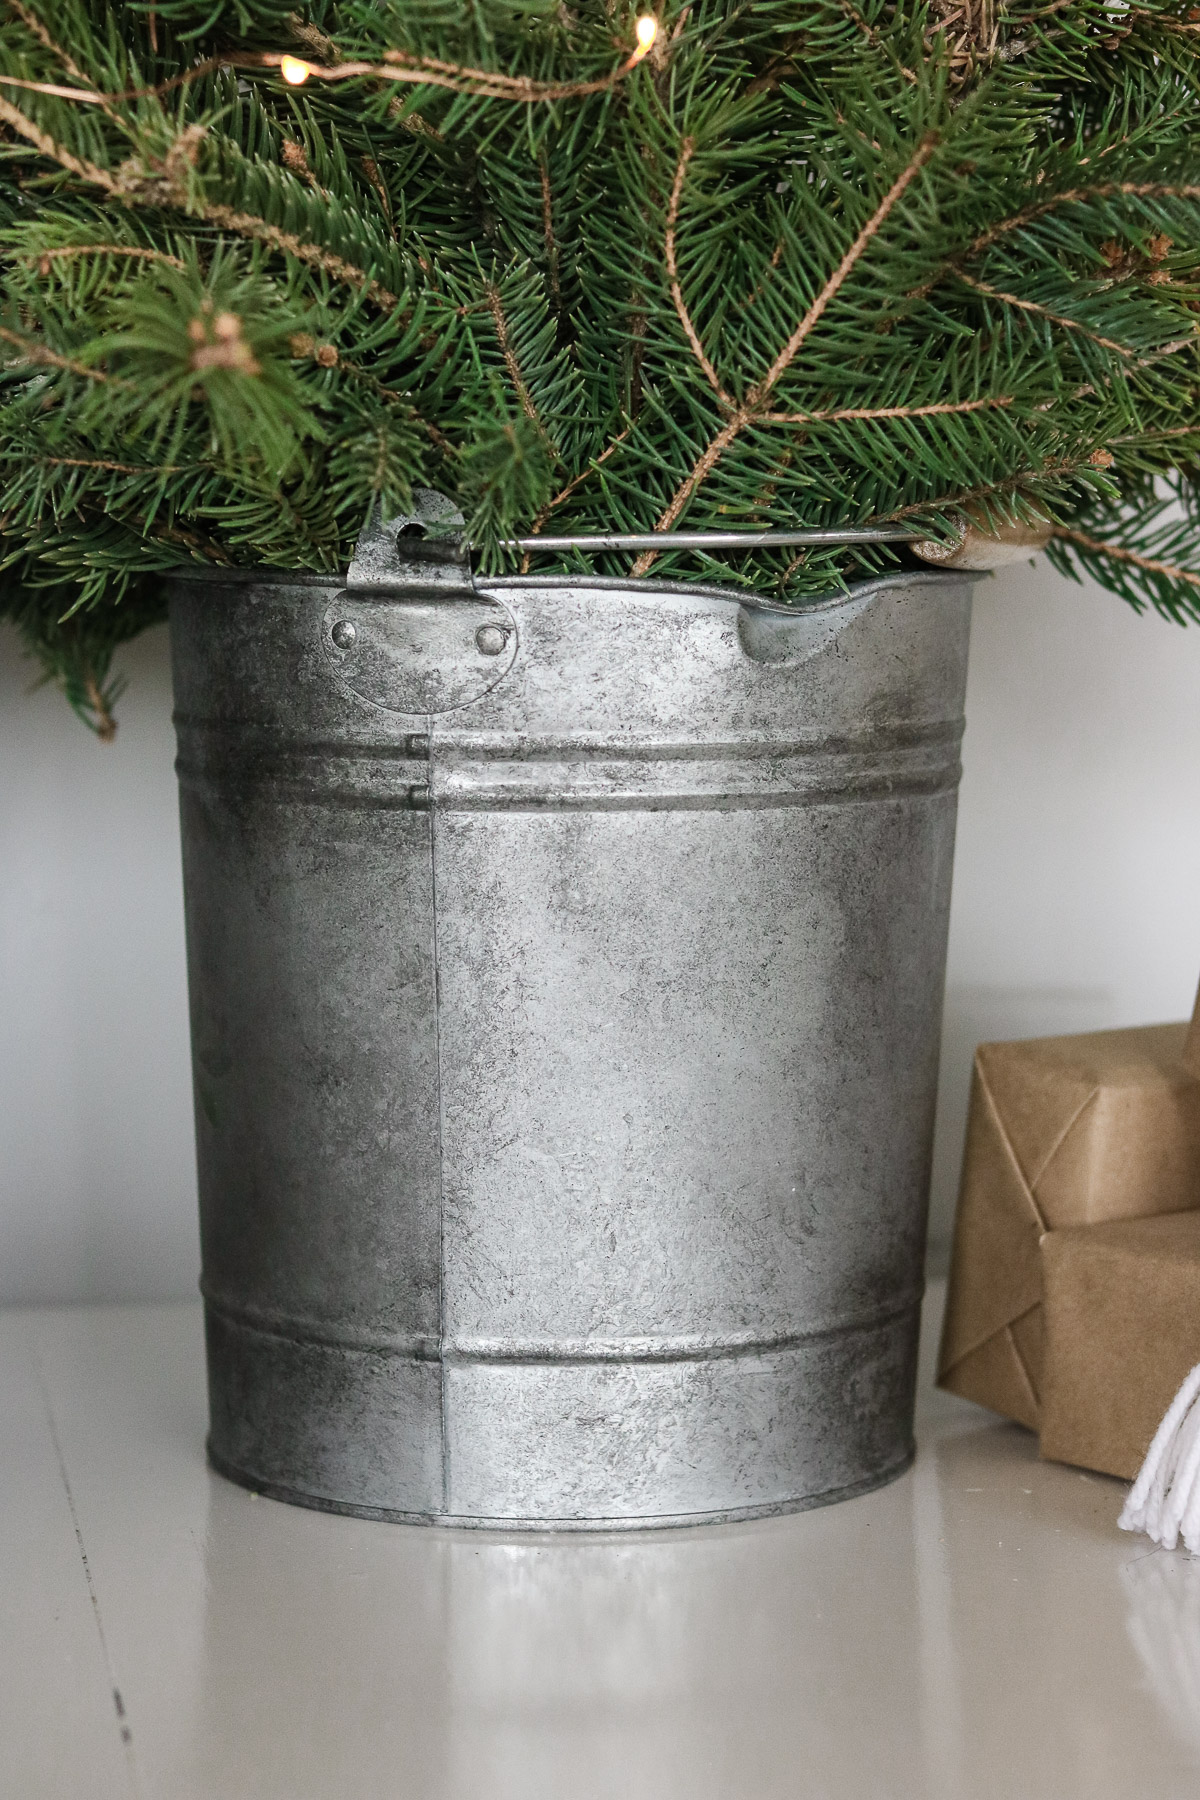
Christmas tree from tree trimmings!
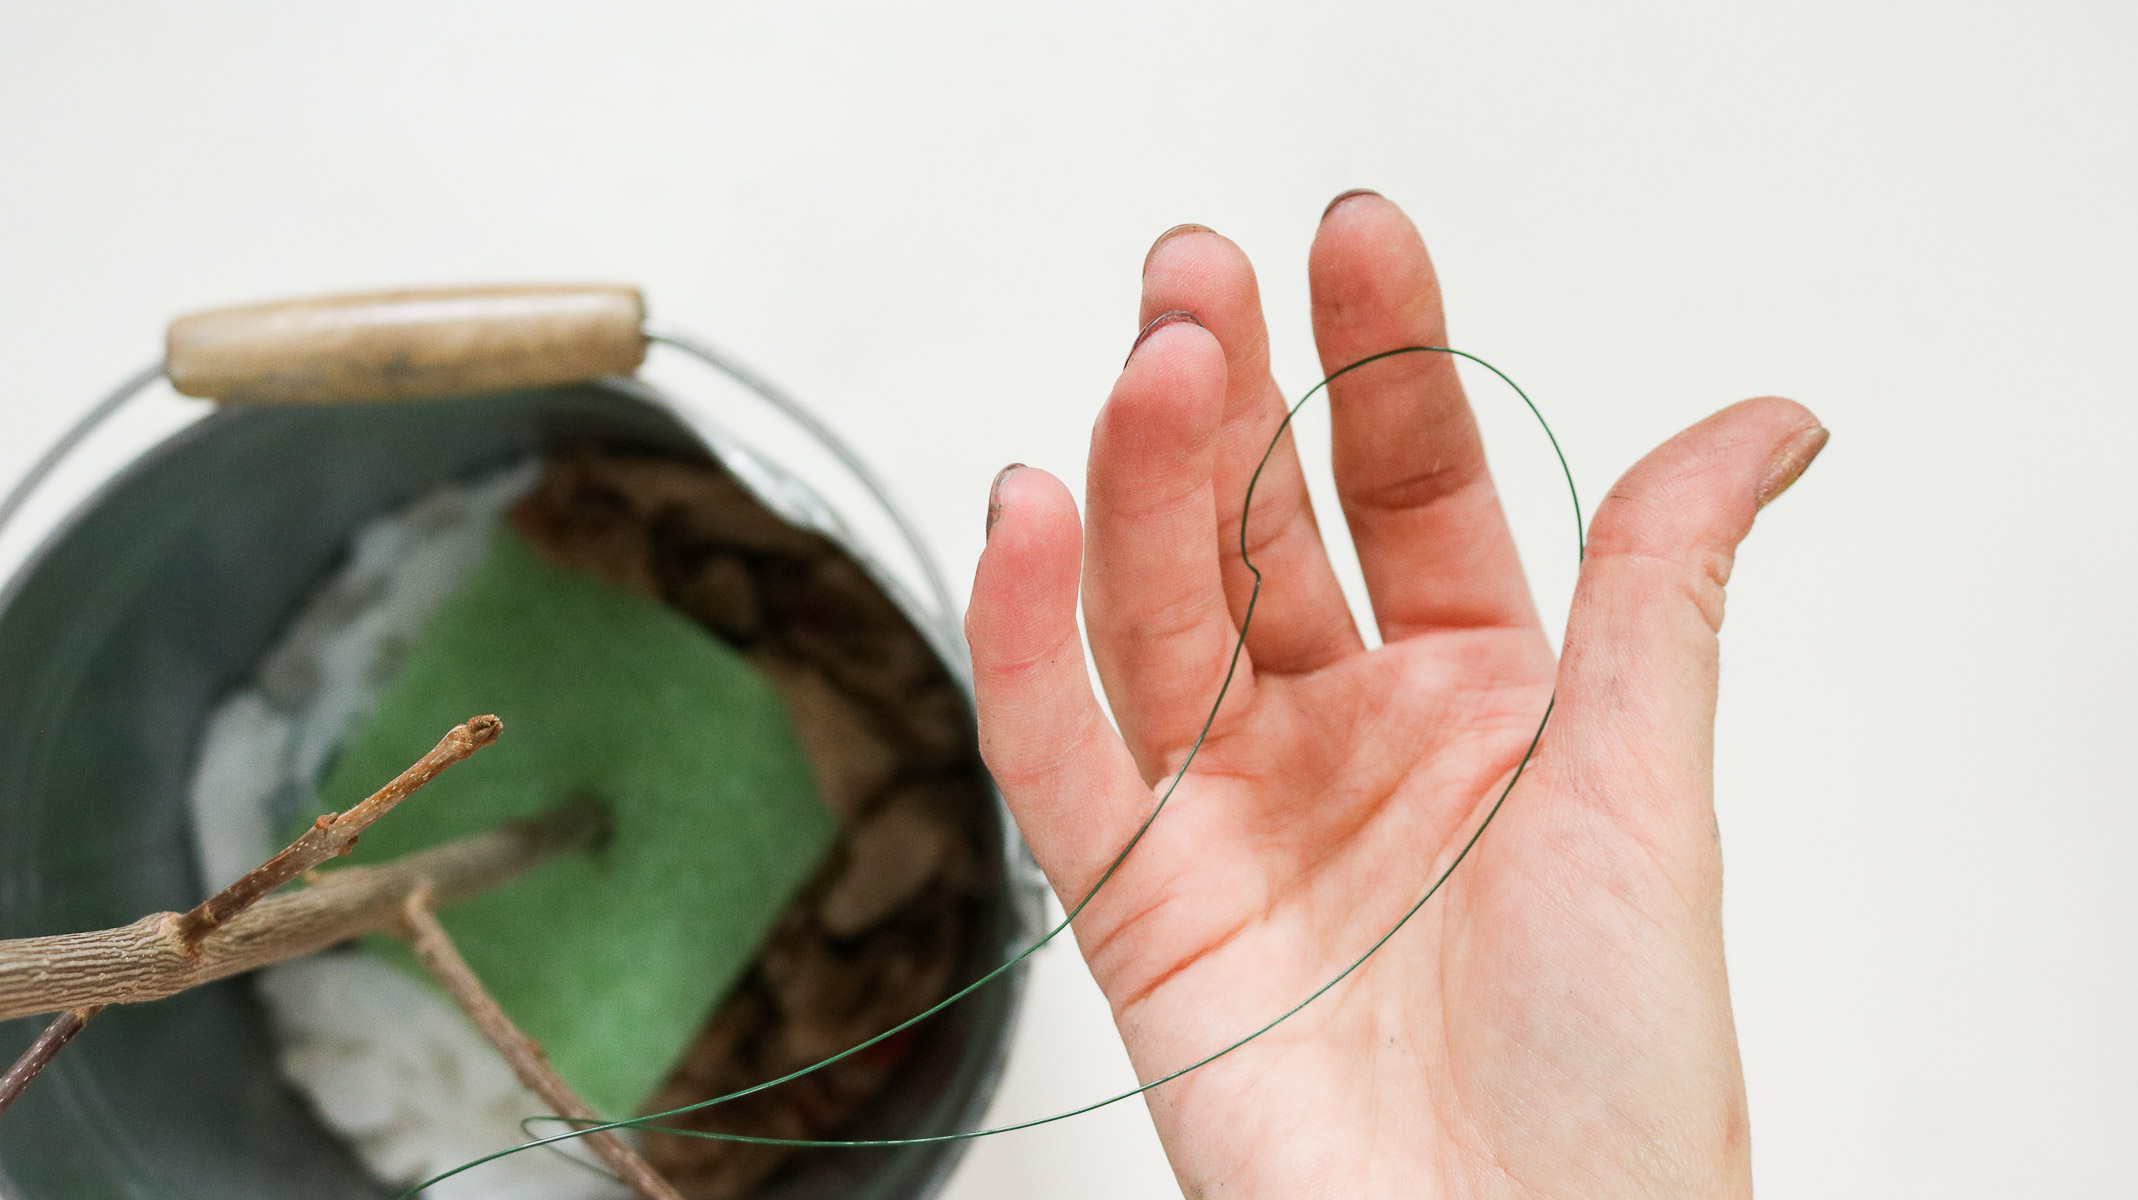
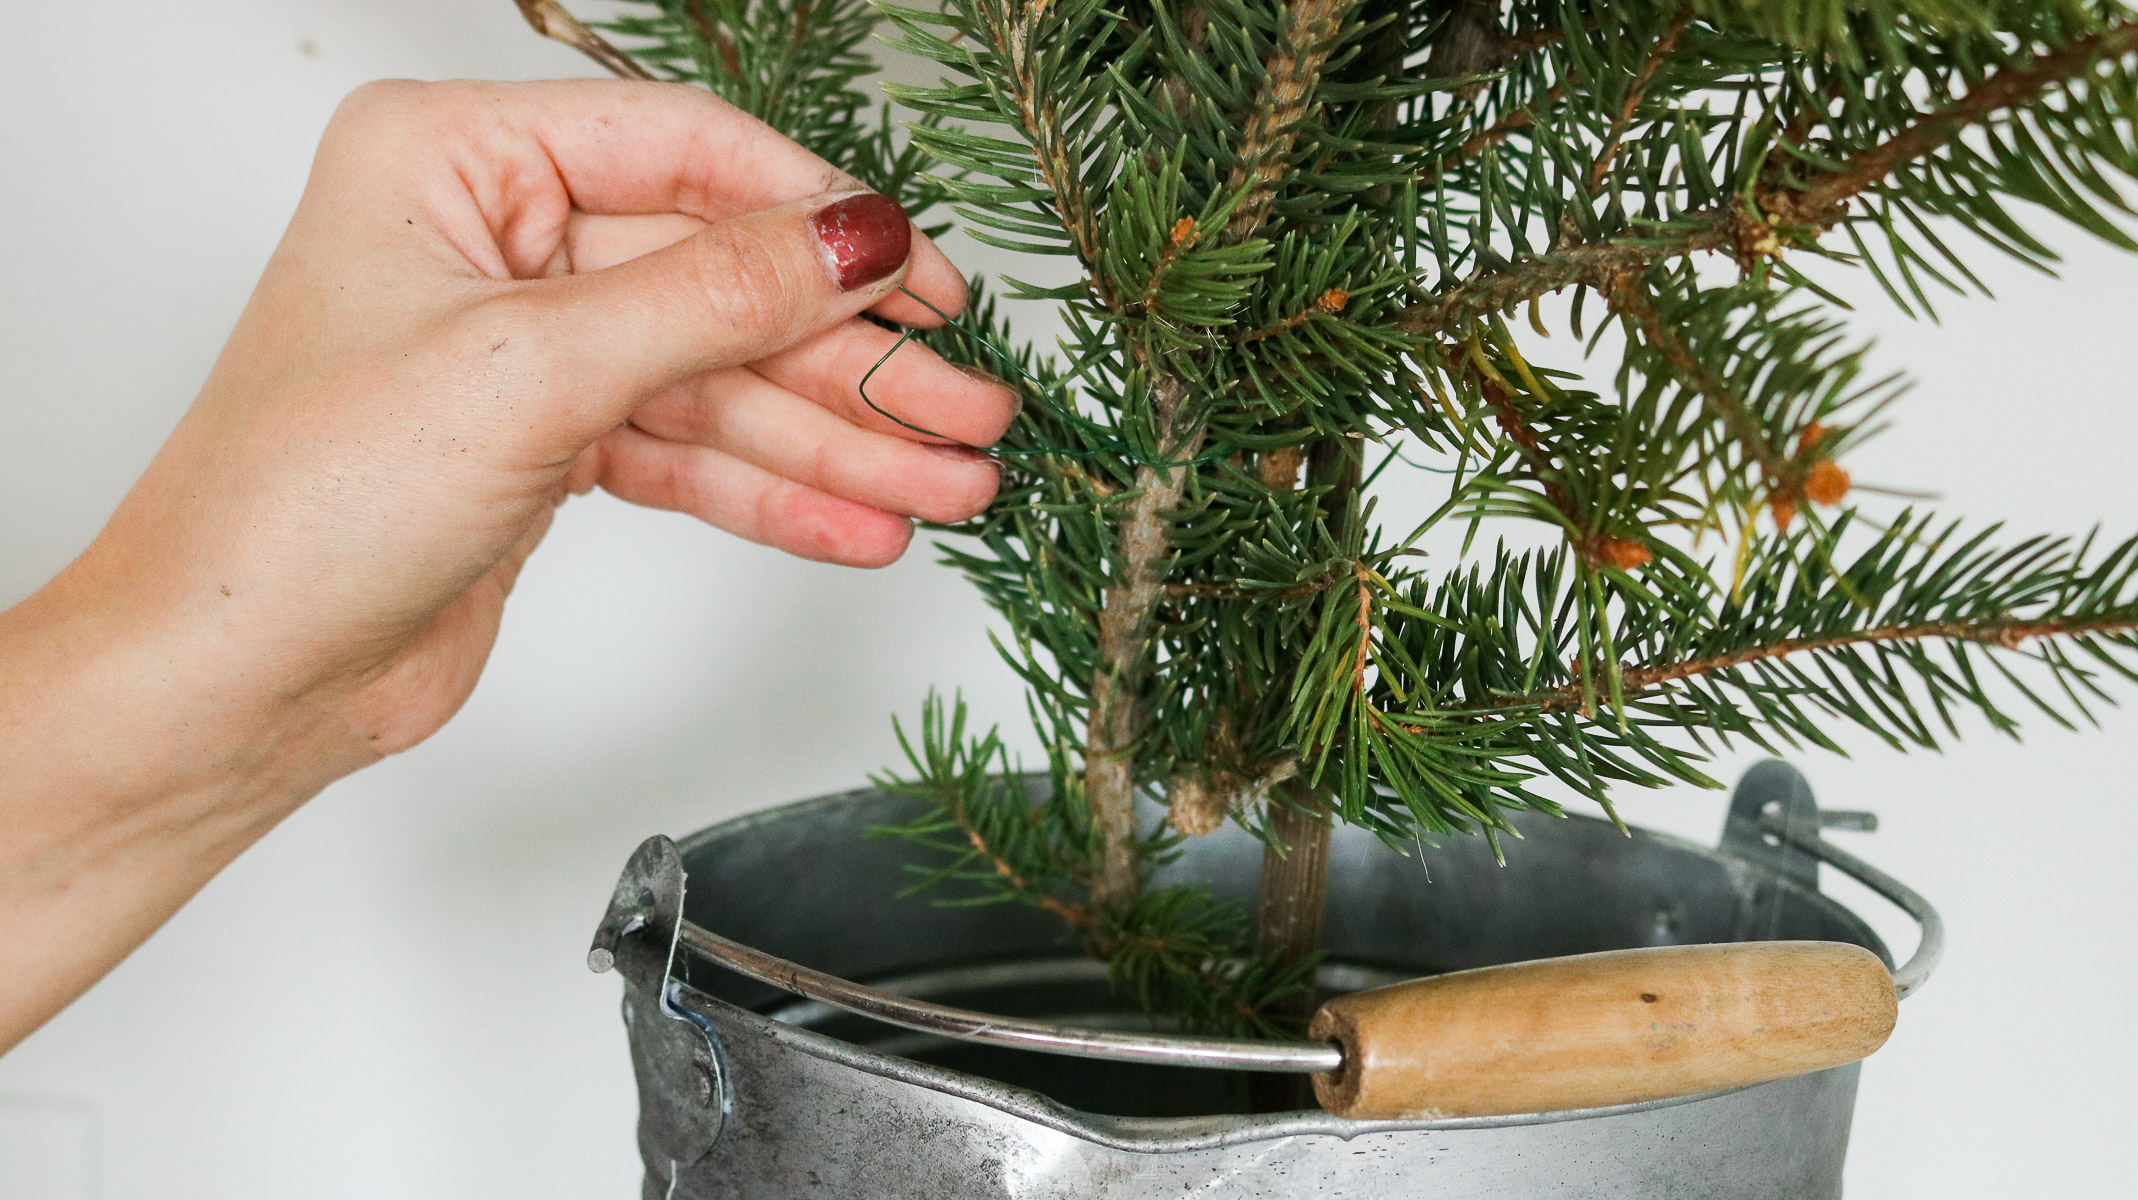
Here’s a fun way to make little Christmas trees from tree trimmings. Add a piece of square foam to the bottom of your bucket and insert a branch. You branch doesn’t have to be big as long as it’s sturdy and has a few twigs sticking out. Following that begin by adding your pine cuttings starting from the top working your way to the bottom. As you get to the bottom keep in mind to add more pine to the bottom for a wider look. This will give it the tree shape. Use some floral wire to secure them. The twigs on the branches also help when securing your pine. Once you get to the bottom of your bucket simply stuff the bucket full all around and this will complete the look. That’s it! You can make tiny trees the same way or use faux pine and reuse them yearly. 😀 Plus create any shape tree you like with this method!

Here it is! 😀

I love this rustic effect!! AND I love how quick it was to do! 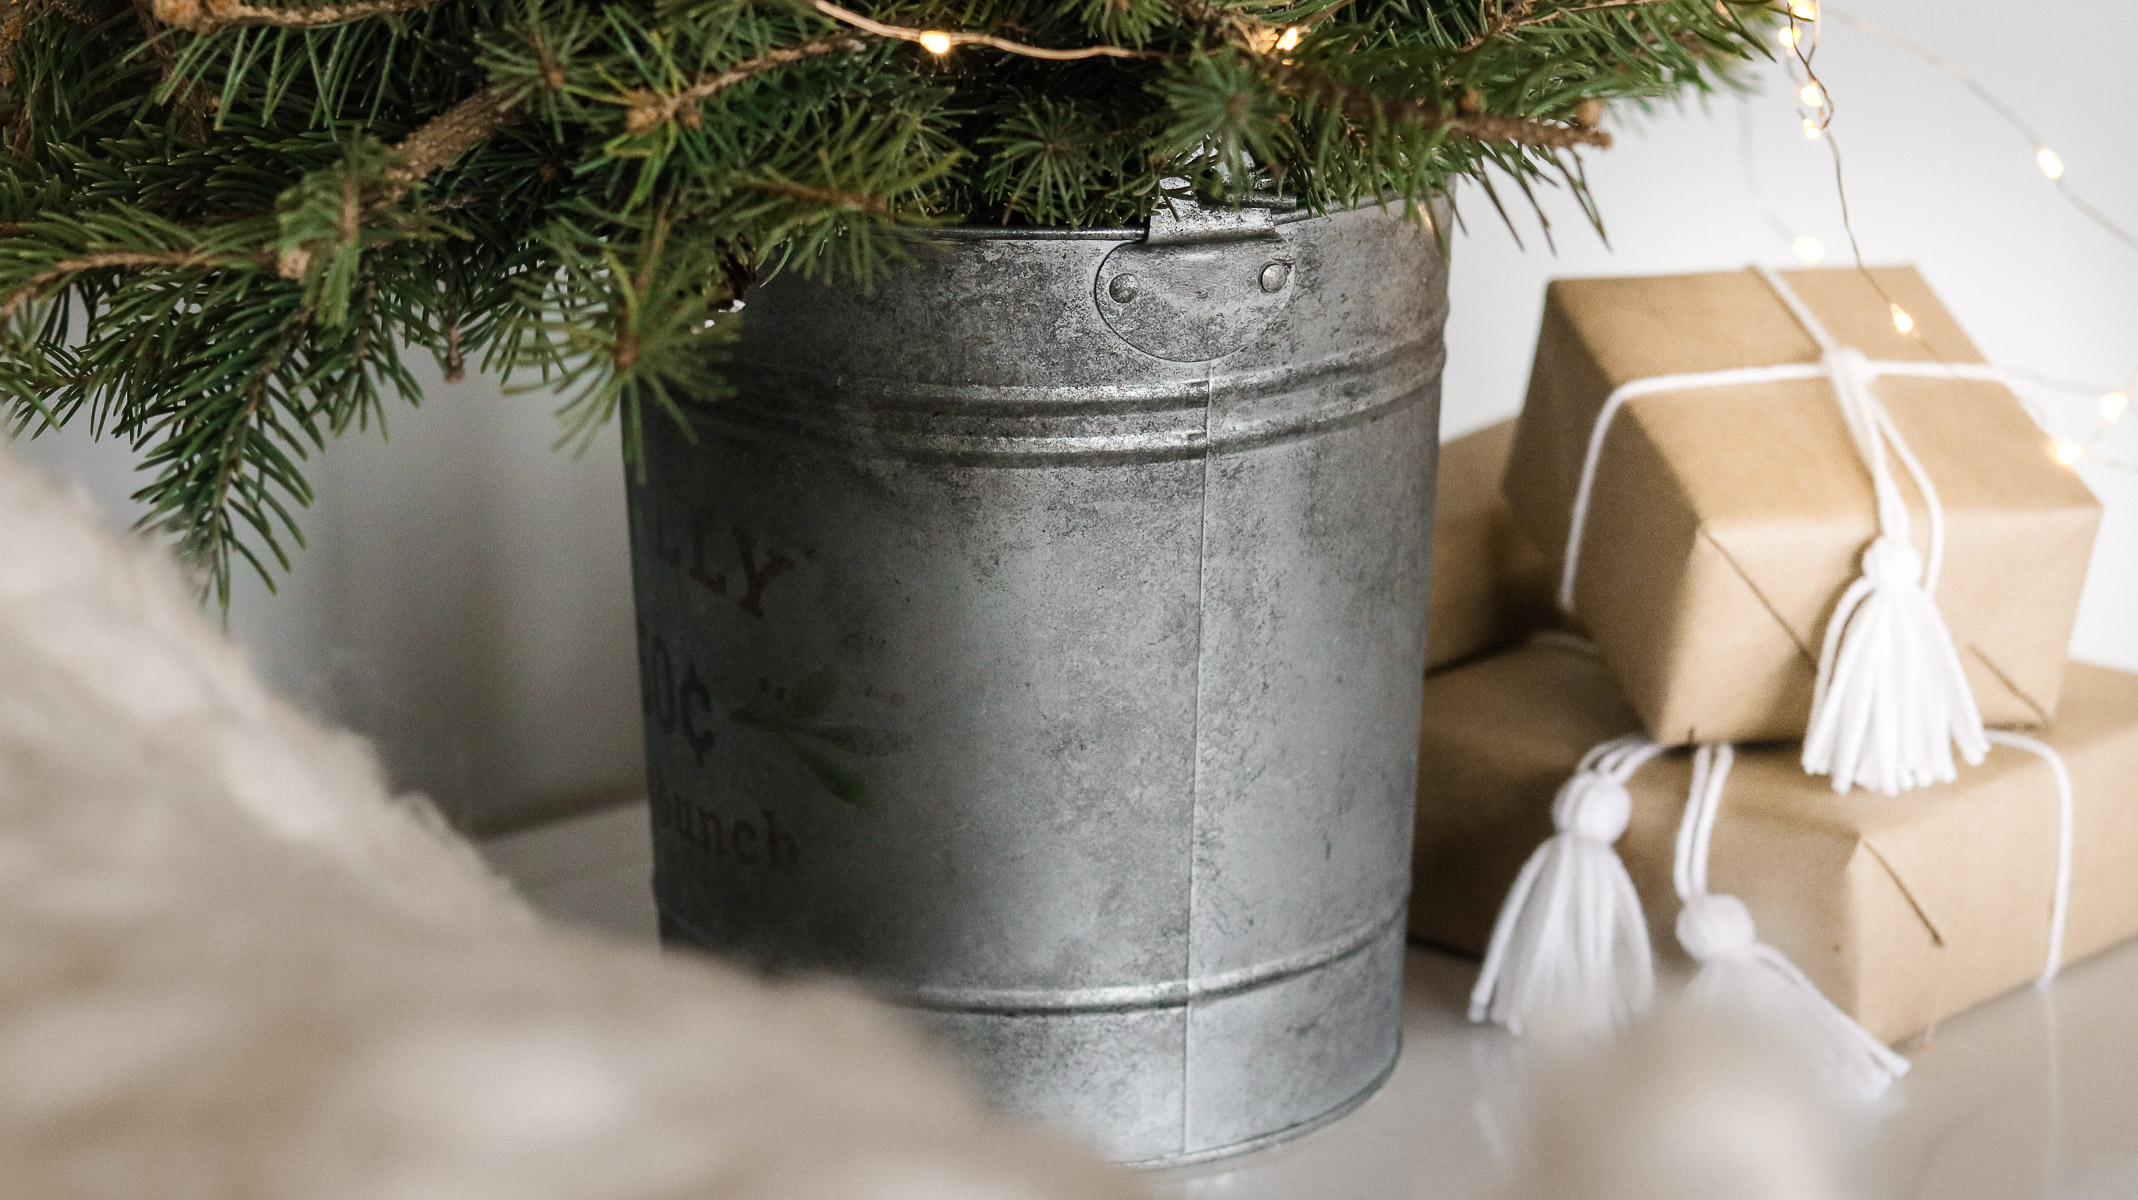
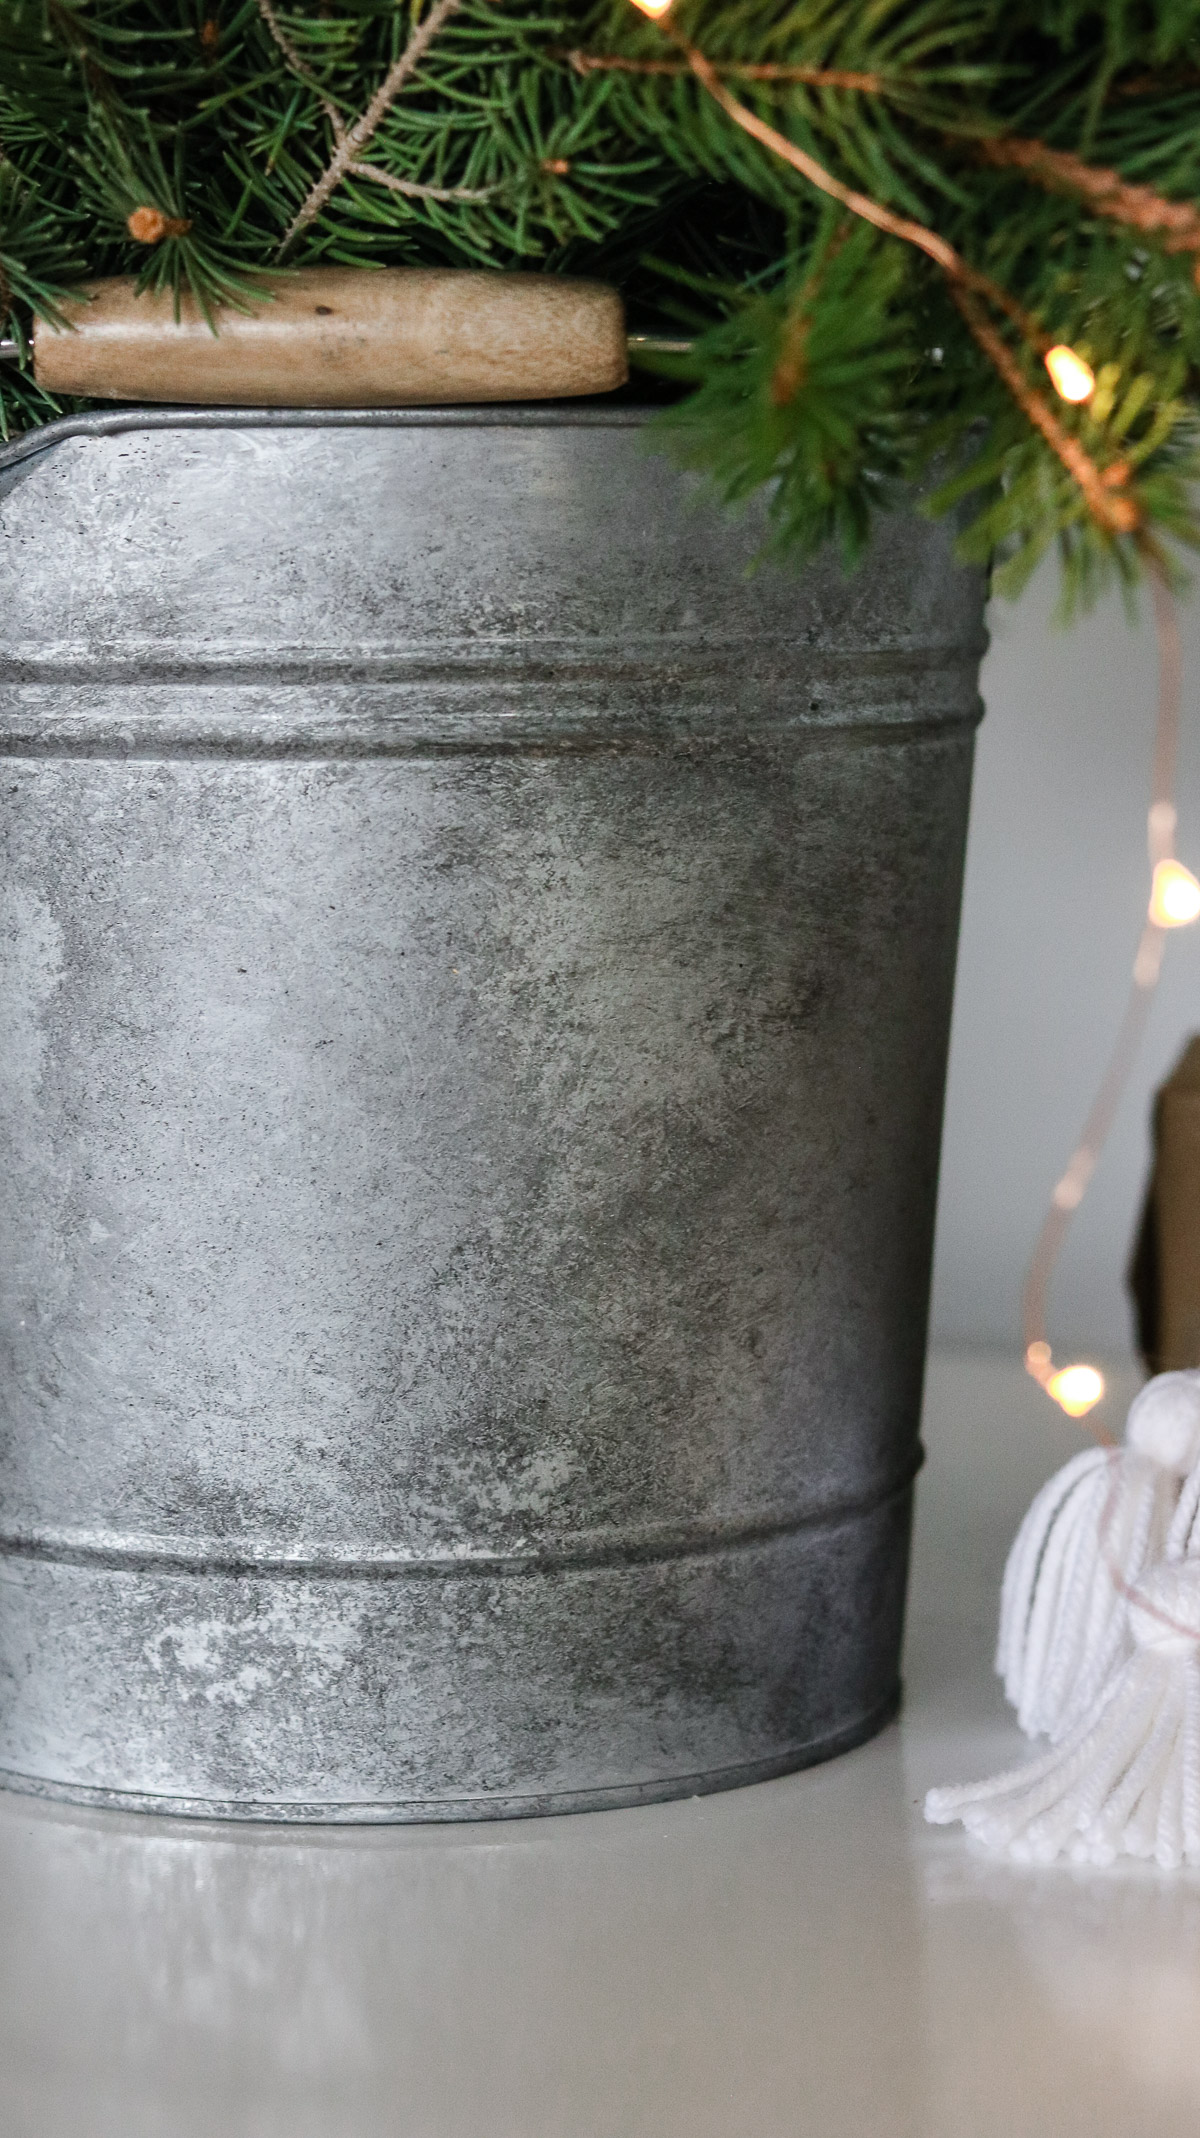
Here’s a few close ups on the effect!
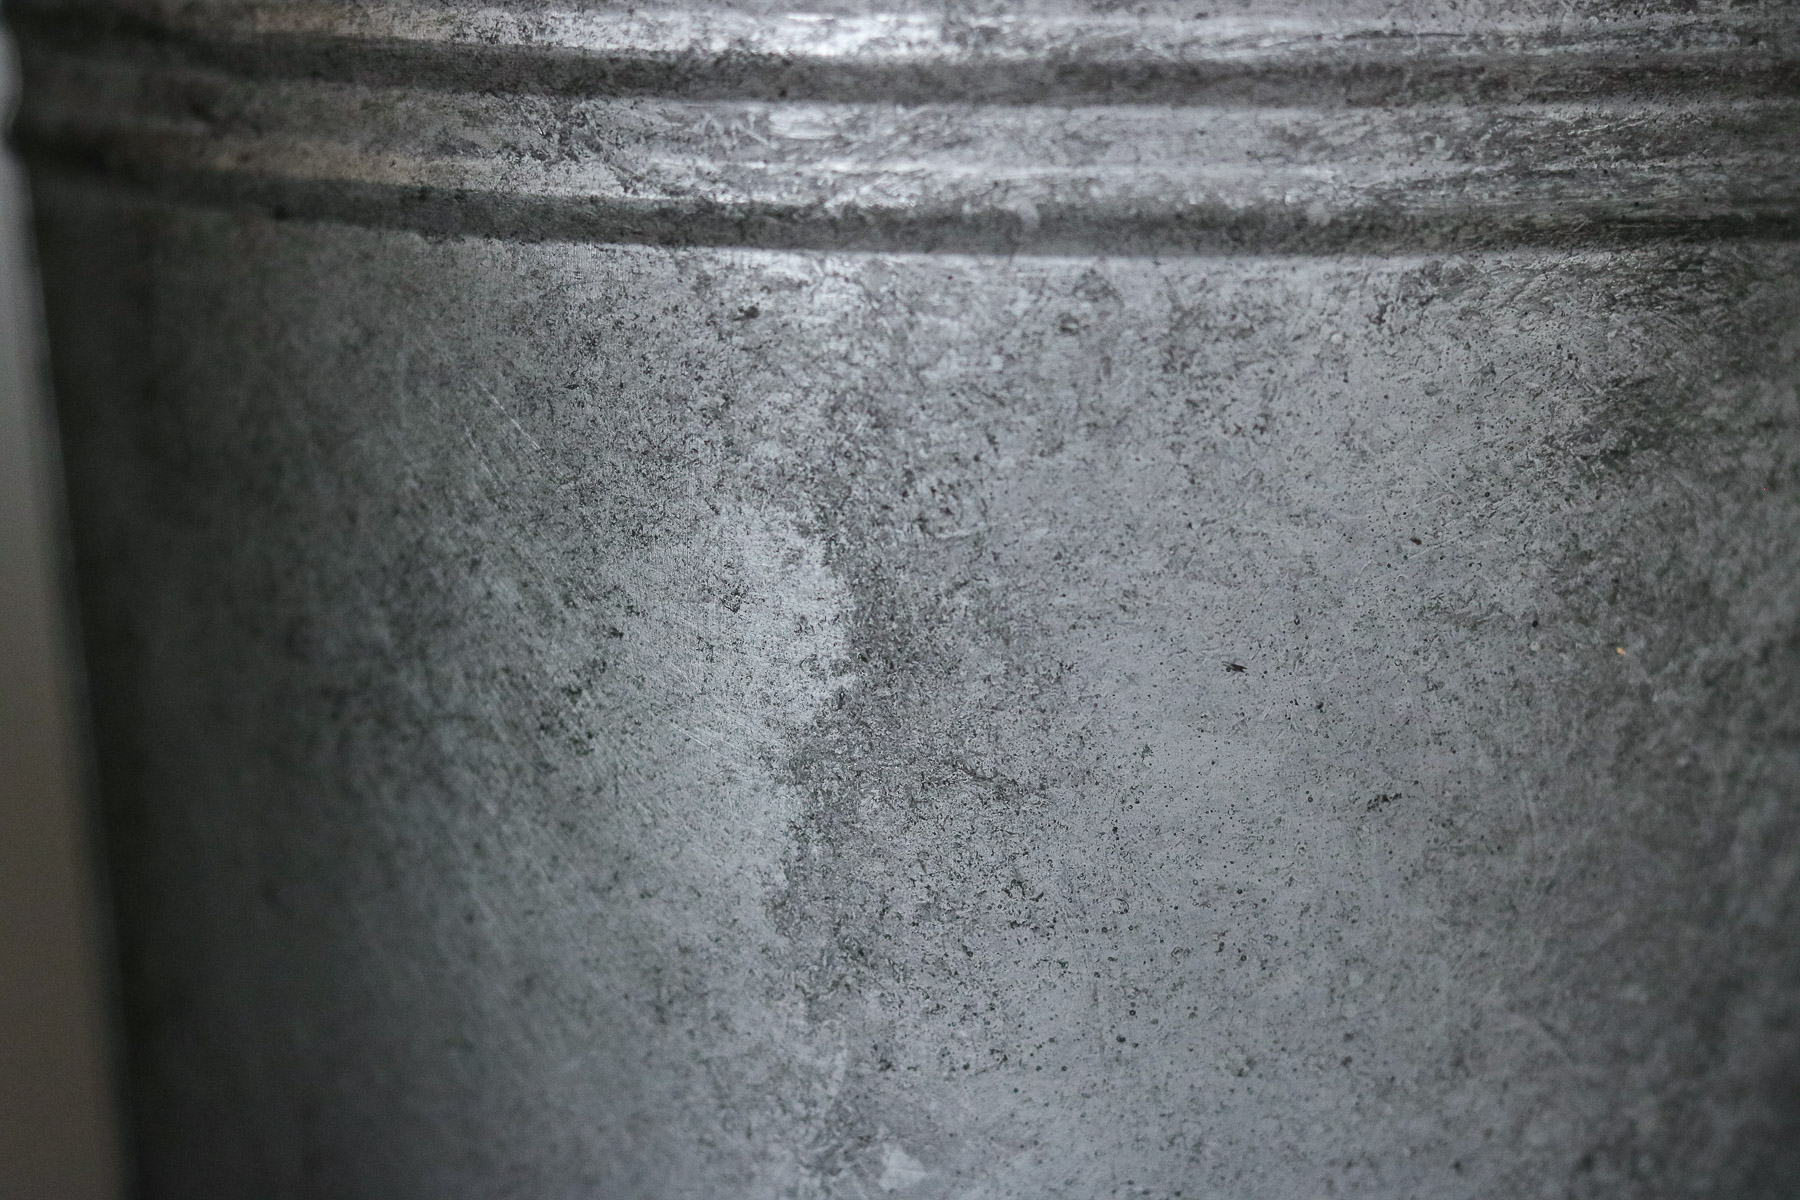
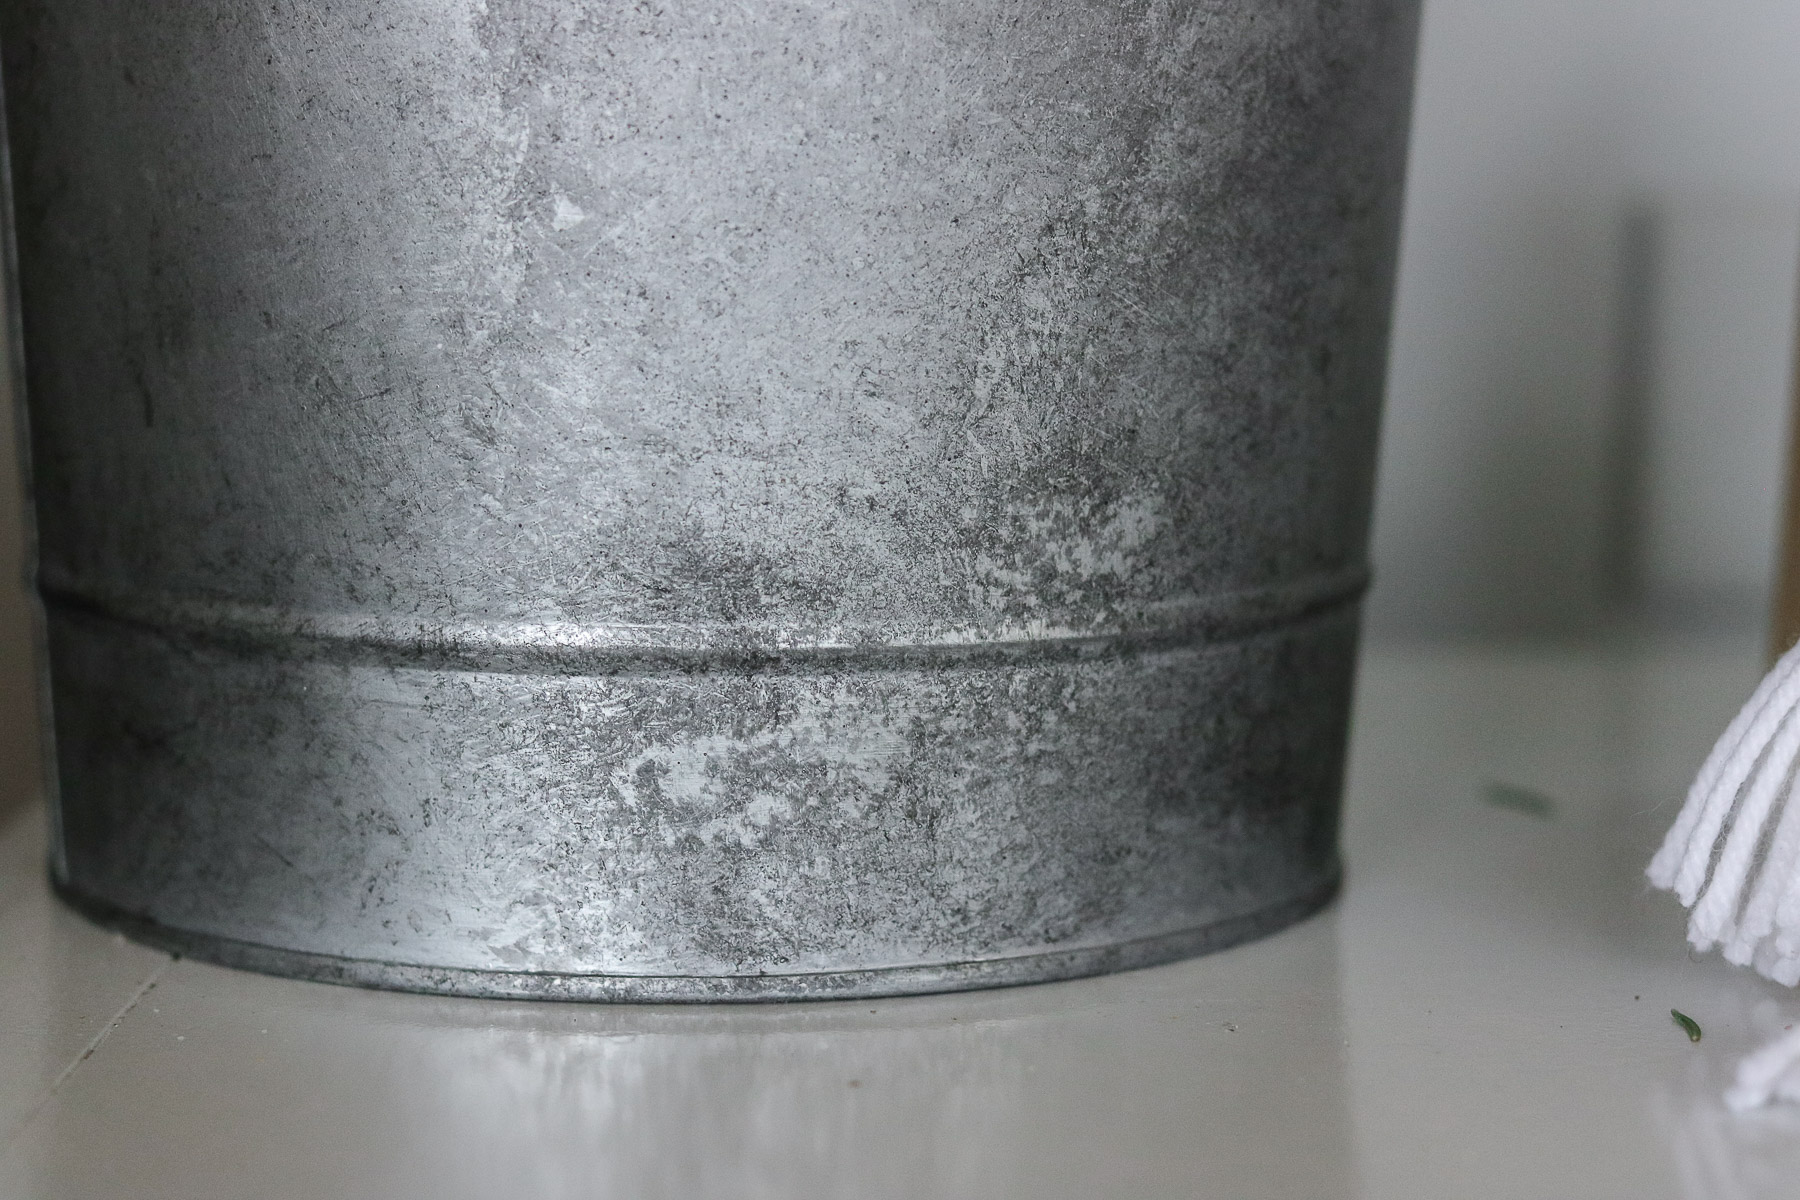
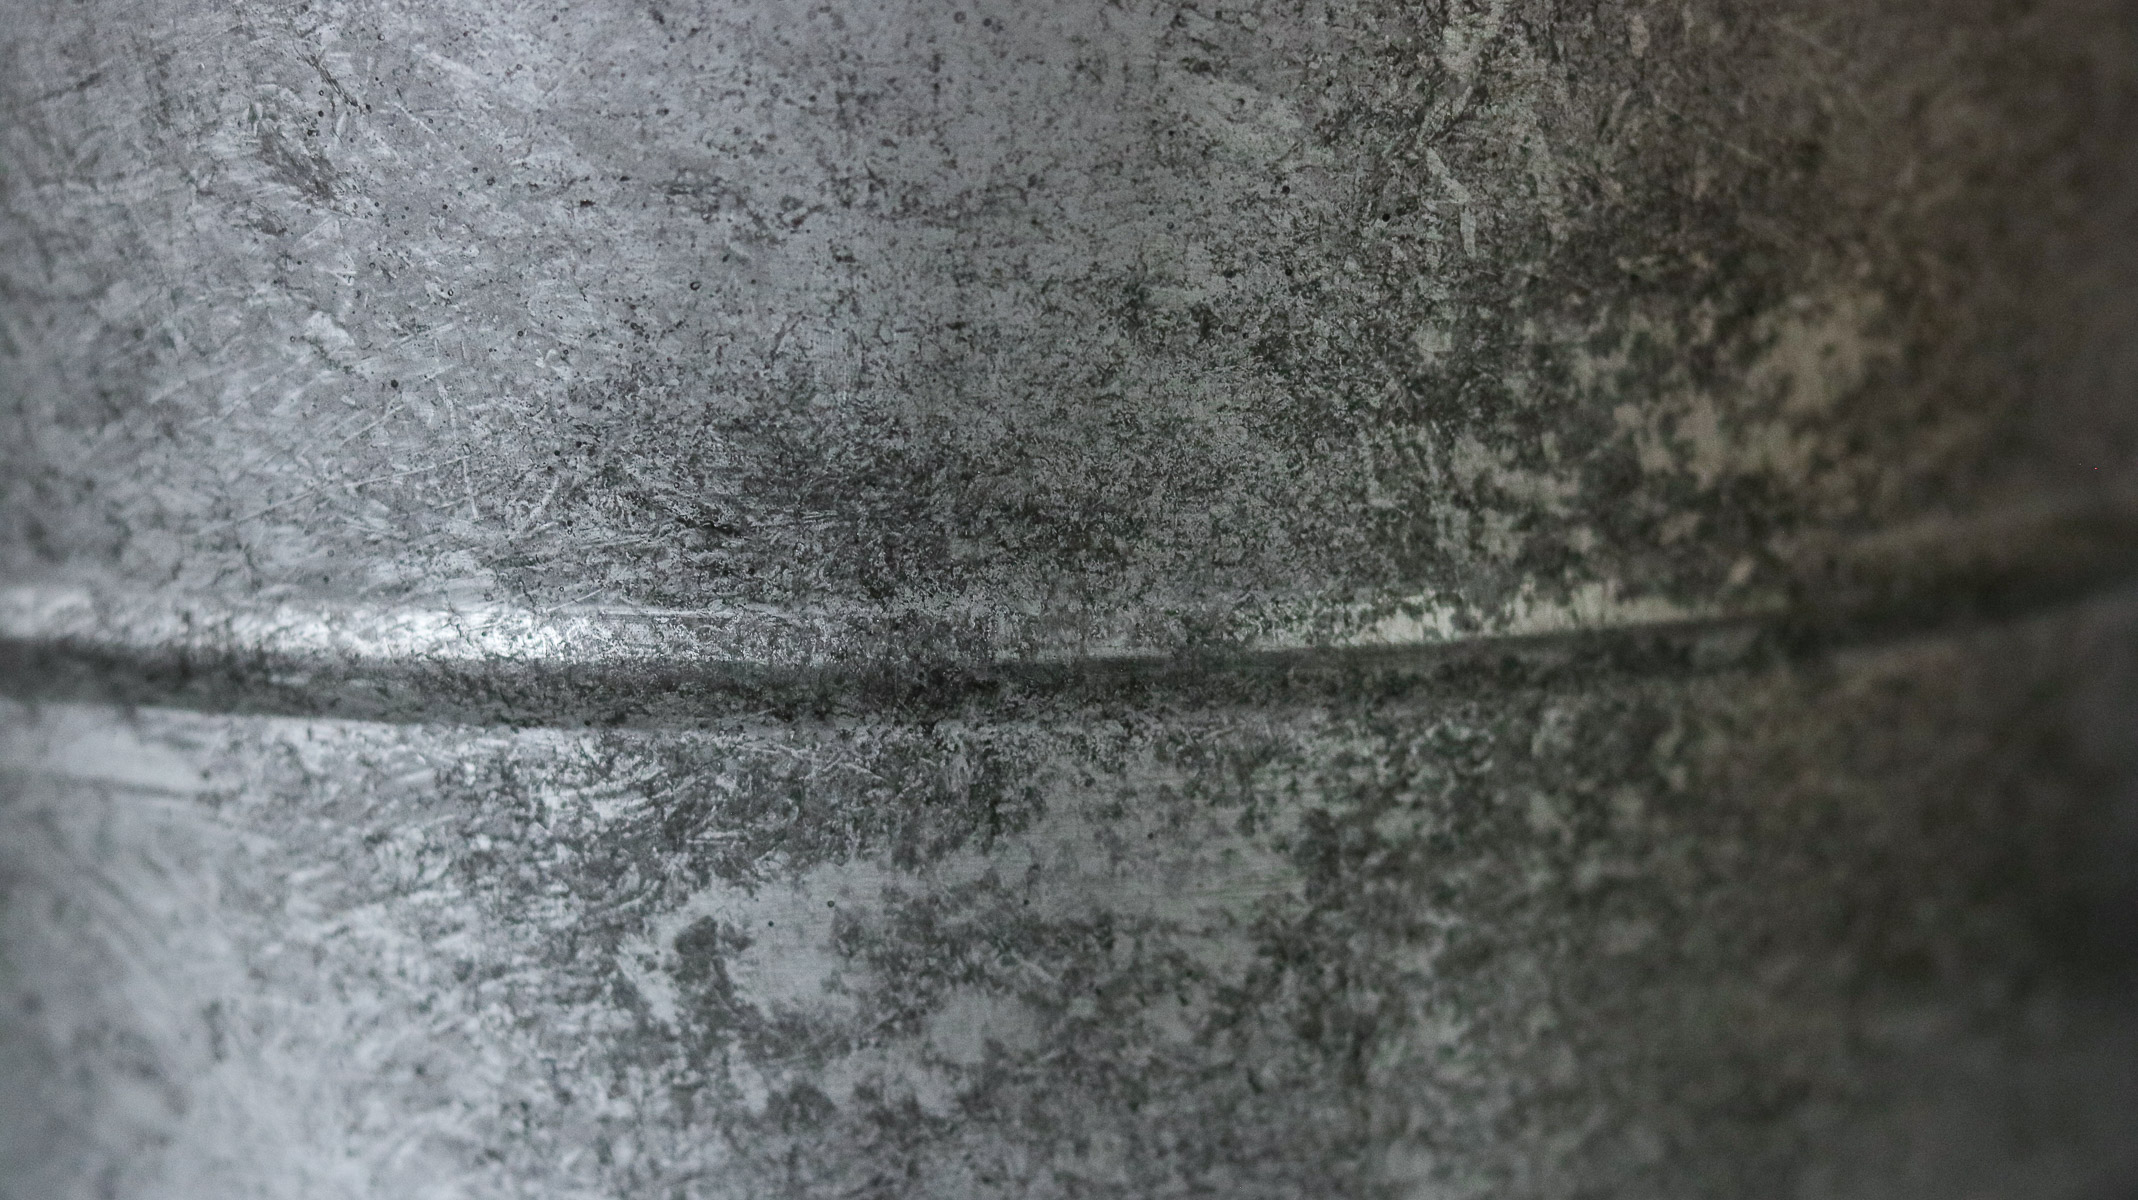

Every angle has a different look. 🙂

That’s it for today’s DIY! I hope you like it! Let me know what you think and if this is something you’ll be trying! 😀 Thank you so much for tuning in. I’ll see you next time! 🤗🤗🤗
Fantastic post! Check your dollar stores too, one of mine carries regular galvanized pails/buckets, (not mini) for yes $1! So keep your eyes peeled. I didn’t need any but bought a dozen of them for future gifts and projects. Even a faux tree looks darling in a bucket. I watched the first episode of Fixer Upper and I was hooked! So was my girlfriend on the east coast. So happy they are getting their own channel, just hope I get it on my service.
Thank you Naomie. Really. Oh my gosh i haven’t seen any at my dollar store. Our’s is pretty small I wonder if they don’t carry any at the smaller dollar stores. I’ll have to check the one downtown. It’s nice to have a few extra. YES!!! I love a faux tree in a bucket! I’ve been so drawn to the bucket trend lol I was really debating on whether I should do our big tree in a bucket this year but my hubby hates the idea. He like the Christmas tree skirt way more. So no tree in a bucket this year. At least I get a tiny one though 😀 😀 OH my gosh yes me too 😀 😀 LOL got my hubby hooked on it too and he’s not one to watch shows at all. OOOH I can’t wait! AH I hope you get it! If you watch it before me let me know what you think!! 😀 😀
What a great post!
what about using salt and water to age…just put the bucket in the salted water and leave it there for a few days…you’ll get a rusty bucket
I’ve never heard of that. Thanks I’ll have to try it.
Could we do that with large sheets of galvanized metalfor the wall?
Yes, I don’t see why not! That’s would be awesome!
I’m gonna try this!!
😀